Community Brag Posts

DIY Garden Bench

Submitted by Anonymous (not verified) on Wed, 11/29/2023 - 07:37

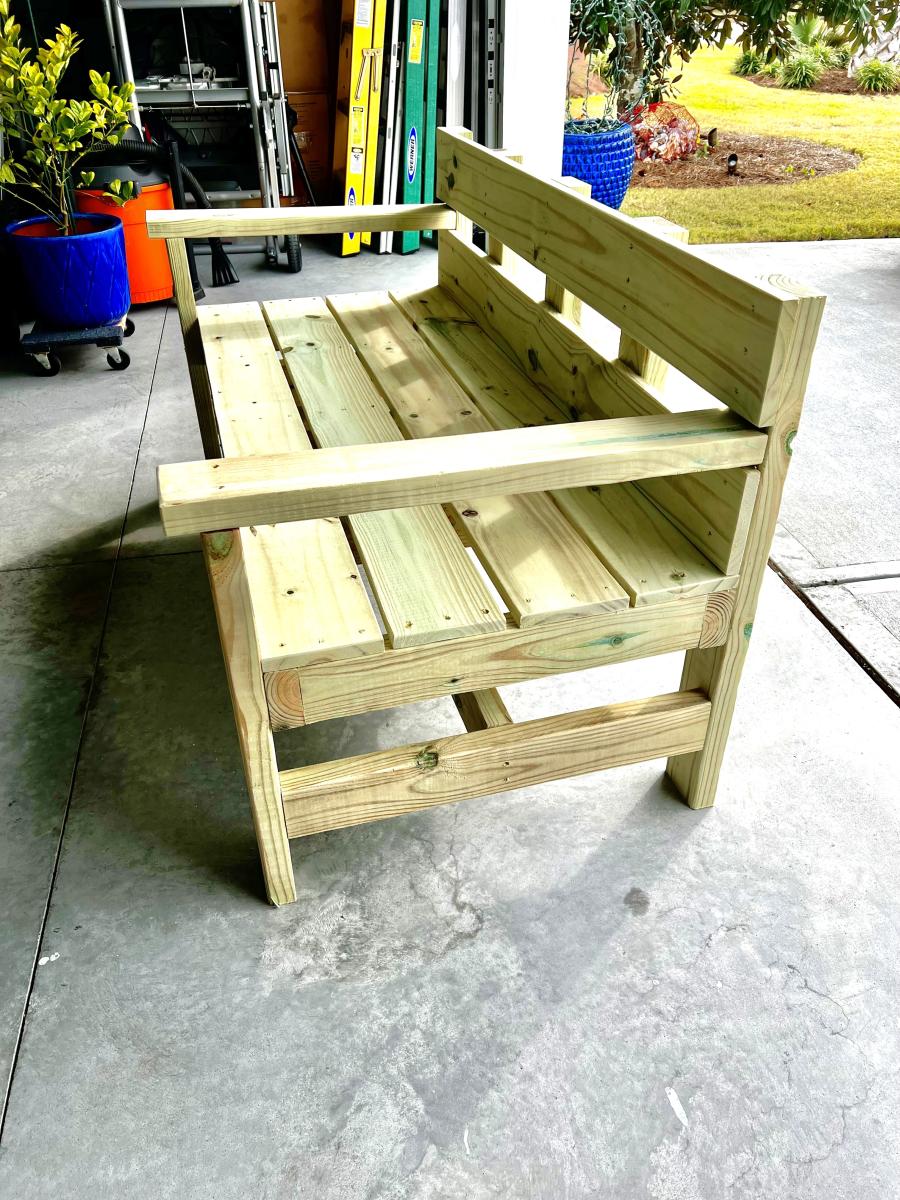
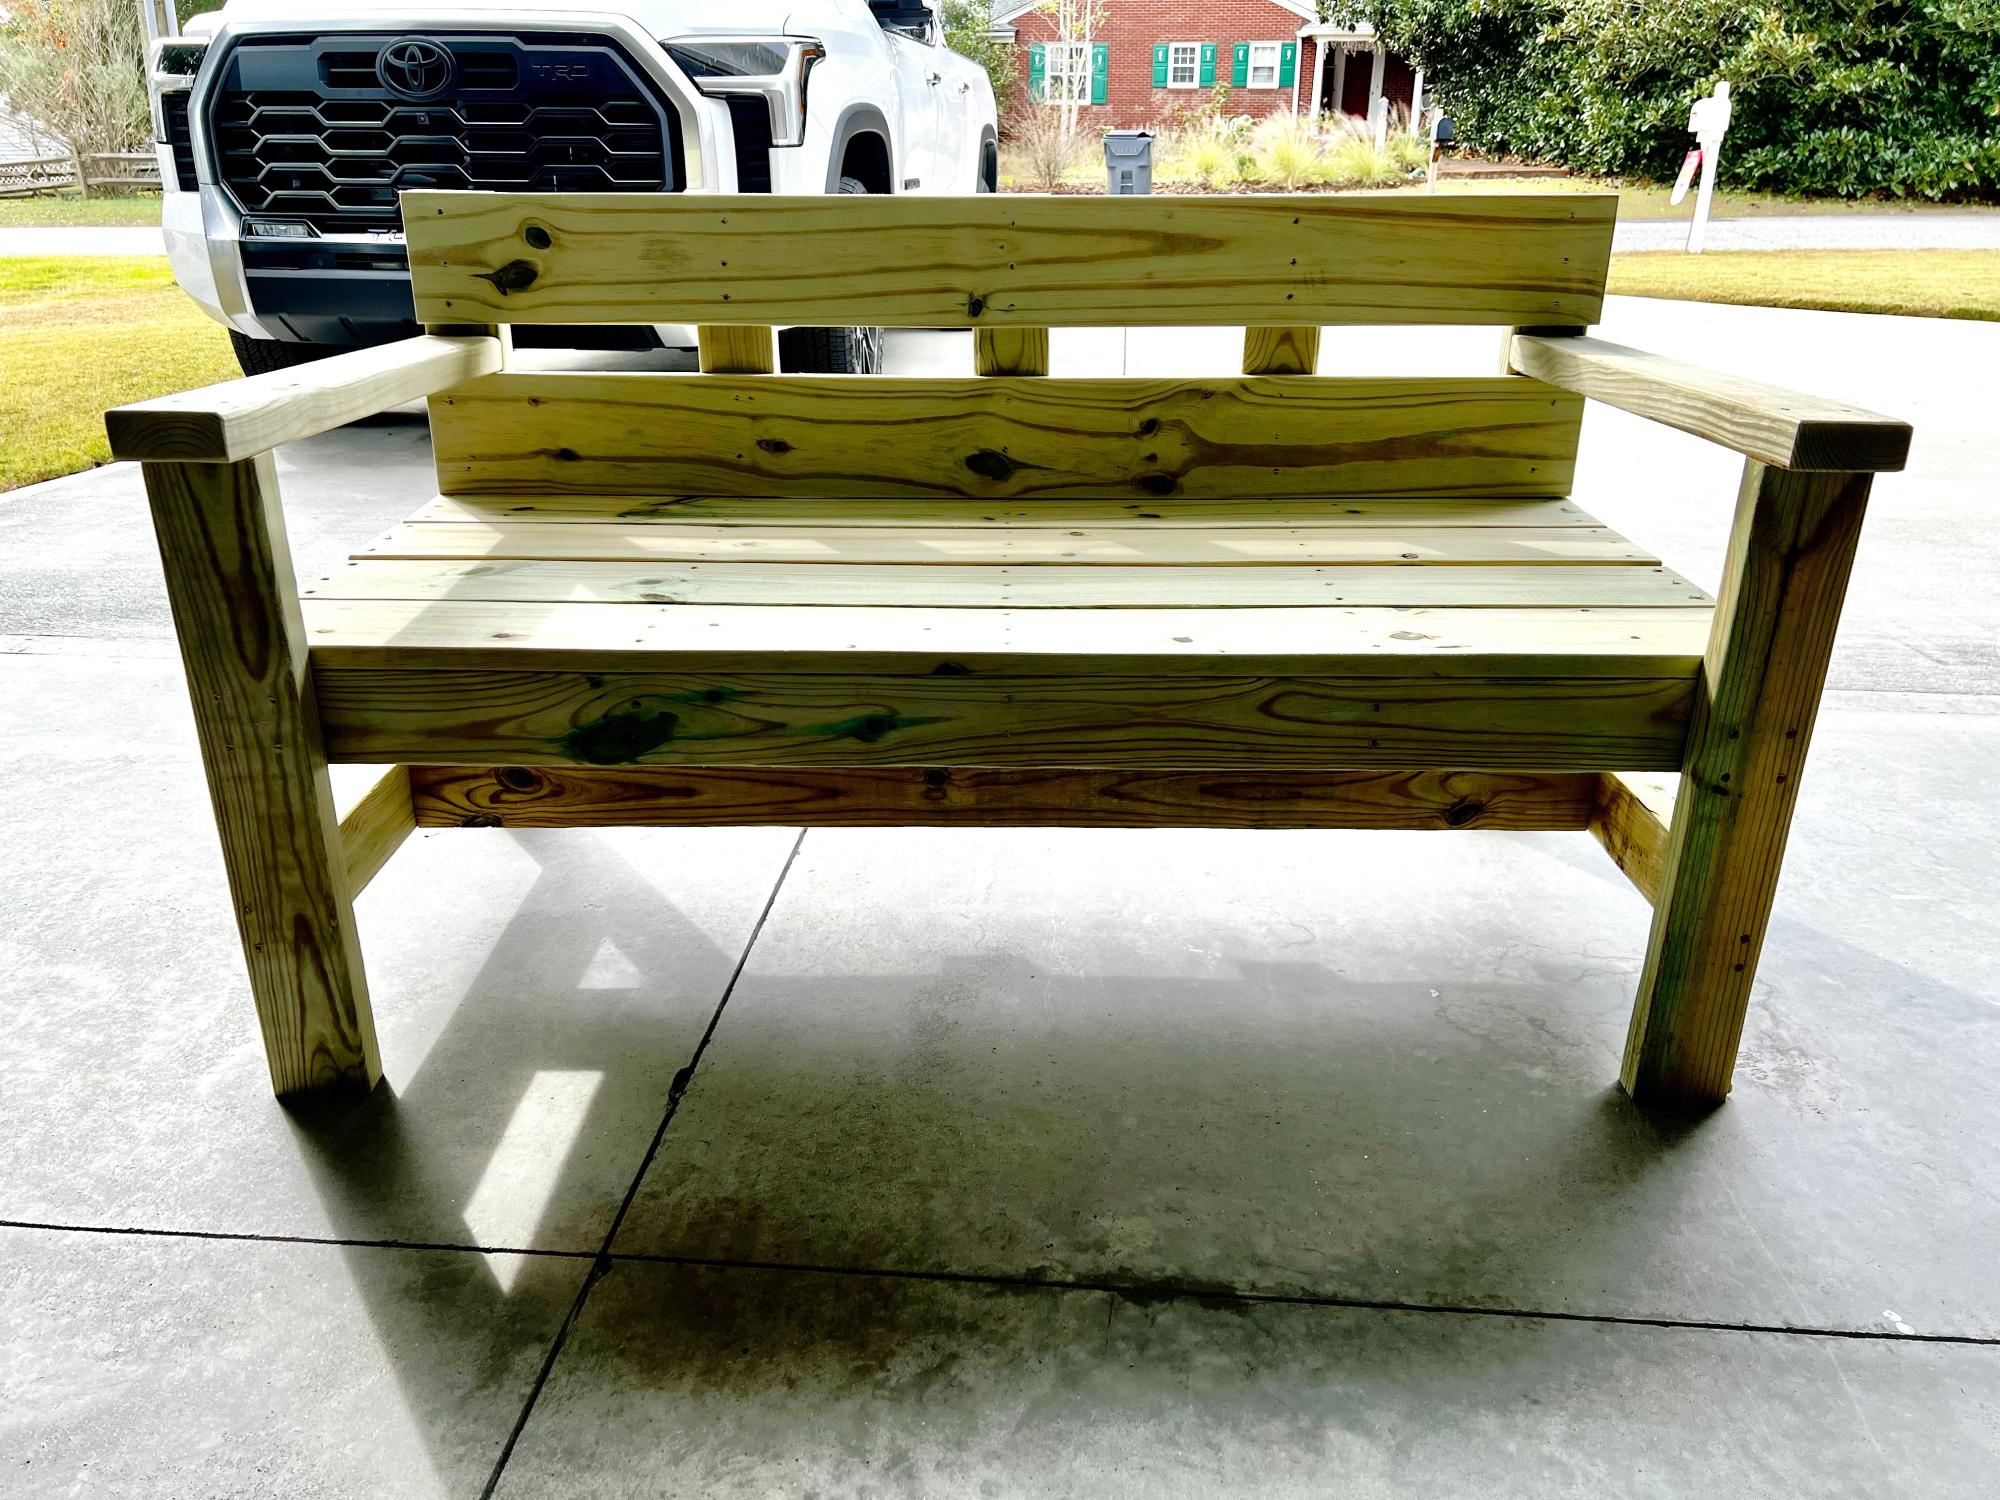
Garden Bench Project. Christmas Gift for my daughter-in-law. Cost of materials $75 and invested about 5 hours into the project. I modified the length to fit their porch. I sanded all the material and slightly rounded over all of the material edges. Recommend installing the seat BEFORE you install the arms as it is much easier to fasten. I extended the arms by an inch because I thought it looked better than cutting it flush to the leg. We will paint it in the Spring after the material dries out and can accept paint. It was fun to build. I have seen similar benches on Etsy for over $500.

Built from Plan(s)

Christmas Tree Cup Shelf

Submitted by Anonymous (not verified) on Mon, 12/04/2023 - 08:50

Hi Ana,
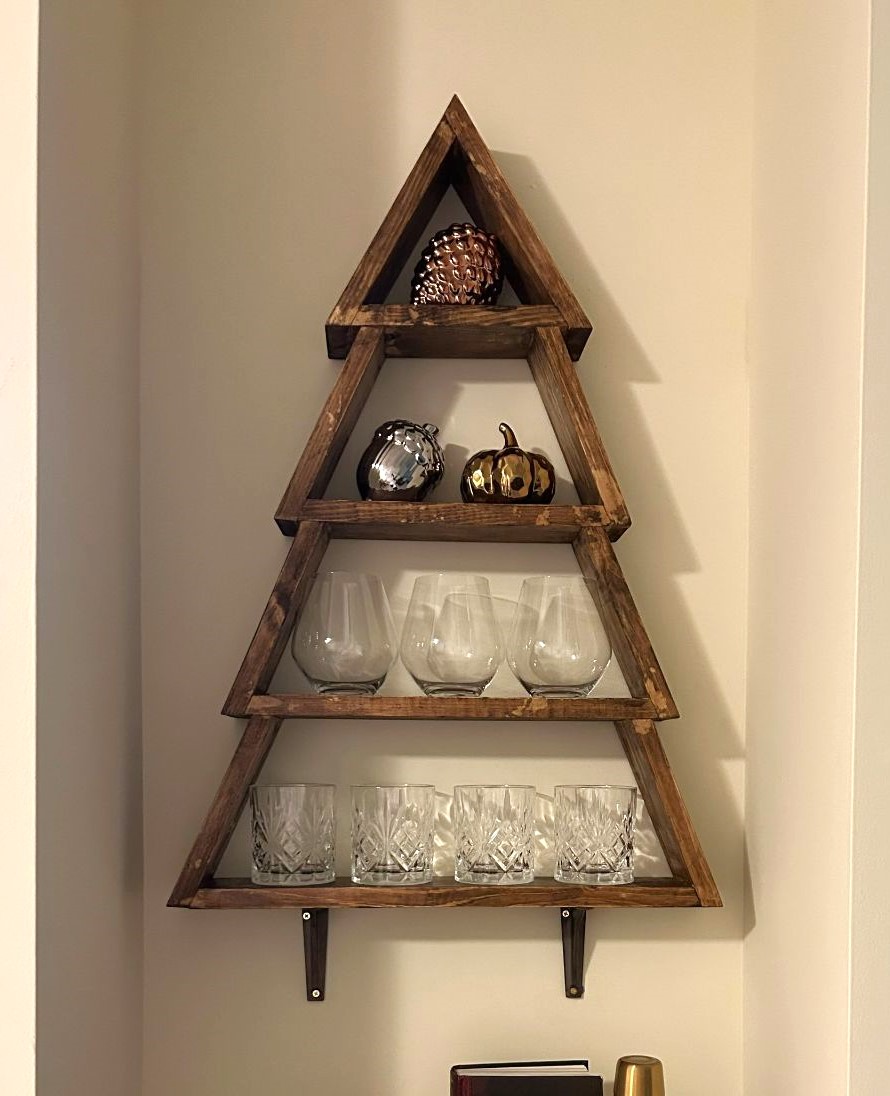
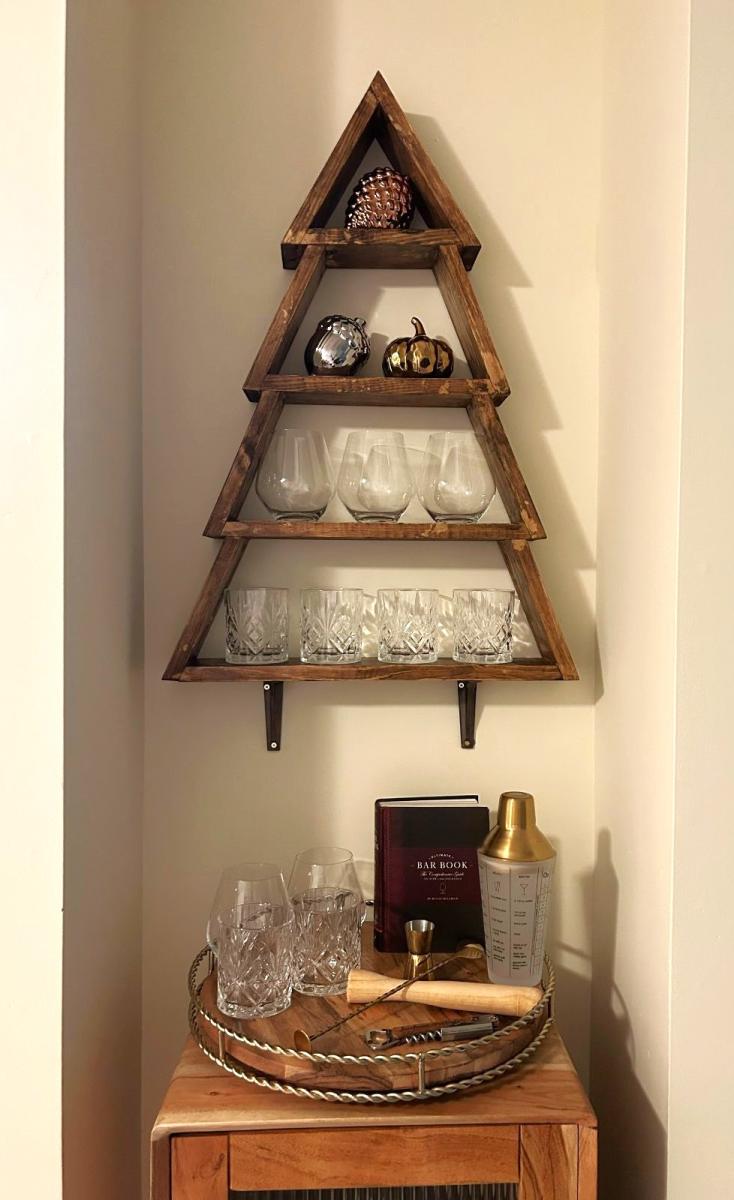
I just want to thank you for sharing your projects. My father is 92 years and was always a "maker." For the last three years he is living with and being cared for by my sister, but while he no longer has use of his basement workshop, he still gets up early each morning and goes to his small work area in her craft room where he does small projects like bird feeders. He had made and given away so many bird feeders that we were searching for another small project he could take on. I came across your Christmas Tree shelf. My husband cuts the pieces to size and then my dad completes the projects. He has made enough to give his six children and 10 grandchildren each one as a keepsake. Pictured is the way one of the grandchildren has recently used the shelf he was given. So thank you for being so generous with your ideas and plans!

Mary Beth Sharp

Built from Plan(s)

Comments

Seasonal And Holiday

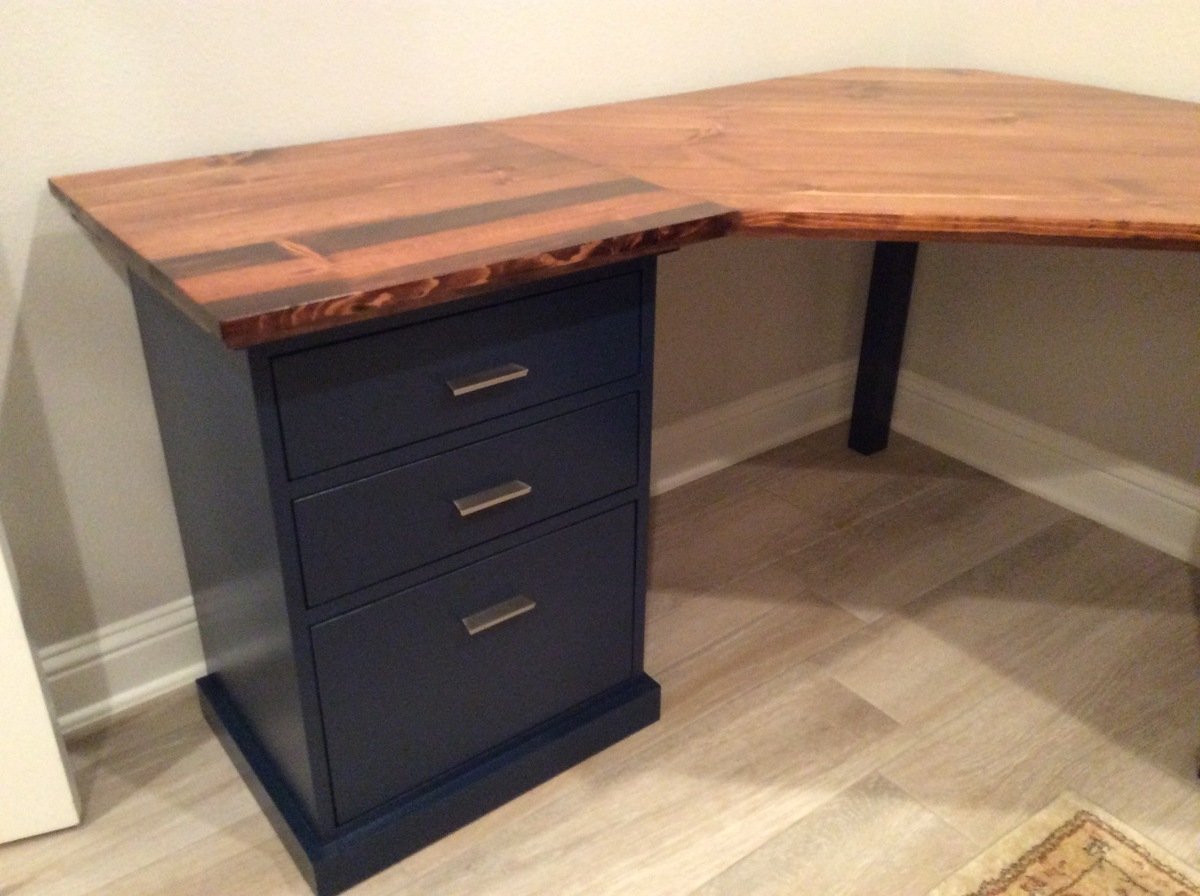
Colorful Custom Bedford Corner Desk with Live Edge Desktop

Submitted by Anonymous (not verified) on Fri, 06/28/2019 - 20:41

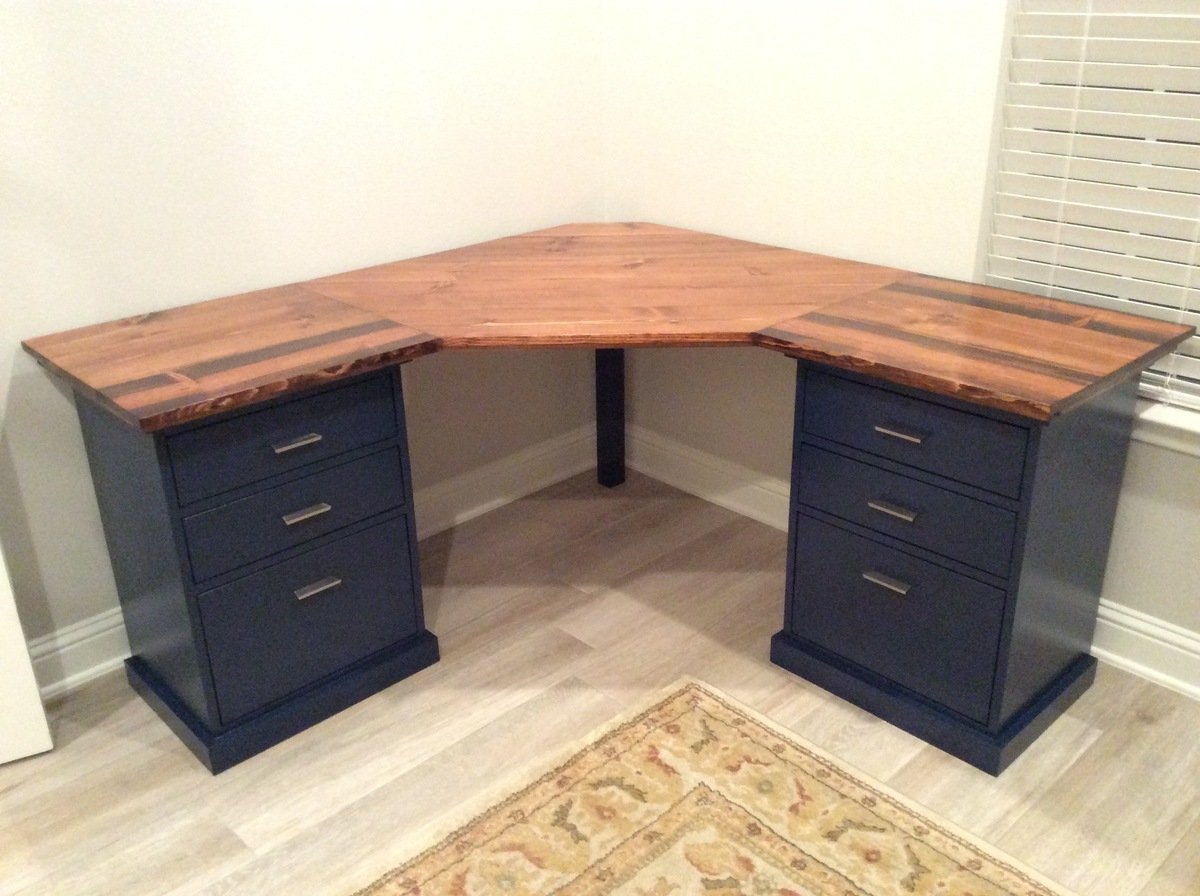
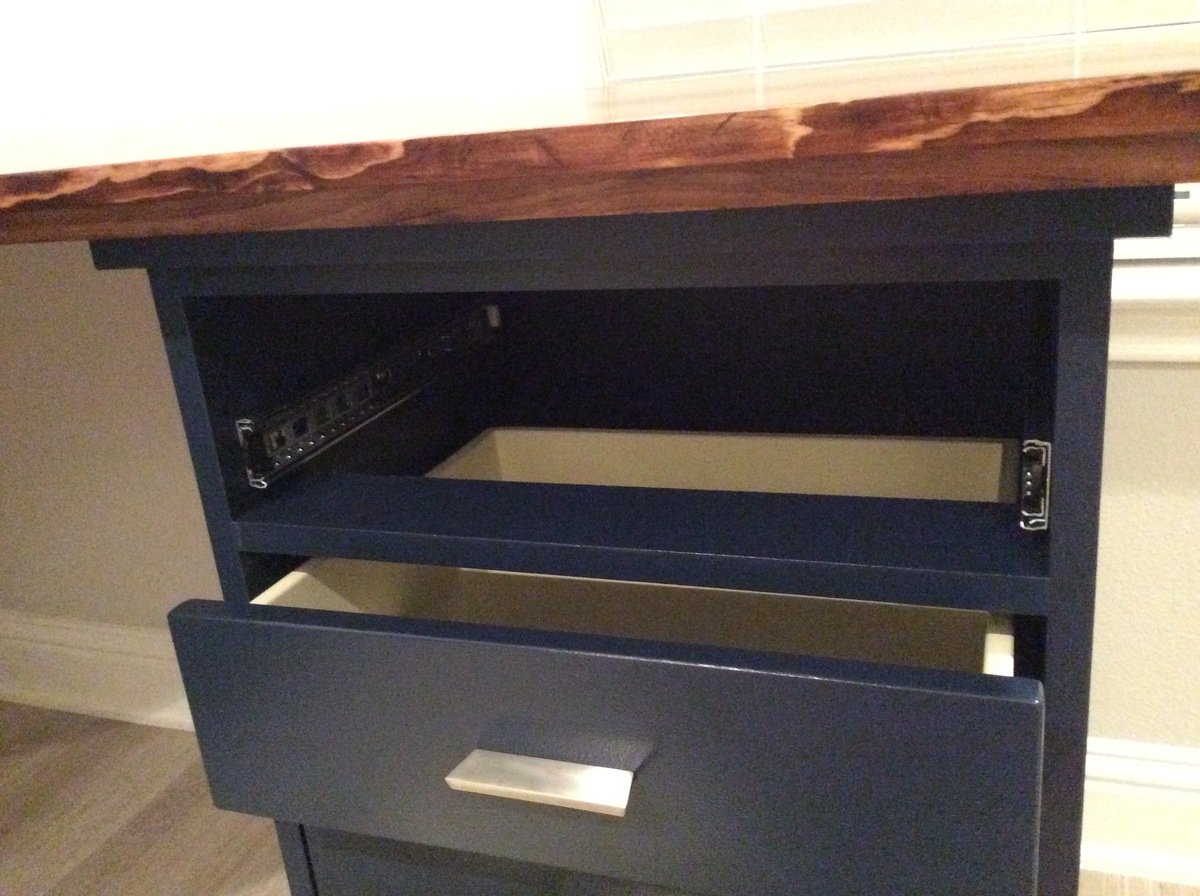
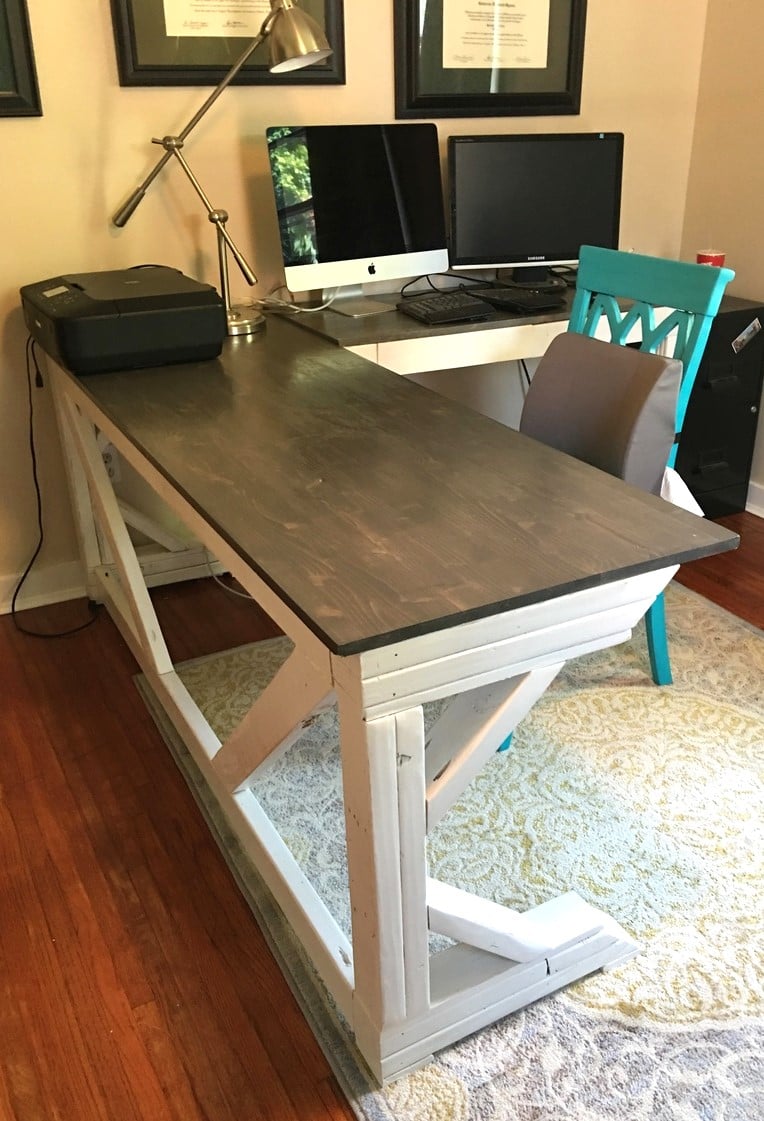
I followed the plans pretty closely. I added dividers to make 3 drawer units but I didn't find it necessary to have the top shelf go all the way to the back since it would never function as a shelf. I used scrap pieces for that and they weren't big enough to be full shelves.

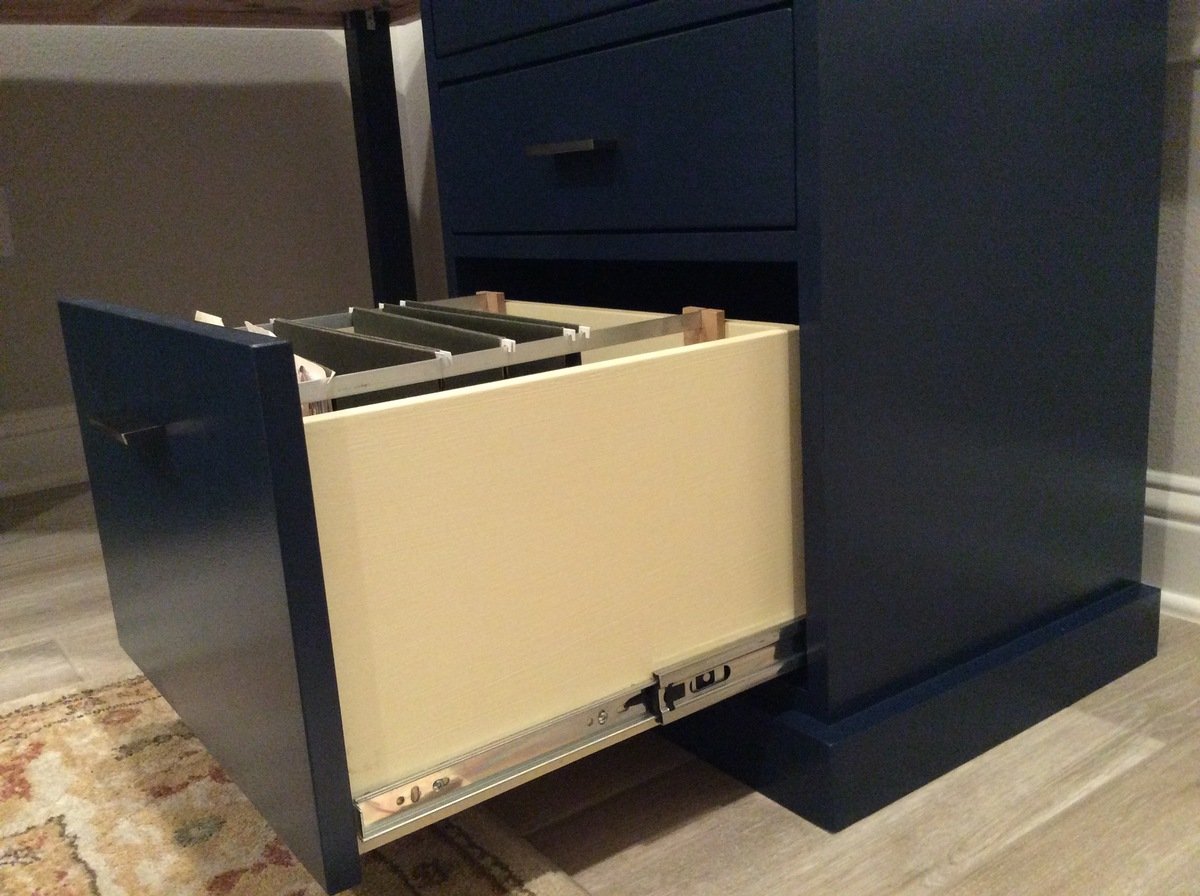
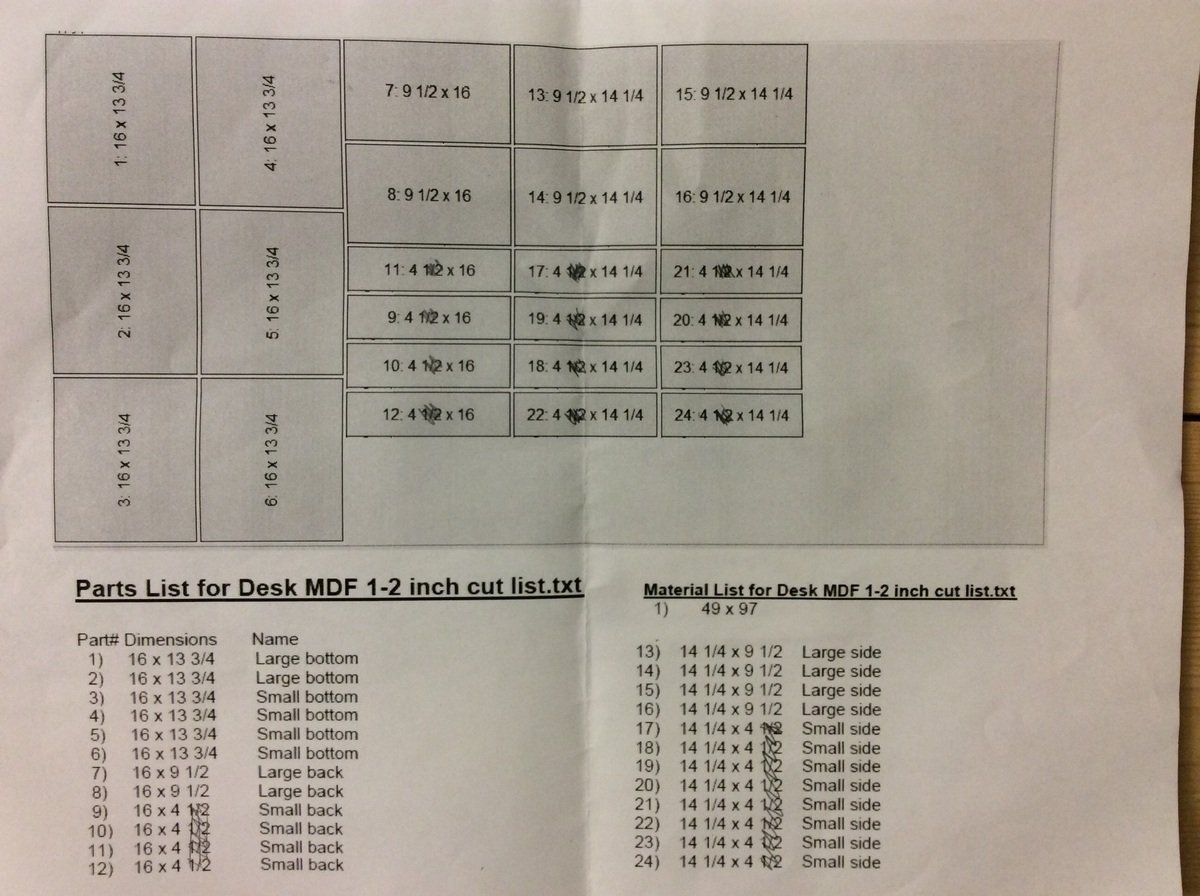
I used 1/2" MDF for the bottom, sides, and backs of the drawers to cut down on weight, cost, and general bulkiness. I used this free app called Cut List to figure out the easiest way to have the guys at Home Depot cut all the drawer panels after I learned I'm not that good with a circular saw. I used a hack saw to cut aluminum bars for hanging files and used scrap wood to make the little brackets to hold the bars upright in the drawer. The full extension drawer slides are functionally and asthetically better but it would have been so much easier to put in basic bottom mount slides. 

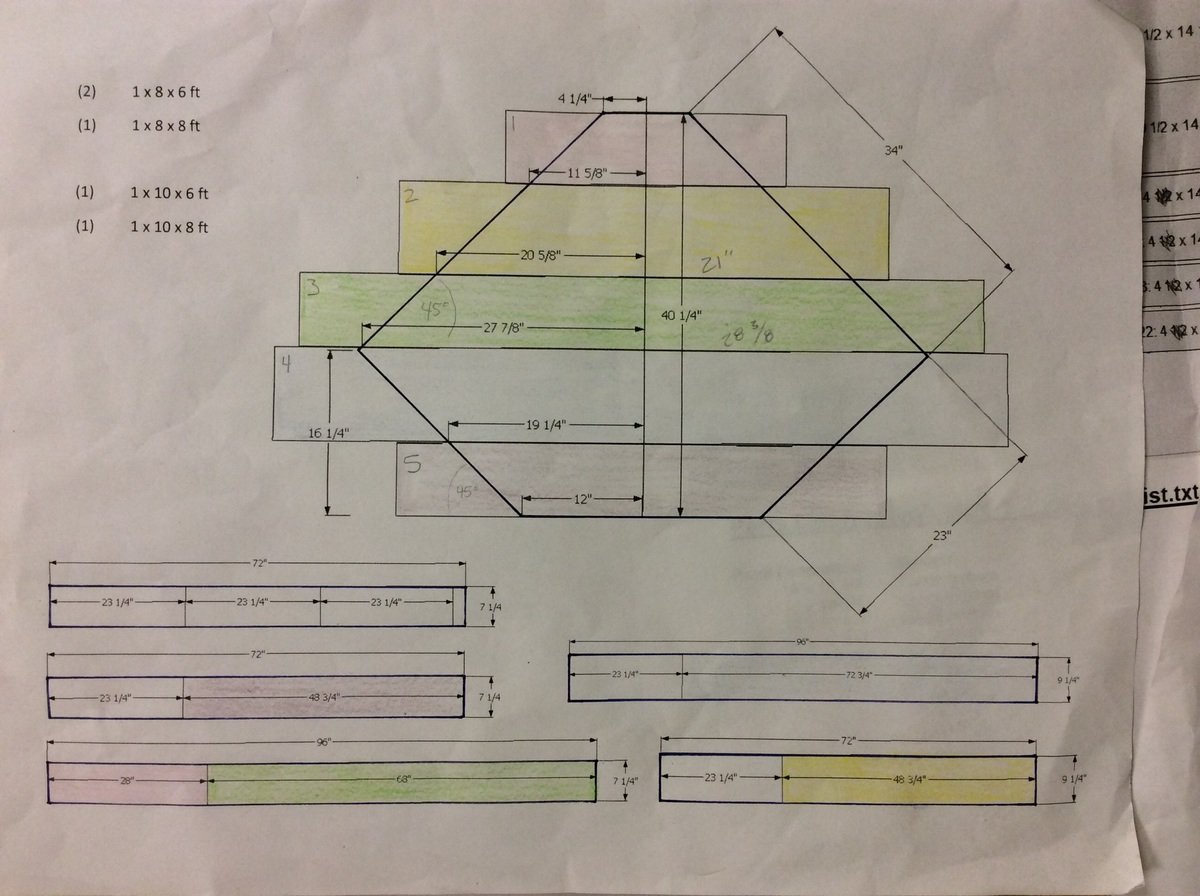
I wanted a wood grain top and ended up with common pine boards over more expensive poplar or oak and I would use pine again without hesitation. I used Google SketchUp to figure out the widths of boards I needed to make the top with minimal cuts. Then joined them with glue and mending plates and sanded the hell out of them. I altered the dimensions slightly to make it the same size desktop as the Bedford desk. My two wing sections are 23" x 23" but I should have made them 23" deep by more like 24" or 25" long. I had to hack the bottom bracing to make a spot for the drawer units to slide into. If you alter the dimensions make sure you can secure a brace between the main body and the wing of the desktop and still have room for the brace at the edge of the wing. 

My cost includes things like a Kreg jig, saw blade, clamps, paint brushes etc. so you may be able to do this for less. I could have gone with a middle of the line paint I think. This project was a beast for me because a) I'm not a furniture maker b) I don't own a table saw which would have been amazing c) I picked the hardest way to make the desktop and d) I modified some of the dimensions from the basic plans. I worked on this thing for weeks (granted sometimes I didn't touch it for several days or a week). But it was a fun and rewarding project. 
Estimated Cost
$500-$600
Estimated Time Investment
Week Long Project (20 Hours or More)
Finish Used
Behr Marquee, Minwax wood conditioner, stain (honey) and stain poly
Recommended Skill Level
Intermediate

Comments

Modular Barbie Playhouse

Submitted by Anonymous (not verified) on Sun, 12/31/2023 - 13:27

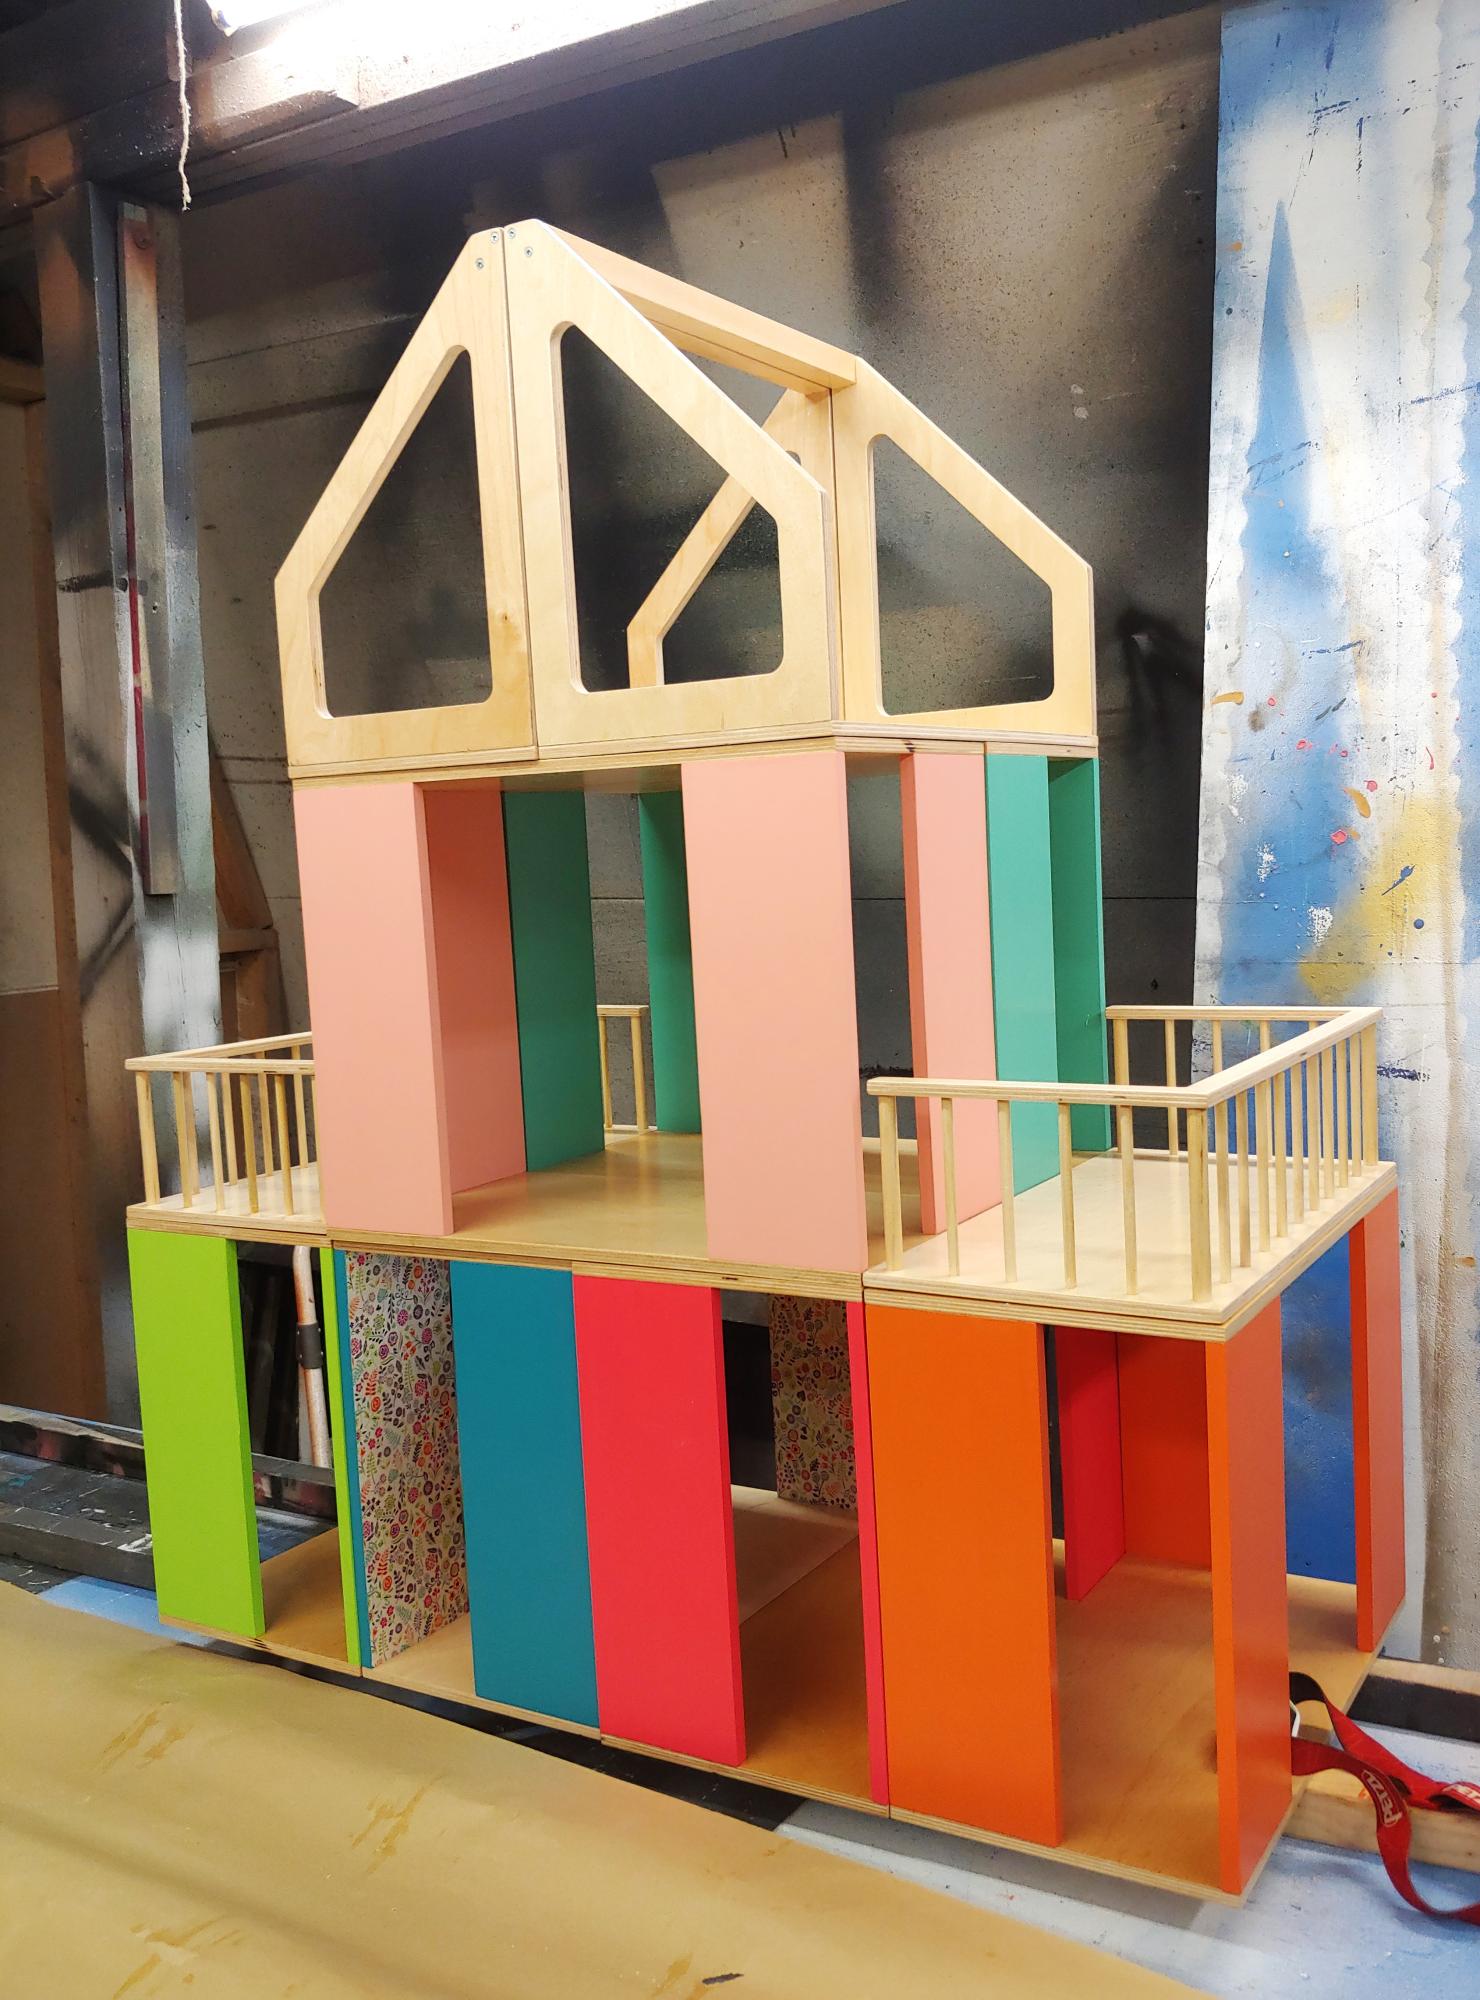
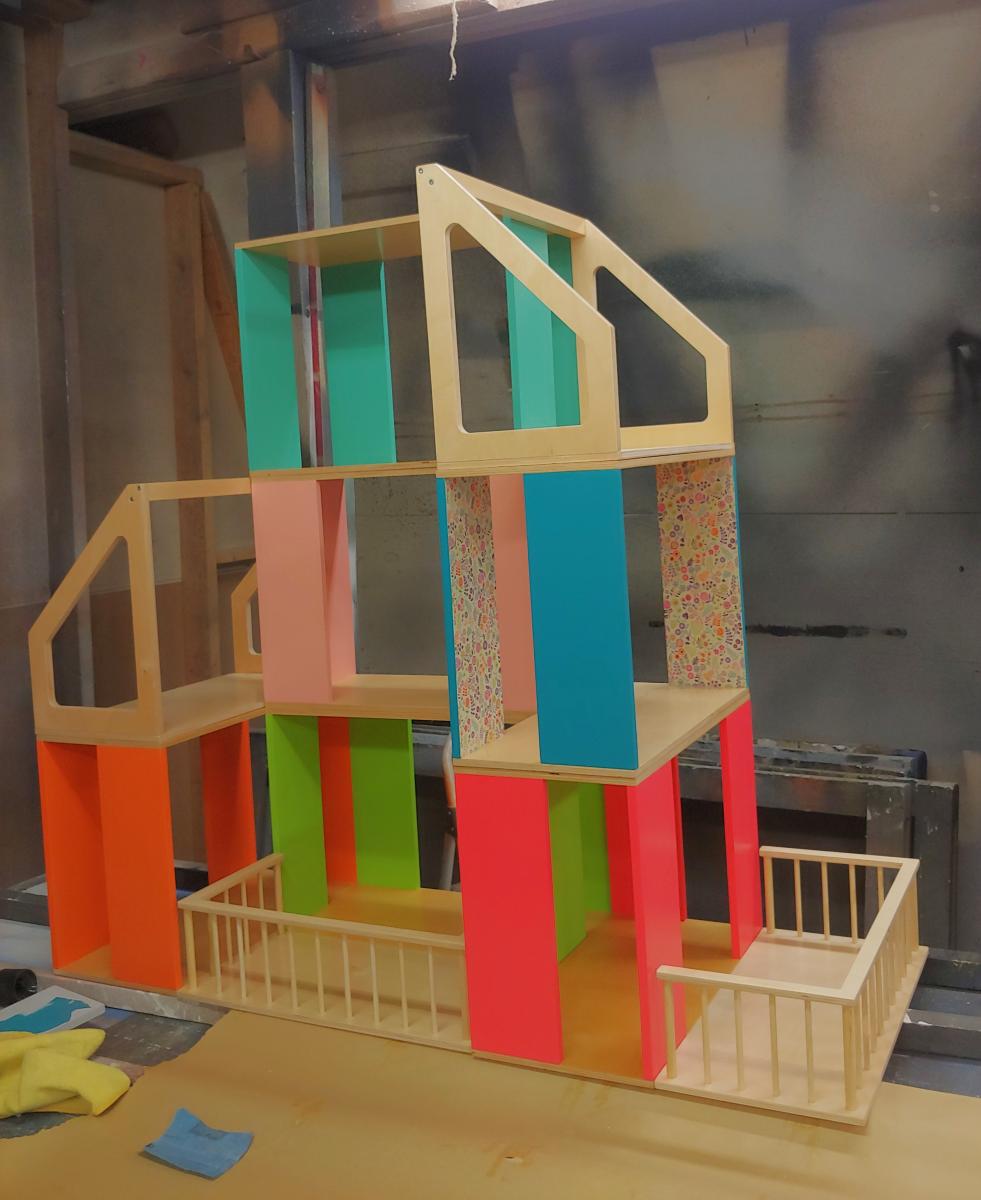
We modified the Ana-White modular dollhouse meant for small dolls to build this Barbie size house! (Please ignore the workshop walls in the background of our pics! Lol!) Our daughter loves to set up all sorts of houses/school/hospital/stores, and commercial modern barbie houses are all covered in specific printed paper that restricts what a room can be used for. This way she can make buildings however she likes! It isn't much bigger than her old barbie house, and the pieces/room boxes are easy for her to move/stack. Each room box is 9" (w) by 18"(L) by 13"(h), with wall panels 4.5" wide. We also love that these room boxes can become bookshelves once she outgrows barbies! Thank you!

Siemens Family, Alberta CA

Modified desk

Submitted by bef0016 on Sun, 07/17/2016 - 17:25

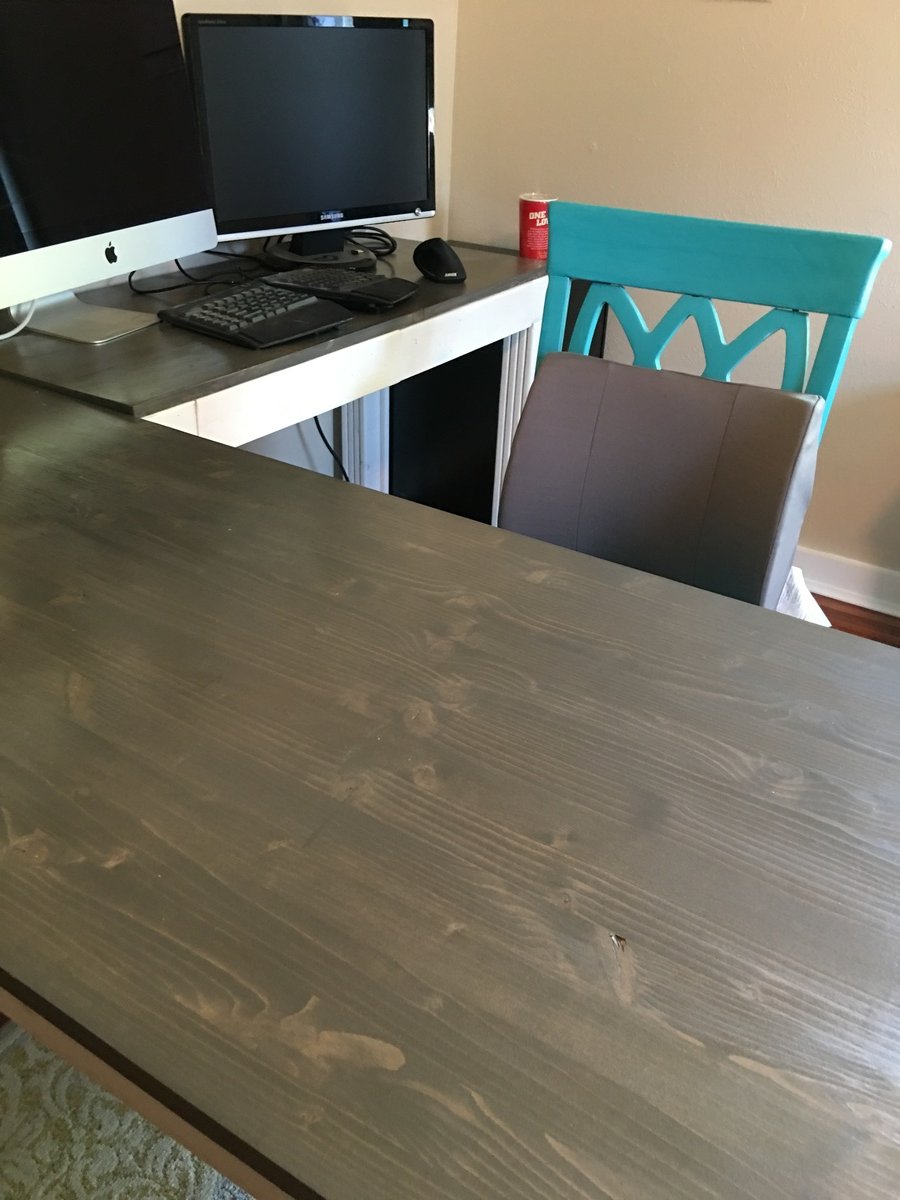
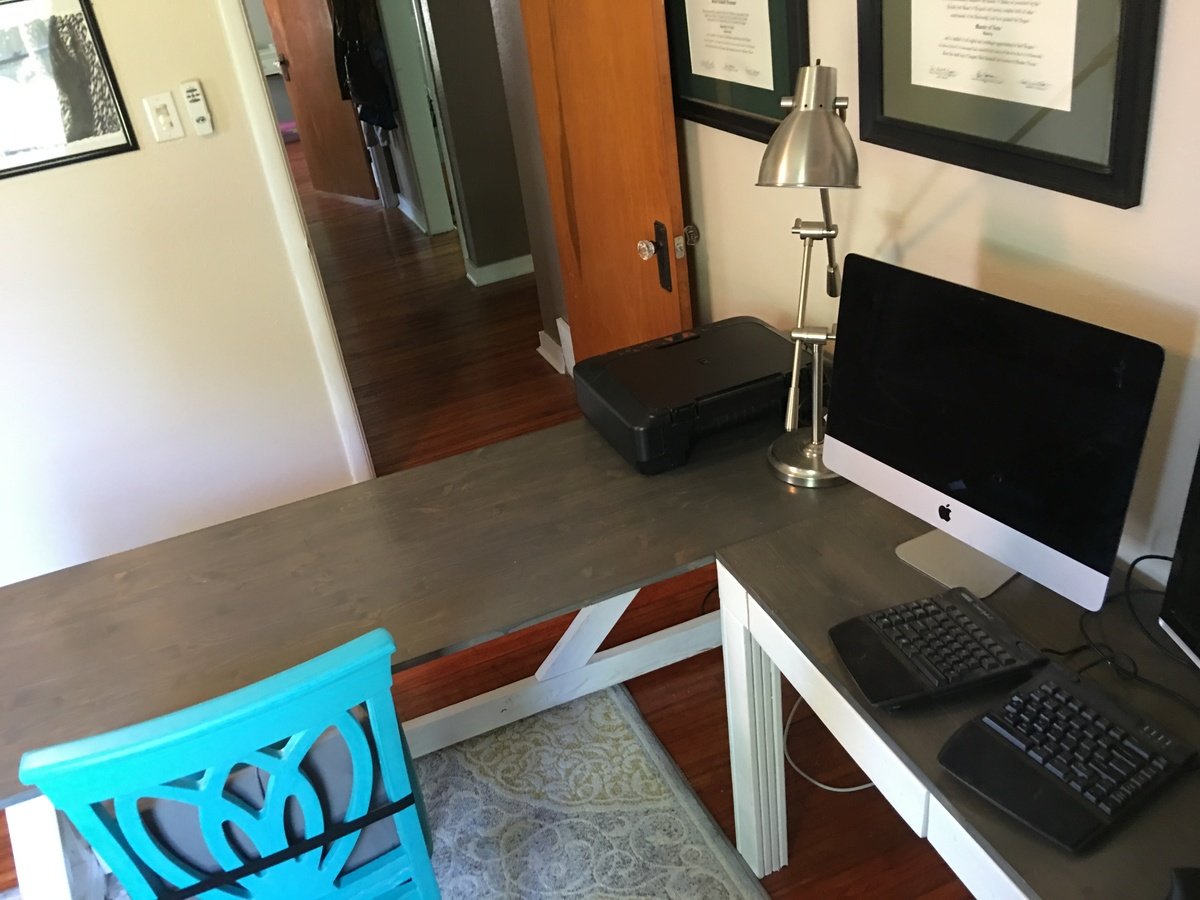
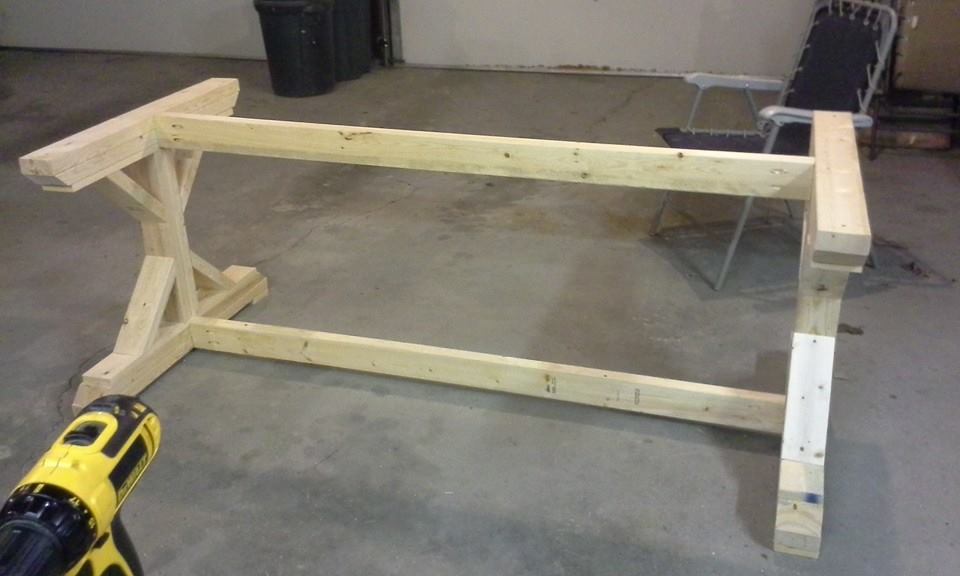
Modified table to desk. Built the original table plan for a friend and it was too big, so I had the frame in my shed for a year. Repurposed it to office desk. 

Estimated Time Investment
Weekend Project (10-20 Hours)
Recommended Skill Level
Intermediate

Scrapwood garden markers

Submitted by Kate_14 on Tue, 05/12/2020 - 15:07

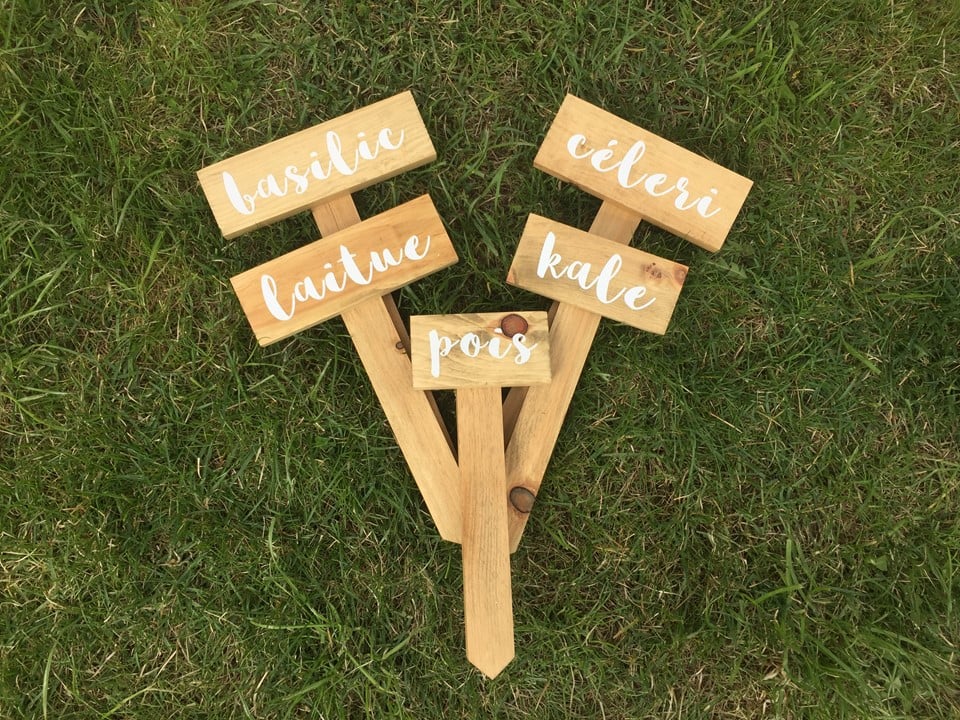
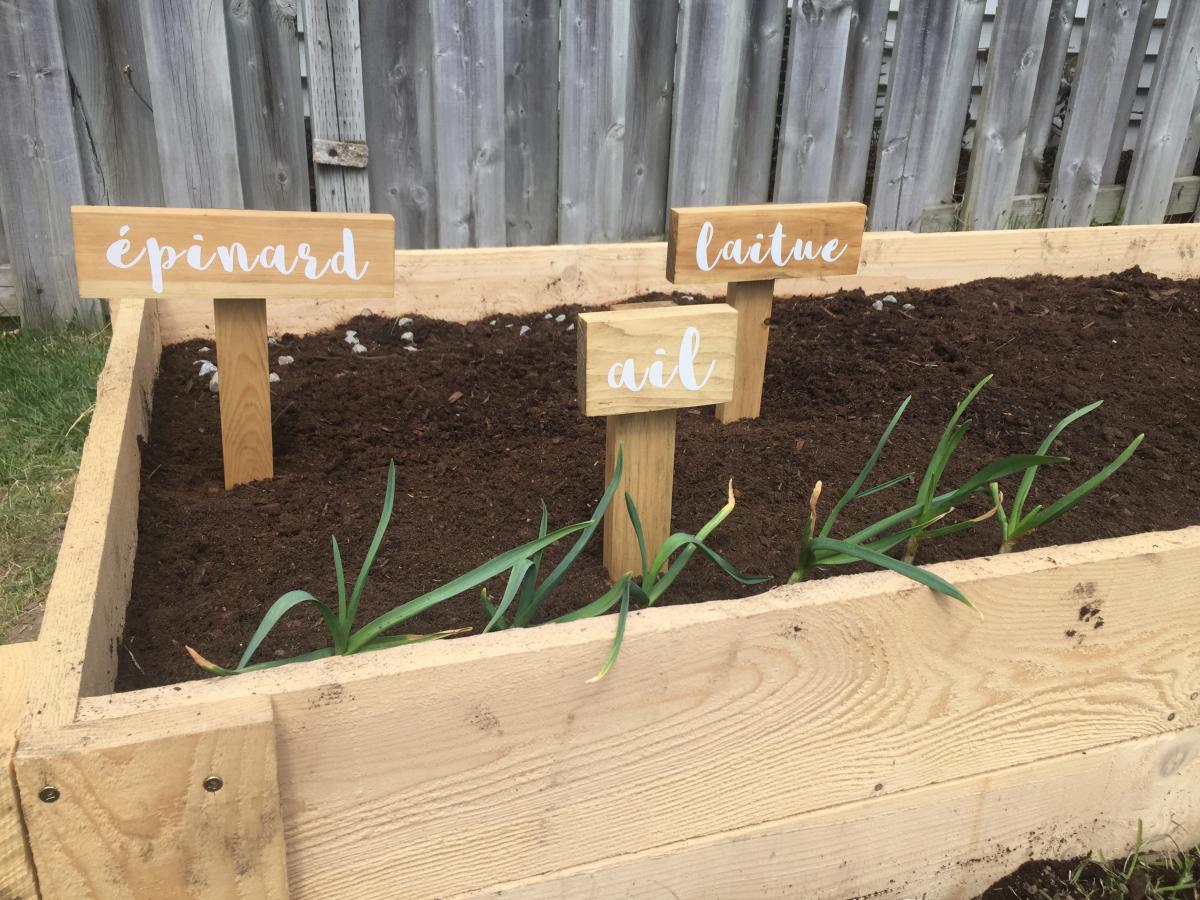
Who doesn't like a great scrapwood project? I made these beautiful garden markers with pine, but cedar would have been even better! I just didn't have any on hand. I used 1x3 to put the name of my vegetables and 1x2 for the pickets. I screwed them with 1 1/4 inch exterior screws.

Estimated Cost
0$
Estimated Time Investment
Afternoon Project (3-6 Hours)
Recommended Skill Level
Starter Project

Family Back Deck COVID19 Project Facelift

Submitted by Anonymous (not verified) on Tue, 06/02/2020 - 11:53

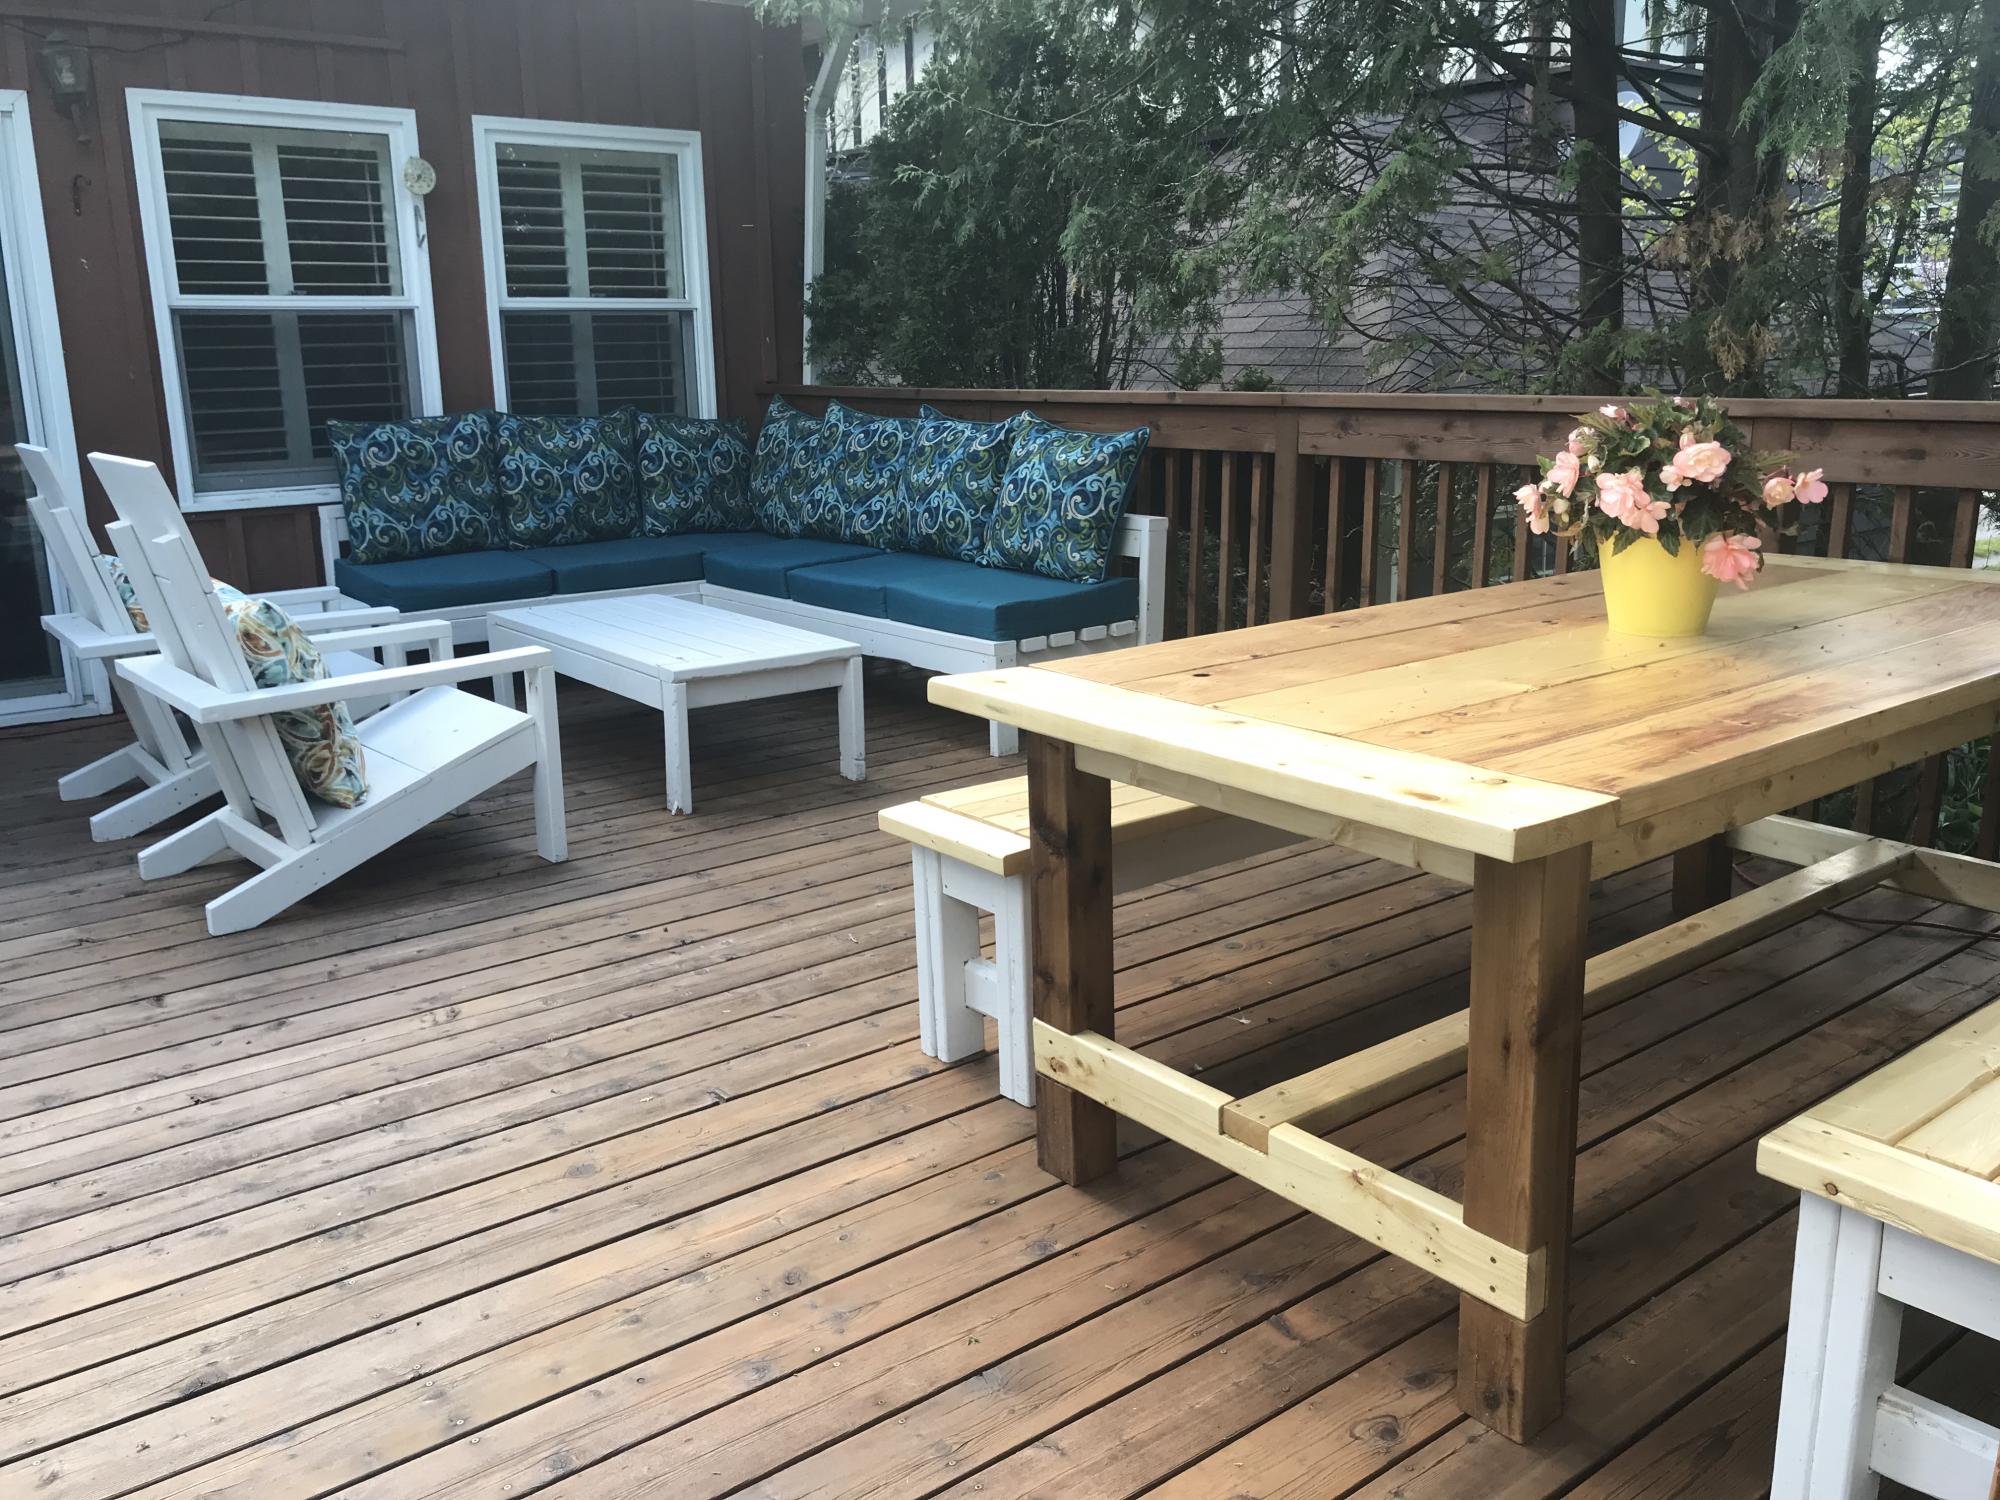
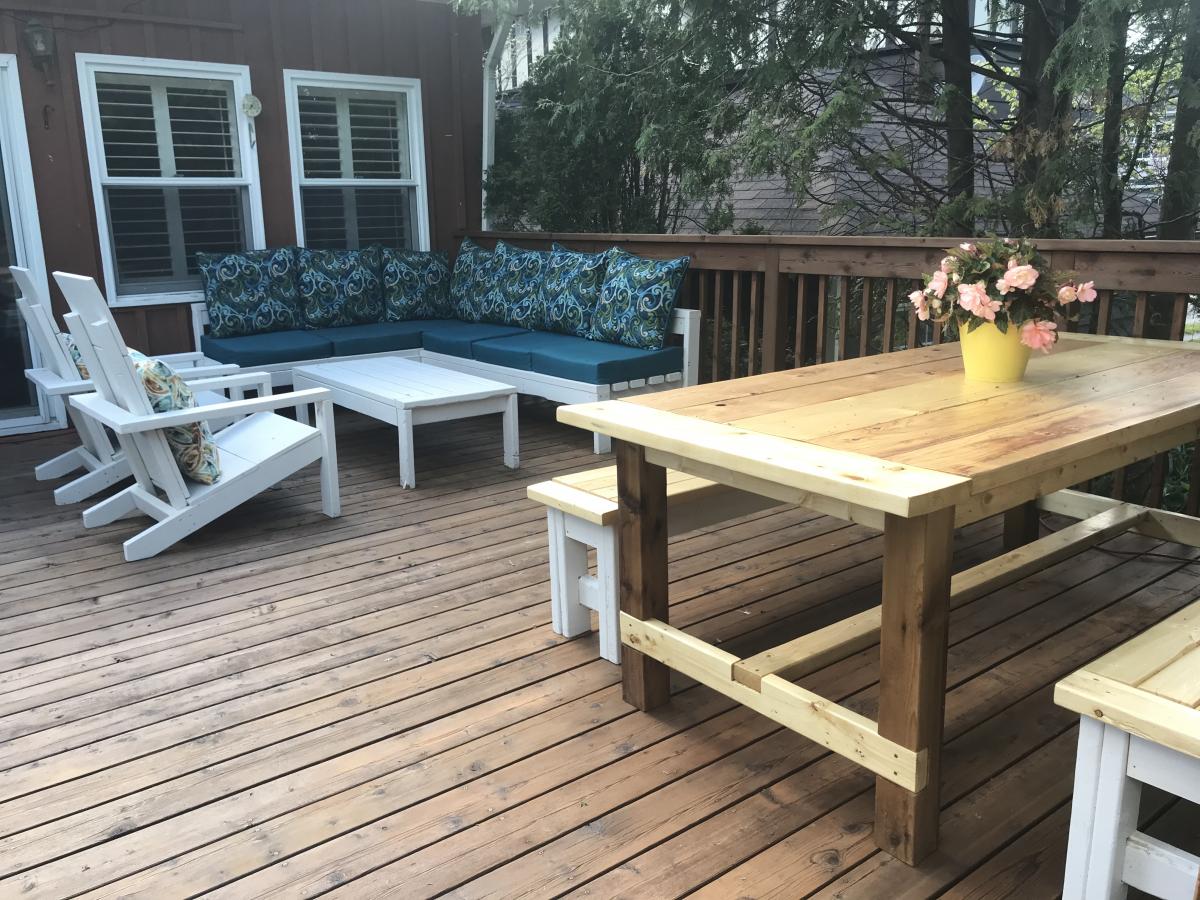
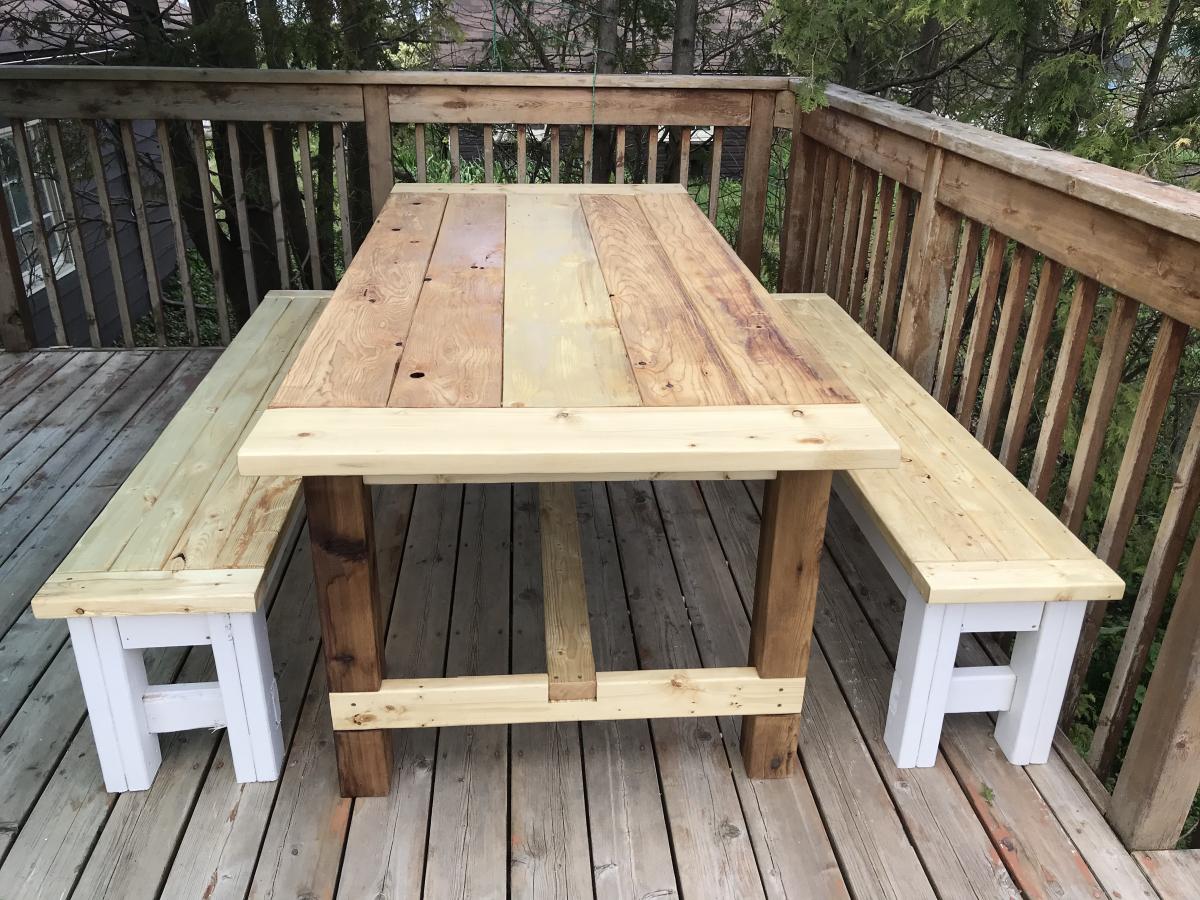
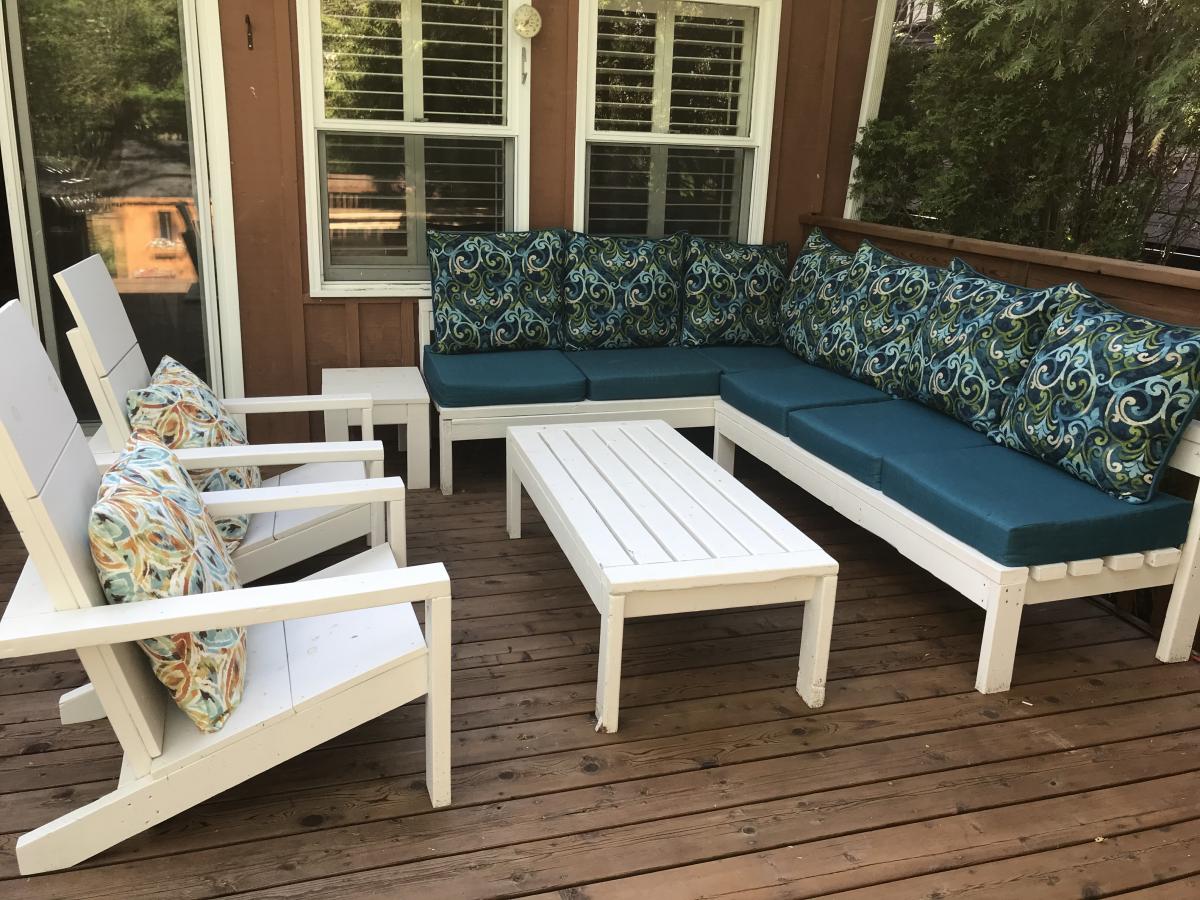
Thank-you so much Ana White! We took on our back deck as a family COVID19 “homeschool” two weekend project! Why just build a sectional sofa when you can build a sectional sofa, coffee table, farmhouse table with two benches, two Adirondack chairs and a side table that the 11 year old designed and built himself! Mission accomplished, he’s a builder for life.

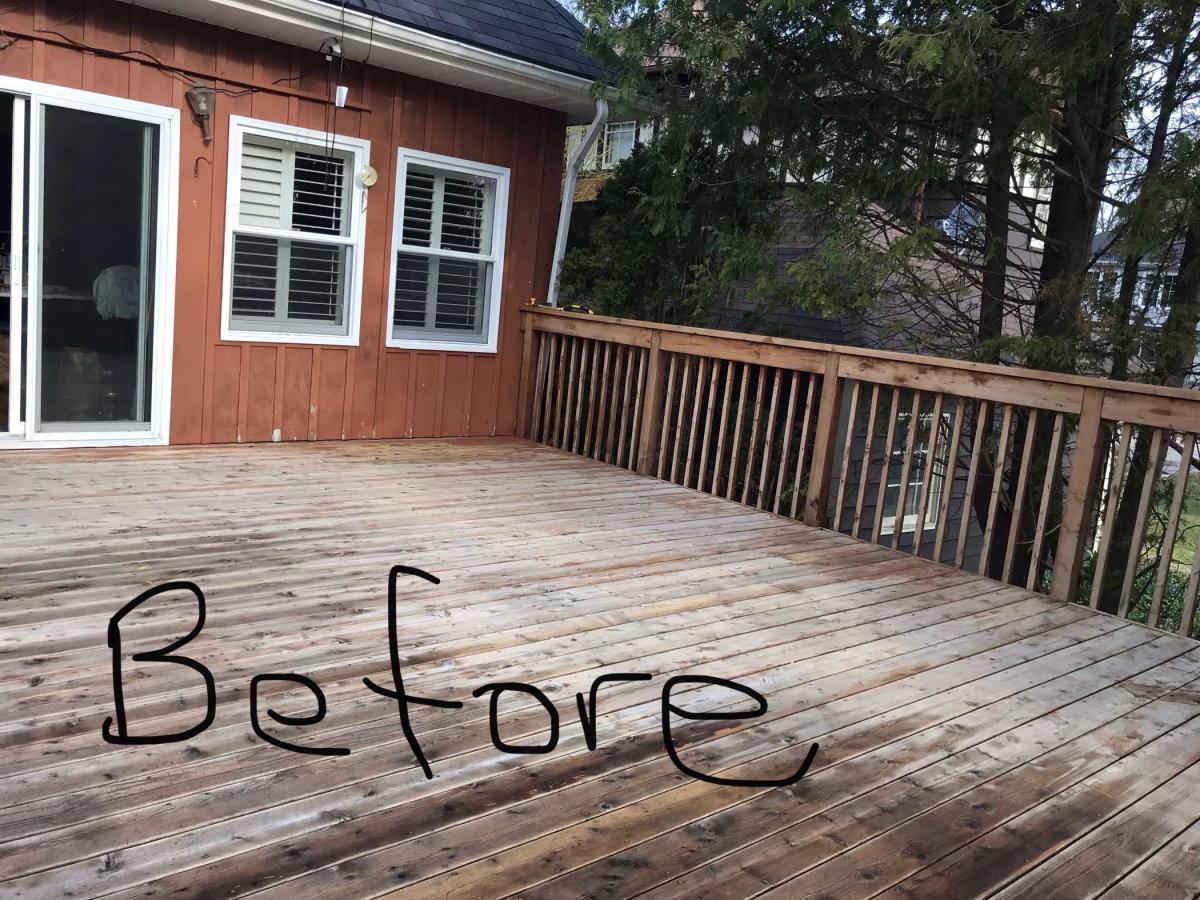
Our deck was brutally neglected and the boys had had some exposure to power tools and small builds. We decided that the best way to remedy the situation was to set up a family build all at once so that the tools are out and then put back away after the build is complete!

The plans were easy to follow and incredible! Thanks again so very much!

Estimated Time Investment
Week Long Project (20 Hours or More)
Finish Used
Stained the sofas, chairs, coffee and end table with outdoor solid stain. Used the same solid stain on the bottom of the farmhouse table benches, and outdoor oil based spar varnish on the farmhouse table and bench tops. Finished the look by refinishing the deck with Behr Penetrating Oil finish in Chocolate and cushions from Lowes for the sofa. Adirondack chair cushions were sewn by myself with Sunderland fabric leftover from front porch, cushion inserts from IKEA.
Recommended Skill Level
Beginner

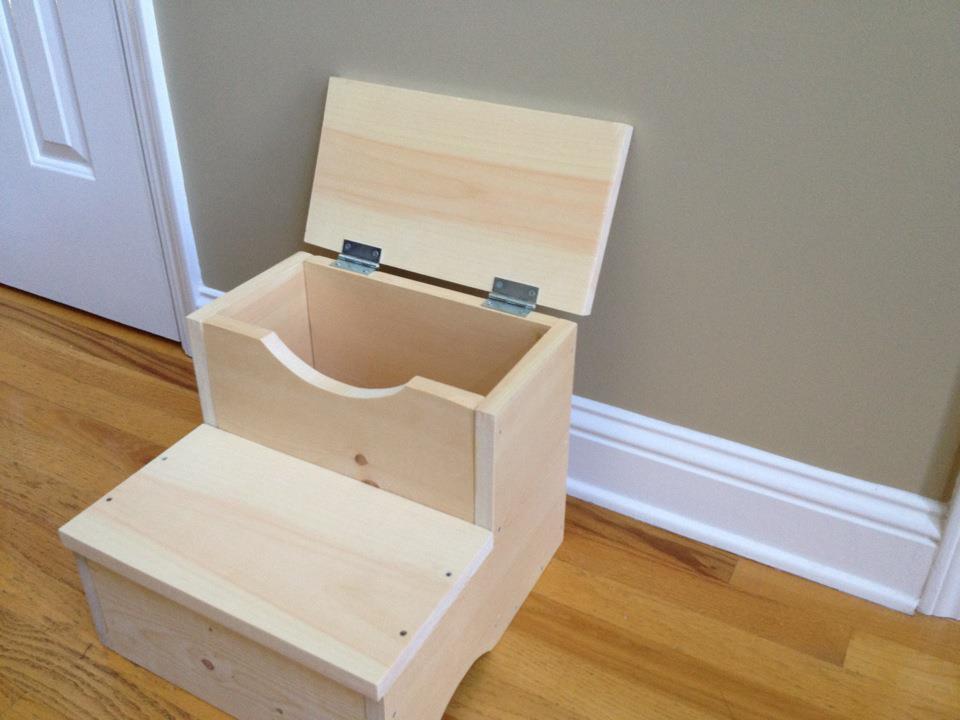
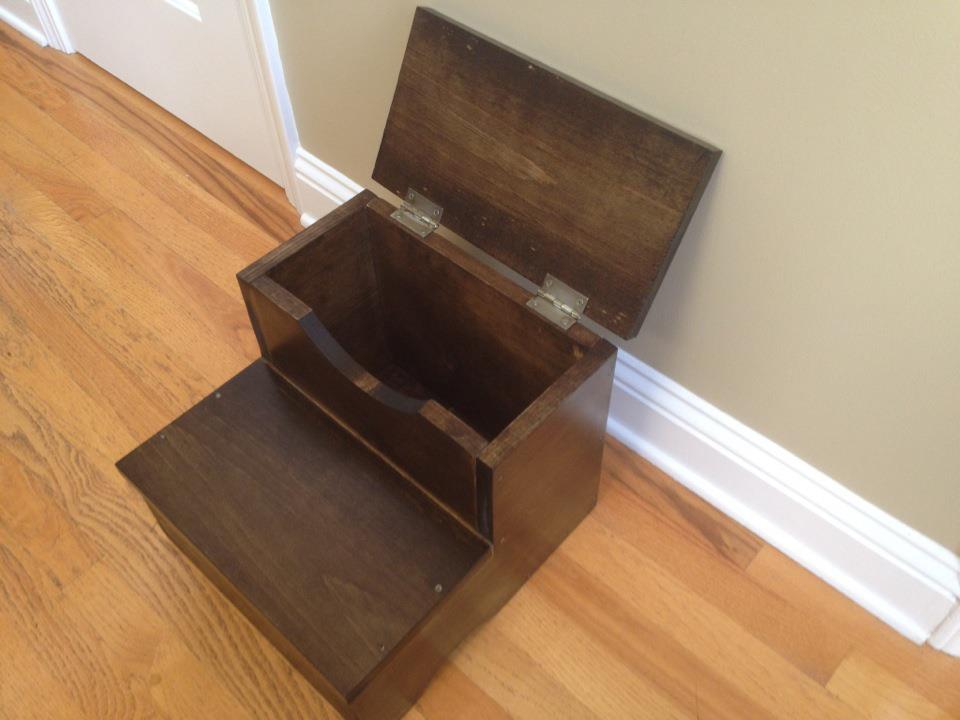
Storage Step Stool - First Build!

Submitted by red98dawg on Thu, 08/02/2012 - 11:50

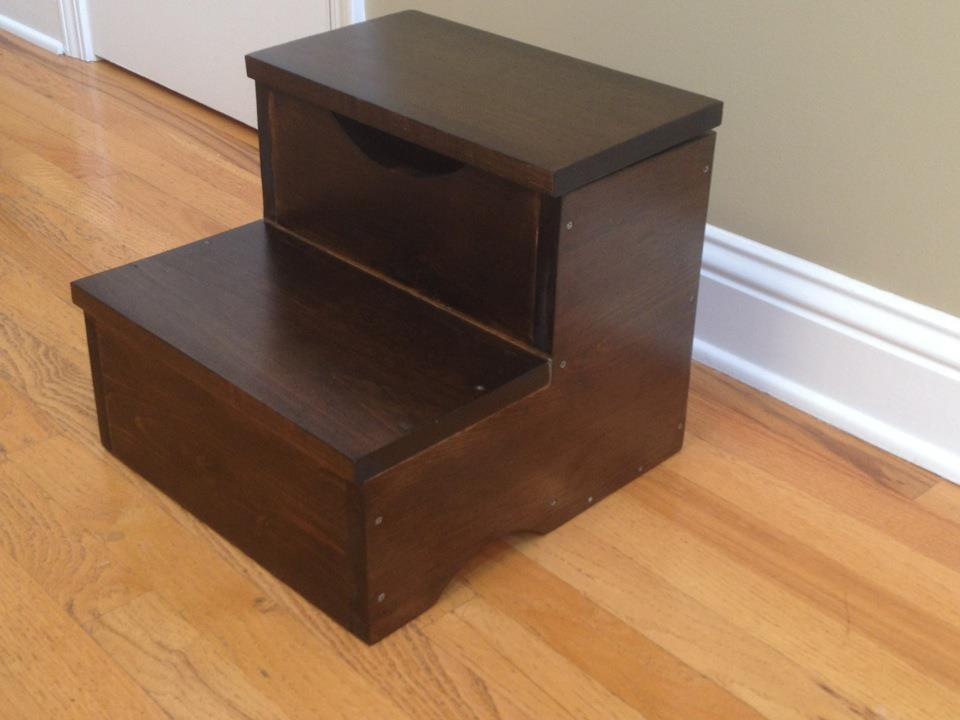
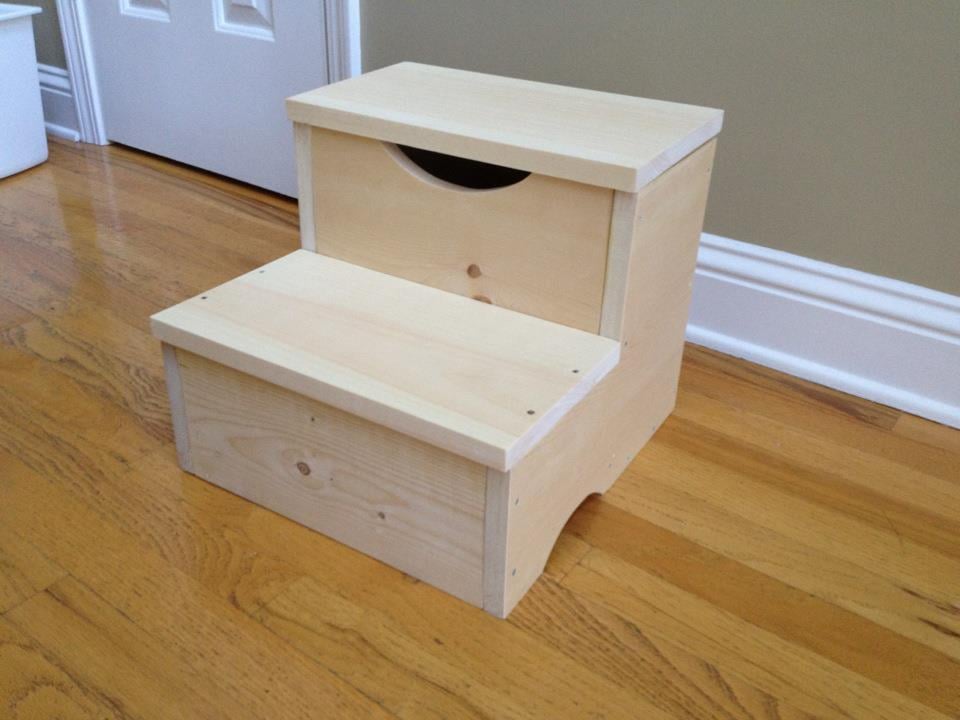
We moved my 3 year old son into his big boy room with a queen bed; it was a little tall for him so it was difficult for him to get in the bed so I set out to find a step stool. They were between $60-$80 and there was no way I was going to spend that kind of cash…..so that is how I found Ana’s site!
I built this with no problem and even got to know my jig saw a bit better.

Built from Plan(s)
Estimated Cost
$30
Estimated Time Investment
Afternoon Project (3-6 Hours)
Finish Used
Minwax - Jacobean, 2 coats
Minwax - Fast-Drying Polyurethane, 2 coats
Recommended Skill Level
Beginner

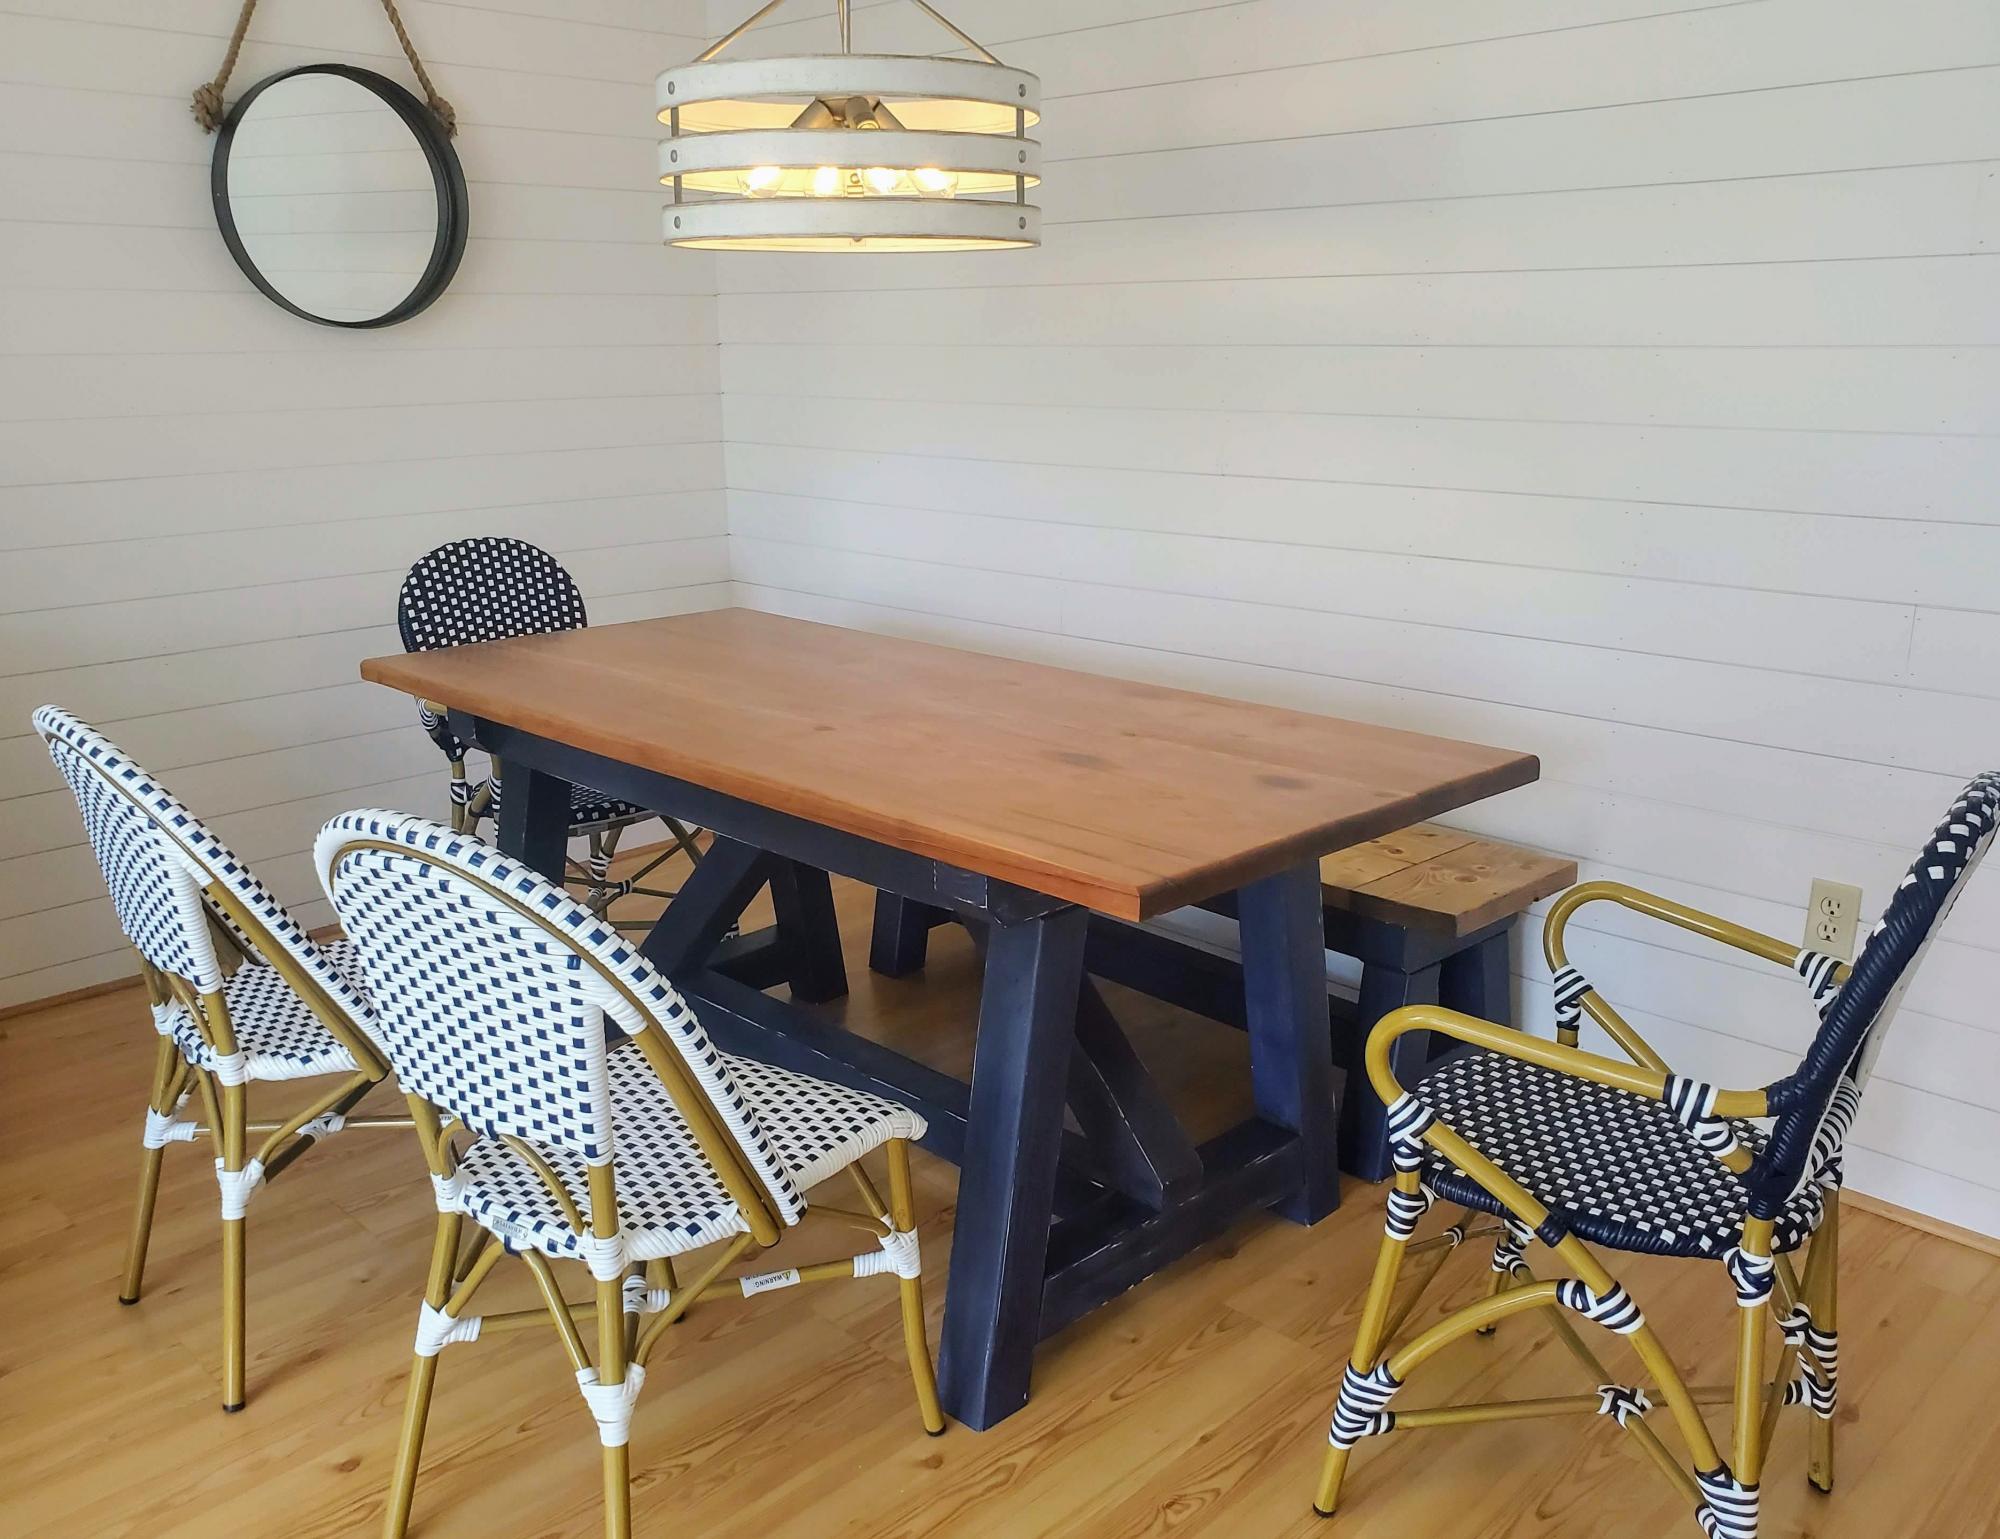
4x4 Truss Beam Table

Submitted by Anonymous (not verified) on Mon, 06/22/2020 - 14:44

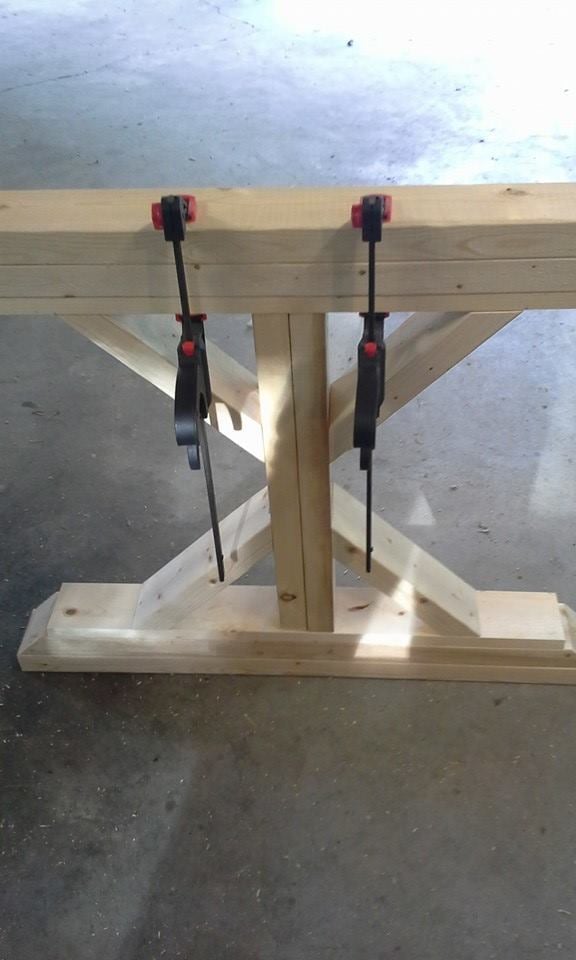
I followed this plan to create our new dining table and bench. I went with a distressed chalk paint for the base, and the top is made from 100 year old douglas fir barn rafters. They look great with our blue/white cafe chairs. Thanks for the great plan!

Estimated Cost
$400 (mostly from purchasing the reclaimed rafters)
Estimated Time Investment
Week Long Project (20 Hours or More)
Finish Used
Behr Chalk Paint and Dark Wax on Base, combination of Special Walnut and Oaked Grey stain on Top, matte poly
Recommended Skill Level
Intermediate

Farmhouse Table

Submitted by jwerne2 on Thu, 08/23/2012 - 09:37

We decided to build the Farmhouse Table after our 30 year old dining table began to crack and just wasn't working so well for our family of 5. This was our first project, so we made a lot of mistakes but also learned a lot. One of the hardest things was finding decent lumber that wasn't warped or split. We also made two Farmhouse Benches but they aren't included in this photo.
Estimated Time Investment
Weekend Project (10-20 Hours)
Finish Used
Minwax Special Walnut
Recommended Skill Level
Beginner

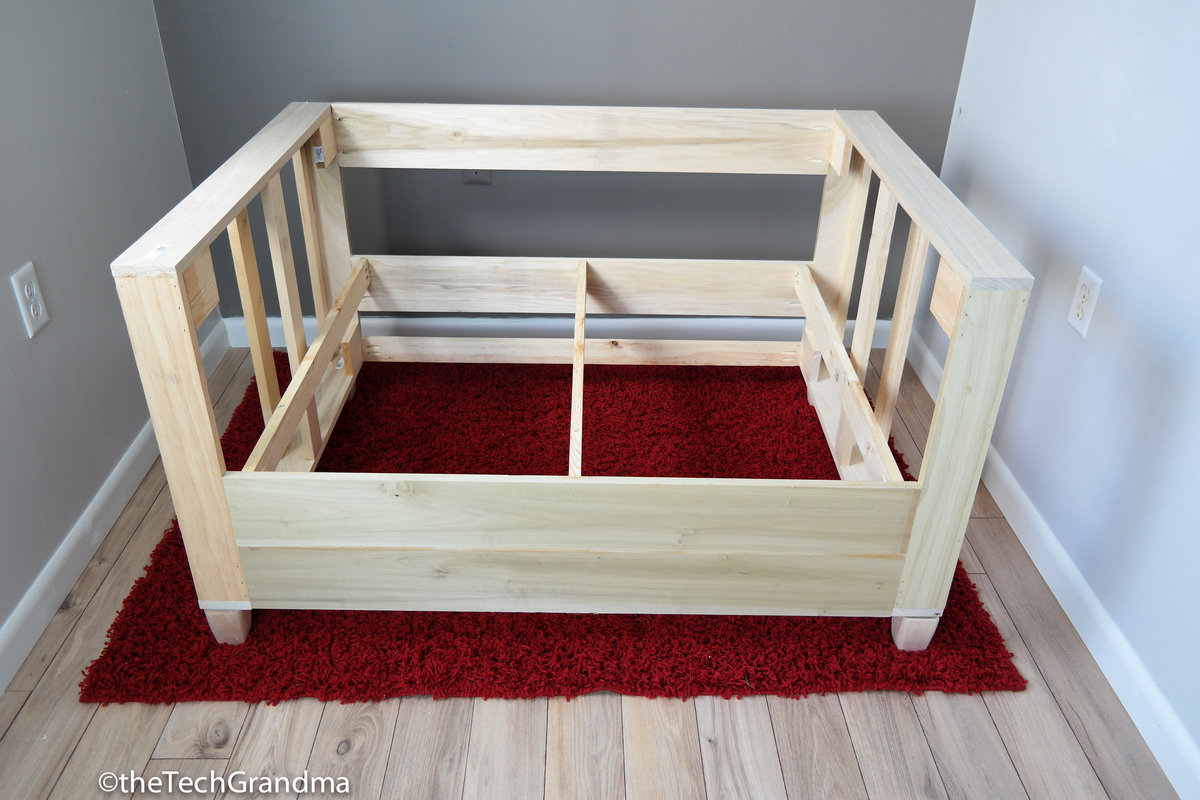
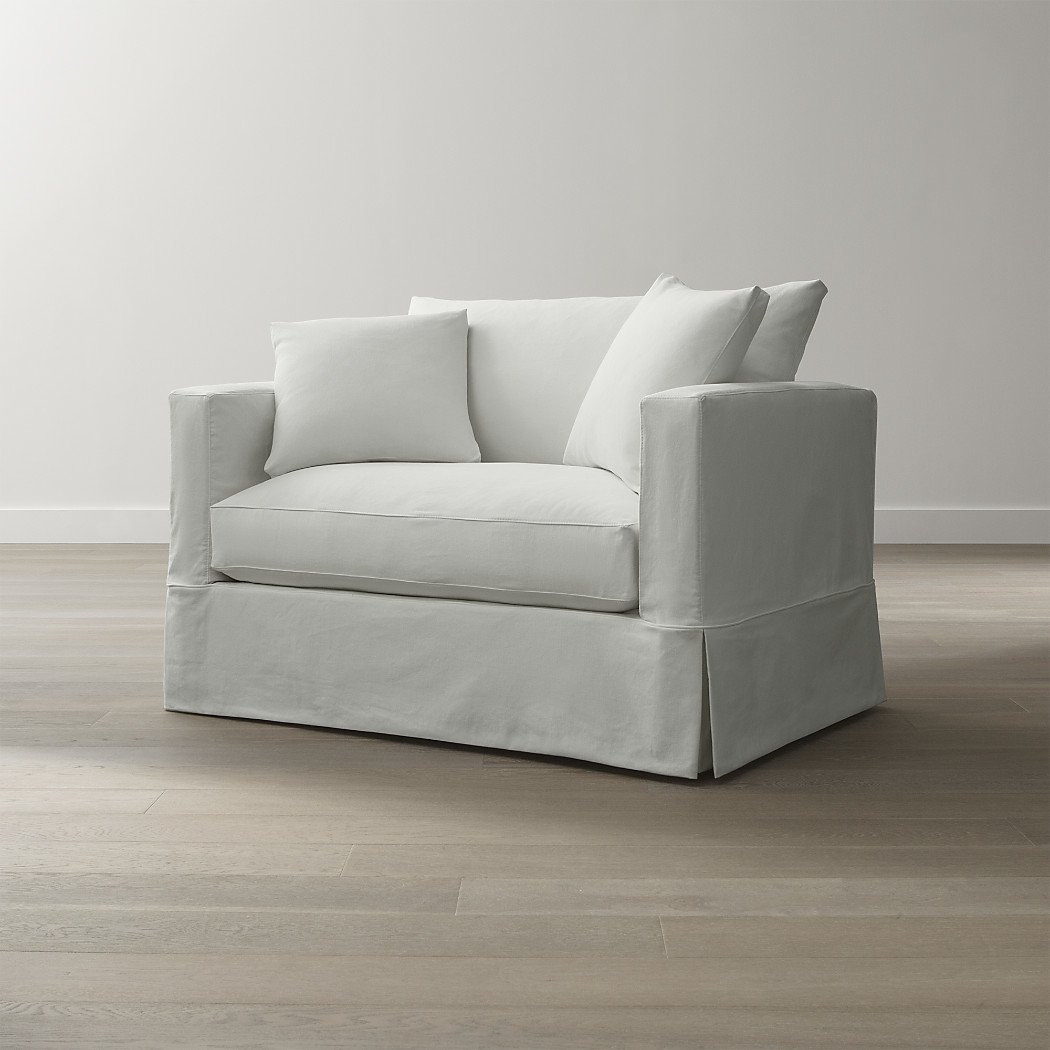
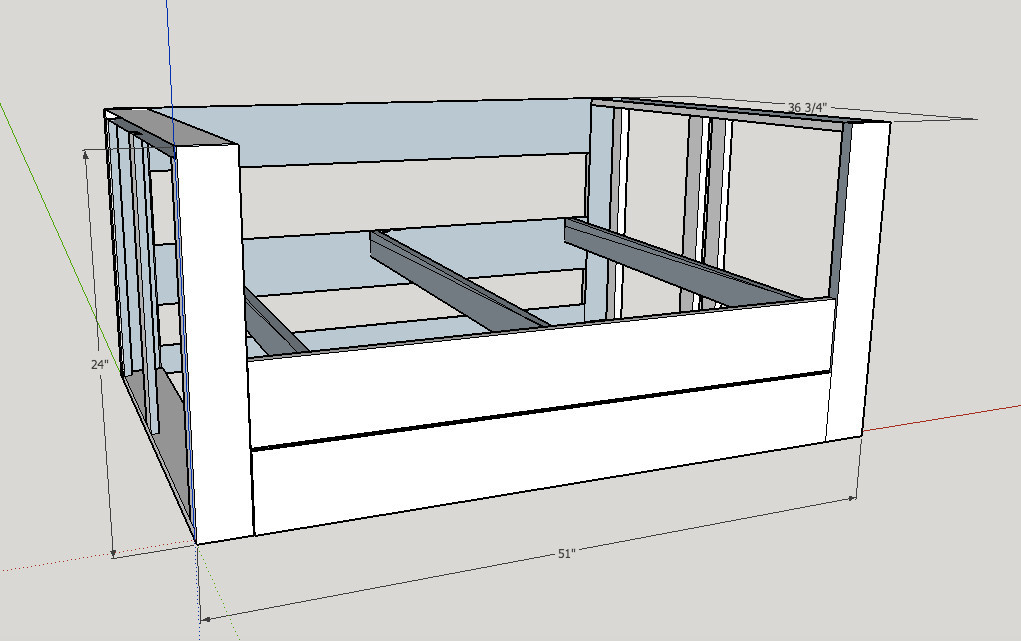
diy Oversized Chair

As I finished the basement, my thoughts turned to the upstairs furniture. We bought a sectional when we moved into our house 2 years ago from Art Van. We paid $2000 for it and it lasted about 3 years. We finally got rid of it after 5 years, but the frame was broke and the cushions were terrible!!


I looked around and couldn't find anything I thought was superior quality that didn't cost an arm and a leg. Quite frankly, this is expensive even to make but I'm up for the challenge.  

Estimated Cost
Frame cost was $120
Estimated Time Investment
Afternoon Project (3-6 Hours)
Recommended Skill Level
Intermediate

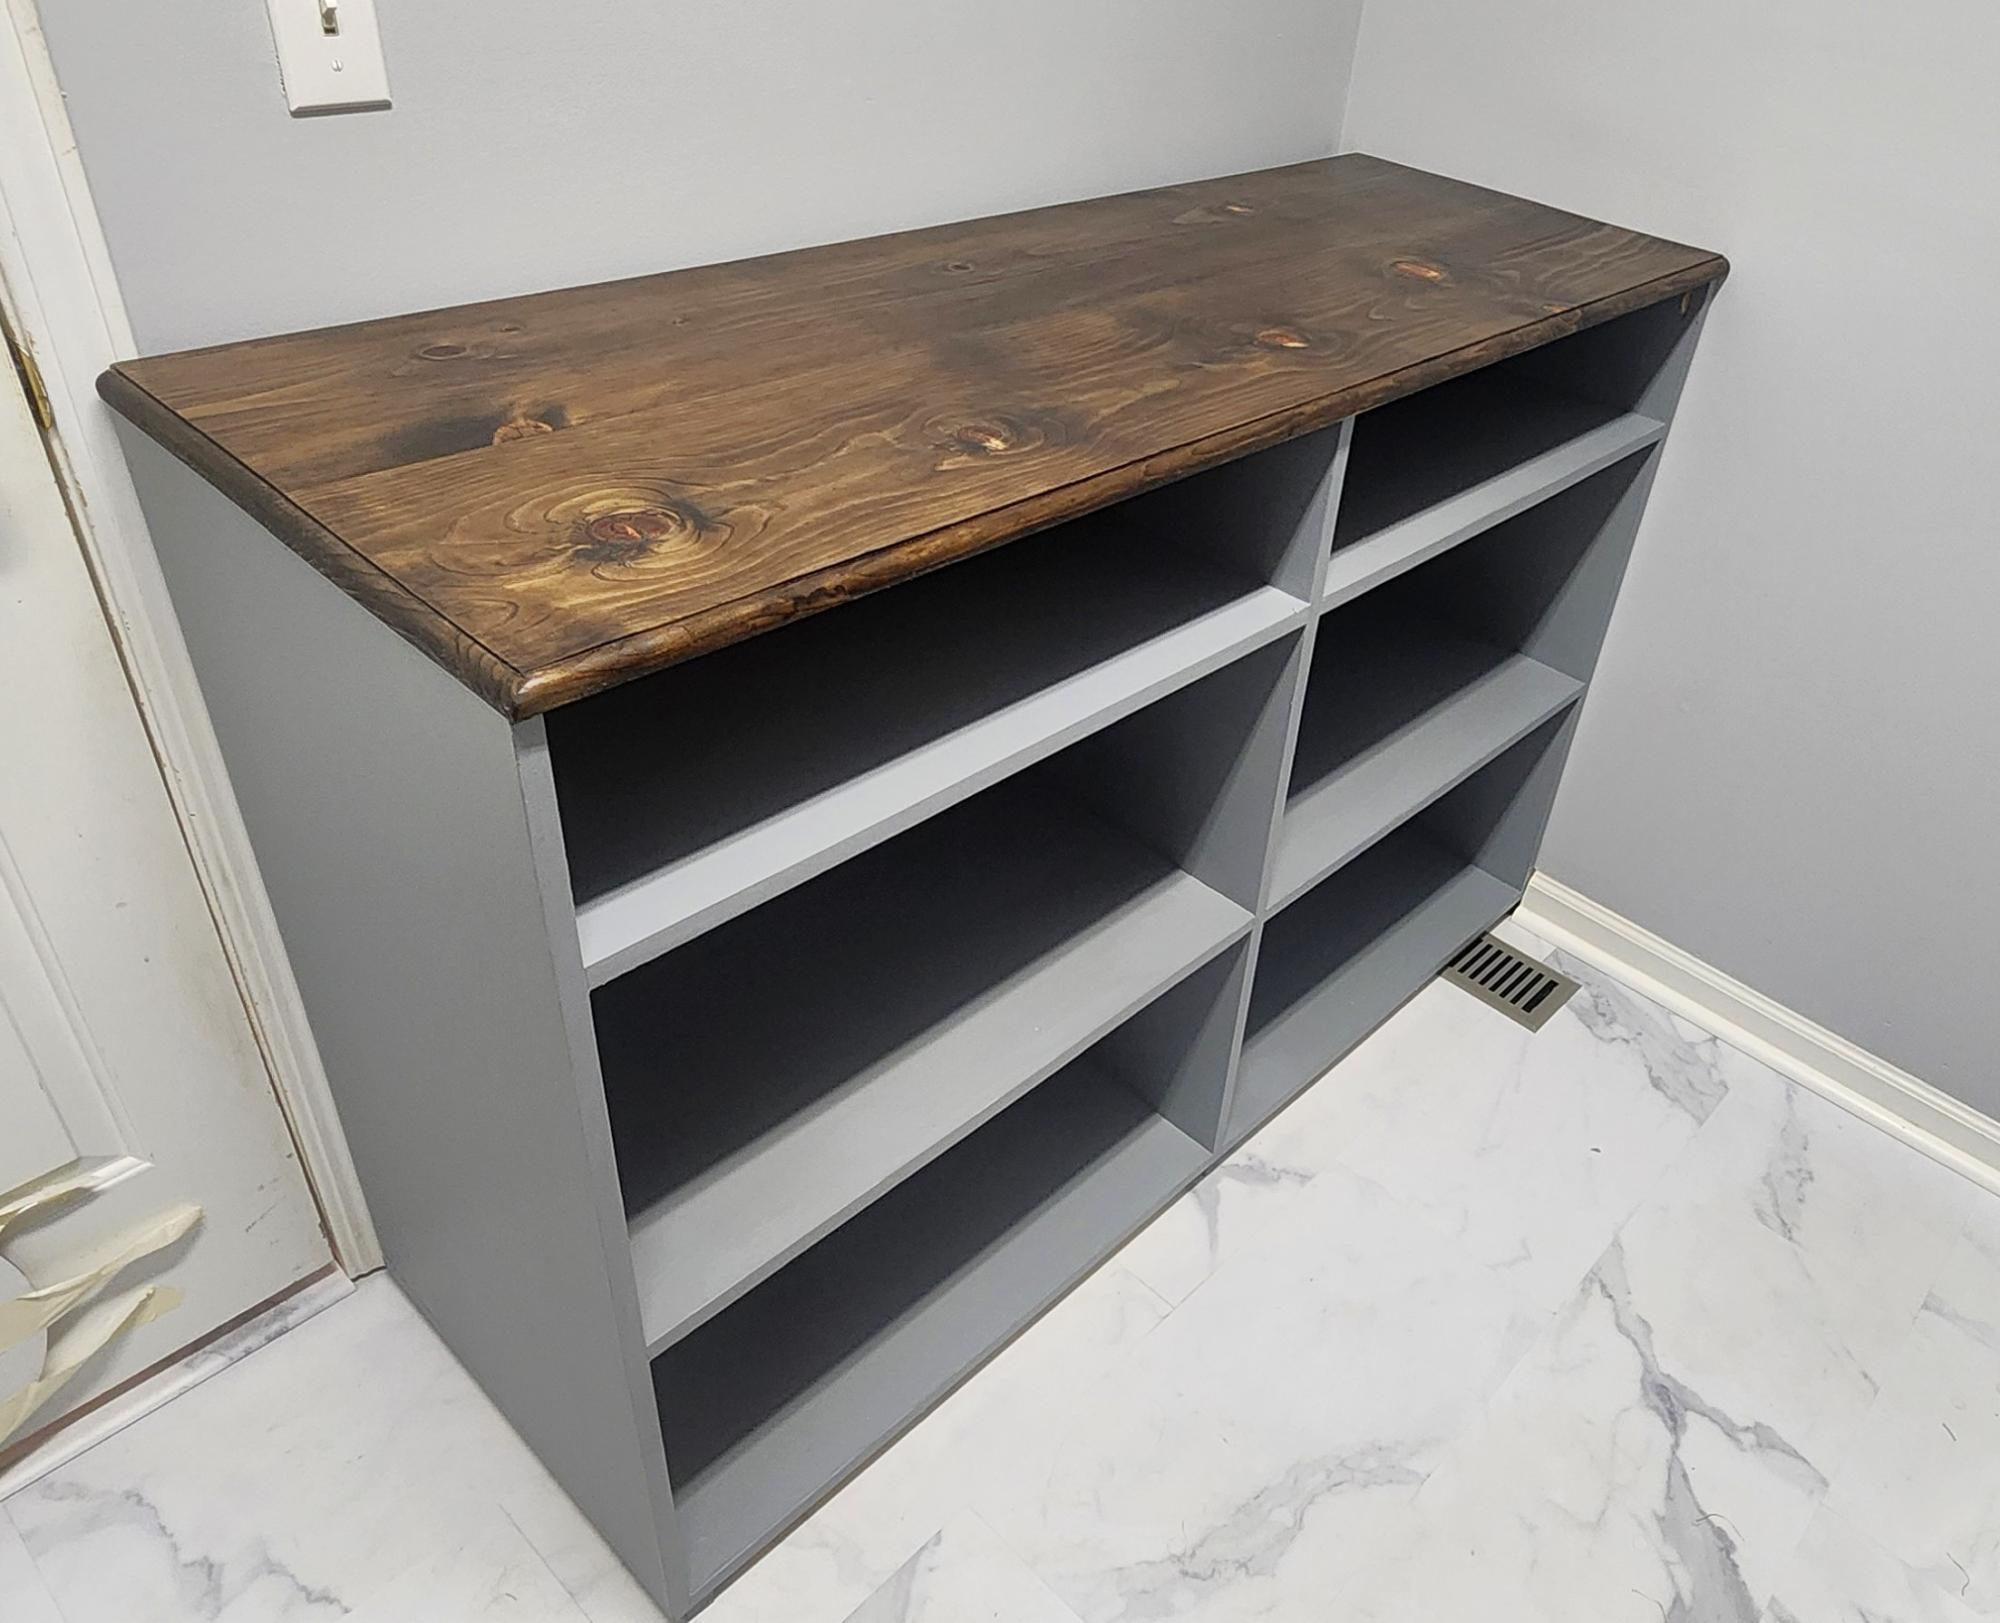
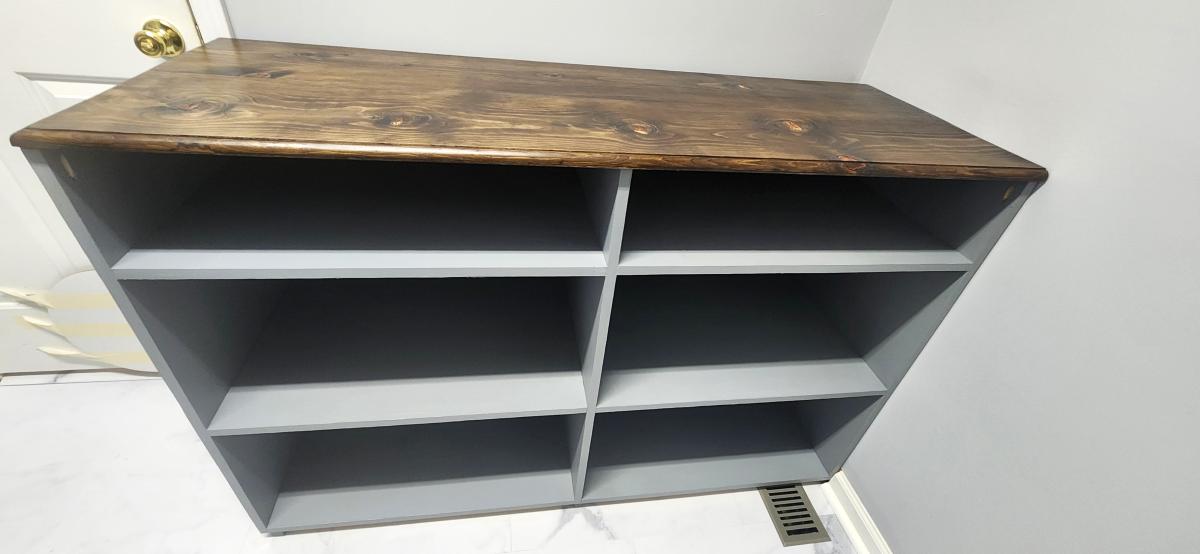
DIY Laundry Basket Organizer

Submitted by Anonymous (not verified) on Sun, 05/19/2024 - 10:58

This was a modification to an Ana White design and another brag.
Designed on sketchup. It holds 4 laundry baskets sideways. Because I wanted it to be counter height I have a 6 inch shelf.
3/4 reconditioned plywood for the base assembled using Kreg pocket screws.
The top is a low cost pine 11.5 wide.
I jointed them using a 14 inch hand plane. First time for that. Cut the top to 22 inches wide.
Prestain conditioner. Minwax dark walnut stain and 6 coats of minwax poly wipe on.
Attached using Kreg screws.

Randy Eby

Built from Plan(s)

Fancy X Farmhouse Table

Submitted by disneynut on Tue, 07/22/2014 - 11:04

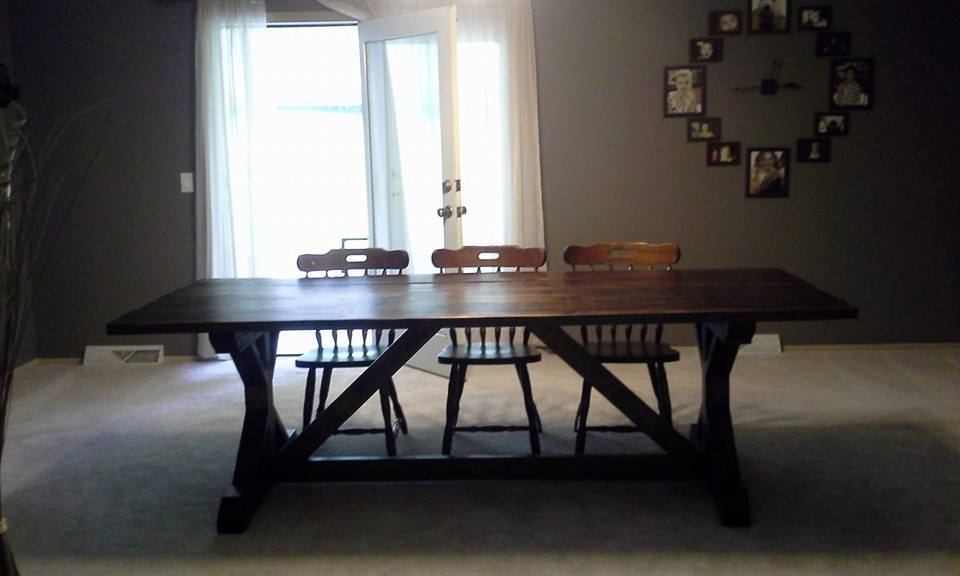
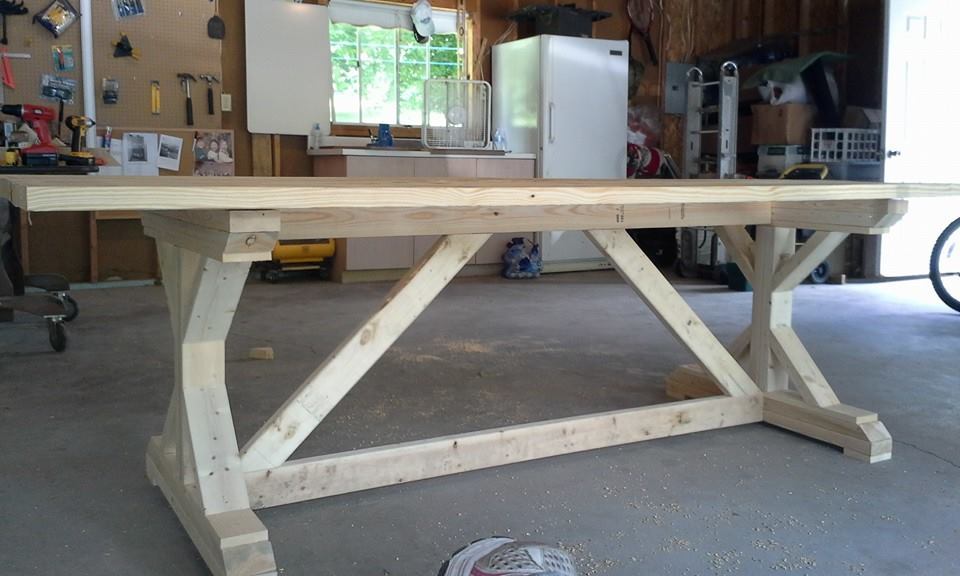
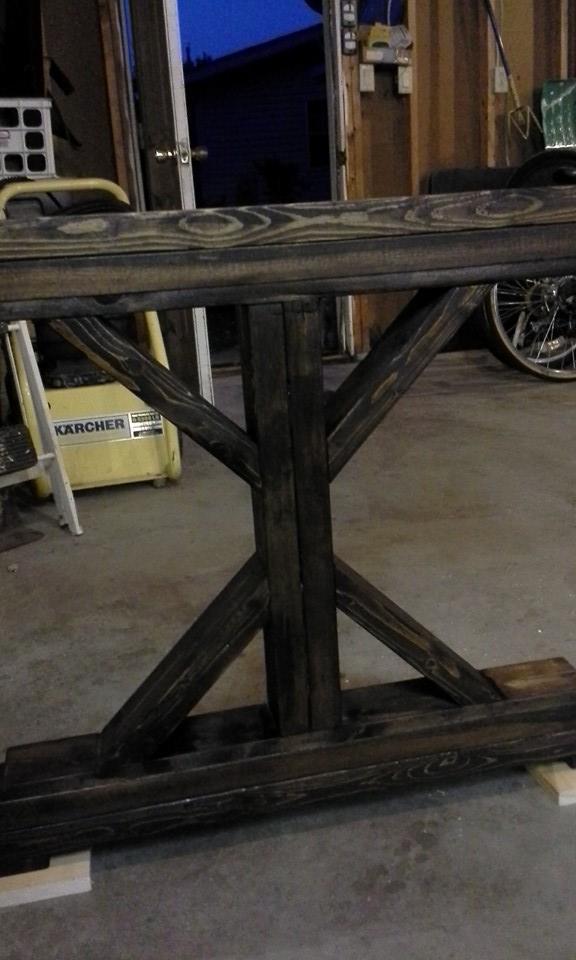
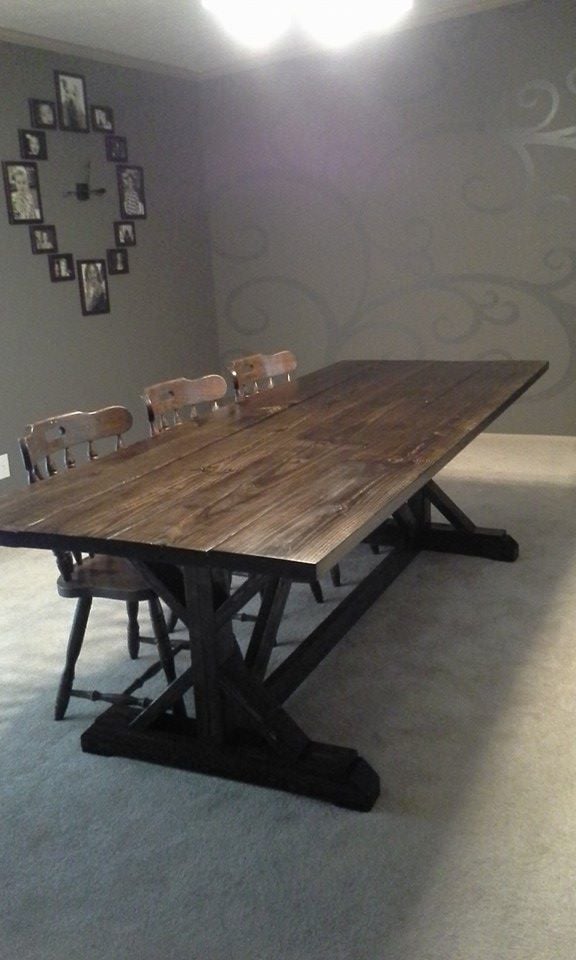
This was not my first build, but it was the first time I have done miter cuts. It was an easy to follow plan. The hardest part was trying to decide on the stain color! I am thrilled with the way it turned out. This table will easily seat 10 people which will be perfect for parties and dinners.

Built from Plan(s)
Estimated Cost
About $100 (including wood, sandpaper, stain, poly)
Estimated Time Investment
Week Long Project (20 Hours or More)
Finish Used
Minwax Jacobean and Helmsman Spar in satin finish
Recommended Skill Level
Beginner

Rustic x coffee table and rustic x console table

Submitted by Anonymous (not verified) on Fri, 07/24/2020 - 10:31

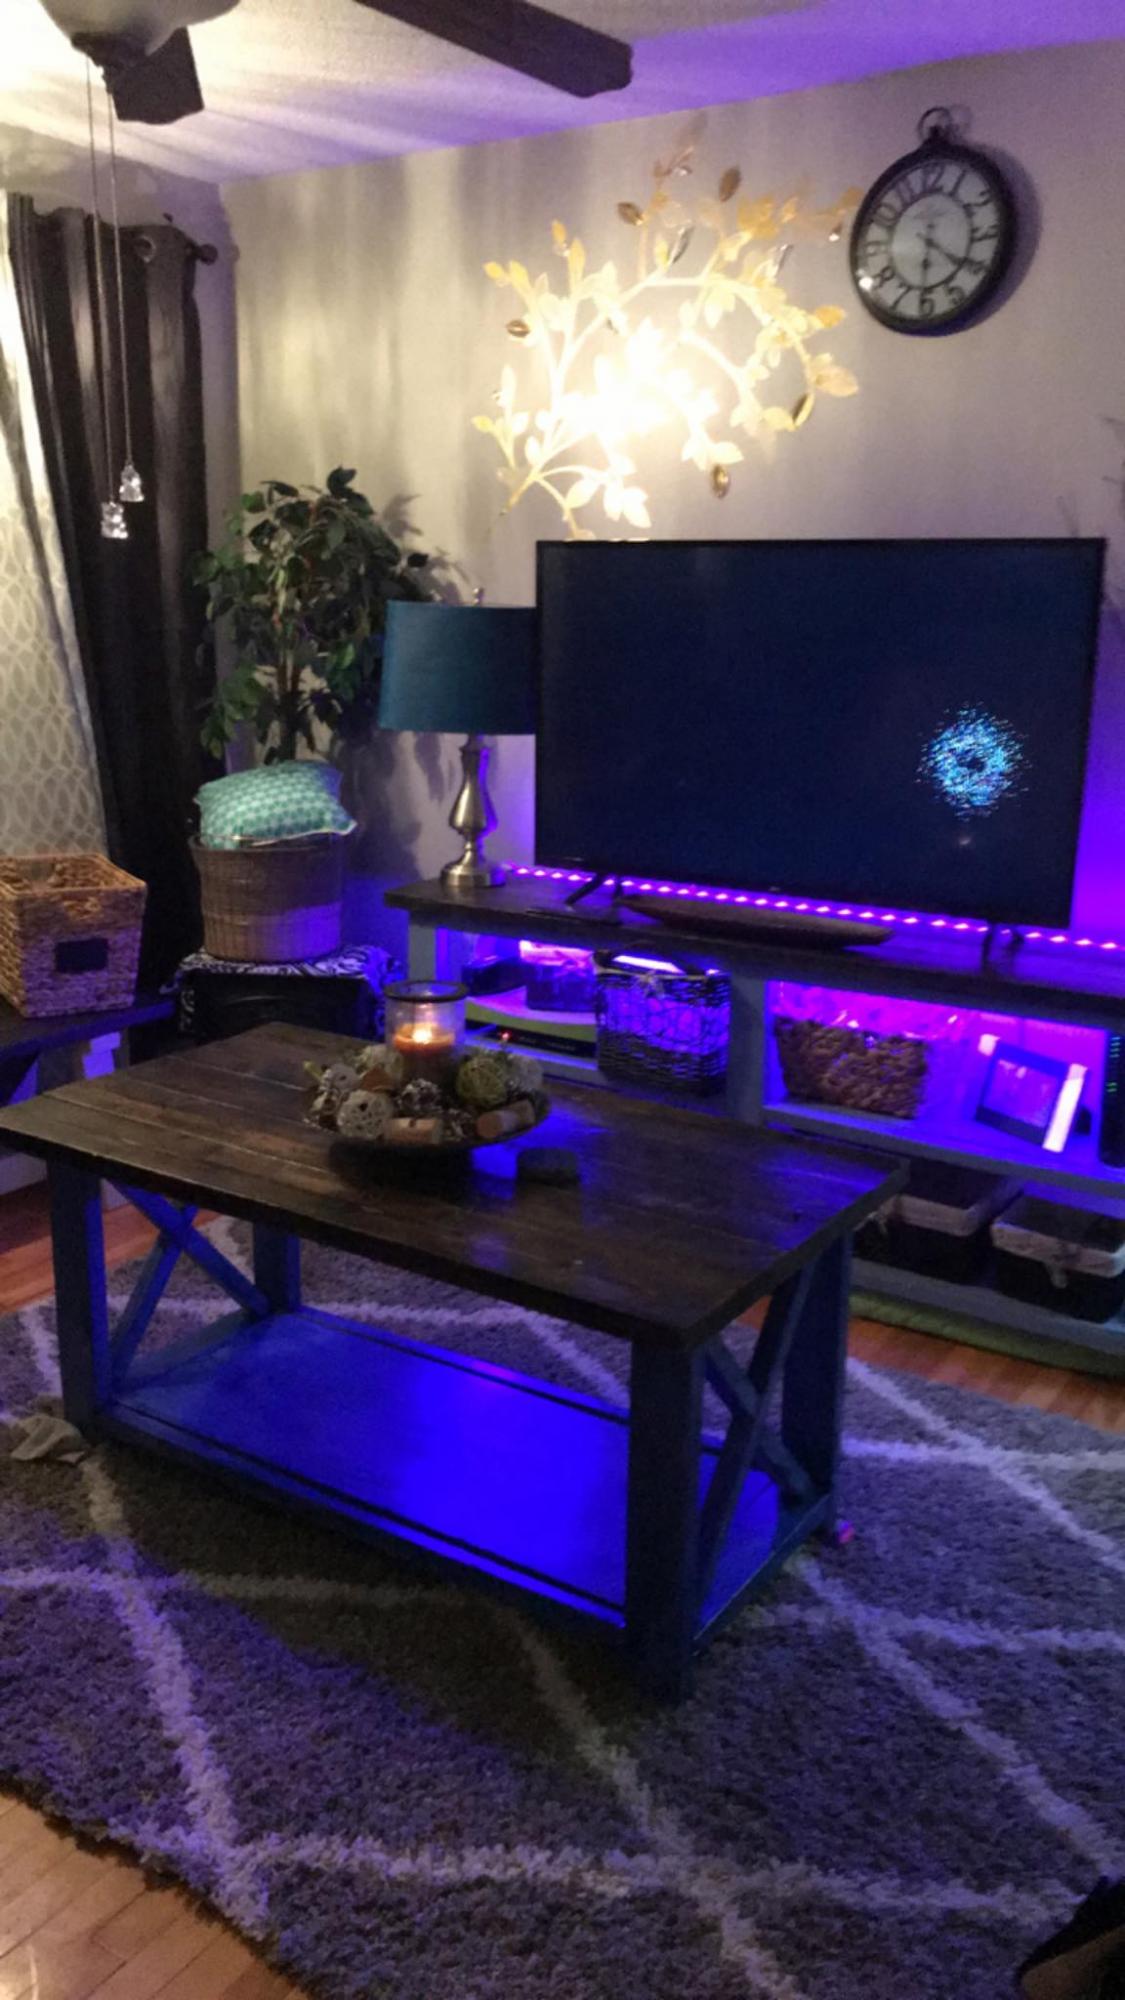
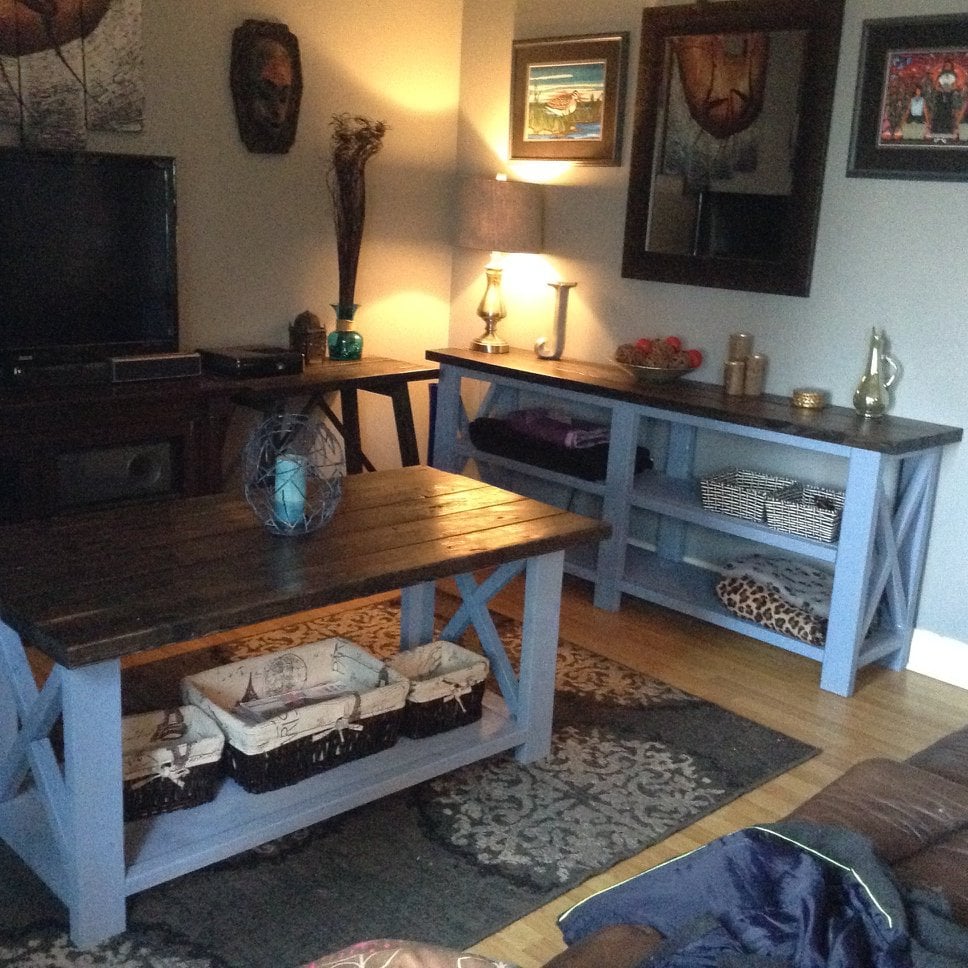
Made exactly as according to Ana Whites plans. Easy to build and very pretty once completed

Estimated Cost
180
Estimated Time Investment
Weekend Project (10-20 Hours)
Finish Used
Espresso with varathane and lacquer on top and base is a light blue stain
Recommended Skill Level
Beginner

Farmhouse Kitchen Table

Submitted by Anonymous (not verified) on Tue, 11/22/2016 - 18:28

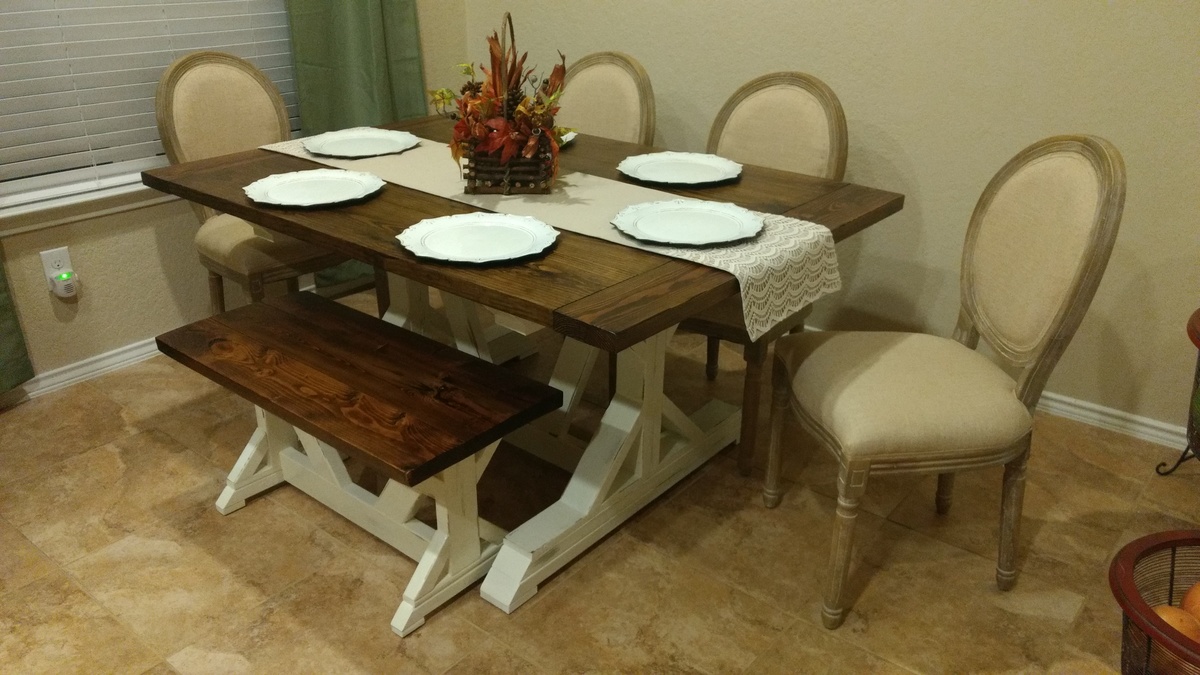
This Farmhouse table and bench were made, stained, and painted over the course of two weekends. This makes a great project for a beginner woodworker to cut their teeth on.  You can make something fantastic while learning various woodworking techniques (i.e. joinery, planing, sanding, and staining). The chairs were purchased separately at the At Home store for $150 each. 

Estimated Cost
$150
Estimated Time Investment
Weekend Project (10-20 Hours)
Finish Used
Special walnut stain and 3 coats of satin clearcoat on top. The legs are stained, then painted with spun cotton paint (behr), then scuffed for a Farmhouse look, and finally sealed with 2 coats of satin clearcoat.
Recommended Skill Level
Beginner

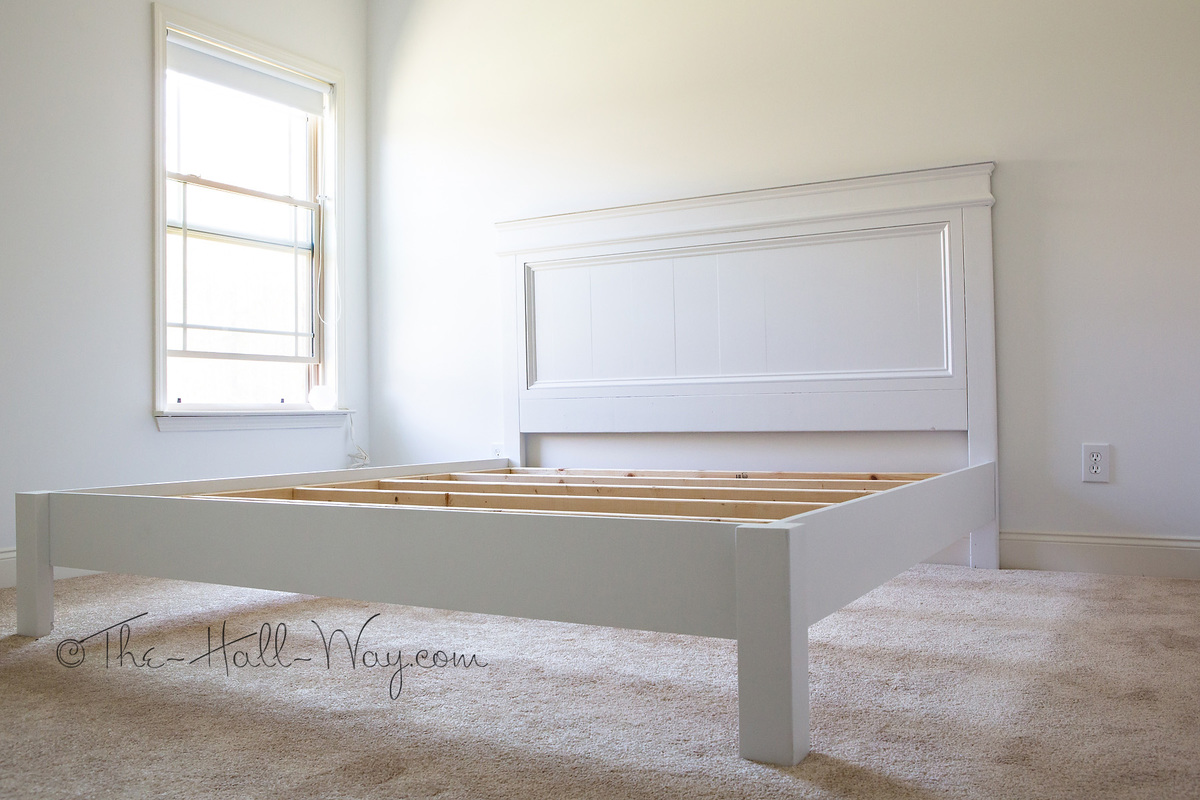
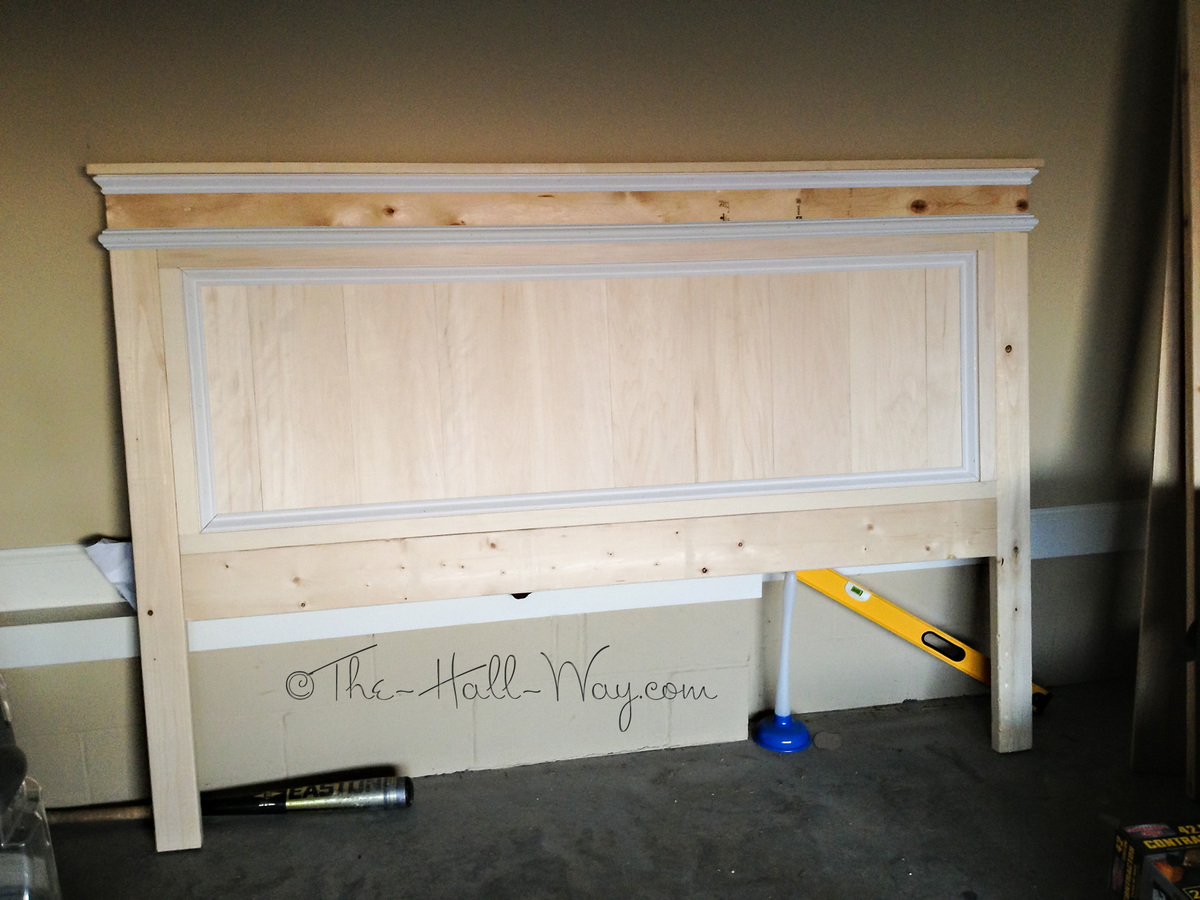
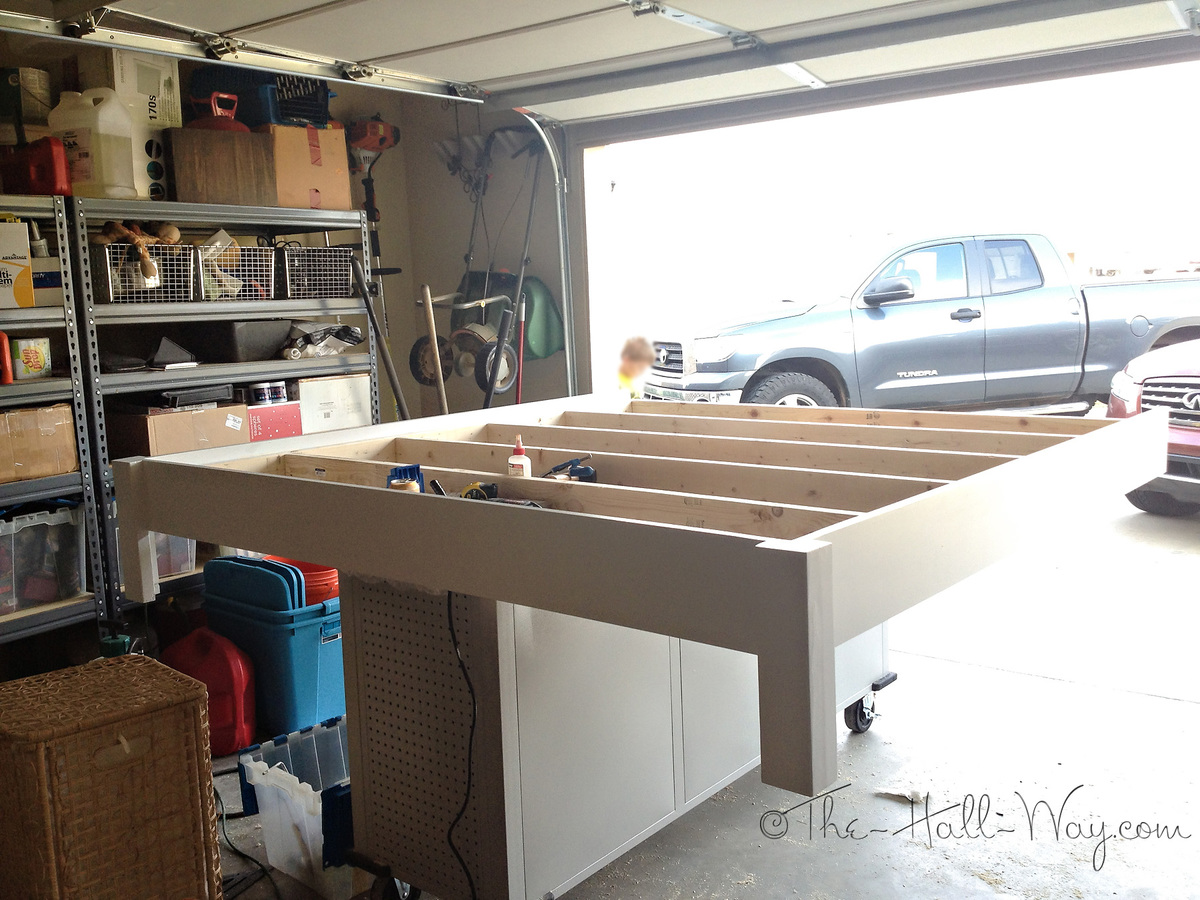
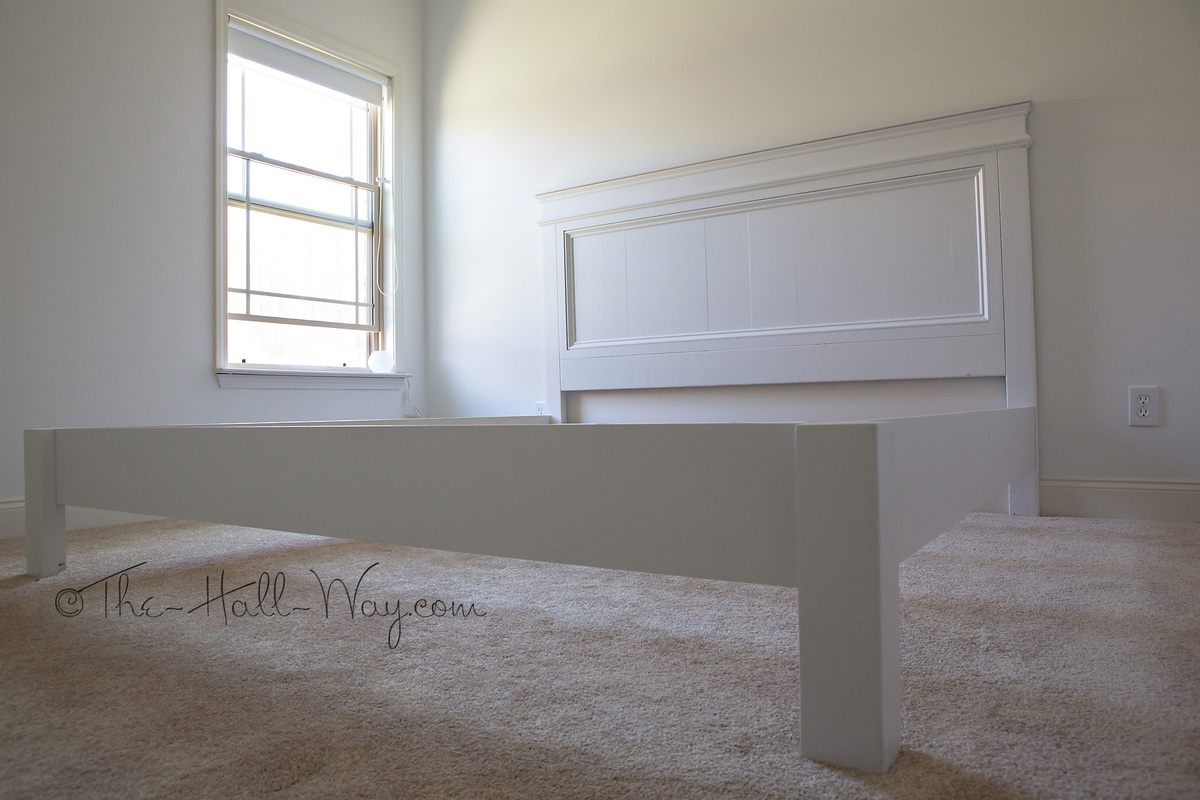
My Mom's King Fancy Farmhouse Bed

Submitted by thehallway on Fri, 10/26/2012 - 08:28

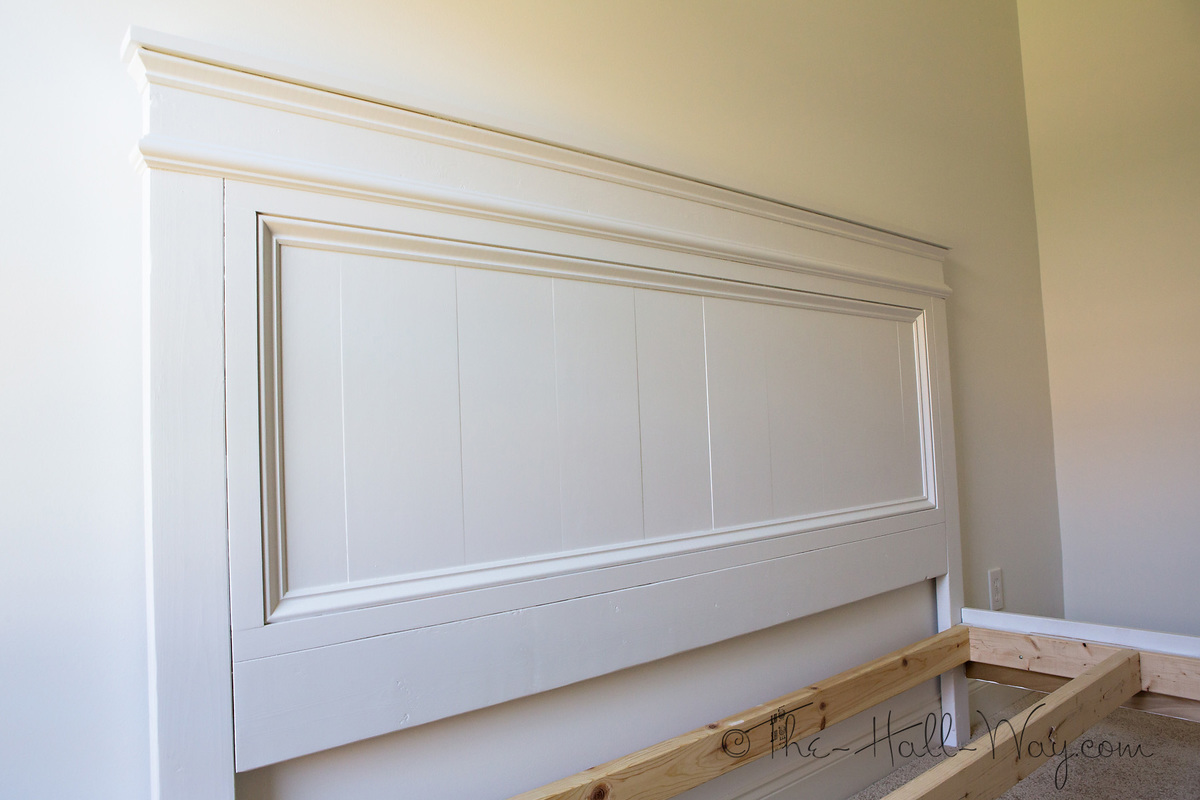
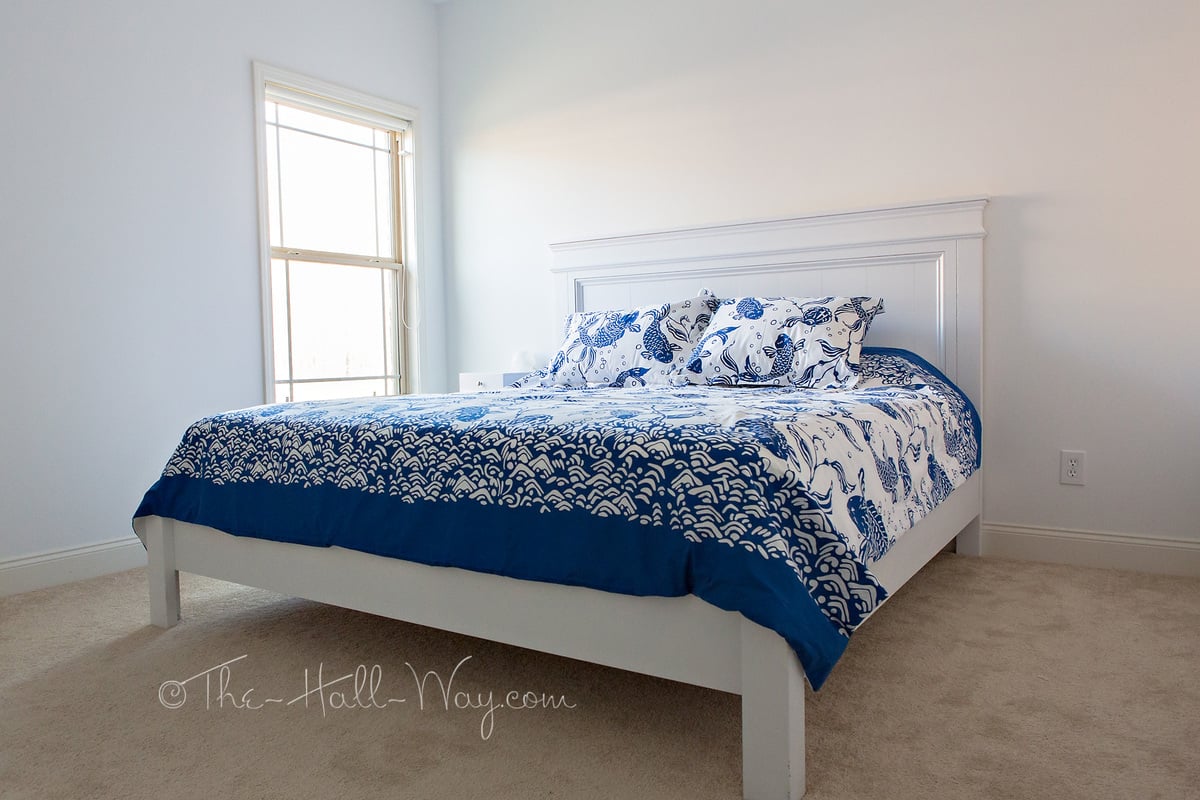
I built this bed for my parent's guest room at my sister's house. It is very similar to a bed mom had been wanting. They wanted a king size so I had to do some modifications to the original plan - primarily adding 16" to all width measurements. I also used 10 - 1x8s for the headboard panels. That made the panels slightly too wide, so I had to rip a little bit off the 2 end panels.

The hardest part of the project was getting it in her house! The legs made it about 1/4" too wide to fit it thru the door. We were about to remove the legs (which would have been a disaster since they were glued, screwed and painted on) when we finally figured out the right angle to squeeze it in. I had to touch up the paint in a few spots once we got it in position, but that was much better than having to remove legs and put them back on. We still need to get plywood for the mattress to sit on and I'm going to add a middle leg for extra support since it's a king. I will probably eventually build nightstands to go with it. Overall, I'm pretty happy with how it turned out since this is my largest and "fanciest" project so far.

Estimated Cost
~$250
Estimated Time Investment
Weekend Project (10-20 Hours)
Finish Used
Valspar Satin Latex Enamel in White
Recommended Skill Level
Intermediate

Comments

bran2511

Tue, 04/09/2013 - 12:41

I really love this bed, however, being military we move quite often. Is there a way that you would recommend I could alter it so that it can be broken down a little to make it easier for moving? Thank you much :D

bran2511

Tue, 04/09/2013 - 12:41

I really love this bed, however, being military we move quite often. Is there a way that you would recommend I could alter it so that it can be broken down a little to make it easier for moving? Thank you much :D

jlouki01

Sat, 08/24/2013 - 18:31

I just posted a brag post with this bed in black. I will see if I can upload a photo of how I built this bed for very easy break down. I looked at all the brackets etc.. with this being built out of pine I was not 100% confident in the Rockler / Wood craft brackets. I used a forstner bit and a 4.5" bolt with some washers.

Adding a hutch to a desk

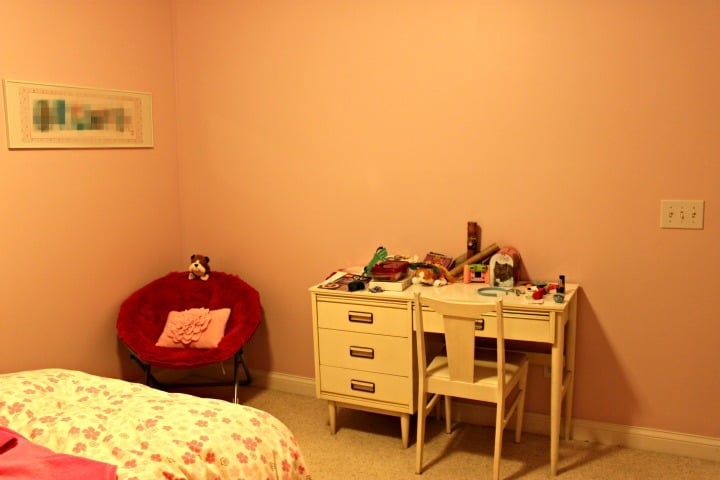
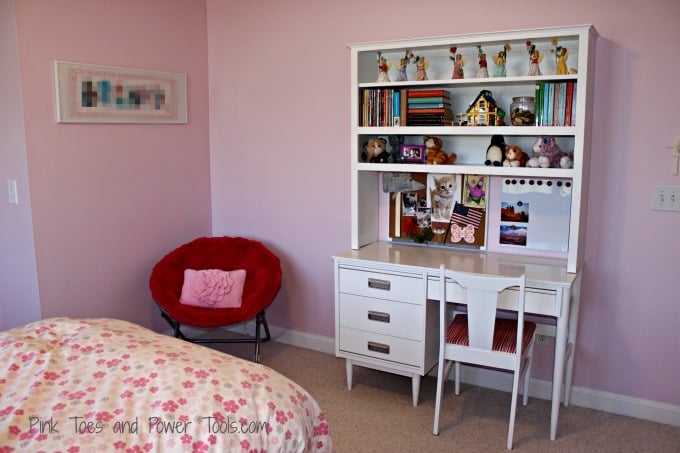
Submitted by kristen on Thu, 11/29/2012 - 17:05

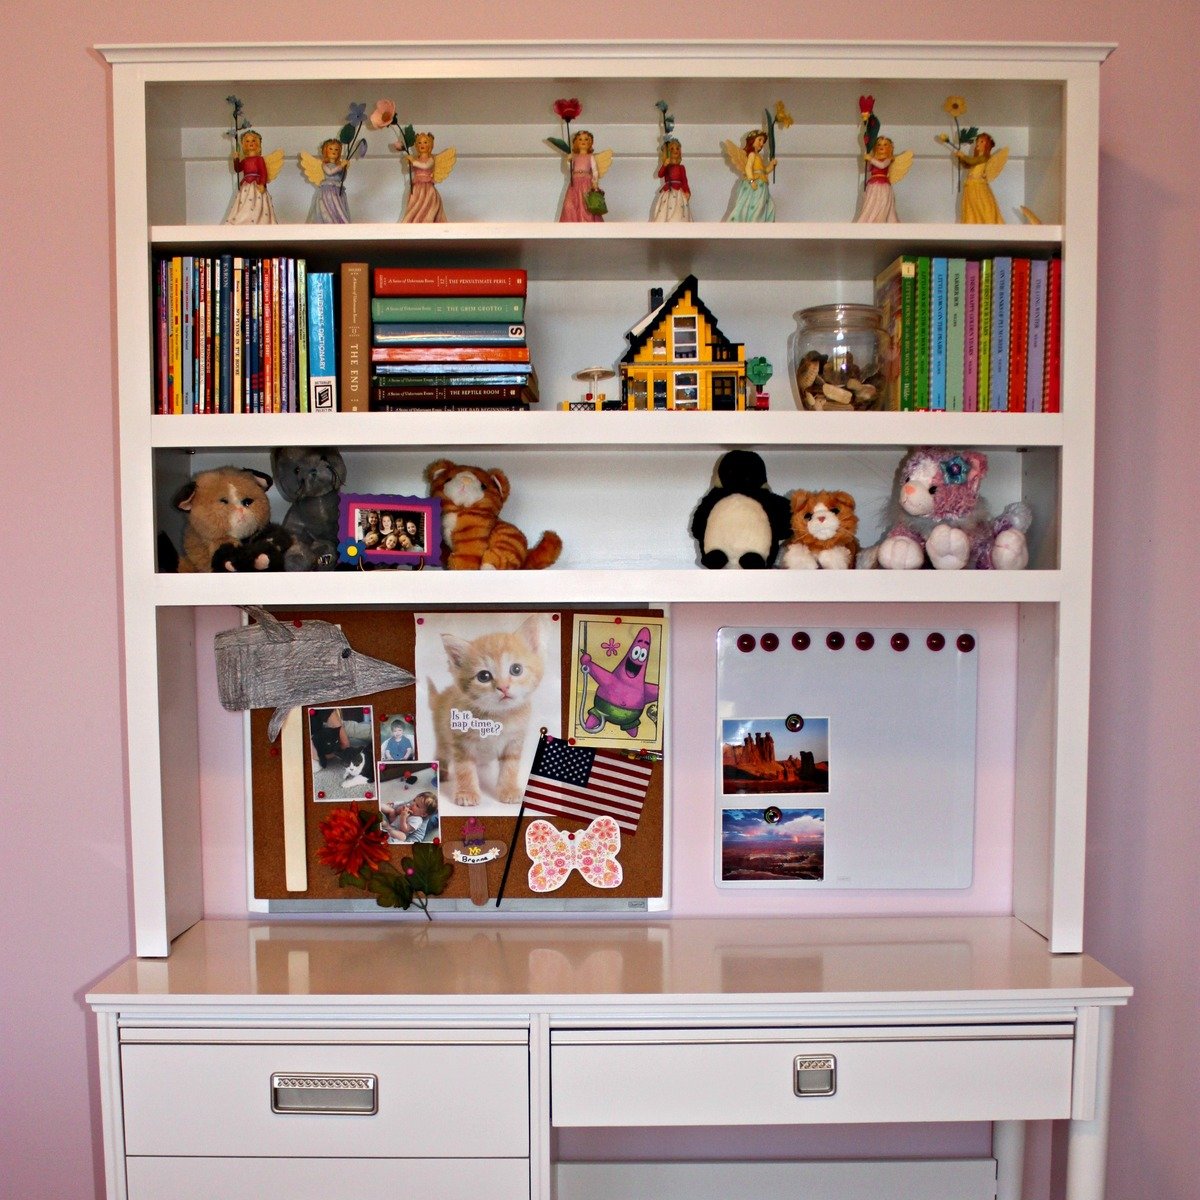
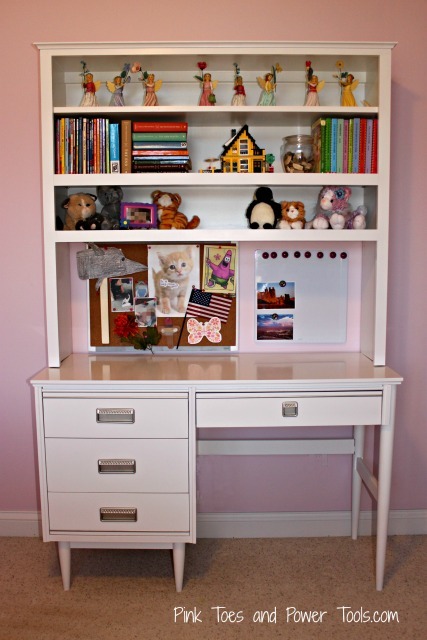
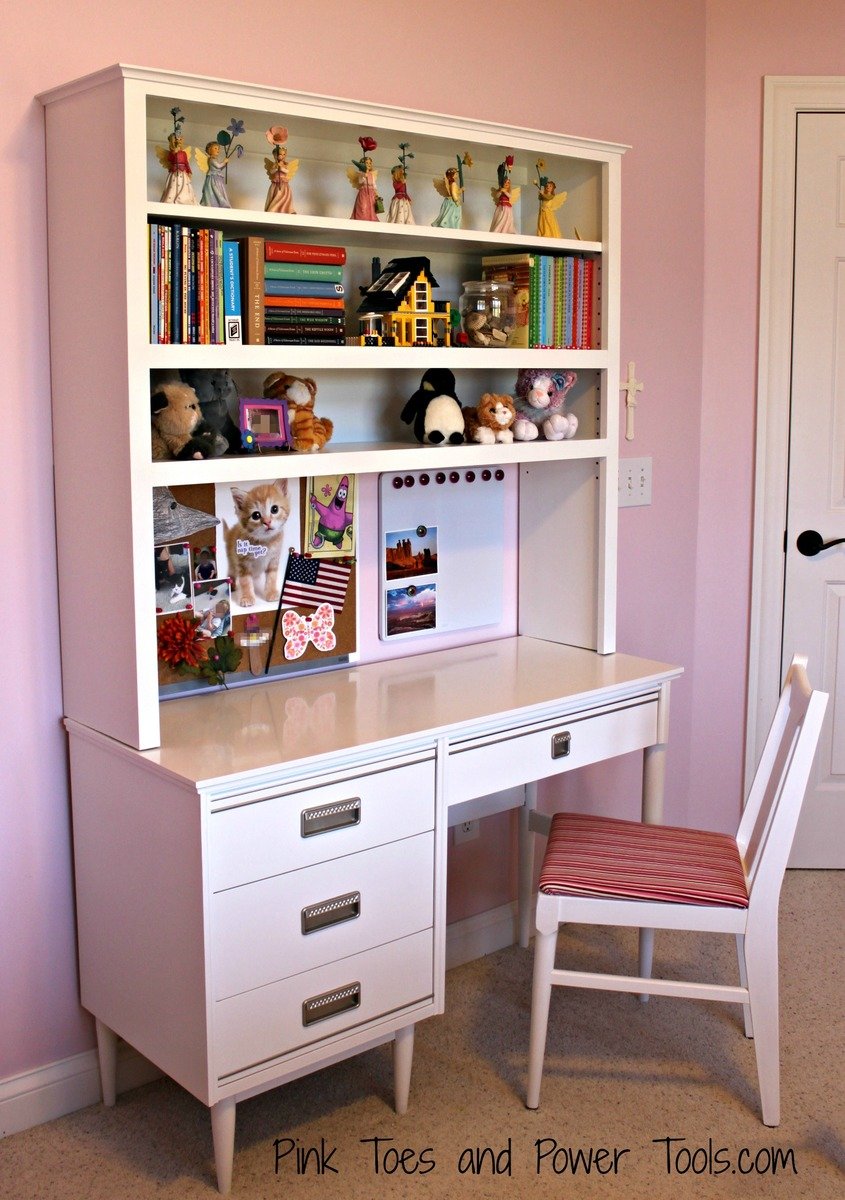
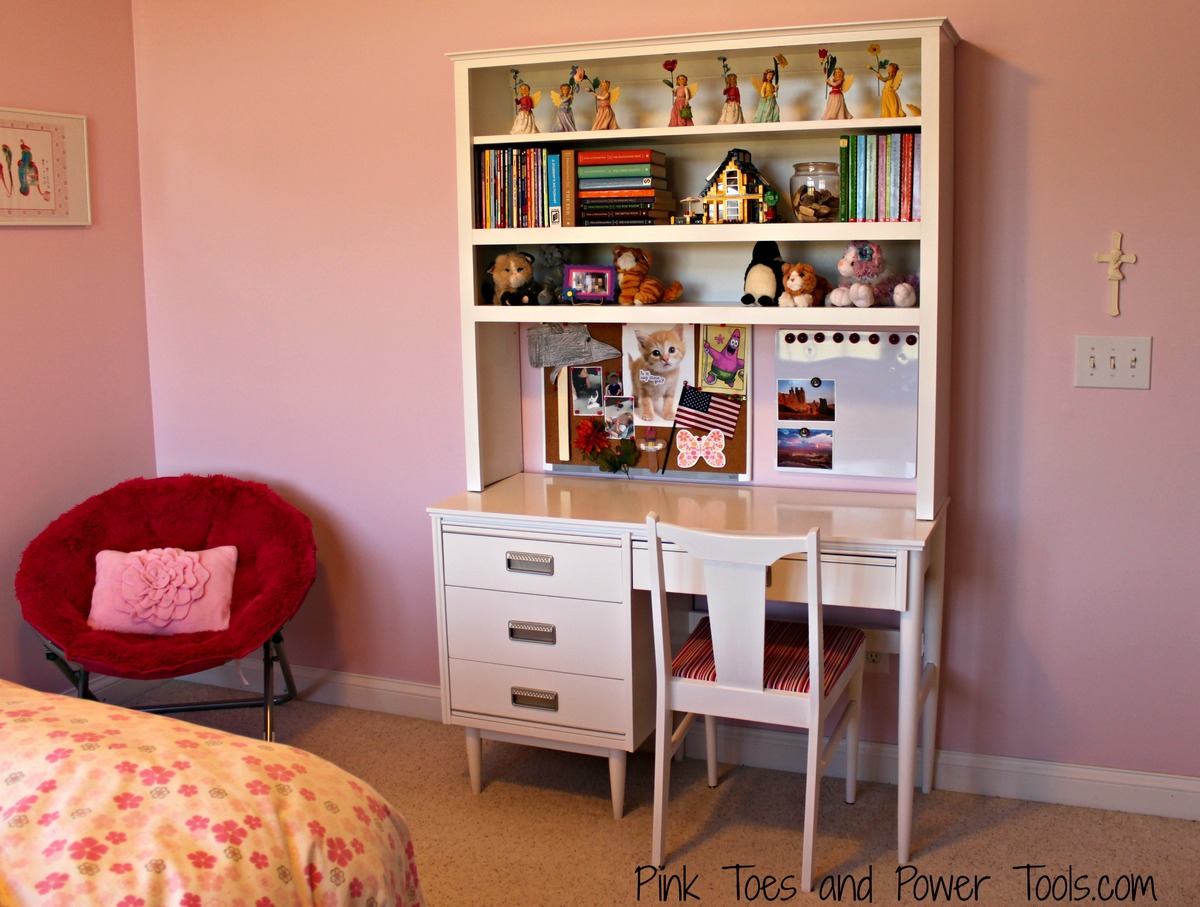
I bought a desk and chair for my daughter on Craigslist awhile back, but it did not include a hutch. I decided to add one and recently completed it...in addition to painting the desk a fresh white and then repairing the chair, painting it, and recovering the seat!

The hutch build was pretty straight forward and I used a Kreg Jig to assemble most of it. I built it to sit on the desk (not attached) but I included a cleat at the top to screw a couple of 3" screws into the wall studs to keep it in its place. It's nice and sturdy. I plan to add some puck lights under the bottom shelf soon.

The Lego house isn't quite up to Momplex standards :)

Estimated Cost
Around $75--with lots of extra for building other things
Estimated Time Investment
Afternoon Project (3-6 Hours)
Finish Used
Two coats primer and one coat of white semi-gloss paint.
Recommended Skill Level
Beginner

Large Covered Sand Box with Seats

Submitted by Anonymous (not verified) on Sun, 11/10/2024 - 20:03

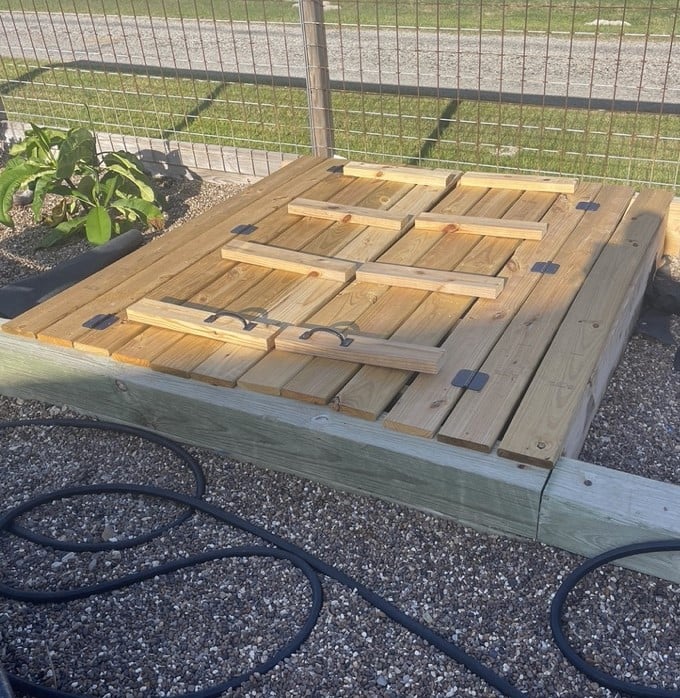
Followed the plans for the sandbox for my granddaughter. She absolutely loves it and so do I since I have a seat I can sit at! I did enlarge it a little so added some supports. It works so great. - Sandy

Built from Plan(s)
Back