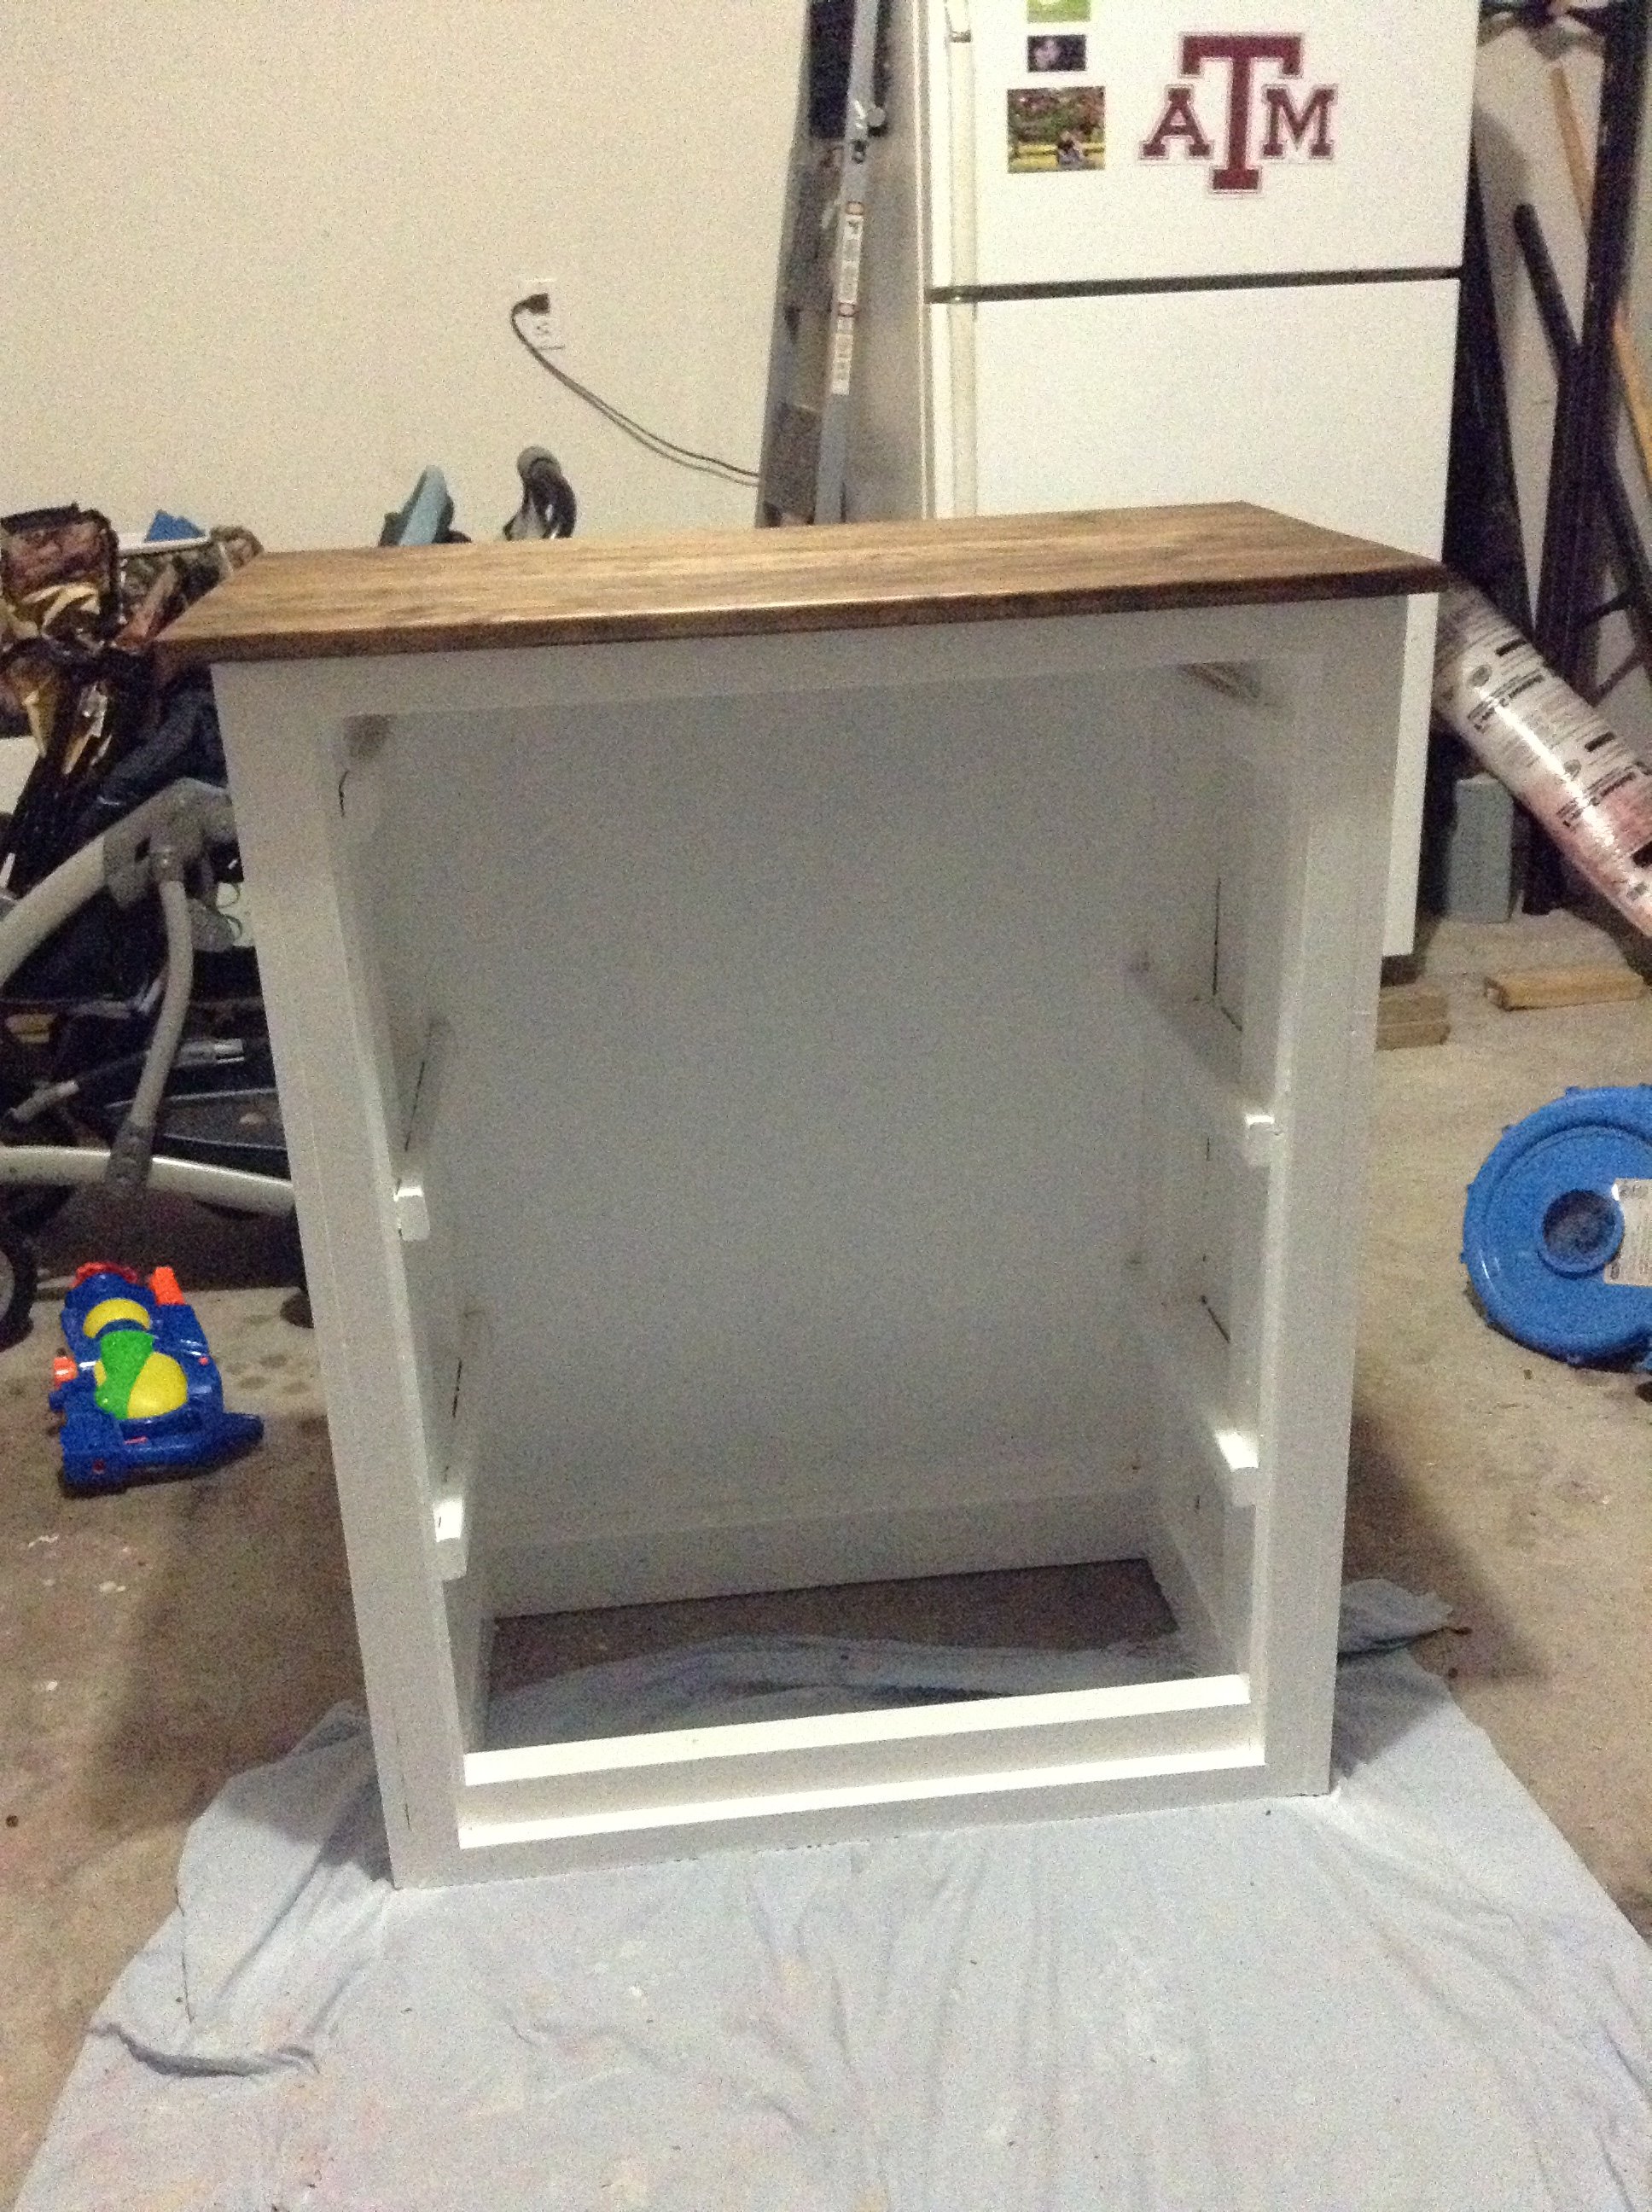
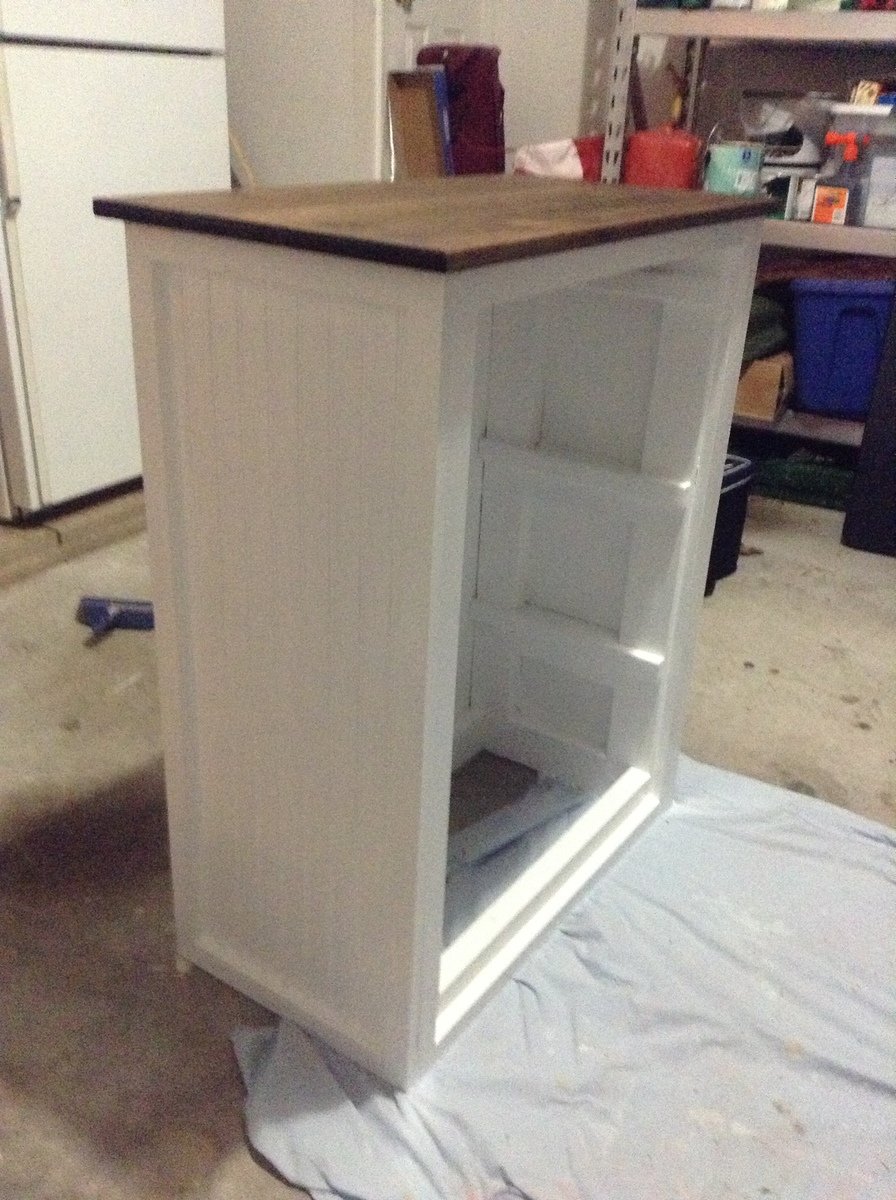
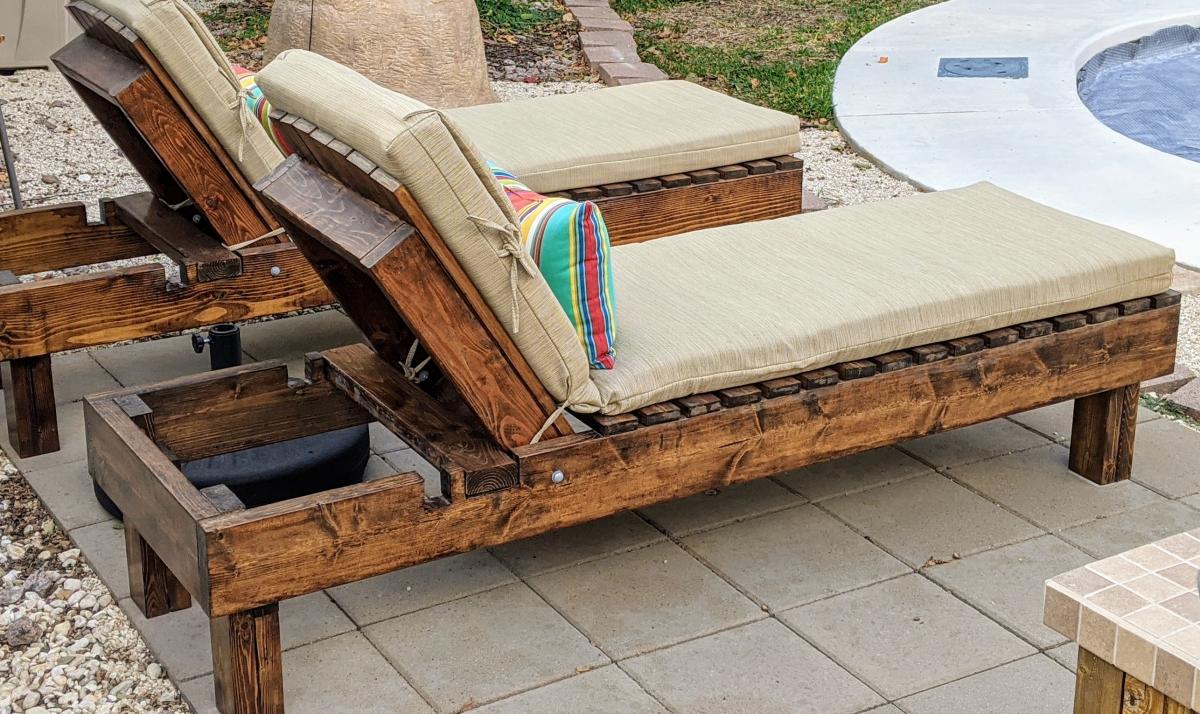
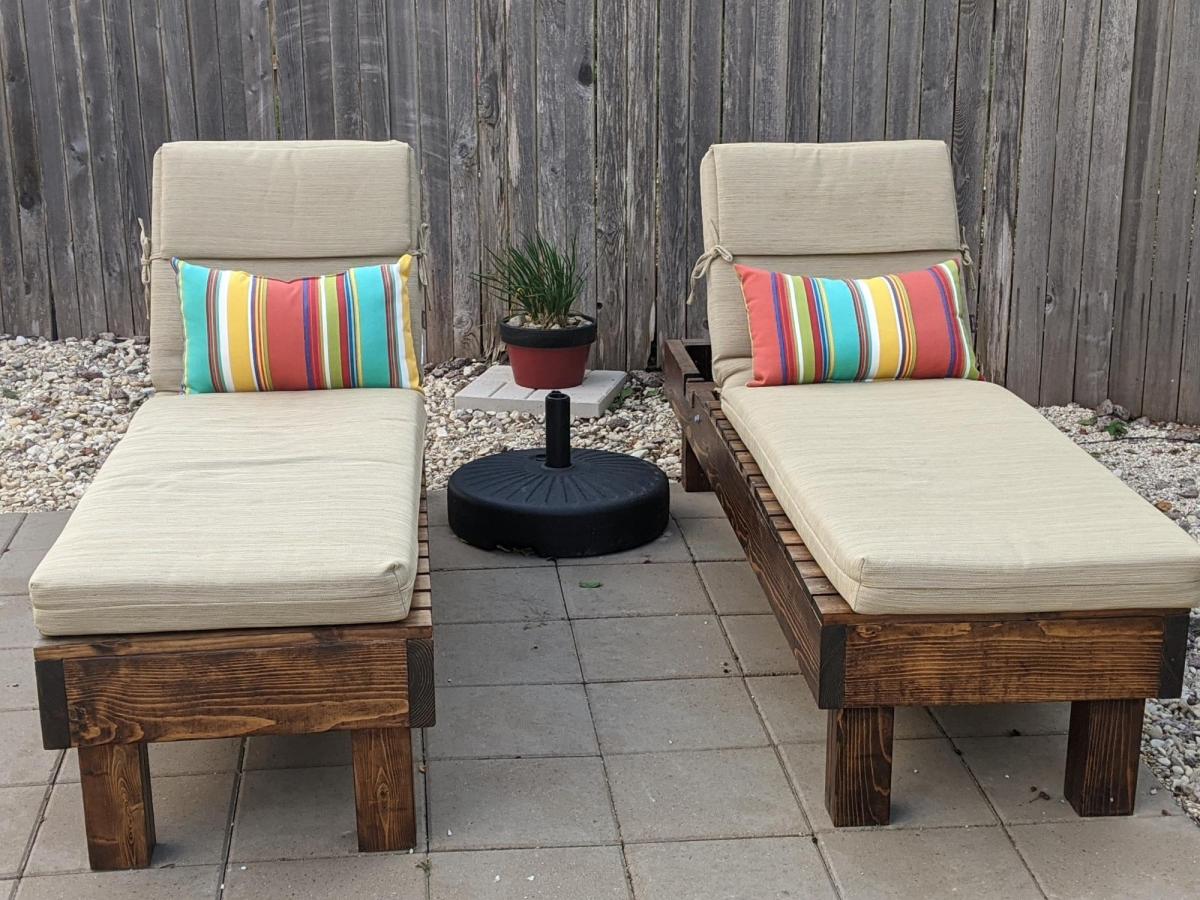
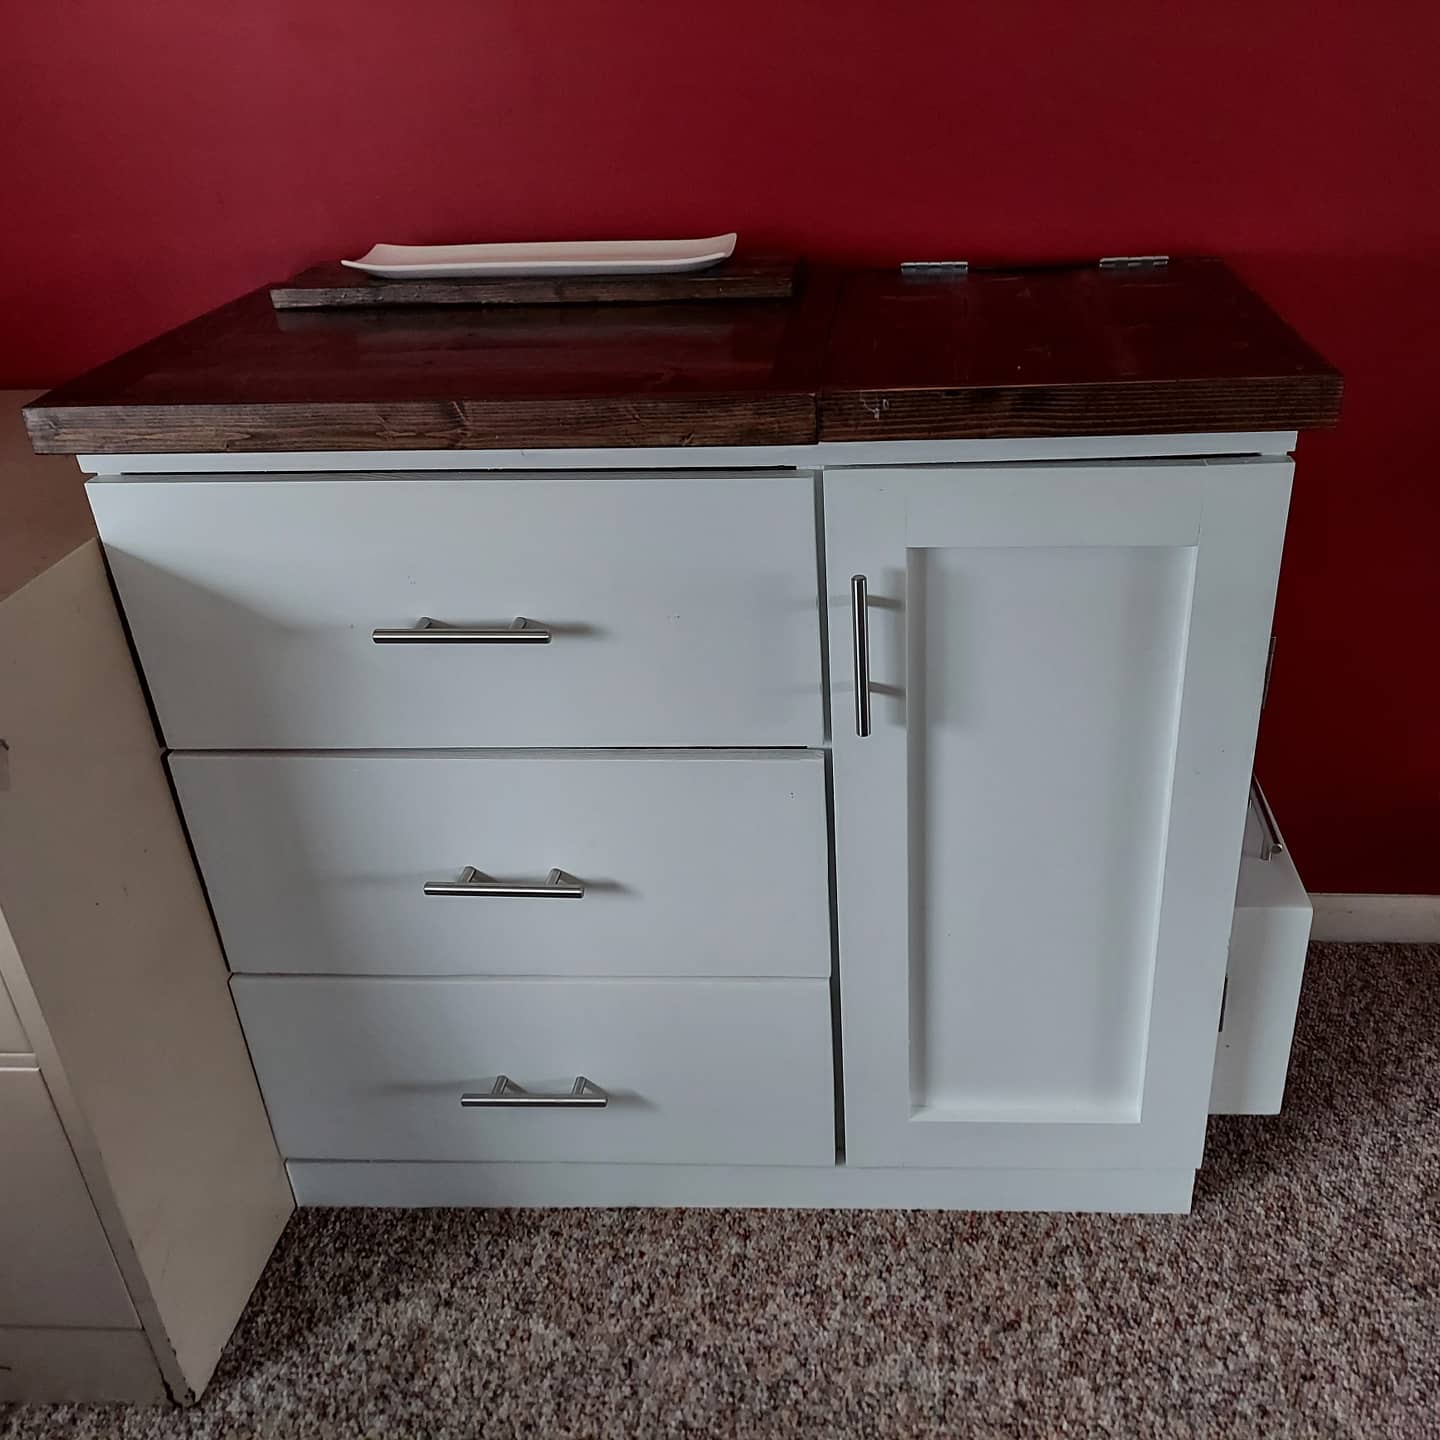
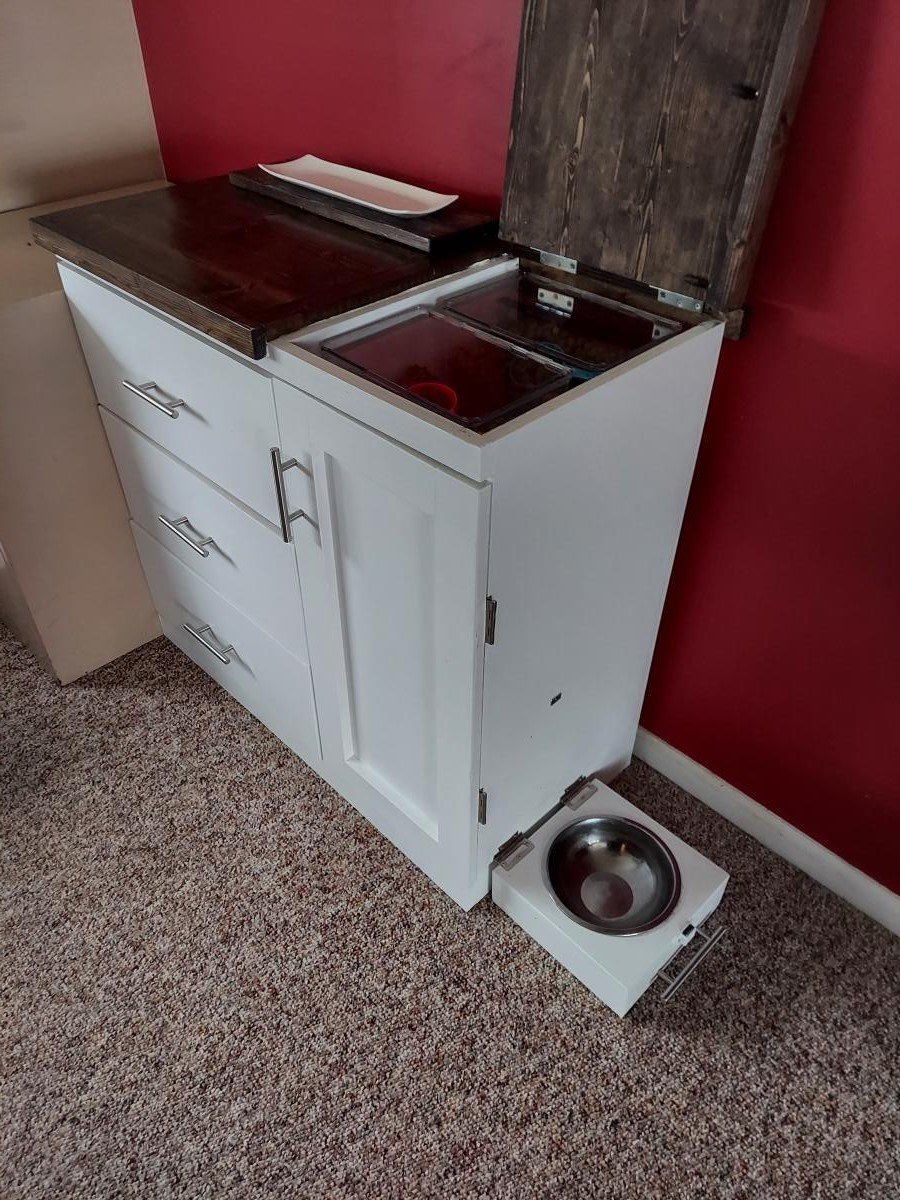
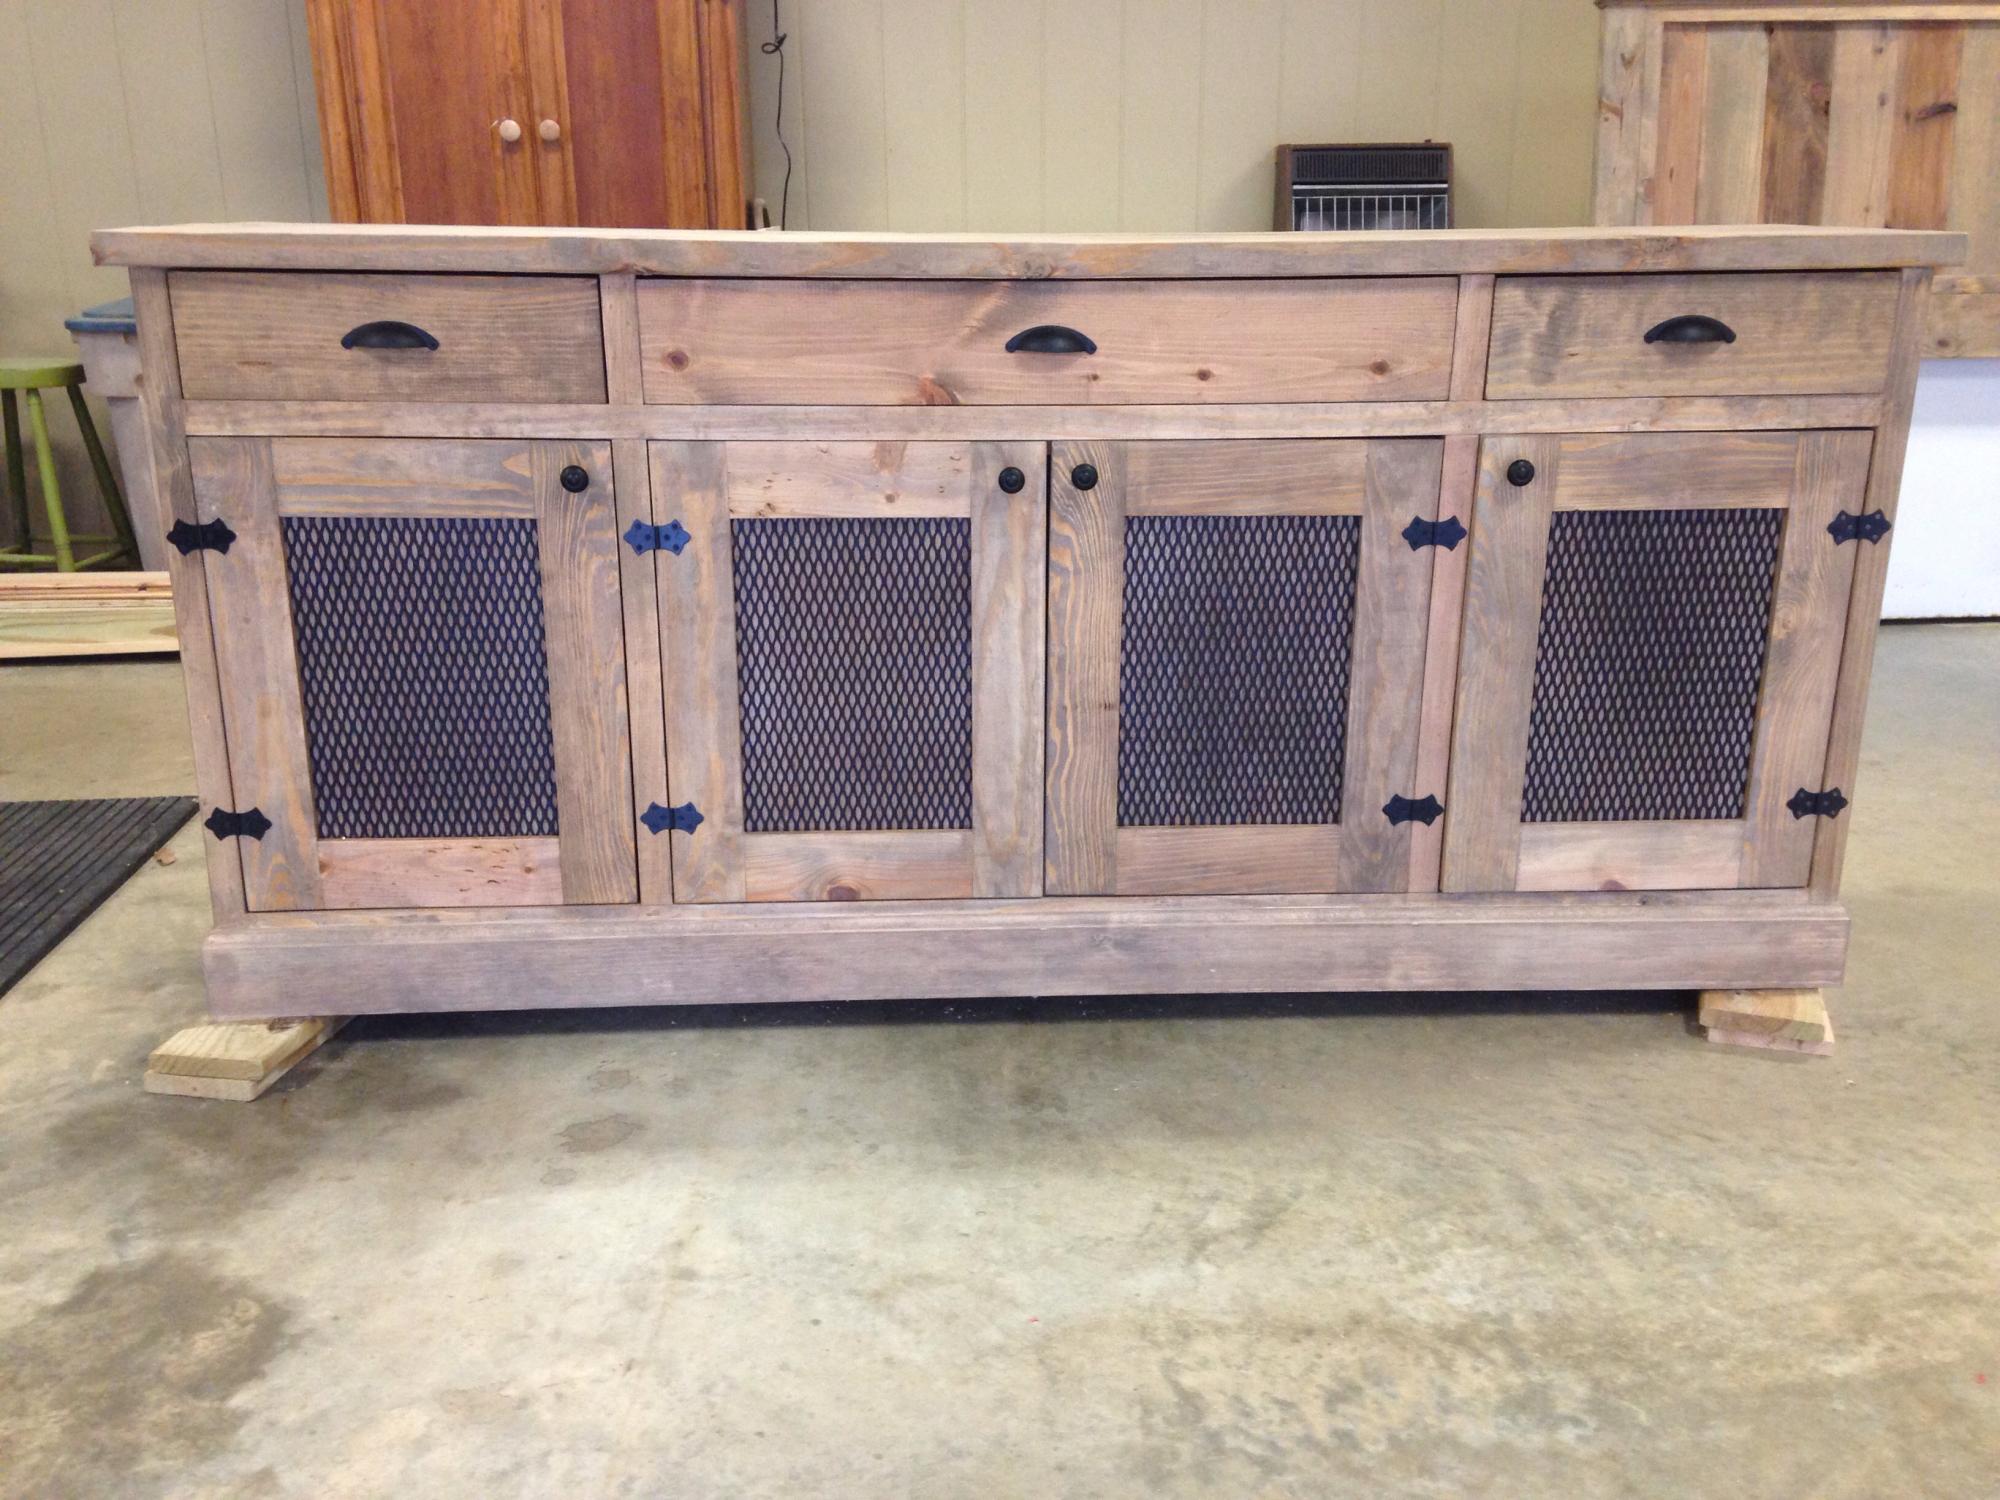
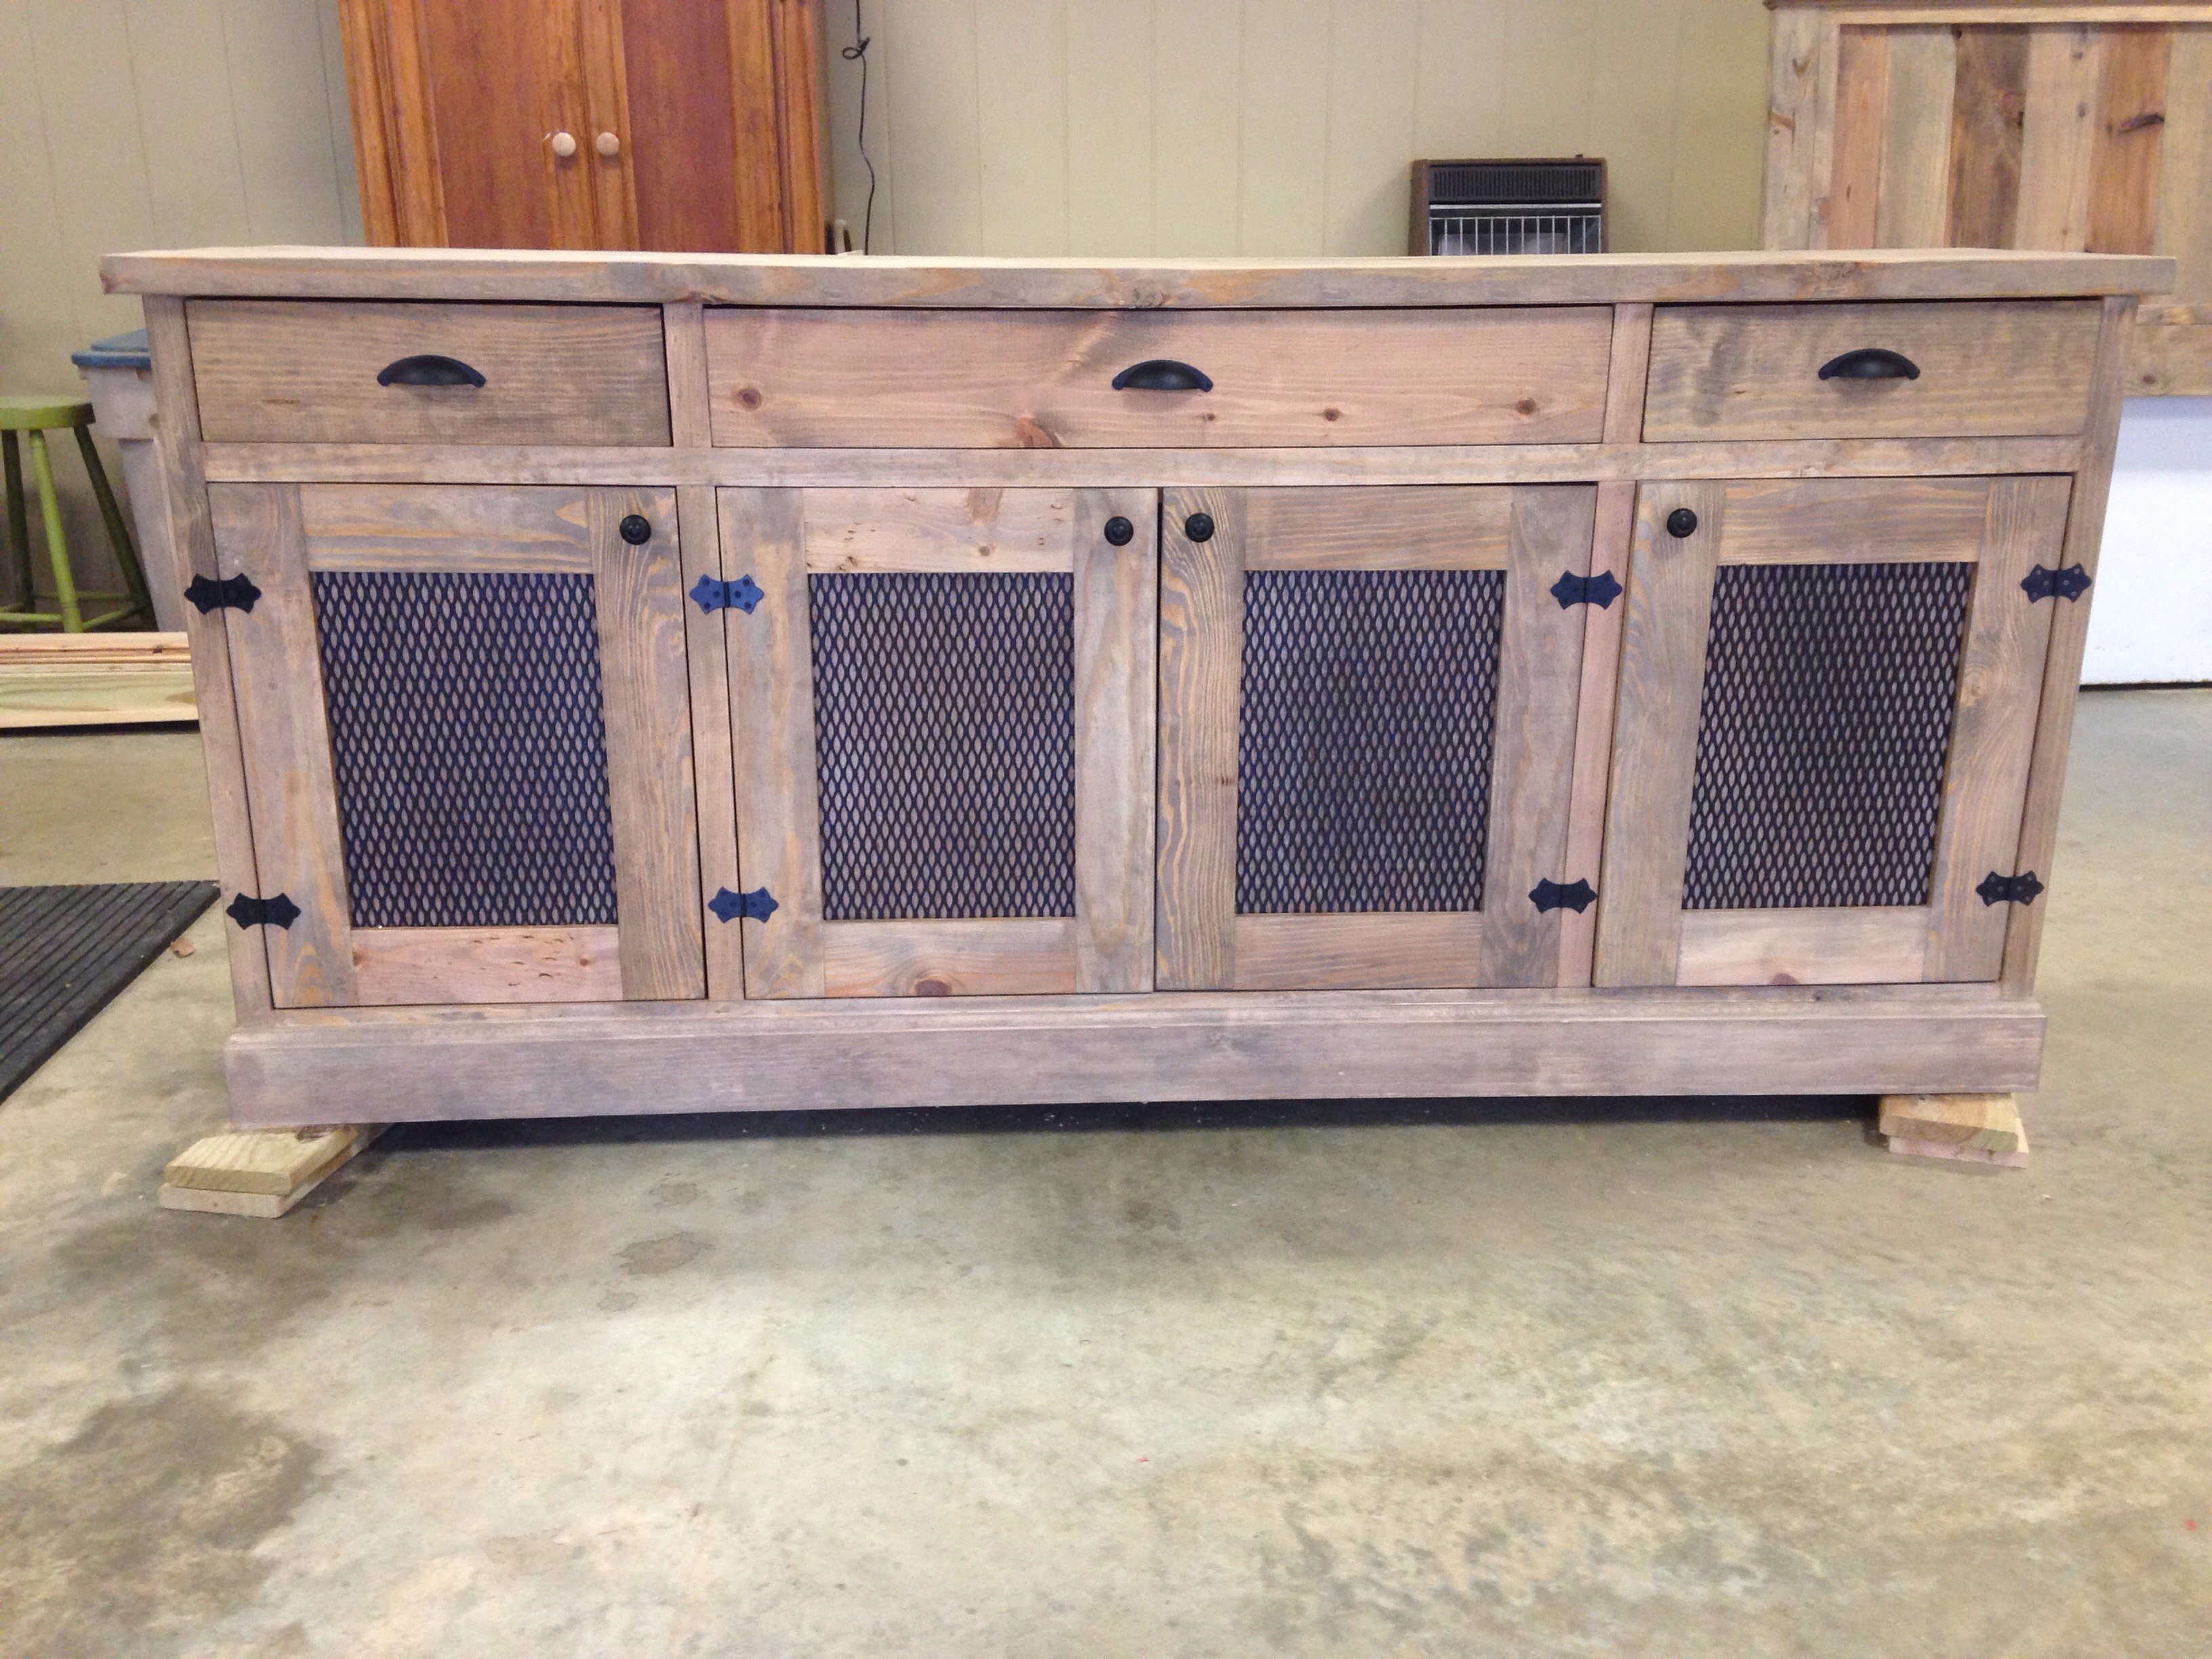
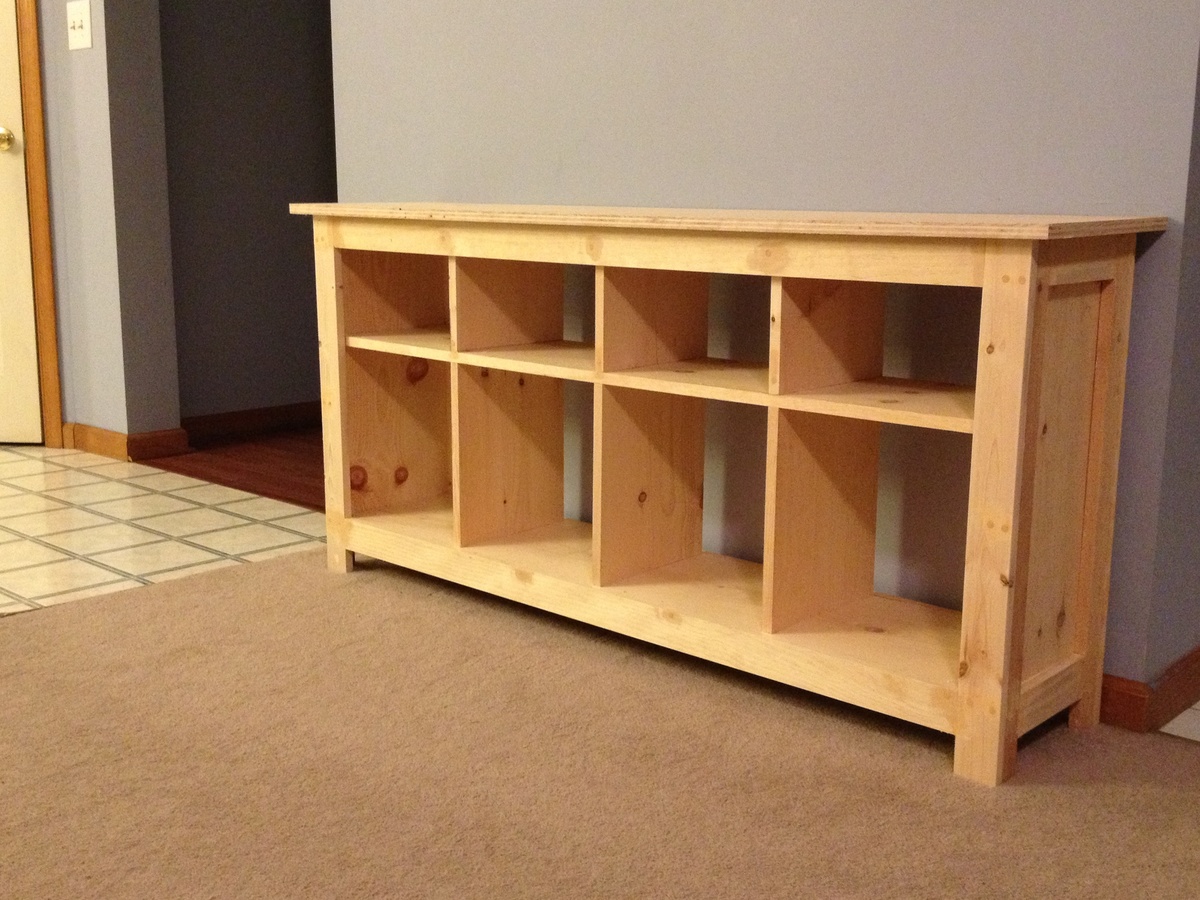
Laundry Station
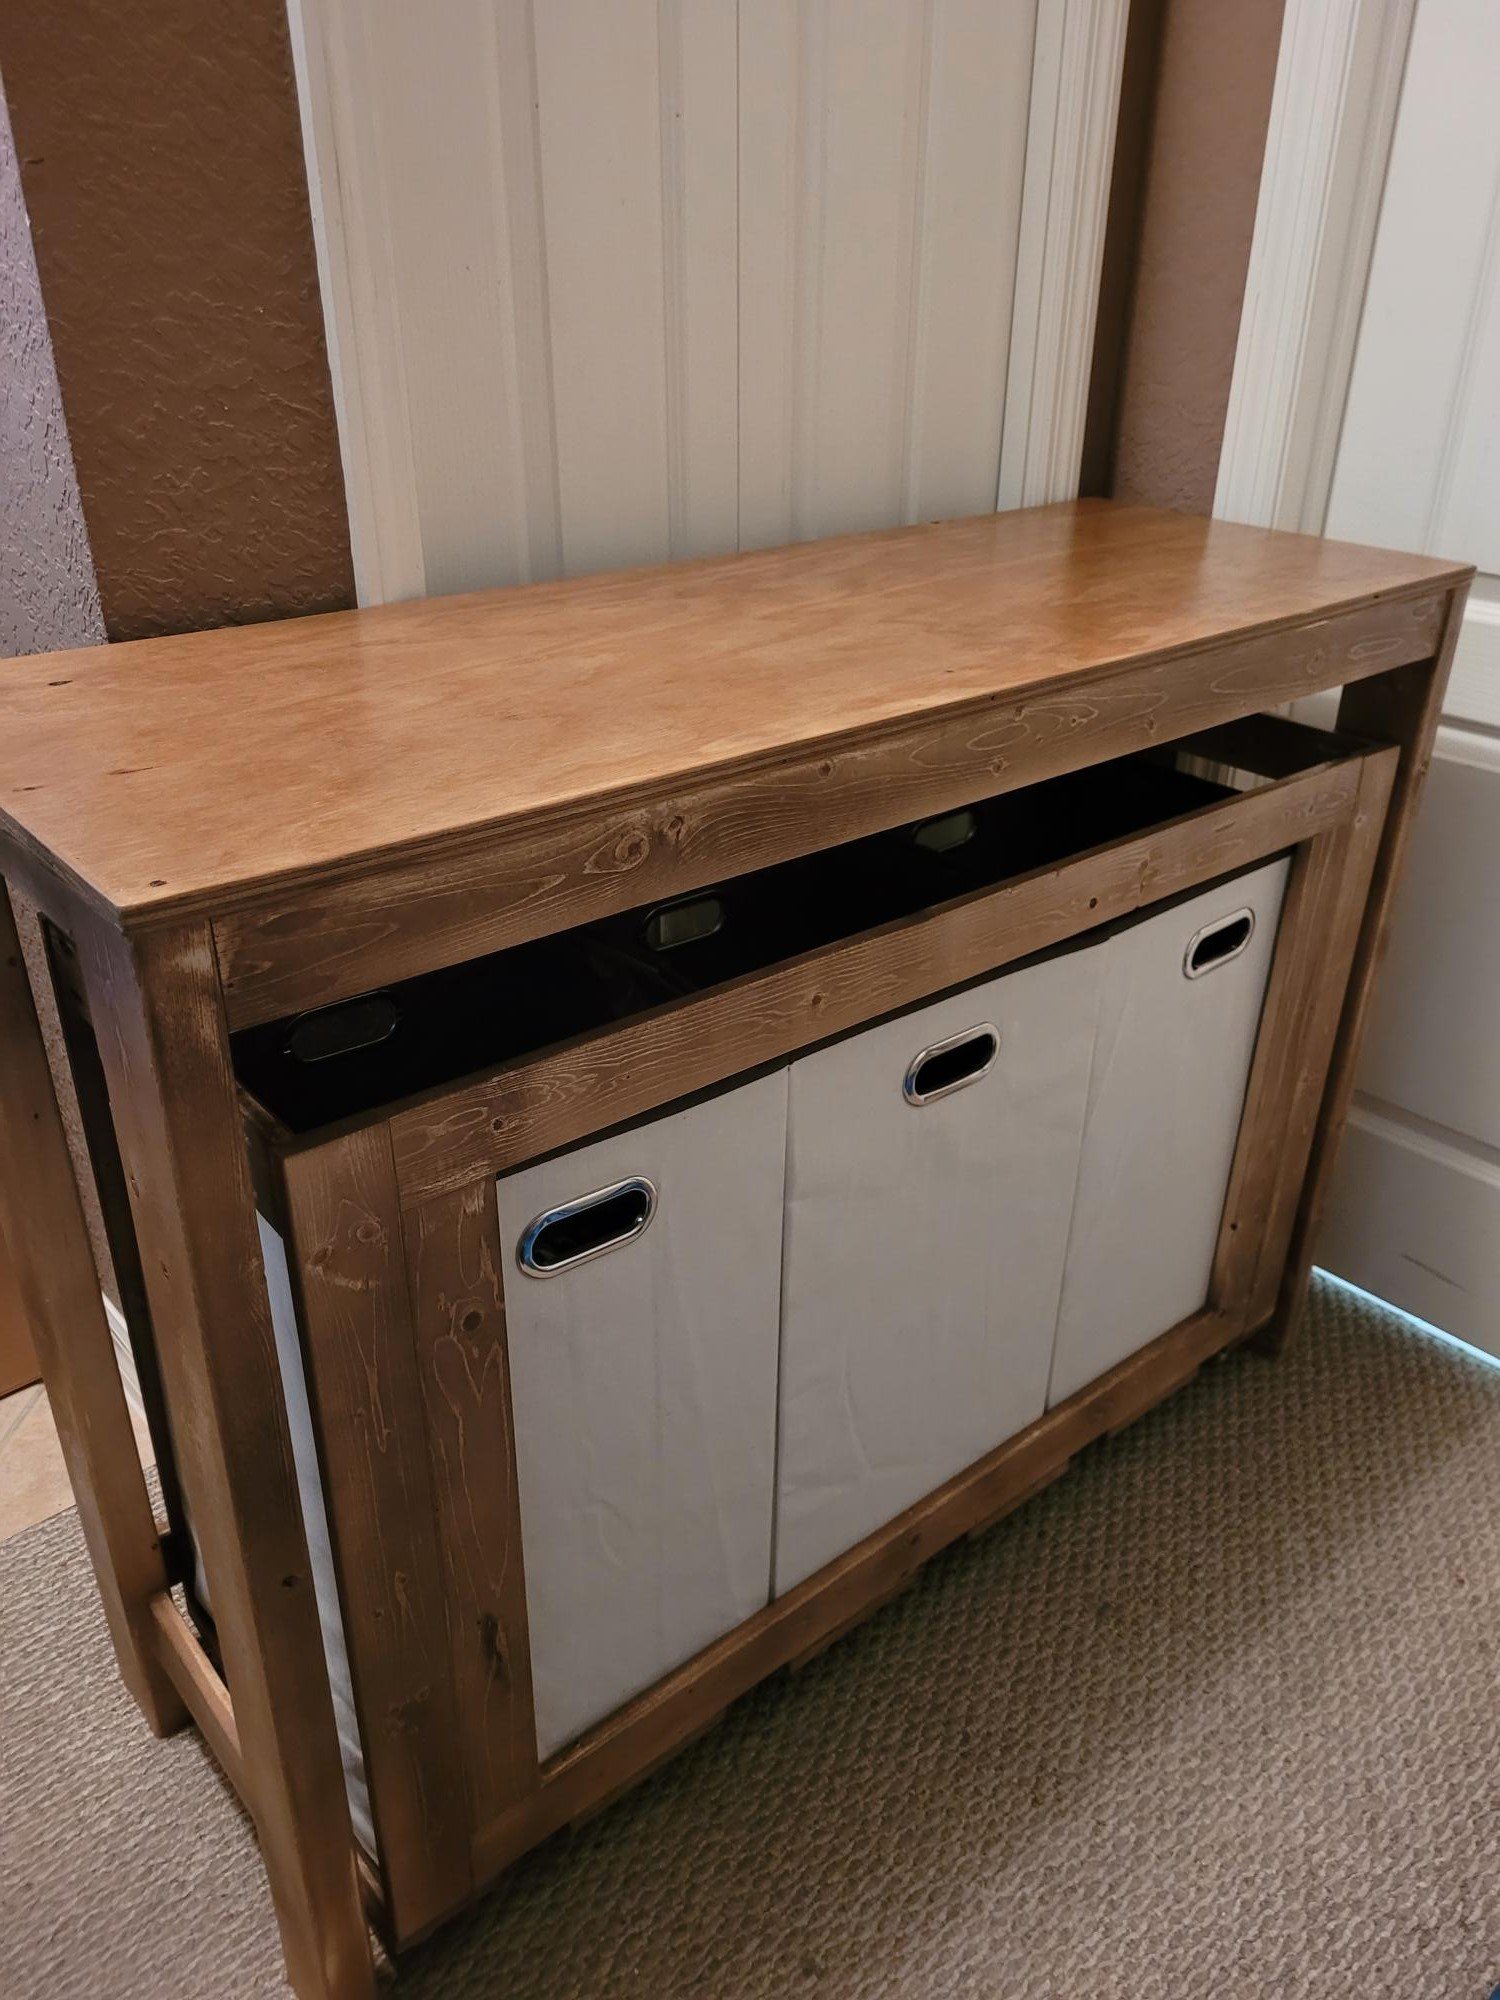
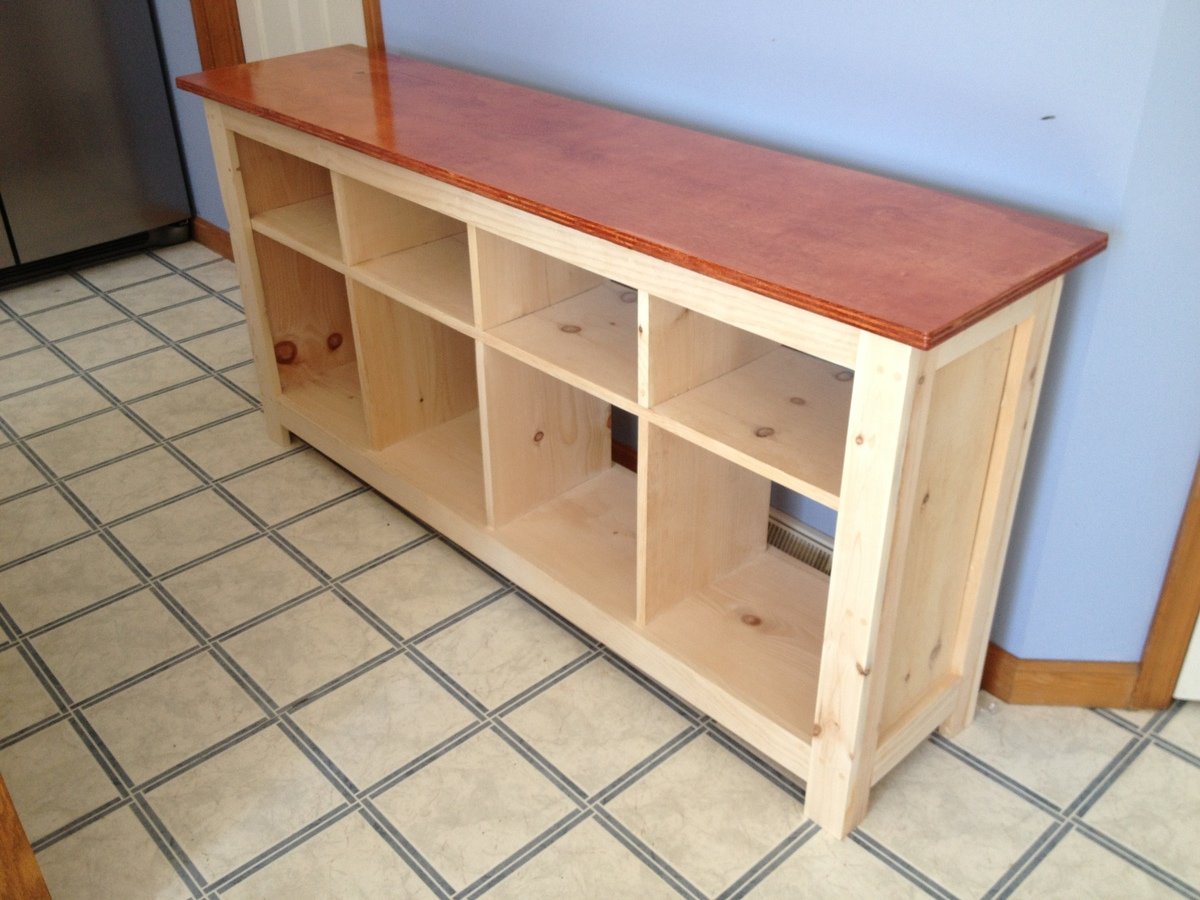
My first project, something I took on with my kids. Lots of fun, errors, and lessons learned. Used an hvlp for stain and poly, so much faster and easier than brush or rag staining.
Thanks for the inspiration and instructions.
Built from Plan(s)
Estimated Time Investment
Weekend Project (10-20 Hours)
Finish Used
Minwax Special Walnut
Recommended Skill Level
Beginner


Comments
Ana White Admin
Sat, 11/07/2020 - 14:26
Great first project!
Thank you for sharing, I know you will love it!