Patio table
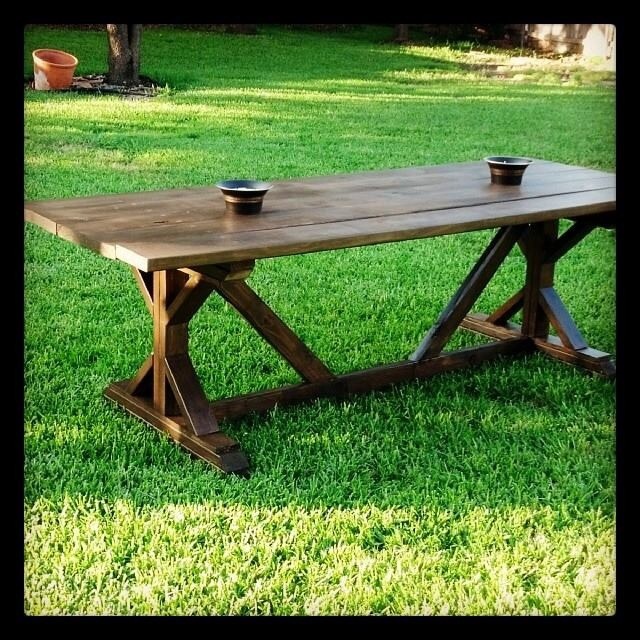
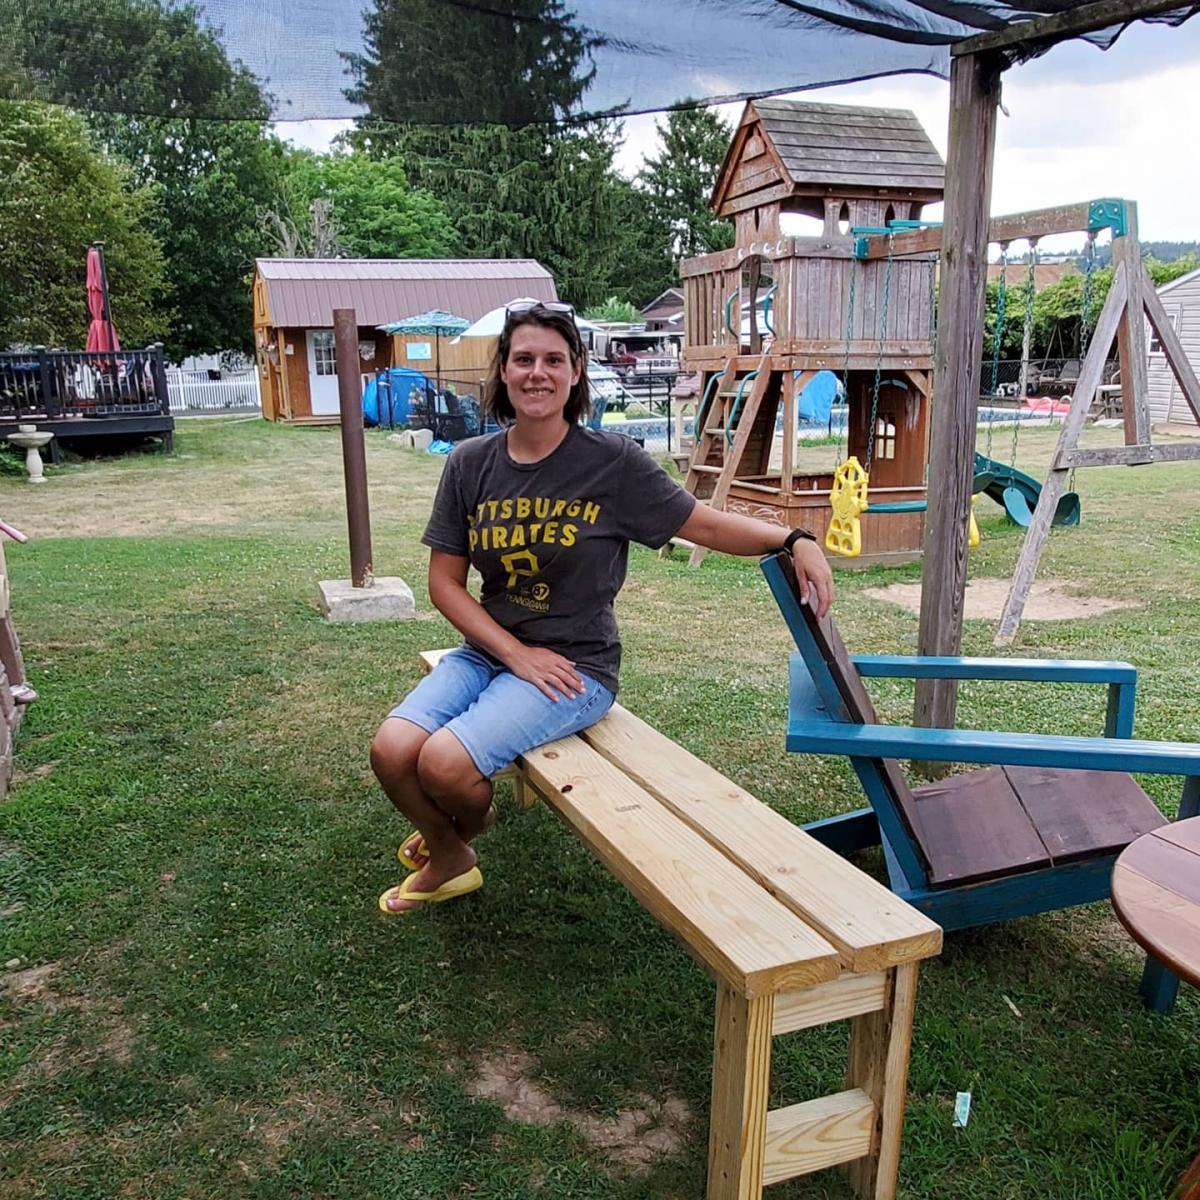
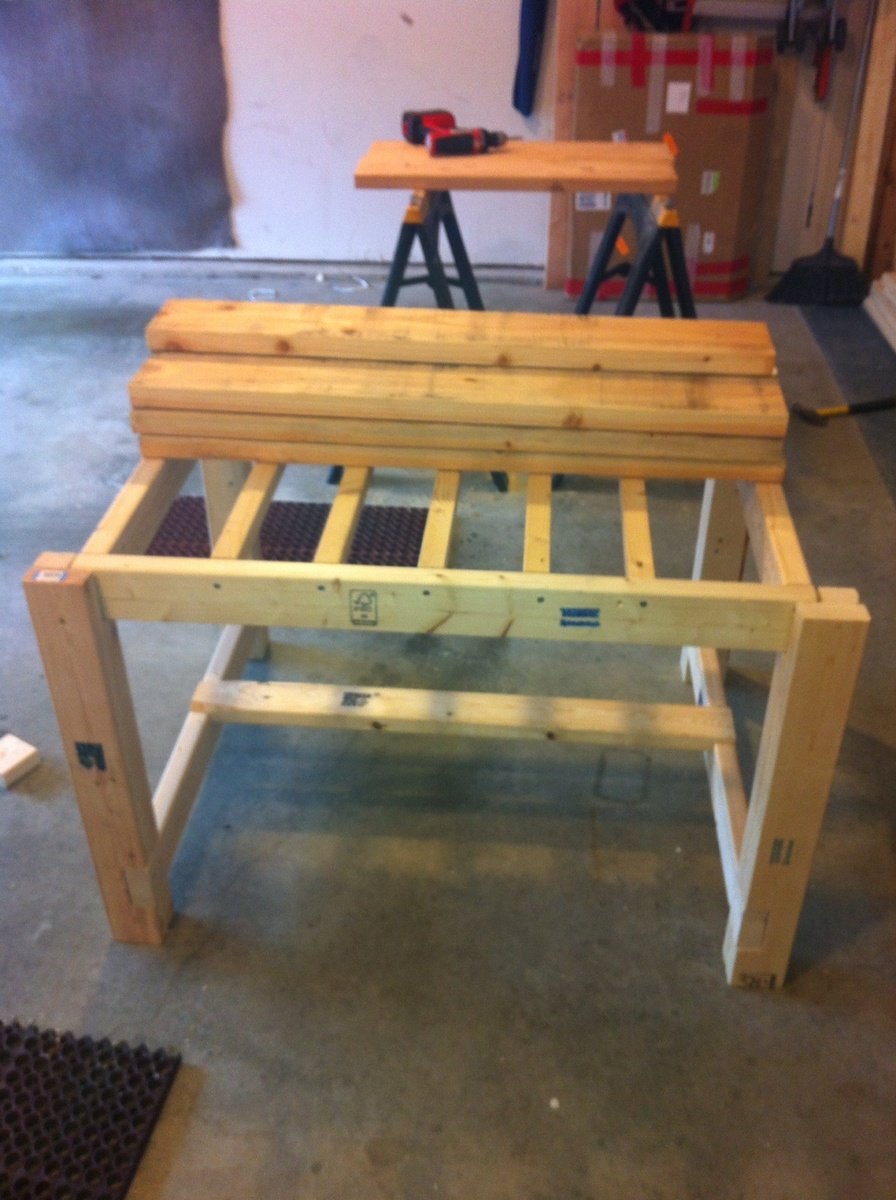
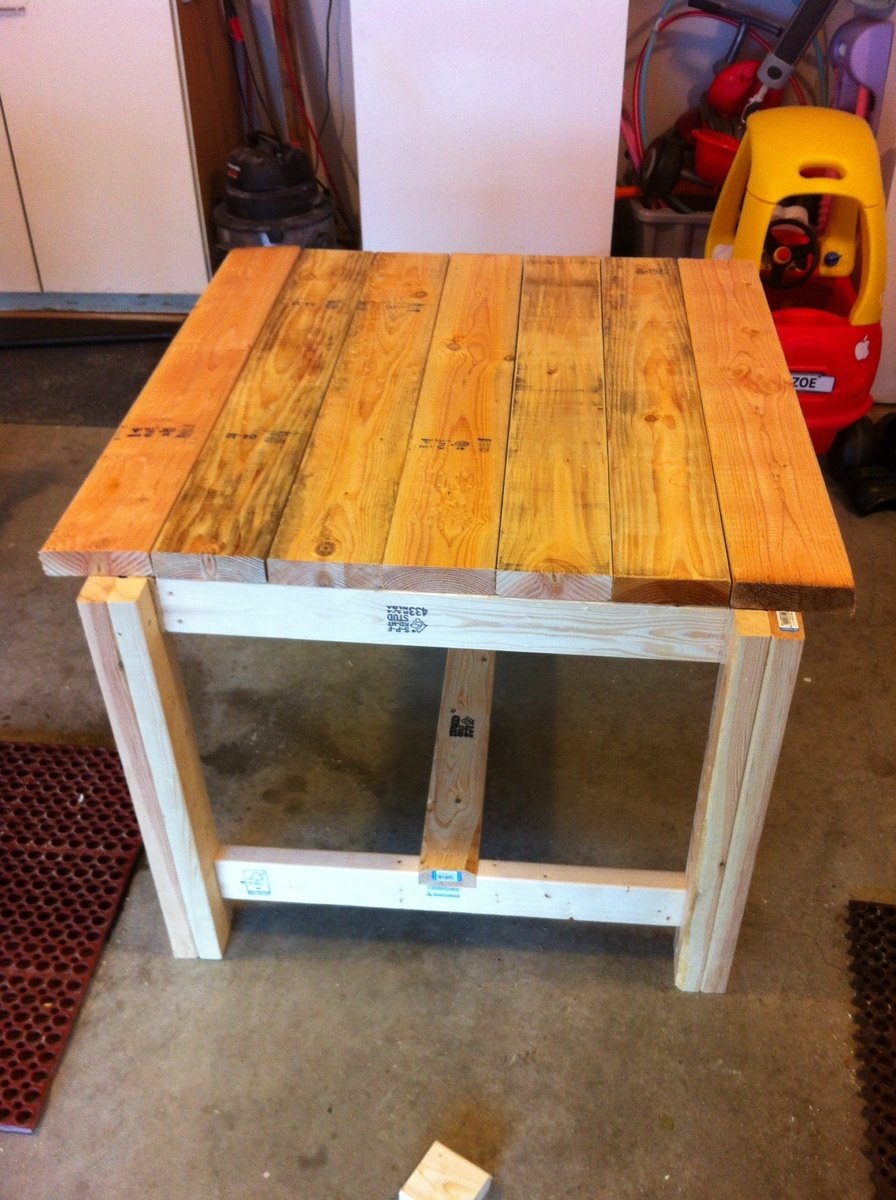
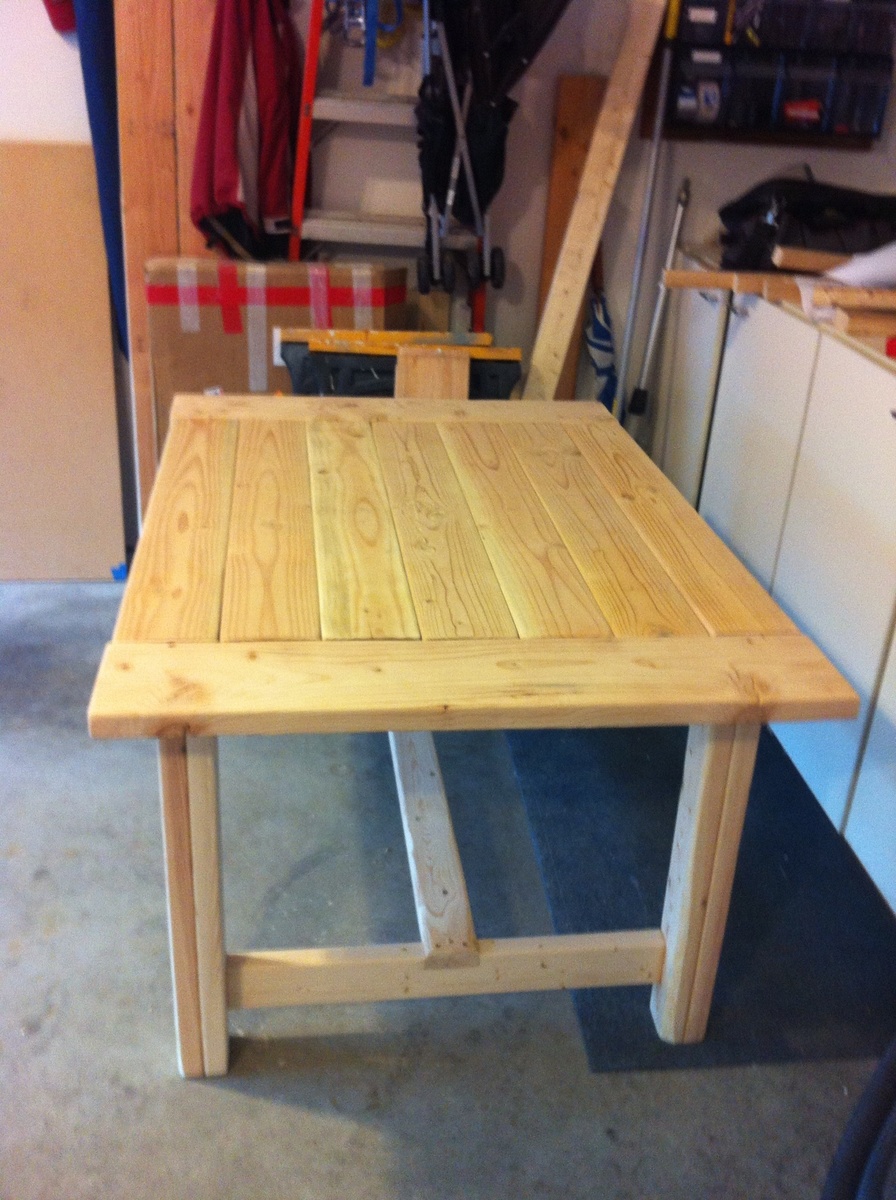
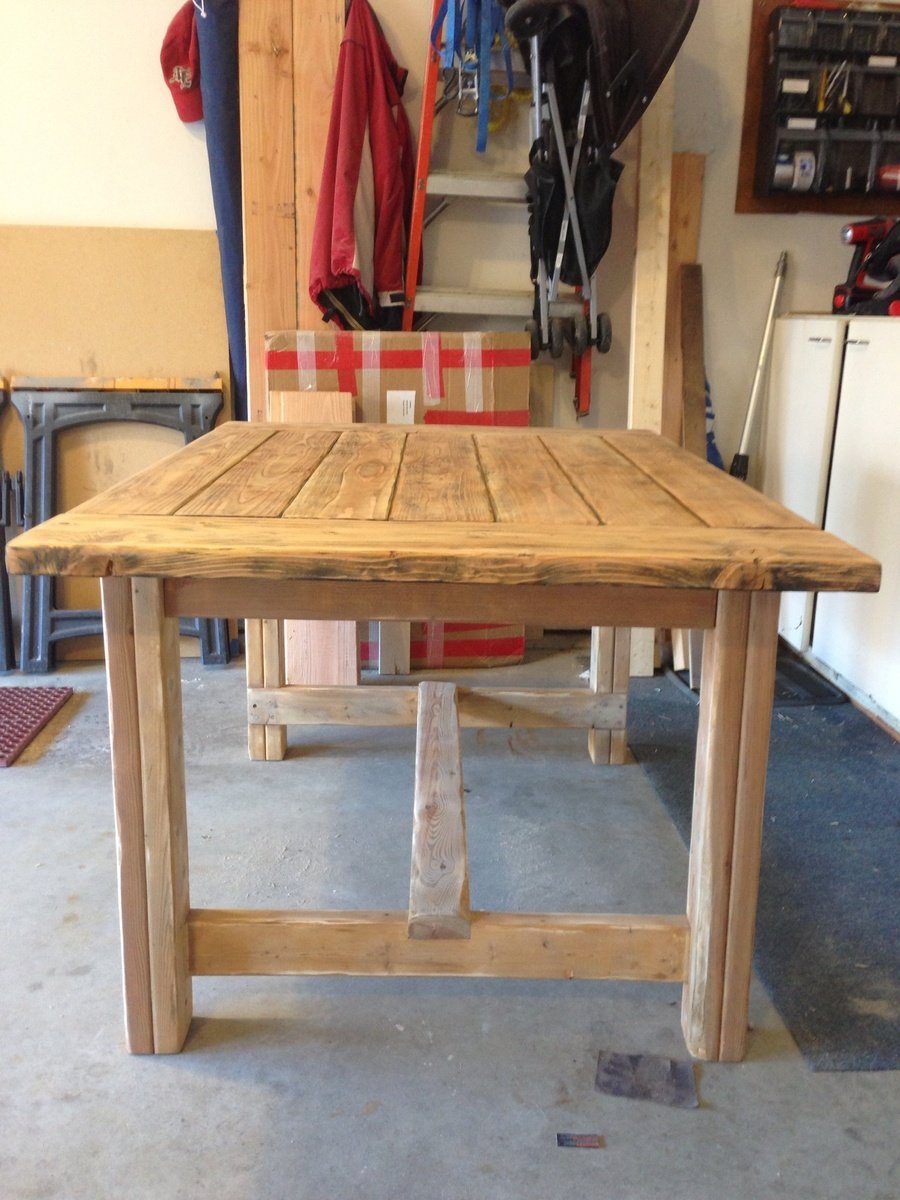
Needed a patio table for this space and decided on this plan. After the build portion, the stain finish really made it complete. Now time for some summer get togethers.
Color-Coffee (ST-103)
2 coats

Needed a patio table for this space and decided on this plan. After the build portion, the stain finish really made it complete. Now time for some summer get togethers.
My husband used the plans from this website to make a single Murphy bed. He didn't make any changes, save for building the frame out of solid poplar and using birch plywood for the flat surface the mattress sits on when it's unfolded. We trimmed it to mimic the the lines of a built-in in the same room, and stained it Jacobean to make it look dark. It's a solid piece of furniture and is saving us tons of space.
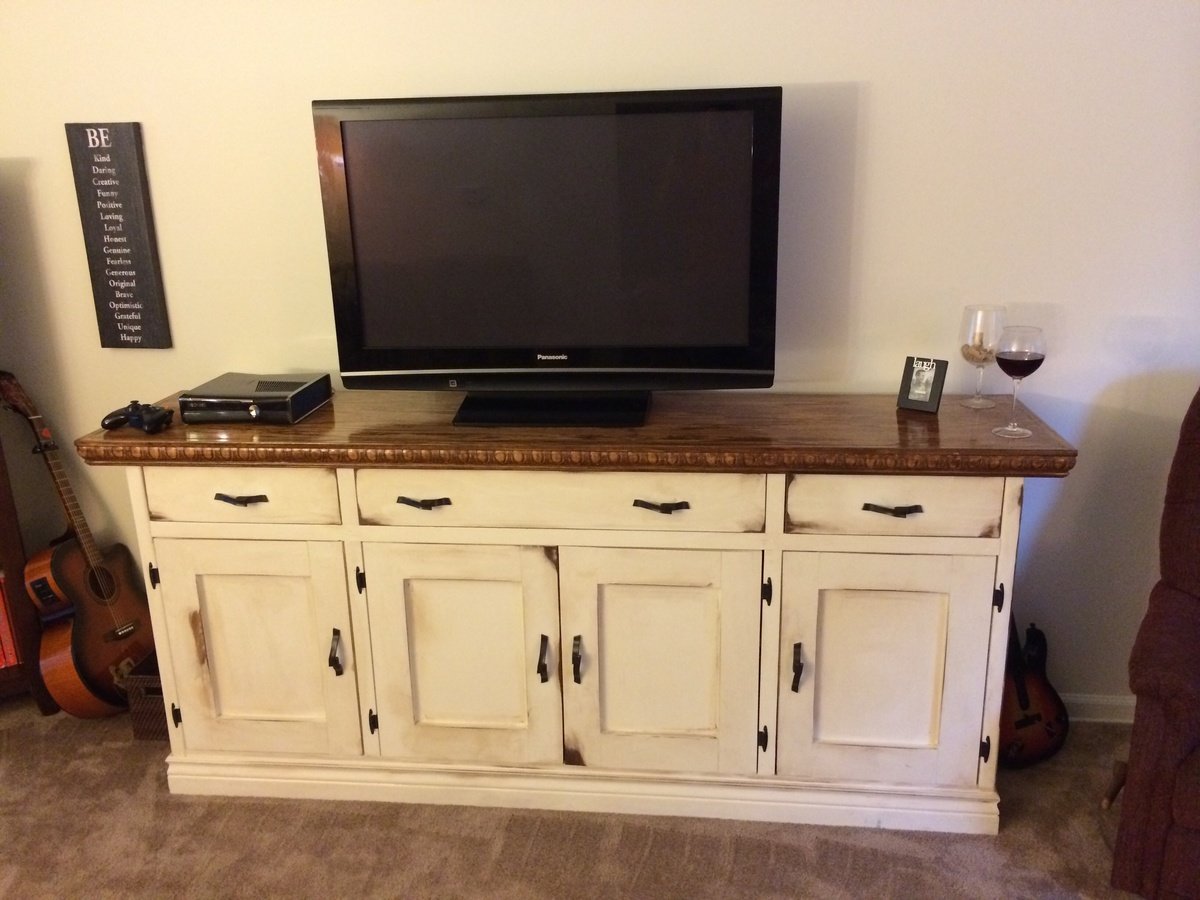
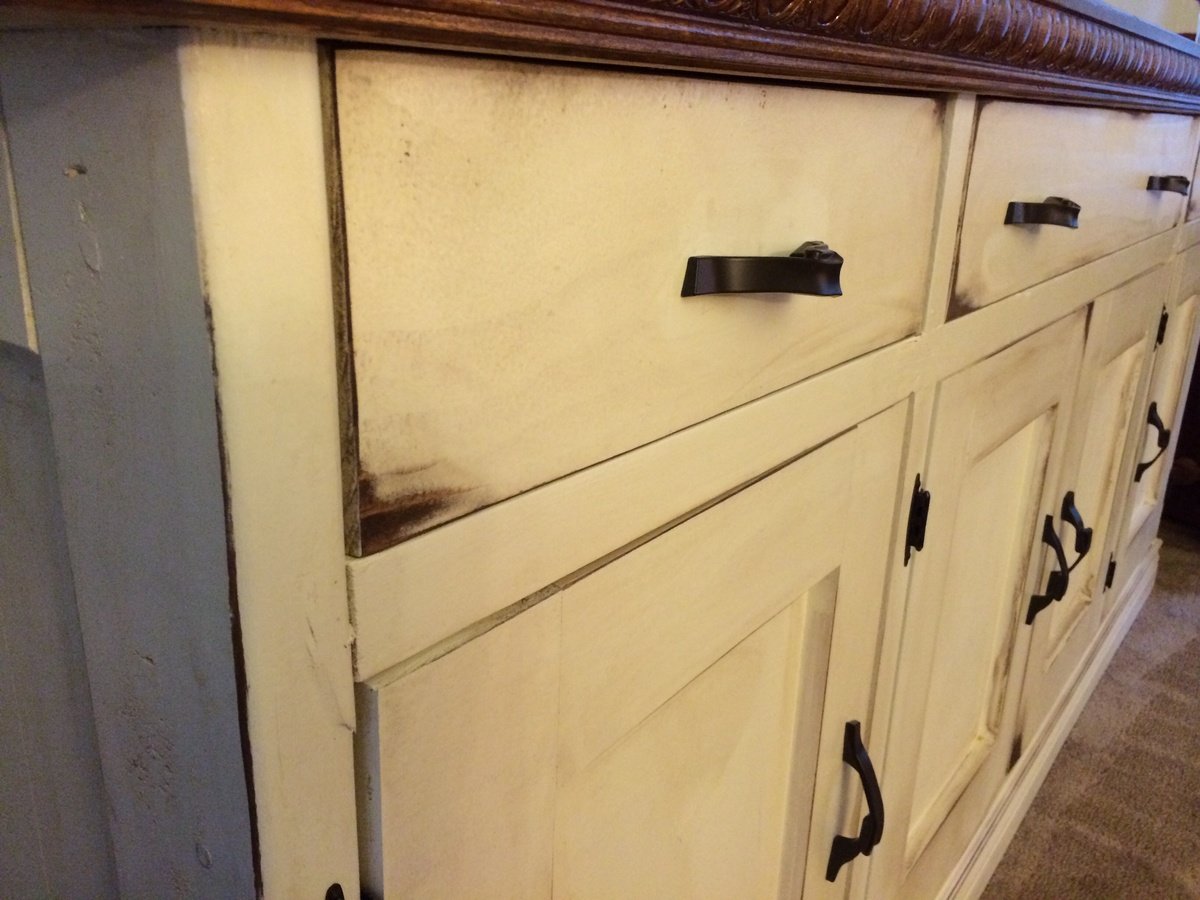
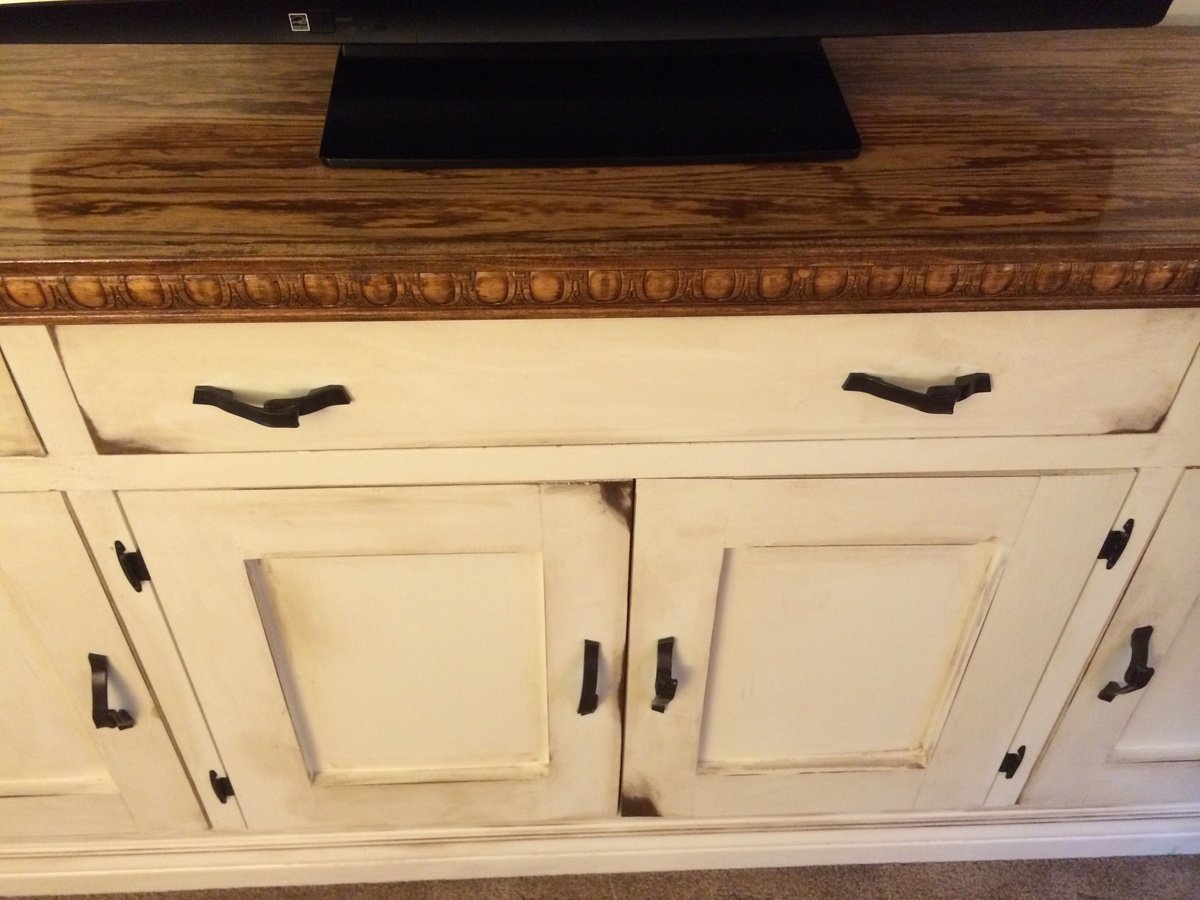
This project was nearly the emotional equivalent of pure hell. I began this as a buffet for someone who decided midway that they no longer wanted it. Secretly I was happy because I fell in love with it. The problem was it was started in late fall and this winter in ohio was more Ana's norm than ours. My I heated garage created a warped piece and an untenable workspace for a few months. I'm pretty happy all and all.
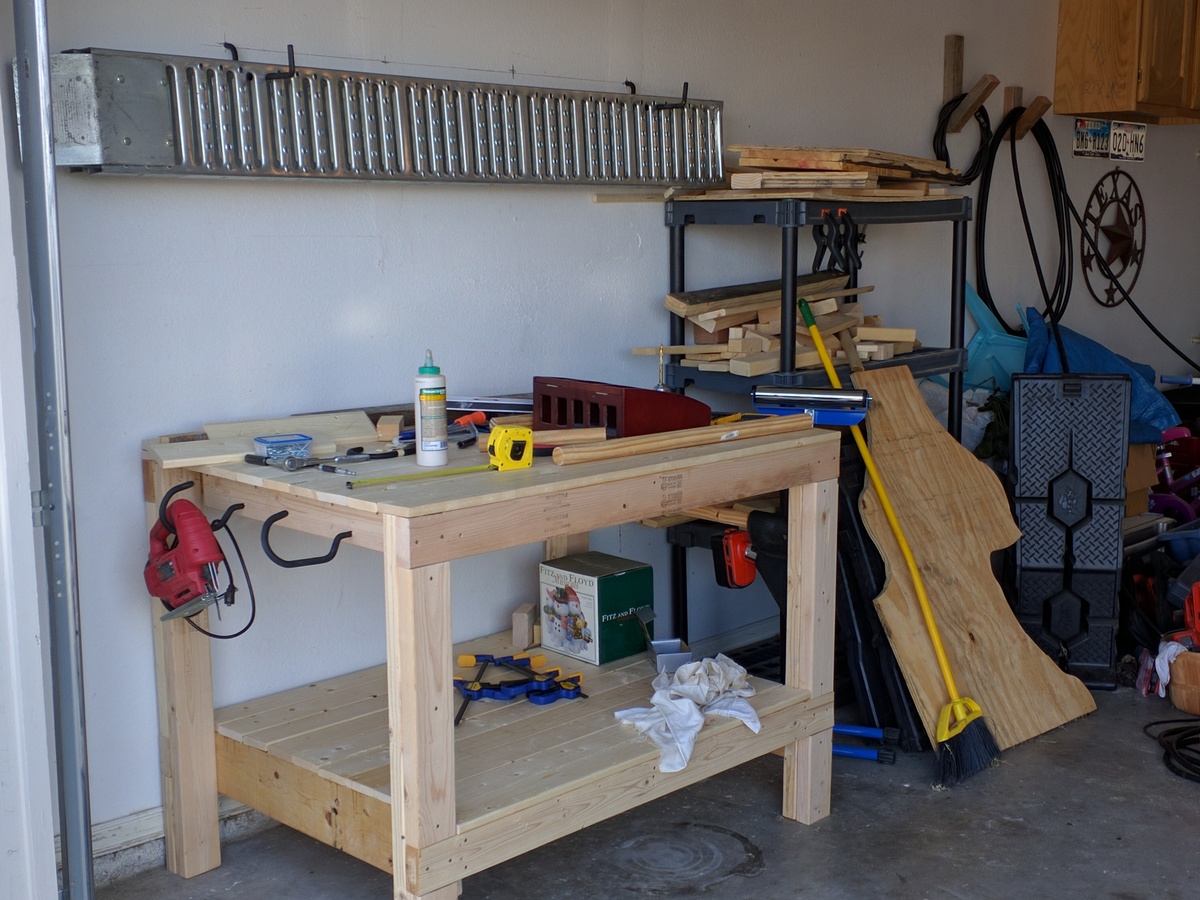
Altered the original plan only enough to accommodate the materials I had lying around without going to buy more lumber. The workbench I built is not as wide being only 48" instead of the 55" noted in the plans. For the top of the workbench and the lower shelf I used 1x4 furring boards again, because it is what I had for material at the time of building.
Once I made the basic frame, I squared it and then installed the supports for the table top and the lower shelf. Once the supports were in I cut the 1x4's to the appropriate length. As I laid each respective board, I also laid a good dose of wood glue down and then clamped them in place. I let those boards set with glue for about 5 minutes before going back and using a 2" brad nailer to finish them off. Once the nailing was done, I removed the clamps and moved to the next series of boards. Because I had several clamps I was able to lay about three boards at a time and let the glue set for another 10-15 minutes. Working slowly and methodically got the whole job done in a couple of days of a few hours a piece before completion.
Easy project and something that will last a long time when done correctly.
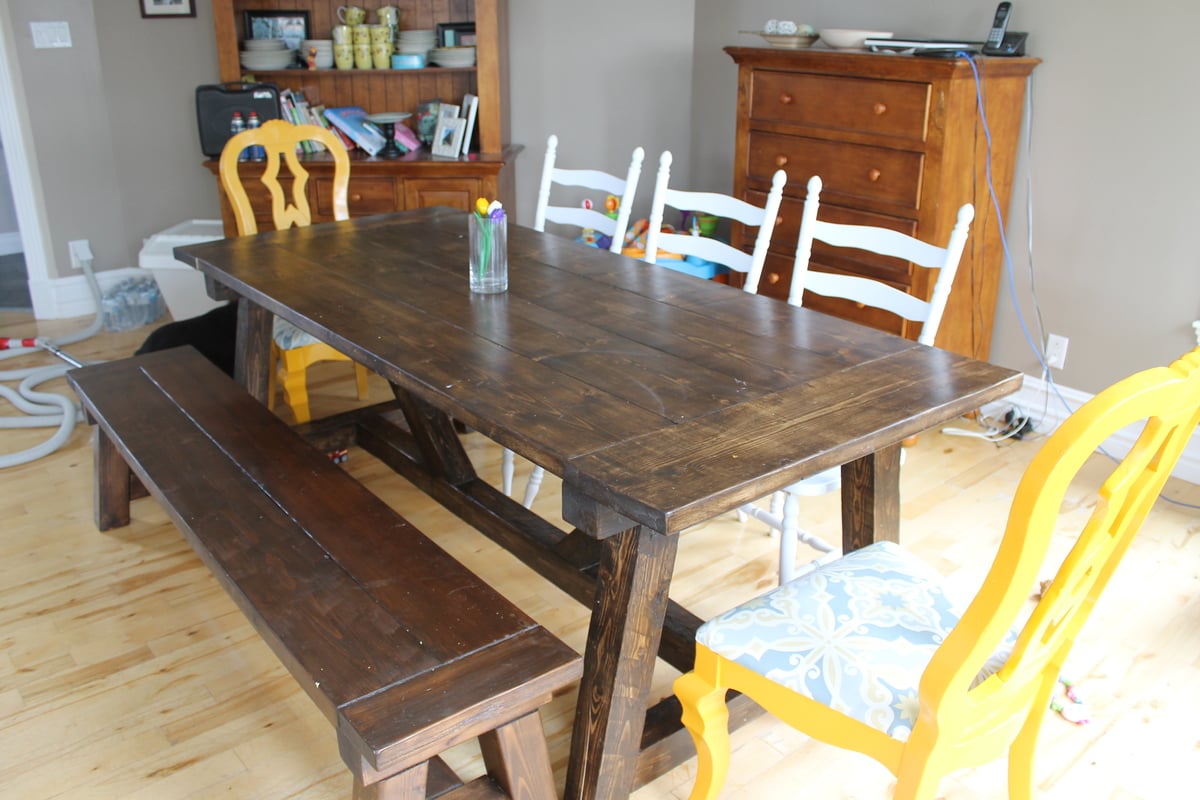
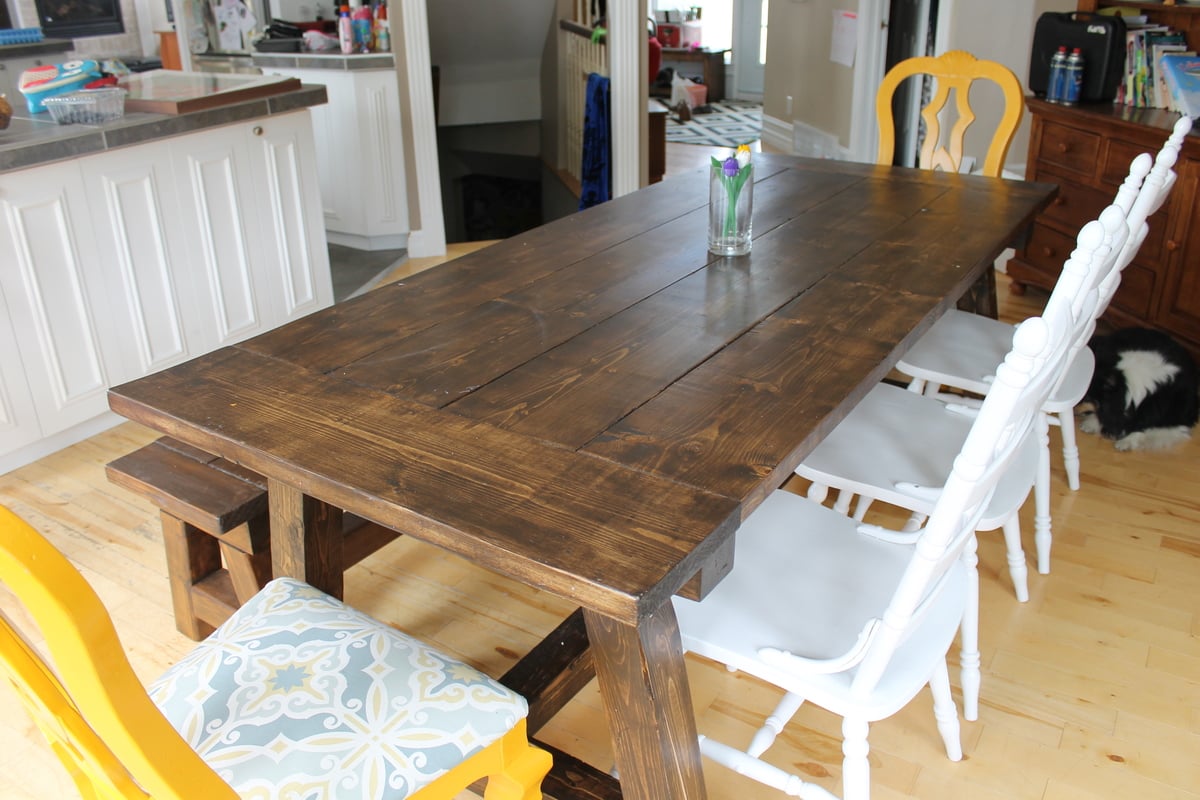
We needed a big sturdy table for 8-12 persons for our big dinning room but didn't want to pay 3000$ for it. Then i found Ana-white's site and thought "why not!". It's my first project, i started whit the bench and then made the table. All buy myself, my husby doesn't even know how to use a saw. He help me carry it inside thought ;) The plans were realy easy to follow. Somebody stop me, i'm refurnishing my hole house, i can't stop! In 2 months i'v made 2 dinning tables, 2 patio tables, 1 coffe table, 5 benches. So if i can do it, you can too!

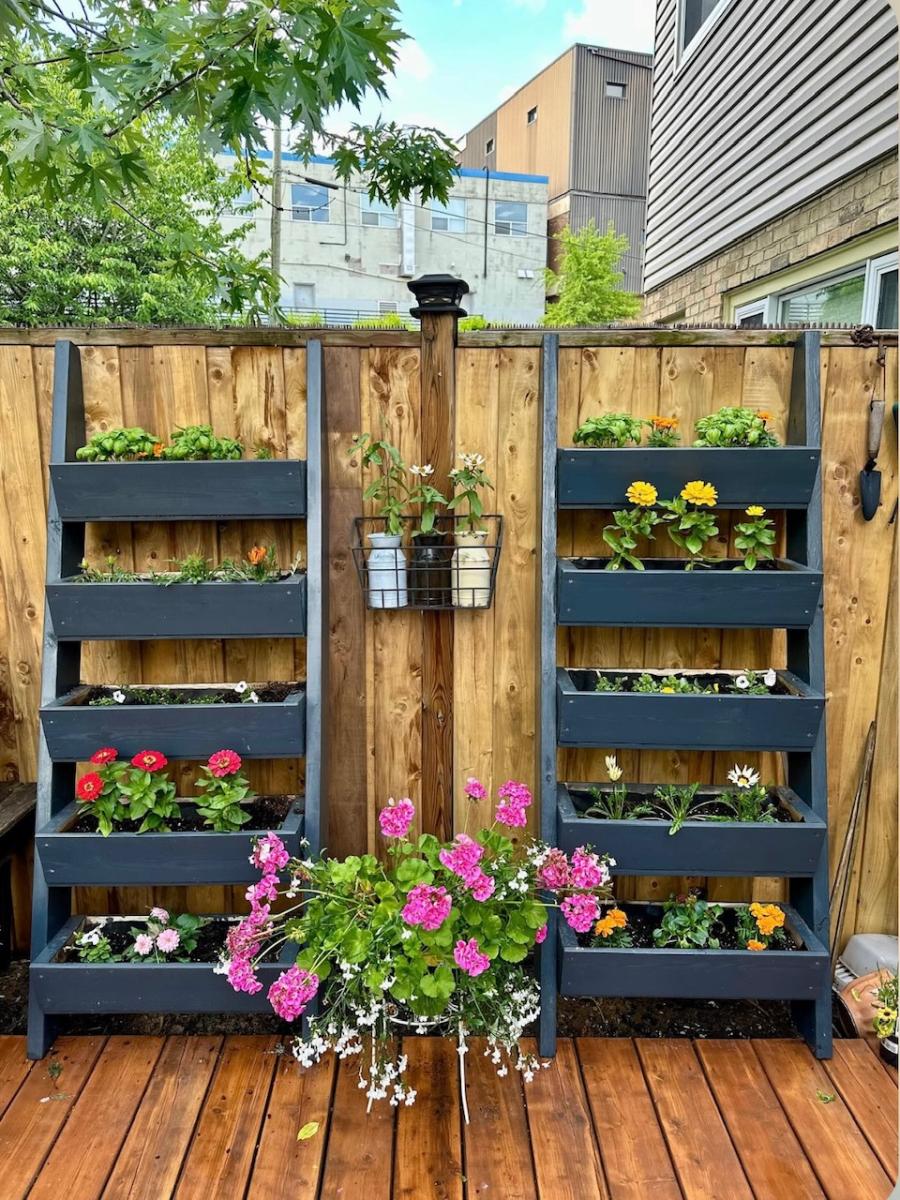
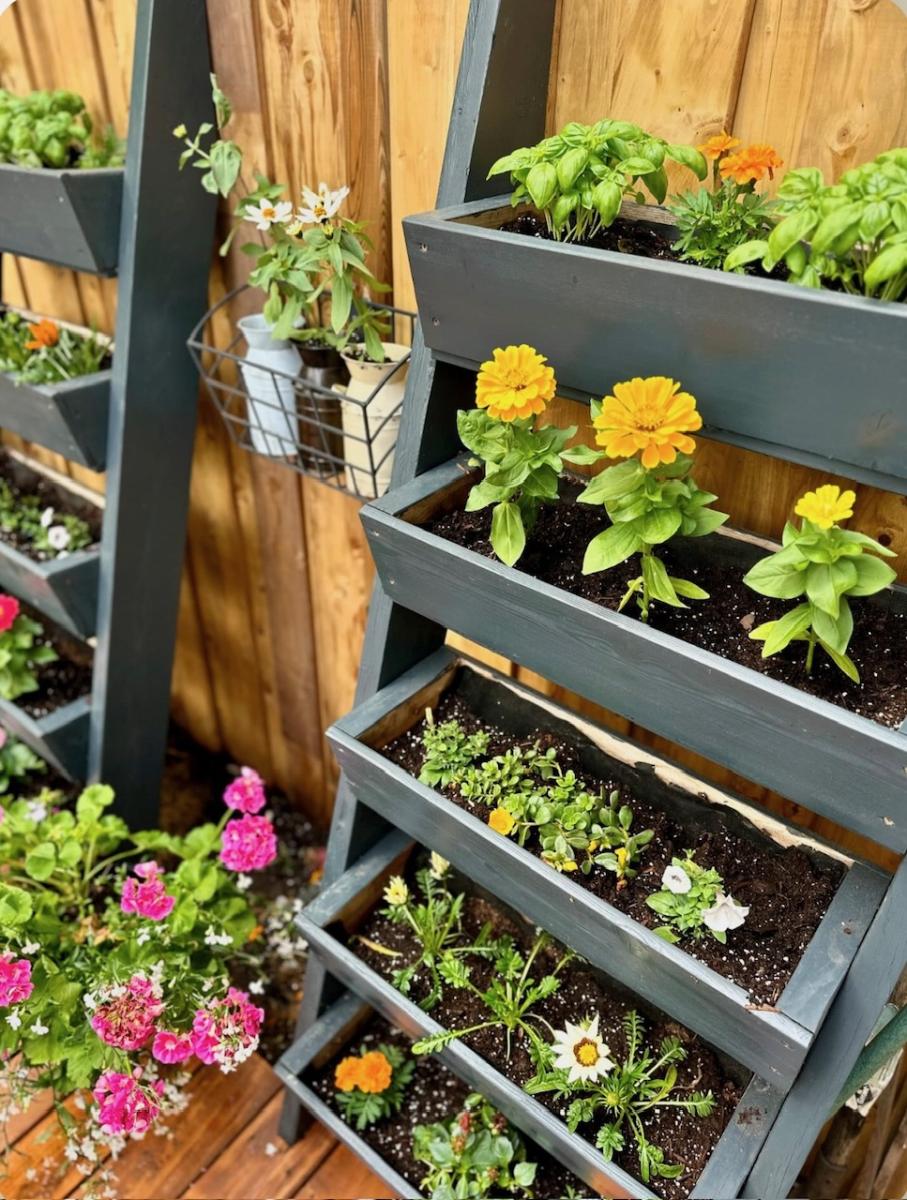
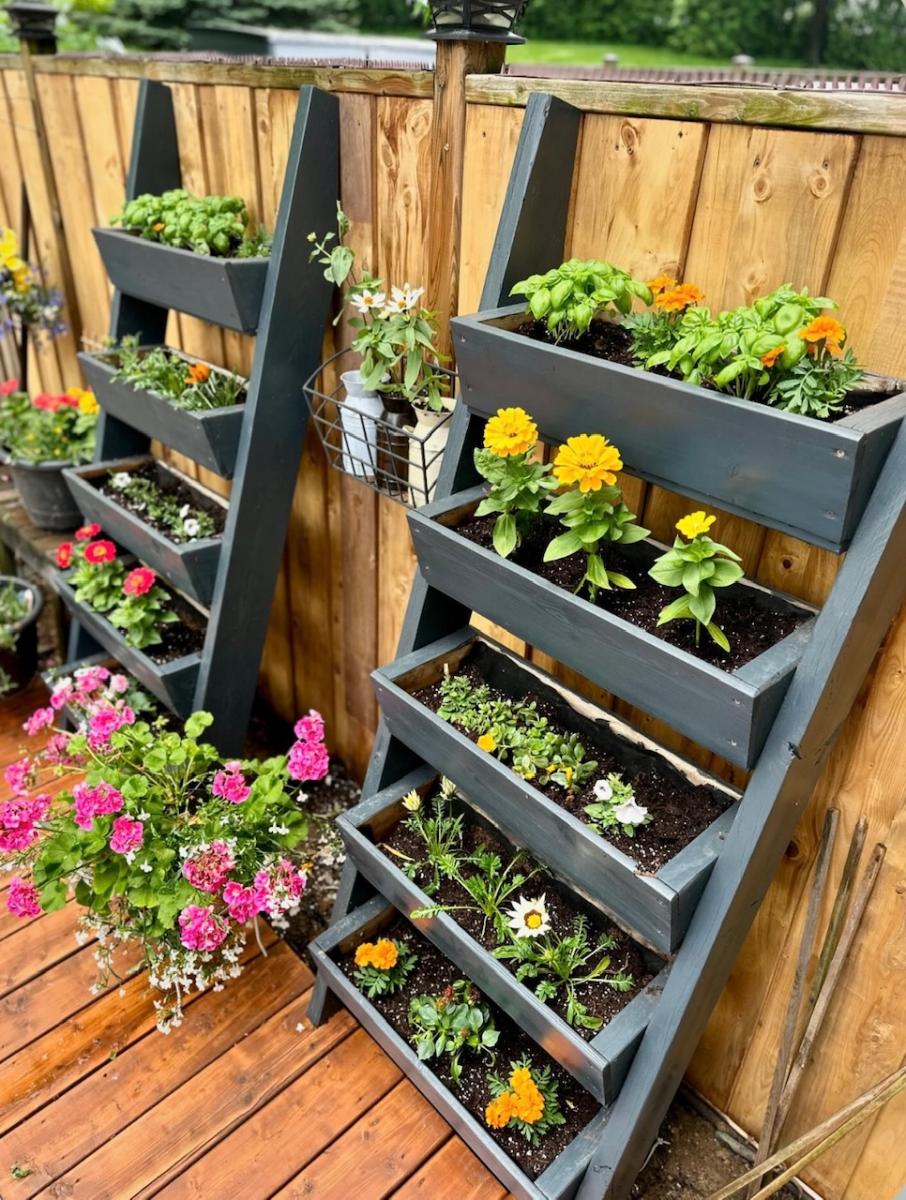
Awesome Ladder Planters with Refresh! See finishing details @kristinliarestoration
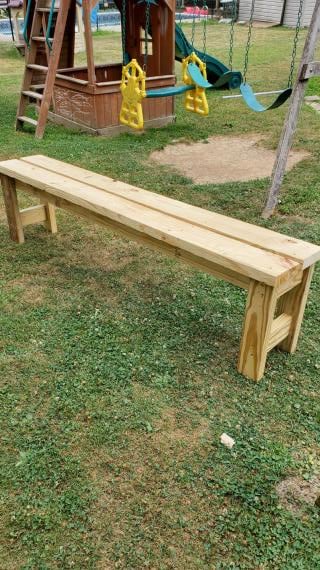
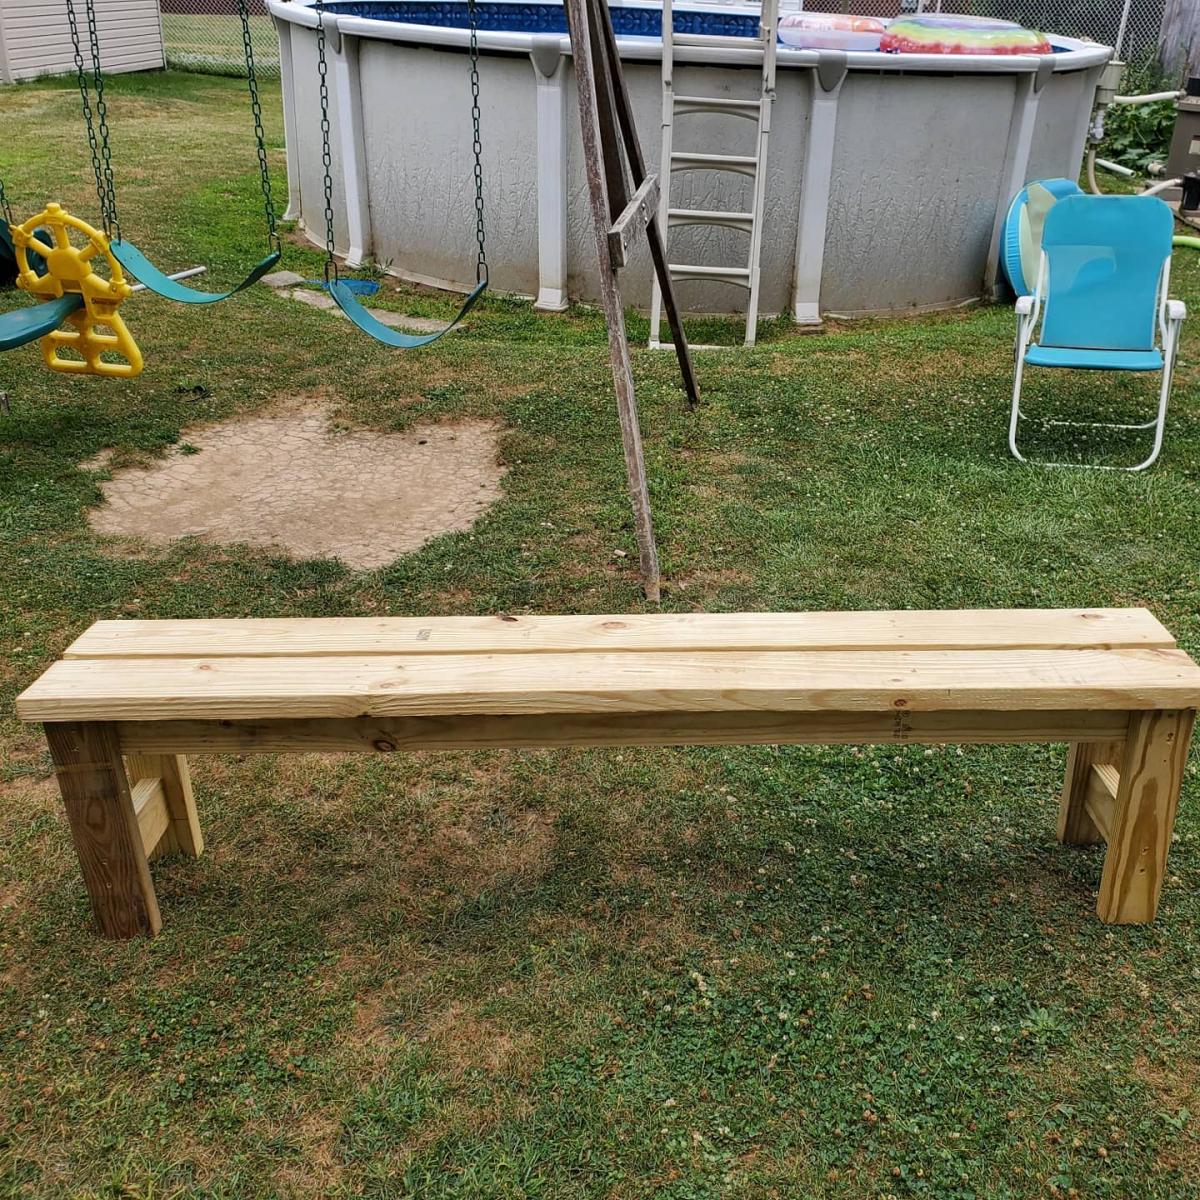
Great, sturdy, easy build!!! Looks amazing and will be my new picnic outdoor seating. I cannot wait to build the next bench and table to go along with it. Thank you for the plans!!!!
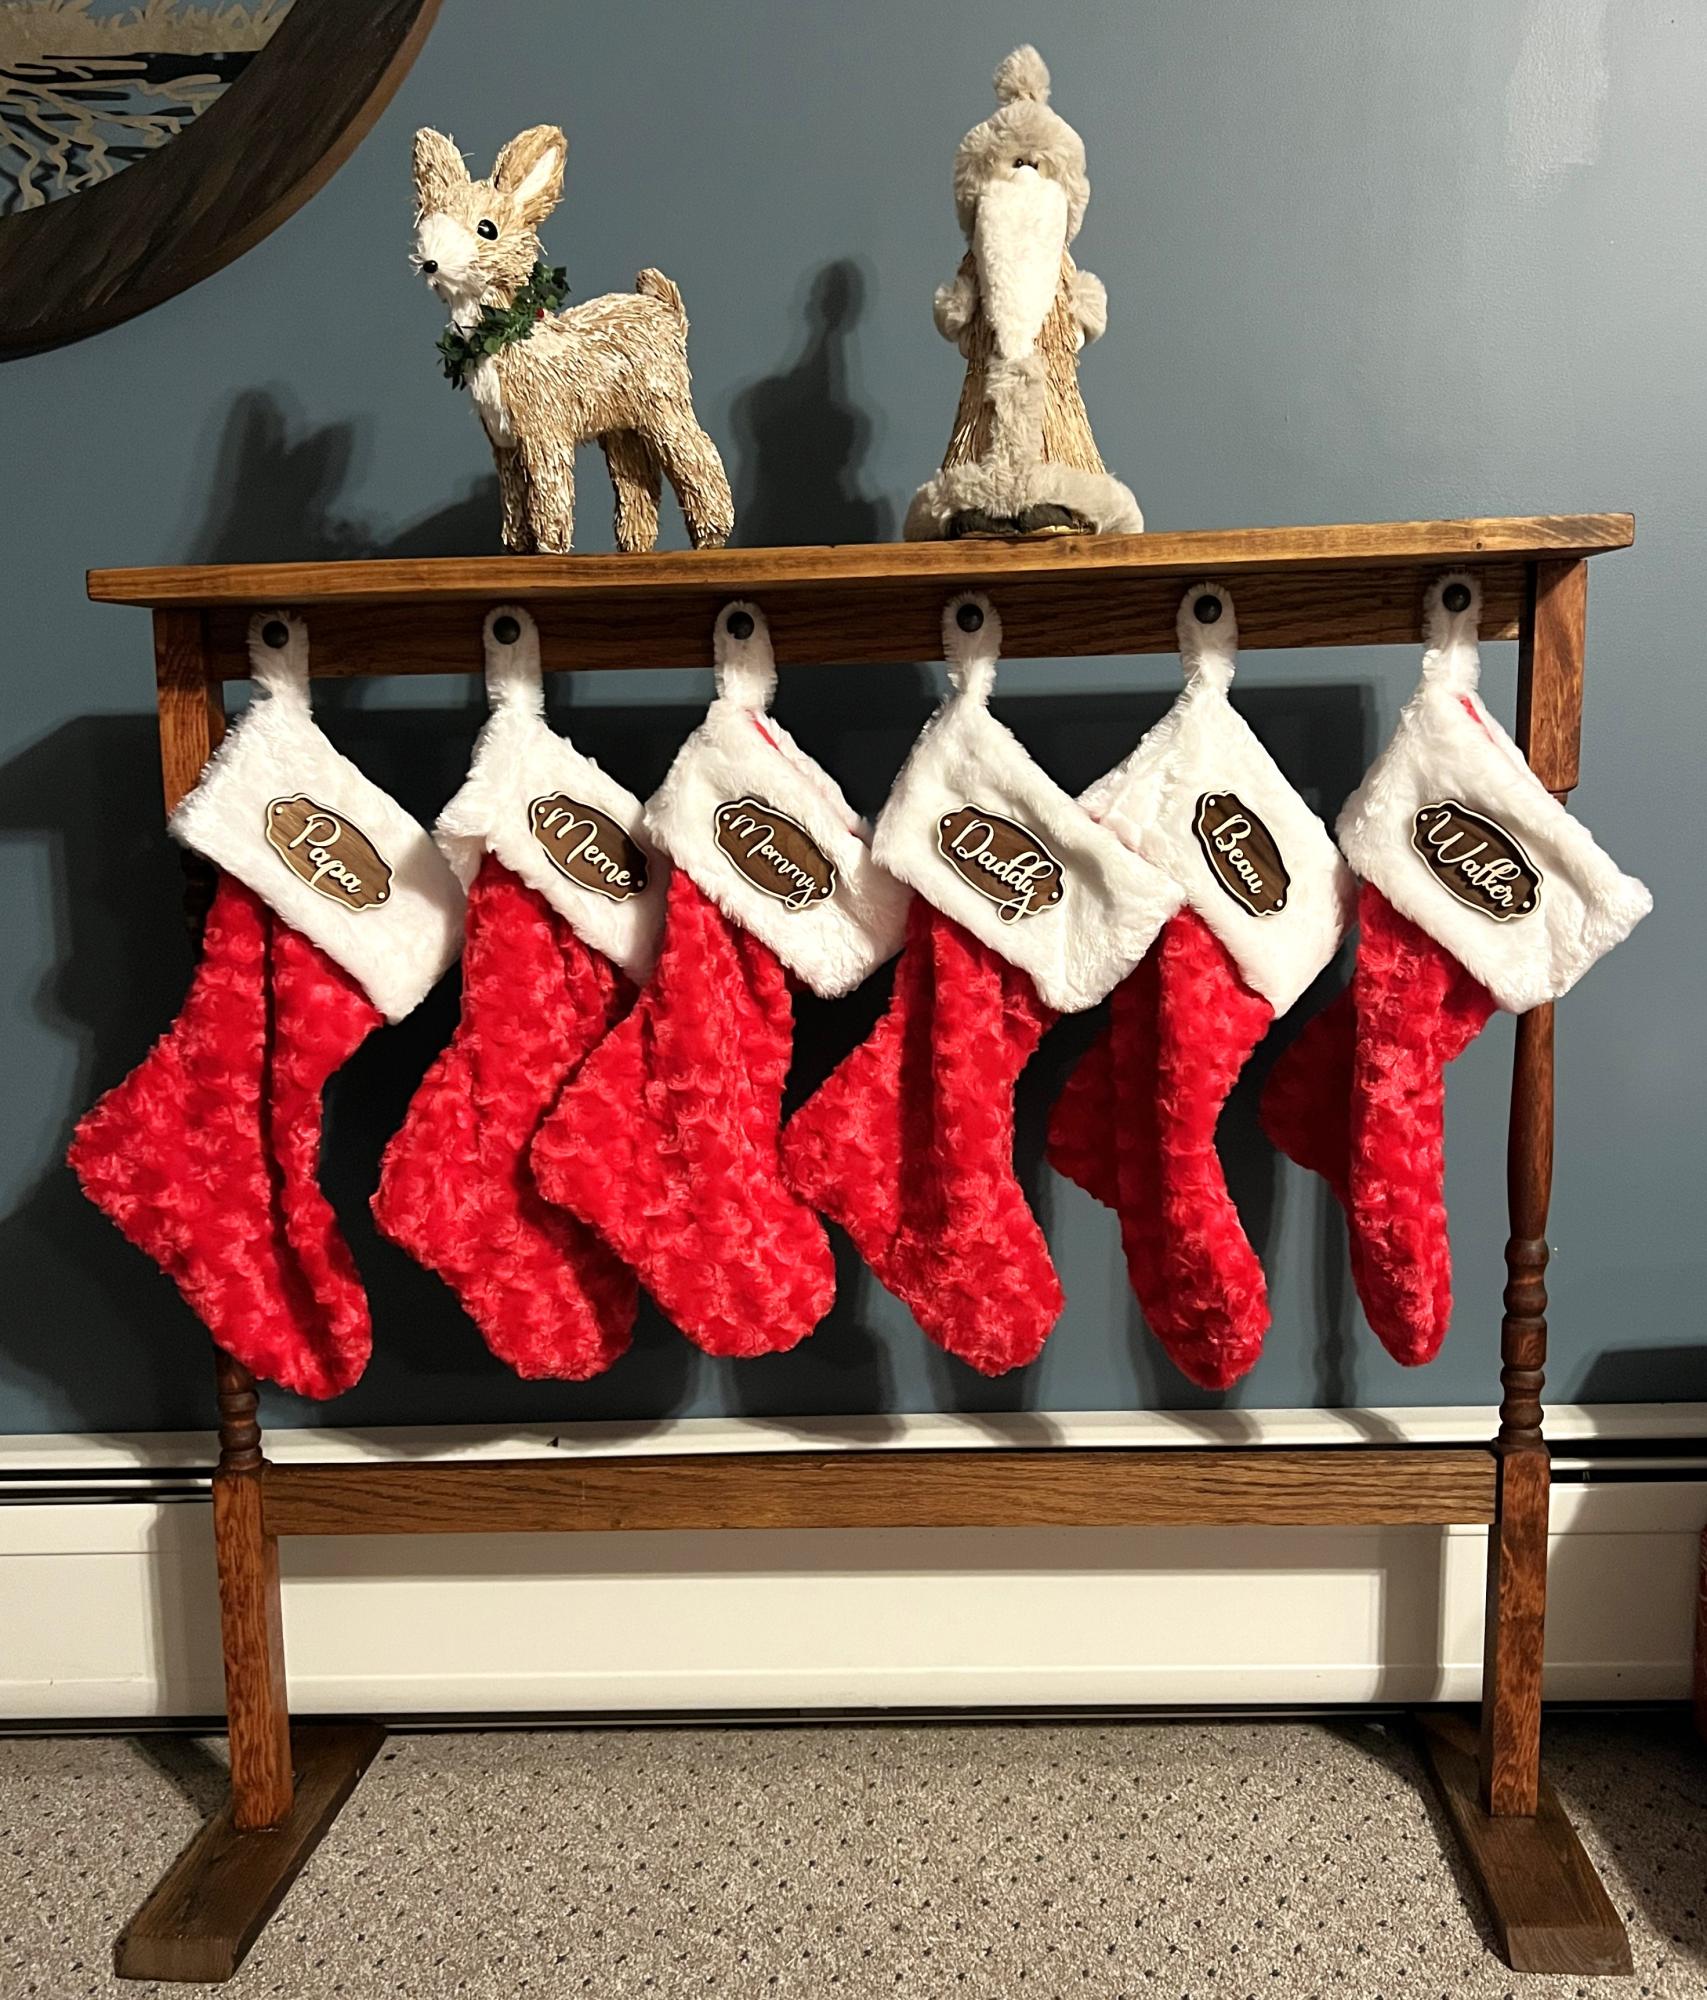
I was inspired by the Christmas stocking holders, so built my own from all scrap wood.
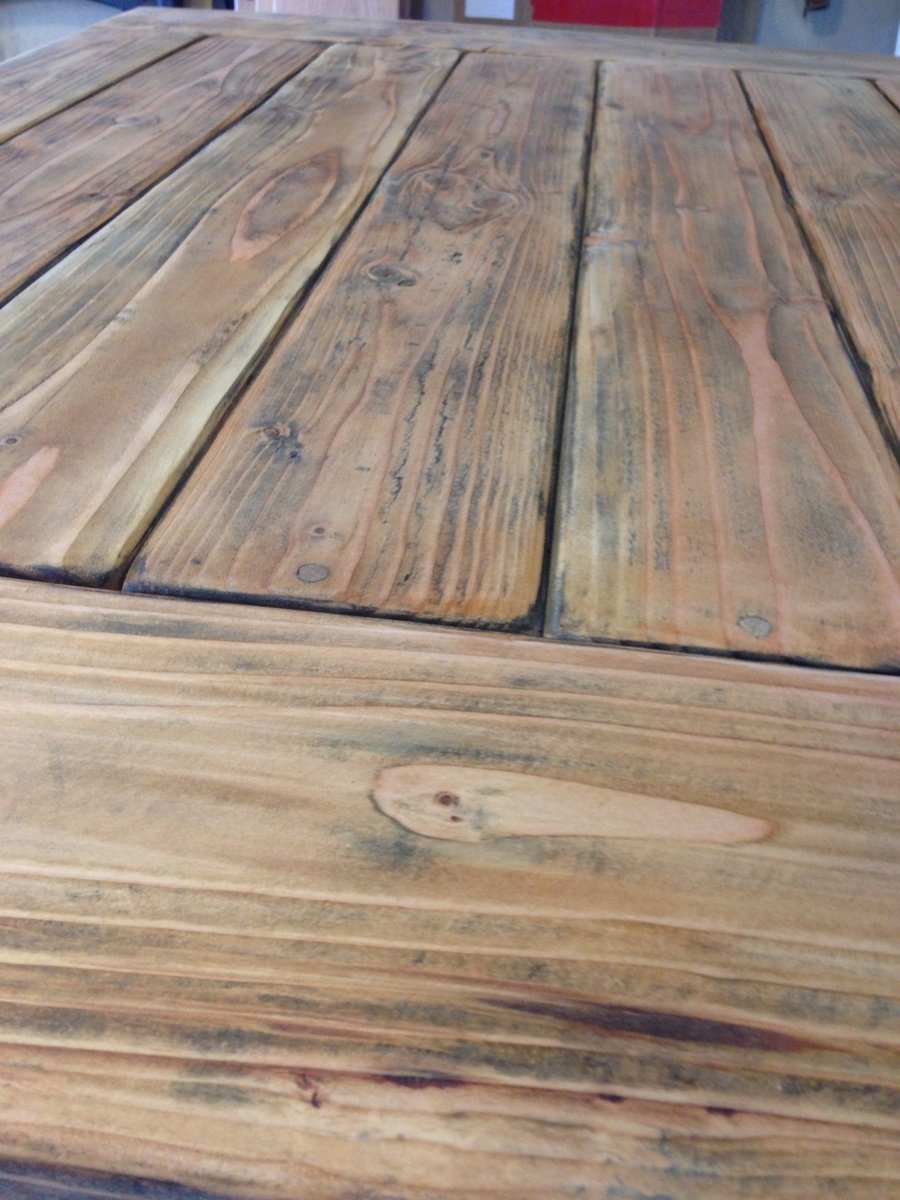
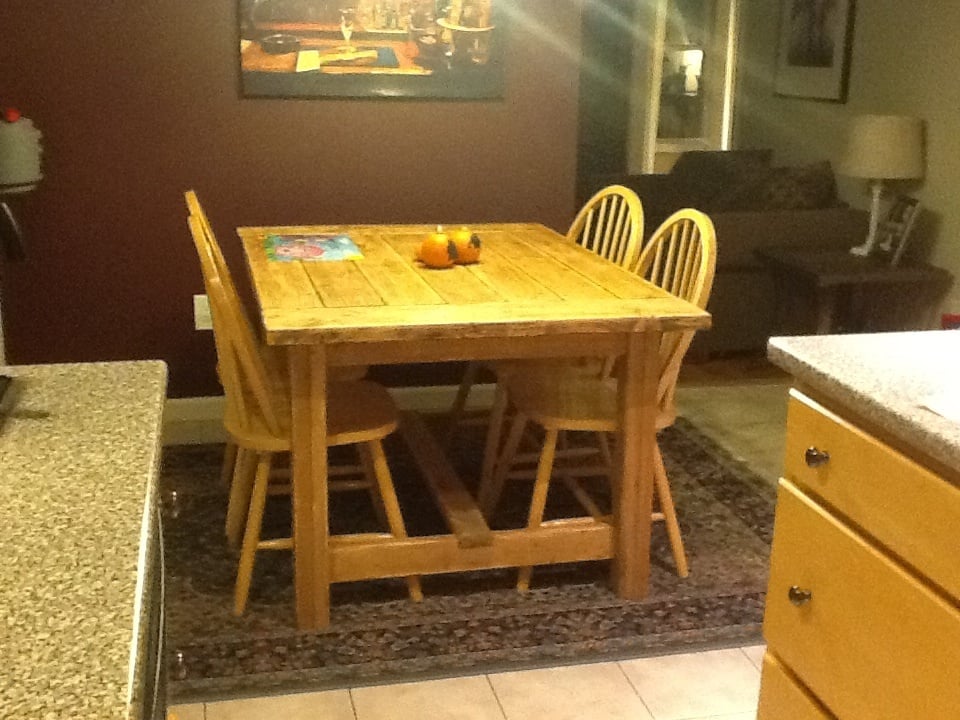
I loved the look of the farmhouse table, but it was a little long for what I needed as our kitchen table. The original plan made a longer dining room type table. I decided to shorten it up a bit, it has a bit more of a stocky look to it but we love it! It is such a solid design, and we get such great compliments on it. I used wooden dowels to fill the screw holes which gave it a bit more country look to it because the vinegar stain turned them a slightly different color than the tabletop.
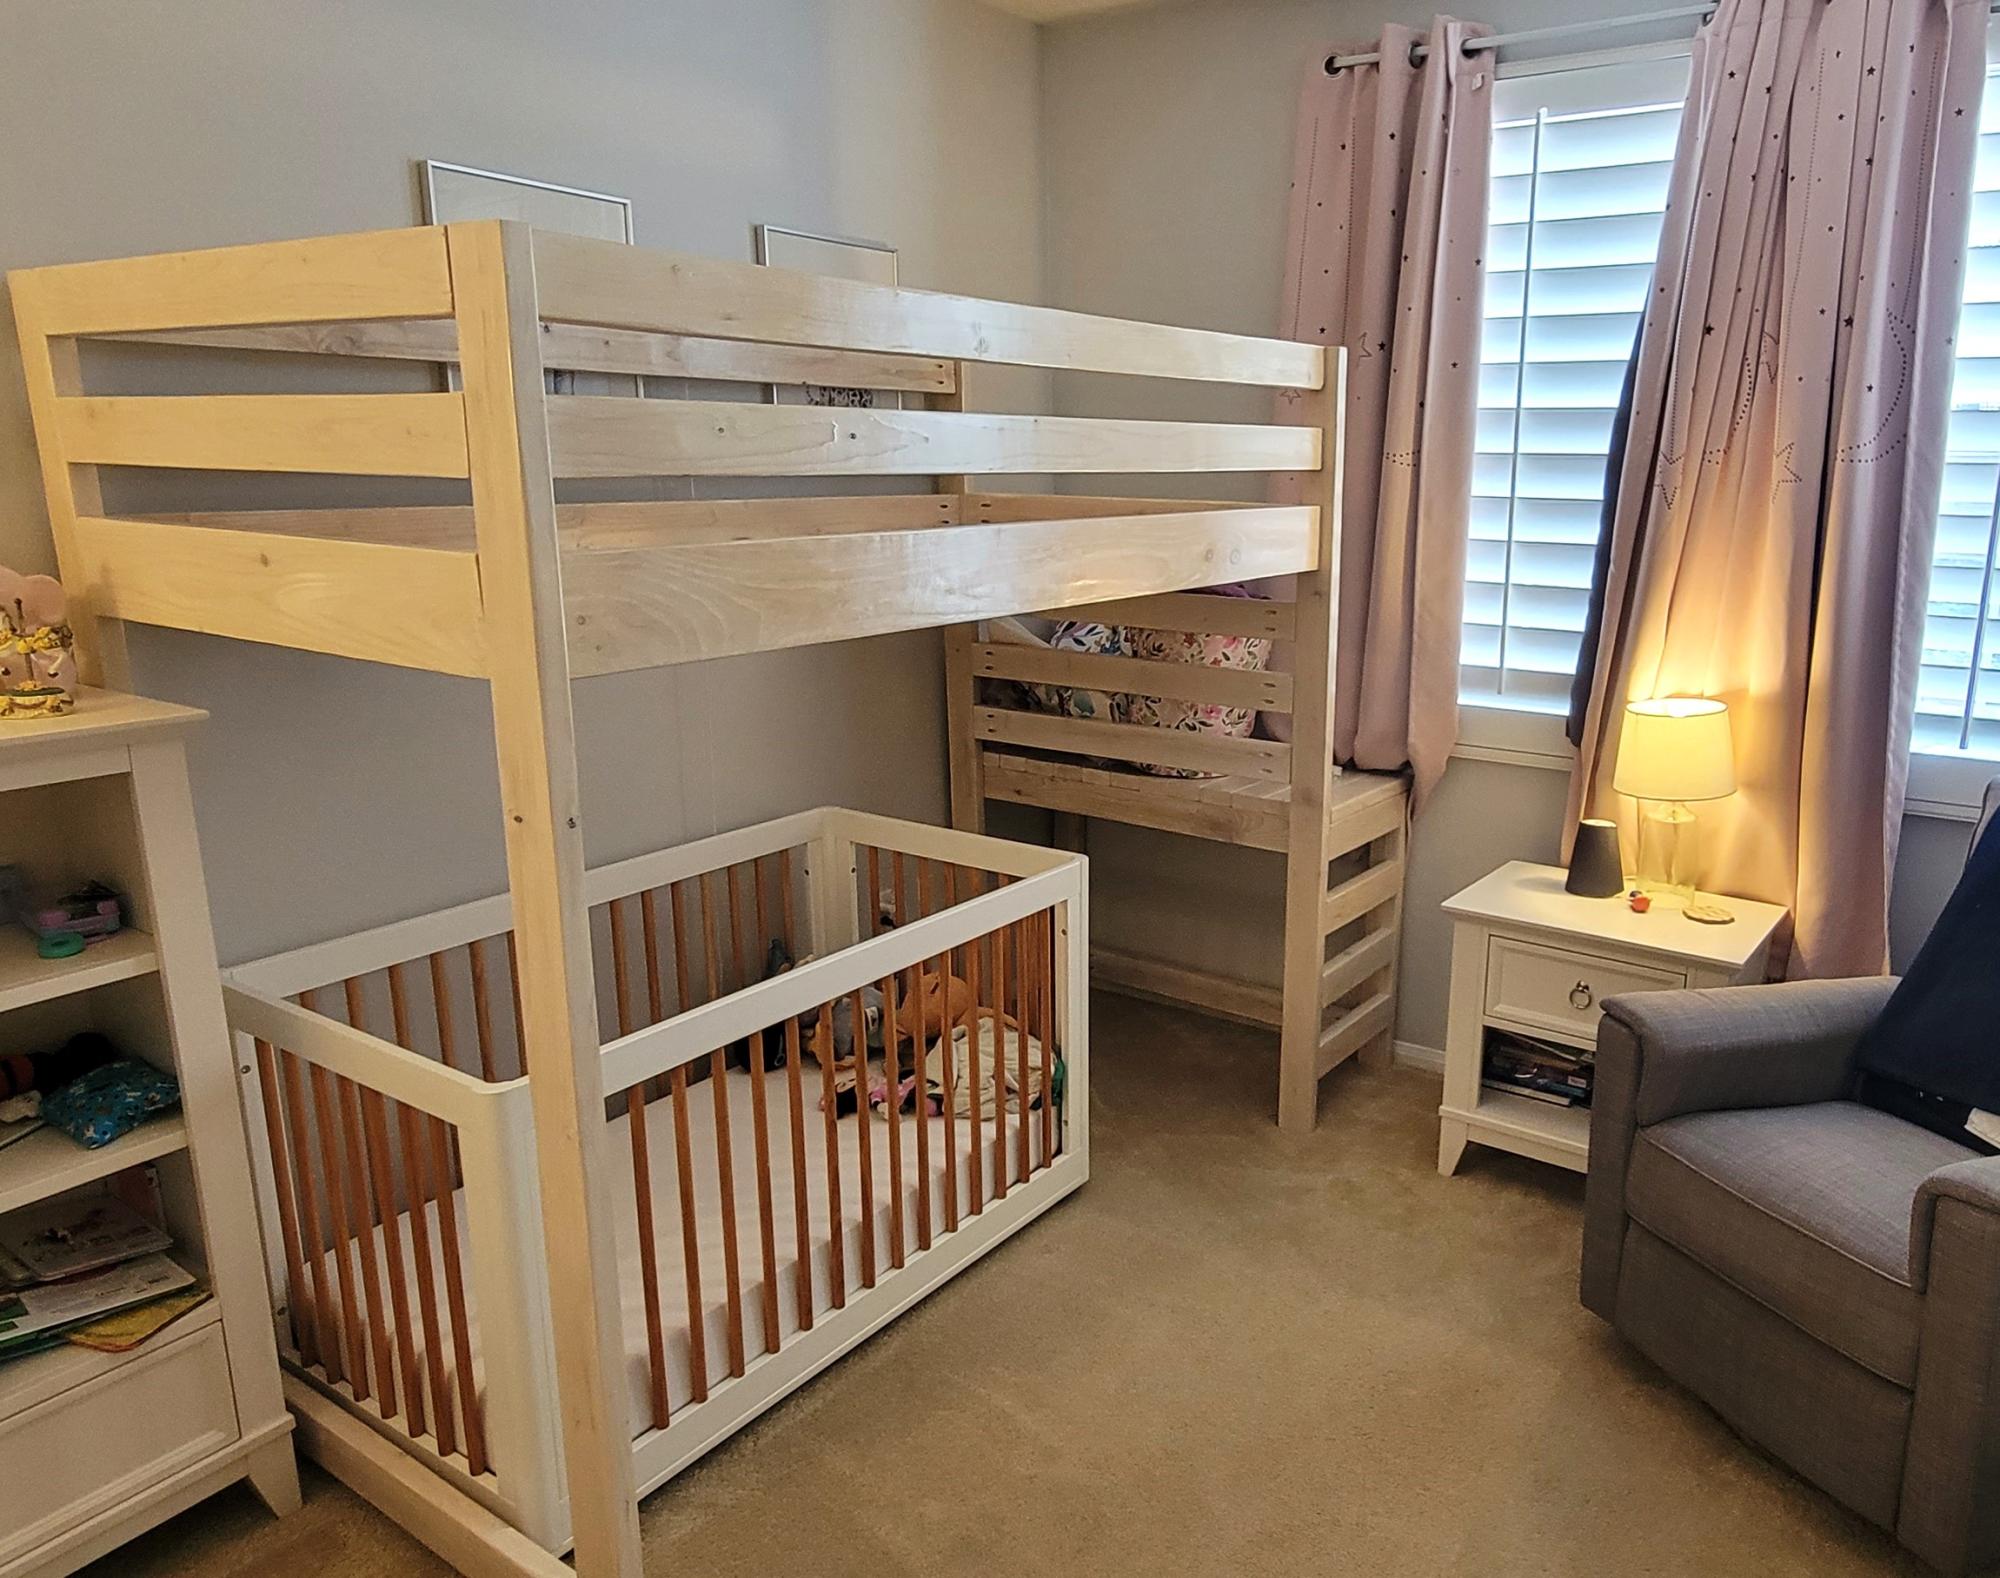
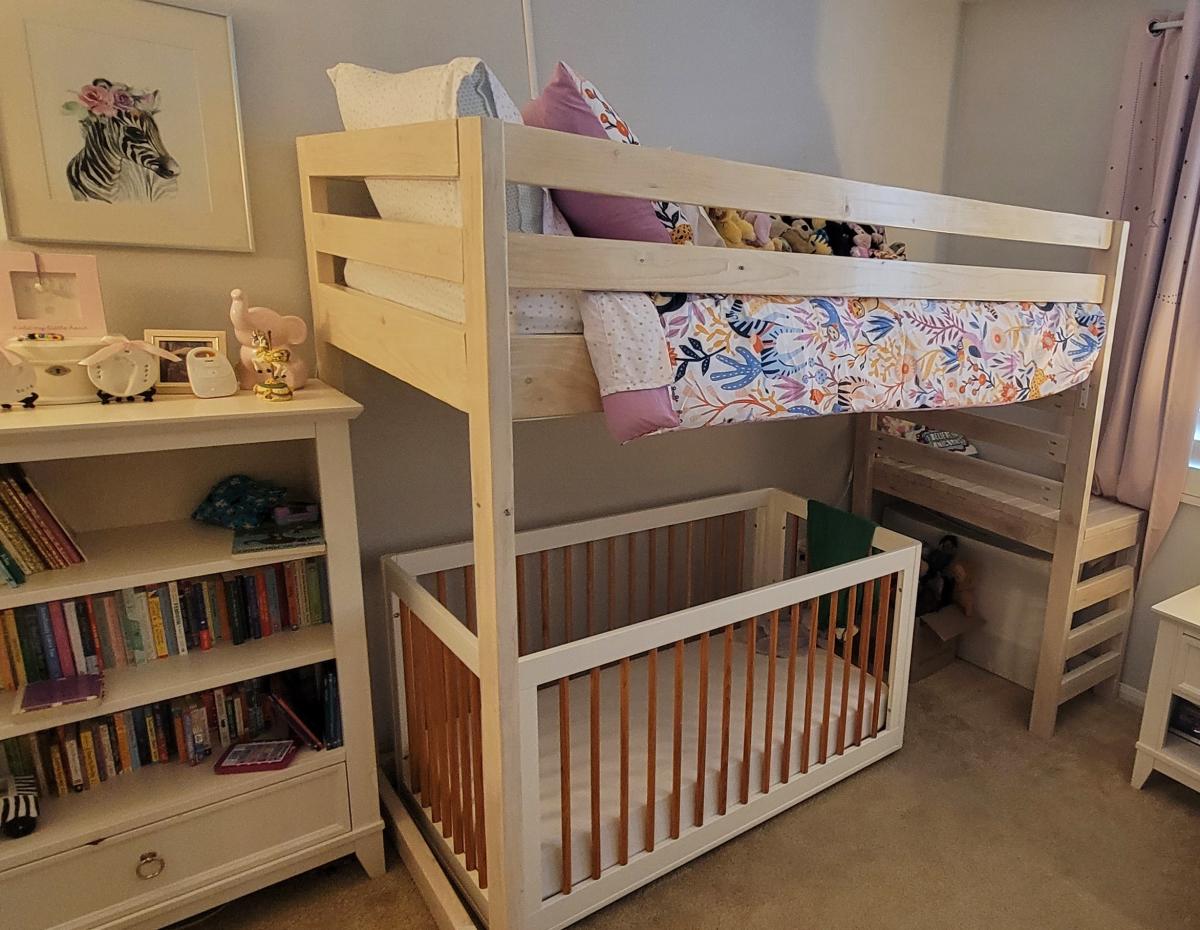
Made the loft about 6in taller to accommodate a crib until our littlest one is big to build it out. Also made a reading spot/ platform to add confidence to our toddler when climbing.
Brendan
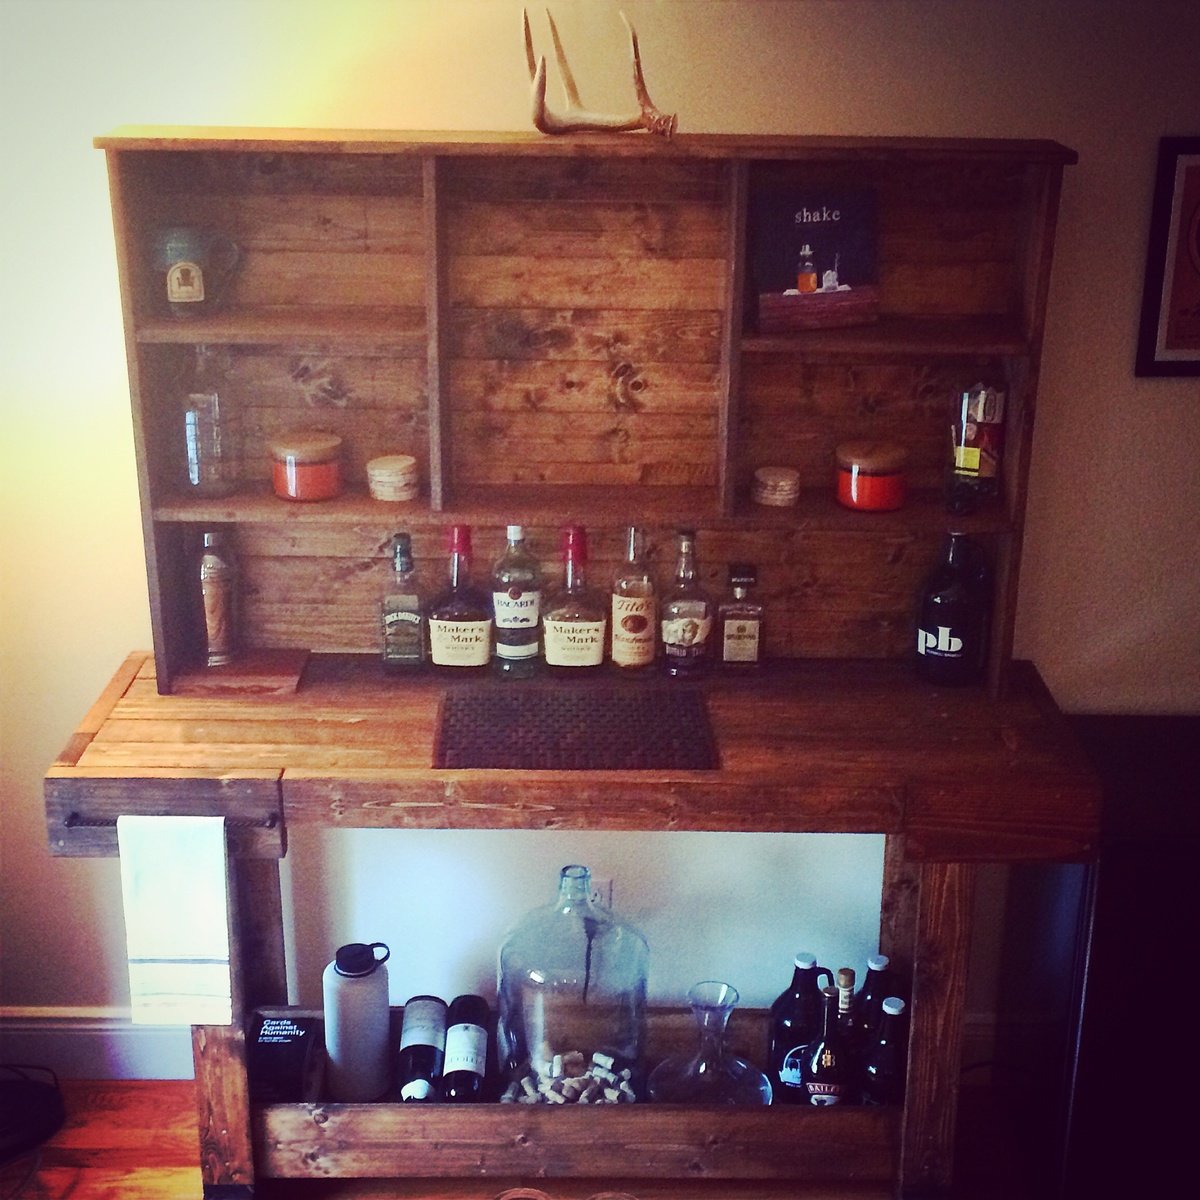
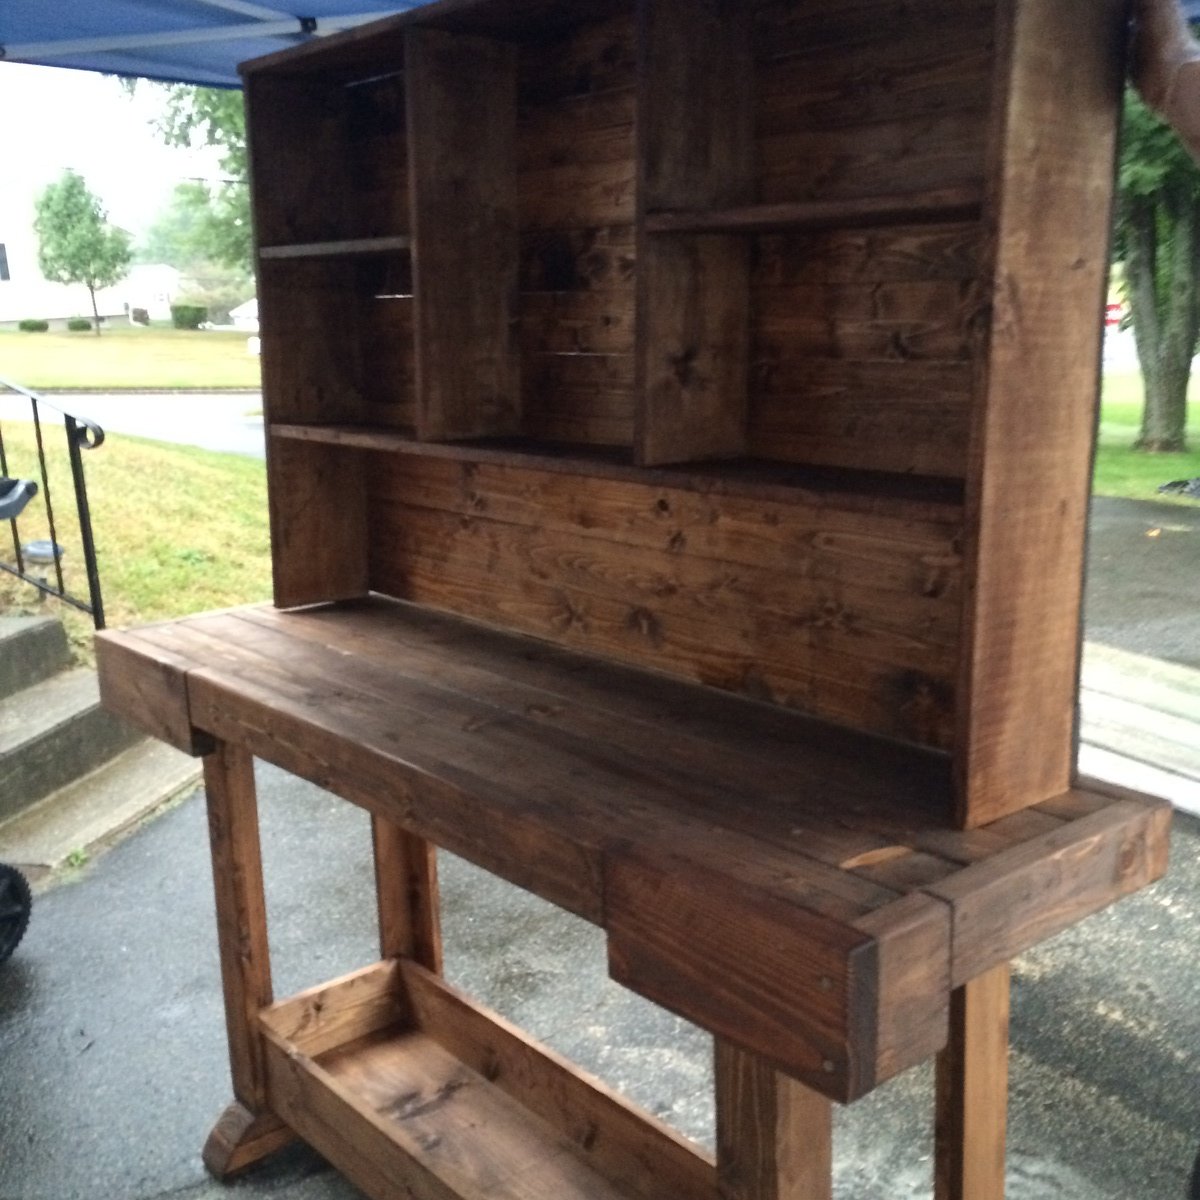
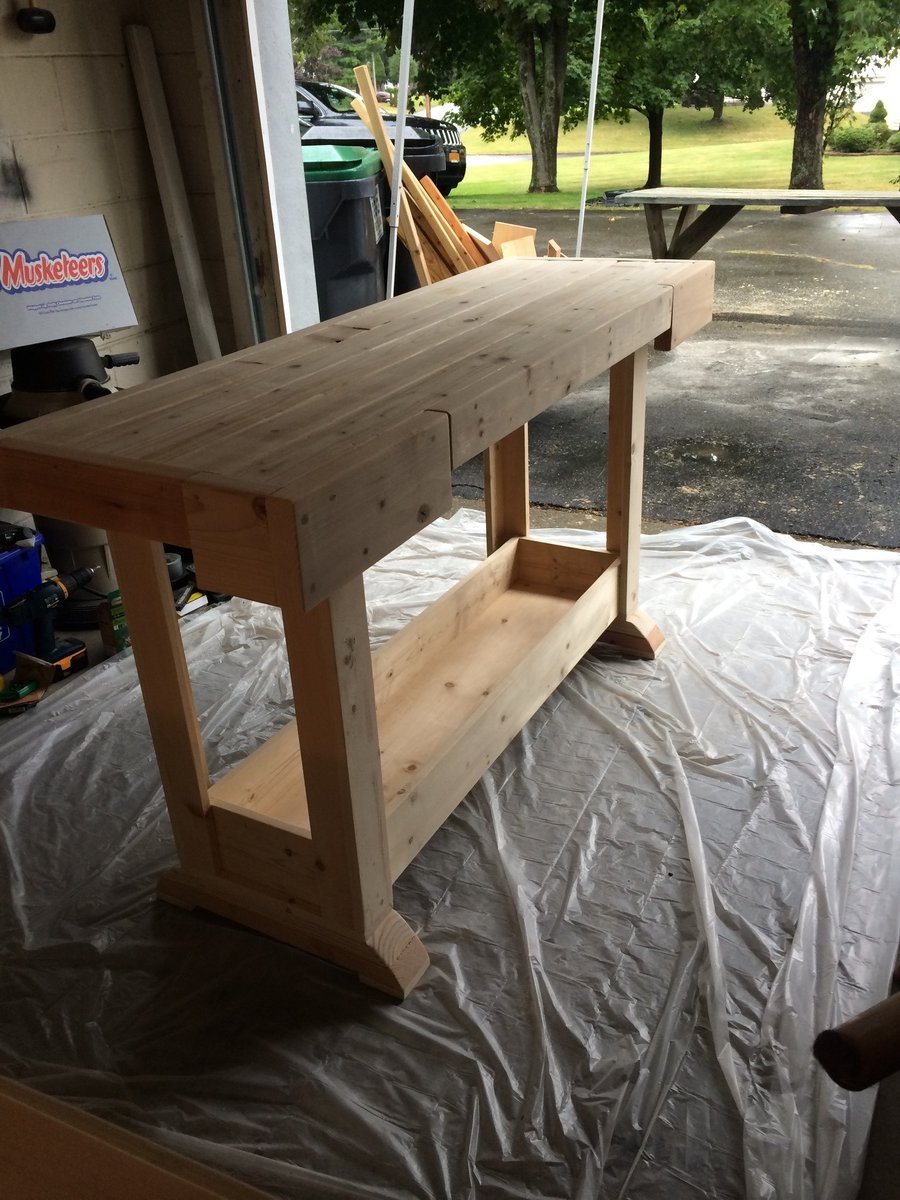
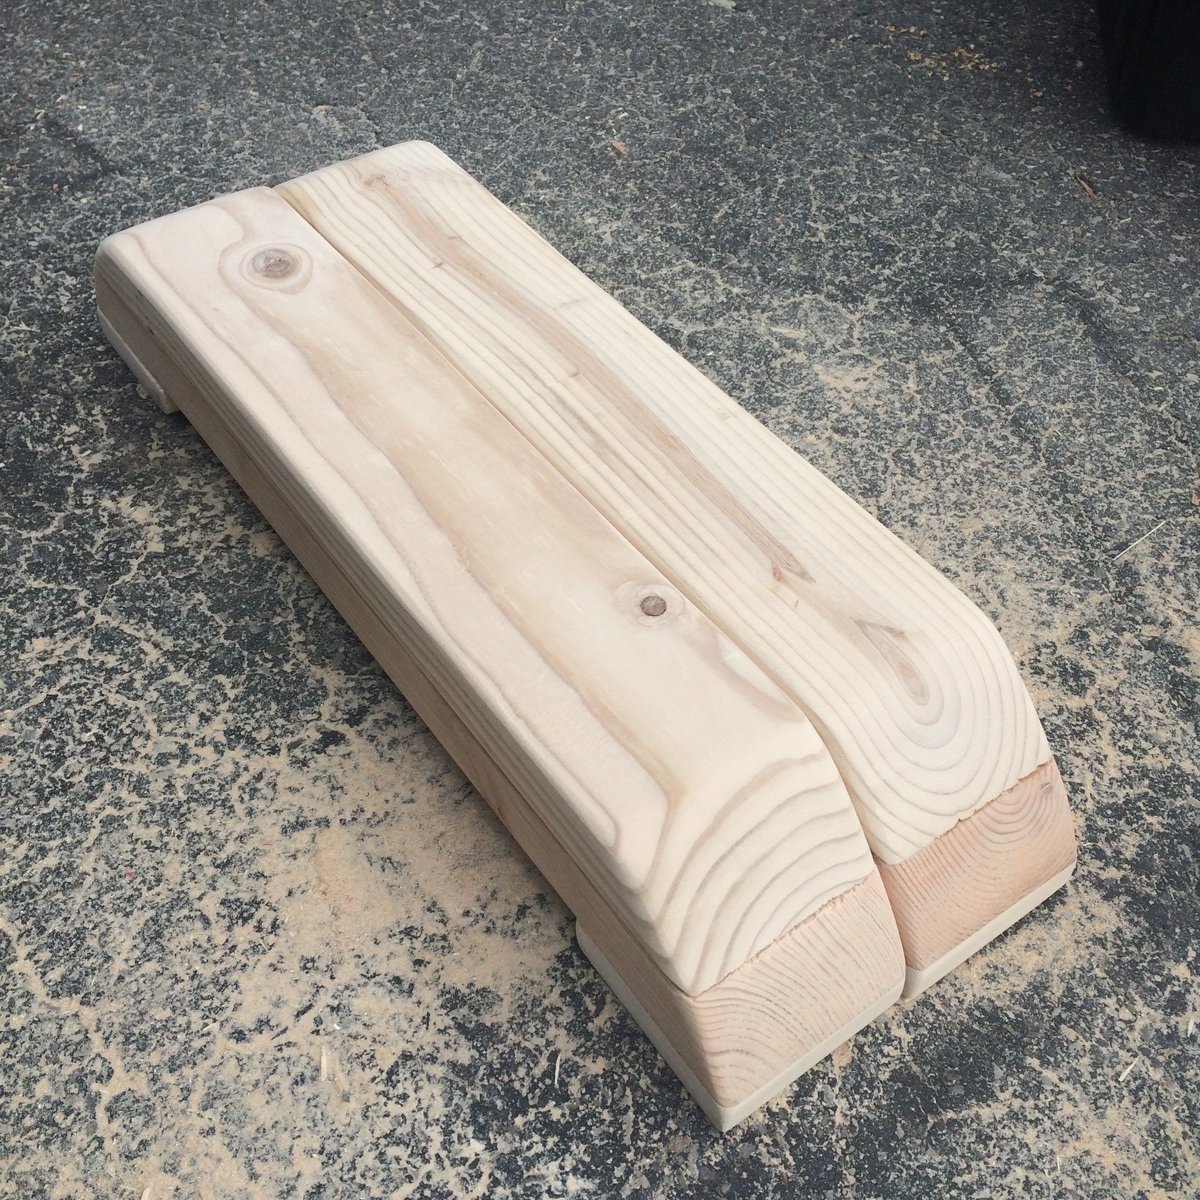
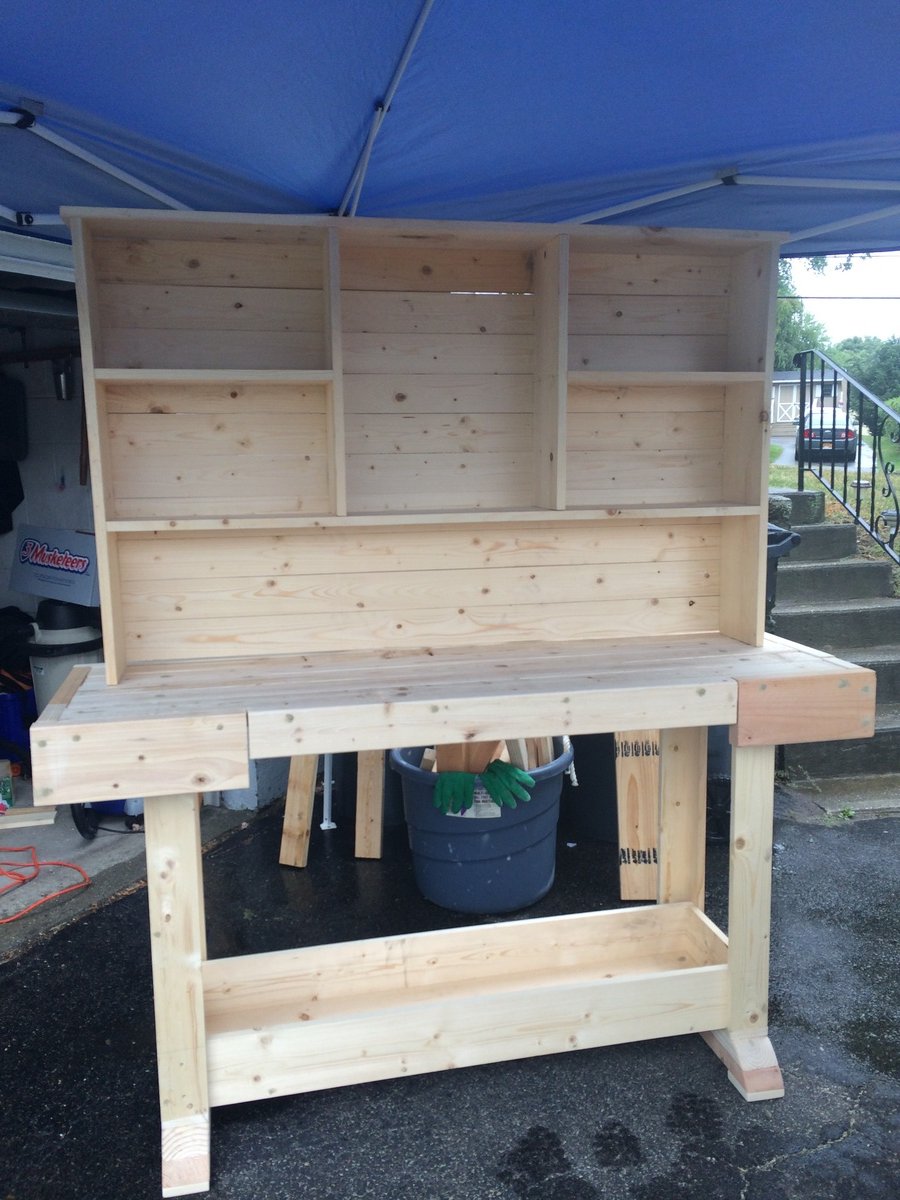
We've built a headboard, two nightstands a farmhouse table and bench all off of knockoff wood and this workbench console table and hutch was the Easiest build yet !
We didn't use pocket holes so instead of doing the middle center shelf of the hutch we chose to keep it open. I actually love the way this looks better than the original plan!
Waiting on our black bear mount bottle opener that will be attached later this week and then we can't wait to stock up our new bar. It looks great next to our farmhouse table and bench!!! Thanks for the deer antler inspiration - this gave the perfect finishing touch!
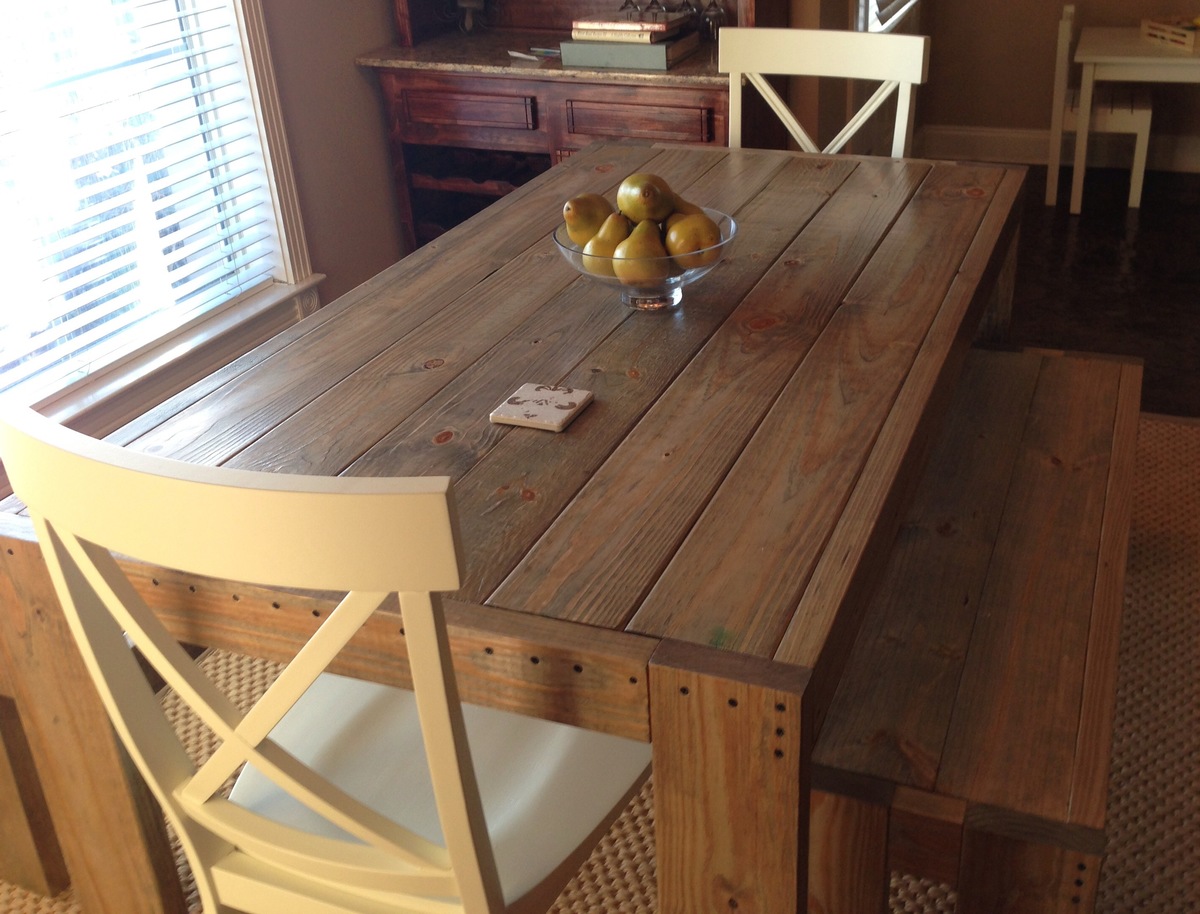
This table and bench combo was a fun project to complete and was not very difficult (hardest part was picking out straight boards at the lumber yard). The table was stained with weathered oak stain and finished with satin polycrylic. The chairs were purchased, I am not skilled enough to build those!
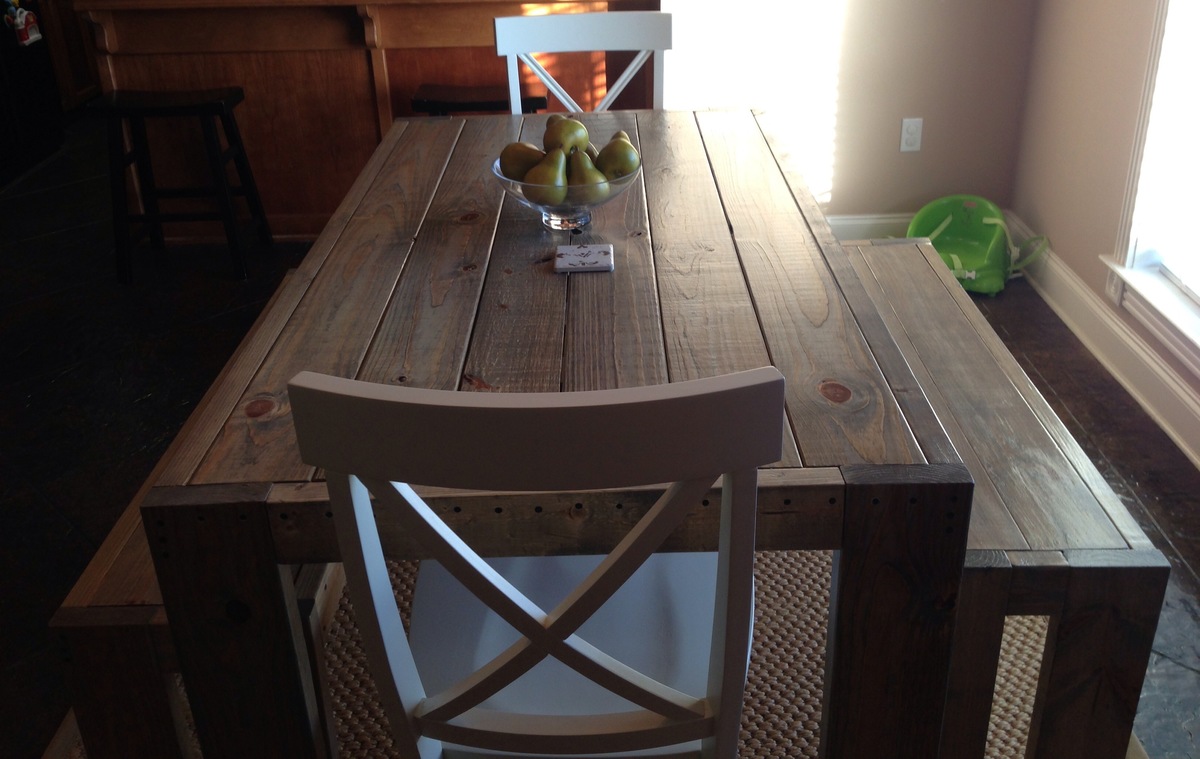
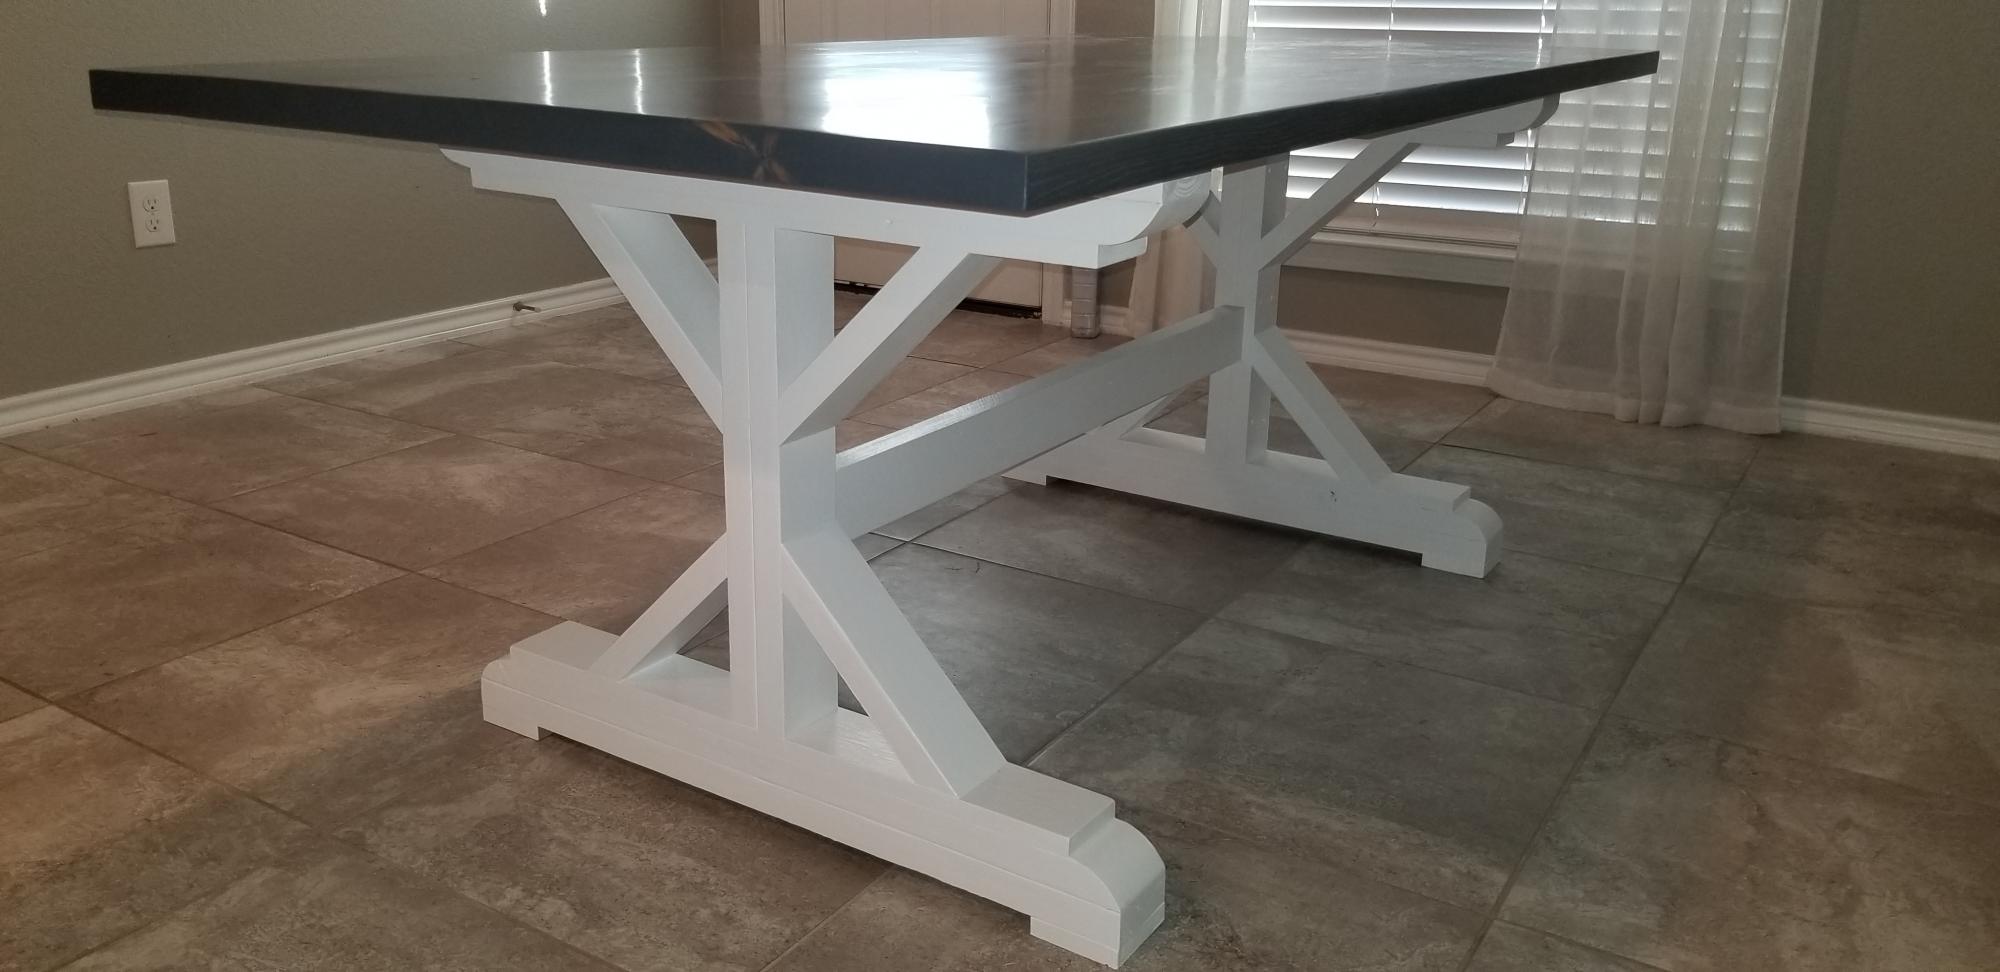
This was my very first table. We could not find one in stock so I found these plans from Ana White. The base was easy enough if you take your time and make sure you are oriented right before cutting.......not that I made any mistakes by not double checking before plunging that saw into my work piece. The top was modified to be 6 feet long. I edge jointed, using an electric hand planner, the 2x6s after planning the faces flat. This helped my hand planner to ride flush and make a pretty straight edge after a few passes taking off very little each time. This actually took longer than building the base. I pocket holed the underside to squeeze the top together with some glue. It turned out almost perfectly seamless. I mixed some fine sanding dust with some poly for any cracks or blemishes. That allowed the stain to actually take, unlike with wood filler.
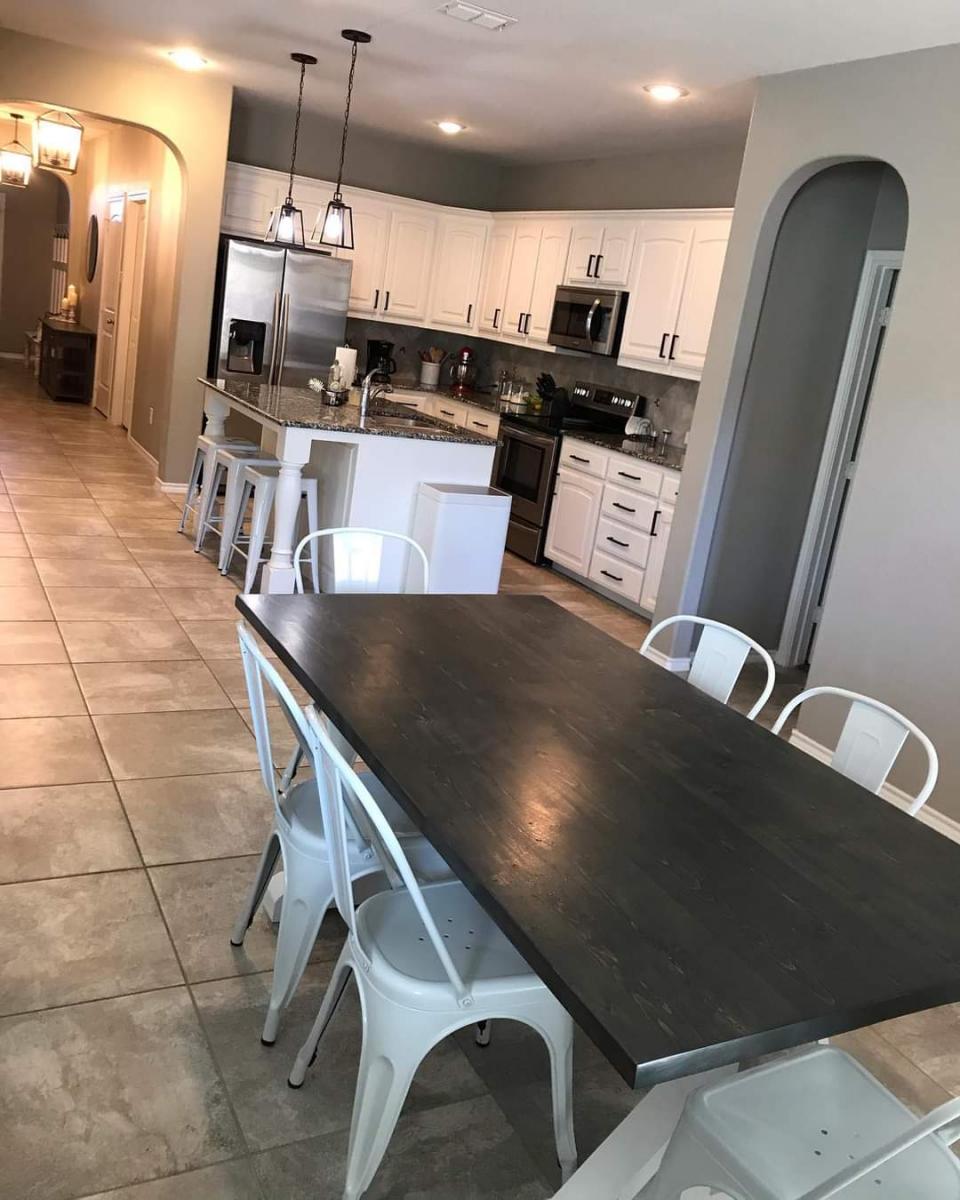

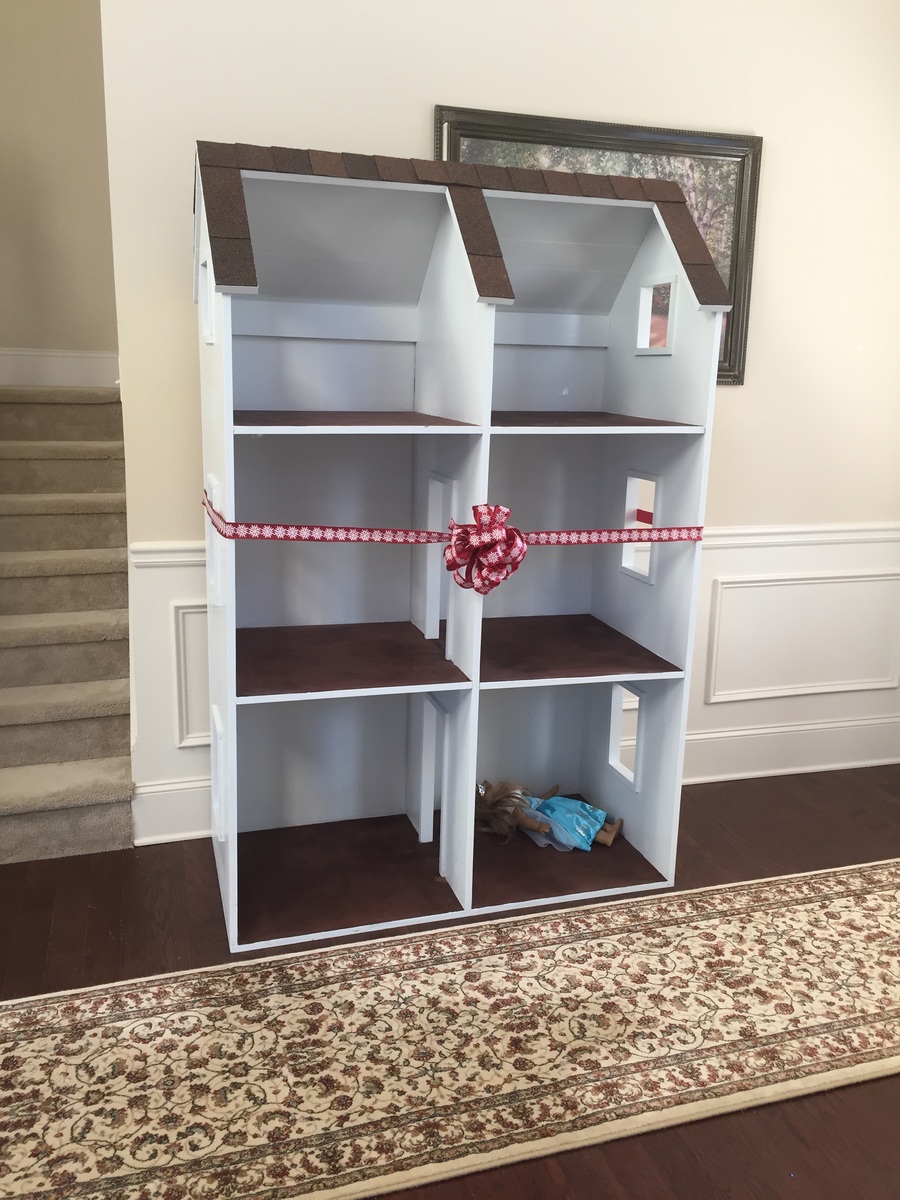
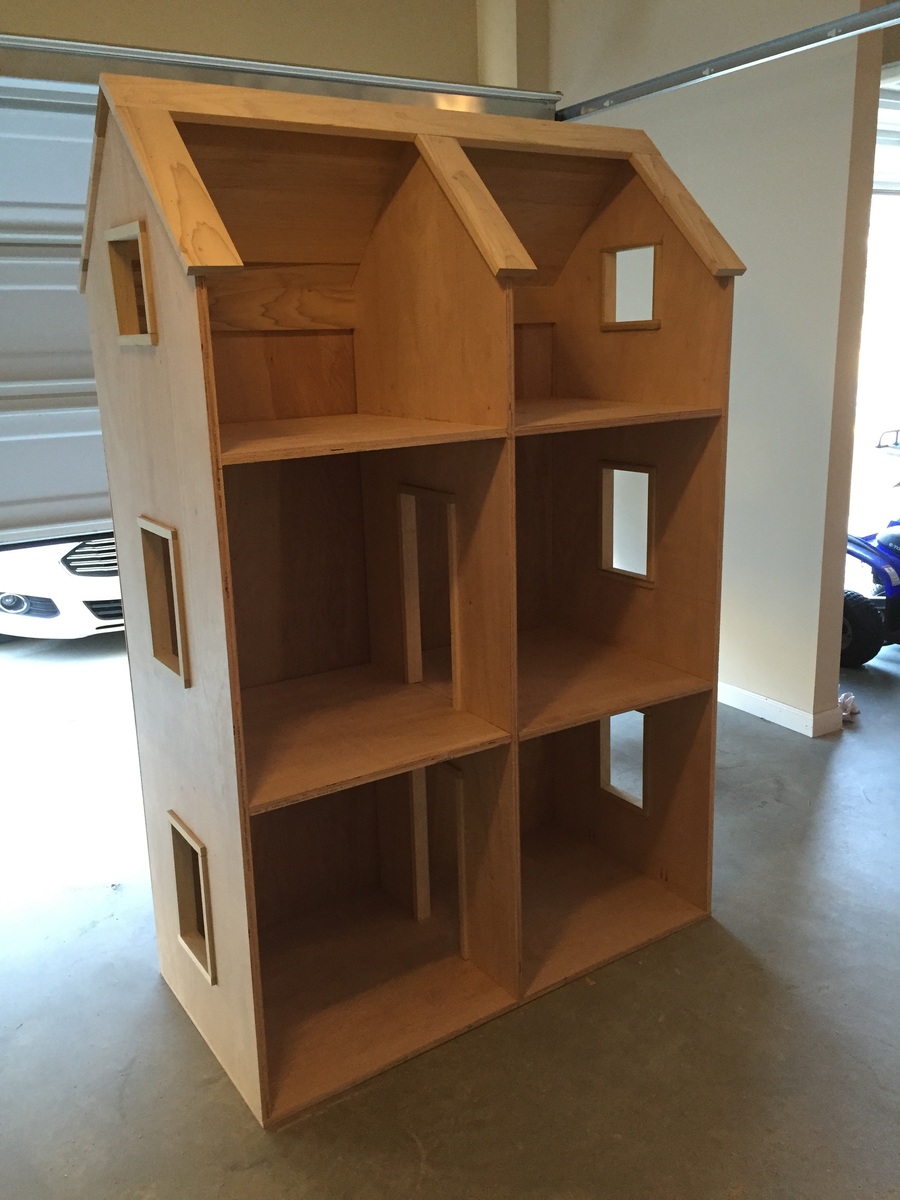
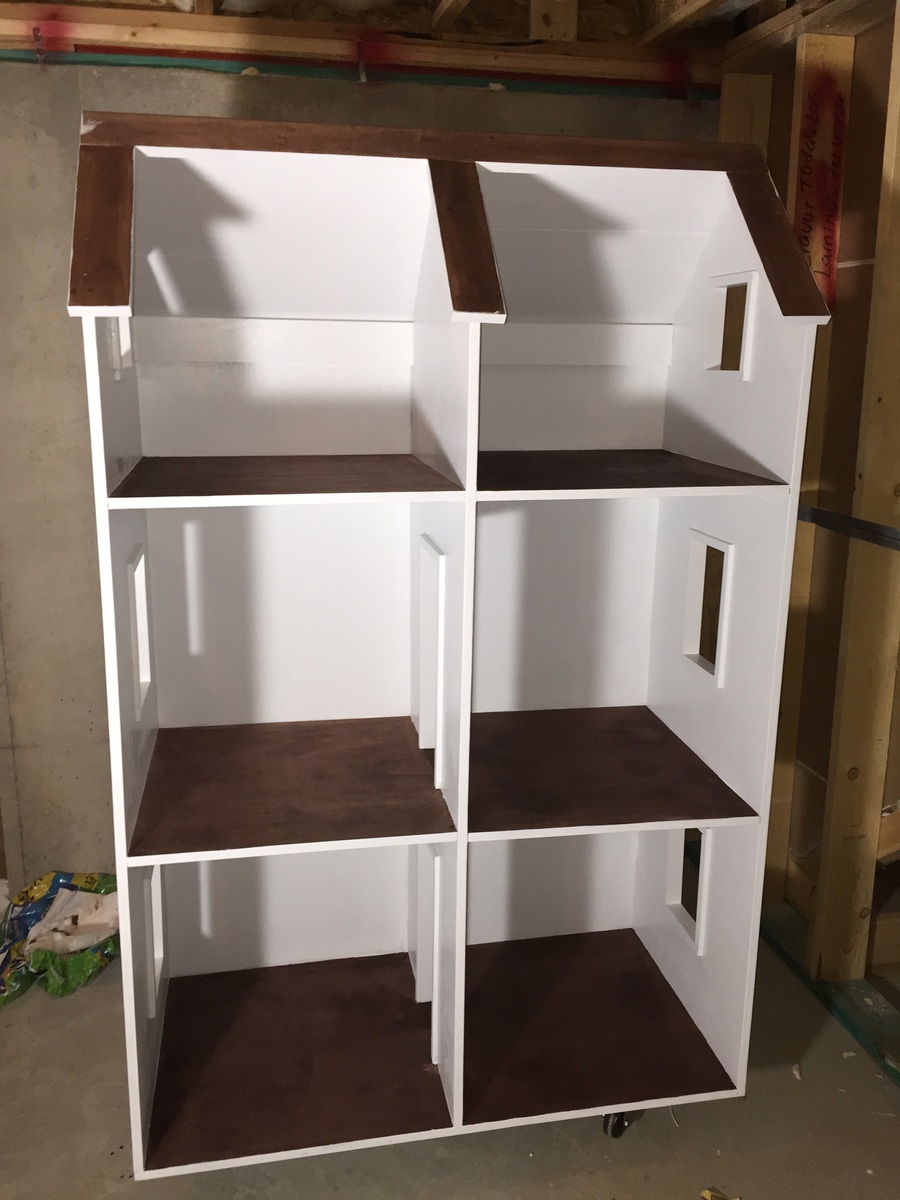
My fiance and I built this for my seven year old daughter's Christmas present. I have built several pieces of furniture before but this was our first major building project and I'm proud to say we made a great team!
We didn't make any major changes to the plan, we just chose to leave the wheels off the bottom and we added two boards across the back of the attic rooms so we would have something to attach the back too. We were lucky enough that this project coincided with my dad have his roof replaced and he had spare shingles, so her doll house has real asphalt shingles! They were actually a lot easier to add than I expected, we simply scored the back of the shingles with a knife and then they cleanly broke apart. We used a staple gun to attach the shingles we would be able to layer so you couldn't see the staples, but for those where the staples would have shown we used a hot glue gun.
The only issue we had was moving it around without my daughter noticing because it's so big! My fiance and I actually scratched up a door frame trying to sneak it under the tree after she went to sleep because it's so large (totally my fault, apparently I need to work out more). Other than that everything went smooth and it was fun to build and so exciting to watch my daughter freak out over Christmas morning!!!
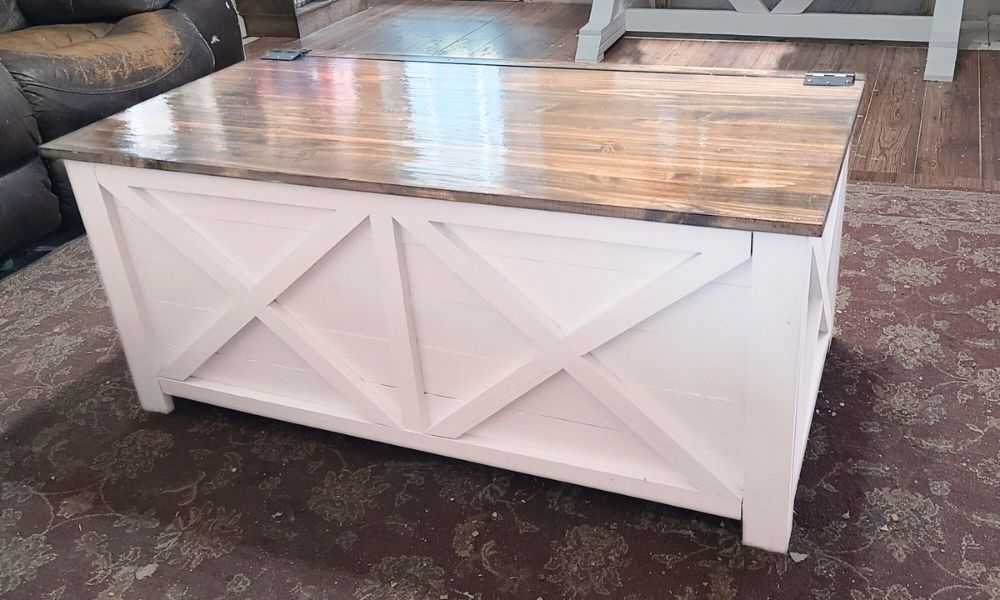
Made a few adjustments to the farmhouse toy box. Made it a little bigger and added Xs out of 1x2s around it to give it a little extra something! I'm using it as a storage coffee table and I couldn't be happier with it! So in love!
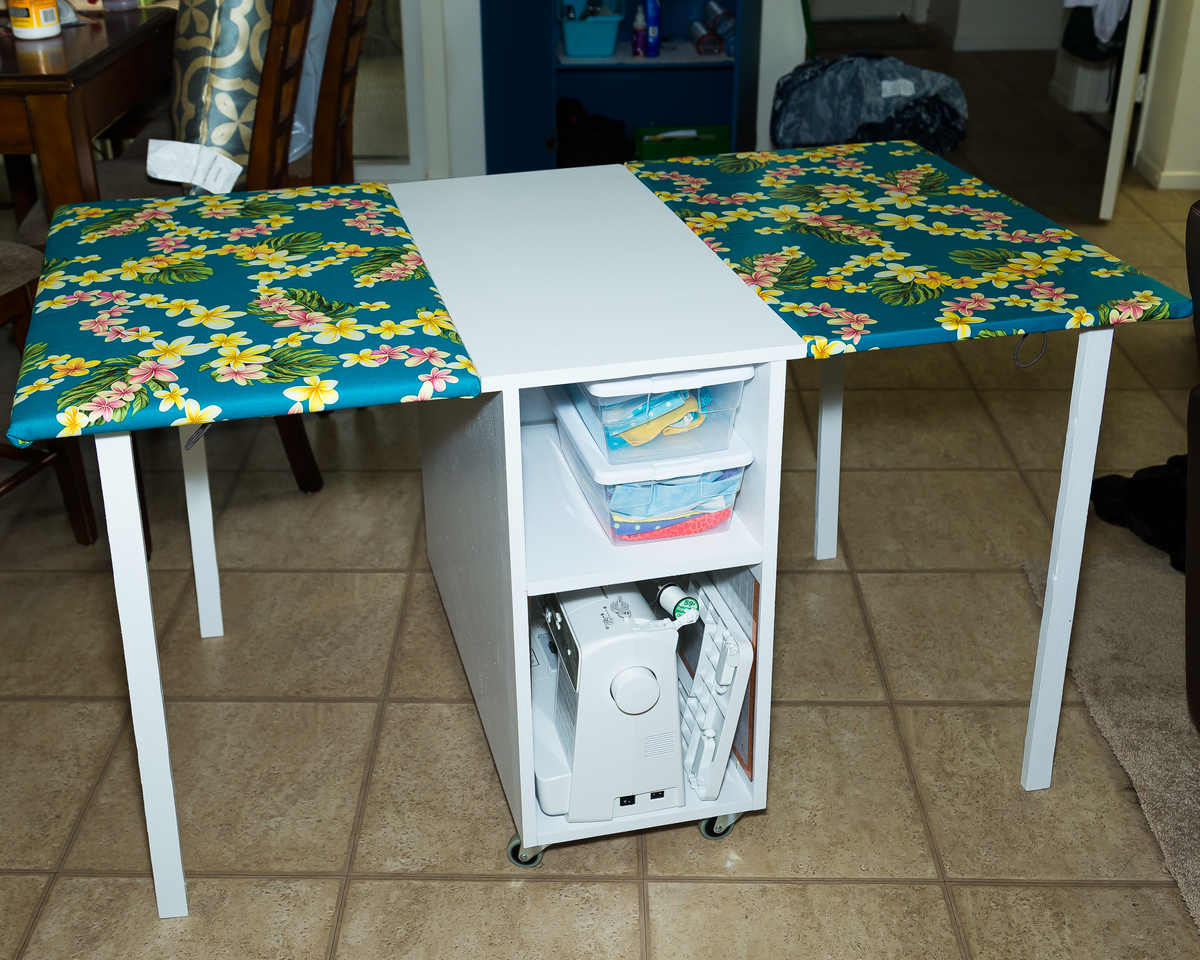
Thanks for the inspiration! This was my first full blown creation and my wife loves it. Cannot wait to do more!
This was just the right table design for our history home built in 1880! Love the plans and easy to build!
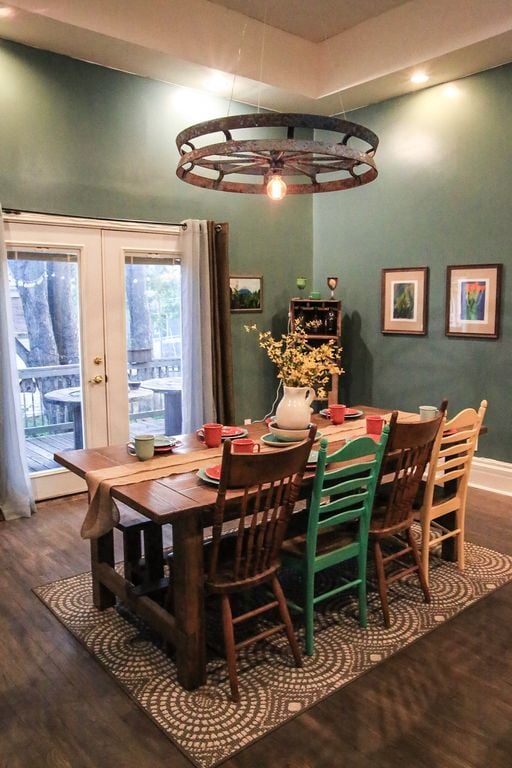
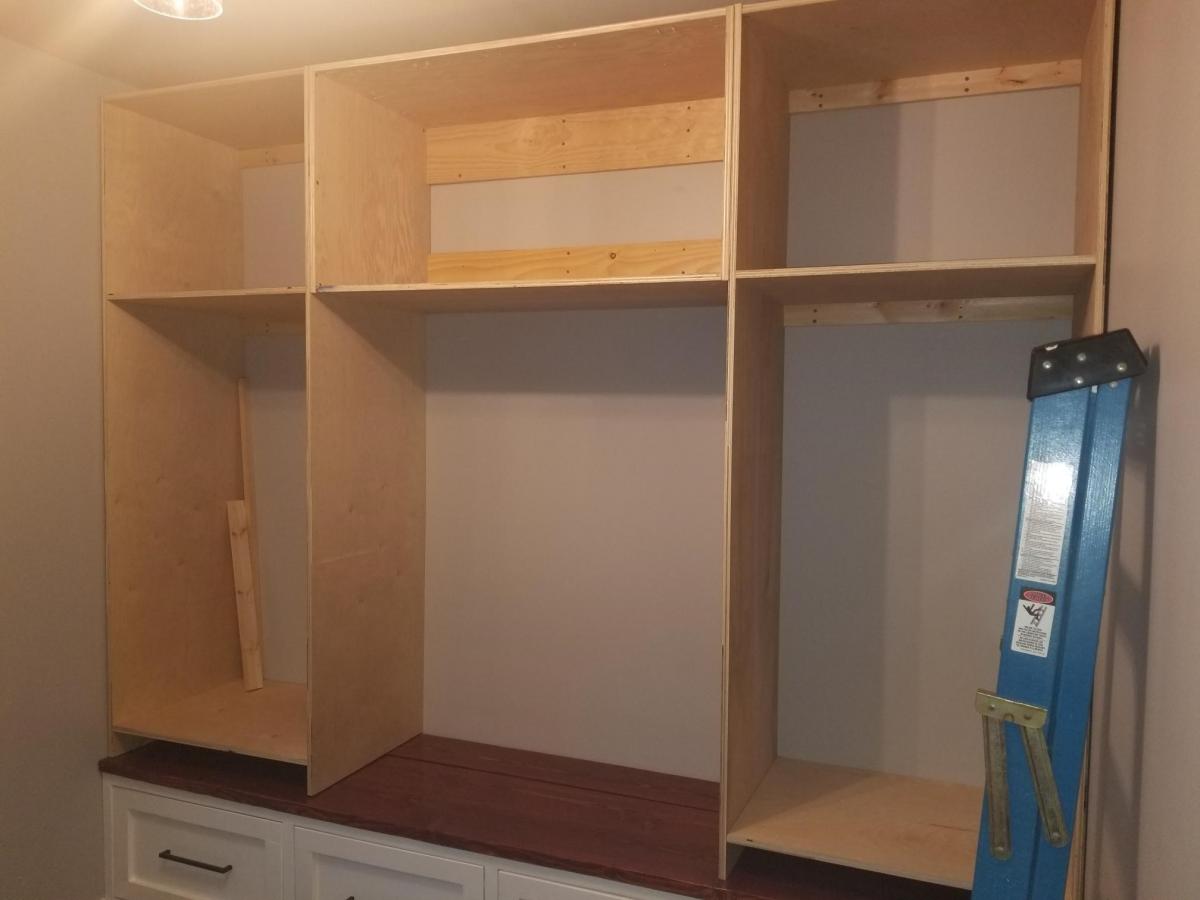
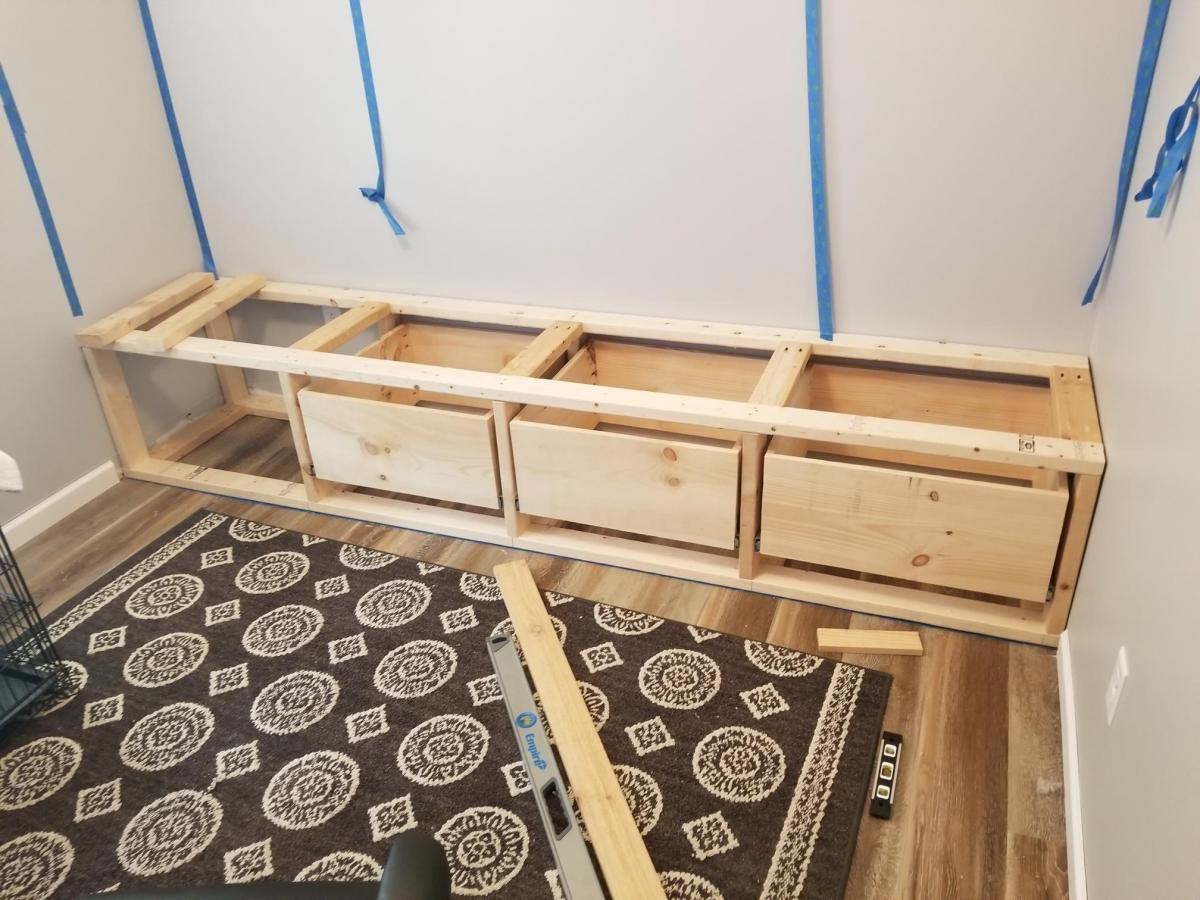
Built this new Mudroom / Office from some plans i found on your website and I absolutely love it! It has turned out better than I Expected and I learned soo many new things when planning and building this out!

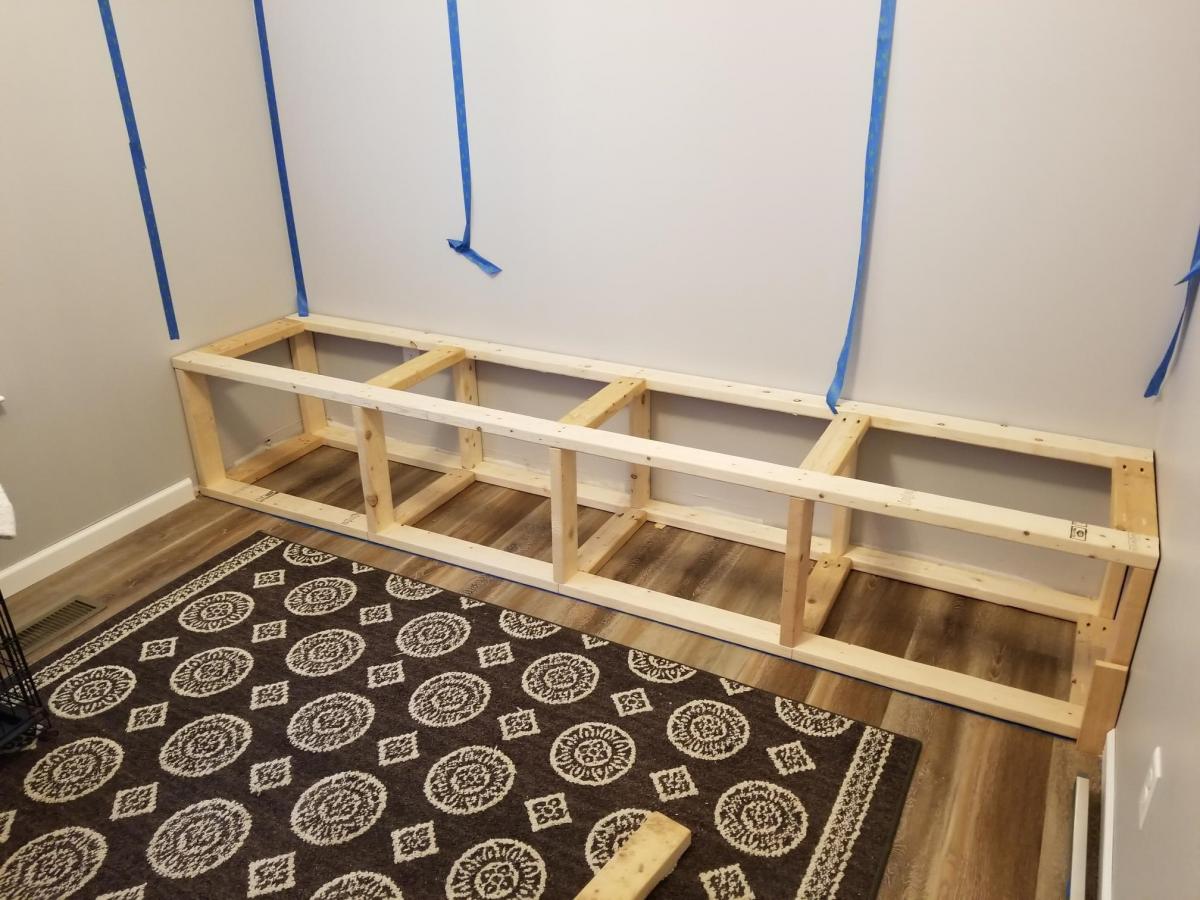
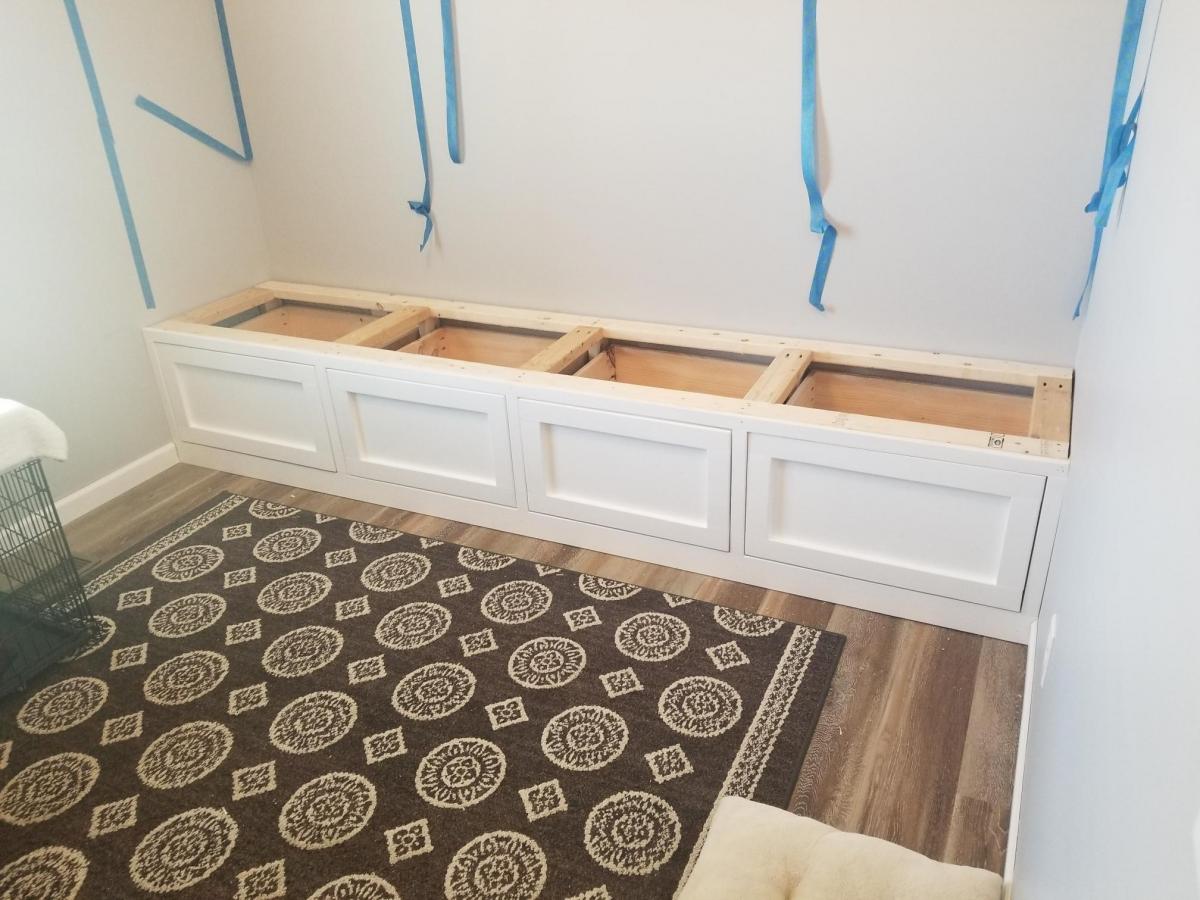
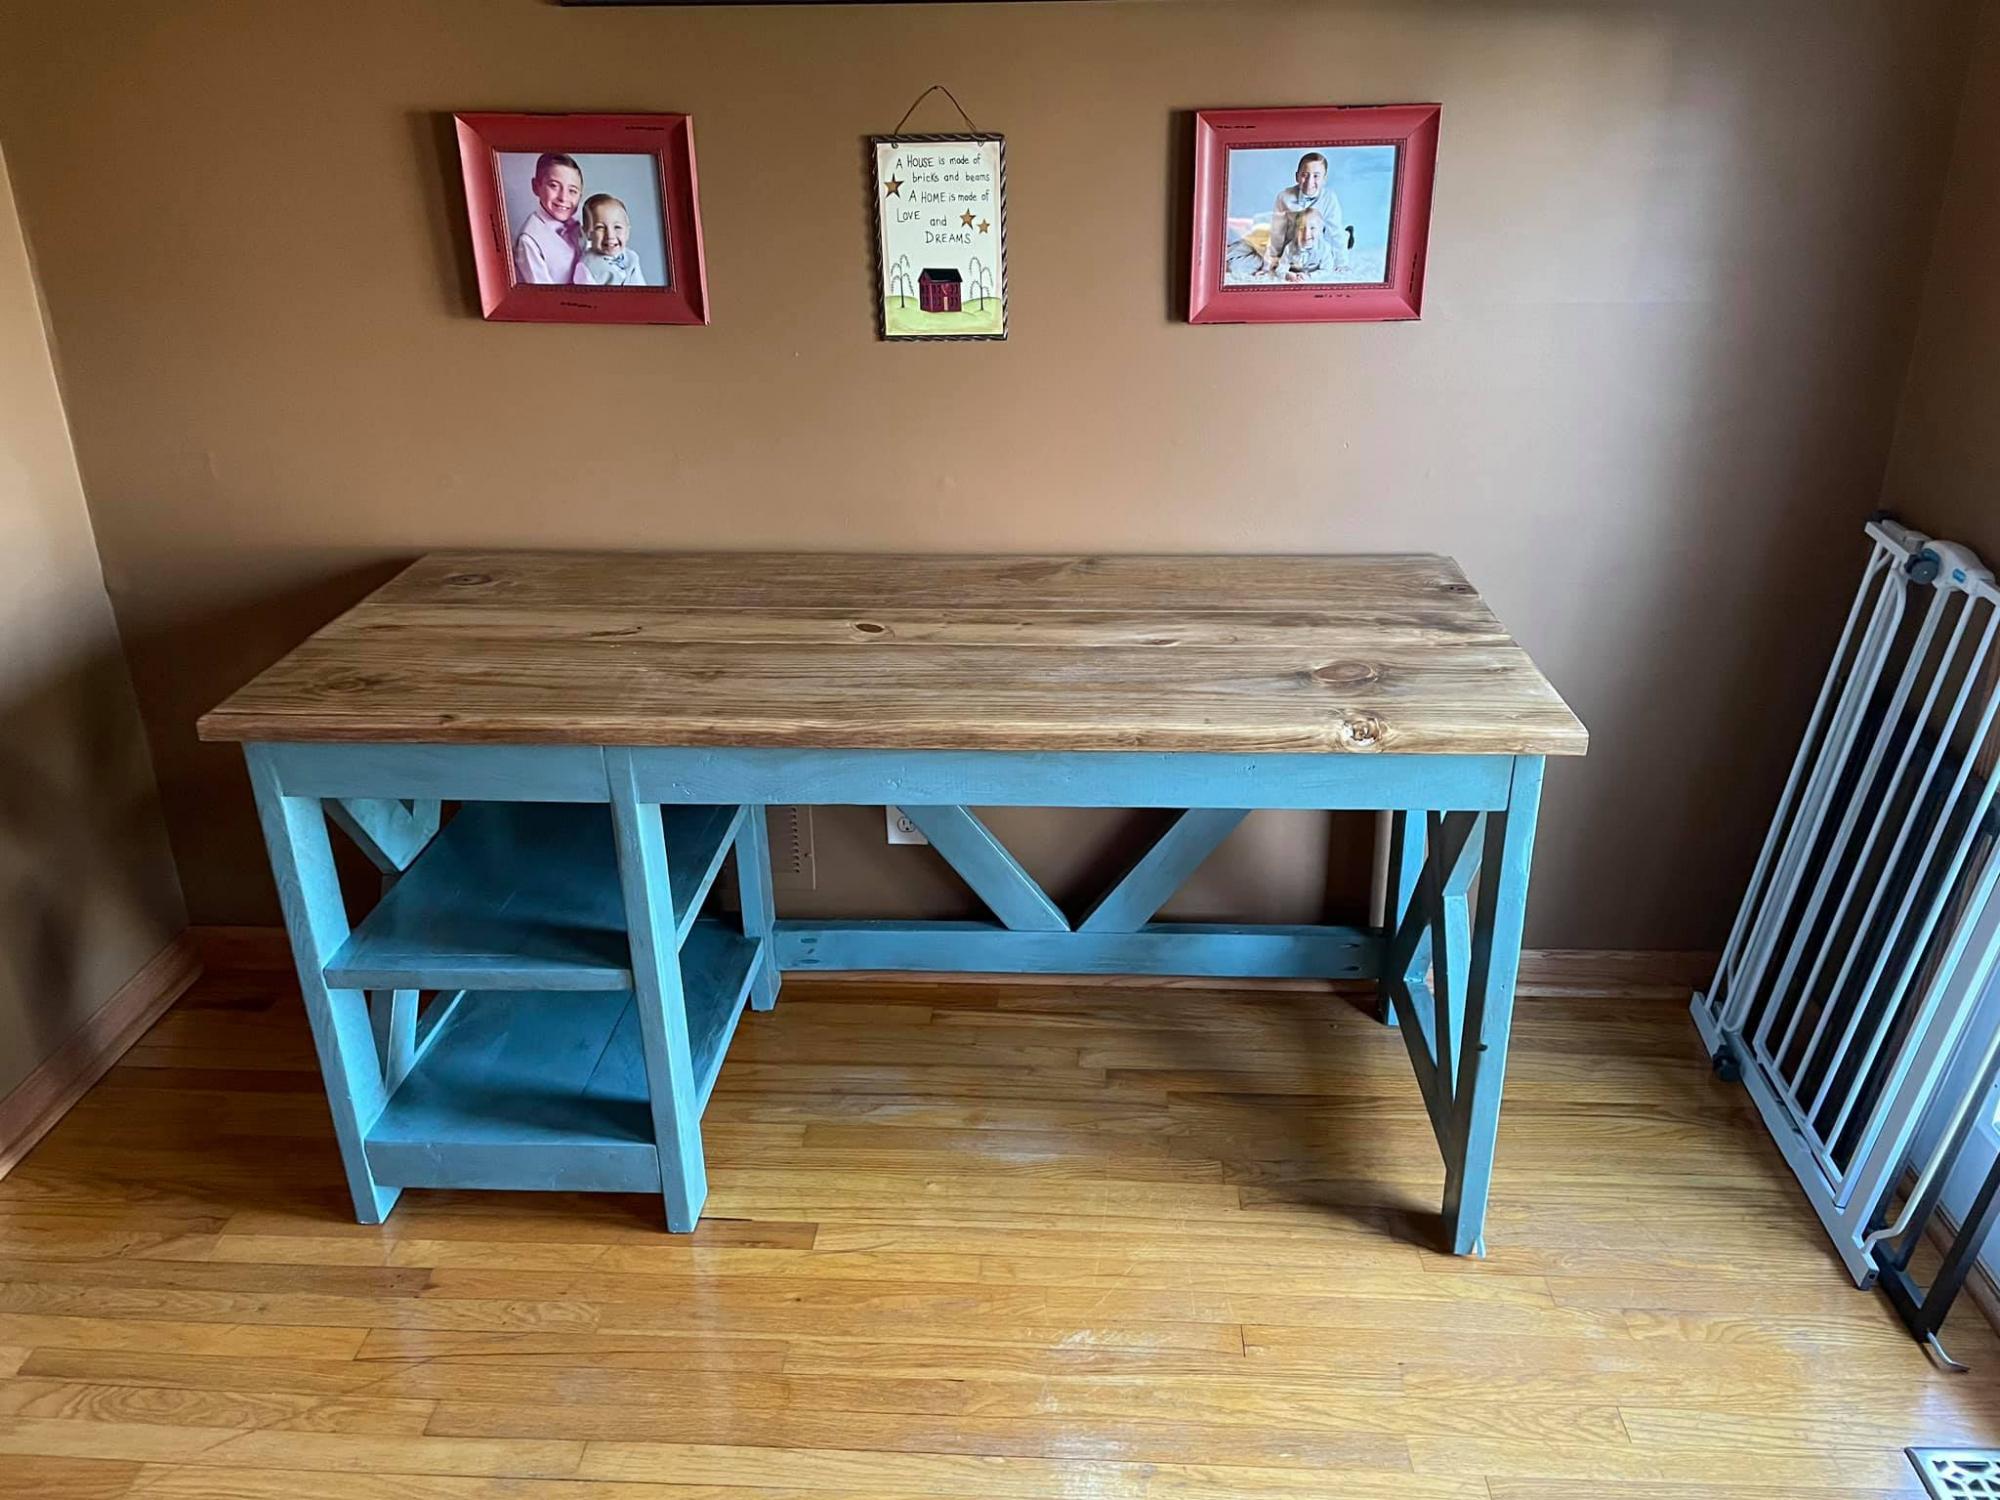
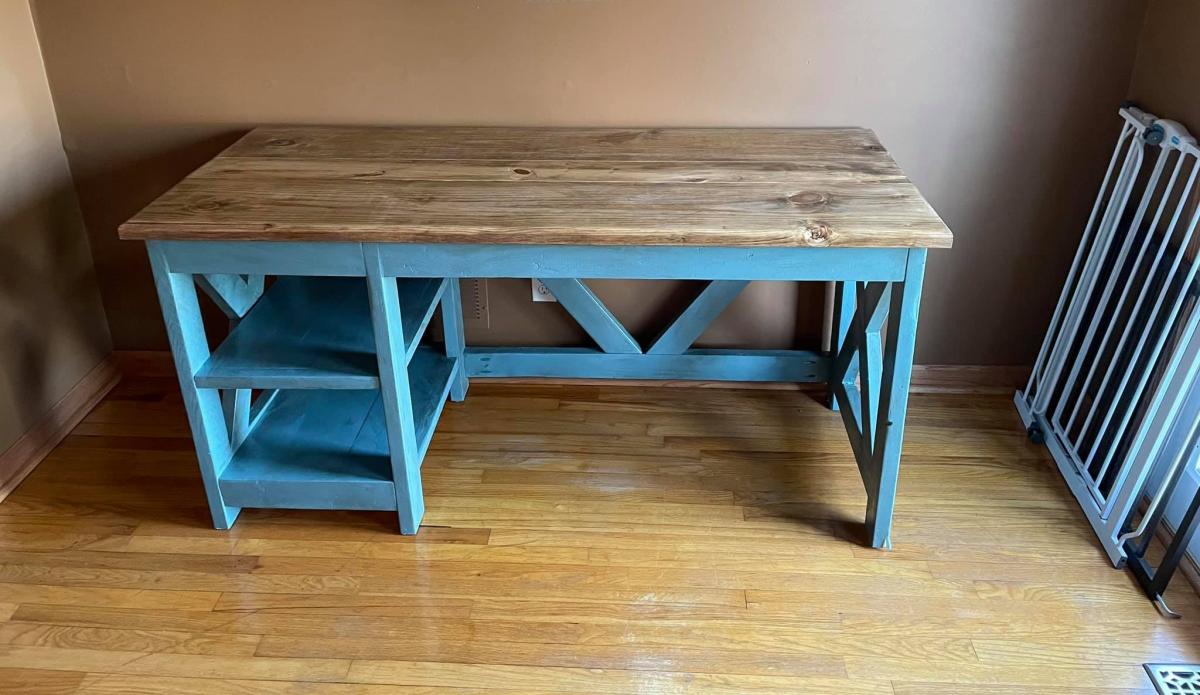
Desk made with Farmhouse Desk modified with 2x6 top
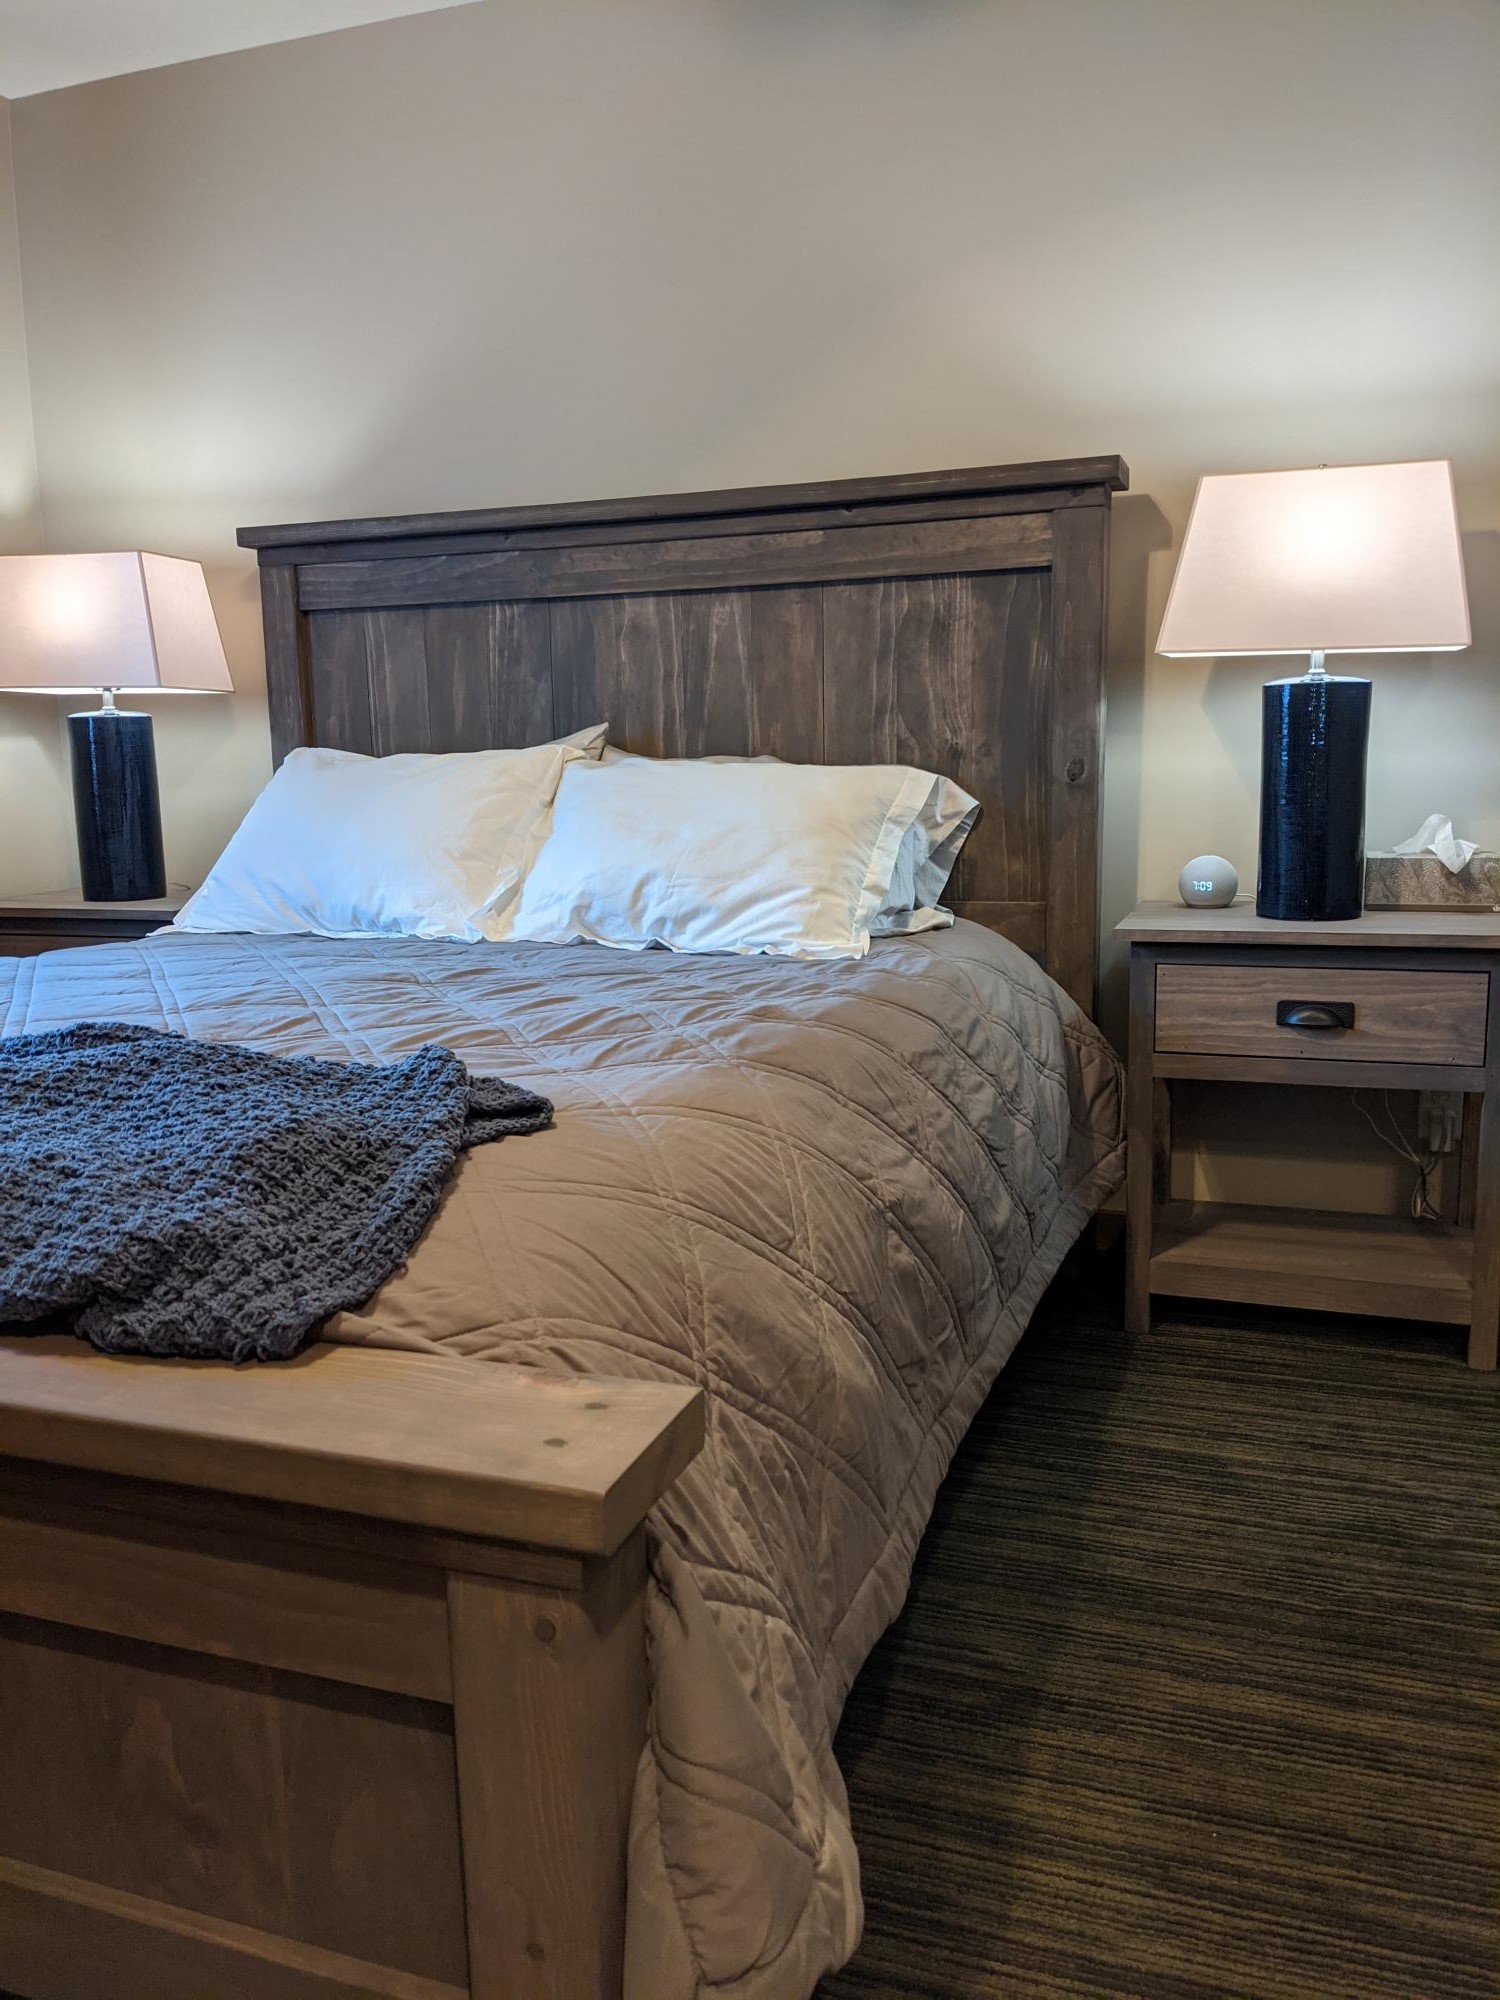
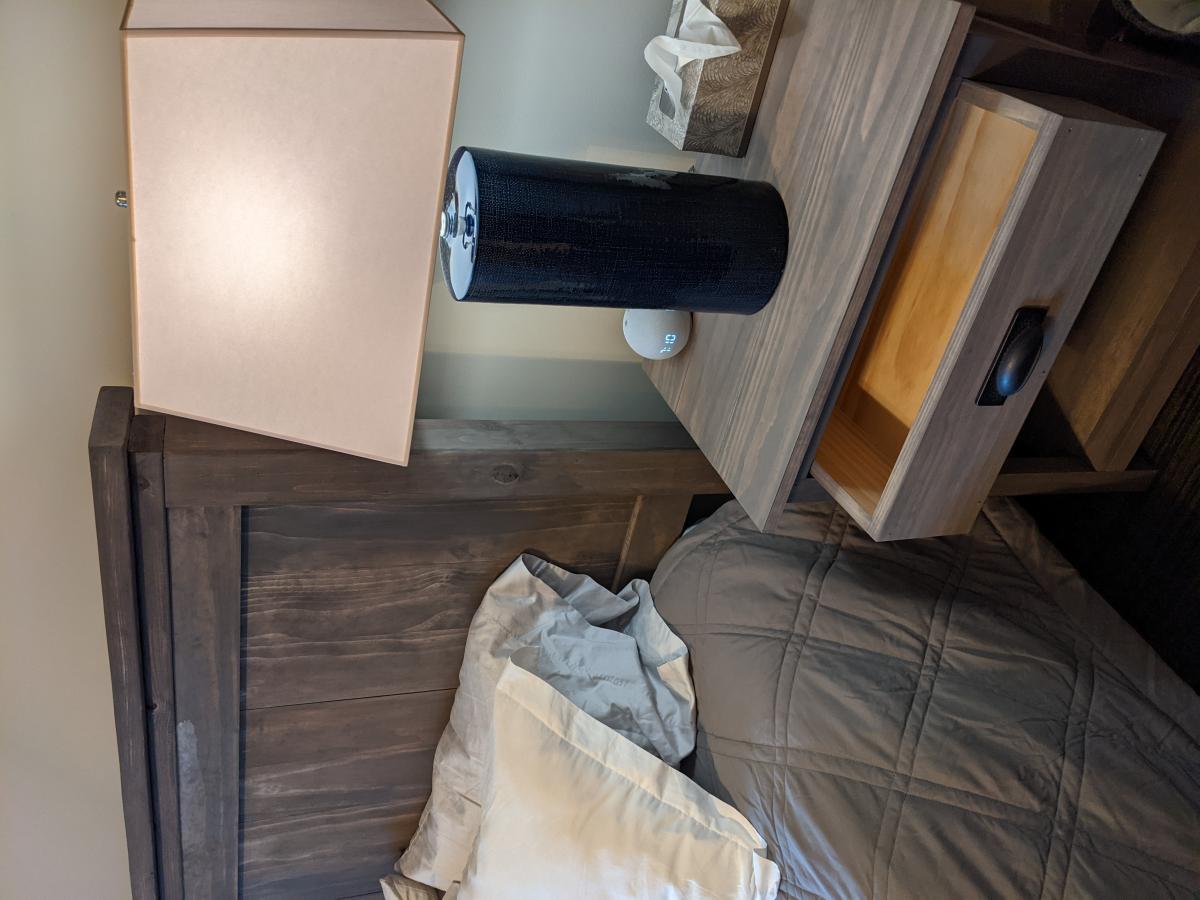
With no experience but a lot of time during Covid, we tackled this project and love the results. Queen bed and nightstands. Made from pine, stain is Saman Wood Stain 013 - IRON EARTH. We modified the night stands to be 4 inches narrower to fit the room a little better.
