Toy box
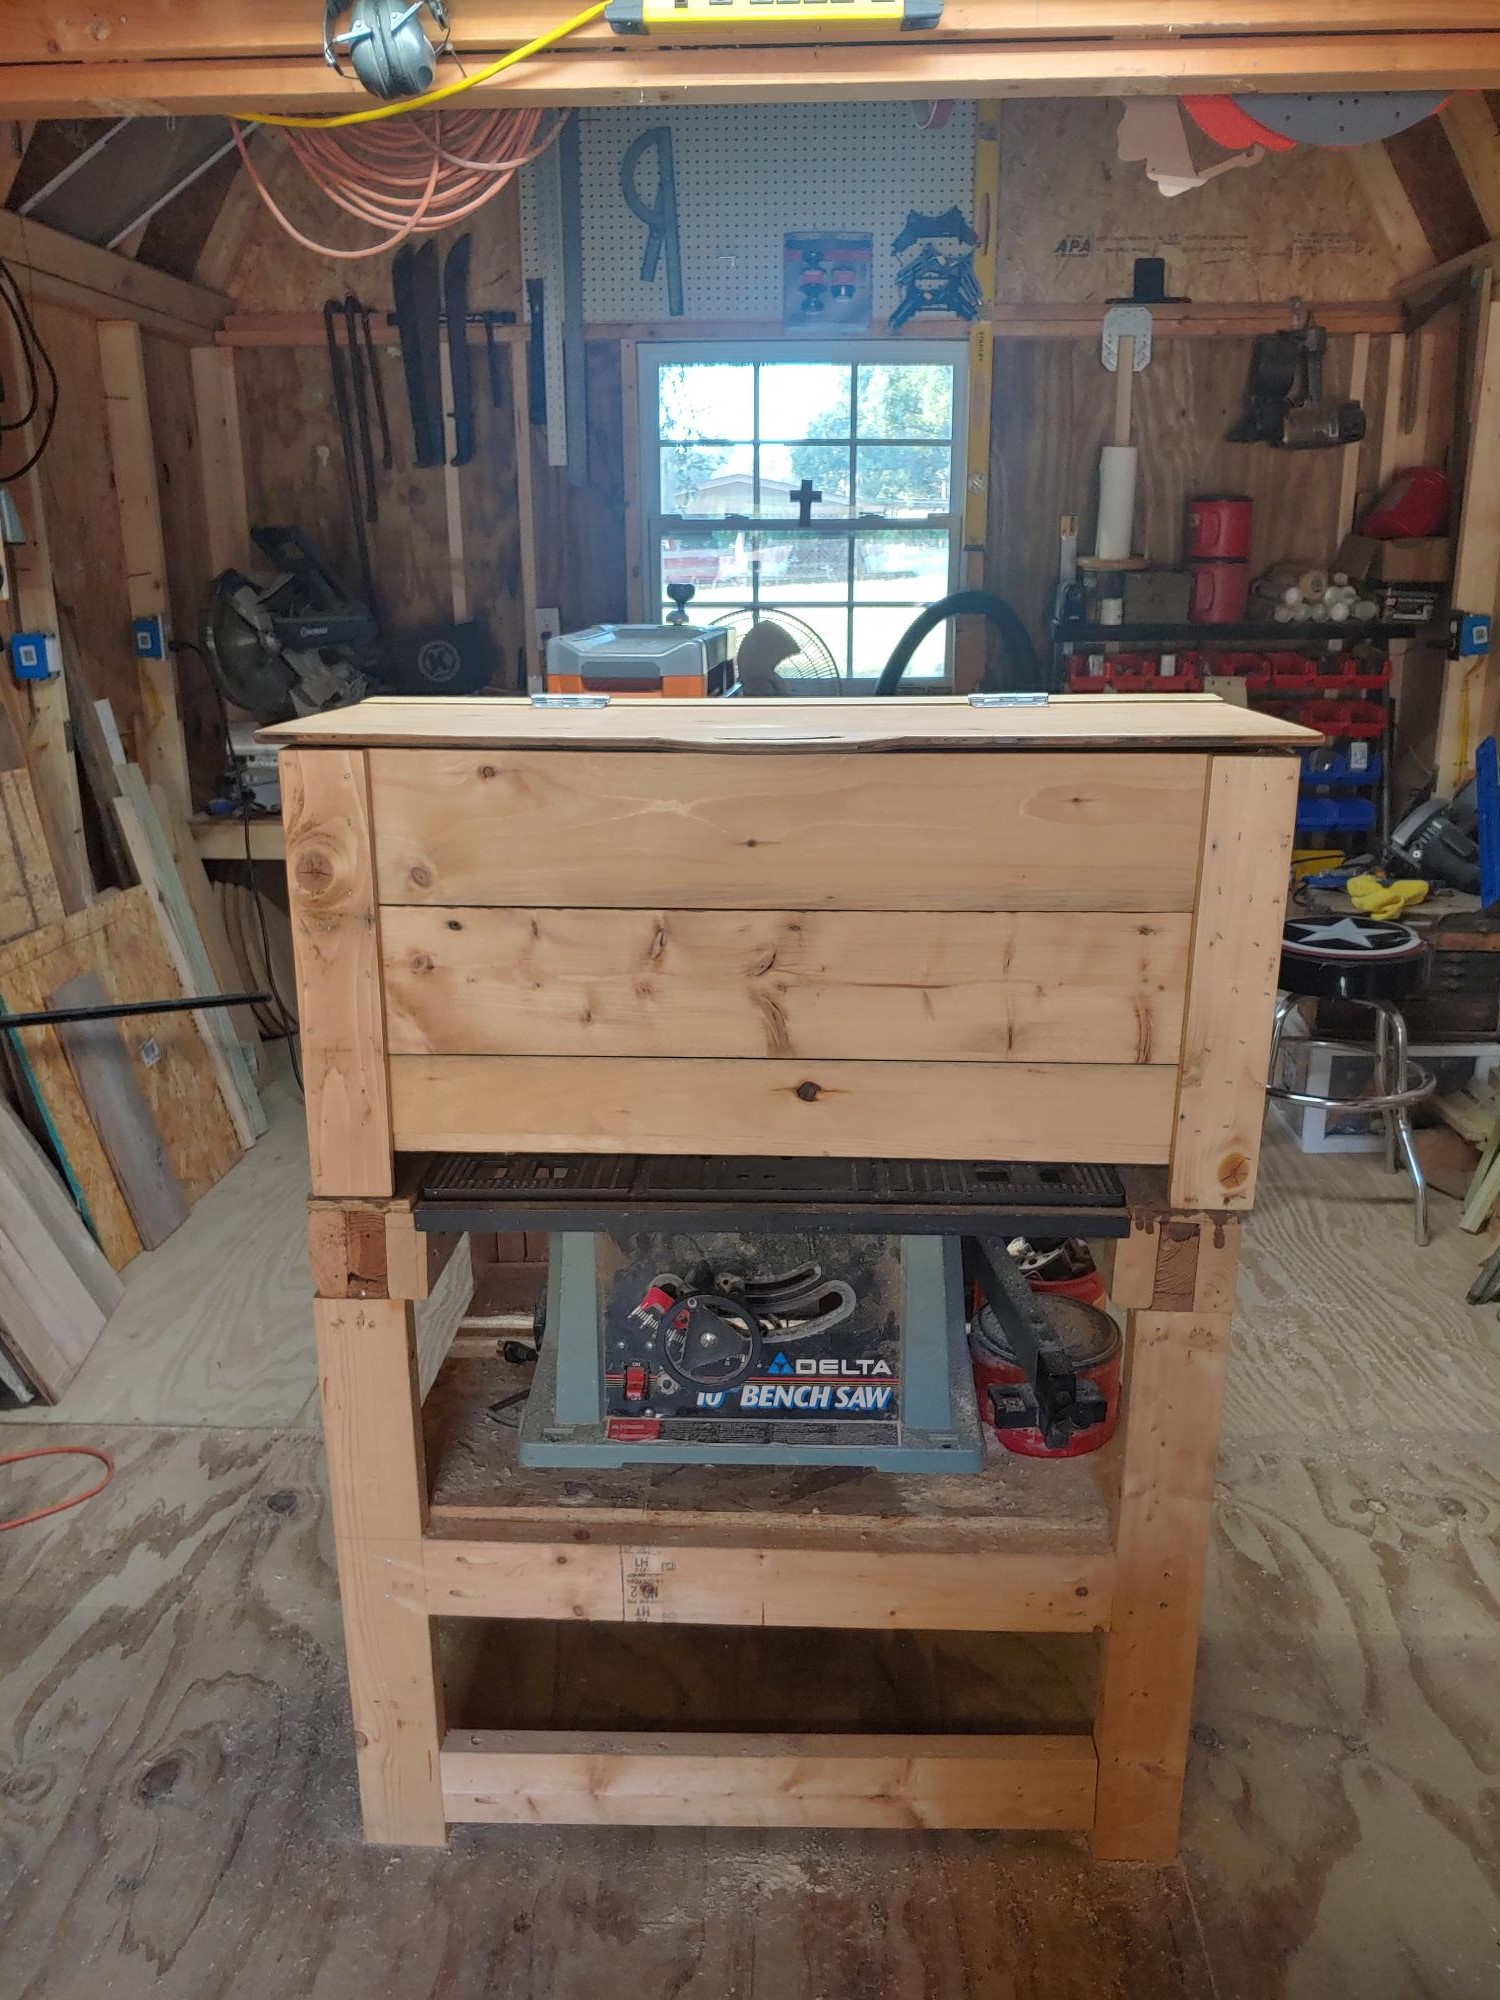
Had the hubby make this! Nice project. Thanks for sharing the plans

Had the hubby make this! Nice project. Thanks for sharing the plans
Added an L section to the Fancy Desk to increase usable space So far it still stands strong for me. Thanks Ana
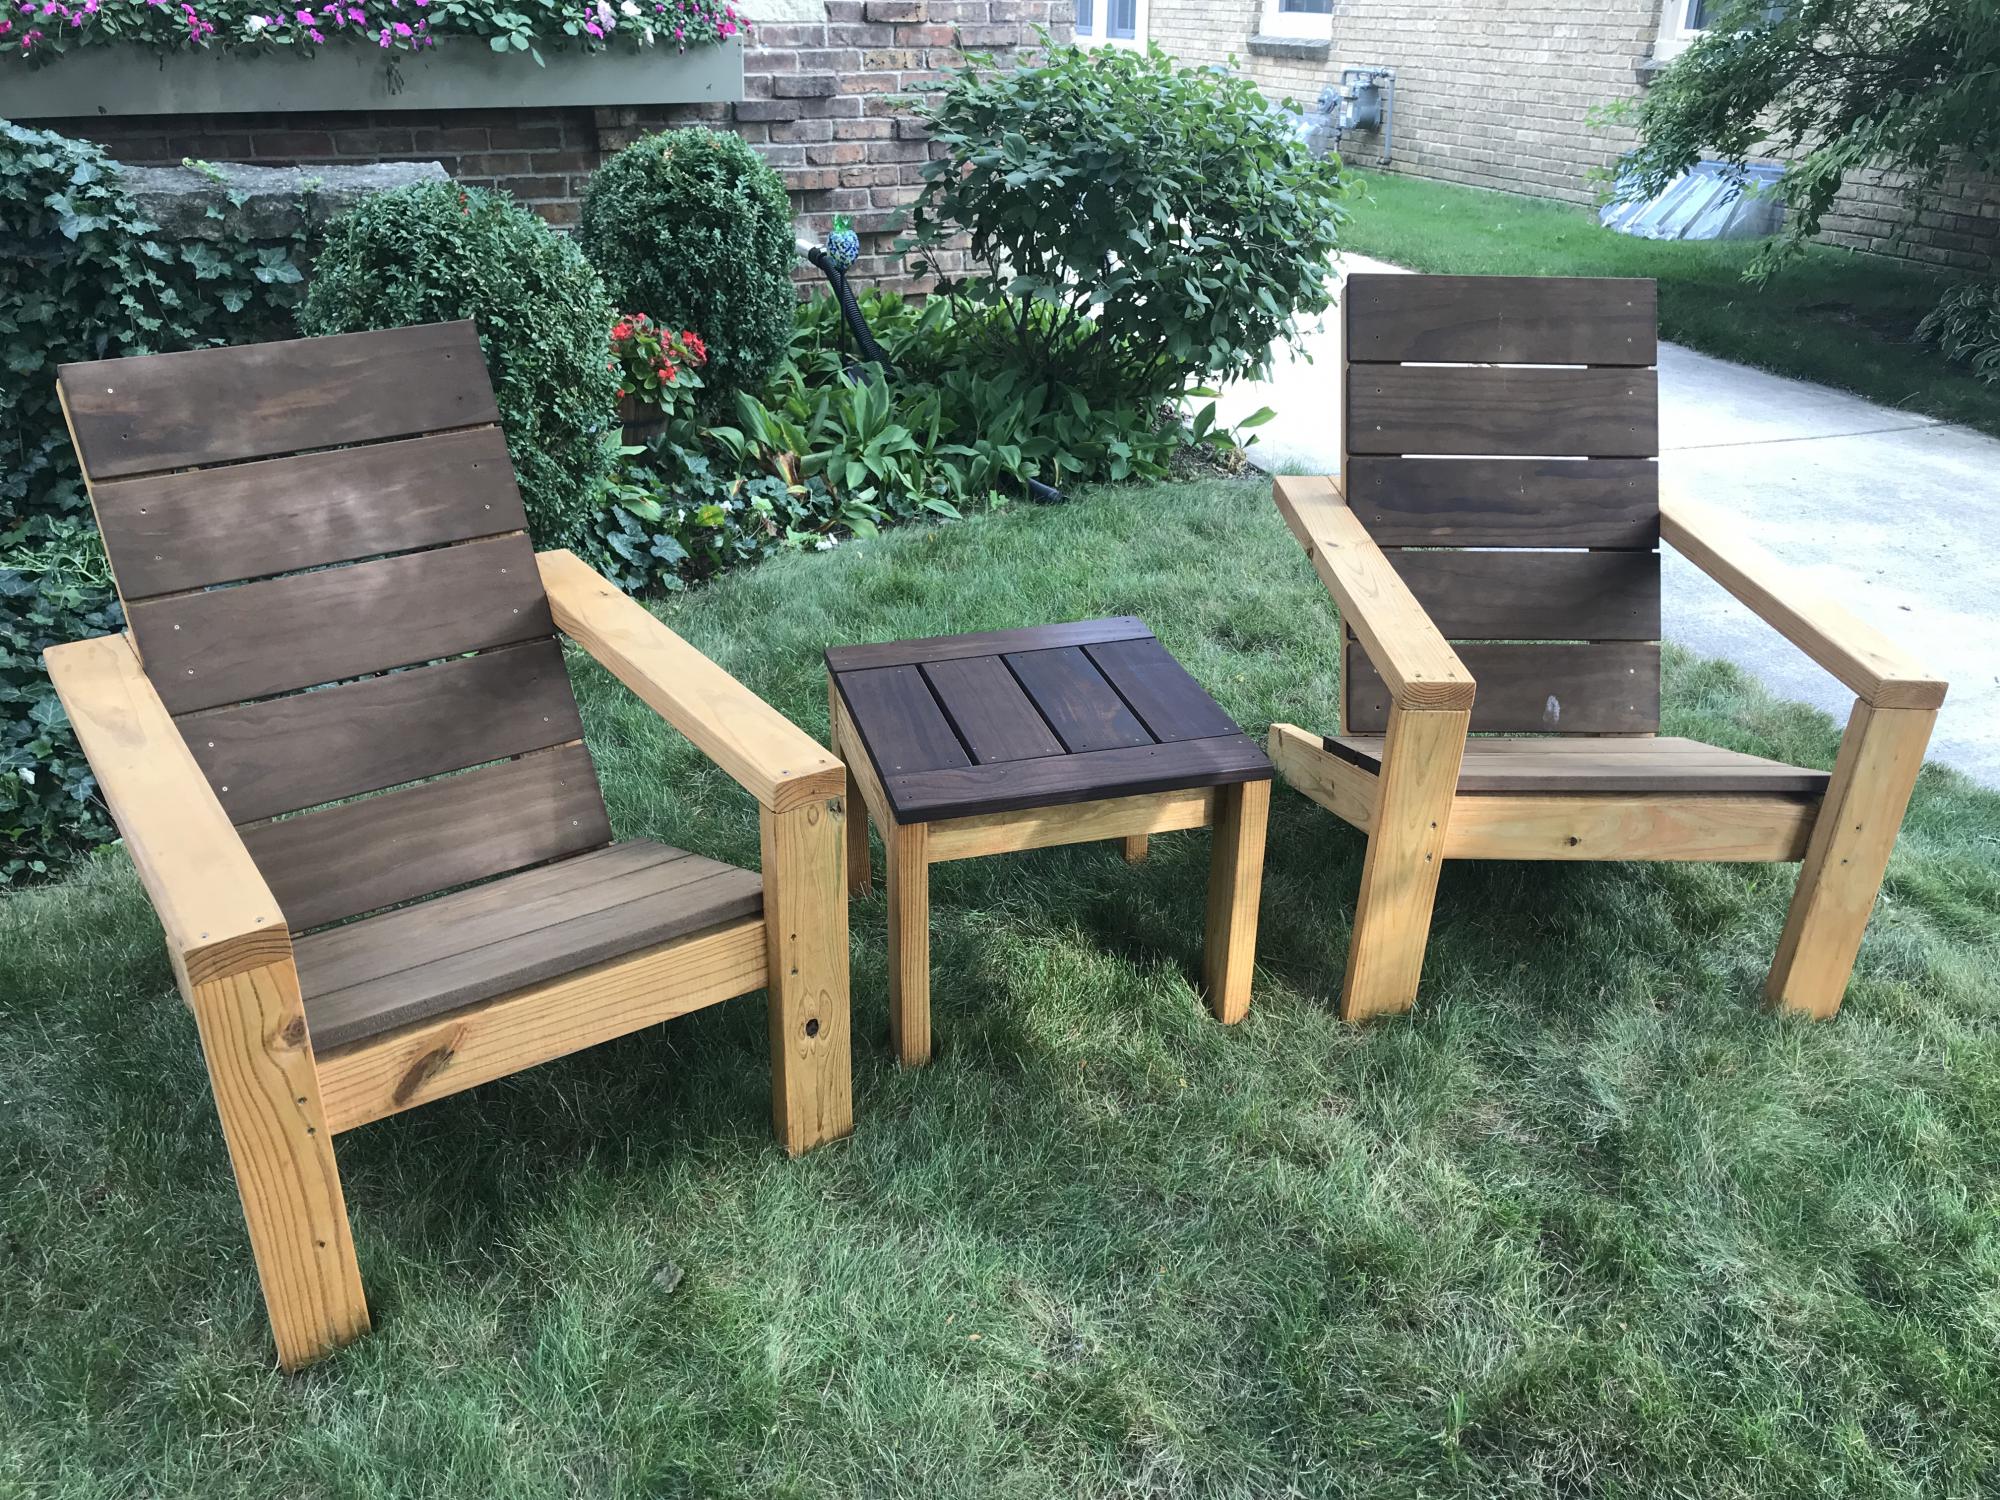
I had some Kebony deck boards left over from another project and thought they would work well. I think they did! Kebony is pine that is soaked in an alcohol and then heated up. It has a 30 year warranty and requires no care. I used a Penofin oil on the 2x4s and Cutek oil on the Kebony
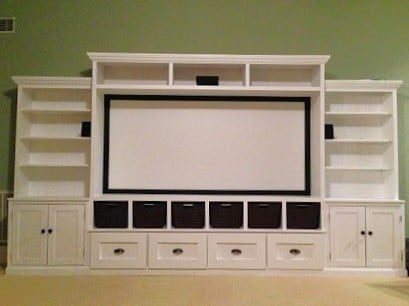
Thanks for the great plans!! Finally got this monster put together.
My husband, step father and I built these Thanksgiving weekend (2010) and my mom got us a half bushel of oysters to snack on and made awesome steamed mussels with bread for dinner. This was a very fun family weekend.
I modifyed the plans a little to make the arms angle in a bit instead of being straight boards and also created the curved front. Then after building the first chair, Pat decided to make the second chair's back rest taller and cut angles to match the arms.
I picked intermediate because of needing a miter saw for all the different angles needed for getting the front right.
Also, It took one day for each chair
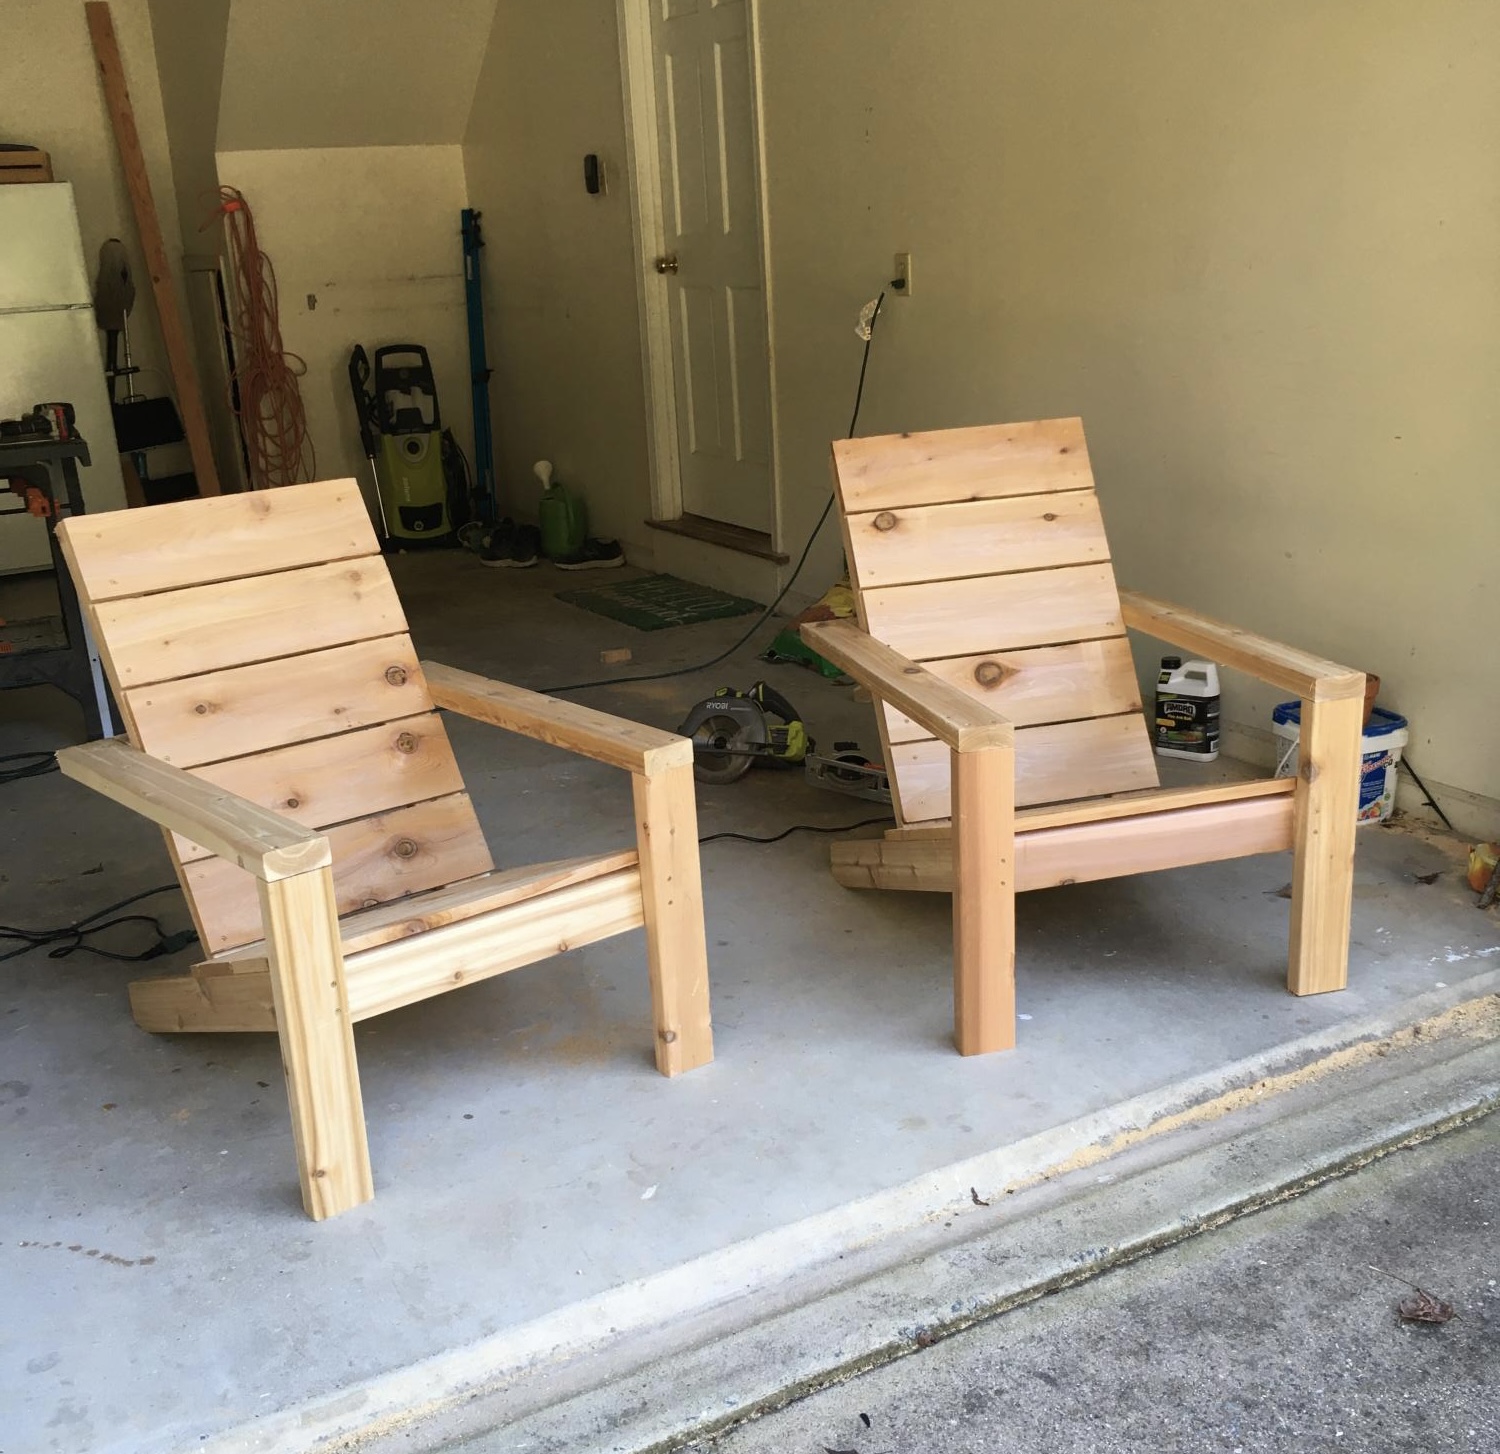
This was a fun and simple project. One of my first attempts at making outside furniture and it was nearly perfect the first time....why?... the plans were so easy to follow, the techniques used were not demanding, and the tool selection was ideal for my workshop. I put them outside and I have had good reviews, and requests, for these chairs.
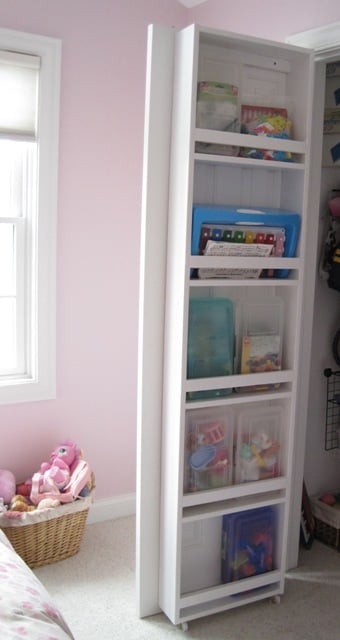
This was my first Ana White project, and I learned a lot from making it since I was also a novice woodworker. I am very happy with the end result, but it was probably a good thing that this went on the inside of a closet :) It gave me the confidence to go on and build something more difficult with the skills I built along with the storage.
The $30 estimate is only for the wood. Wood putty, sandpaper, screws, paint, etc. will make this more expensive, but you will use all of the extras on other projects since this one won't use those up.
The time involved is a guess--it has been a few months since I completed this. Someone with experience could probably do it faster and someone brand new to building might go slower. So I chose 3-6 hours, a nice in-between number.
Watch your caster size with carpet. That was my only snag with the instructions. Ana has hardwood floors that the casters roll on. I have carpet so I wanted larger wheels in order for smoother rolling. That added height to the caster also, so you want to modify the length of the sides of the storage unit to reflect the larger casters on carpet.
All in all a great plan and useful end result!
**UPDATE--January 30, 2012** We removed the casters from the bottom of this just yesterday and the door opens SO much easier. I would invest in some high quality casters and not the cheap ones I bought if you are going to use these. Without the casters I am only putting light things (stuffed animals) in this. If you are using it for heavier items, I would use the casters but make sure they readily turn. The casters I had did not want to turn as the door moved and they dragged on the carpet instead. Also, the overall height of your unit will depend on the height of your casters, so buy them first if you are going to use them. I still love this though!
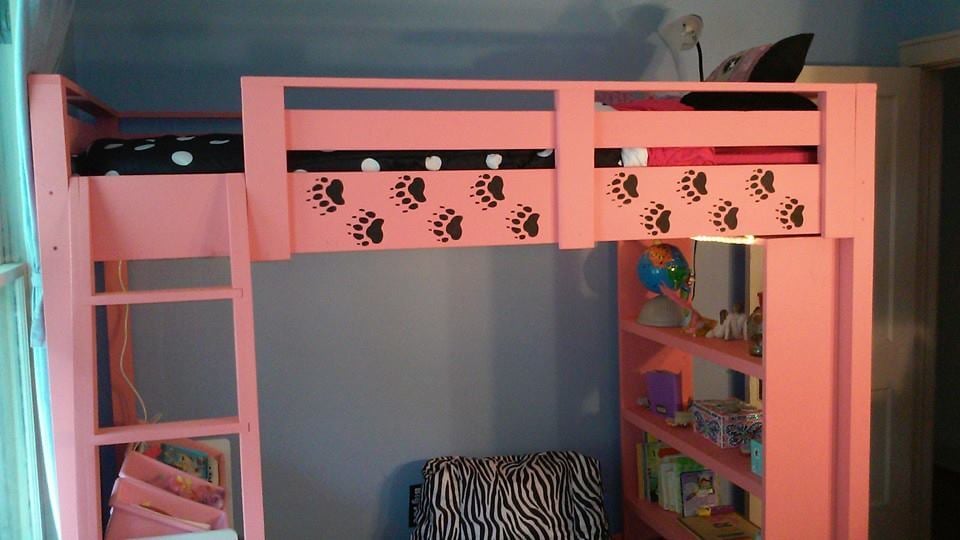
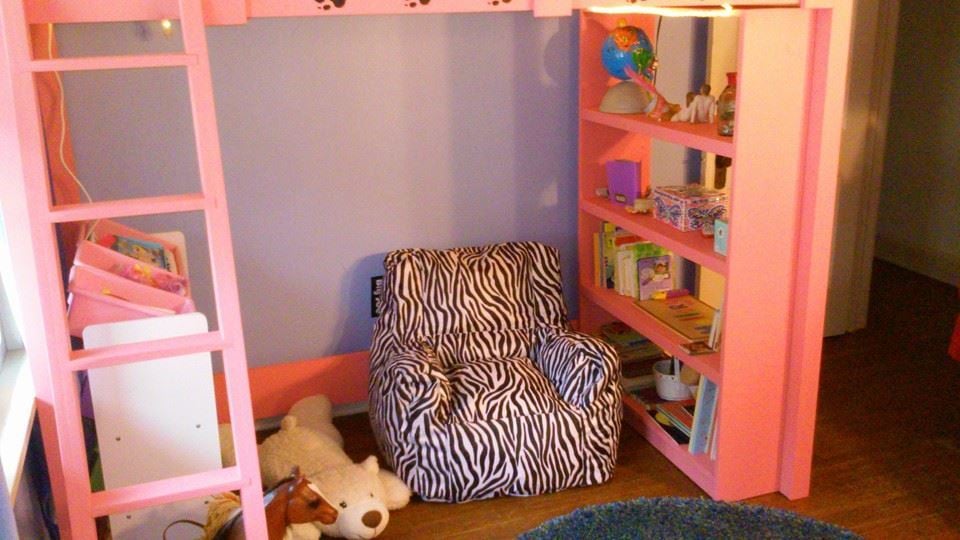
My daughter had talked about wanting a loft bed for a long time so after of plenty of research, we went for it. The shelves of the bookcase, except the top and bottom, are made from 3/4 plywood I had laying around. I did my best to utilize as much lumber that I already had in the basement to reduce costs.
Underneath the bed is LED Rope Lighting and the gaps under the rails were stenciled with the bear paws since my daughters nickname is Little Bear.
People have loved it enough I think there's a couple people that are going to buy the supplies so I can build it for them. The one thing I wish I had during the construction was an oscillating multi-tool to trim off the Kreg plugs. I now have one and plan on using it a fair amount.
On to the next project!!
Ben
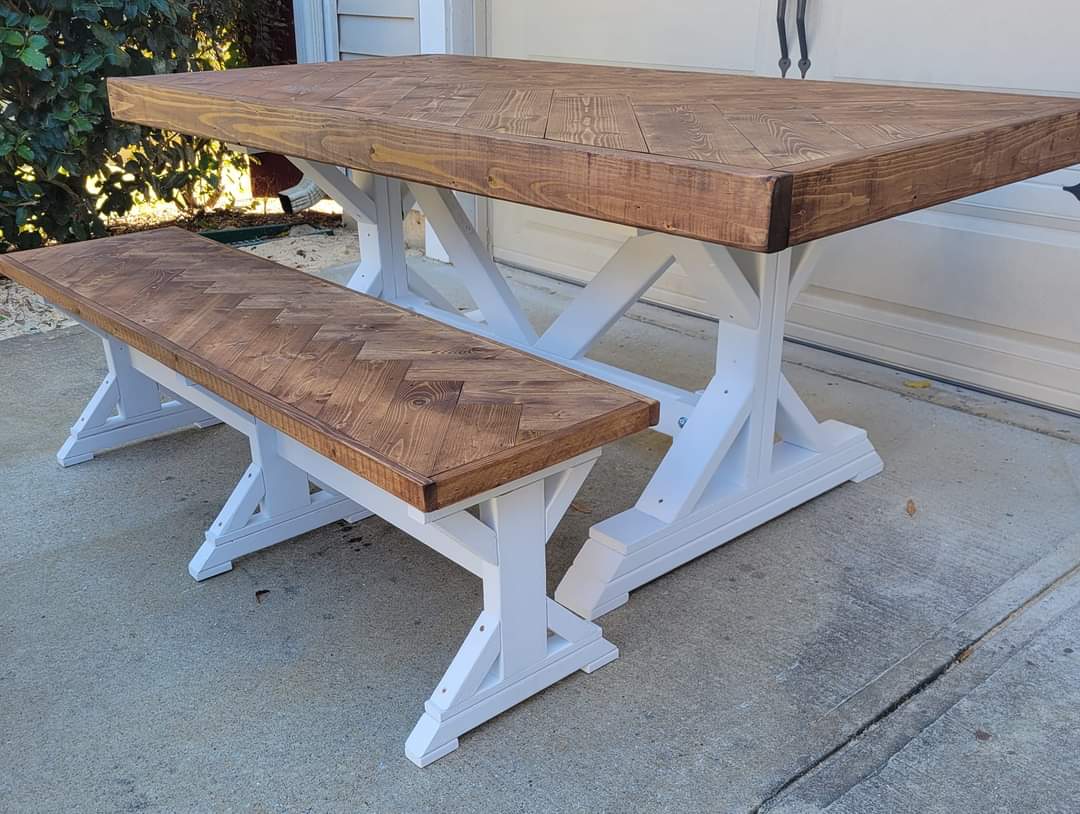
Put a fancy twist in this tabletop and bench top. We like the 45 degree angles that the top and legs both have to compliment each other. The top is stained with minwax special walnut.
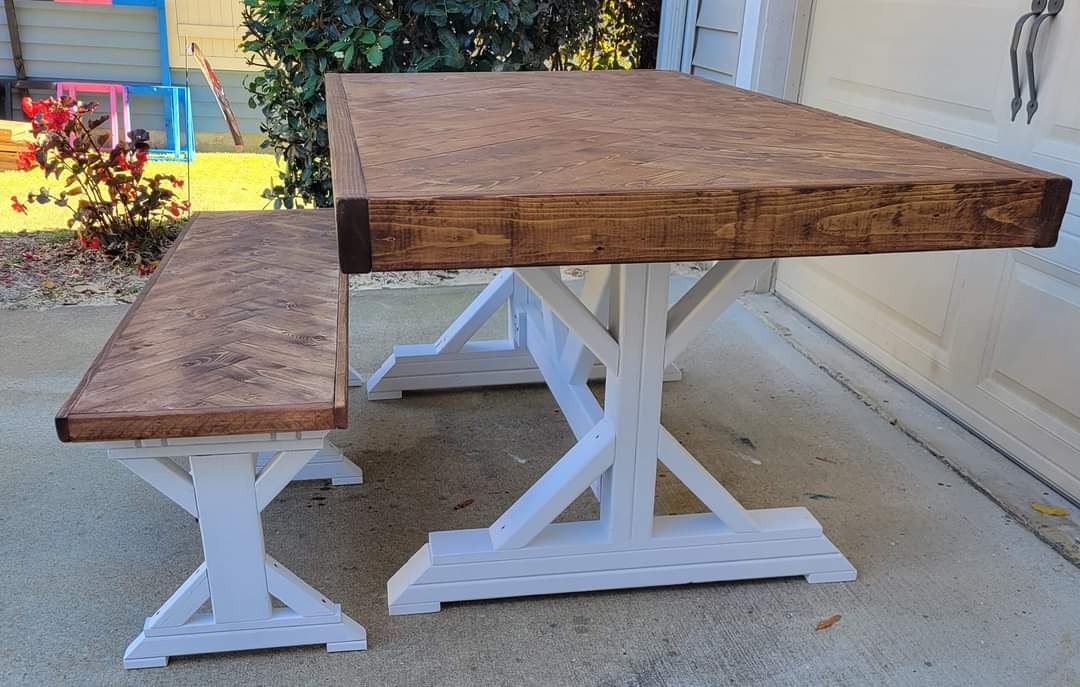
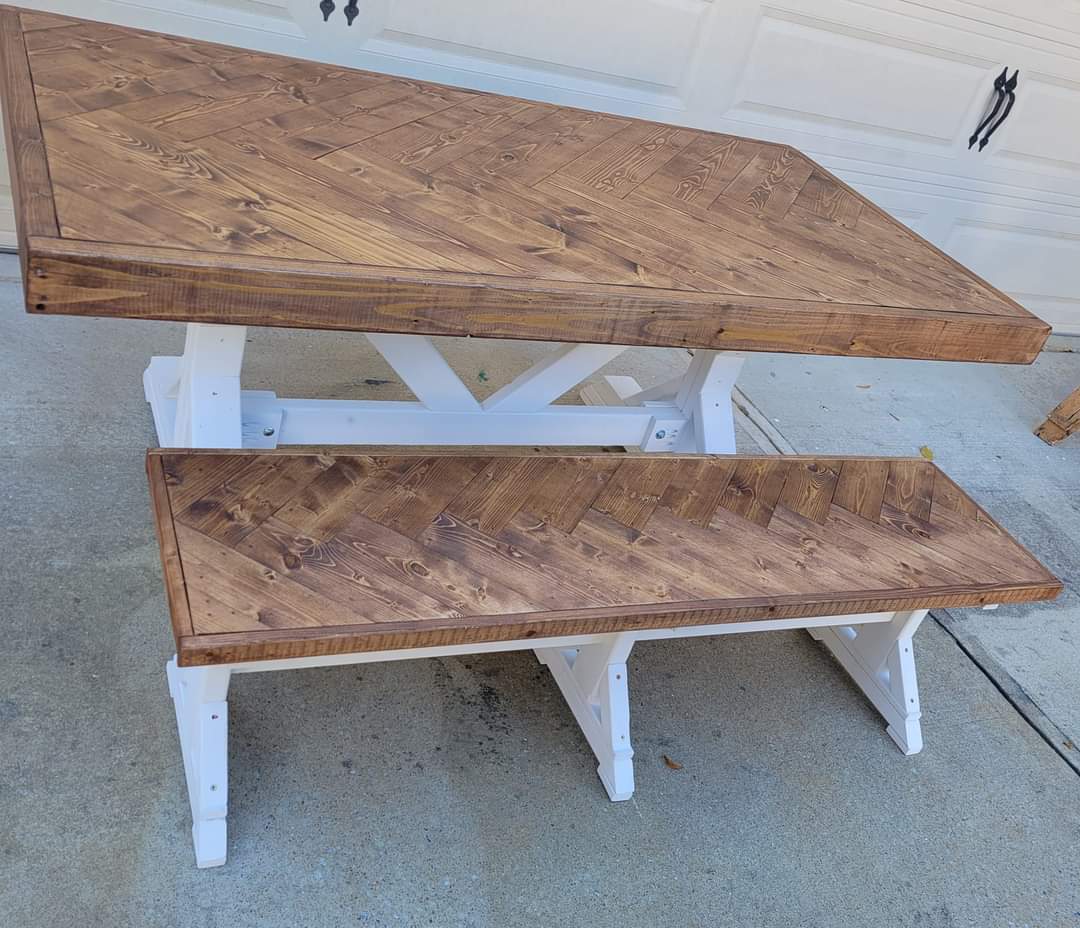
Tue, 11/16/2021 - 19:18
You've been busy, this is gorgeous all the way around!

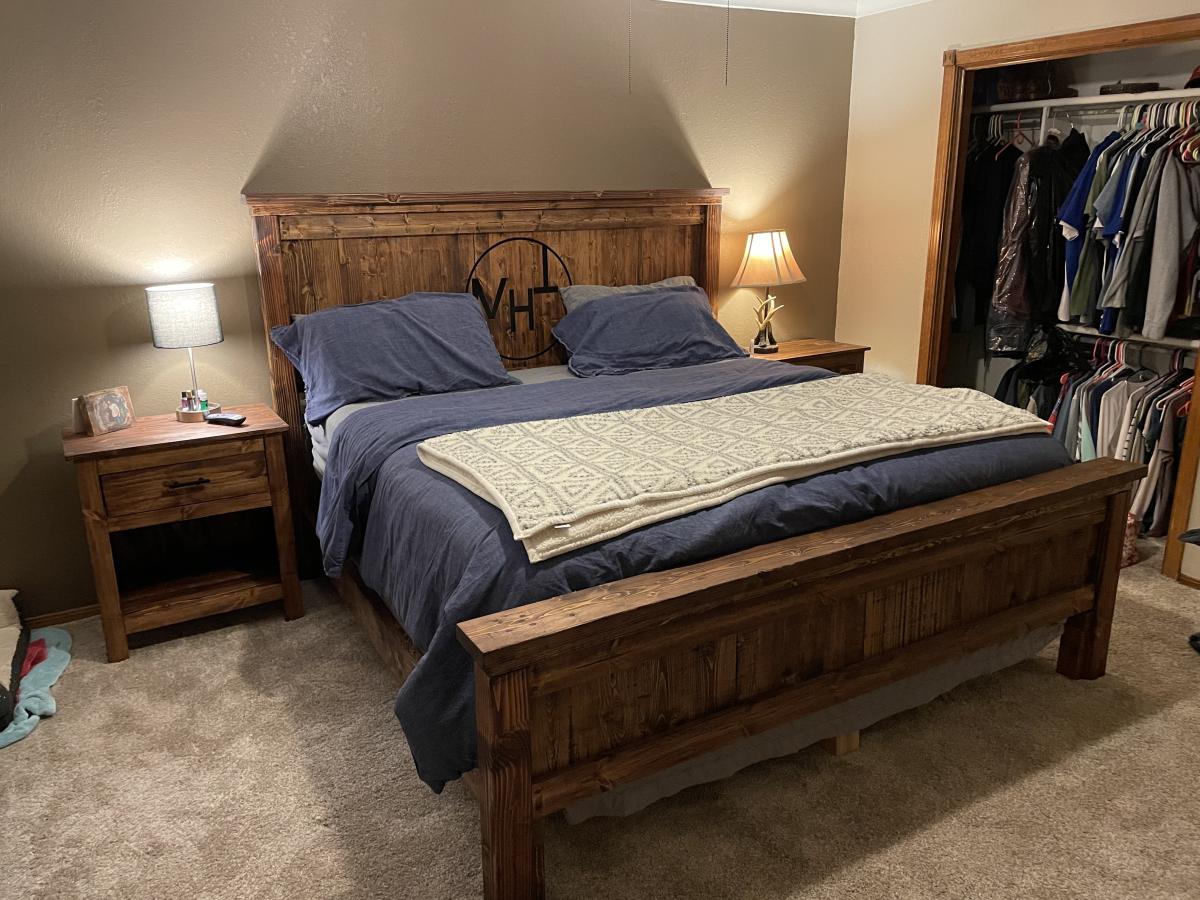
This was a great project to build, easy directions and easy to make modifications to. I built this bedroom suit for my son and his bride with their brand routered in the middle and used black epoxy to fill. Used Miniwax Honey colored stain and finished it with two coats of Danish Oil to protect it.
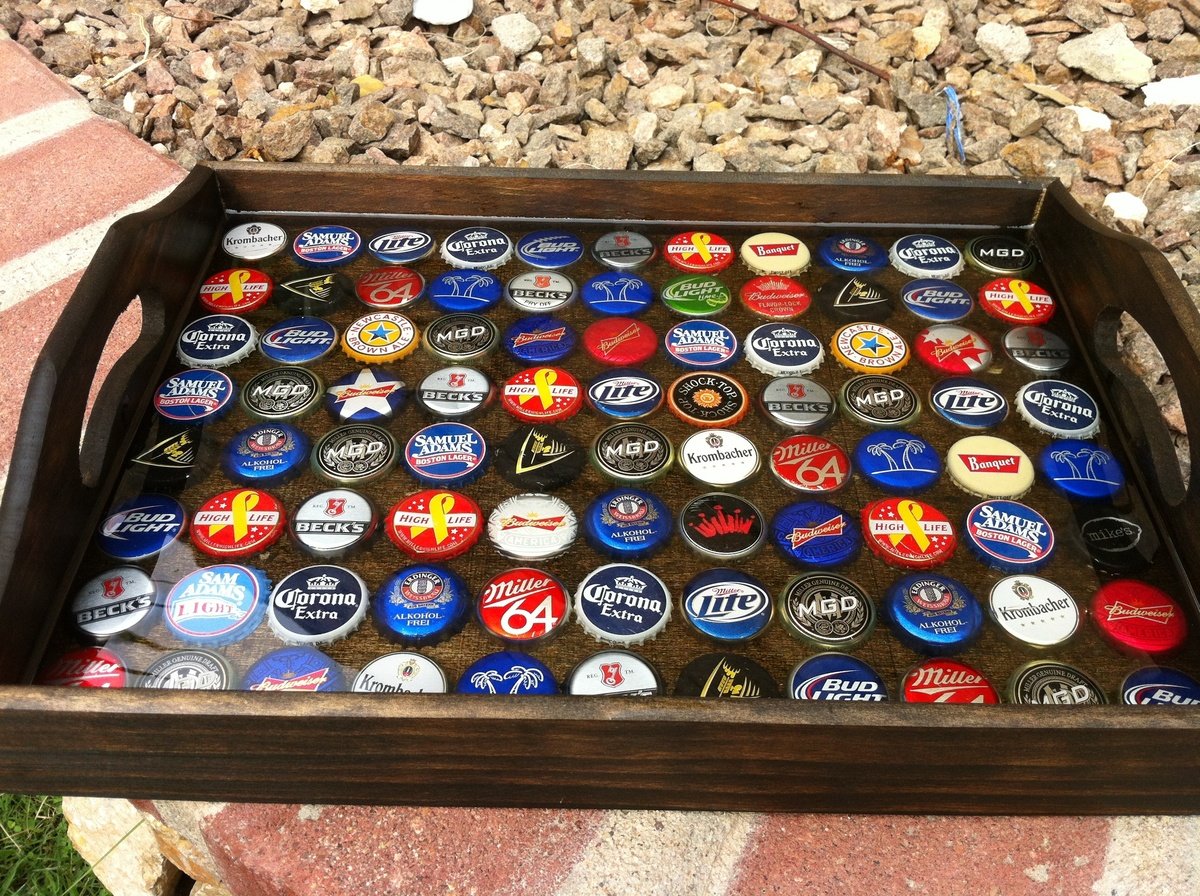
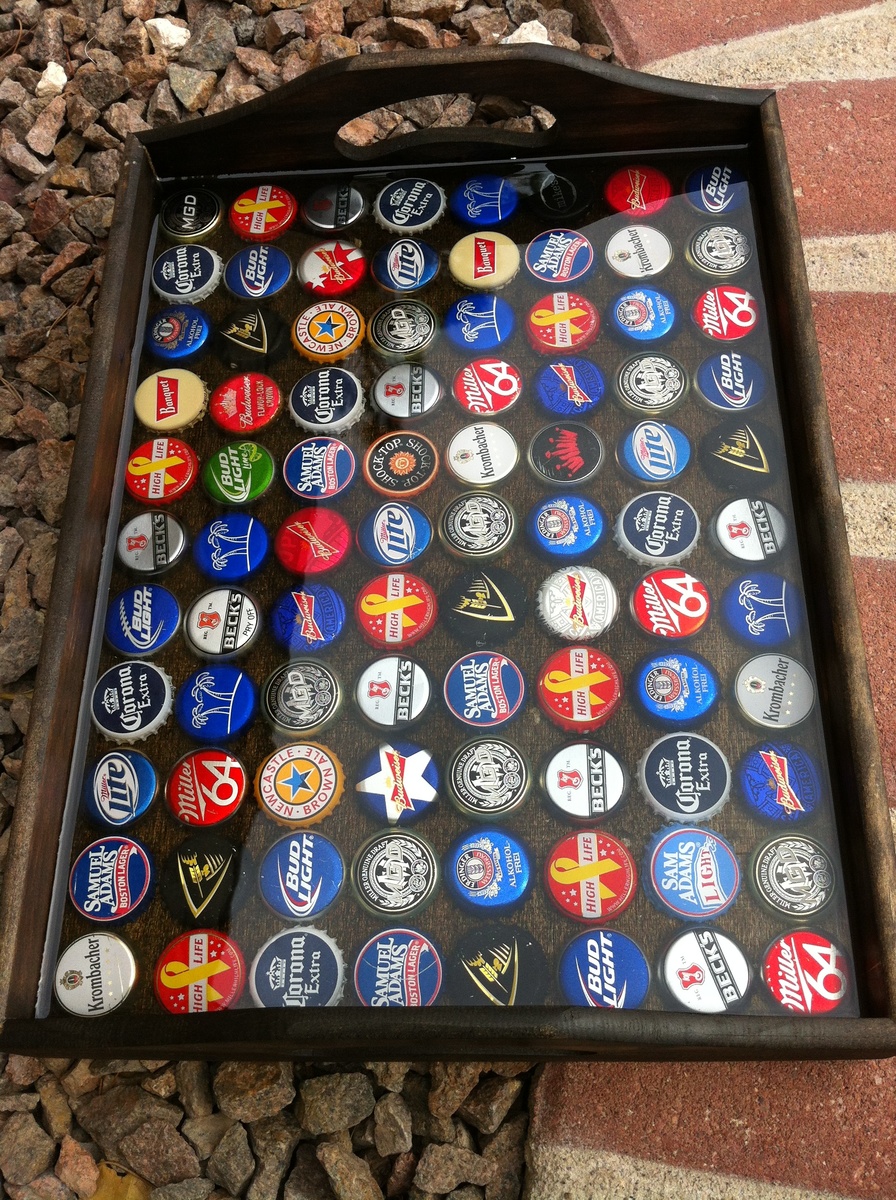
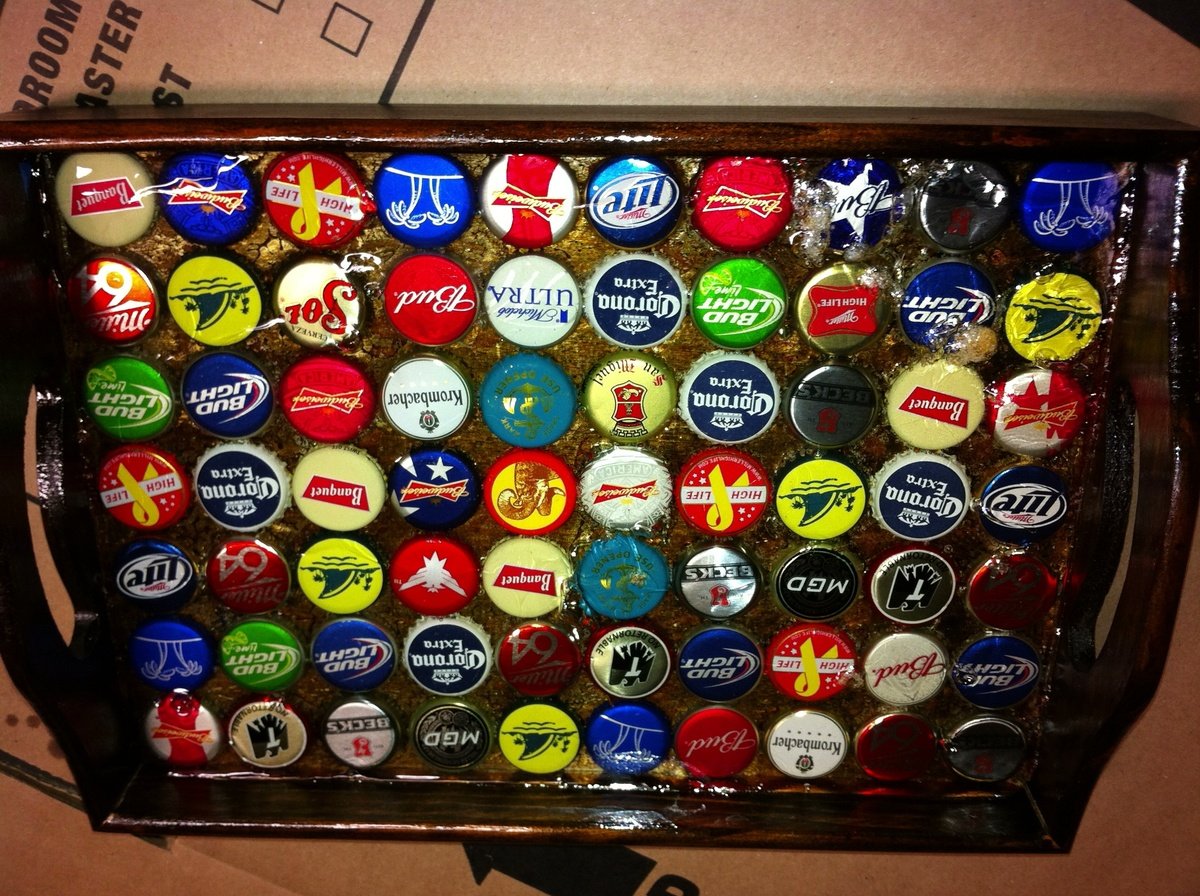
How to build a Bottle Cap Tray AND what NOT to do.
These Bottle Cap Trays are sold for 45+ Bucks online. I spend maybe 15$ on it.
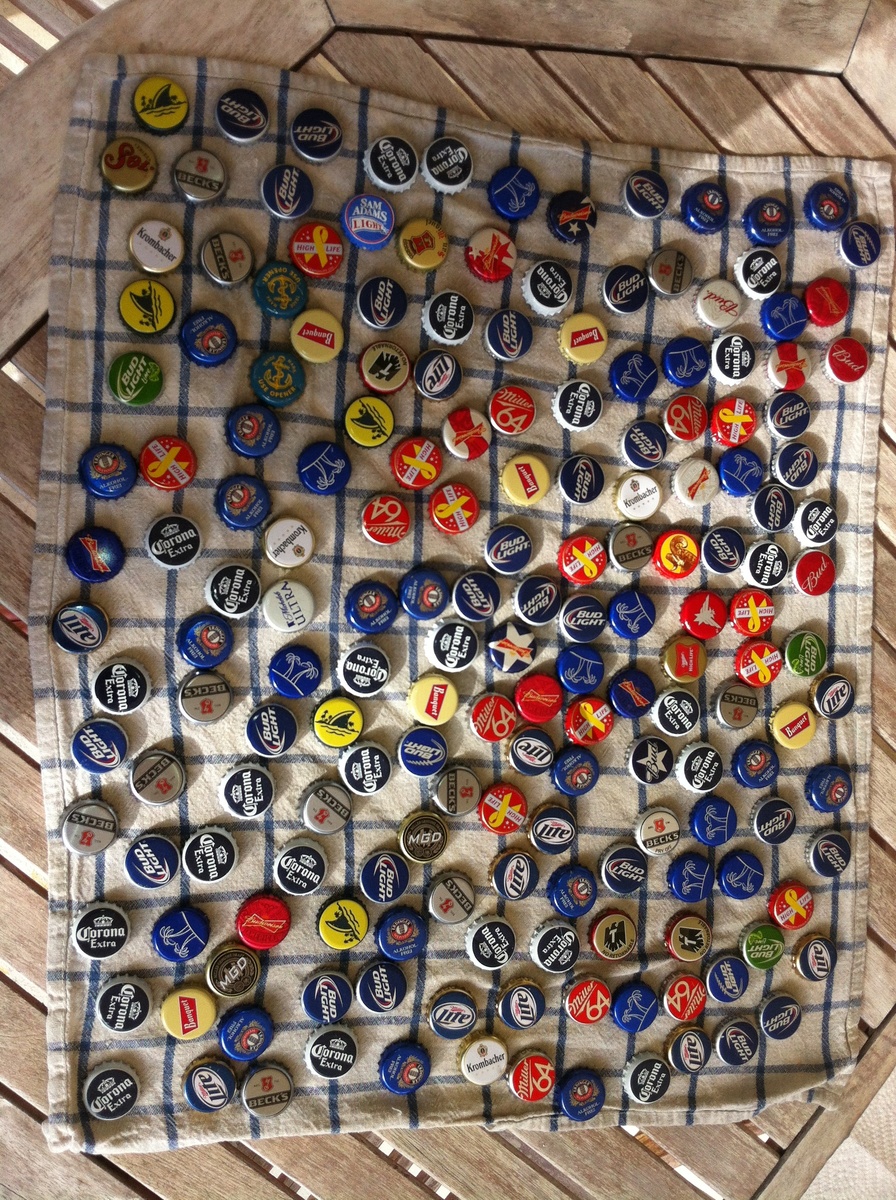
You need a lot of Friends drinking a lot of different Beers... For this tray i needed 88 Caps. I also asked Bartenders and Co-Workers to collect Caps. As more colorfull you get as better. Twist off Caps are the best behause they do not have dents.
I bought the Tray at Hobby Lobby for 3.99$ (you can also build one from a Plan from this Side) and after sanding with 220Grid i stained it to fit my Home Bar. After lay out the "Design" i removed them all and lay them in the back of the now empty tray.
2 Ways to glue the Caps to the Board:
1. Hot Glue (be carefull the Caps get very Hot)
2. I poured just a small amount of the Epoxy in there and pushed the Caps into the Ressin...
How to mix Ressin...
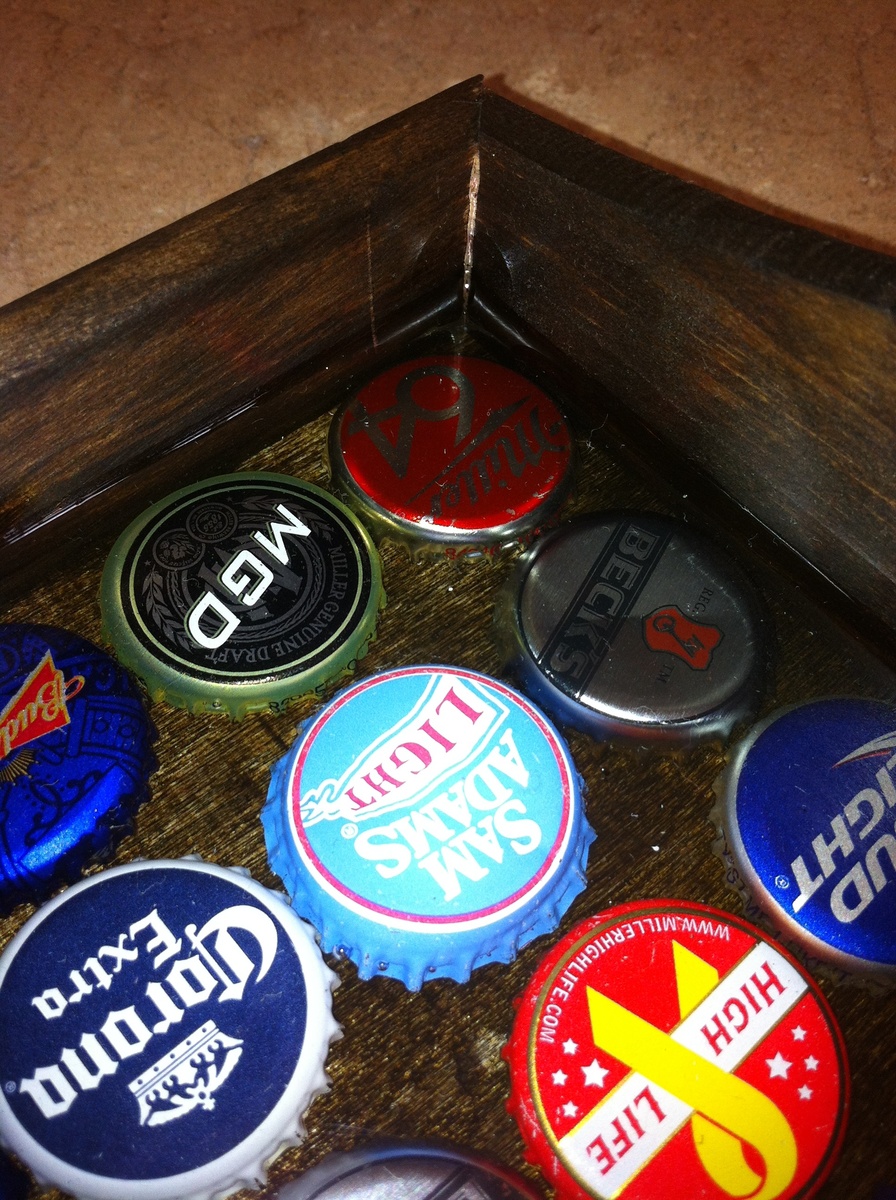
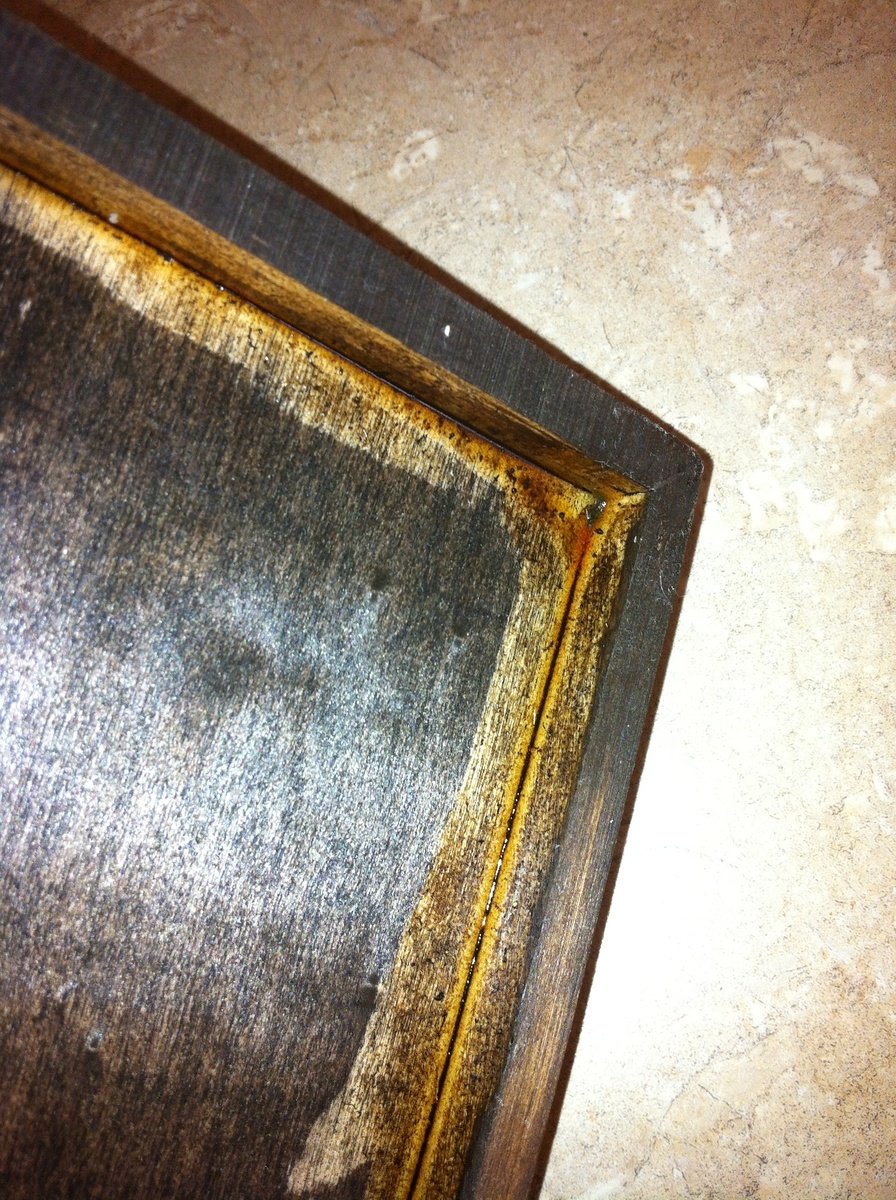
Read the Manuall!!! The first 2 Trays i poured to much and then it gets very very hot and ruin everything (see second last Picture). 2nd Glue the board to the Walls, if the Ressin runs out of the Tablet it is also a great mess!
I Used 2 small cups messured it and Mixed it in the Red Solo Cup...
Put the Tablet on an even surface (protect it) and pour a small amount into the tray... Level it and then put the Caps in there and use a torch to get rid of the Air Bubbles. I needed 3 layers to Cover all Caps. Keep it Dustfree during curing - very important .
I let it cure for 12 Hours bevor the next layer was applied. Total Curie after 72 Hours...
Sorry for Bad English - i am German...
Hope that helps to build your own Bottle Cap Tray...
And made it as colorfull as possible. I aranged them to face One Side but you also can turn them happy around.
Thanks for comments and Reading
Jann
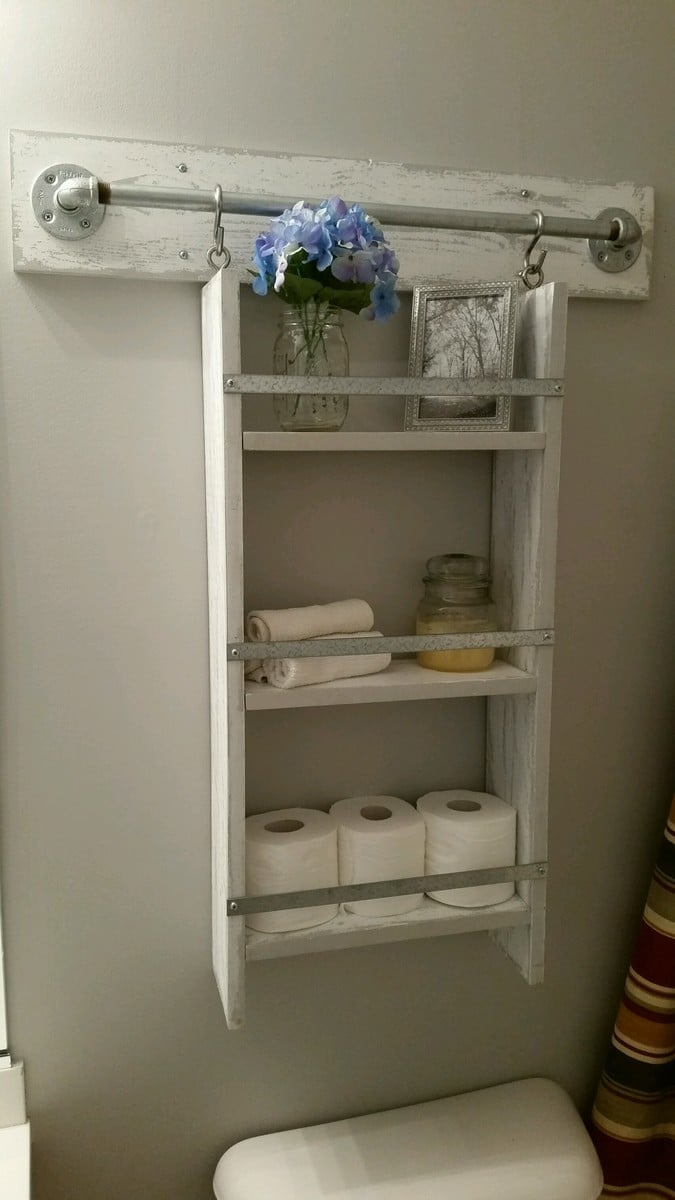
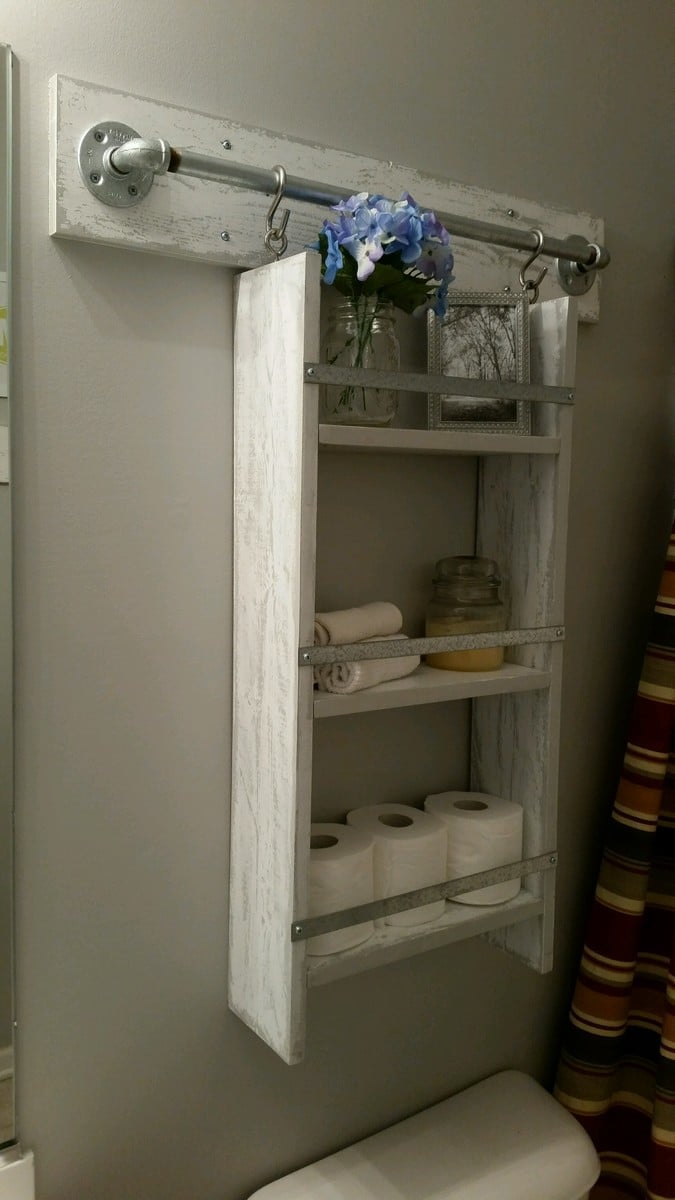
This was a very fun project to build. I pretty much followed the directions that were posted, but I used 1x6's instead of 1x4's because I wanted more storage space on the shelves. I also used 1/2" iron piping instead of 3/4" and am happy with how it turned out. Since the guest bathroom is gray, we didn't want to stain the wood and chose to do an easy to do "weathered" (directions below) look. Now all we need to do is replace the ugly shower curtain!
Wed, 03/30/2016 - 06:41
Love the weathered/distressed look you did. Can you share your technique for the paint job?
Sun, 10/30/2016 - 19:55
Love this! What is the length of the iron pipe and also the board that's mounted to the wall? Do you remember what color gray you used?
Tue, 02/07/2017 - 21:31
What is the measurements for the metal pipe and also the board itsbibe.
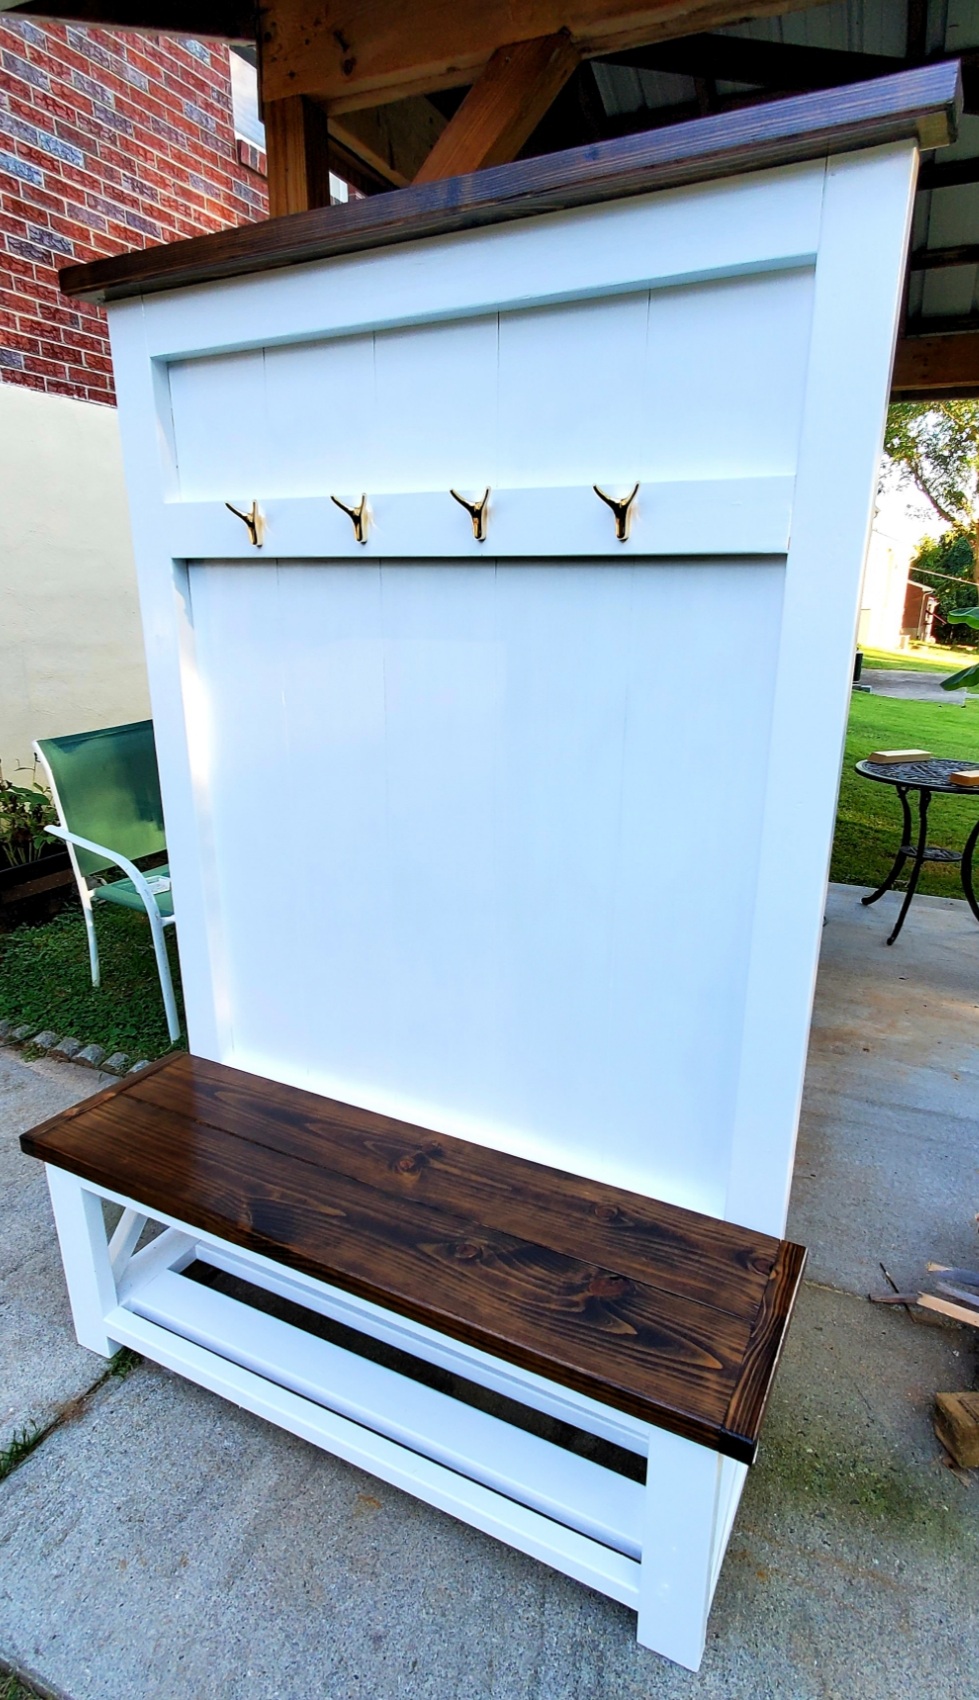
Hi, I'm Kevin, (Kevin's Woodkraft) I've made 4 of these so far and really enjoy building them. I decided to cut vertical grooves to make the back panel more like paneling but also going vertical instead of horizontal it allowed me to space the grooves perfectly symmetrical.
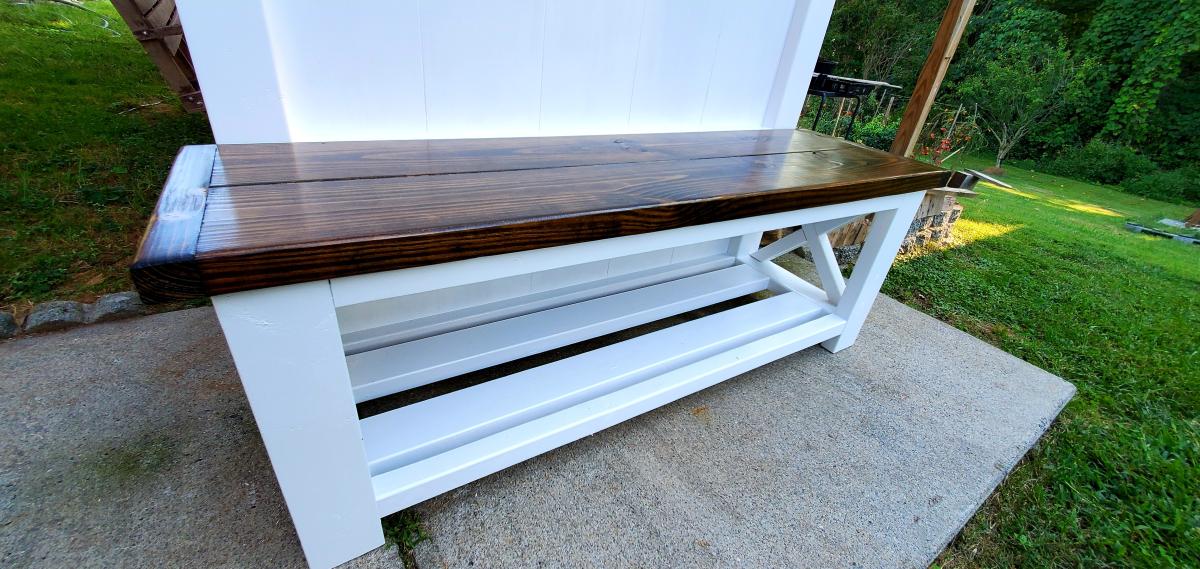
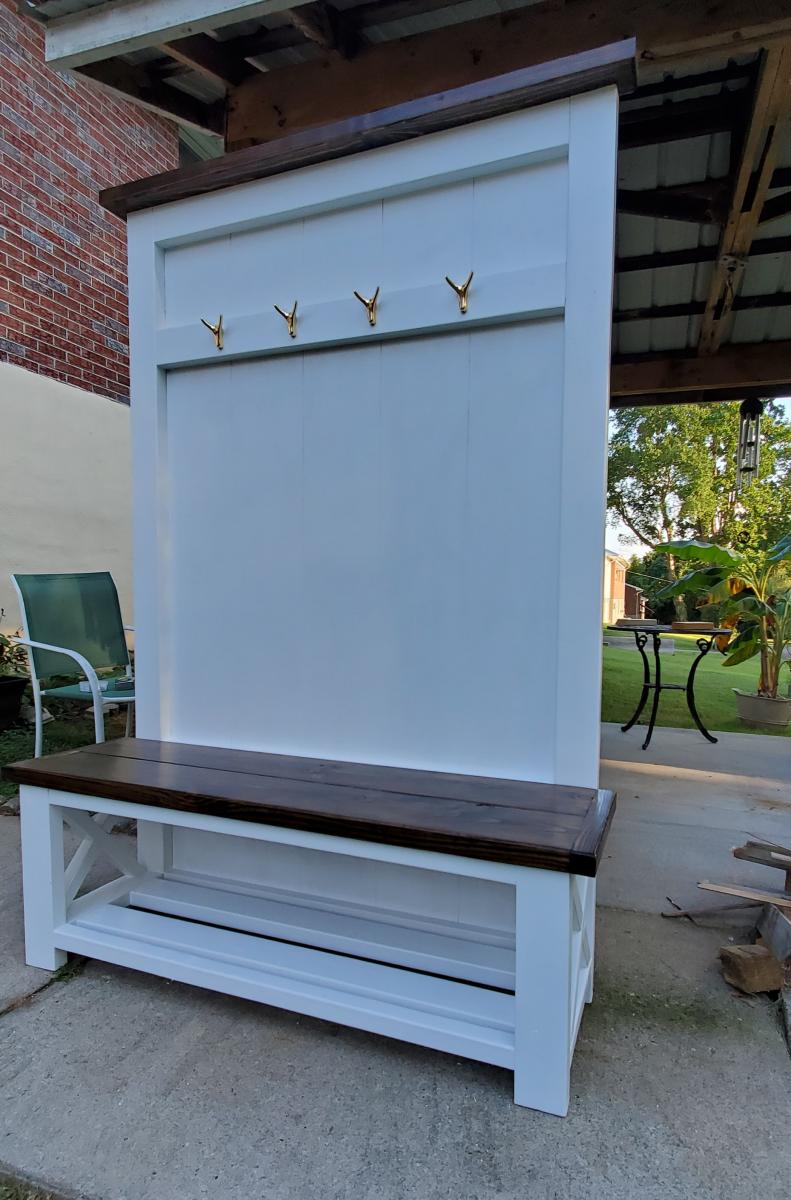
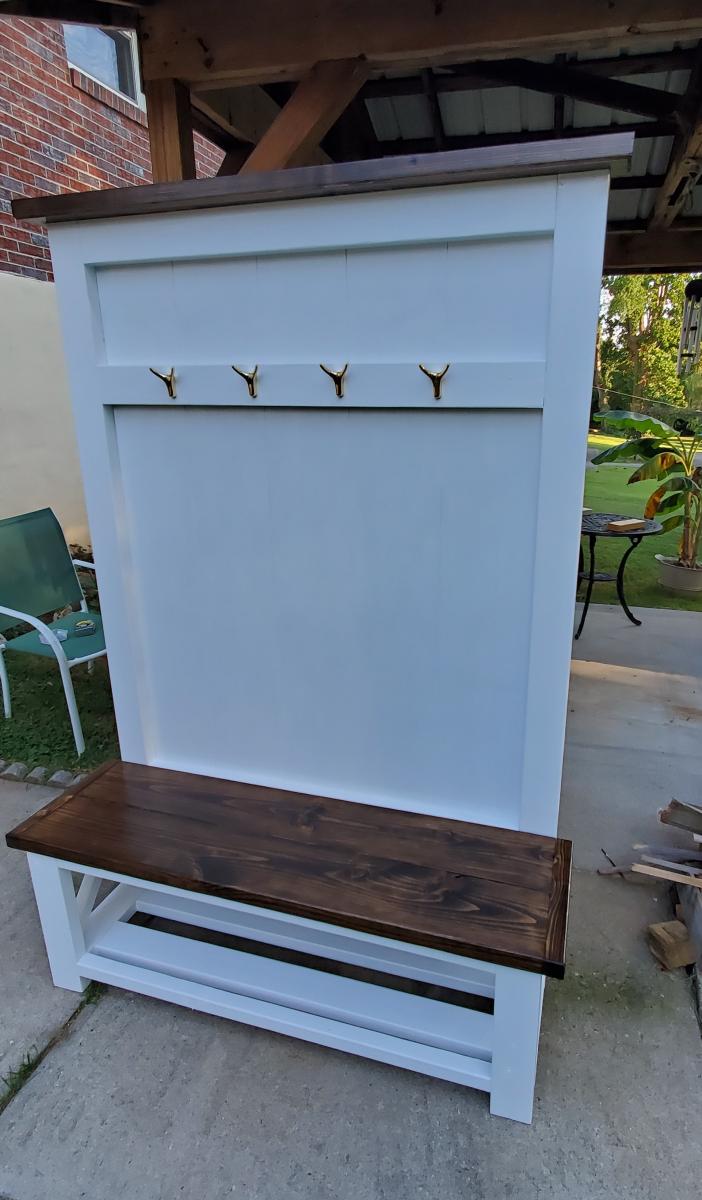
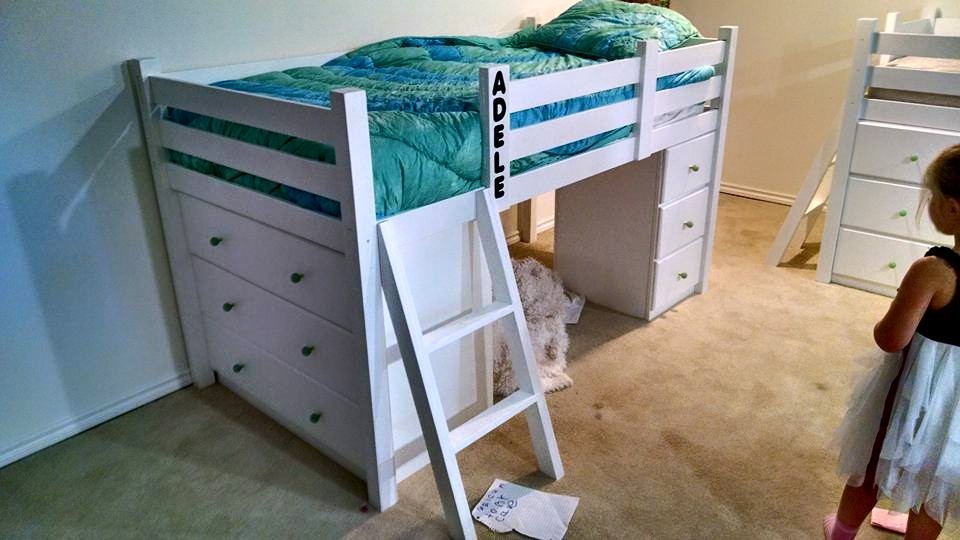
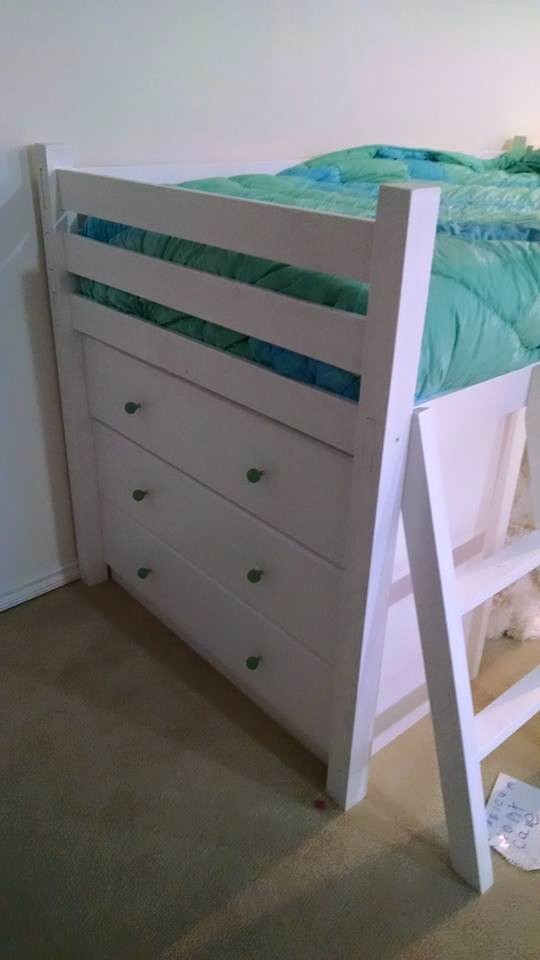
This took about a week to complete. I modify the original plan to include "built in" dressers and a night stand type of dresser. The night stand has shelves built on the side. Two beds were built of different configurations.
Fri, 12/08/2017 - 16:23
You really did an excellent job! These would be perfect for my twin daughters!
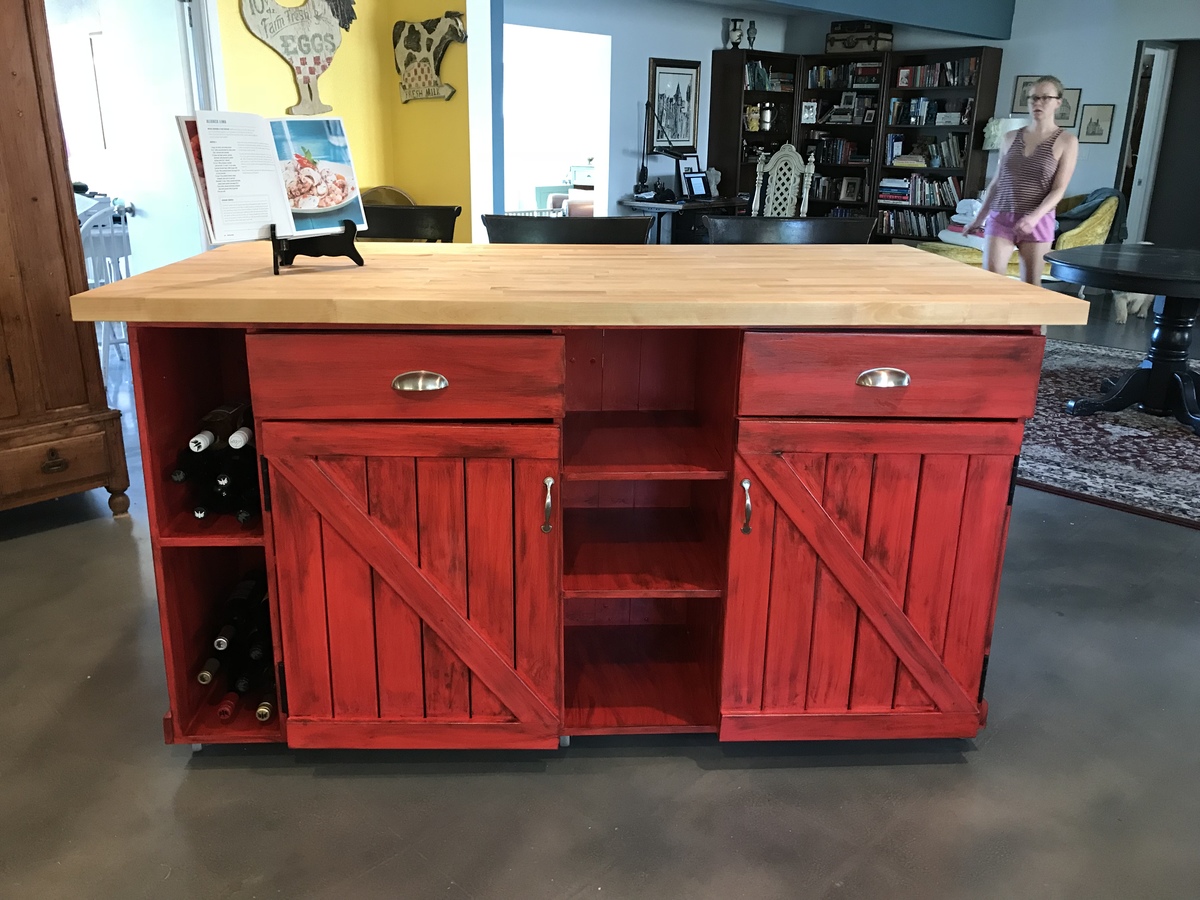
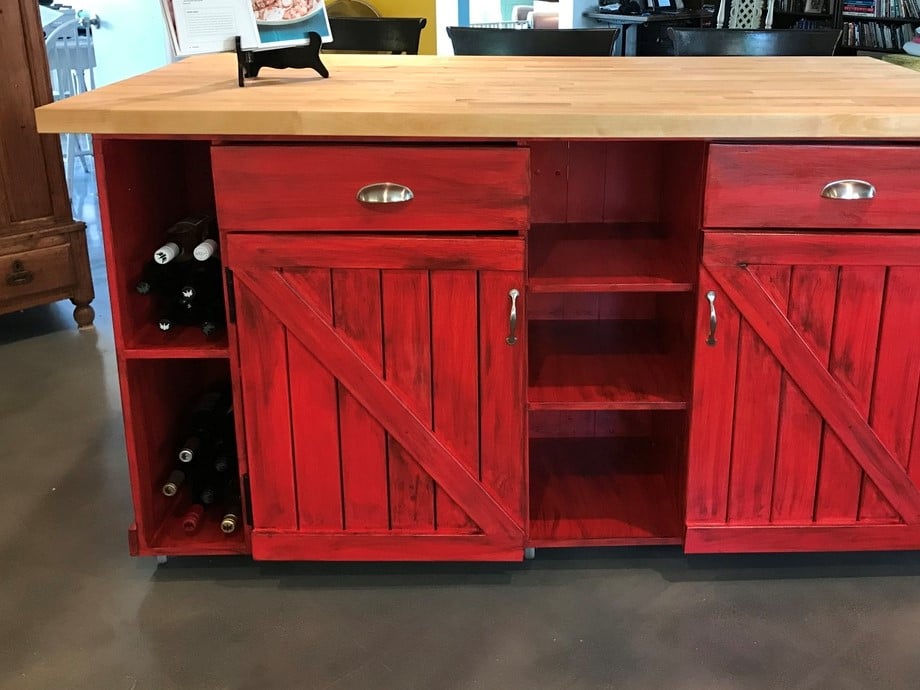
We modified the plan and made many changes along the way and here’s our finished island. We’re thrilled!

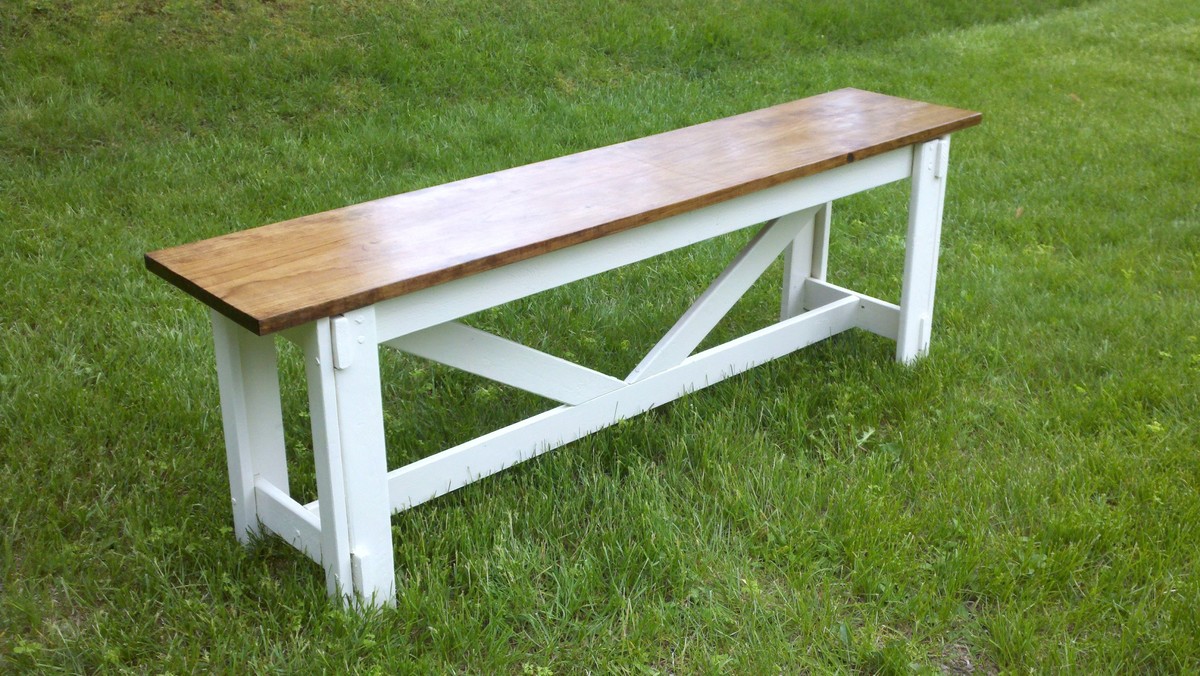
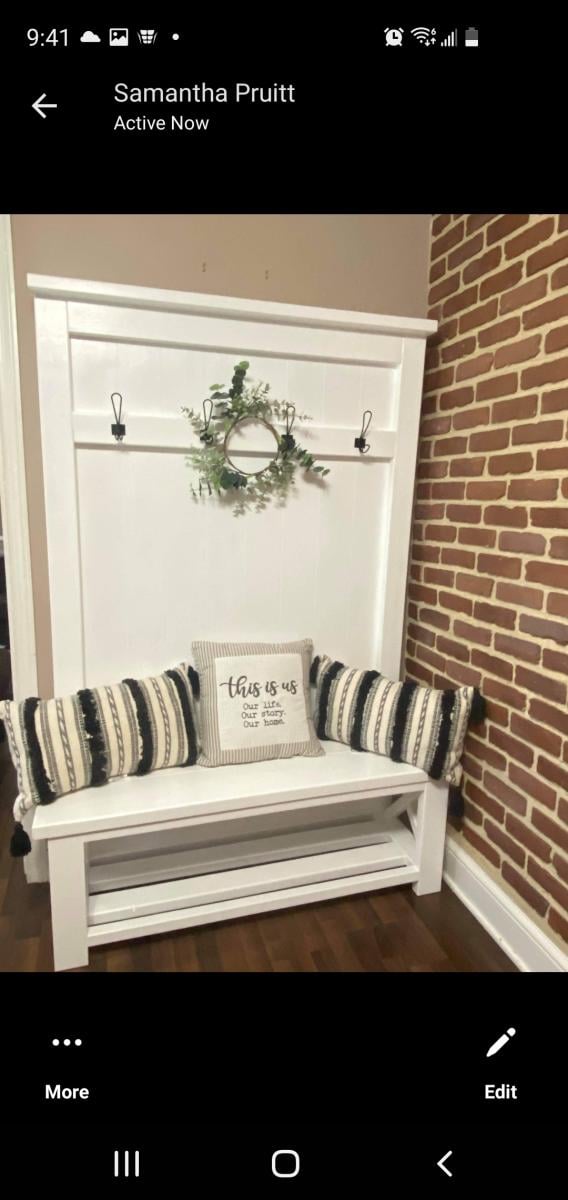
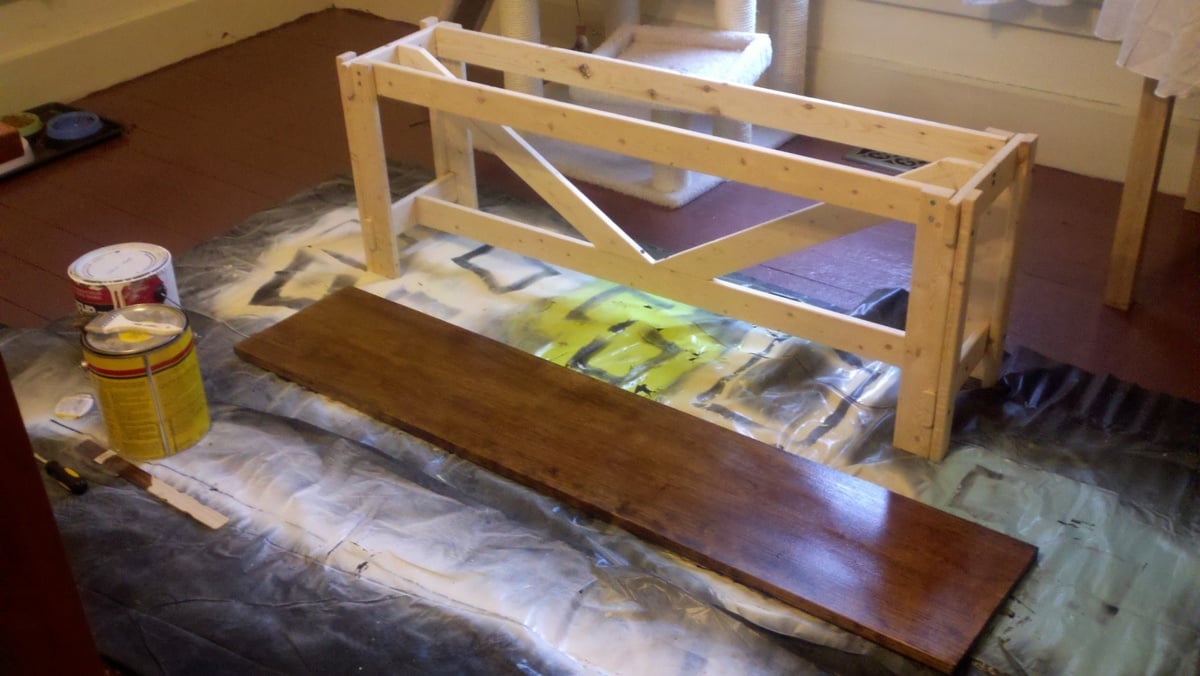
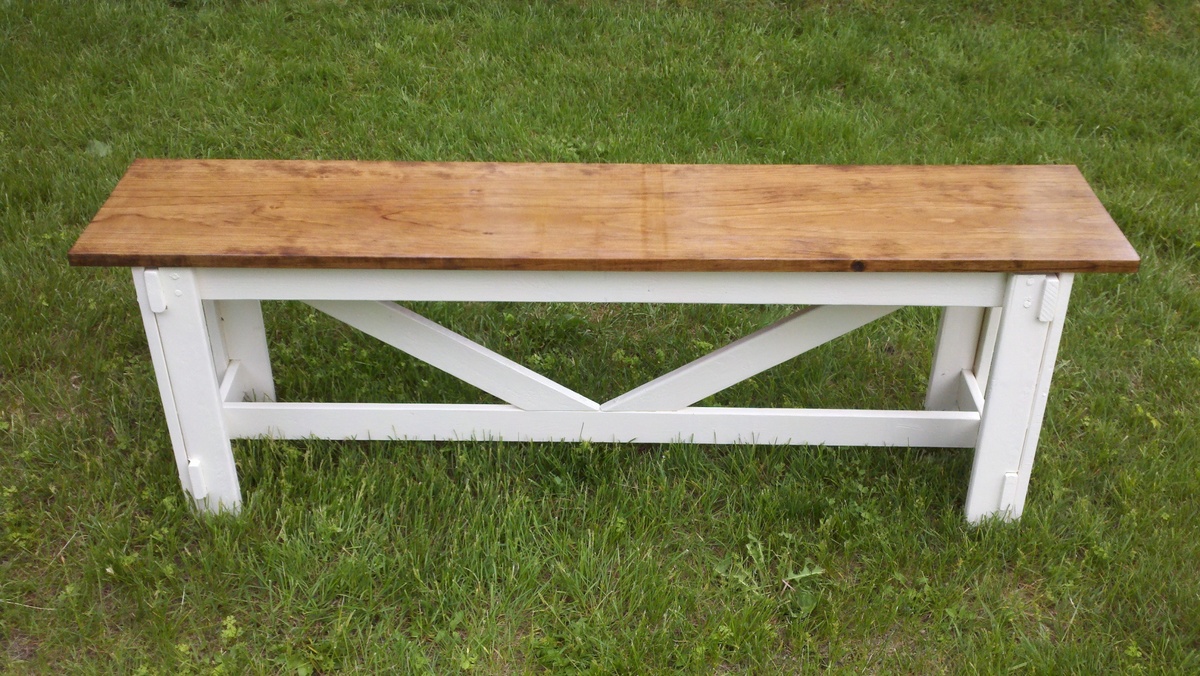
For my second project I wanted to build something a little more difficult than a shelf. The hubby showed me how to use our power tools and I was unstoppable. I chose this great bench because it fit the feel of our house and I wanted an entryway spot to sit while putting on shoes.
The finishing took much longer than it actually took to build the bench. I thought it would be more difficult to get the precise angle measurements to make the supports under the bench, but it was not bad at all. I can 't believe I built this pretty bench! I have the building fever now!
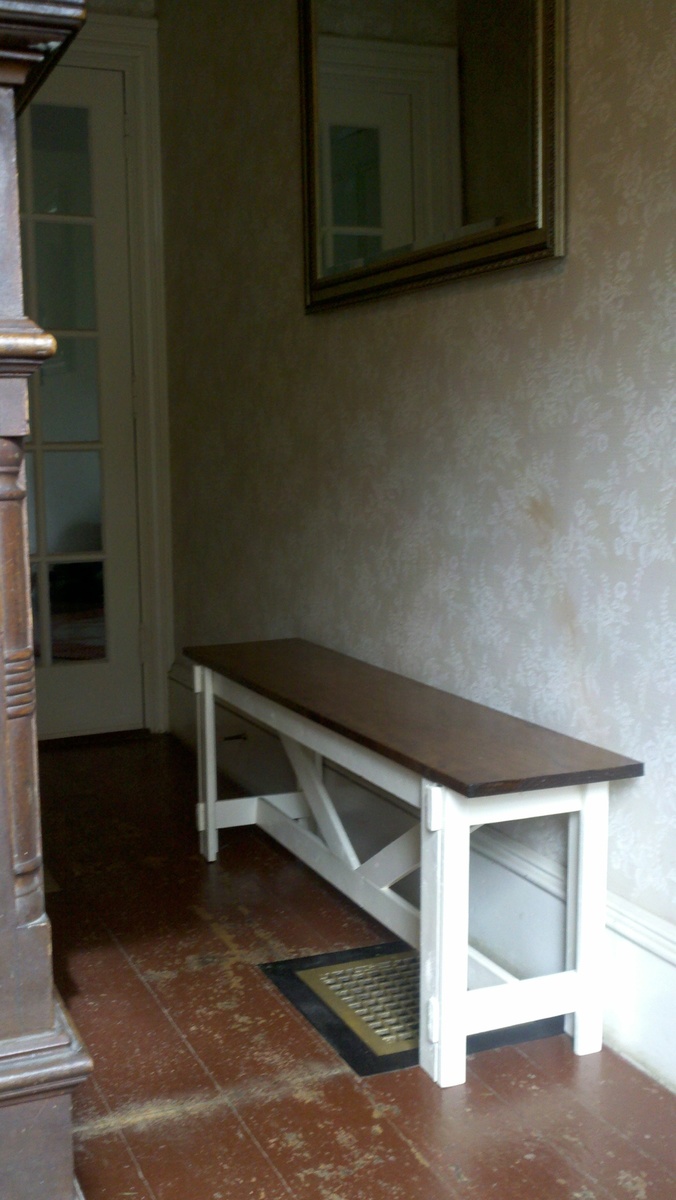
Mon, 06/13/2011 - 13:18
Loving the price and build! Good job on this! looks perfect where it is too!
In reply to Looks Great! by mandylynn523
Thu, 08/18/2011 - 04:33
Hello. My hubby and I are in the process of building this bench. Basically just have to put the top on and finish the staining/painting. We are doing a black bottom and stained top. I have a hard time w/angles so my husband tackled that but I have to say, he had a hard time with it as well. Glad you had an easy time of it! Can I ask how you attached the top?
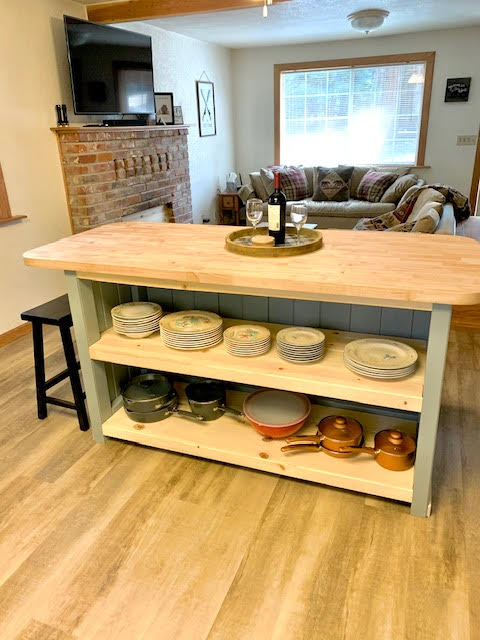
Great storage island project!
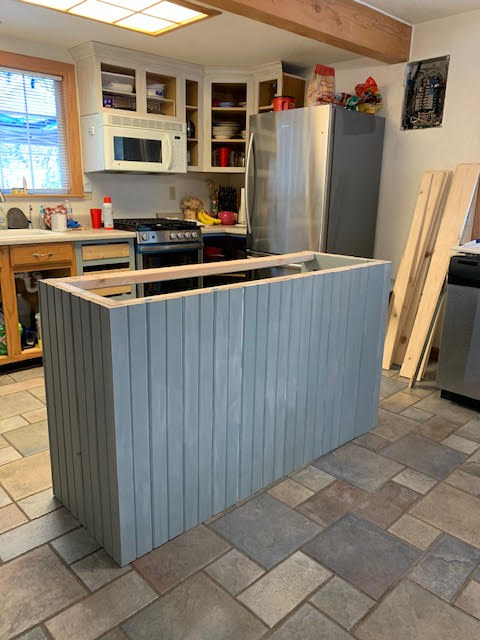
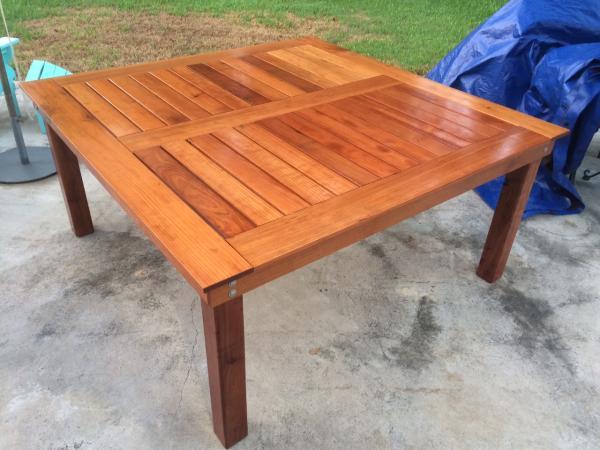
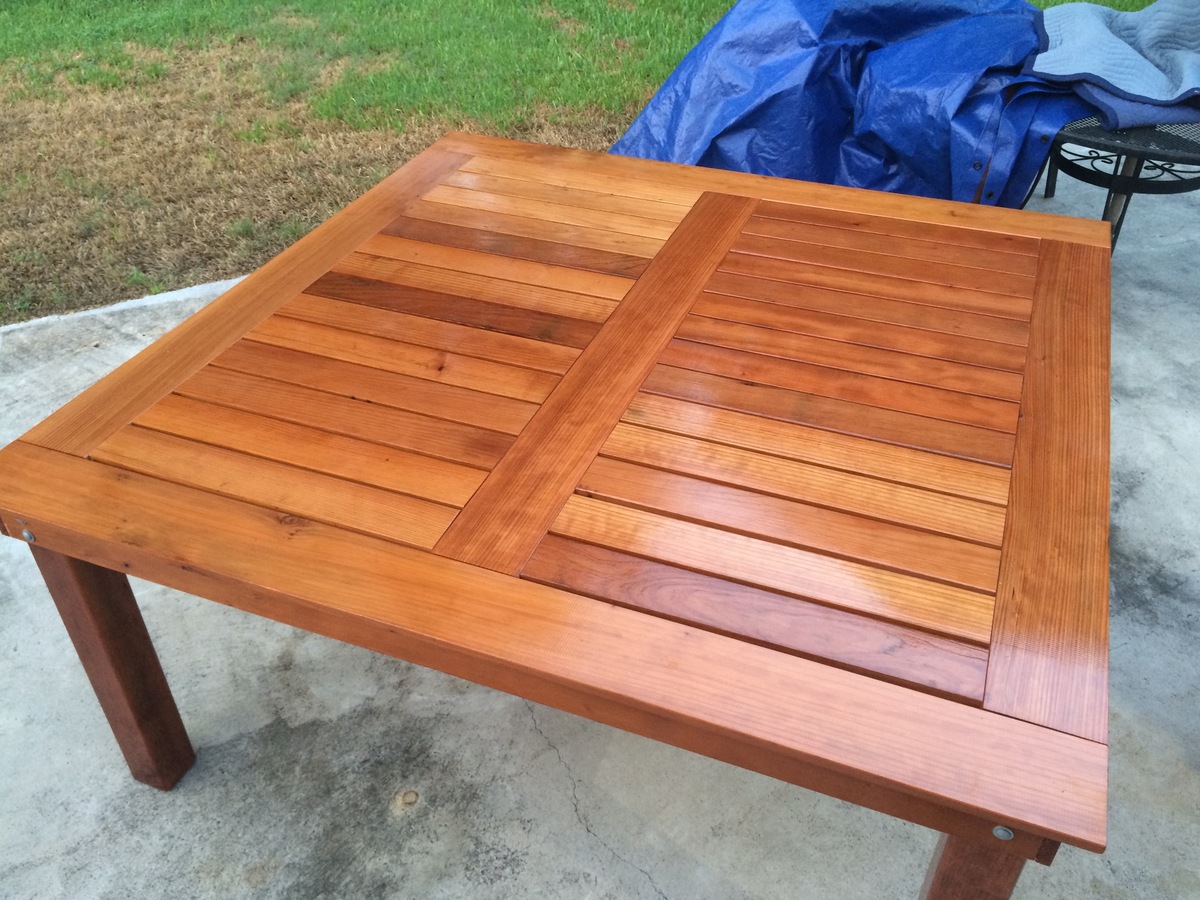
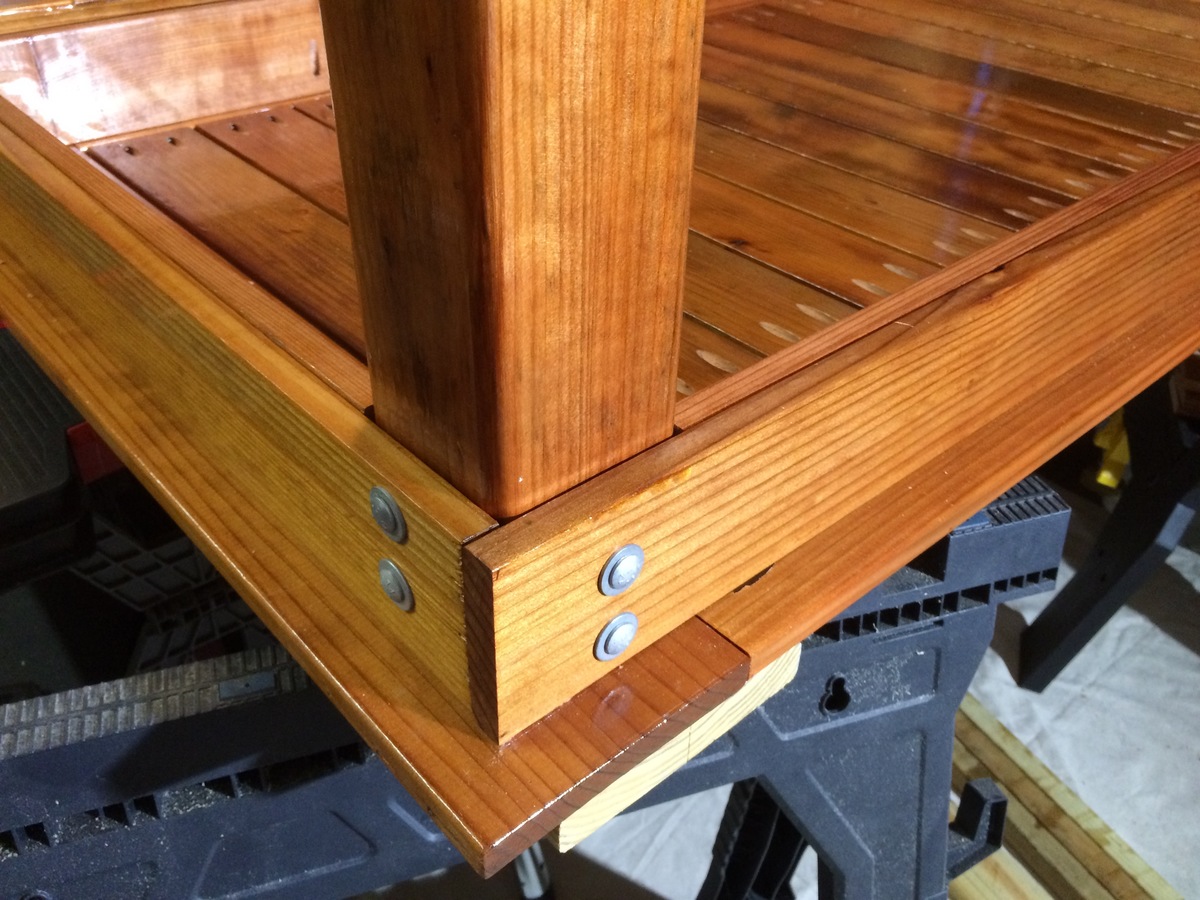
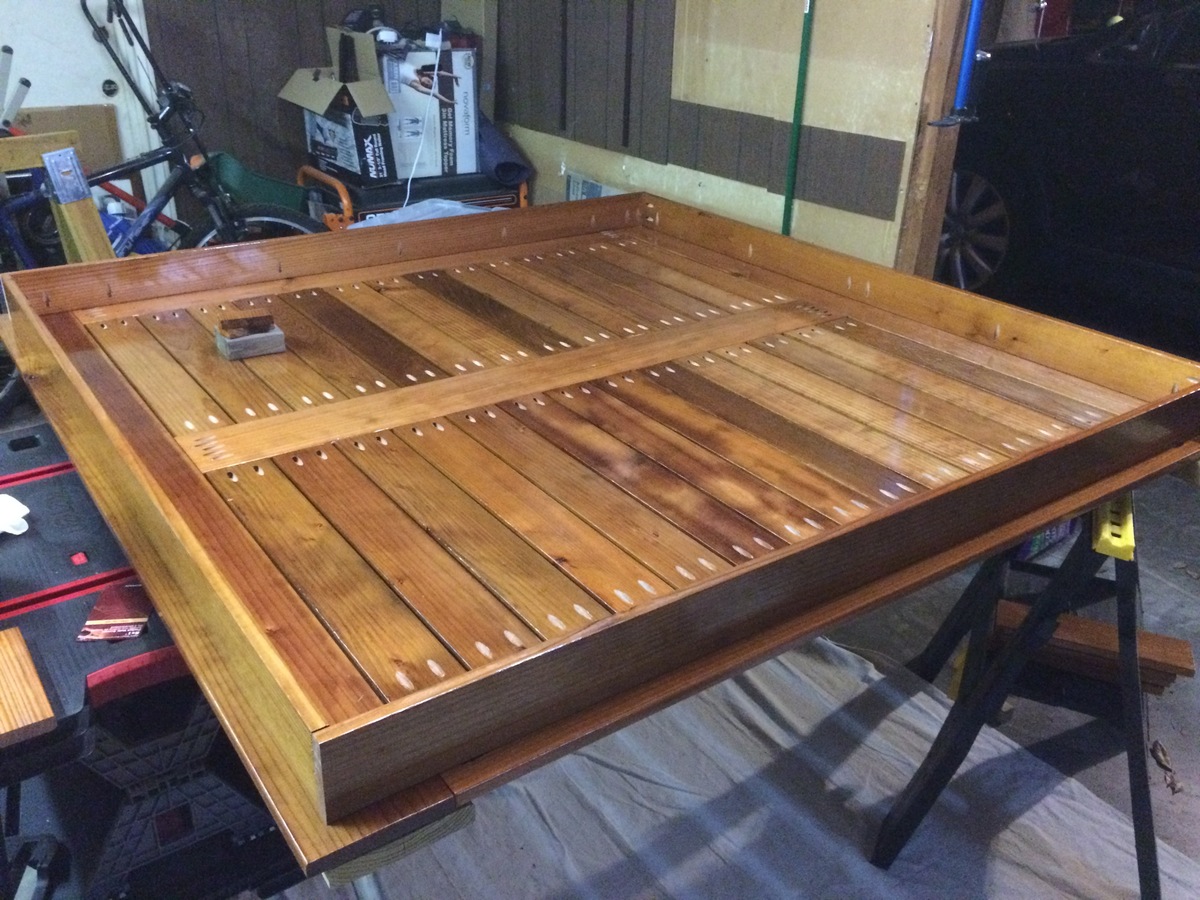
I've been thinking about this one for a while, and finally built up the courage to do it. Ana had lots of good plans and I learned so much from her other table plans, but the brag post: http://ana-white.com/2012/03/simple-square-cedar-outdoor-dining-table is the one that ultimately pushed me over the edge to start. I spent a ton of time researching wood types, Minwax types, Kreg Jig settings, etc. Finally pulled the trigger and got started. It took me several weeks start to finish, but it was usually only a few hours at a time at night after everyone had gone to bed. The most labor-intensive part was triple-coating all of the redwood. Coat, dry, flip, coat, dry, sand, repeat. Took a loooong time but the finish is absolutely gorgeous. The photos don't really show how deep red the wood really is. Actually assembling the table didn't take that long. Big thanks to Finns-Dad (user) for the inspiration and good photos - it was relatively easy to build my own plans in Illustrator from those. Now to make some matching benches...
Fri, 08/26/2016 - 06:17
Hi! Sorry - didn't see this comment until now. Yes, I added 2 parallel 1x4s underneath that horizontal 1x6 for added support.
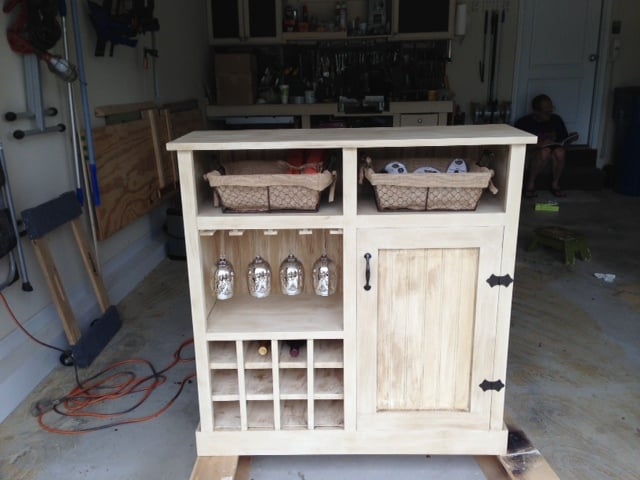
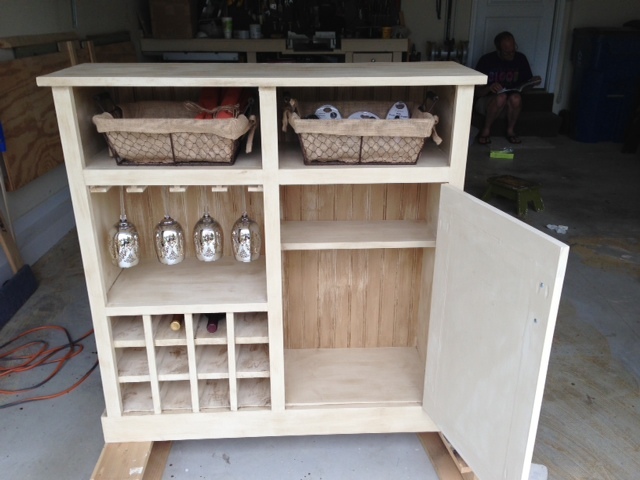
Happy Tuesday everyone! Today I am going to share a project with you that I built with the help of some plans from Ana-White.com.In a weekend we carved out a custom wine cabinet we will be donating to a local children’s charity here in St Peter’s, MO. This lovely cabinet was created from the SHANTY OPEN SHELF CONSOLE, which was designed for the Shanty sisters at Shanty-2-Chic blog site. We altered the plan to make it a wine cabinet which came out spectacular! Ana, thank's again for providing your free plans. I will be happy to upload the altered plans in a couple days so you can all enjoy them! Happy wood working!
Wed, 08/07/2013 - 14:43
Thinking this would make a great Christmas Gift idea for quite a few of my friends! Can't wait for the altered plans!
Thu, 08/08/2013 - 17:55
The plans are in process - Hope to have them posted this weekend to your Ana's site!
Sun, 08/18/2013 - 08:46
Looks great! Any idea when the altered plans will be available? Itching to get this built for my SO.
Tue, 08/27/2013 - 13:51
I'm adding this to the top of my build list as soon as the modified plans are uploaded! Thanks for taking the time to add them.
Wed, 08/28/2013 - 17:10
Wine Console Altered Plans
Sorry it took me so long, our blog over at Hello...I Live Here has kept us busy with all our new visitors. But as promised here are the altered plans to help you make the wine bottle holder and stemware holder.
MAKING THE WINE BOTTLE HOLDER:
Start your project with Ana White's plans. Finish the whole thing, but only make one door. Leave the other side open and alter as follows to get your wine holders:
1. First cut 3 additional shelves 17 5/8" wide. Make sure you Kreg 3/4" holes on the right and left side of the shelves, connect to the sides with 1 1/4" PH (pocket hole screws - Kreg).
2. We spaced each of our shelves 3 1/2" apart, allowing 12 bottles to be stored in the wine case.
3. Cut in half length wise a 1x2 board. This will give you a horizontal stringer about .75" wide.
4. We customized the top shelf board to fit the distance - we did not want the board to hang down interfering with the wine storage. We trimmed this board to 3/4" to match the shelf thickness. Then glued and nailed into place.
5. Once the top board is in place, measure the distance from the bottom shelf to the top shelf to just under the top shelf board from step 4. With a pencil mark the stringer and cut to size, and install with glue and nails. This step needs to be completed 3 times 3 1/2" apart from each other. You should now have 12 square boxes making your wine storage.
6. On each shelf behind the three stringers, we placed a divider to keep the bottles from hitting one another. Each divider is 1/2" square, and 11 1/4 long, to match the shelf depth.
MAKING THE WINE STEM HOLDERS:
Now that you are done building the box for the wine holder, we can move on to the stemware holder.
1. We purchased .25 x 1.5" x 36" poplar flat wood. This will make the bottom of the T's and L's stem ware holders.
2. Then we used 1/2" square pieces of poplar to make the L and T mounts. Mount the flat poplar to the 1/2" squares making 2 L shaped pieces for the Right and Left side of the unit, then make 3 T's for the centers. You will use glue, and clamp them down tight, then nail together.
3. Hang each L shape on the Left and Right Side of the unit with finish nails. The next part is kind of trick and depends on the size of the stem bottom you will be hanging not all base bottoms are the same. Once your L's are hung, take the stem wear you will be hanging and rest it into the L shape holding the glass (do not let go of the glass it will break if dropped). Then position the T shaped molding to accommodate your stemware. Move the glass in and out of the L and T until you get your desired width for your stemware. Mark the T you are holding with a pencil , carefully sit down the stemware and mount the T shaped holder. Continue until all 3 of the T's are hung ( we used glue and nails to complete this process).
We used a bead-board backer instead of plywood to give it that French country feel.
We hope these plans help you build a piece you love! This piece of furniture brought the charity we donated it to $500 extra dollars to help their children. We at Hello...I Live Here were very proud of the job we did and that we got to help some wonderful children!
Visit us at www.helloilivehere.com or stop by our Facebook page and give us a big like once you complete your project!
Happy building ;-)
- LC
Thu, 08/29/2013 - 13:01
Thanks so much for posting the plans! My sister has been asking me to make this for her since she saw the pics a couple of weeks ago.
Side note: I'm from St. Louis, MO, so seeing you were from St. Charles caught my eye!
In reply to Thanks so much for posting by Joeboxer1013
Thu, 08/29/2013 - 16:06
No problem - we are actually in Ballwin MO - stop past our page and see the other things we do - helloilivehere.com
LC
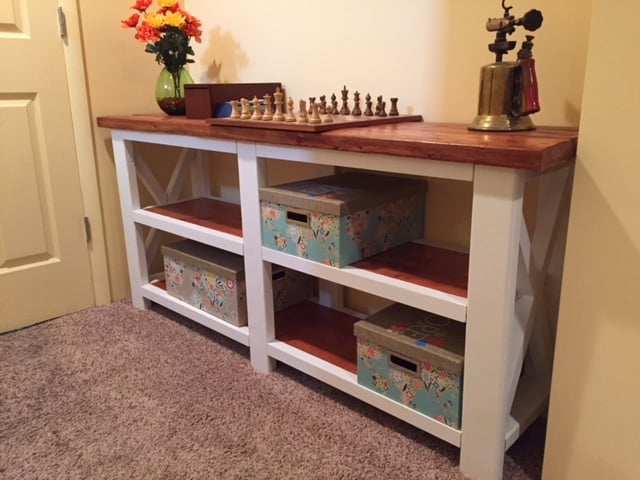
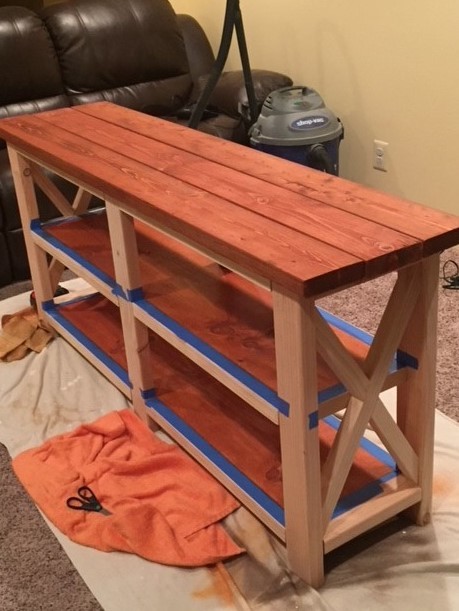
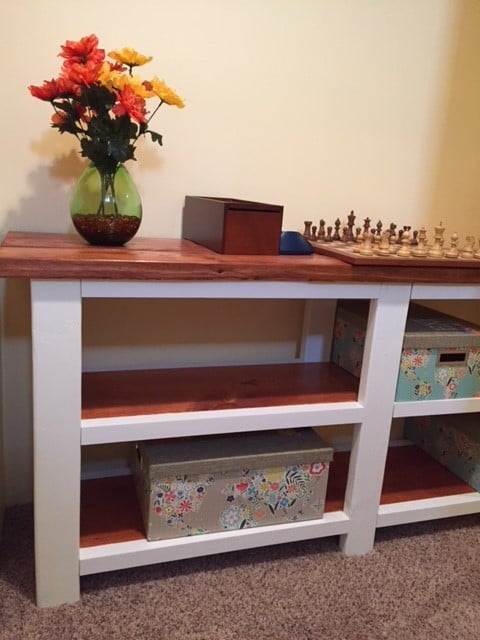
This was my first project after discovering the "Ana White" web site. After looking through the brag photos I zeroed in the Rustic X Console. I was specifically inspired by the photos from "Celeste808" and "aDIYguy". It also gave me an opportunity to try out my new Kreg Pocket jig. I hope you like the pictures.
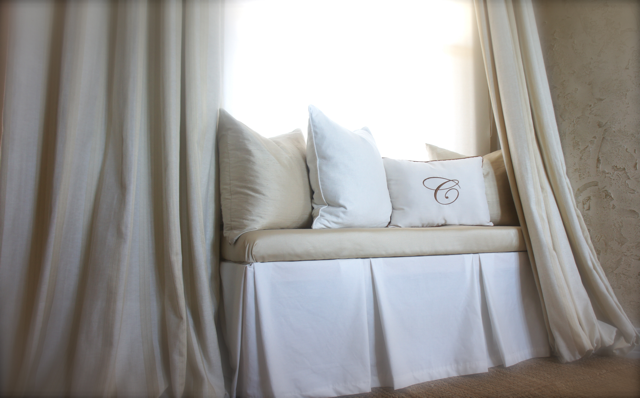
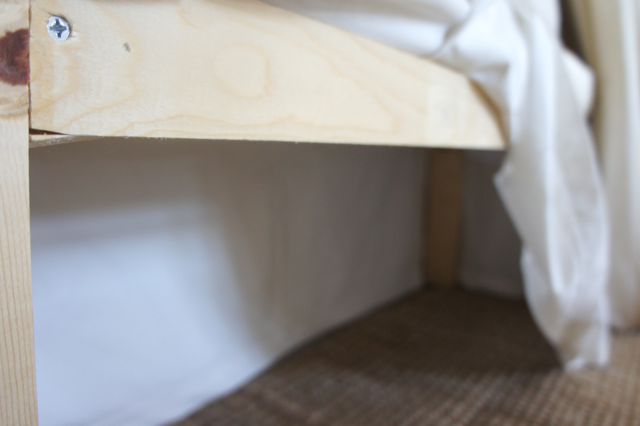
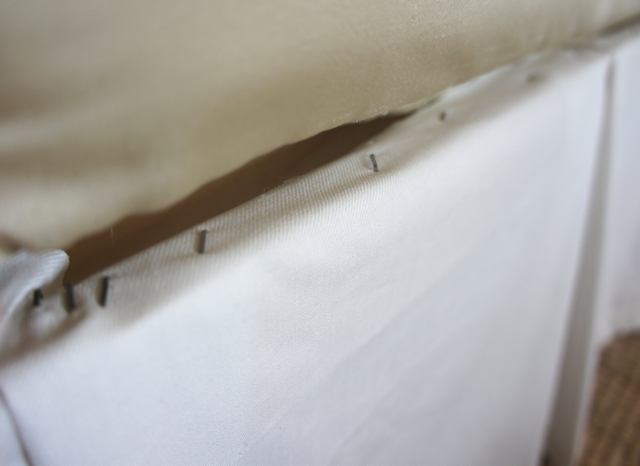
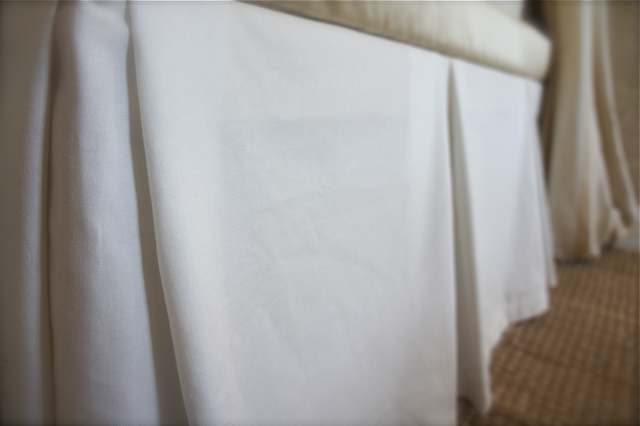
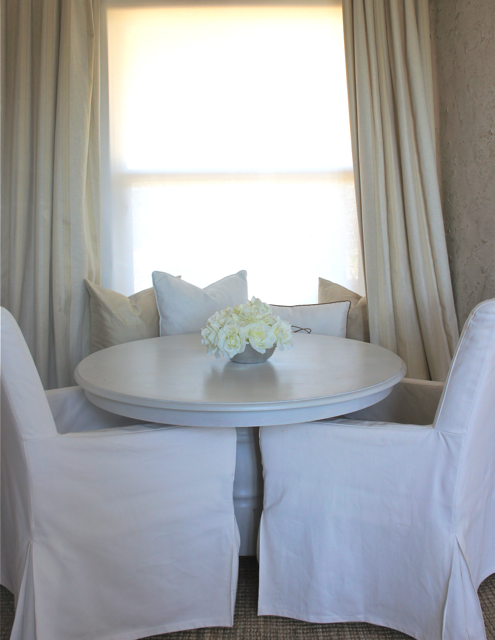
I took Ana's amazing easy upholstered bench from modern to "magnifique," with a simple pleated skirt and silk upholstered seat cushion! Now our oddly shaped breakfast nook has a built-in that doesn't look so--well--built-in! Ana was right, it truly doesn't get EASIER than this :o)
In reply to Very nice by Tsu Dho Nimh
Mon, 07/11/2011 - 08:38
What a great idea! My puppies like to hide under there, too :oP
Comments
Ana White Admin
Tue, 10/05/2021 - 11:56
Great toybox!
That's beautiful, thanks for sharing!