Community Brag Posts

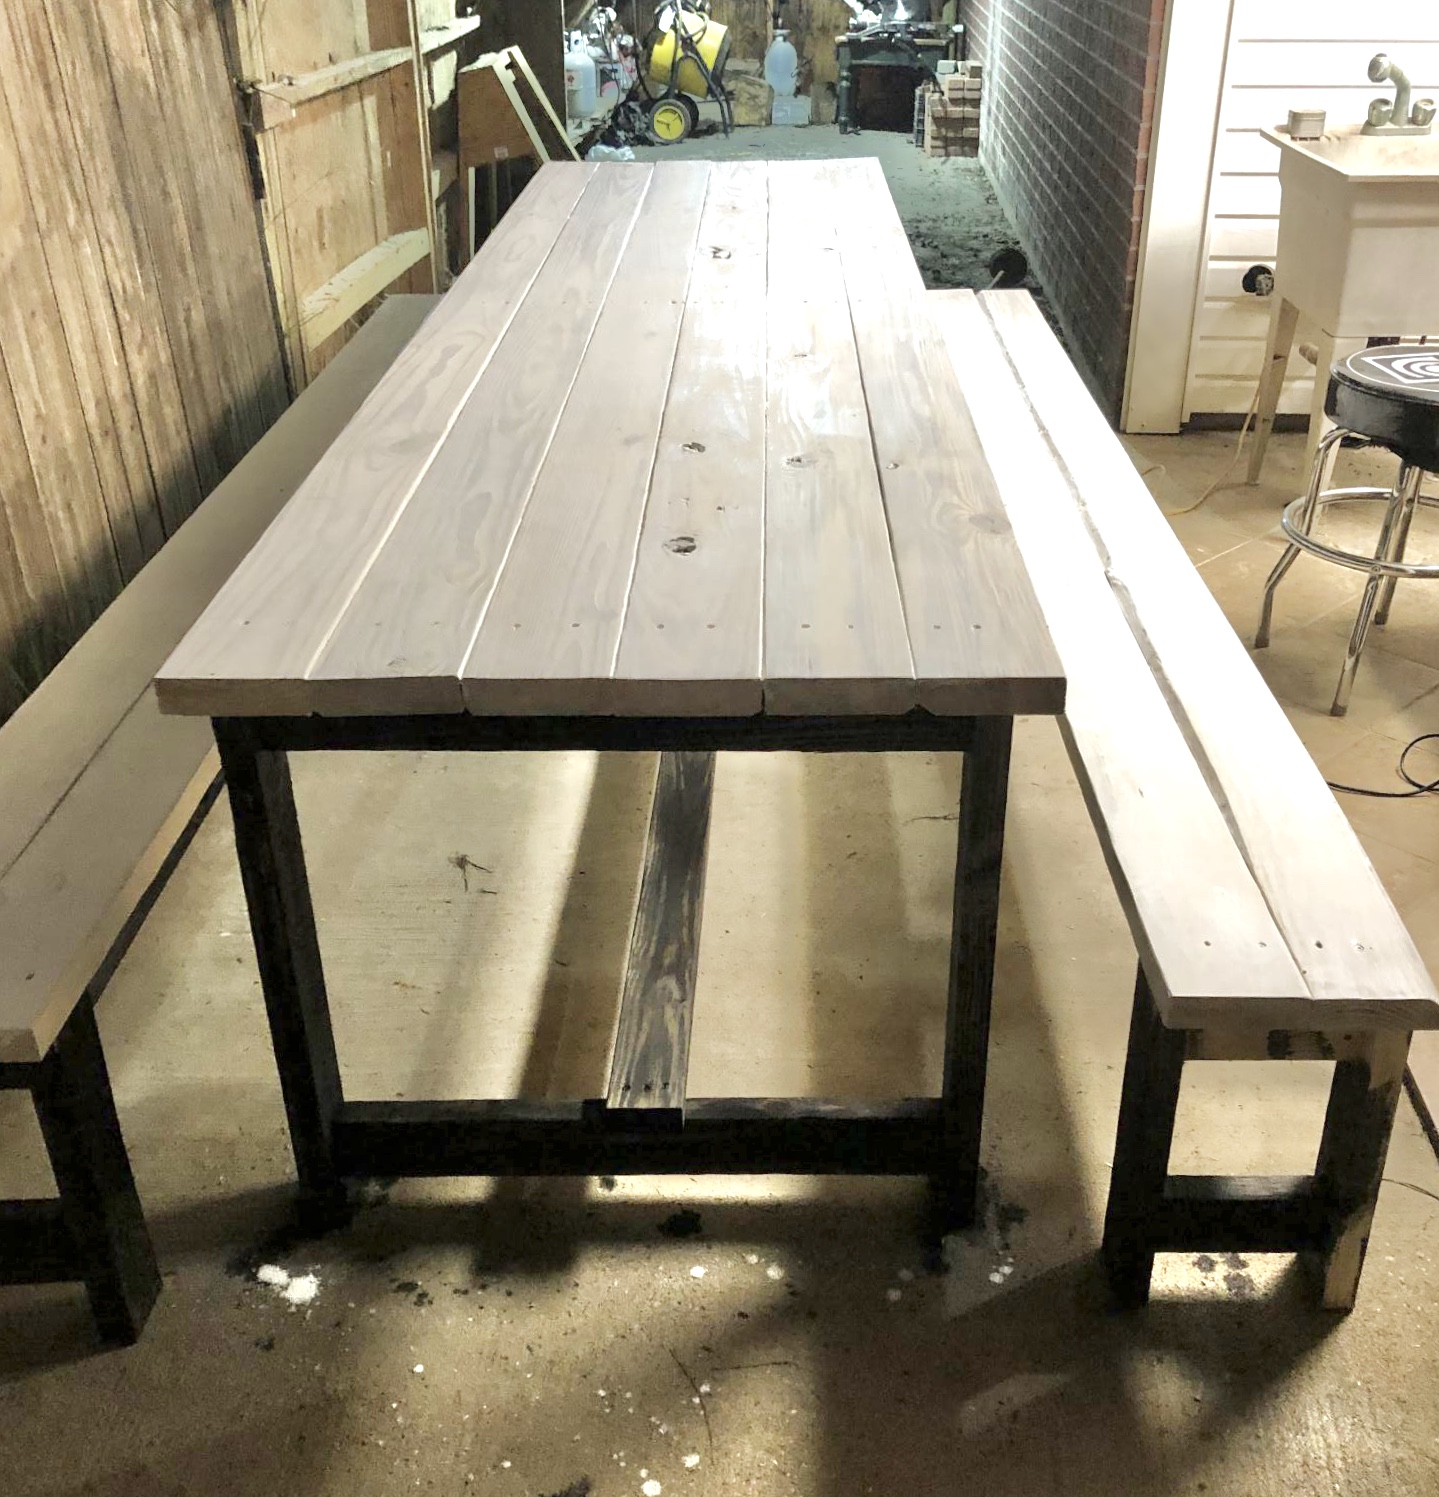
Beginner Farm Table and benches

Submitted by Anonymous (not verified) on Sat, 07/25/2020 - 21:02

We built a larger version of the farmhouse table. It’s always been a dream to have a massive table for family dinners. I loved the look of the table and have wanted to attempt it for a couple of years. I finally got the courage up. We kept the legs the same size and just used 10 ft 2x6 and stretchers. It’s extremely solid and heavy! We are exhausted, it took all day! But we are so proud of ourselves. It’s definitely not perfect but it was our first and we love it!

Estimated Cost
150
Estimated Time Investment
Day Project (6-9 Hours)
Finish Used
Weathered burn effect stain For the legs and runners and an antique white for the top.
Recommended Skill Level
Starter Project

Barn Project

Submitted by Hookster on Mon, 11/07/2016 - 12:10

 Hi Ana & Hubby

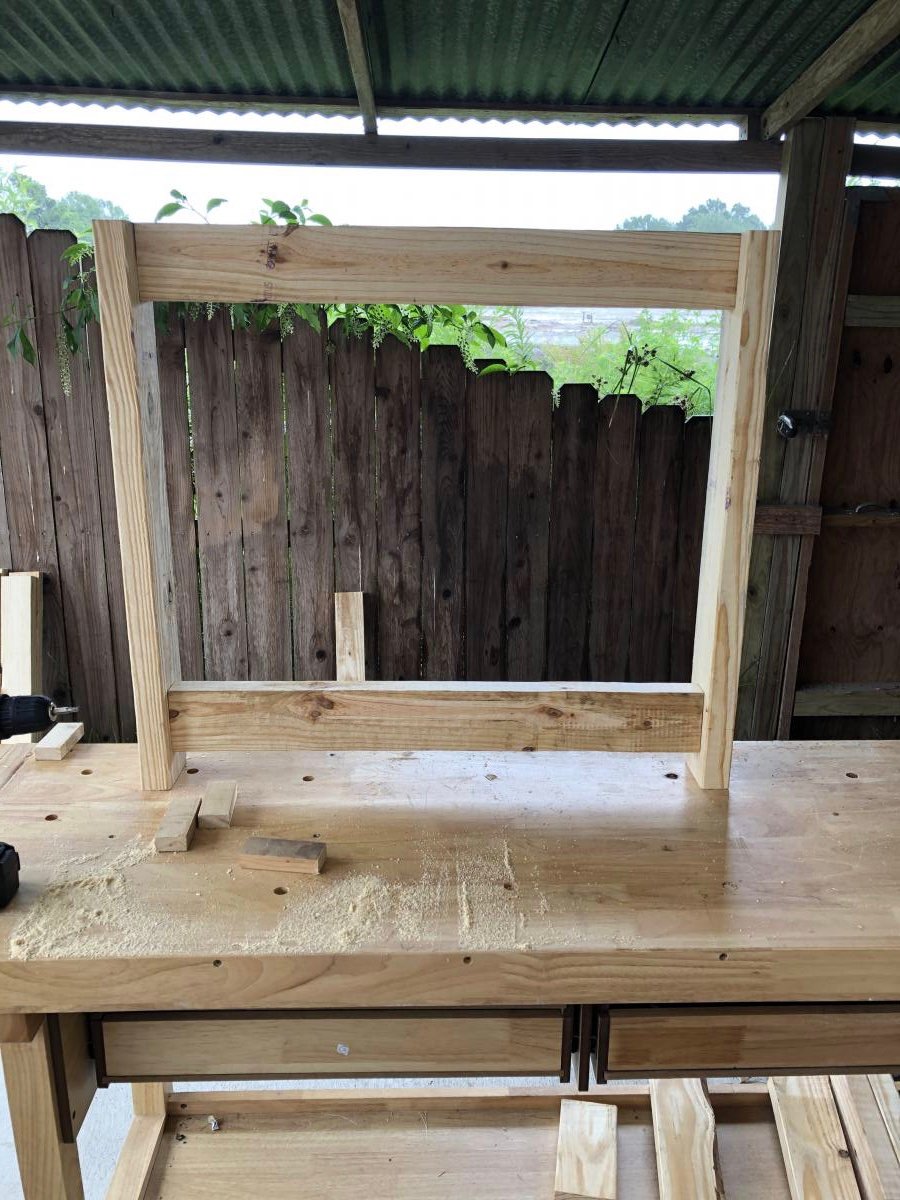
 Completed the shelving unit this past summer in my Barn, great plan and really easy to put together,

Thank's for the plan and step by step instructions, Going to build another unit in the barn come spring time here in Upstate New York.  I made mine only eight feet wide by eight feet high givin the space I had 

it's eight feet between 4x4 upright polls. I went with a center 2x4 for added strength to avoid possible sagging from heavy weighted items I will be storing. I left room inderneath as you can see, I store my saw horses and my push mower under it well.  

Warmest Regards

 Steve

Estimated Cost
$50.00
Estimated Time Investment
Afternoon Project (3-6 Hours)
Finish Used
bare wood
Recommended Skill Level
Beginner

Comments

Mini Farmhouse Bedside Table

Submitted by Anonymous (not verified) on Mon, 11/21/2016 - 18:35

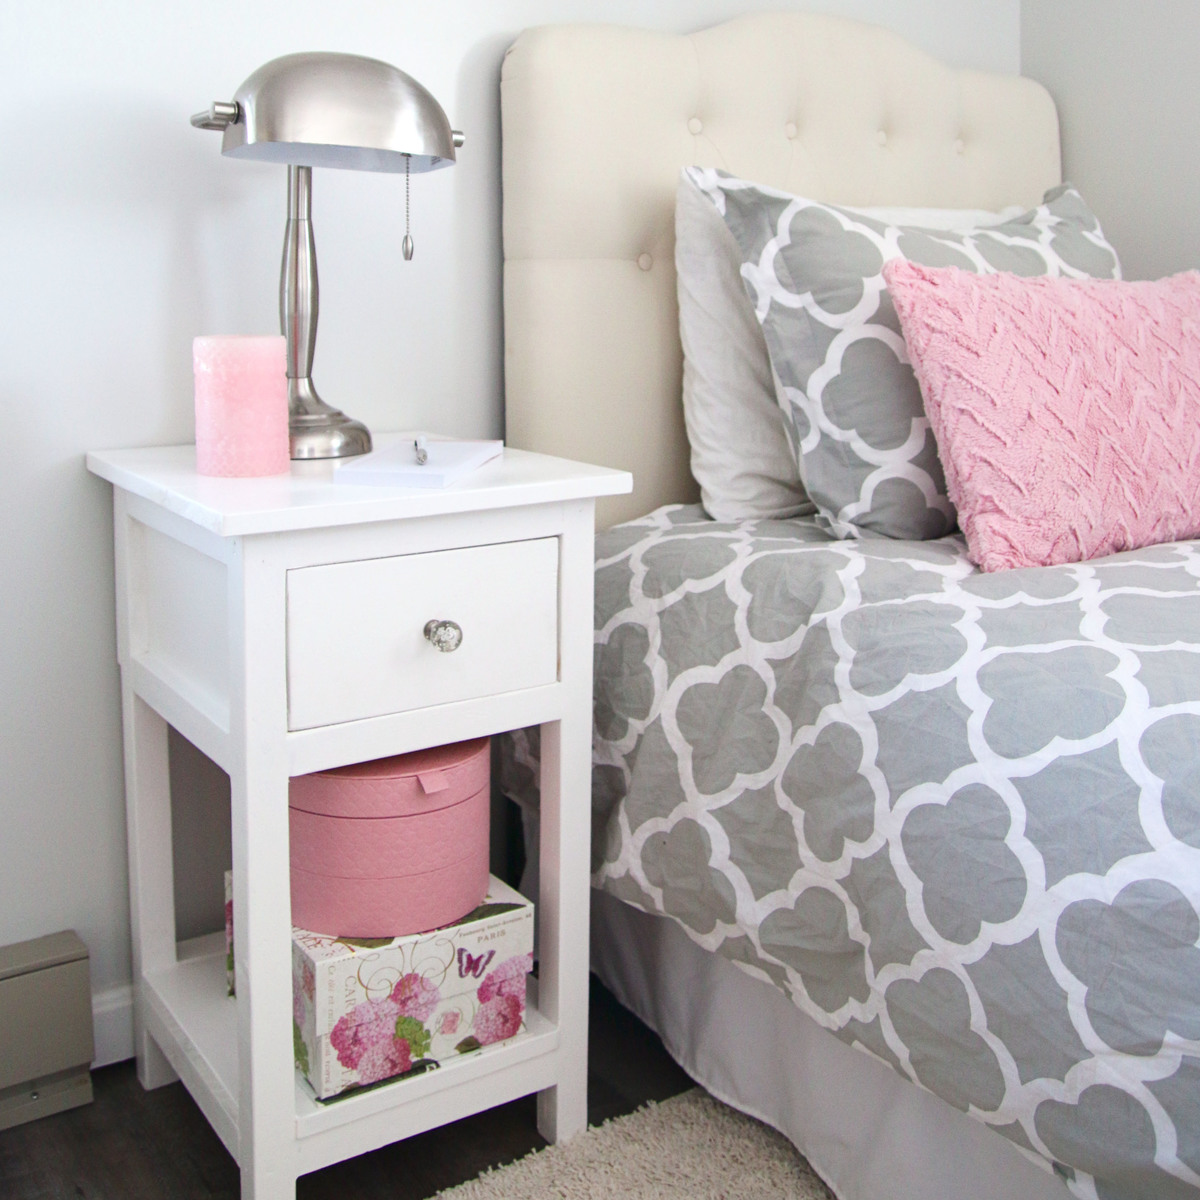
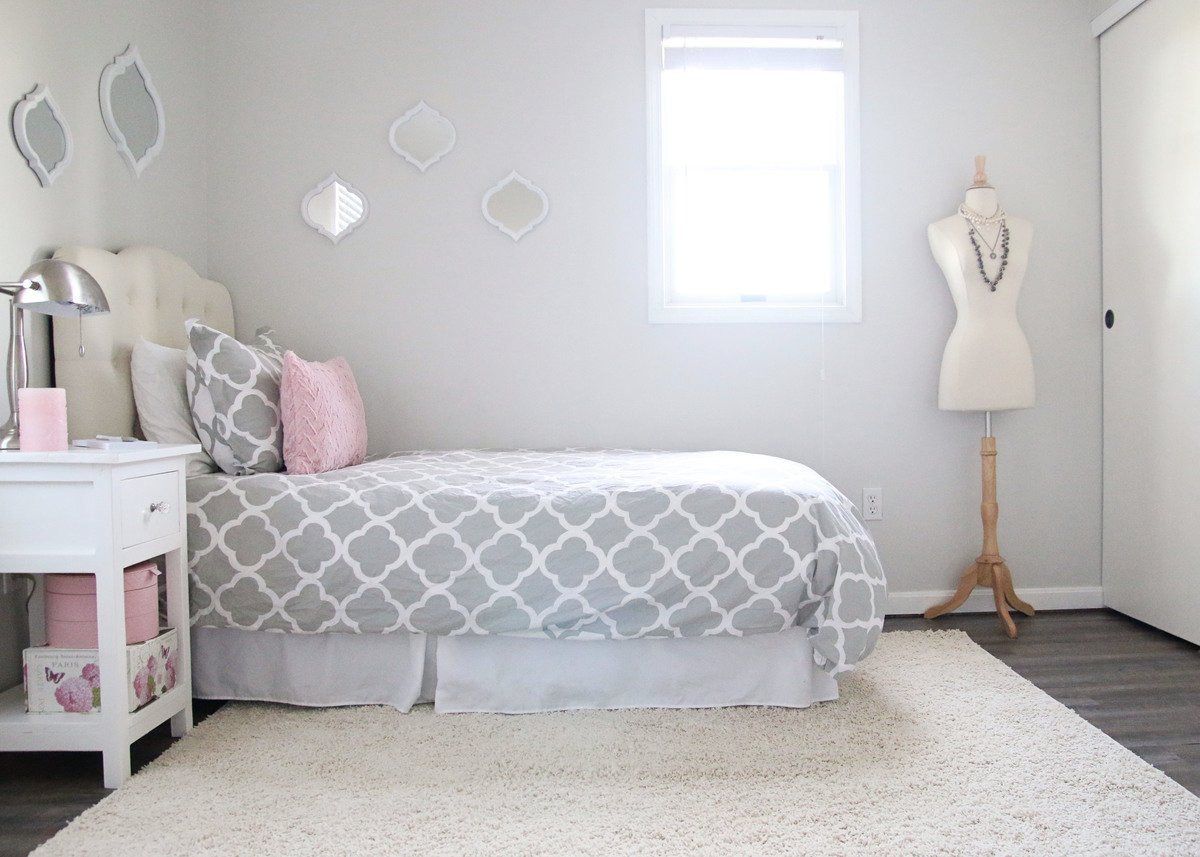
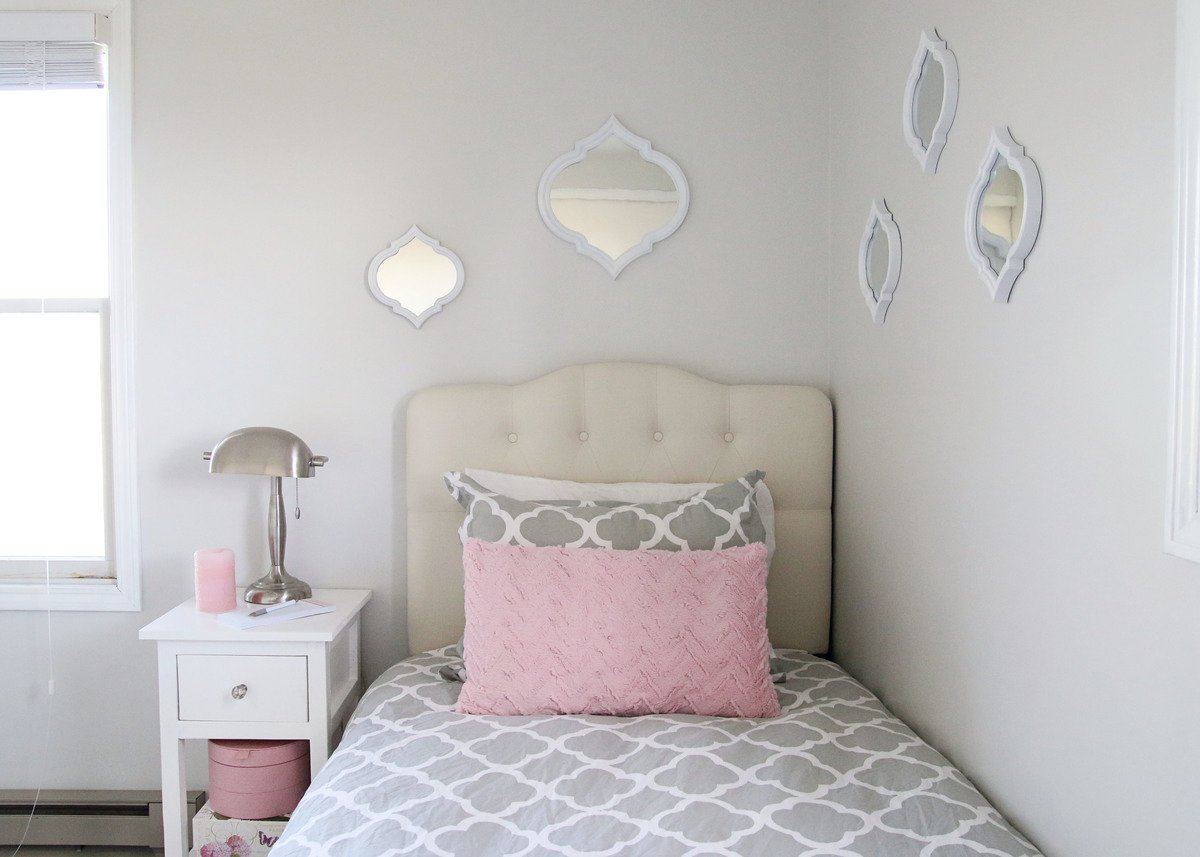
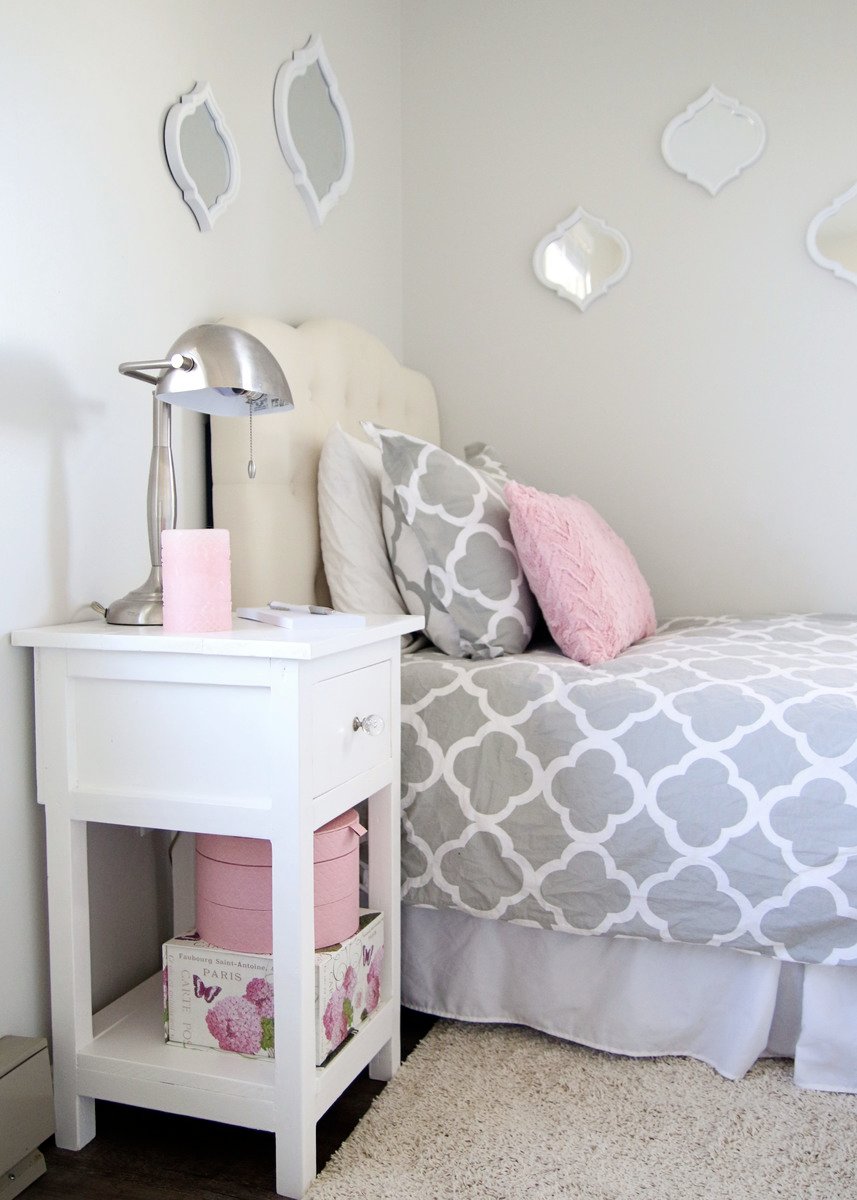
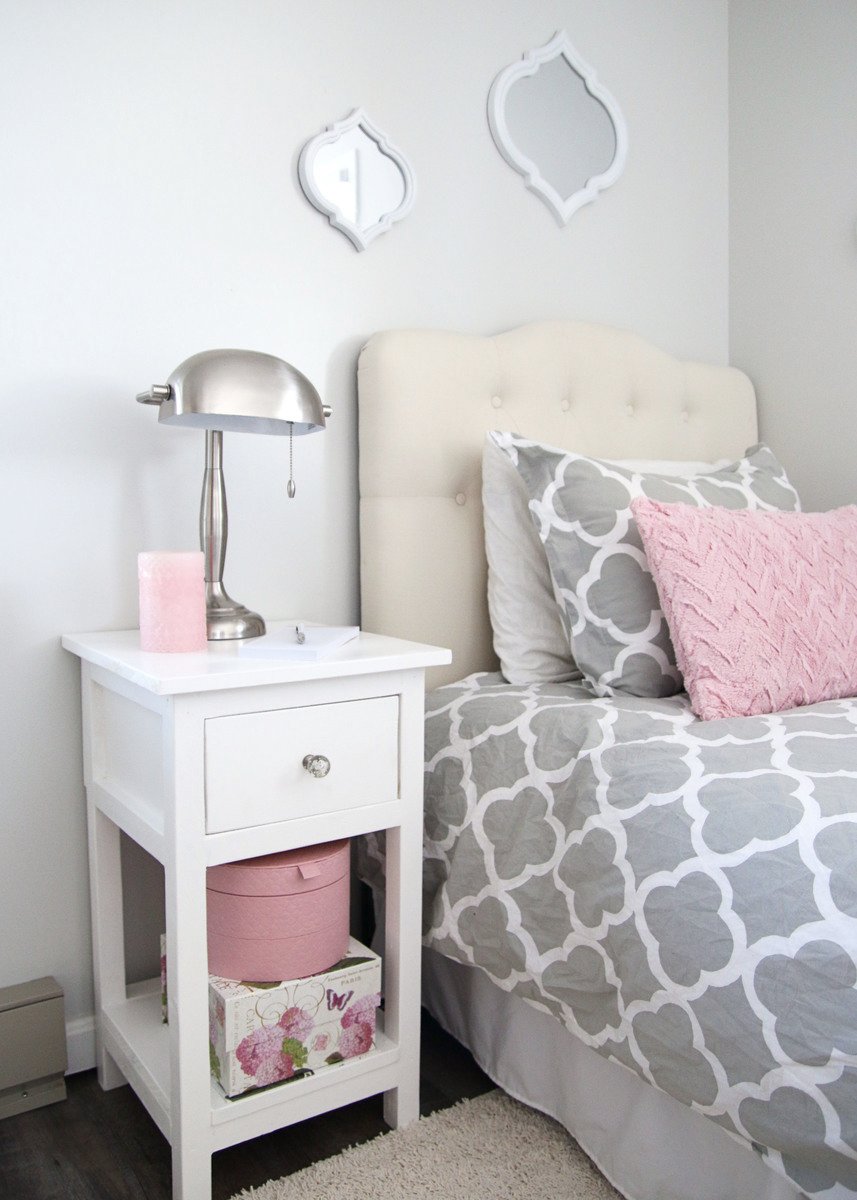
We (my husband and I) recently gave our tween daughter's bedroom a complete overhaul and needed an affordable and pretty nightstand for the room. After searching online and in stores, we could not find one that we liked for a price we wanted to pay, so we opted to build.  These plans were very easy to follow and allowed us to create a functional bedside table that was just right for the space.

Estimated Time Investment
Weekend Project (10-20 Hours)
Finish Used
Two coats of Behr Premium Plus Ultra Interior Paint & Primer, Sheen: Satin, Color: Polar Bear. 2 coats of Minwax Polycrylic Protective Finish Clear, Sheen: Satin
Recommended Skill Level
Beginner

Sewing Table with ironing board leaf

Submitted by tink32784 on Mon, 10/22/2012 - 12:49

I followed Ana's plans as written. However, I couldn't find a locking hinge the comments suggested. I will keep on the look-out for this though. I used 3/4" hardwood and had Blue do all the cuts for me. Easy-peasy. I painted the whole thing with left-over paint and then randomly taped off stripes using more leftovers and then protected everything with a coat of poly. Finally, I used a double layer of quilt batting and 100% cotton fabric to upholster one of the leaves for use as an ironing board. Literally finished this today, so I haven't had a chance to use it, but I'm so excited with how it turned out!

Built from Plan(s)
Estimated Cost
$60
Estimated Time Investment
Weekend Project (10-20 Hours)
Finish Used
Paint with polyurethane top coat
Recommended Skill Level
Beginner

Comments

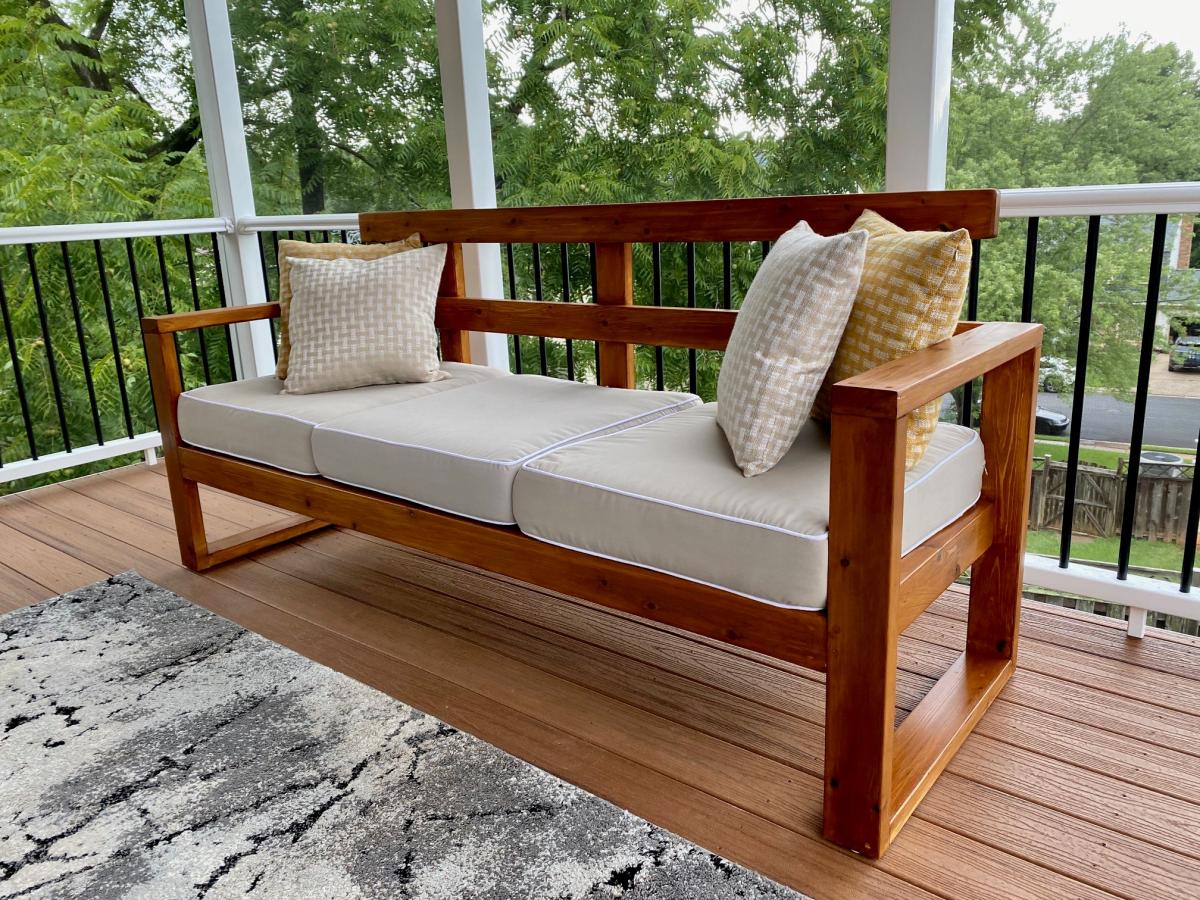
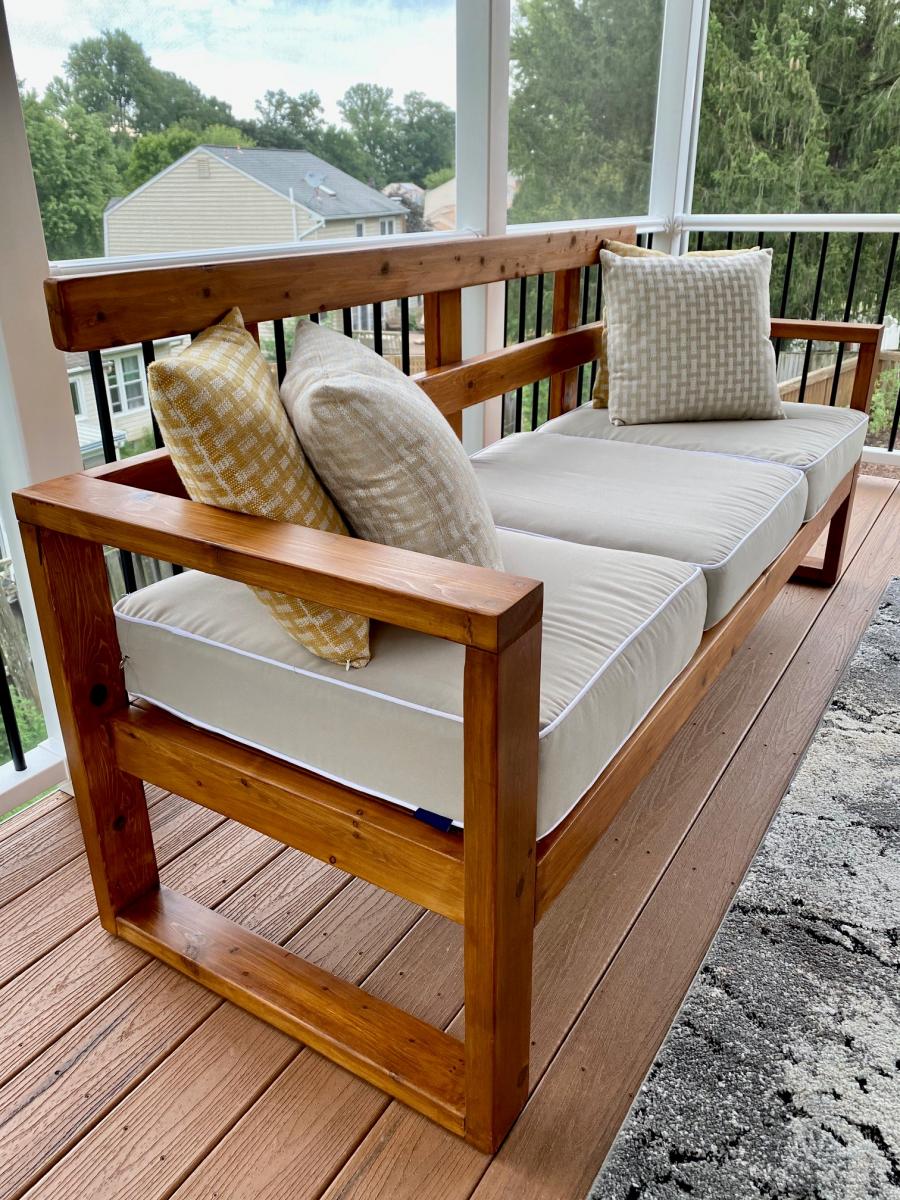
Outdoor Sofa using left over Trex material from my Deck.

Submitted by manepalko on Mon, 08/17/2020 - 05:23

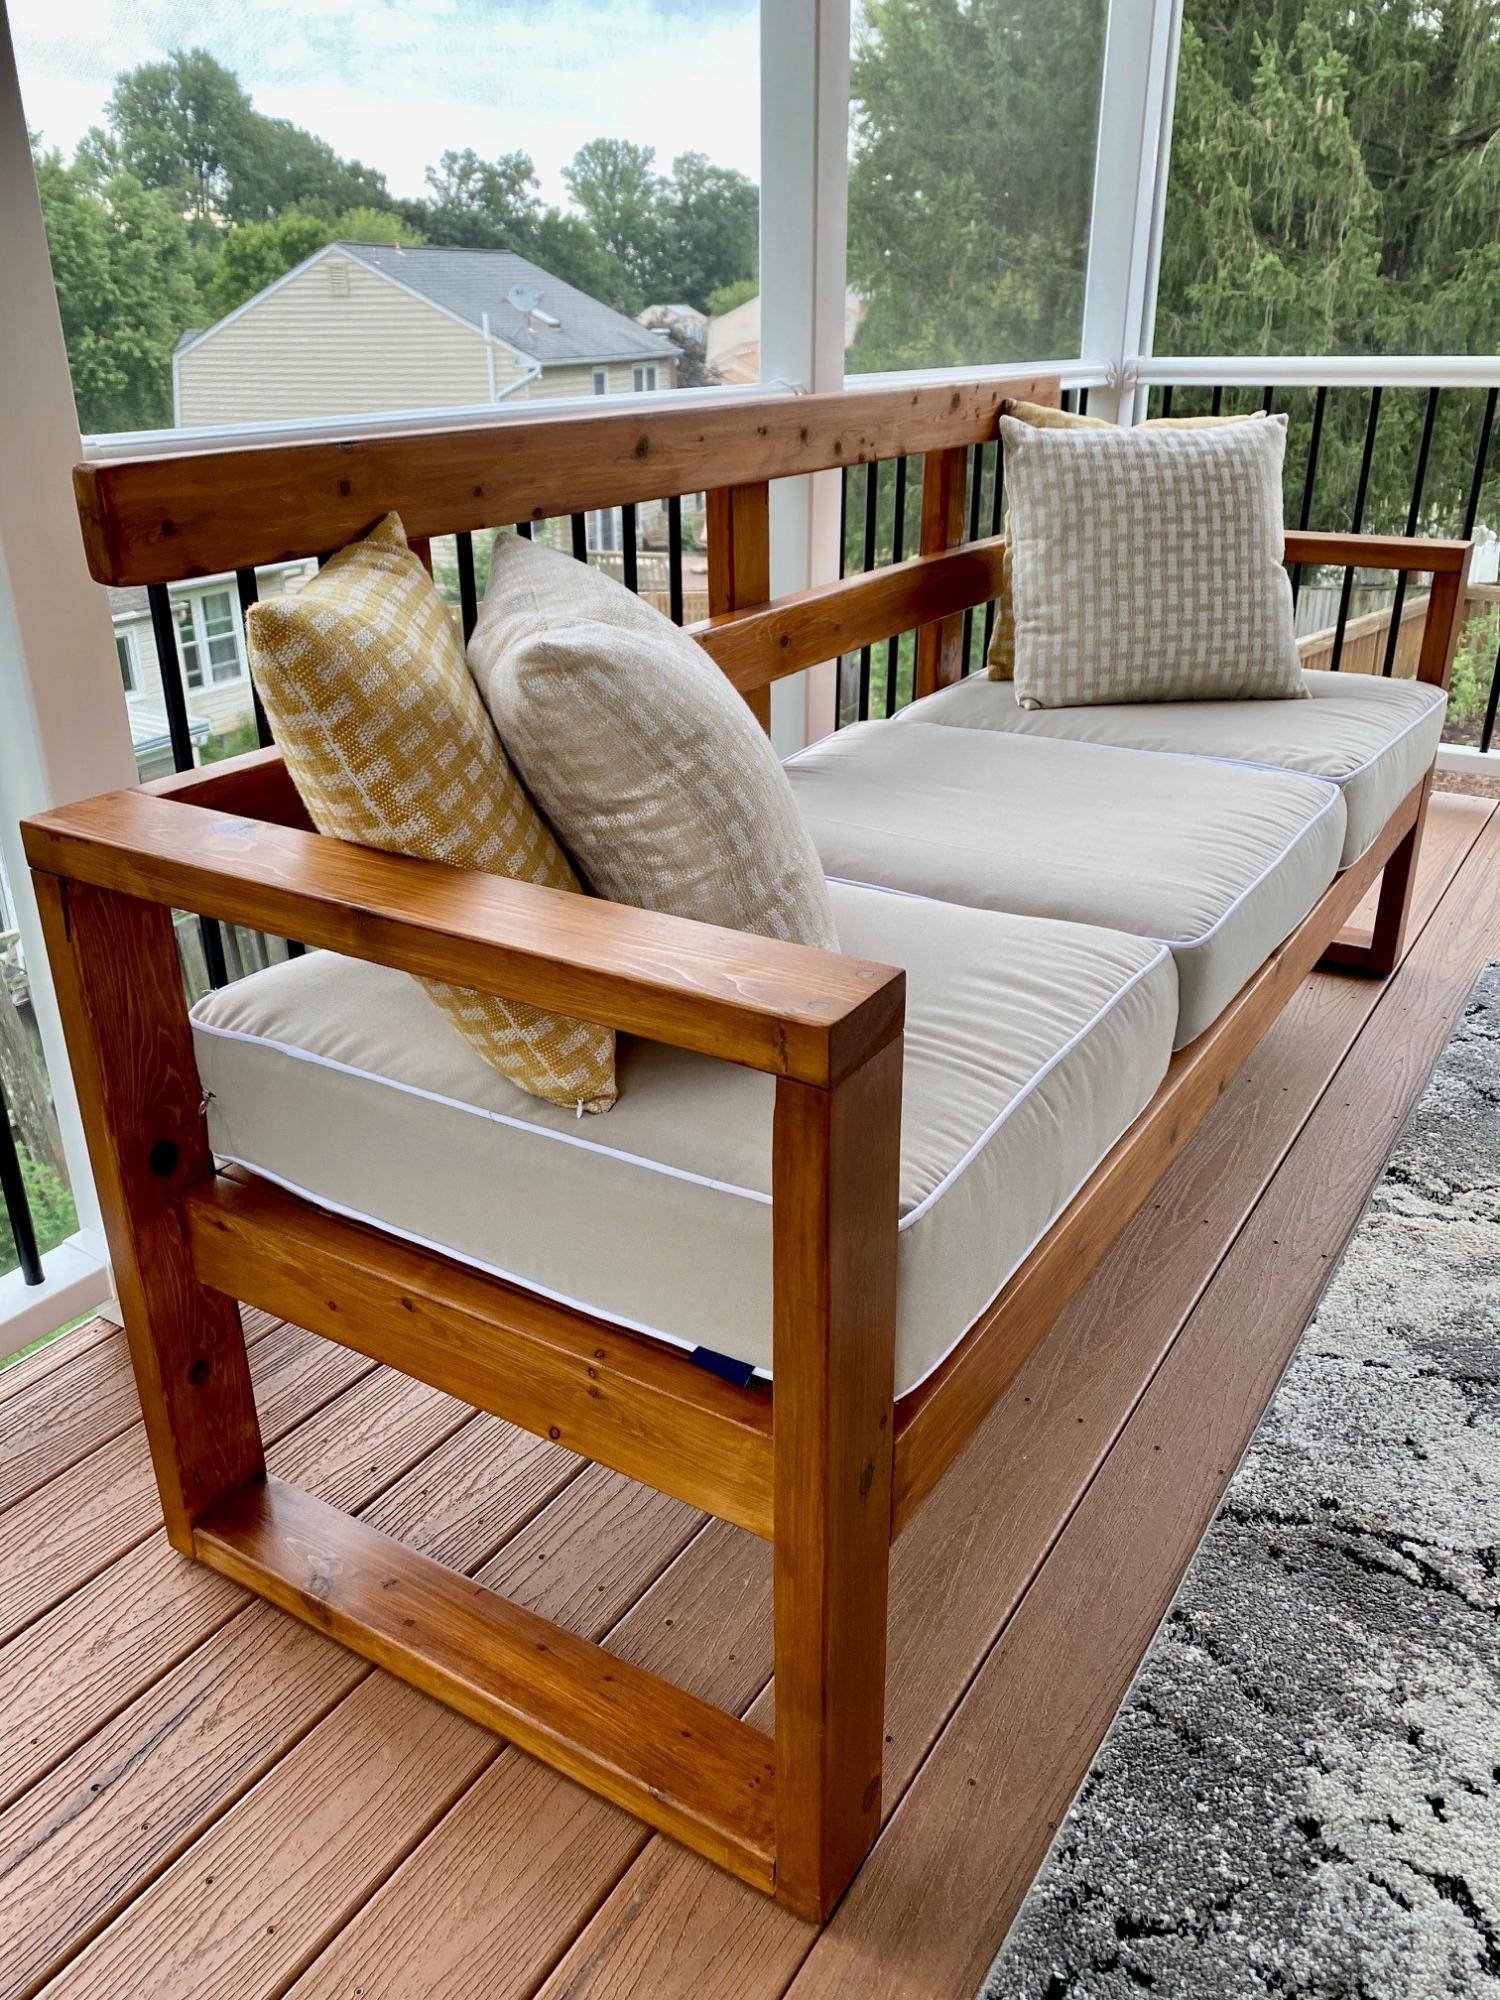
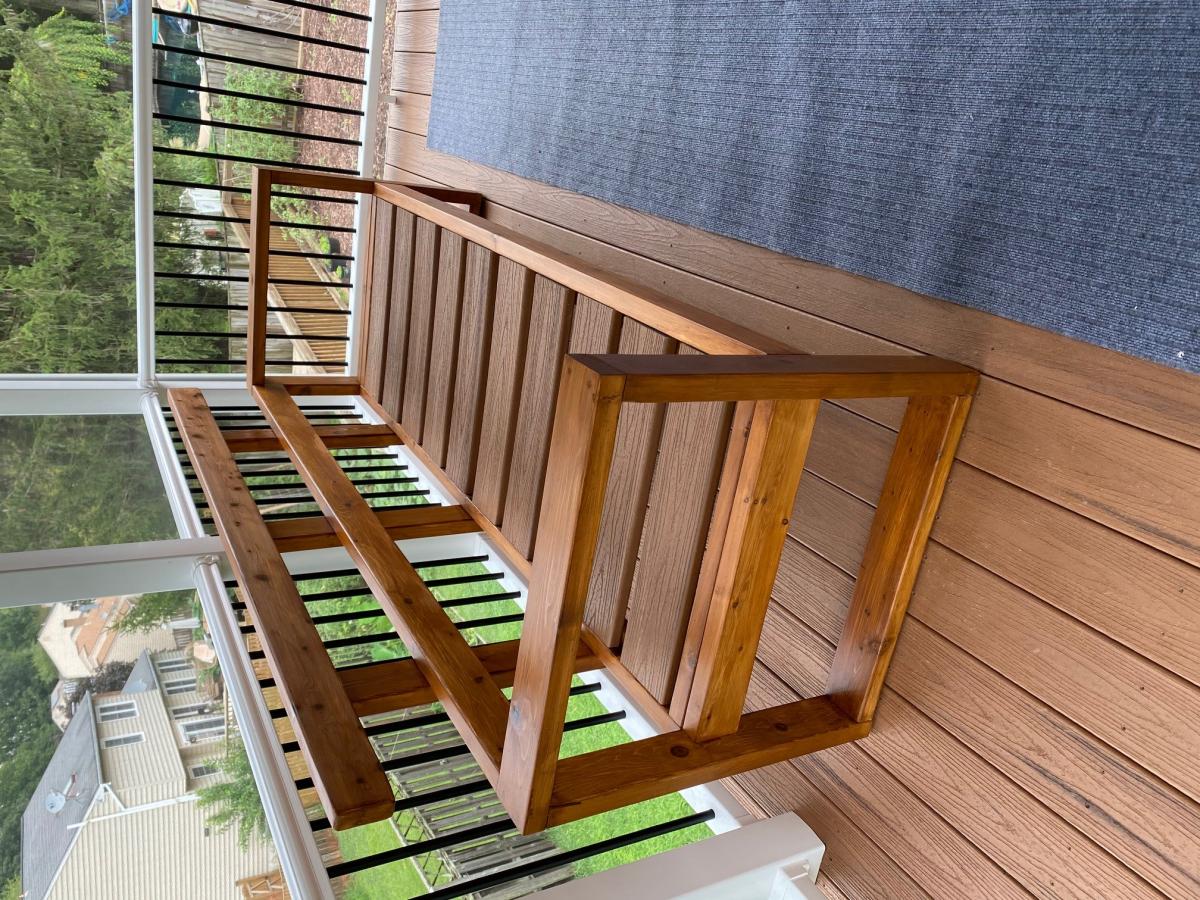
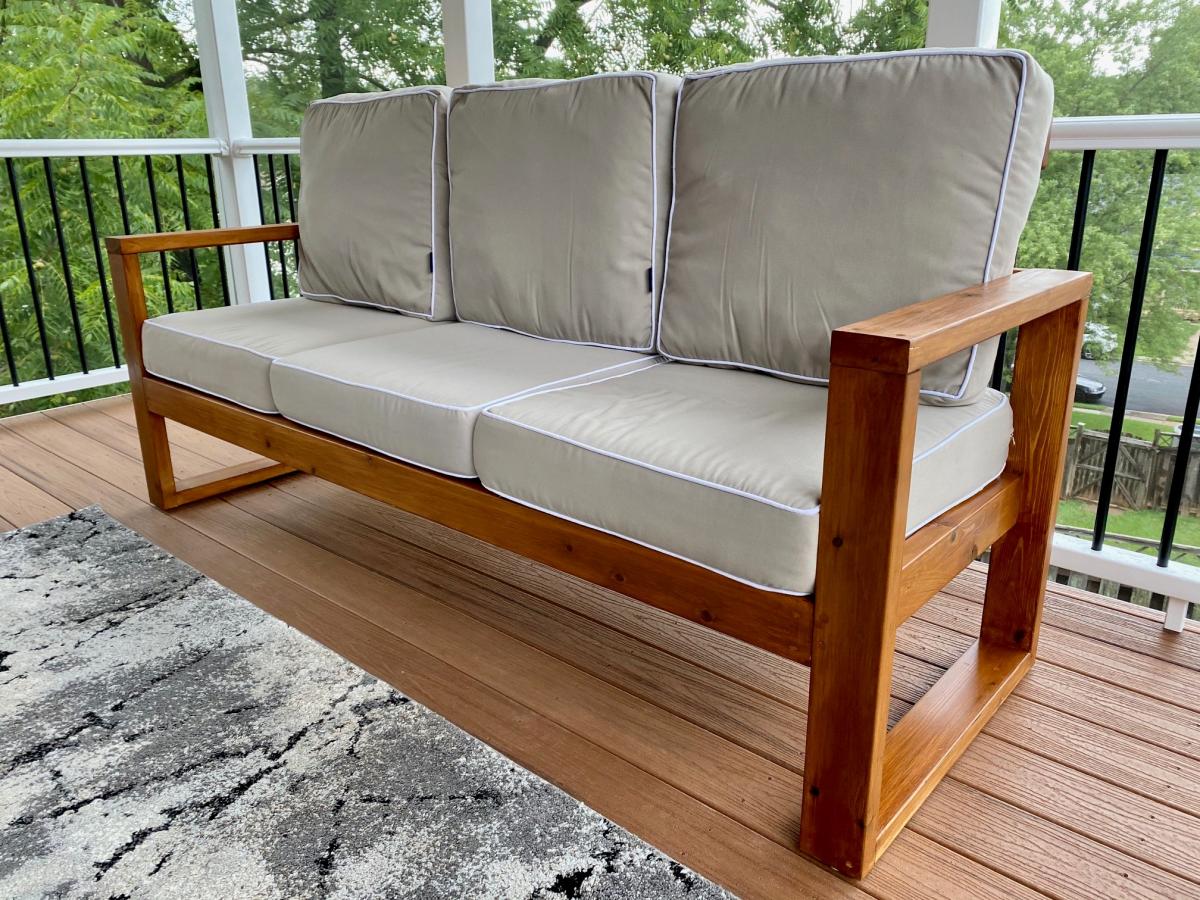
Built this beautiful Sofa from Ana White's Plan, had to modify a bit as I had left over small pieces of trex from my Deck , and the back rest cushions were higher.

Built from Plan(s)
Estimated Cost
300
Estimated Time Investment
Weekend Project (10-20 Hours)
Finish Used
Olympic Elite, Cedar
Recommended Skill Level
Beginner

Comments

allenconnor

Sat, 09/07/2024 - 23:21

Hey this looks amazing! My wife and I really like the finish you put on it? Is that a solid stain or a semi transferable? If it’s the semitransparent, is it natural cedar, atlas, or rustic? Thanks!

Wood Toy Chest

Submitted by Anonymous (not verified) on Tue, 08/13/2024 - 11:40

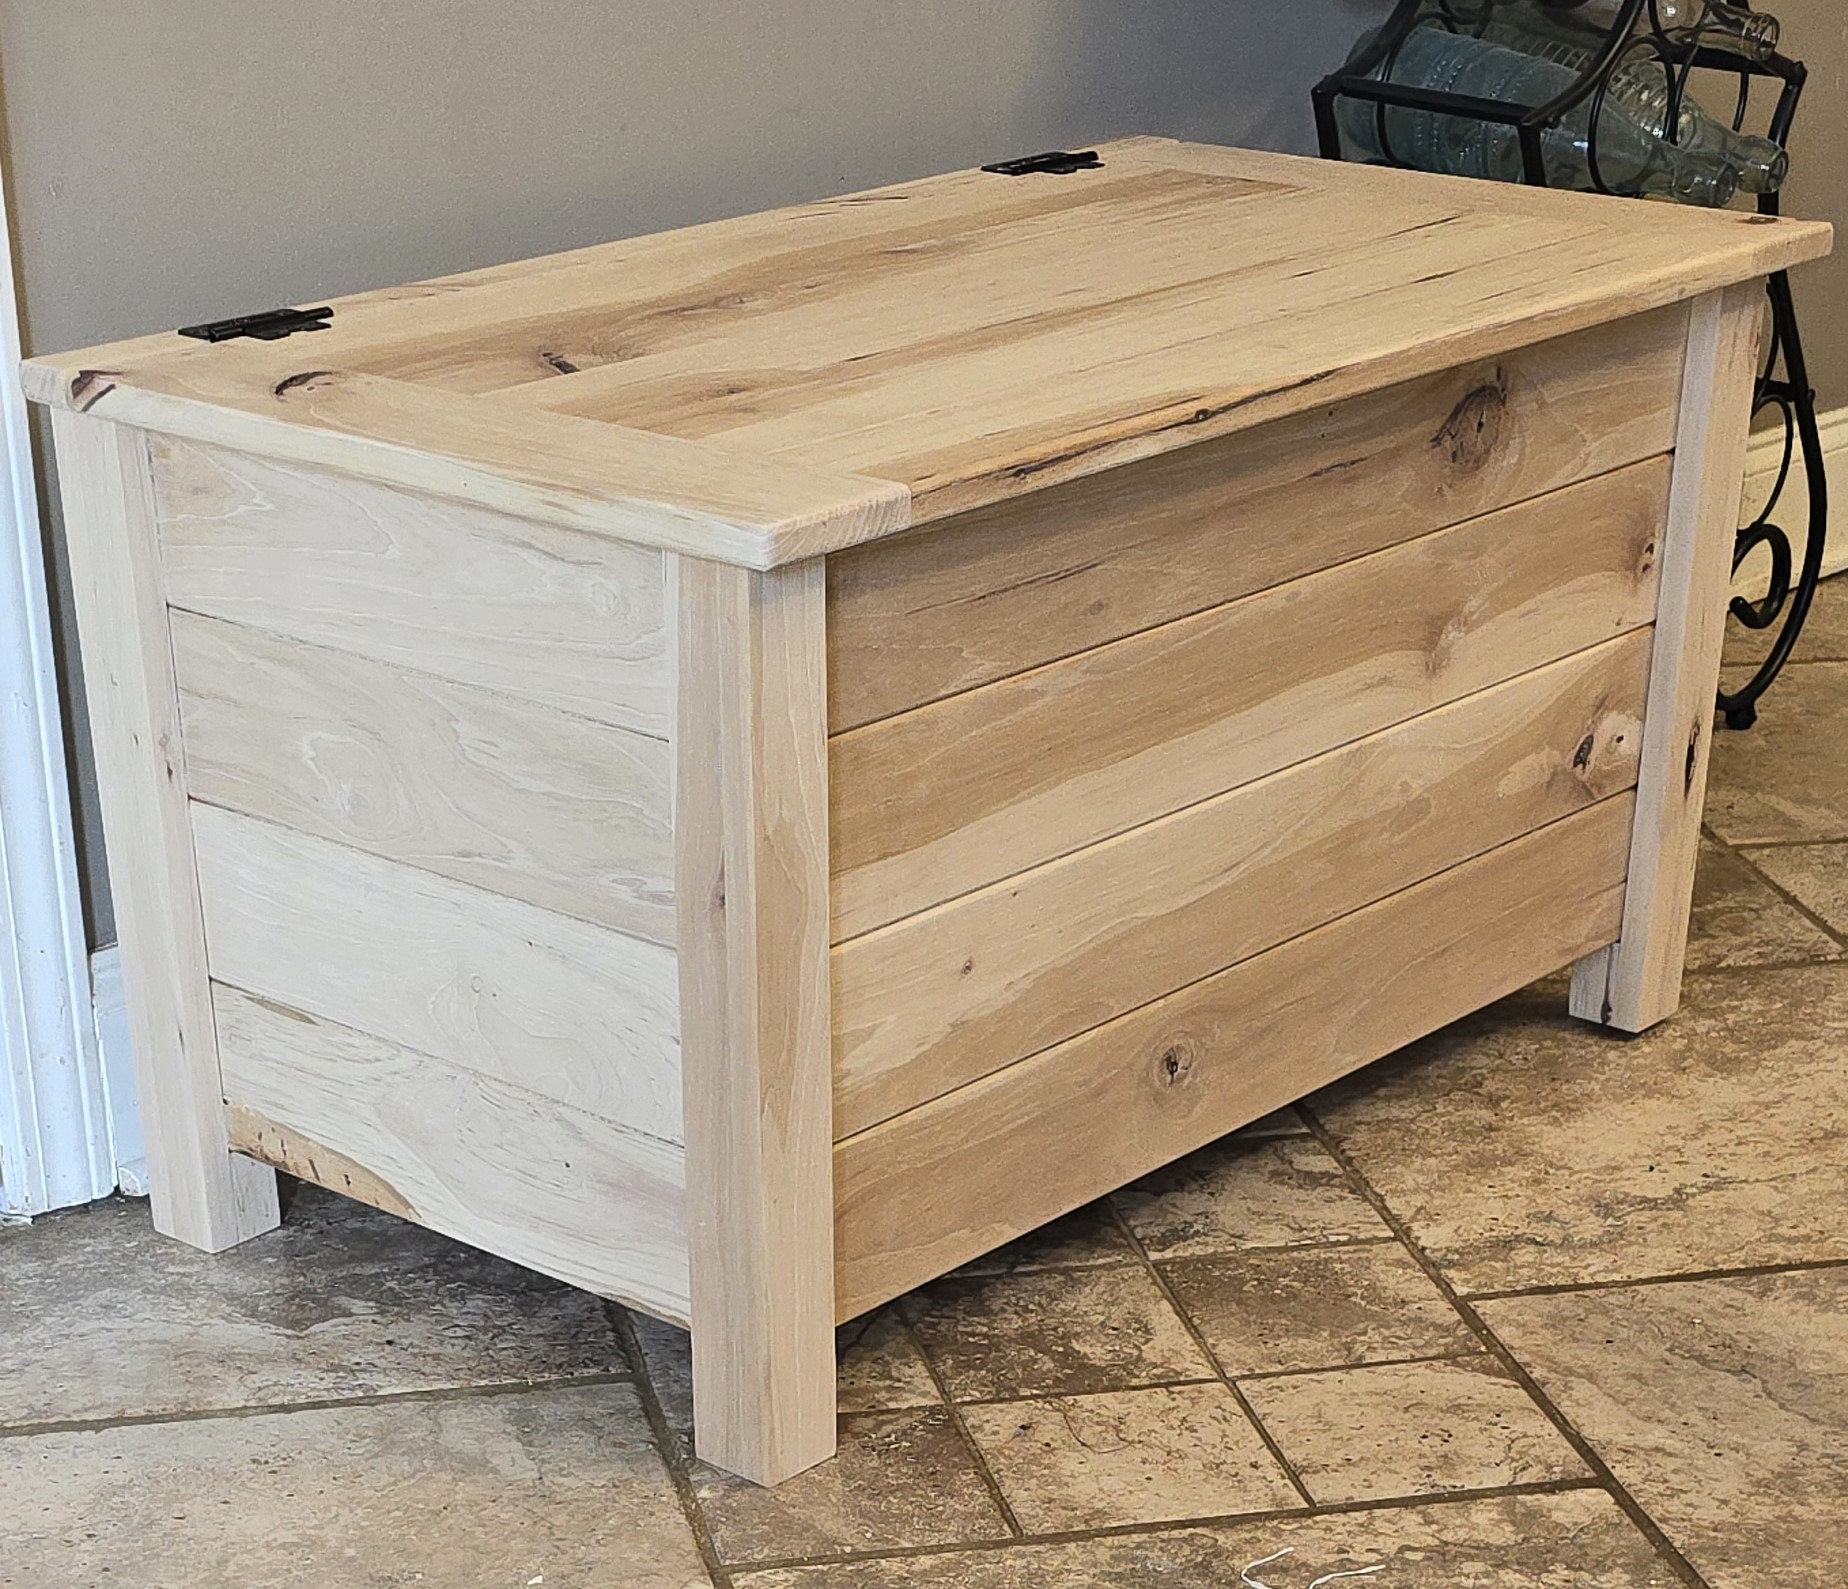
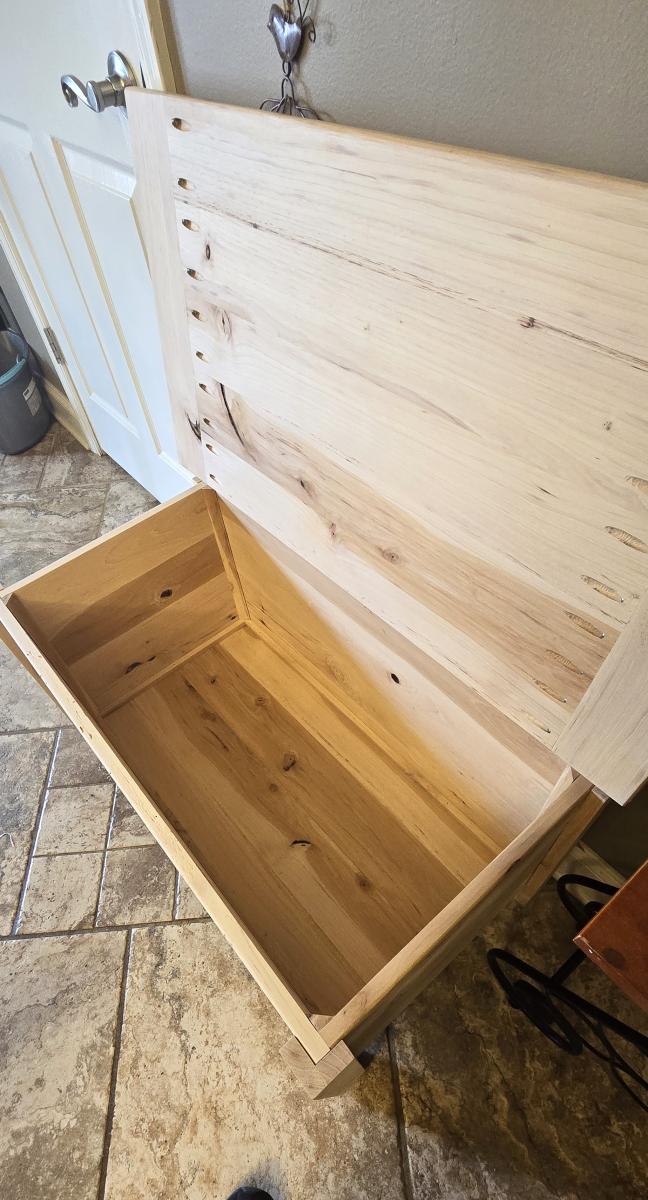
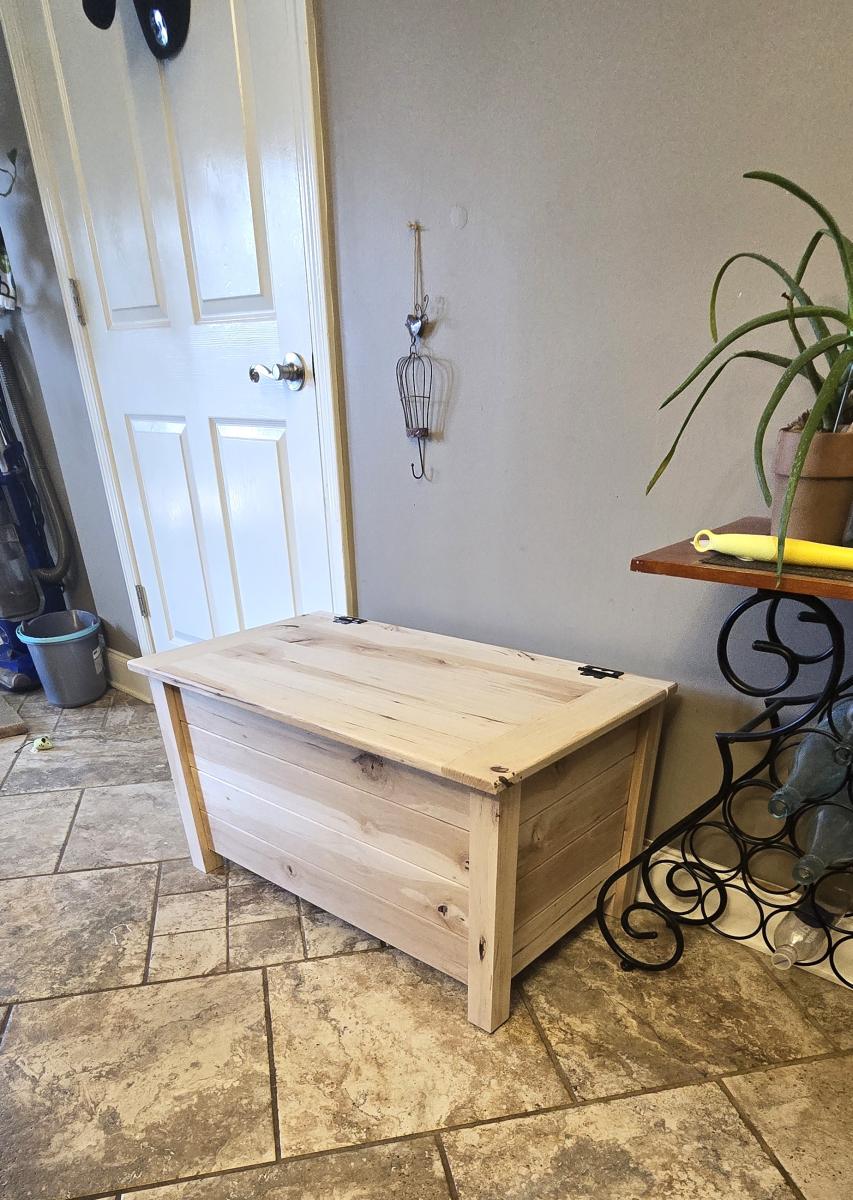
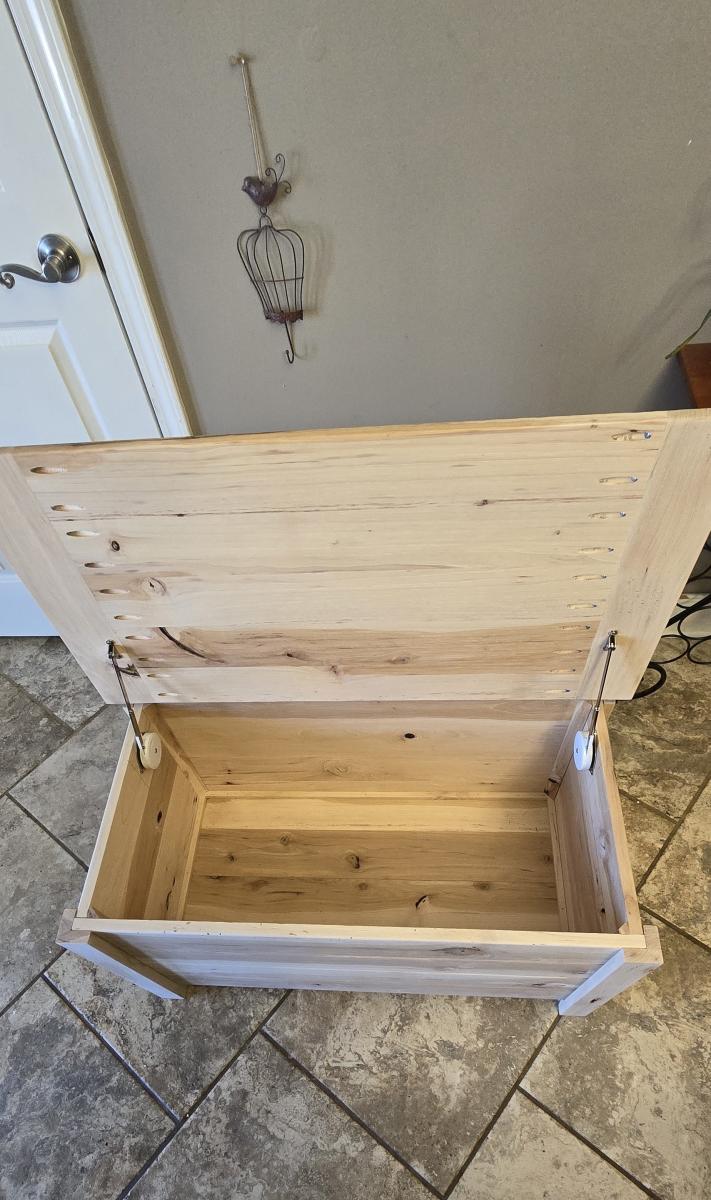
Built this for my granddaughter for her day, I made this out of pecan no plywood top or bottom, just glued up pecan to make the panels, routed the side panels to give it the individual board look. I made it 16 inches deep from front to back instead of the 13 in these plans. It's also 2 higher cause I didn't want to attach the bottom directly to the bottom, it's inside with base, this picture is taken before I sprayed it with high gloss polyurethane.

Garmans Woodscapes

Built from Plan(s)

Oak Easy Vintage Step Stool

Submitted by kcragun on Sat, 08/30/2014 - 19:53

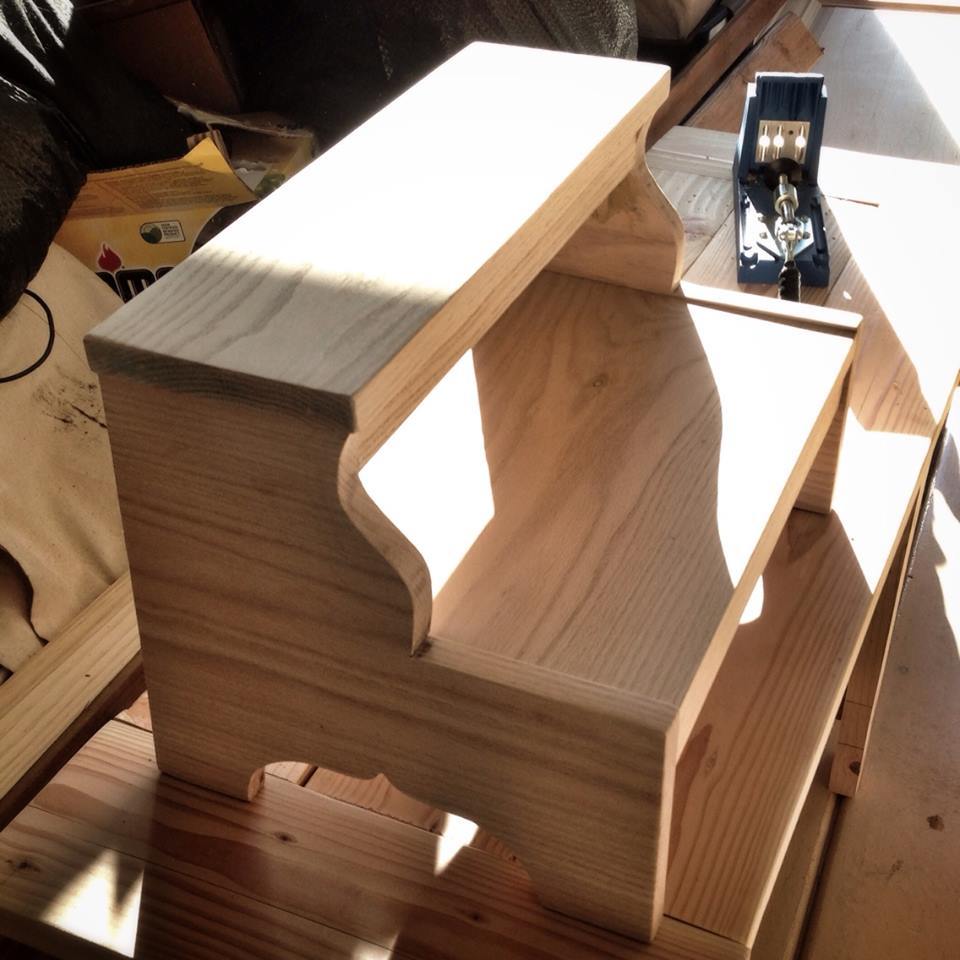
I bought a box of oak scraps from a local lumber store - sold a firewood for $6.00 and I was able to get enough big pieces to make this step stool for my granddaughter.

Built from Plan(s)
Estimated Cost
$6.00
Estimated Time Investment
Afternoon Project (3-6 Hours)
Recommended Skill Level
Intermediate

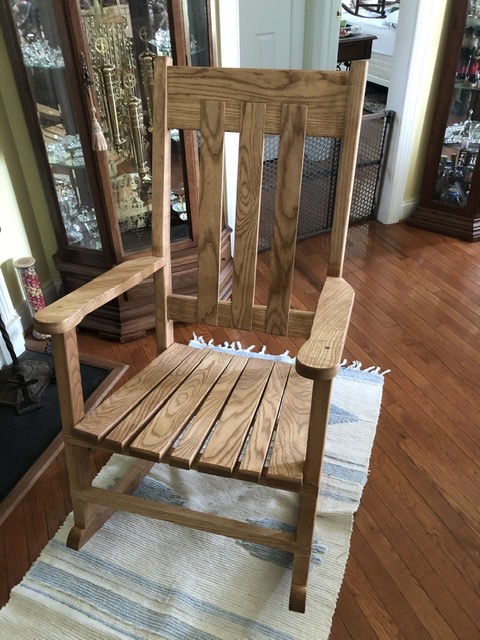
Rocking Chair

Submitted by PPTG on Mon, 08/31/2020 - 12:11

Getting ready for retirement, so I thought I needed a rocking chair.
No plans, just built what looked and felt right.

Estimated Time Investment
Week Long Project (20 Hours or More)
Finish Used
Early American
Recommended Skill Level
Intermediate

Comments

David King

Thu, 03/18/2021 - 01:27

Lovely chair. Nice proportions. Would like to copy it. Have you got any plans, sketches, or dimensions to share?

jlxvnwk

Fri, 02/10/2023 - 13:10

Love this rocking chair! Do you have any dimensions or plans. I would live to take this project on. Thank you.

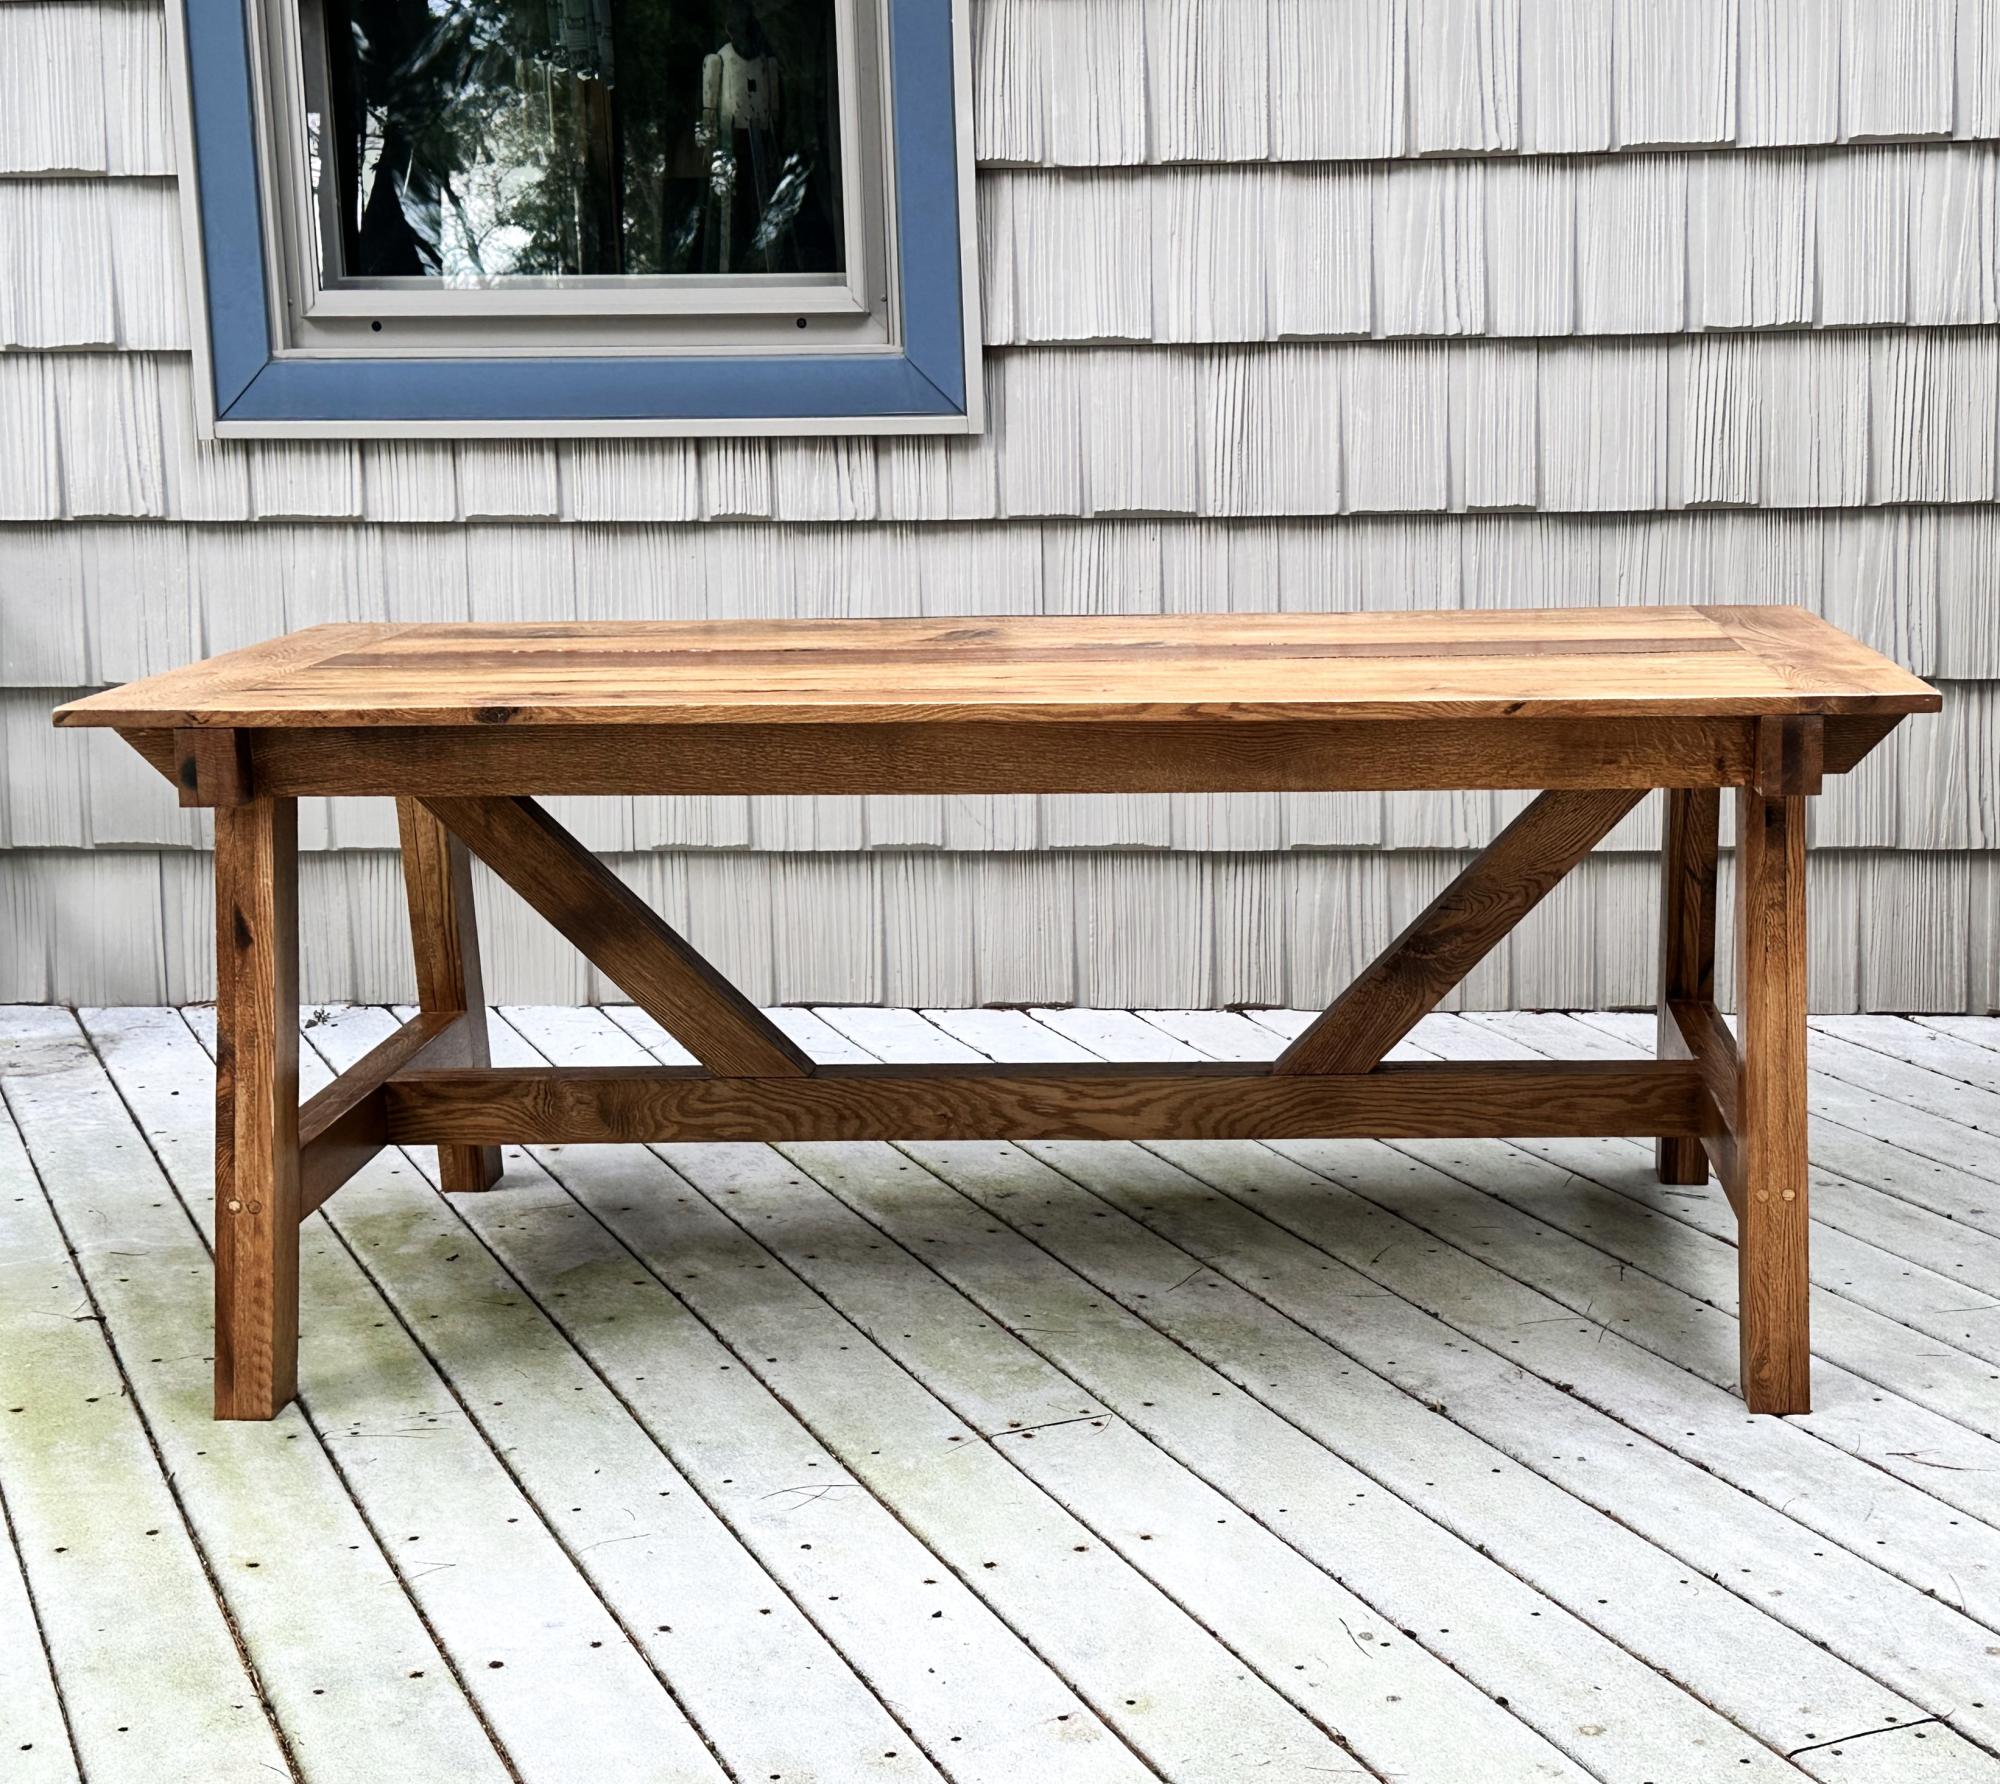
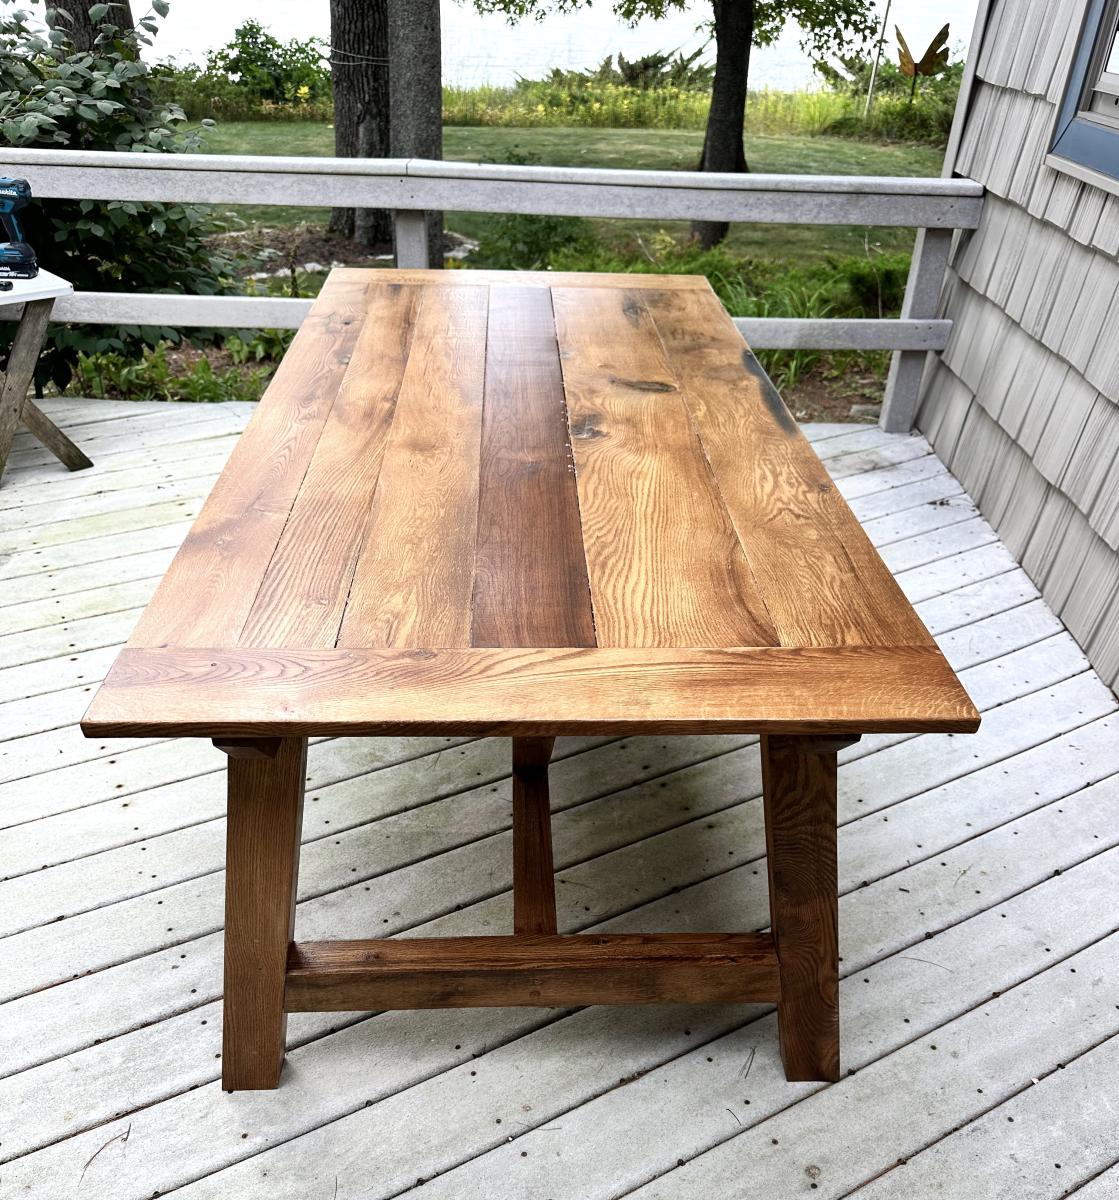
Rough Sawn Oak Plank Dining Table

Submitted by Anonymous (not verified) on Wed, 09/11/2024 - 07:47

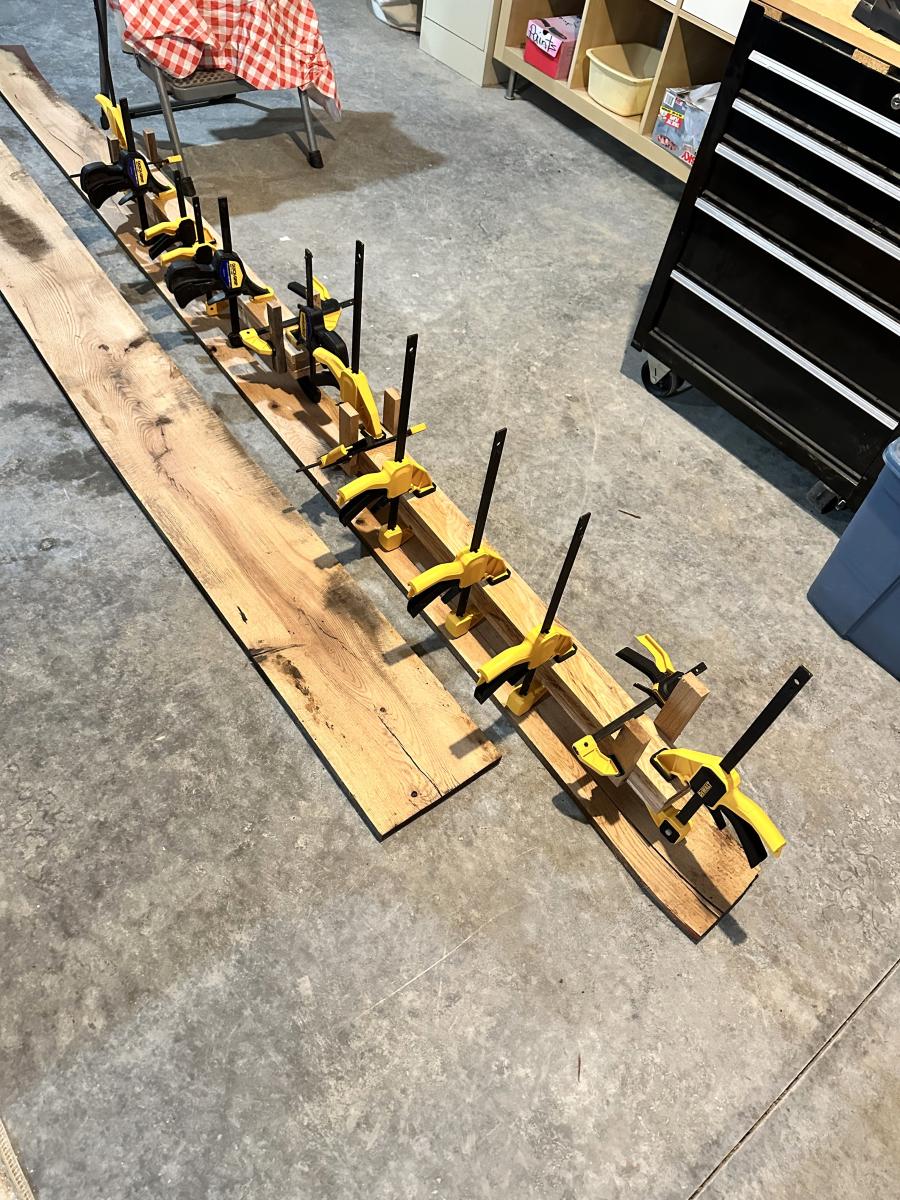
Modified 4x4 Farmhouse table, my first picnic table project.. We used rough sawn oak planks from a tree cut down 20 years ago that were sitting in a garage waiting for a special build. All framing is built from 3/4” x 3” boards glued up to create the legs and supports. For character the water spots were sanded down but not out to bring out some different hues after staining. The benches follow the same design plan and when the outdoor poly sets up they will be added to the set. Great plans from Ana White! - by "Grandpa Can Fix It"


Built from Plan(s)

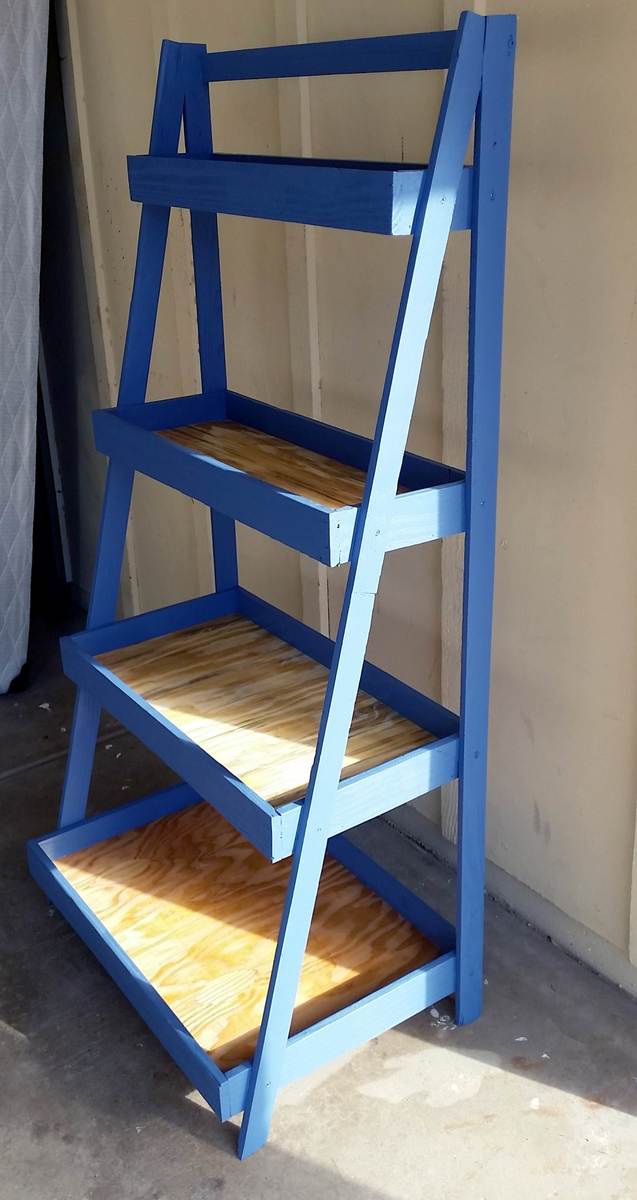
Painters Ladder

Submitted by Slappy on Mon, 01/09/2017 - 18:12

The legs and trim were made from 2x4 that I cut down to size with the table saw. Plywood from a chicken coup I made from Ana''s chicken coup plan was used for the shelf base.

Built from Plan(s)
Estimated Cost
Free, made from scrap wood.
Estimated Time Investment
Afternoon Project (3-6 Hours)
Finish Used
Clear gloss polyurethane and blue paint semi gloss, left over from the chicken coup.
Recommended Skill Level
Intermediate

Playhouse Loft Bed With Stairs And Slide, Playhouse Loft Bed, Loft Bed

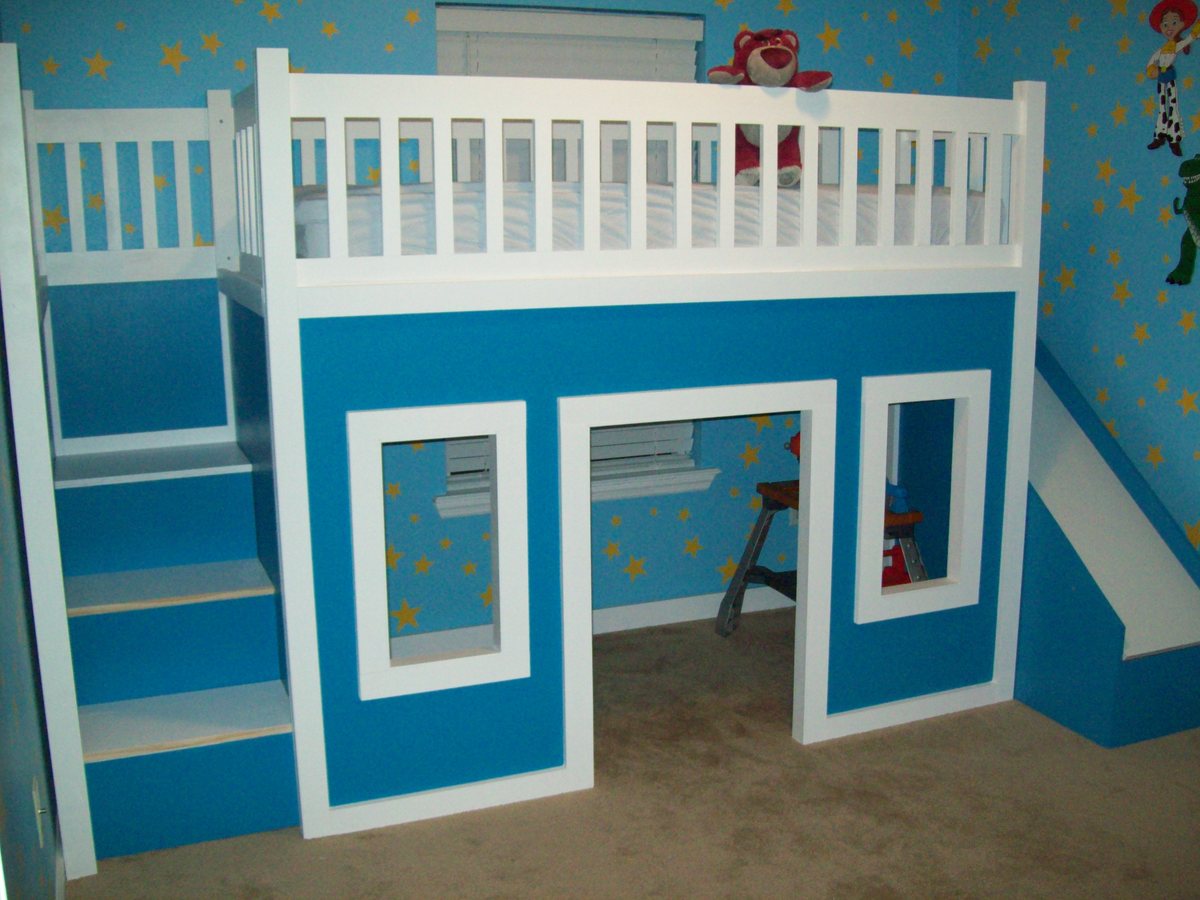
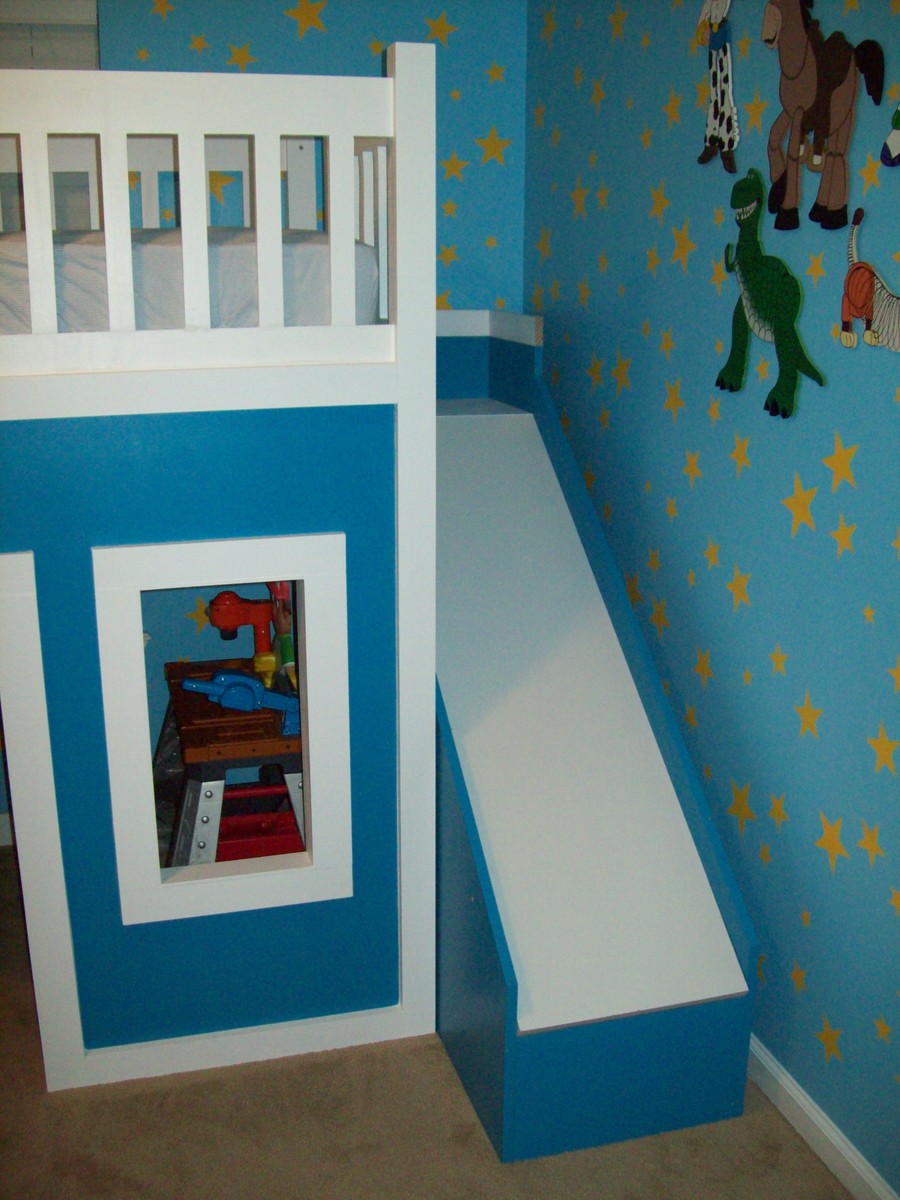
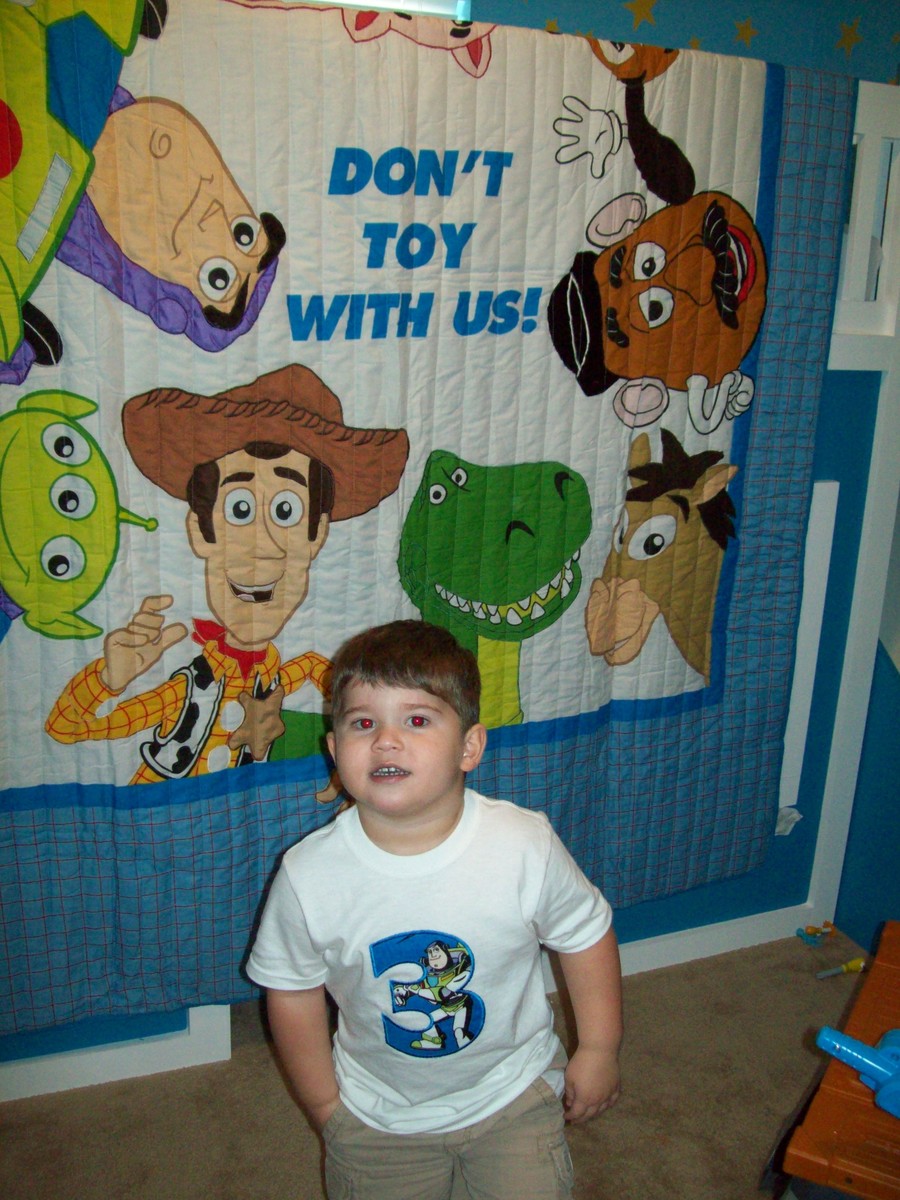
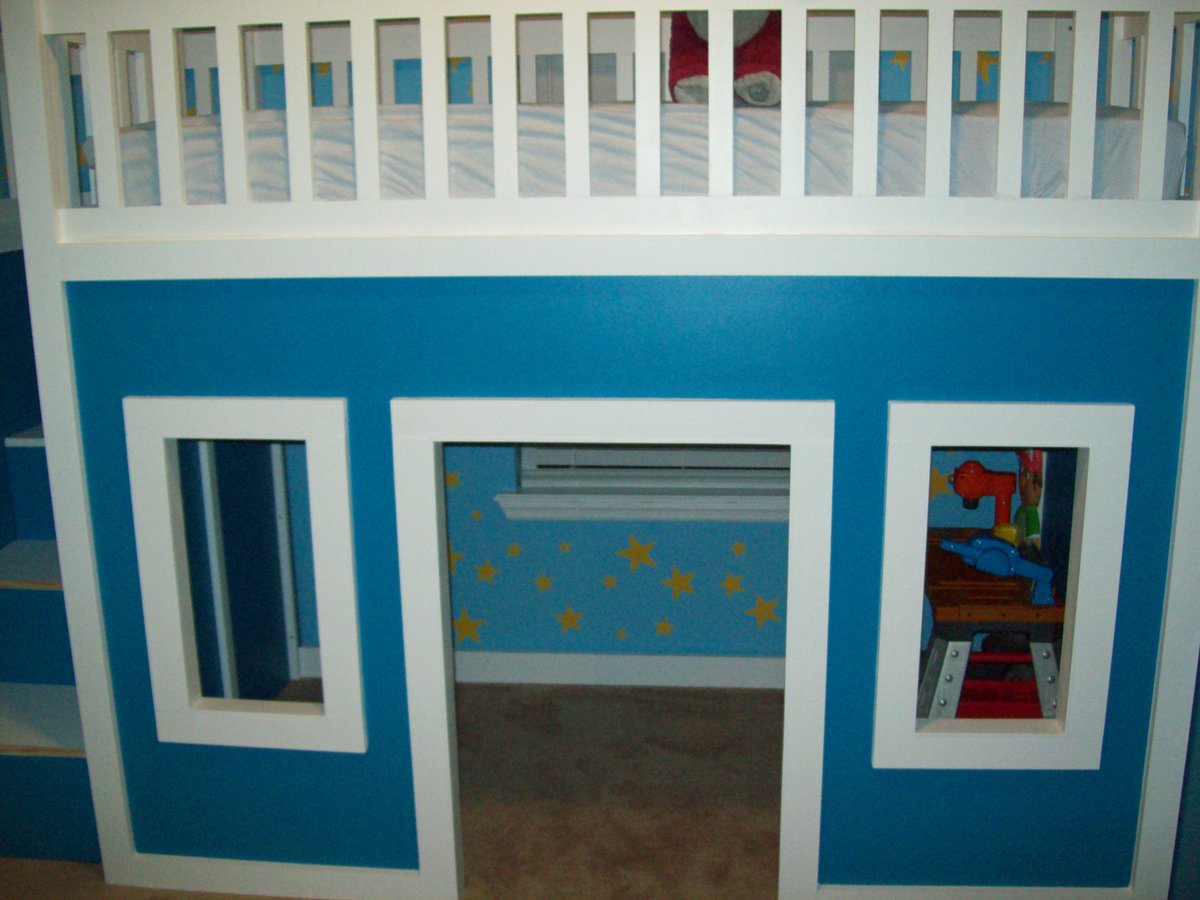
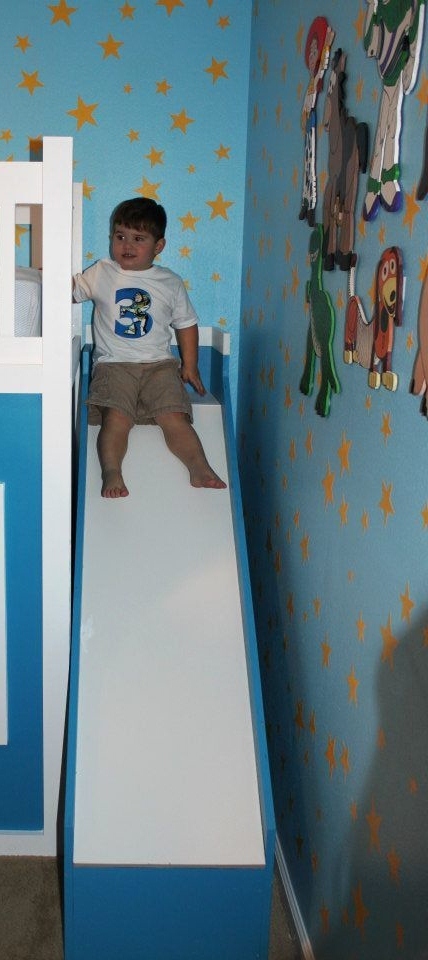
My son was about to turn 3 and I really wanted to redesign his bedroom as a birthday surprise. We went with a Toy Story themed room, he just loves Toy Story. I started off by painting the walls blue with yellow stars like Andy's room in the movie. I added some custom painted art work and then it was off to find a cool playhouse bed. My husband and I were shopping around and we could never really find what we were looking for in the store. So we decided to build one ourselves using plans from this website. I used the playhouse loft bed and the playhouse loft bed stair plans, for the bed and the stairs. I used the castle loft bed plan as inspiration for the slide. The project took us about 5 weeks from start to finish. We both have full time jobs and we did most of the work on the weekends. I looked at each plan very carefully and made notes. I had to modify the stair plans slightly to fit the space where we wanted to put the bed. The stairs look narrow, but they work just fine. My husband and I can both use them to get up in the bed. The stairs feature hinged stair tread with built in storage. We built them like that at first, but then later decided to make them stationary stair treads, with plywood. I didn't like the way the hinges looked and the top stair was so deep that I was worried my son would fall in there and get stuck. The storage idea was neat, but his safety was more important to me. The bed turned out really nice and VERY sturdy. Both my husband and I are able to get up there with my son (not at the same time). Another modification that I made was instead of slats to hold on the mattress, I used a piece of plywood. I wanted the roof in the playhouse to look finished, and I didn't want to see his bedding hanging down from the slats. I painted the top of the plywood white, where the mattress goes to blend in with the slats, and the other side was painted blue to match the walls inside the playhouse. I did modify the playhouse front facade to have 2 windows and one door. I like the symmetrical look. The total project cost about $400. I used birch plywood and select pine boards, and about 6 quarts of paint. I noticed AFTER we had finished the bed using the birch plywood, that Home Depot had cabinet grade plywood on a random end cap, that was just as nice for $12 less a sheet. If I could do it all over again, I would definitely use that!. I wanted the paint to have a nice smooth finish, without having to do a lot of sanding or patching. We had Home Depot cut the plywood to the dimensions we needed. I had my husband cut the rest of the wood dimensions listed in the plans, and then I painted all of them before we put the pieces together. I used a small roller and self priming paint. The paint finish looks great. After assembling the bed I can not imagine what I would have gone through trying to paint it after the fact. The slide was a bit tricky, I looked at the plan for the castle loft bed and attempted to use those dimensions, and for the most part they worked. But when we went to assemble the slide, we did end up recutting some of the wood to different dimensions. I used a piece of the melamine coated closet shelf material for the slide. It is already finished in white and its nice and slick, like a slide should be! I hate MDF, but for this it seemed the best fit. We cut the top edge at an angle to meet up with the slide platform. PLEASE BE CAREFUL with this material. After it was angle cut the edge was razor sharp and I sliced my fingers up. Once it was installed it butted up perfectly to the slide platform, and the edge was hidden and not a danger. But use caution during the install. Clamps are your friend! We used Kreg clamps for everything. They kept the wood in place while we were screwing the parts together. The coolest thing that my husband came up with was clamping two identical pieces for plywood together, and drawing the template for the slide support walls. Then he used his circular saw to cut them out. We ended up with two mirror image pieces. They looked awesome. I left them clamped together when I sanded the edges as well. We really didn't have any building experience other, than building tables and chairs for children, We got the deluxe Kreg jig kit and a miter saw on Craigslist for $50 each and they were both practically brand new. This was the first time we had ever used a Kreg jig and we are both addicted. That thing is the bomb. We locked my son out of his room for a week while we assembled everything. We had the big reveal at his birthday party and all of the guests were excited to see it after seeing my facebook teaser posts of our progress. There were 8 kids up there at one time and the bed did not budge. They all enjoyed the slide. I did the planning and paint and my husband did an awesome job making all of the cuts and sanding everything. We are both very proud of the final product. My son love his new big boy bed. DISCLAIMER: This bed is not recommended for a child under 6 years old. My son is mature for his age and we monitor him carefully.
Estimated Cost
$500
Estimated Time Investment
Week Long Project (20 Hours or More)
Finish Used
BEHR PAINT IN BRIGHT WHITE AND RIVIERA PARADISE SATIN FINISH
Recommended Skill Level
Beginner

Comments

krissy2696

Wed, 07/06/2016 - 10:05

Hi, my husband is building this bed for my 6 yr old daughter, but in purple blue and white. We adding the slide too. May I ask what size bedroom you guys have for your son, and did the bed fit well? Did you have to make any adjustments for it to fit in the bedroom?  Thanks in advance! Your bed looks great! I hope ours turns out as good.
Christine N in PA

Planters

Submitted by Anonymous (not verified) on Mon, 10/26/2020 - 08:30

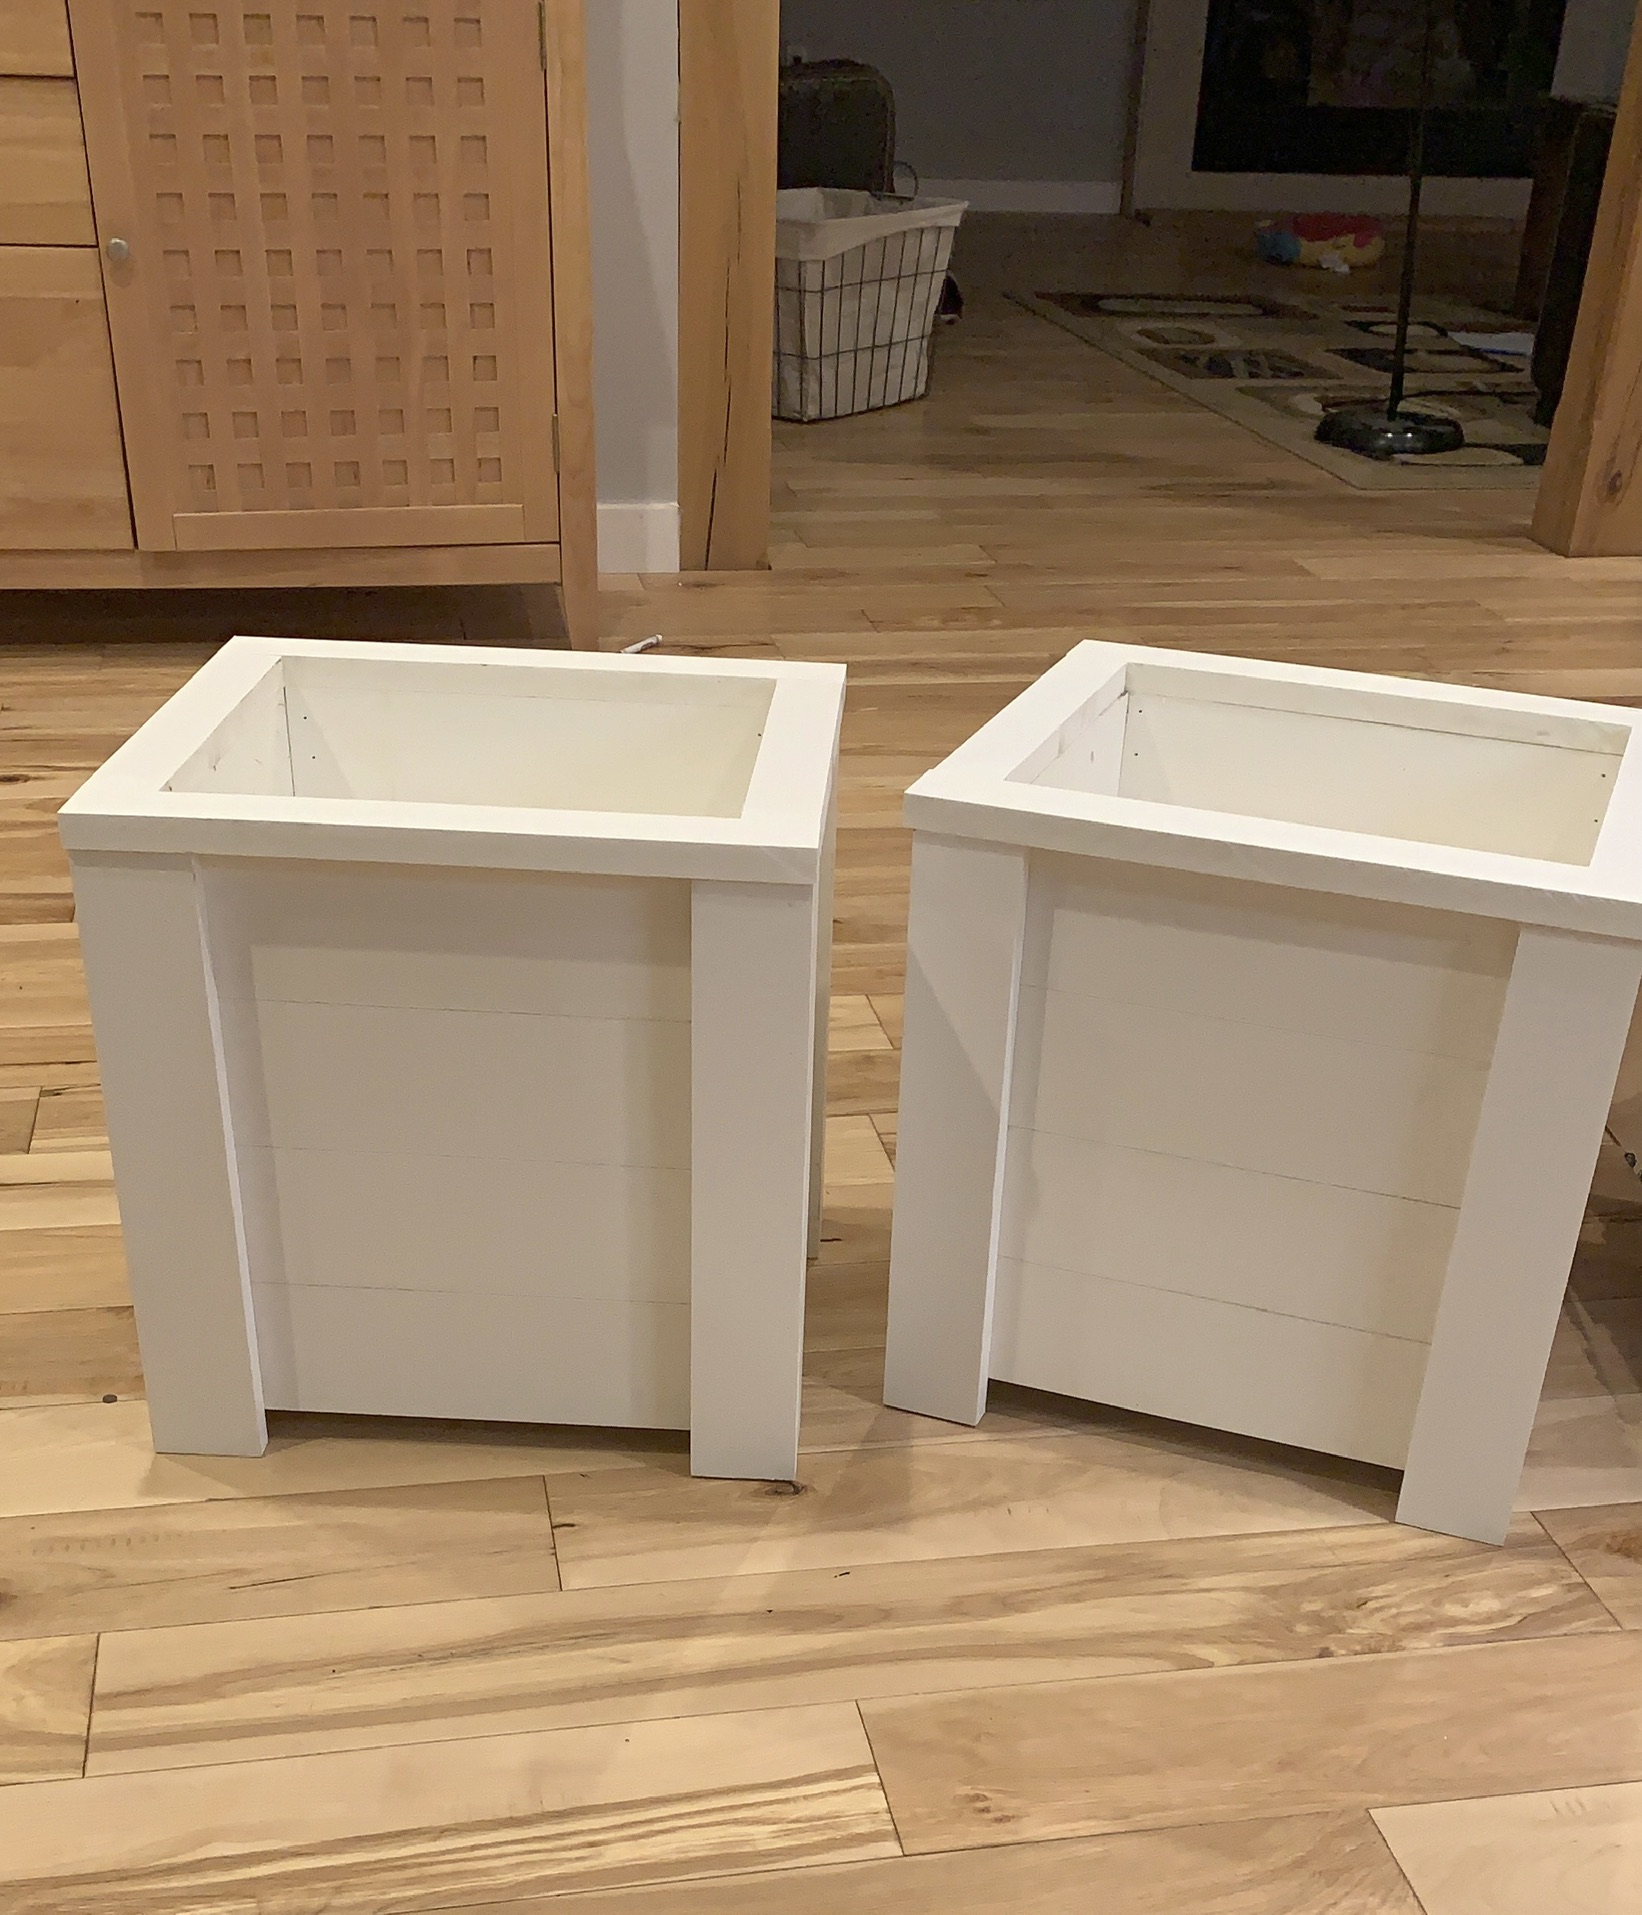
Just made these last night! So quick and easy, thank you so much! You are so inspiring!

Built from Plan(s)
Estimated Time Investment
An Hour or Two (0-2 Hours)
Recommended Skill Level
Starter Project

Comments

Makeup Vanity with drawers from modified Tiny House Desk Plan

Submitted by Anonymous (not verified) on Fri, 02/24/2017 - 08:28

This was my first furniture project, and I modified these plans slightly to get 2 drawers, as well as a smaller depth of the desk.  I took this photo before I added drawer pulls, but I love how it turned out!

Estimated Time Investment
Week Long Project (20 Hours or More)
Recommended Skill Level
Beginner

Comments

Phil P

Submitted by Anonymous (not verified) on Wed, 03/01/2017 - 02:45

Treated myself to a load of new electrical tools and bought a kreg jig, this was my first project of this size for many years and also using the pocket hole method, my wife was very happy with the end result as was I. The doors, all made from scratch using the jig also finish the shrine off well. I'll be hunting around on the site for a new project soon, this one took me a lot longer to complete than I anticipated, it ook months before I finally managed to finish if off but then I had an issue with the amount of time available I could spend on it on a weekly basis.

Built from Plan(s)
Estimated Cost
not calculated, between £400 - £500
Estimated Time Investment
Week Long Project (20 Hours or More)
Finish Used
wood primer followed by cookie dough emulsion for the shelves and satin white for the doors, door panels cut from pre painted mdf 3mm decorative panels and glued and pinned into recesses created.
Recommended Skill Level
Intermediate

Kentwood Bookshelf

Submitted by cwatson on Wed, 12/30/2020 - 05:03

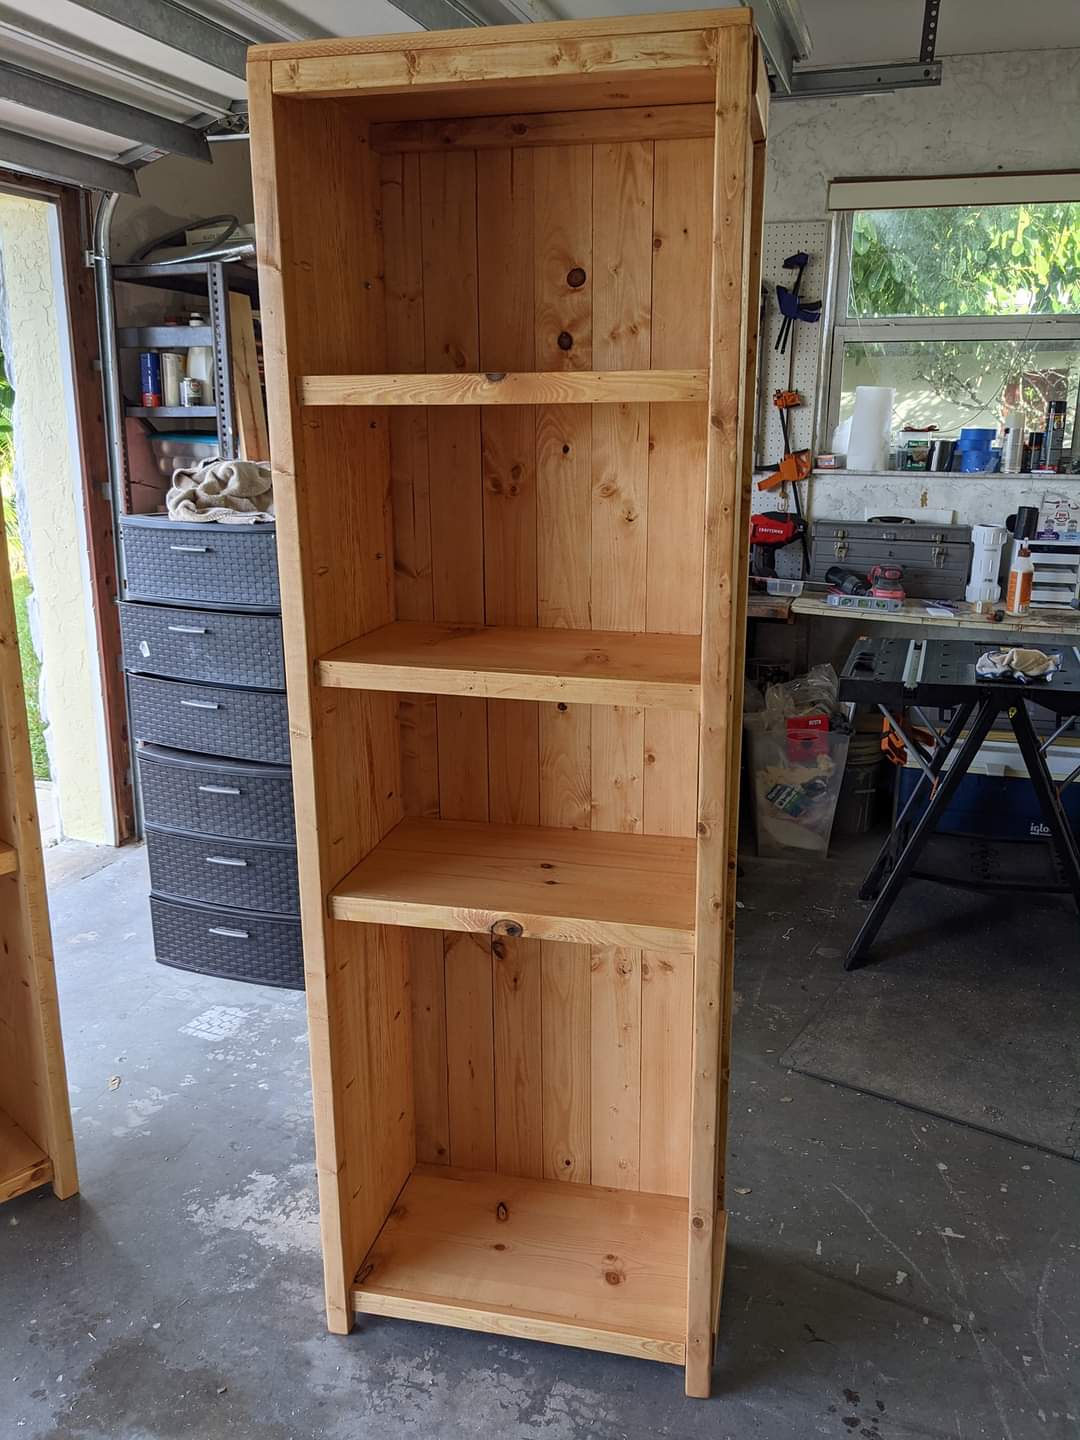
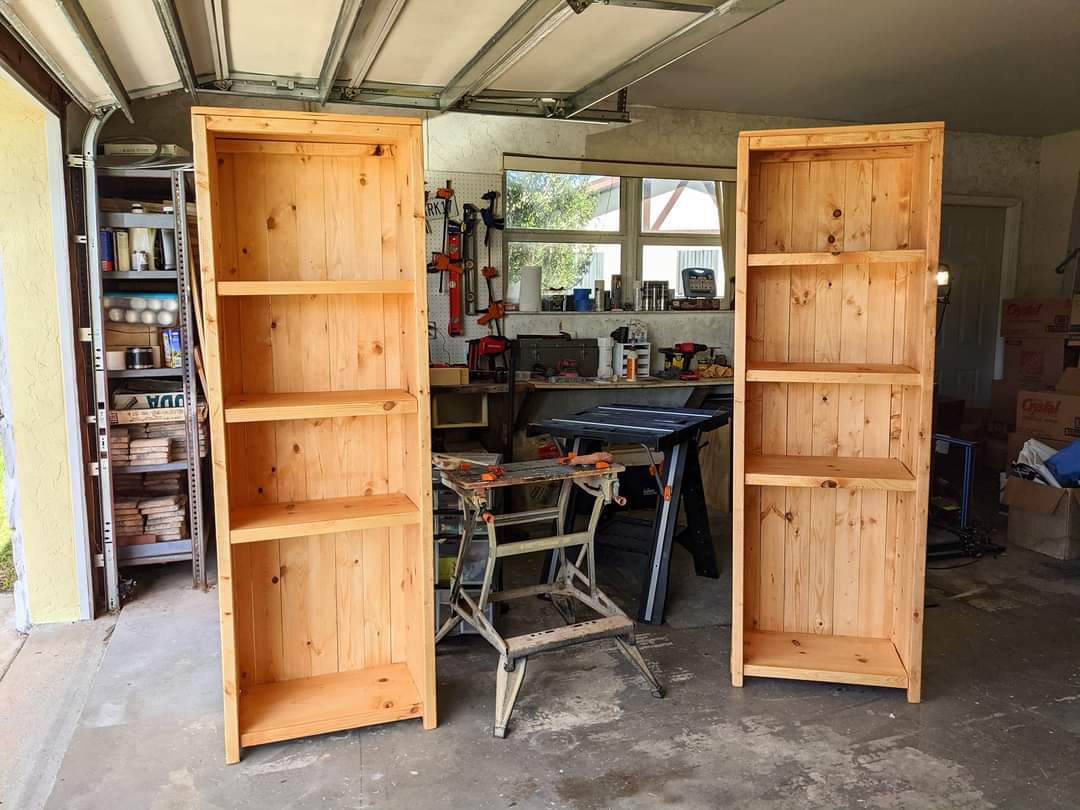
Built the Kentwood Bookshelves for our living room. Bookcases are 6ft. Made of Pine and Whitewood. This is my 2nd build and looking forward to more.

Estimated Cost
325
Estimated Time Investment
Weekend Project (10-20 Hours)
Finish Used
Minwax Colonial Maple
Recommended Skill Level
Intermediate

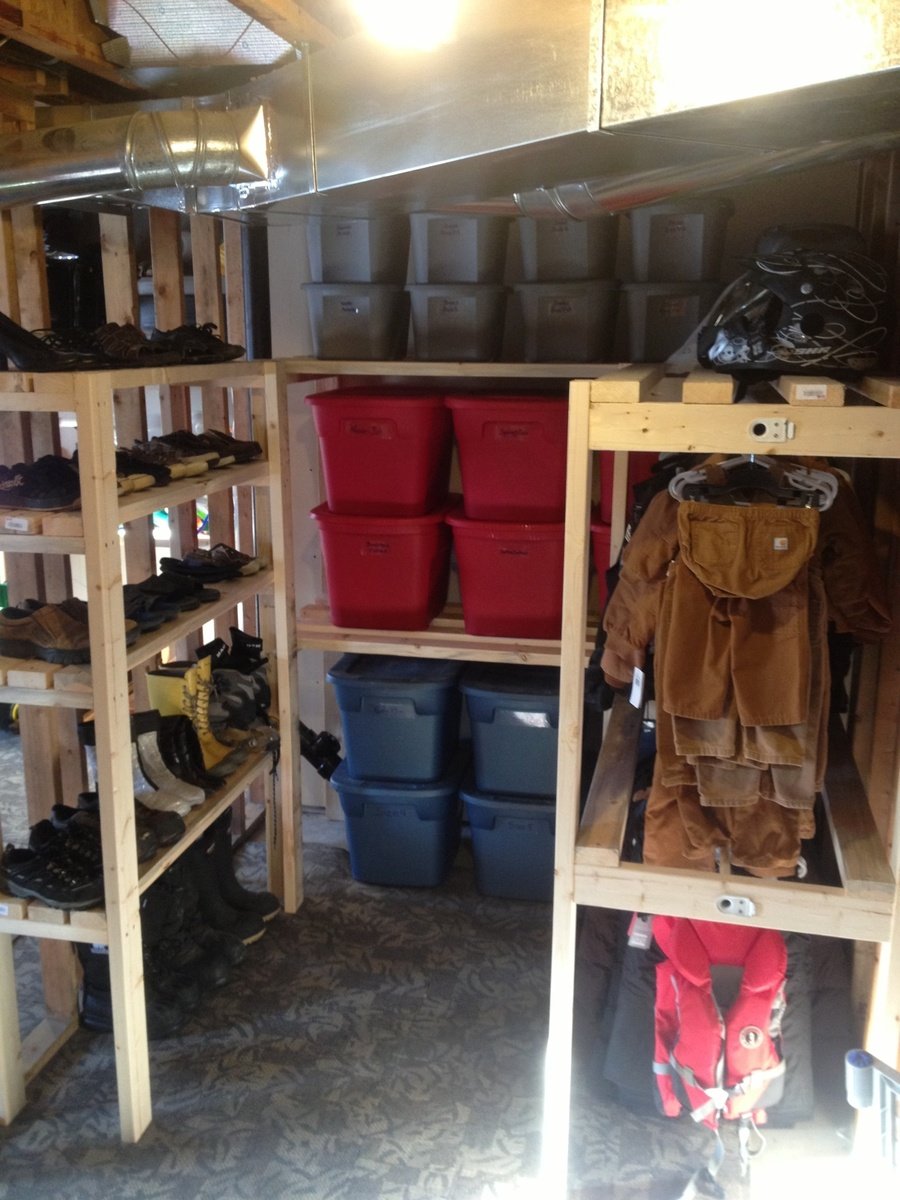
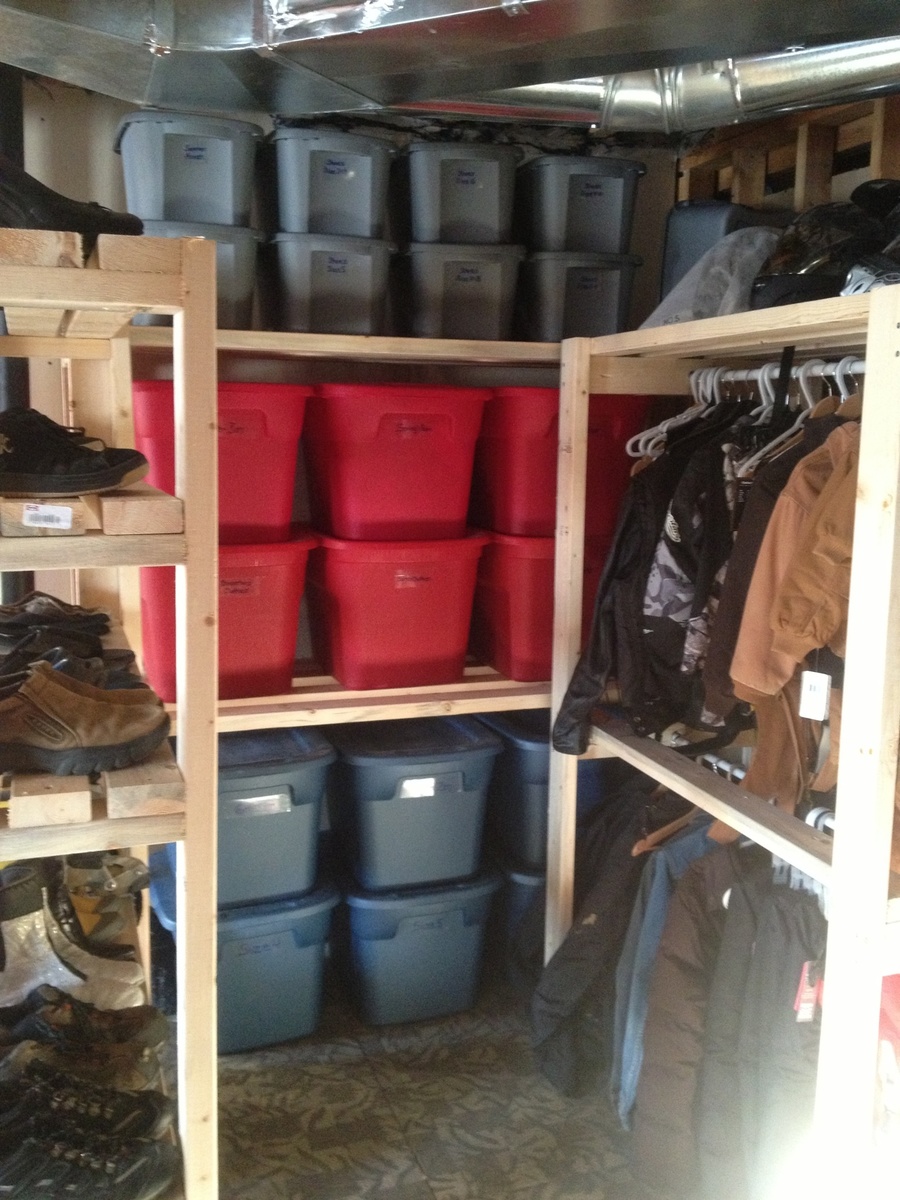
Economical Basement Shelving 2

Submitted by Veronica P on Sun, 12/14/2014 - 19:41

I've been organizing our unfinished basement so that my boys have more space to run and ride their bikes over the winter. I needed something to organize our off season clothes and bins of clothes that my boys are growing in/out of. This plan was perfect. It's not my prettiest build but it's soooo functional!

Estimated Cost
$100
Estimated Time Investment
Afternoon Project (3-6 Hours)
Finish Used
None
Recommended Skill Level
Starter Project

Comments

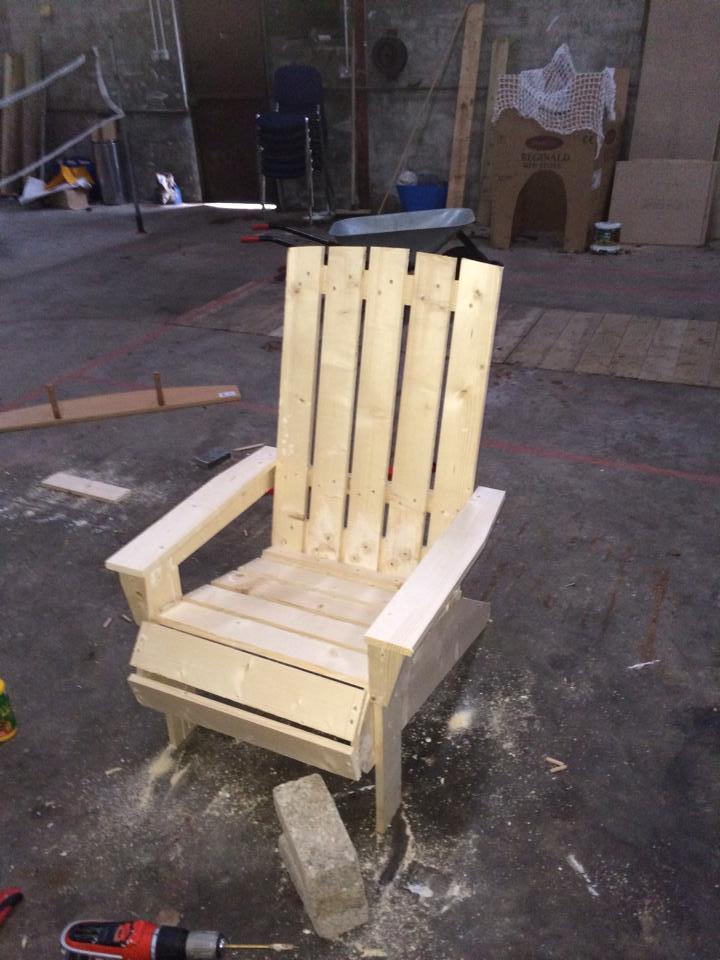
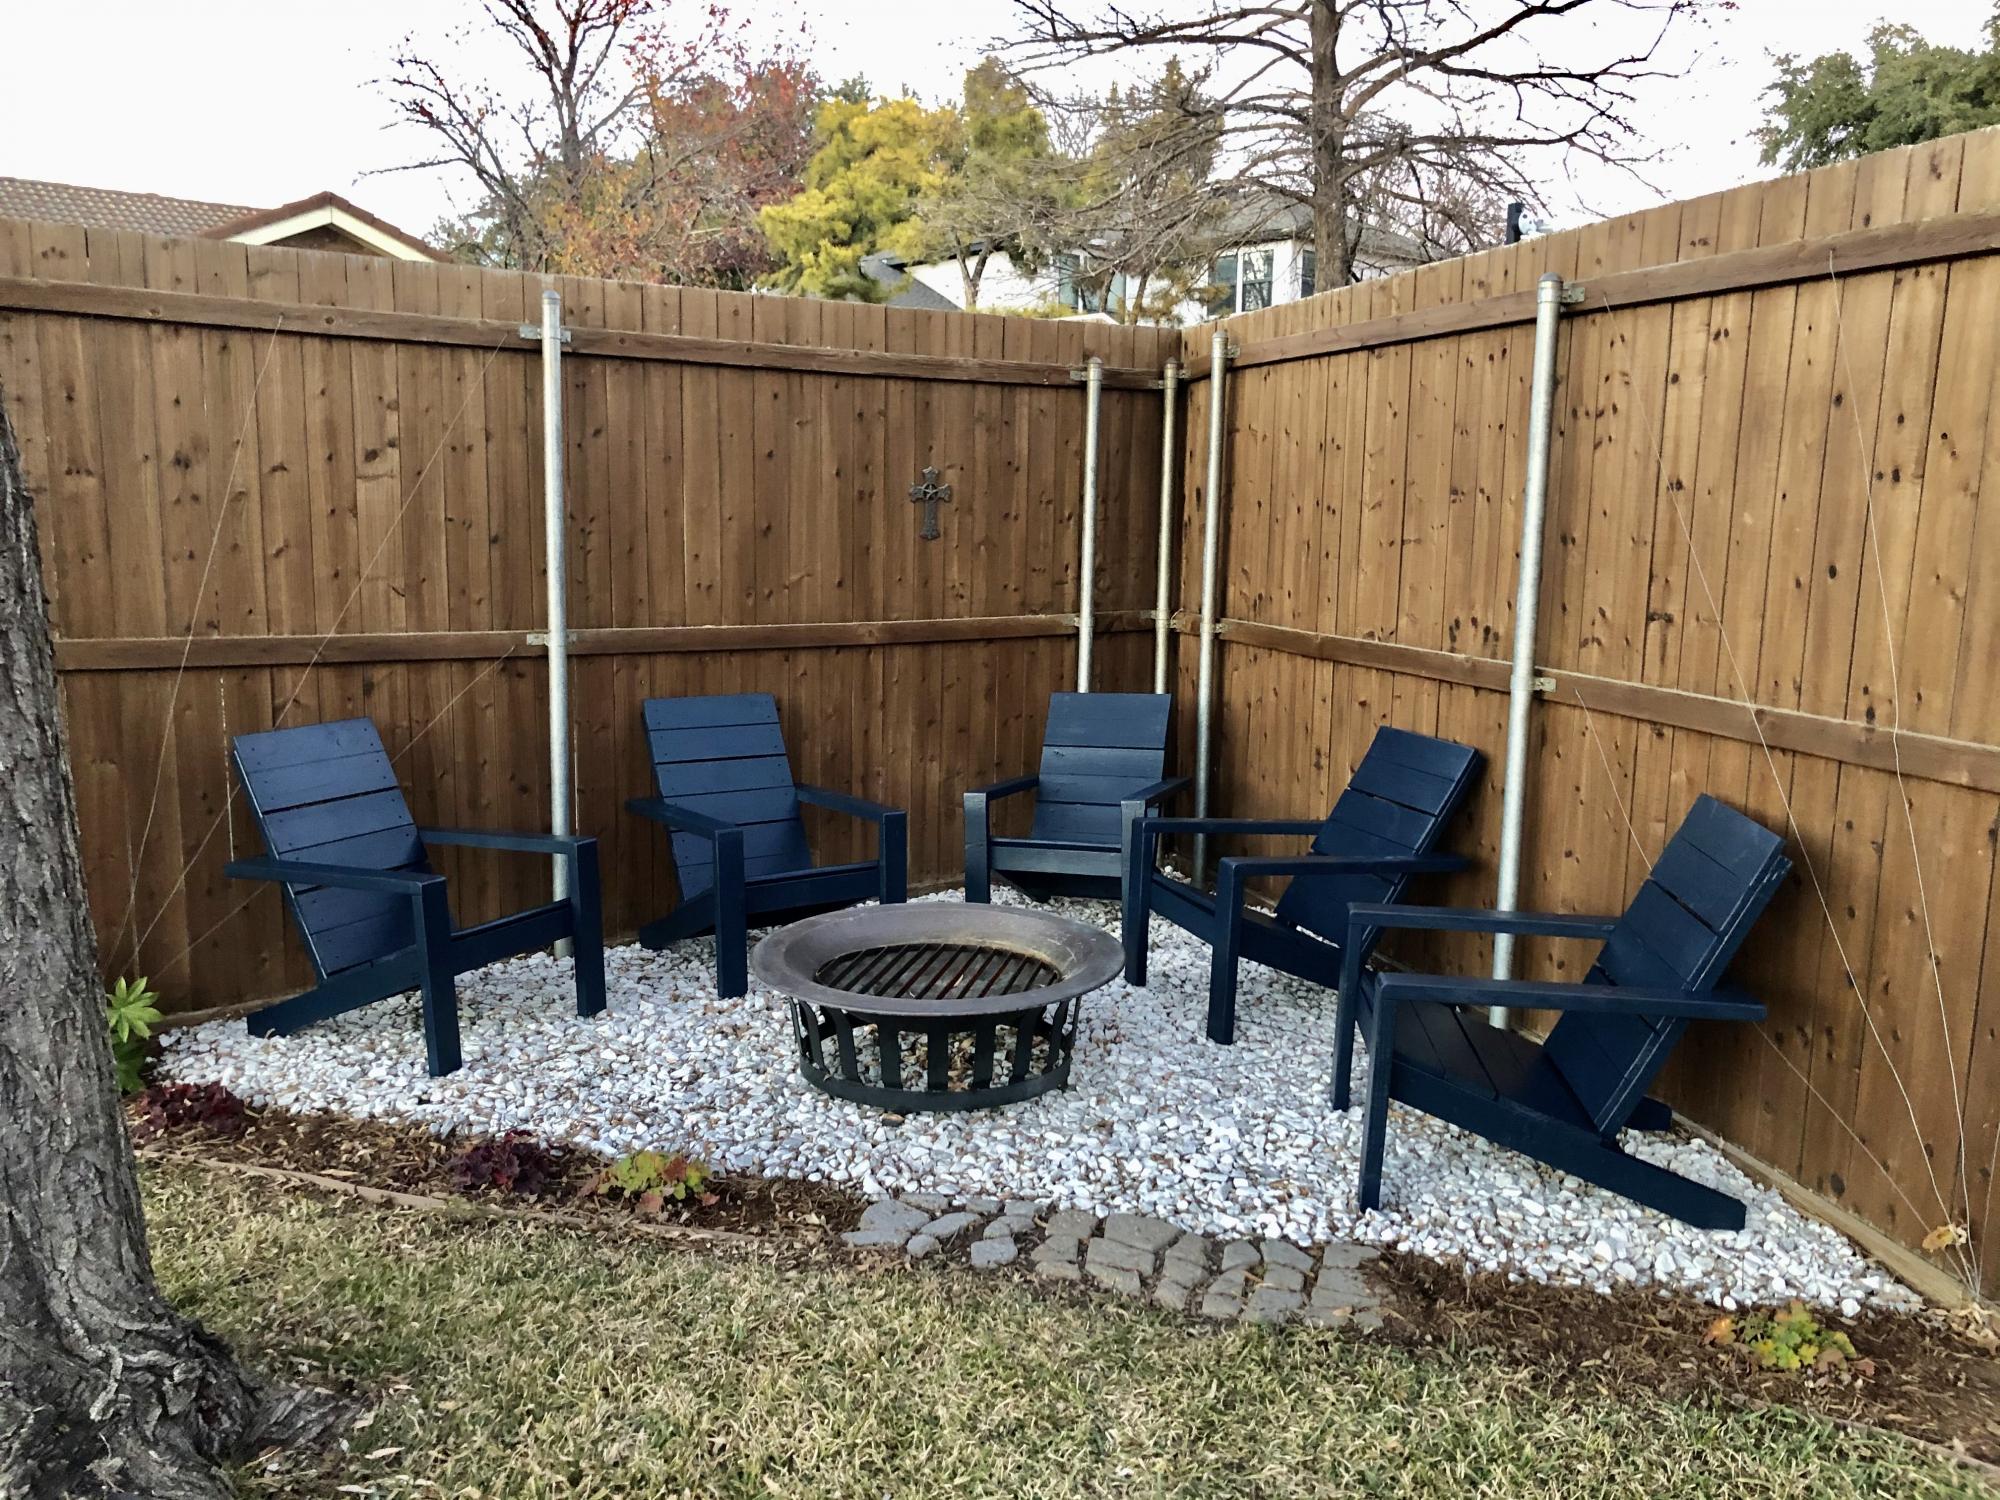
Adirondack chairs

Submitted by Anonymous (not verified) on Sun, 01/17/2021 - 18:39

Thanks for the awesome plans Anna! God bless.

Eddie Jimenez

Comments

Seasonal And Holiday

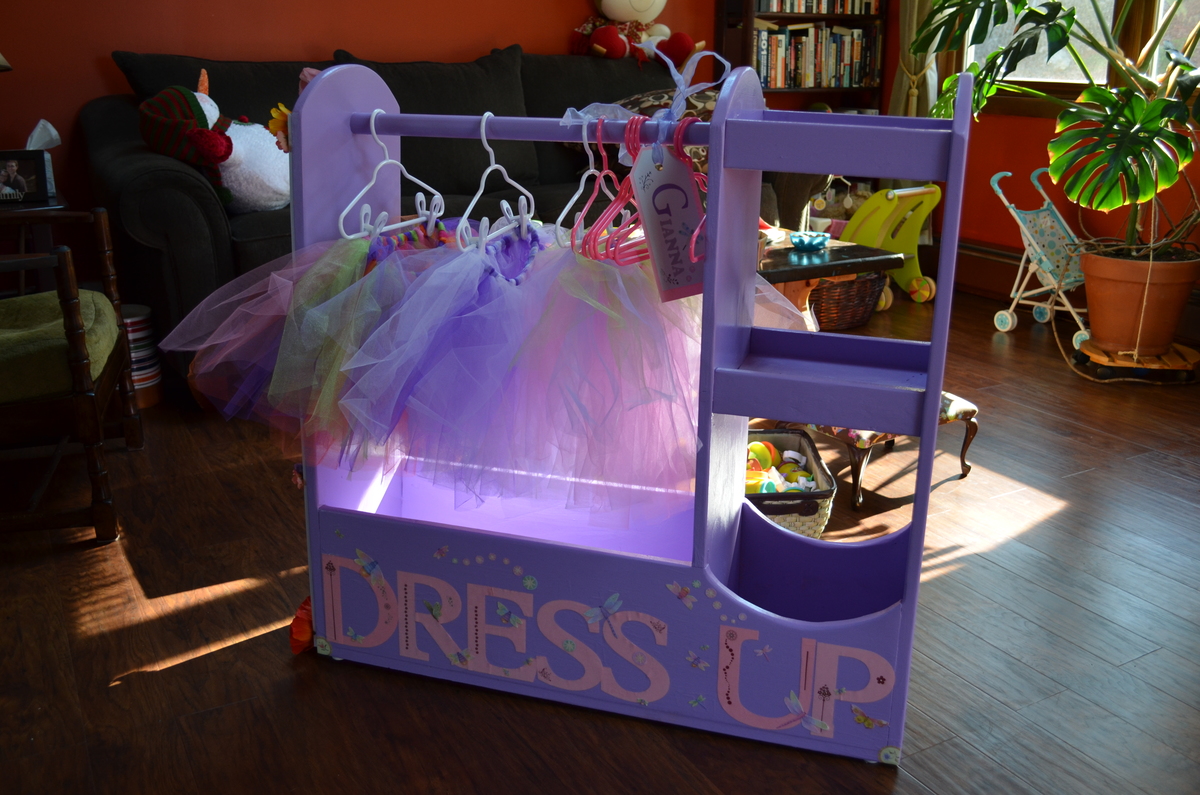
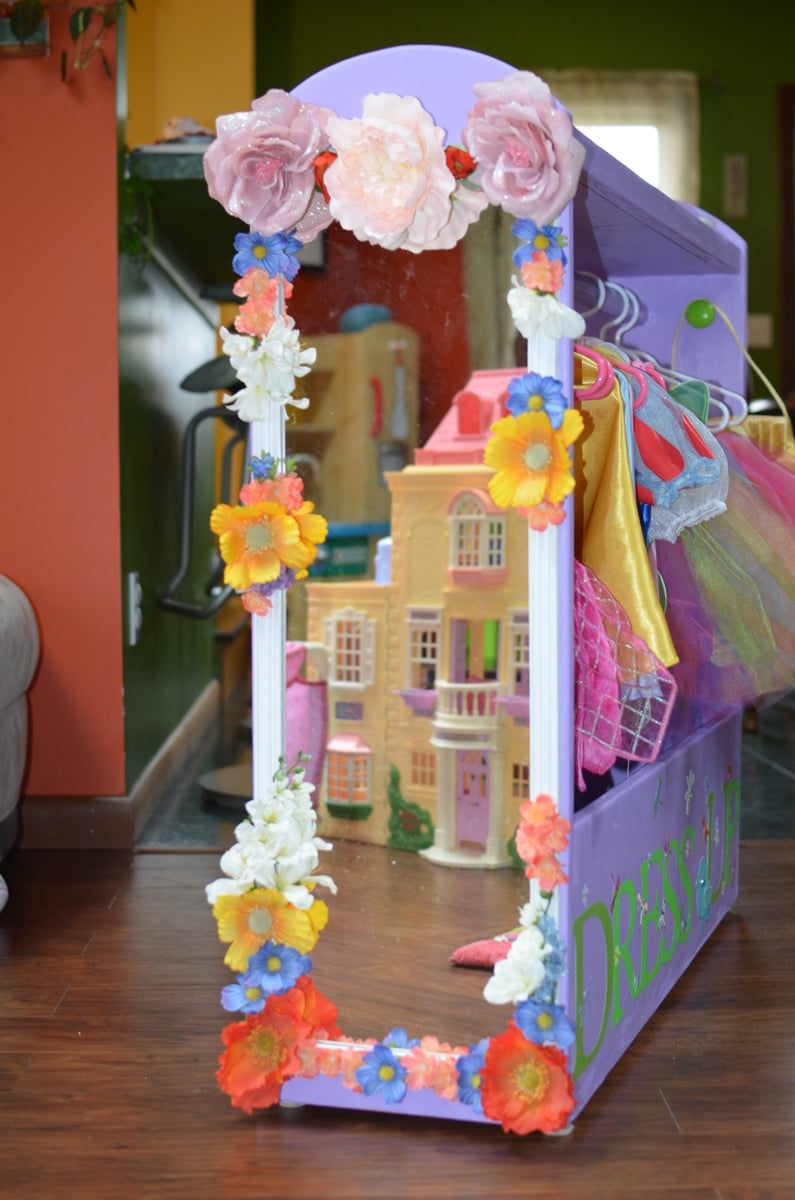
Dress Up consoles

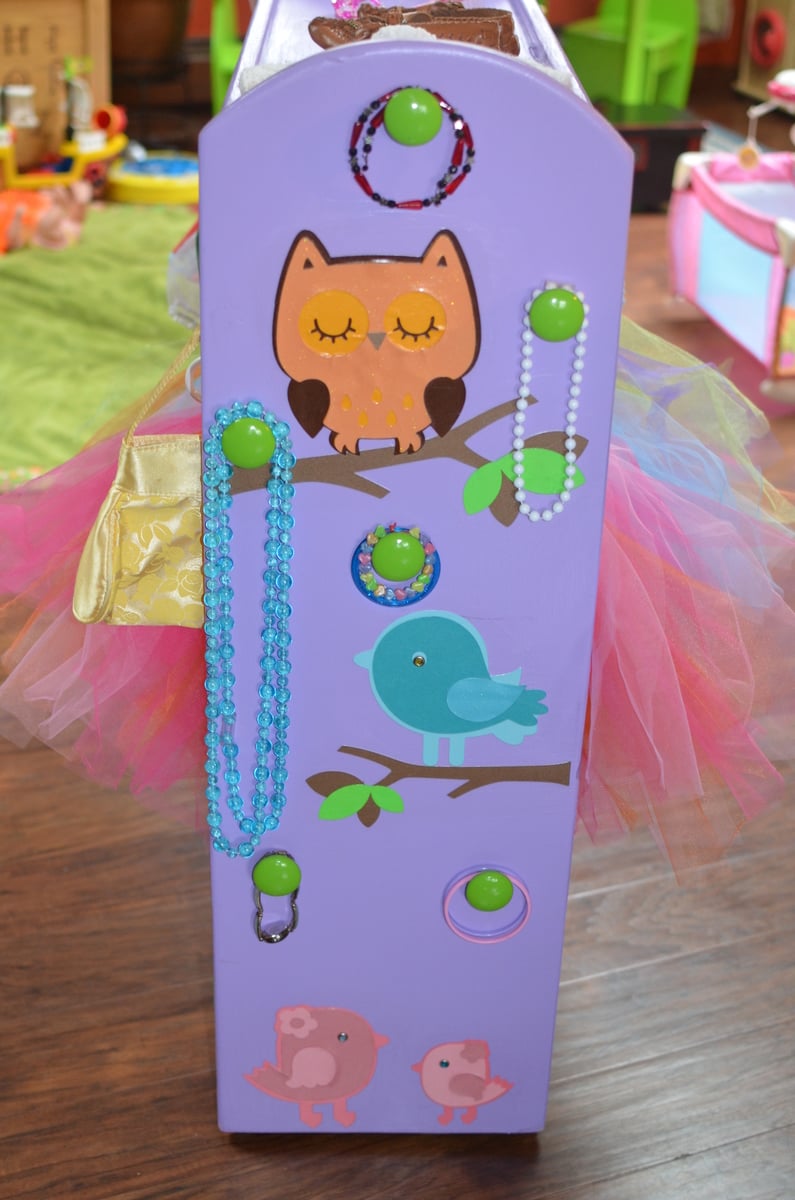
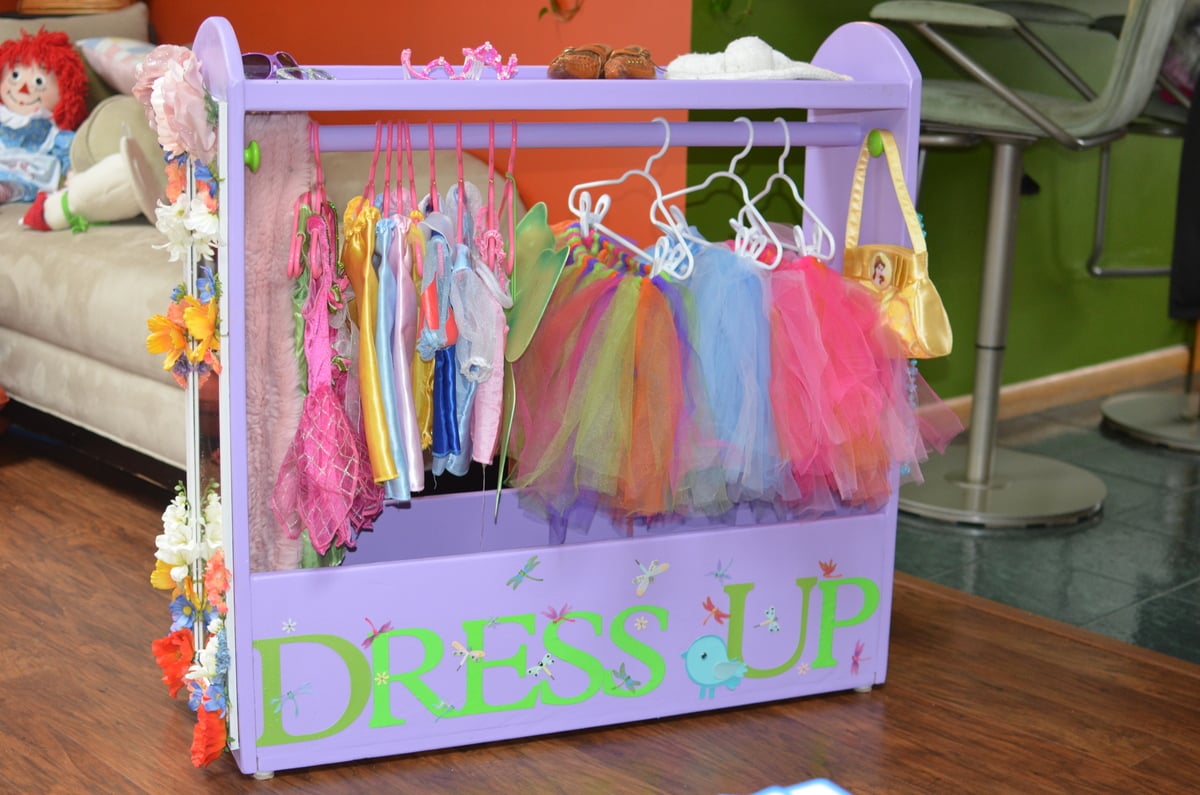
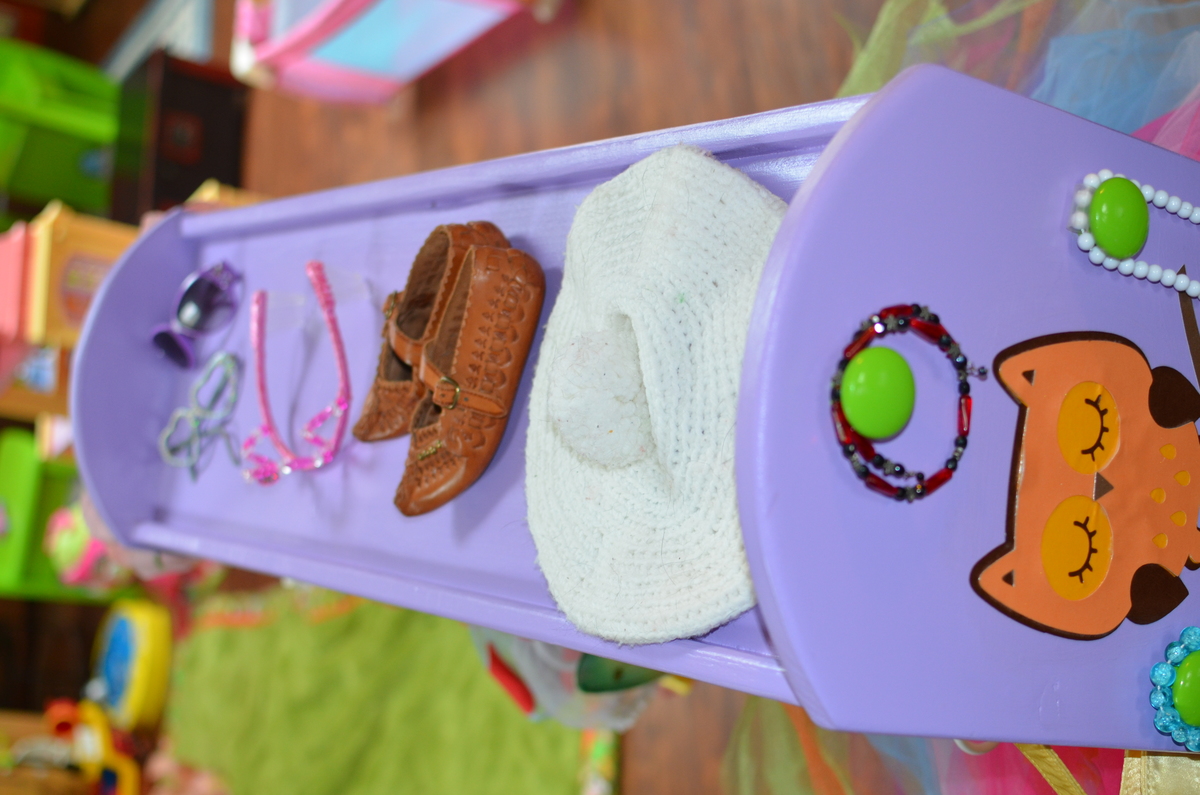
I have a 2 1/2 yo daughter and a 2 yo niece, so I make most of Ana's awesome plans in duplicate! These are two versions of her Dress Up console, one was for my niece's 2nd Bday, the other I just had to make for my own little Princess!

Estimated Time Investment
Afternoon Project (3-6 Hours)
Recommended Skill Level
Beginner

Comments

KellyP

Tue, 06/18/2013 - 15:18

Since you've had experience with both, do you like having the cubby's or do you think it is sufficient without? Trying to decide which route to take. Thanks!

Back