Community Brag Posts

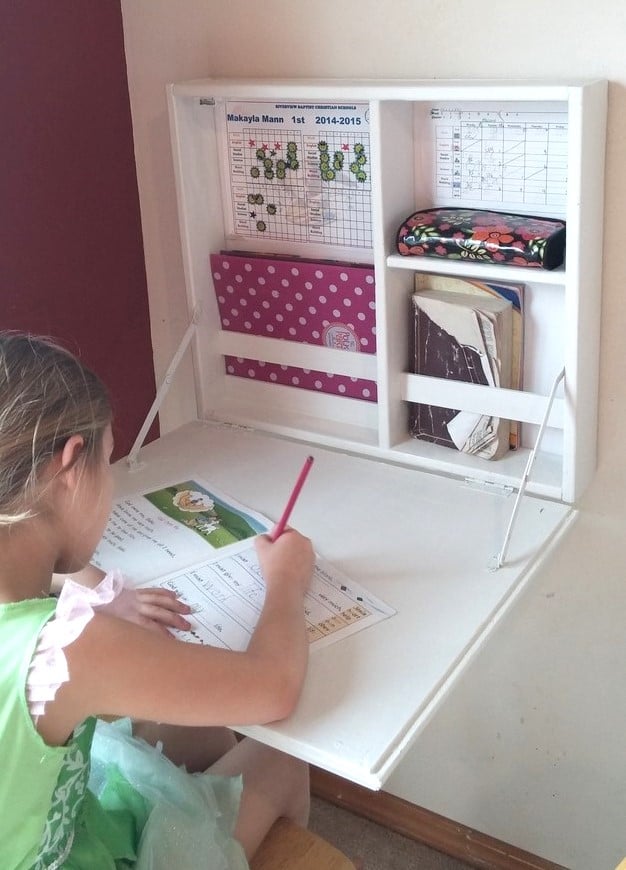
Flip Down Desk

Submitted by vala41 on Fri, 02/08/2019 - 14:21

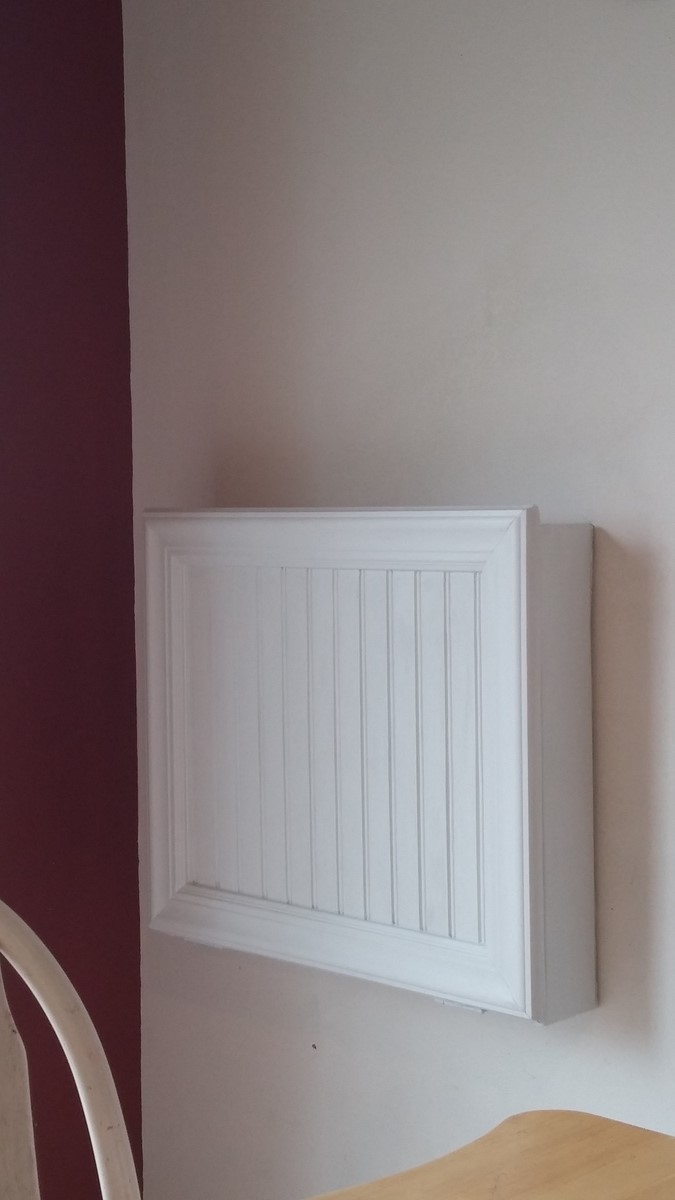
This was just what I needed! My daughter started homeschooling and we needed a place to neatlly contain her school stuff. I had her working at the kitchen table next to me, but it still felt like it lacked the school atomosphere. I removed the area for the paper holder and instead added a few support scraps to hold her folders and books upright. 

It did take me awhile to get the support hinges placed correctly (I almost gave up and went with a rope or chain) but I finally got them placed correctly after placing a pencil mark on where they could lie correctly open and closed - seriously this took me awhile because just when I thought I had it, the brackets when closed would be to deep for the desk or when I placed it it correctly inside when open it wasn't 90 degrees. 

The only thing I wish was that I had made it slightly shorter, because when it is open it is a little hard for her to reach the top shelf, but its not to bad and that is the height my scrap bead board was and I was to lazy to cut it =) 

I had a magnetic clasp left over from another project and that has worked well to keep it closed nice and tight, I also used some foam board I had lying around for the back so that her things were not tapped/pinned on my wall. I choose the bead board on the front because A: it is what I had lying around and B: it is in my dining room so I wanted it looking a little nicer.

I had everything on hand excpet for the support brackets which cost me 2 something each at Lowes. YAY for projects under $10 bucks! Thank you so much Ana!
Built from Plan(s)
Estimated Cost
Had scrap wood, hinges, magnetic clasp and paint on hand. Only paid around 6 bucks for the support hinges.
Estimated Time Investment
Day Project (6-9 Hours)
Recommended Skill Level
Starter Project

Comments

Farmhouse Table with Hutch

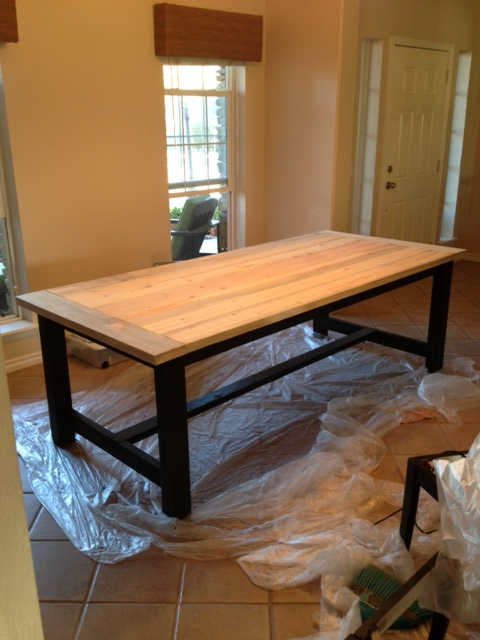
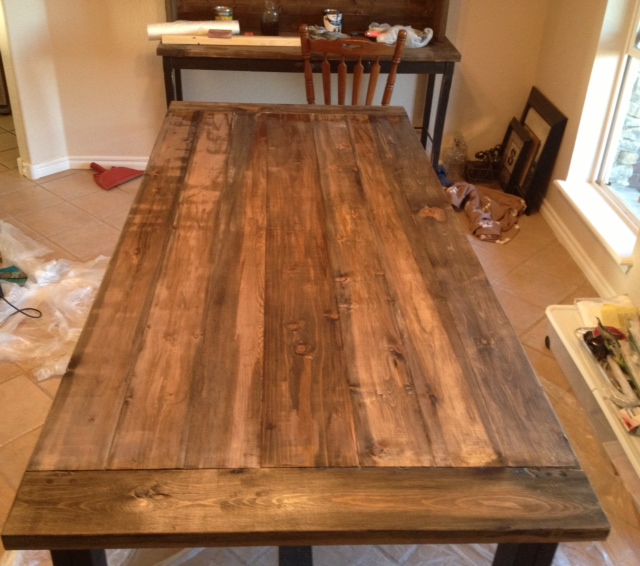
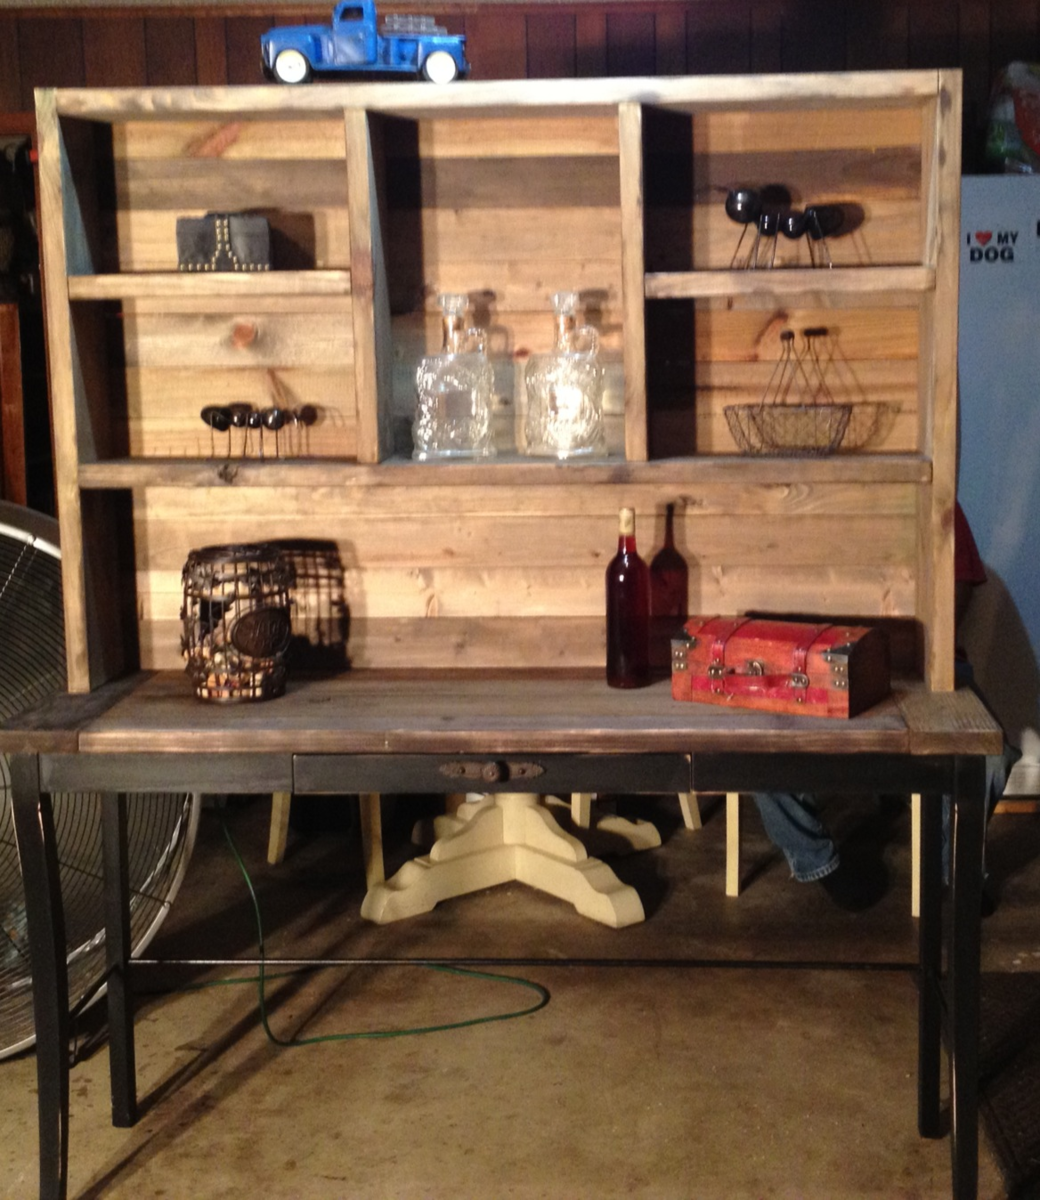
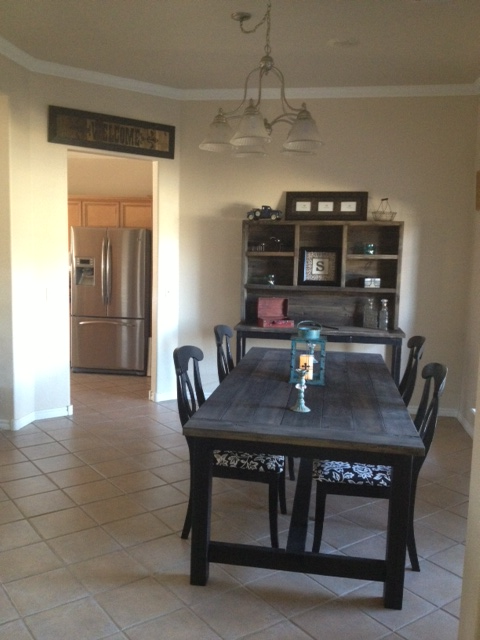
I really enjoyed making this table for my sister from Ana's Farmhouse table plans. I secured everything with Kreg screws from the underside. I added a couple screws from the top in the breadboard ends for added stregth. Im thinking of building another one but making it wider!
Estimated Time Investment
Day Project (6-9 Hours)
Finish Used
The base is painted with Behr satin black in 3 coats. I used vinegar and steelwool mix the the whole table was given several clear coats in satin.
Recommended Skill Level
Beginner

Comments

Benchmark Media Console

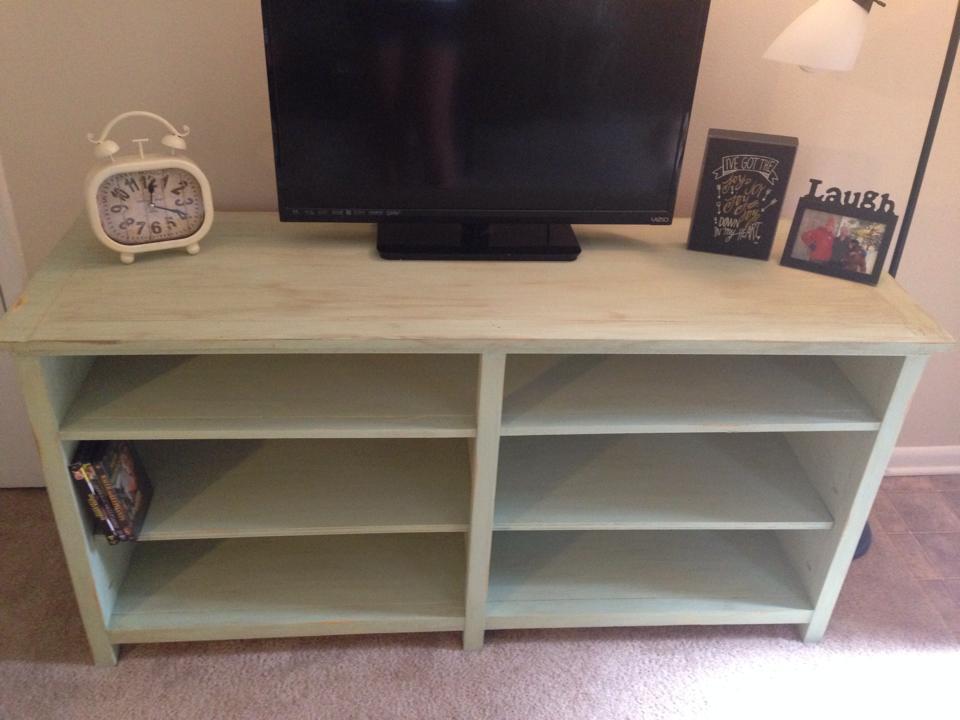
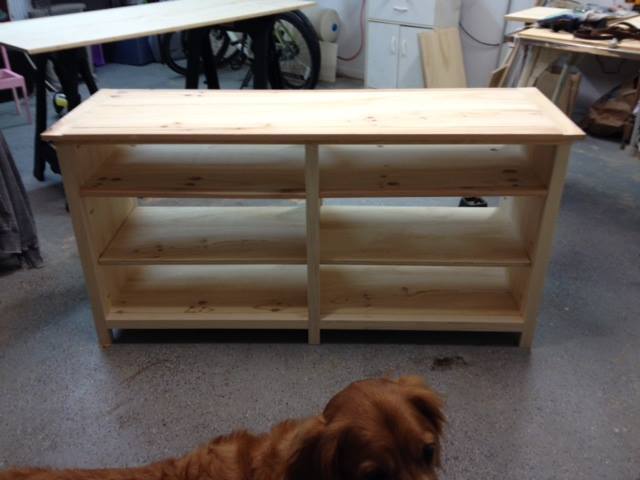
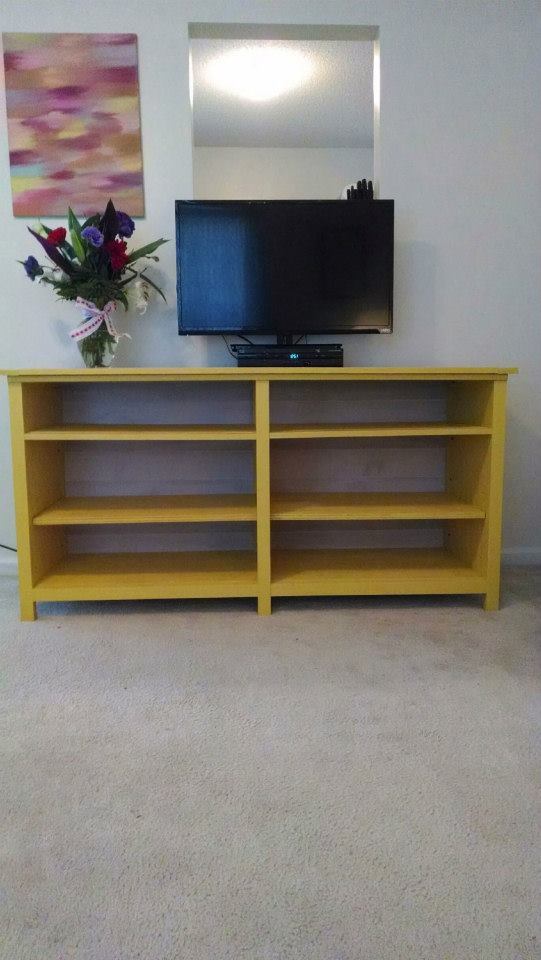
I just made the center part of the console.  My daughter didn't want any cabinet doors or drawers on it.

It started out being painted yellow, then she changed it to the distressed light green in the first pic.


Built from Plan(s)
Estimated Time Investment
Weekend Project (10-20 Hours)
Recommended Skill Level
Intermediate

Farmhouse Hall Tree

Submitted by brino on Sat, 05/29/2021 - 07:53

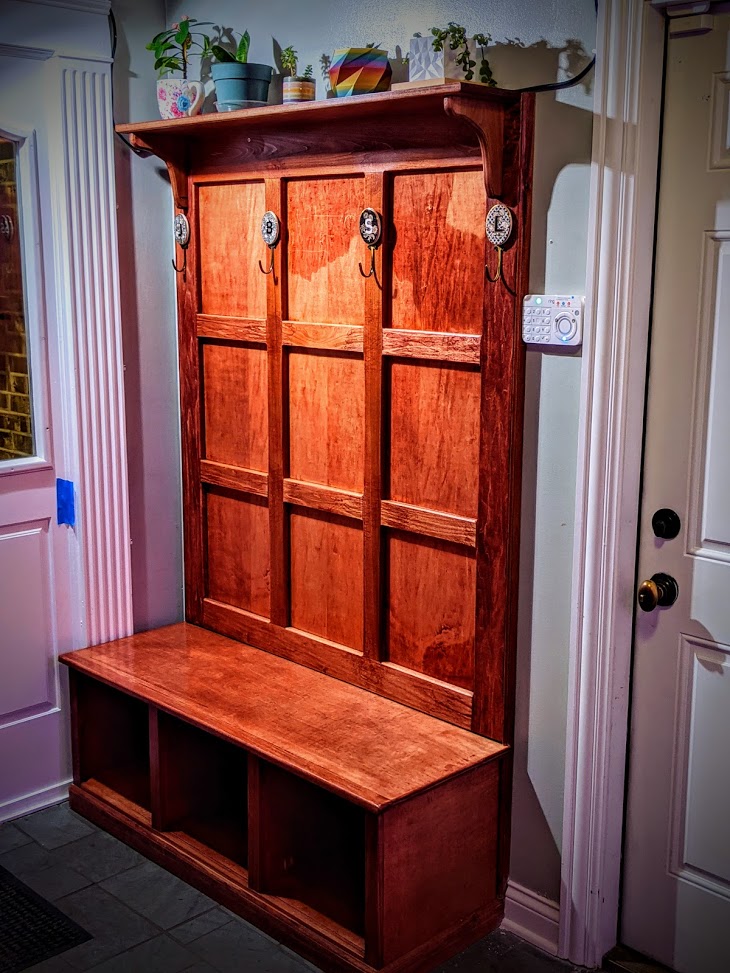
Added a shelf for plants at the top, coat hooks.
I mounted the back panel to the wall so I could remove the supports between the bench and the back panel.

Built from Plan(s)

Comments

16' x 16' Storage Shed

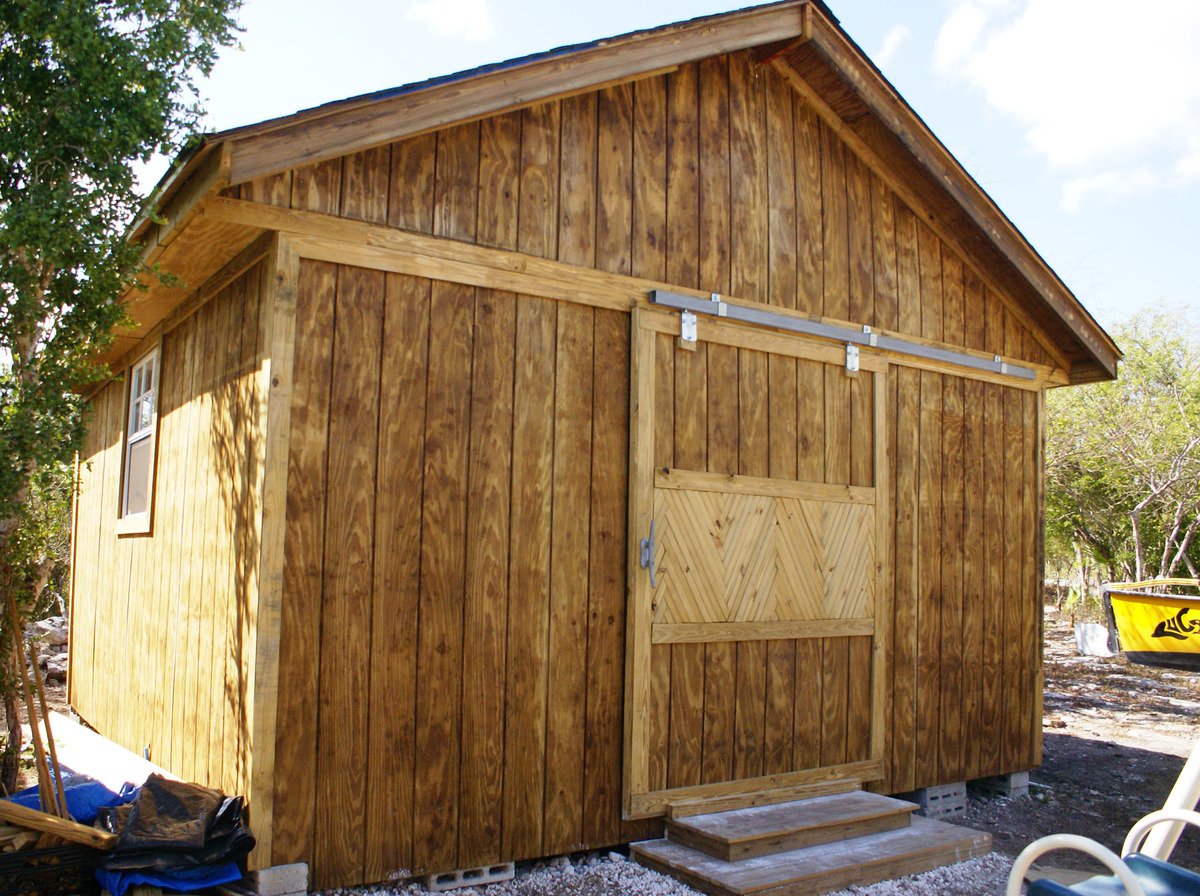
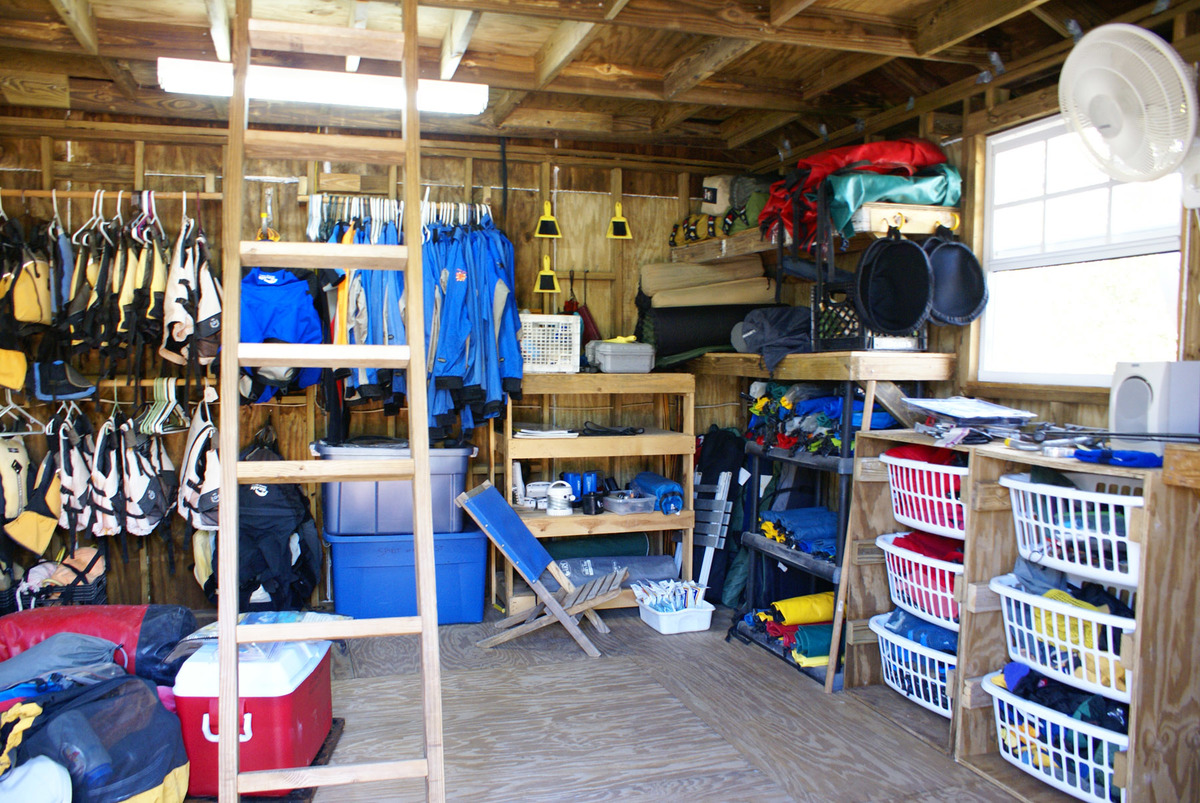
Thanks to the tips and tricks we picked up from Ana here, we were able to build our very own storage shed. We use it for storing our kayaking, sailing and camping gear for our company down here in the Bahamas (which is still a bit unorganized in the photo). It works so much better than what we had before in multiple kit sheds. We even have a loft up top for extra storage, electricity in there with a fan, fridge and lights... MAJOR UPGRADE :) We still need to paint it and finish a few things, but we are very thankful to have it up and being used.

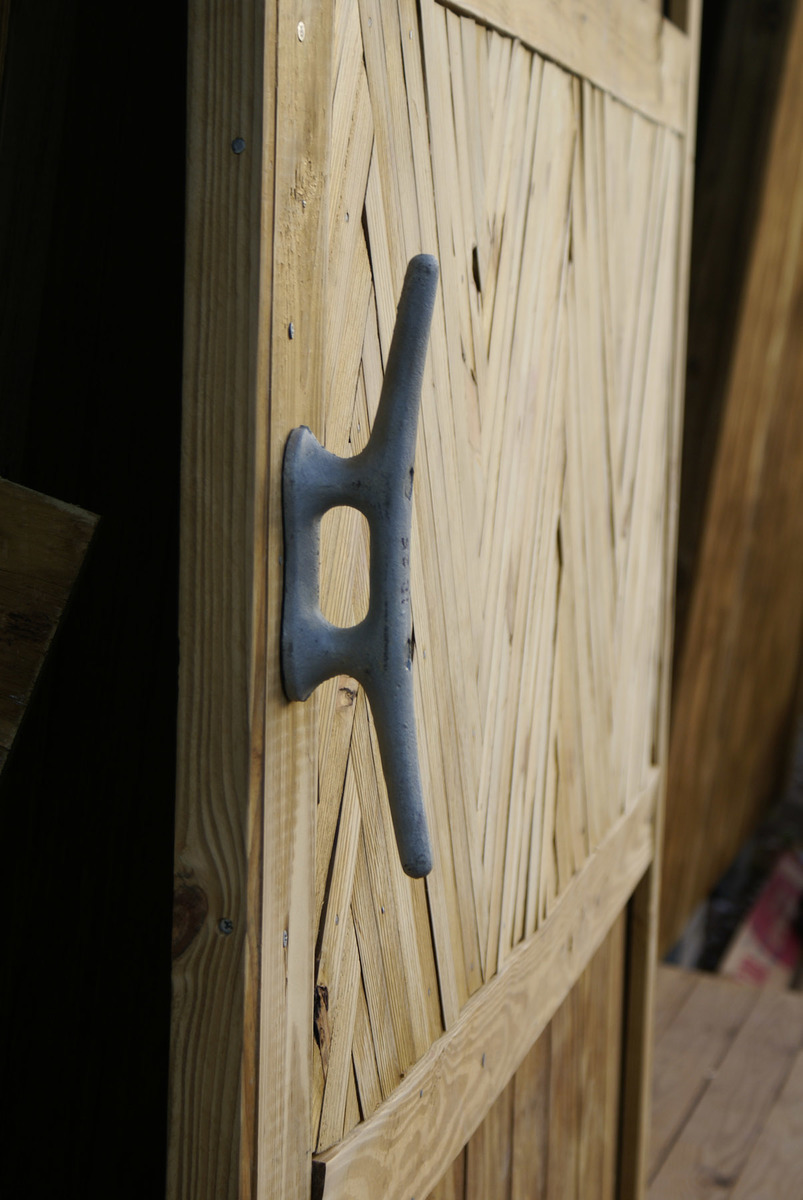
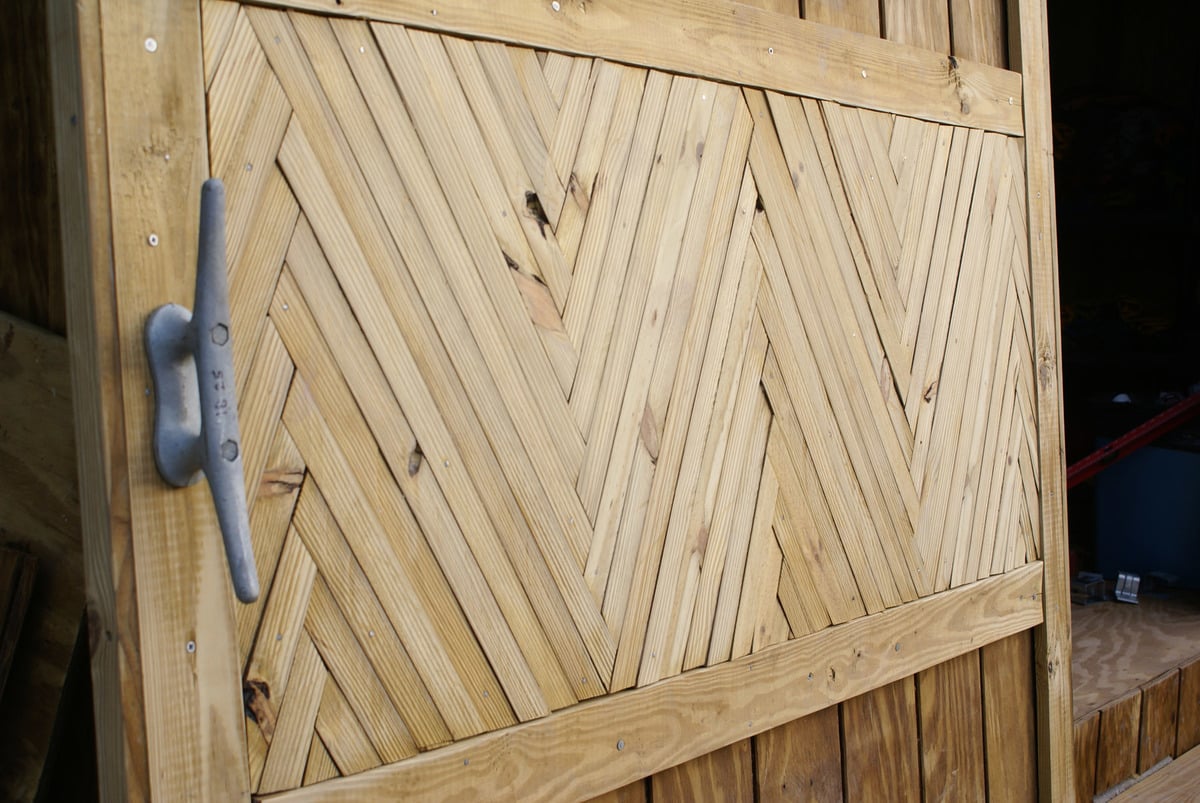
My favorite thing is the door handle (a boat cleat) sliding barn door and the herringbone design for 'eye candy' :)

Thanks go out to Ana and her wonderful site! I would have never attempted this without the foundation I built here!

Estimated Cost
$4,000 (living on an island in the Bahams so it's a bit higher here)
Estimated Time Investment
Week Long Project (20 Hours or More)
Finish Used
Still need to paint it!
Recommended Skill Level
Intermediate

Comments

jbayer80

Sun, 04/14/2013 - 20:37

What did you use to make the sliding door? Can you upload pics? I really want to make one for my bathroom but all the hardware I find is really expensive.

spiceylg

Mon, 04/15/2013 - 11:30

Great job and love that you also incorporated her laundry basket dressers!

mistievn

Sun, 05/05/2013 - 11:19

It looks amazing! Would you happen to have plans to share? We are in need we do not even have a garage. This would be perfect.

In reply to by mistievn

exuma_momma

Sun, 05/05/2013 - 13:58

Not really any plans that would help. We just drew some rough sketches up some paper and kind of went from there. Between Ana's site here and this book: http://www.amazon.co.uk/Building-Shed-Build-Like-Pro/dp/1561586196 we just pieced things together with the space and money we had. The book just helped me a lot to plan it out, and then all of the building techniques Ana has taught me on here came in handy. It's a group effort :) Hope this helps!

Custom Home Chifforobe

Submitted by haymohs on Sun, 03/08/2015 - 19:30

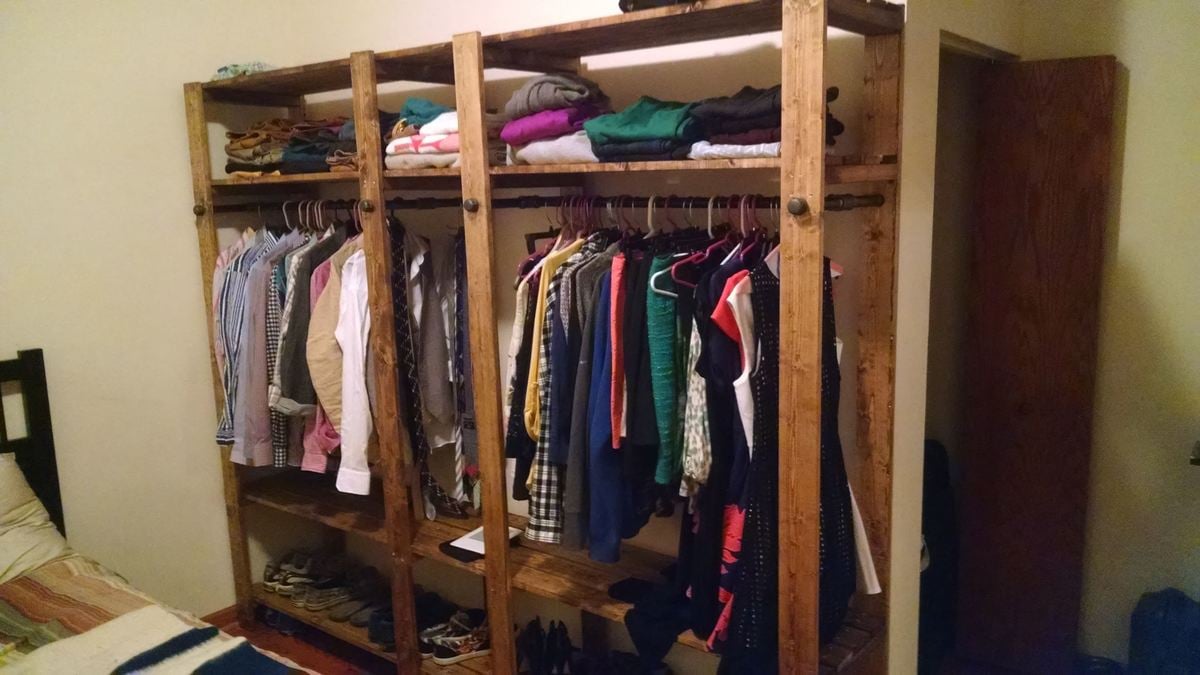
My girlfriend and I just moved into our new apartment. It has hardly any storage space at all and very little closet space. So we built our own! It was a long day's work, but the reward of a beautiful Chifforobe is well worth it.

This was my first carpentry project, and I couldn't be happier with the way it turned out.

Built from Plan(s)
Estimated Time Investment
Day Project (6-9 Hours)
Finish Used
Just a basic stain. Early American.
Recommended Skill Level
Beginner

Comments

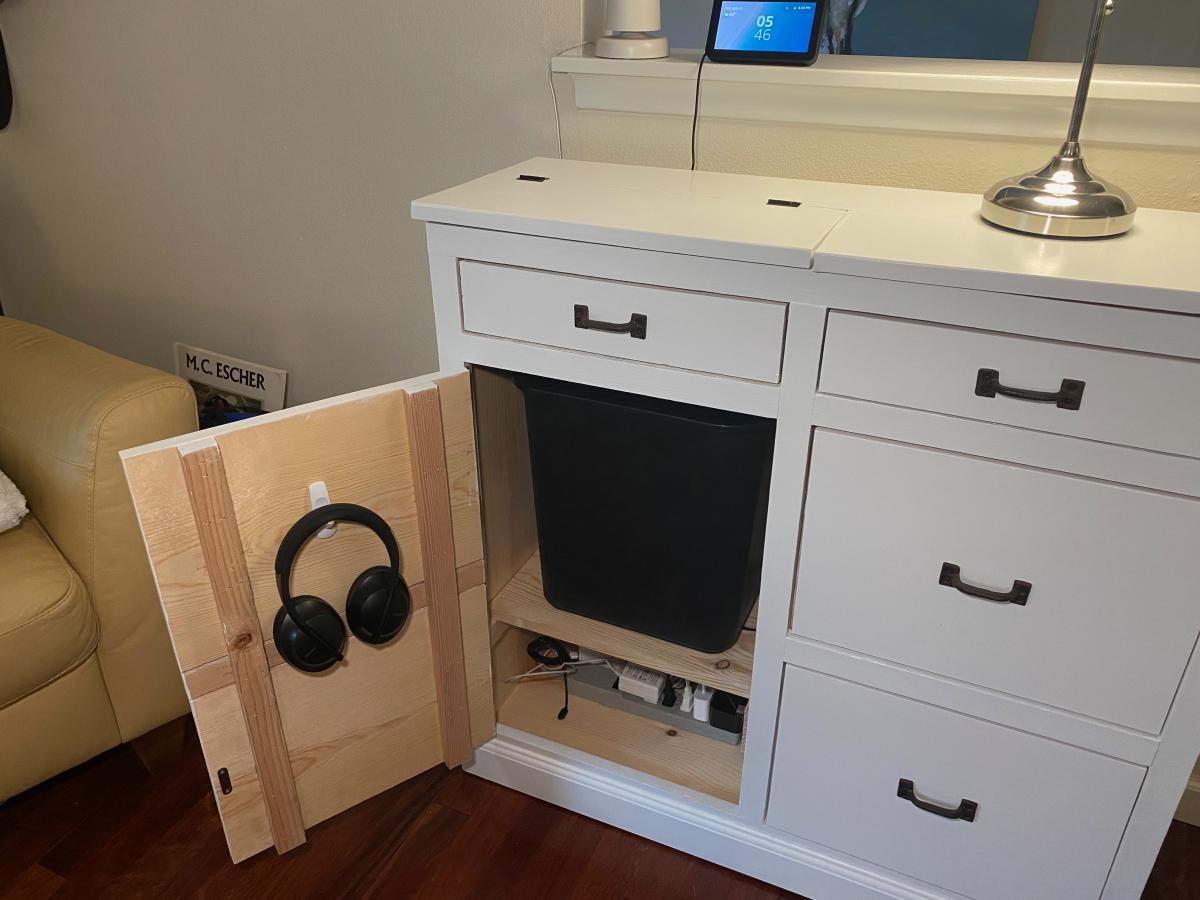
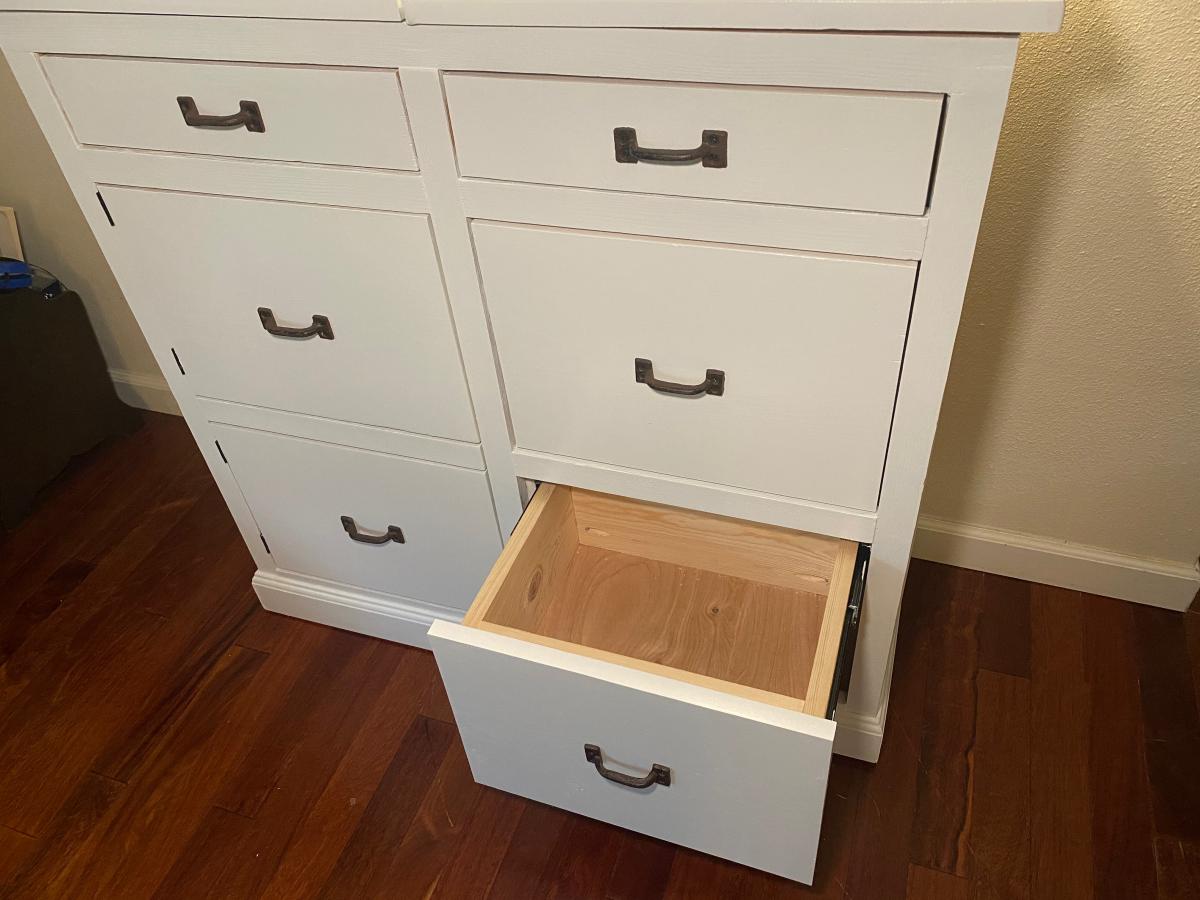
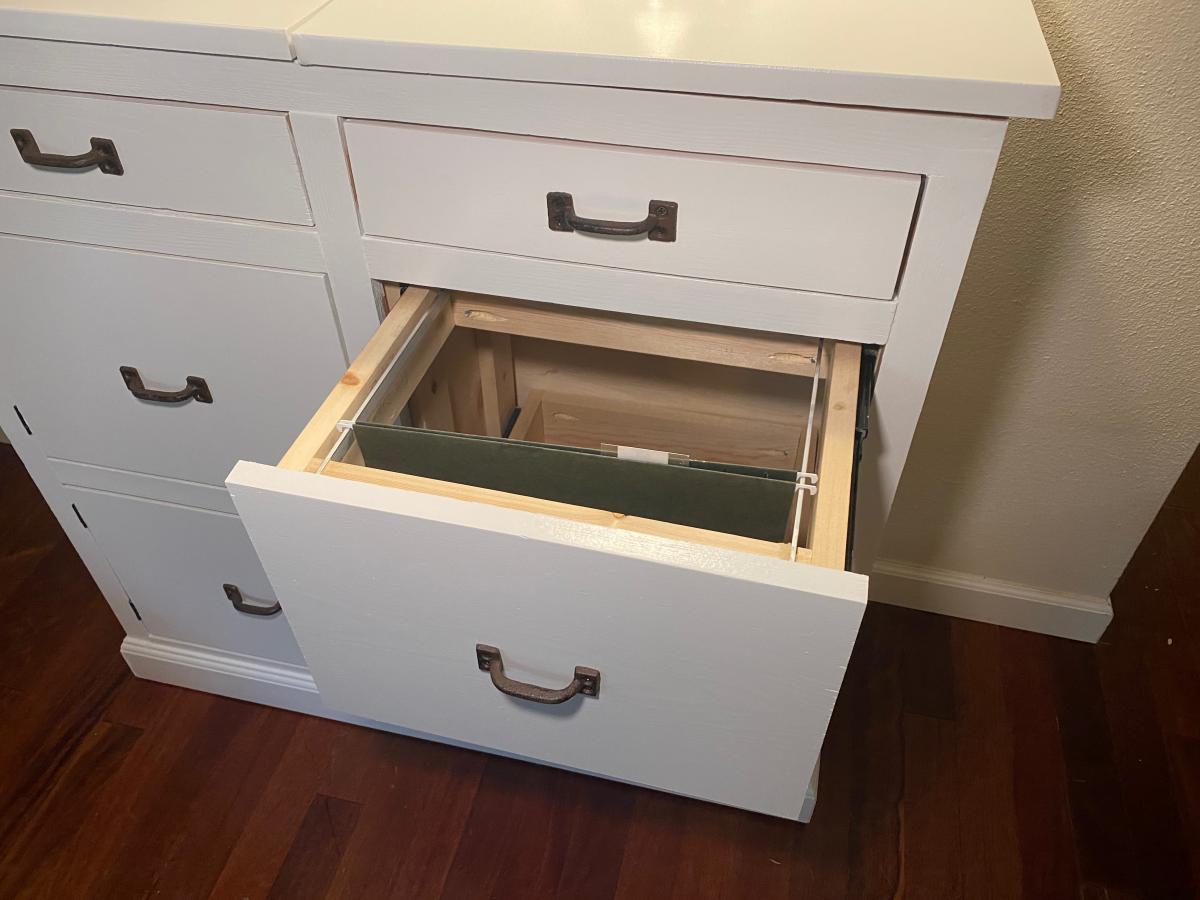
The Mail Boss (my attempt)

Submitted by stonejamie on Tue, 07/27/2021 - 20:14

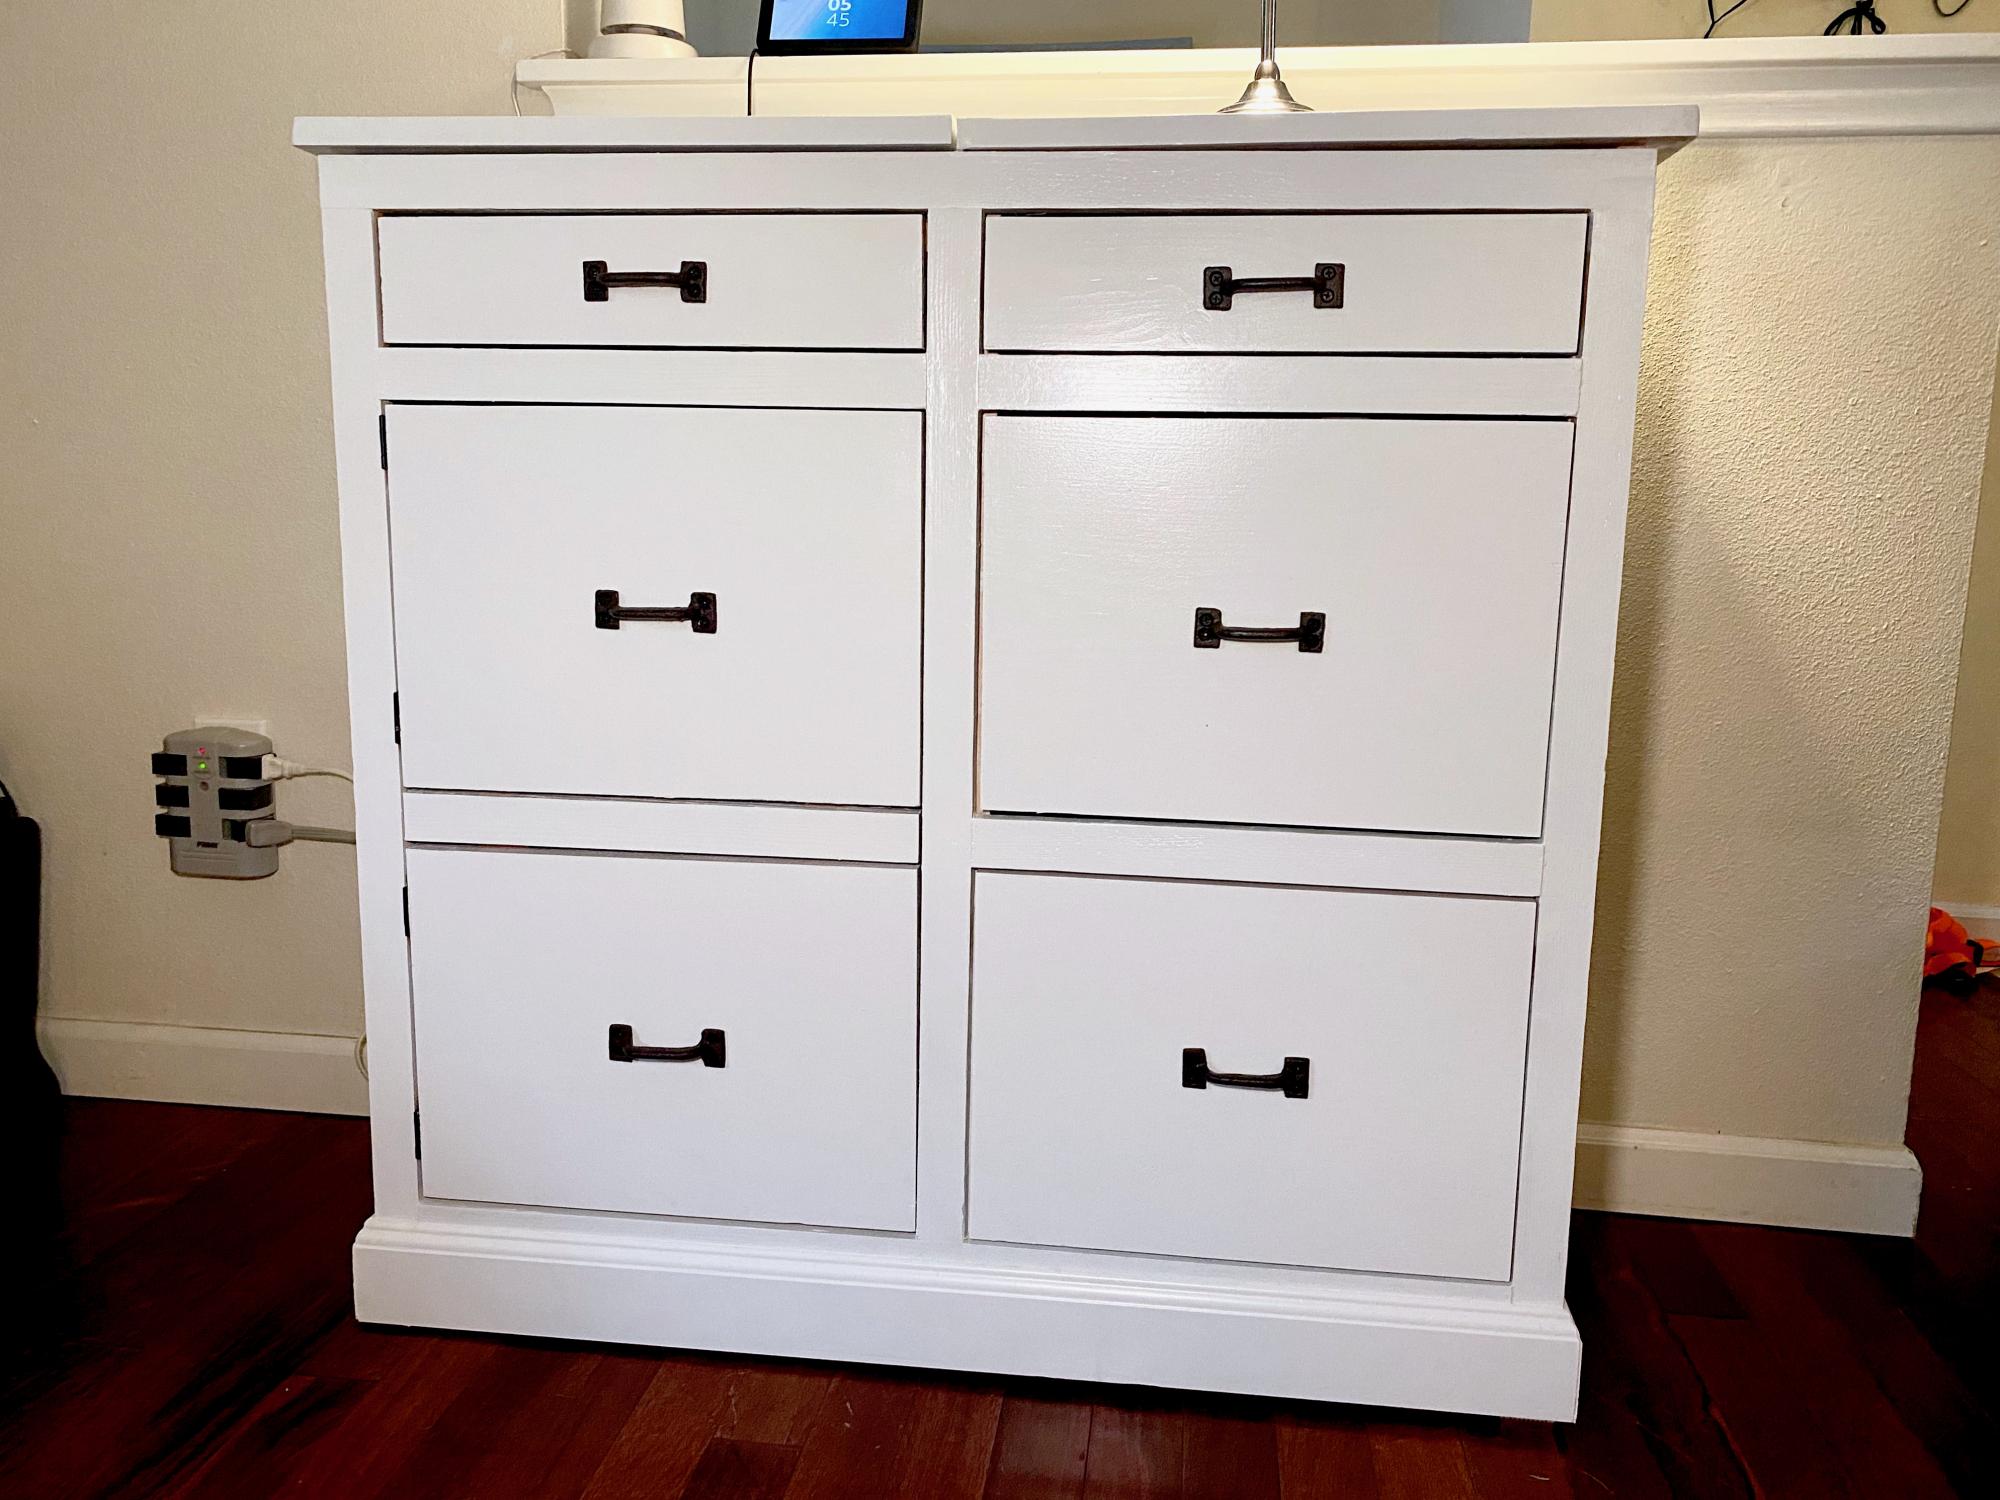
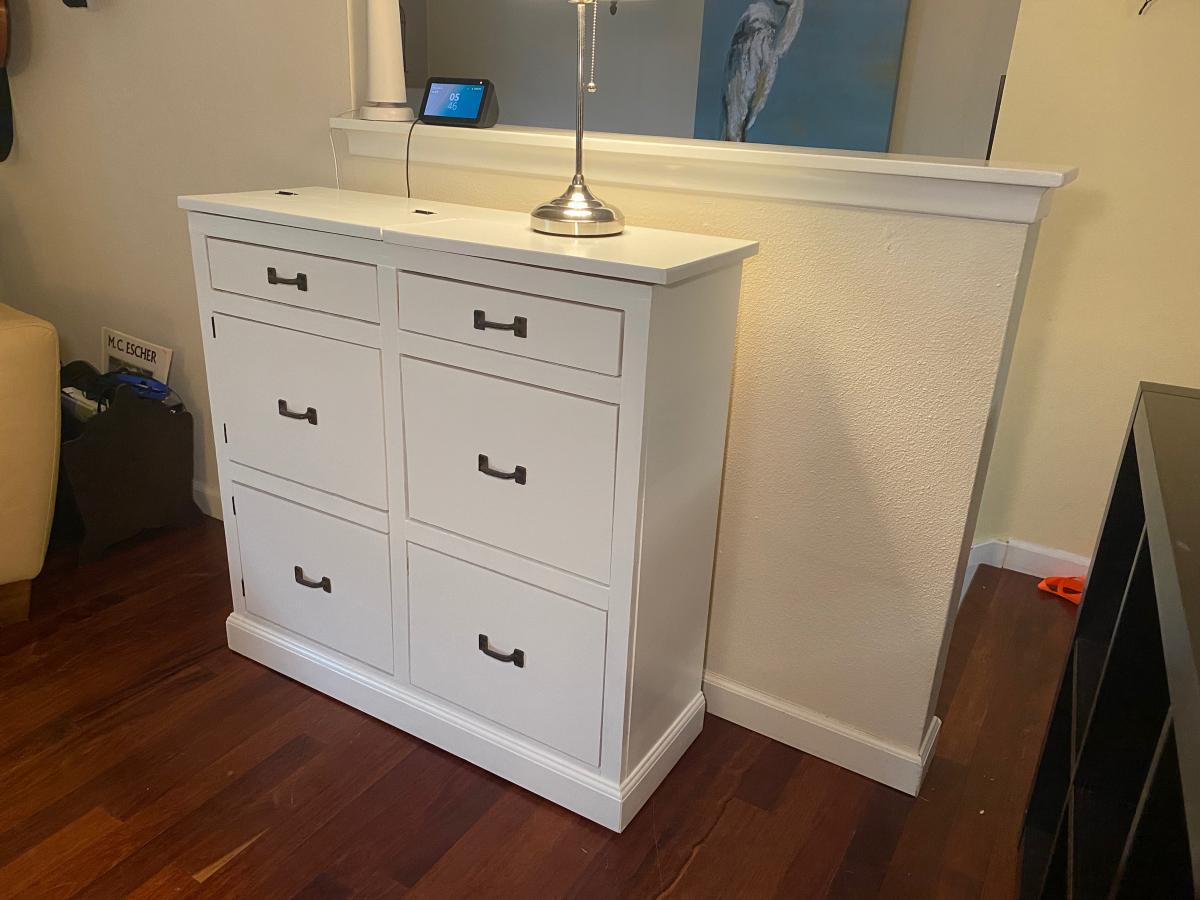
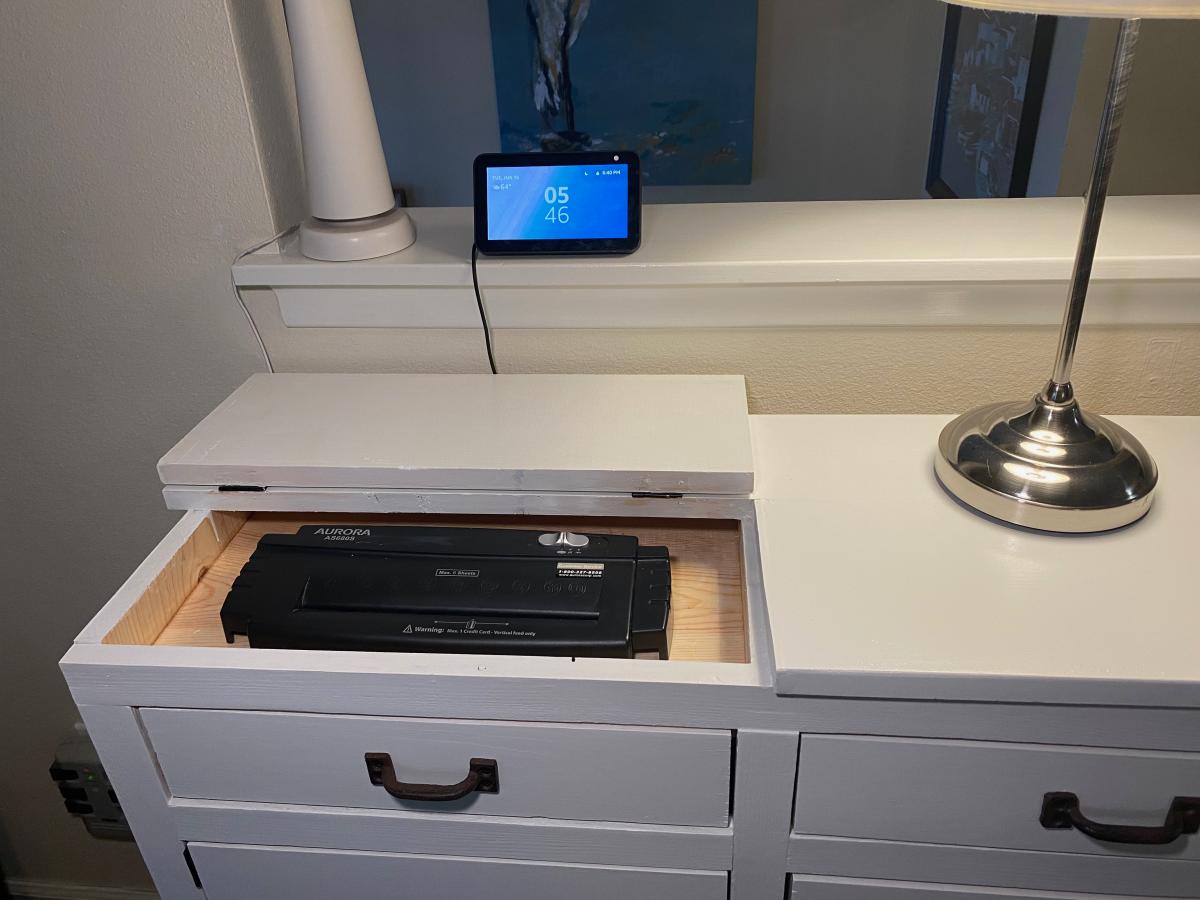
This was my take on the mail boss. It took a lot longer than I thought but I learned a lot in the process.

Built from Plan(s)
Estimated Cost
$150
Estimated Time Investment
Week Long Project (20 Hours or More)
Finish Used
Benjamin Moore Advance in Pure White
Recommended Skill Level
Intermediate

Comments

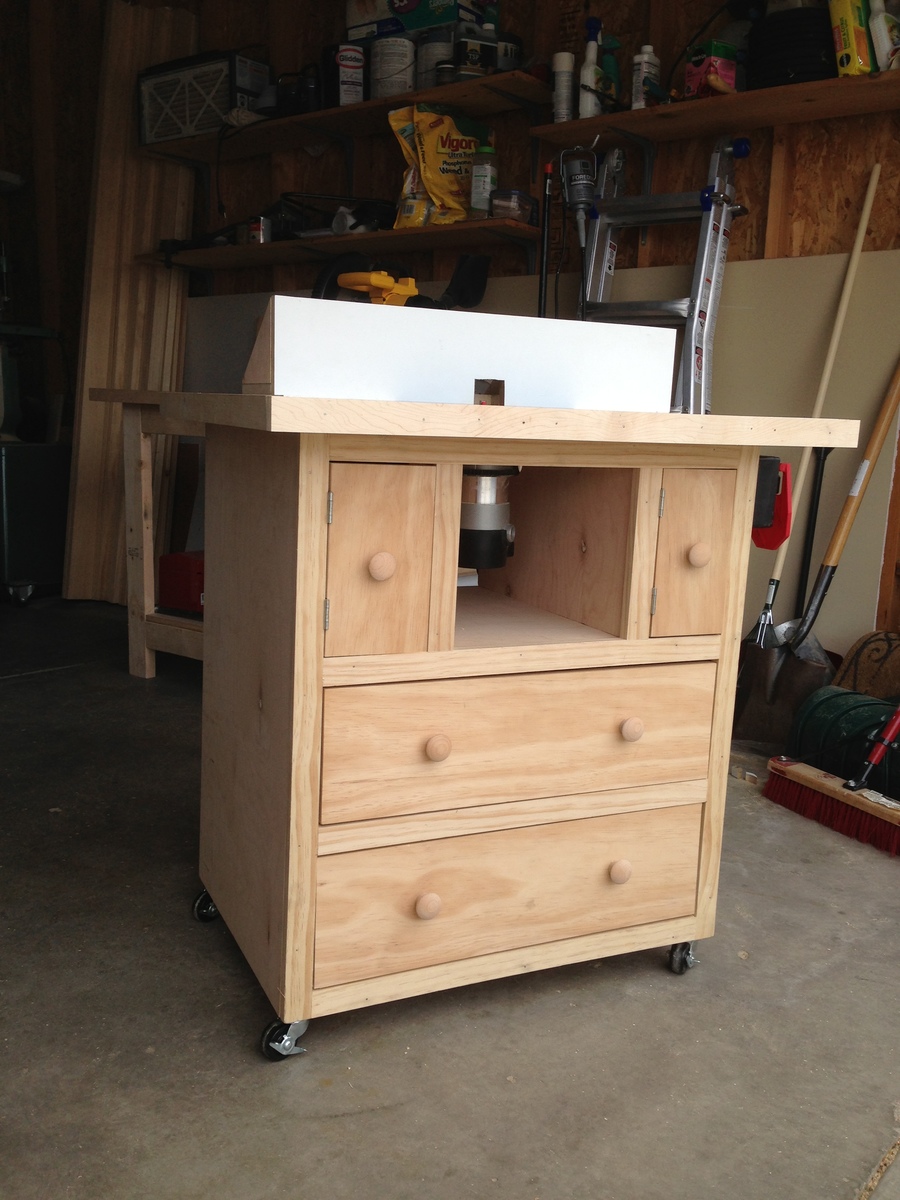
Router Table

Submitted by benbutler on Sun, 04/21/2013 - 10:51

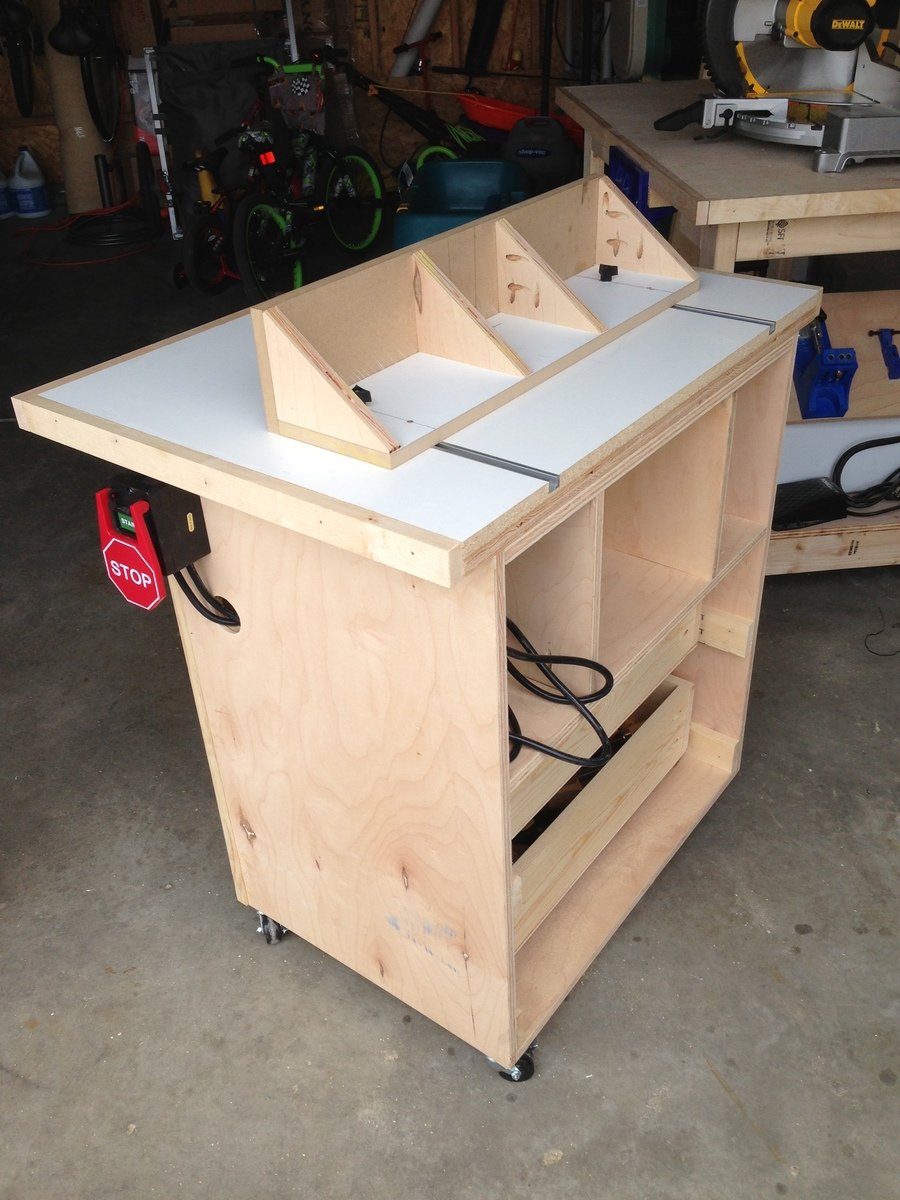
My wife has been asking for new dressers for the boy's room for a while now but every time we go out shopping for them I am very disappointed in the quality of what is available. So I decided to make them myself. I have not made any furniture before and needed a few tools to help me out and thought what better way to get both the practice and the tools then build my own router table.

I searched the web for plans and found these great ones. I loved these plans but wanted to make a couple of changes anyway. I decide to build the table top as well as the cabinet and decided to make it a little taller to fit me better. Due to the changes and making the table top it took me 2 days to finish, 1 day for the cabinet and 1 for the top and to put it all together. (Not having used a router before it took me a while to get the template just right to cut in the insert.)

It works great and looks great in my shop. Now on to the dressers.

Built from Plan(s)
Estimated Cost
350 with the router
Estimated Time Investment
Weekend Project (10-20 Hours)
Finish Used
none
Recommended Skill Level
Beginner

Comments

TV Console with reclaimed accents

Submitted by Anonymous (not verified) on Tue, 06/13/2017 - 08:11

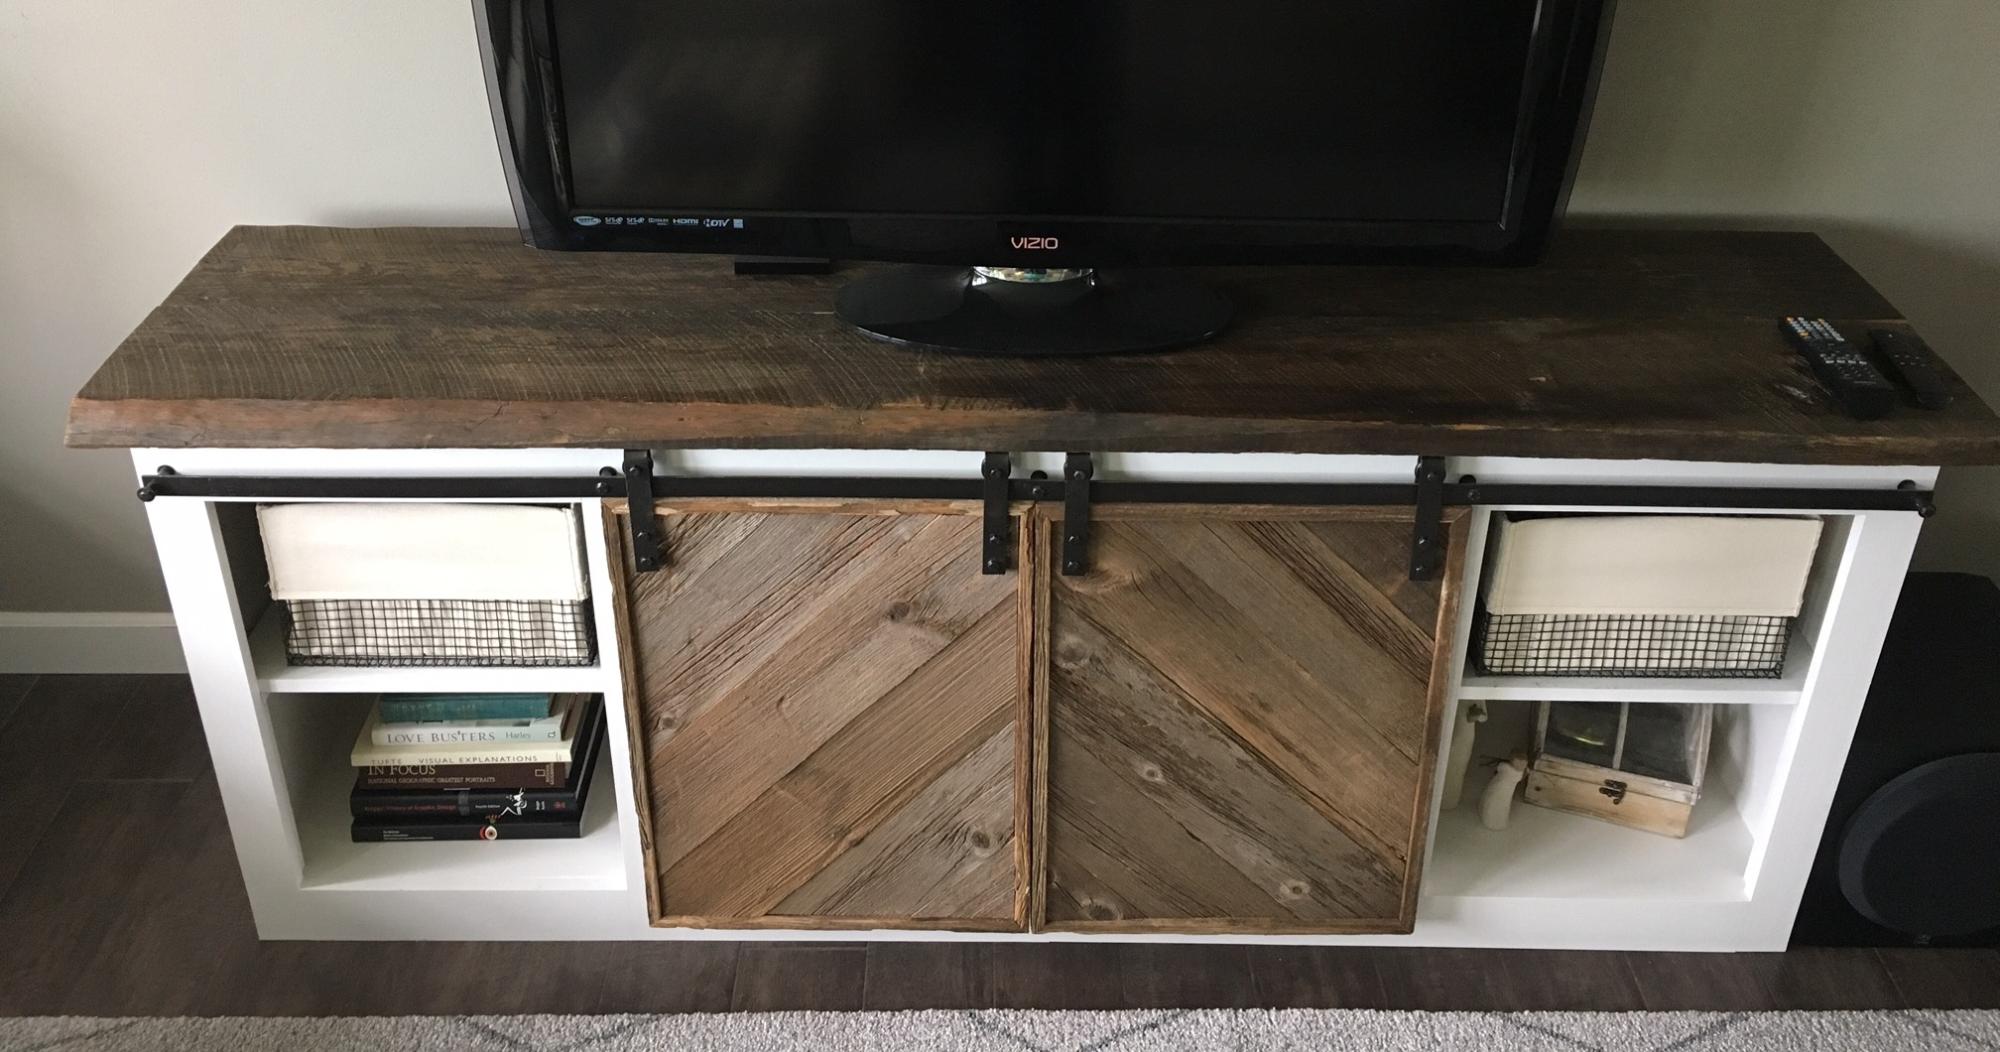
This isn't a difficult piece to build, but the hardware can be a bit tricky. My husband loved having an excuse to get a blowtorch! He used it to bend aluminum flat bar that we then spray painted an oil rubbed bronze. My favorite part has to be the saw marks on my reclaimed top. This piece really pulls together our living room! 

Built from Plan(s)
Estimated Cost
Approximately $300. $70 of that was just for the reclaimed top.
Estimated Time Investment
Week Long Project (20 Hours or More)
Finish Used
Behr Marquee cameo white in satin and general finishes flat top coat to seal the top.
Recommended Skill Level
Beginner

We love the skylights in our version of your greenhouse!

Submitted by Anonymous (not verified) on Tue, 08/31/2021 - 08:23

This was the perfect post-retirement project for me. It was a lot of work, but very rewarding.
I documented most of it on my blog.

We sure love this greenhouse!

Built from Plan(s)

Comments

rick1956

Wed, 09/01/2021 - 05:37

Thank you! They definitely added a LOT more work, but we've already used them a lot. The plants are sure glad for them. I'll post pictures of the finished greenhouse when it's finally there.

kingsize frame

Submitted by Anonymous (not verified) on Sun, 09/26/2021 - 08:59

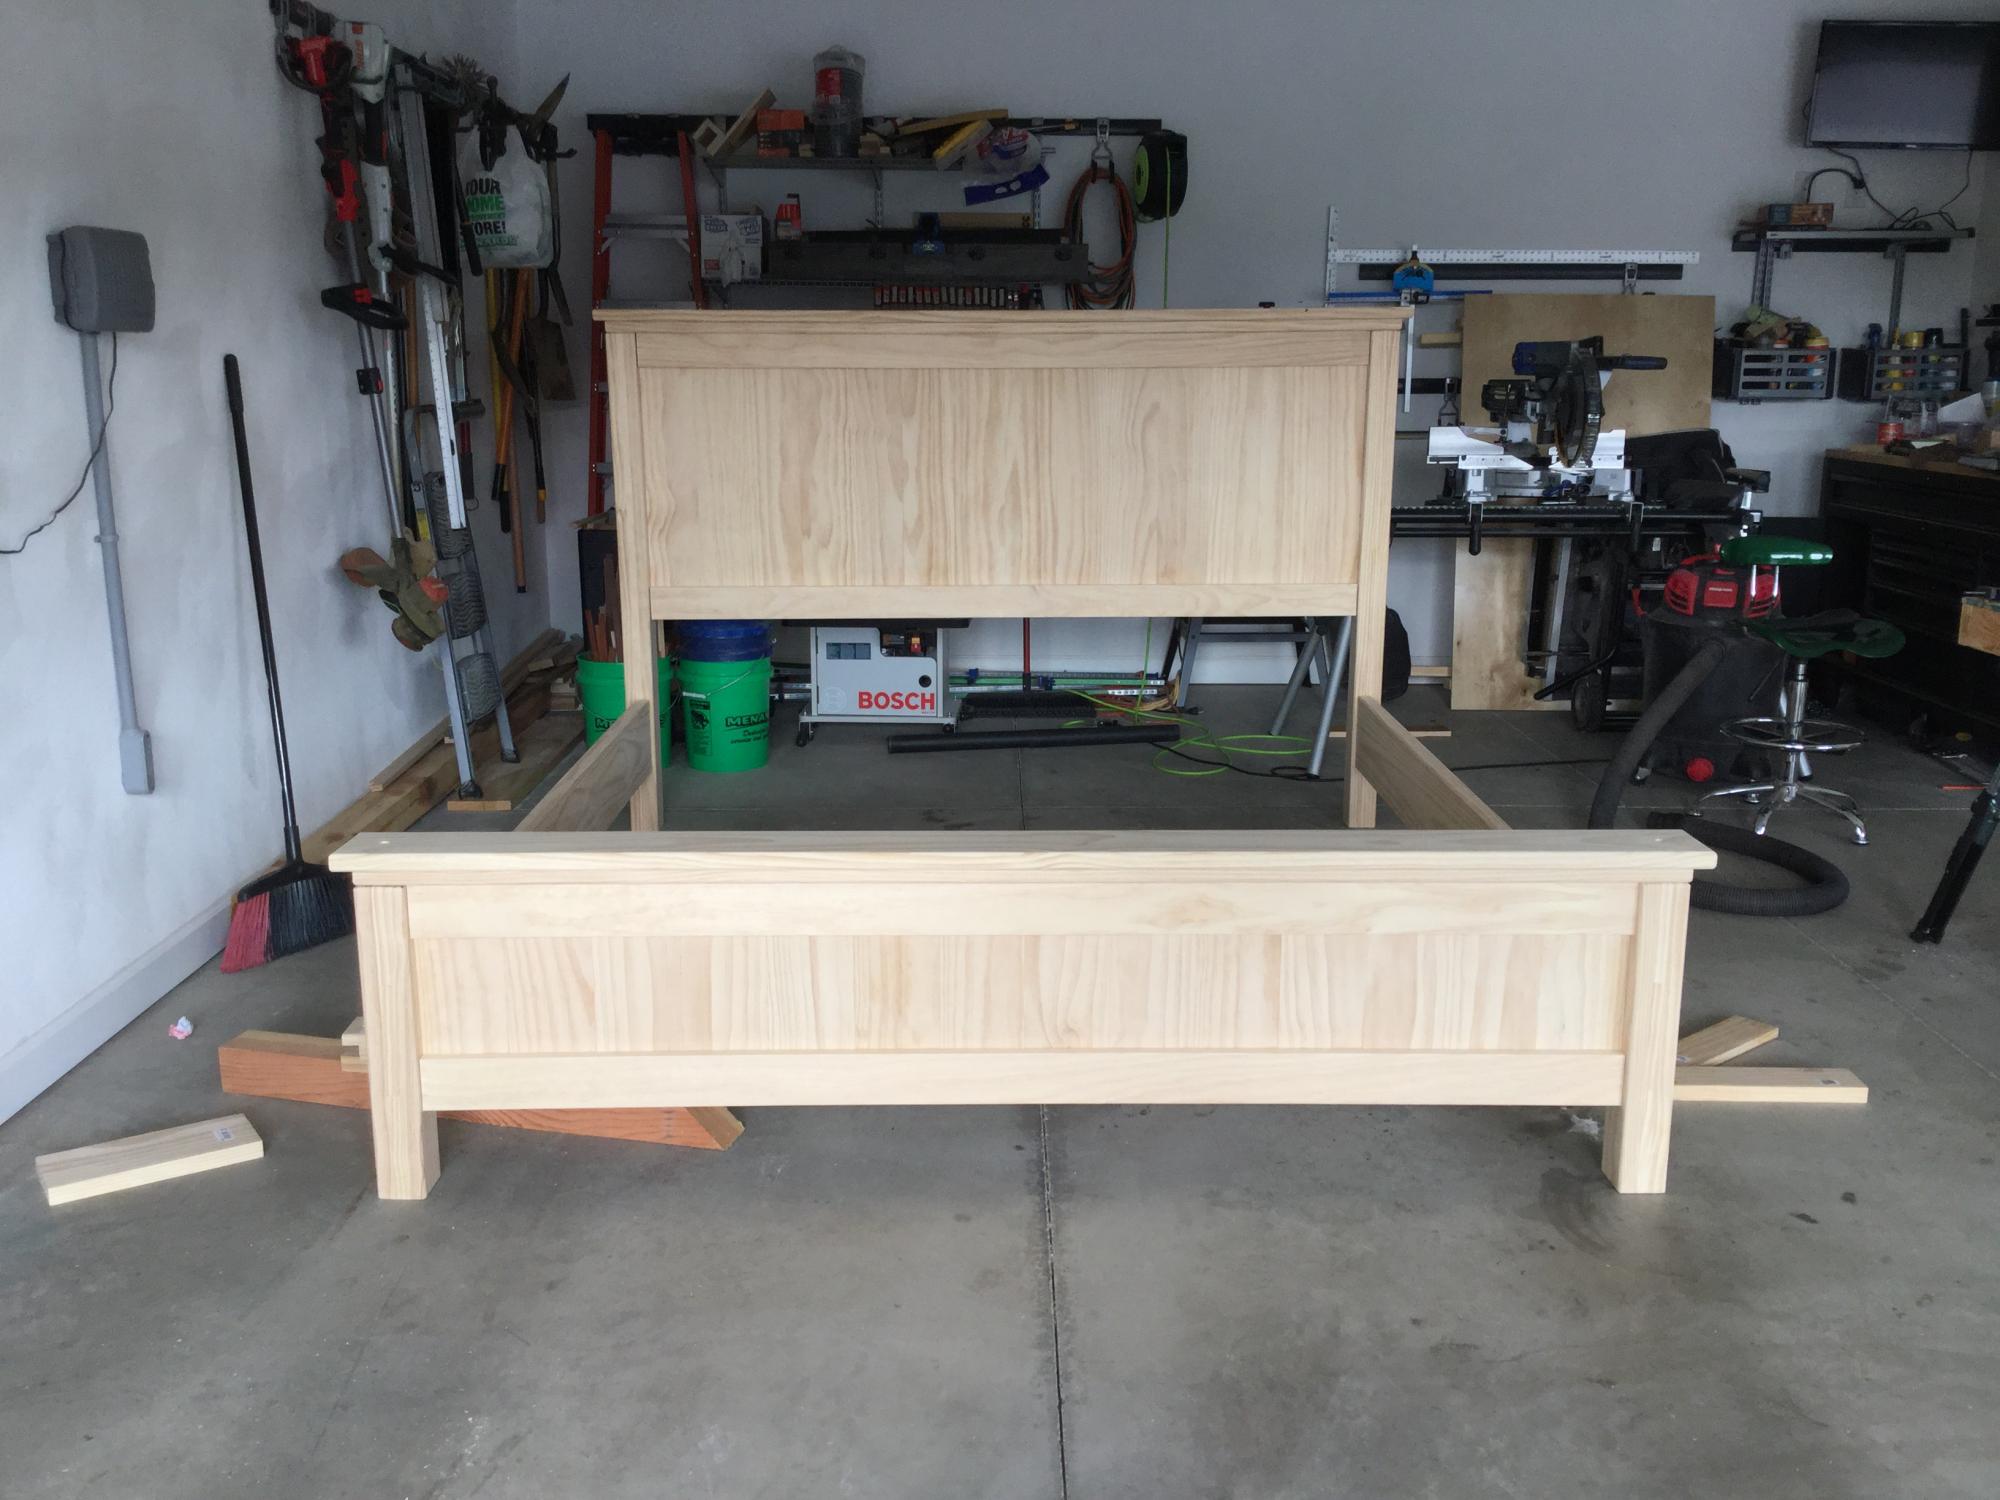
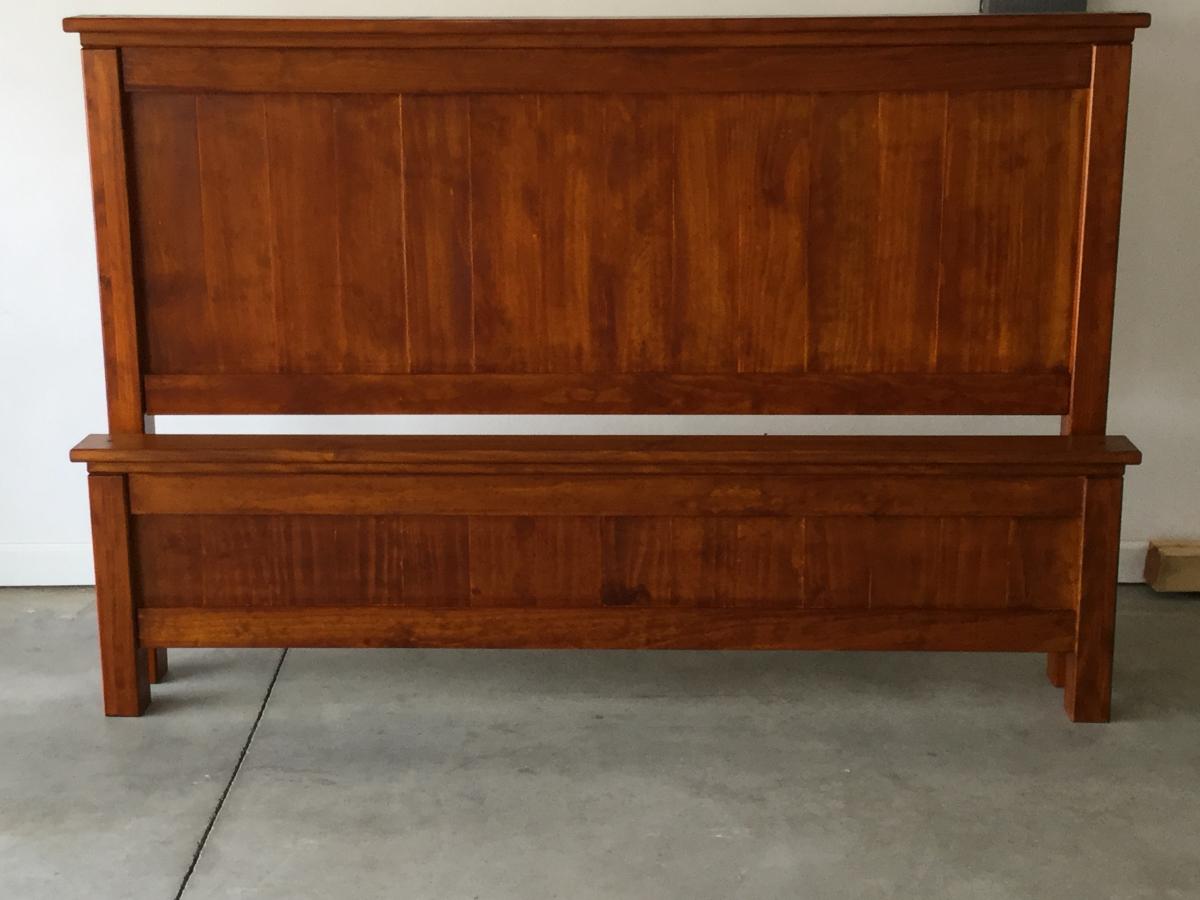
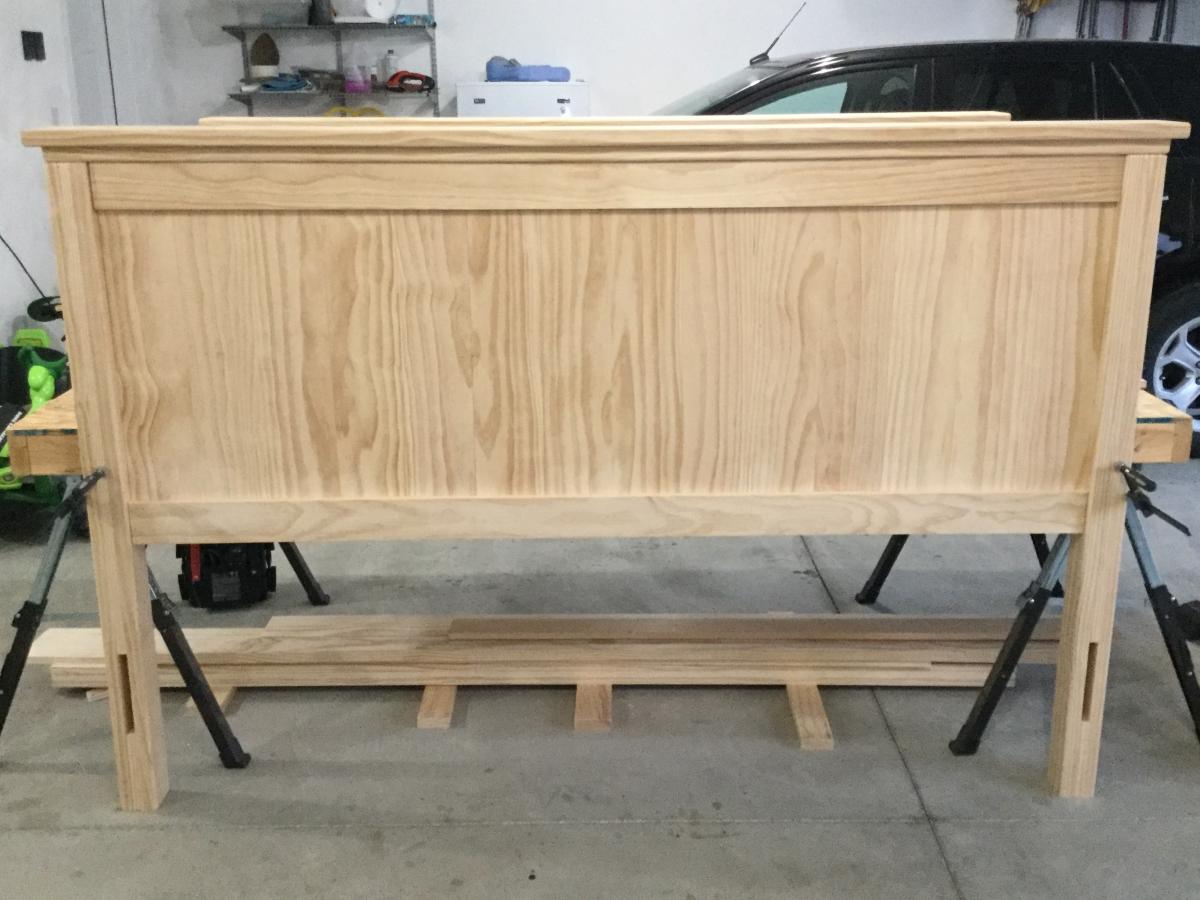
built this to go around our adjustable bed. for the posts i took 2 select pine 5/4 (2x4) and 1 - 1x4 and glued them together and left a gap to slide the side rails (2 - 1x8's) into the post approx 2-3"s and then ran 2 screws from the side to anchor the side rails to the head/footboards

Comments

Toy box

Submitted by Anonymous (not verified) on Mon, 10/04/2021 - 12:24

Had the hubby make this! Nice project. Thanks for sharing the plans

Built from Plan(s)

Comments

Fancy X Desk L Desk

Submitted by Anonymous (not verified) on Tue, 06/27/2017 - 21:12

 Added an L section to the Fancy Desk to increase usable space  So far it still stands strong for me.  Thanks Ana

Recommended Skill Level
Beginner

Comments

Modified Adirondack Chairs and Coffee Table

Submitted by carvern on Mon, 10/04/2021 - 14:16

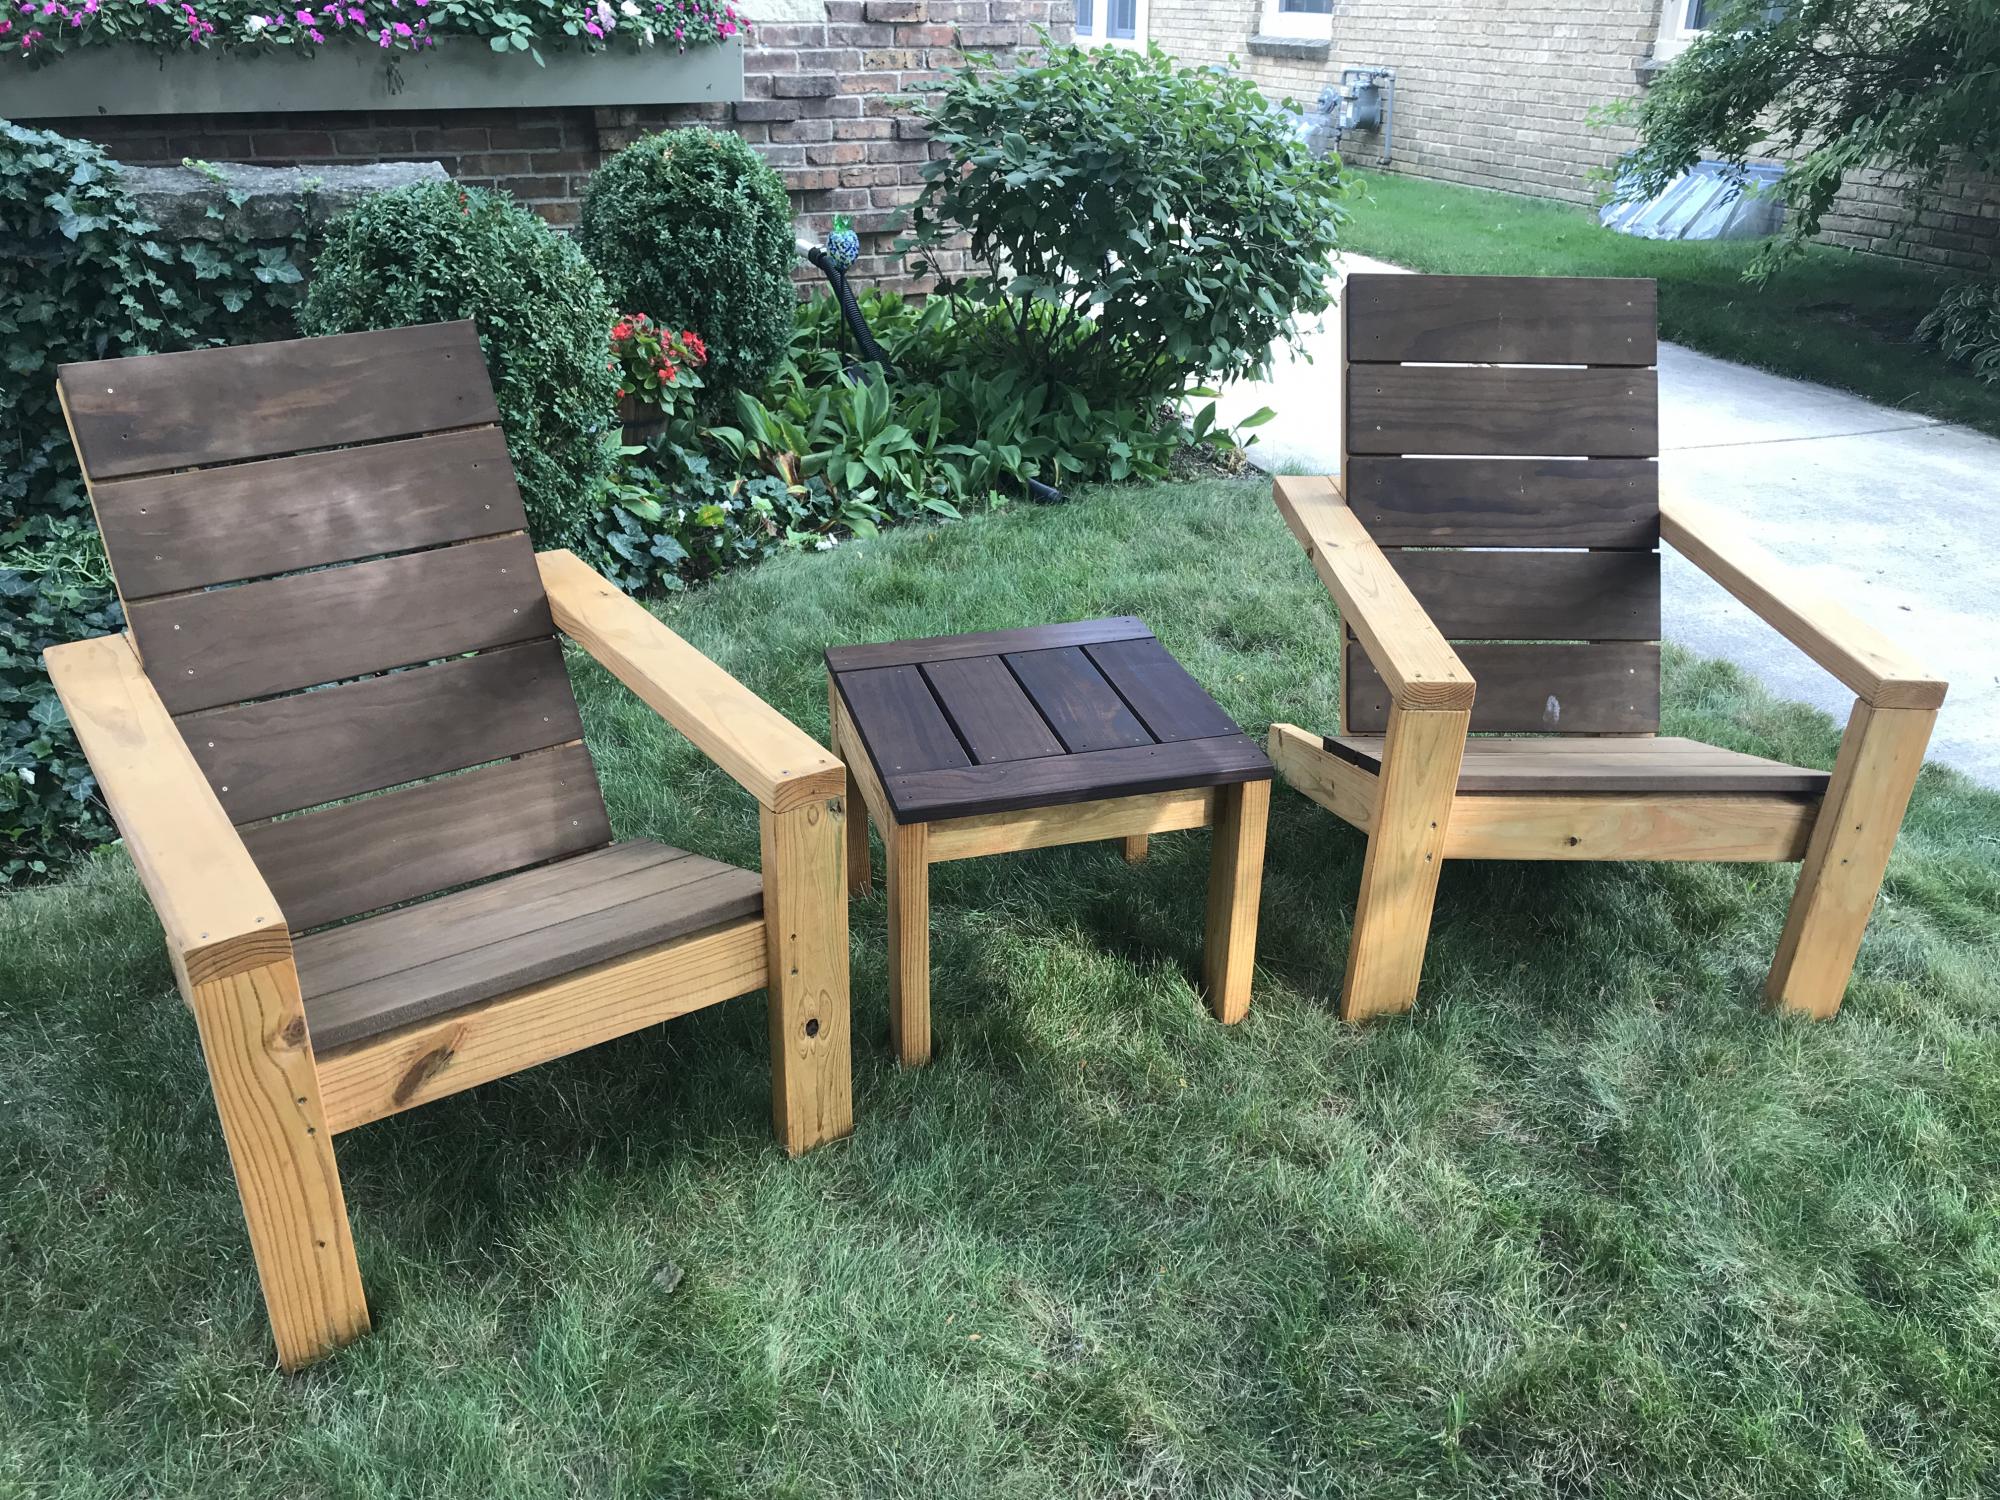
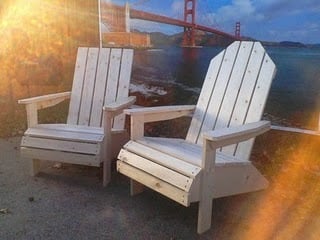
I had some Kebony deck boards left over from another project and thought they would work well. I think they did! Kebony is pine that is soaked in an alcohol and then heated up. It has a 30 year warranty and requires no care. I used a Penofin oil on the 2x4s and Cutek oil on the Kebony

Comments

Ana White Admin

Tue, 10/05/2021 - 09:53

Kebony sounds like a great material for outdoor builds, very pretty too! Well done, thank you for sharing!

Entertainment Center

Submitted by skinny80 on Sun, 04/05/2015 - 11:46

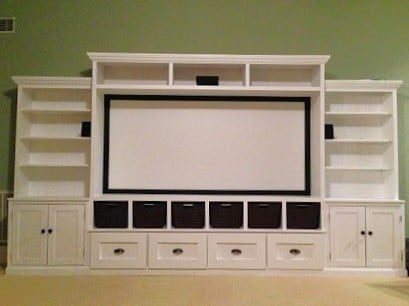
Thanks for the great plans!! Finally got this monster put together.

Estimated Cost
$400
Estimated Time Investment
Week Long Project (20 Hours or More)
Recommended Skill Level
Advanced

Comments

slenert1

Sun, 11/15/2015 - 12:37

Do you have the dimentions or specific plan for this as it is much biger than the plan you used? Material list? We want to build one like this! Its so pretty!

Our Thanksgiving Family Project

Submitted by loniwolfe on Wed, 03/09/2011 - 16:50

My husband, step father and I built these Thanksgiving weekend (2010) and my mom got us a half bushel of oysters to snack on and made awesome steamed mussels with bread for dinner. This was a very fun family weekend.

I modifyed the plans a little to make the arms angle in a bit instead of being straight boards and also created the curved front. Then after building the first chair, Pat decided to make the second chair's back rest taller and cut angles to match the arms.

I picked intermediate because of needing a miter saw for all the different angles needed for getting the front right.
Also, It took one day for each chair

Built from Plan(s)
Estimated Time Investment
Weekend Project (10-20 Hours)
Finish Used
To my knowledge, Pat has not yet stained them, but once he does I will take more pics and find out what he used!
Recommended Skill Level
Intermediate

Adirondack Chairs

Submitted by Anonymous (not verified) on Tue, 10/05/2021 - 08:19

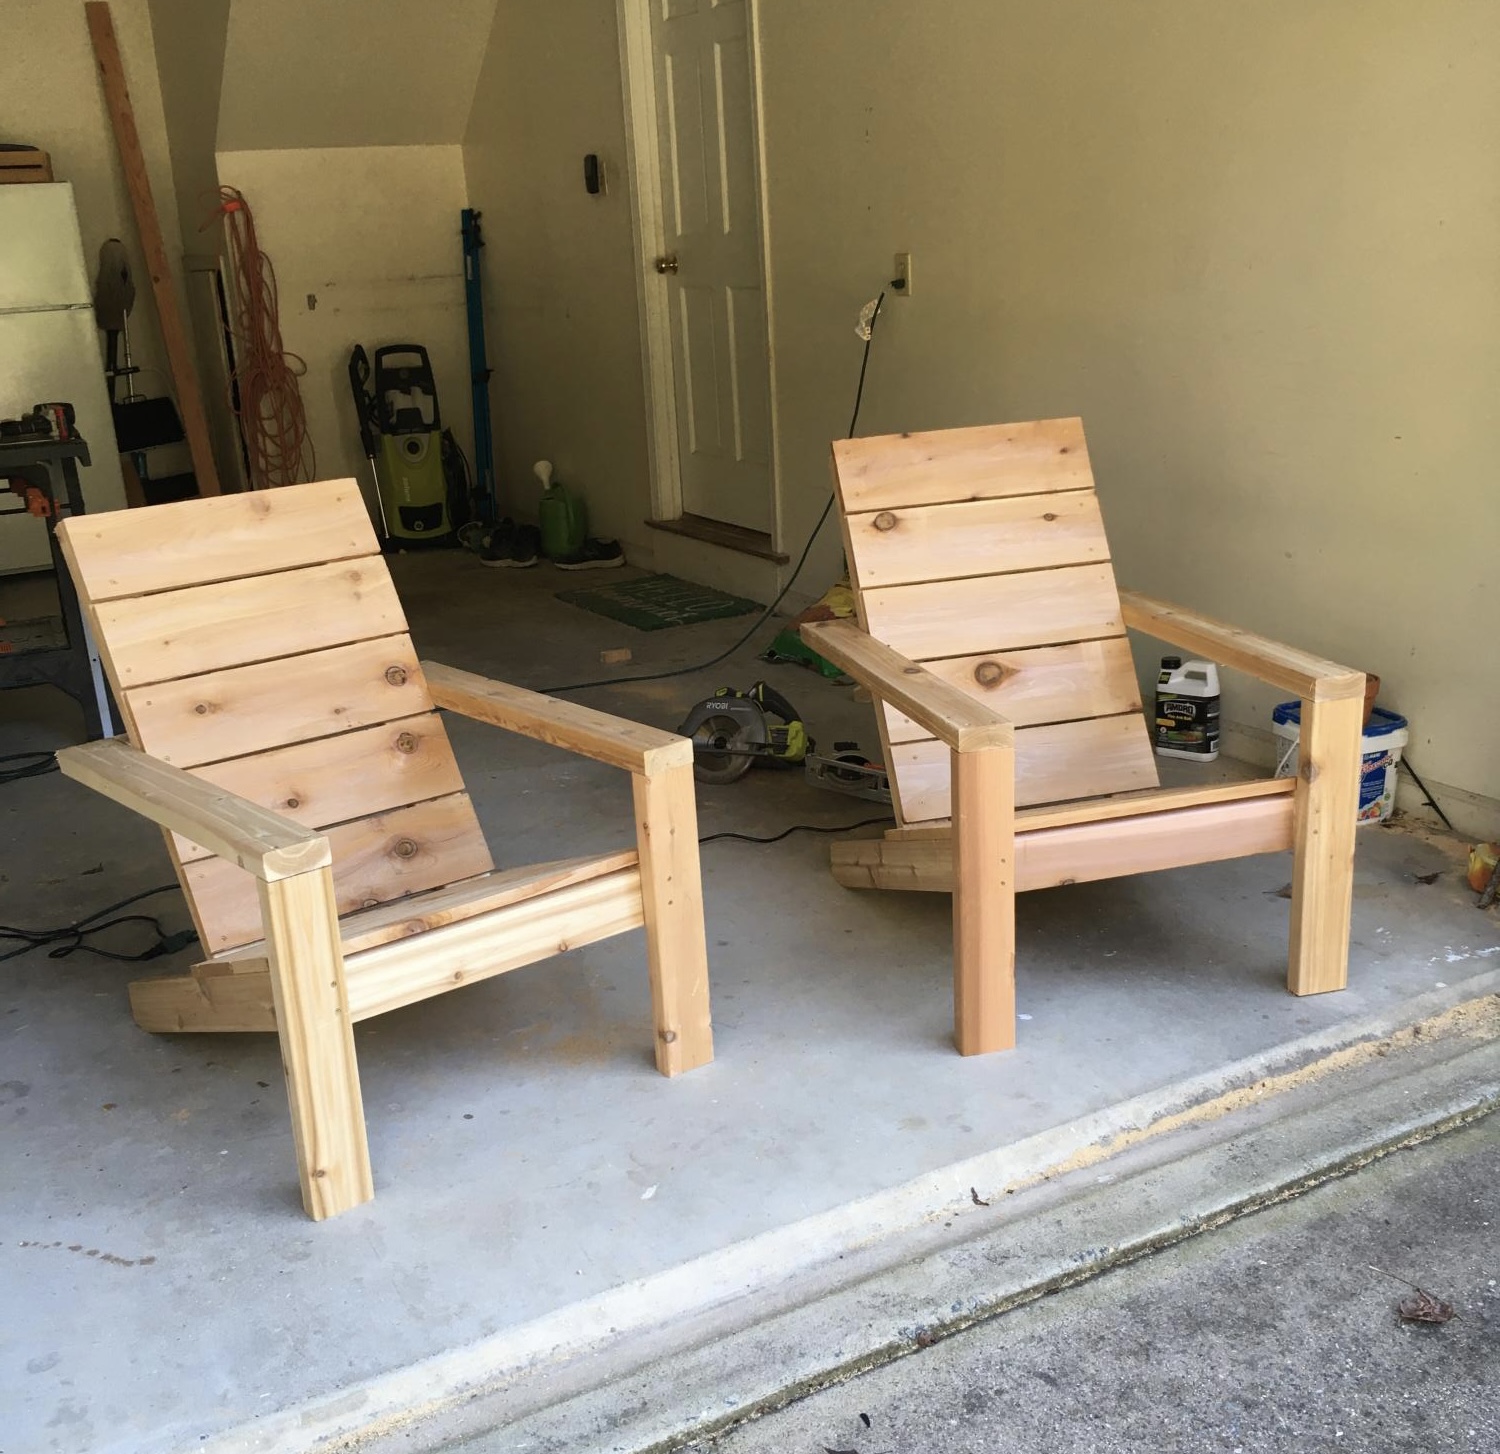
This was a fun and simple project. One of my first attempts at making outside furniture and it was nearly perfect the first time....why?... the plans were so easy to follow, the techniques used were not demanding, and the tool selection was ideal for my workshop. I put them outside and I have had good reviews, and requests, for these chairs.

Comments

Seasonal And Holiday

Closet Door with Storage

Submitted by kristen on Sat, 03/12/2011 - 21:07

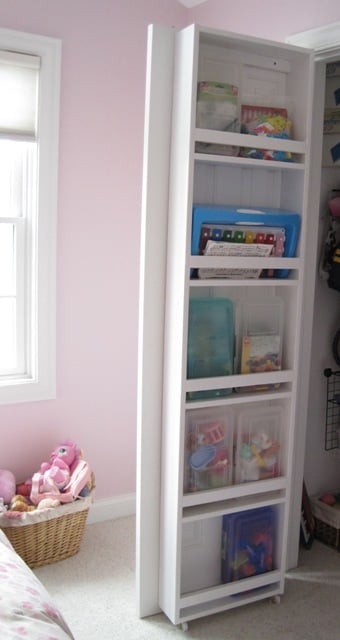
This was my first Ana White project, and I learned a lot from making it since I was also a novice woodworker. I am very happy with the end result, but it was probably a good thing that this went on the inside of a closet :) It gave me the confidence to go on and build something more difficult with the skills I built along with the storage.

The $30 estimate is only for the wood. Wood putty, sandpaper, screws, paint, etc. will make this more expensive, but you will use all of the extras on other projects since this one won't use those up.

The time involved is a guess--it has been a few months since I completed this. Someone with experience could probably do it faster and someone brand new to building might go slower. So I chose 3-6 hours, a nice in-between number.

Watch your caster size with carpet. That was my only snag with the instructions. Ana has hardwood floors that the casters roll on. I have carpet so I wanted larger wheels in order for smoother rolling. That added height to the caster also, so you want to modify the length of the sides of the storage unit to reflect the larger casters on carpet.

All in all a great plan and useful end result!

**UPDATE--January 30, 2012** We removed the casters from the bottom of this just yesterday and the door opens SO much easier. I would invest in some high quality casters and not the cheap ones I bought if you are going to use these. Without the casters I am only putting light things (stuffed animals) in this. If you are using it for heavier items, I would use the casters but make sure they readily turn. The casters I had did not want to turn as the door moved and they dragged on the carpet instead. Also, the overall height of your unit will depend on the height of your casters, so buy them first if you are going to use them. I still love this though!

Built from Plan(s)
Estimated Cost
$30
Estimated Time Investment
Afternoon Project (3-6 Hours)
Finish Used
White primer and white paint over that. I used the Zero VOC paint you can get at Lowes--I think it is Olympic brand.
Recommended Skill Level
Starter Project

Little Bear's Loft Bed

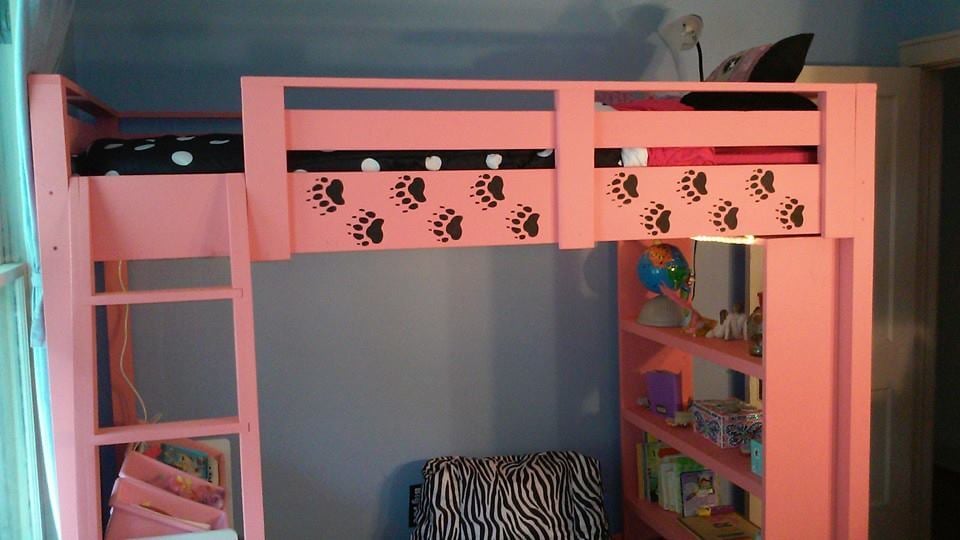
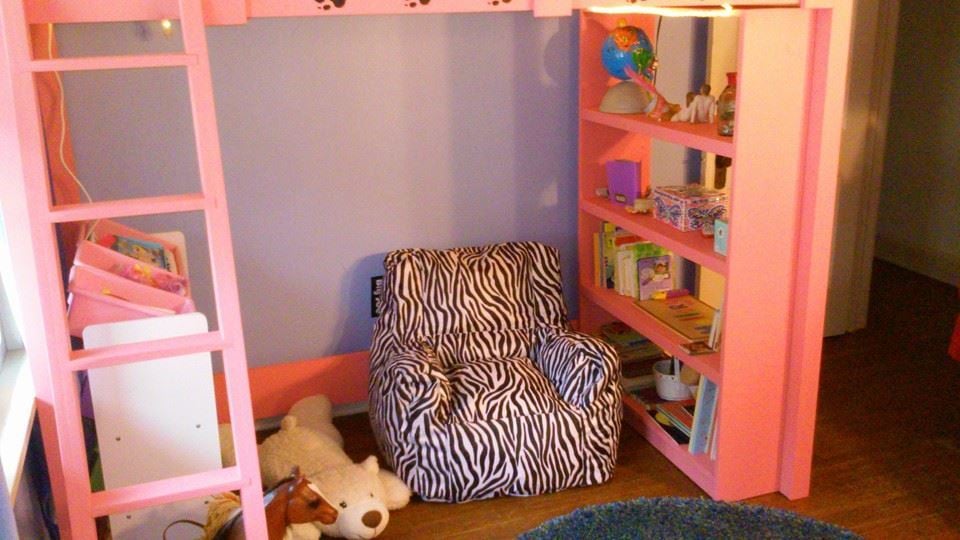
My daughter had talked about wanting a loft bed for a long time so after of plenty of research, we went for it. The shelves of the bookcase, except the top and bottom, are made from 3/4 plywood I had laying around. I did my best to utilize as much lumber that I already had in the basement to reduce costs.

Underneath the bed is LED Rope Lighting and the gaps under the rails were stenciled with the bear paws since my daughters nickname is Little Bear.

People have loved it enough I think there's a couple people that are going to buy the supplies so I can build it for them. The one thing I wish I had during the construction was an oscillating multi-tool to trim off the Kreg plugs. I now have one and plan on using it a fair amount.

On to the next project!!

Ben

Estimated Cost
Around $200 since I used higher quality lumber and Ohio is expensive
Estimated Time Investment
Week Long Project (20 Hours or More)
Finish Used
Semigloss paint and bear paw stencil
Recommended Skill Level
Intermediate

Comments

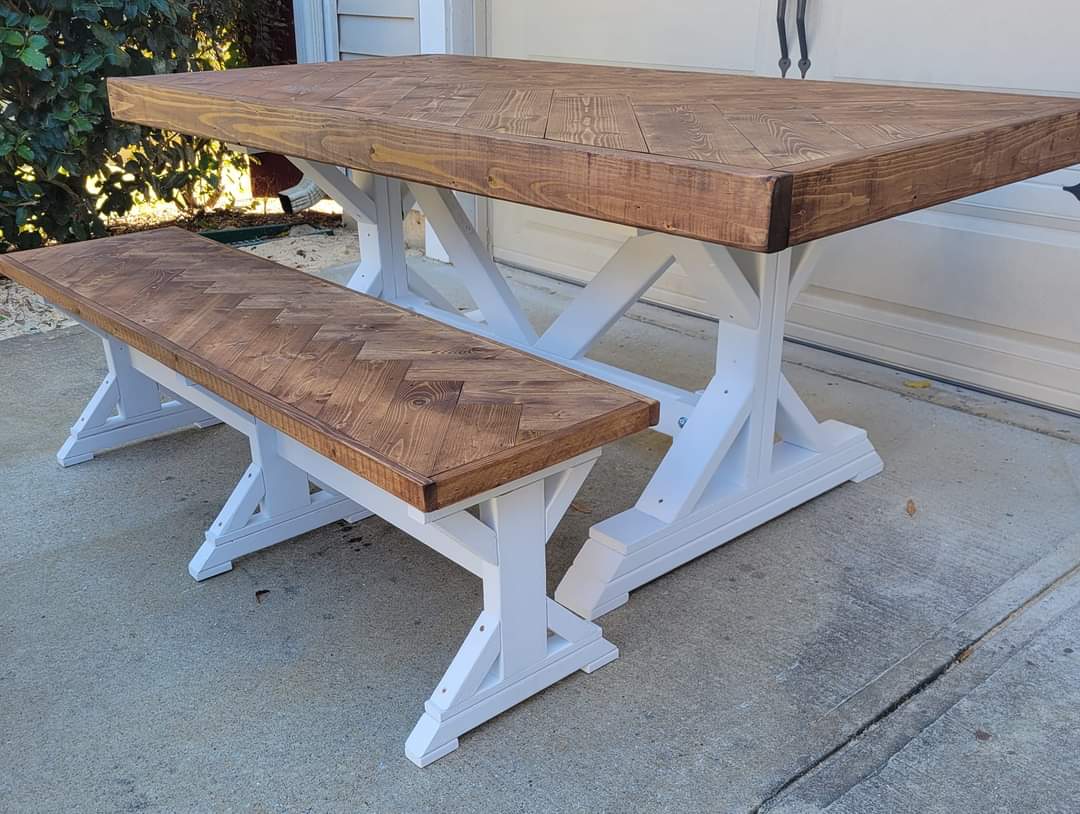
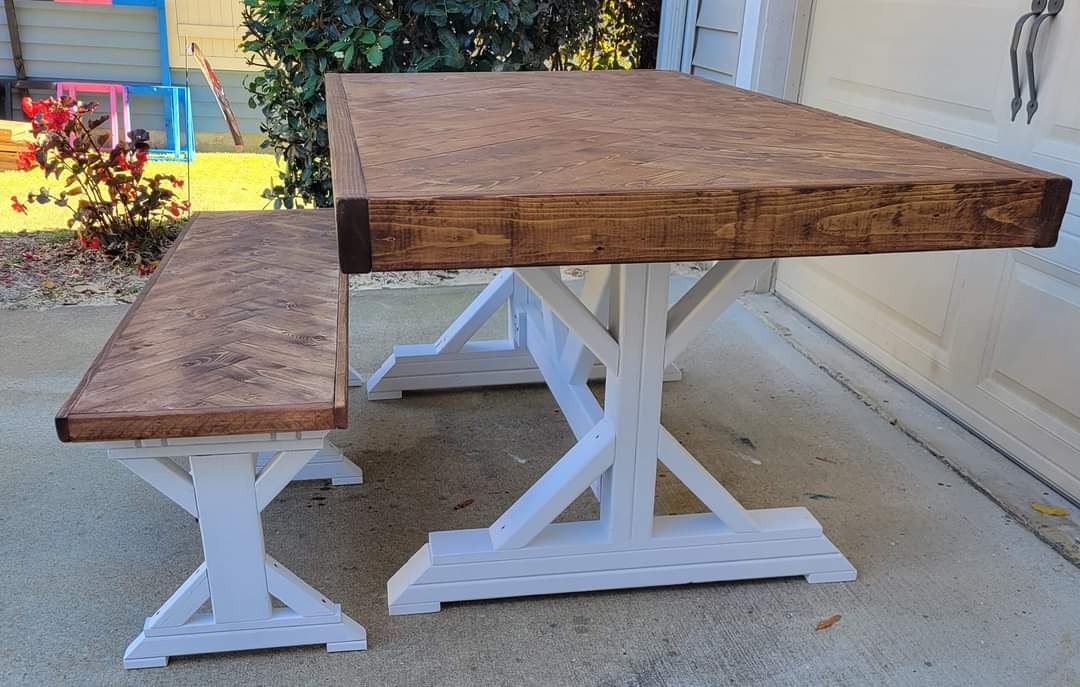
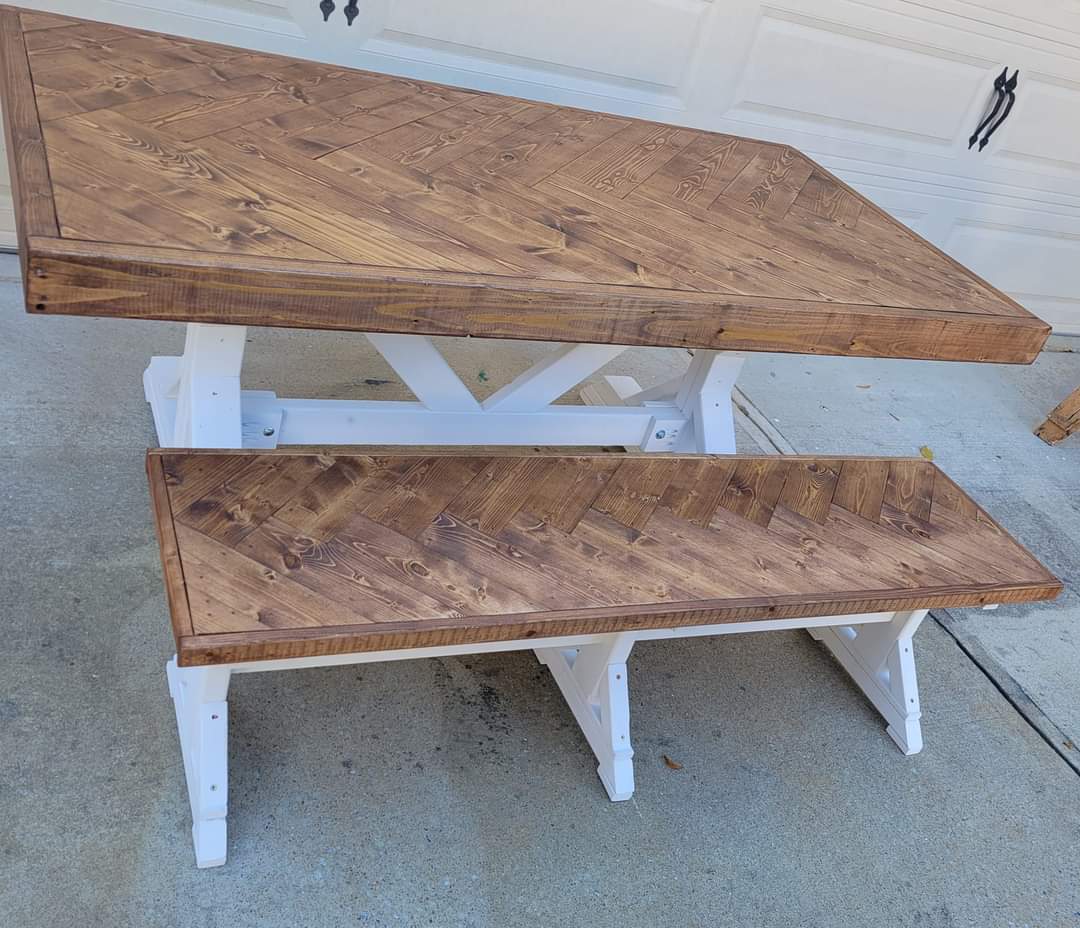
Fancy X table and bench

Submitted by Lukilla on Tue, 11/16/2021 - 16:44

Put a fancy twist in this tabletop and bench top. We like the 45 degree angles that the top and legs both have to compliment each other. The top is stained with minwax special walnut.

Comments