Community Brag Posts

DIY KidKraft Chic Dollhouse
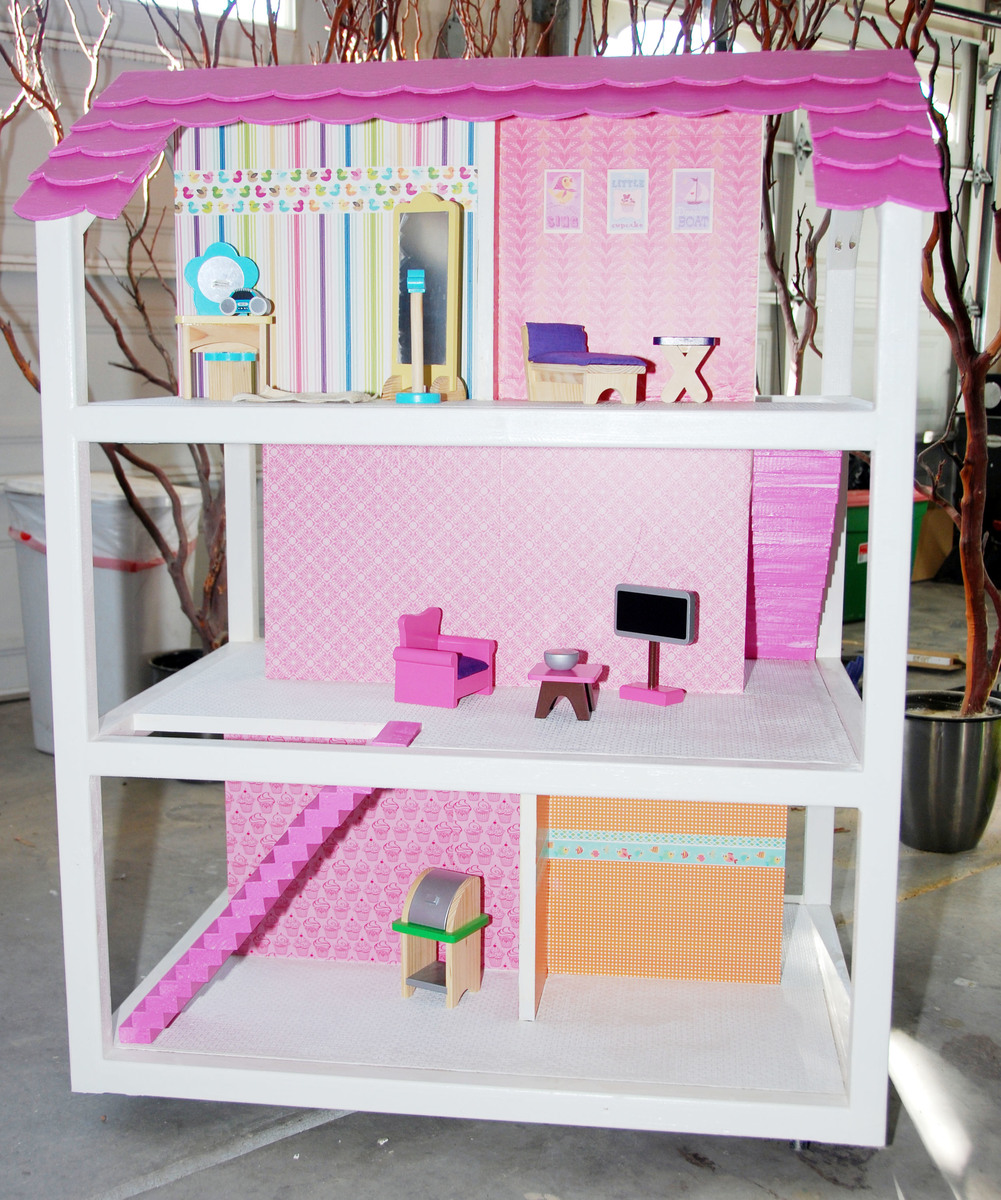
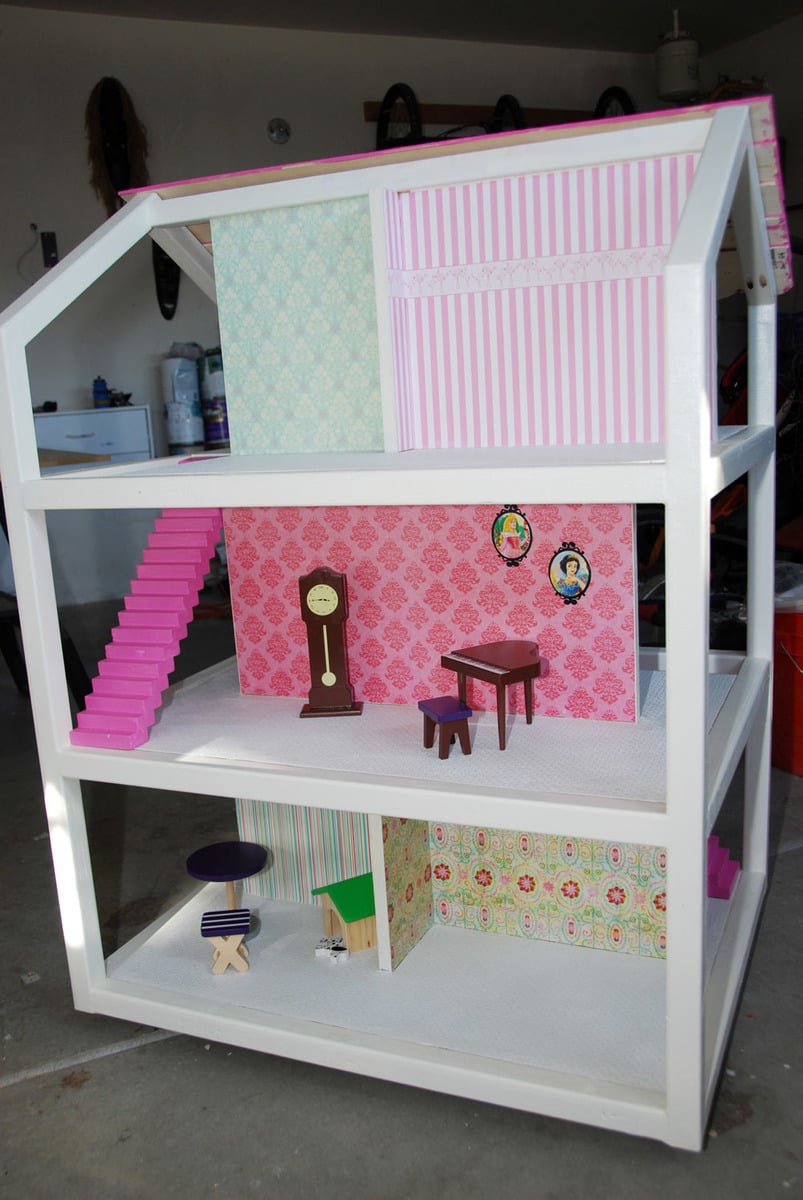
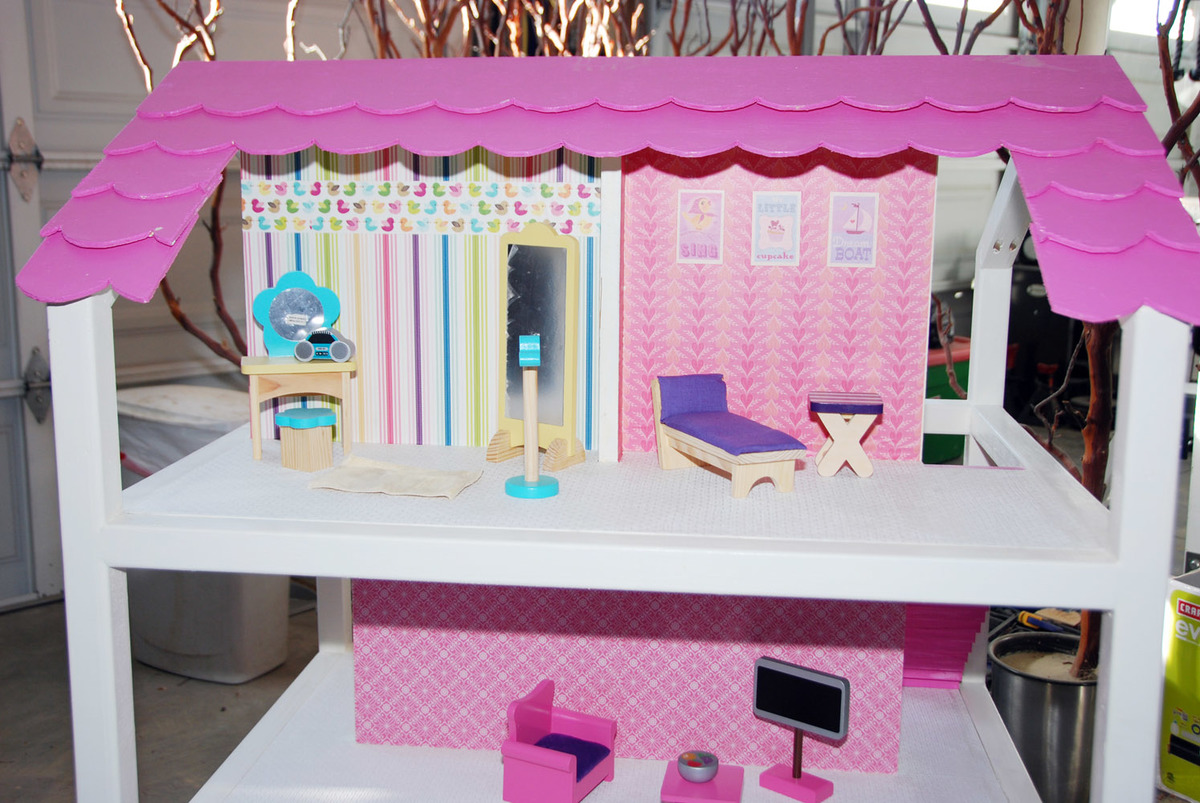
We're short on money this year so we decided to make our Christmas gifts for the kids. The KidKraft Chic Dollhouse is perfect for my daughter, but it's soo expensive. I used Ana's plans to make one that matches the decor in her room. This dollhouse is so sturdy, we can definitely use it as a bookshelf when she grows out of it!

Content was too heavy to post to please visit http://blog.prettyinprints.com/2011/12/diy-kidkraft-chic-dollhouse/ to see the entire thing (:
Estimated Cost
$100 with paint & floors, $60 or less without
Estimated Time Investment
Day Project (6-9 Hours)
Finish Used
Antique white high gloss for the frame, pink high gloss for the roof & stairs, decoupage walls, decoupaged textured (and paintable) wallpaper from Lowe's for the floors.
Recommended Skill Level
Intermediate

Comments

In reply to by spiceylg

Draftmen888

Fri, 12/11/2015 - 12:02

To my mind very important when out little ones so happy with their toys such as dollhouses from Kidkraft.

Agree with you - really cool job!

Emily W. (not verified)

Mon, 12/19/2011 - 07:35

I'm currently working on this dollhouse, so it's fantastic to see one that another reader has completed. Sometimes I look at what Ana has come up with and think, "Is it possible for someone else to make one that looks that awesome?"

Thanks for proving it can be done. Your dollhouse looks amazing!

As far as hiding it, I second using a neighbor's garage. I remember my brother and I scouring the entire house when we were young, looking for Mom and Dad's secret Christmas stash. Good luck keeping it hidden!

guest (not verified)

Wed, 12/21/2011 - 08:23

We are almost done making our girls house and needed some more ideas on how to finish it. Yous looks great.

Guest (not verified)

Sat, 12/31/2011 - 00:16

Made this for my daughter this Christmas. It was perfect. She loved it. I know she will get years of use out of it. Thank you so much.

JoseO1998

Tue, 07/15/2014 - 02:28

I'm building one for my niece for her birthday in August... I am about 60% done but I really love the job you did...

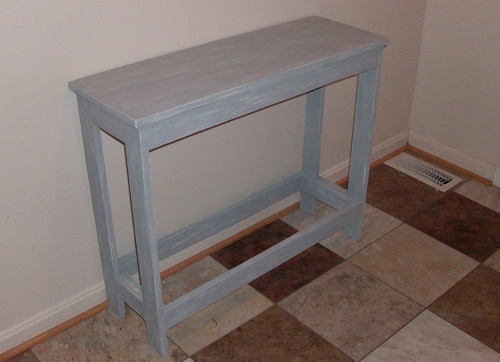
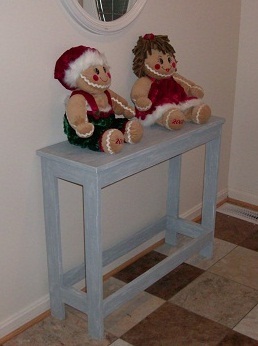
Distressed console table (free)

Submitted by JoanneS on Tue, 12/27/2011 - 18:12

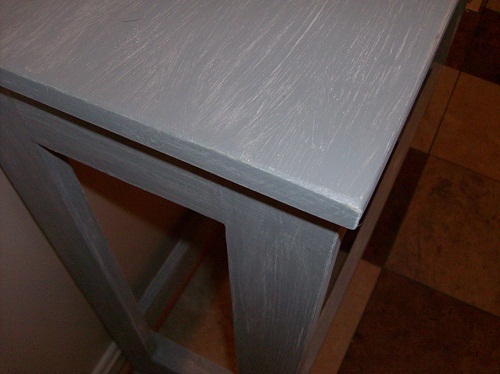
Ana's simple, cheap and easy console table, made entirely with repurposed and scrap wood, so it was free! The plan was great, and it was easy to adjust to the wood I had on hand. The distressed finish was fun to do too.

Estimated Cost
free (everything was scrap wood, and paint was left over)
Estimated Time Investment
Afternoon Project (3-6 Hours)
Finish Used
white paint, then a coat of gray over the white, and sanded to reveal the white. Paint was left-over that we had on hand.
Recommended Skill Level
Beginner

Farm house bench

Submitted by Builder J on Tue, 11/19/2013 - 08:40

Made from scrap wood left in the empty lots besides me, from framing crews.

Cost me just the time, screws, sand paper and stain.

Made all the cuts with a skillsaw, by saving the $$$ I have now went and bought a mitre and table saw. YAY!

Built from Plan(s)
Estimated Cost
$5
Estimated Time Investment
Afternoon Project (3-6 Hours)
Finish Used
2 in 1 Miniwax PolyShades, Bombay Mahogany. 2 coats.
Recommended Skill Level
Beginner

Man cave

Submitted by Anonymous (not verified) on Fri, 05/05/2023 - 04:21

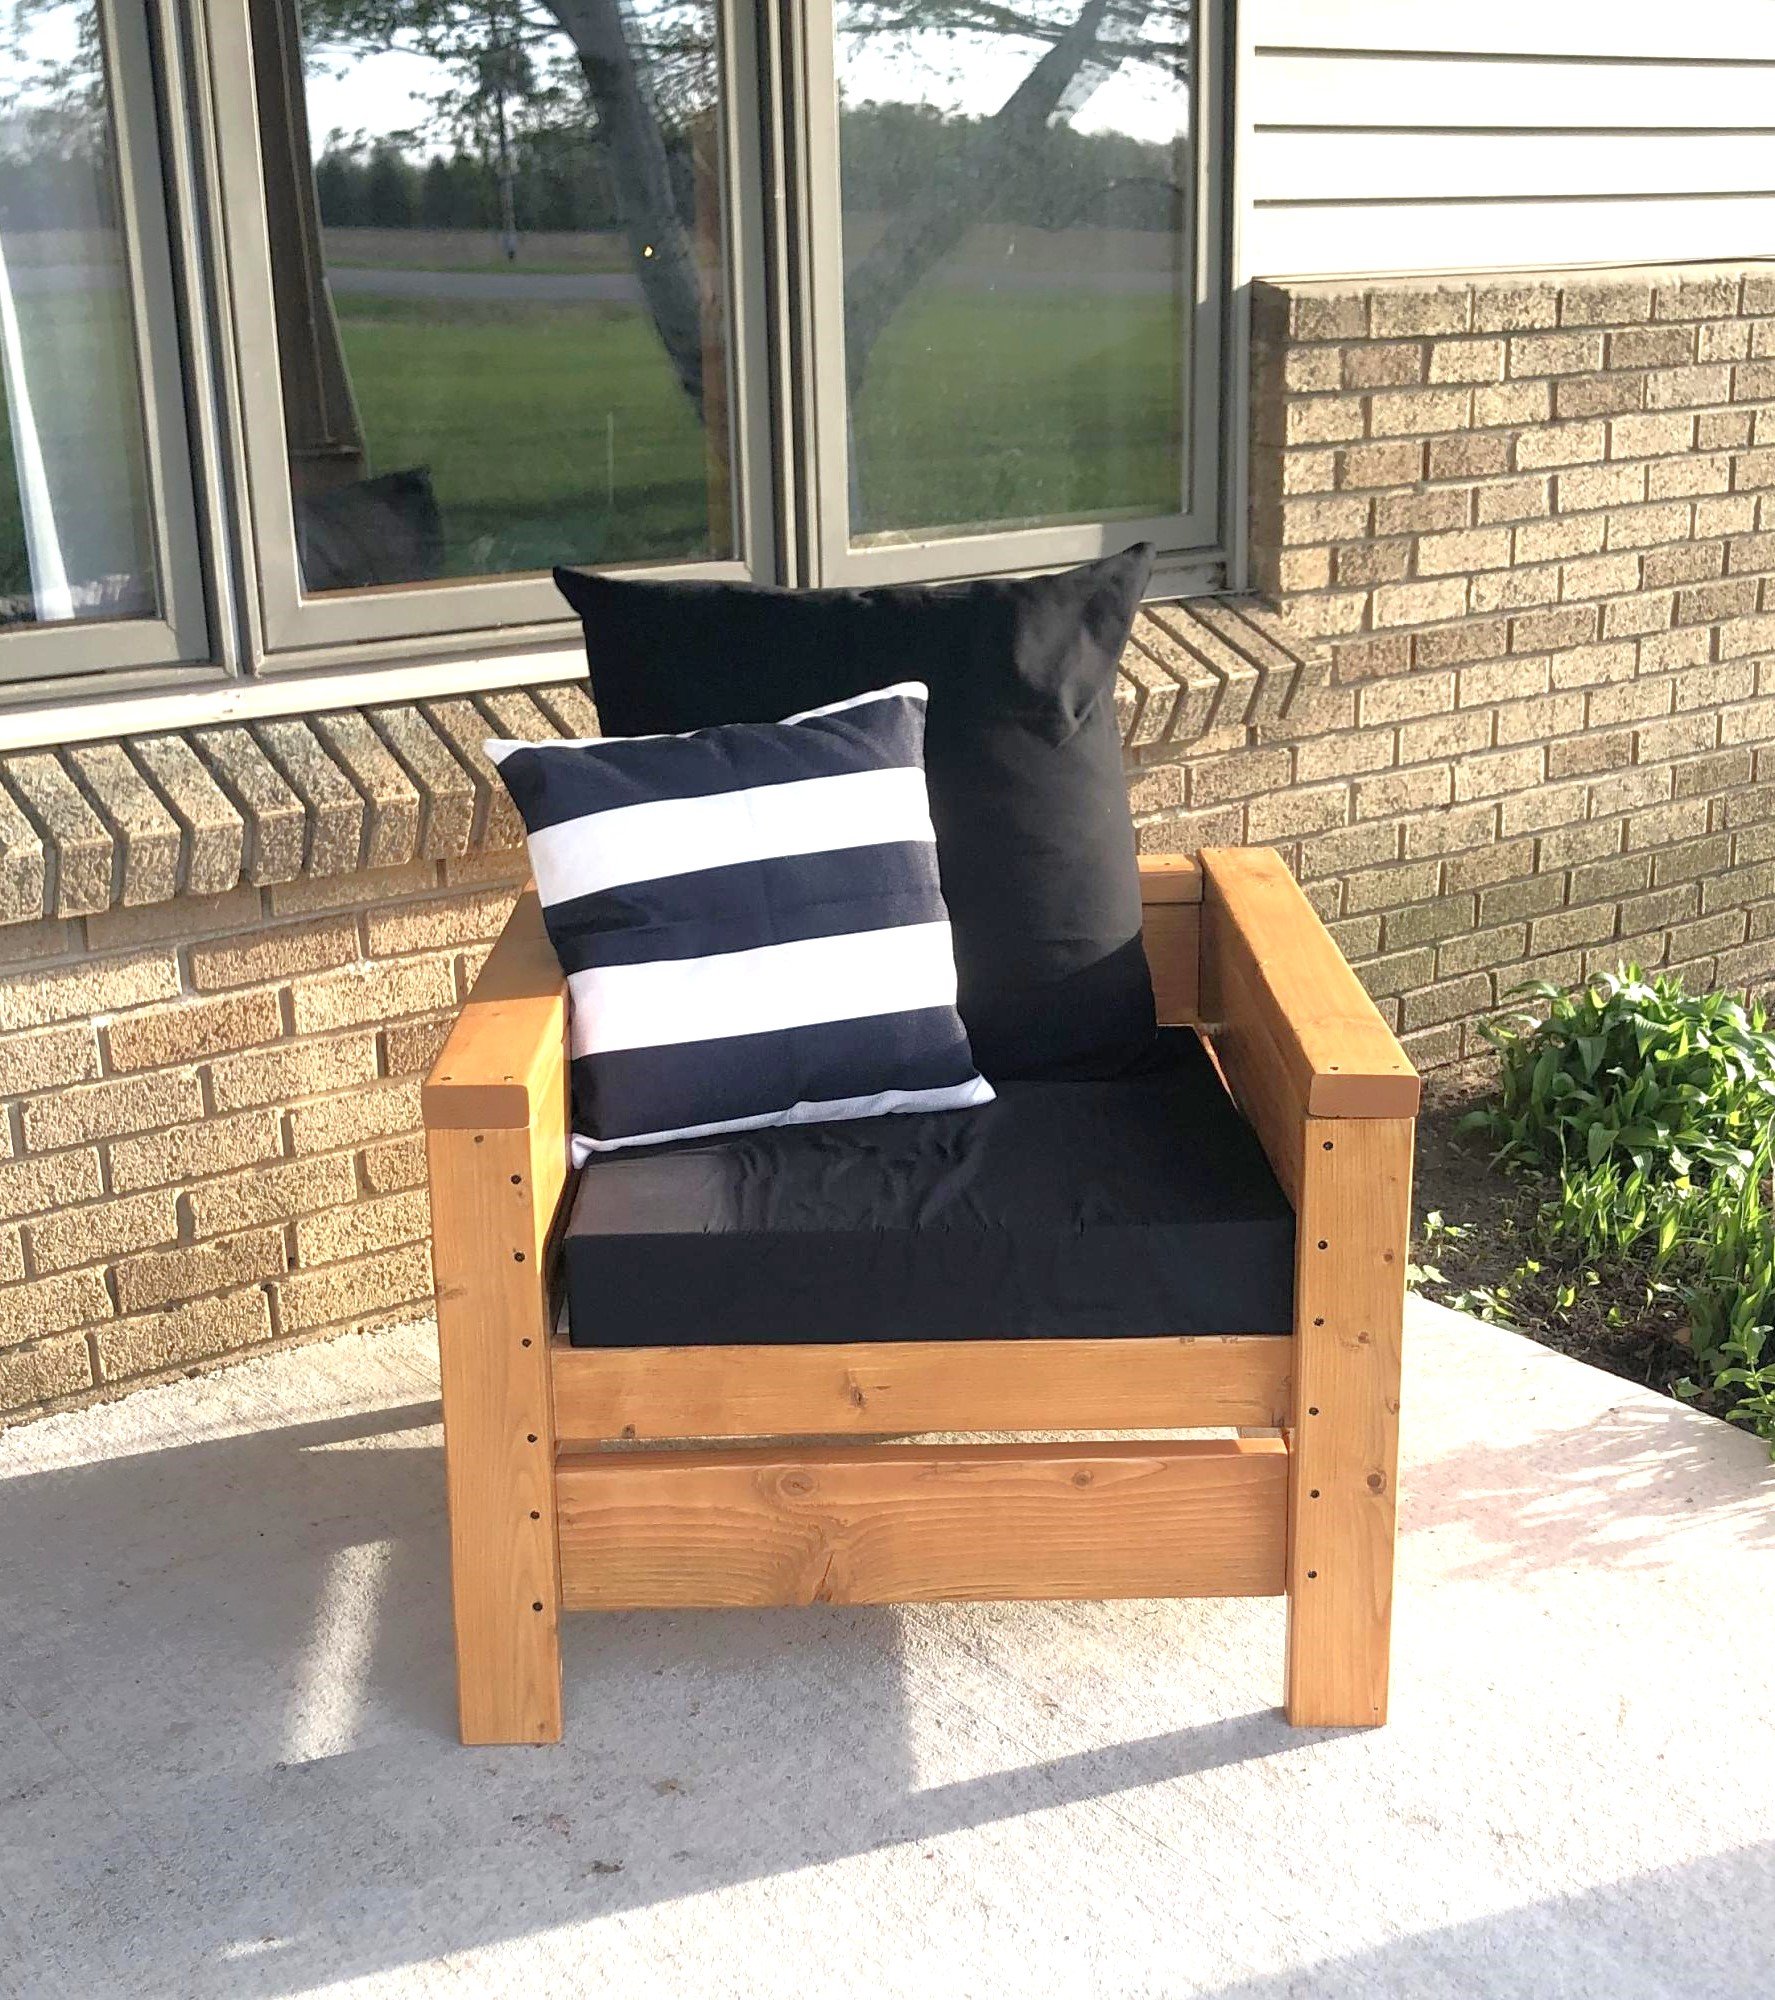
We made these chairs following easy instructions from AnaWhite!

Comments

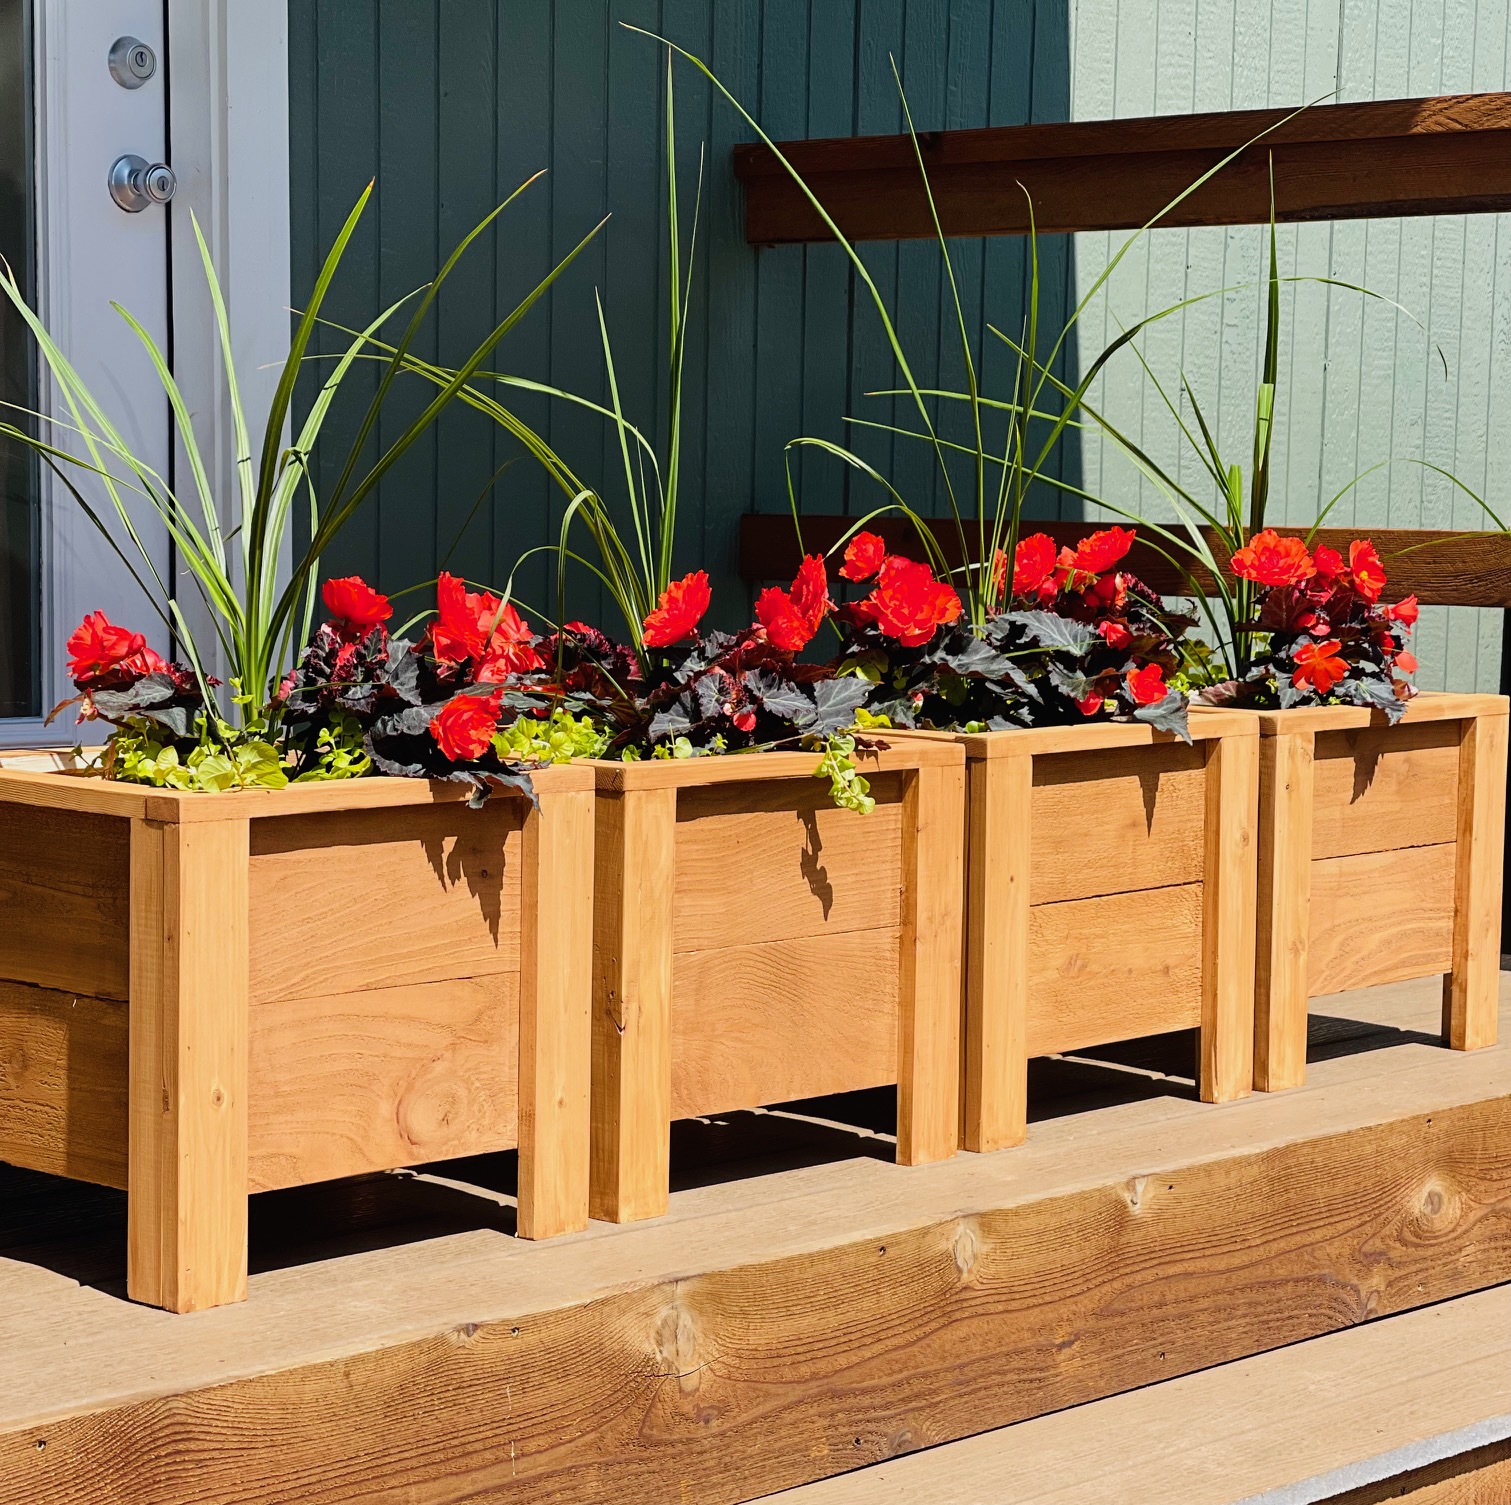
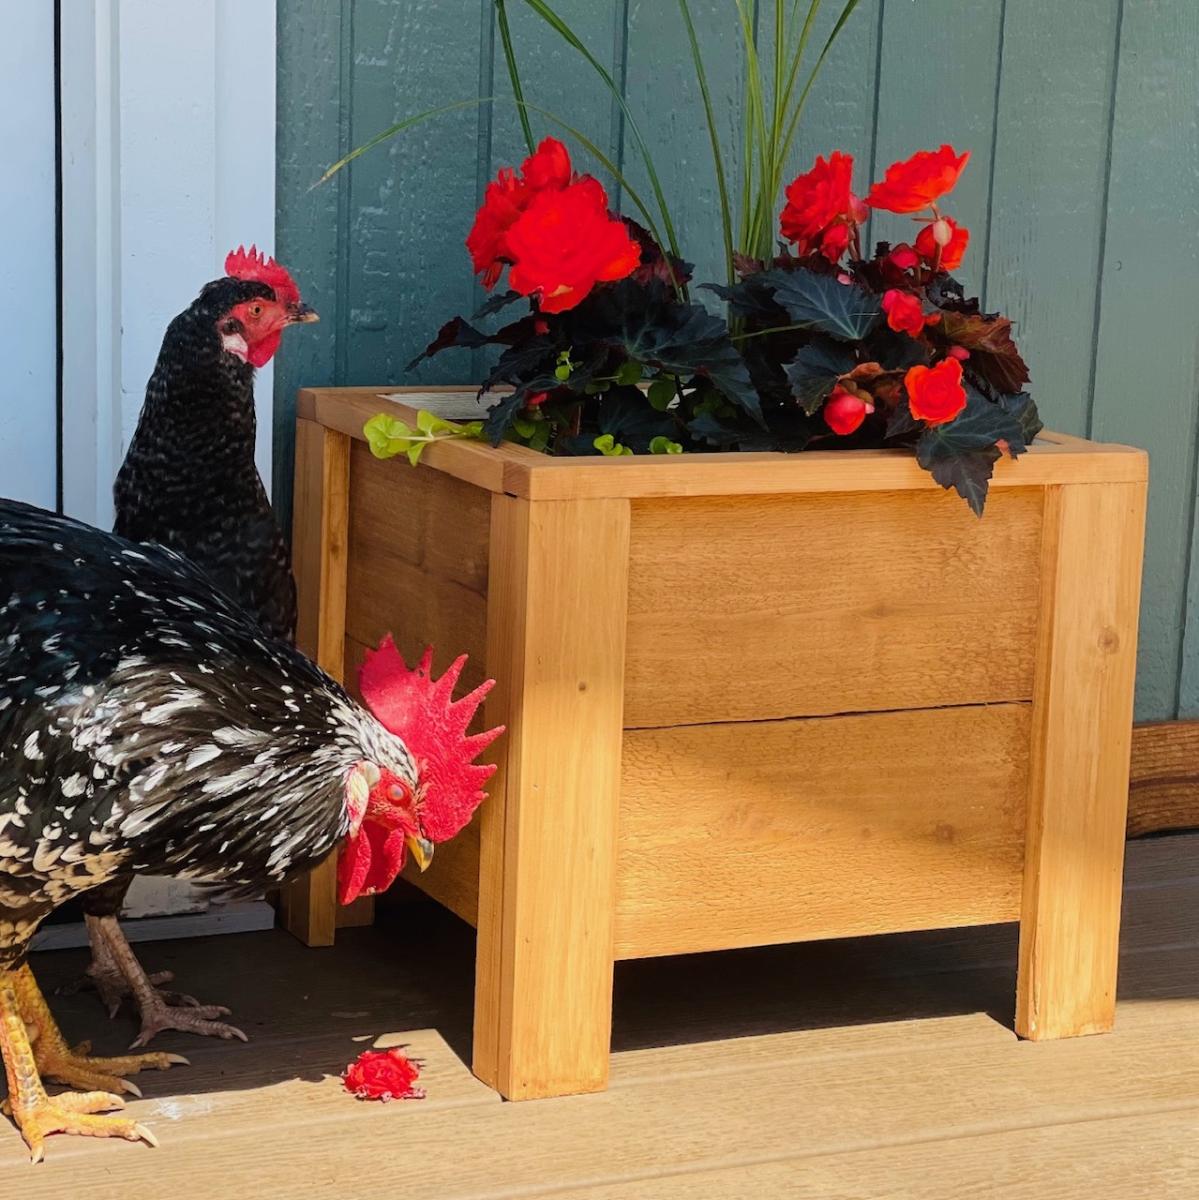
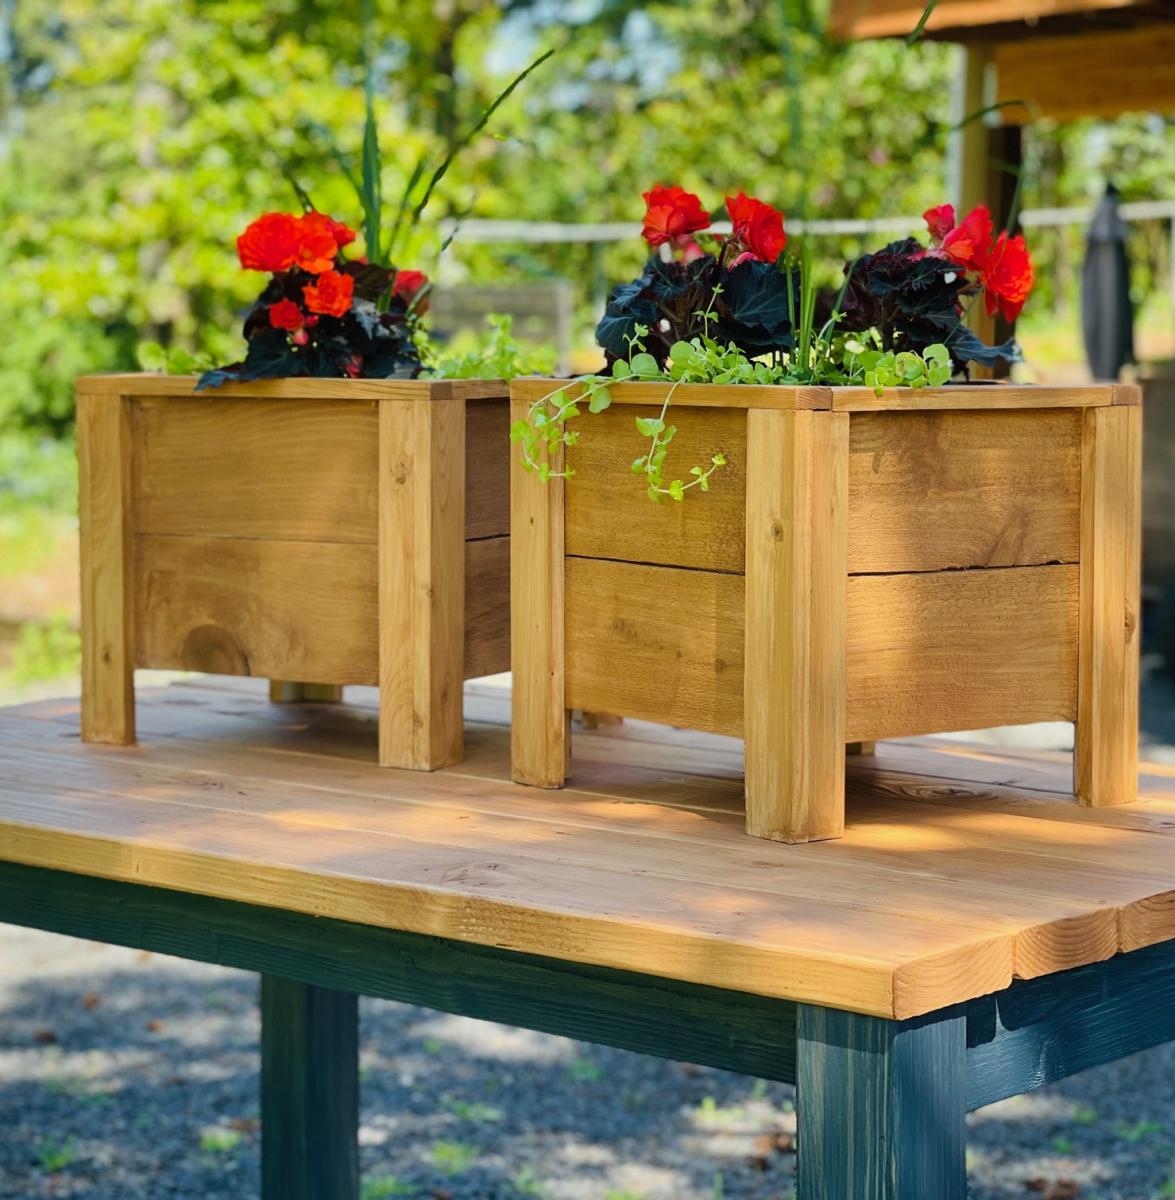
Easy Build Fence Picket Planters

Submitted by vendo on Thu, 05/11/2023 - 12:14

I've been wanting to build this plan for quite some time! Took me about 2 hours to build and 1 hour to finish. Giving these as gifts for Mother's Day! Total cost was about $15 per planter. I scaled down the design after I found the plants I wanted to put in them. Ana has the best and easiest plans!


Seasonal And Holiday

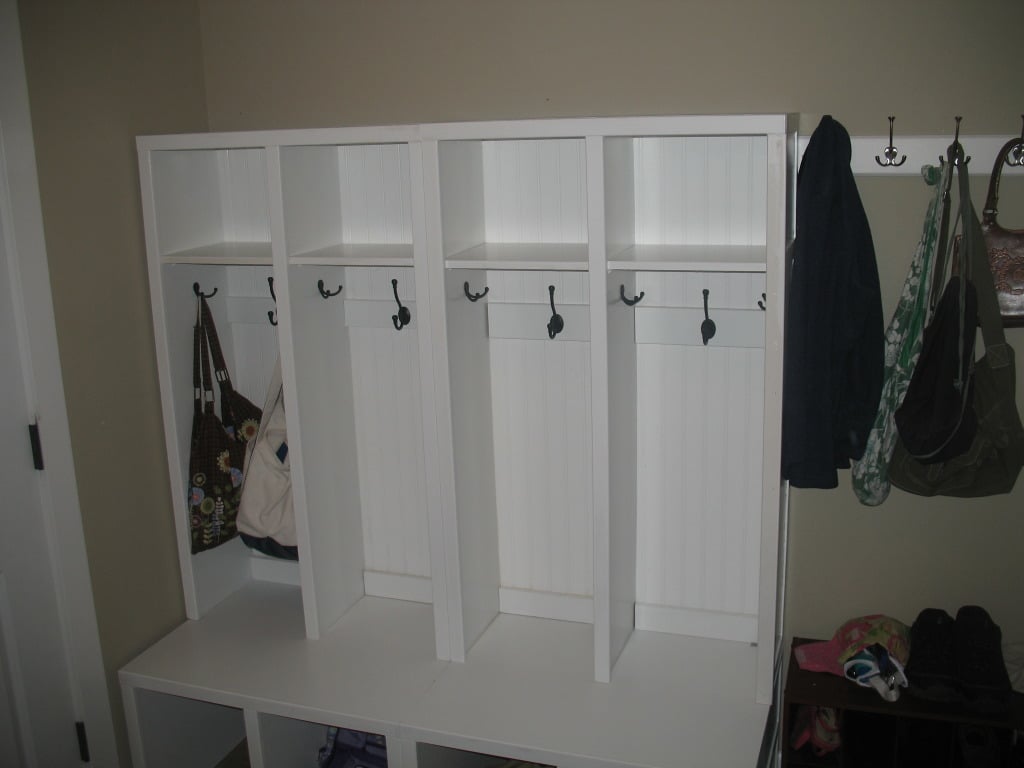
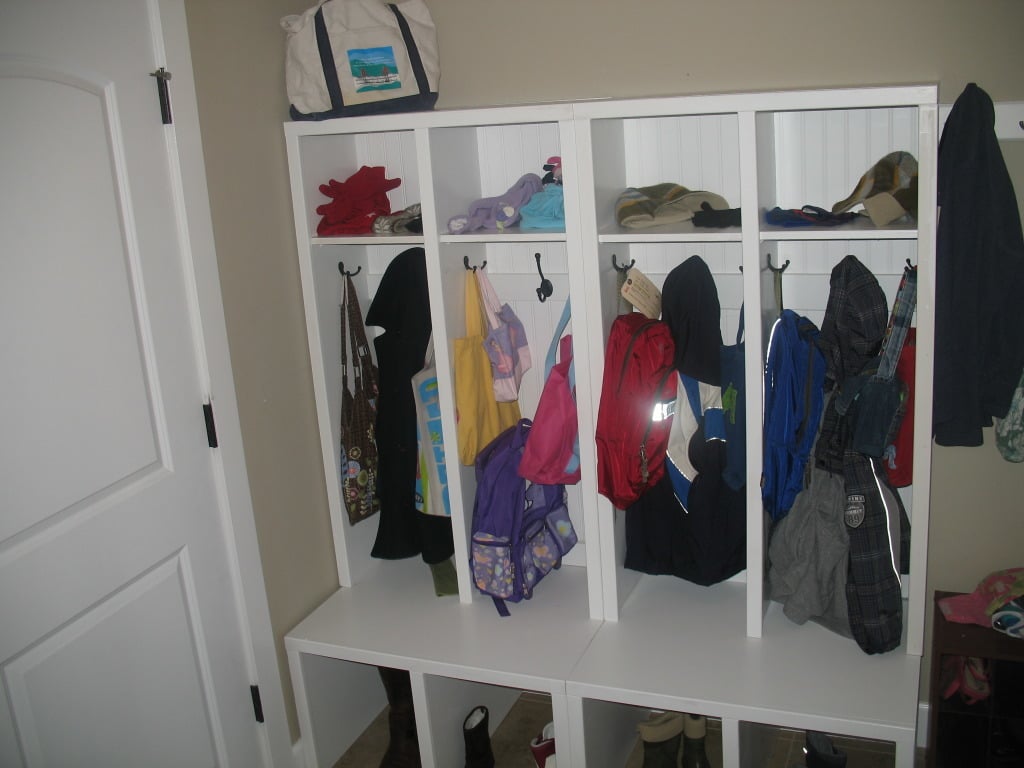
Lockers for Mudroom

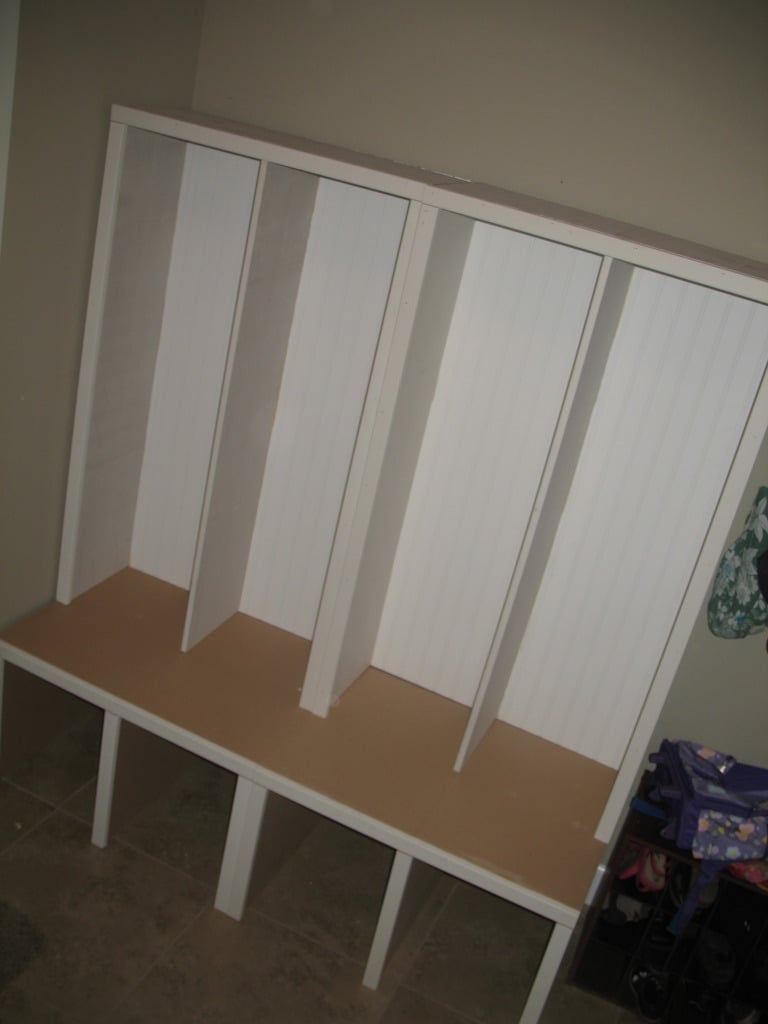
This was a much faster build than we anticipated, thanks to easy to work with MDF and pre-finished bead-board backing. Had all the wood pre-ordered on line from Lowe's made pick up super easy - and then they did all the cuts for us!

Built from Plan(s)
Estimated Cost
~$200
Estimated Time Investment
Day Project (6-9 Hours)
Finish Used
White high gloss paint.
Recommended Skill Level
Beginner

Comments

Margaret Kubiszyn (not verified)

Sun, 01/08/2012 - 15:12

Looks great! I have a goofy question -- can you specify the cuts you want made when you order online, or do you get it at the store, take it back to the saw and have them cut it then?

In reply to by Margaret Kubiszyn (not verified)

molliepayne

Sun, 01/08/2012 - 17:07

No, you have to go back to the cutting area and do those. I wouldn't want to trust them to do them just right, though. I like to watch and help measure if need be. There's nothing worse than having your cuts off by a 1/4 inch or more!

Sam - builder (not verified)

Sun, 01/08/2012 - 17:08

I don't think that you can specify cuts in your online order, just the boards. But we picked it up with a sheet of paper specifying how each board should be cut.

Margaret Kubiszyn (not verified)

Sun, 01/08/2012 - 18:01

Now that you said that, I totally agree about wanting to watch the guy cut. Usually they are pretty good, but I have run into a couple of not-so-smart ones also!

Doll Crib

I did it! Using your plans I made the doll crib. I had to improvise on the drawer as the drawer in the plans was to tall to go under the bed and I had already put it together before checking. Oh well. I also made the mattress, reversible blanket and 2 pillows for the bed. As this was my first woodworking project I am so proud of how well it turned out. Thank you Ana for this site. It is amazing and I am HOOKED.

Estimated Cost
under $50
Estimated Time Investment
Day Project (6-9 Hours)
Finish Used
White paint, and "homemade" Pink. (Red and white mixed)
Recommended Skill Level
Beginner

Comments

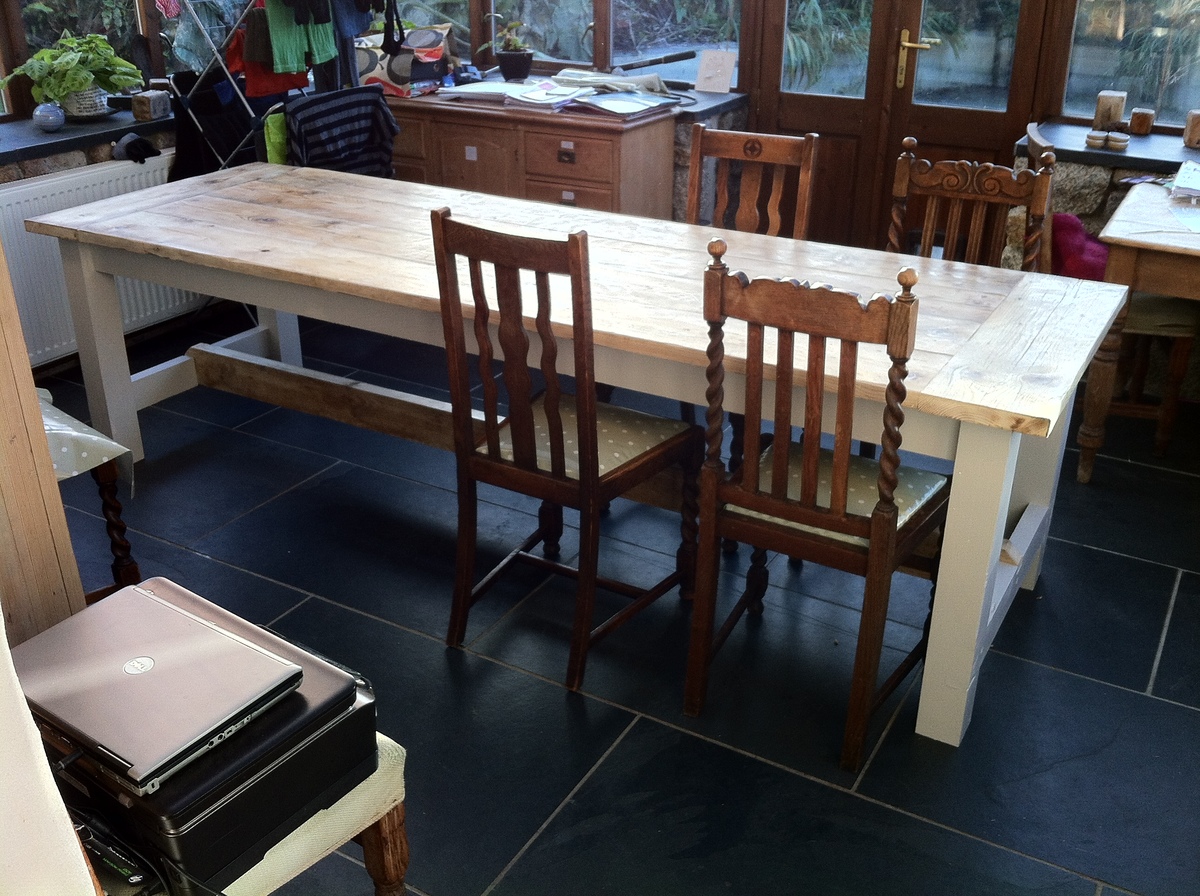
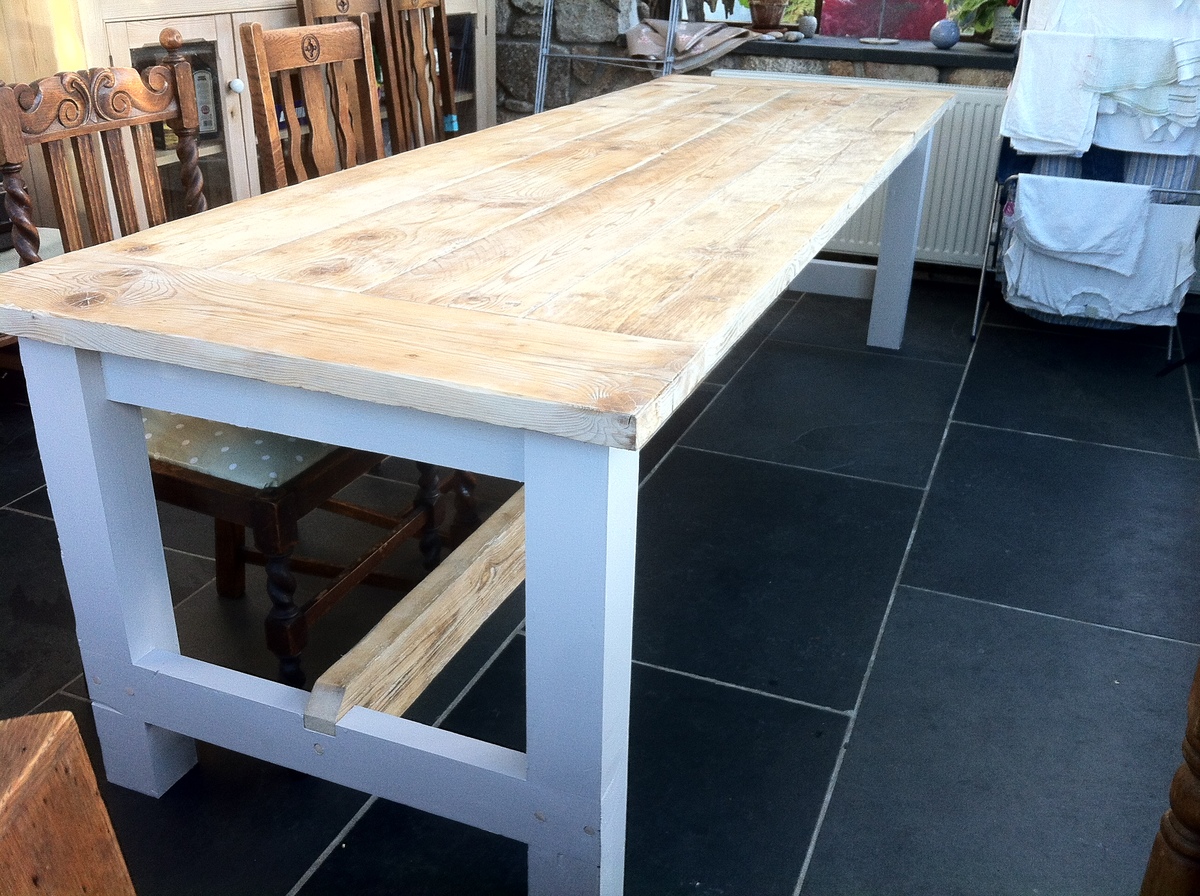
reclaimed timber farmhouse table - first build

wanted a big table for christmas, this is over 8 foot, and we couldn't afford a table like that so having seen the site thought i'd try and build one. thanks for the plans absolutely great
first project, no real woodwork experience but competent diy-er

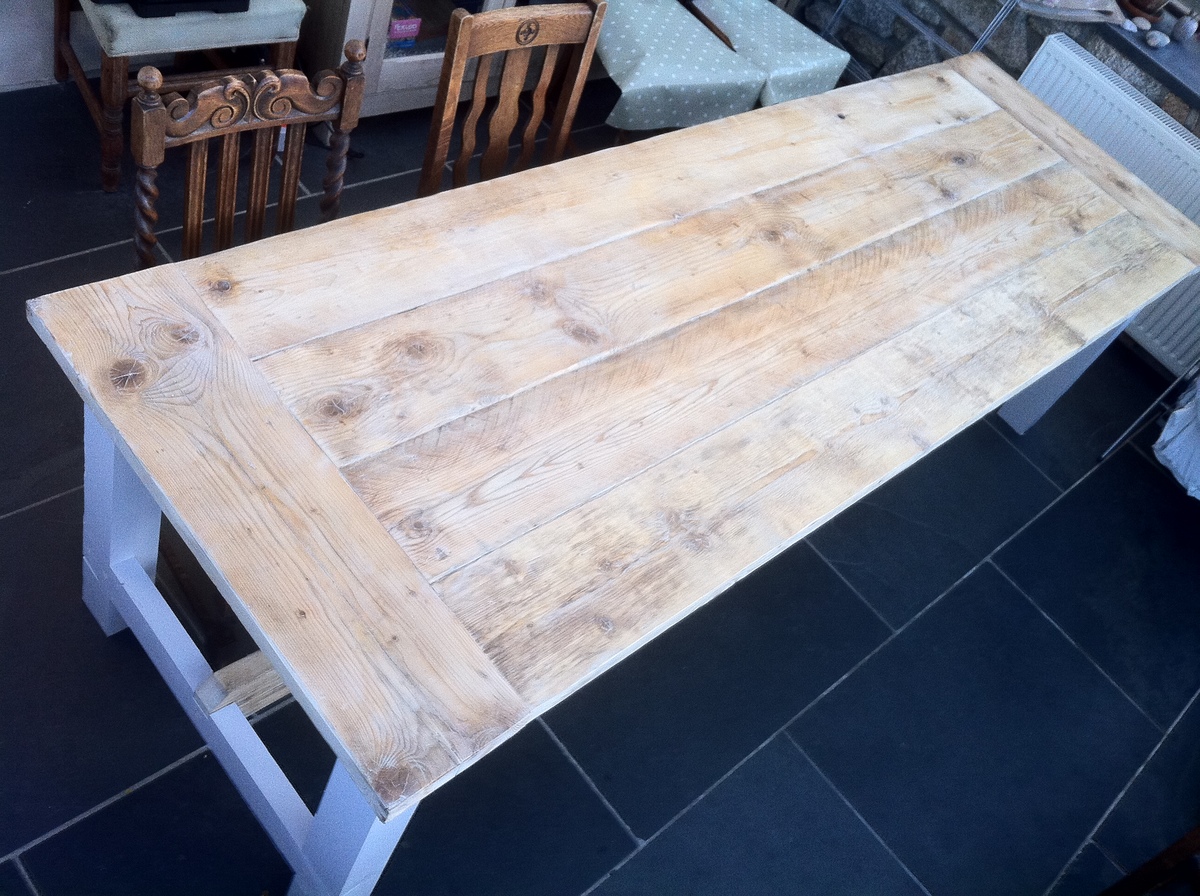
made mainly out of reclaimed wood, the top and side apron are made of old scaffold boards and the main brace a chunk of wood form my neighbours shed.

i did have to buy some 2x4s for the legs and the cross braces

sides painted and the top waxed, looks a bit patchy in the photos but the finish is good.

all in all cost about £70

Estimated Time Investment
Week Long Project (20 Hours or More)
Finish Used
paint and wax
Recommended Skill Level
Starter Project

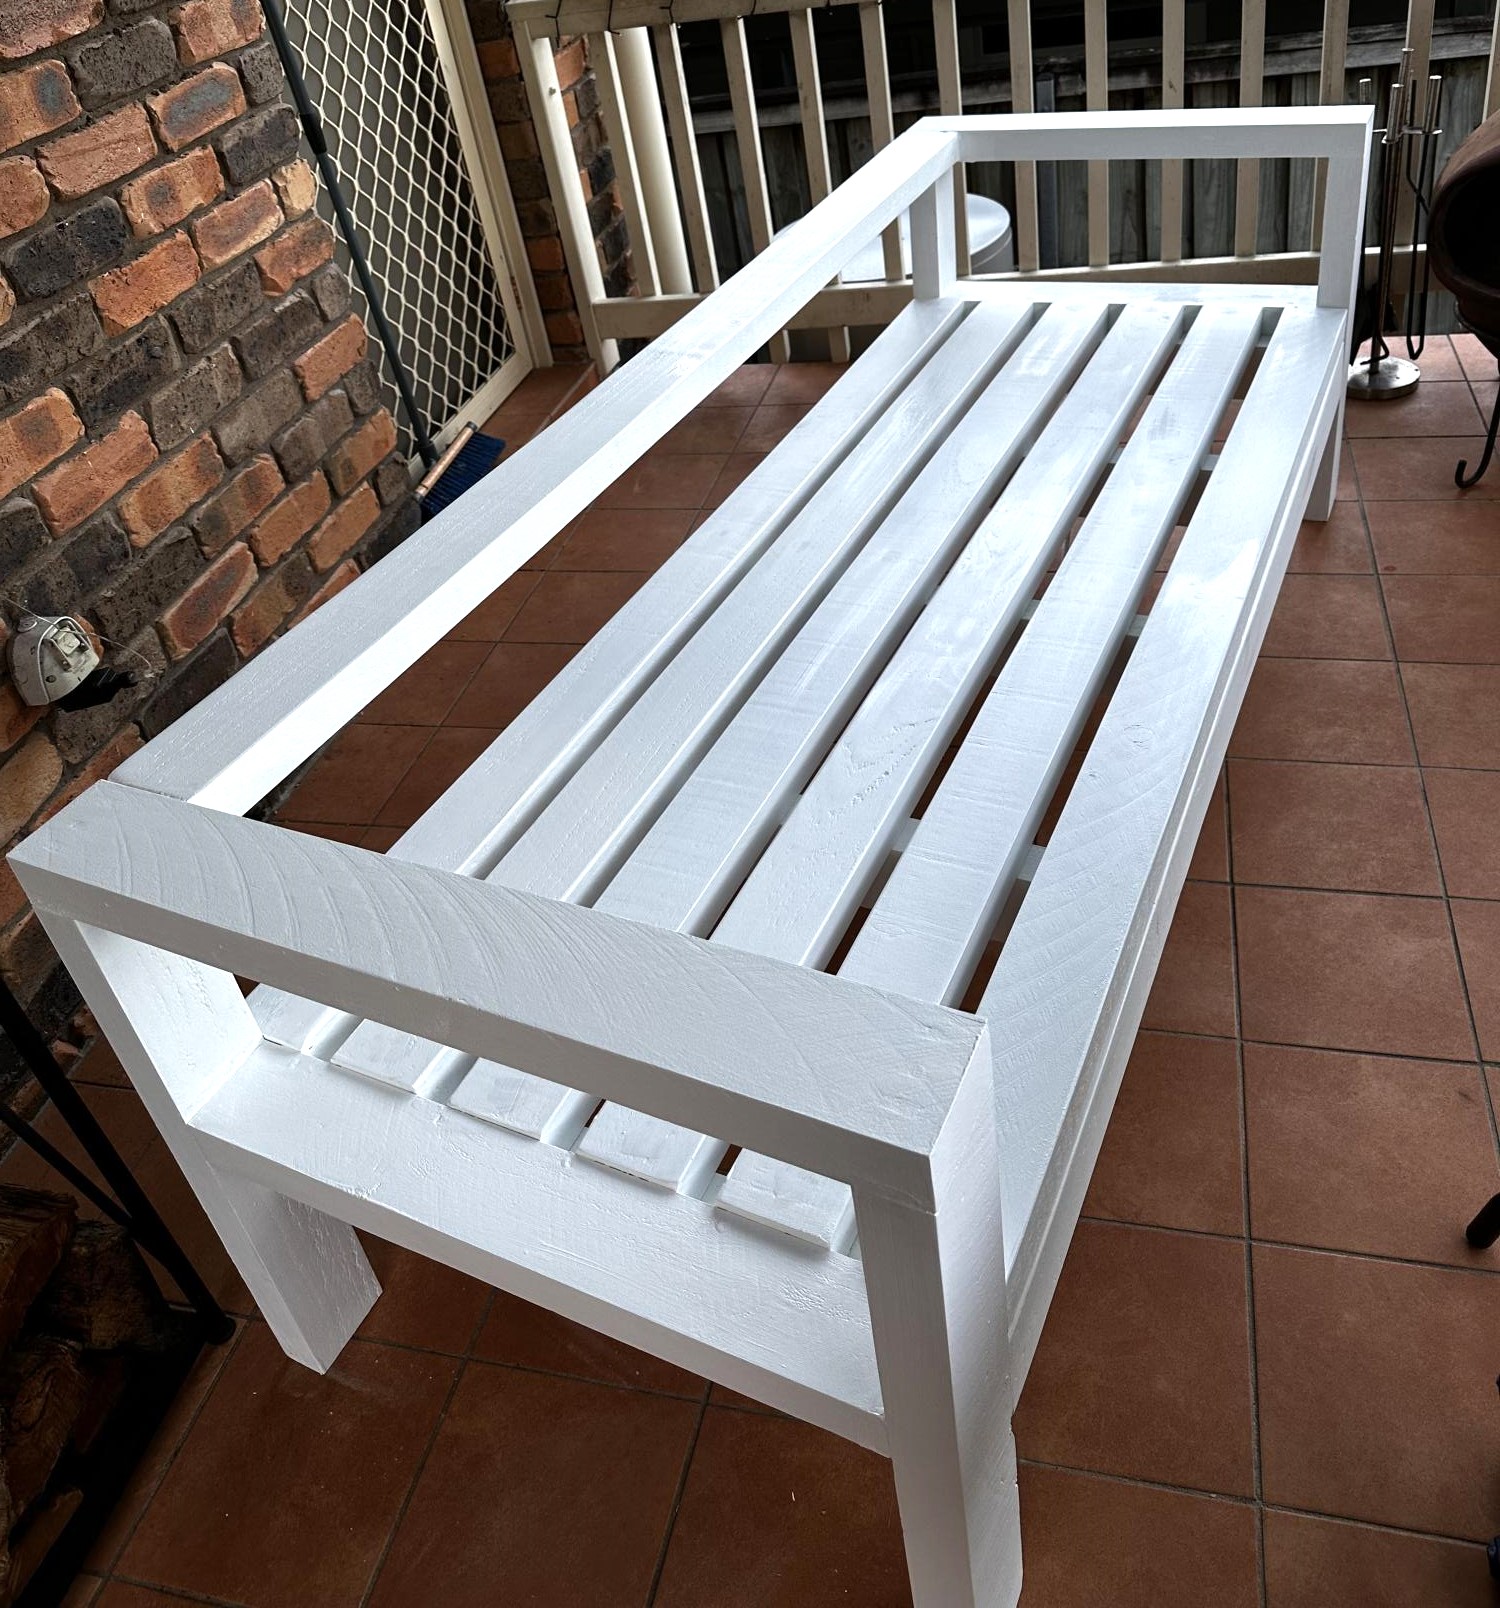
Outdoor Sofa

Submitted by Anonymous (not verified) on Fri, 06/09/2023 - 15:46

Choose the equivalent of 4 x2 here in Australia but as you can see the Depths were different. Painted in Dulux outdoor paint in Vivid White

Built from Plan(s)

Comments

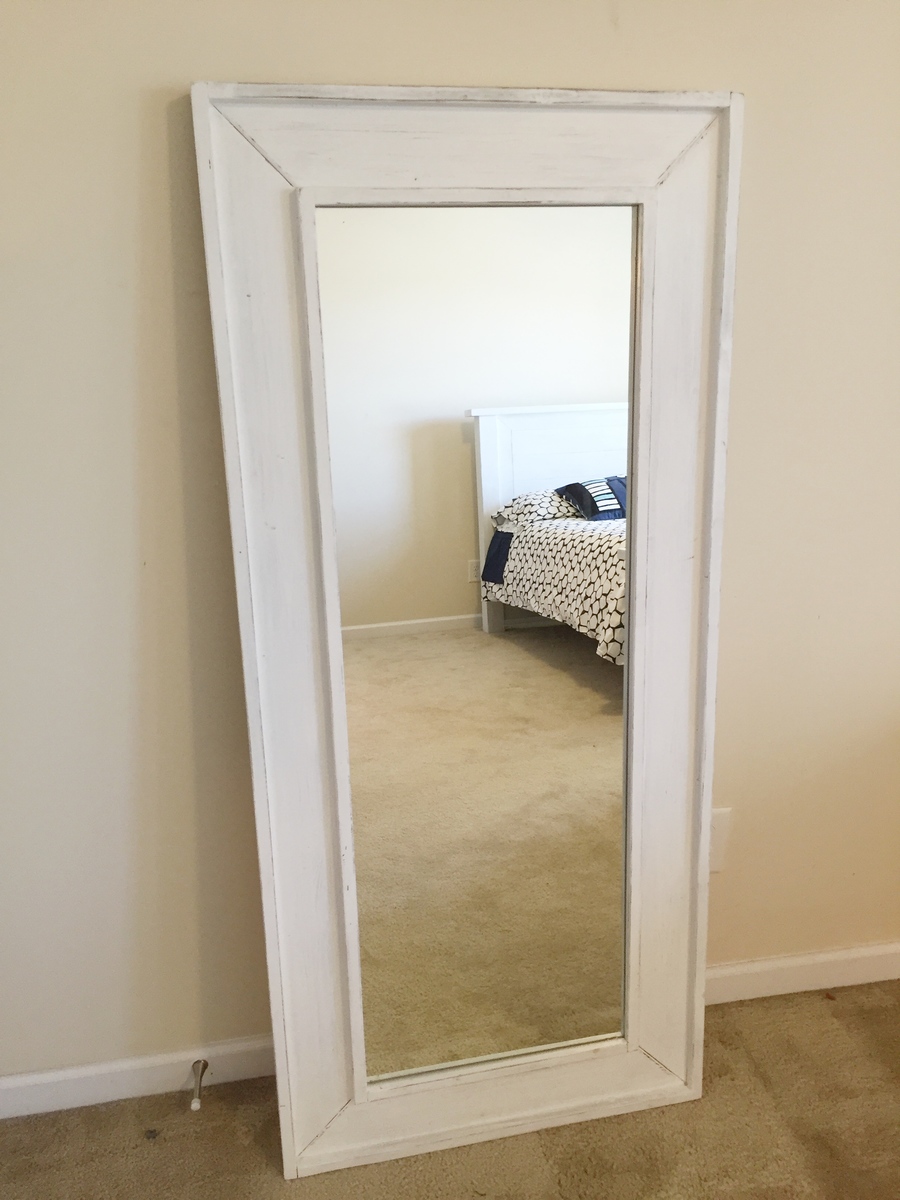
Full Length Mirror

Submitted by AndyH on Fri, 03/04/2016 - 18:03

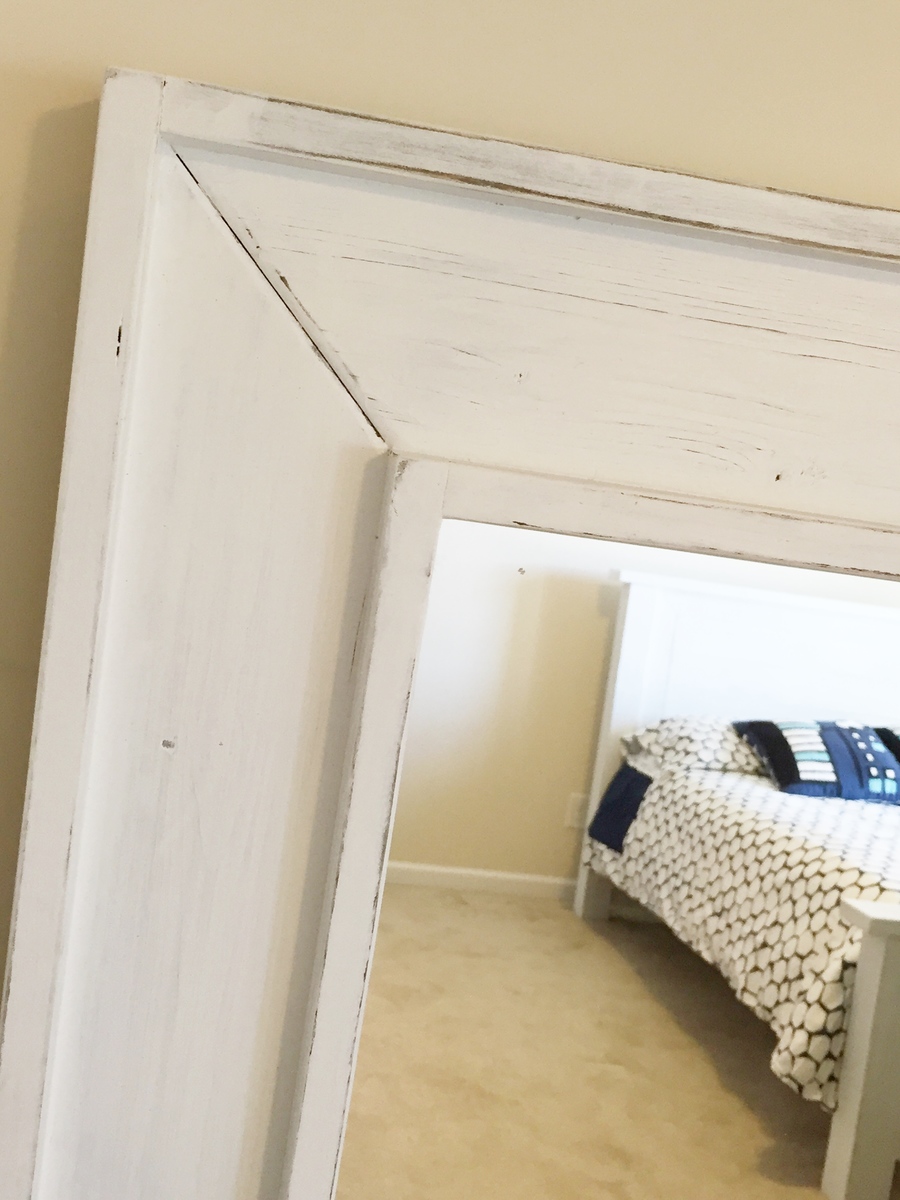
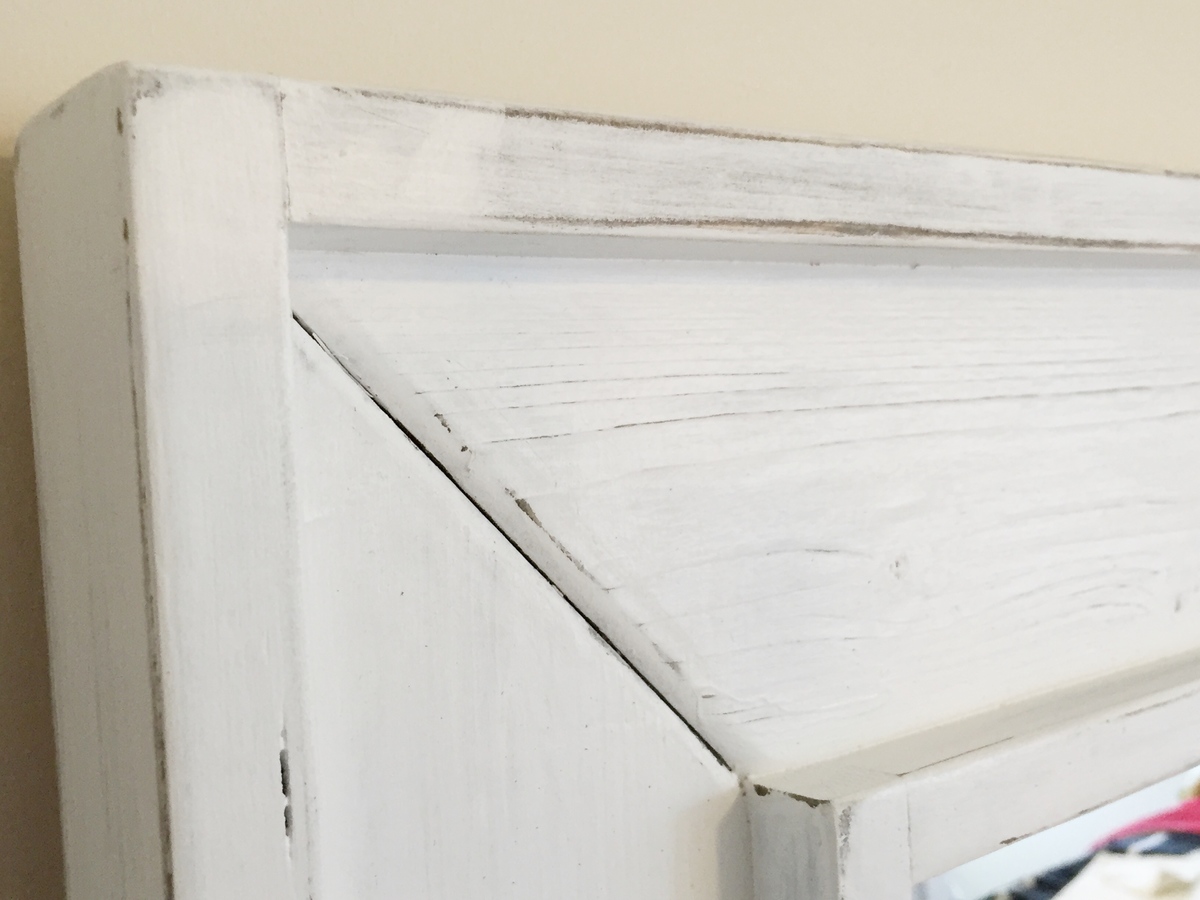
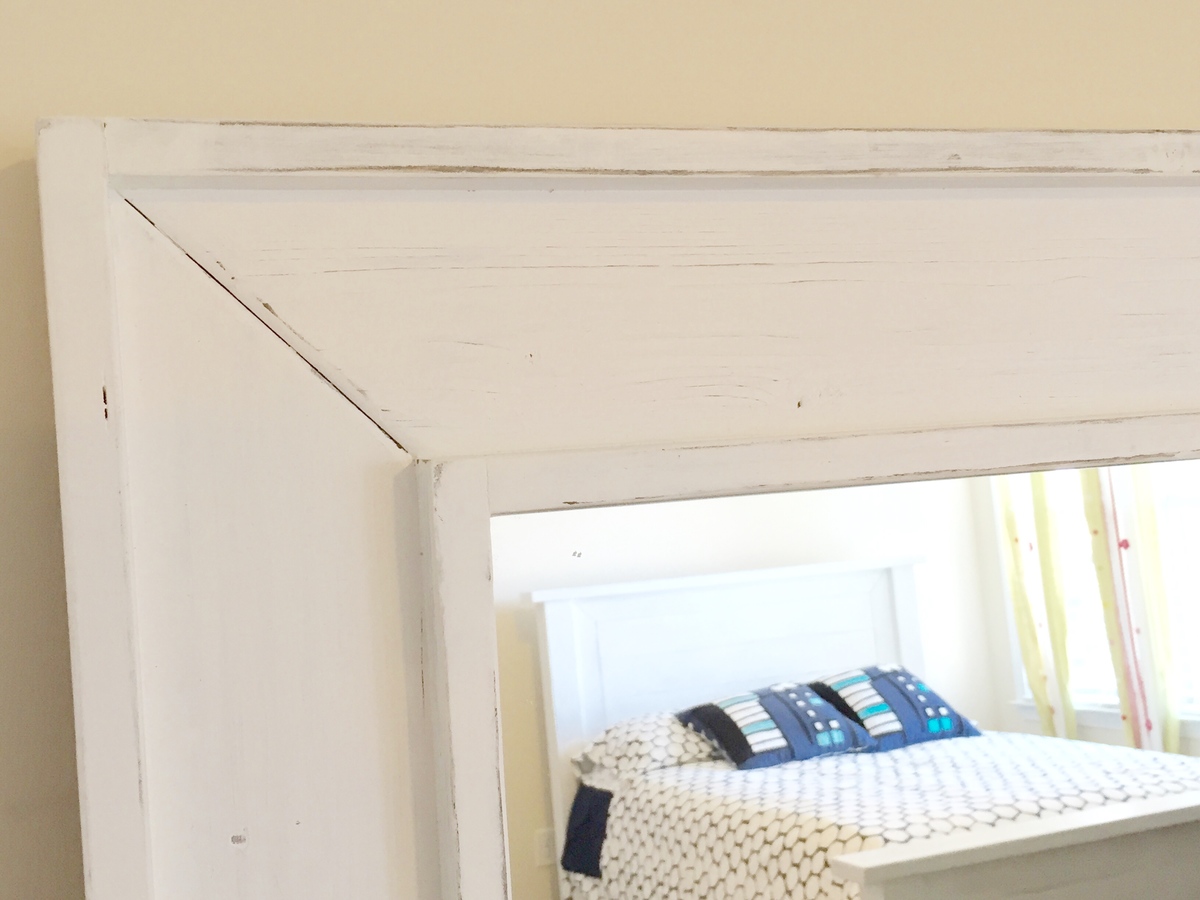
A $10 Mirror framed out with some 1 by 2, 1 by 3 and 1 by 4.

Stained black and then 2 coats of white paint sanding after each to give a rustic/antique look.

Estimated Cost
$35
Estimated Time Investment
Day Project (6-9 Hours)
Finish Used
Stained in black and then two coats of white paint sanded between coats to give antique finish.
Recommended Skill Level
Beginner

Distressed Fancy X Farmhouse Table

Submitted by Anonymous (not verified) on Mon, 03/07/2016 - 04:50

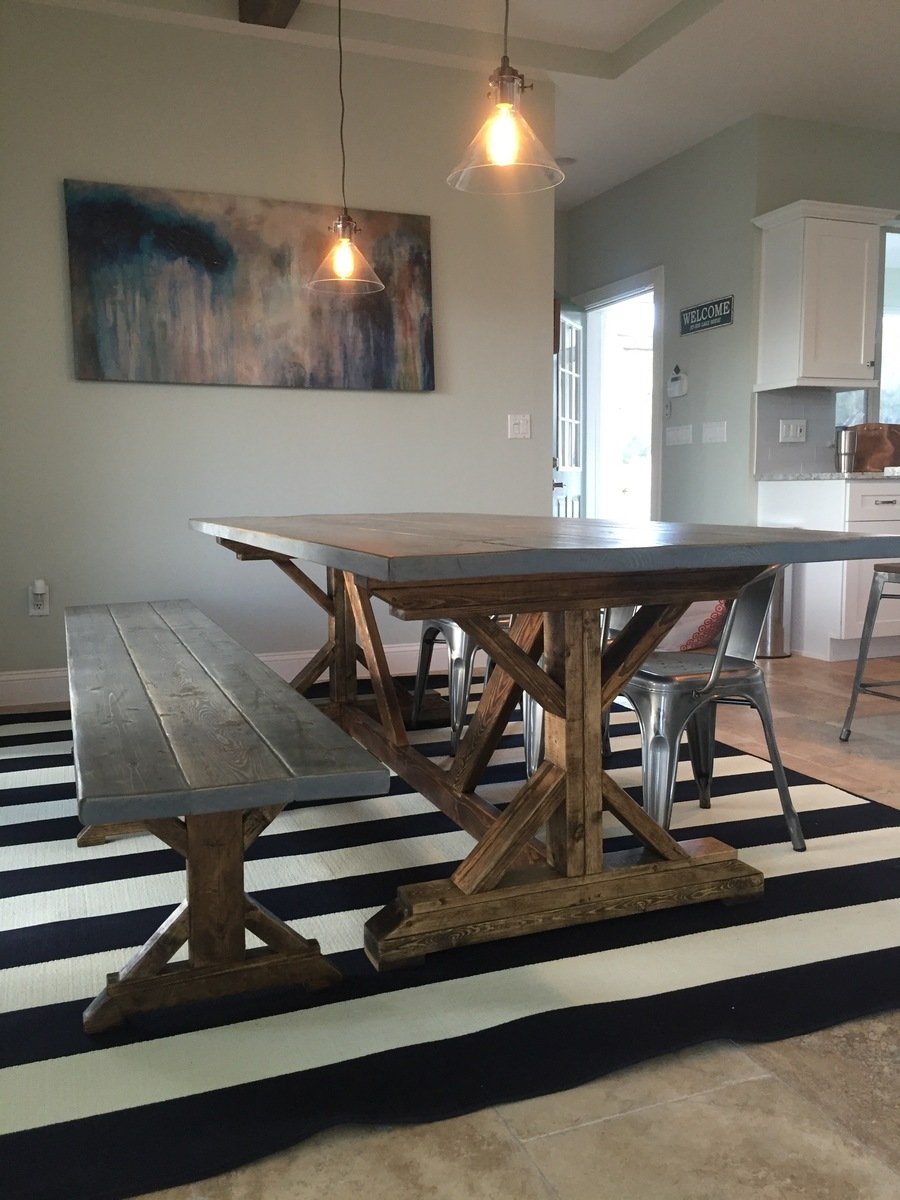
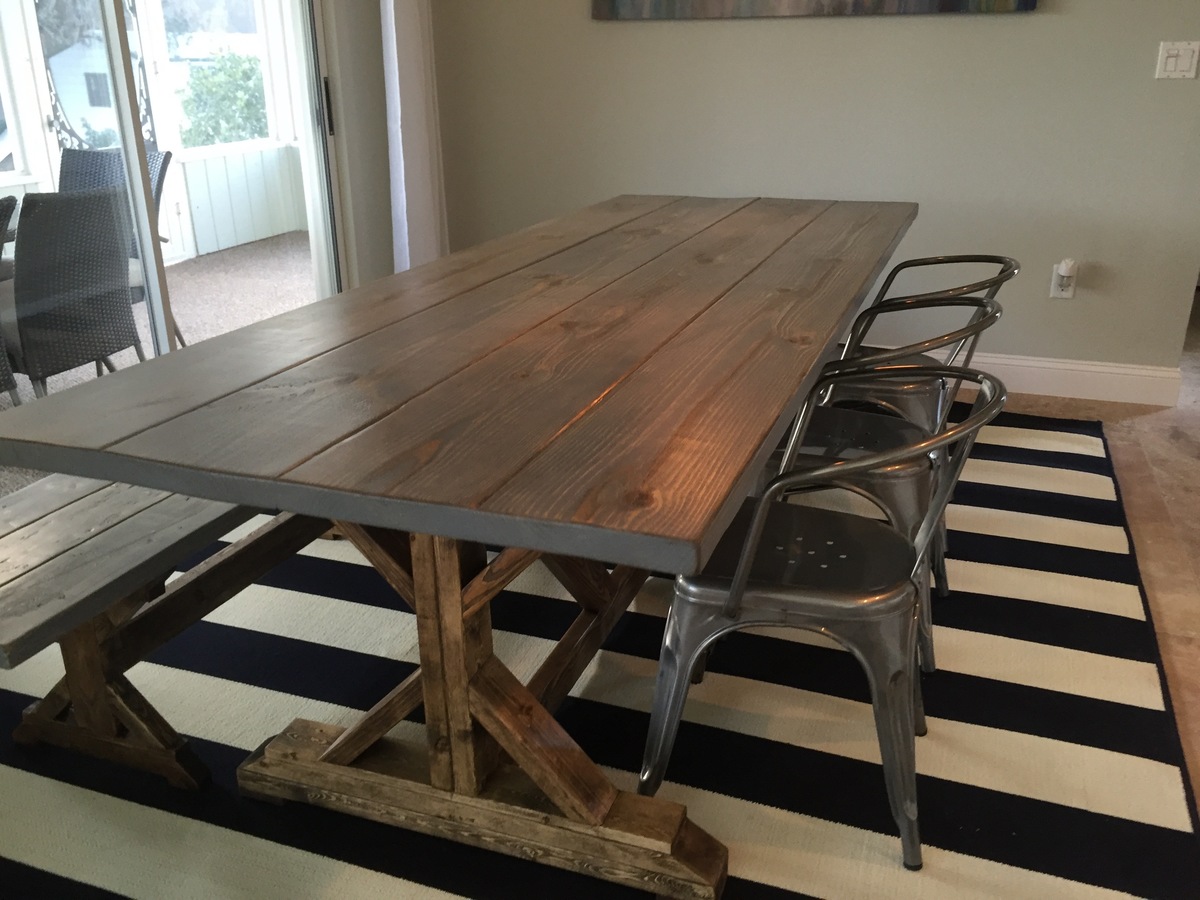
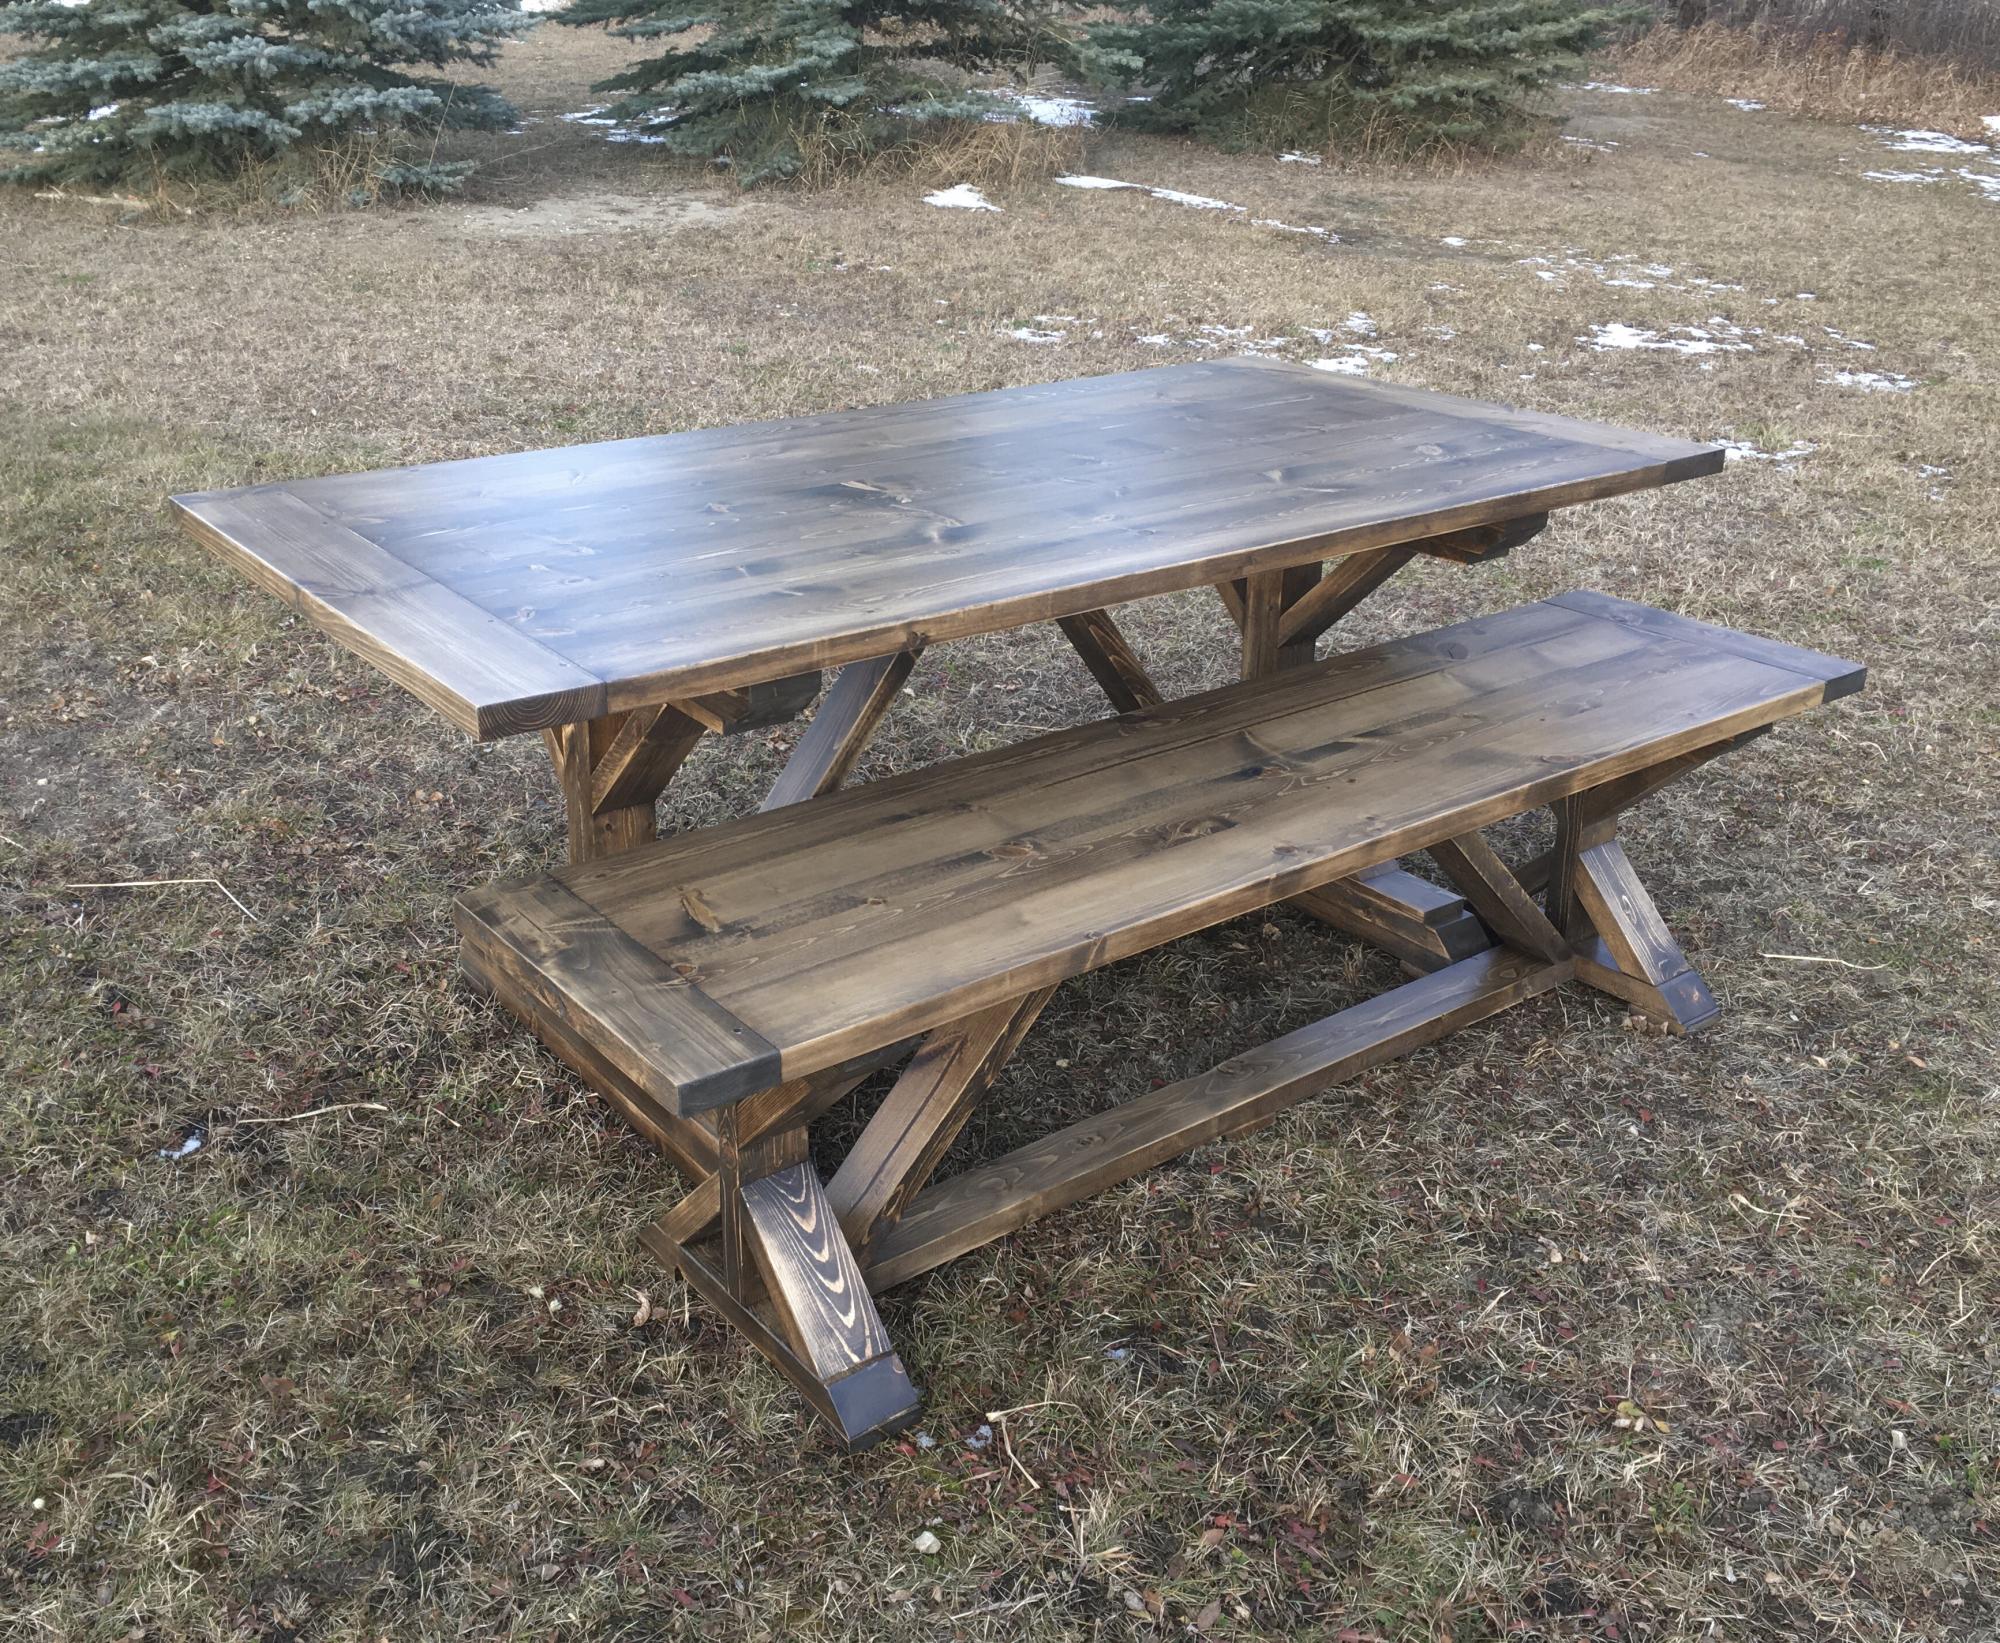
We used the Fancy X Farmhouse plans and matching bench to create a wonderful new farmhouse table and bench for the lake house. We distressed the tops of the bench and table and stained them Weathered Grey with the base of the table and bench stained Ash.  We absolutely love it!

Estimated Cost
Less than $200 for both pieces
Estimated Time Investment
Weekend Project (10-20 Hours)
Finish Used
We used a stain called weathered grey on the top and sanded some of the stain away in areas that would be typically used a lot and in the areas that showed bare wood we added the Ash stain and rubbed it in and lightly sanded the whole tops before applying final polyurethane coats. The bases were stained Ash.
Recommended Skill Level
Advanced

Comments

Mimi's Hall Tree

Submitted by Erik on Fri, 02/24/2012 - 06:33

This is my first ever build (so be gentle). My fiance has always wanted a Hall Tree and her birthday was comming up so I posted a request for a Hall Tree and that afternoon there was a post from Ana with Mimi's Hall Tree, so I figured that was a sign I HAD TO BUILD IT! So I took the lists went to the local Home Depot and bought all the wood, plus a Jig Saw, Kreg Jig, Sliding Compound Miter Saw, Circular Saw, Clamps.... a few weeks later just in time for her birthday this is what I had. I have to admit its flawed but we love it!

I can't thank Ana and company for turning me on to my new hobby and I am looking forward to my next build!

PS I will be putting the hooks on tonight, I will post more photos when the hooks are on and there is stuff on the Hall Tree

Estimated Time Investment
Weekend Project (10-20 Hours)
Recommended Skill Level
Beginner

Comments

Guest (not verified)

Fri, 02/24/2012 - 06:38

The stain is minwax mahogany.

Guest (not verified)

Fri, 02/24/2012 - 09:18

I BET YOUR FIANCE LOVED IT...GOOD JOB KEEP BUILDING!

Rustic Planked Wood Sideboard

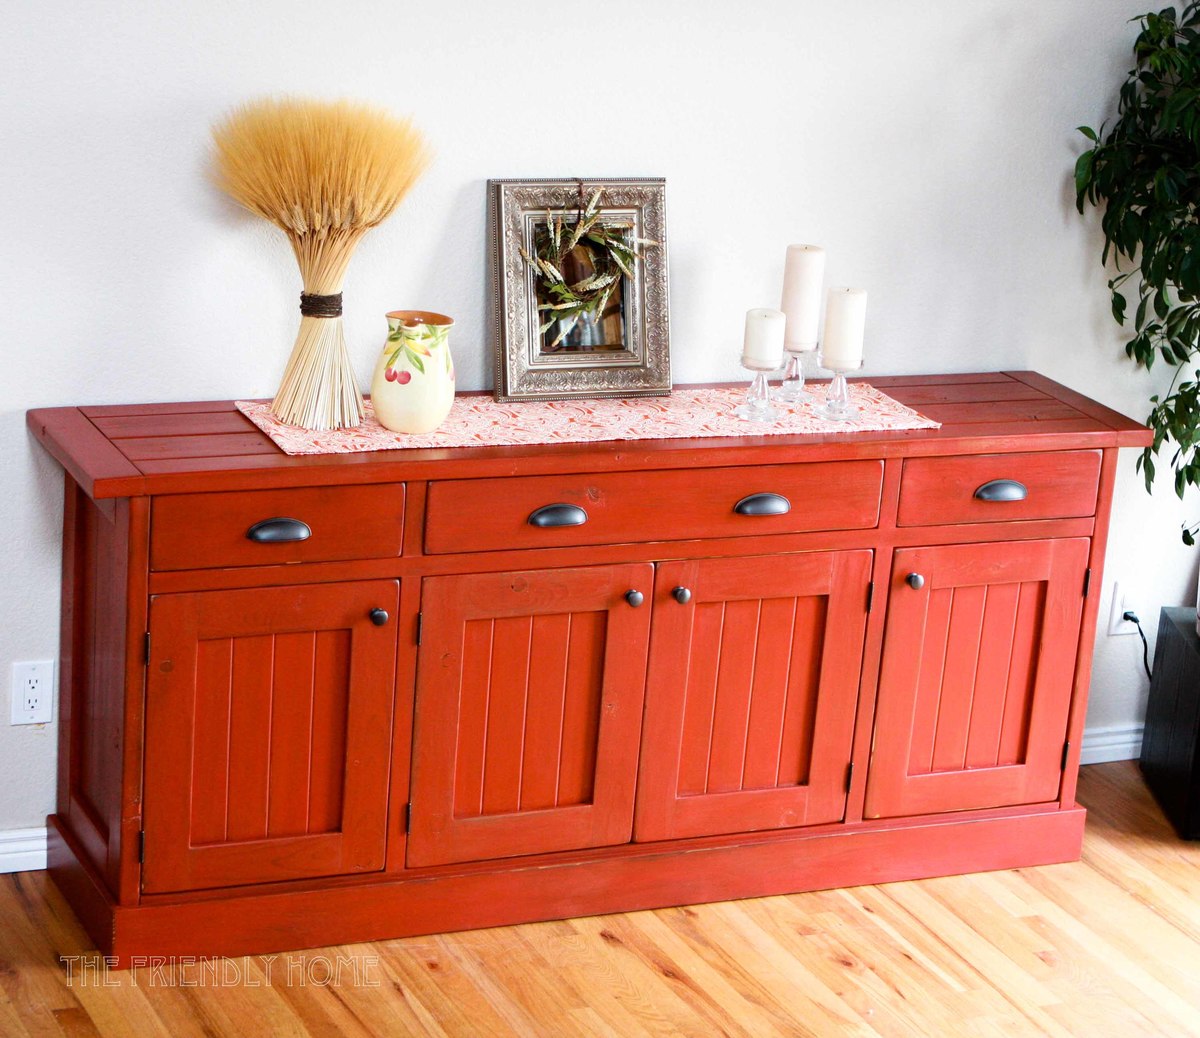
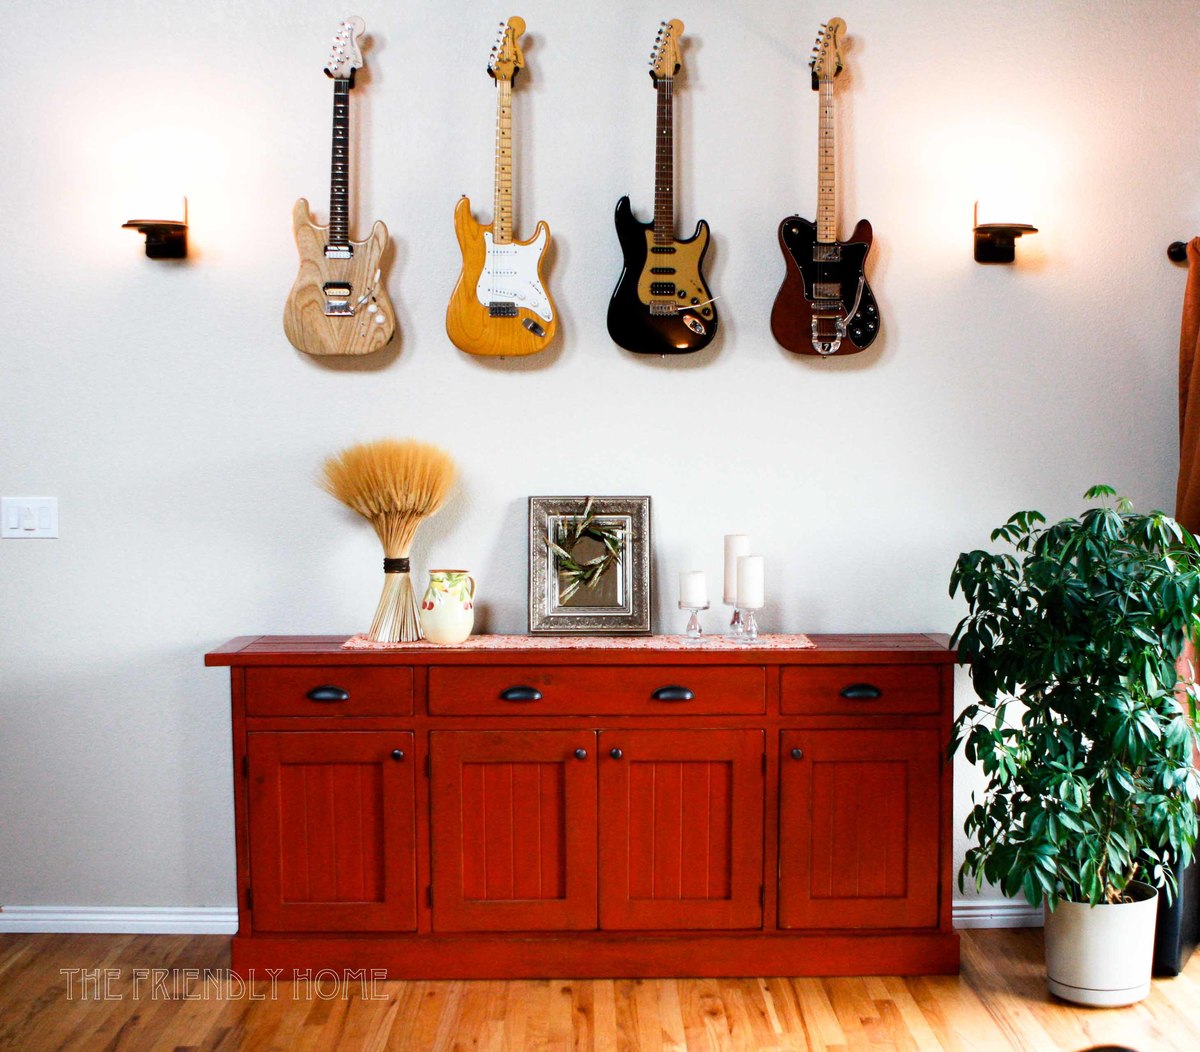
Check out my blog post for more on building this giant, hardworking piece! It took me about 45 hours to build it from start to finish (I work slowly) and cost about $400 in materials.

Estimated Cost
$400
Estimated Time Investment
Week Long Project (20 Hours or More)
Finish Used
General Finishes water-based stain, milk paint, glaze, and Staples Crystal Clear bowling alley wax. More details on my blog post.
Recommended Skill Level
Intermediate

Comments

Icepickman

Mon, 02/02/2015 - 07:21

hey, great build, i'm going to attempt a similar project. i could not get to your blog post?

Fancy X farmhouse table and bench

Submitted by Anonymous (not verified) on Wed, 10/30/2019 - 21:34

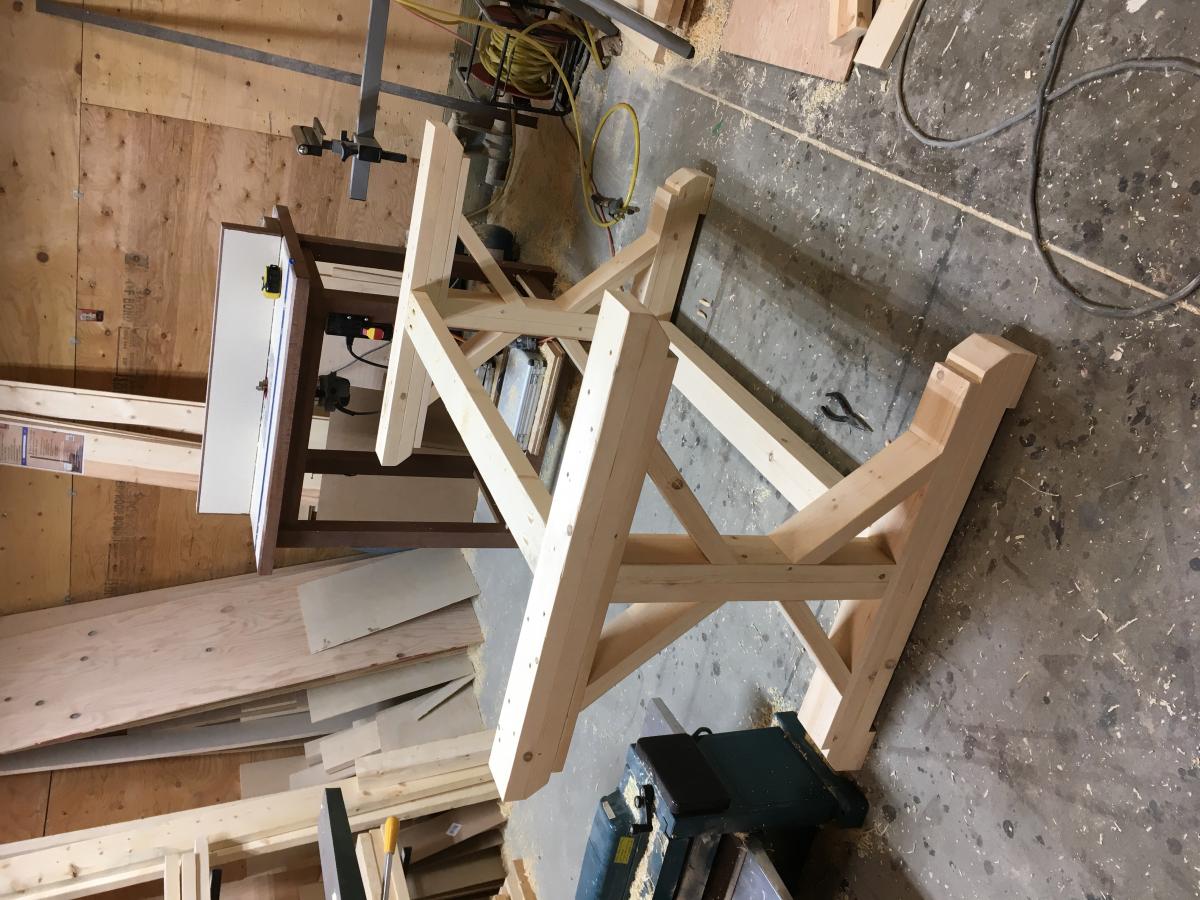
These plans were a lot of fun, easy to follow and I love all the layers!! I changed the direction of the bracing under the table and used a thicker beam along the floor. For the bench I decided to use only two legs so I did them in a thicker look to match the table.

Estimated Cost
$170 lumber/stain/clear
Estimated Time Investment
Week Long Project (20 Hours or More)
Finish Used
2:1 ratio minwax dark walnut and weathered oak. I let it dry then sanded in areas and added a coat of weathered oak.
Recommended Skill Level
Intermediate

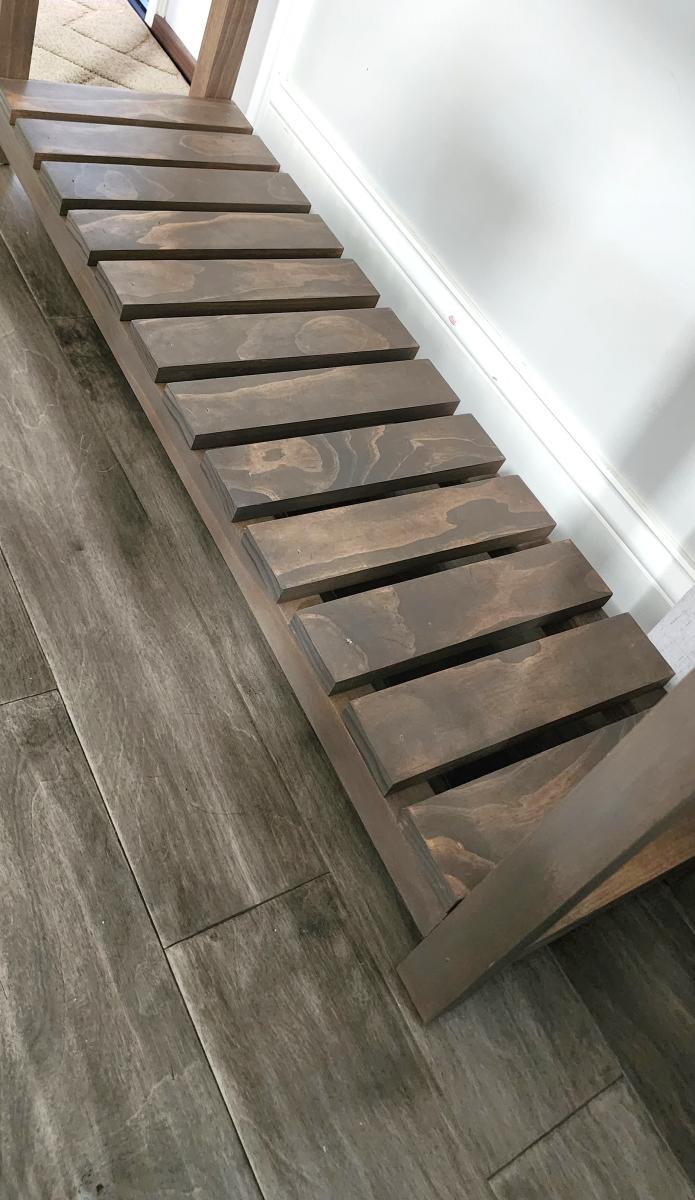
Box Frame Console with Bottom Shelf

Submitted by Anonymous (not verified) on Mon, 07/24/2023 - 13:46

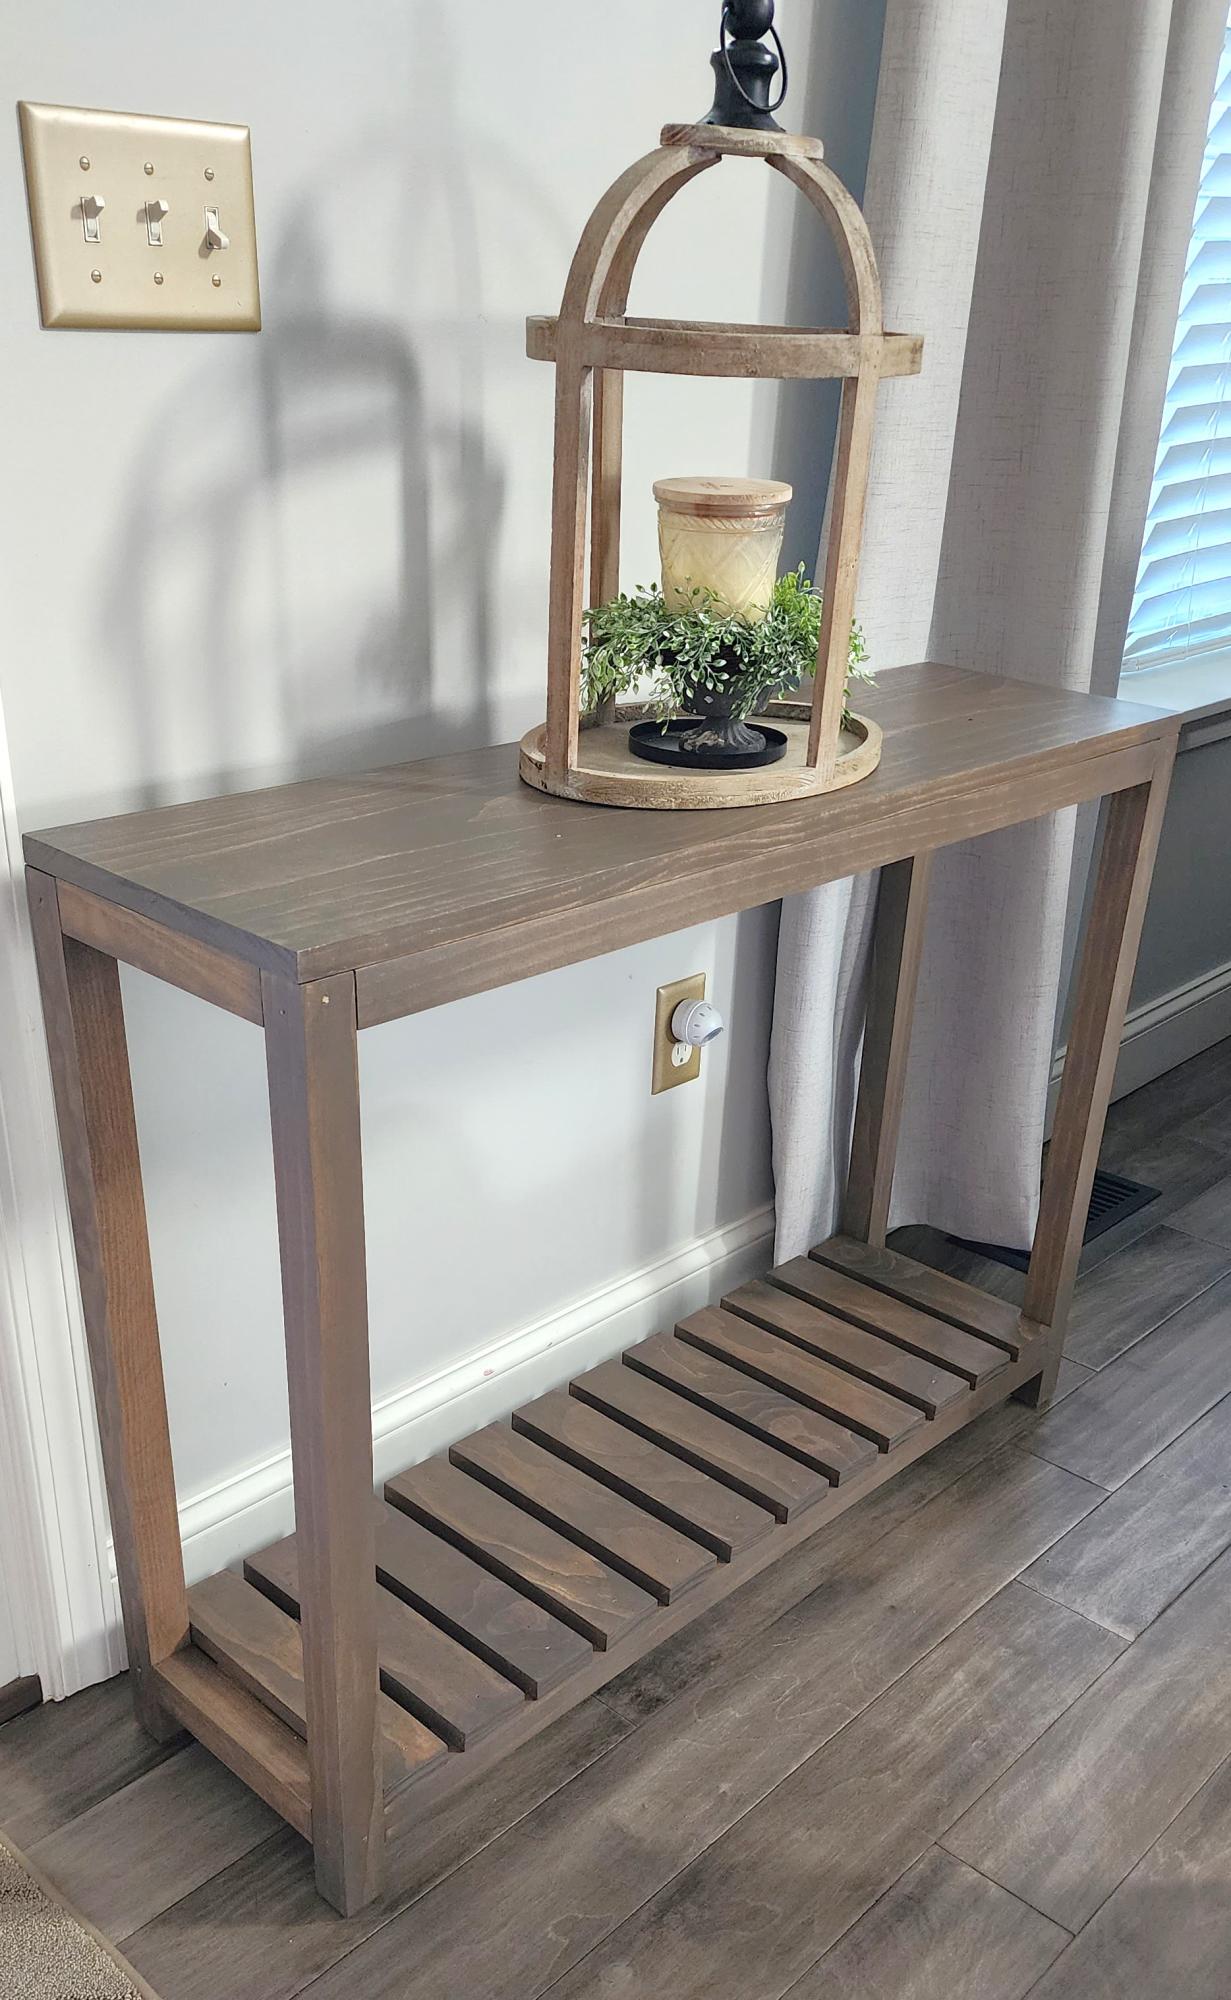
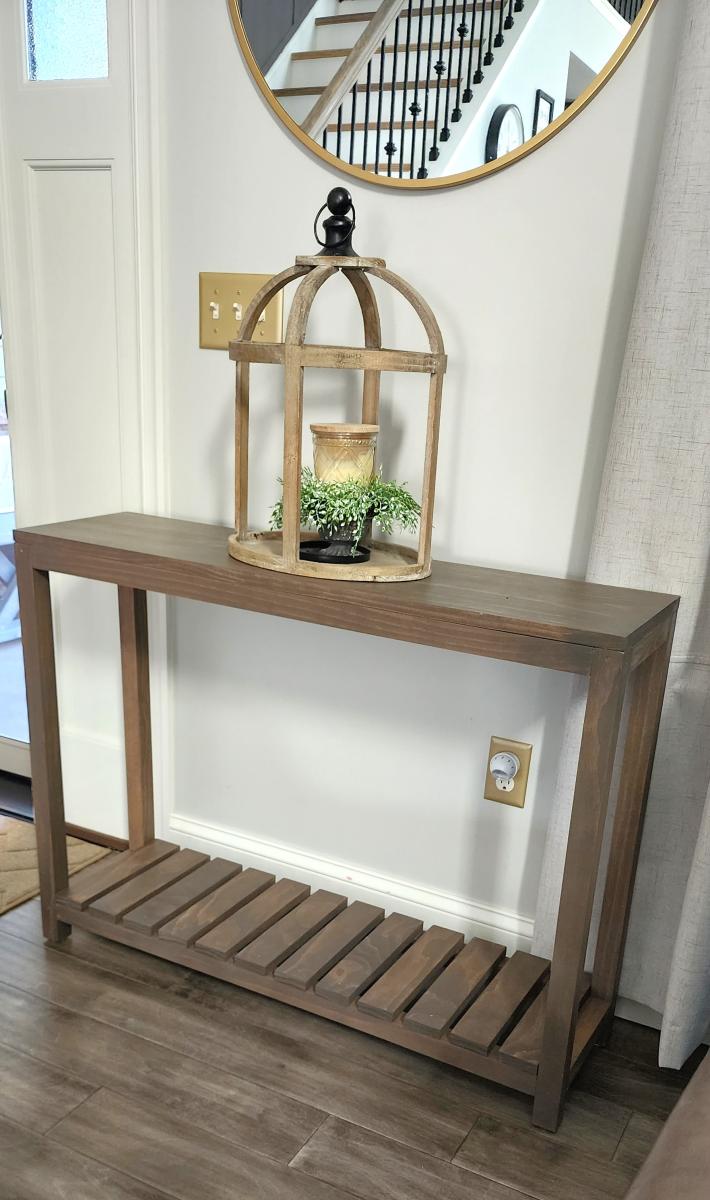
Entry Way Table with Slatted Bottom!

by Missy J Zee on Facebook

Built from Plan(s)

Comments

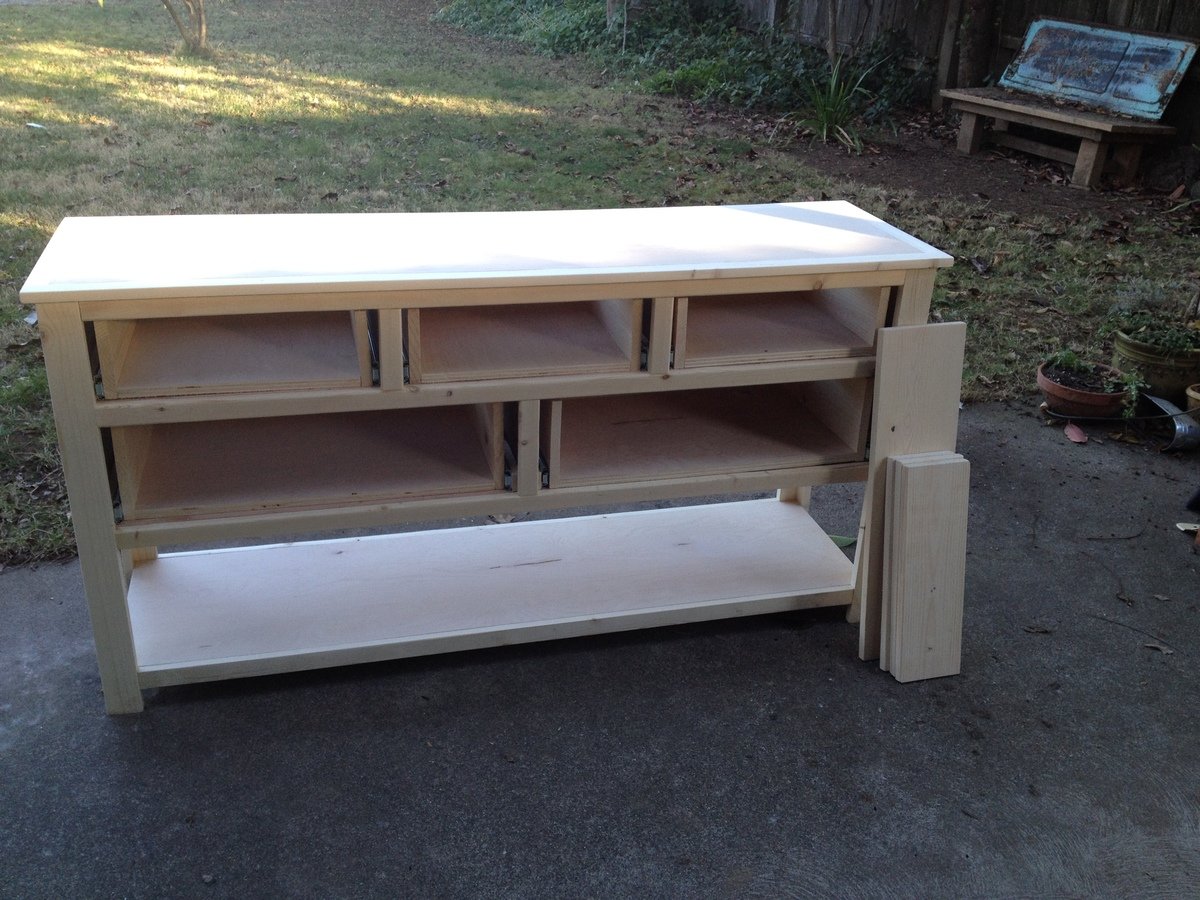
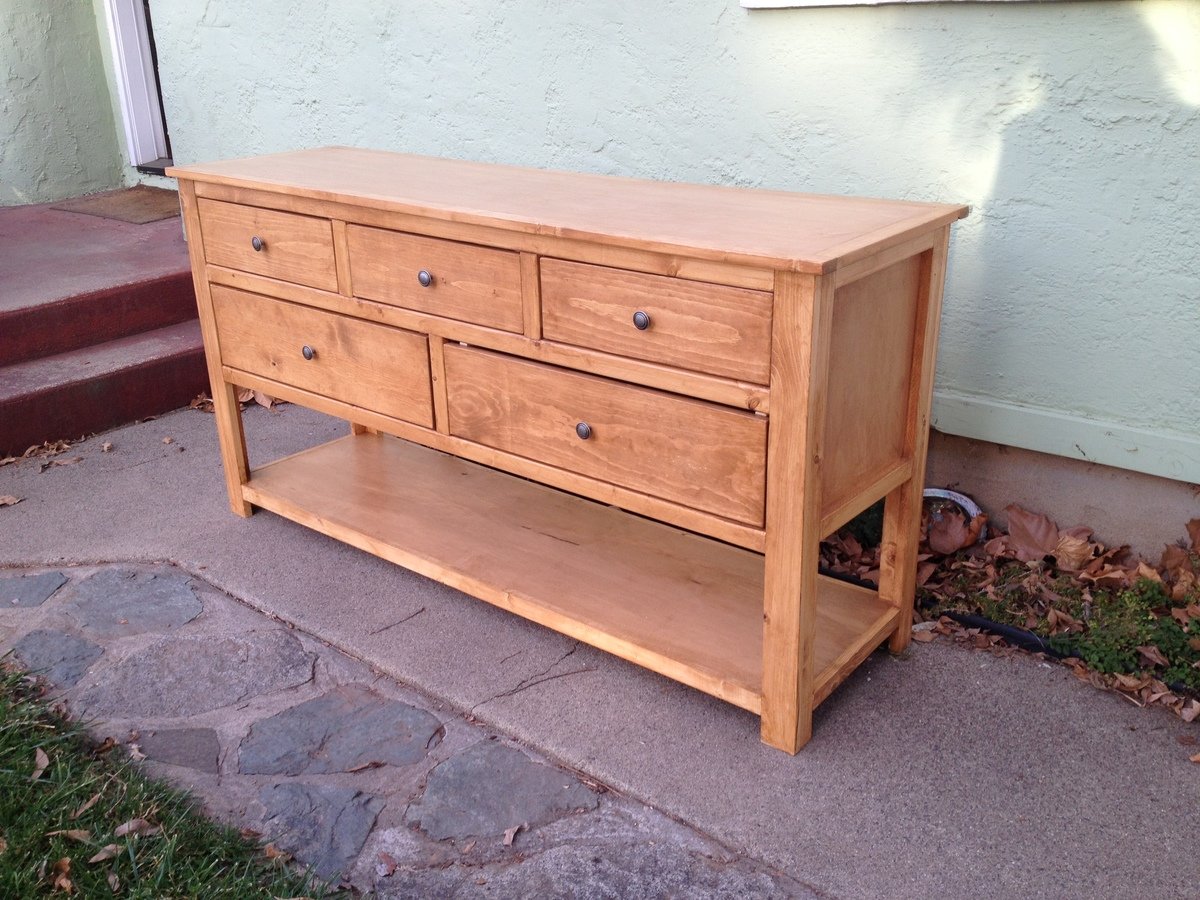
Dresser With Open Bottom Shelf

Submitted by stacynabby on Fri, 01/10/2014 - 22:15

I needed a dresser to match the two farmhouse sidetables I built for the room and this design fit the bill. I really had to take the time to figure out where to place the pocket holes. Finishing is my least favorite part of the process, but I'm glad to have really taken my time. This was a really challenging project and I'm so pleased with the end product. By far, my favorite build yet!

Estimated Cost
$225 - $250
Estimated Time Investment
Weekend Project (10-20 Hours)
Finish Used
Cabot Fruitwood stain and four coats of polyurethane satin finish. Last sanding was with 600 grit.
Recommended Skill Level
Intermediate

4x4 Truss Beam Table and Benches

Submitted by MakinDust on Sat, 01/18/2014 - 08:36

Table and benches were made to plan, except I shortened the overall length and added another 2x10 to the top to give it some additional width. The benches were also shortened slightly so the legs of the benches slide between the legs of the table; which allows the benches to be pushed further under the table when not in use. Avoid my rookie furniture making mistake and go to a specialty lumber store that sells wood that is already aged (dry). Most everything you find at the big box stores will still be wet and shrink/warp on you if not completely dry first.

Built from Plan(s)
Estimated Time Investment
Week Long Project (20 Hours or More)
Finish Used
MinWax English Chestnut Stain and 3 coats of MinWax Satin Poly
Recommended Skill Level
Beginner

Comments

MakinDust

Tue, 05/20/2014 - 16:23

Appreciate the compliments. Sorry for the delayed response, but the final dimensions turned out 72" x 46". Let me know if you have any other questions.