Tv console

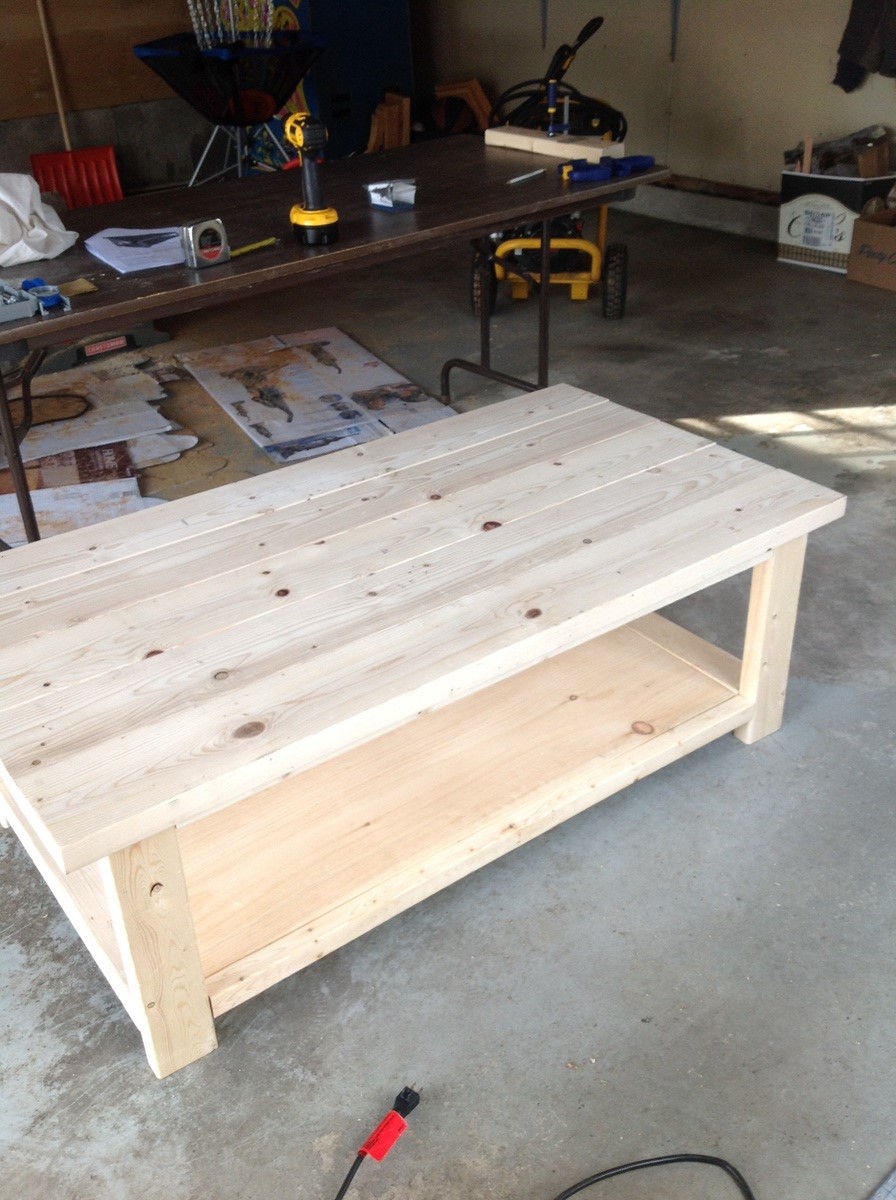
Just a classic looking tv stand. Way cheaper than buying at the store....

Just a classic looking tv stand. Way cheaper than buying at the store....
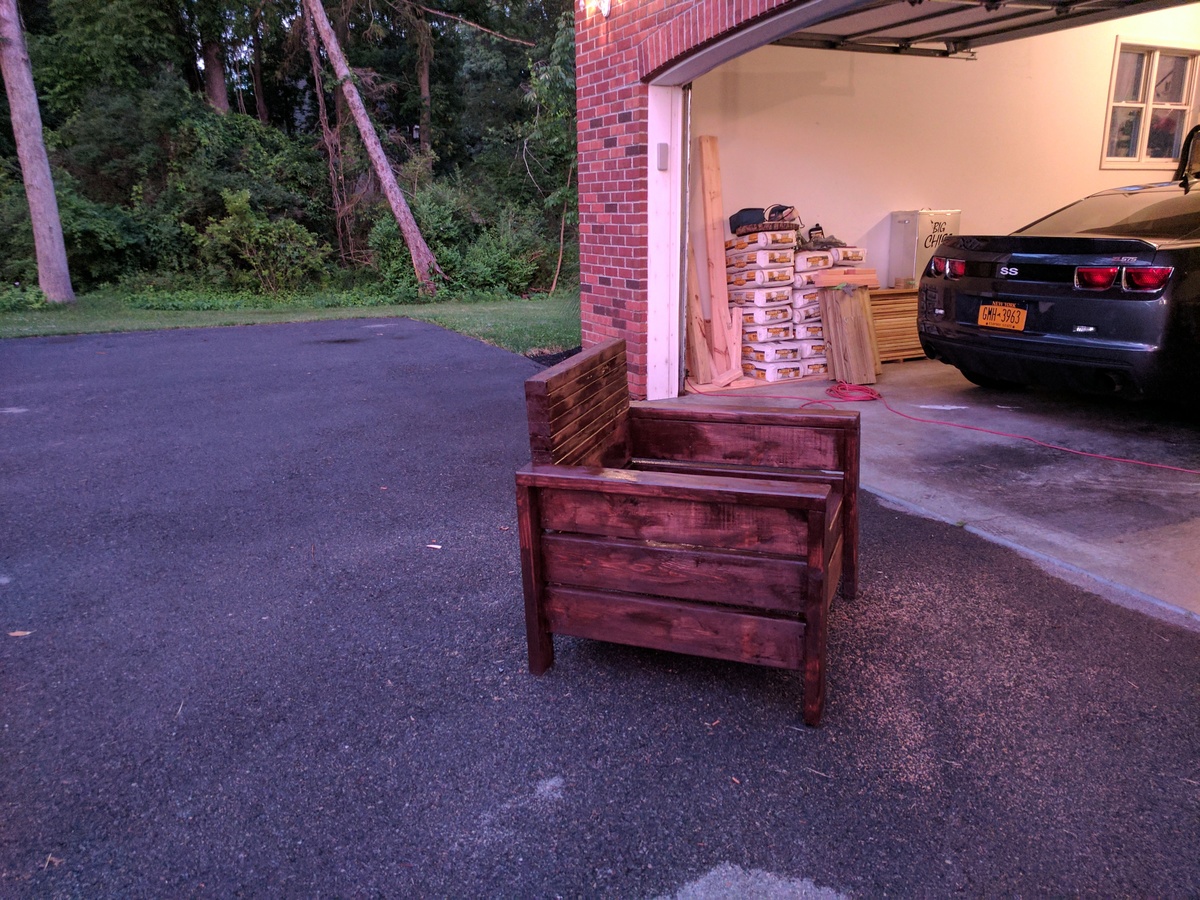
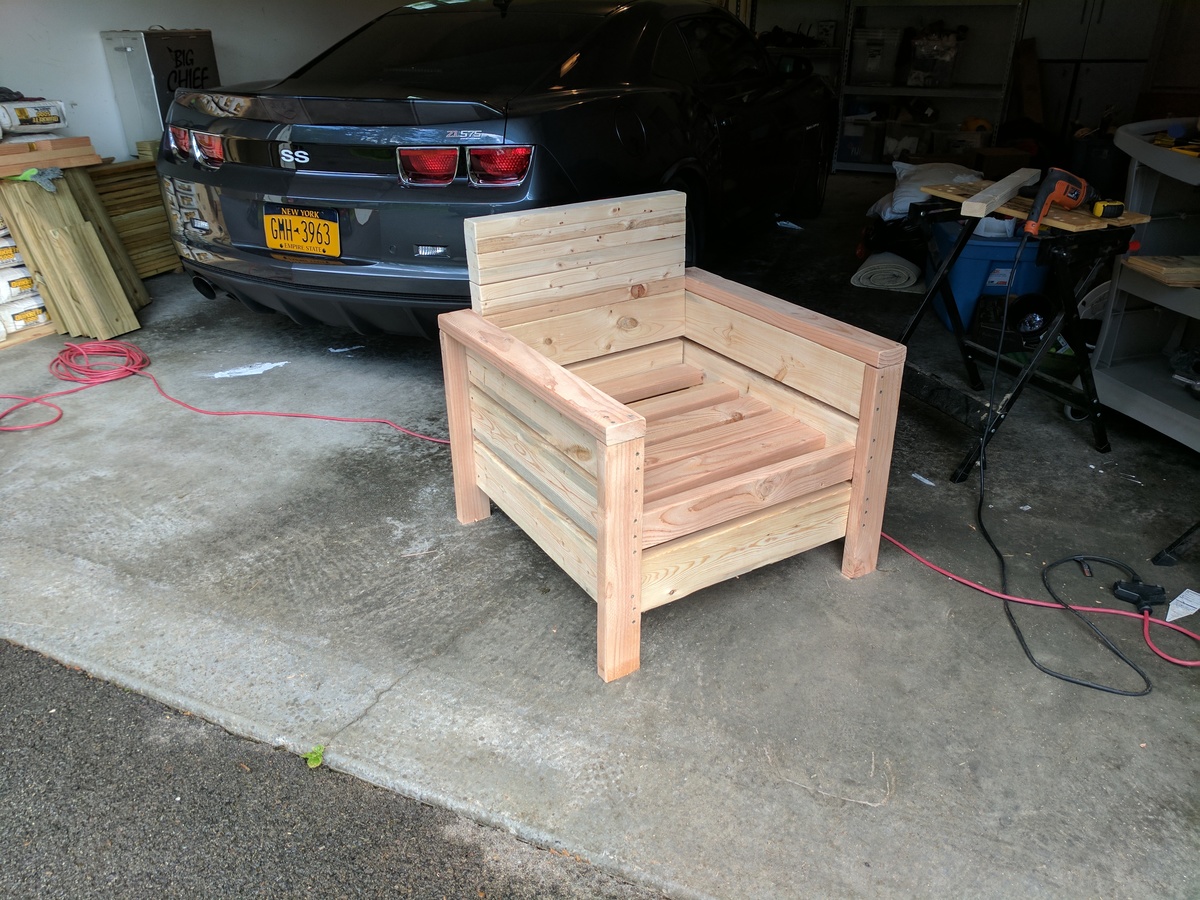
I'm making this for my wife, I added a little Riser on the back because it won't be leaning up against the house and I didn't feel back was high enough.
If you find yourself in the 6-foot range I would recommend increasing the leg height and adding a 4th 2x6 or even a 5th to increase the bsckrest.
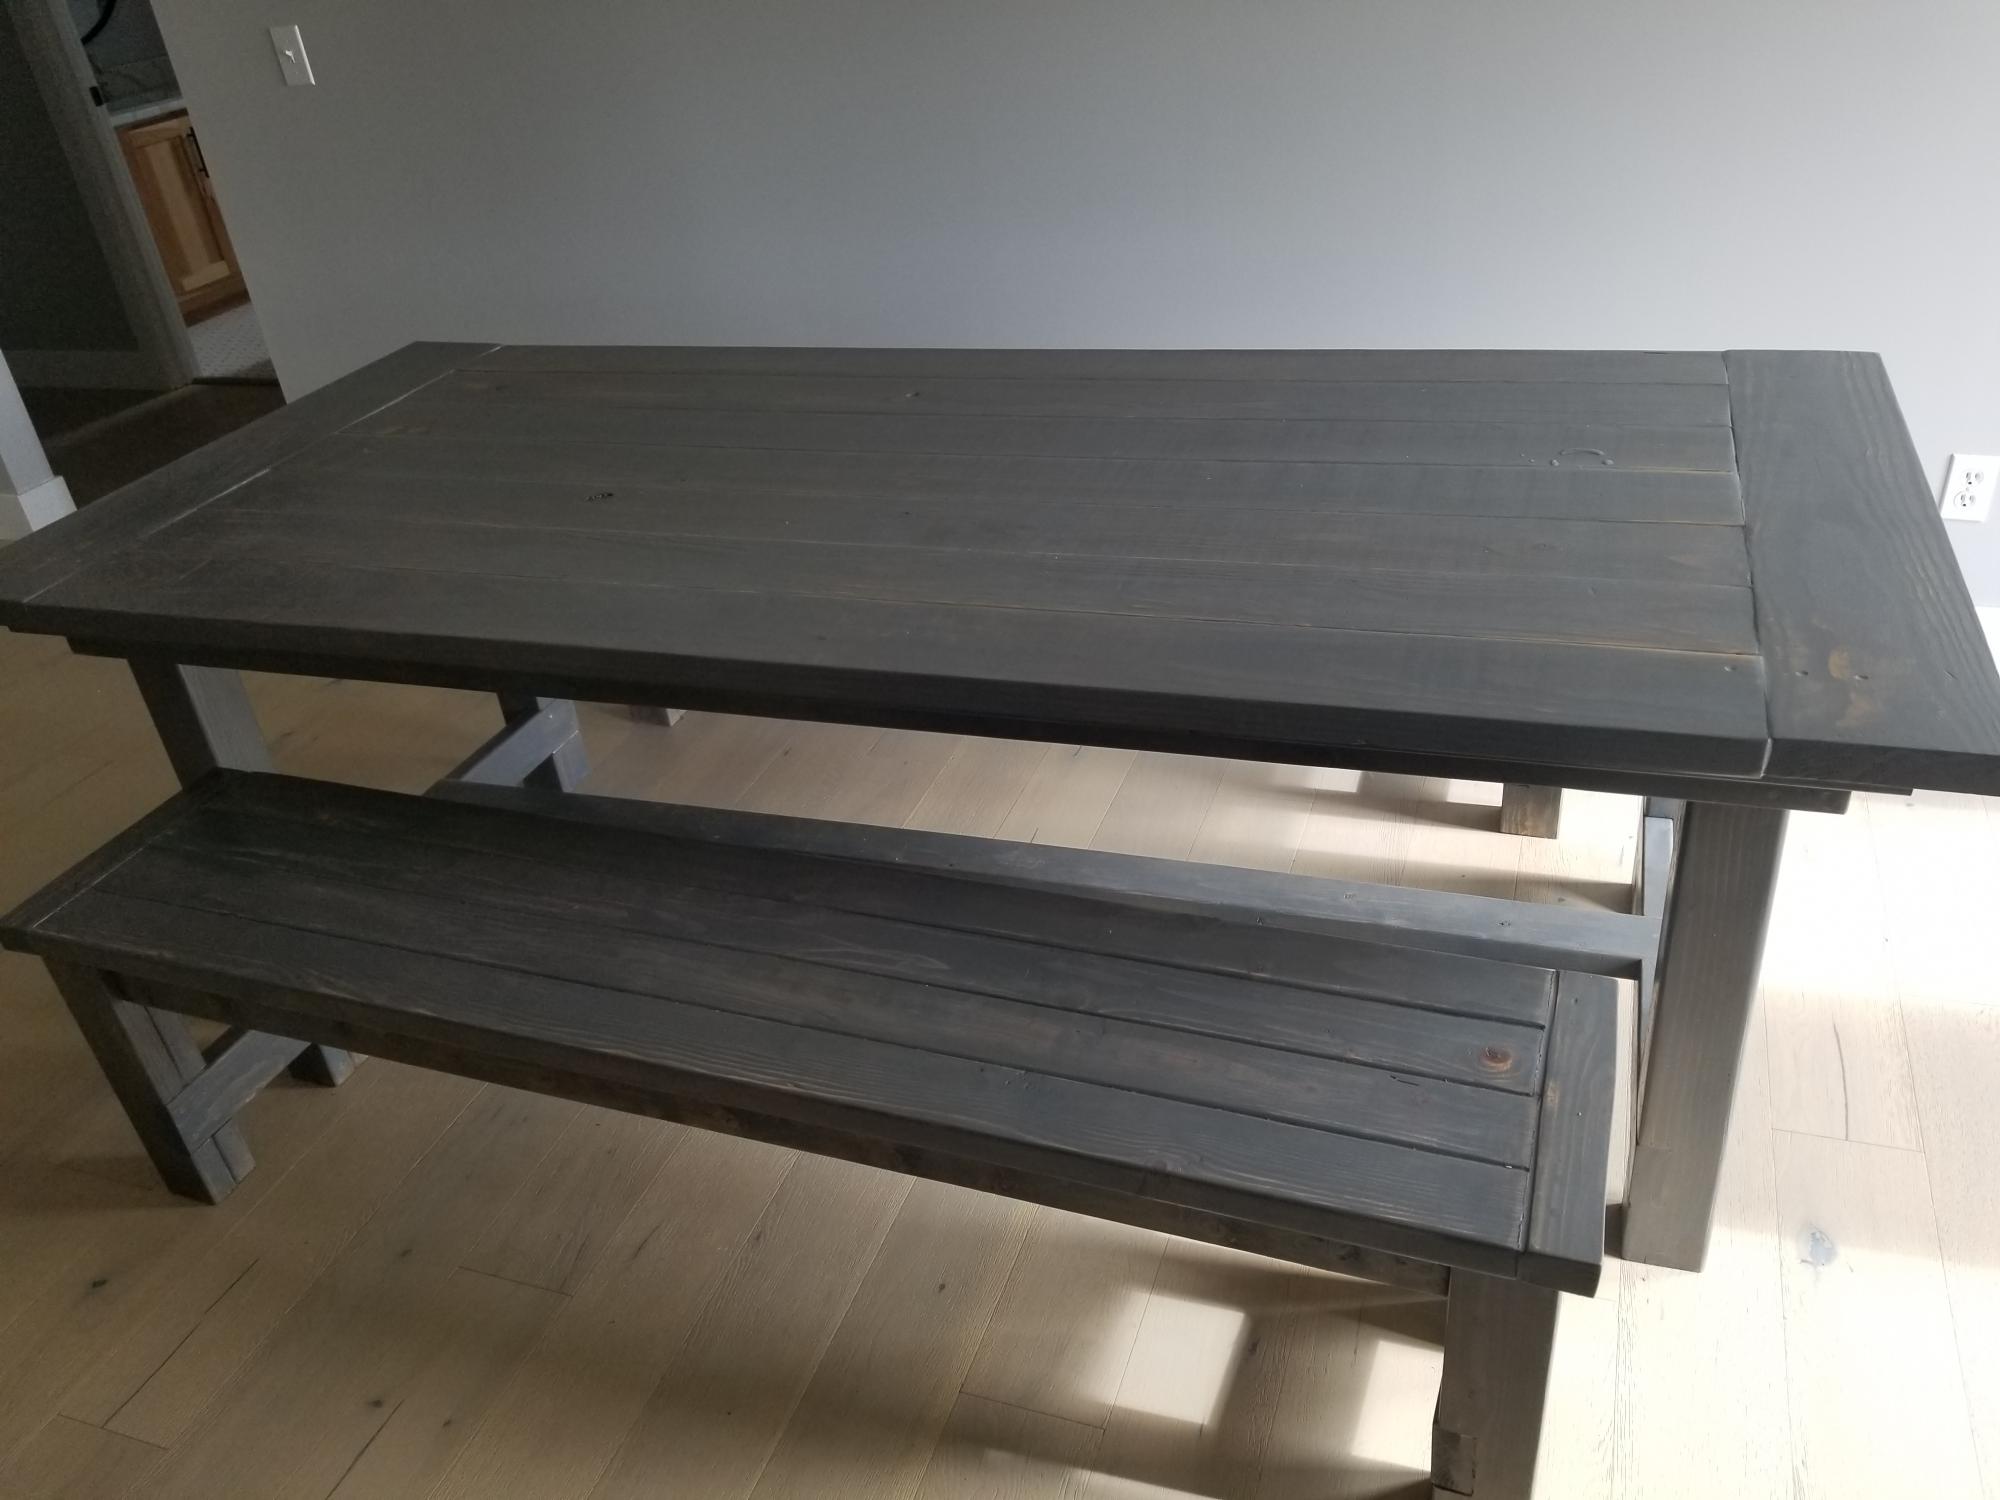
My daughter found this plan on the Ana White website and now, we have made 3 tables total. Pictured is the 2nd one we built together and is currently in her house now.
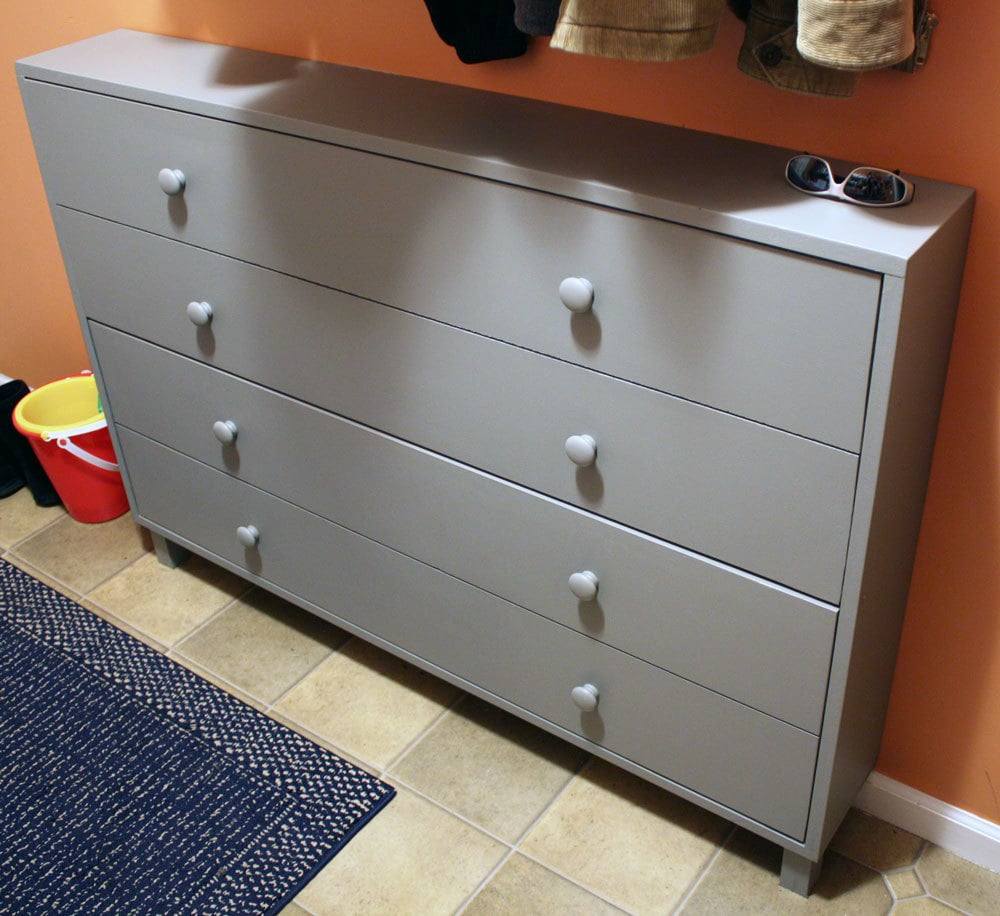
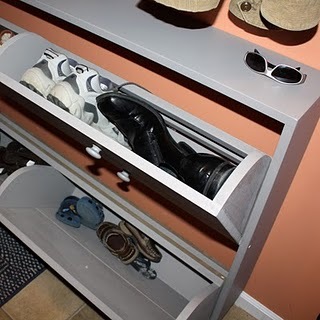
We have two young kids who don't want to take their shoes and put them away (as well as two adults who are the same way) so I asked my hubby to make Ana's shoe dresser. He did a great job and we were so excited with how it turned out!
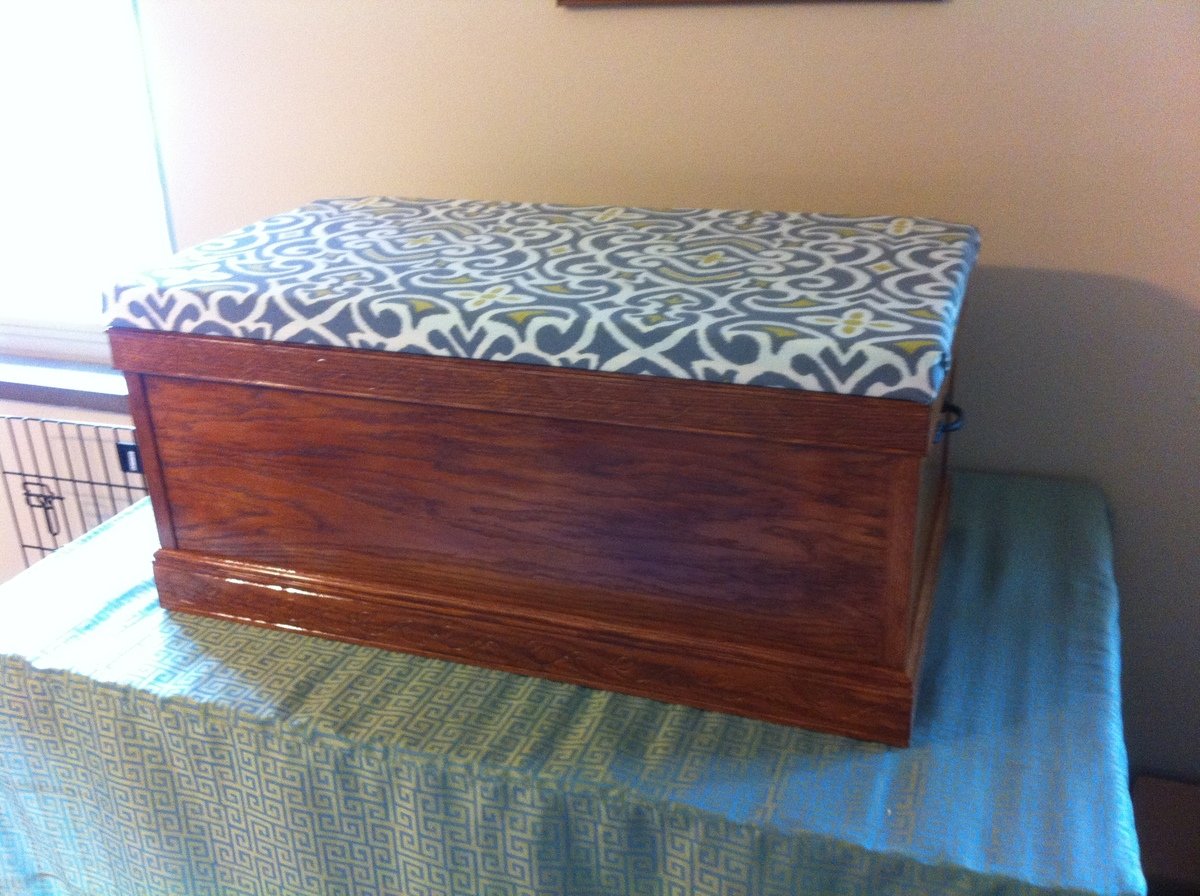
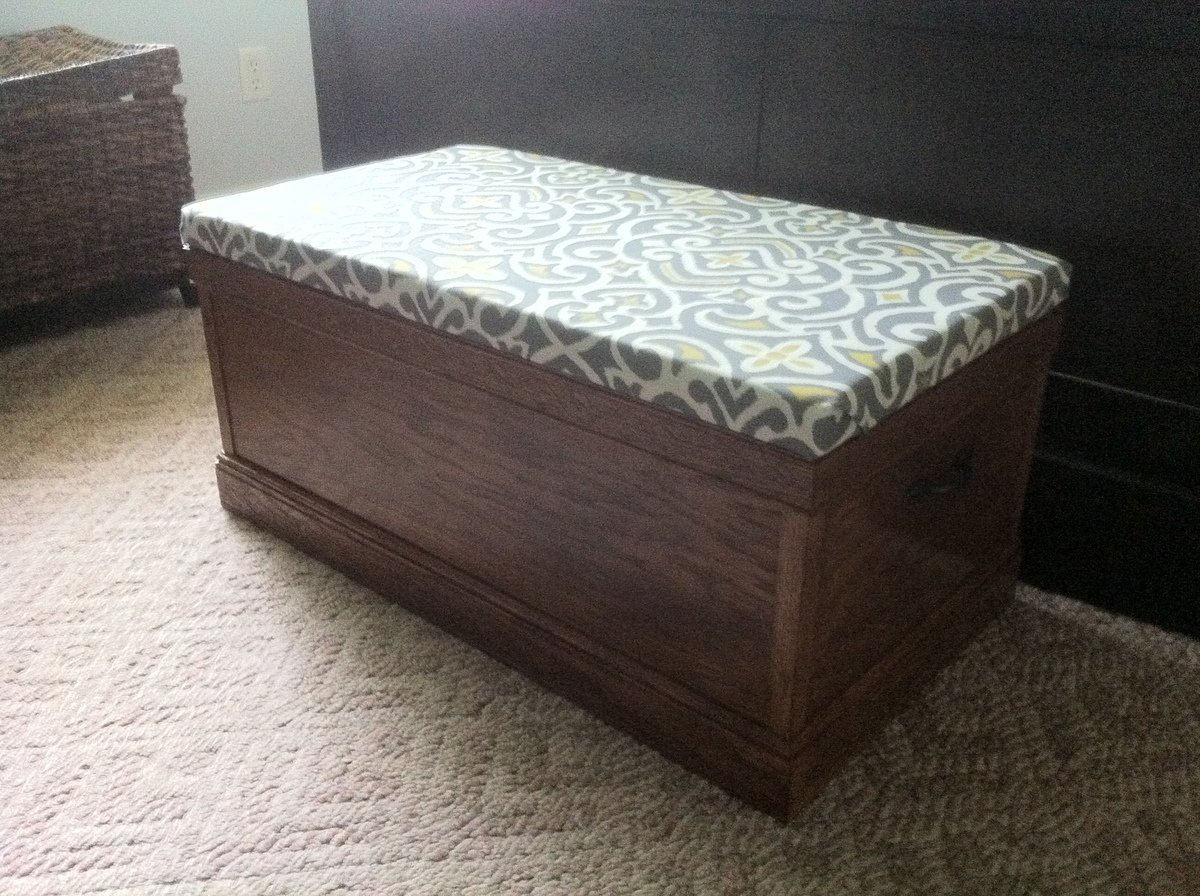
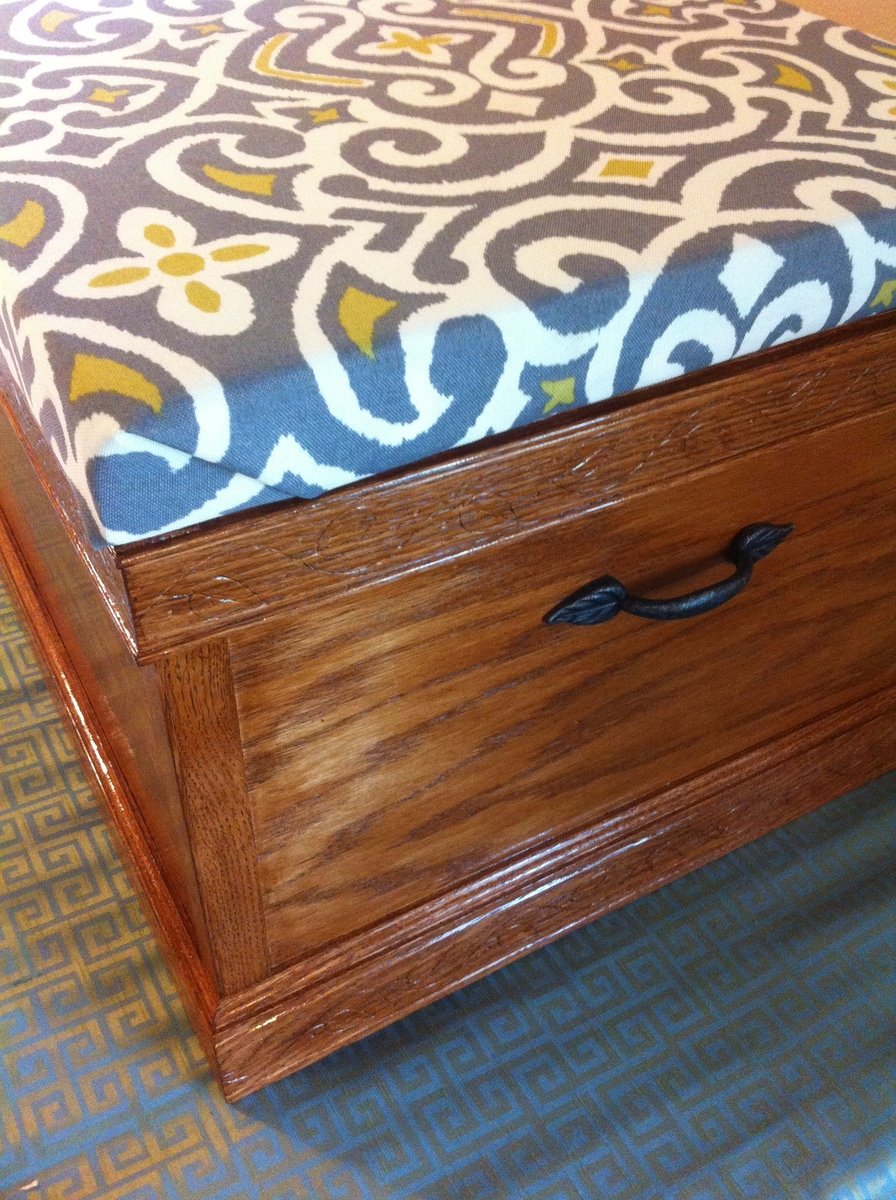
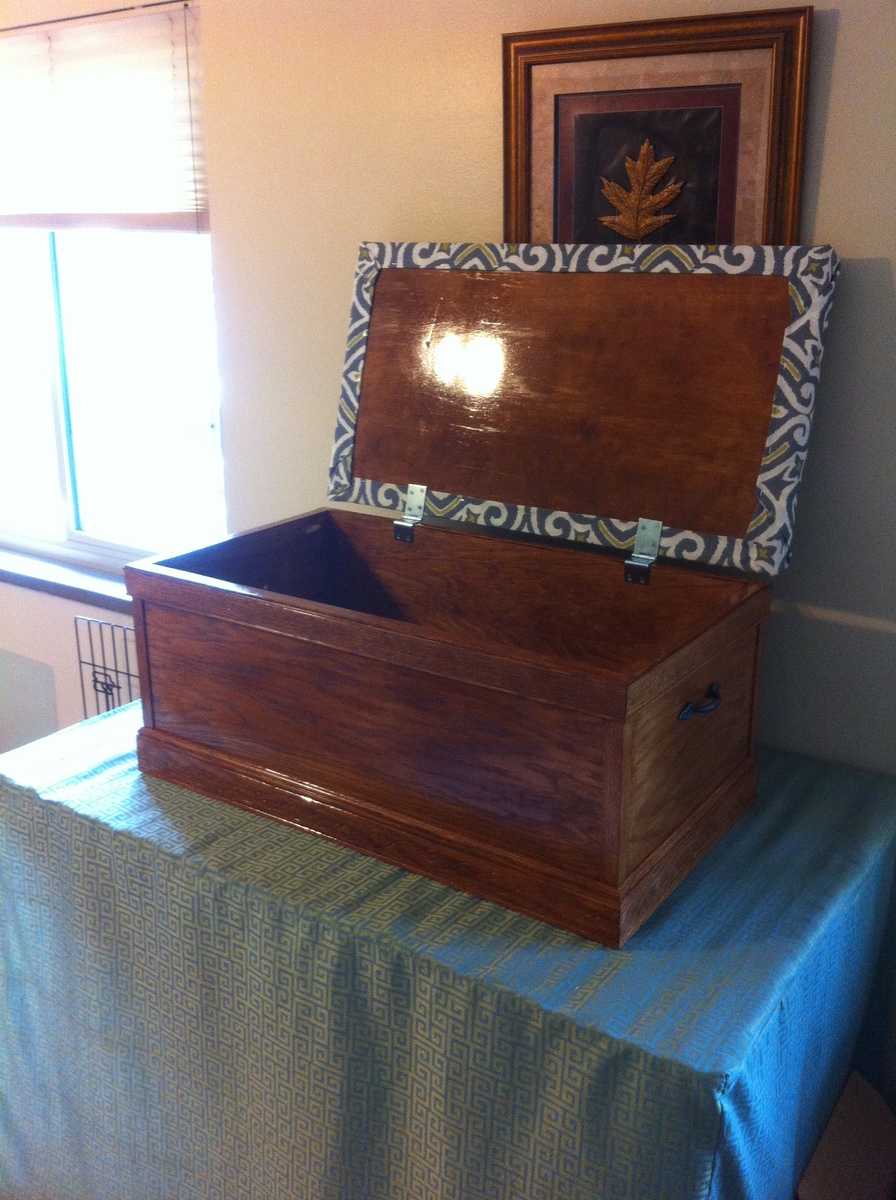
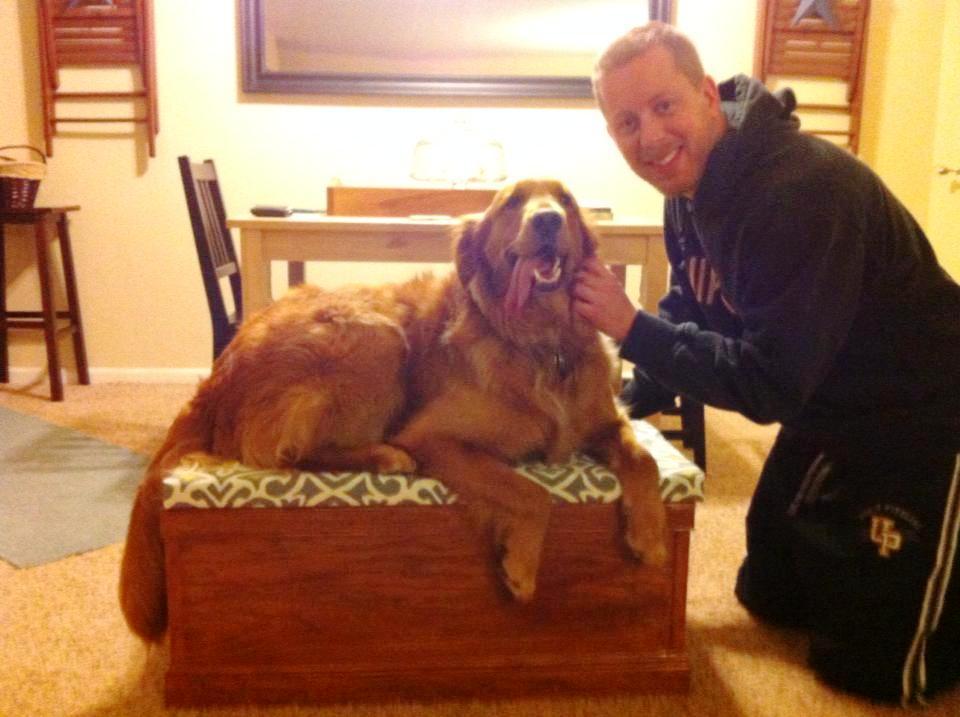
My wife and I have a 2 year old, 85lb, golden retriever named Lily. She has a tough time jumping up on our bed and has hurt herself on a few occasions. I was inspired to build her a step, but also wanted some storage. When I saw the Becca Trunk I knew I had to build it!
I used oak ply and solid oak for the trim, including some decorative leaf inscribed trim for the top and bottom. My wife and I picked out some outdoor furniture fabric that was stylish and would hold up to a big dog jumping on it. She used some firm padding and staple gunned the fabric to create a really neat and clean look (I am lost when it comes to that stuff, but she is a genius with scissors).
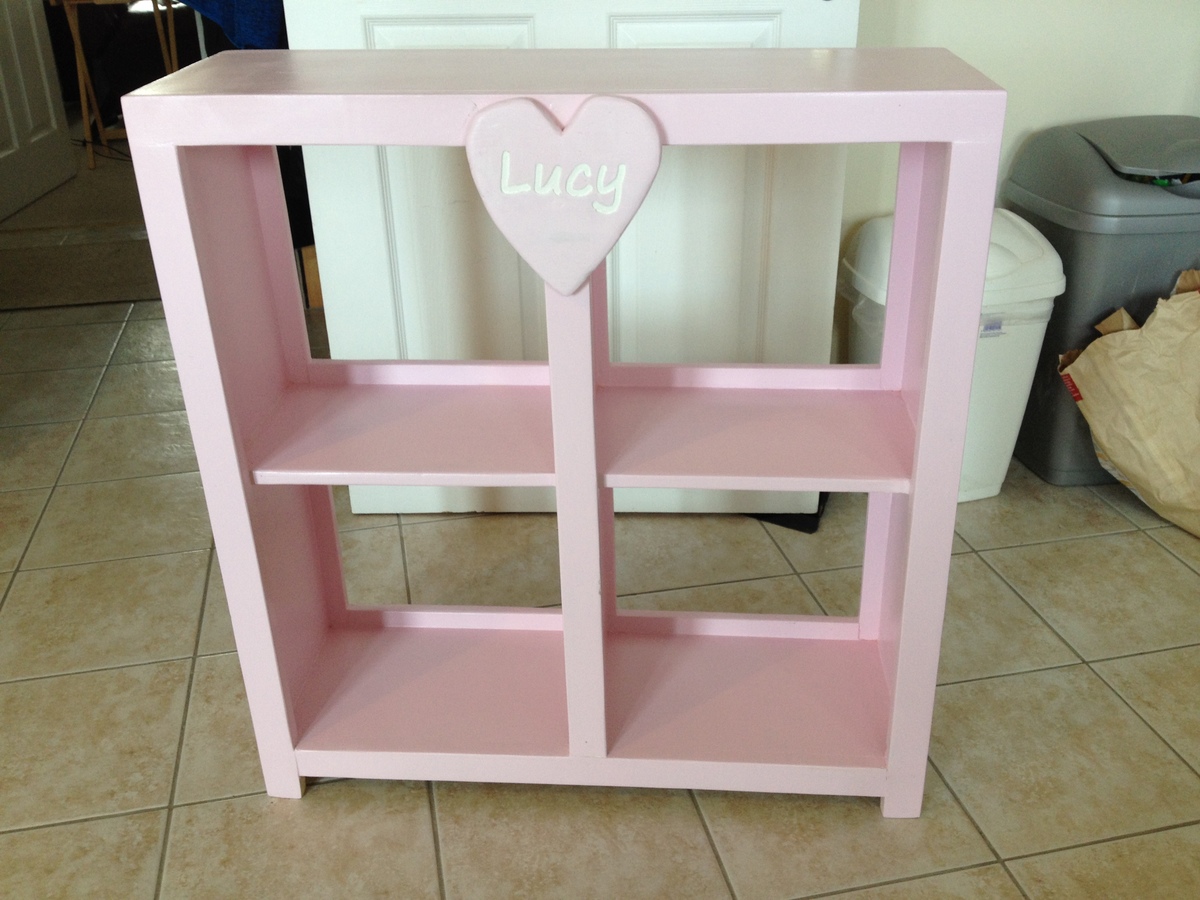
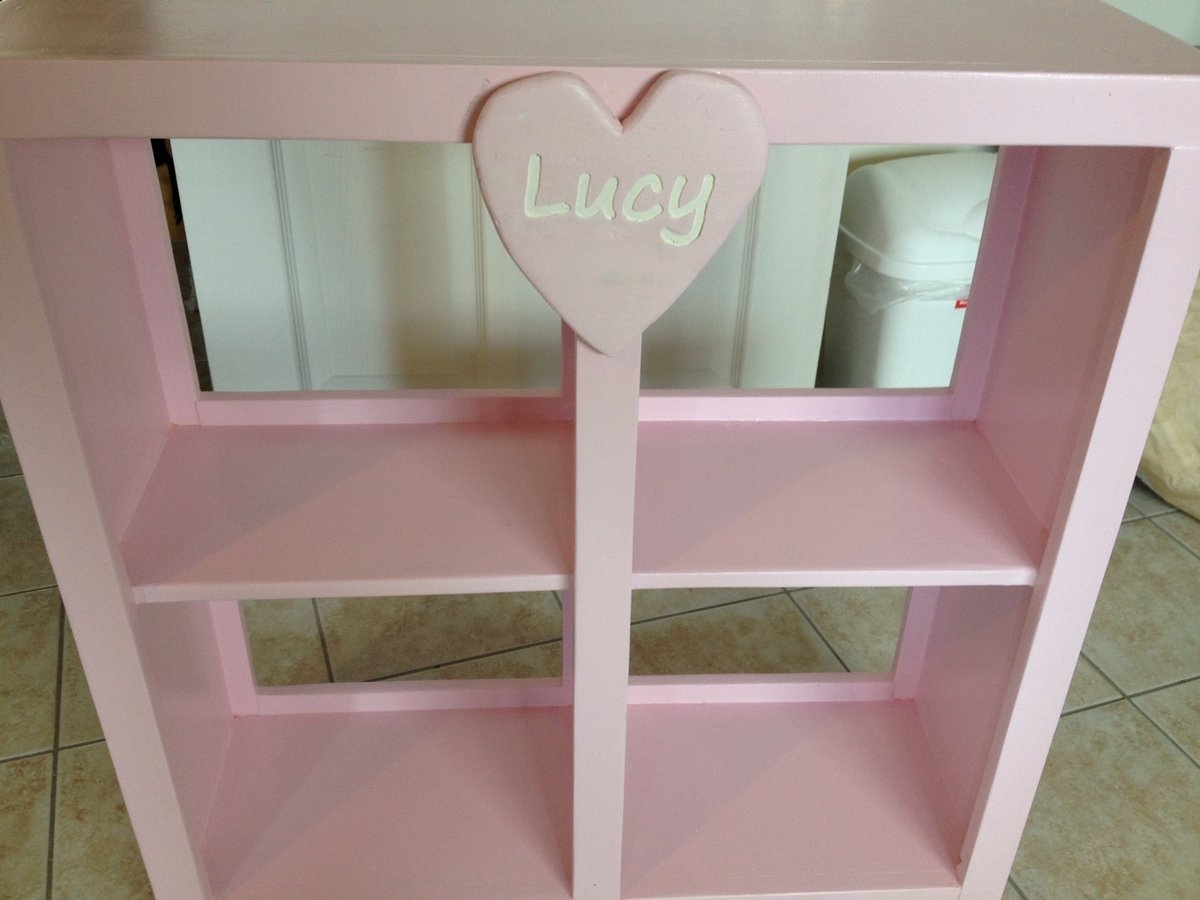
I am a beginer and I am following my dream of having my own tools and workshed. As a result of finding your site Ana I believed I could achieve it and now I have.
Thanks so much for your great plans and inspiration. This bookshelf is my third project from your site.
I will post the two other projects pictures when they are finished, they need paint touchup.
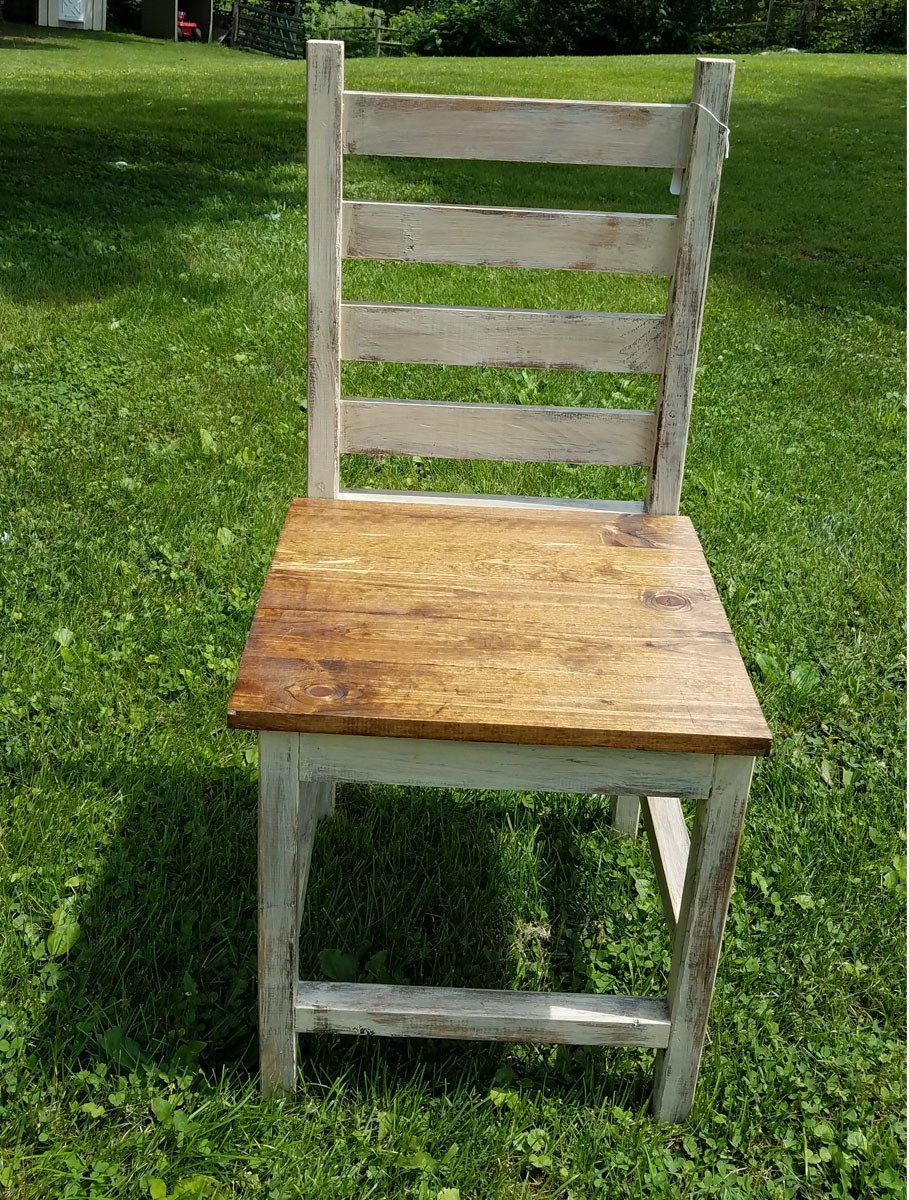
I adjusted the plans to make this a chair that would fit under a regular table. The front legs are 19" and the back legs are 40". Then I followed the plans as written.
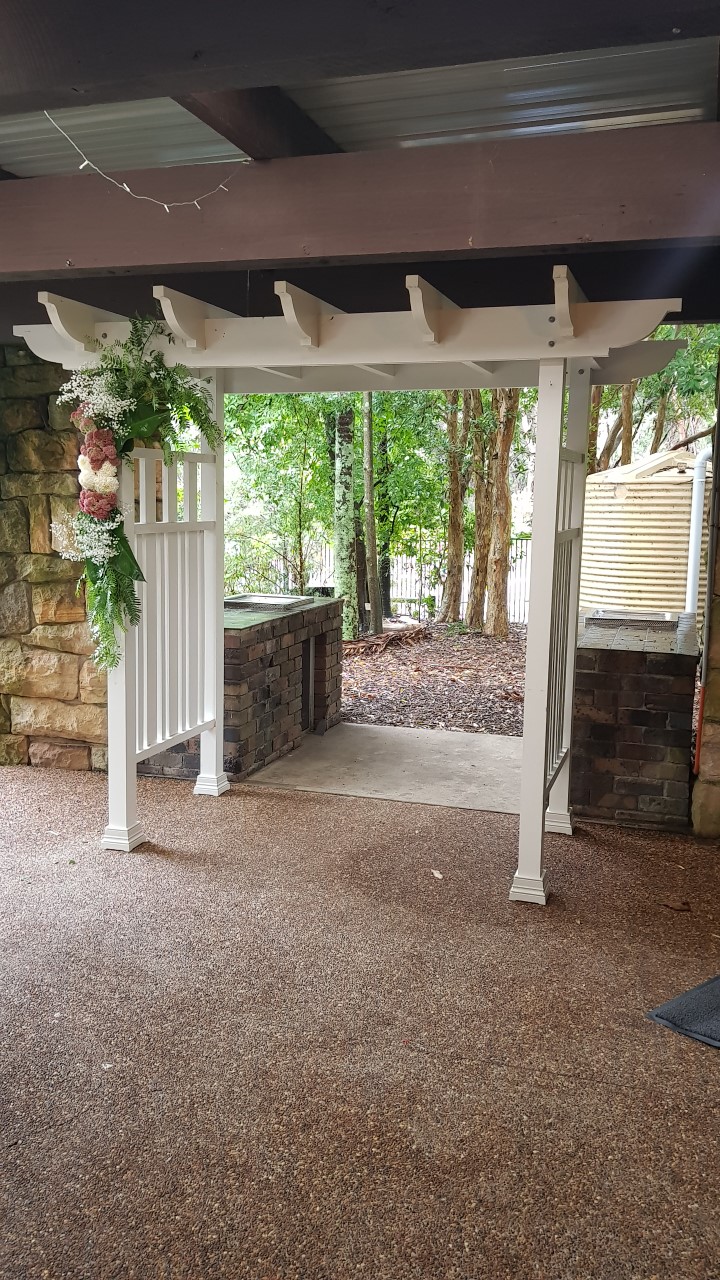
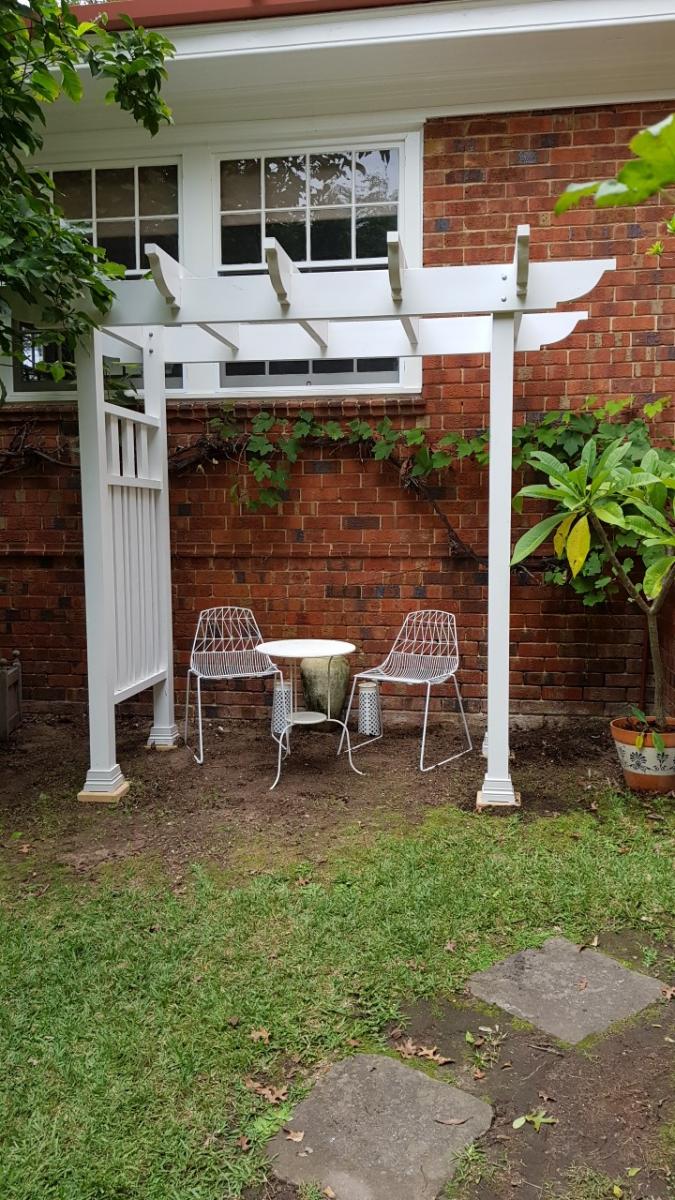
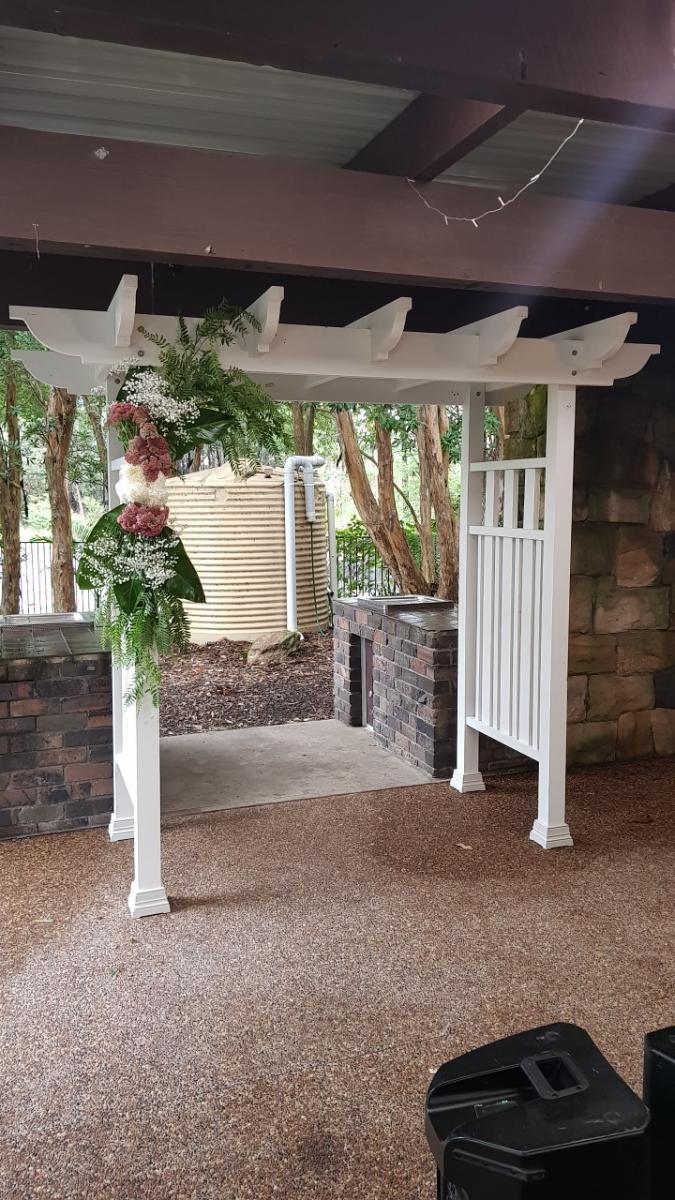
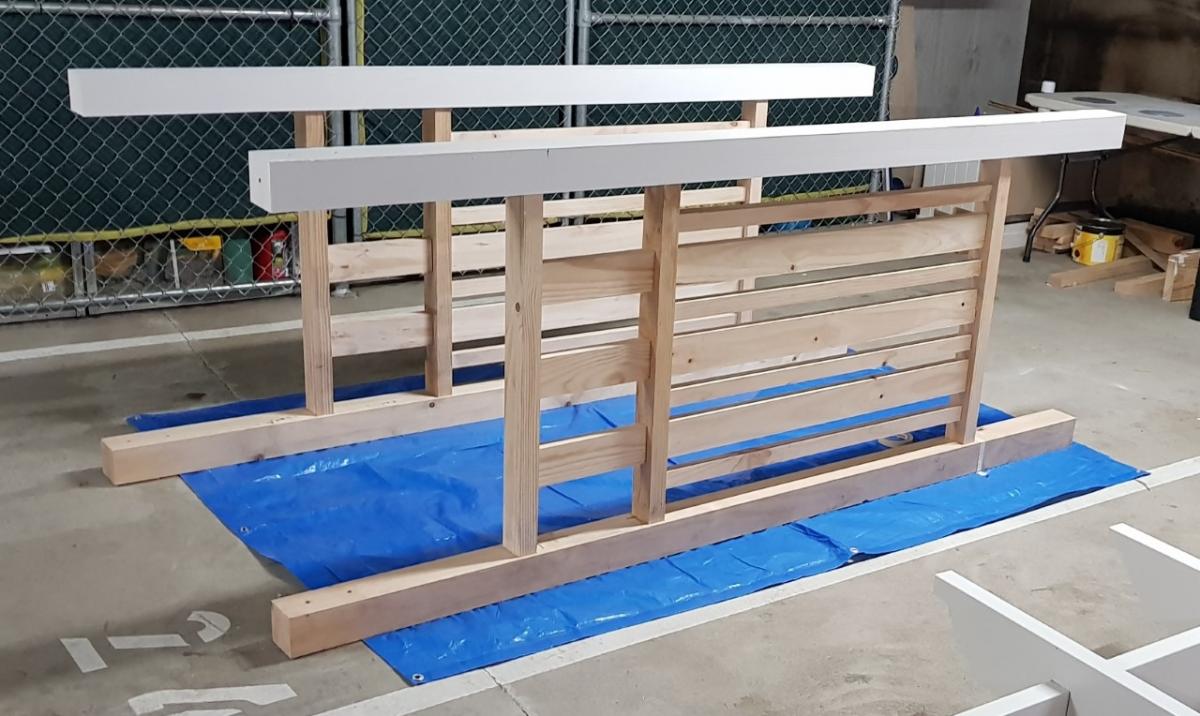
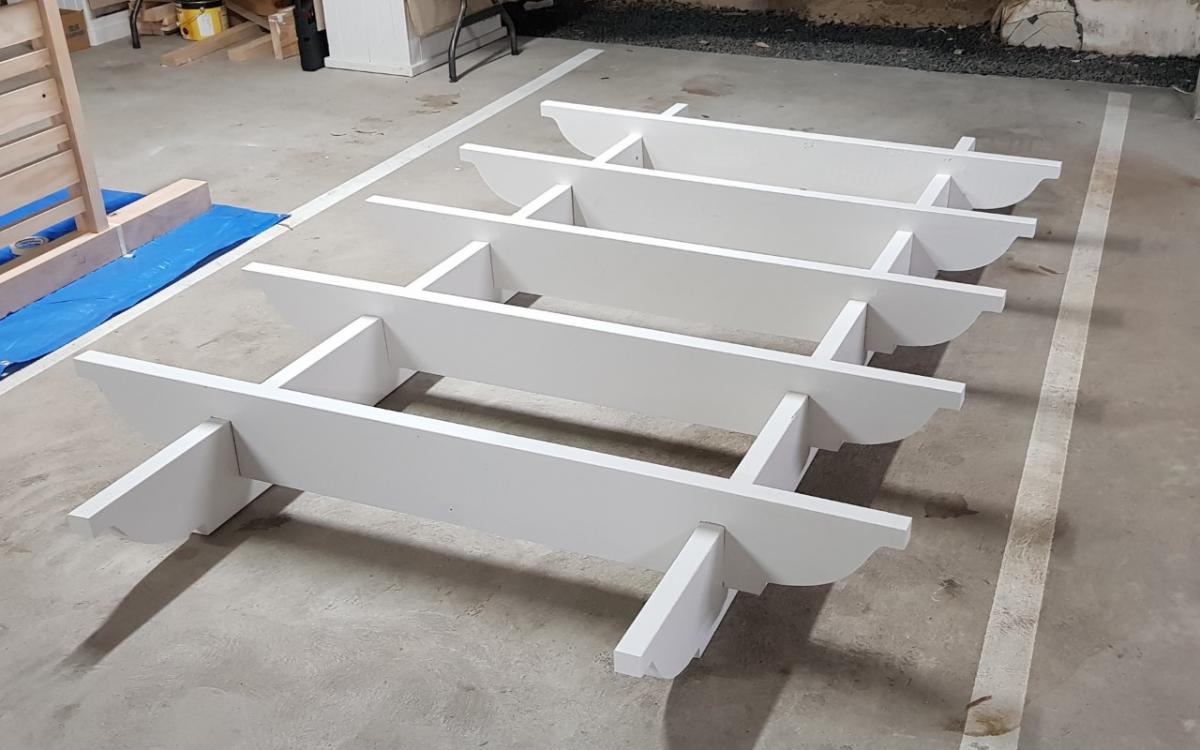
Hi, I built this wedding Arbour for my daughters wedding a while ago and unfortunately, I have no plans as I built from my head. It now sits in pride of place within thier garden as arch for thier garden.
I built this with a drop saw, hand saw, router, drill and hammer only.
I follow Ana's plans every release and save her plans for when I retire in two years to build for our house as well as try to run a small business from my shed.
Thank you Ana for you continued plans and wonderful advice.
Tue, 10/05/2021 - 10:40
WOW, such a sweet gift and reminder of their special day! Thanks for sharing:)
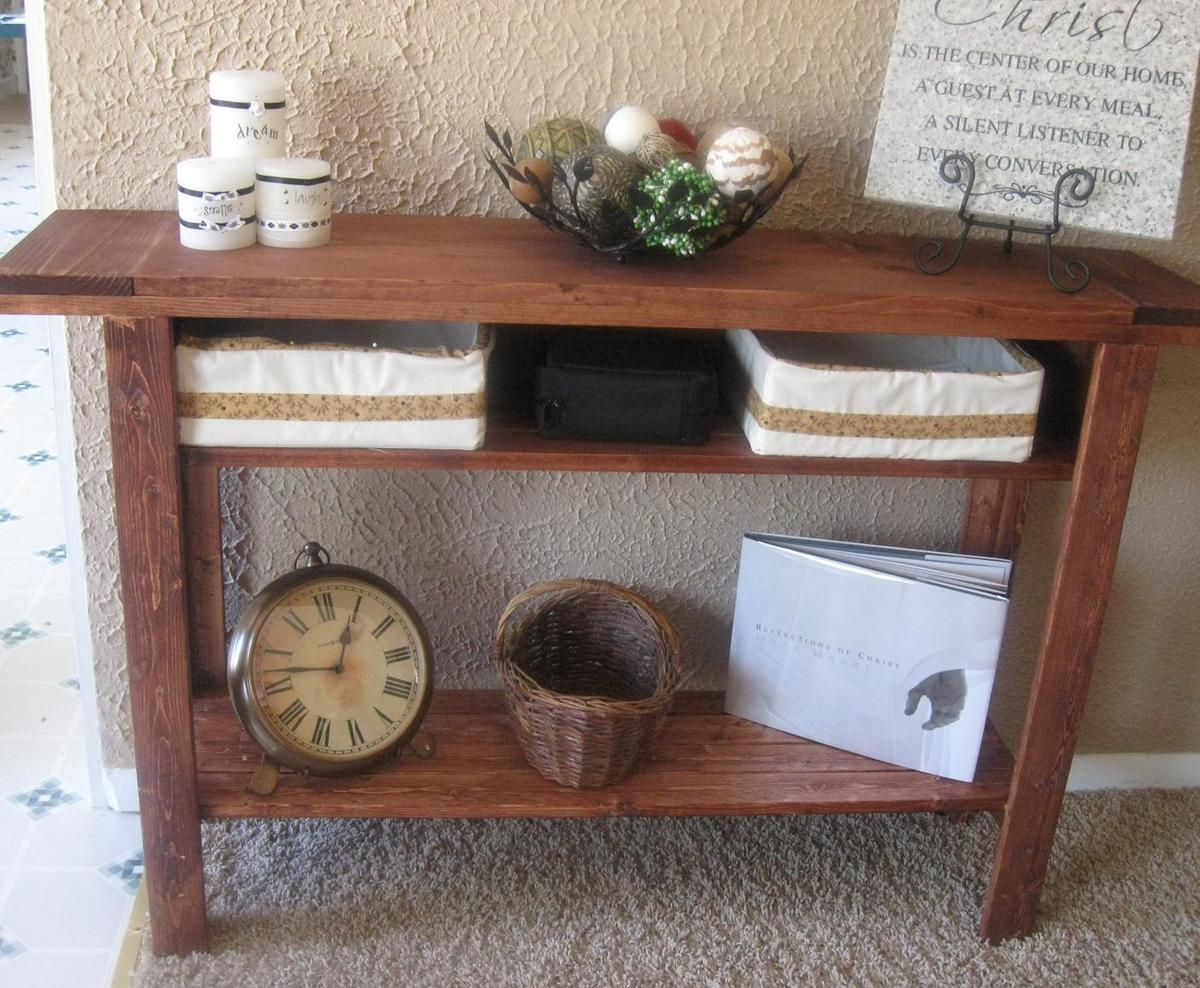
I added the bottom shelf by using (4) 1x3's. I also swapped out the 1x4 back for a 1x6 to give the top shelf more height. Lots more details on my blog.
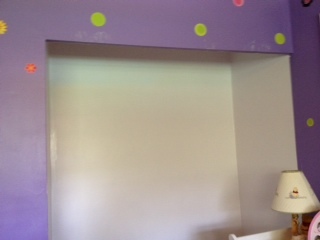
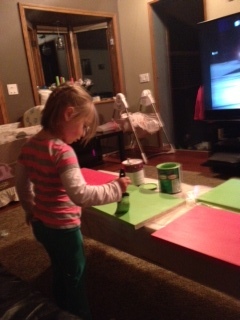
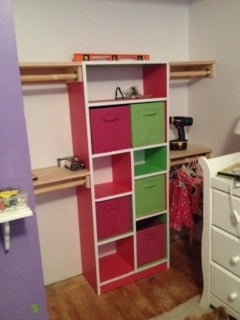
This one took a while in between taken care of the baby and working full time this one took me prolly 2 weekends or longer to do if I didn't have to do all that stuff lol. I had this horrible wiring rack if you can see that went top to bottom and these stupid sliding doors that I really hate bc with the dresser there it's like I can't get in so I just took them off I really want to put in a bifold dorr there but can't so I prolly will hang bead's instead. Kadence really enjoyed picking out the colors and helping me paint. I started off on debating for awhile what I was going to paint what color. I was gonna paint it all pink and do a design of something in green but I think this turned out pretty nicley and really compliment's there purple room. Yay I saved my office from going to the basement!!! Kadence is really happy to get to share her bedroom and I am really happy to be able to get into the closet and actually want to use it so hopefully the room will stay clean and I can get ride of some furniture and get rid of the piles of clothes in my living room lol. I also am glad she can put her own clothes away bc it's just her size. I don't think I am done yet with it tho. I want to put some things on to hang her day hat's on and some ledges towards the out side I think to hold her books. This one cost a little bit more for everything almost about 200 prolly with all the extra's we got for it and the expensive pine. It also took longer bc I had to tear out the old rack and mudd the hole's and tear out the carpet in the closet so I could see the old wood floor and place this in correctly needed to get rid of the carpet eventually any ways. The painting took awhile also of course because I had to prime then paint if I would have used one color it prolly wouldn't have taken that long.

Mon, 05/13/2013 - 13:03
I finally figured out how to do the blog!! So this is my very first blog!!!! I was so excited to be able to publish my great work!

I made this for my wife. I used 2x3 glue and screw together for the table top. I have a conception that a heavy table top create a sturdy table. I used redwood 2x3 with lag screw. The sitting bench is completely made out of 2x3.

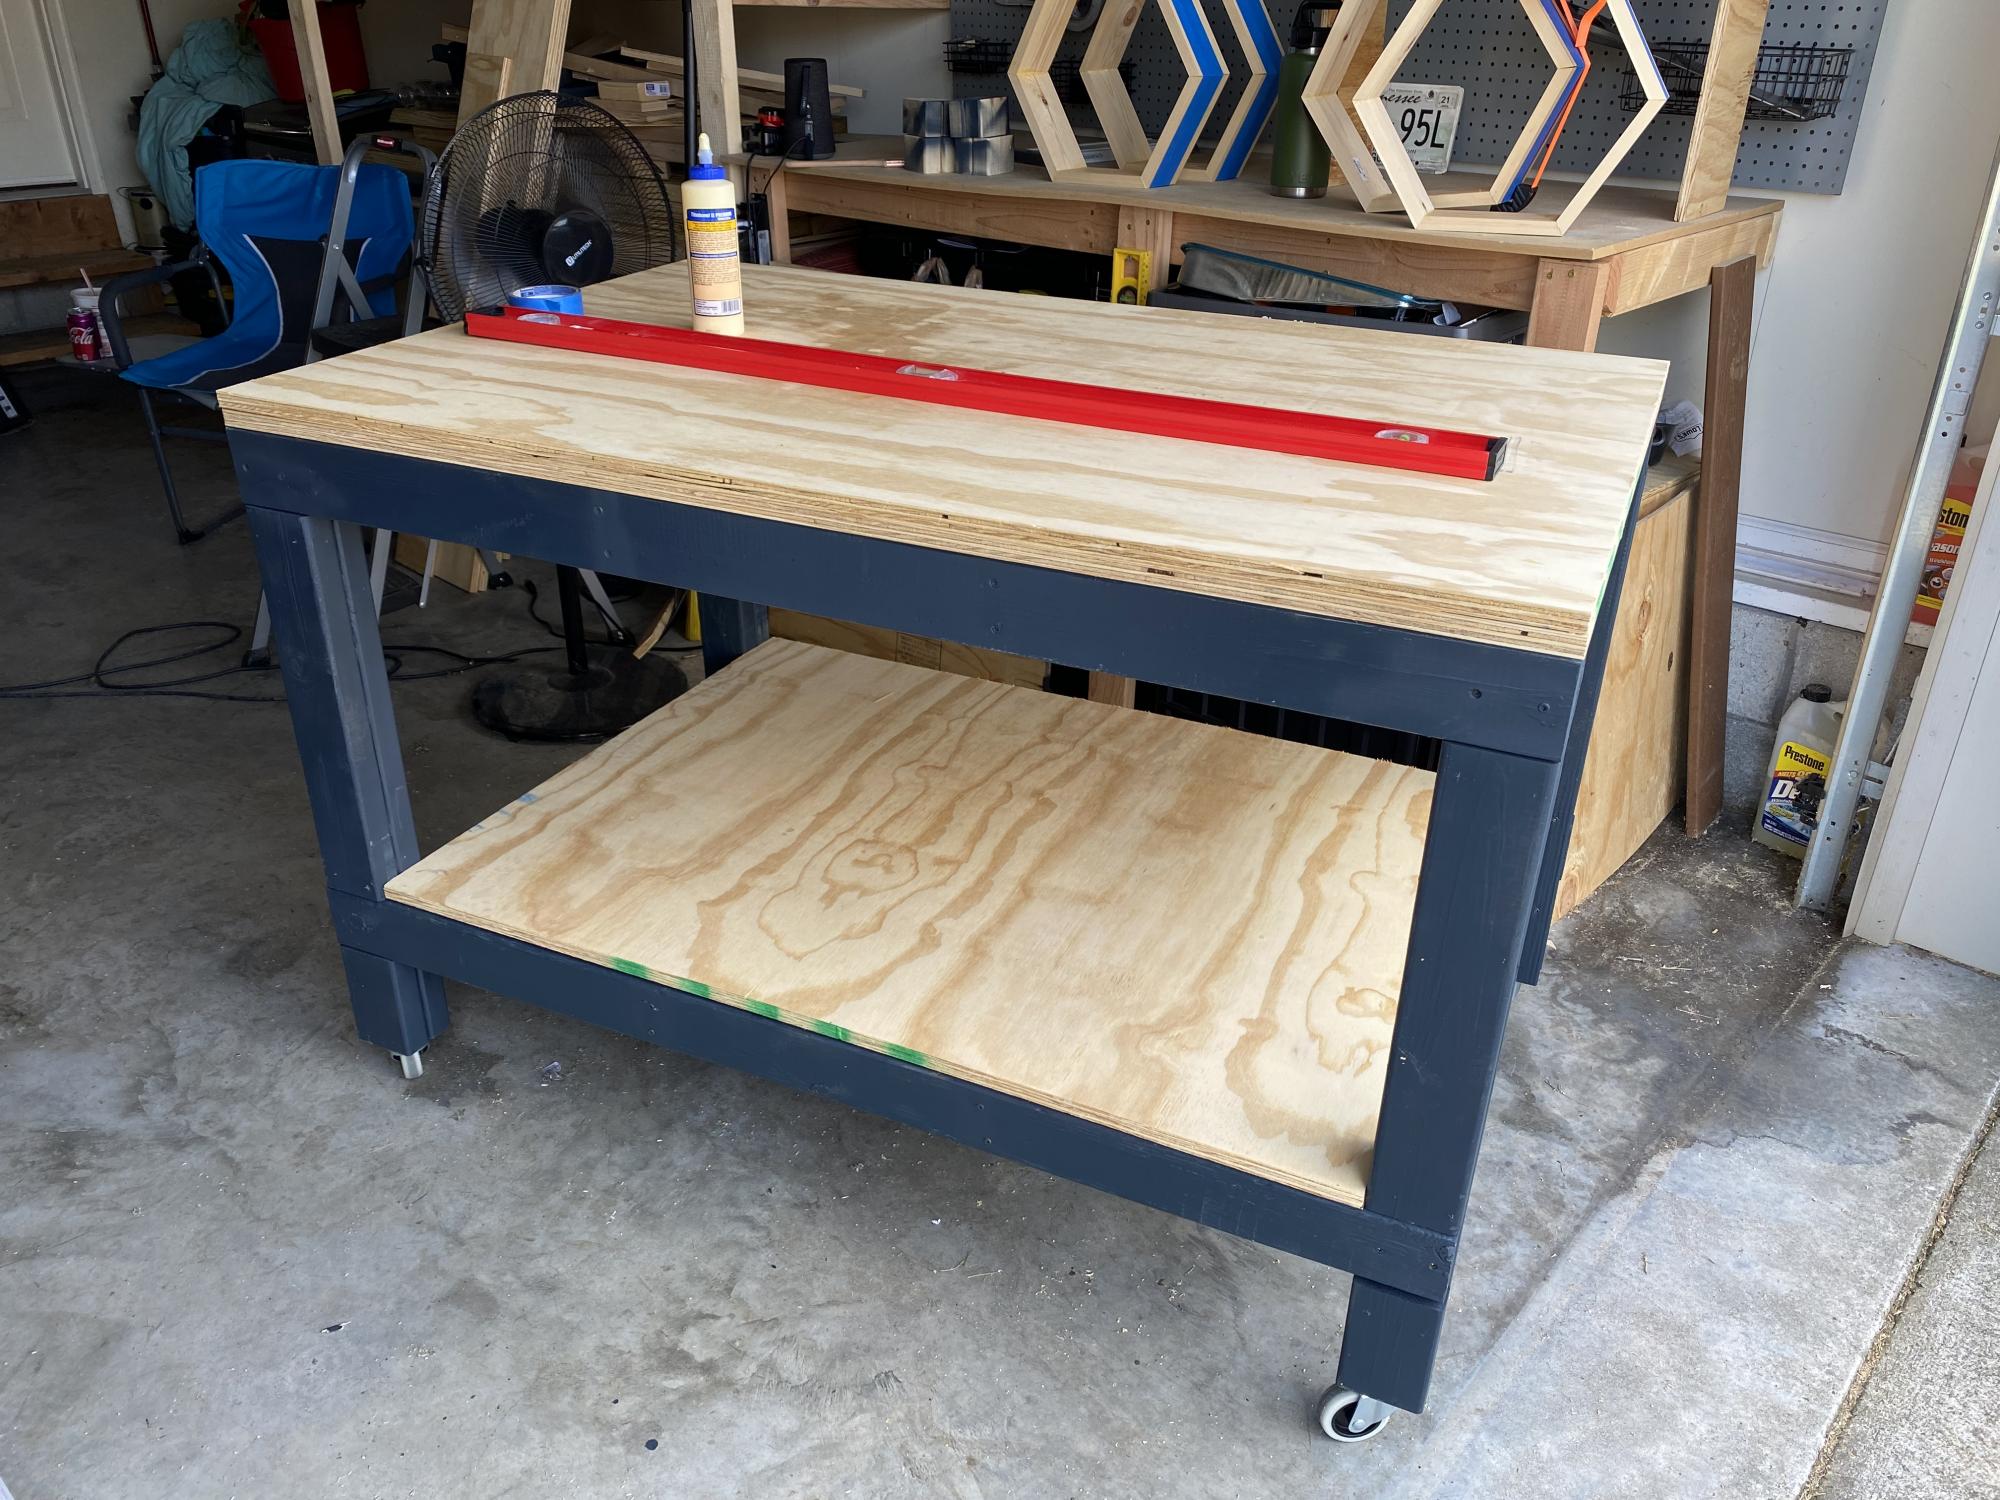
Ana I’m new to wood working and I really love your plans. They are so much easier to follow than a lot of other plans that I’ve seen. It makes me feel like I can build almost anything. Thank you.
Brandy
So, here is my unexciting step stool. It became a hodge podge of material because I didn’t have practically ANYTHING on the cut list in my shop! So the sides are made of 2 1×4′s a 1×3 and a 1×2 pocket holed together! The bottom kick is two 1×3′s and the top is a piece of 5/8″ plywood. The back is plywood too, and the treads are two pieces (each) of 1×4! Talk about a weird way to build Ana’s simple plan!
I decided not to do the storage step since I really didn’t need it, and I was tired of scrounging for wood too! It still needs a touch-up of putty (especially the opposite side because I forgot to mirror the pieces and all the pocket holes are on the outside! whoops!) and then some sort of easy to clean paint.
Took me a couple hours to put together on a cold Christmas afternoon while my son was sleeping and my mother-in-law and guy were watching Shrek on tv.
Very unexciting. Not nearly as exciting as the lockers I’ve been coveting…
Except…. when you see just how happy my lil guy was when he got up from his nap….
… and then it becomes a WHOLE LOT more exciting!
Merry Christmas everyone!
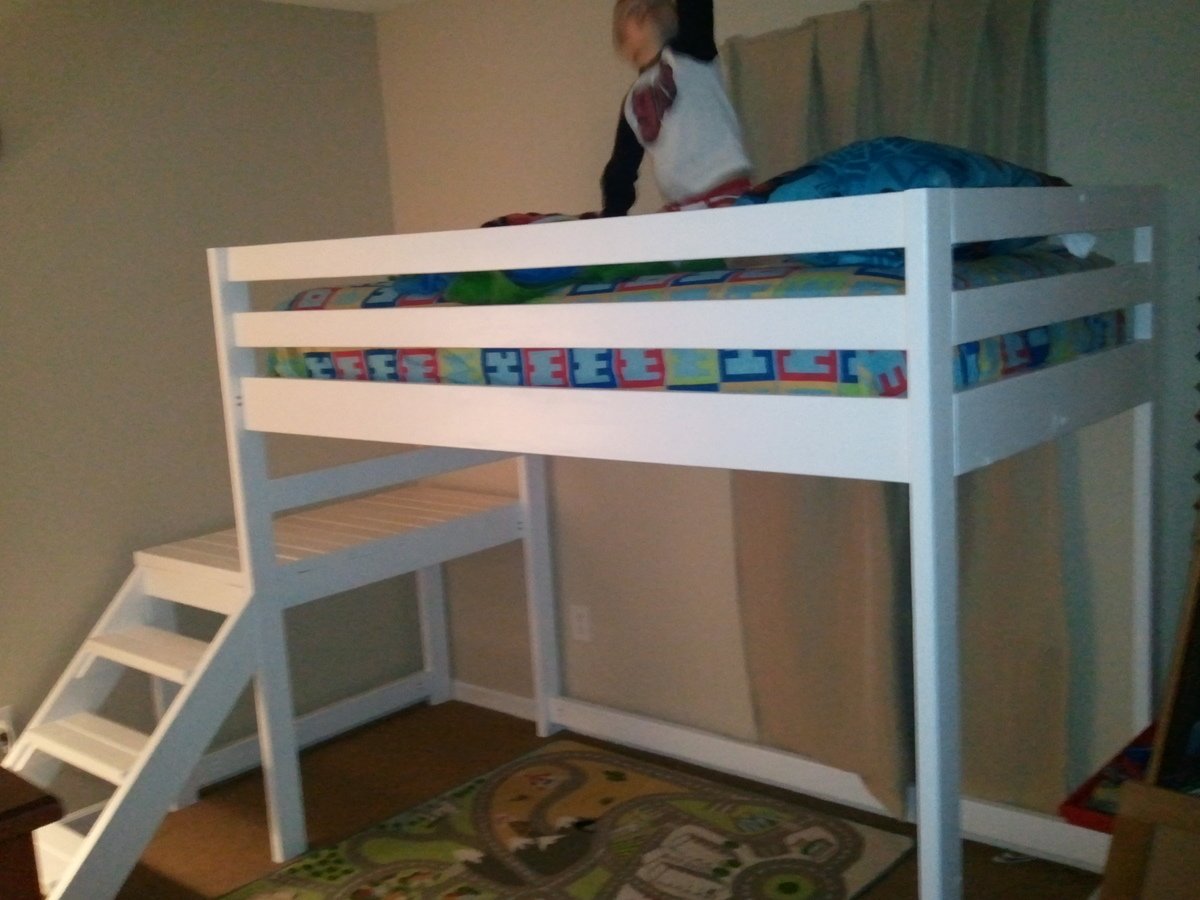
This was my husband's first project, to build our son a new big boy bed. For being his first project, it went pretty smoothly. He worked on it off and on for about a week, but didn't take longer than 12-14 hours or so. We painted it with a semi-gloss white paint, and I'm currently working on curtains (made to look like a barn) to hang on the bed. Noah loves his new bed!
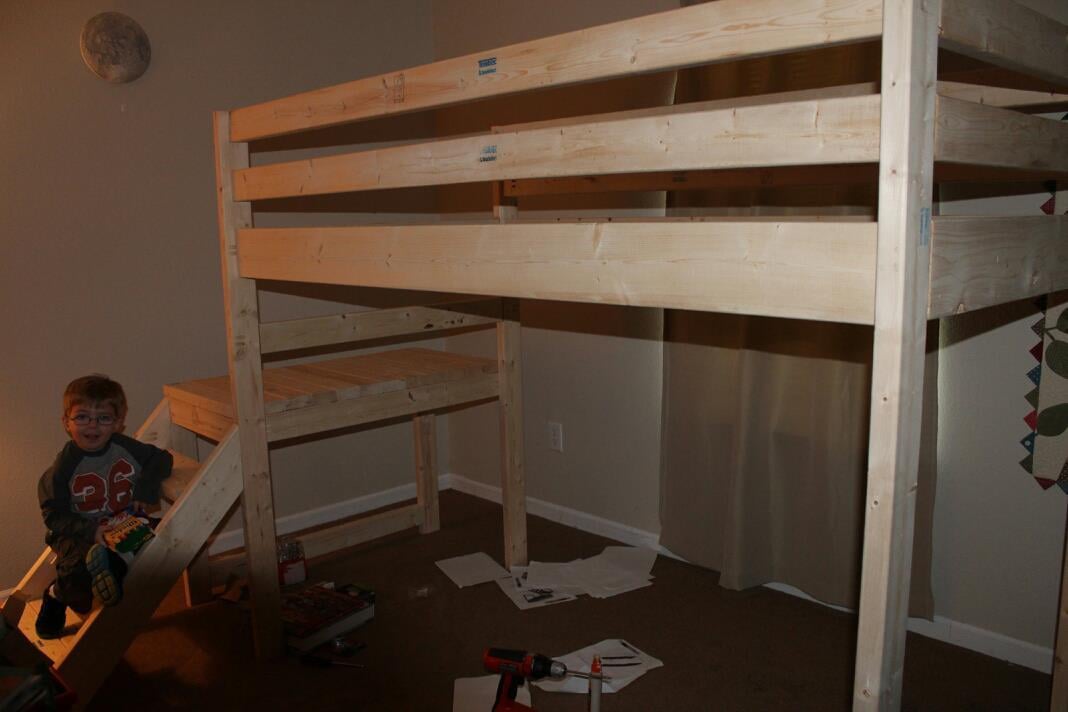
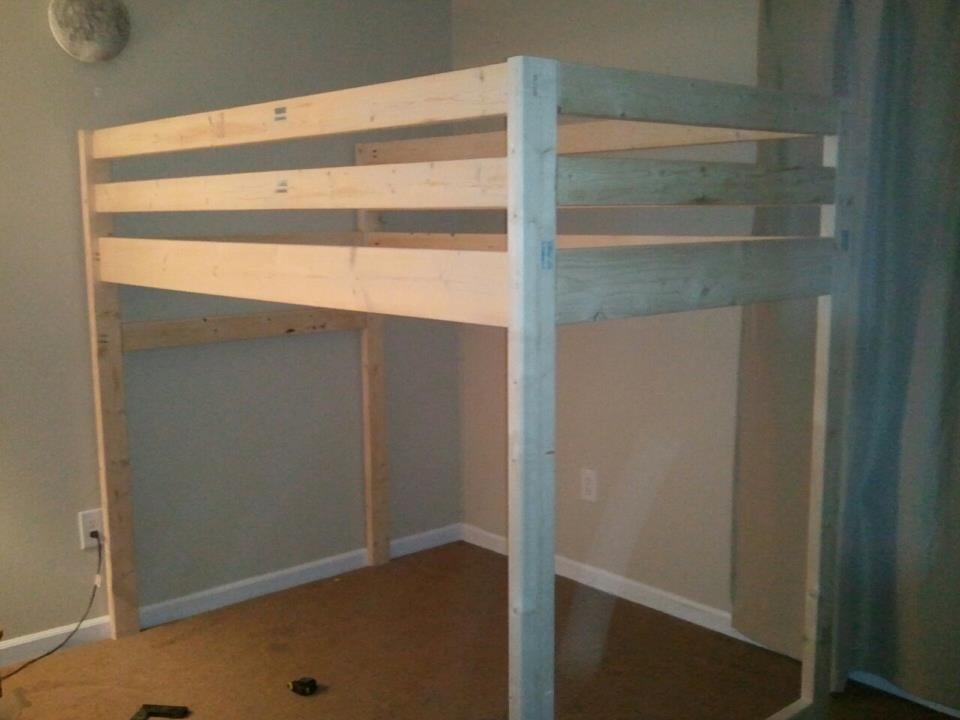
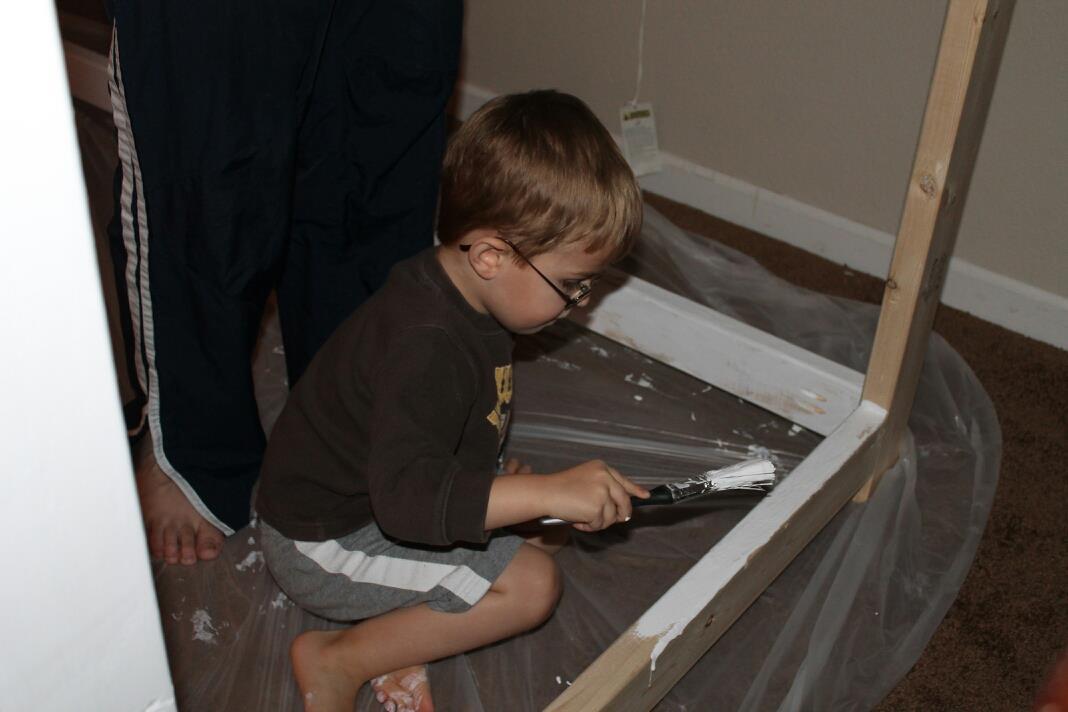
This is a sample of what I have done using Ana's plans. Thanks Ana!!! I will be posting my entire kitchen Reno in the near future.
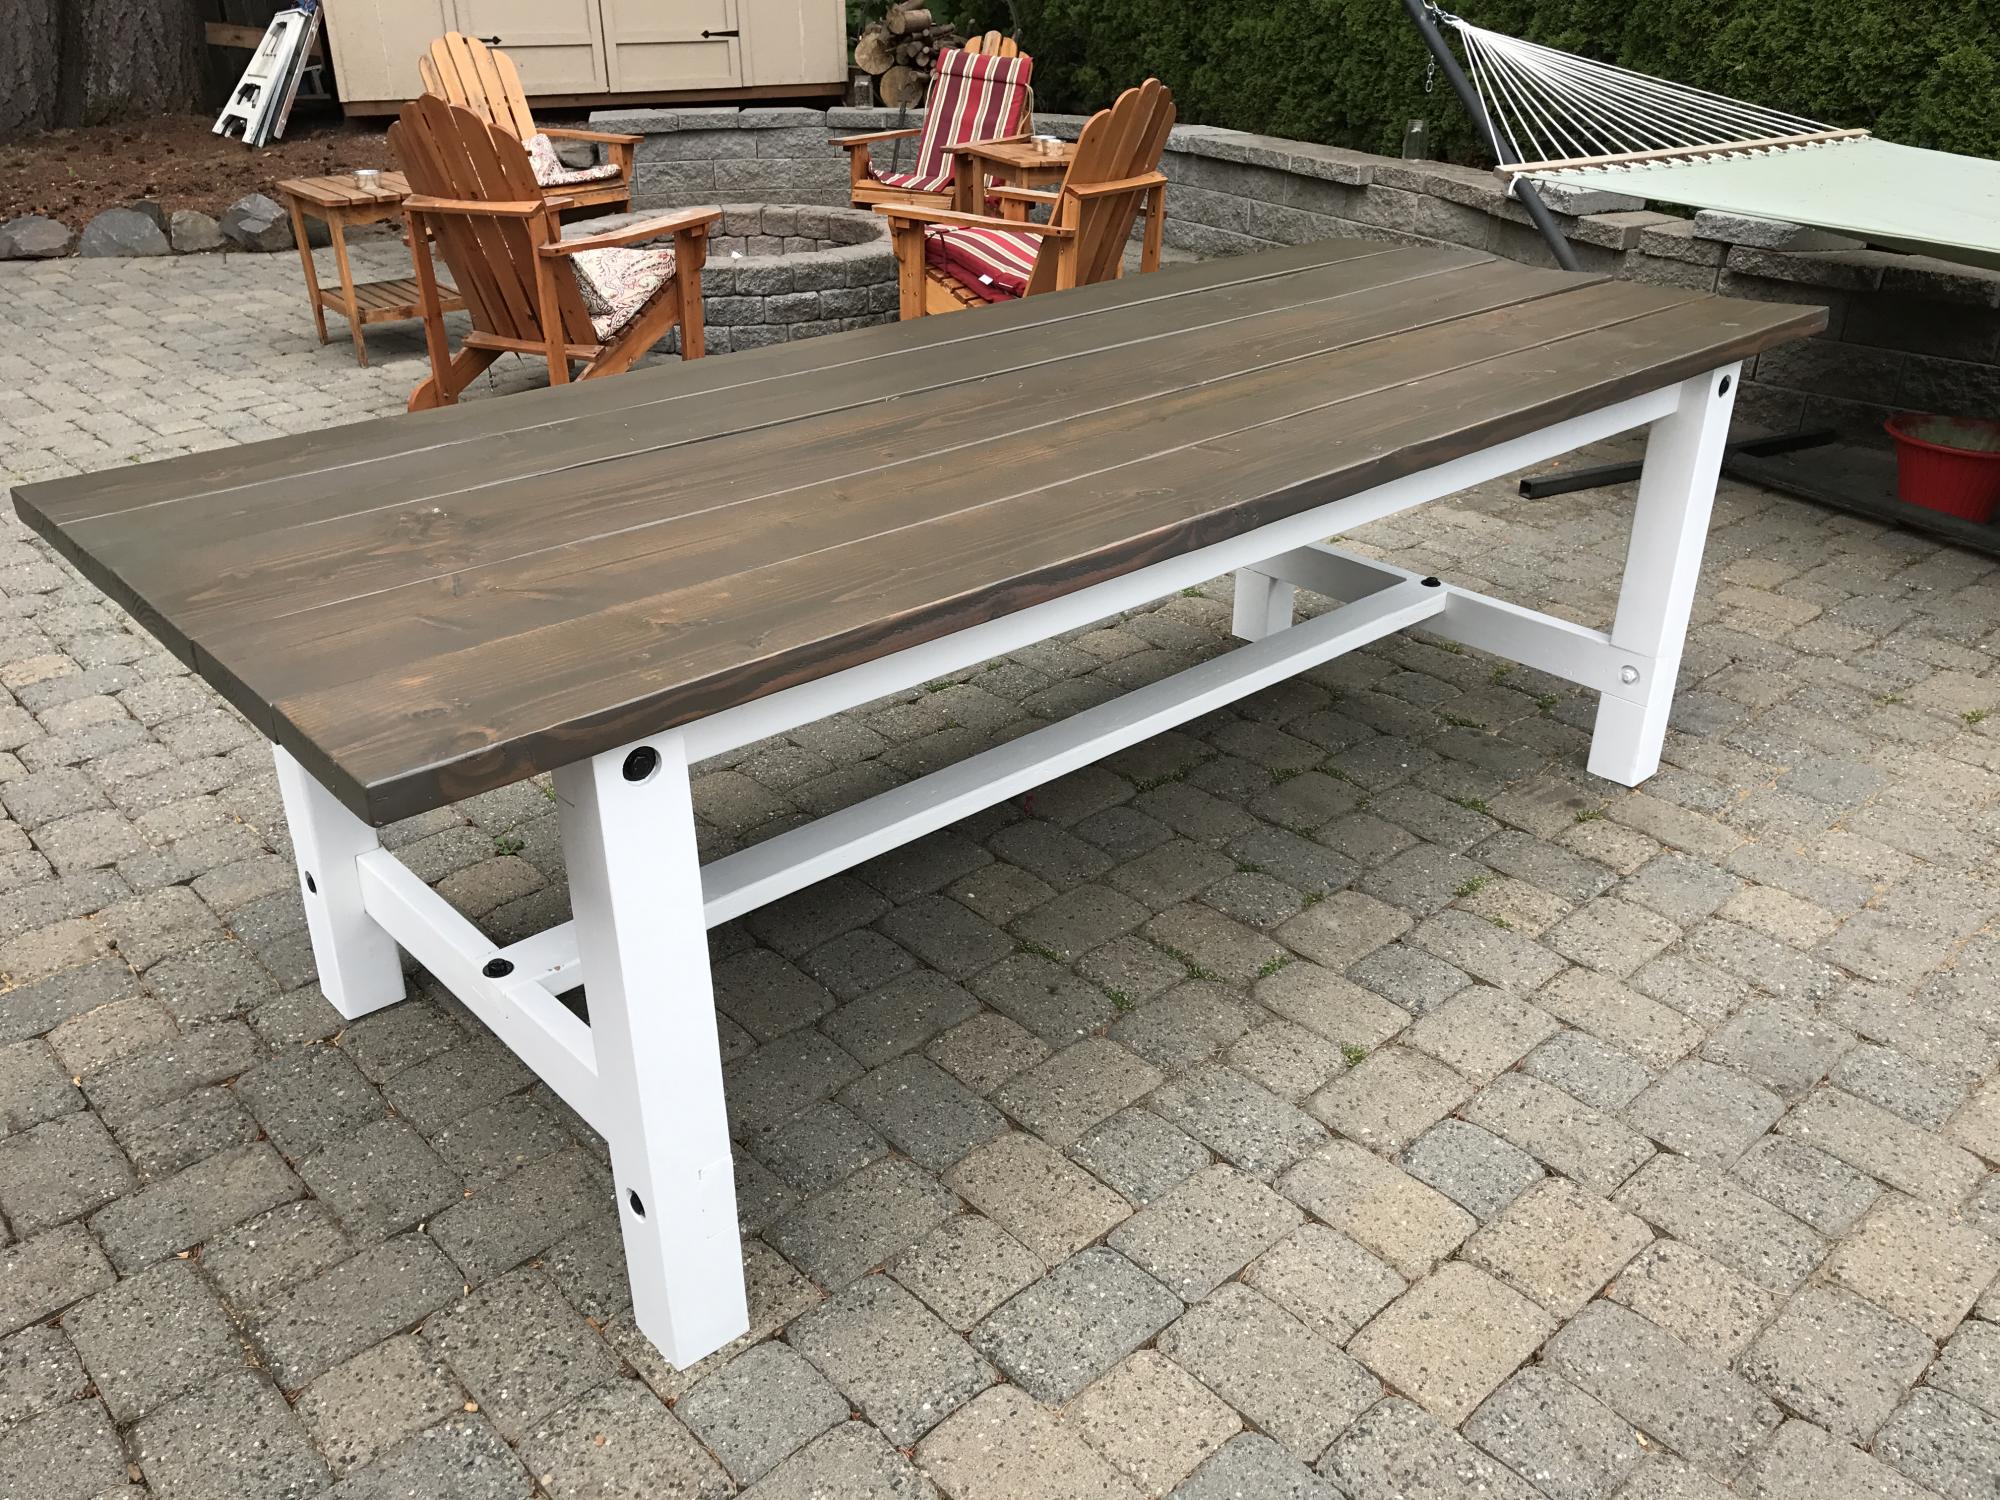
We wanted a patio table to fit up to 10. Done with a mix of pocket holes & 1/2" hex bolts. Made small changes to the stretchers. Moved them inside because we liked that aestetic better. We made the top longer because we didnt want to do the breadboard ends. Used big 4" hex bolts & washers and painted them with "hammered steel" paint to give them a more vintage look.
Will be making the matching benches next. We wanted the benches to fit perfectly underneath the table for storage, so Ill be cutting the bench seats to fit under table leg to leg.
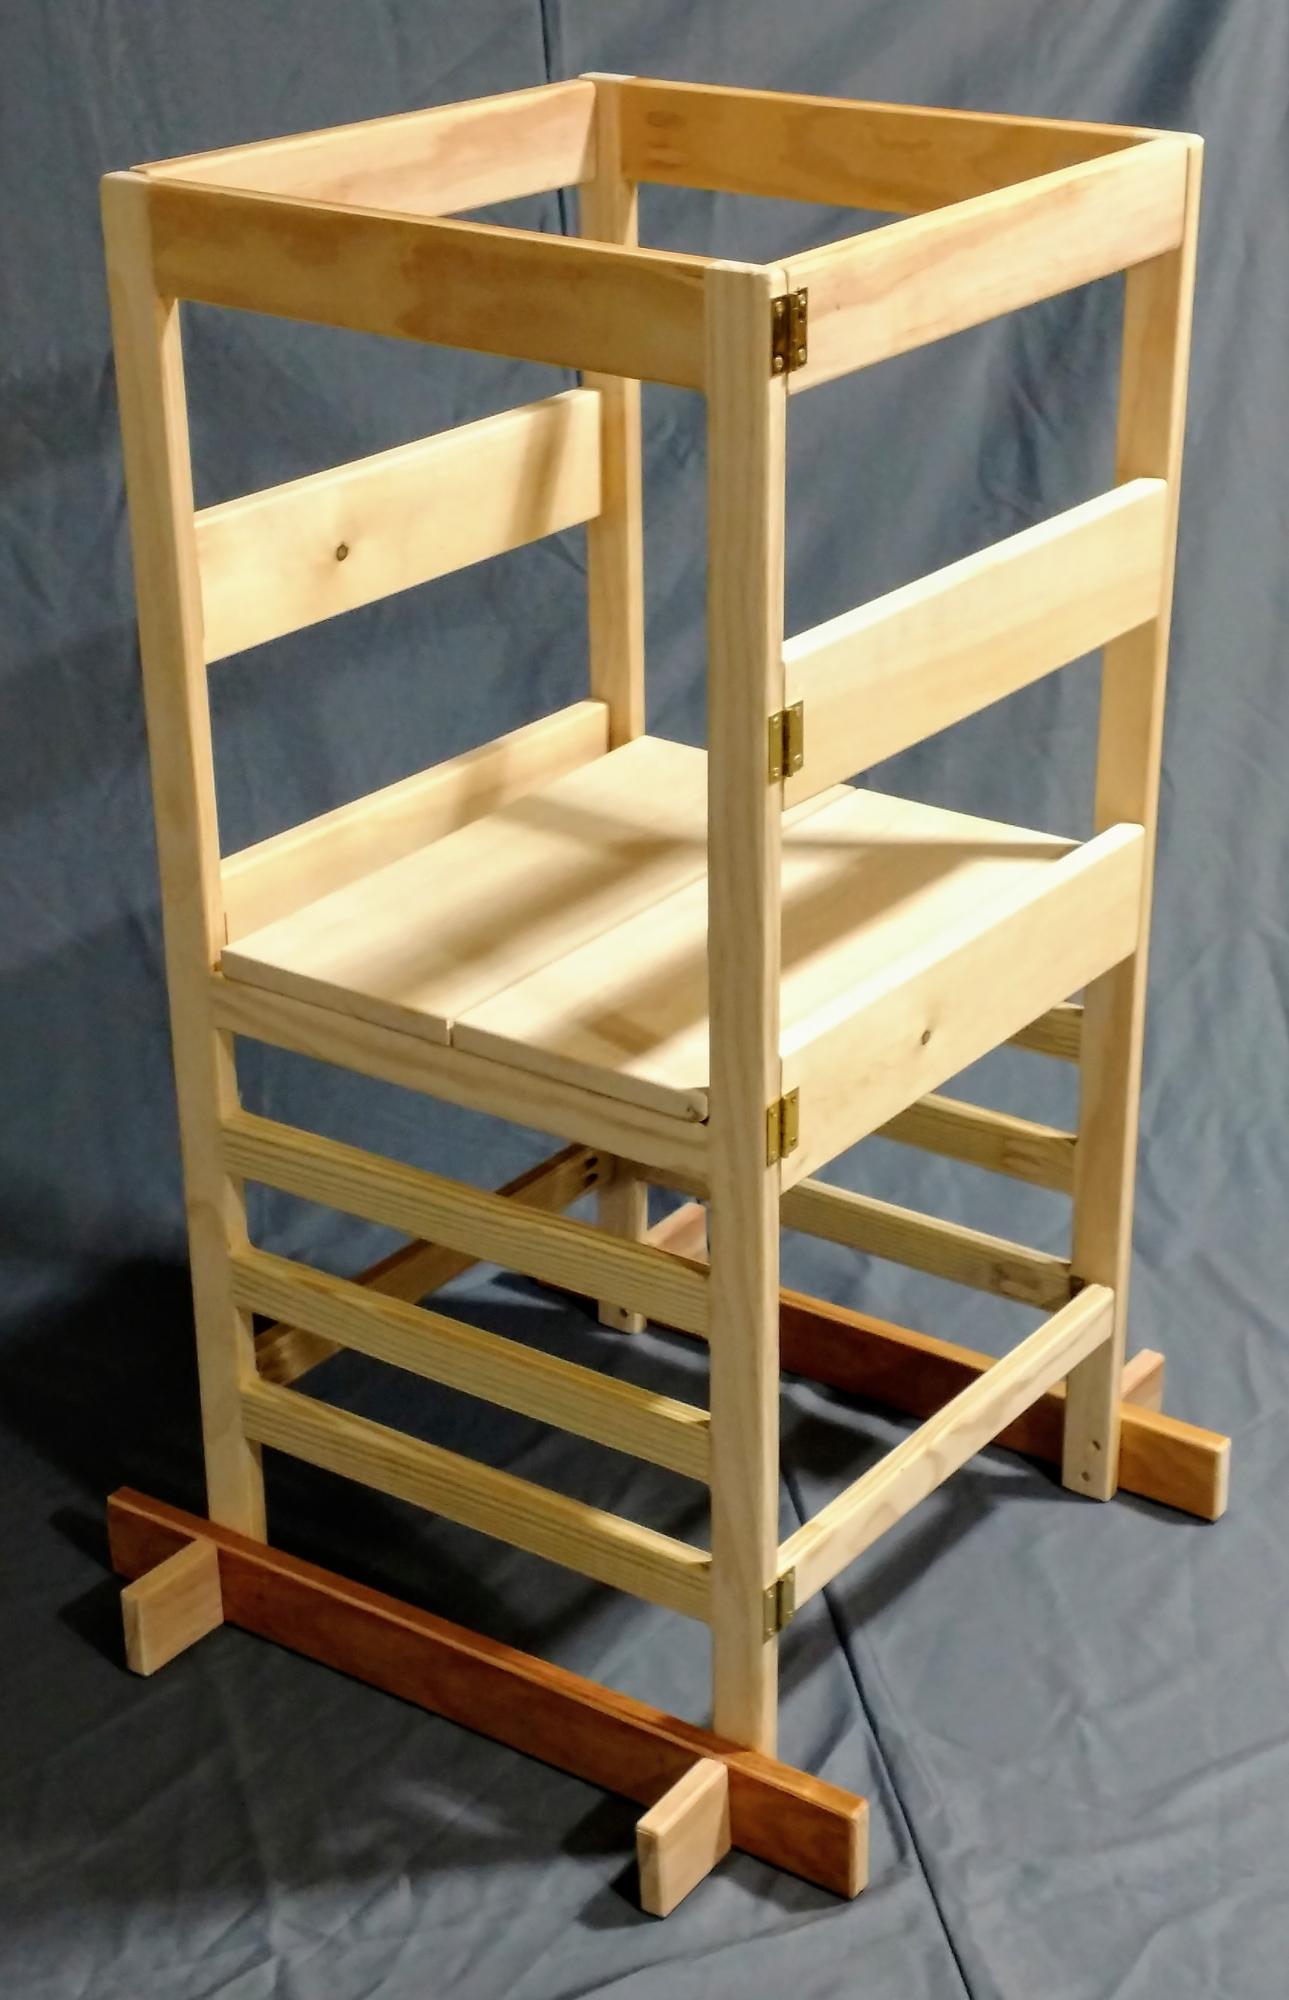
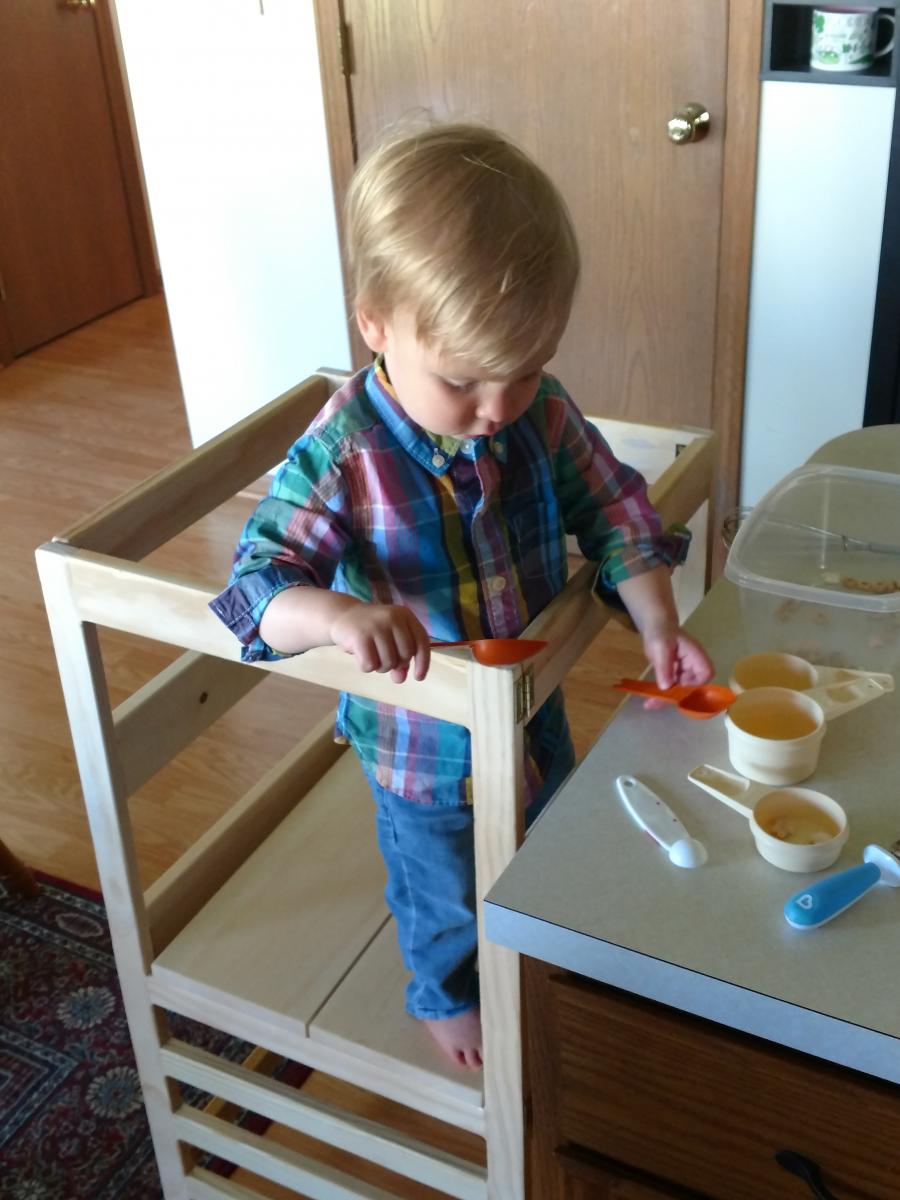
Built the Helper Tower for my grandson. It's the optional hinged version. He uses it every time he visits, and will get a lot of use out of it - platform is at its highest setting.
Mon, 10/04/2021 - 16:51
This is such a great way to include the children in learning and fun! Thank you for sharing, it looks amazing!
Kids picnic table made from pallet and scrap wood.
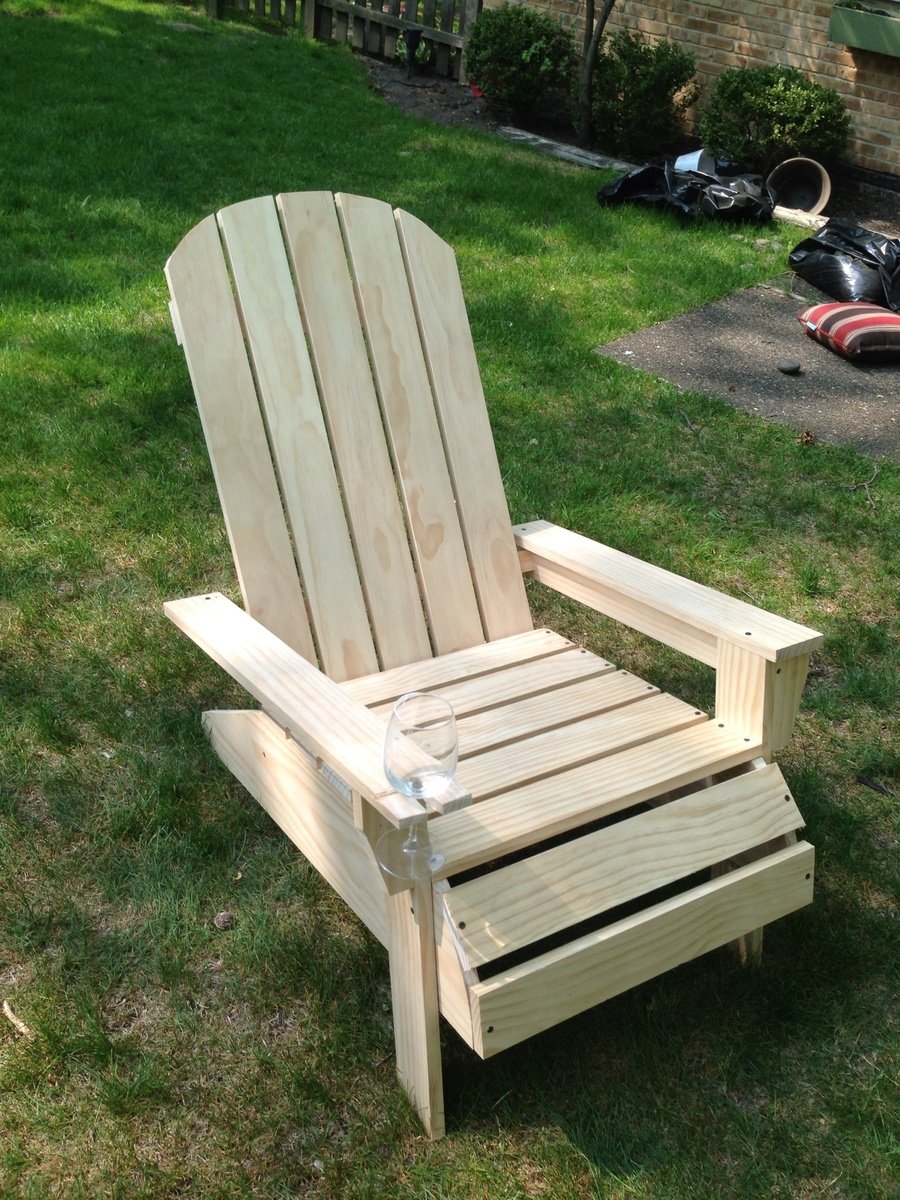
The only thing I did different to the plan was add 4.5 inches to the back slats so I could round the edges and 3 inches to the right arm rest so I could cut out a track to rest a wine glass. One thing I highly recommend is to create a stencil of the stringer. I did and now I have it for the next one so the next chair will be consistent. Thanks Ana white, this site is very therapeutic for me. Already built 3 projects in the last month.
Thu, 06/06/2013 - 06:38
The mods on this make me now want to build a set of these, the wine glass holder is genius! love the rounded front and back, so much better than original plans, thanks for inspiration!
This was my first build and I loved making it! I wasn't able to make the 60 degree cuts needed for the x's but I hope to be able to add them in the future!