Community Brag Posts
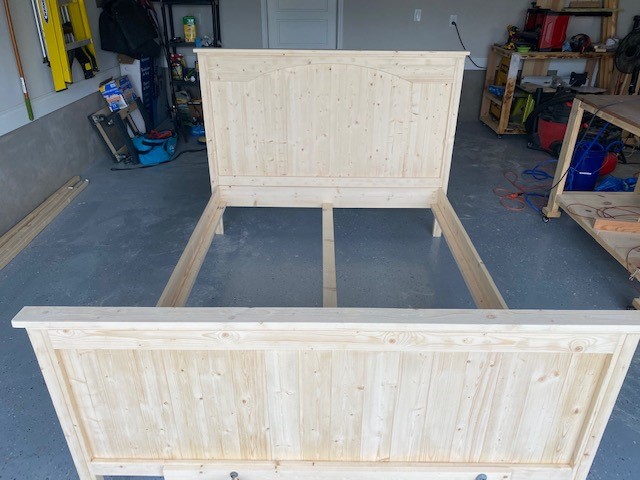
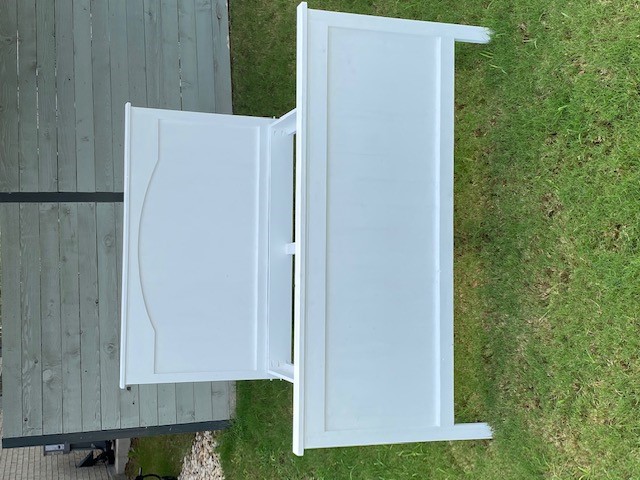
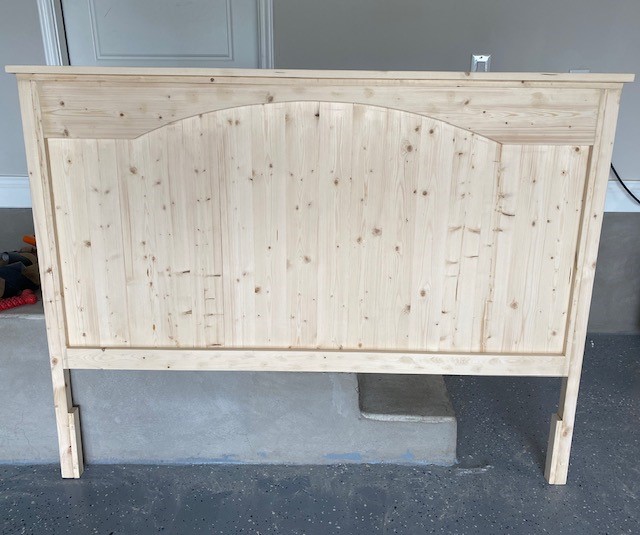
Full Farmhouse Bed
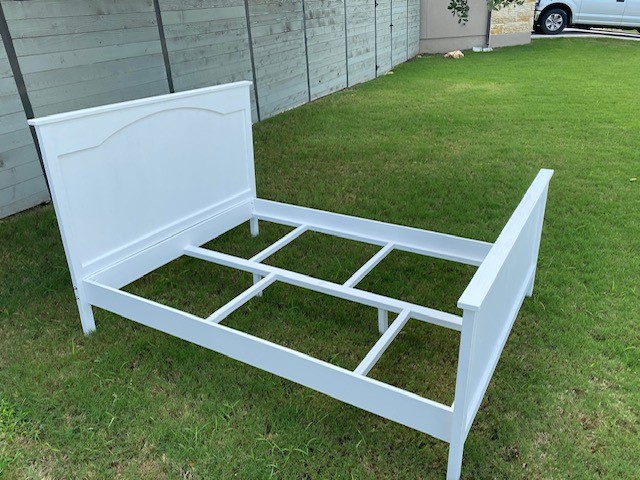
Yes, the plan used was the Toddler Farmhouse Bed. Just make sure to use the dimension for a full size mattress, do the math, and create your buy list accordingly. I did make some minor changes to accommodate the larger size, more weight, and a heavier person. For the Head and foot boards, I used the 1 x 2 to frame, but used 2 x 2 on the outer leg for additional support. I also used 2 x 2 's to create the internal supports for the frame along with the 2 center support legs. This bed was built to be used with a box spring instead of a platform type.
Comments
My First Build -- the $55 Fancy X Desk
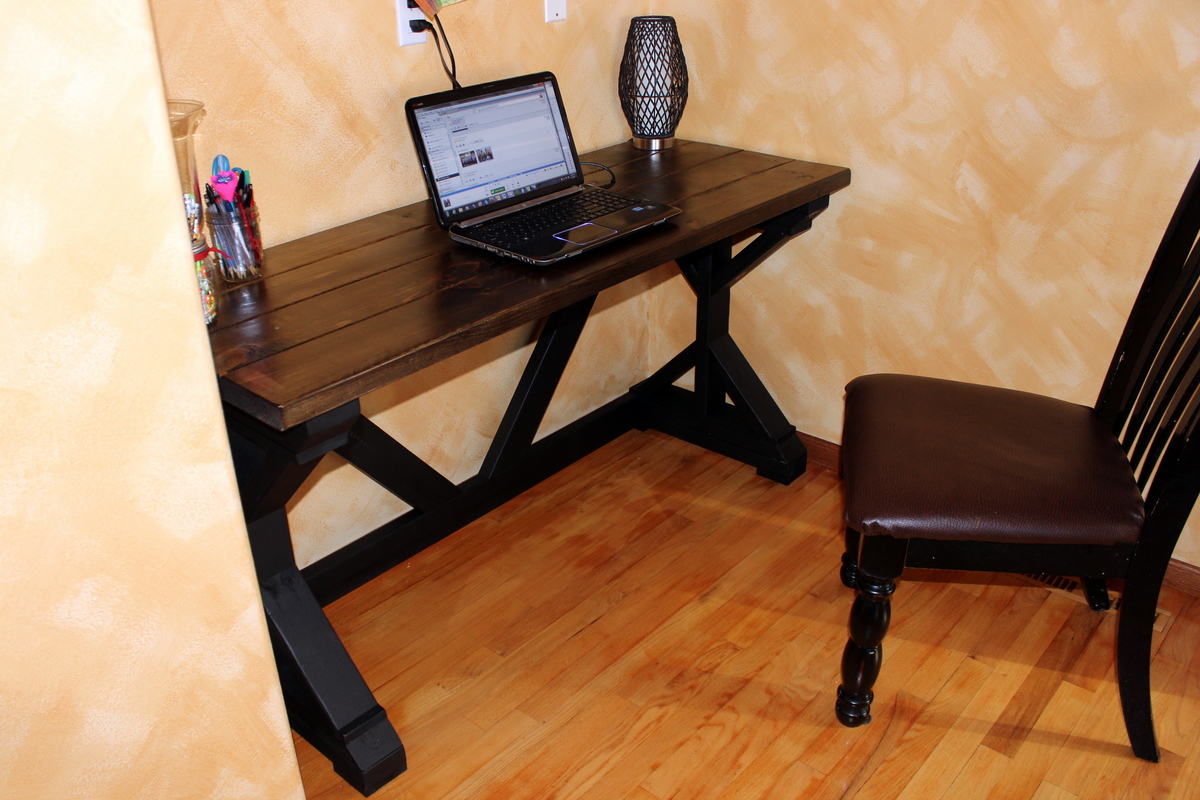
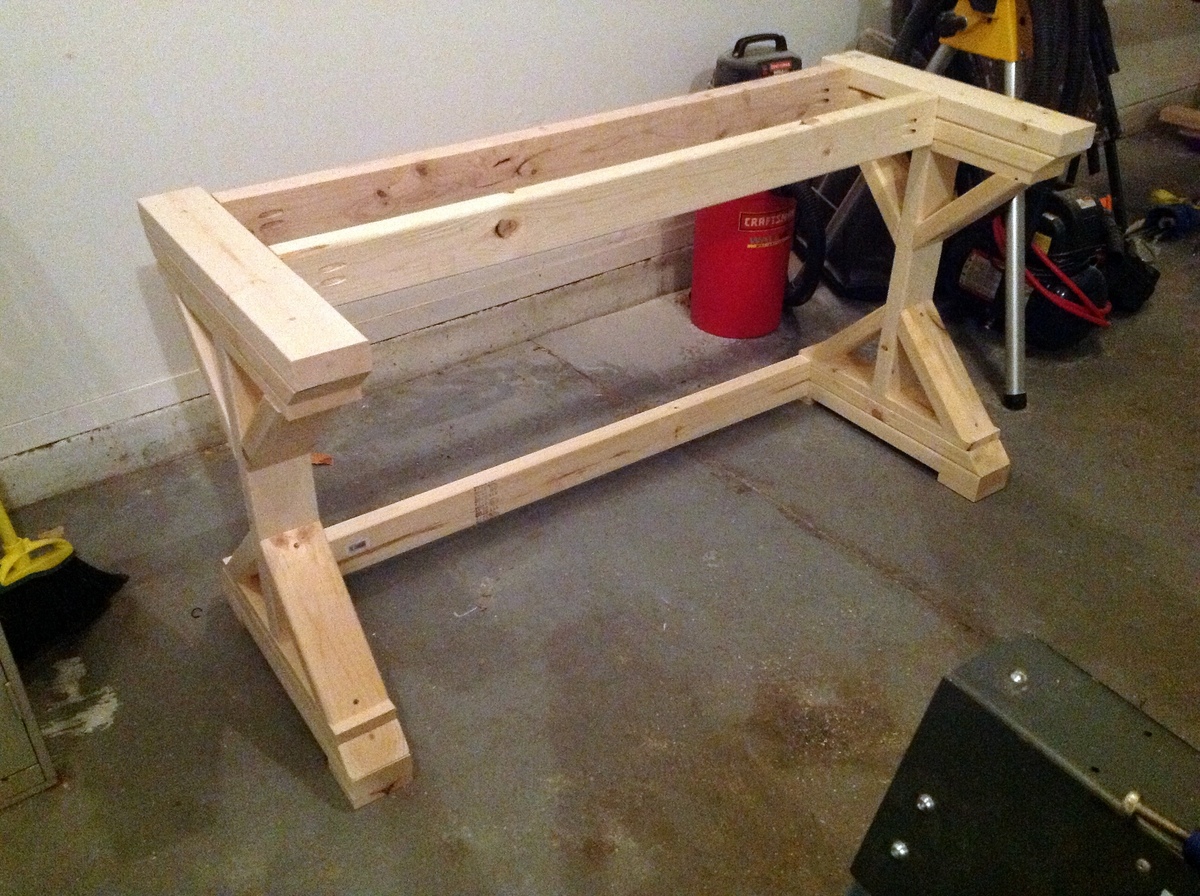
This was my first build EVER. I had never even used a saw before, so if I can do this, so can YOU!
The original plans call for this desk to be 72" in length, but my space only allowed for a 60" desk, so I cut the 3 braces that go along the back down by 12", as well as the 2x6s that make the desktop. The cross-braces in the back were also cut down, but I did that by measuring for fit (as demonstrated by Ana in one of her videos where she made the x-bench).
I described this as a weekend project ONLY because of the time I had to allow between coats of paint, etc. I built it easily in one day (with kids at home!).
This was a GREAT experience and I am HOOKED! Thanks to Ana and Shanty-2-Chic for designing this!
Comments
Mon, 01/07/2013 - 12:52
First Build Desk
Great job, love the dark painted legs and stained top. Great that you could build it to fit your space!!
Tue, 01/08/2013 - 08:27
Beautiful!
I hope to build this desk this week! Your post timing is great! AND your end result is gorgeous!!!
Thu, 01/10/2013 - 19:31
Love this!
I absolutely love this. I've been searching for a new desk and I think I want to copy yours. Love it.
Fri, 01/11/2013 - 00:35
Well Done
Well done...I too have been contemplating giving this ago. Our out door glass table exploded due to the heat here in Australia on monday...never going glass again...did I mention the nightmare clean up job :-((
Im building the big version....Im excited..you did it so I can too!
Sun, 07/13/2014 - 15:48
length of cross braces
Looks great! Do you know what the length of the cross braces ended up being from short end to long end?
rustic glamour hidden desk
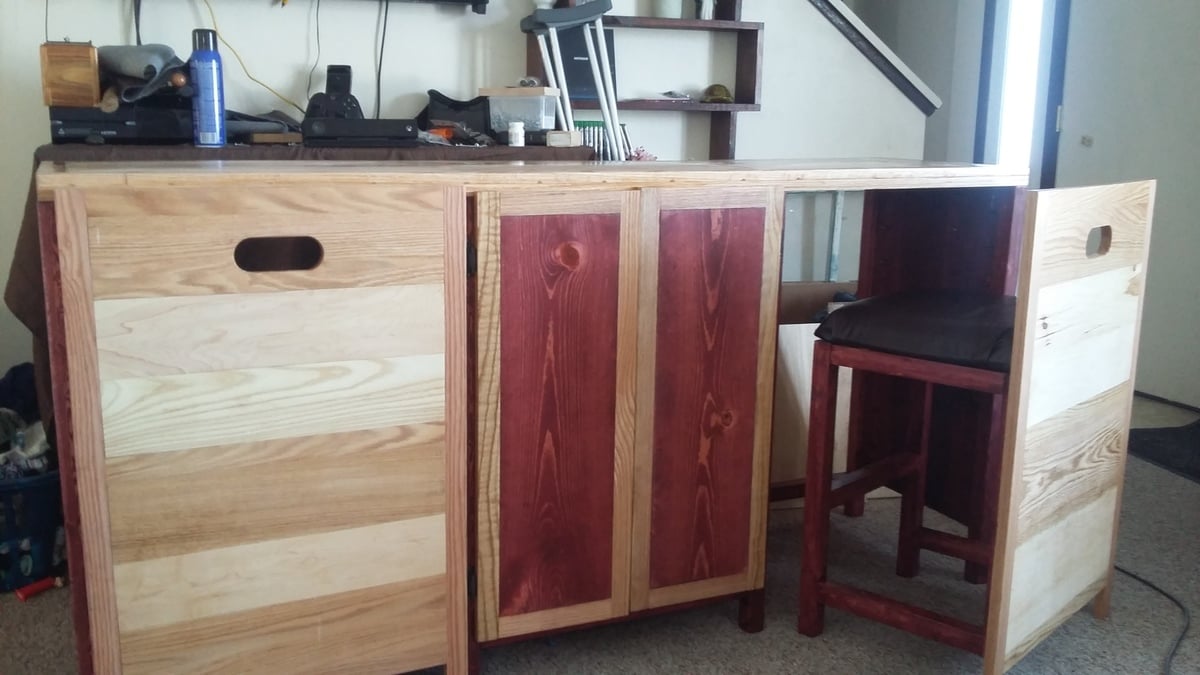
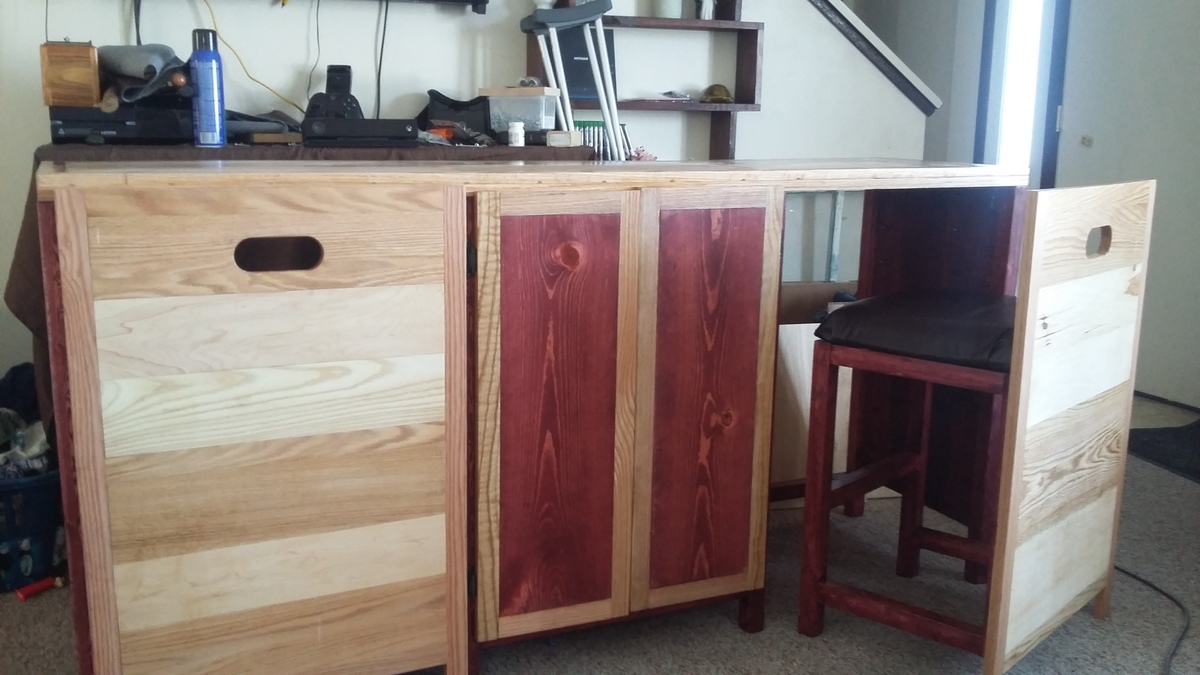
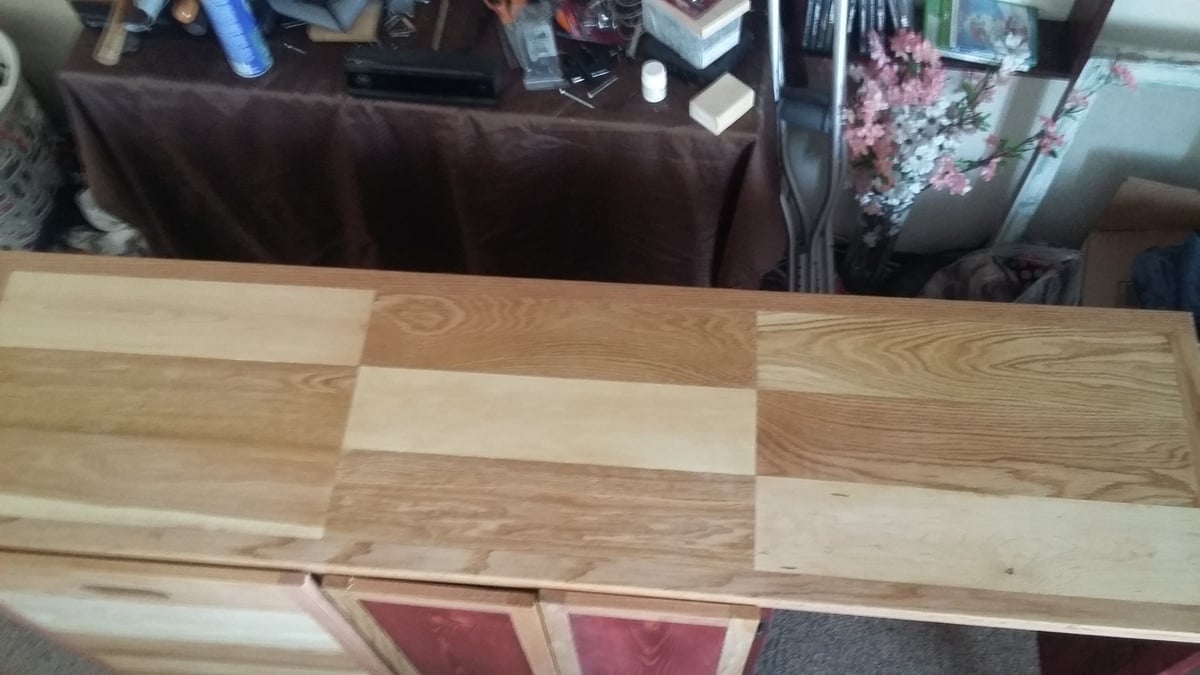
This is my version of the hidden desk. This desk is completely made out of solid wood. The stained wood is pine and the natural wood is a mixture of oak, cherry and maple. I still have to add shelves and door pulls but otherwise its done.
Comments
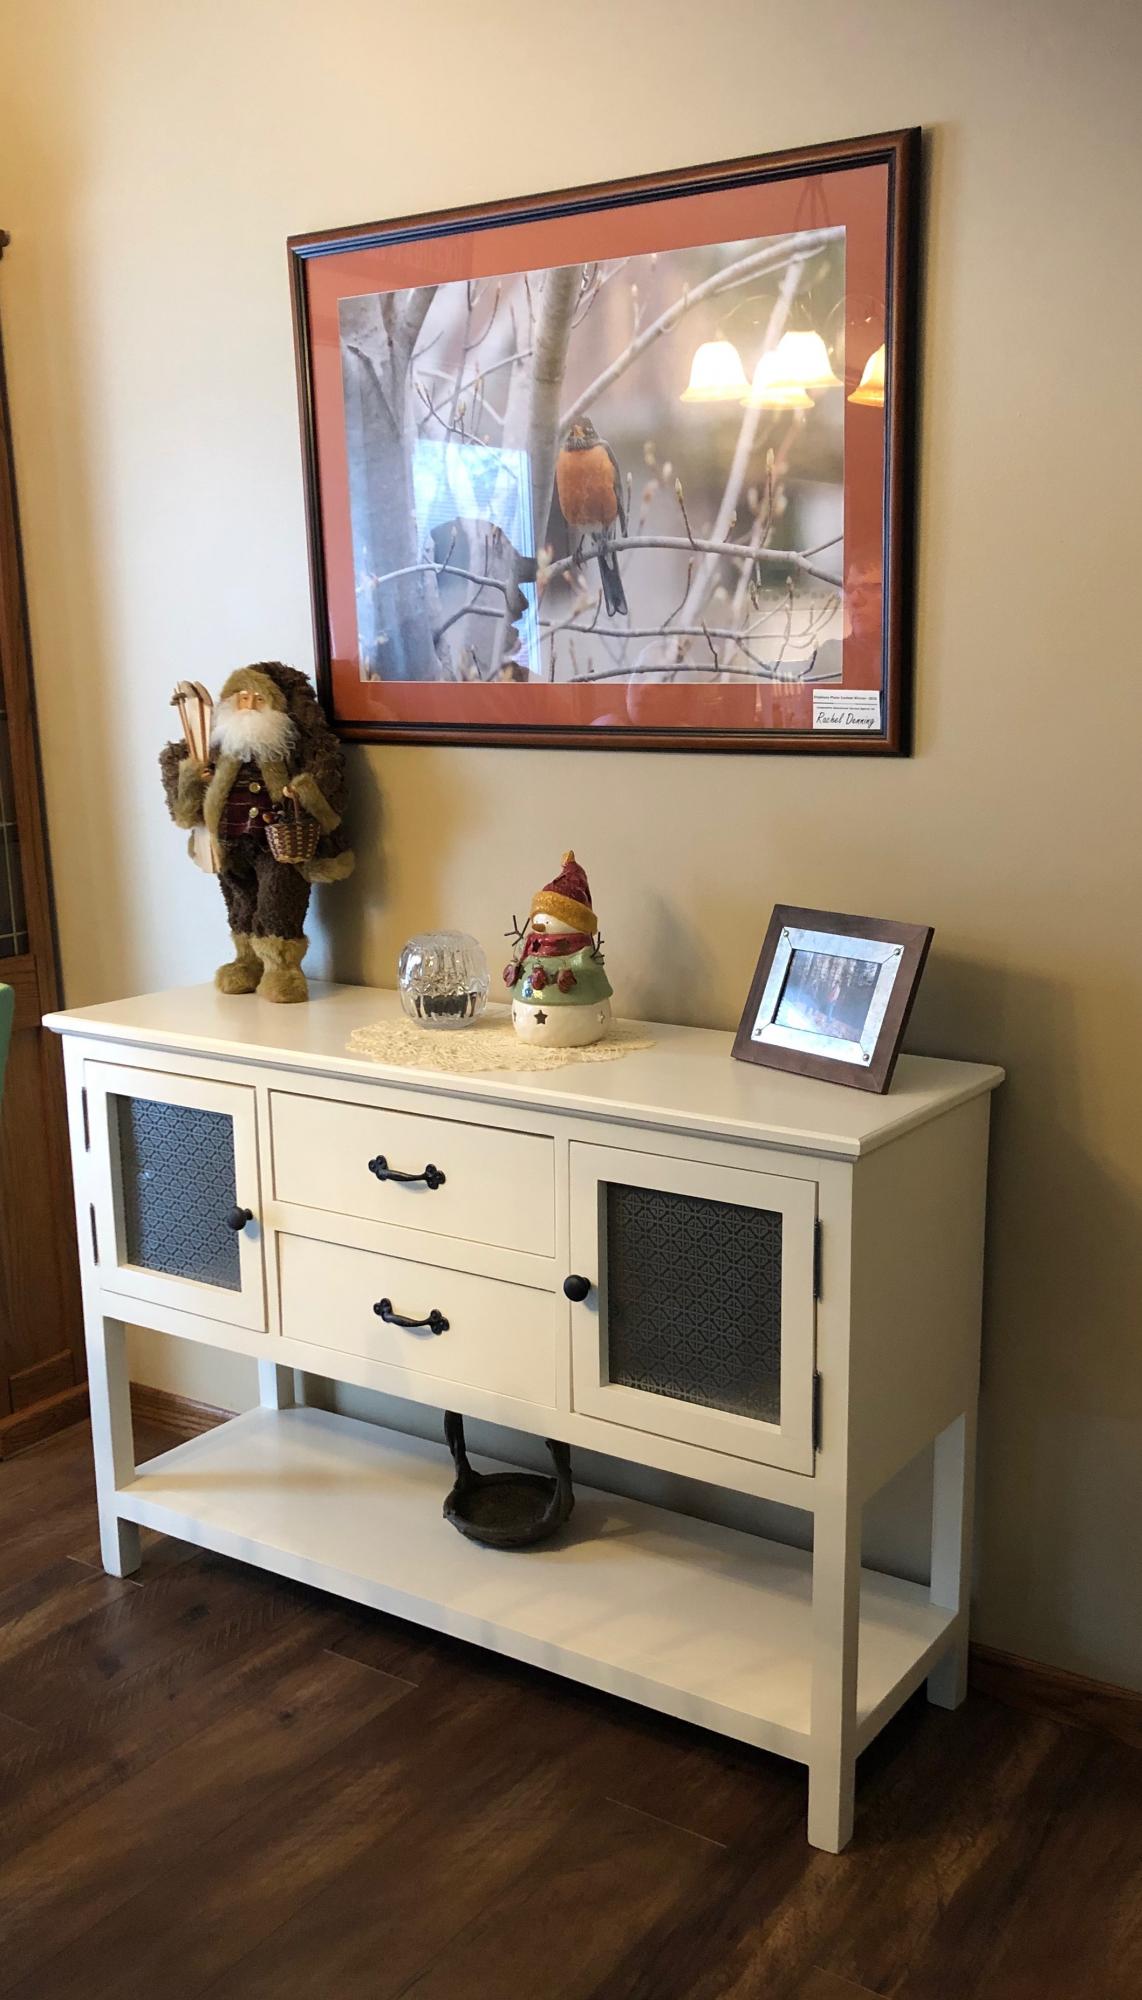
Living Room Console
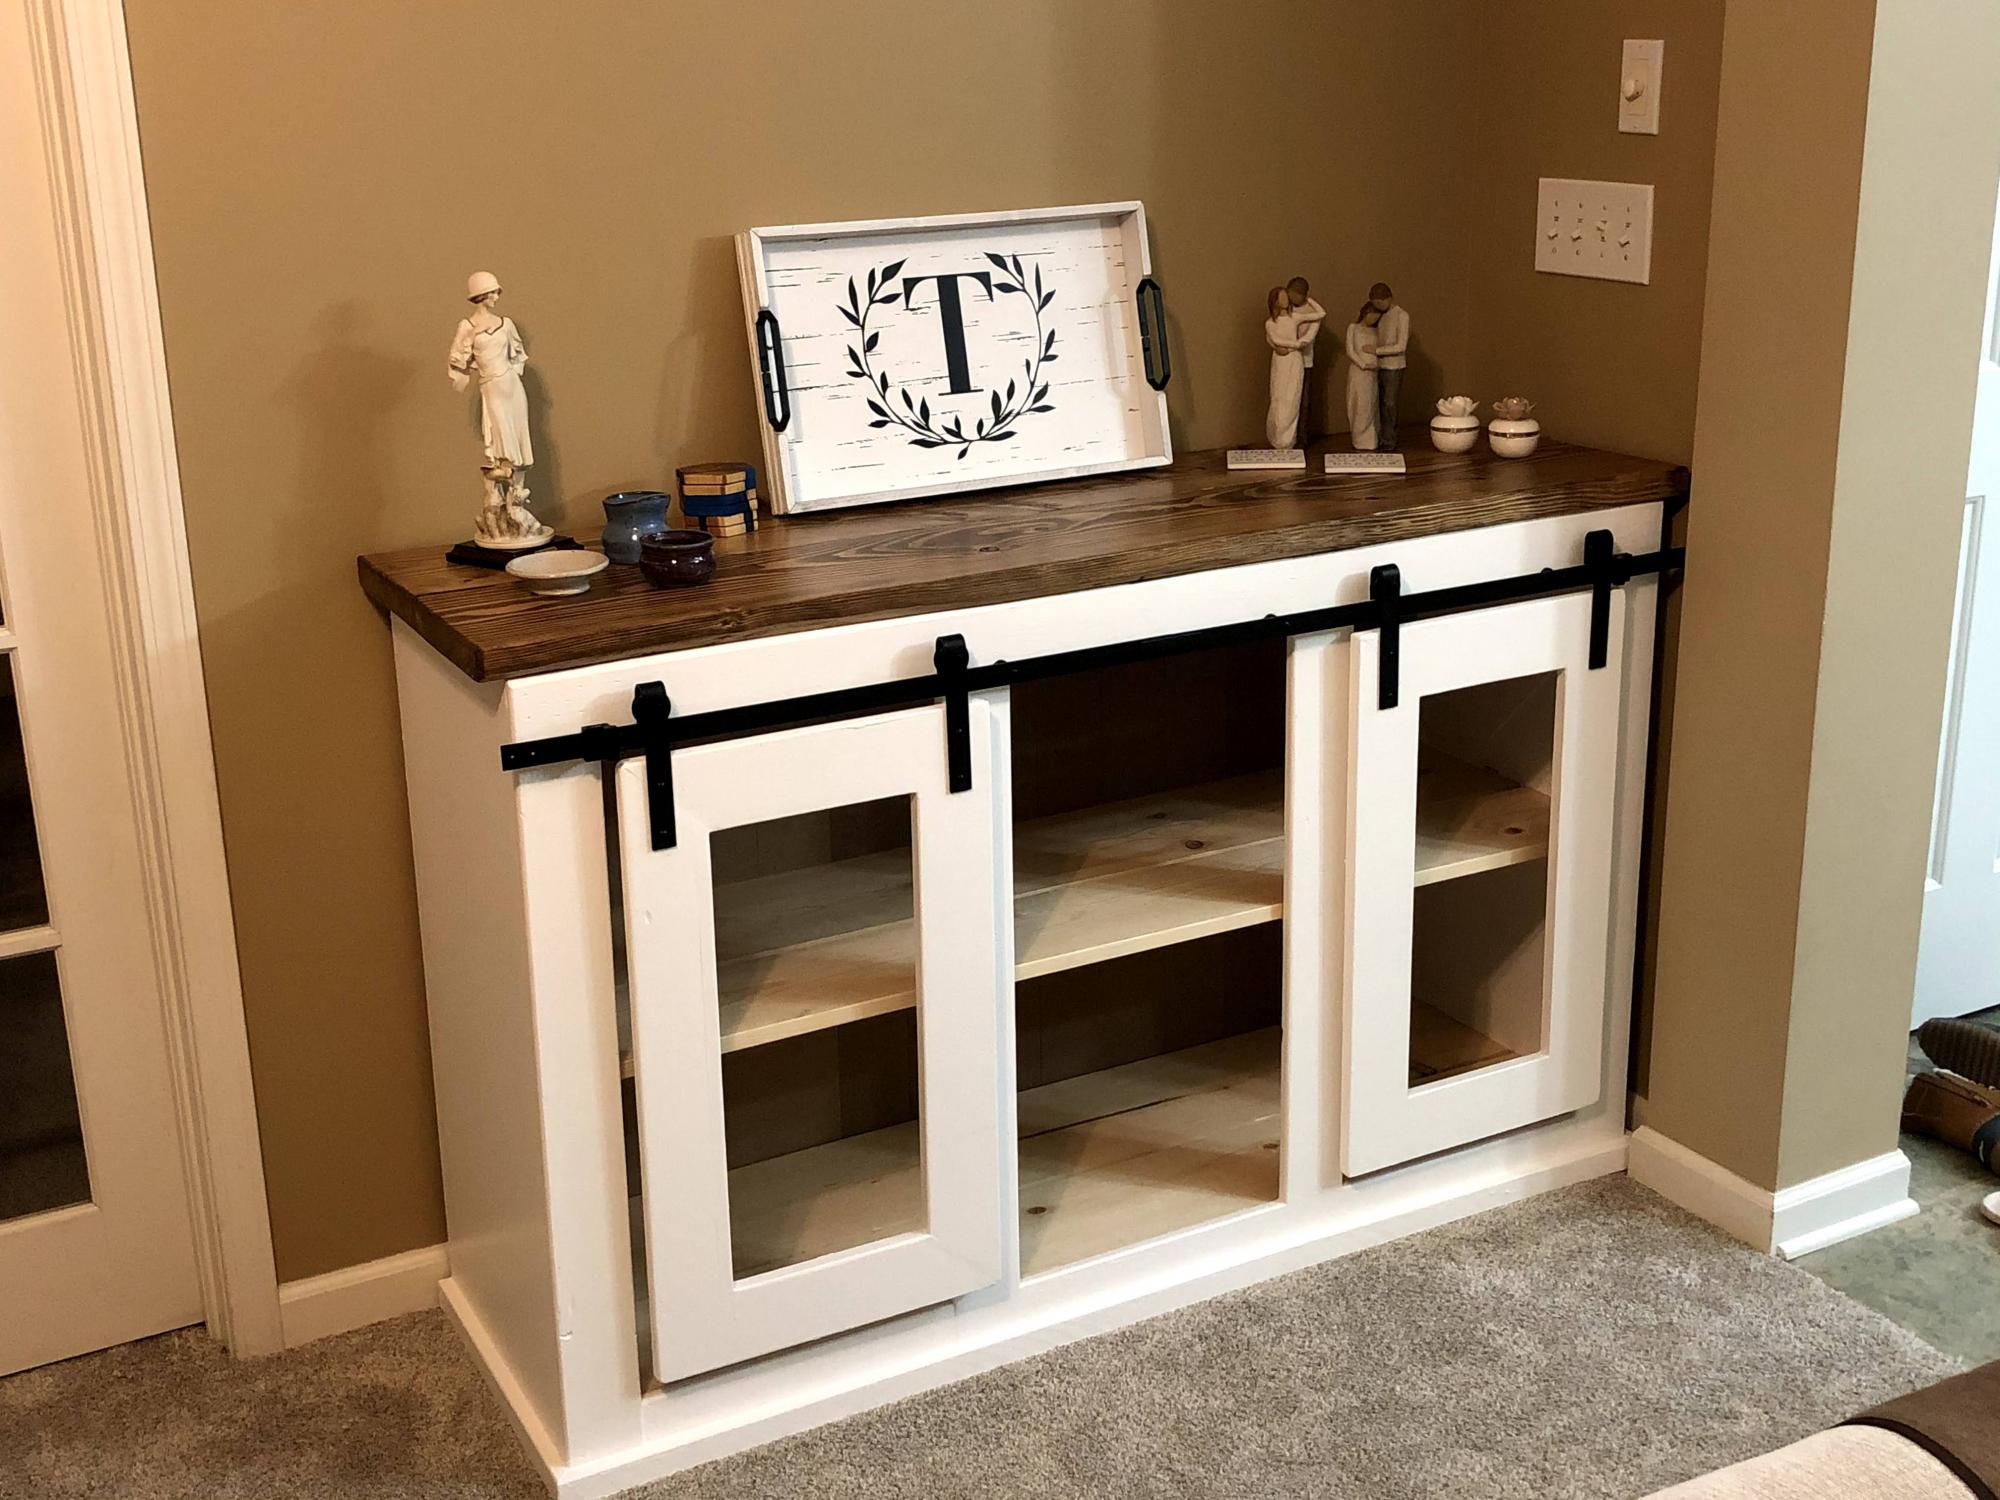
My first project completion based on Ana White plans
Comments
Rope Trim Console Table
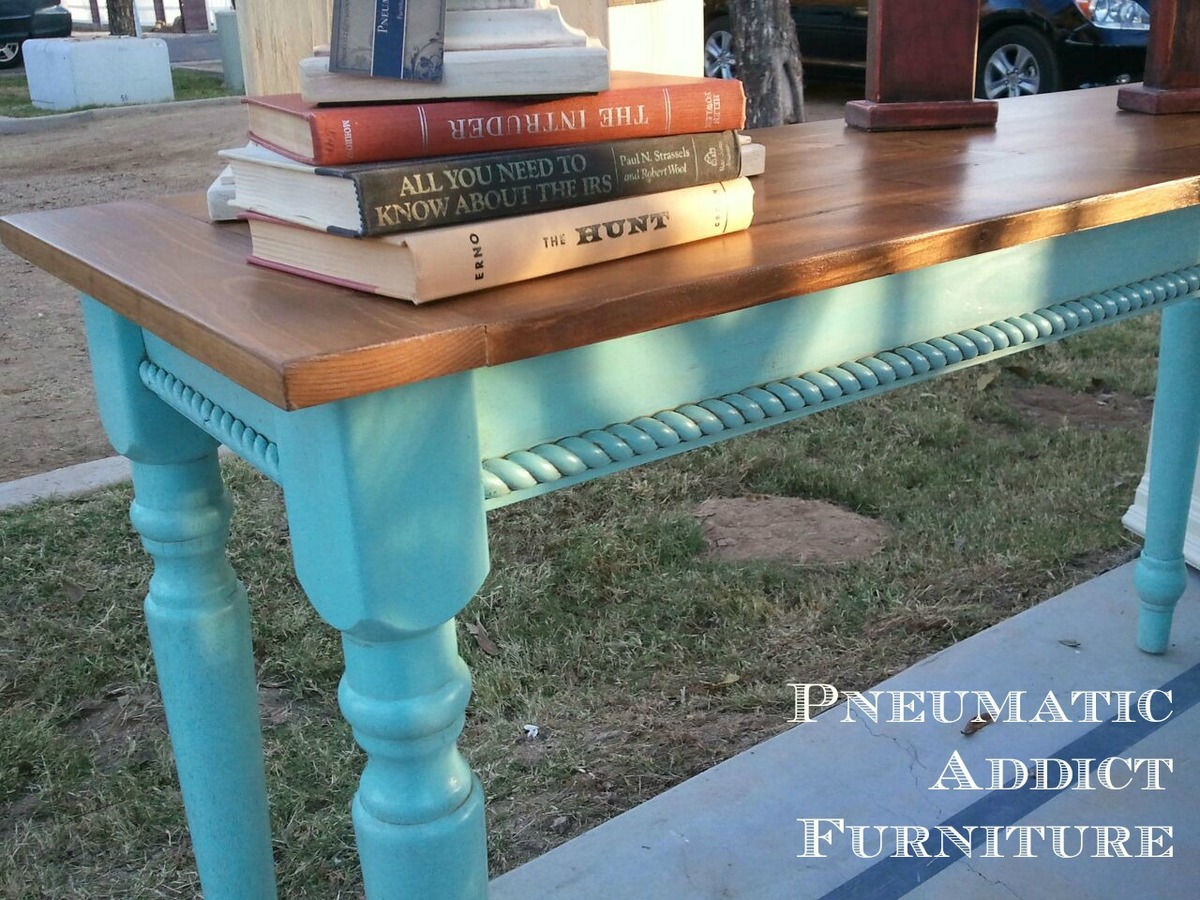
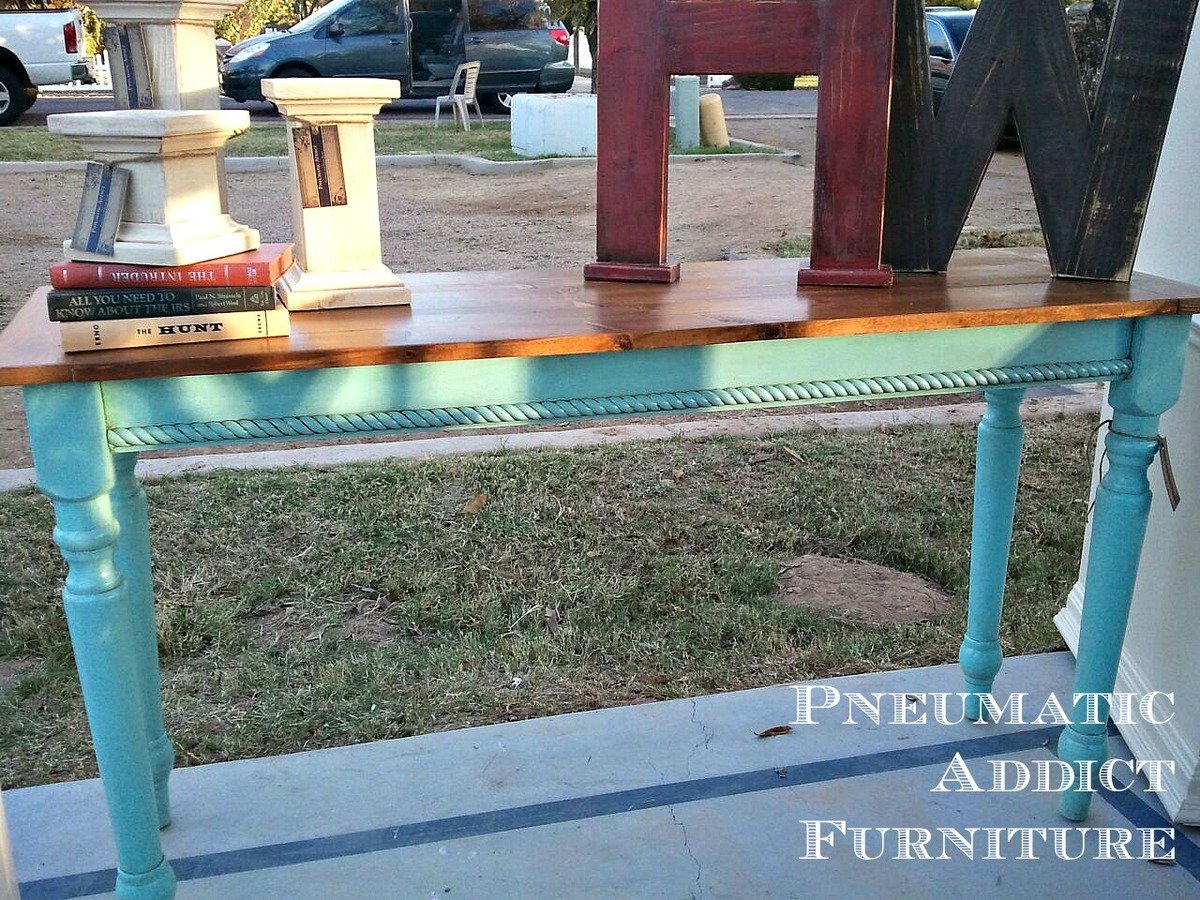
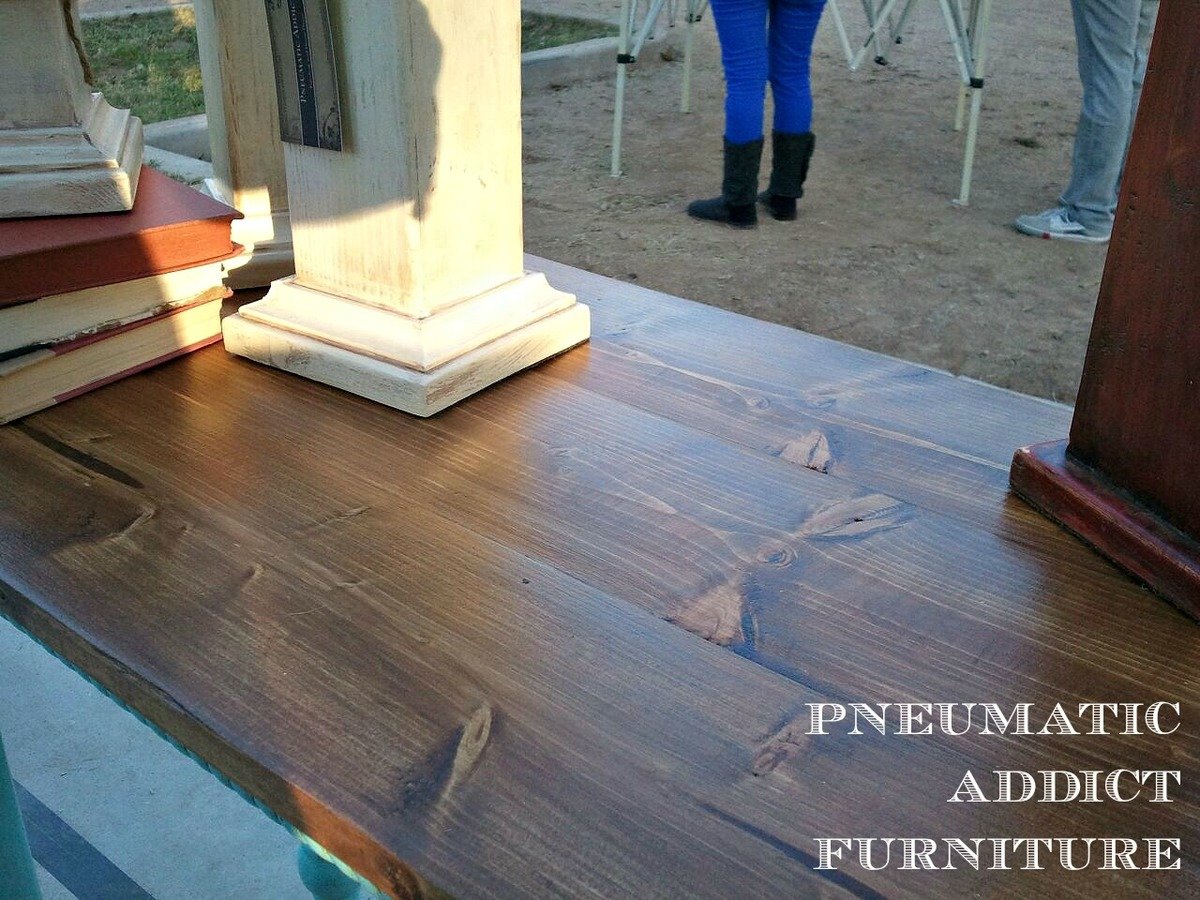
This is a pretty basic console table I built for a craft show last month (that's why I don't have better photos). I started with the top. Using my Kreg Jig, I pocket holed 3, 1x6's together and added some 1x4's to make breadboard ends. For the base I used reclaimed table legs from a table I bought at a garage sale for $5! The aprons are 1x4's, pocket-holed to the legs. I did add some diagonal support blocks in each corner to keep the whole thing square. Using pocket-holes once again, I attached the top. I then simply measured the aprons, cut the rope trim and attached with glue and 3/4in finish nails. I have a few more projects like this featured on my blog http://pneumaticaddict.blogspot.com .
Comments
Wed, 01/09/2013 - 09:29
Beautiful Job! Looks
Beautiful Job! Looks amazing! I love the stained top and the color on the bottom!
Upholstered Toy Chest

We made these toy chests for baby shower gifts. We followed the plan for the most part. We skipped the notching on the front of the chest, and opted to upholster the top. I added names to the front as well to personalize them a bit as well. Overall, it went pretty smooth, once we got going. The plans were clear and easy to follow. This was our first build off of plans from Ana-White, and I think they turned out pretty nice!
Comments
Tue, 11/04/2014 - 08:47
Very nice toy boxes
Such a sweet gift - made with love I can tell. Great job!
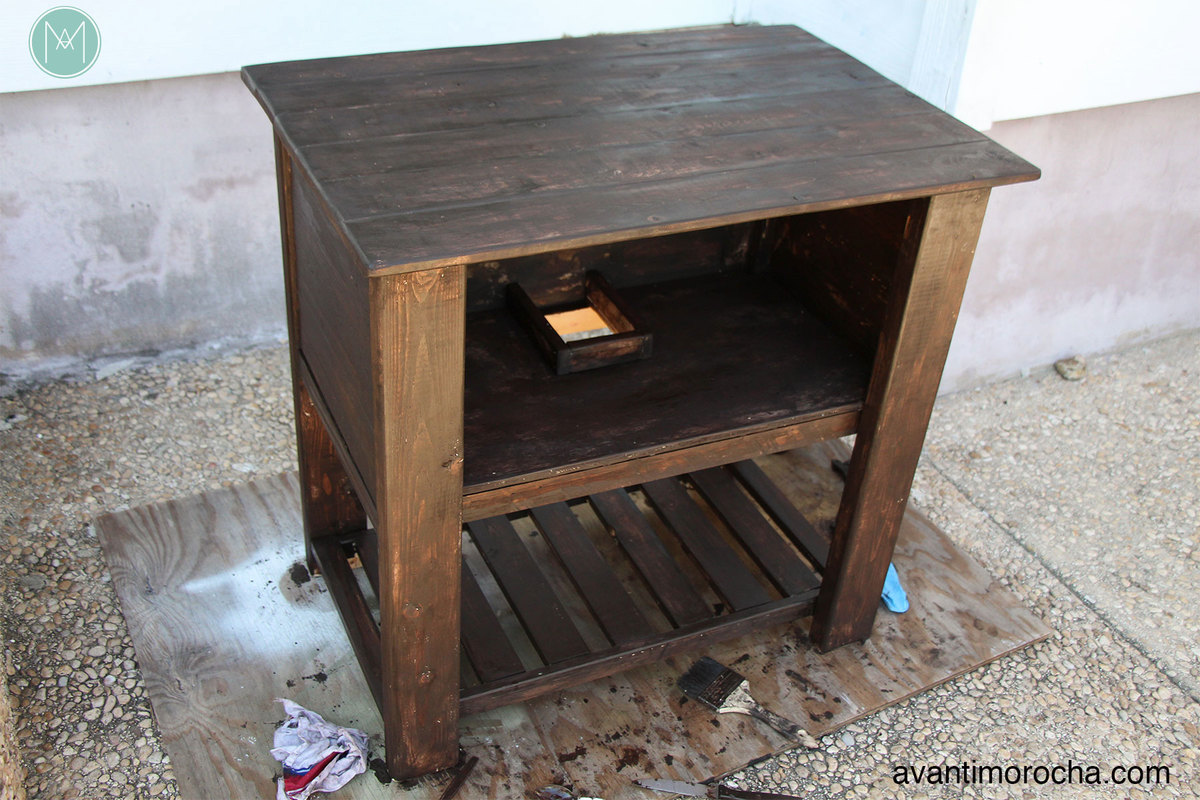
DIY Guest Bathroom Makeover on a Budget

My husband and I decided that the best way to keep our guest bathroom makeover on a budget was to build the vanity ourselves.


Farmhouse Bedside Table
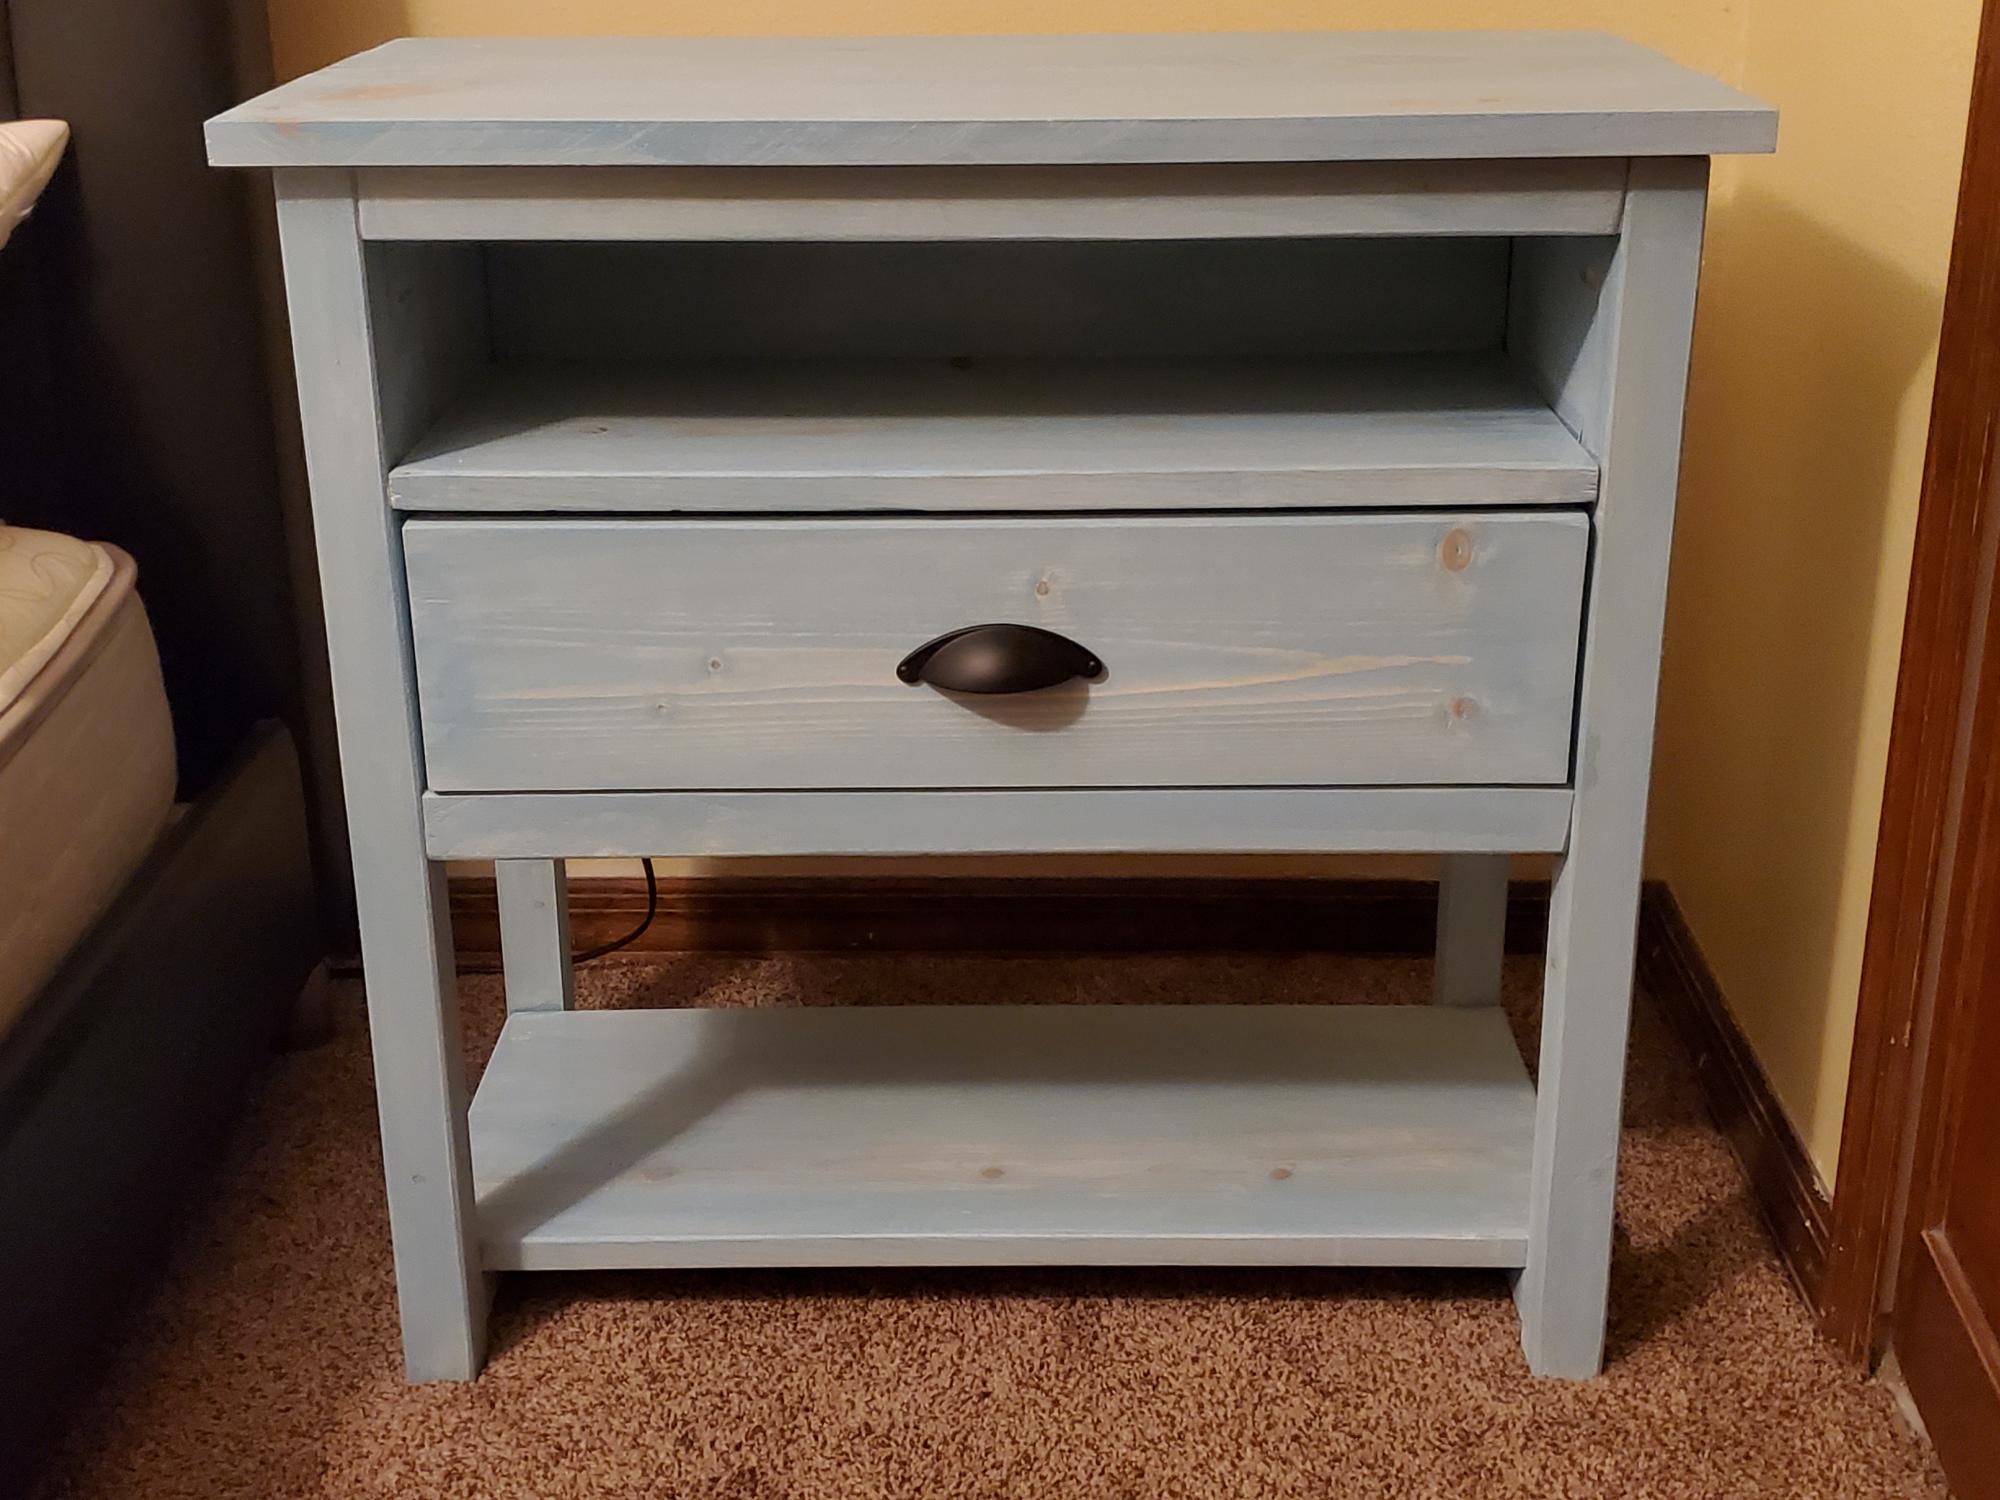
Add shelf between top and drawer. Also added wireless charging to the top.
Wall-Mounted Lumber Rack
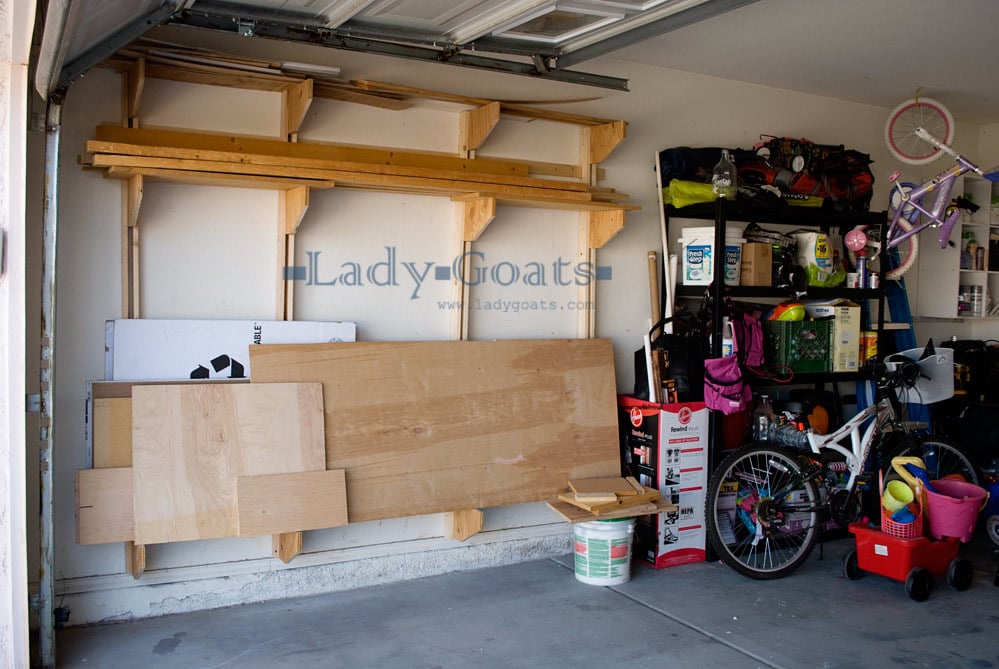
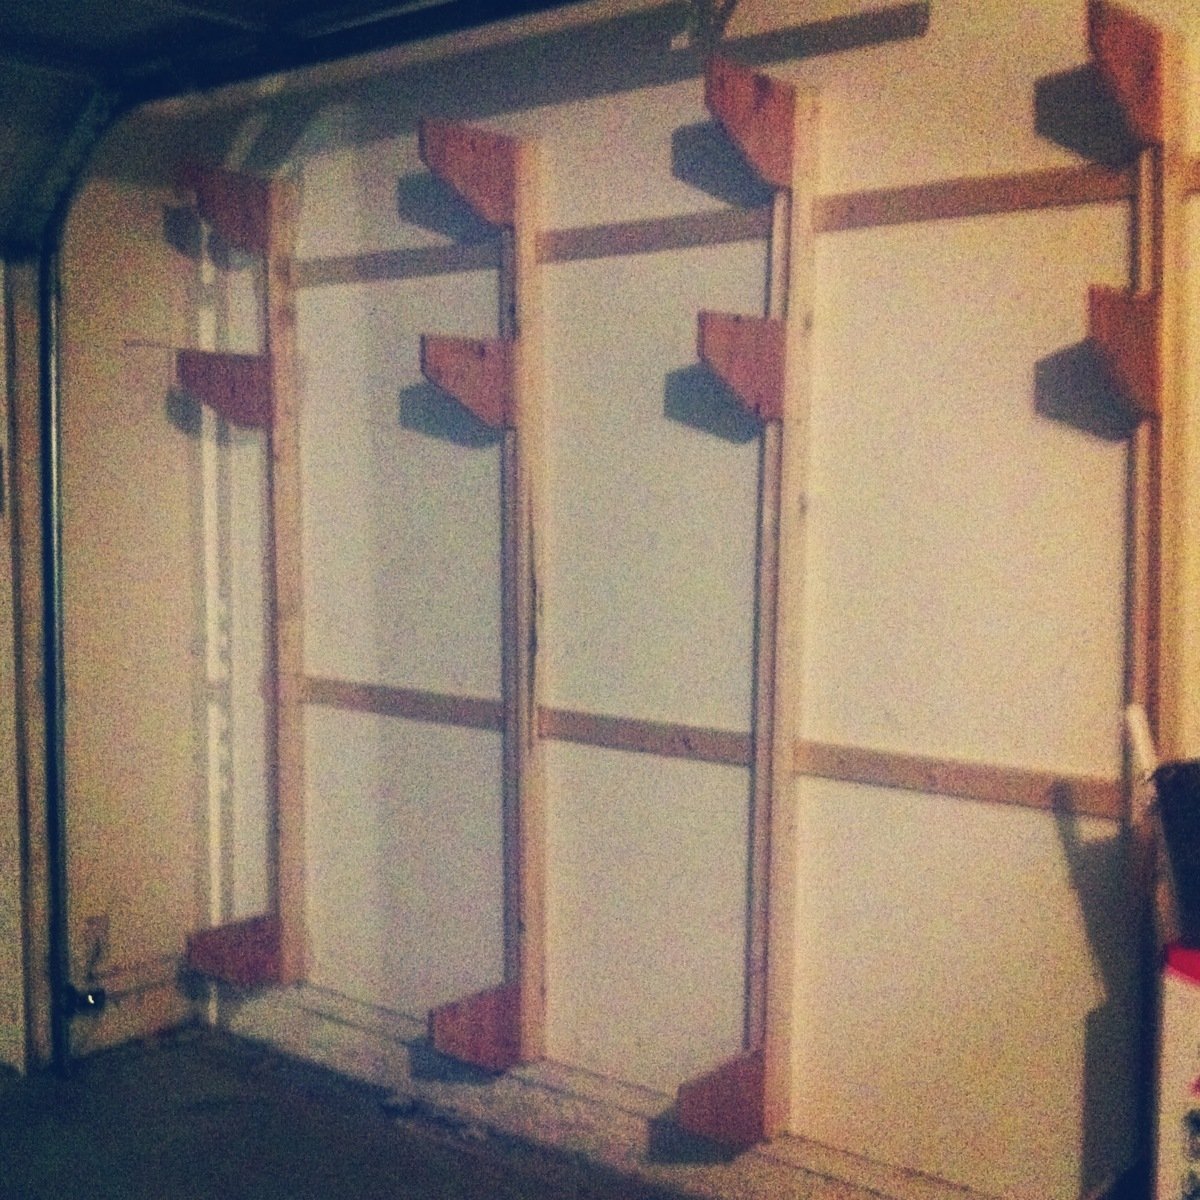
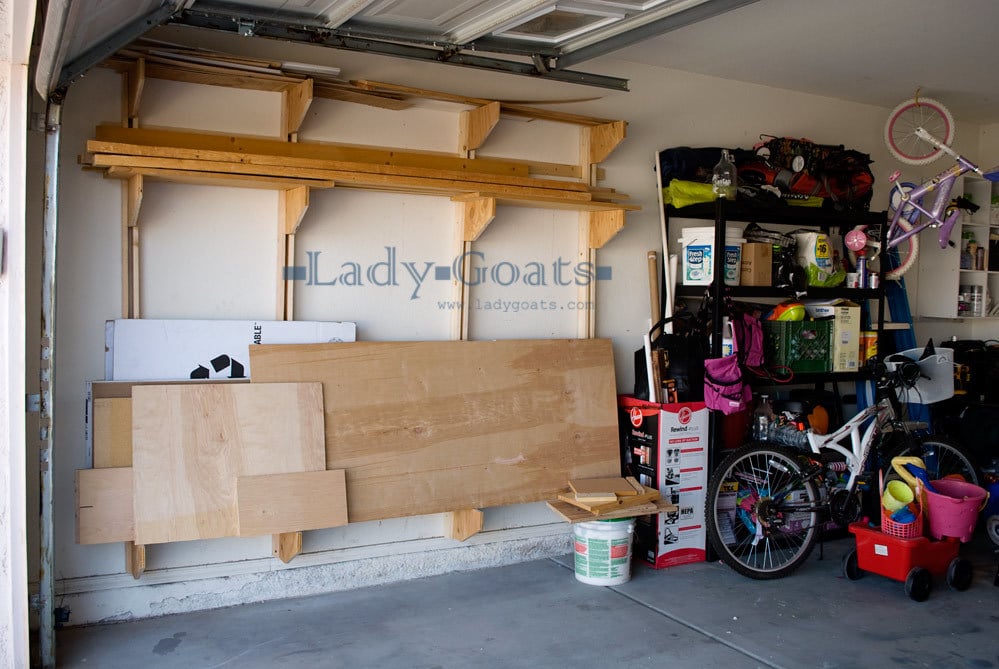
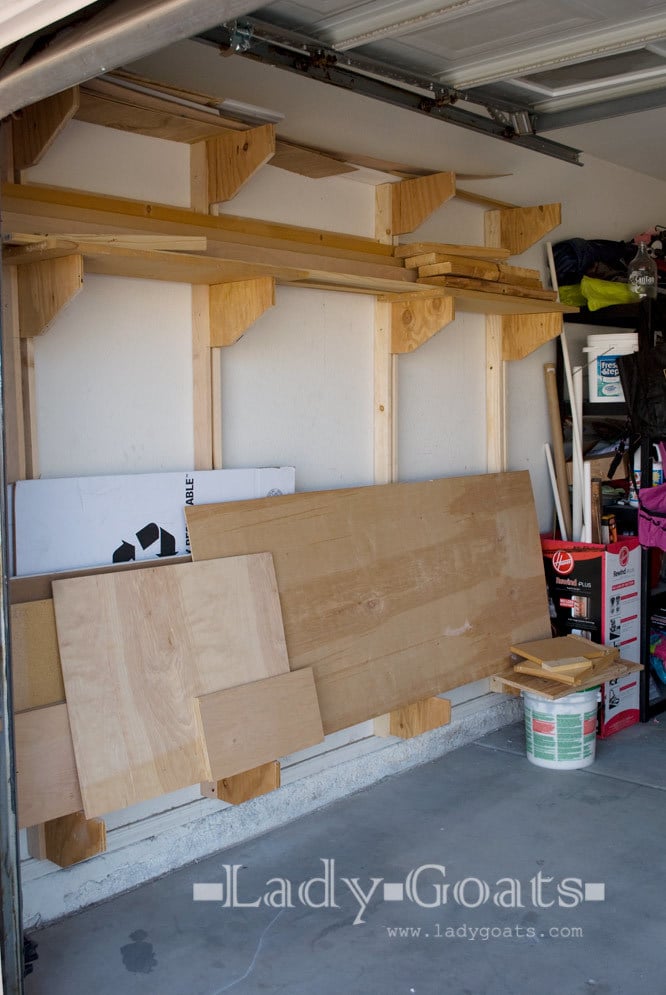
I decided it was high time to organize my garage and needed somewhere (preferably off the floor) to store my lumber. This isn't an Ana project, but I know that we're all suffering from lack of a lumber storage system and thought I'd show you all what I did. You can visit my blog for more info on how I created it by clicking here. Hopefully this great plan can be useful to a lot of us!
Comments
Larger Rustic X coffee table
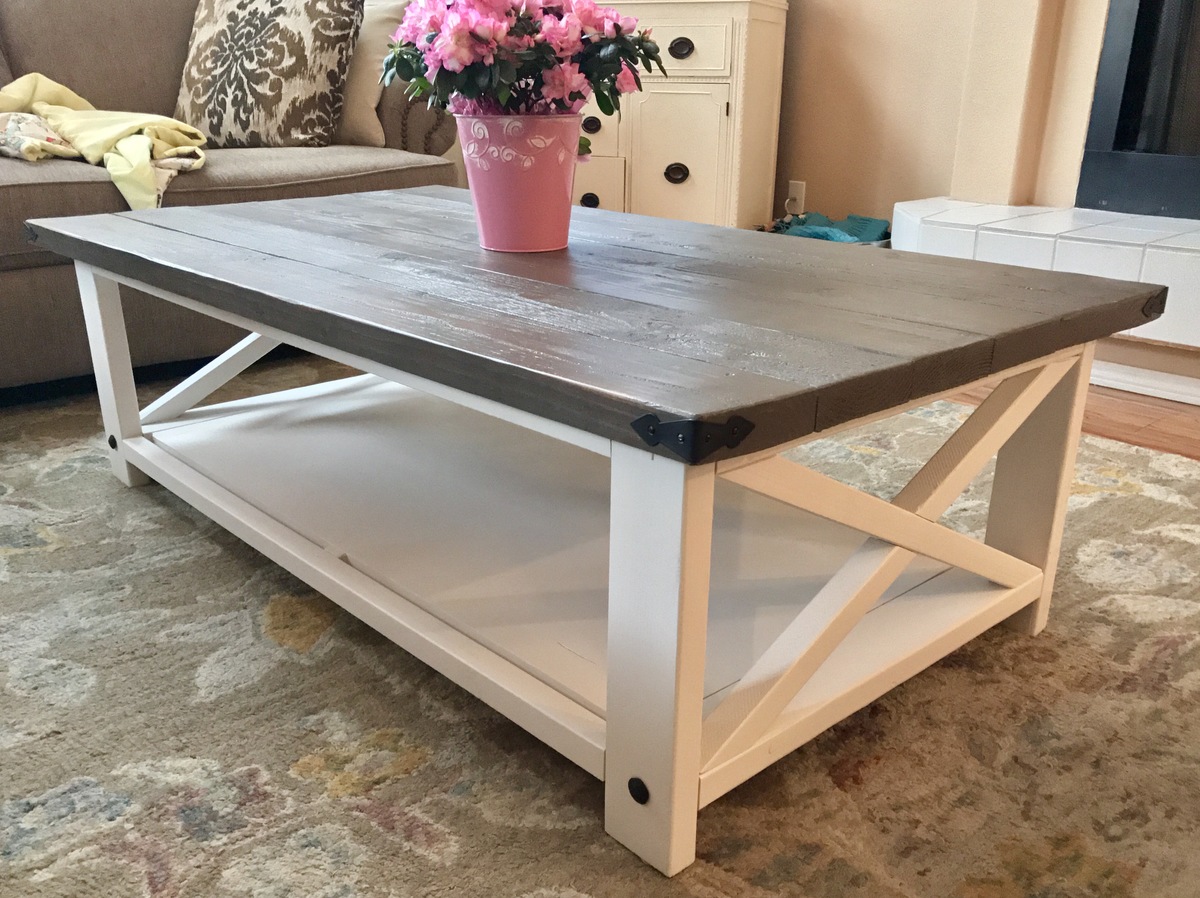
I used upscaled plans for the table that ended with a table top of 60" x 36" that helped match our oversized couches. Fun easy project!
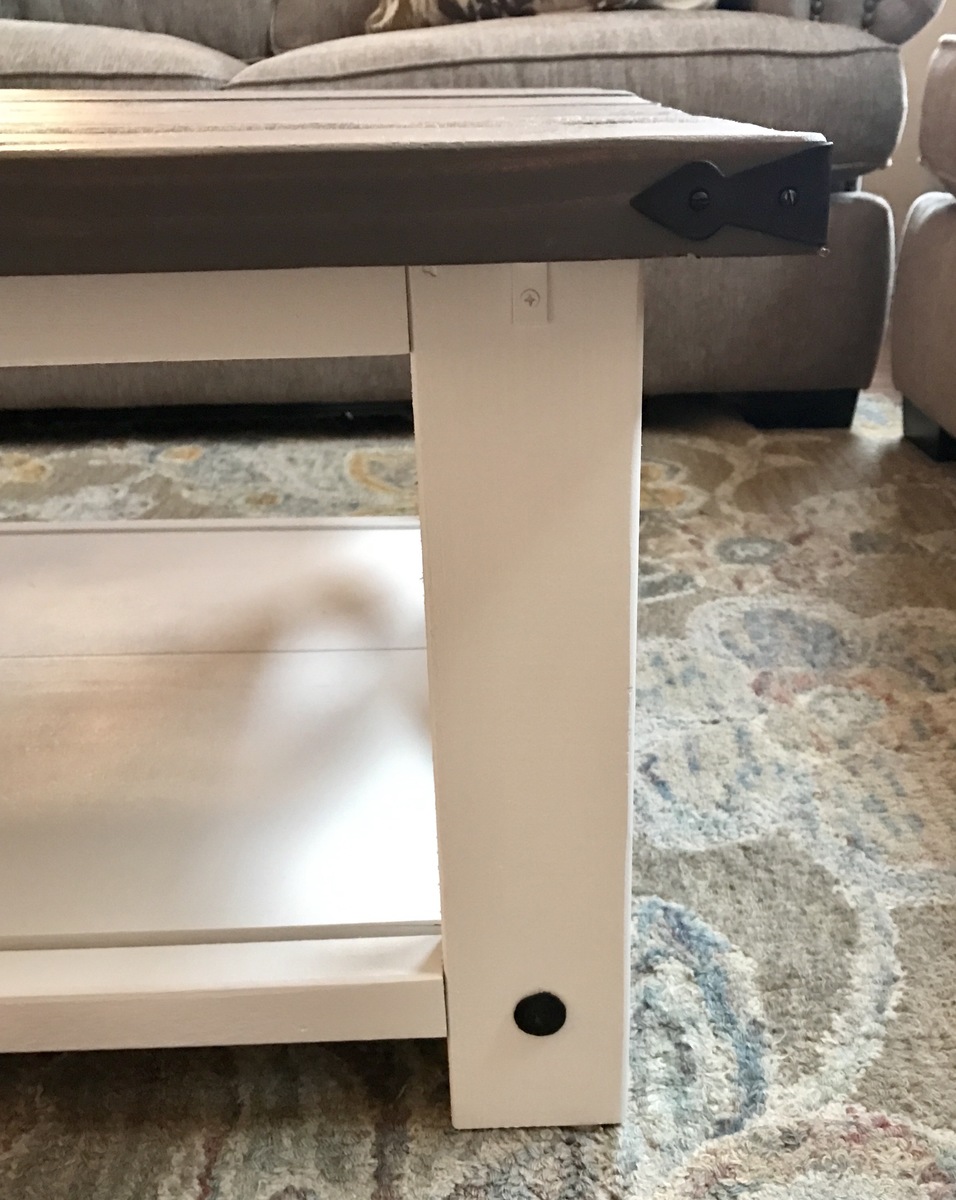
Base: Glidden Diamond Acrylic paint in Antique White, sprayed on with spray gun.
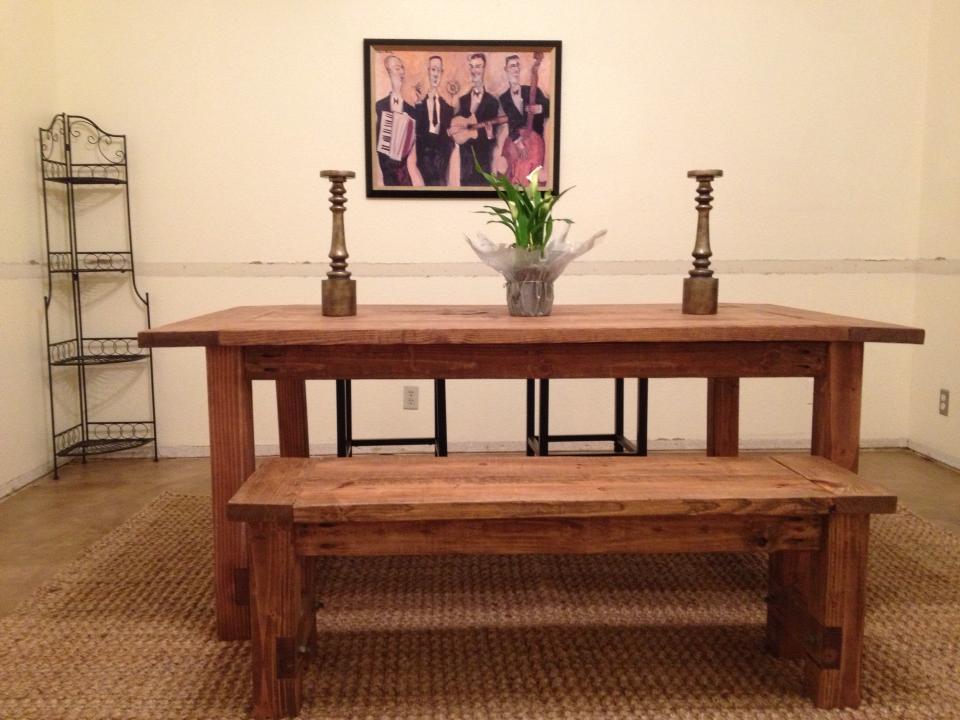
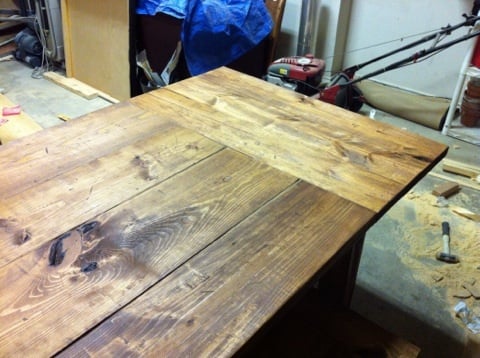
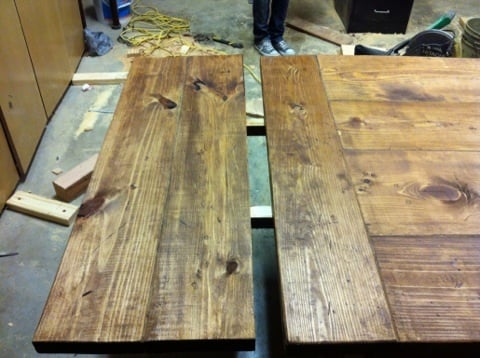
farm table
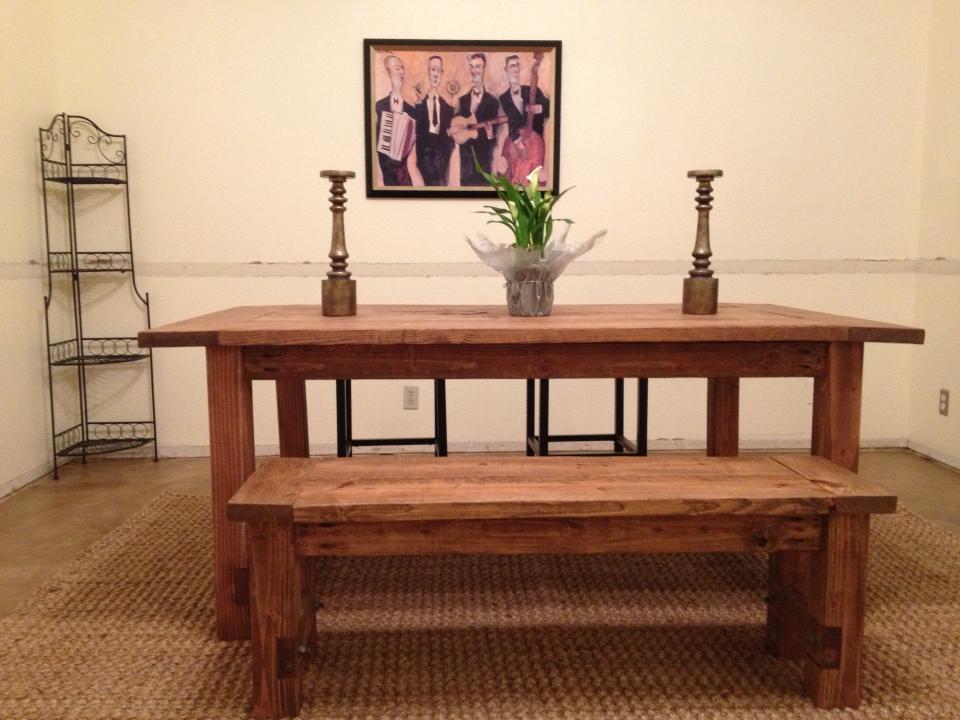
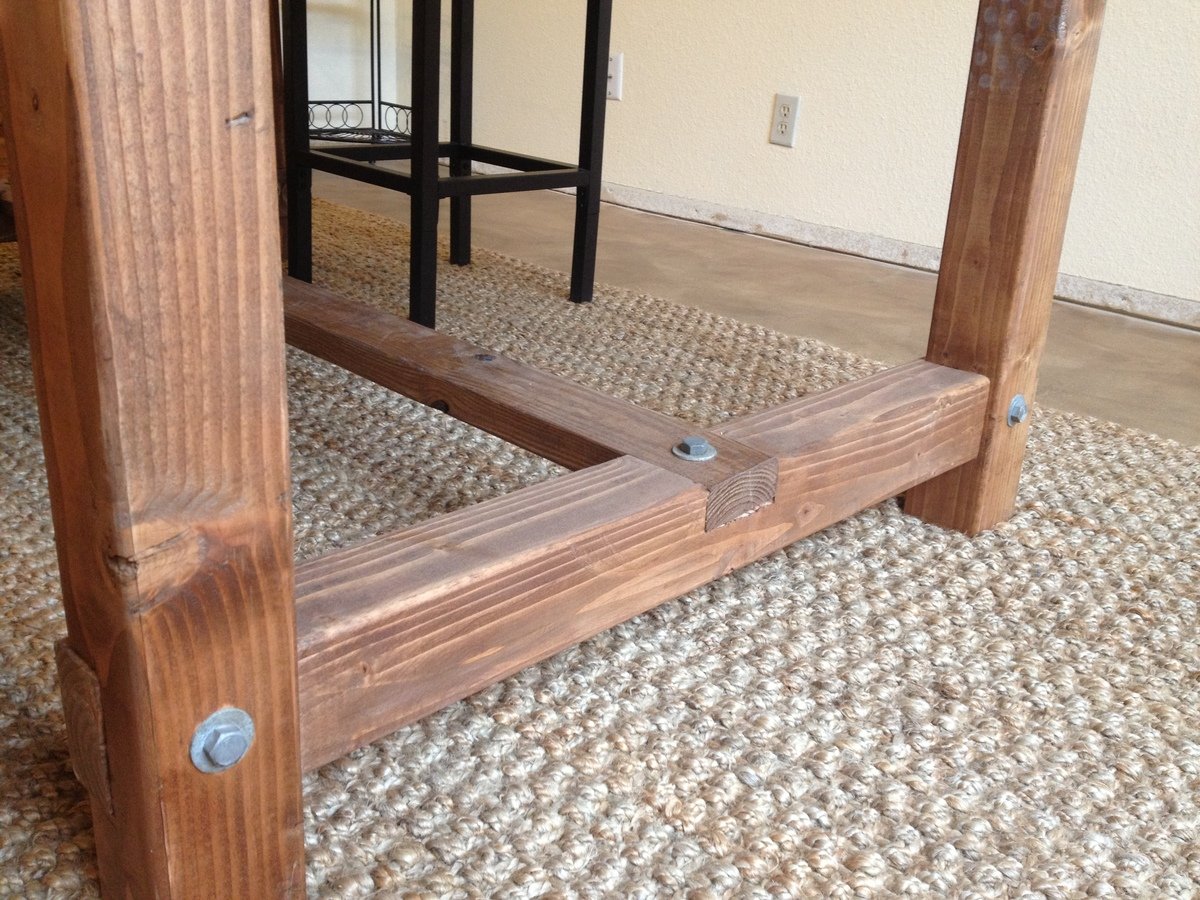
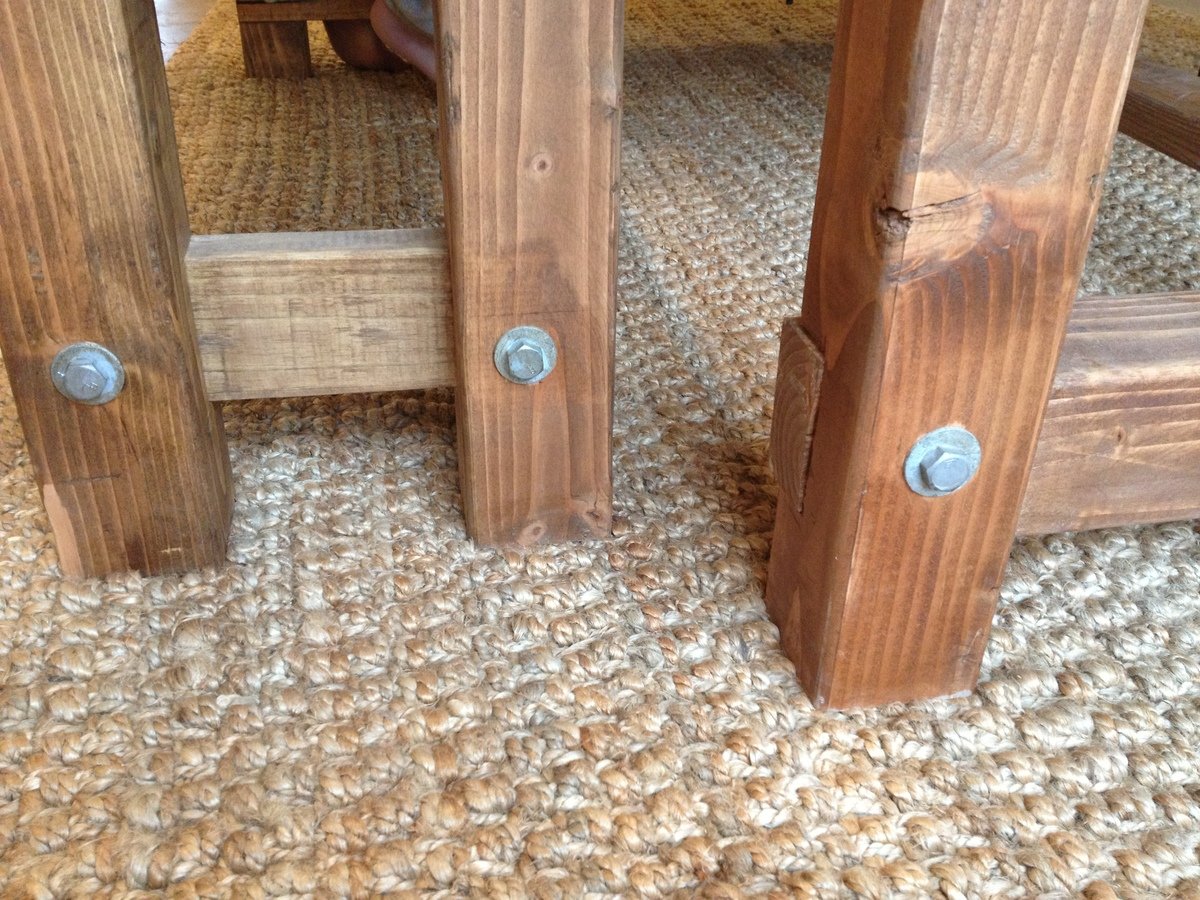
it was a great project i made a few mistakes here an there but i really like the table. and i love the lag bolts makes the table a little more interesting to me.
Small Kitchen Island
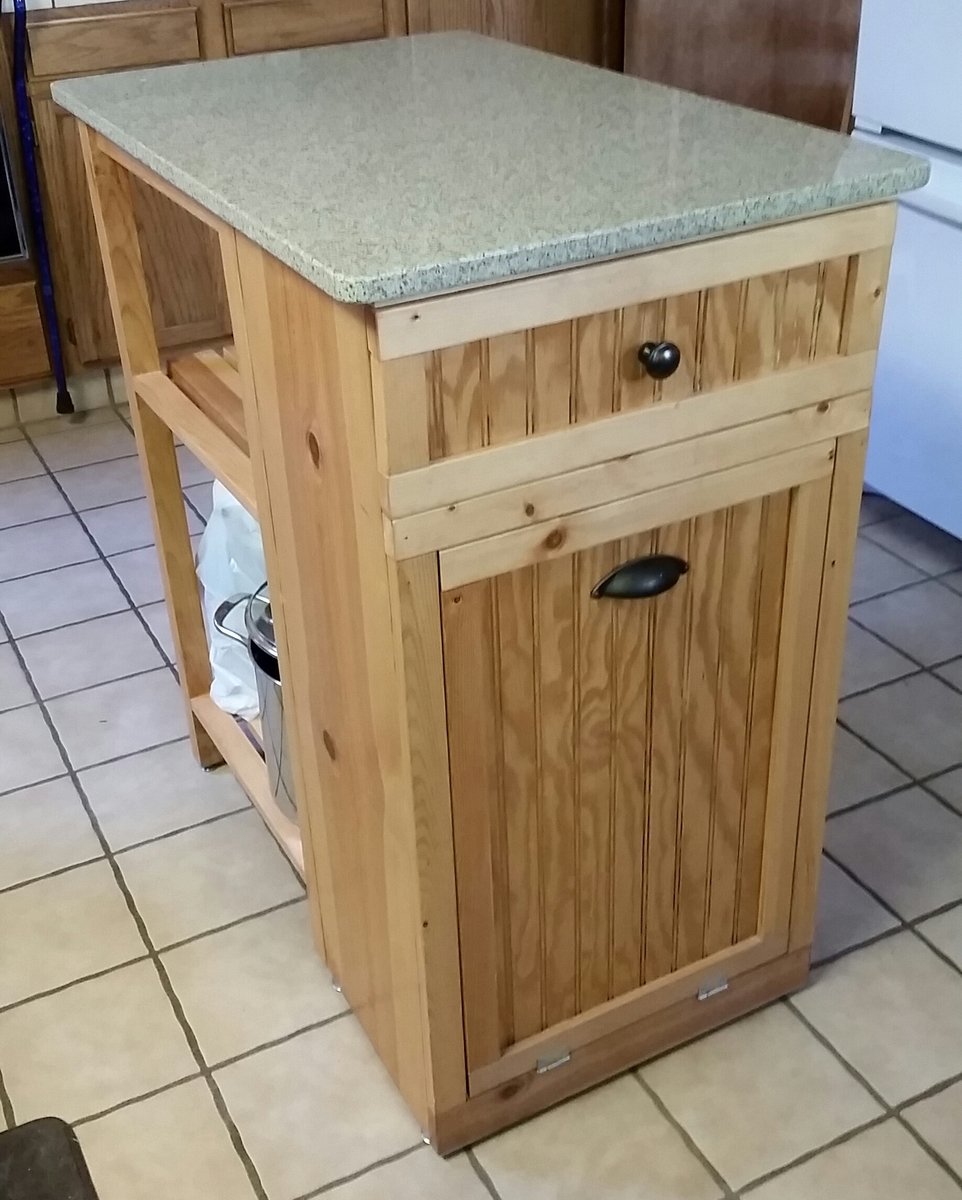
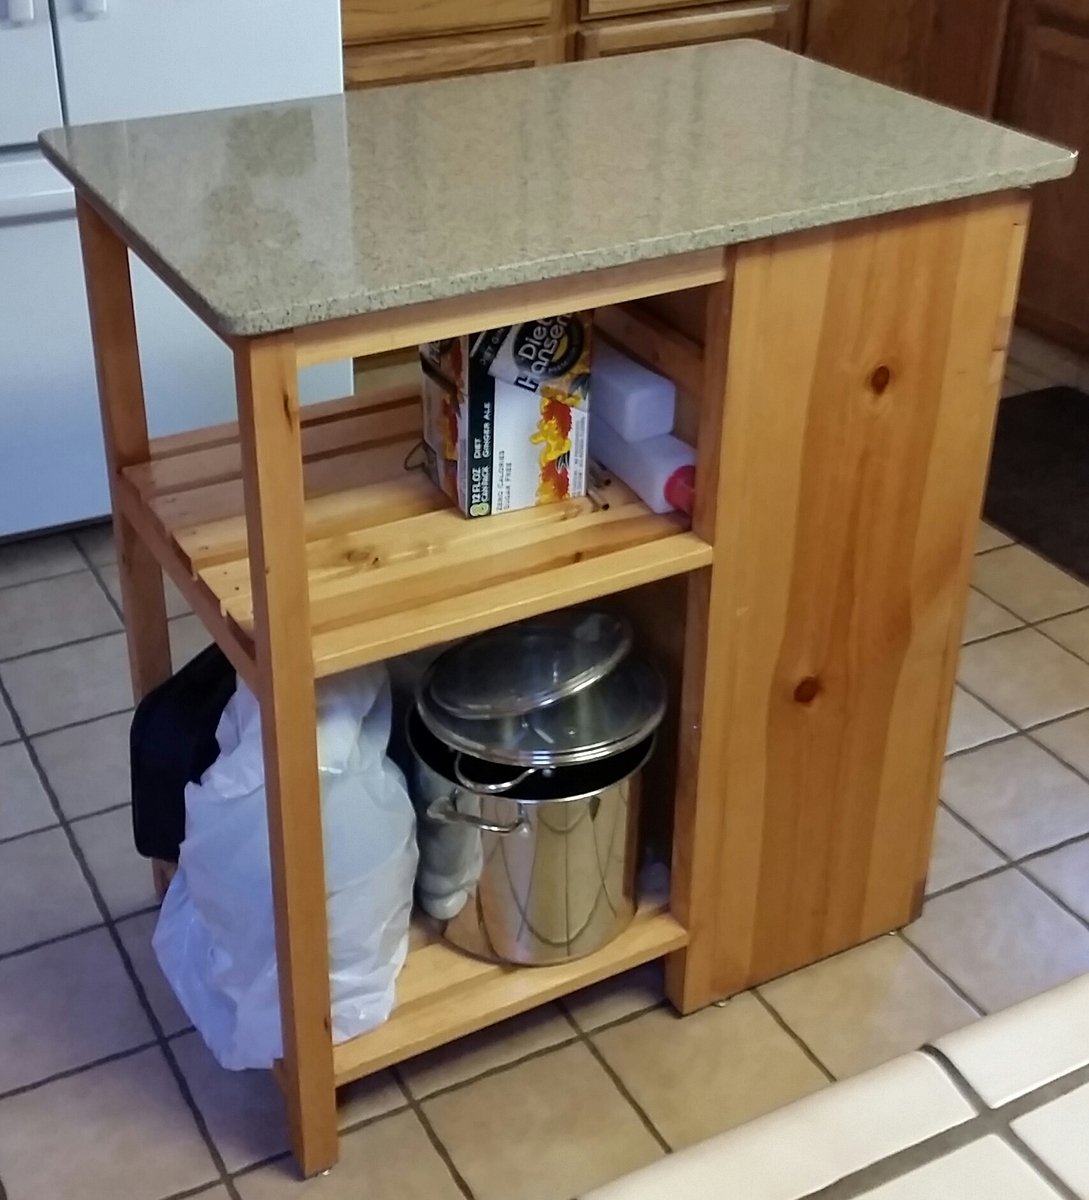
I built this for my mom to replace her small, rolling butcher block. I wanted to add in the tilt out trash cabinet, so I built off the back of it to give her some storage and a bigger work surface. I had a local countertop business custom fabricate the top out of a piece of scrap quartz (that was the spendy part of the project).
Comments
Farm Table & Re-Purposed Chairs
Following Ana White's Plan for a Farm Table, we were able to build our own and it turned out perfectly! We also re-purposed chairs to complete the look!
Farmhouse Toy Box

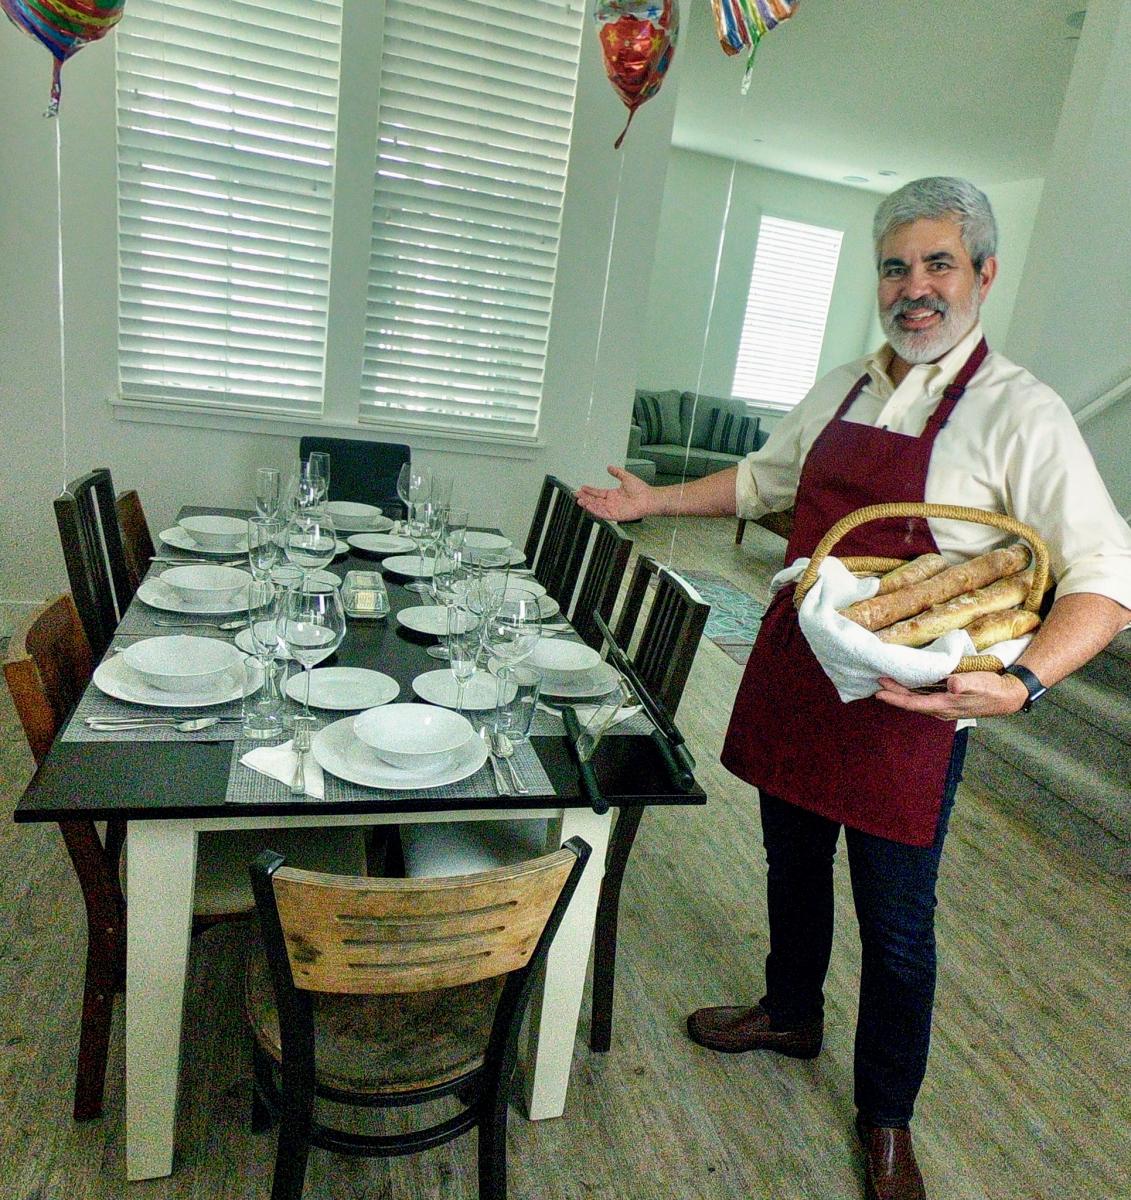
I’d previously made a farmhouse table for my son and his wife (photo below). They had a baby this past August, and I thought a matching toy box for the dining room would be a good Christmas present for our grandson. The design includes a chalkboard on the front. I wanted this to last for generations, and used birch for the project as well as dowel pins to join the boards. When the baby gets older, I’ll build a matching two-compartment cubby to stack this atop, so he can continue using the chalkboard.
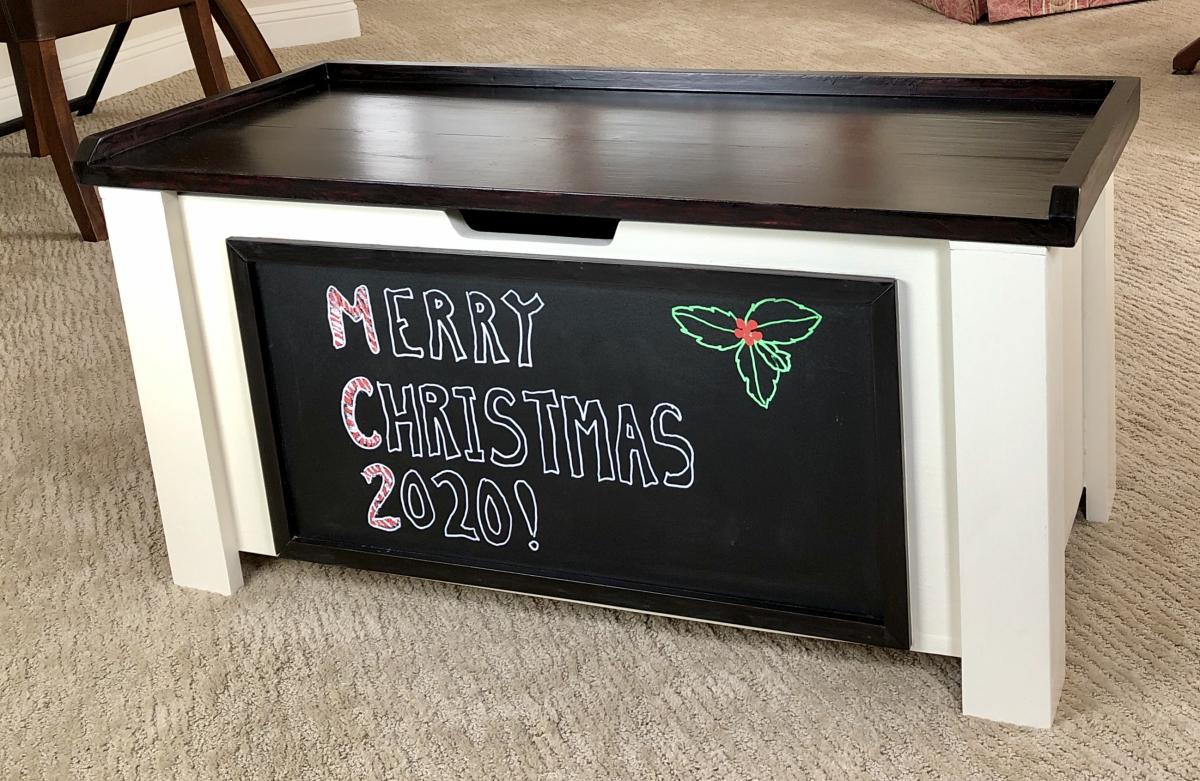
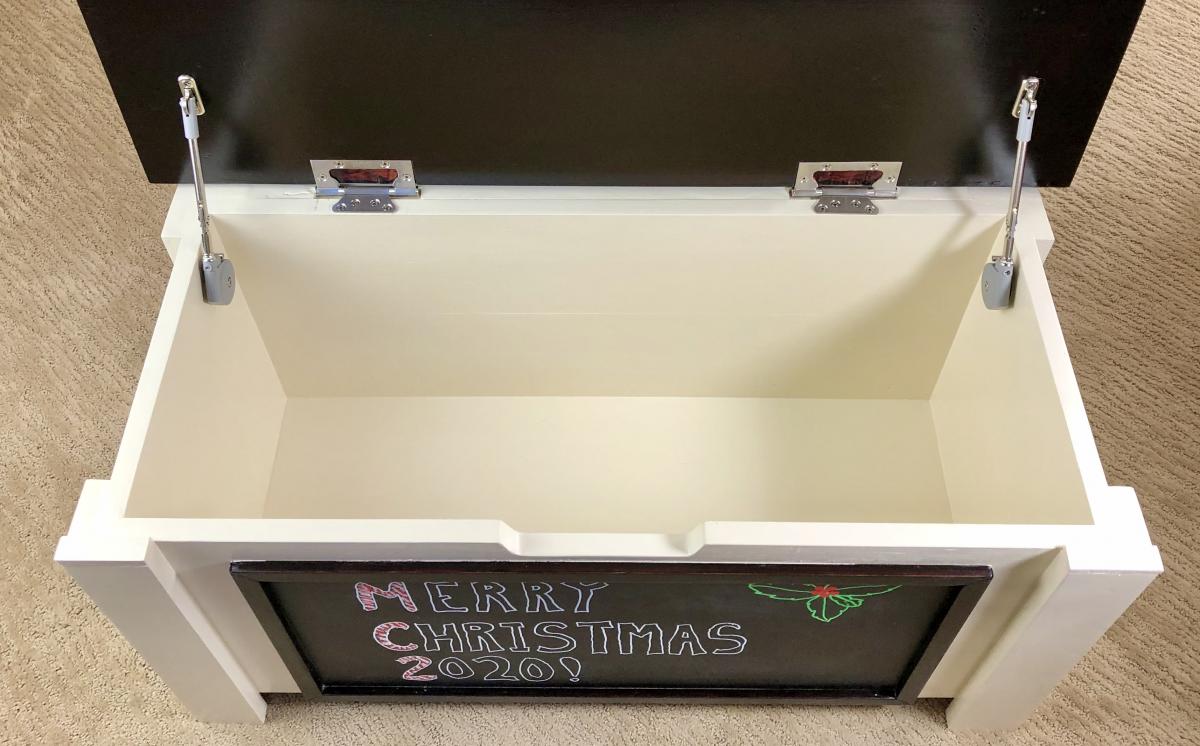
Semi Gloss Navajo White paint by Sherwin-Williams
Comments
Tue, 11/17/2020 - 13:31
Very sweet!
The best gifts and they look great! Thanks for sharing and spreading cheer!
Farmhouse Bed - Modification
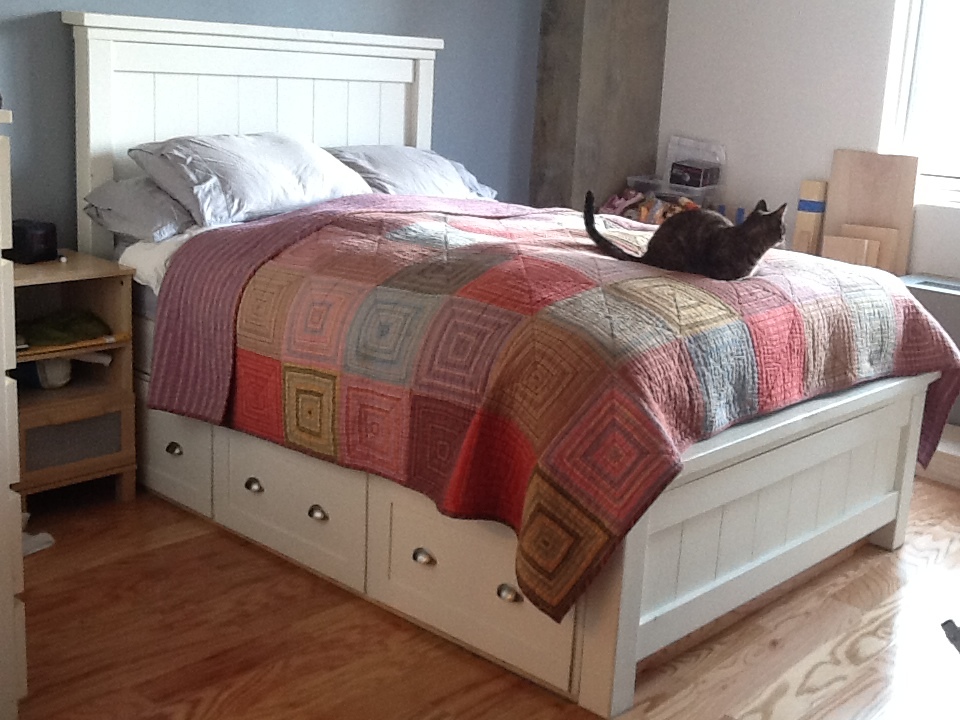
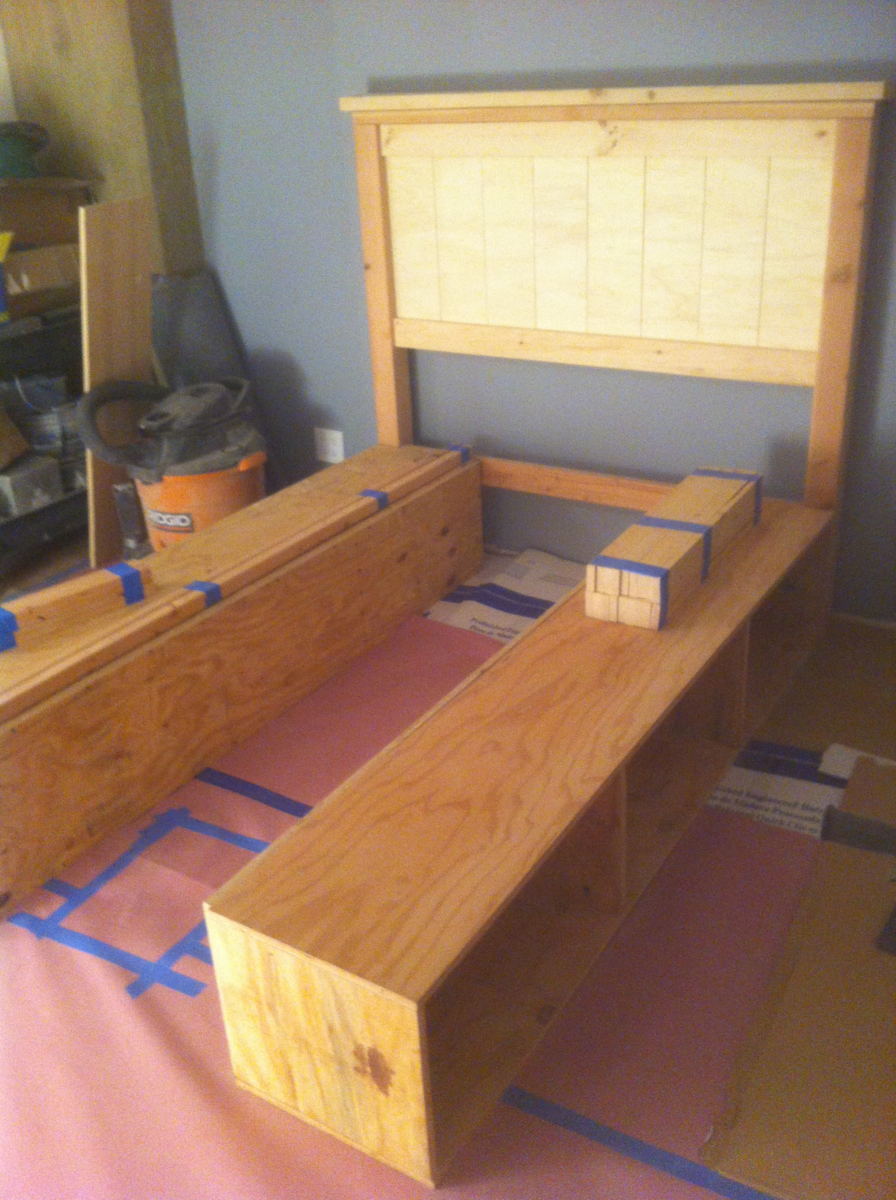
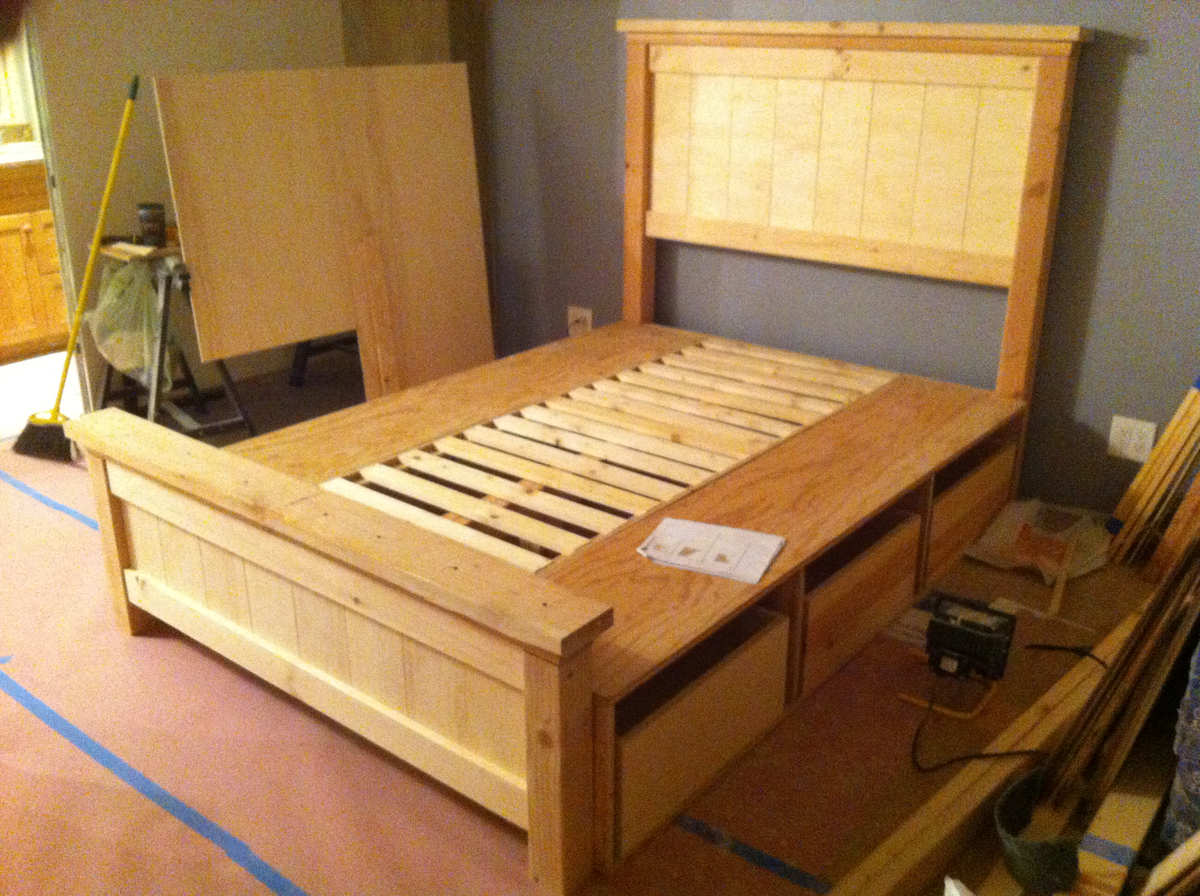
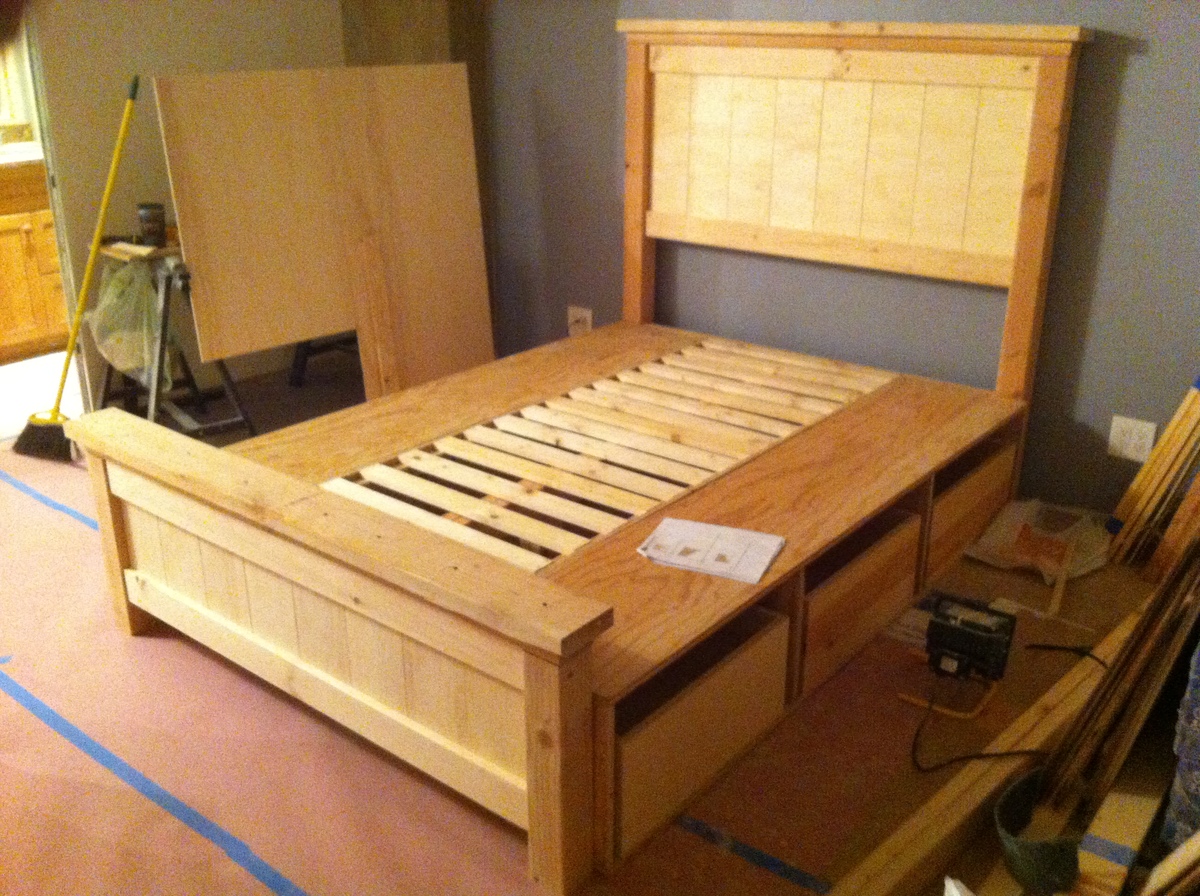
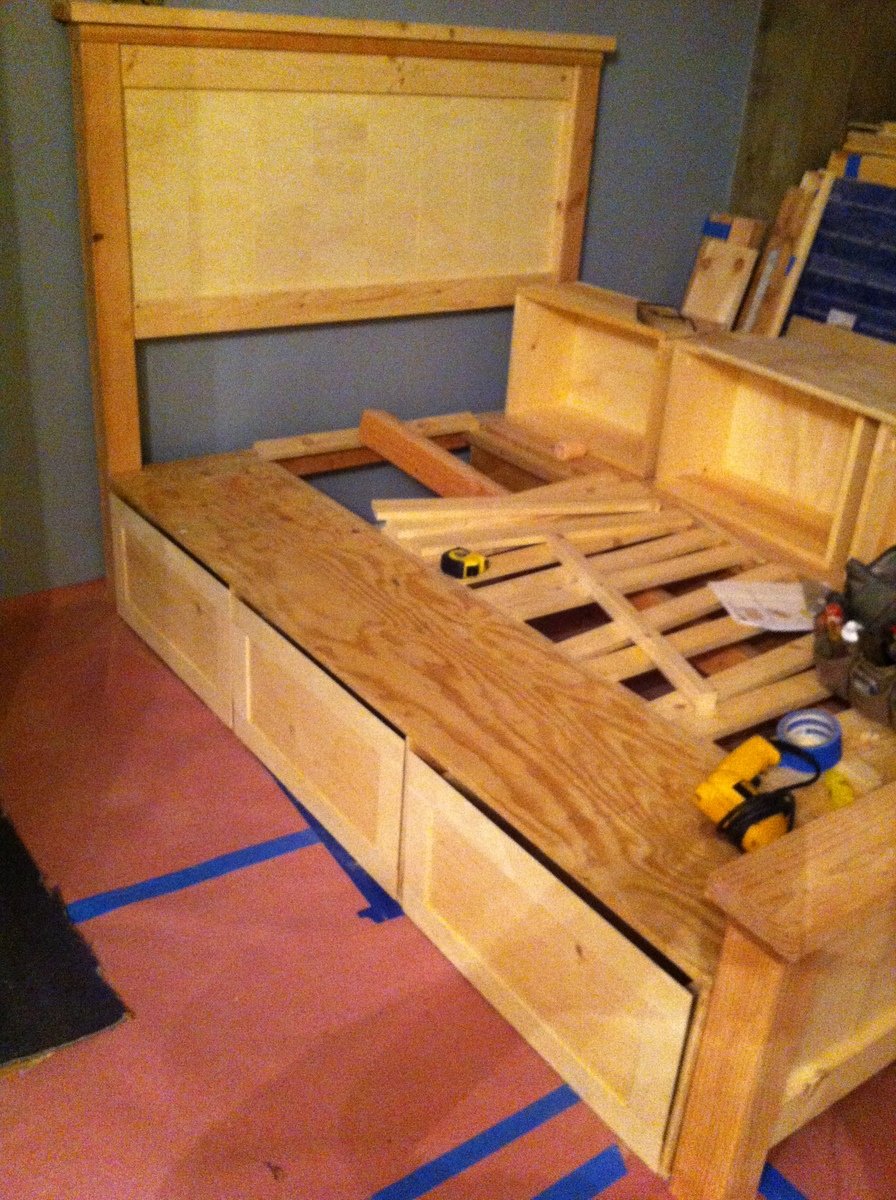
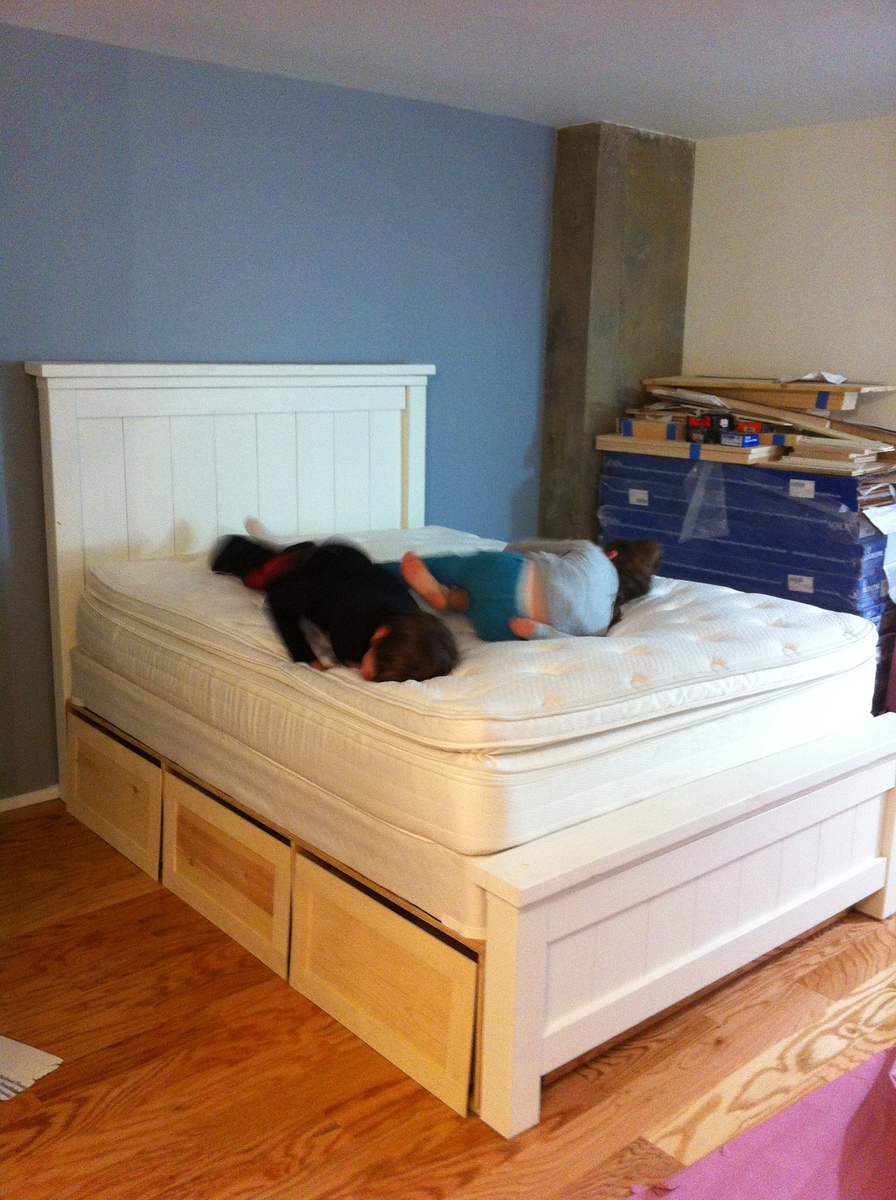
I followed the bed design posted for the Farmhouse Storage Bed, with some modifications to the base support. I have a queen waterbed and needed to reinforce the structure substantially. So I added more center support by building a simple 2X4 Header frame down the middle with 4 legs and beefing up the rails along the drawer boxes. I also included additional slat supports. I also placed the drawer boxes directly on the floor so that I would not have to buildup any additional legs. For the headboard and footboard, I did not have any beadboard so I ripped some 1/4" Birch-Ply into 6 1/4" strips, beveled the edges and nailed them with brads onto the 3/4" ply. I placed 1/16" spacers to create gaps between each and then just painted it. This gave me the look I wanted. It was a little more work, but well worth it in the end. I live in Manhattan so I actually had to construct this in my living room. Luckily I was undergoing a renovation at the time so the additional mess and dust was not too much of an obstruction. But now I'm hooked and want to build a lot more.
Comments
Thu, 02/14/2013 - 13:21
Looks great!
We just came upon the site and have been marveling at the people who "tweak" things a little. Great job!
Master Closet Renovation
Our master closet in our home was HUGE- but pretty horrible design wise prior to this DIY. 1 light bulb fixture in a 12 foot deep closet, horrible wire shelving running the whole wall, and a pretty much horrible use of space. As a surprise for my husband who was away for his job, I decided to create a dream closet for both of us!
I used Ana's master closet tower plans as a starting point and went from there. I modified the towers to be wider (24" wide each) and also taller so that they would go completely to the ceiling of the closet. I also modified the plans to allow for drawers and a pull out laundry bin on both sides of the closet, as well as shoe and clothing storage above said drawers.
For the project I used Home Depot cabinet grade plywood for the tower carcasses and then purebond 1/2 plywood for the drawer boxes, shelves, and drawer fronts. I purchased the Kreg Shelf Jig and Rip Cut guide for this project and both proved themselves invaluable until I get a table saw (HINT HINT Hubby).
For the trim I used 1 x 2 furring strips and 1 x 4 lumber for the decorative cut outs above the 4 tower units. I also used cove moulding to tie in all the sections of the closet with one another.
I painted the main towers white (as well as the wall to encourage the appearance of "built in) and then stained the shoe and clothing shelves dark walnut with a few coats of satin POLY to finish.
For the back wall I purchased target contact wallpaper and installed that- as well as a wall mirror so I don't have to balance dangerously on my bathroom tub to see if my shoes match my outfit anymore.
All in all, the project took about 3 weeks to finish. I was lucky that my mother was around the first few days of the project so that I could do the demo work and at least get the one side of the closet framed in, as the rest of the project was completed during "nap time" for my (NOSY) toddler.
In the end, we are both estatic with how this project turned out - I installed a valet bar and a pull out tie/belt rack for the husband and that add an even more "custom" touch to the closet...
I've posted many more photos to my blog detailing this closet reno- www.thesewchicmommy.com if you want to see a more "step by step" build.
Project cost: $750-800 ( including paint, mirror, wall paper, all hardware, lumber etc)
Time: 3-4 weeks
Comments
Wed, 11/12/2014 - 14:53
Marvelous!
Love your closet, you did a beautiful job! Your blog link had some great pictures too. All the neat touches like the laundry pull-outs, decorative trim at the top, and the pull-out tie rack are brilliant!
Fri, 11/14/2014 - 13:53
Wow you did this RIGHT! Love
Wow you did this RIGHT! Love the pattern on the far wall too!
