Factory Cart Coffee Table
My husband and I needed a new coffee table. While browsing this website we found one we liked. We changed it up a little to make it taller. Hubby also added more wood inside of the table to make it heavier.
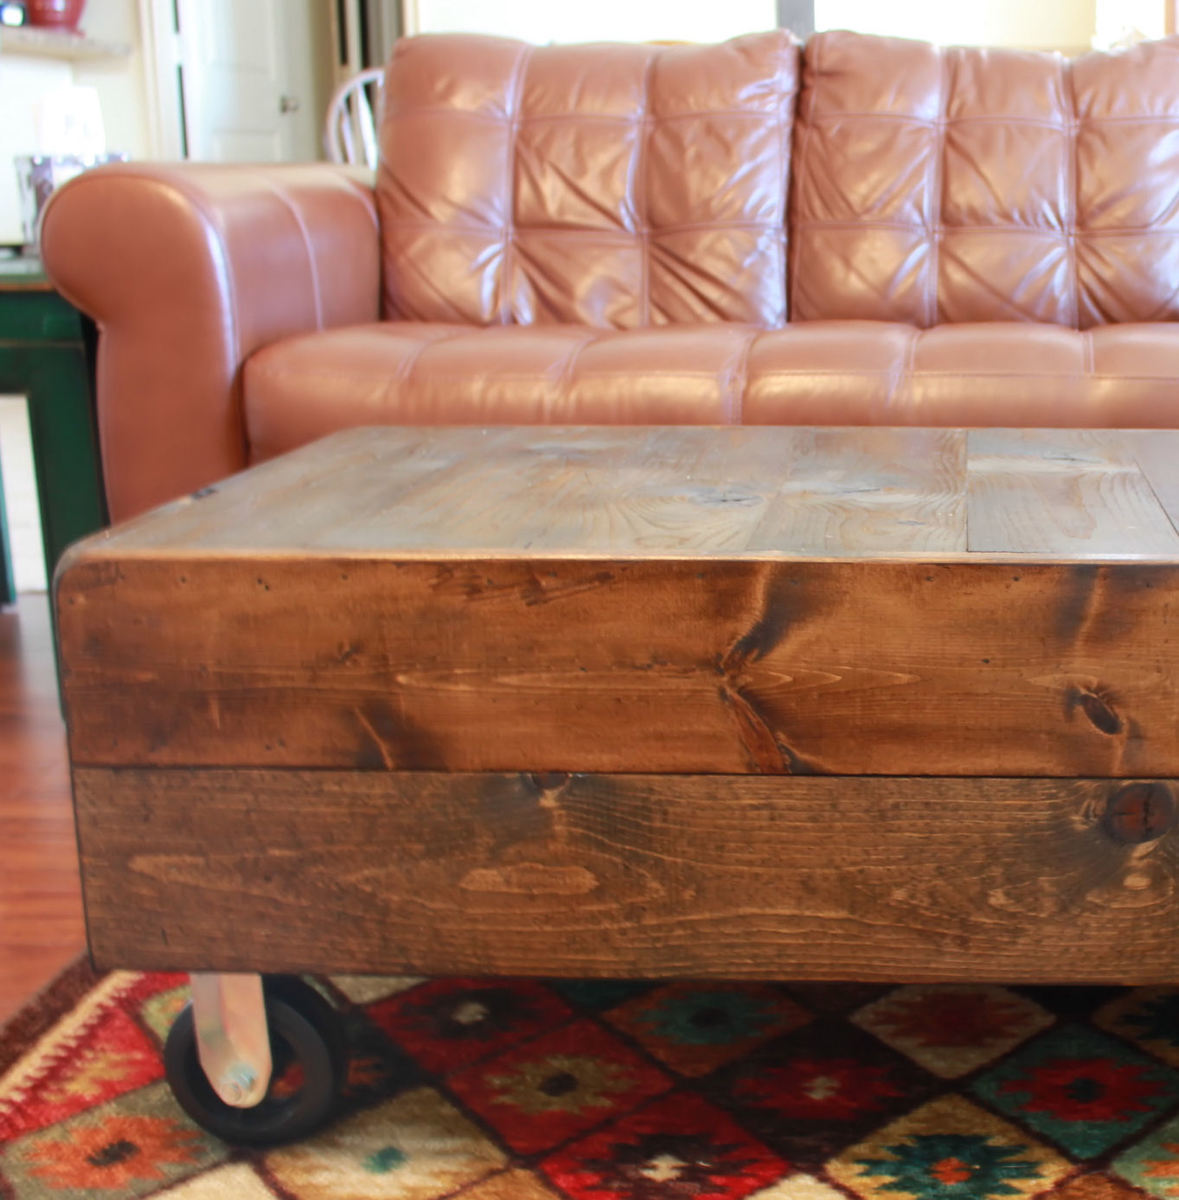
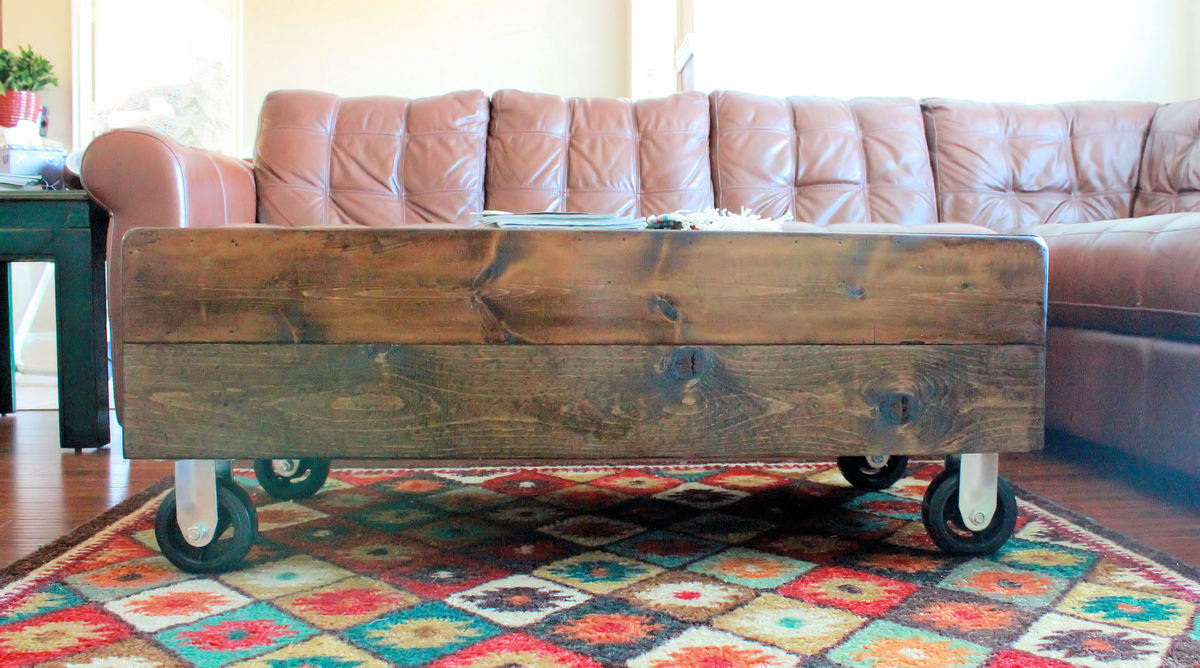
My husband and I needed a new coffee table. While browsing this website we found one we liked. We changed it up a little to make it taller. Hubby also added more wood inside of the table to make it heavier.


I took the plans loosely from what I saw here, but adjusted the size to fit my needs. I had a bunch of old wood that worked great for a rustic look (nail holes and all), so my only costs on this project were the hardware and some nails for my nailgun. I finished it off with some paint and stain I had laying around, to give it a little character. Great project for under $15 (for me, at least).

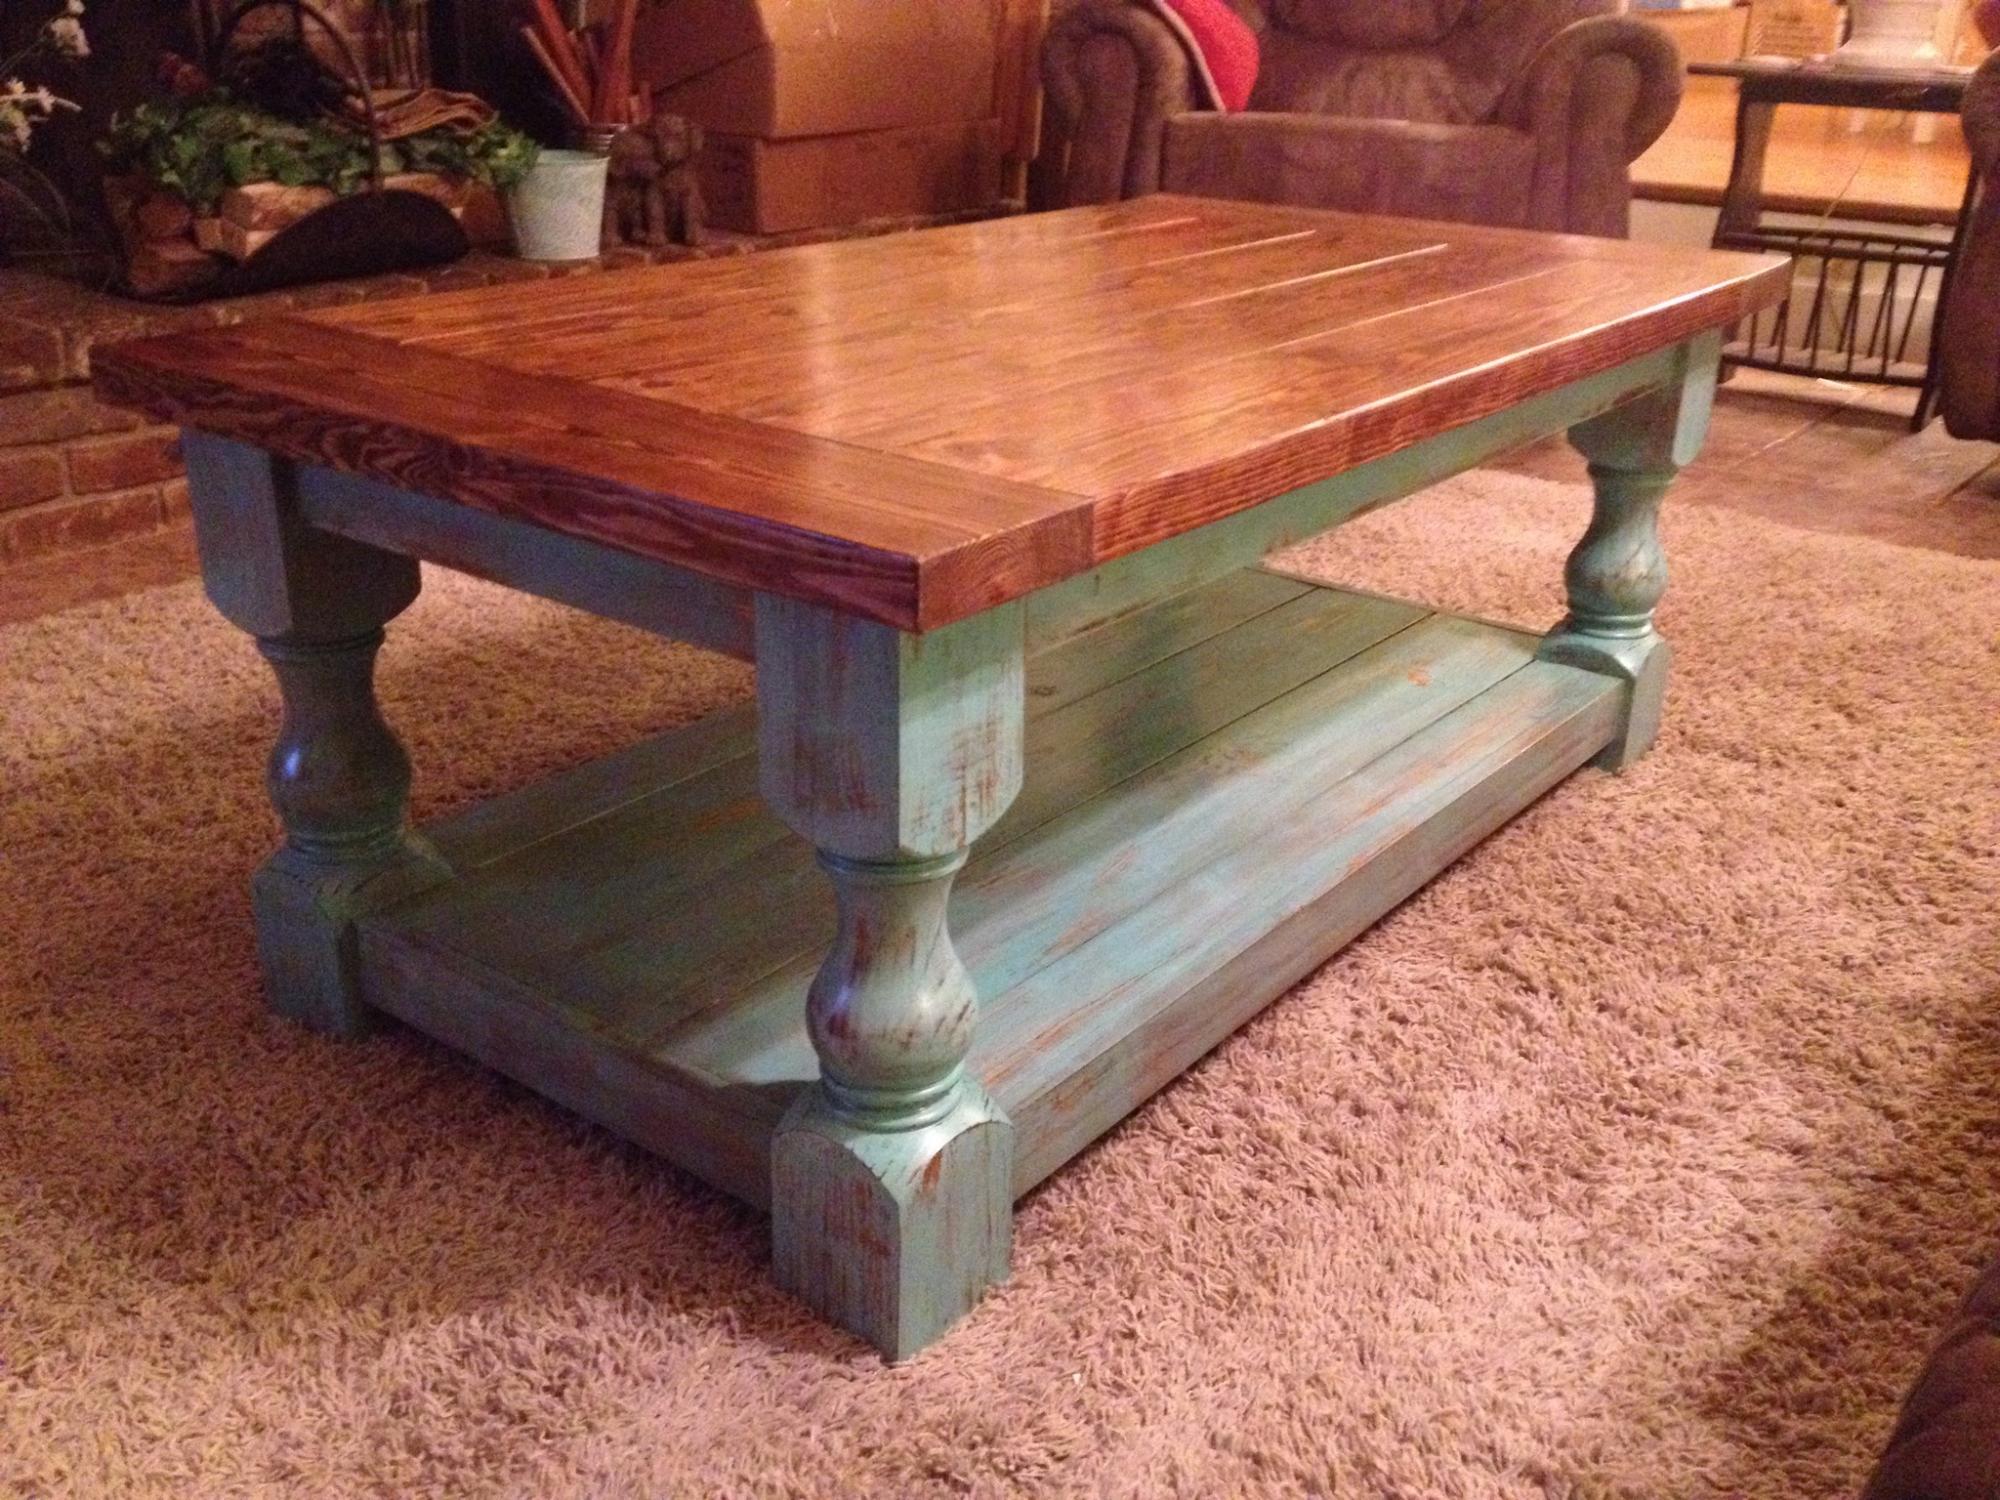
I ran across this when looking for ideas for a coffee table. My wife wanted a rectangular table, rather than a square - simple adjustment. I ordered the legs from
Osborne - great selection and good service.
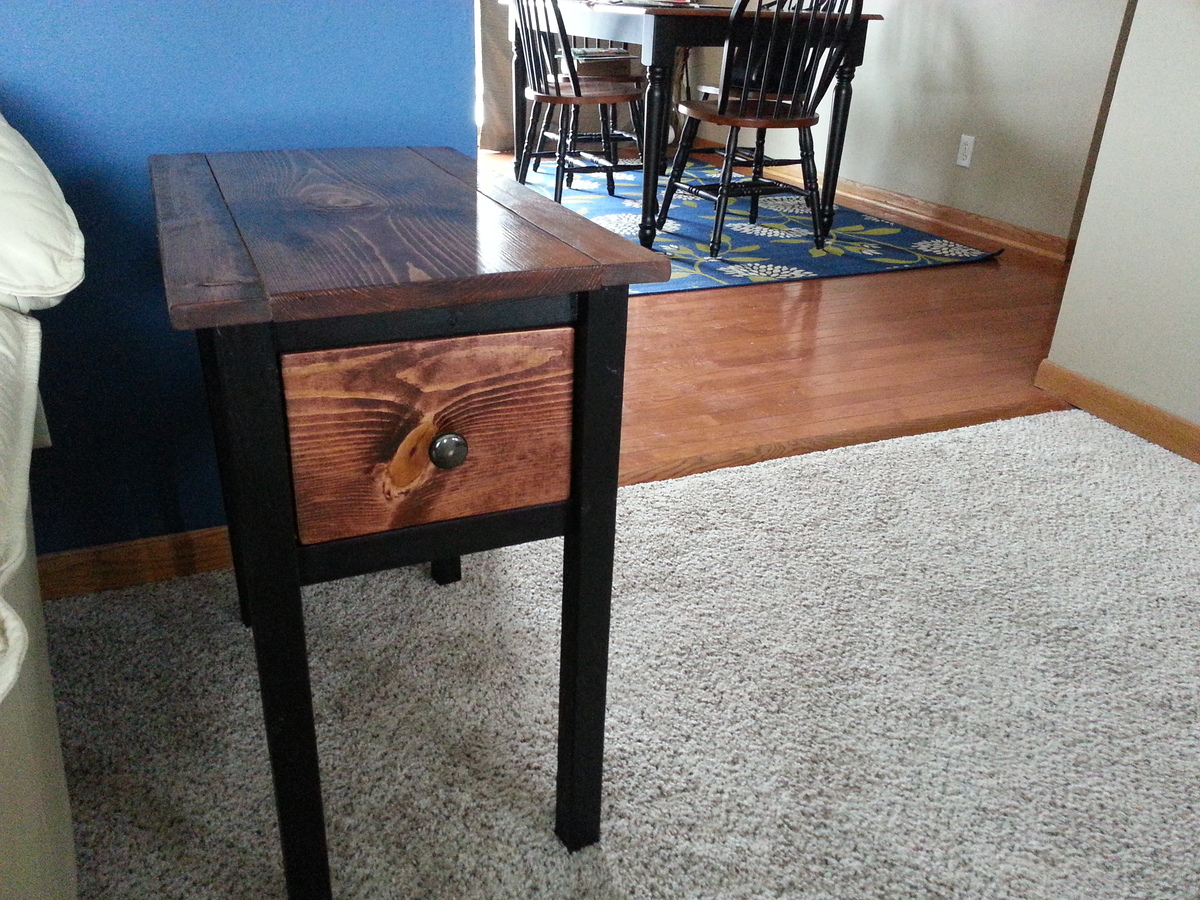
My first coffee table.

I have 3 Grandson's that love to be pirates so I decided to make them a pirate ship teeter totter. After searching the Web for plans and finding nothing I was looking for I decided to just go for it and see what I could come up with. This pirate ship is heavy duty. I use 2x8's, 2x10's and 2x12's for the frame and seats and 1x10's and 1x12's for the inside foot platform. It's 5ft long, 3ft wide and 3ft high. I had to put some stop blocks on it or it would of been a catapult instead of a teeter totter. (I know this because I climbed on and took it for a ride) Everything is connected using pocket holes and pocket hole screws (Thanks to my Kreg jig) I added a pole up the center and added a pirates flag and puts some swords on the sides. The kids sure have fun on it and so do I.


Mon, 12/15/2014 - 12:47
This is super awesome! I love the pirates too! You did an awesome job!
Mon, 12/15/2014 - 13:25
Thank You Ana. I sure had a lot of fun building it. Thanks for all your inspiration and for giving me the confidence to build anything I put my mind to.
Tue, 12/16/2014 - 00:22
Thank You Veronica. It was a fun project to build.
Tue, 12/16/2014 - 15:41
What a super awesome project.. I bet the kids love it! Great job on the paint and other finishing touches.
Bookshelf for our living room
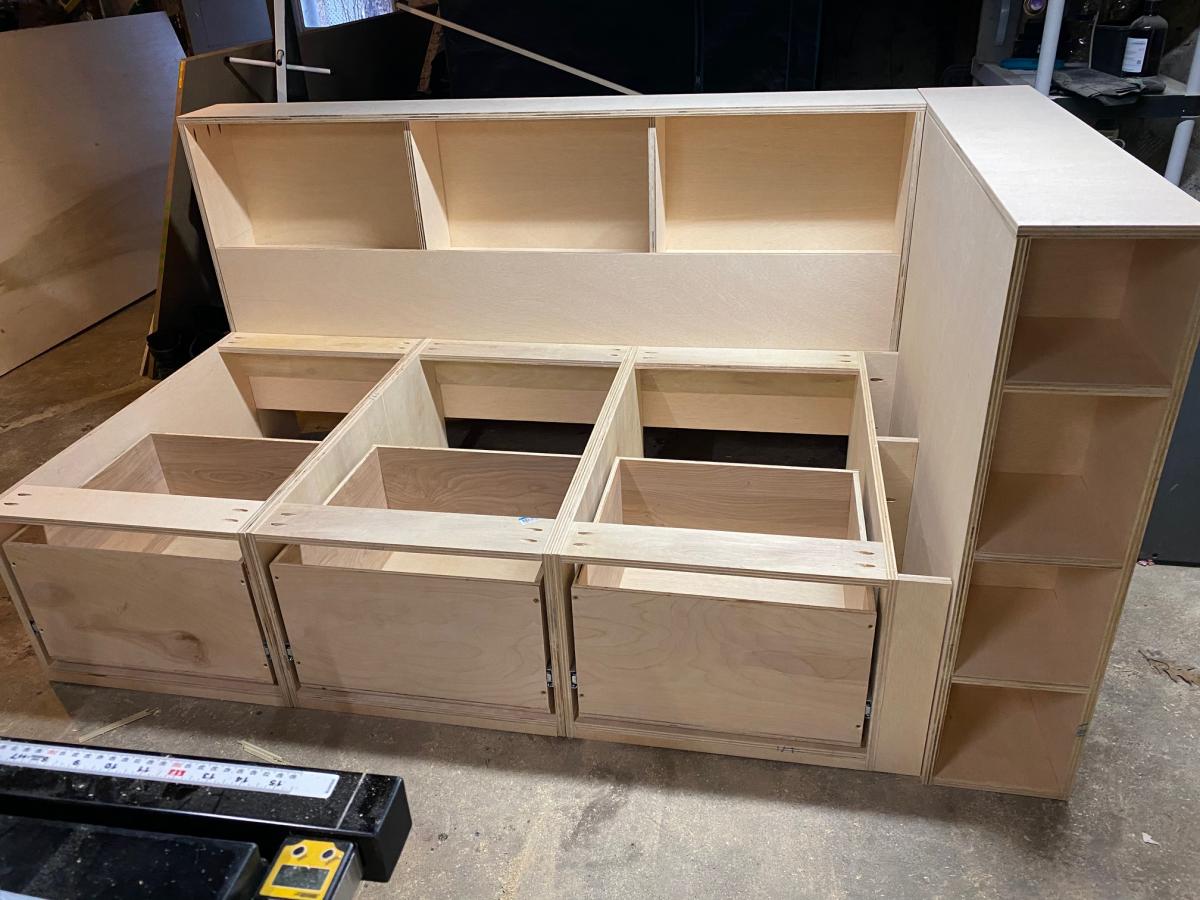
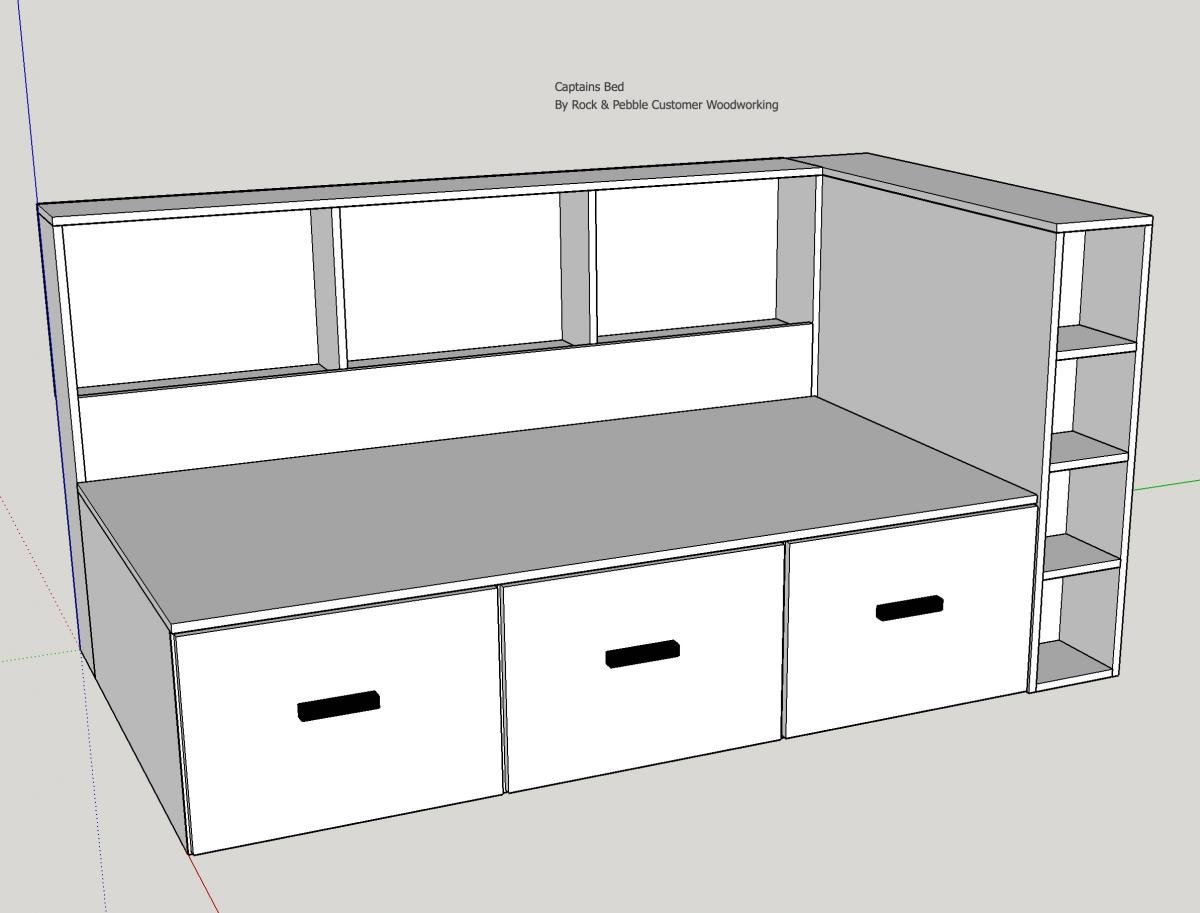
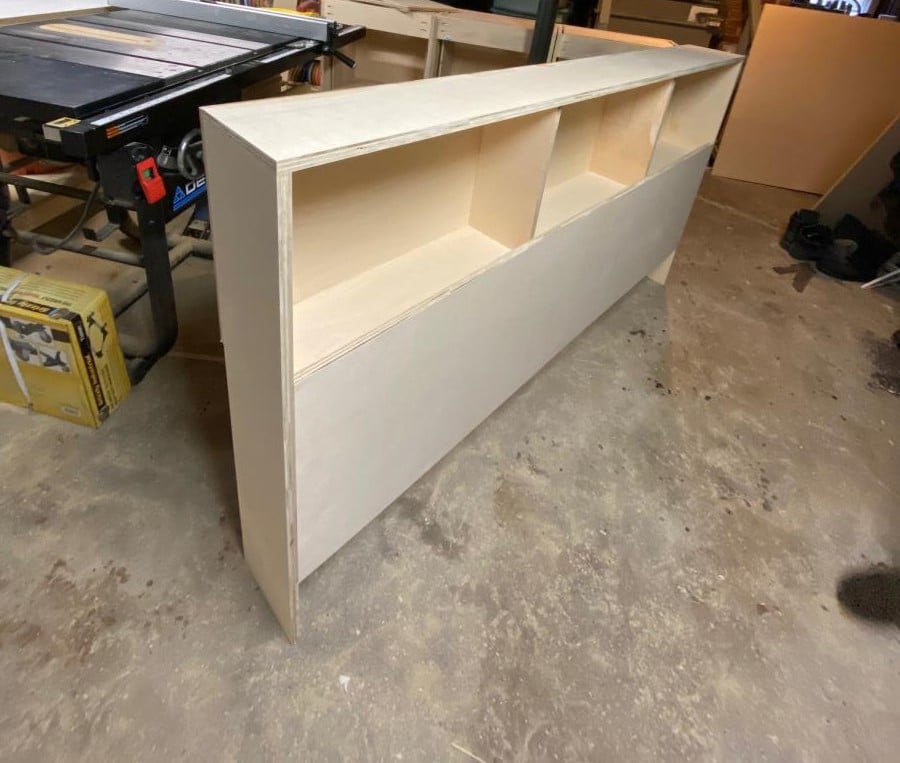
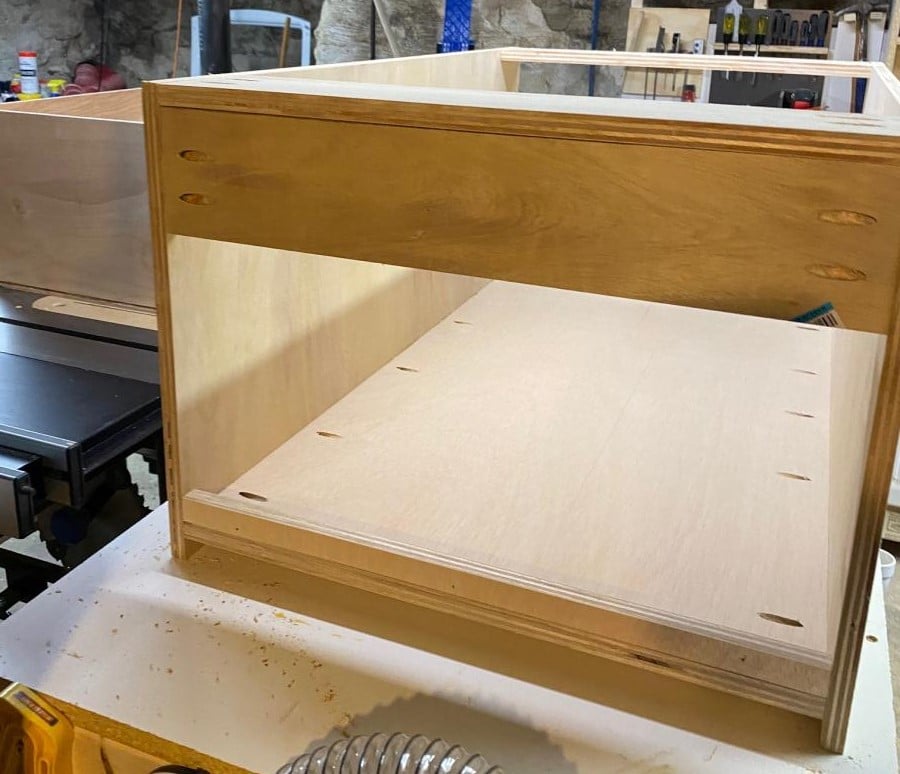
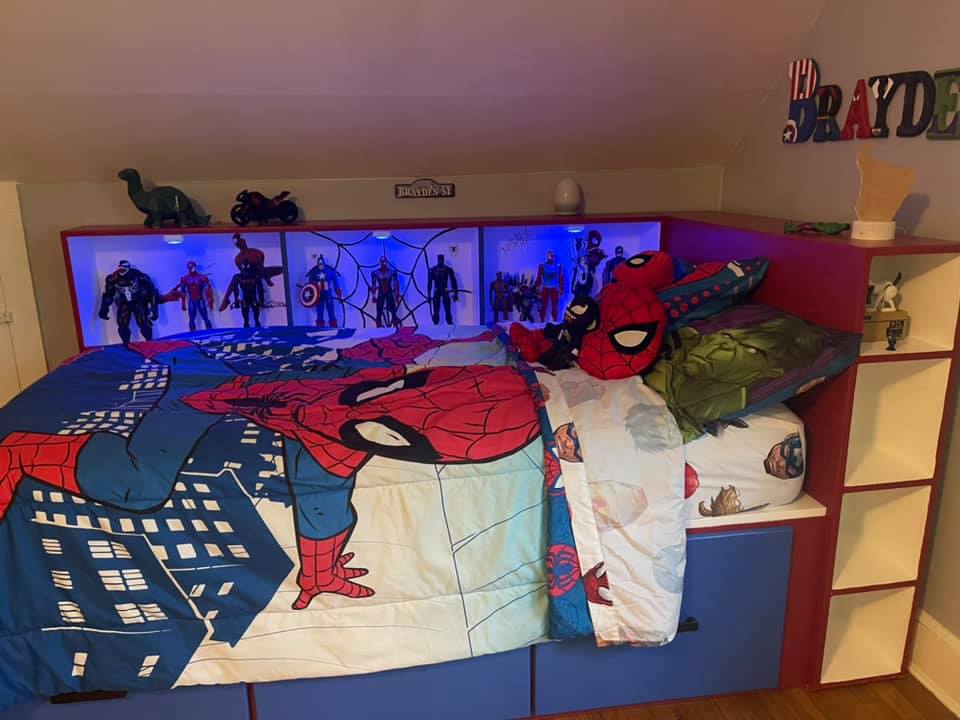
So this was a really fun project from start to finish, I wanted a storage bed with a place for my son to showcase his Super Hero collection!
Awesome project. Very simple, doing the sanding and finish requied more time than the cutting and assembly.
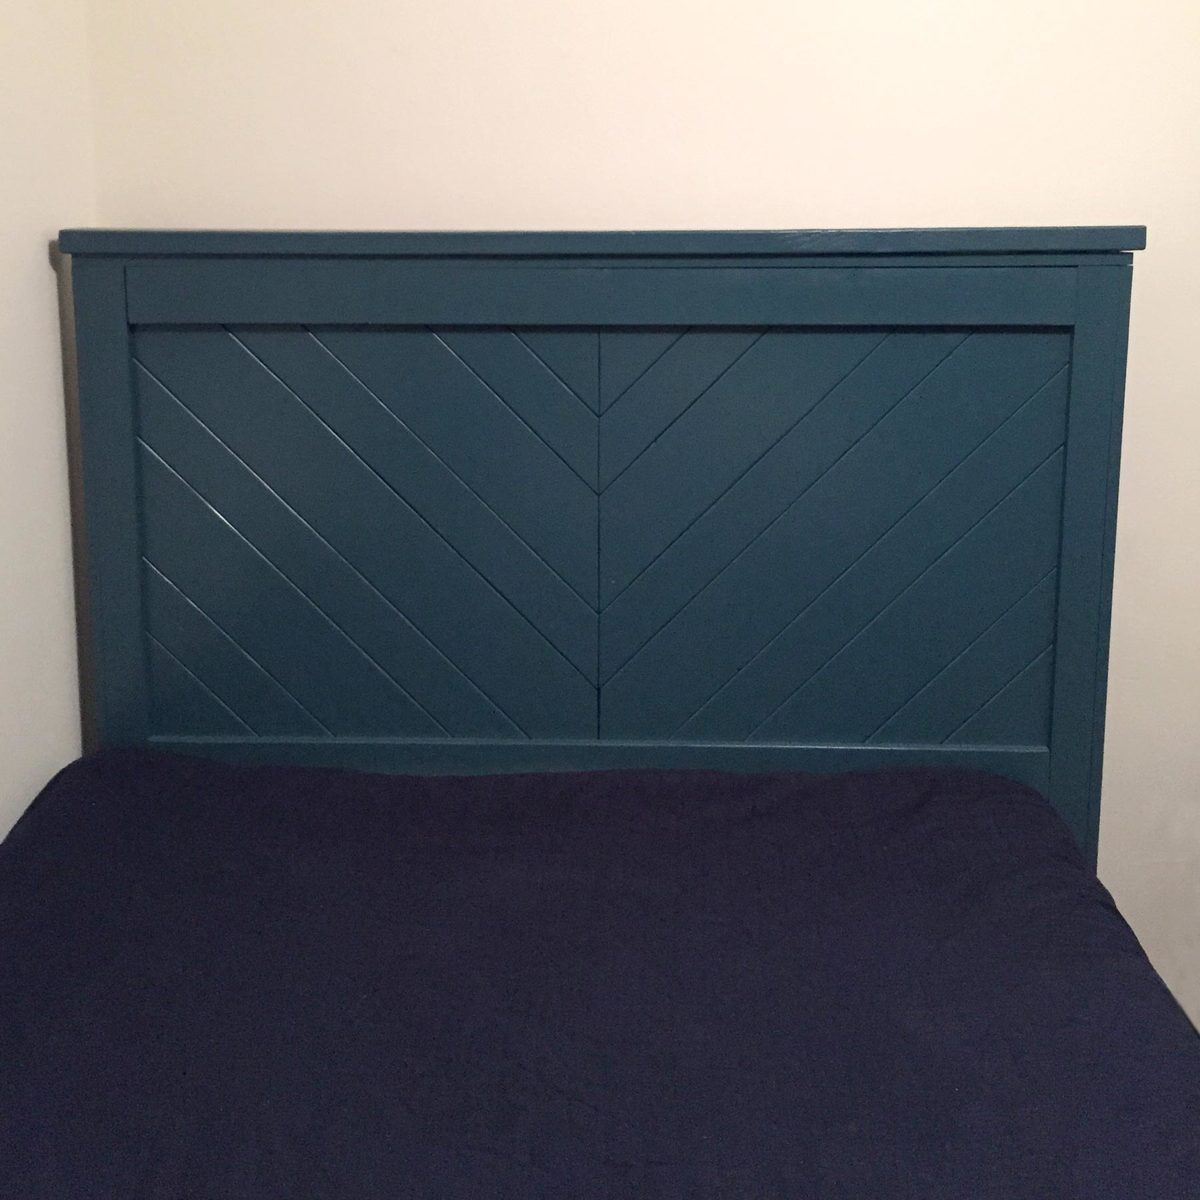
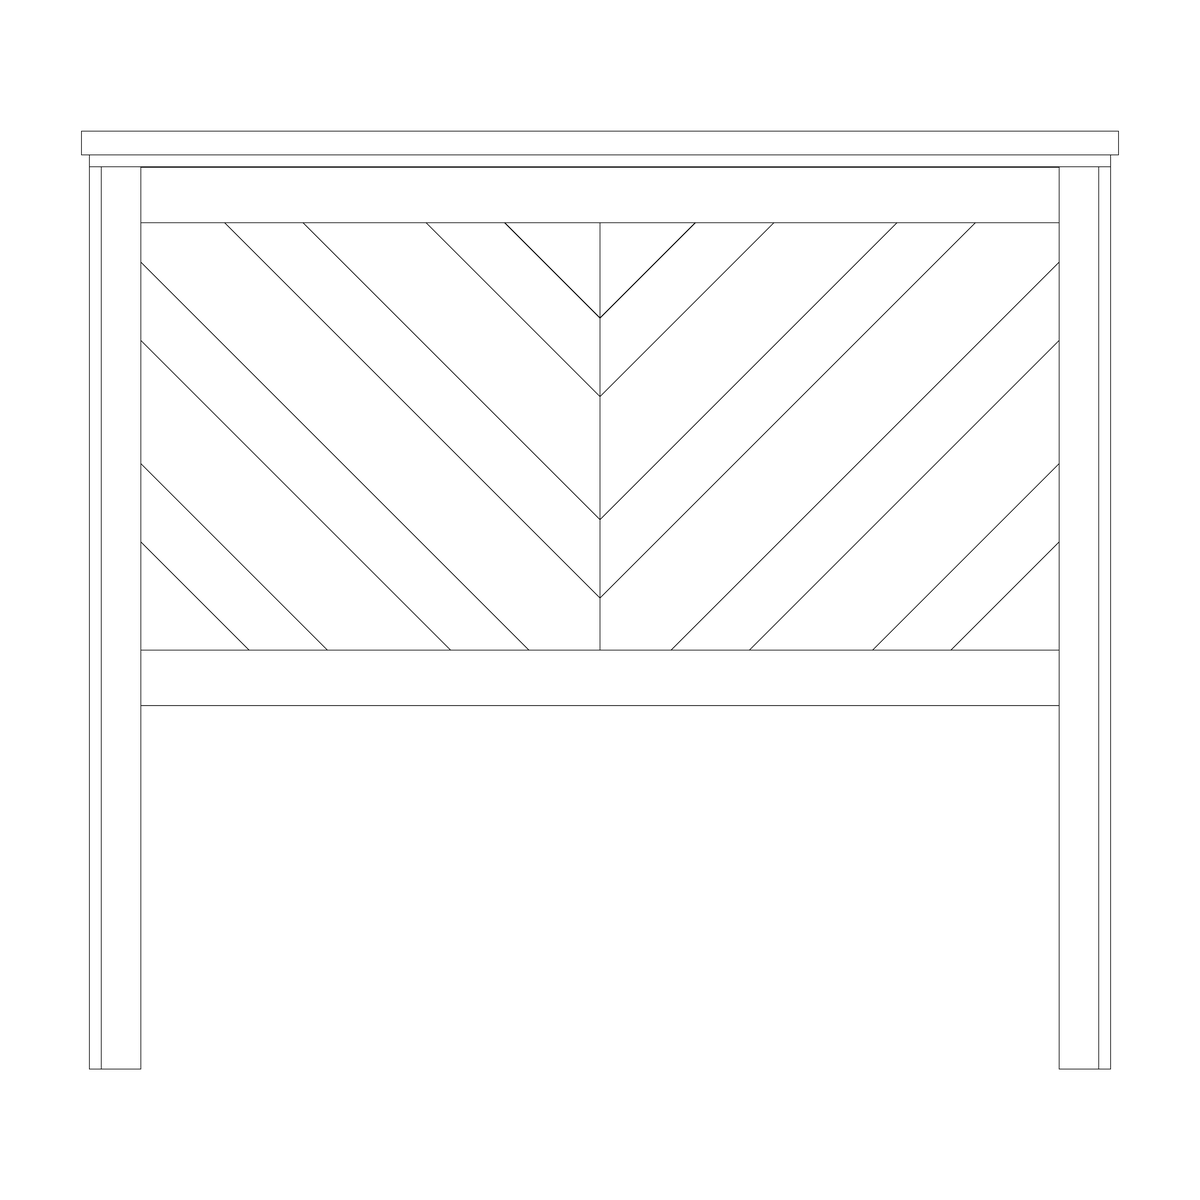
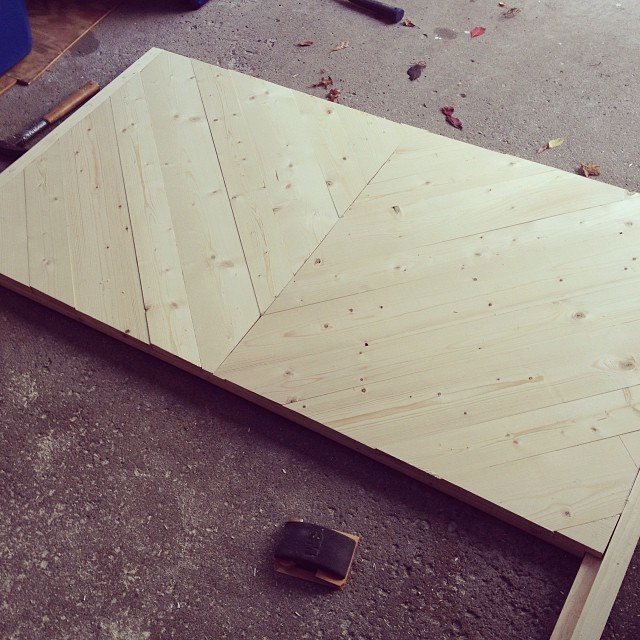
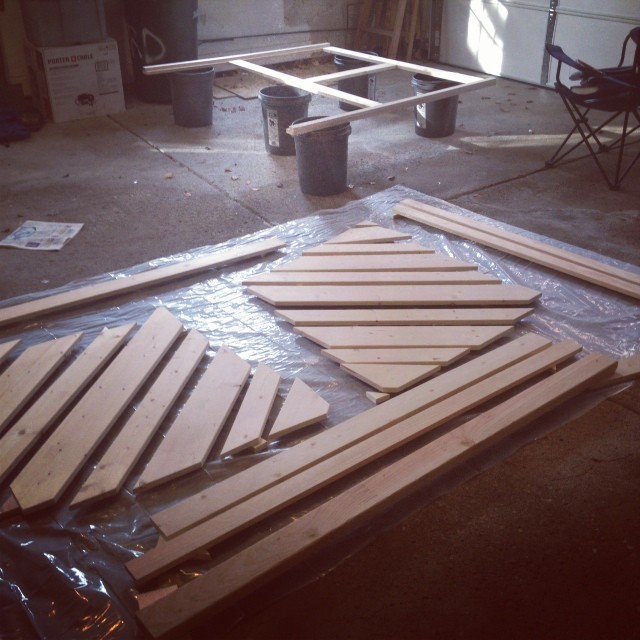
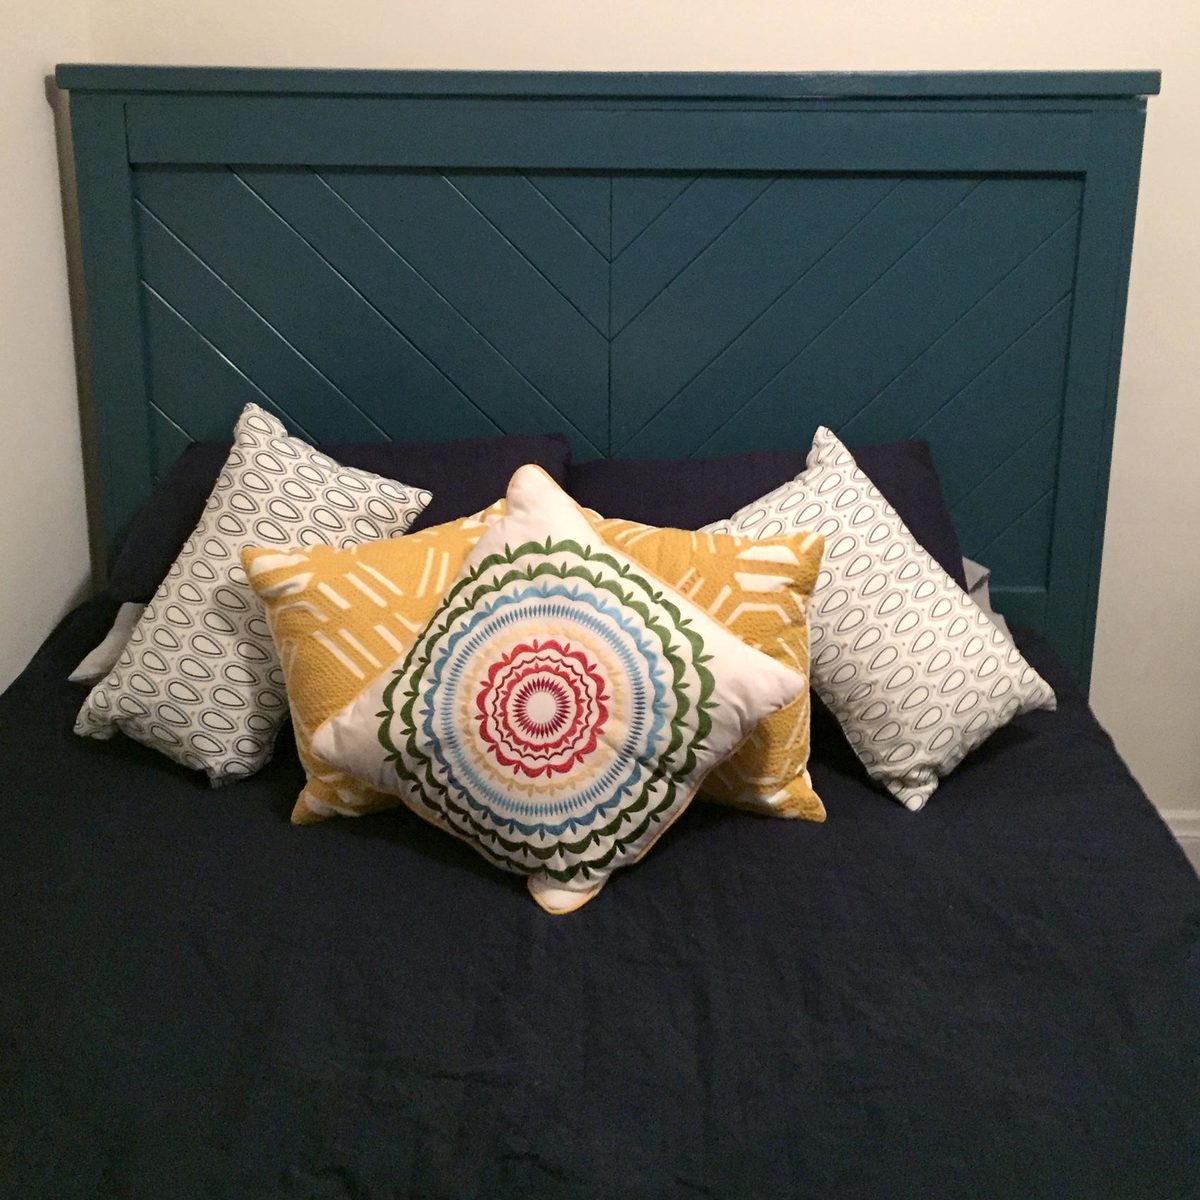
Took the general dimensions from these reclaimed wood plans and modified them to include a chevron back. The most difficult aspect was determining the cut marks for each chevron piece and rounding the edges to bring out the details.
Finished the headboard with a satin-finish, oil-based enamel paint.
Additional pictures and information available on my website.
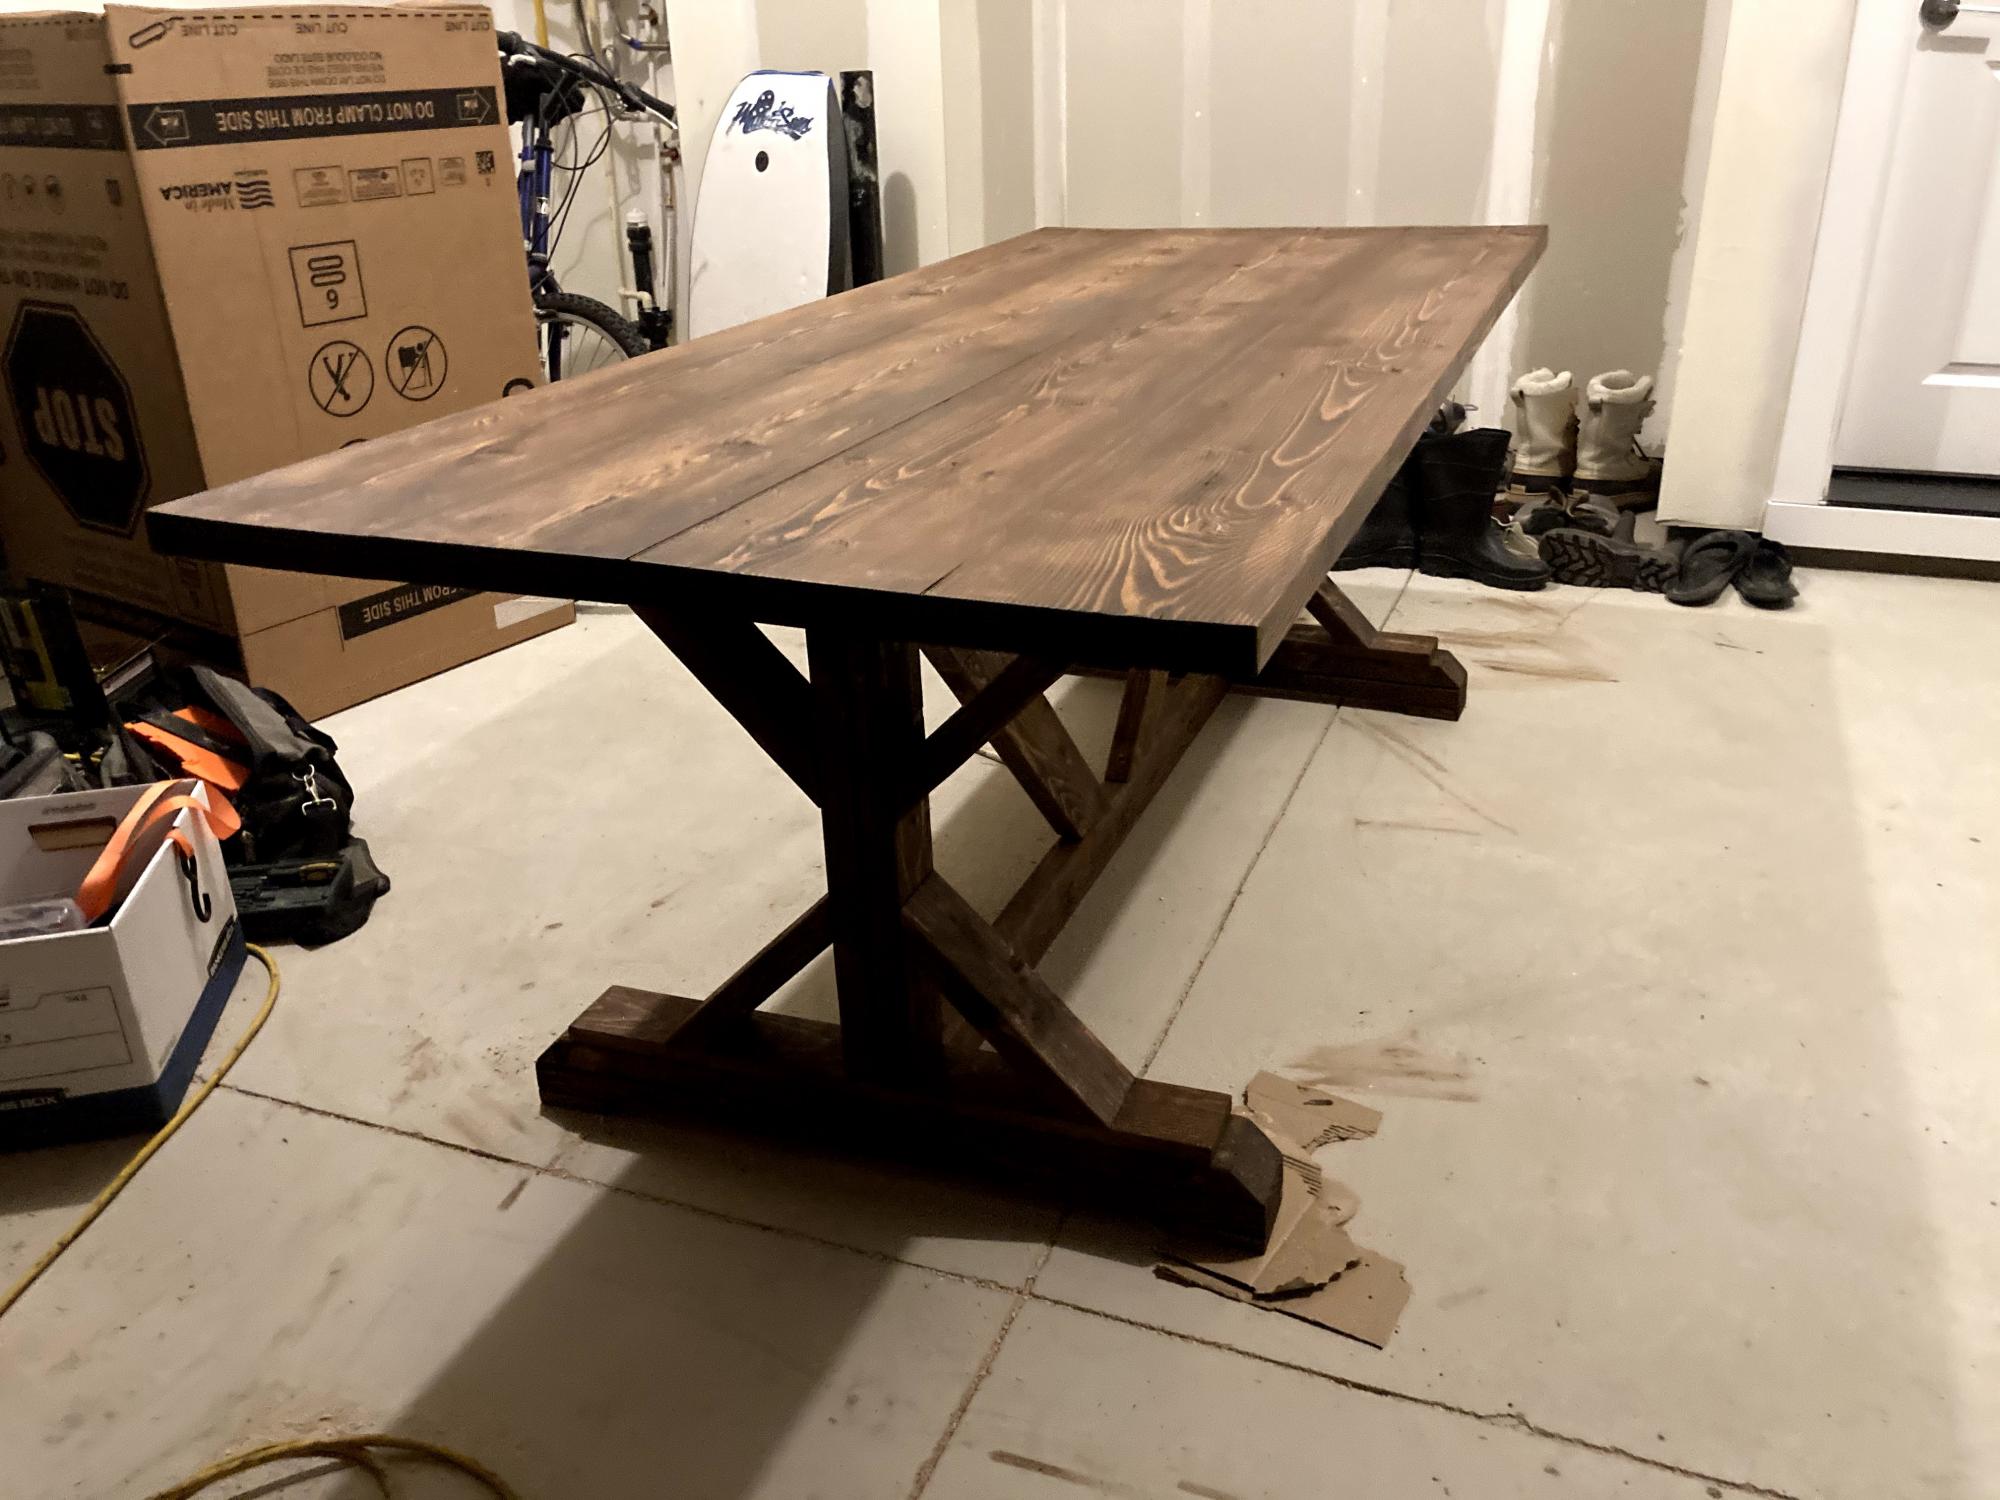
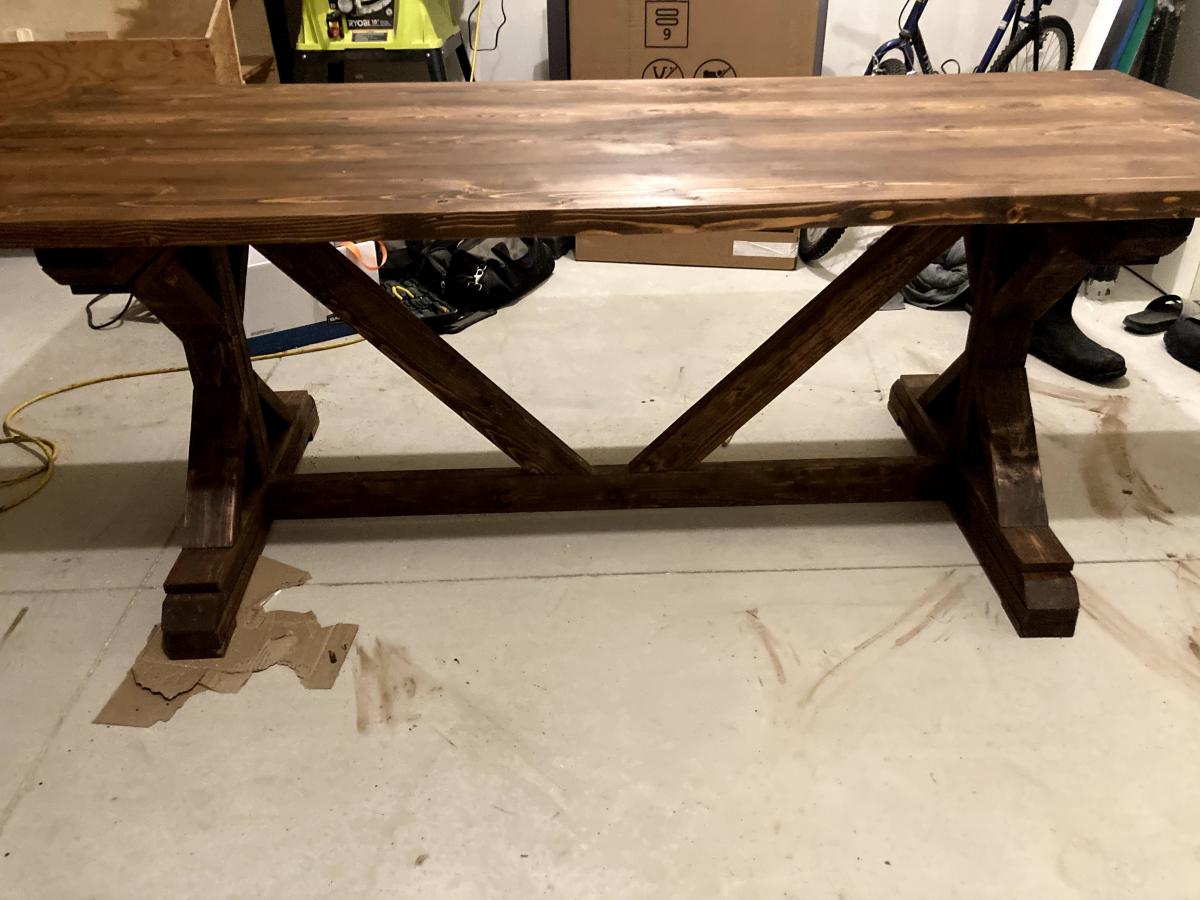
Original plan was for 8ft...had to shorten to 7 to fit my space better. First try at making my own table top like this and first time using a joiner and planer. Didn't' get the seems on the 4 2x10s perfect, but again for my first try, not bad. Significant other is very happy with how this turned out and so am I! Lot's of fun to build. It's crazy that I see tables just like this online selling for $2000.
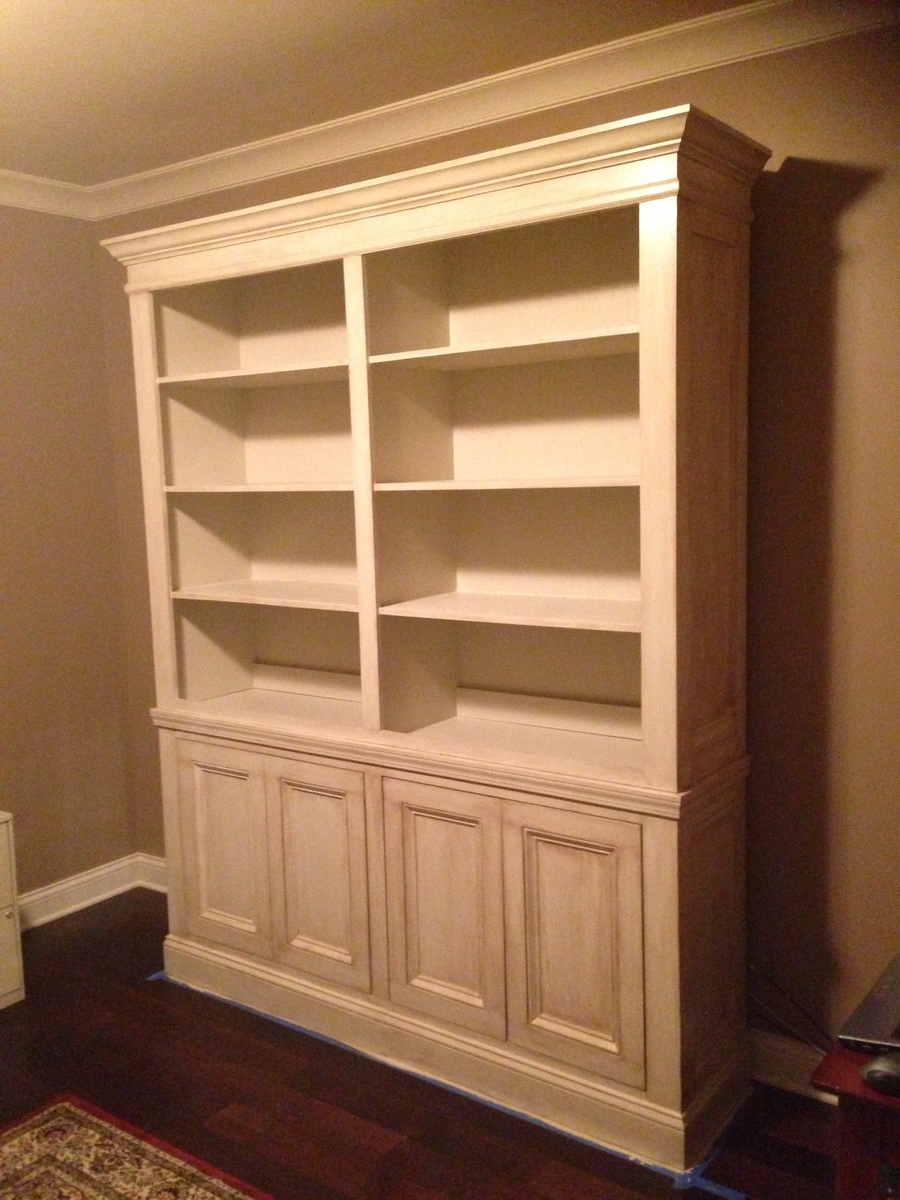
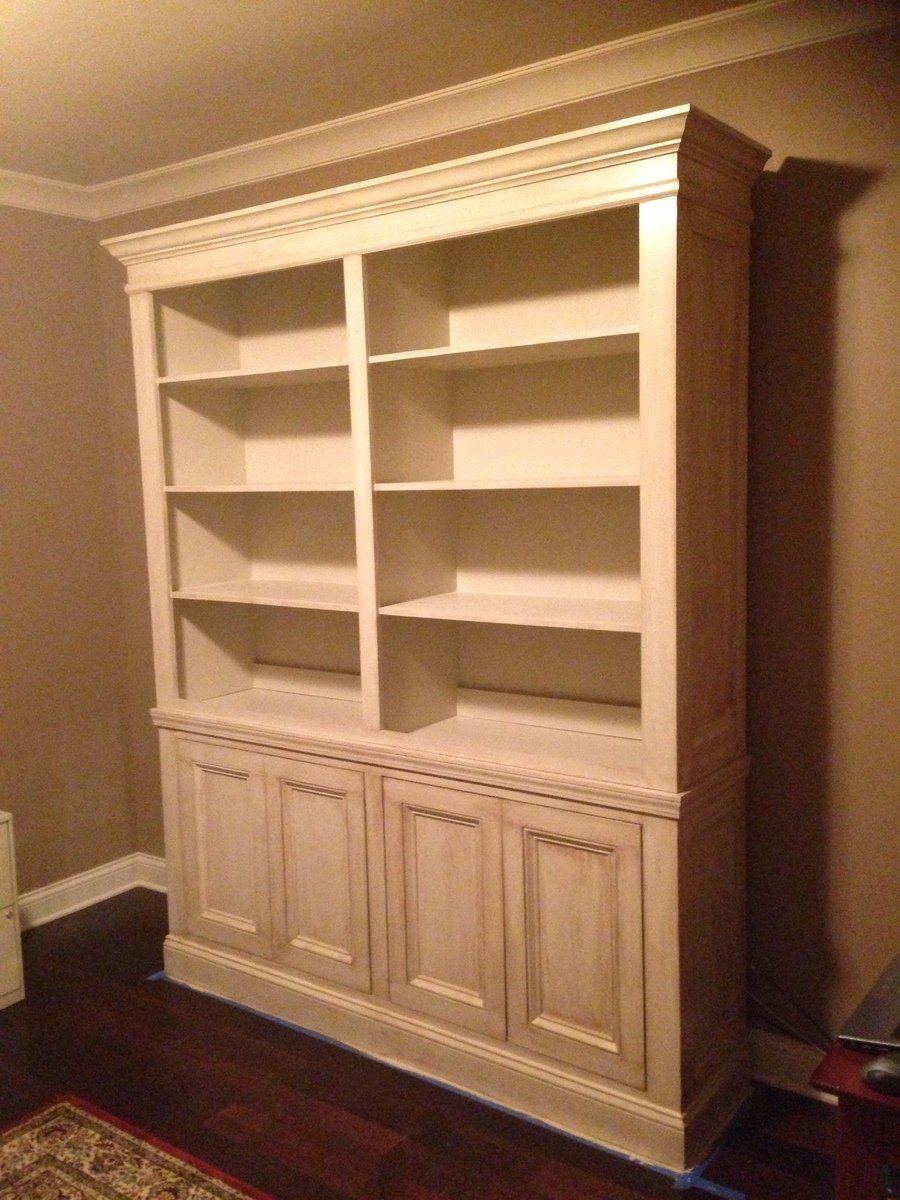
We loved the shanty sideboard and corresponding hutch. We painted the project in an offwhite with a brown glaze (consisting of 4 parts Behr faux glaze to 1 part minwax espresso stain). The only modifications to the plan are 3/4" trim pieces in the top part to hide the plywood, remove 1/4 inch from the sideboard shelves to allow room for doors to shut, and apply trim to the cabinet doors to dress it up a little.
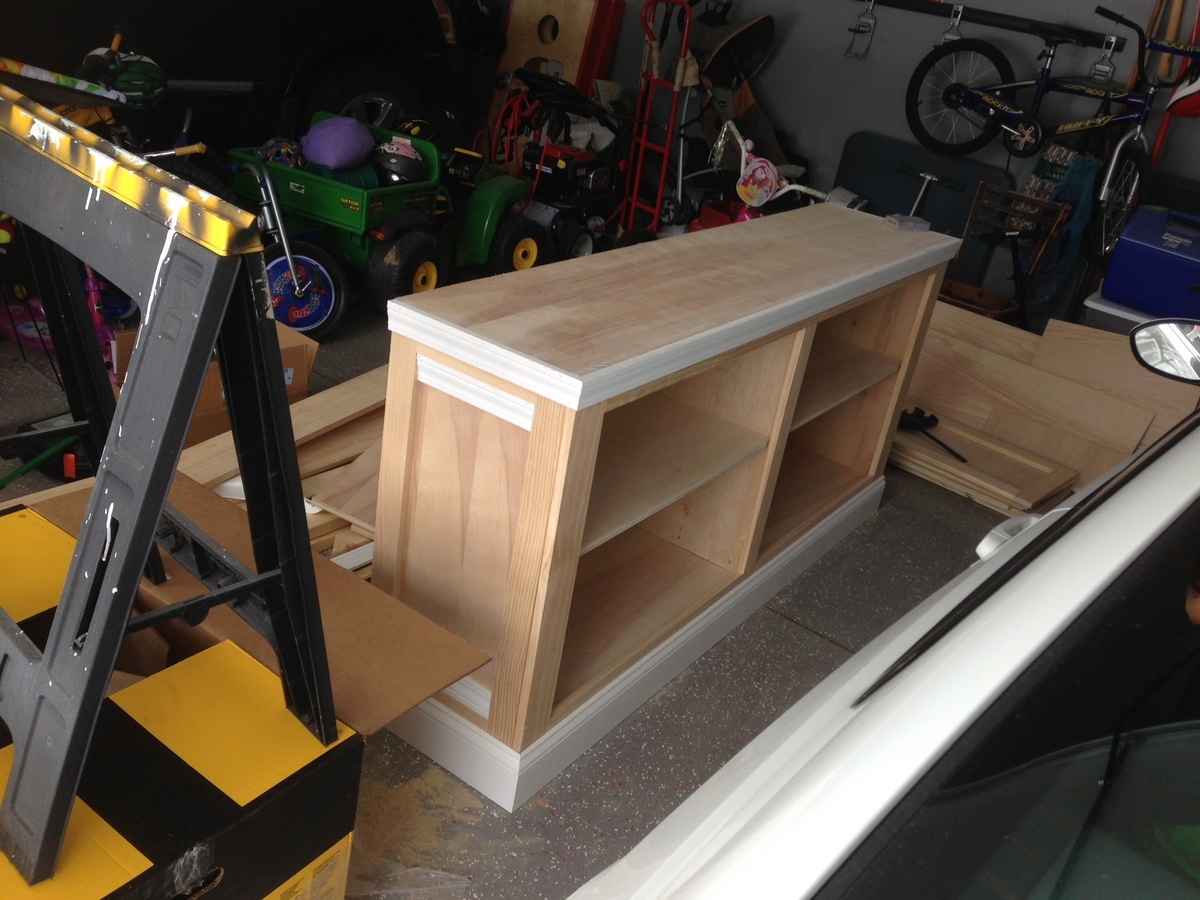
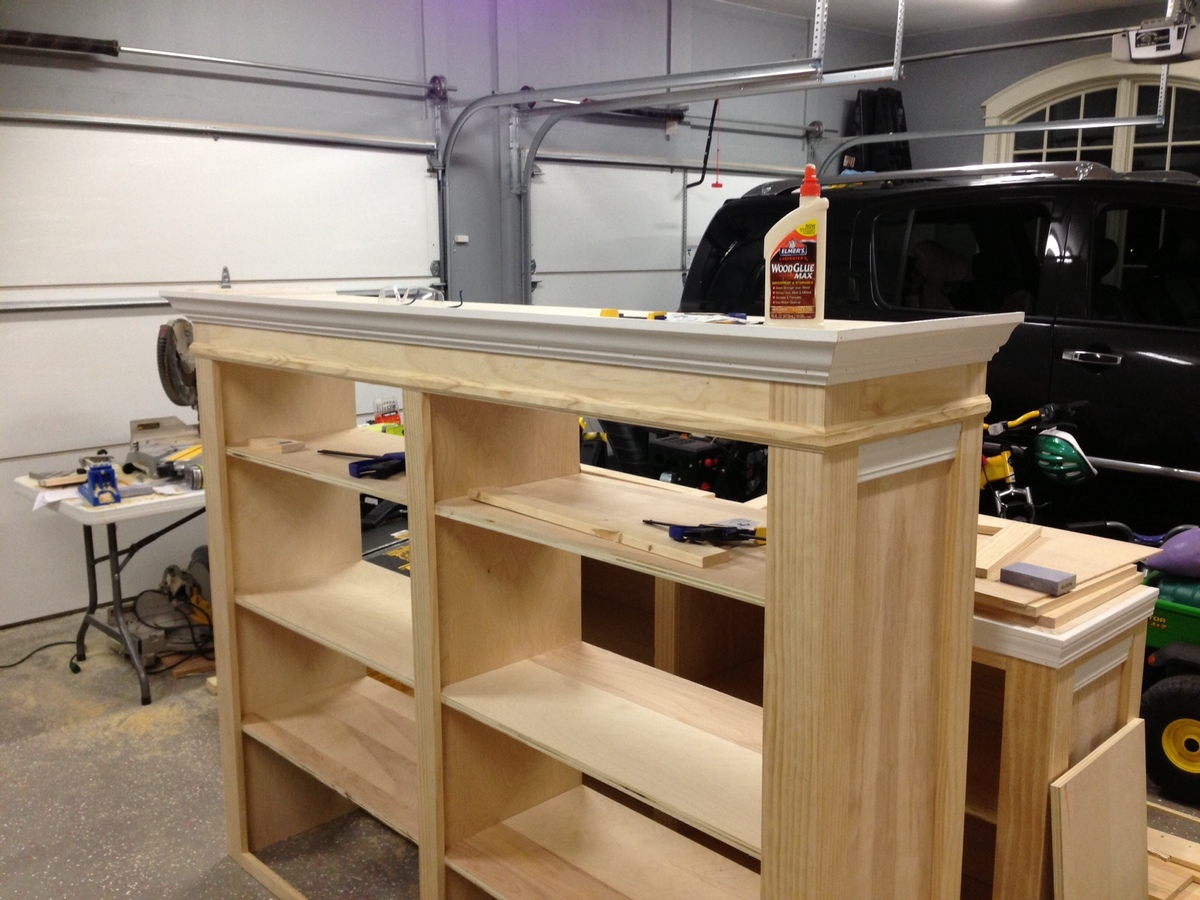
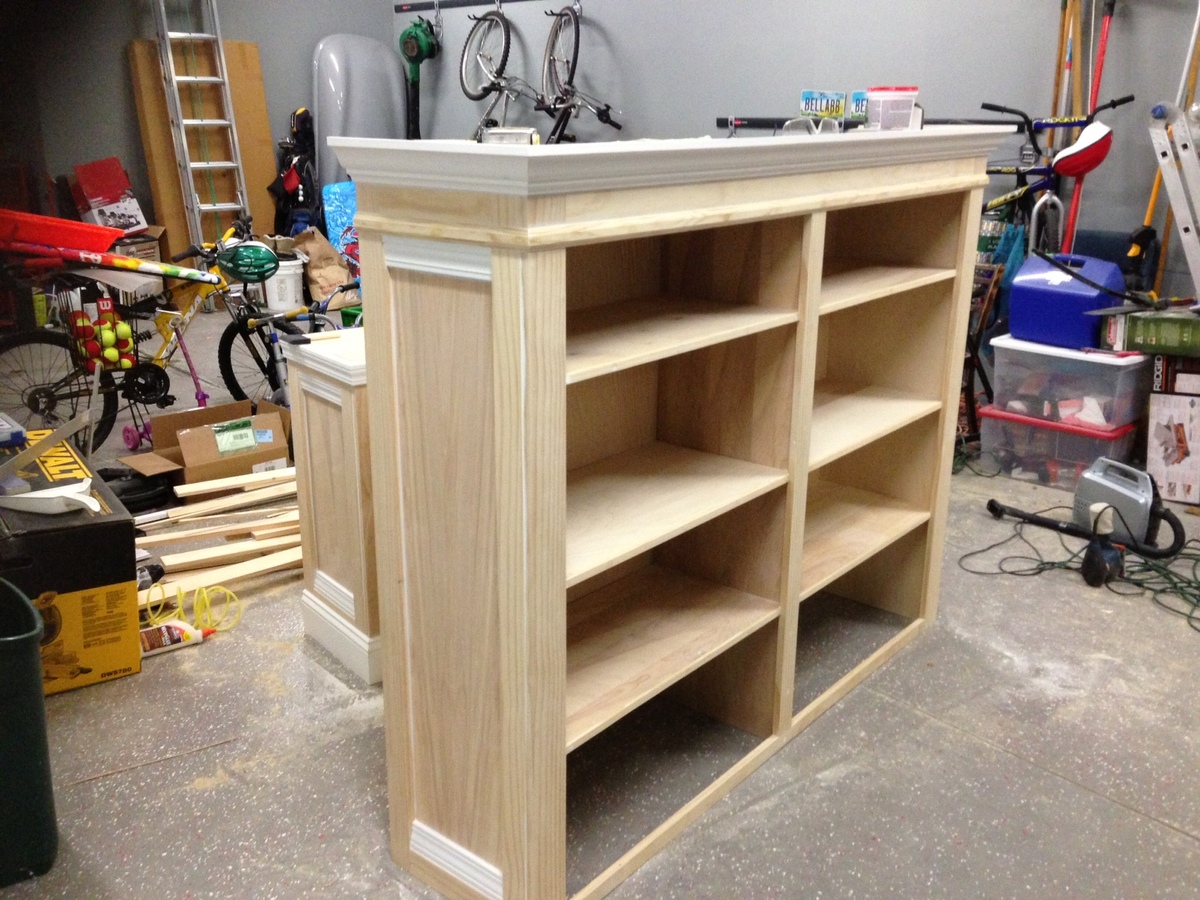
Thu, 02/14/2013 - 08:59
I so badly want to build this! But other projects are the priority right now. You did a great job!
Thu, 02/14/2013 - 11:16
You did a fantastic job on this. I love the finish - so "expensive" looking!
Fri, 02/15/2013 - 05:25
You did a wonderful job on this project. Keep it up and let all of us learn from your experiences.
Mon, 04/20/2015 - 17:50
How did you attach the Hutch portion to the sideboard?
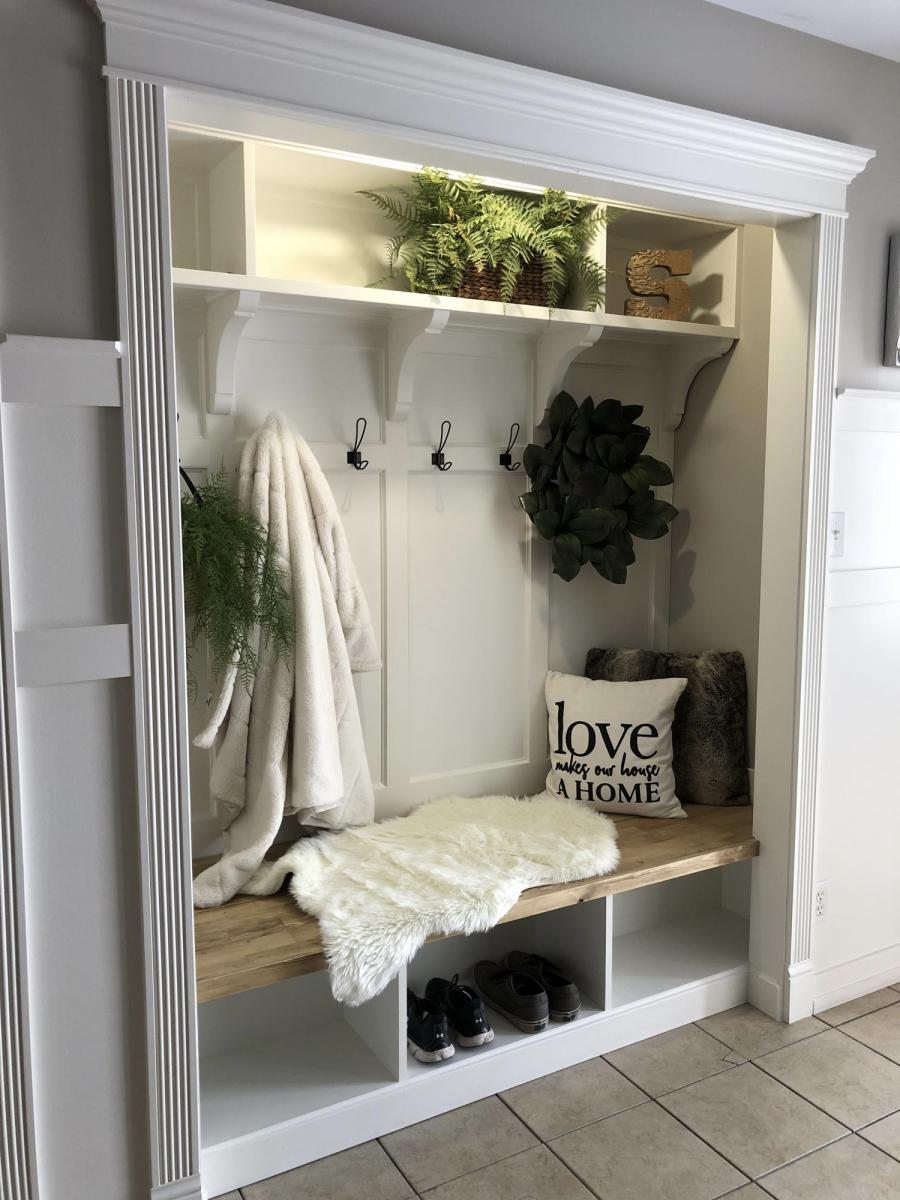
I desperately needed storage in our 1910 house that was not in the basement. I wanted a place to keep my sewing machine and accessories, at-home school supplies, and other odds and ends. We had an alcove in the kitchen that was about 74 inches wide and 17 inches deep, so I decided to build something to fit that space. I really liked the Simplest Armoire plan but I also really liked the Kentwood Bookshelf, so I ended up somewhat combining the two. Since I had a fairly large space, I made the cabinet about 6 ft X 6 ft. The hardest part was getting it into the house. This project was my first big DIY building project without my dad's help. I did call him a few times during the project however, and he helped me hang the doors. I really enjoyed using the Kreg Jig and I appreciated having all of the Kreg Jig instructions for the Kentwood Bookshelf. It was a huge help, as I had only used the Kreg Jig a little and with my dad in the past. My husband has been a great support as I have ventured into building furniture. He works from home, but any time that I needed him to help hold a large sheet of plywood he was quick to help. This was definitely a big project for a beginner, but I enjoy a challenge when it comes to fixing things and creating things. Fortunately, this one worked out in the end! Now what should I build next summer...
Sun, 05/31/2020 - 13:27
This is so great, and I can't wait to try my hand at emulating it. I'm buying a place so old there's no record of a date. Still has adobe bricks with straw sticking out stored up in the attic. Not a closet in the whole darn place, so I'll probably end up making more than one, and probably using one as a clothes closet and another as a pantry. Thanks so much for sharing this!
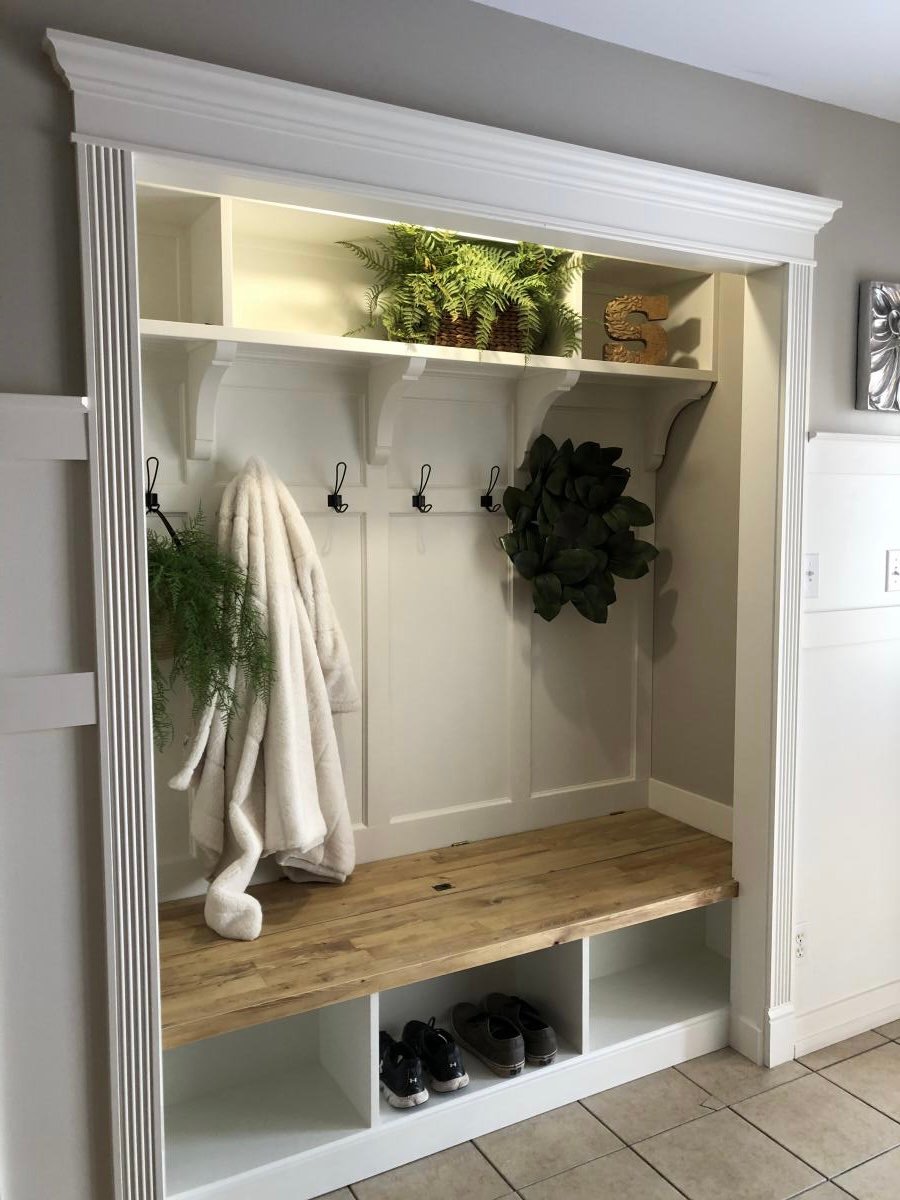
The concept of hidden boot storage at the back is genius!!! I knew as soon as I saw your plan that I needed that in this space! Thank you so much for what you do!
Fri, 01/22/2021 - 11:42
May I ask how you would assemble if you wanted the hinge in the back as in this picture?
Thank you.
Wed, 08/25/2021 - 04:51
Hello, can you tell me how to find the plans for the Mudroom Closet makeover? I’m interested in doing the one pictured on this page.
Thank you
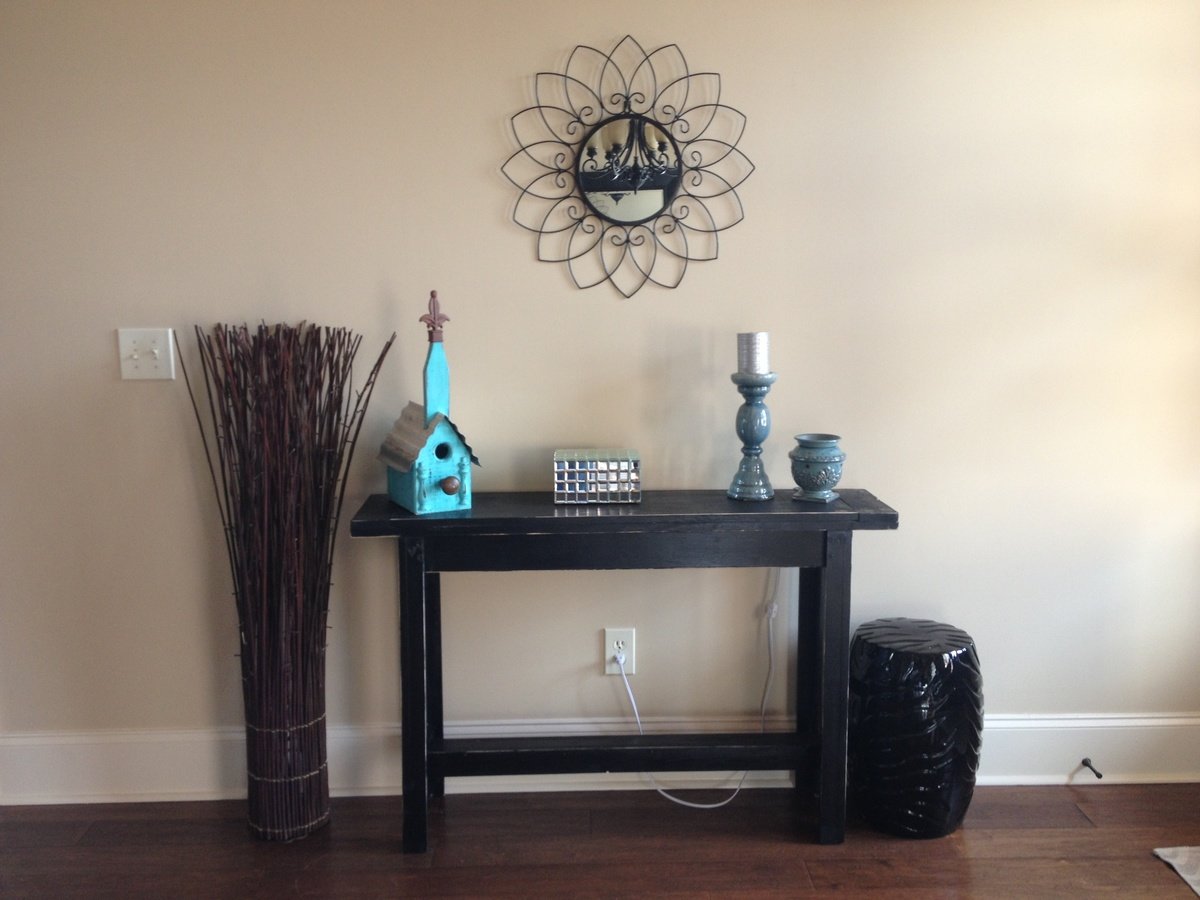
Very simple plans and project. Cost about 30.00 to make and about 2 hours to build. Painted it matte black and sanded for a distress look.
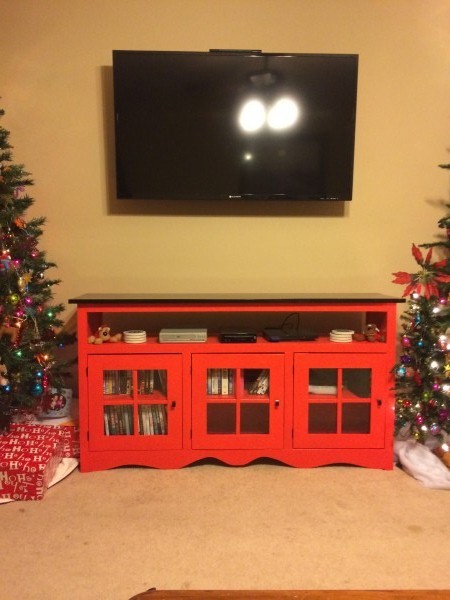
Modified the plans to add a shelf for DVD player and gaming consoles.
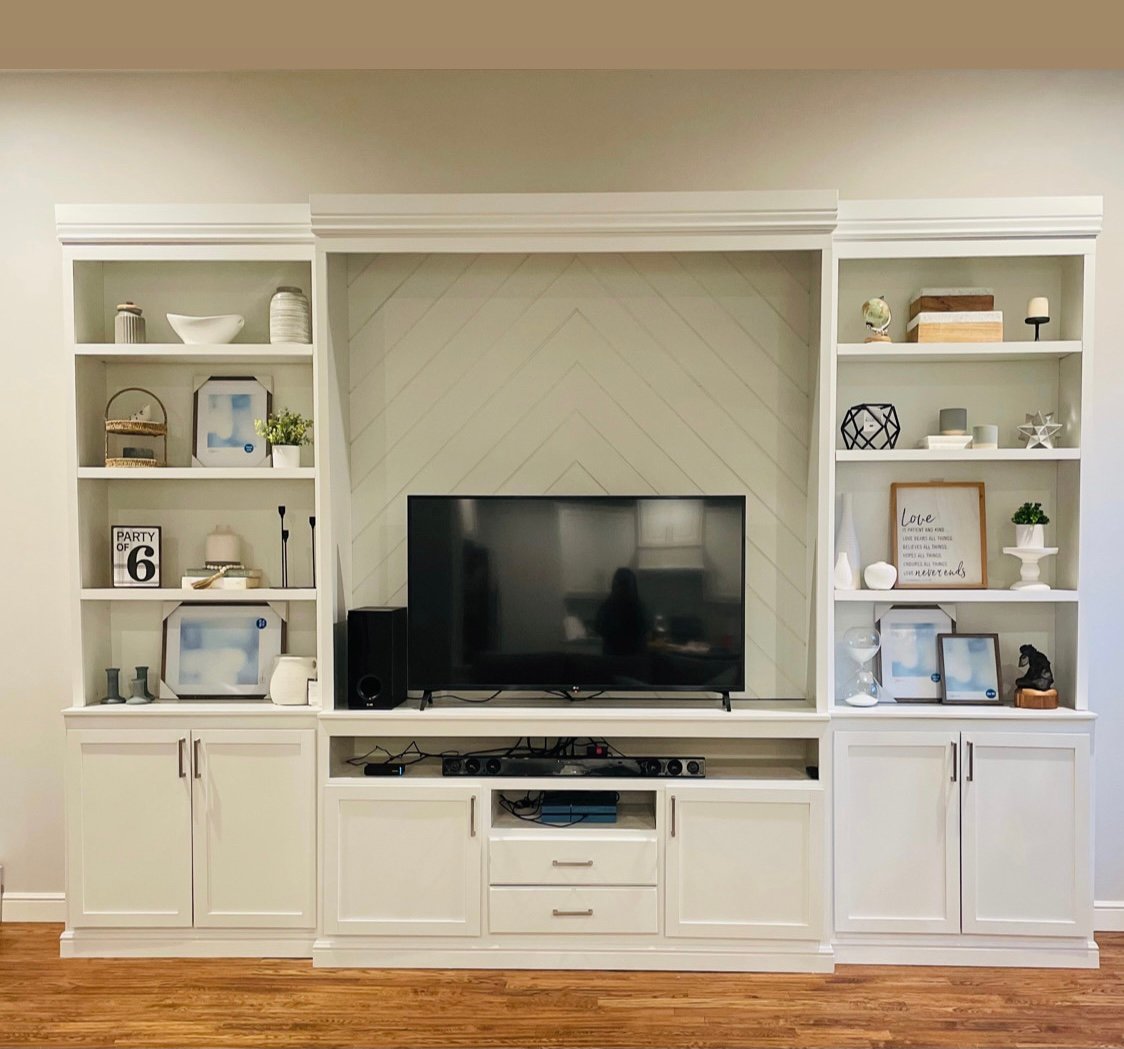
My Biggest build so far. We have a large living room and needed something large for that wall. I really had fun on this one. It took longer than I wanted but in the end, I’m really proud I finished. This was my first time to use the router and learned how build shaker style doors. -Instagram.com/theorthfam
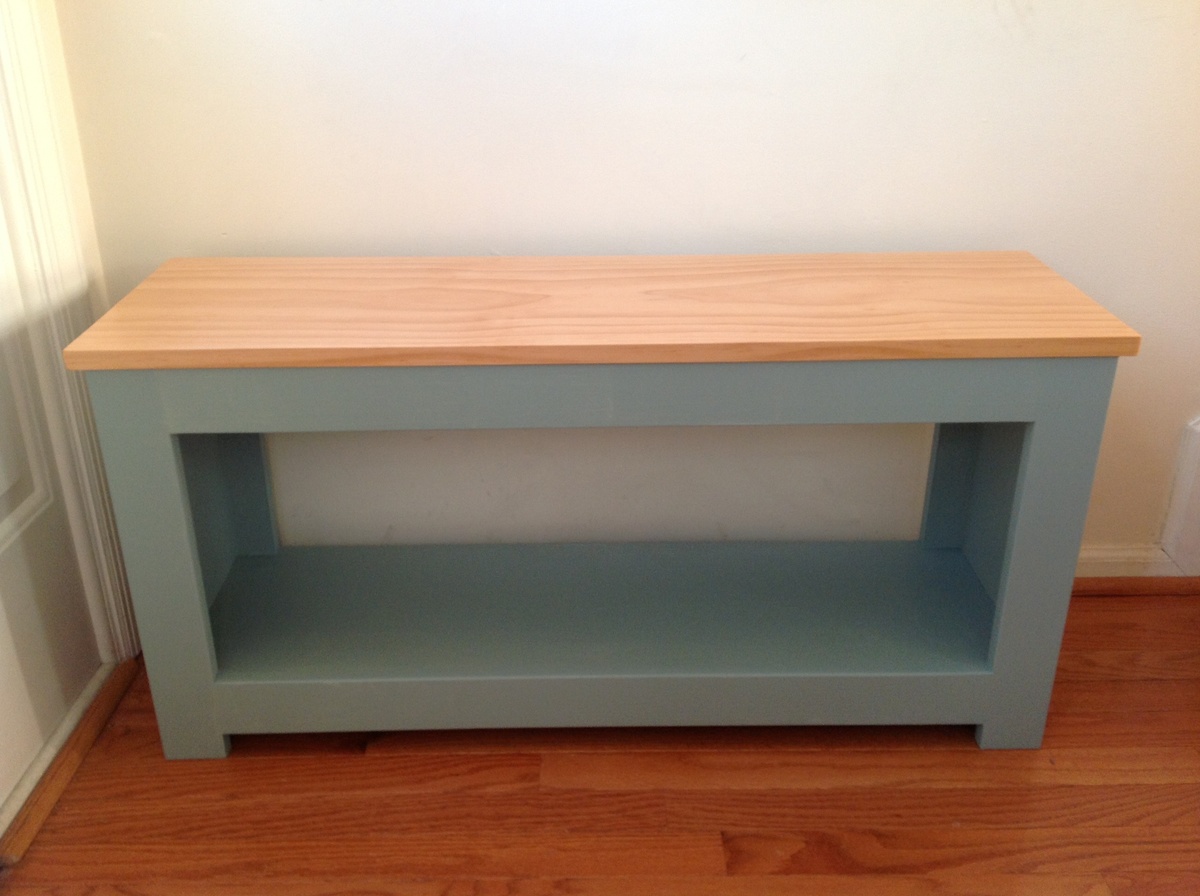
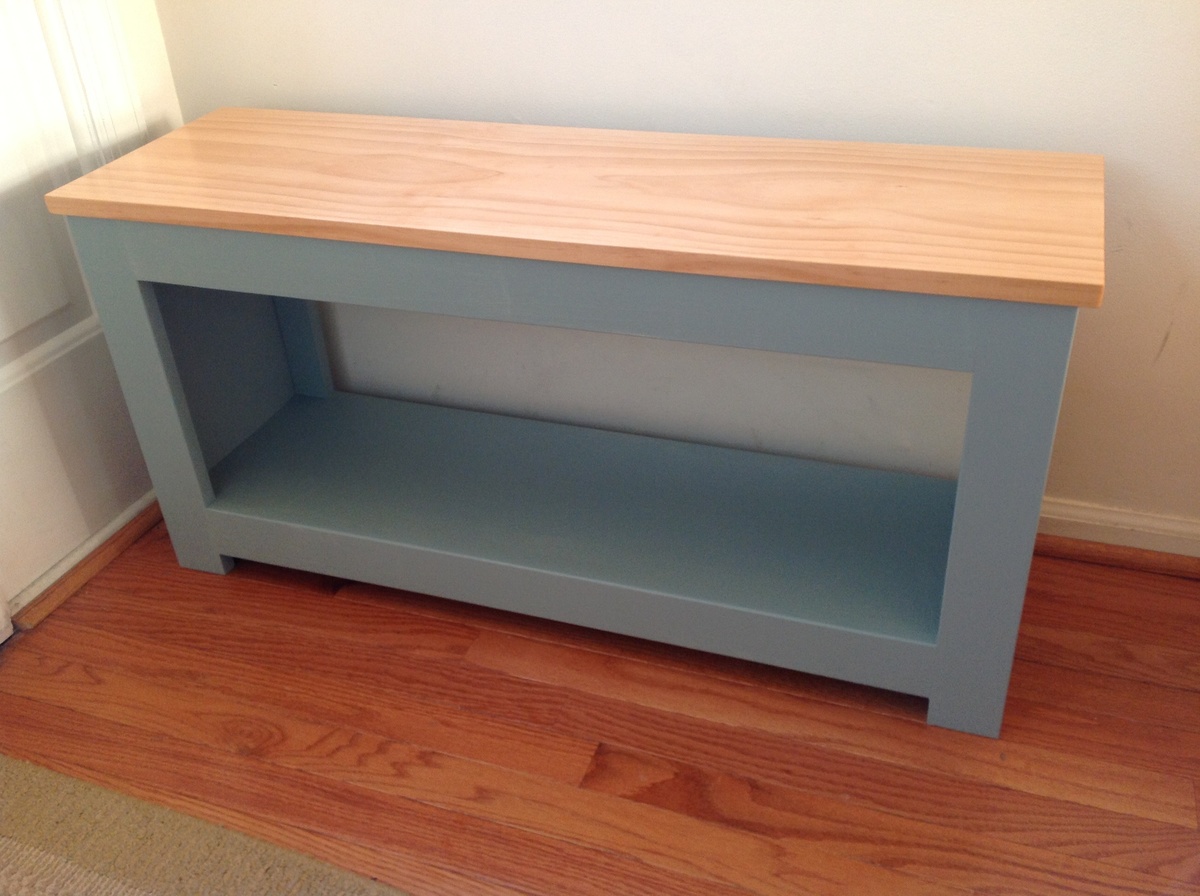
Used the plans for the spa bench to make a easy entryway bench...
Mon, 02/18/2013 - 17:37
Beautiful job! Congrats on your first project! It looks really super and I love the finishes you used!
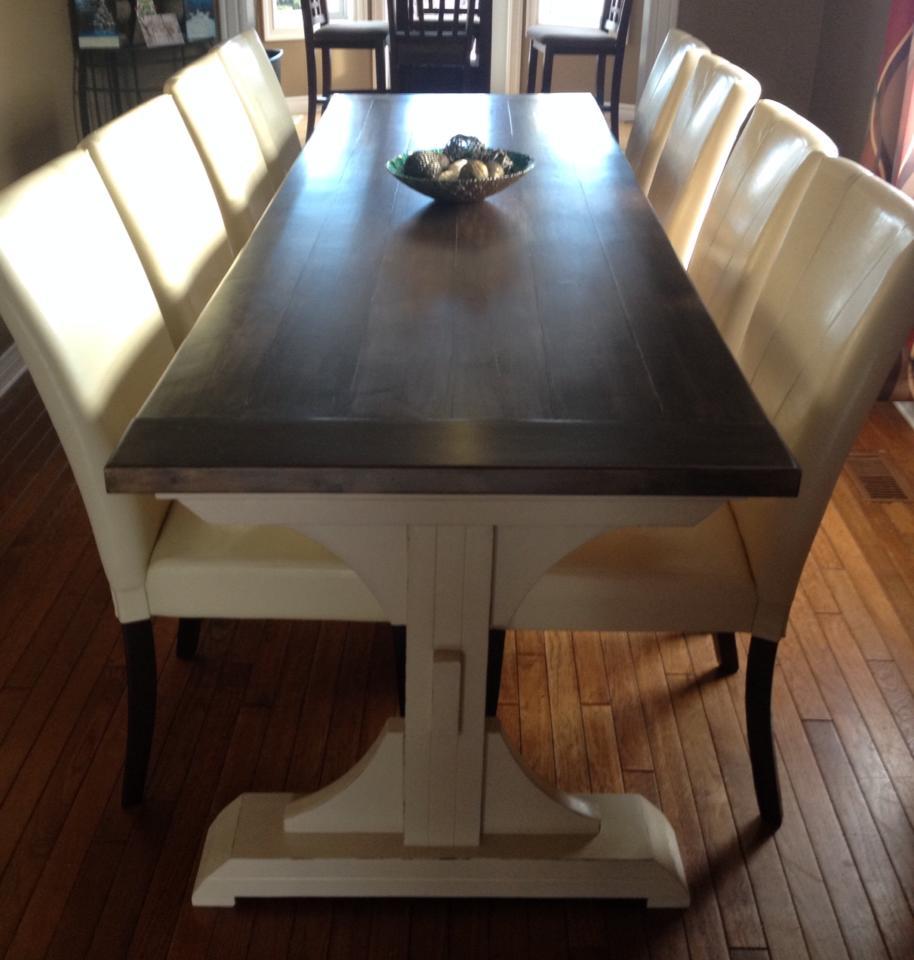
As a newly blended family of seven people, we needed a dining room table that would accomodate our family comfortably. With nothing suitable available locally and our joint interest in homemade projects, we searched for a plan we could work with. We were thrilled when we found this plan, which we customized to the dimensions of our dining room. We adjusted the length to 9' and the width to 33" and went with a plank and breadboard end top. We used a Tudor colour Minwax polyshade stain with a satin finish for the top. To achieve the worn look of the pedestals we used a torch to burn the wood, primed it with a primer sealer, painted it with furniture andcabinet paint (Armadillo) for durability, then scuffed/sanded the desired areas with a durable 60 grit sandpaper. Making the table ourselves allowed us to use a colour scheme which matched the chairs we had purchased. We will add, it was more time consuming than anticipated, but well worth it! We LOVE our new table!!
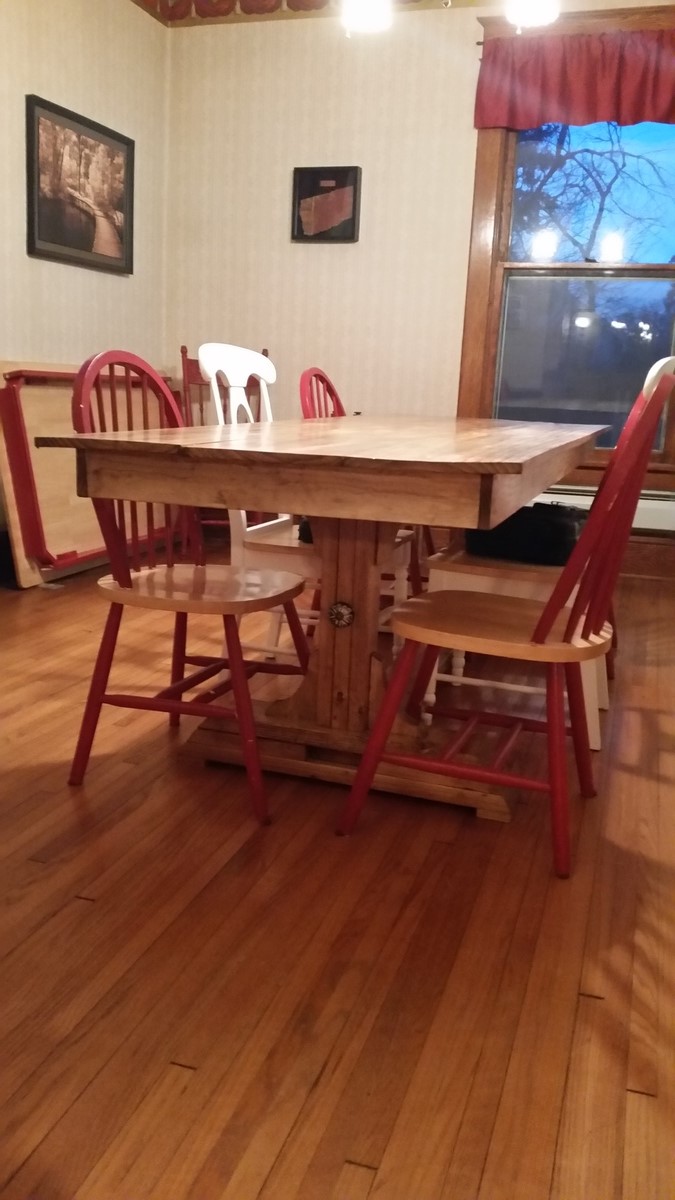
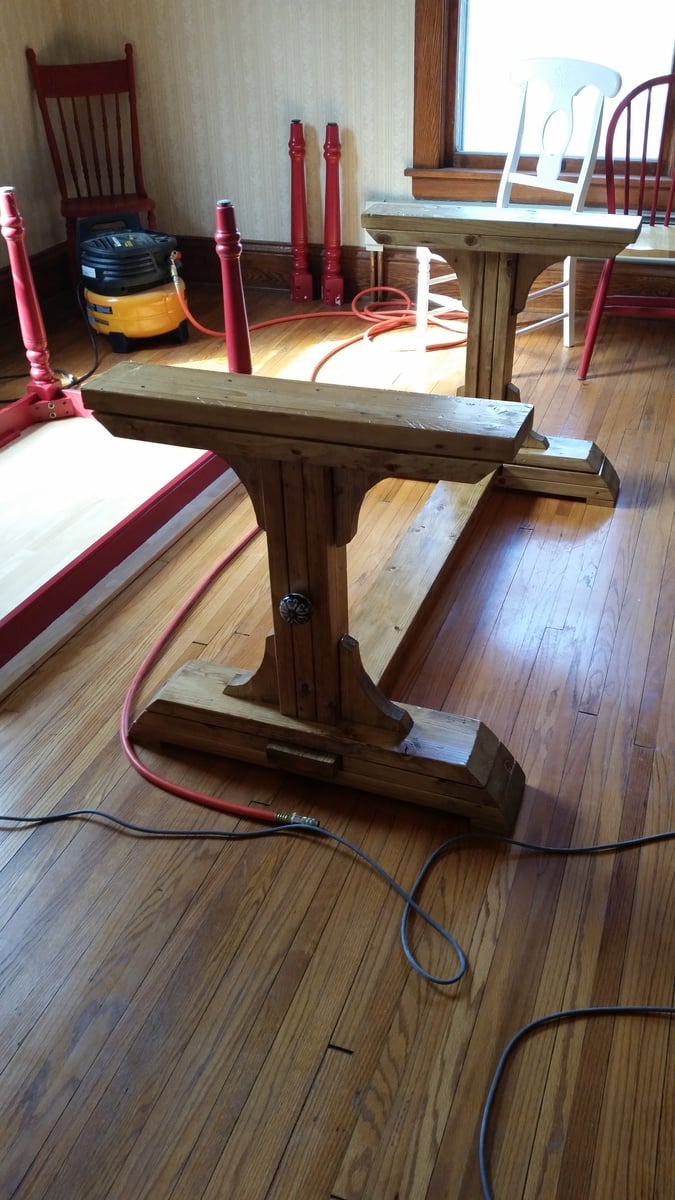
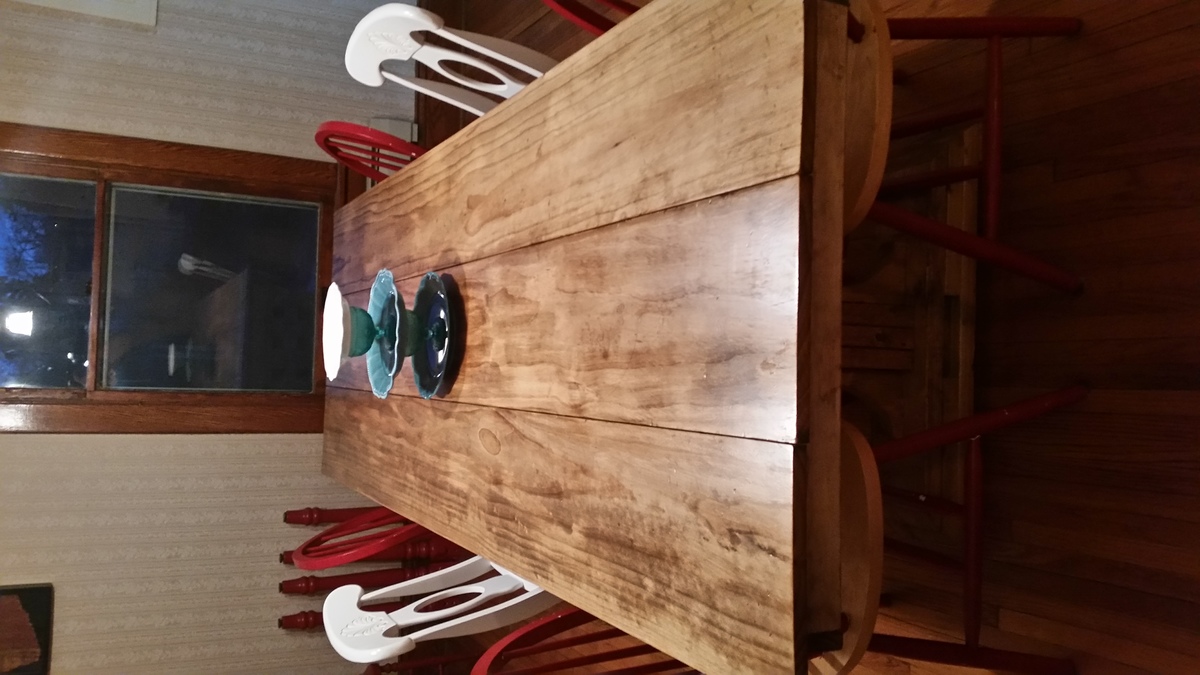
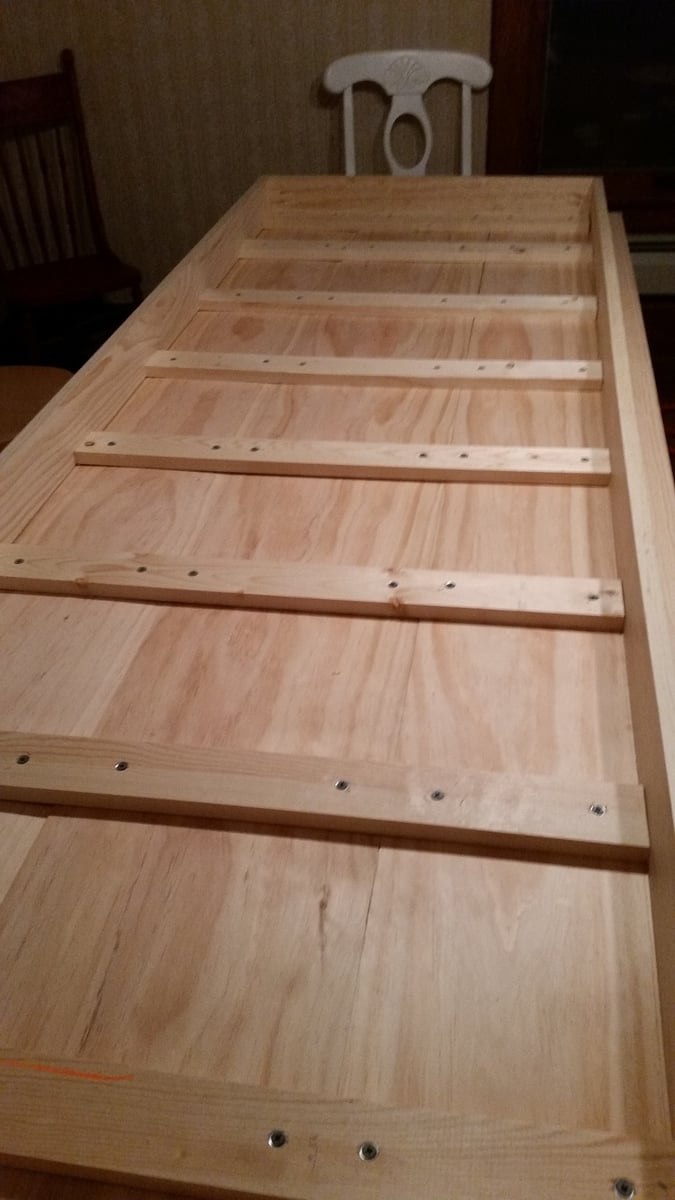
I'd been looking for a plank-style farmhouse table for quite some time. Couldn't find what I wanted to buy anywhere (and too cheap to spend the money even if I did), so decided to make my own table. Made up my own design for the table top, and then went looking for the right legs. I liked the pedestals on Ana's design a lot, but thought 3 was too many for my project. Looking at some of the other tables that had been done with only two, I decided I didn't love the high placement of the spanning bar when done with only 2 legs. So, I moved it down to the bottom of the legs instead, and added a couple of decorative knobs to make up for the lost visual interest to the pedestal columns. I'm not a particularly physically strong woman, but I was was able to do this entire build single-handedly, with very little previous experience assembling furniture (lots of diy experience doing other kinds of home improvement projects though). Only needed a second set of hands when finally lifting the top onto the legs at the end. Fun project overall.
Final table size is 8' X 33.5". Seats 8 comfortably; can fit 10 when needed.
