Community Brag Posts

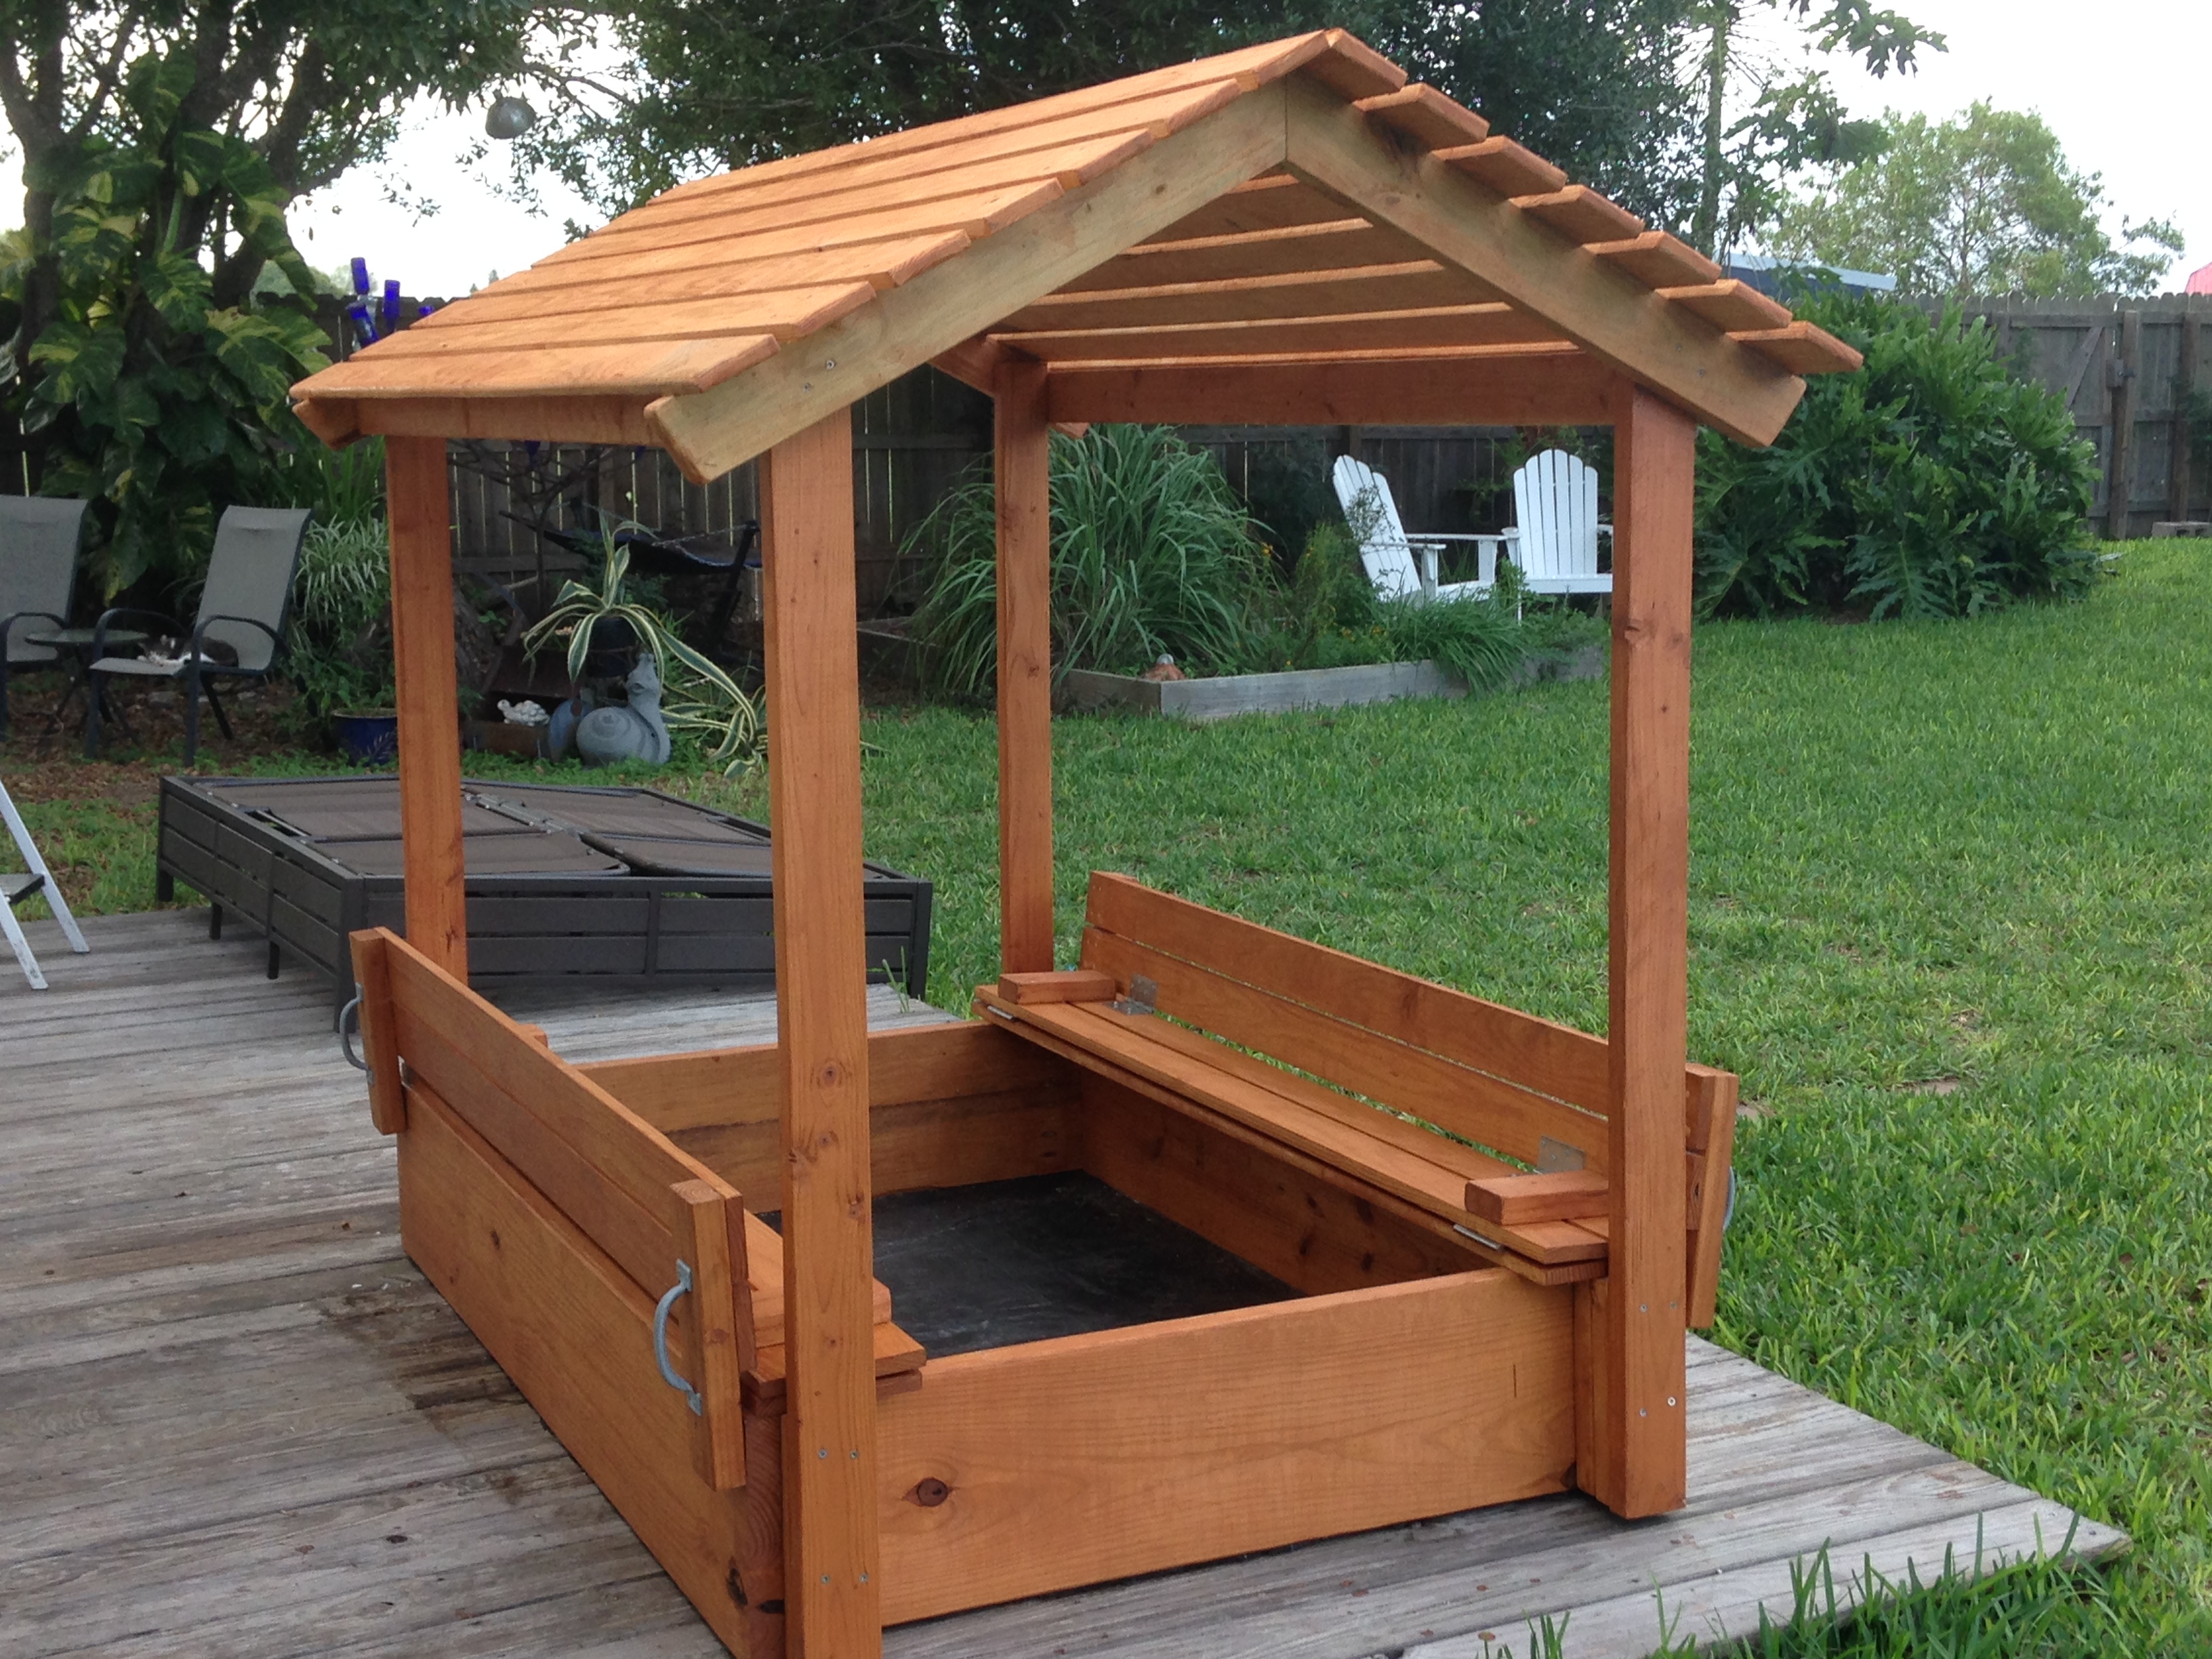
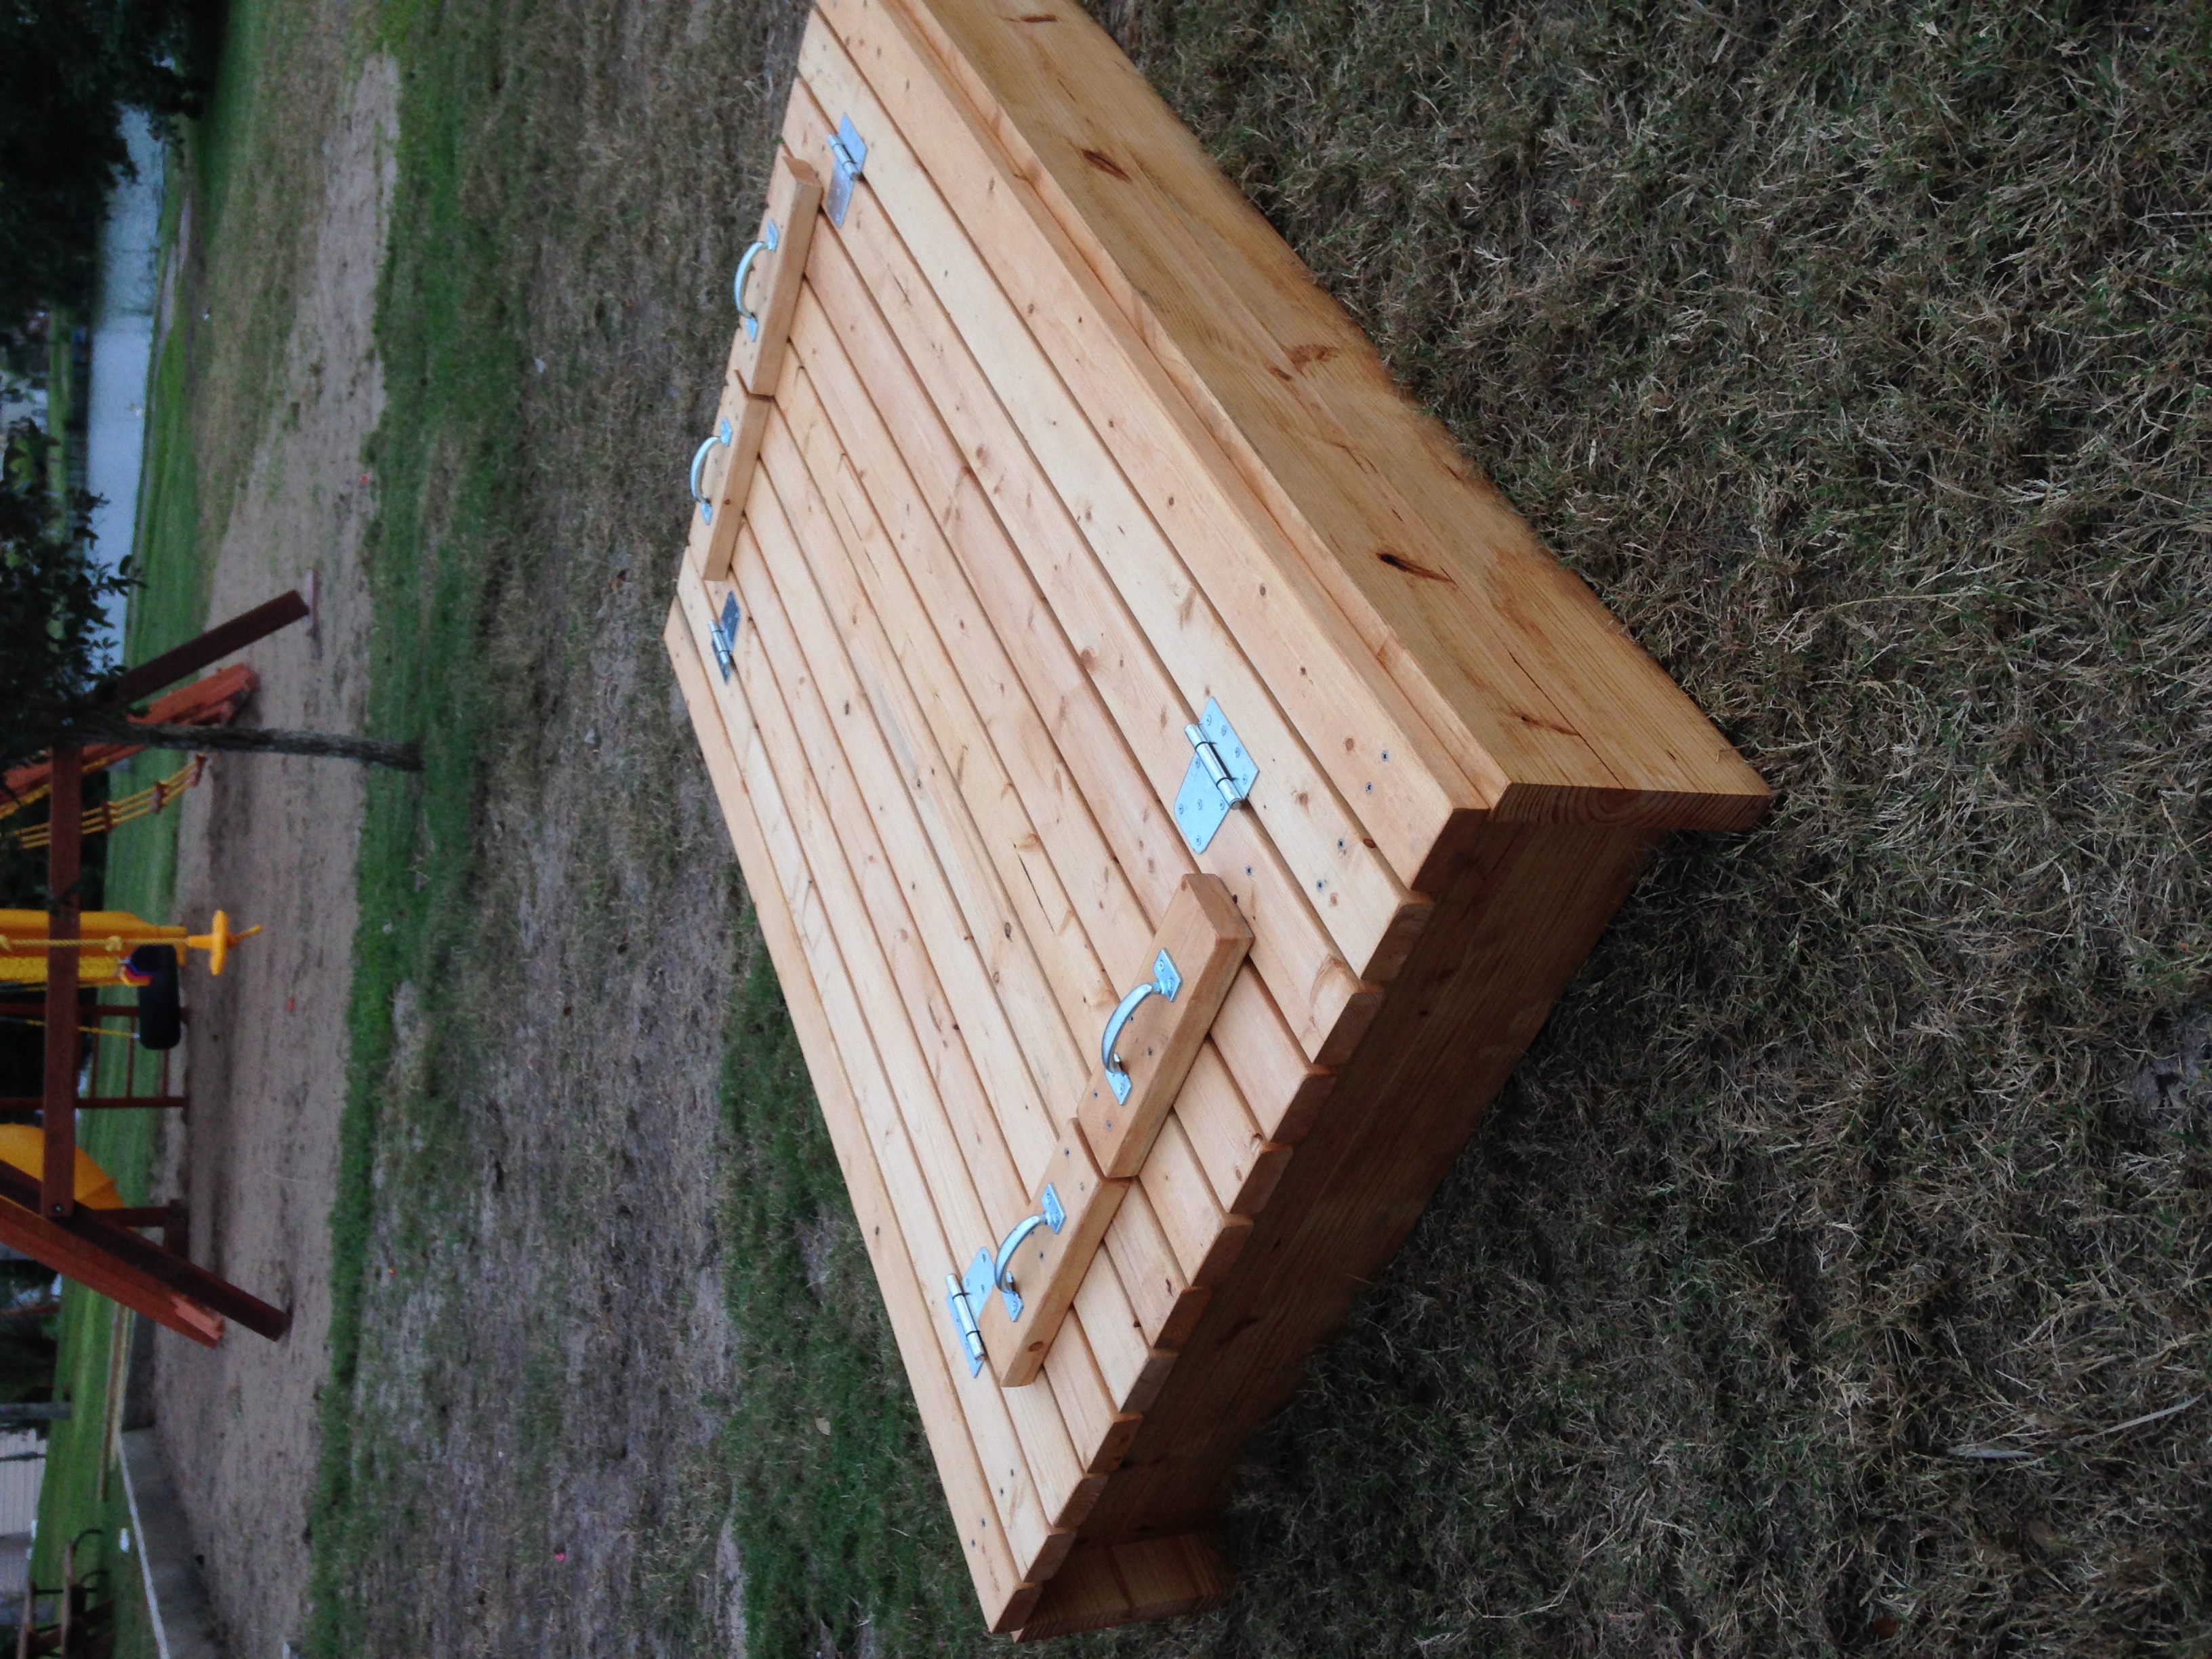
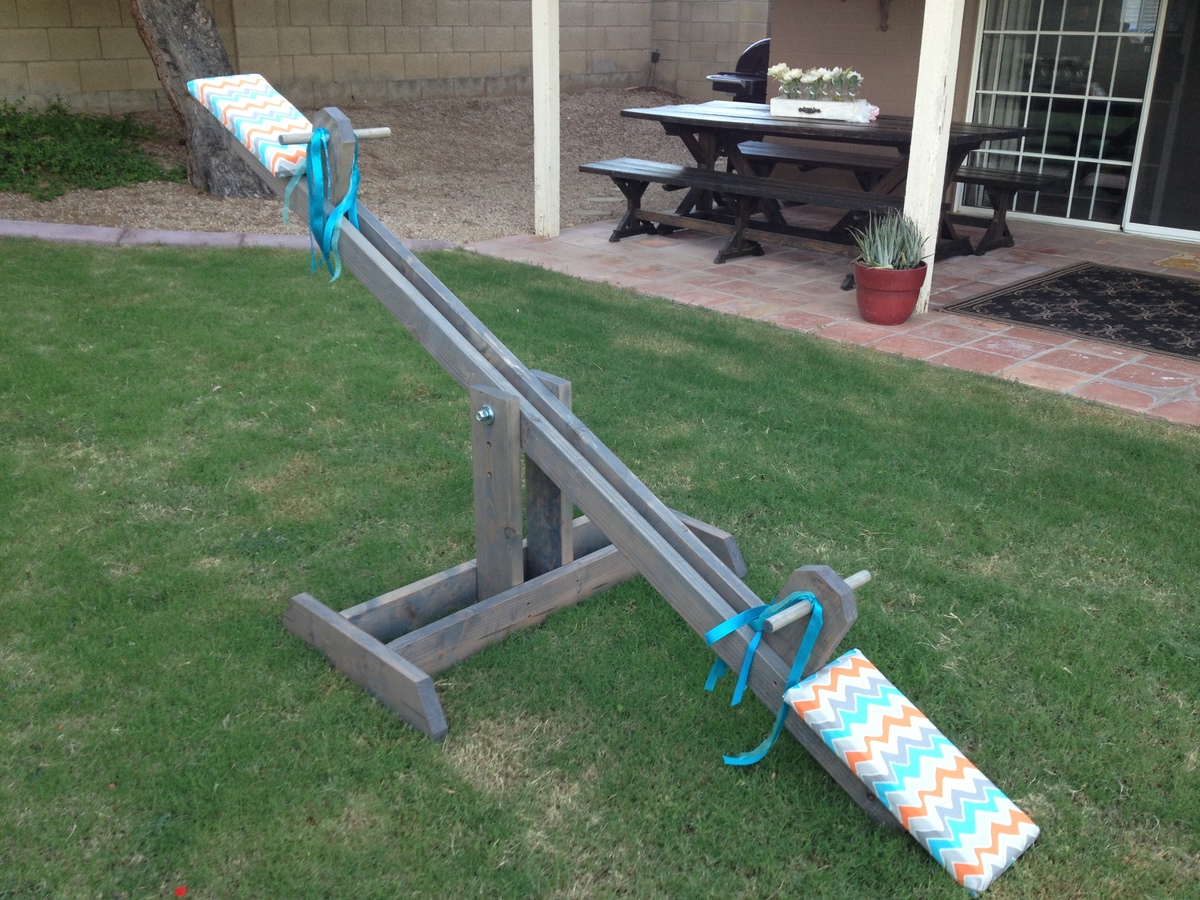
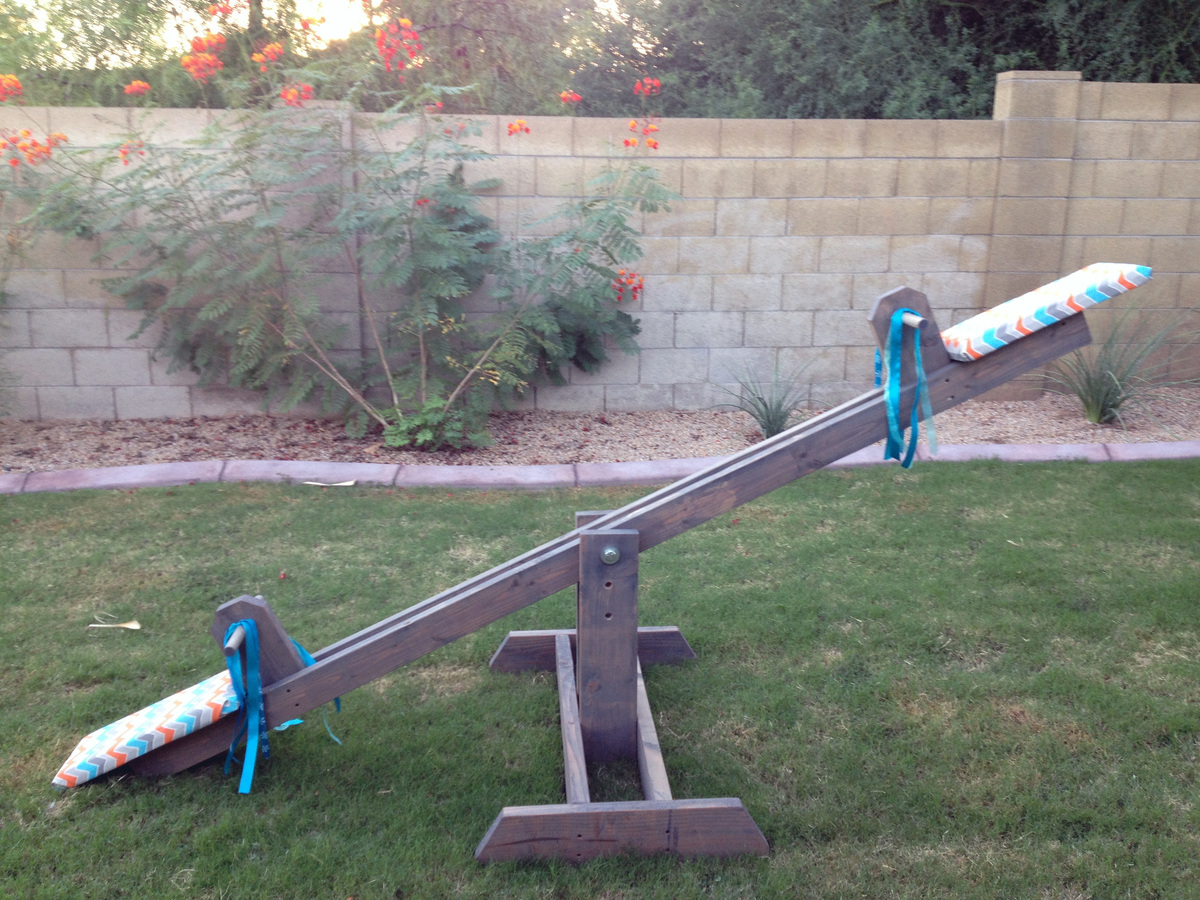
Cwen's Birthday Party Seesaw!

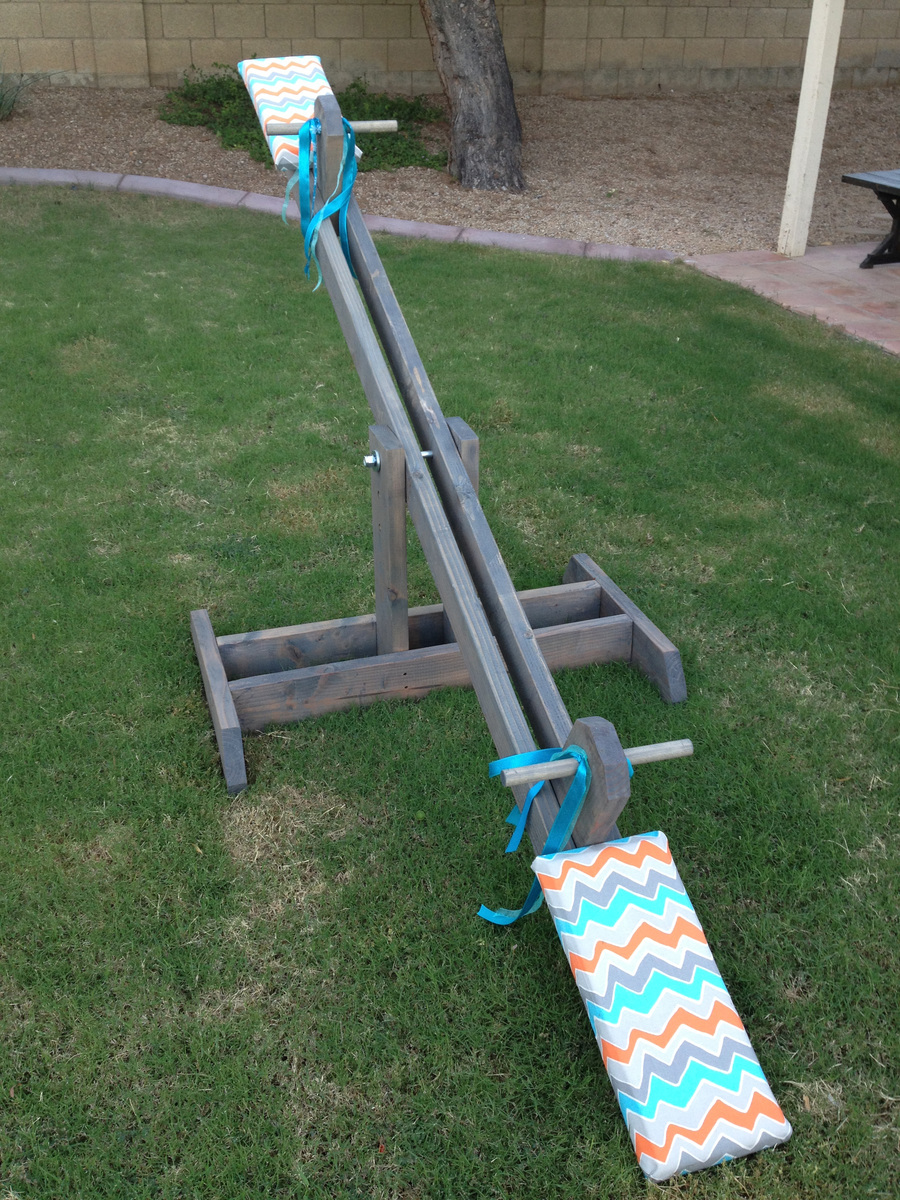
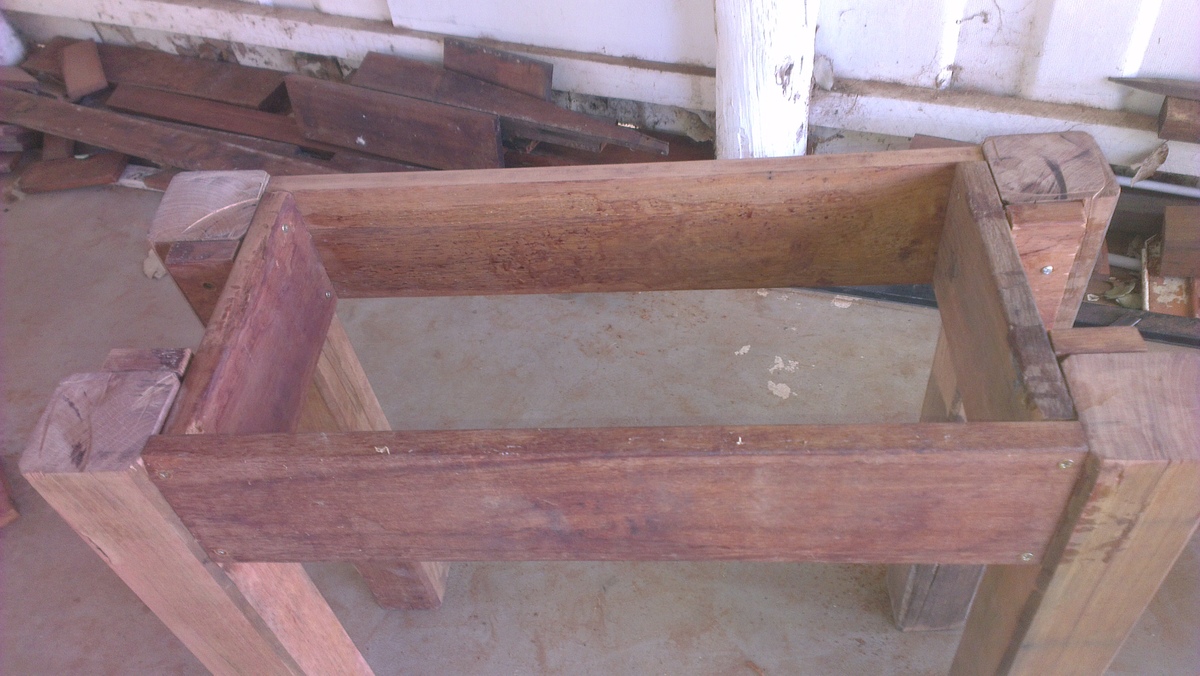
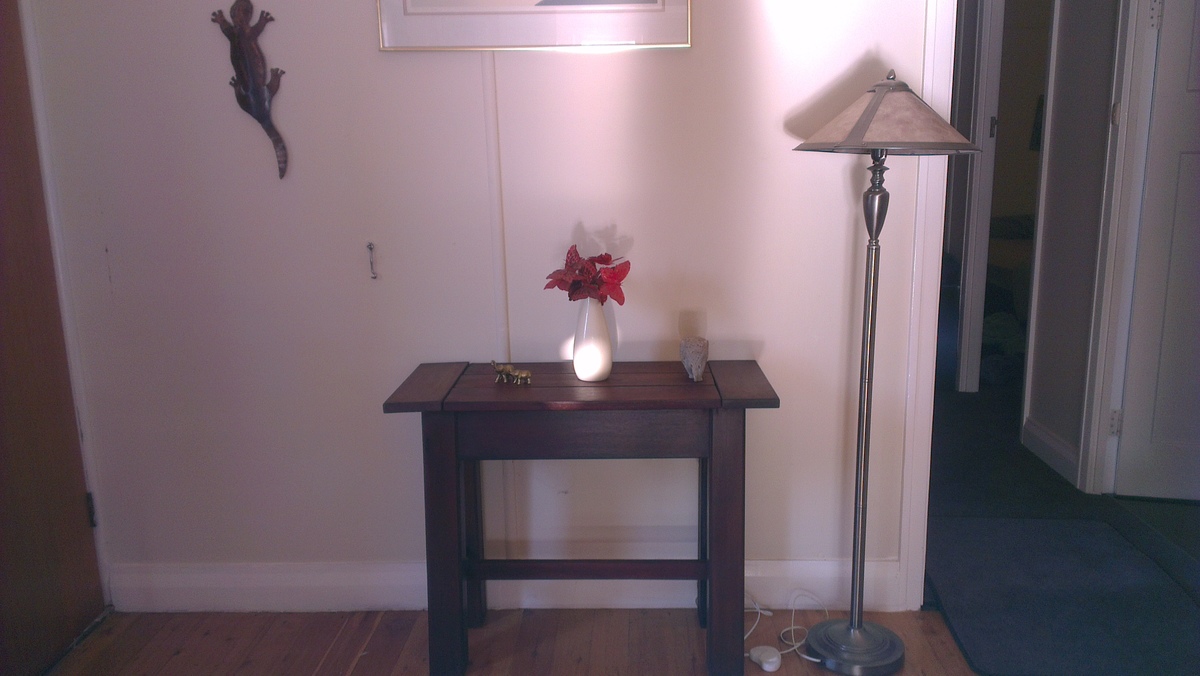
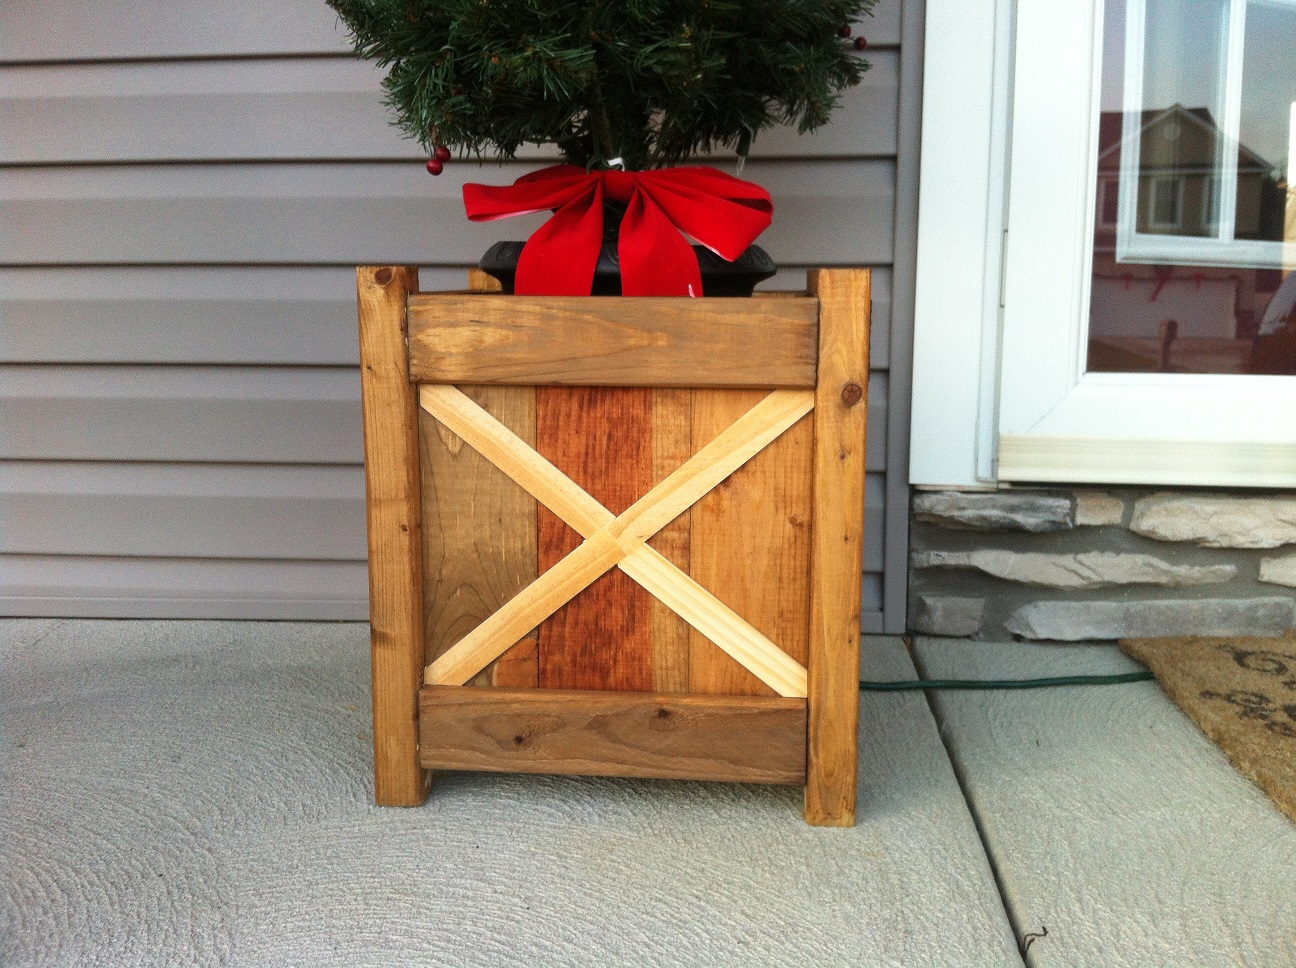
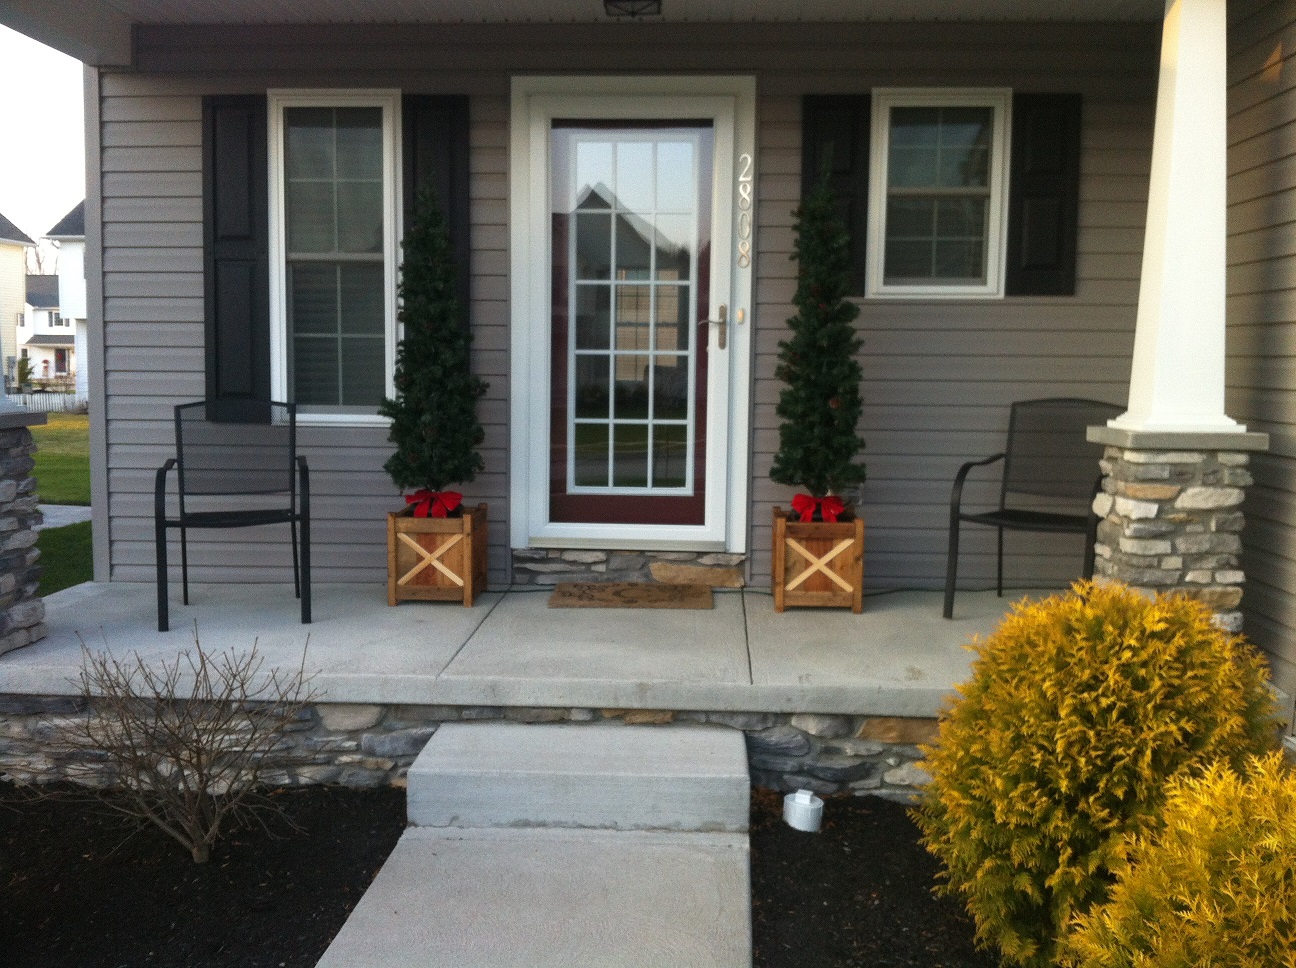
My husband built the seesaw and I applied the finish and covered the seats. This project was very easy and built in one weekend, including drying time for the stain. I used Minwax stain in Classic Grey and did not use a clear coat over the stain. I bought the canvas seat fabric at Hobby Lobby for $5.00 and used 2 inch foam cushion, which was about $3.00. I had some left over ribbons from another project that I tied to both sides of the handles to make the seesaw look festive for the birthday party! The project ended up costing about $50.00 in materials. My daughter Cwen loves it!

Built from Plan(s)
Estimated Time Investment
Day Project (6-9 Hours)
Finish Used
Minwax - Classic Gray
Recommended Skill Level
Beginner

Toy Box / Blanket Chest

Submitted by ScottyG on Fri, 12/04/2015 - 11:10

A few weeks back, my niece asked it I wouldn't mind building a Toy Box to auction off at a benefit she's holding this Saturday (December 5th - 2015). She and her husband are adopting 4, count 'em FOUR orphans from Latvia, so naturally I was more than happy to oblige. I didn't use any specific plans per se... I just used some pocket hole cabinetry I've seen on this site and others, as well as some pictures I found on the internet of different toy boxes and blanket chests for inspiration. The final project cost about $55 all in, including lumber and hardware. I used 1x3s and 1x2s for the frame, one 4x4 sheet of 1/4" plywood for the panels, and one 3/4" x 16" x 8 foot project board (which I got for $11 and change!) to use as the bottom and lid of the chest. For hardware, I used a couple of box hinges, a lid stay so that the lid both stays open on it's own and closes softly (gotta save those little fingers, y'know ;) ), and a cool wrought iron knob I found at Hobby Lobby for about $2 (gotta love the 40% off Black Friday Deals!). Oh... I also picked up a little quote plate from Hobby Lobby too, just too add that extra touch. ヅ Stain is Rustoleum American Walnut with 3 coats of satin poly.

UPDATE:  The auction was yesterday and the chest sold for $330!  ヅ

Estimated Cost
$55
Estimated Time Investment
Weekend Project (10-20 Hours)
Finish Used
Rustoleum American Walnut stain with 3 coats of Satin Polyurethane
Recommended Skill Level
Intermediate

Comments

hmetcalf10

Thu, 10/29/2020 - 14:26

Such a beautiful chest for a beautiful cause. The special extras - the plate and knob - are so perfect. Congratulations on the money raised...worth every penny.

King Farmhouse Bed

Submitted by Webbuzzard on Tue, 01/22/2019 - 15:44

I pretty much followed the original plans.  I added a chamfer on the outside corners of the posts and on the top boards on the head and foot boards.  I also stained these to match the nightstands.  Since I used a foam mattress, i built a platform by gluing/screwing a 2x4 inside the side rails.  Then I set 1x6s on the 2x4 to support the mattress.  

I use the free version of Sketchup to design the bed and estimate materials needed.  

Lessons learned

  • Take extra time to figure out how to connect the side rails to the head and foot boards.  I thought i could use a sliding lock but this wouldn't work for my design.  I improvised using 3x7 tie plates and screwed the two components together.  For the headboard, I lined the 2x4 with the inside headboard post.  For the footboard, I bent the tie plate 90 degrees and screwed the 2x4 to the footboard.  It worked very well.
  • I would recommend chamfering the outside top of the side rails.  I didn't and my wife complains that she  bumps her shins on it. 
  • Top boards are 1x5s, which in my are are only sold at home depot.  The other wood is readily available.

It's not that difficult of a project.  It is time consuming, though.


Estimated Cost
About $150
Estimated Time Investment
Week Long Project (20 Hours or More)
Finish Used
Latex semi-gloss enamel for everything except the top boards which were stained and polyurethaned.
Recommended Skill Level
Beginner

Comments

markswoodprojects

Fri, 10/16/2020 - 13:48

I love the look of your version. Do you have the SketchUp file anywhere that I can download? I would really like to make this version as I love your proportions and the color scheme.

Plane Old Shelf

This is a shelf based on the fighter planes from the pre-WWII era. I built it for my son's nursery. I stumbled onto Ana White's plan "Plane Old Shelf", got inspired, and it evolved into what it is. If you have any questions, feel free to contact me.

Built from Plan(s)
Estimated Time Investment
Week Long Project (20 Hours or More)
Recommended Skill Level
Beginner

Comments

Mathew Bounville

Thu, 09/08/2011 - 13:46

Thanks! The fuselage is made out of bender board. I don't remember the exact thickness but it was the thinnest they had at Michael's. You would think I would remember. I had to do the fuselage twice. My daughter stepped on it and put a hole through it.

The wings were actually one long wing. I build a frame around the wing and then wrapped the bender board around it. It may not be the best way, but it is all I could think of.

jhworley

Thu, 10/30/2014 - 17:07

I undersand the shelf and the landing gear.  I can make the canopy and propeller, no problem.  I don't understand how the main fusulage was made with the curved edge.  I tried searching for the bender board that was mentioned above with no luck.  Could you point me in the right direction?

Thanks,

Jordan

Wooden side table

Submitted by Lizann on Wed, 09/25/2013 - 16:45

Created from recycled decking timber

Estimated Cost
$40
Estimated Time Investment
Weekend Project (10-20 Hours)
Finish Used
Tung oil and wax
Edges darkened with ebony stain
Recommended Skill Level
Intermediate

Comments

Cedar Planter

Submitted by bclute on Tue, 12/08/2015 - 10:28

I built these out of necessity to keep my tipsy Christmas decorations from blowing over. The last couple years I spent a lot of time picking these trees up off the ground. I like how they turned out and were relatively easy to build.

I was excited I got to use my Kreg Jig for the first time, which looked more difficult to use than it actually was. Although these are cedar planters I used all pine from big box orange. Some leftover from the farmhouse queen bed I built and the rest I purchased.

The finish didn't turn out as grey as I would have hoped using the steel wool and vinegar, but I still like the aged look. I added the "x" detail in the front afterward and instead of staining my wife thought it looked better natural. Either way I would have been happy. I will be able to use these year round in some capacity.

Built from Plan(s)
Estimated Cost
I used some scrap and some new, but these cost me about $15 each
Estimated Time Investment
Afternoon Project (3-6 Hours)
Finish Used
Steel Wool and Vinegar followed by Thompsons Water Seal
Recommended Skill Level
Beginner

Entry Level Workbench

Submitted by mtairymd on Tue, 01/29/2019 - 13:26

Building a workbench seems to be a rite of passage for most serious woodworkers. The Entry Level Workbench shown here is a collaboration between myself and Kevin at Kev's Woodworks. I've detailed the design while Kevin and his son built the workbench as a father/son project.

All details including dimensions, parts list, tool list, and a full cost breakdown are included in the link if you would like to build your own bench.

https://www.instructables.com/id/Entry-Level-Workbench/

Estimated Cost
$1400
Estimated Time Investment
Week Long Project (20 Hours or More)
Finish Used
Paint for base
Recommended Skill Level
Intermediate

Entry Bench

Submitted by Anonymous (not verified) on Fri, 12/16/2022 - 06:51

I search many DIY entry benches and ultimately chose Ana White's, it was perfect what what we needed. Thanks for the vid, plans, post and tips that helped me build it. I'm currently browsing your other projects for the next one. Thanks so much

Built from Plan(s)

Comments

Teal Dresser

This was our last furniture build to complete our DIY bedroom makeover. We have a small space, so the dimensions of the Beach Cottage Dresser were perfect. We used mostly spruce, because we were going to paint the project. We used leftover accent paint from the walls and stained the top to match to rest of the furniture we've built. This was our third project.

Built from Plan(s)
Estimated Cost
$160.00
Estimated Time Investment
Weekend Project (10-20 Hours)
Finish Used
We stained the top with Dark Walnut, and painted the rest with two coats of Benjamin Moore Blue Oasis.
Recommended Skill Level
Beginner

wall decor for my wife

Submitted by jarsofclay on Sat, 09/28/2013 - 10:31

Well I decided to do some wall hangings and this one was my favorite all hand craftedand hand painted. Feeling inspired by wife I wrote this personal note to her "Home is wherever you are. "

Using four planks I lined them up and then made a picture frame and screwed it all together for a " farm door" look. Then I stained it and proceeded to paint it free hand.

Estimated Time Investment
Afternoon Project (3-6 Hours)
Finish Used
Dark Expresso
Recommended Skill Level
Beginner

Comments

Sand Box

This is a 4 x 6 sand box. I took the Idea from this website and add a roof just for looks. It is made with 2 x 12 , 1 x 4 and 2 x 4. I used Flood Stain which I loved the clean up. I made the second one with 2x12 and 2 x 4 because it was going on a comminuty playground and I thought it sould be stonger. It takes 22 50 pound bags of play sand to fill it. Had a great time building them Thanks for the idea

Estimated Cost
160 without the roof and 200 with
Estimated Time Investment
Day Project (6-9 Hours)
Finish Used
Flood Sealer
Recommended Skill Level
Intermediate

Tina's Kitchen

Submitted by Anonymous (not verified) on Sun, 02/03/2019 - 17:58

Finally, kitchen is done.  We've been in this house almost 4 years and for me the kitchen was not efficiently functional.  Dishwasher was on the wrong side of the sink, had a trashed compactor which we did not use, very little counter space, not enough drawers, etc.  

The whole kitchen was gutted except for the cabinet over the stove which I covered and still has storage.  

Thanks to Ana White for the plans and inspiration!  Learned a lot during this process.

Estimated Cost
The estimated cost of my kitchen, $3,000. This includes the specialized tools bought including a table saw! The only appliances bought was a new dishwasher, faucet and range hood.
Finish Used
Latex white paint with polyacrylic top coat. Used sponge roller. Latex Kiltz, Behr Marquee white, and Varathane water based poly. Lightly sanded between coats.
Recommended Skill Level
Intermediate

Dollhouse Book shelf

Submitted by Anonymous (not verified) on Wed, 12/28/2022 - 16:13

Very fun and easy project for Christmas for my 6 yr old girl!!

Built from Plan(s)

Comments

Tryde Coffee Table

Submitted by j2s on Fri, 09/16/2011 - 12:12

My Tryde coffe table. Fun to build and looks great! Thanks Ana!

Built from Plan(s)
Estimated Cost
$55
Estimated Time Investment
Day Project (6-9 Hours)
Finish Used
Dark Walnut Stain, Ivory Rustoleum Spray
Recommended Skill Level
Beginner

Storage Bed with lights

Submitted by jtiffany83 on Sun, 09/29/2013 - 22:25

I started this project and wasn't sure what I was doing. This is the first project I've ever built and I look forward to the bigger and better projects I will be doing. As a spent several weeks online looking for the perfect bed to build for my son, I found this web page and truly found it to be easy to follow and easy to customize.

I built the bed and bought the fabric storage boxes at a local store and decided that the lights would be a great addition. I found some LED lights on Amazon.com which were extremely easy to install. The lights added only an additional $28, total, which added a cool new look to my sons room. He uses the lights as his nightlight and I love the way it turned out.

My next project will be the king farmhouse frame.

Estimated Cost
$185
Estimated Time Investment
Weekend Project (10-20 Hours)
Finish Used
Regular light black stain
Recommended Skill Level
Beginner

Comments

console table

Submitted by yhaas on Thu, 12/17/2015 - 19:39

This table was modified from a few different plans. I built it as a stereo/radio stand for our cottage. The 2x8s on the top have special meaning as we used the boards as a ramp to haul our fridge in.

Built from Plan(s)
Estimated Cost
$50
Estimated Time Investment
Weekend Project (10-20 Hours)
Finish Used
Goudey stain in Roasted, 2 coats of Deft polyurethane.
Recommended Skill Level
Beginner

TV console

Submitted by Anonymous (not verified) on Sat, 02/09/2019 - 14:24

Had to build something to go with our brand new OLED TV. Combined Ana's 'Grandy Sliding Door Console' with a modified version of these modern barn door plans found at https://howdoesshe.com/build-a-fixer-upper-style-modern-barn-door/ from @angelarosehome to make the finished product shown here. My wife loves it (the pup doesn't mind it either)! 

Built from Plan(s)
Estimated Time Investment
Week Long Project (20 Hours or More)
Recommended Skill Level
Intermediate

8x10 Shed - Built by Julia Eliopoulos

I made your 8x10 shed! Turned out so well, thank you for the amazing plans.

Julia Eliopoulos

Built from Plan(s)

Comments

Dress up center with a Texas twist

Submitted by charbeary4 on Thu, 09/22/2011 - 21:07

This dress up center was made by me & my hubby for our daughter's first classroom. We used old shutters for the ends and added a couple inches to the bottom & front/back boards to make them all match up. We used the "get your duds on" & Cricut vinyl to make it work for all the cowboys & cowgirls in her class! The shutters open & close giving them an added interest and a teaching moment to bring in recycling!

Estimated Cost
less than $20.00
Estimated Time Investment
An Hour or Two (0-2 Hours)
Finish Used
Paint, left over from a previous job. I watered it down to match the shutters, 1 part paint to 2 parts water & Vinyl for cuts outs & letters. I used my Cricut with A Child's Year & Old West cartridges
Recommended Skill Level
Starter Project

our modified version of printers sideboard

Submitted by Anonymous (not verified) on Sun, 12/20/2015 - 20:22

we took Ana's plans and modified them to fit our space. I ended up routing the edges of the 1x3 and 1x2s for the door and drawer fronts to give more definition between the boards to help with the illusion of seperate drawers. I absolutely love how this turned out! 

Built from Plan(s)
Estimated Cost
400 including hardware
Estimated Time Investment
Week Long Project (20 Hours or More)
Finish Used
General finishes antique walnut gel stain and high performance top coat
Recommended Skill Level
Intermediate

Comments

handmadewithash

Mon, 12/21/2015 - 15:20

this looks great! That's a neat  idea about routing the edges. I started this project a year ago, but I've picked it up again.  Where did you purchase your pulls from? I'm having the hardest time decided which ones to go with.