Desk
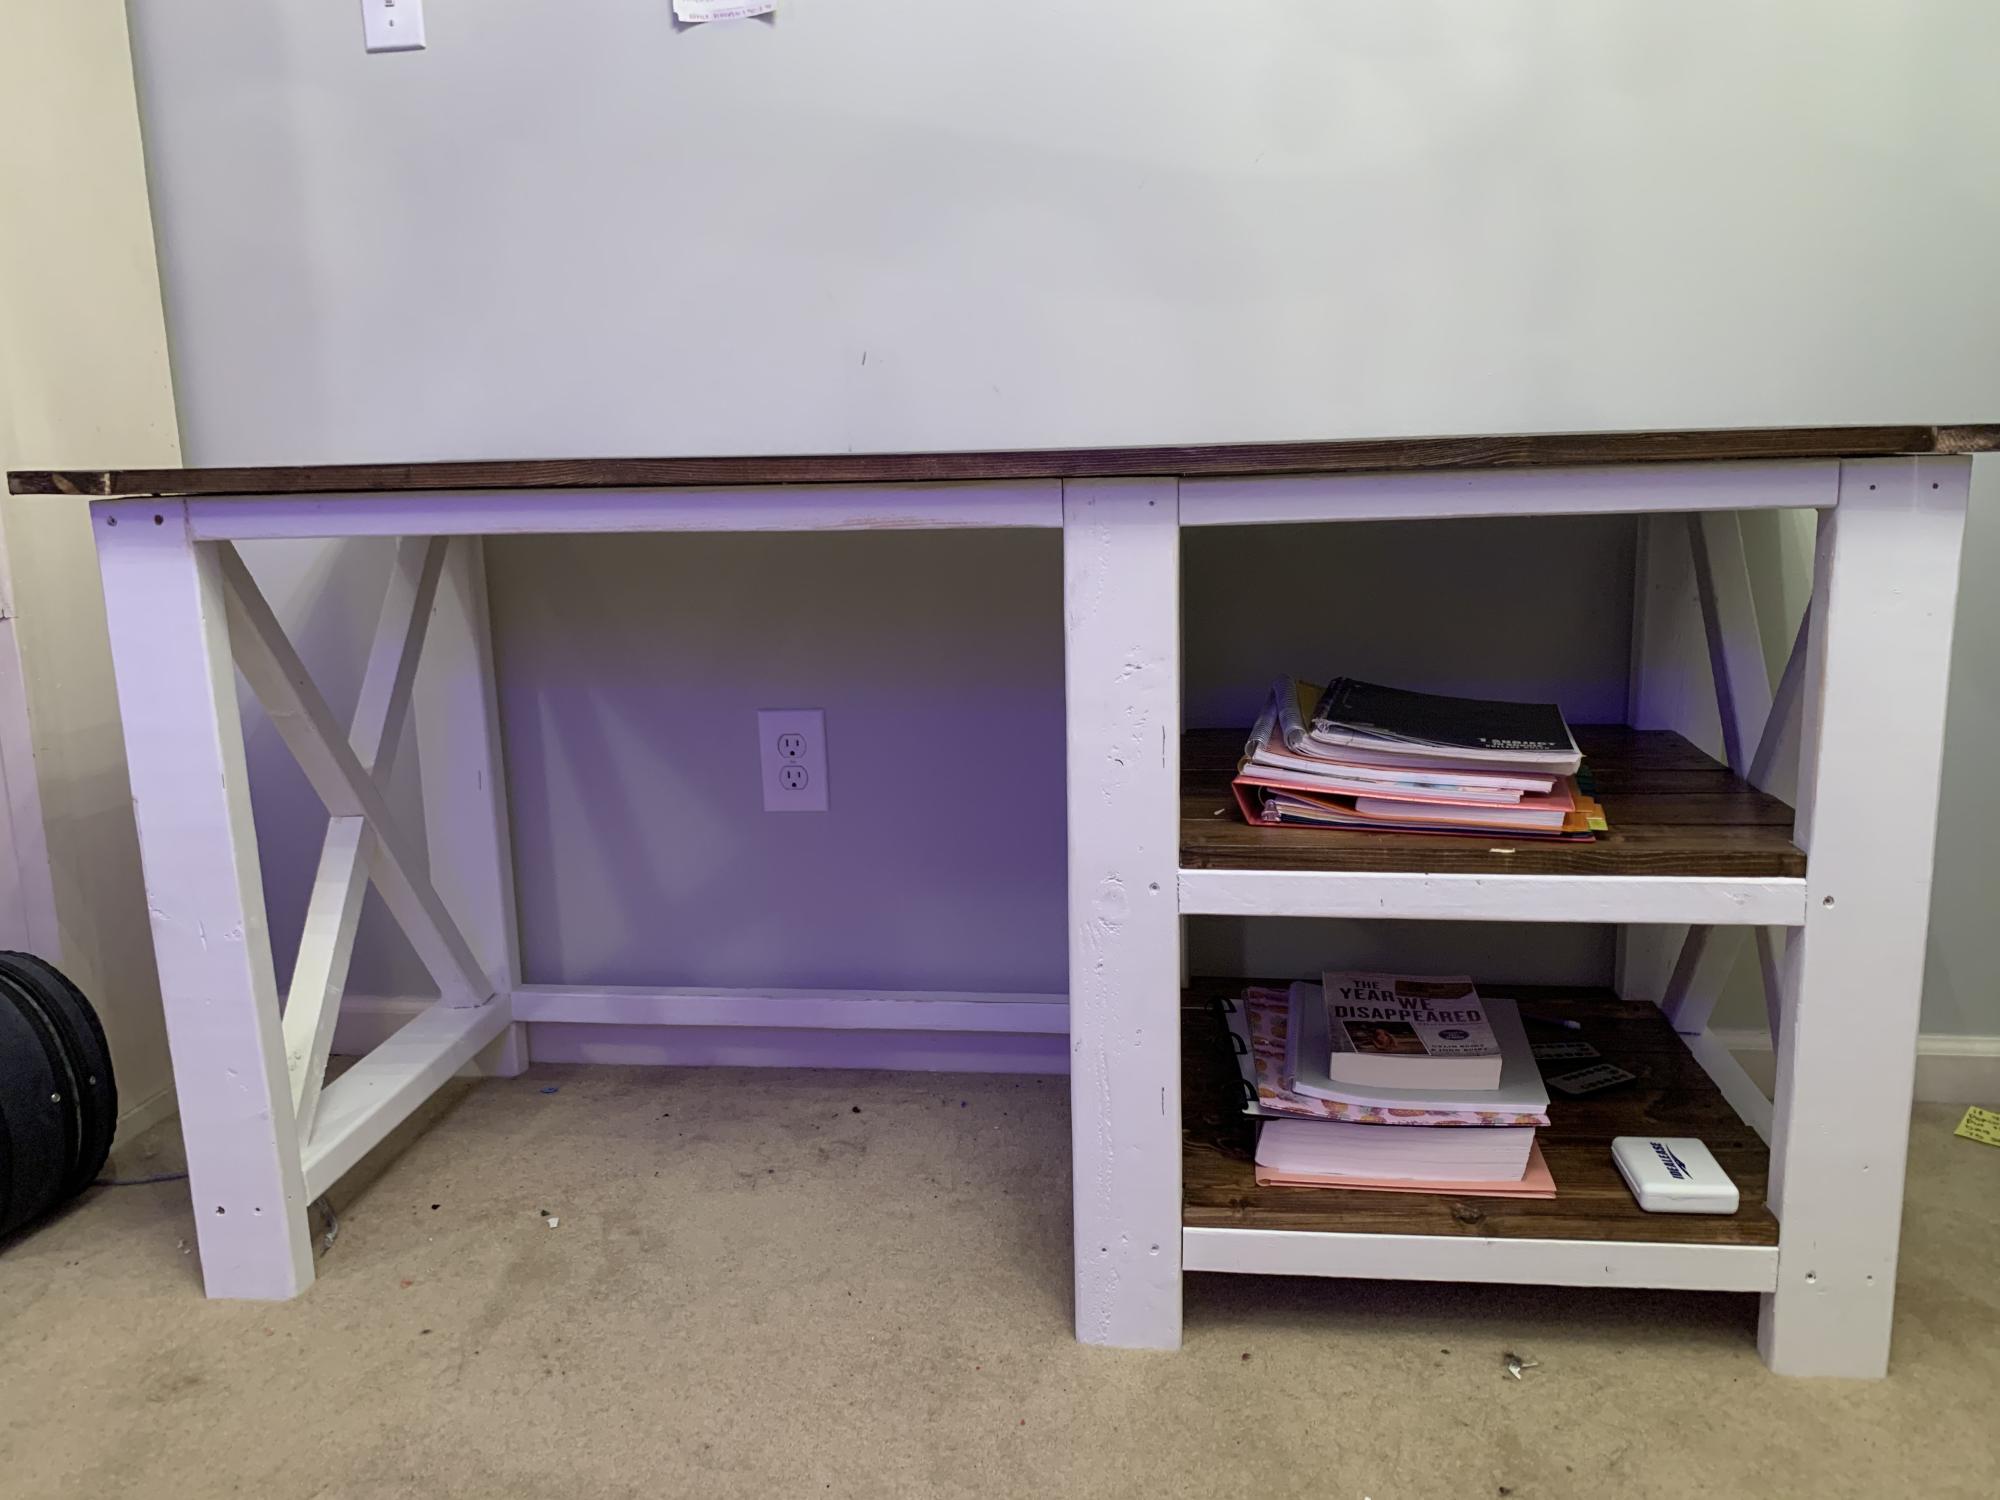
During the transition to online school, I built this for my daughter. Works great. Obviously needs some finish work, but she wanted to use it right away. lol
Built from Plan(s)
During the transition to online school, I built this for my daughter. Works great. Obviously needs some finish work, but she wanted to use it right away. lol

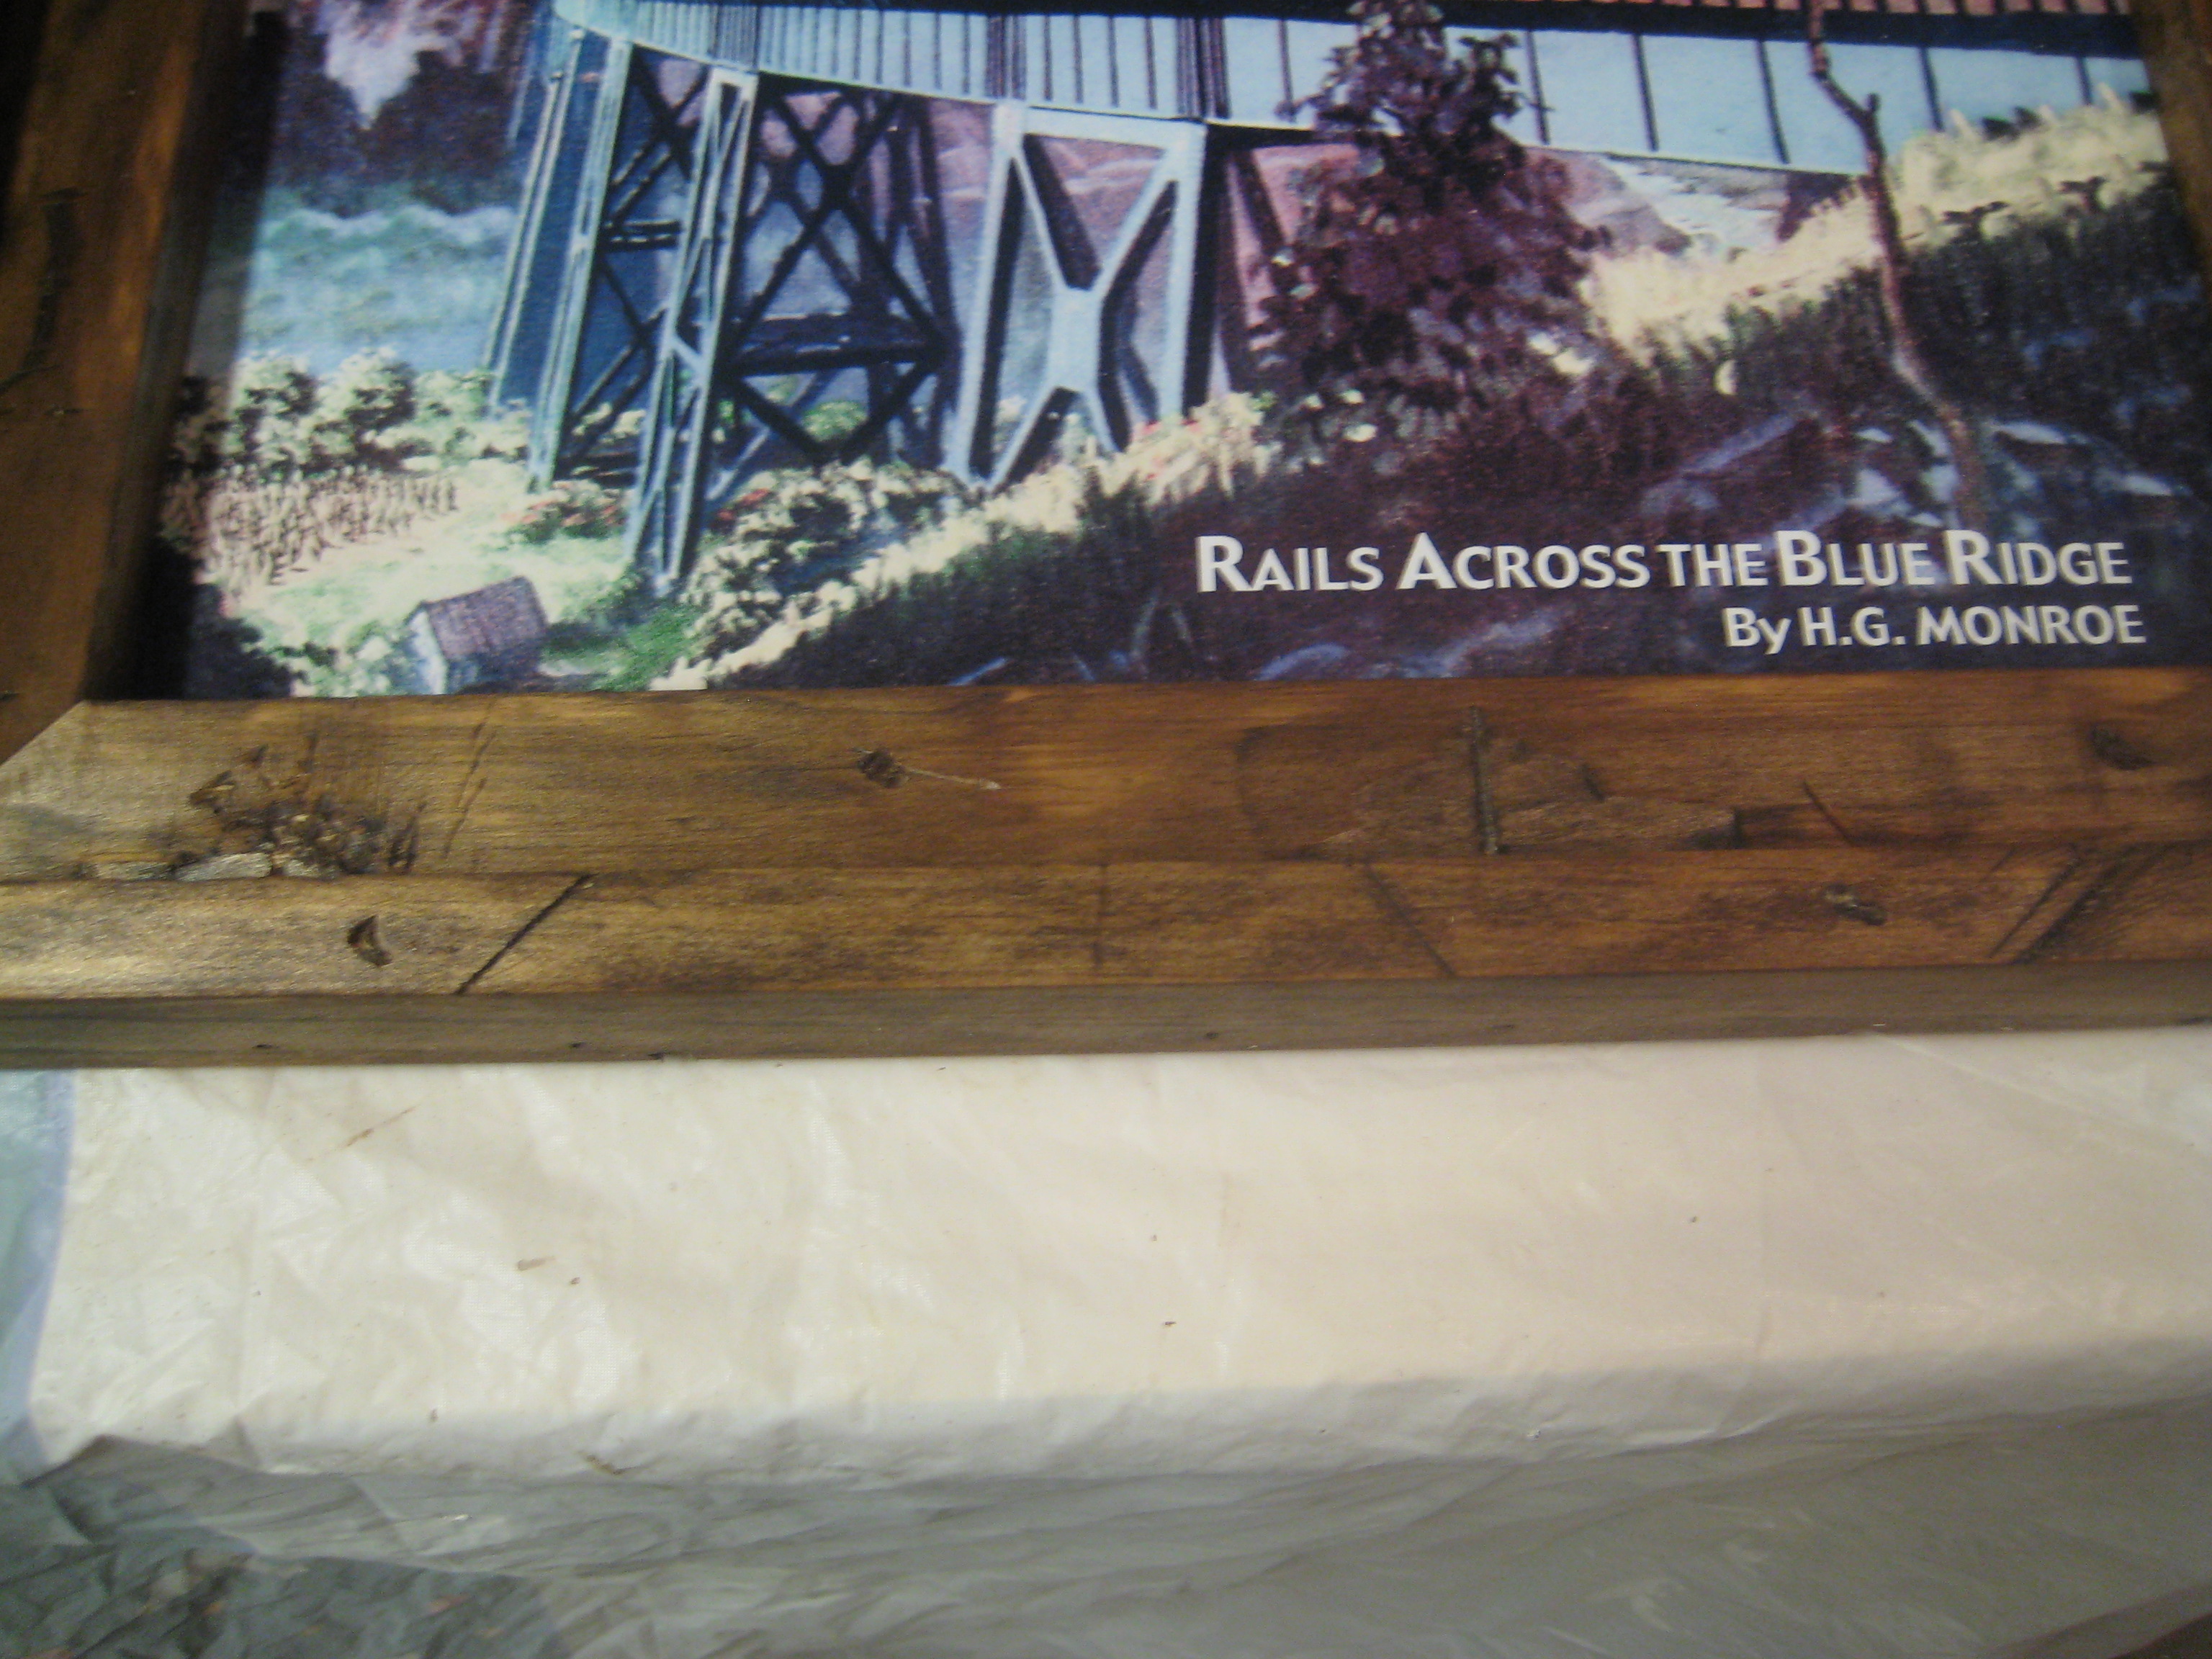
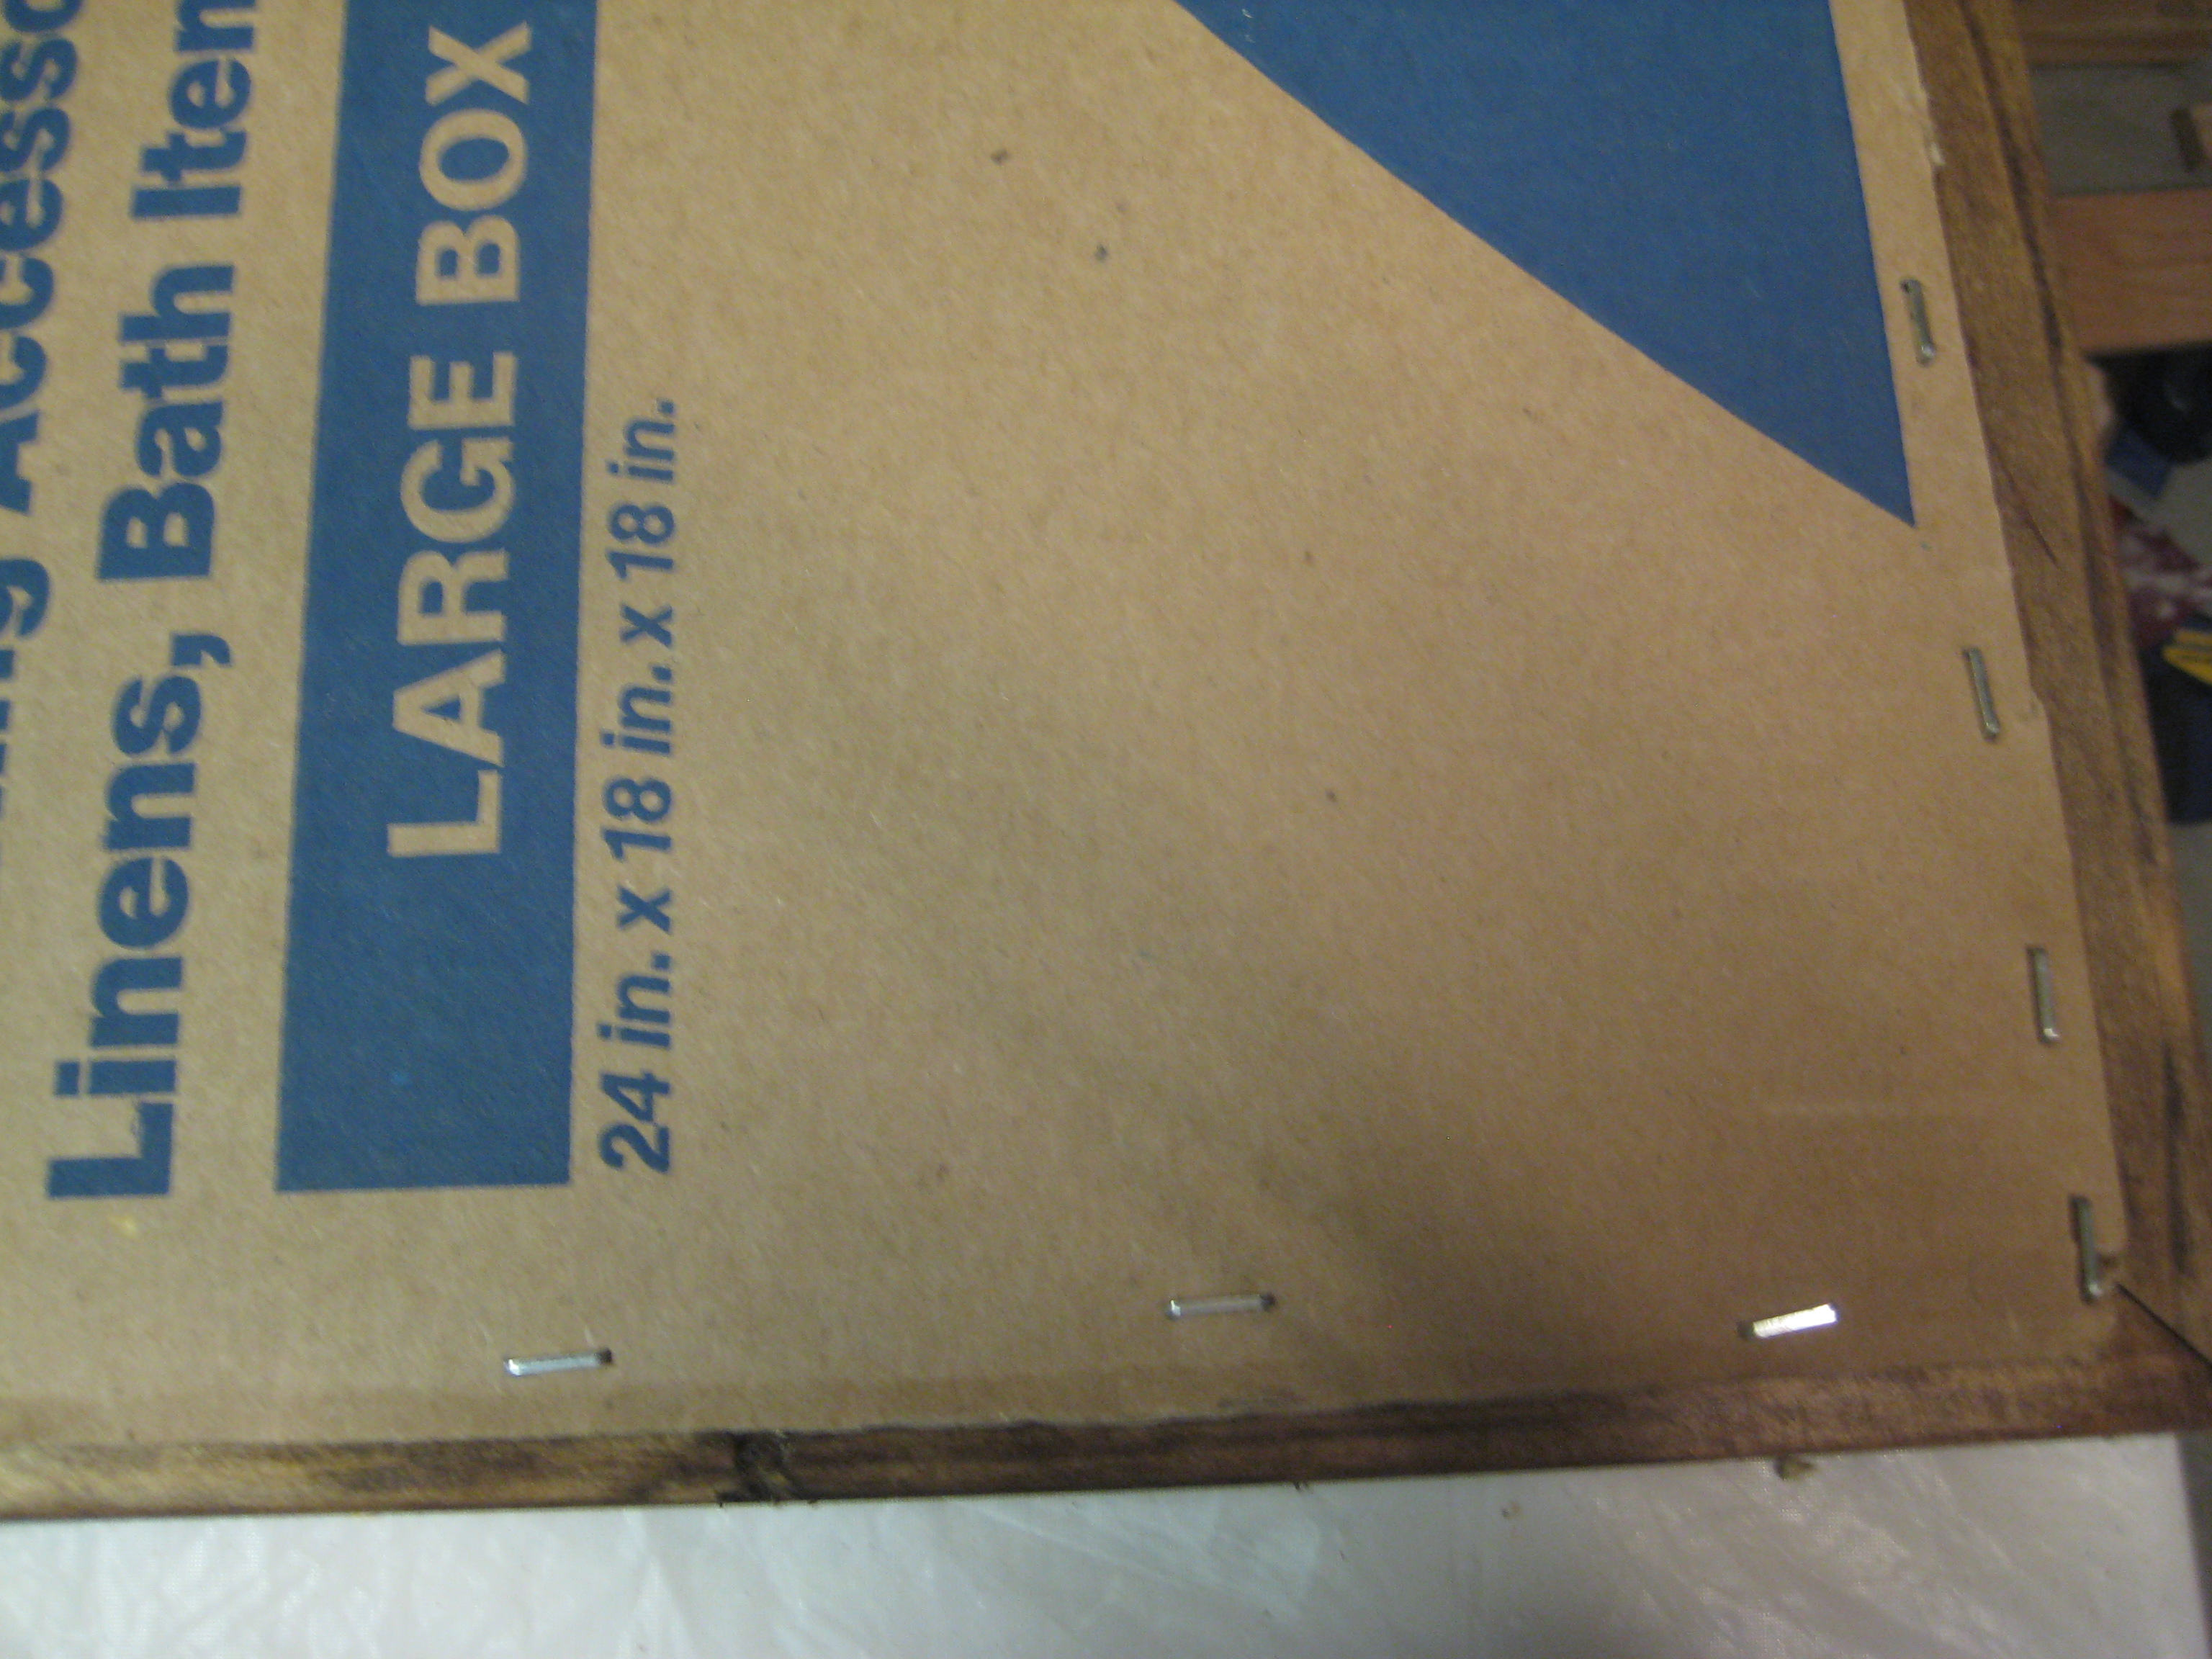
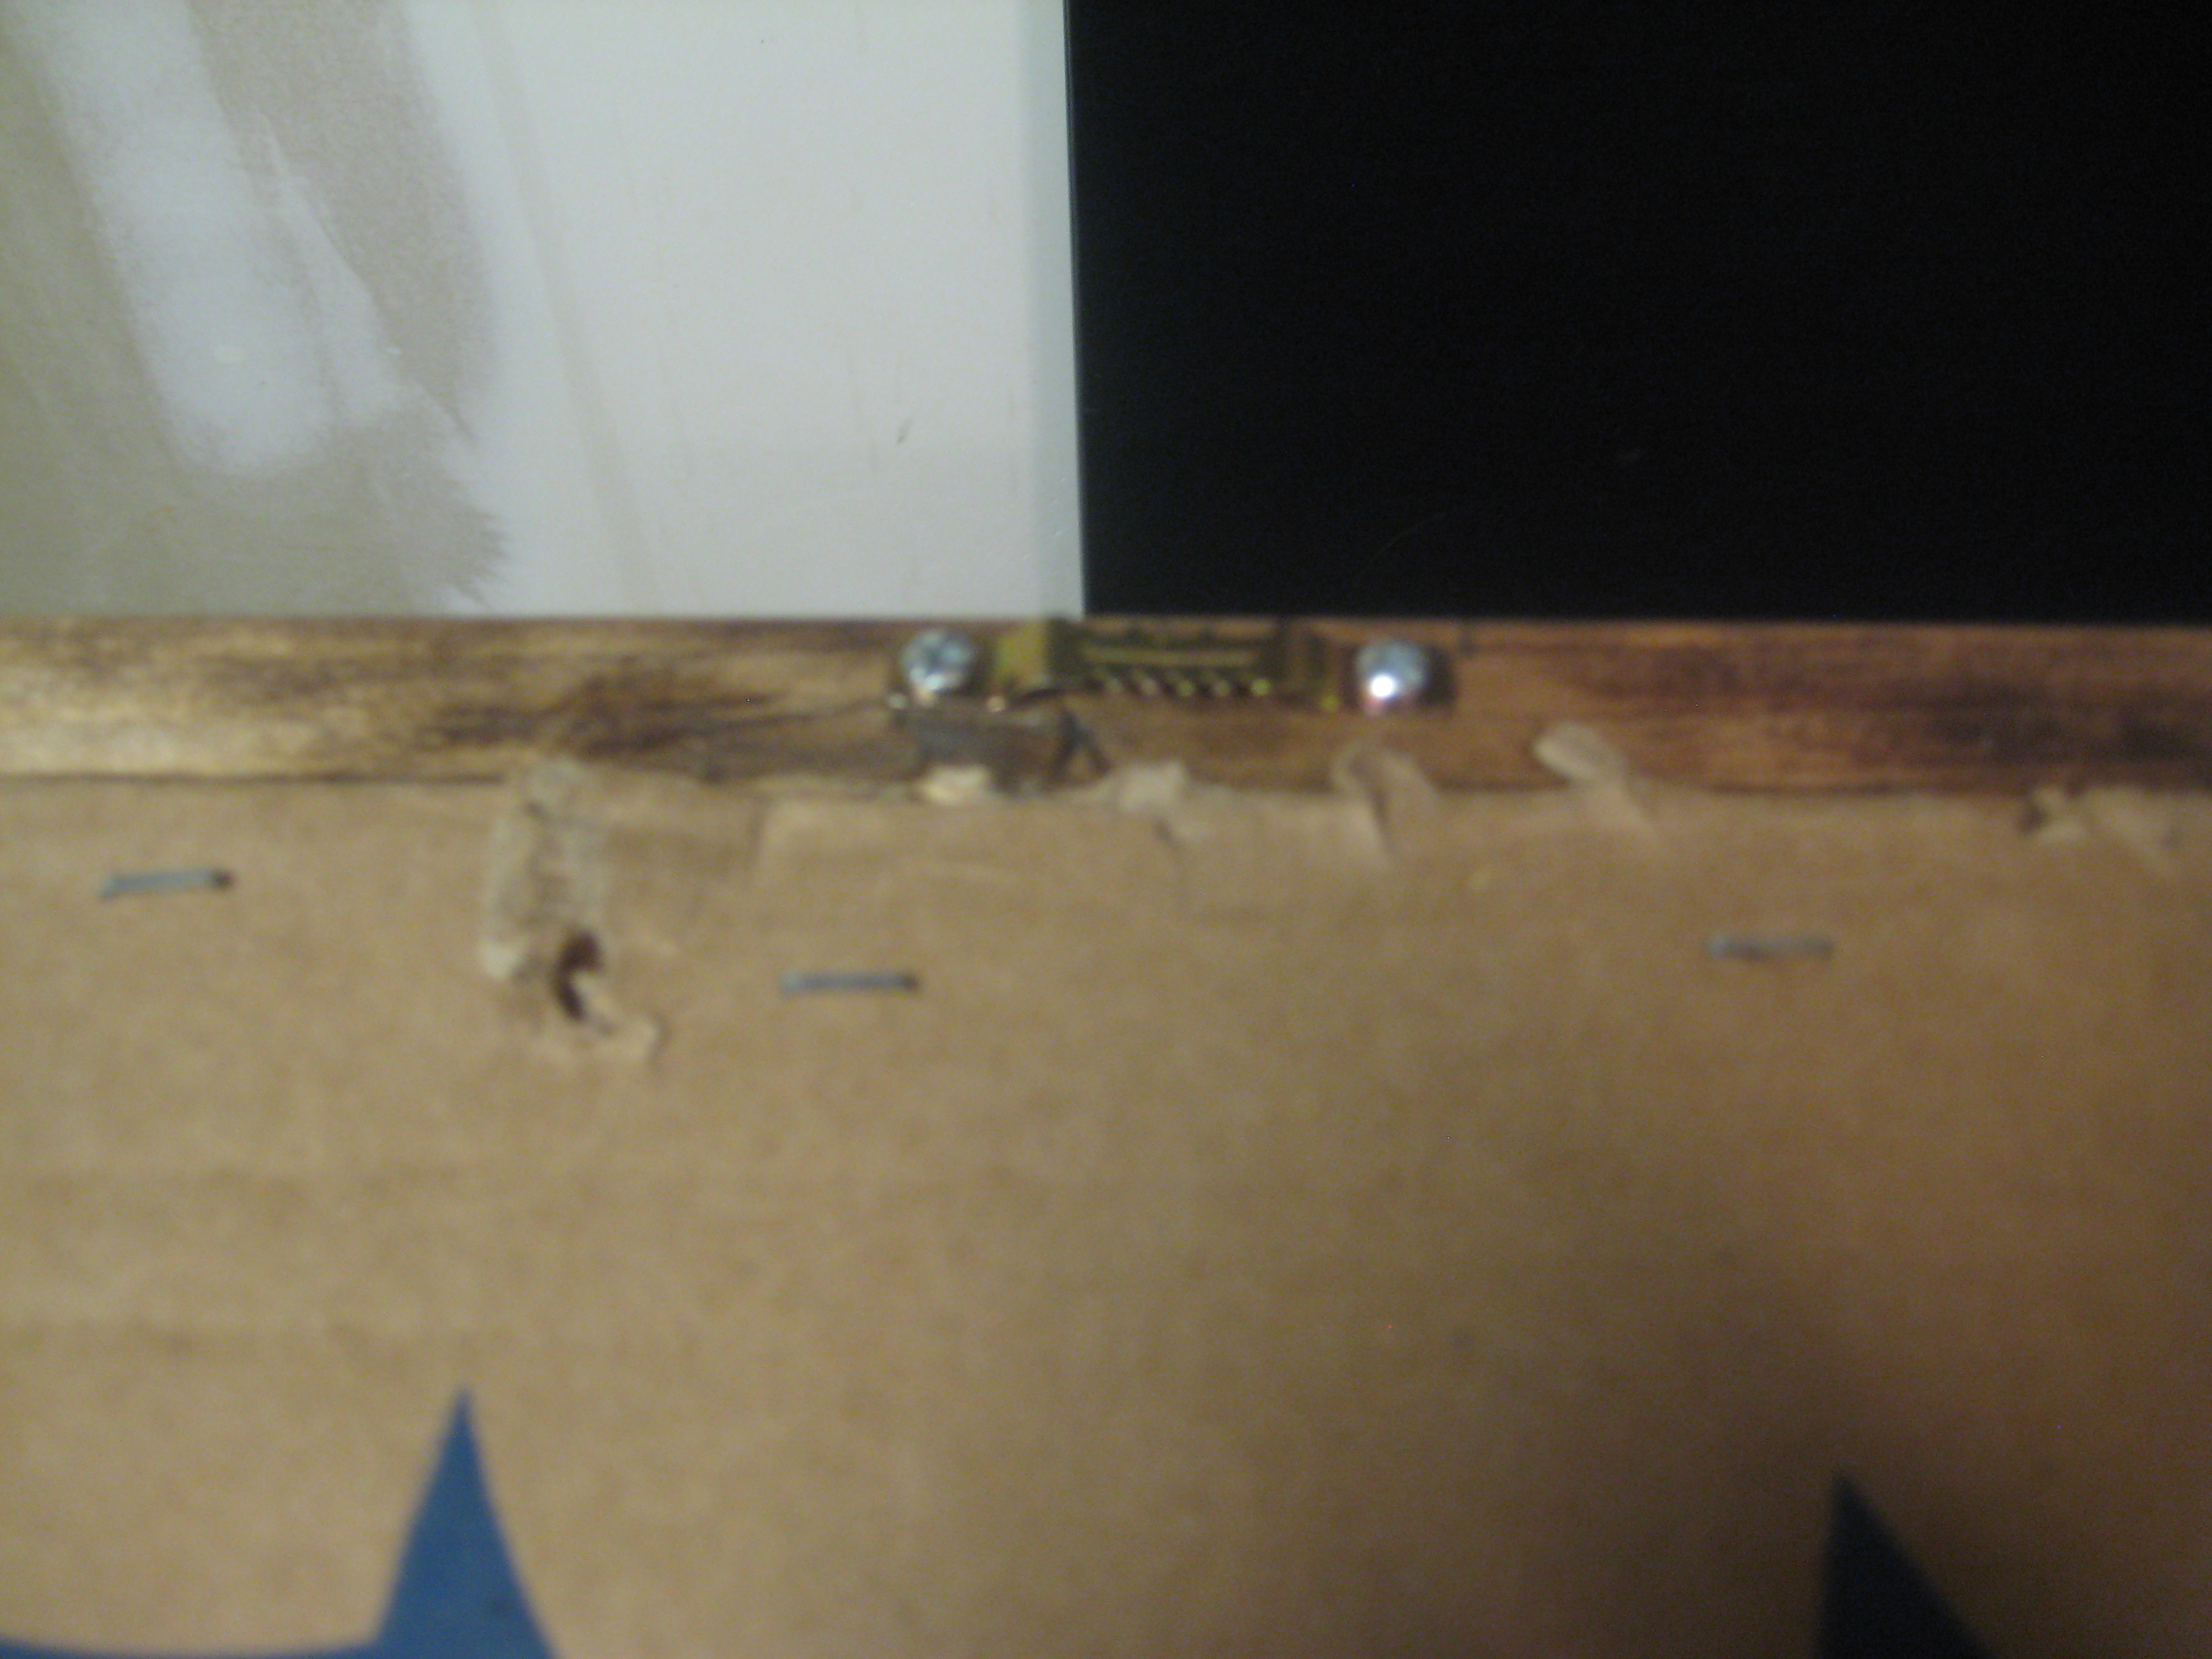
Thanks to Ana's plans I was able to build this in a couple of hours. It's not necessary, but a miter saw makes this project a cinch. I used one coat of Minwax Mahogany for the stain and distressed the wood with various sharp edged tools from my garage. I used a large Lowes moving box ($1.50) to cut the backing to 18"x24" and spray glued it to the print. I didn't use glass partly because its expensive and I was a little lazy. As you can see in the pictures below I just stapled the back to the frame. Even without the glass, I think it came out pretty well. Another project completed to go in the mountain house....

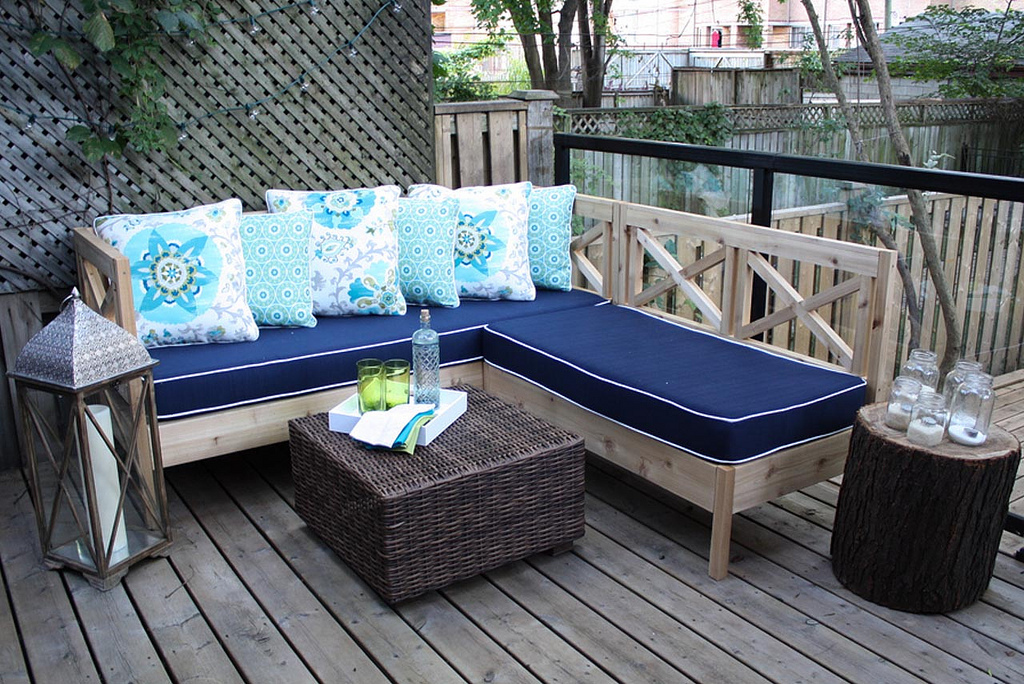
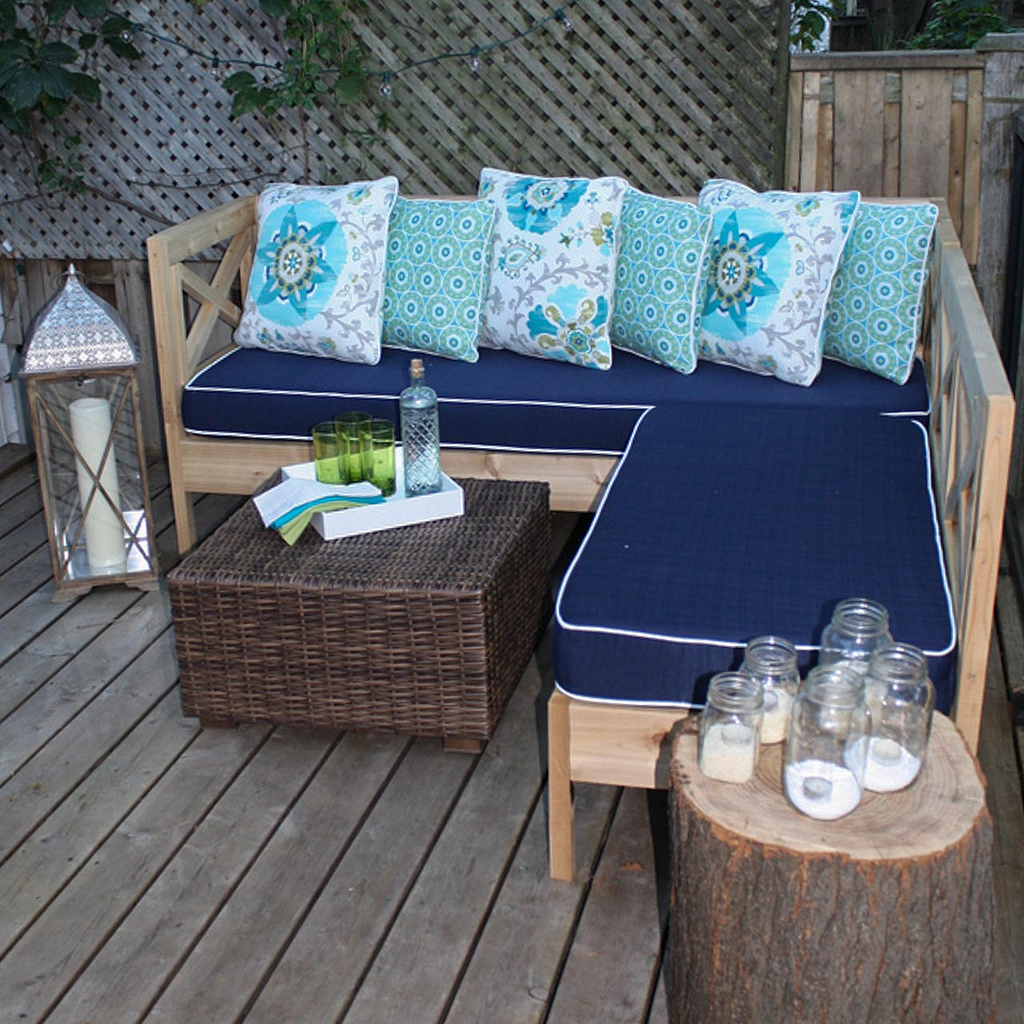
We had extra space in the backyard and I always wanted somewhere cozy to sit. Of course, the 'conversation' sets you find in stores were out of our price range so we turned to Ana!!
The whole project took a long weekend to complete - including shopping, cutting, sanding and putting it together. The cushions took a bit longer because they were custom made.
The project was much easier than I expected and the result is fantastic (in my opinion, of course!). I can't believe we actually built a piece of furniture!!
Thanks Ana!
Wed, 09/04/2013 - 14:03
The fabric was from www.tonicliving.com - Silsila and Tilescene were the names. Both were outdoor fabrics and I'm super happy with them!!
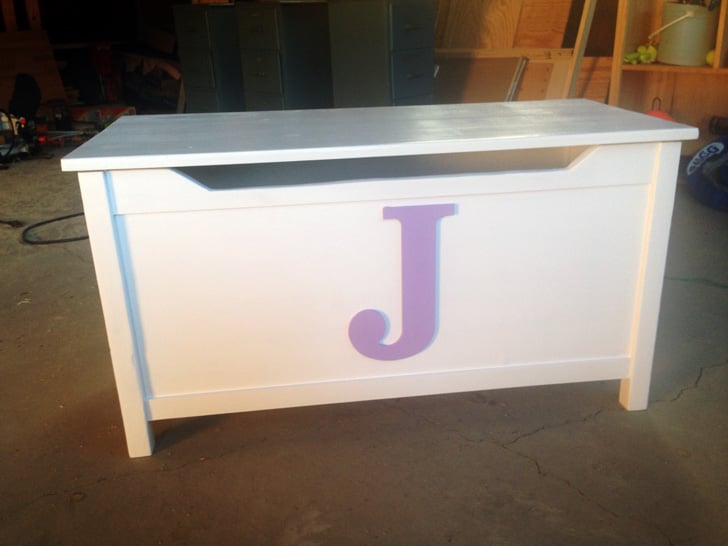
Took me a little while for the first one, but now going to make more and will be much quicker now that I made it through the first time!
Thu, 03/19/2020 - 06:31
Can you please let me know how you installed the hinges. The toy chest has an inlet on the back so the lid and hinges are not flush. How did you install them?
Any suggestions or sketches of installation of lid with hinges?
Thanks- Joanne K
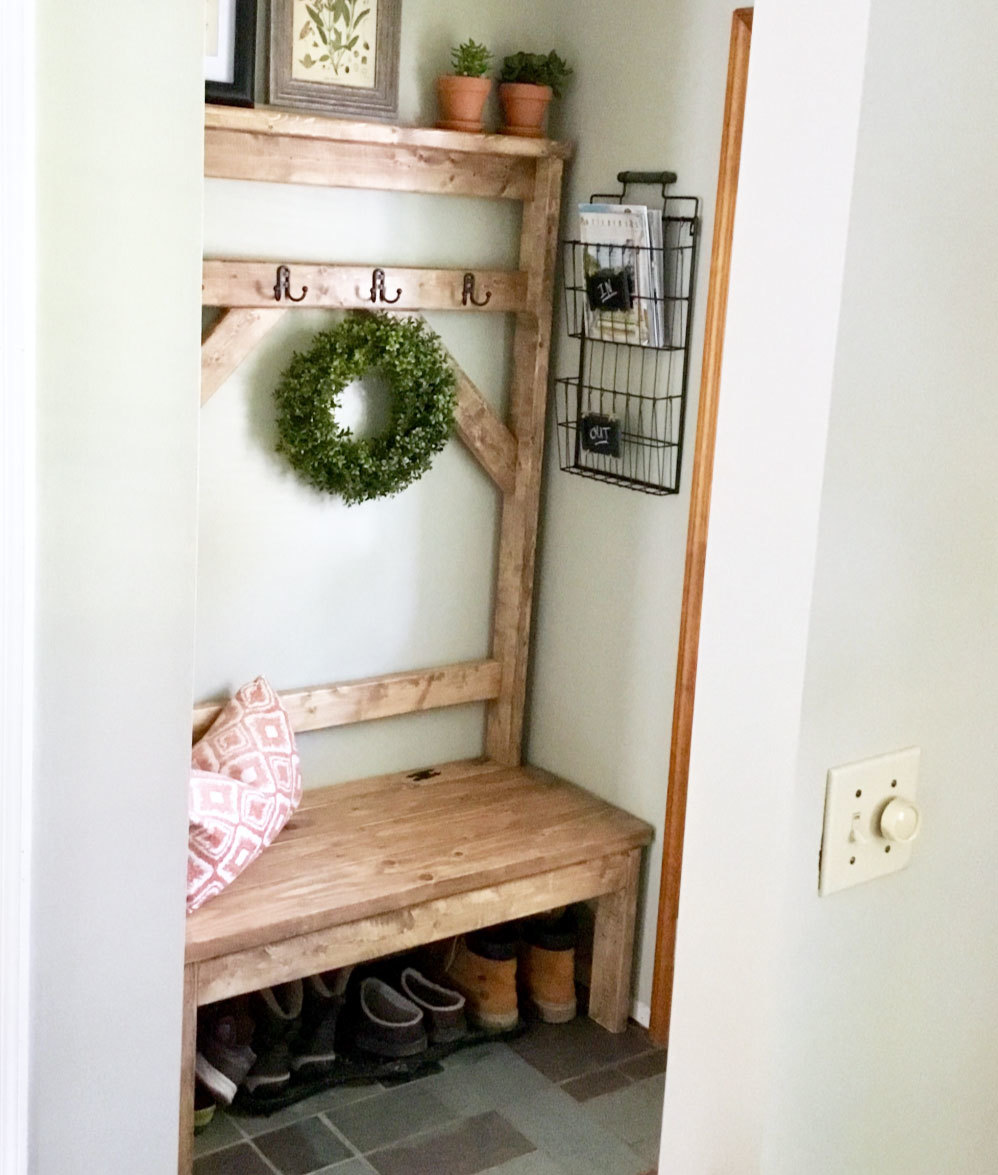
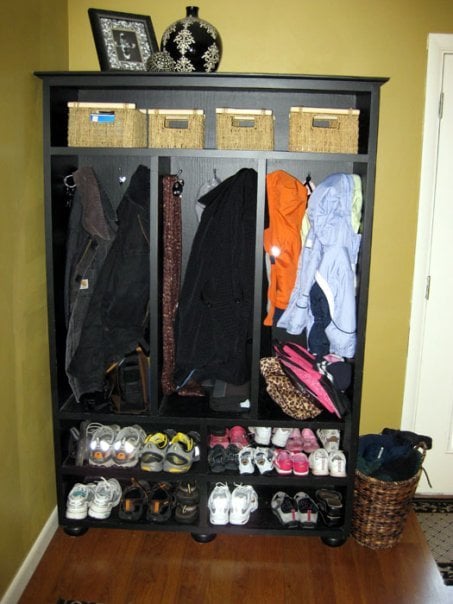
Our small entryway was in need of some sort of bench or coat rack. Since the space is on the smaller side, I was looking for plans that were simple and would not overwhelm the area of the house. When I came searching for plans on Ana White’s website, these plans were JUST posted! It was meant to be! This was my second build ever. Very simple and straight forward. I used Special Walnut for the stain and a satin polyurethane for the top coat.
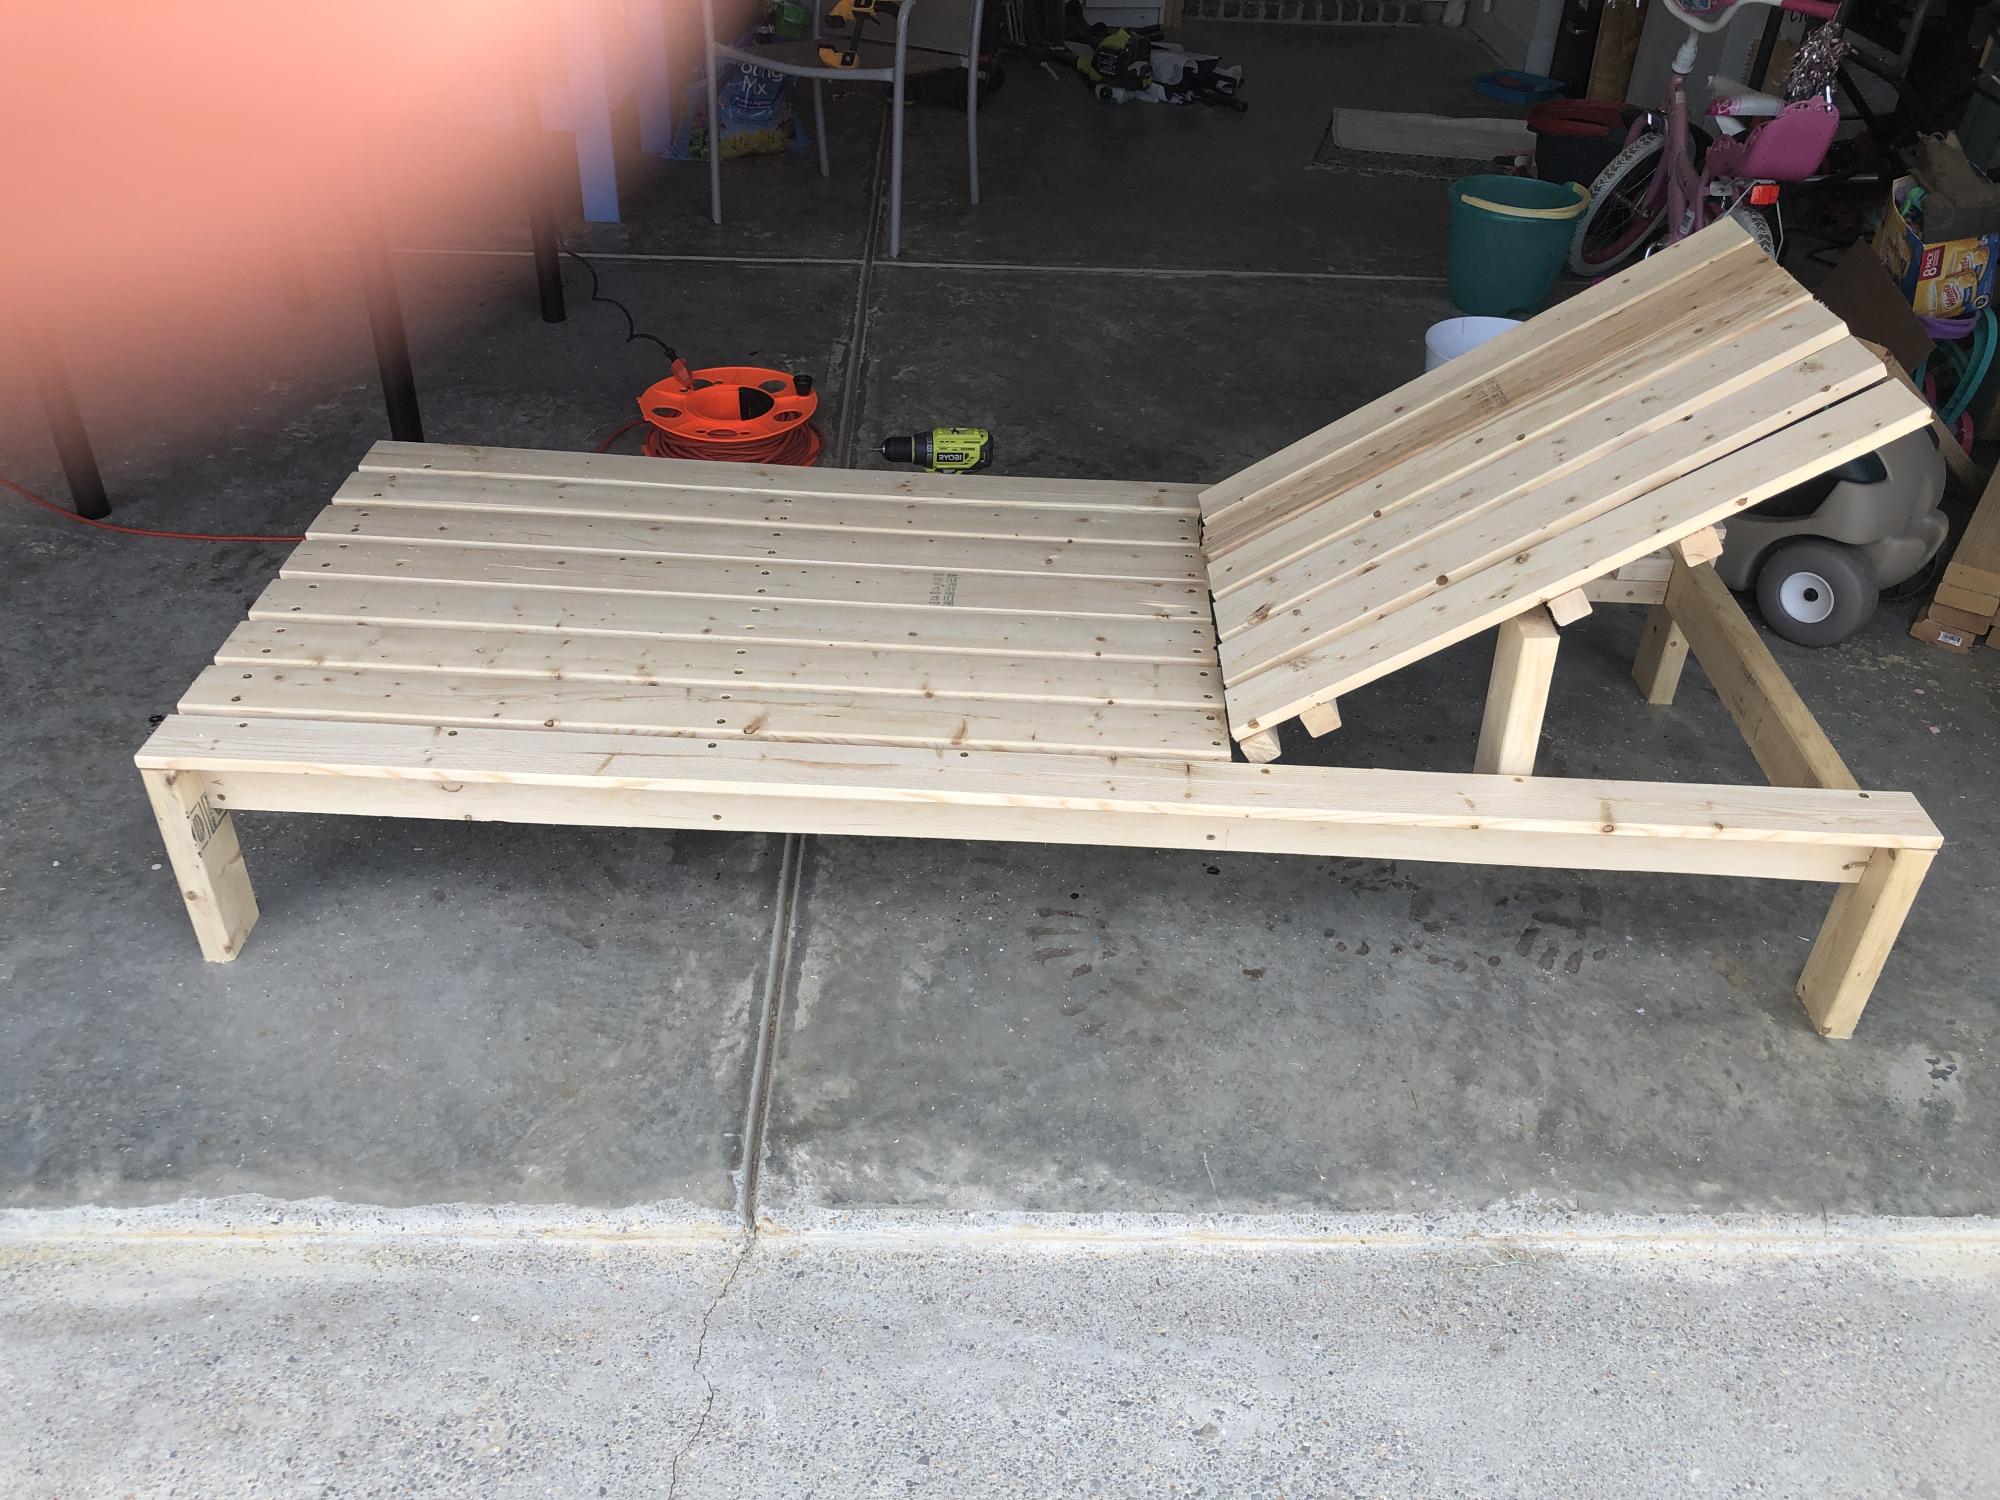
I built this chaise lounge for my daughter from your plans. She will paint it tomorrow. Thanks!!!
Beautiful media center, couldn't resist building it for our living room! Thanks Ana for such awesome plans!!


In reply to Great job by Rolando Pimentel
Mon, 02/06/2012 - 10:16
I love being able to go through the scraps and see if I have enough wood to make a project happen. Very satisfying! Thanks!
Mon, 02/06/2012 - 10:39
I love getting a good chunk of a project made out of scraps. I have yet to get an entire project made out of them, but I'm hopeful :)
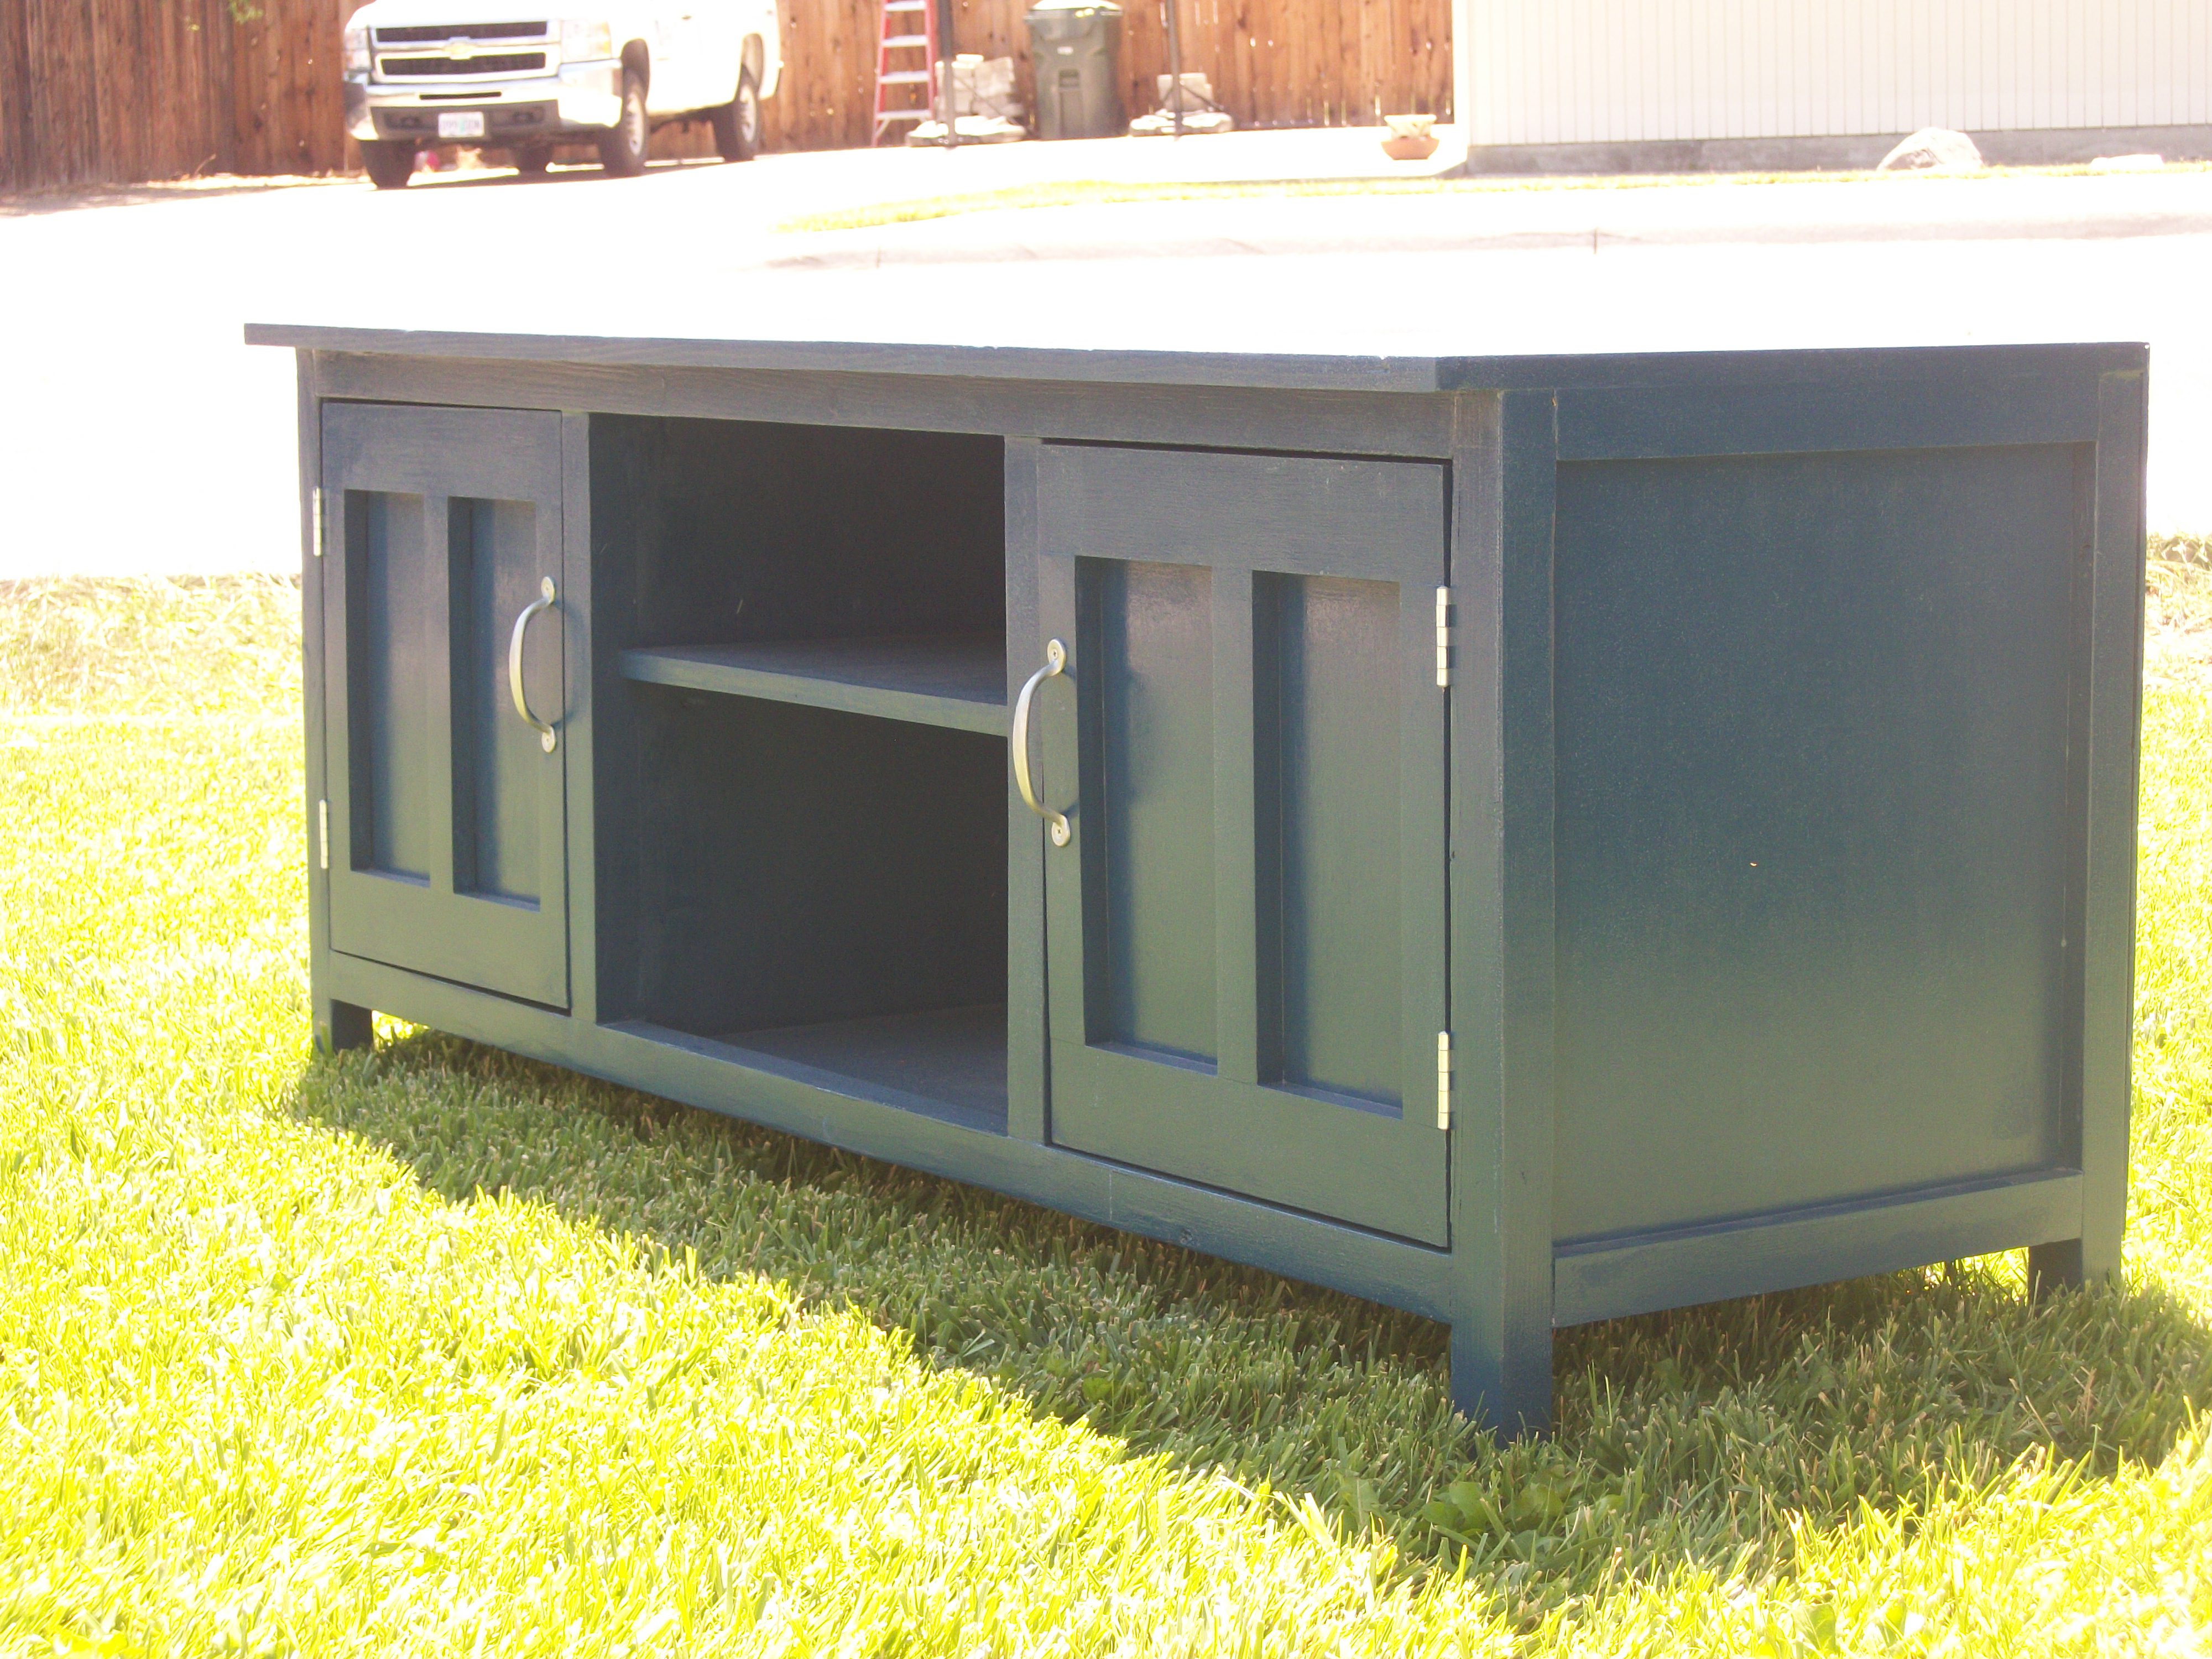
I think I'm going to hire you for finish work--love this blue color!
Tue, 02/07/2012 - 00:23
Ha.. funny thing about that color... I'm really starting to hate it. I actually have that piece for sale right now. It was always going to be a temporary piece because I really want to build something to surround our gas fireplace and then have a flat screen above the fireplace.
I also learned a LOT when painting this piece and now I think I have painting furniture down to a science. ;-)
Thanks again for the compliment!
Tue, 03/27/2012 - 20:08
Personally I love the color, you did an amazing job both in building it and painting it, beautiful work!
In reply to Personally I love the color, by Guest (not verified)
Tue, 03/27/2012 - 23:29
I appreciate your compliment! I've actually been trying to sell this piece because I want to build something new, but no takers. I'm thinking it's because of the color, but until we do sell, we will certainly enjoy it! Thanks again!

Our home improvement store didn't have non-pressure treated 4x4s so we screwed 2 2x4s together to make the posts. We chose not to put quarter round around the posts, but instead added baseboards to the front and side to finish it off. We're really happy with how it turned out.

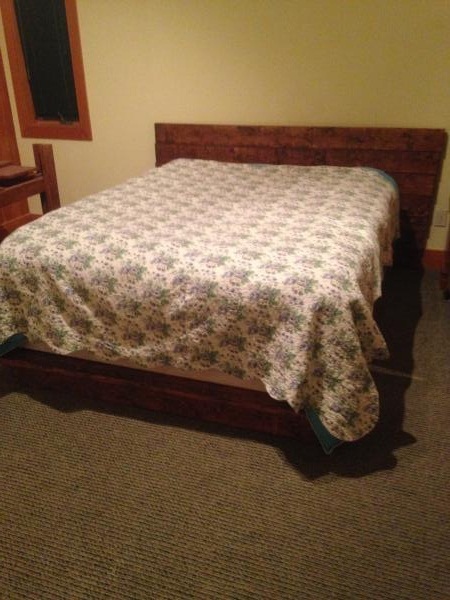
I followed the plan exactly. I did have to improvise attaching the footboard to sides.

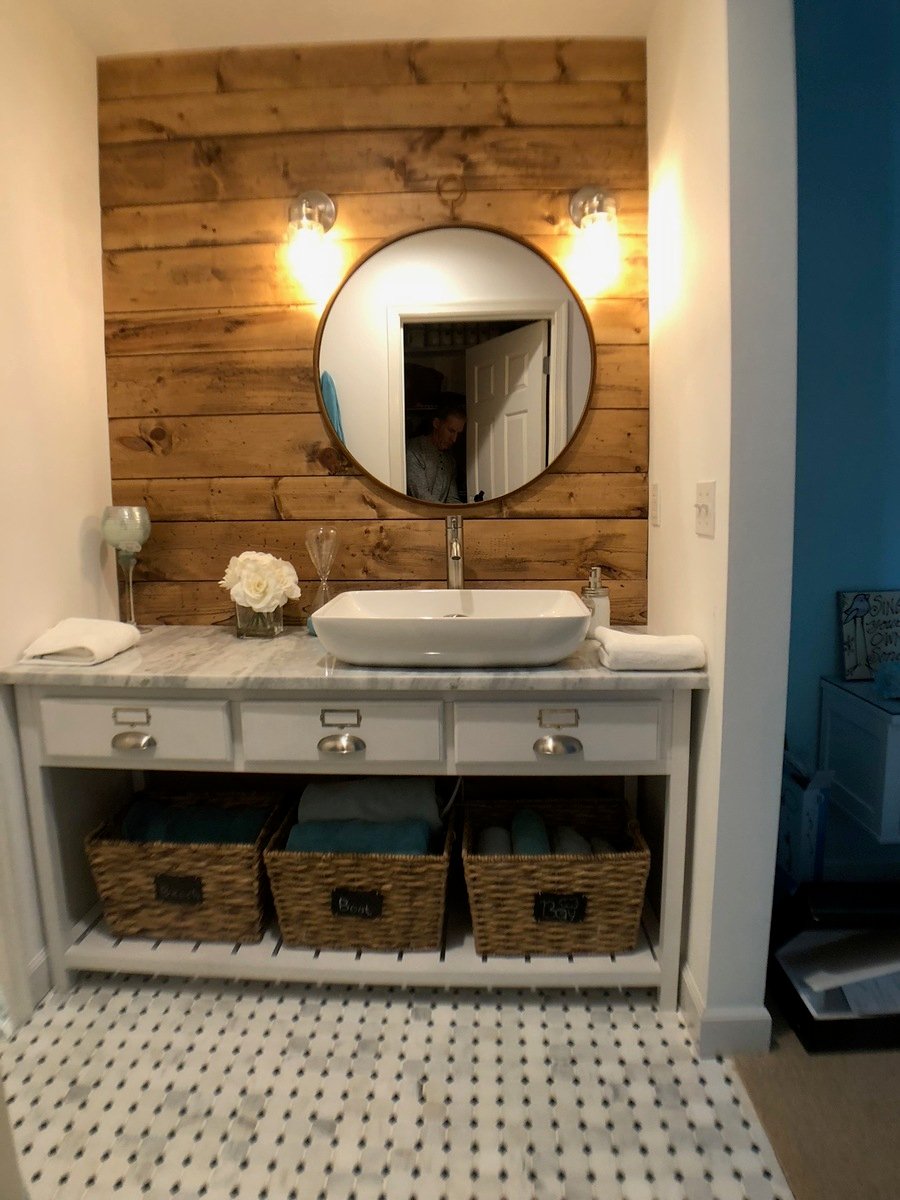
This vanity is an amalgamation of a few ideas I found online. I used the Reclaimed Wood Console Table as a guide to pull it all together. All three drawers are functional. The plumbing falls directly between the center and right drawer, and the drawers are mounted on bottom center glides.
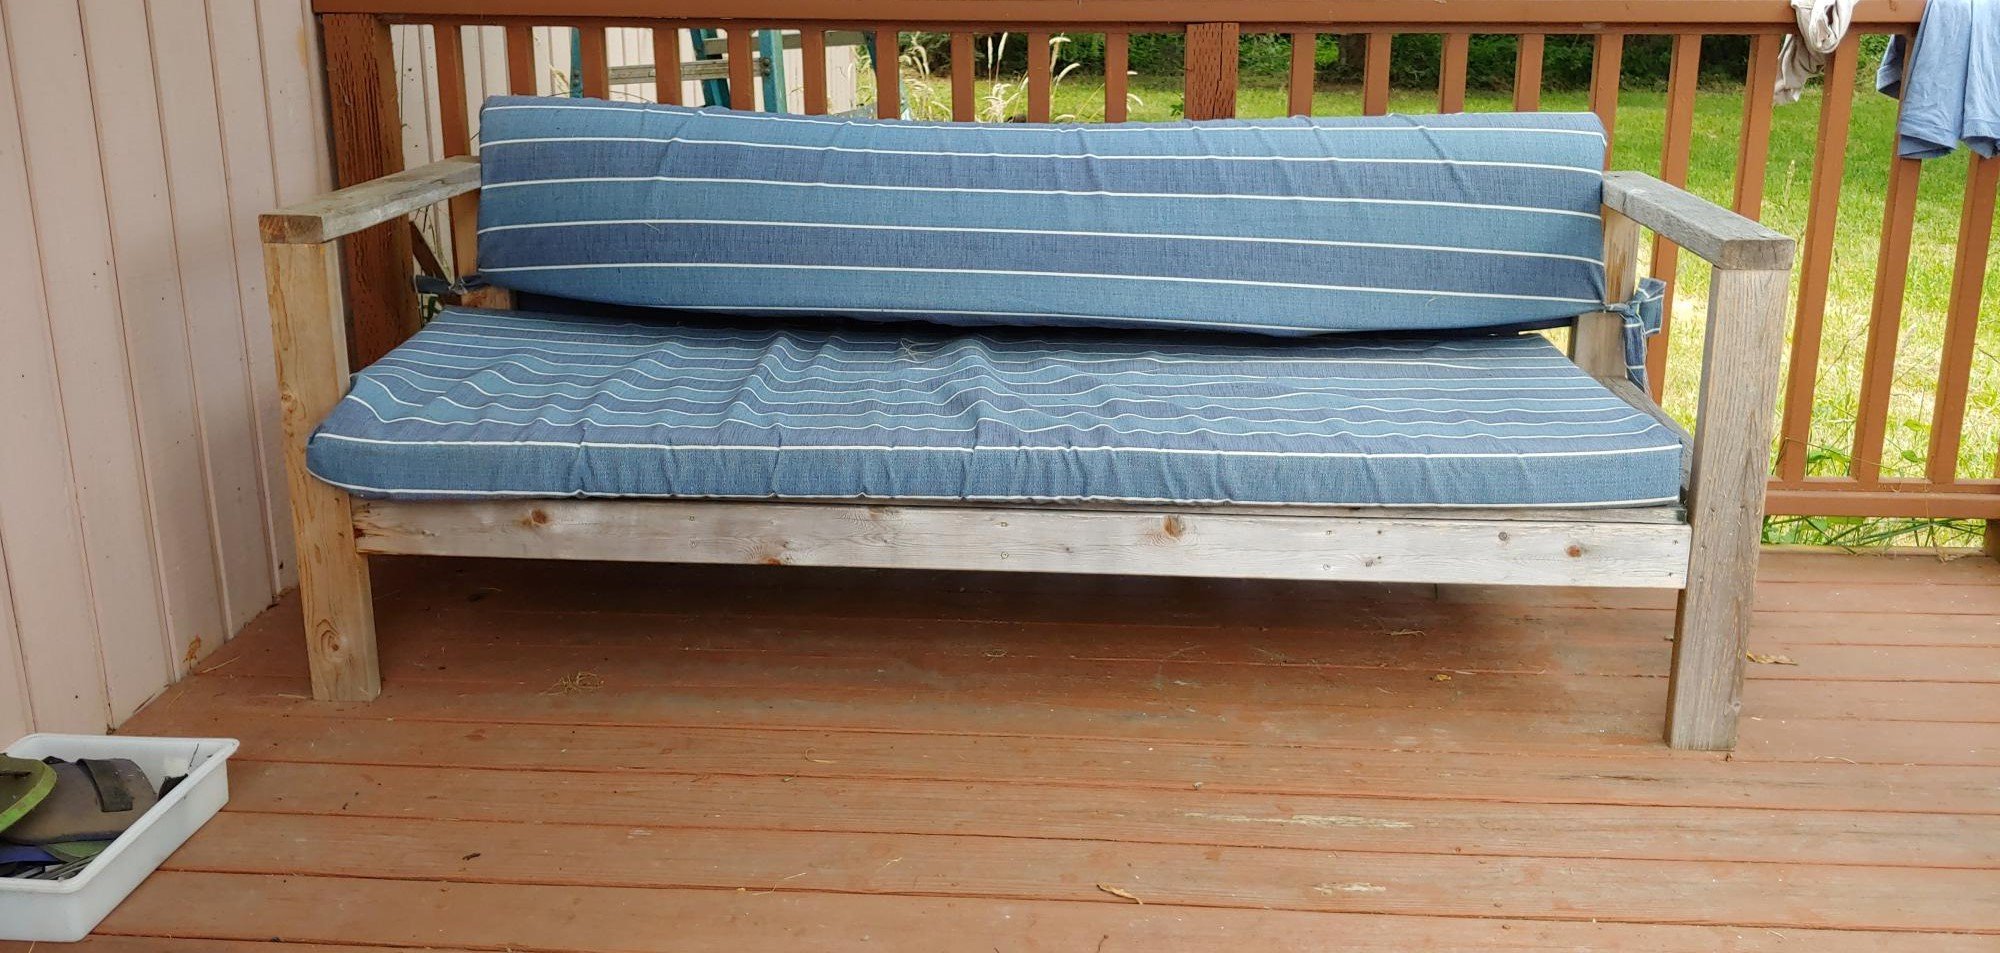
This sofa has been in constant use for three years. Sturdy and comfortable, we have to compete with the cats for a nap or rest. Even on the winter, when we remove the cushoins, it gets used as a bench or a kitty hiding place while they wait to come in.
When the neighbors came over and looked at this, they thought it came from pottery barn. I knew it reminded me of something, but I couldn't put my finger on it. This picture is about 2 years after I made it.
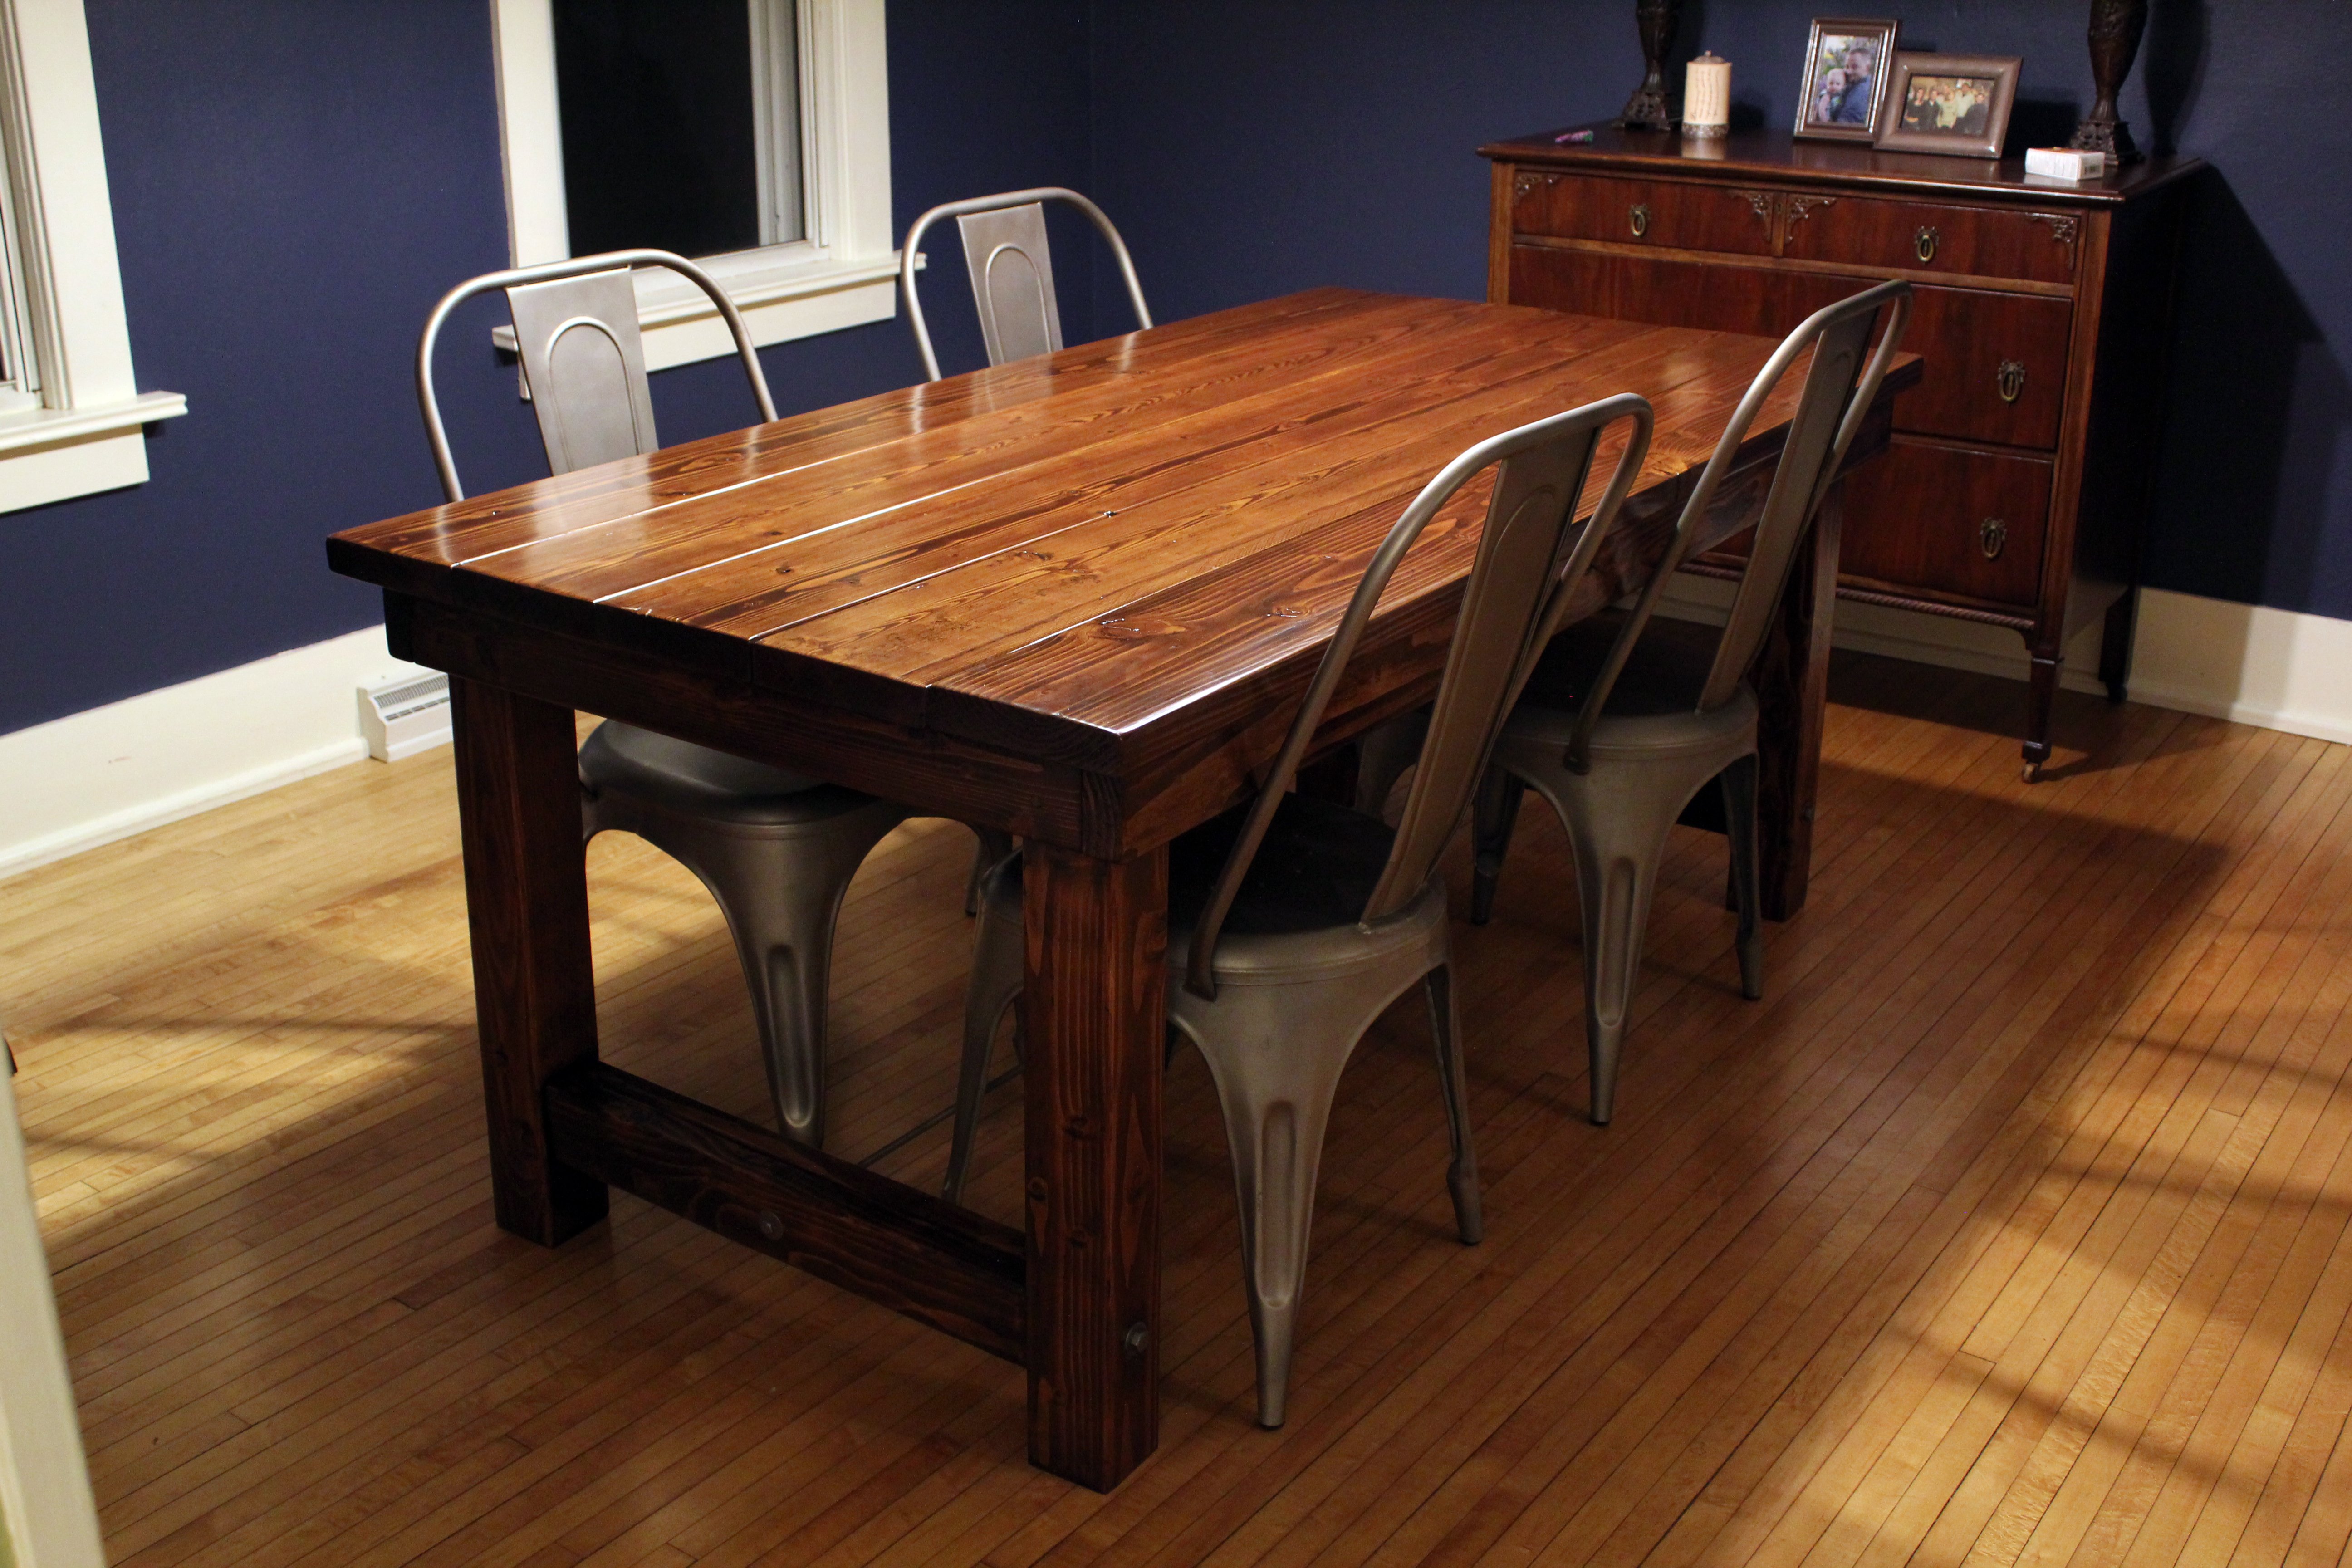
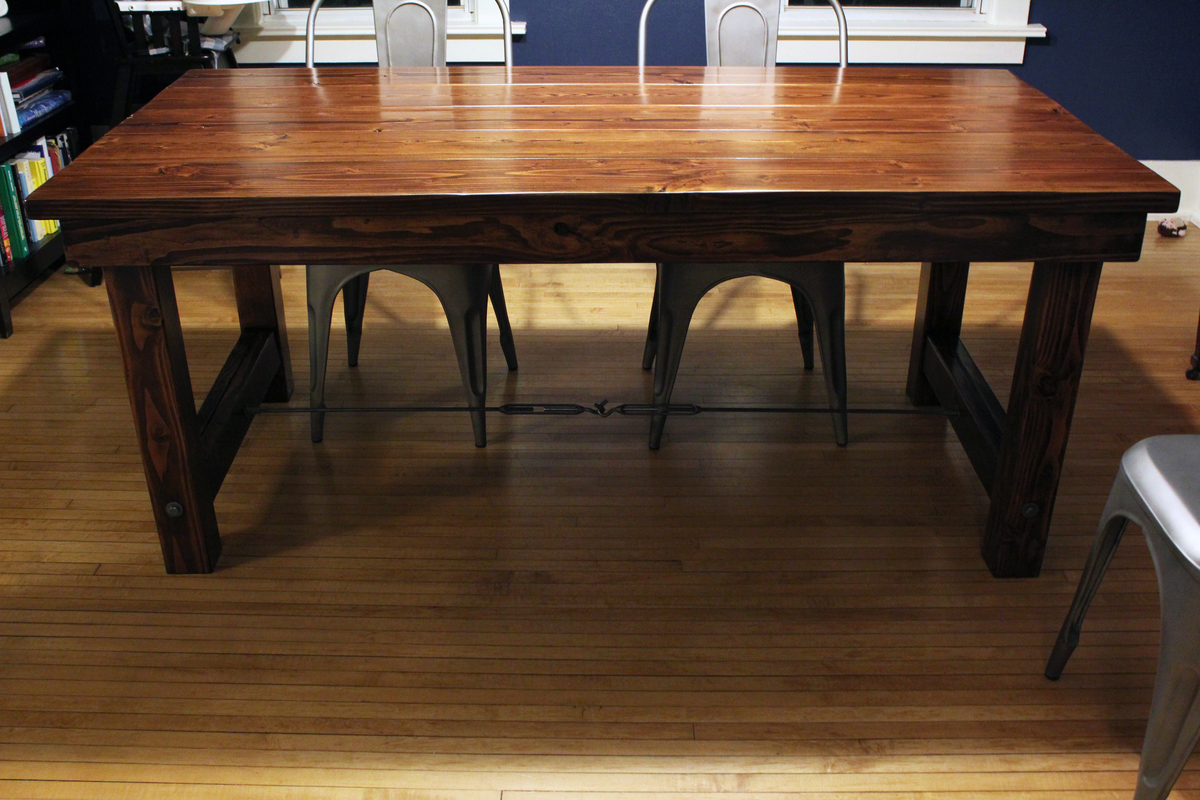
This was my first large project. Built it in one very long day and then finished over a few weeks. Instead of 2x4's for legs I opted for a 4x4 post with a bolt running through. I didn't really want to figure out the square washer so I just went with standard round. I spray painted all of the hardware silver with Rust-Oleum Universal Hammered Spray paint to coordinate with the Tolix like chairs I purchased from Restoration Hardware.
Mon, 09/02/2013 - 07:12
I was wondering the same thing as Medickep, were all of the coats necessary or was it just the way you wanted it finished? I do like the end results though.
Tue, 09/03/2013 - 09:03
The multiple coats wasn't intentional. I just couldn't get the right look so kept on going with the colors. I'd say the finish portion of the project was the most difficult for me. I am happy with out it turned out and cannot wait to build something again!
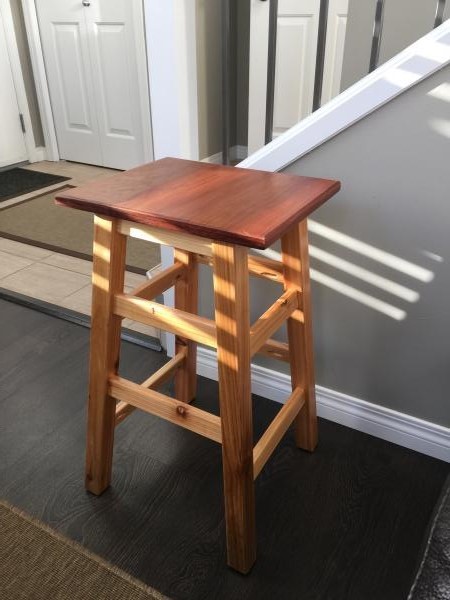
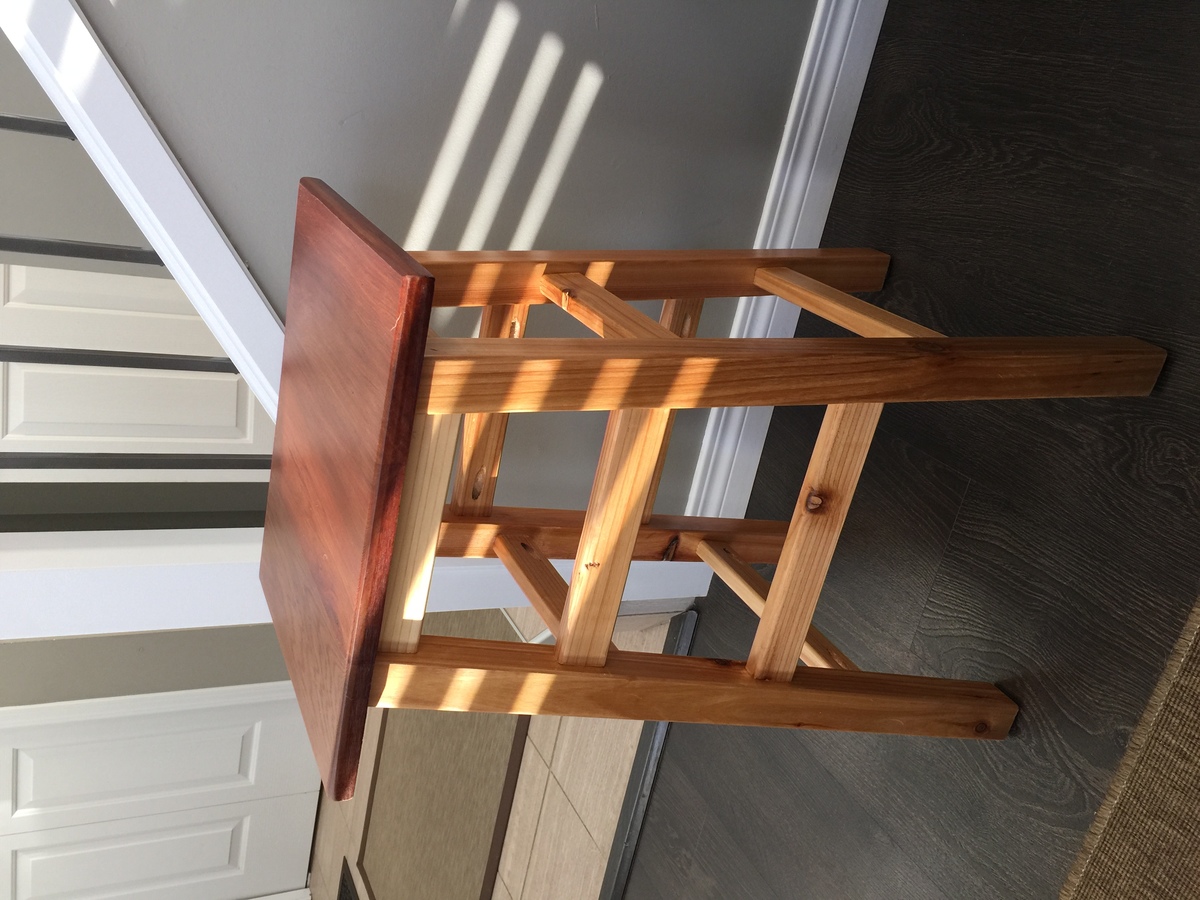
Made with Western Red Cedar 1x6 fence boards and 2x4. Finished with General Finishes Arm R Seal.
Thank you Anna.

I made this with oak plywood and used a straight edge and paper knife to score it to look like planks and a chisel to vary board lengths and stained it. This is the first house I made like this. I made second house like this after a house fire destroyed the first one. My people were well pleased with both of them. I will put lights in the next one.


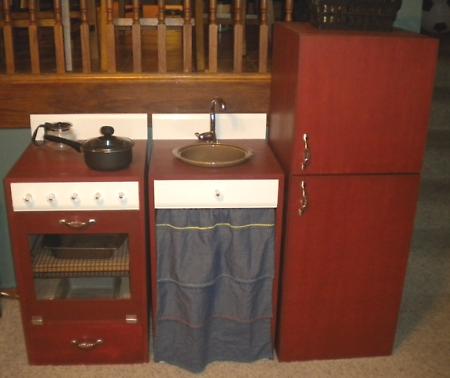
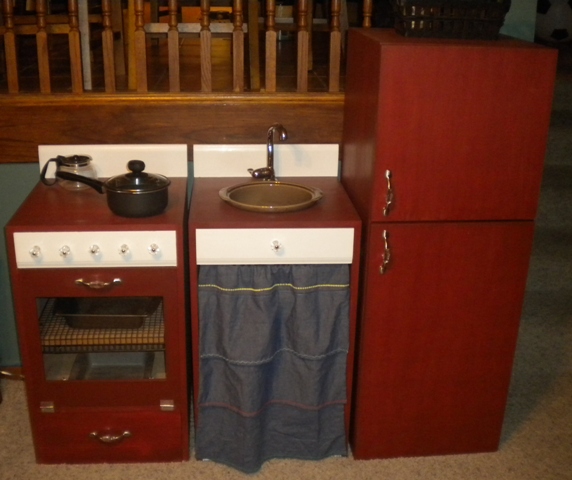
I made the kitchen from (reclaimed=free) veneered mdf. I modified the size to fit out our needs. My kids are 12,9,6,4. I am thrilled with how it turned out. My dimensions are as follows. fridge 18x18x48, stove and sink 18x18x31. I stained it barn red ($5 oops stain) and painted the fronts with white satin. I bought the faucet from our local re-store($5). The sink is a crock from goodwill ($4). I used european hinges to attach the fridge doors ($11). The hardware I found at target on clearance($13). Plexiglass was ($4)
Sat, 08/06/2011 - 08:22
It only took you a day to build these? They look great! I love the red!
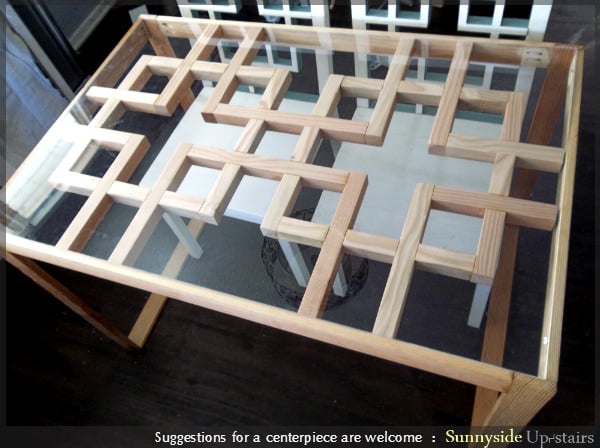
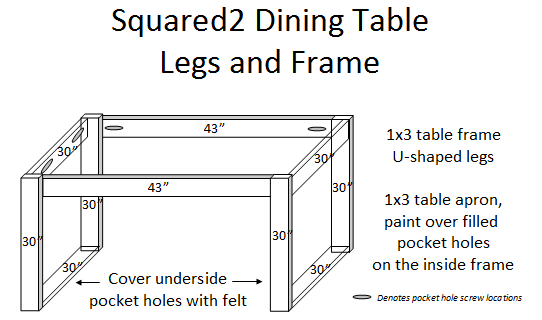
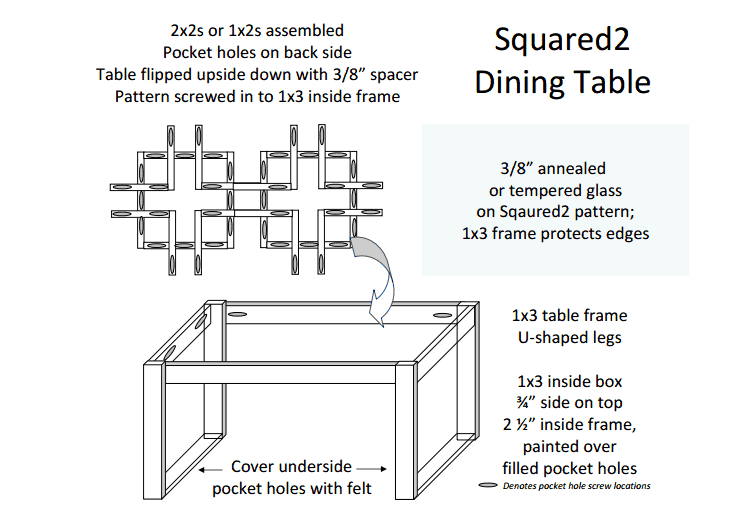
I'm not sure that anyone would want to build this table, but I attached my plans made in PowerPoint here.
We have a 600 square foot apartment. We enter through our kitchen, so we wanted a dining table that did not take up much space visually or physically. The Squared2 Dining Chairs inspired the creation of our Squared2 Dining Table. We appreciate having it.
To cut down on cost, we purchased 1/8" plexiglass and cut to fit our table top.

In reply to Soooo cool! by spiceylg
Fri, 08/30/2013 - 09:04
I am glad you like it. :) We are enjoying having a table that doesn't bubble up anymore! =D
In reply to What a creative solution! by Pam the Goatherd
Sun, 09/01/2013 - 21:04
Thank you, Pam. :) We enjoy having this table so far and we still saved money making it.
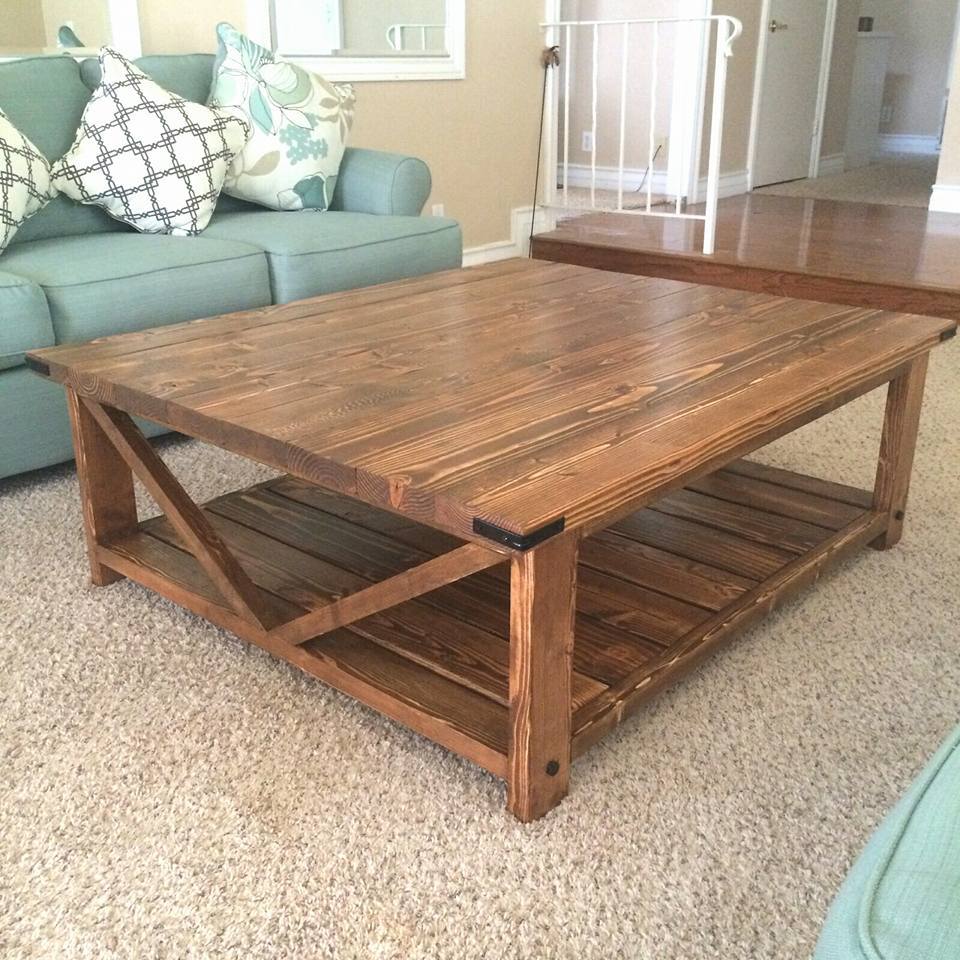
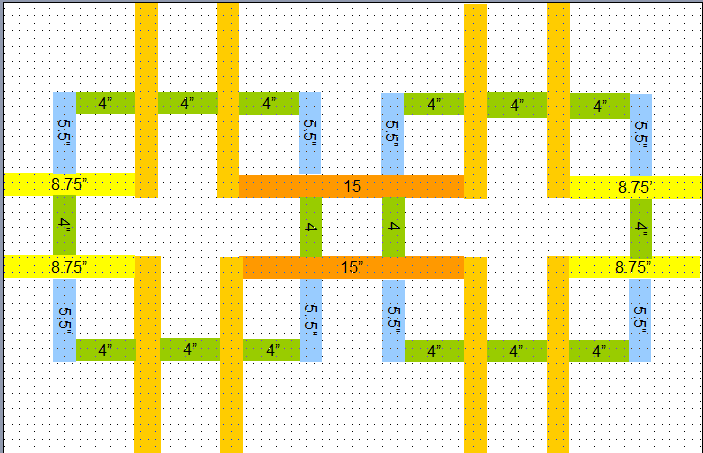
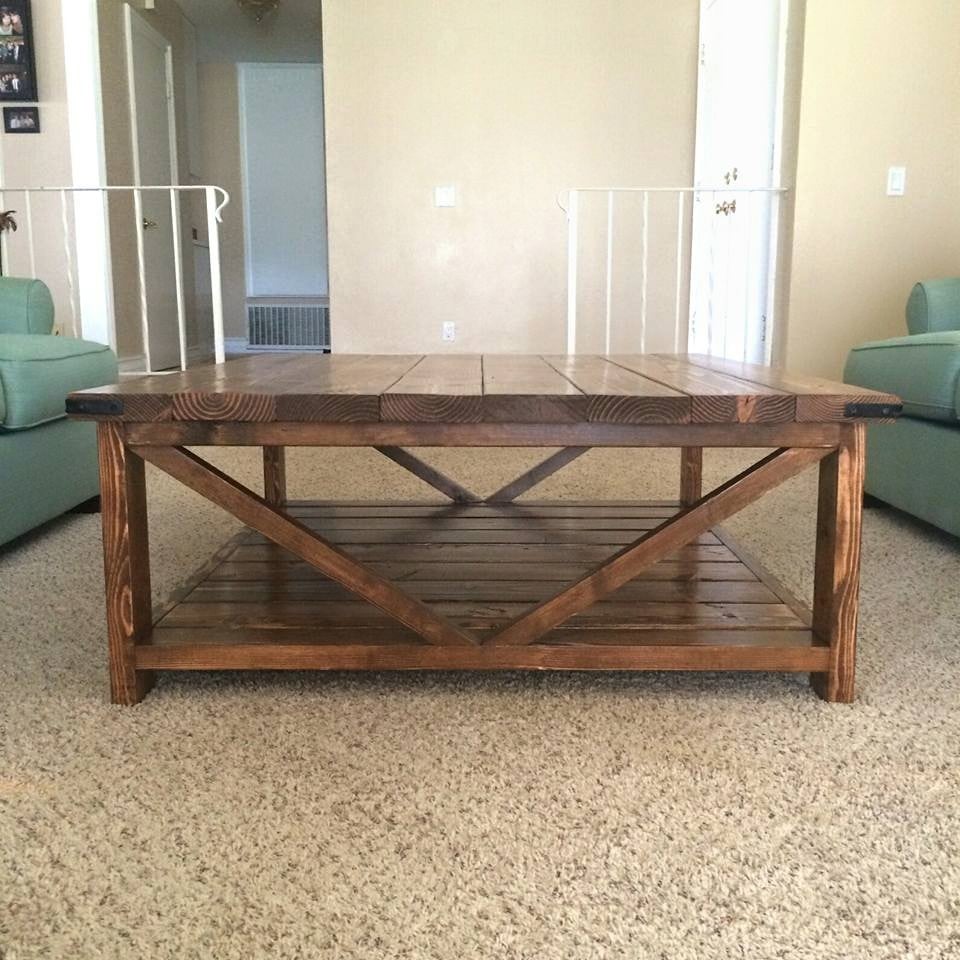
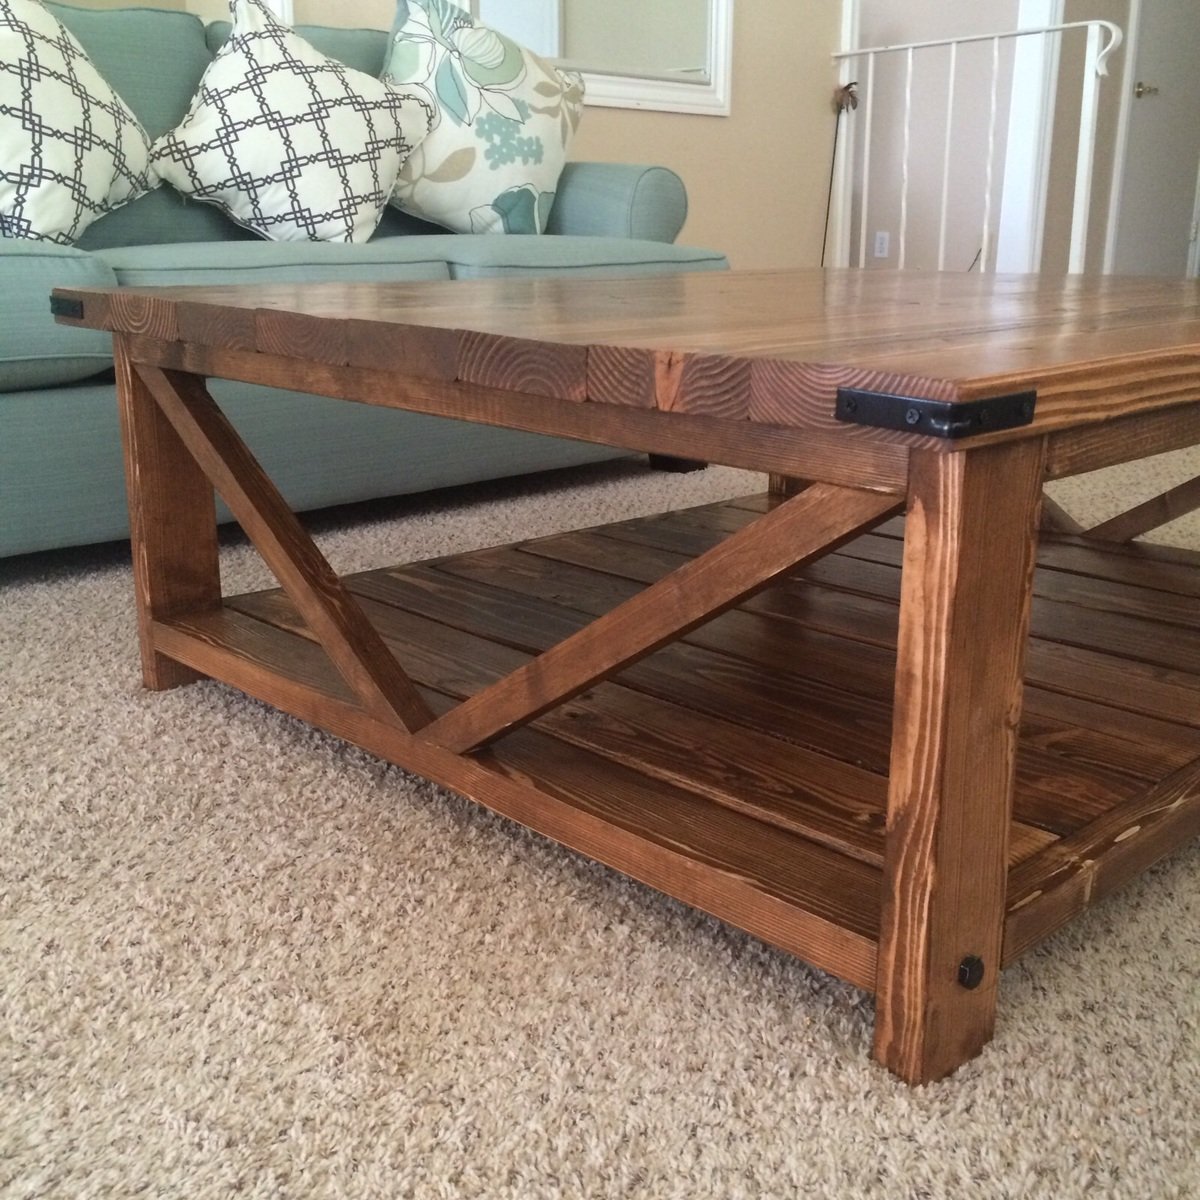
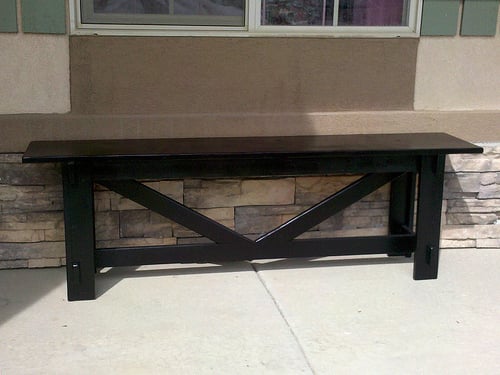
As a beginner at woodwork, this table was pretty easy to make. The instructions were easy to follow. I modified the table by adding 2x6 planks on the bottom and changing up the "X" design. The angles are tricky to get right, but i used scrap wood until i got the perfect angles then used my 2x2's for the final cuts. I also changed the finished dimensions of the table to fit in the room I was making it for, so this table was quite a bit wider than the original. It took me about a day and a half/two days to fully build and then I finished slowly over the rest of the week by staining and using a satin poly finish (I gave the top 4 coats so it took a little longer than normal). I'm so happy with the finished table I've already bought the wood to make another smaller one!
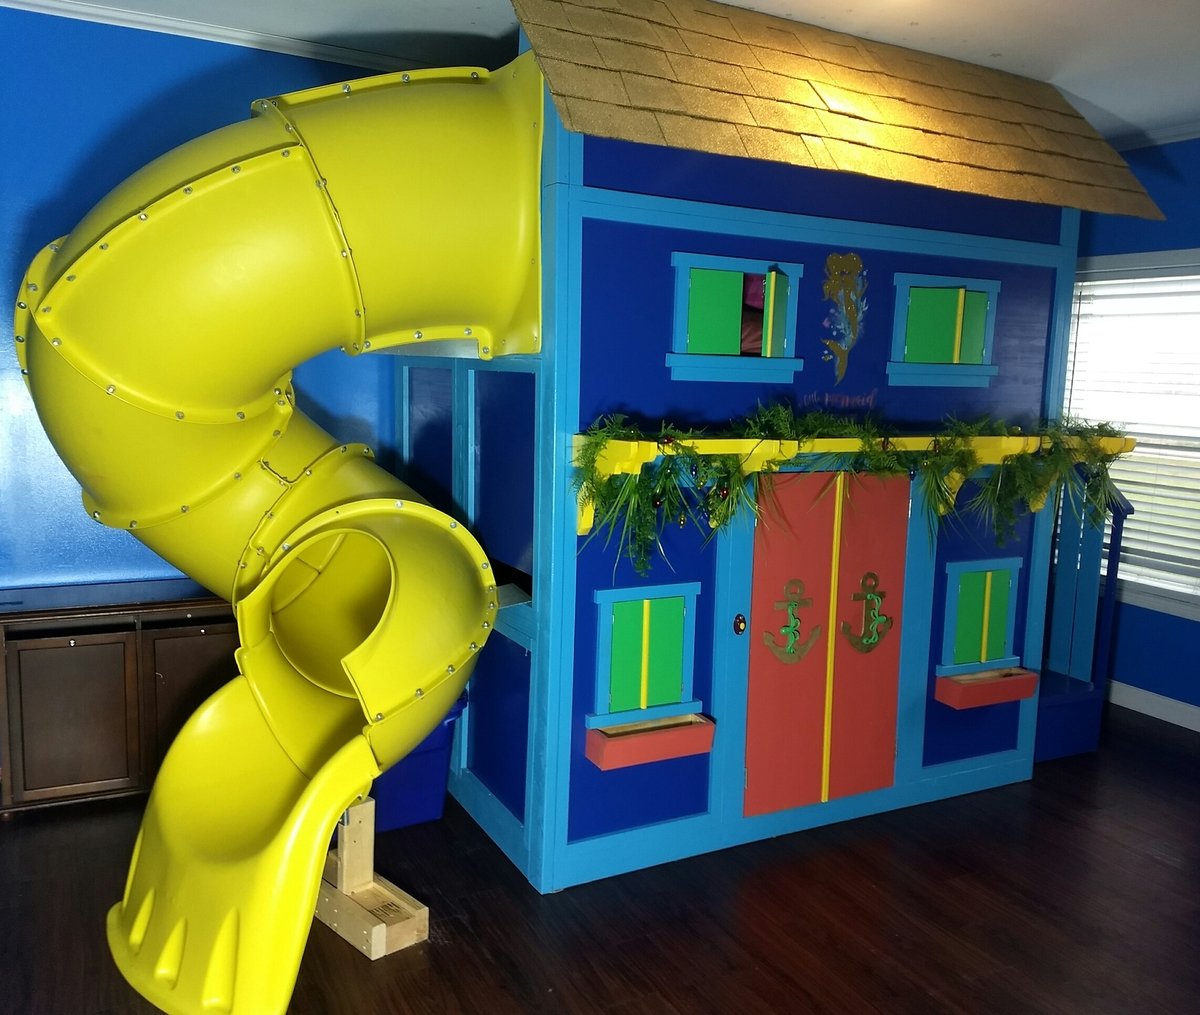
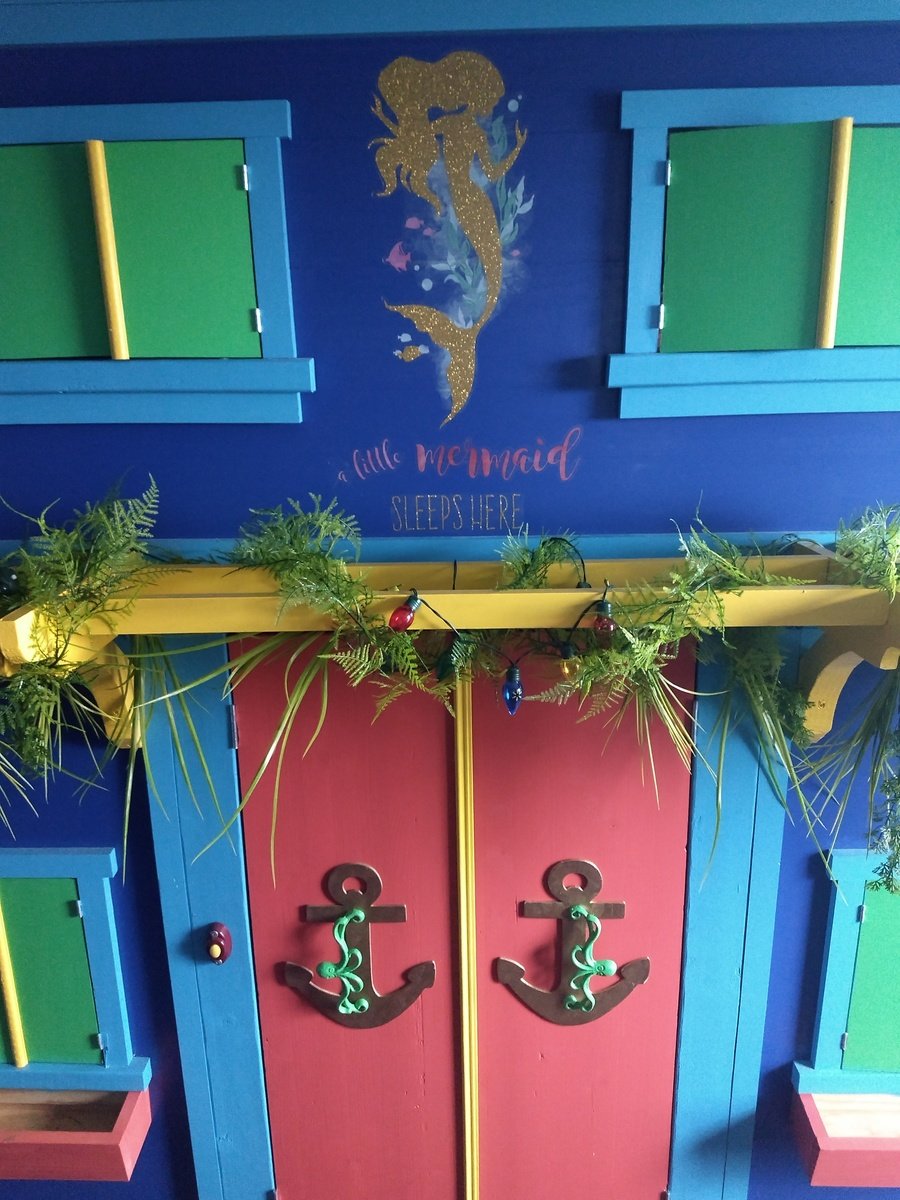
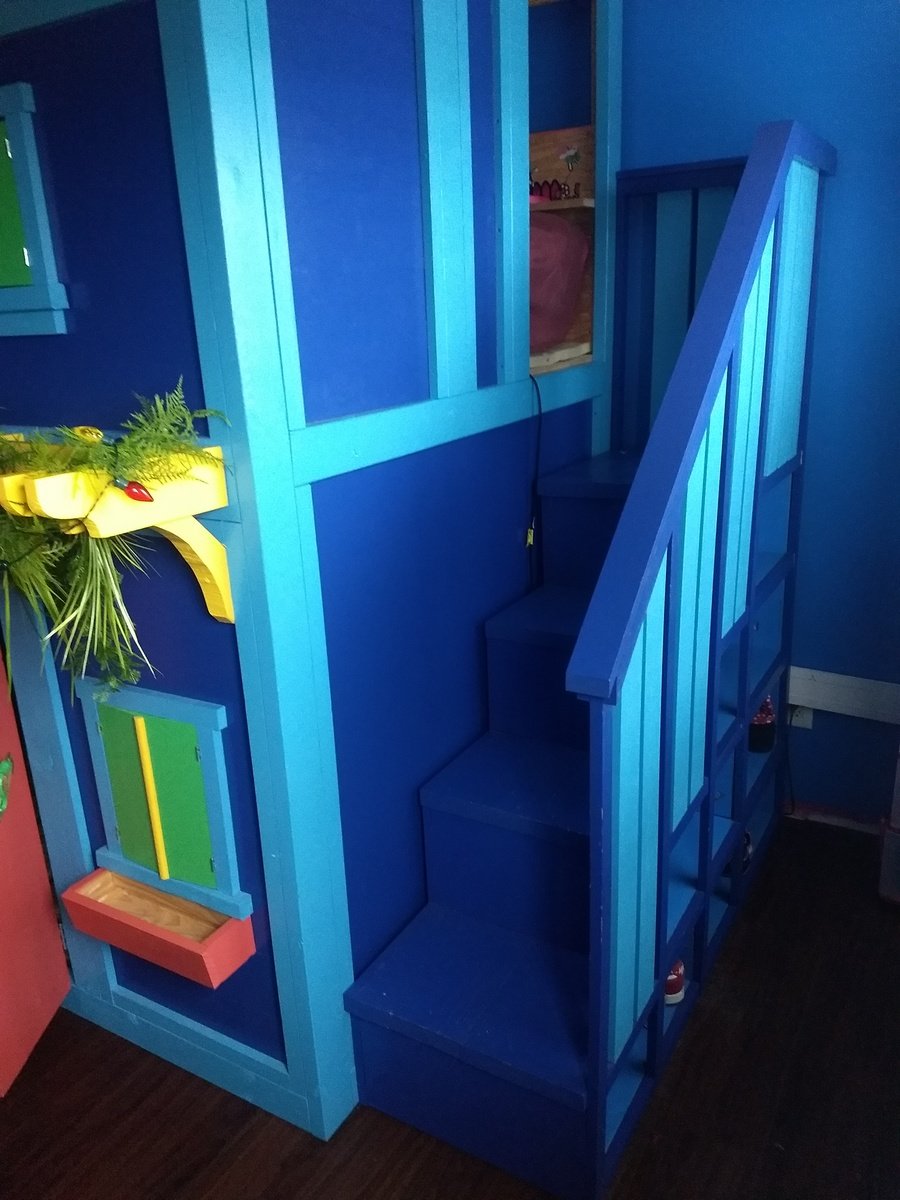
This is a ocean/mermaid version of the sweet pea bunk bed. I had to add an additional section above the original plans in order to accommodate for the slide. I also forwent the bottom storage and opted to just put a bigger door, which allowed more headroom inside and the ability to put both a mattress and box spring on the bottom bunk. I used real shingles and painted them gold. The slide came from Home Depot. The octopus door handes I got off of Etsy for about $5 each. I found a doorbell on an old plastic outdoor house set laying around. I added some seaweed from Joann Fabrics. The steps are made out of 2x6 boards vs 1x boards. I also changed the plans so both beds are full size instead of twin size. The top bunk has so much support...it was tested with 600 lbs up there and held up fine!
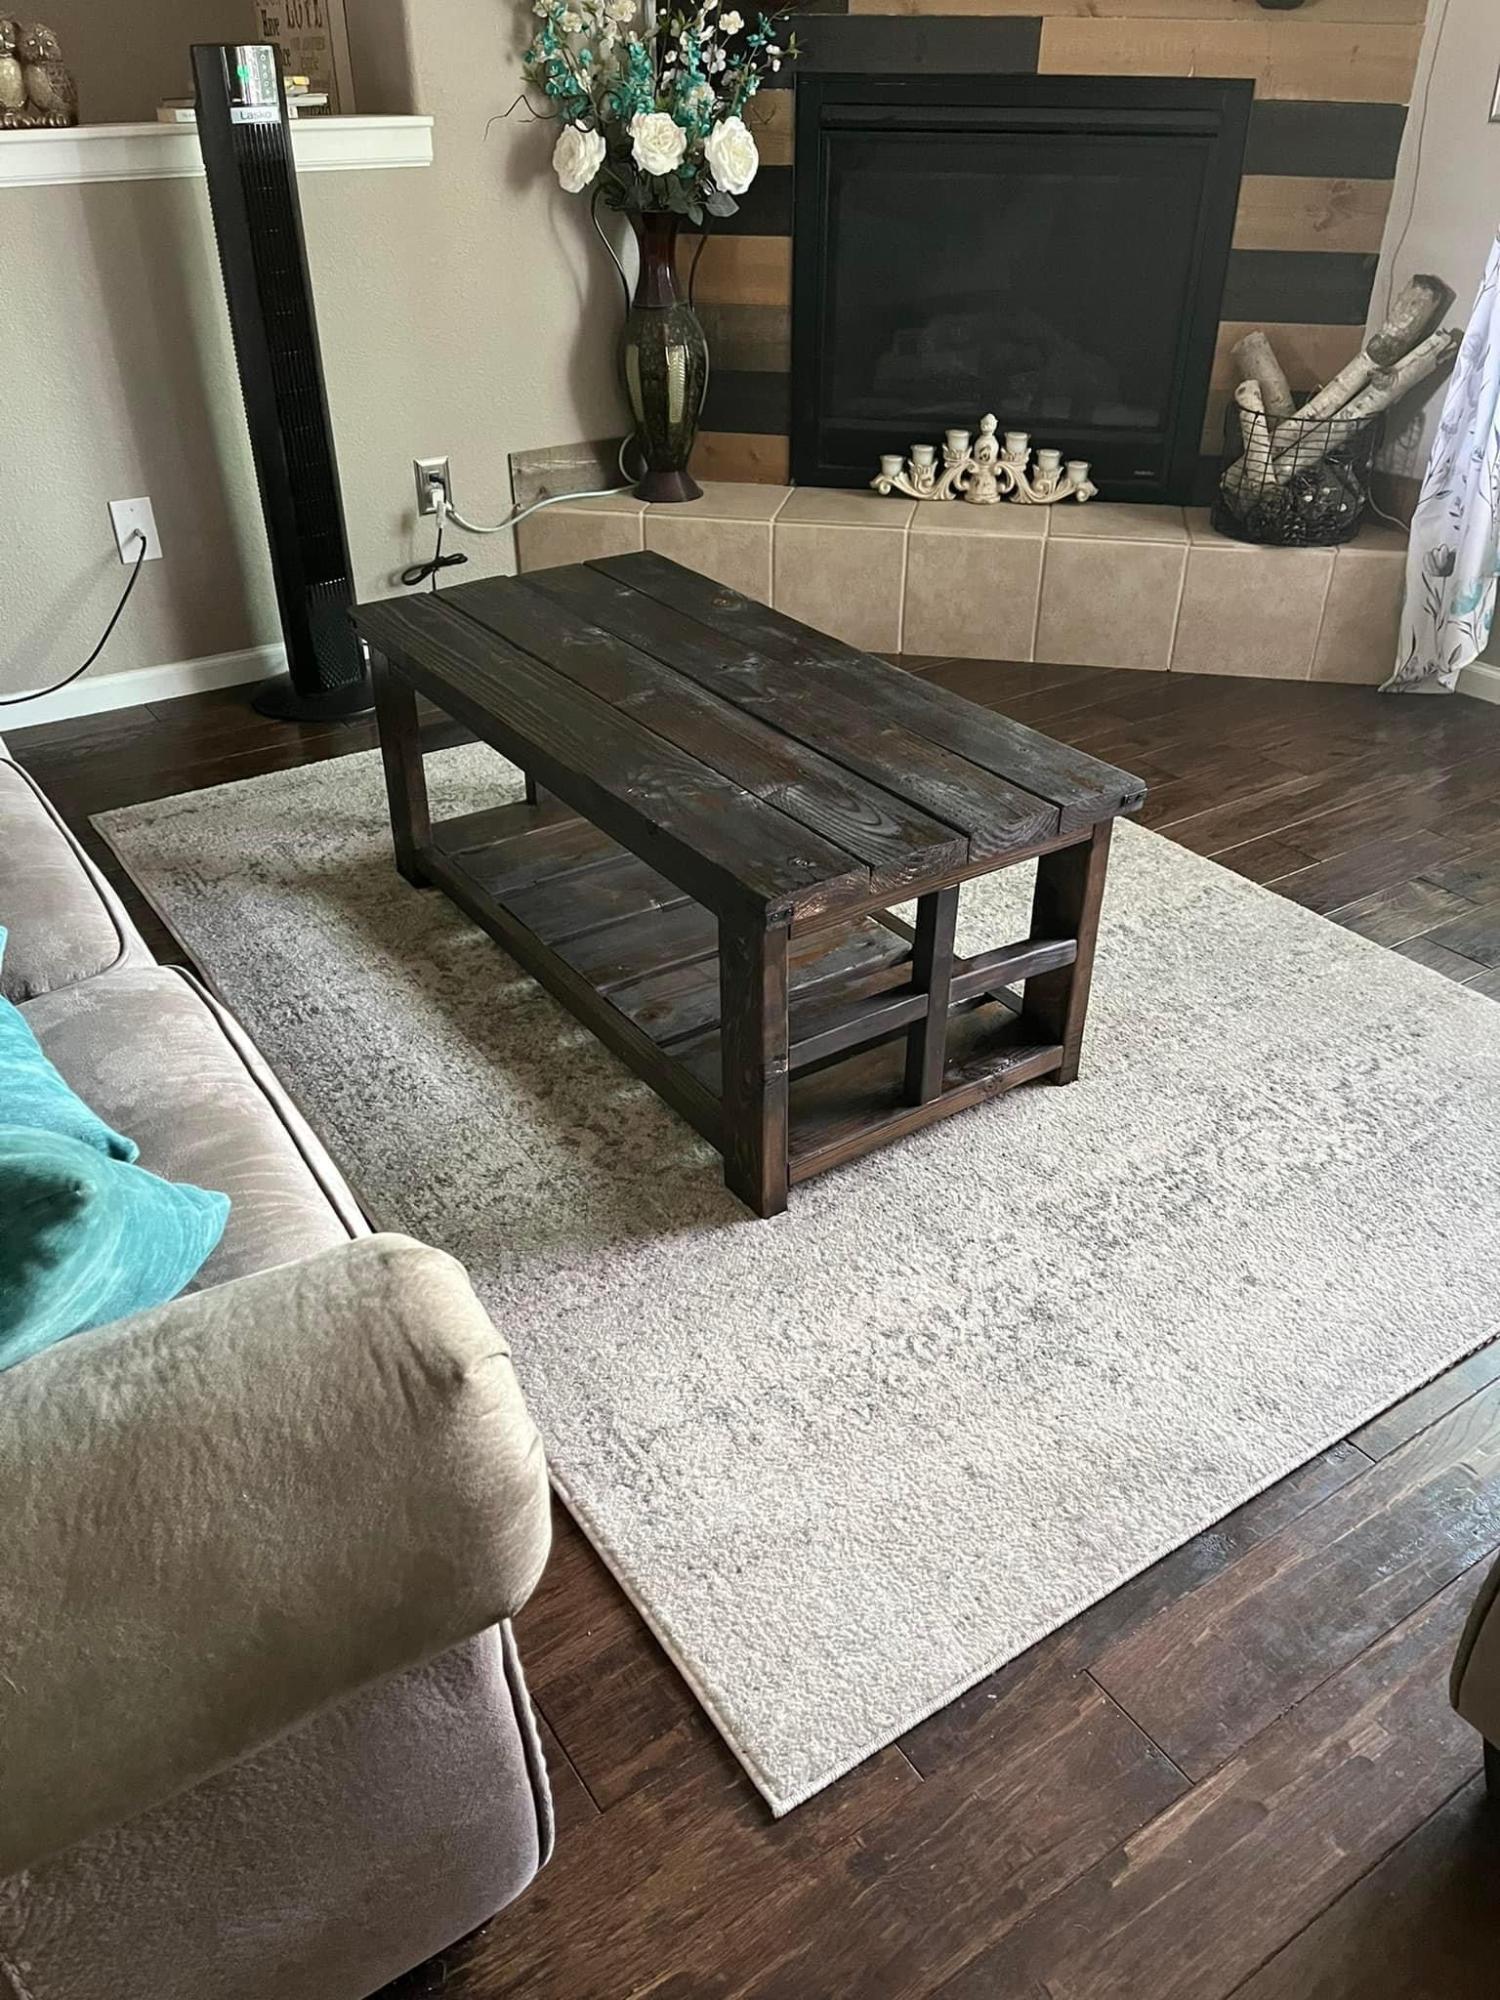
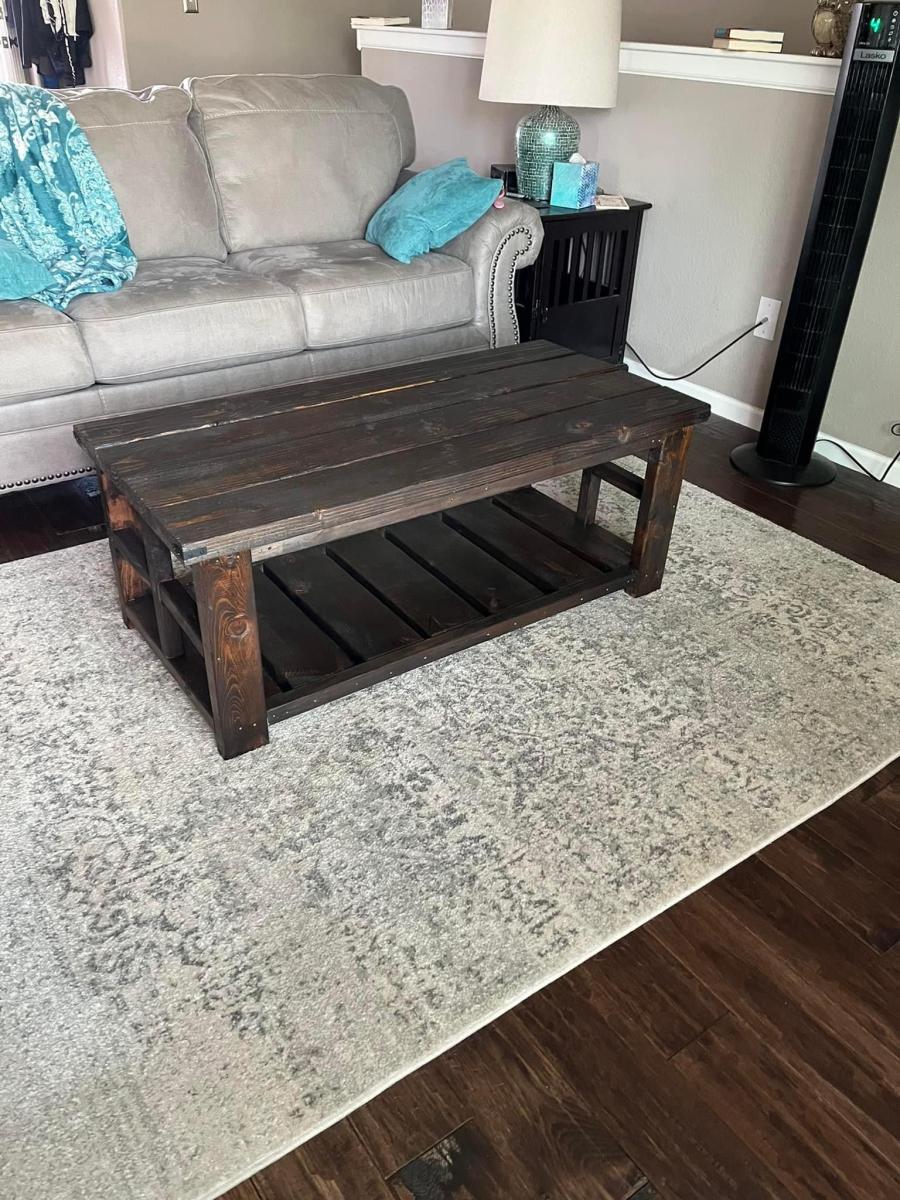
Decided paying $600 for a coffee table was ridiculous so my wife said build this then. I read the comments on this and went with picture frame ends, wife is happy and that means I am as well! Also drilled holes first just to ensure no splitting of the wood.


Comments
Ana White Admin
Sat, 06/25/2022 - 12:35
Awesome Desk!
This looks great!