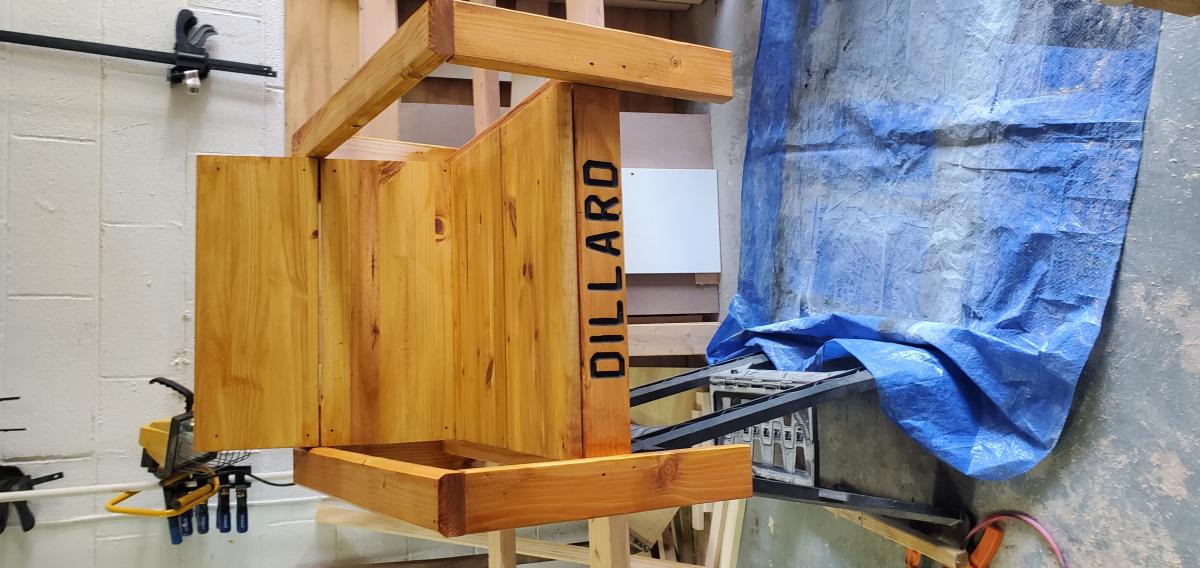
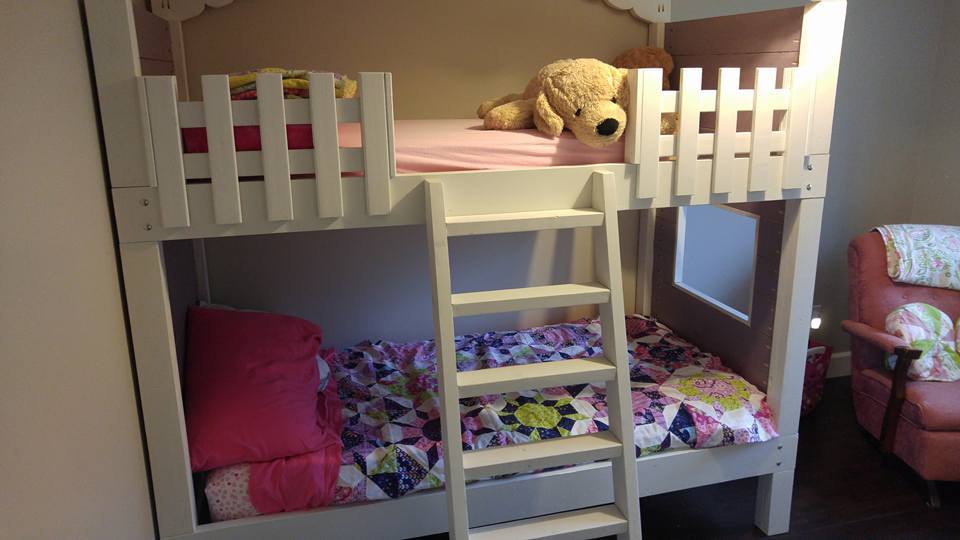
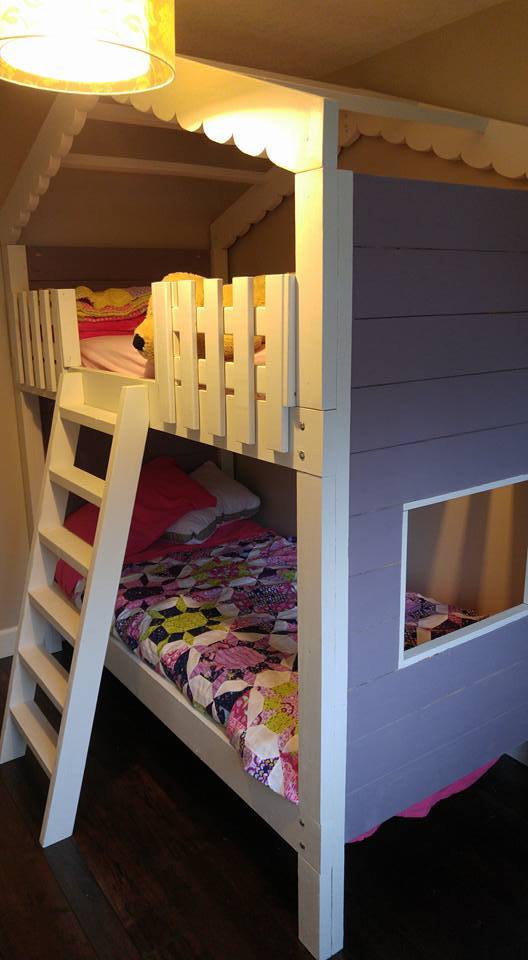
Isla and Averys bunk bed
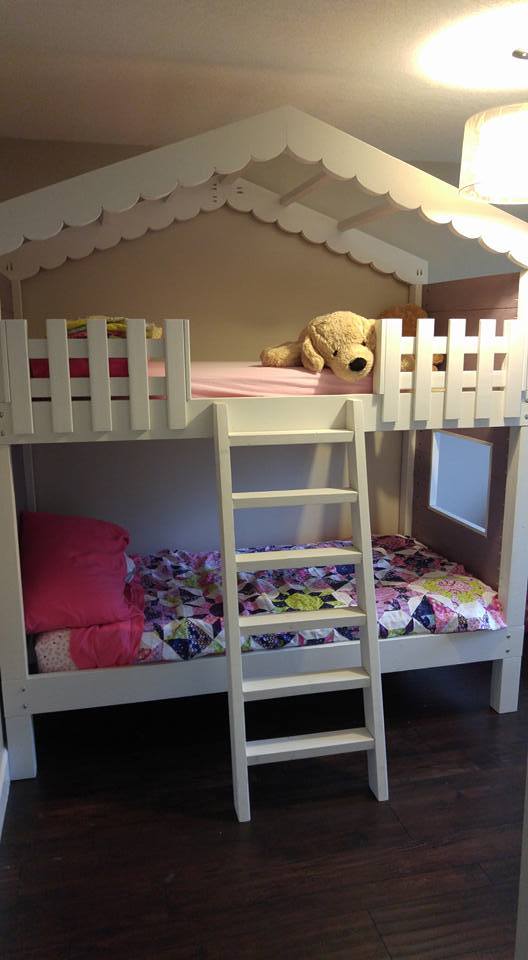
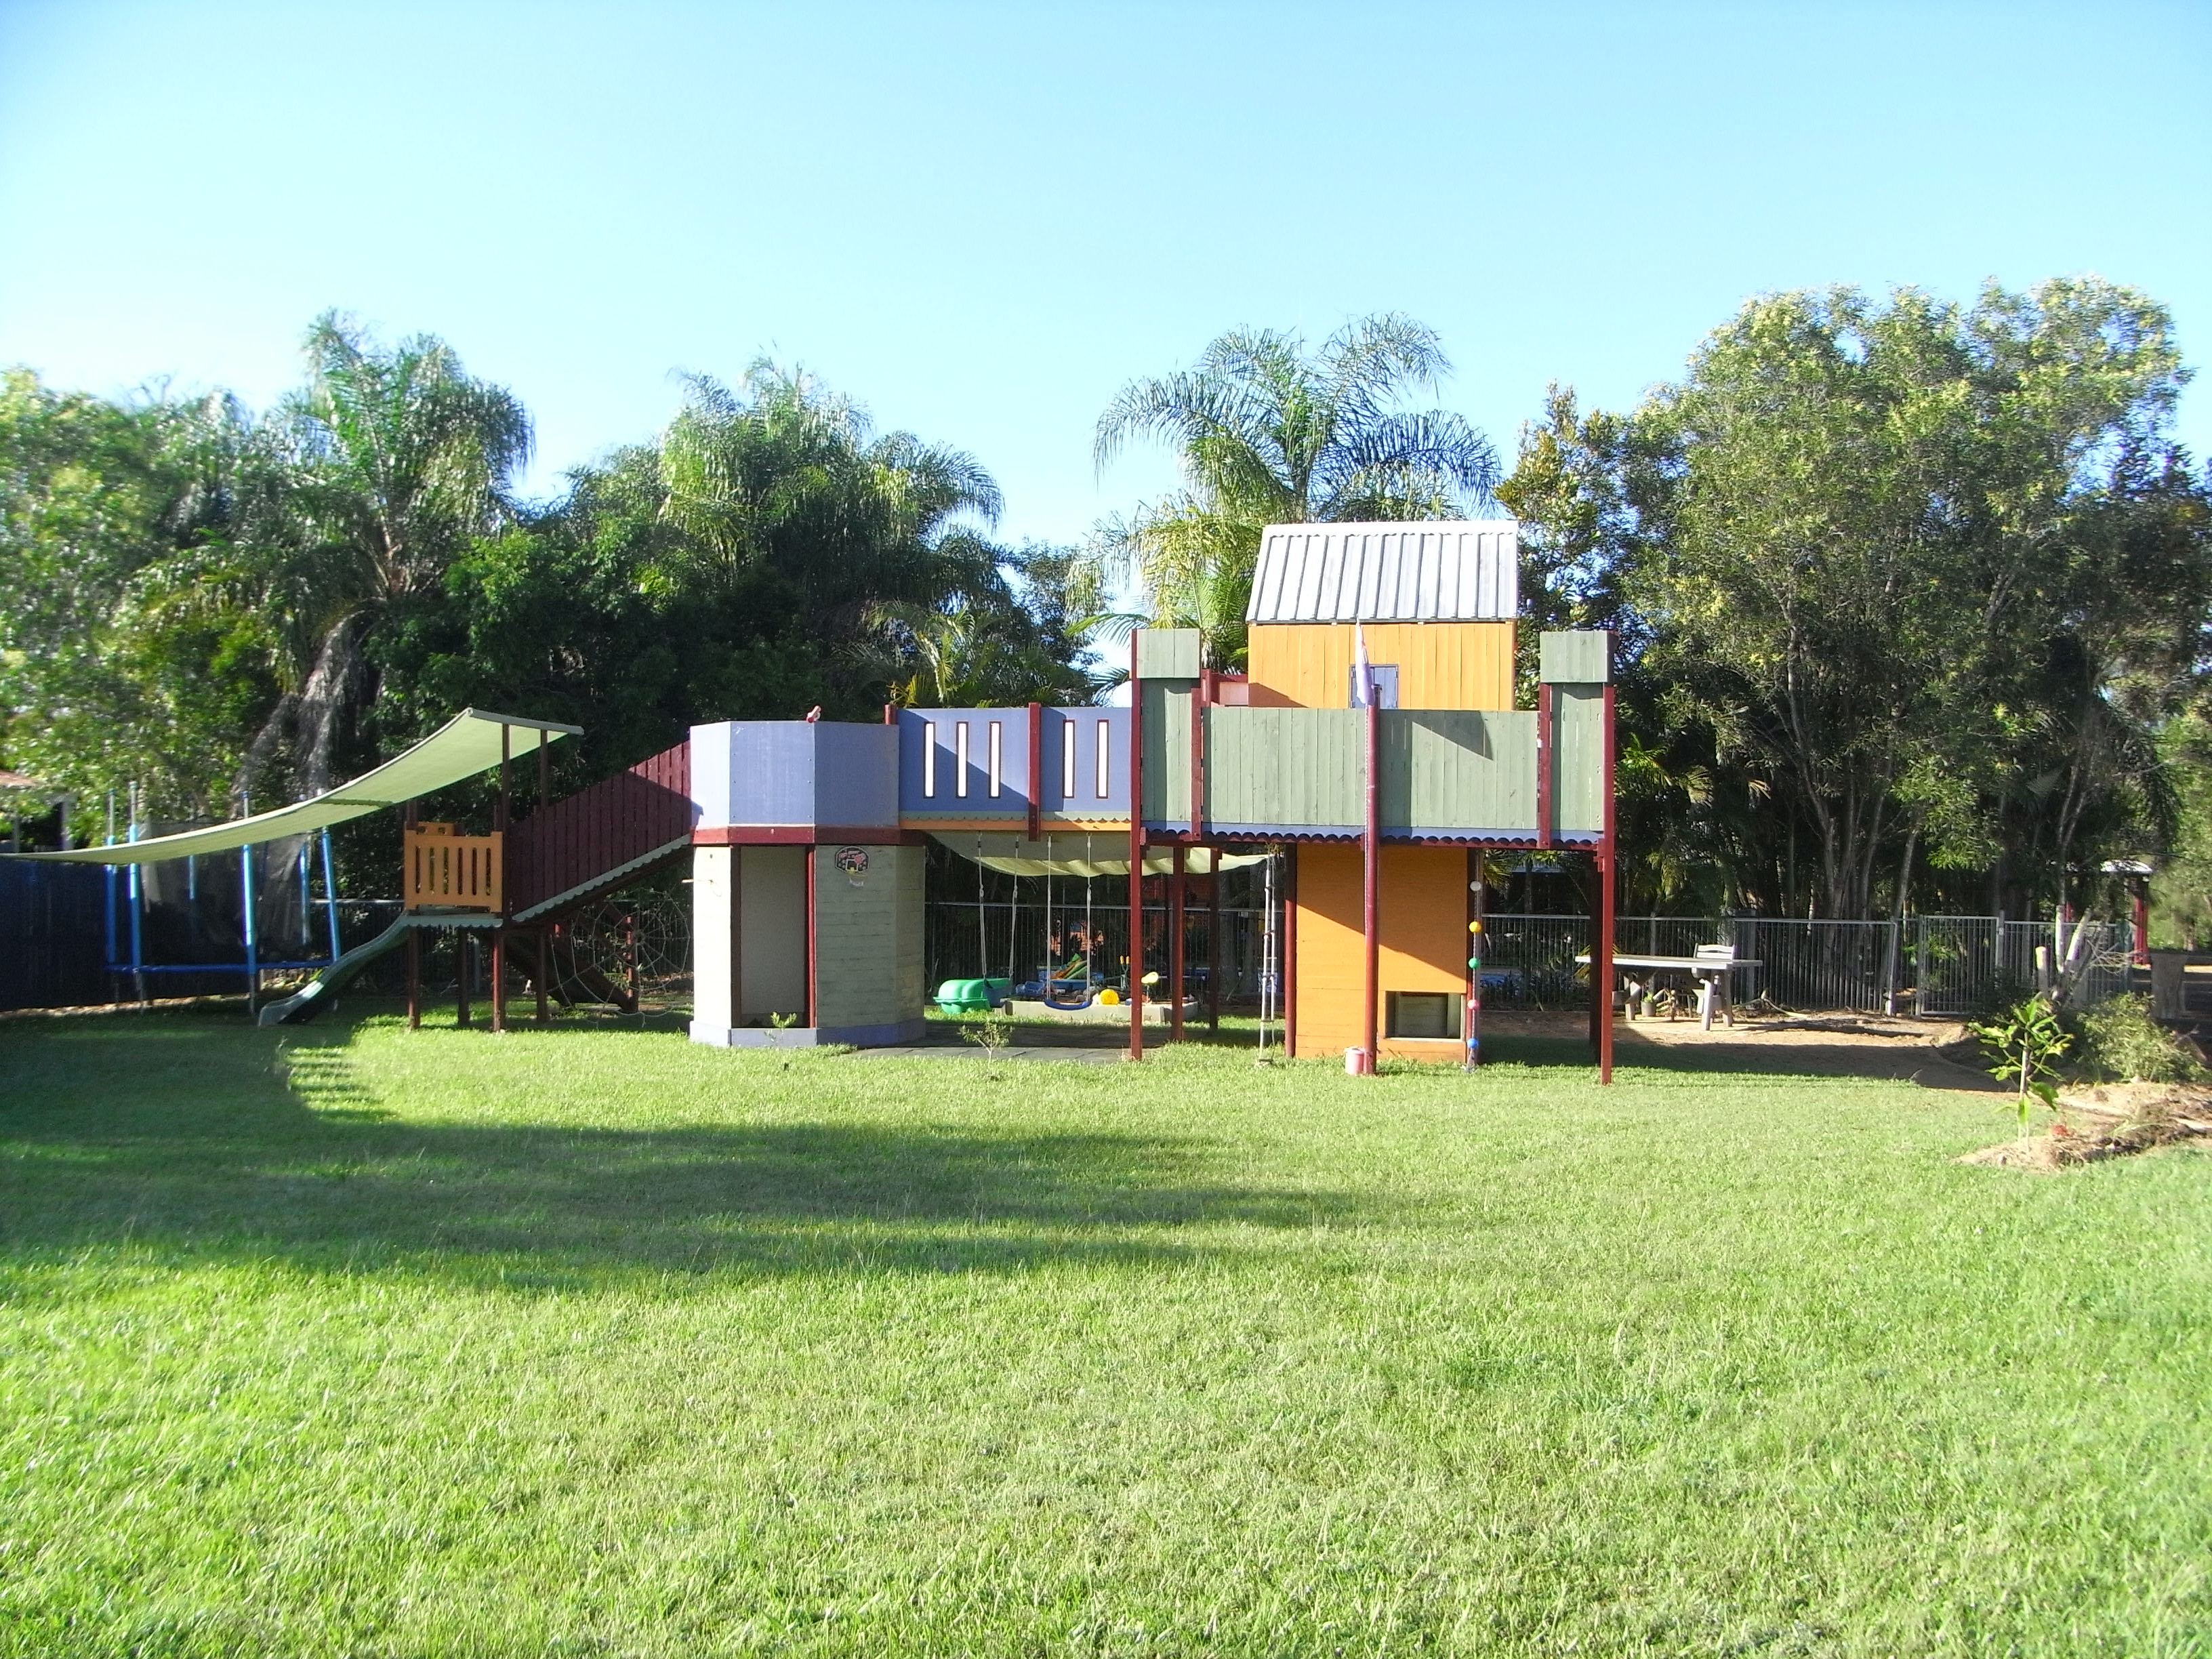
2x6's all the way up the sides, added window and "roof"
picket fence rails and angled ladder
Built from Plan(s)
Estimated Time Investment
Weekend Project (10-20 Hours)
Recommended Skill Level
Beginner