Community Brag Posts

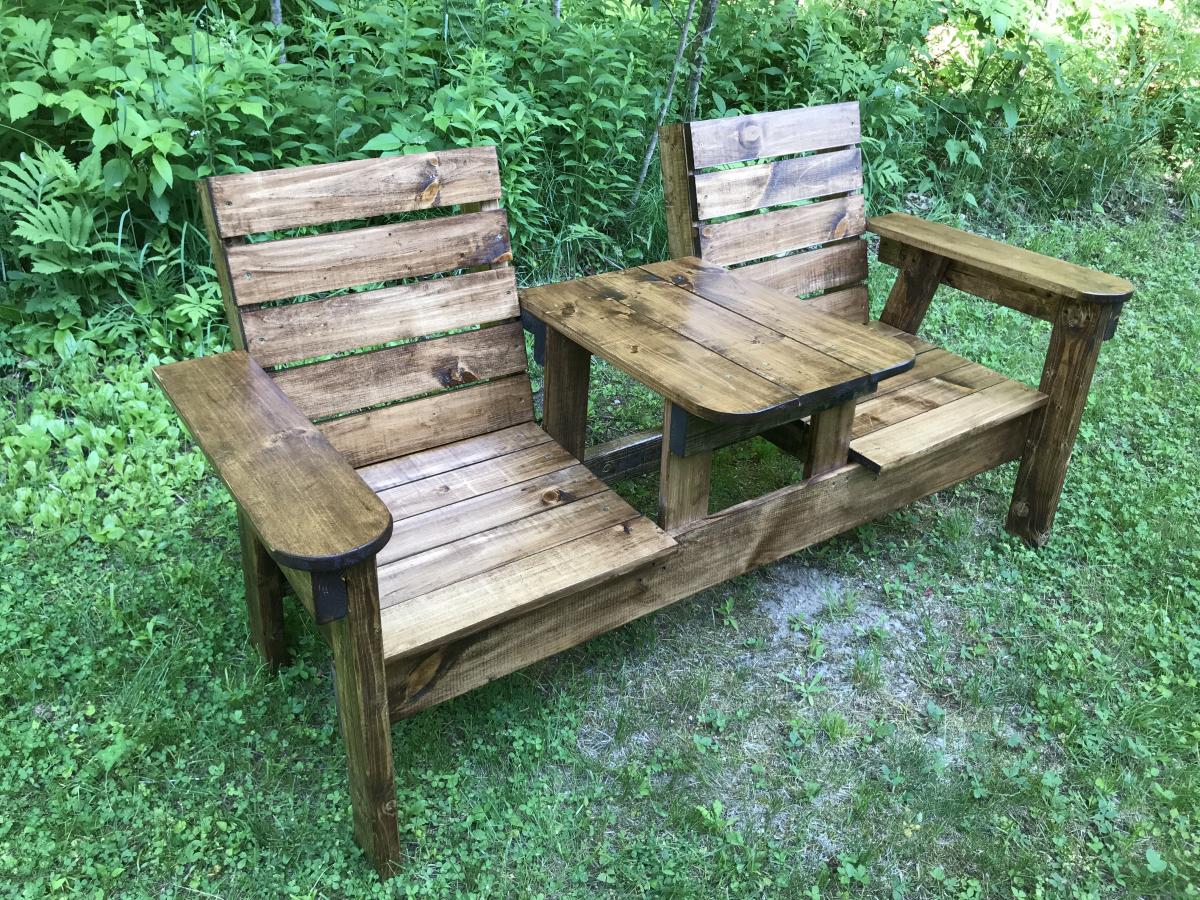
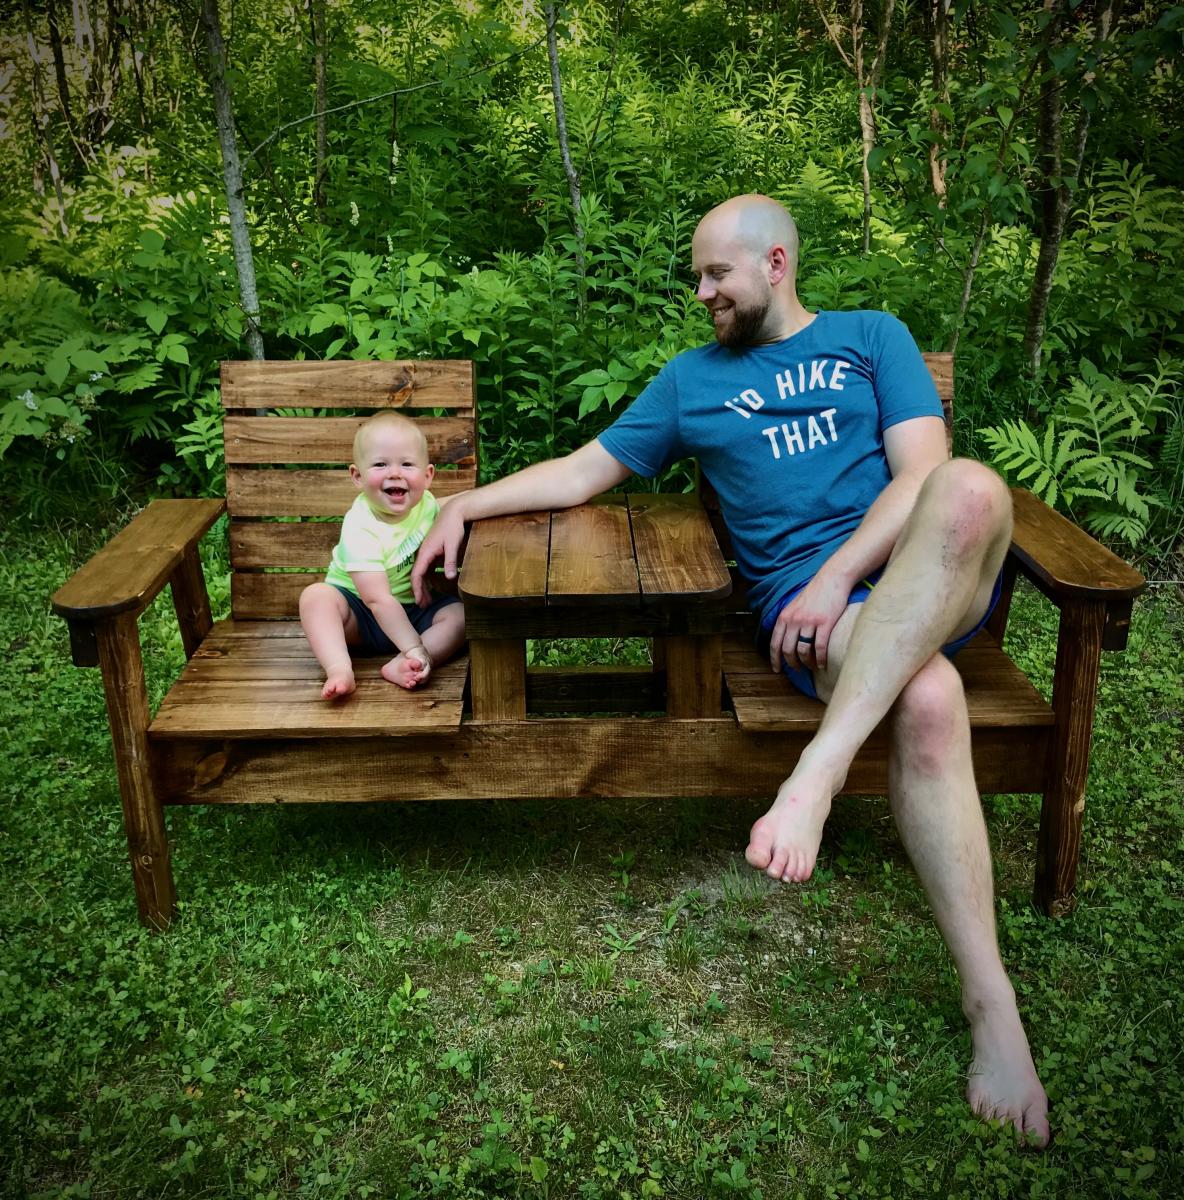
Fathers Day Gift
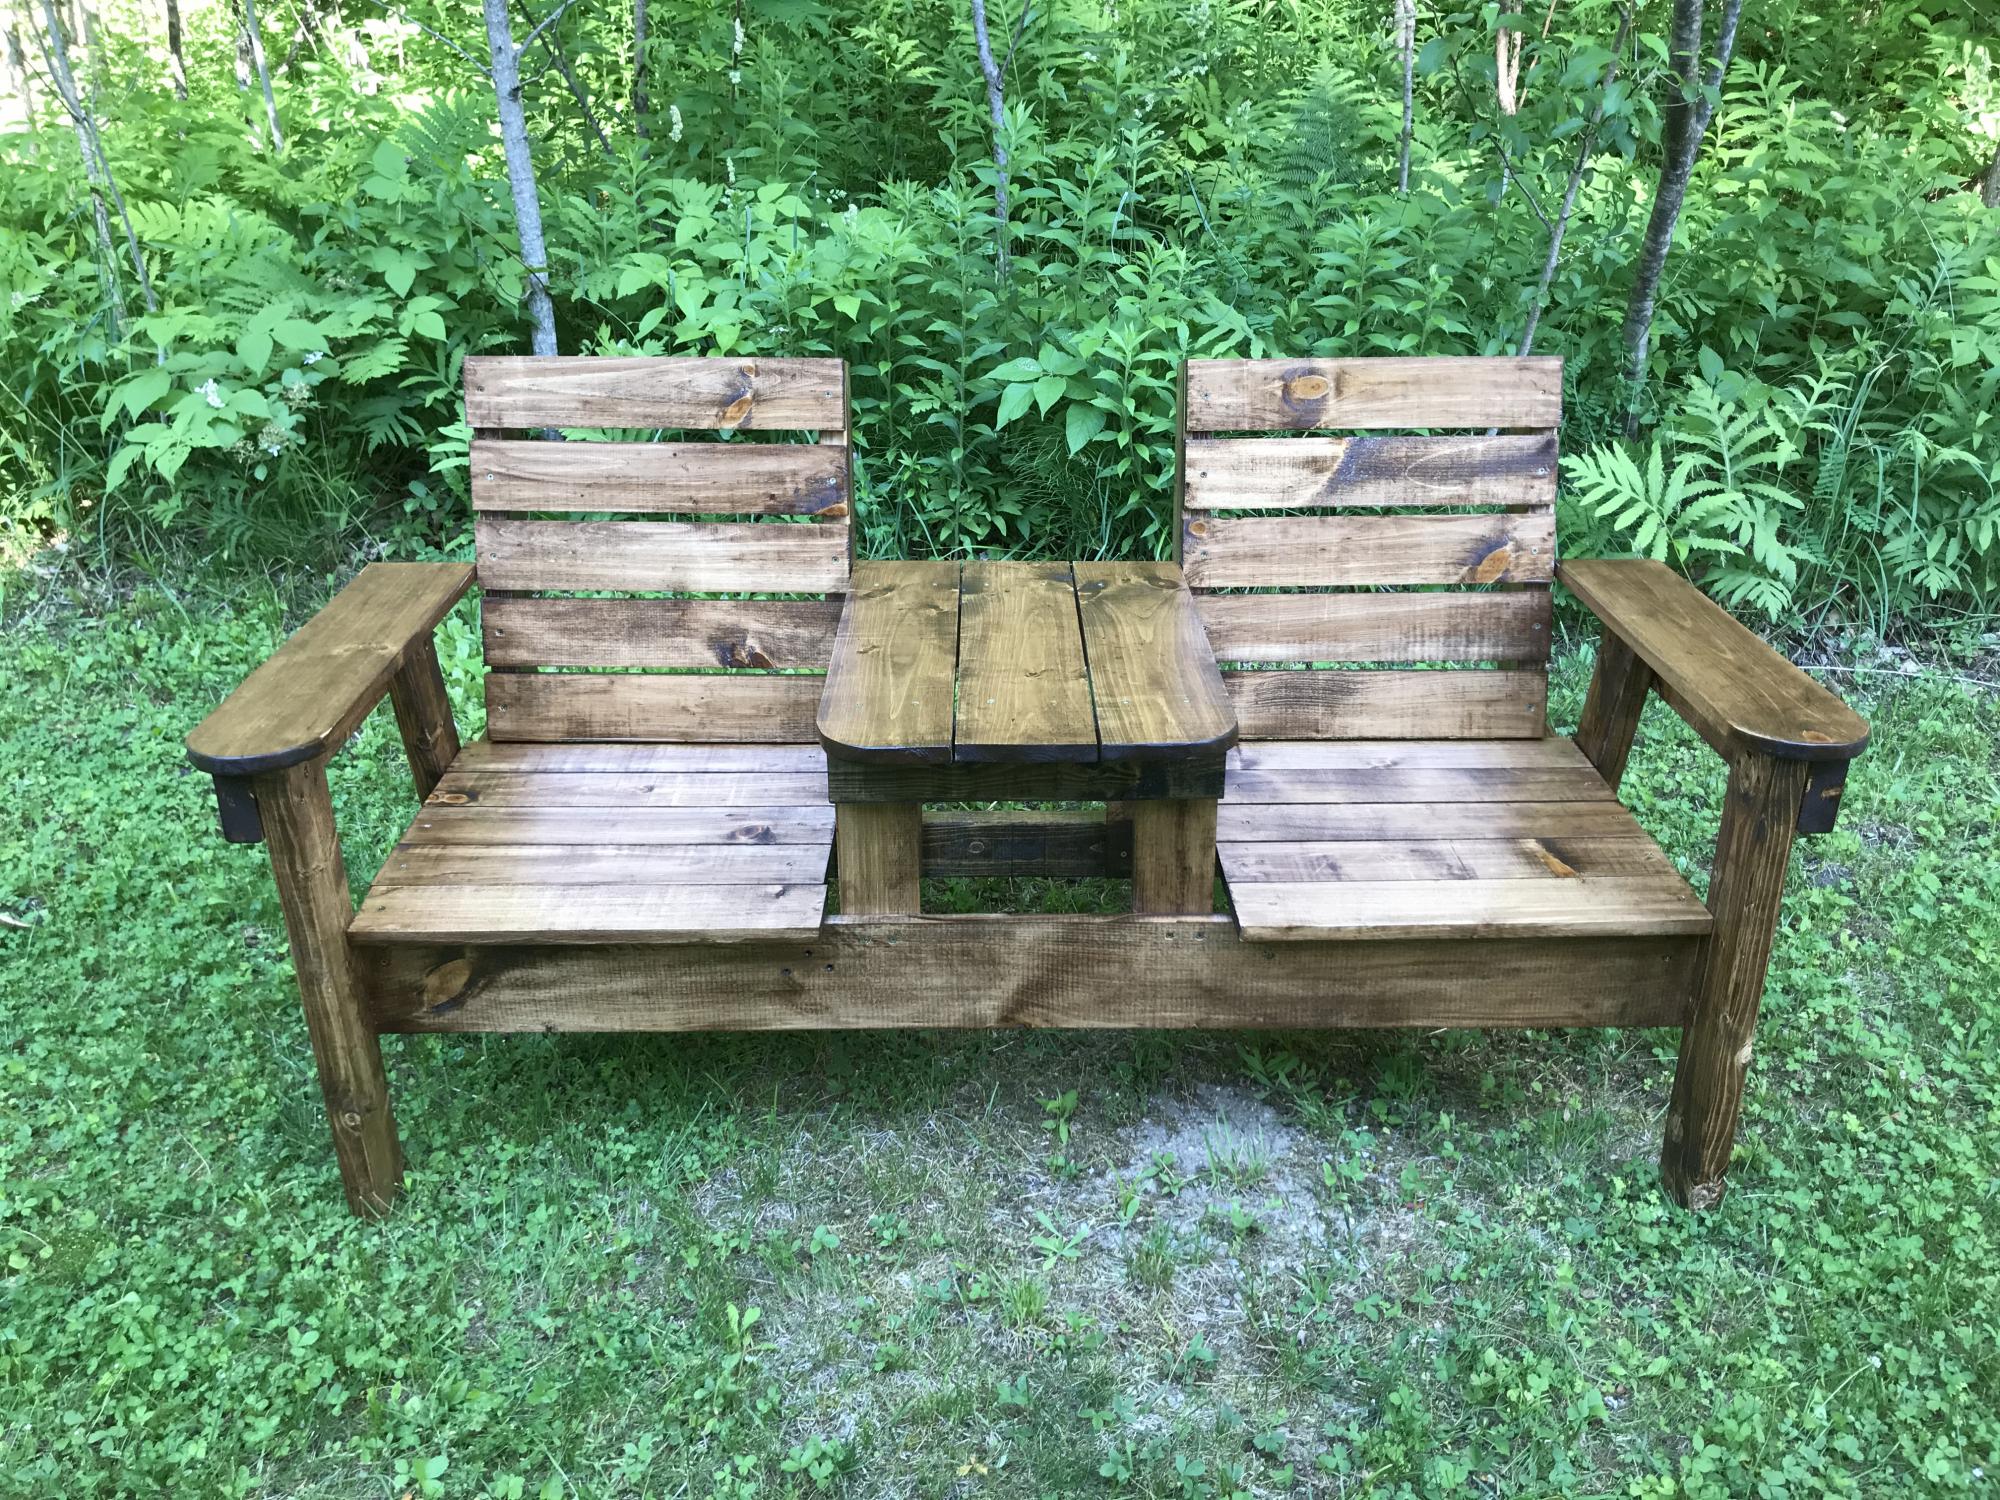
This was my second bigger builds. It came out beautifully and I am so proud to have built this for my husbands very first Fathers Day. Easy to build.
Built from Plan(s)
Estimated Cost
100
Estimated Time Investment
Day Project (6-9 Hours)
Finish Used
Special walnut Minwax
Recommended Skill Level
Beginner
Wooden Bunny Easter Basket

Happy Easter for the grandchildren. Your post inspired me....thankyou. I was happy with my
outcome.
Built from Plan(s)
Seasonal And Holiday
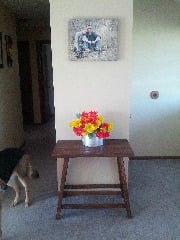
Truss End Table
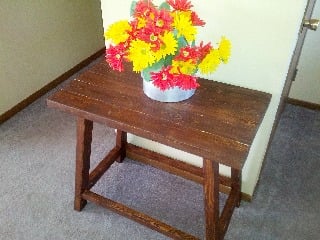
I had trouble with this project. I wasn't sure of the terminology, off square and such. It went well, I ended up not putting the truss part on due to not paying attention when cutting the wood.

Built from Plan(s)
Estimated Cost
$20
Estimated Time Investment
Afternoon Project (3-6 Hours)
Finish Used
Rust-Oleum Ultimate Dark Walnut
Recommended Skill Level
Beginner
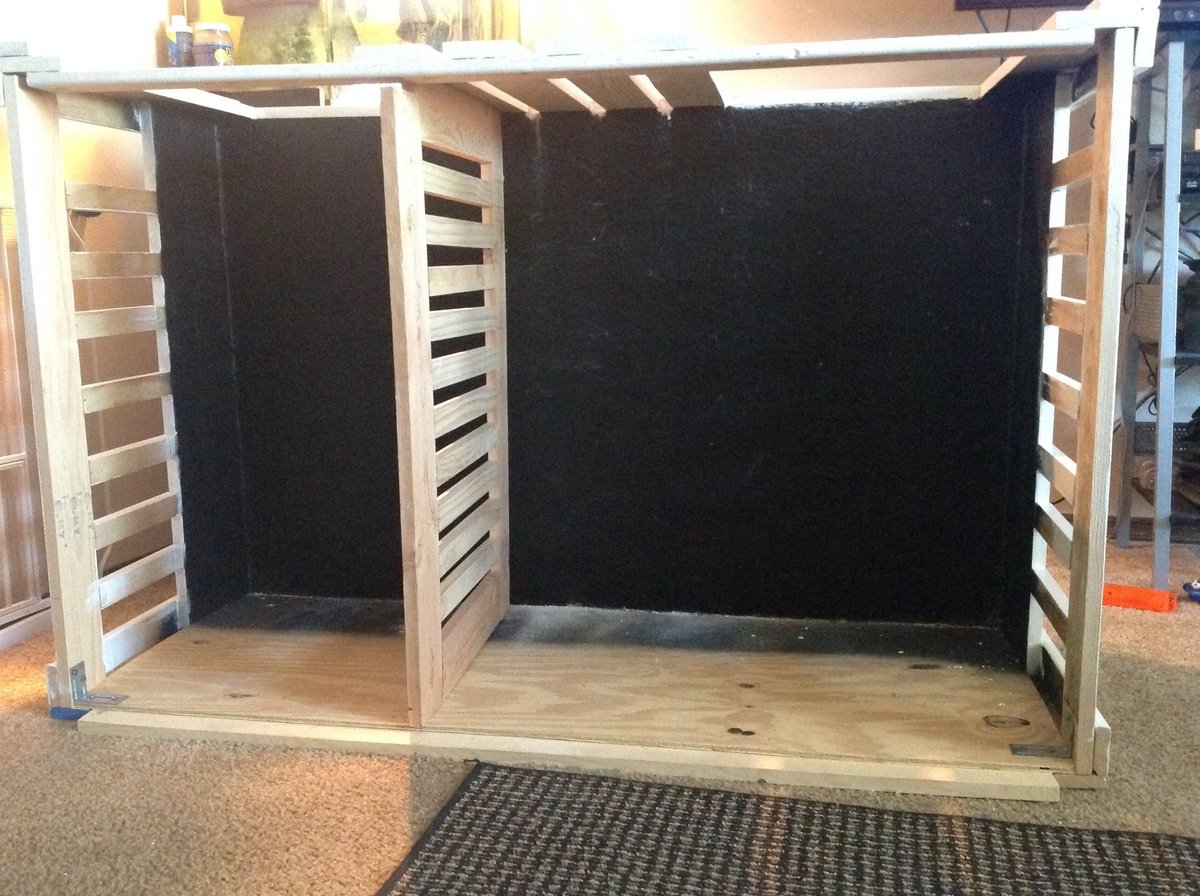
Double dog coffee table crate
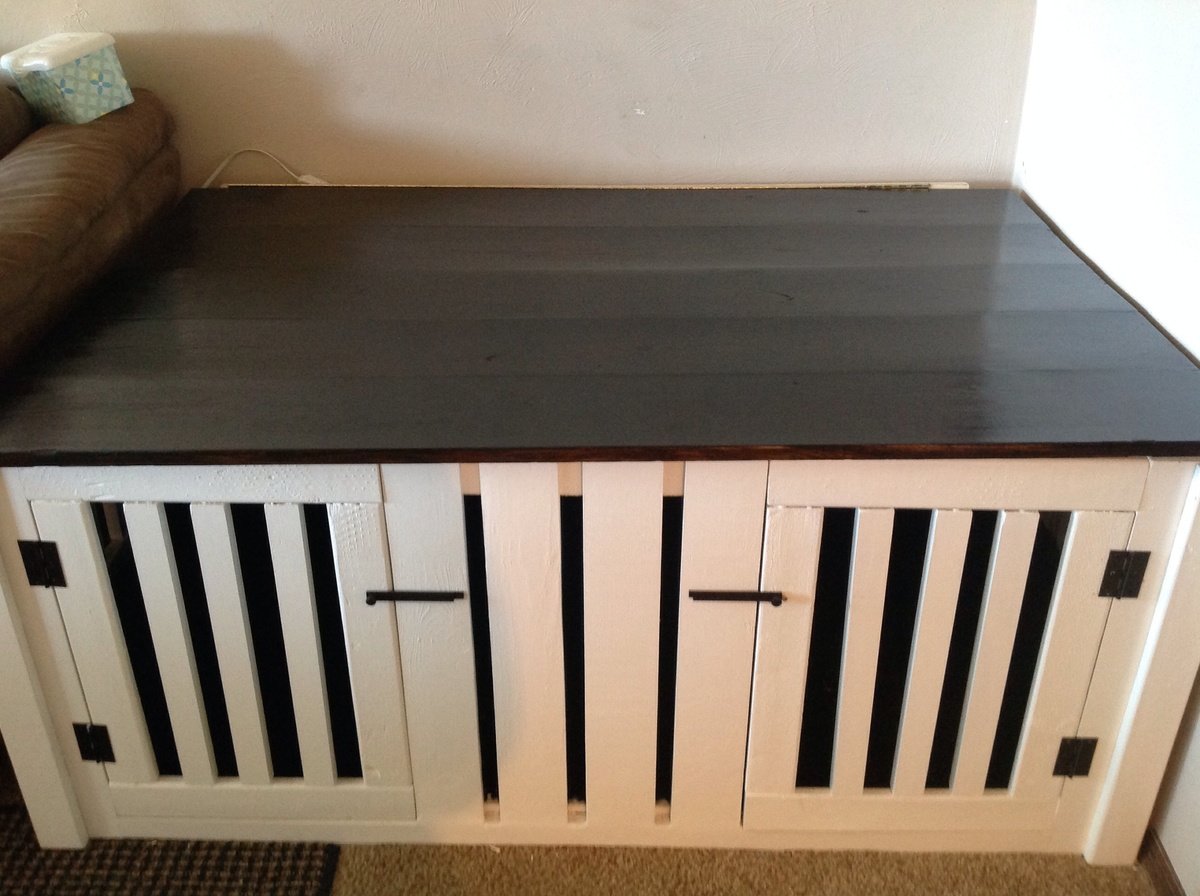
I LOVE the way this turned out! I used truck bed liner for the floor and the sides because one of the dogs is still a puppy and truck bed liner is TOUGH and waterproof (in case of accidents)! I made one side of the crate huge and one side small to match the size of our dogs. The really nice thing is that you can't tell by looking at it that it is two different sizes inside. This looks so much better than those ugly wire or plastic crates.
Built from Plan(s)
Estimated Cost
$85
Estimated Time Investment
Weekend Project (10-20 Hours)
Finish Used
I primed all of the wood except the lid. On the interior I sprayed truck bed liner over the primer. On the outside I used Beyer high gloss "parchment paper" color. (I used high gloss so dog dirt, dander and fur would be easy to wipe off). I used Minwax wood prep first and then I stained the top with Minwax espresso. It took about 3 coats of stain to get the color I wanted and 2 coats of paint after the primer.
Recommended Skill Level
Beginner
Comments
Fri, 01/23/2015 - 08:44
Beautiful - how big?
I plan to do a crate/table similar to your design - how big are your dogs and compartments??
Thanks a lot!!
Misti
Leaning bathroom shelf
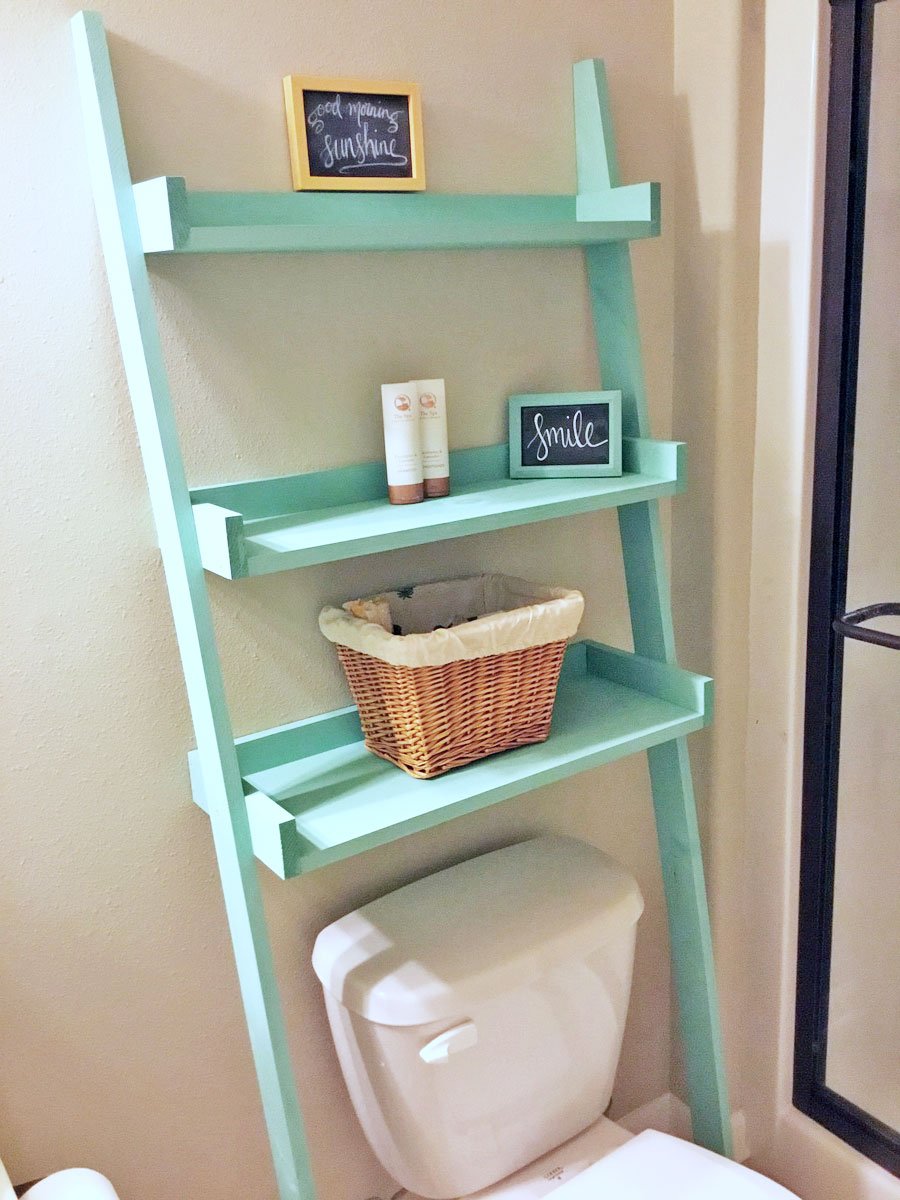
I saw this plan and immediately decided to make it! My mom had been telling me for a while I needed a shelf in the bathroom she uses while visiting. She was coming the next day so decided I needed to hustle to surprise her. I left the lumber store at 8pm and finished painting the assembled shelves by 11pm. The next morning I moved shelves to the bathroom and when she arrived later that day she was so surprised! She loved it! Thank you so much for the idea!
Built from Plan(s)
Estimated Cost
$11 for lumber (I purchased 2 pieces 1-1x6 @ 8ft and 1-1x10 @ 8ft and cut to size). I already had nails, wood glue, and paint (you could purchase a sample size for $3 @Lowes and have enough for this project ).
Estimated Time Investment
Afternoon Project (3-6 Hours)
Finish Used
Scenic view colored paint
Recommended Skill Level
Beginner
Comments

Wed, 06/19/2019 - 17:01
This is amazing! Three…
This is amazing! Three hours! I'd be surprised too!
Thank you so much for sharing a brag post, much appreciated!
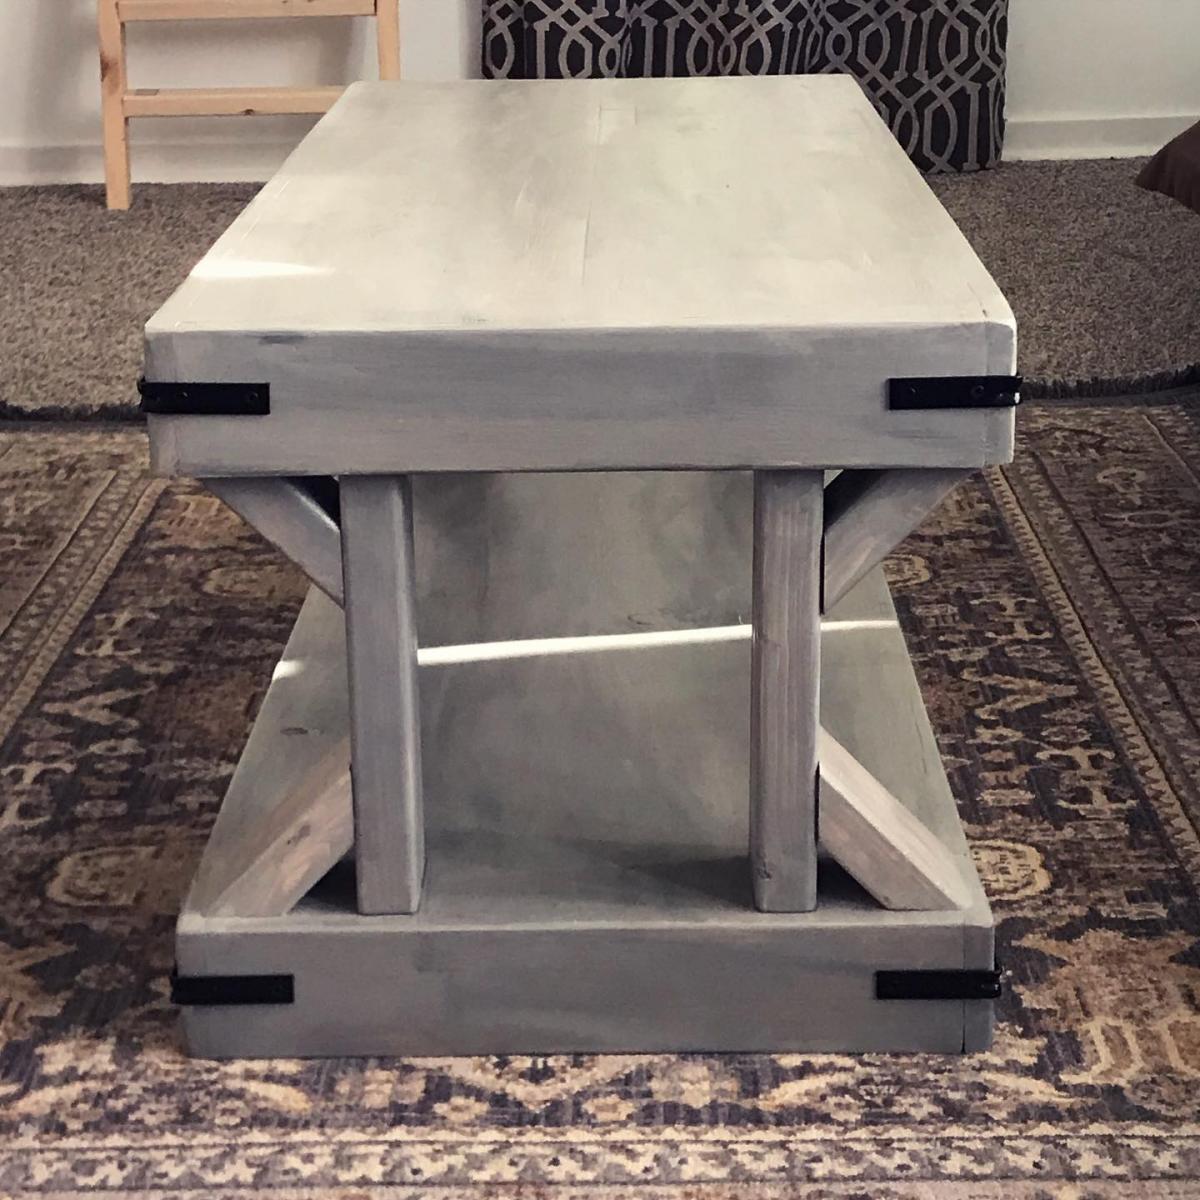
Modern Farmhouse Coffee Table
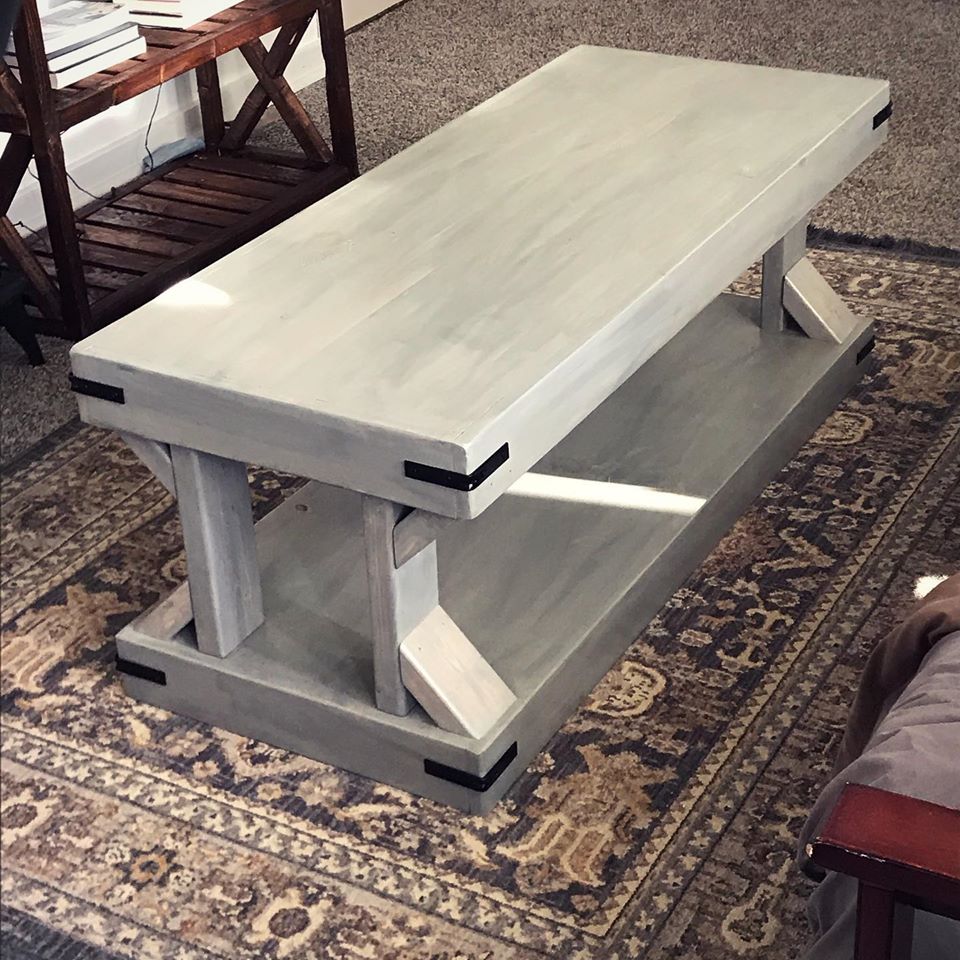
I built this coffee table with off the shelf lumber and finished with Varathane Sun Bleached and Weathered Gray Stains, and Minwax satin polyurethane. I applied a fairly even coat of the Sunbleached Stain and added a few streaks of the weathered gray. I used 1 ¼" pocket screws instead of the brad nails. I used a hammer and a couple of finishing nails for the braces.
Built from Plan(s)
Estimated Time Investment
Day Project (6-9 Hours)
Finish Used
Varathane Sun Bleached Stain
Varathane Weathered Gray Stain
Minwax Satin Polyurethane
Varathane Weathered Gray Stain
Minwax Satin Polyurethane
Recommended Skill Level
Intermediate
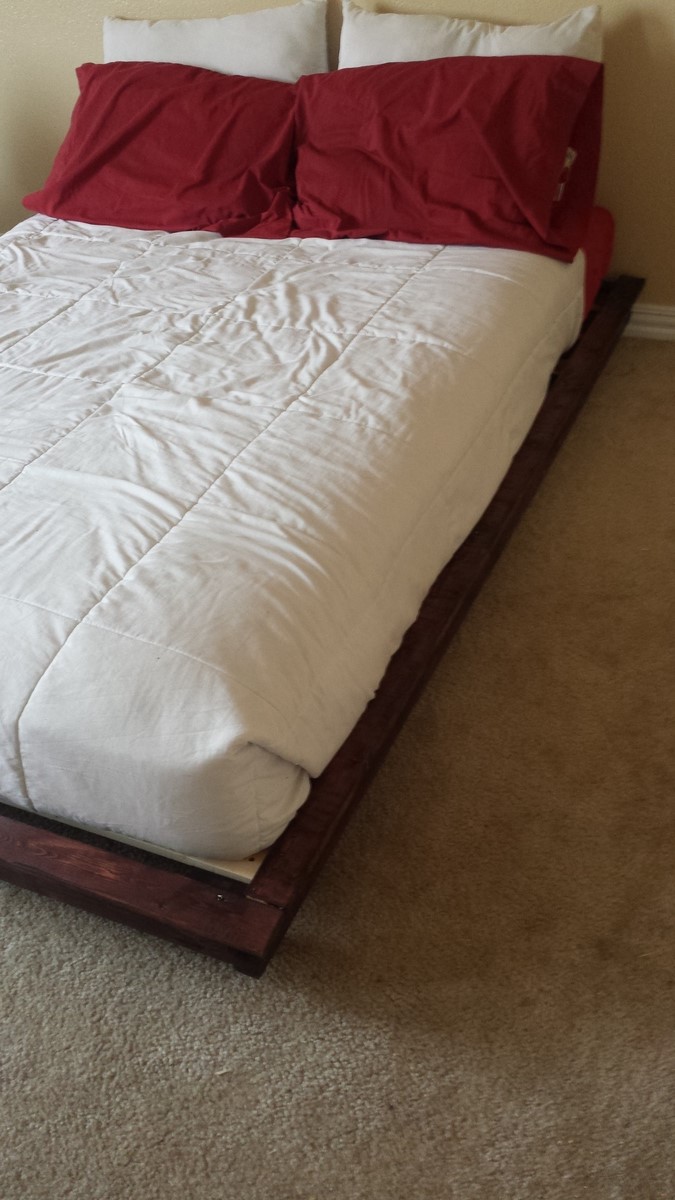
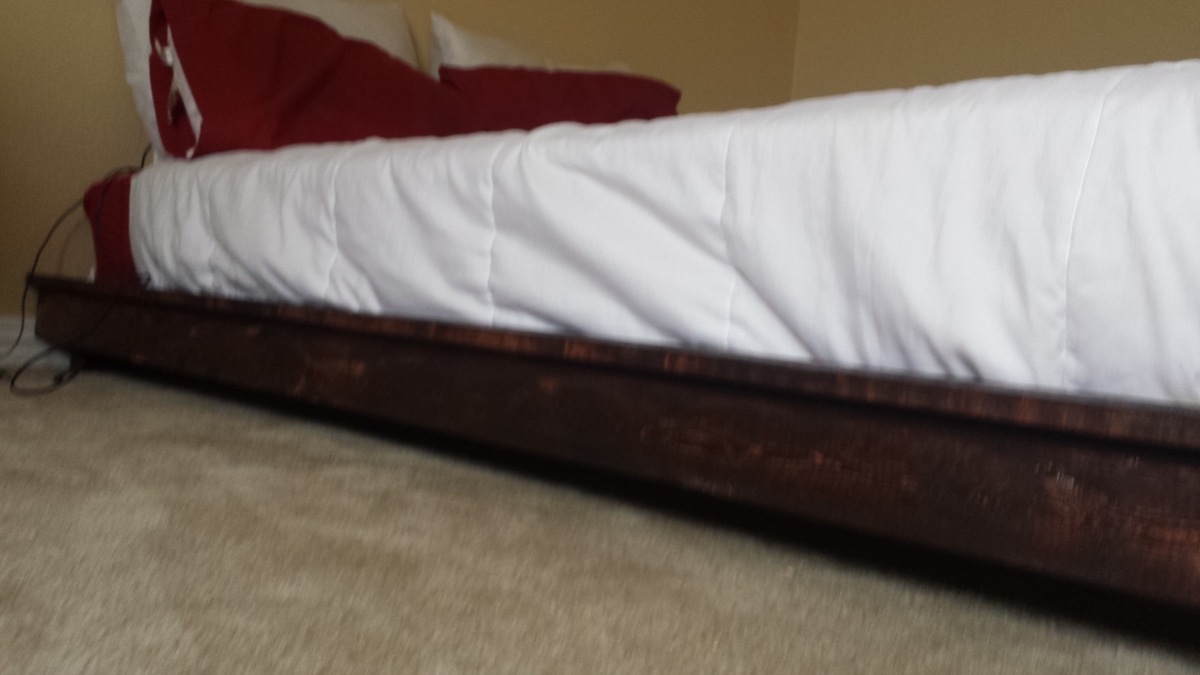
High Loft Bed
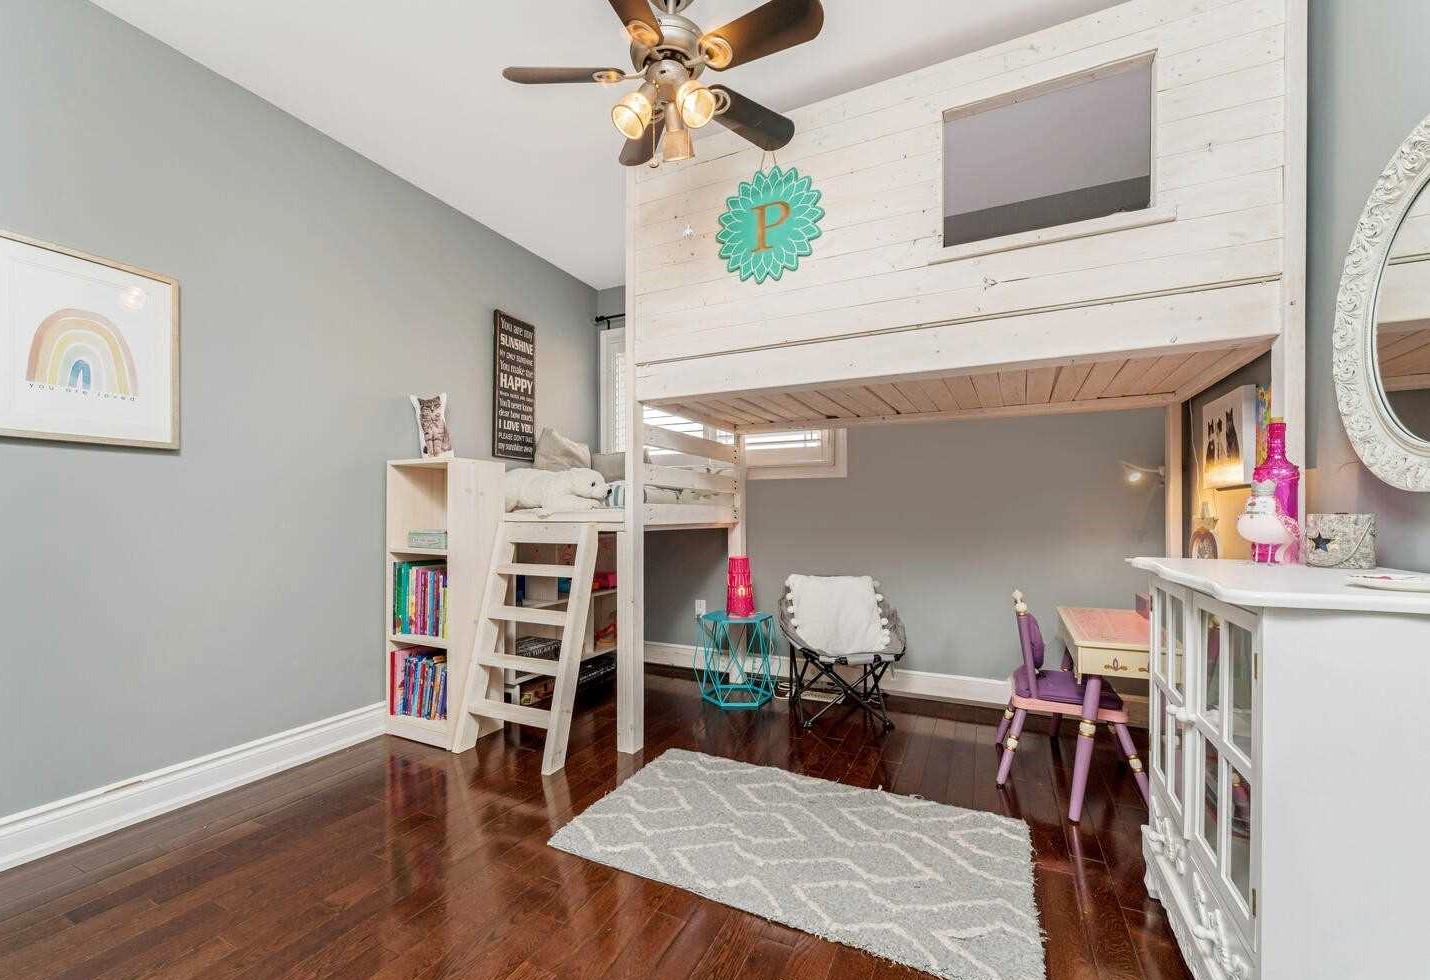
I built this bed a little higher so it will last my daughter a lot longer.
Such a great way to get back all that floor space! The 2x4 frame makes it super strong as well.
Diane
Built from Plan(s)
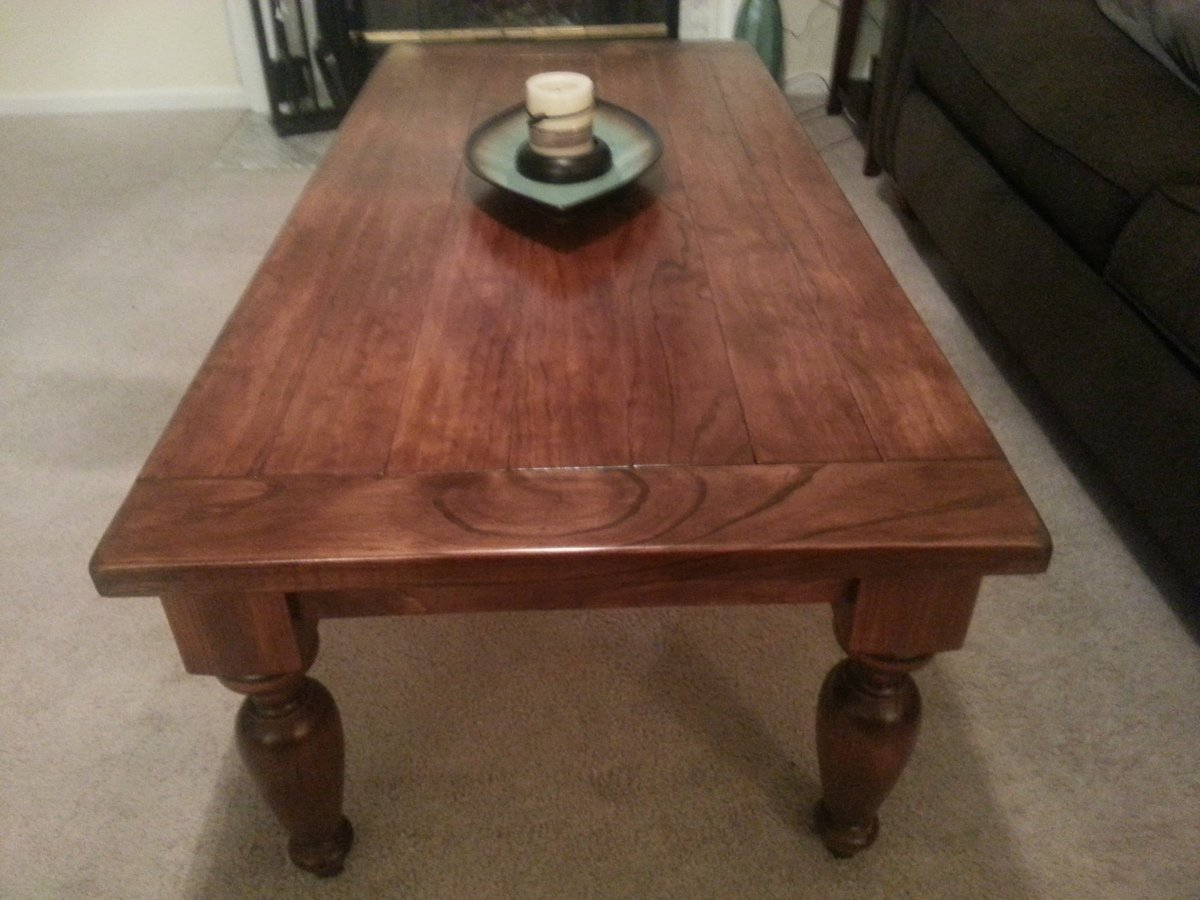
Turned Leg Coffee Table
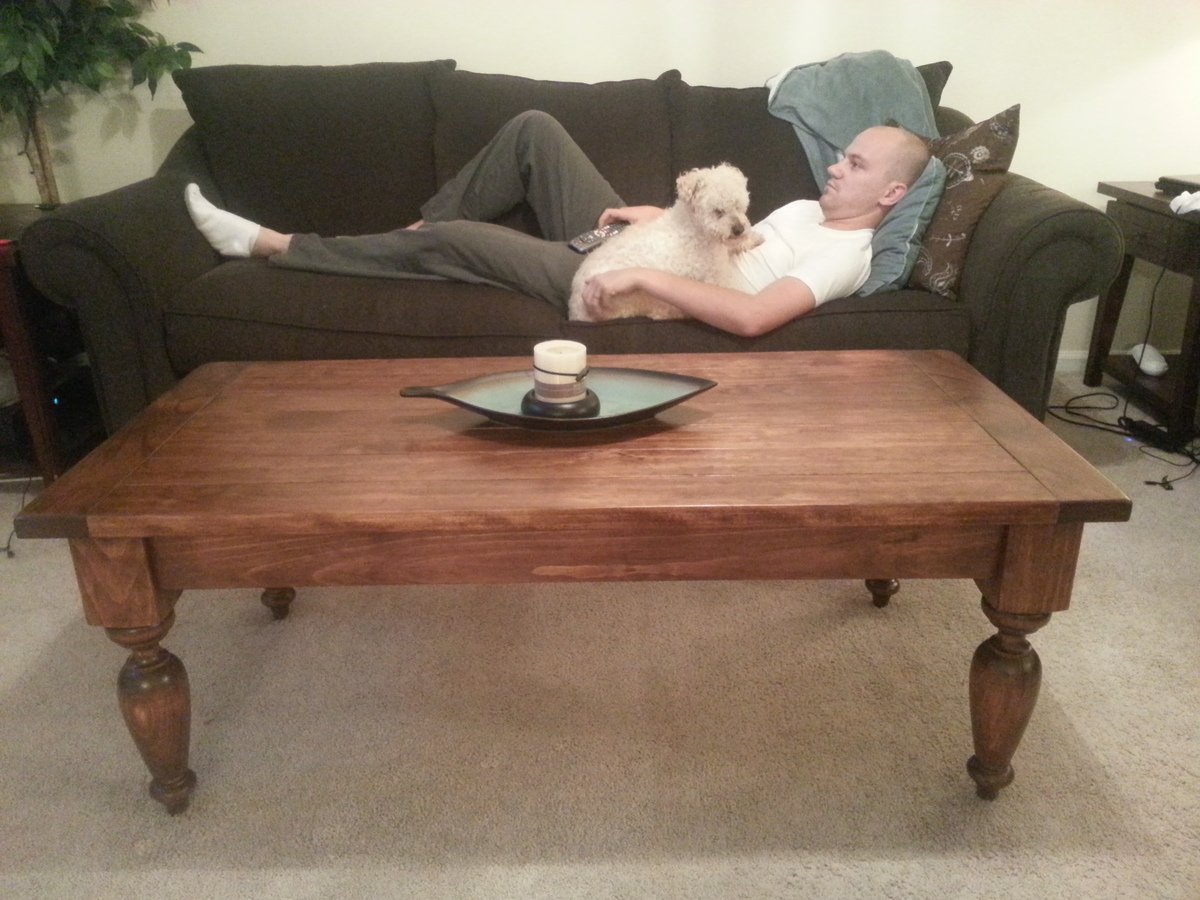
Okay, don't mind the husband and the pooch in the background there! I fell in love with the Pottery Barn version of this table (actually, I've fallen in love with everything from Pottery Barn, if we're being honest here), so I've been wanting to make this coffee table for quite awhile. I found the legs on ebay for a really low price, so I splurged and bought premium 5/4" thick pine planks for the table top to make it look more substantial. This table was so easy to assemble using pocket holes. My husband and I both love how it turned out!
Estimated Cost
About $130 for all wood and finishing supplies
Estimated Time Investment
Weekend Project (10-20 Hours)
Finish Used
Stained with a mix of Minwax English Chestnut and Minwax Dark Walnut, then finished with 3 coats of Minwax Clear Satin Polyurethane
Recommended Skill Level
Beginner
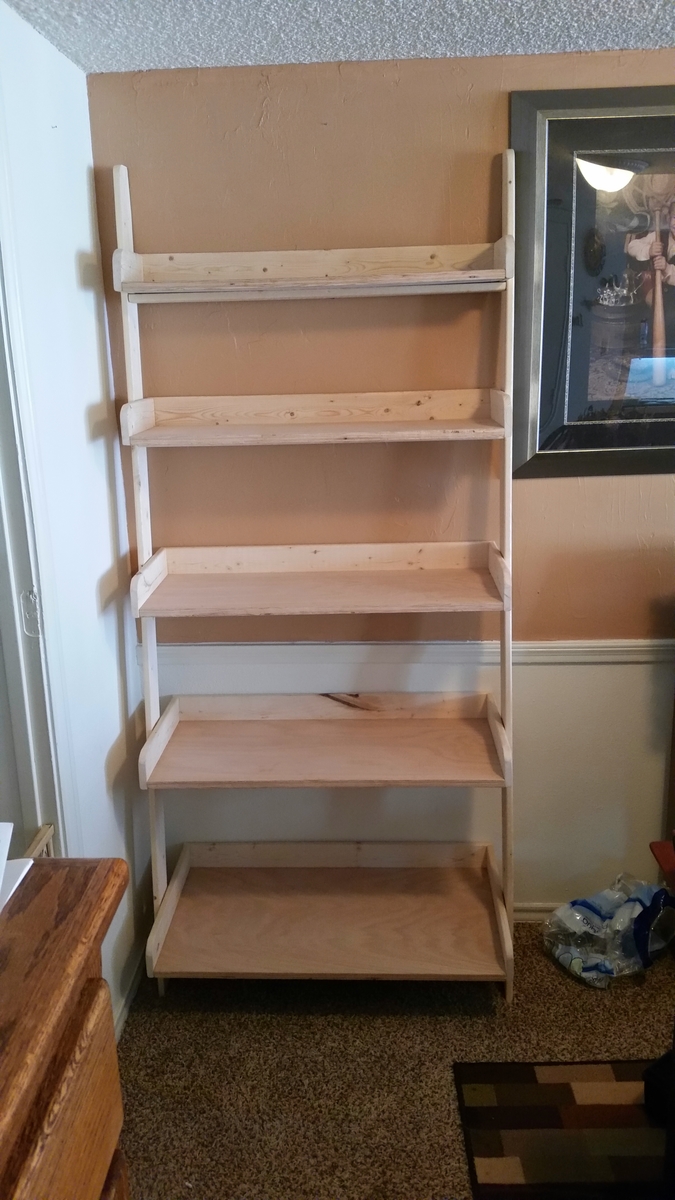
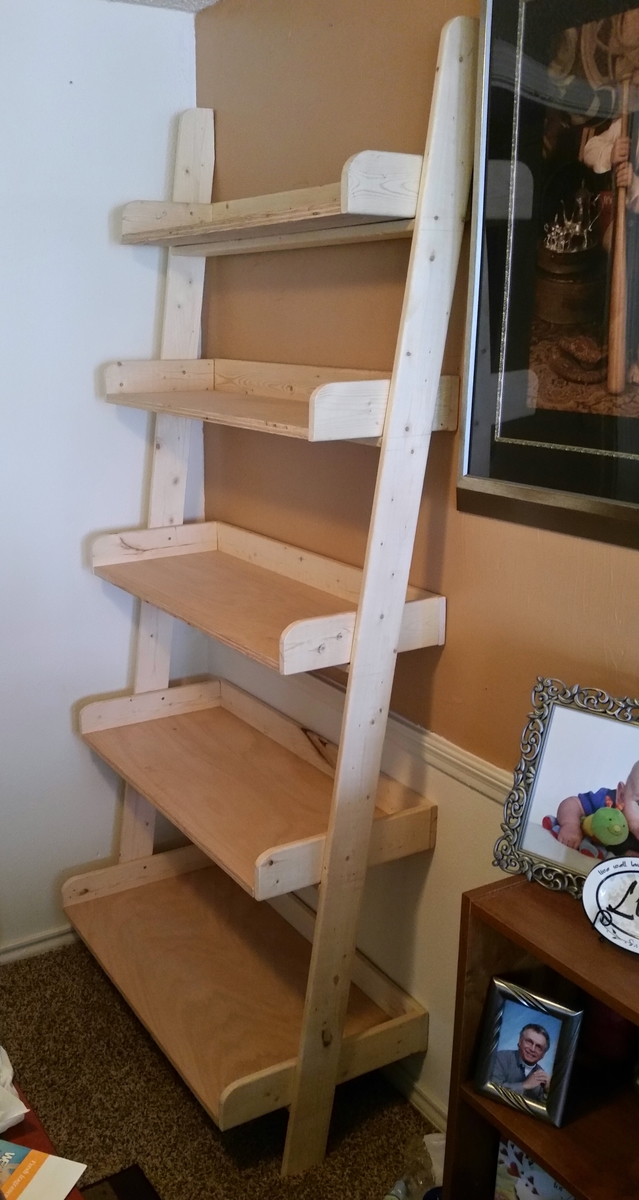
Leaning Shelf
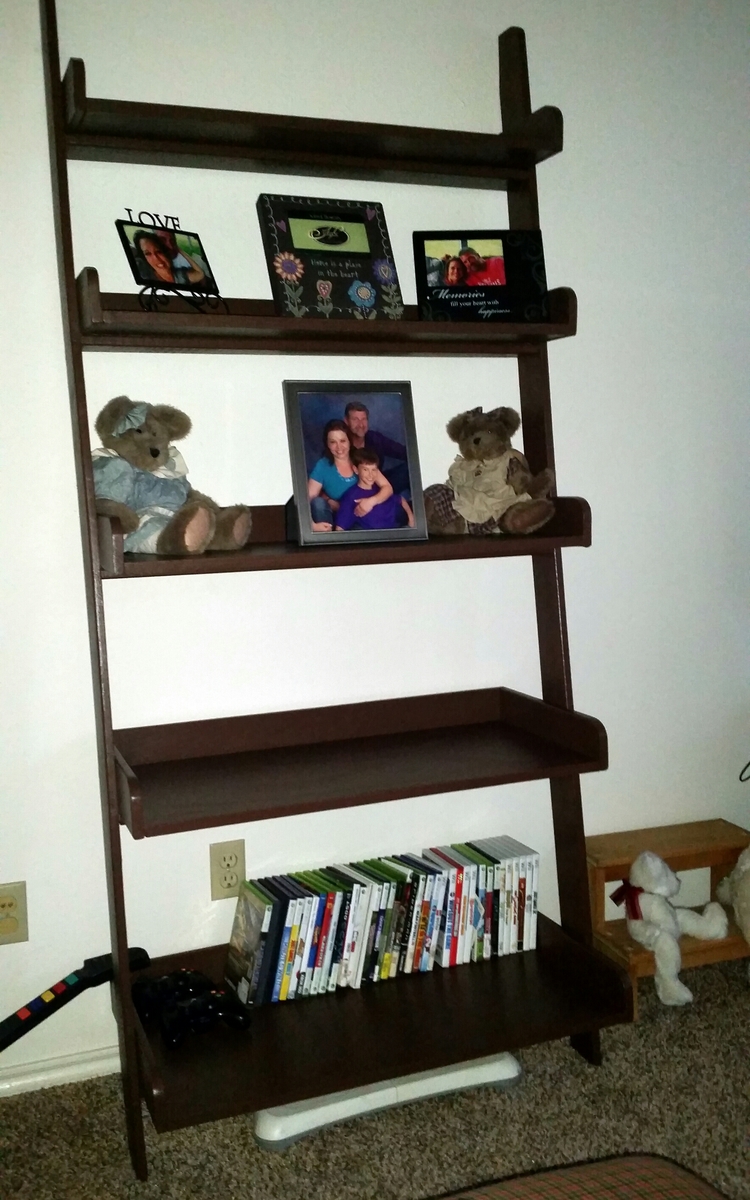
This was my first project and we think it turned out great..Thank you for sharing your plans and showing that anyone can do this.
Built from Plan(s)
Estimated Cost
50.00
Estimated Time Investment
Weekend Project (10-20 Hours)
Finish Used
Chocolate Fudge Truffle satin paint.
Recommended Skill Level
Beginner
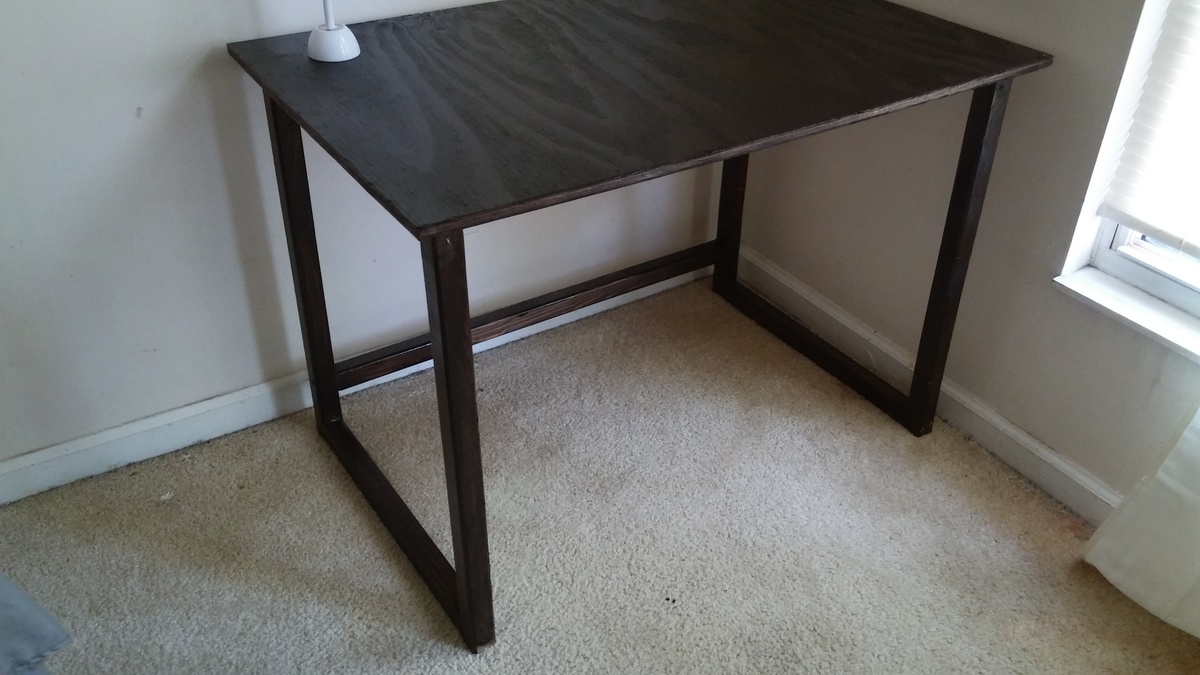
Cute corner desk
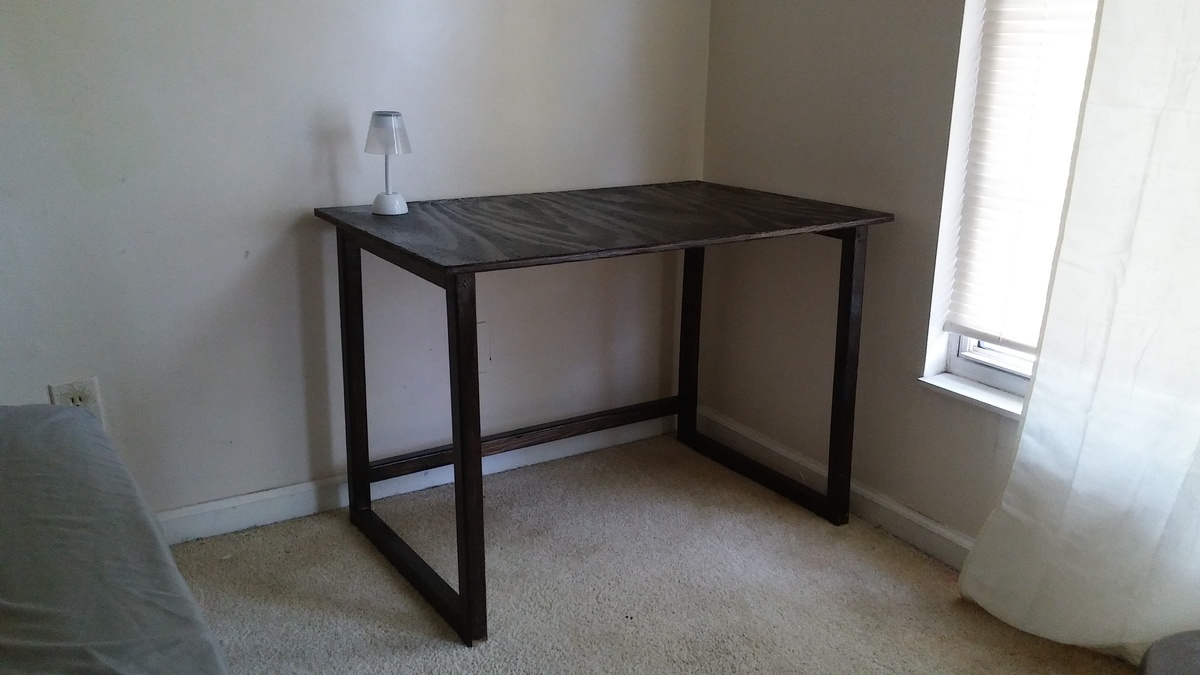
This 2x2 desk base was the perfect size for our 6' exchange student. He needed plenty of room width and length wise. We went with stain in Kona. More time was spent staining then building.
Built from Plan(s)
Estimated Cost
$20
Estimated Time Investment
An Hour or Two (0-2 Hours)
Finish Used
It is the base for a corner desk
Recommended Skill Level
Starter Project
KCup holder

I am so thrilled to share this. My very first build and I am so happy with it and so excited to share the build. My very first ever build of any kind whatsoever. I am inspired and buying a new home. Thank you for all the plans that will be so helpful to me with the upcoming house.


Schoolwork organizer
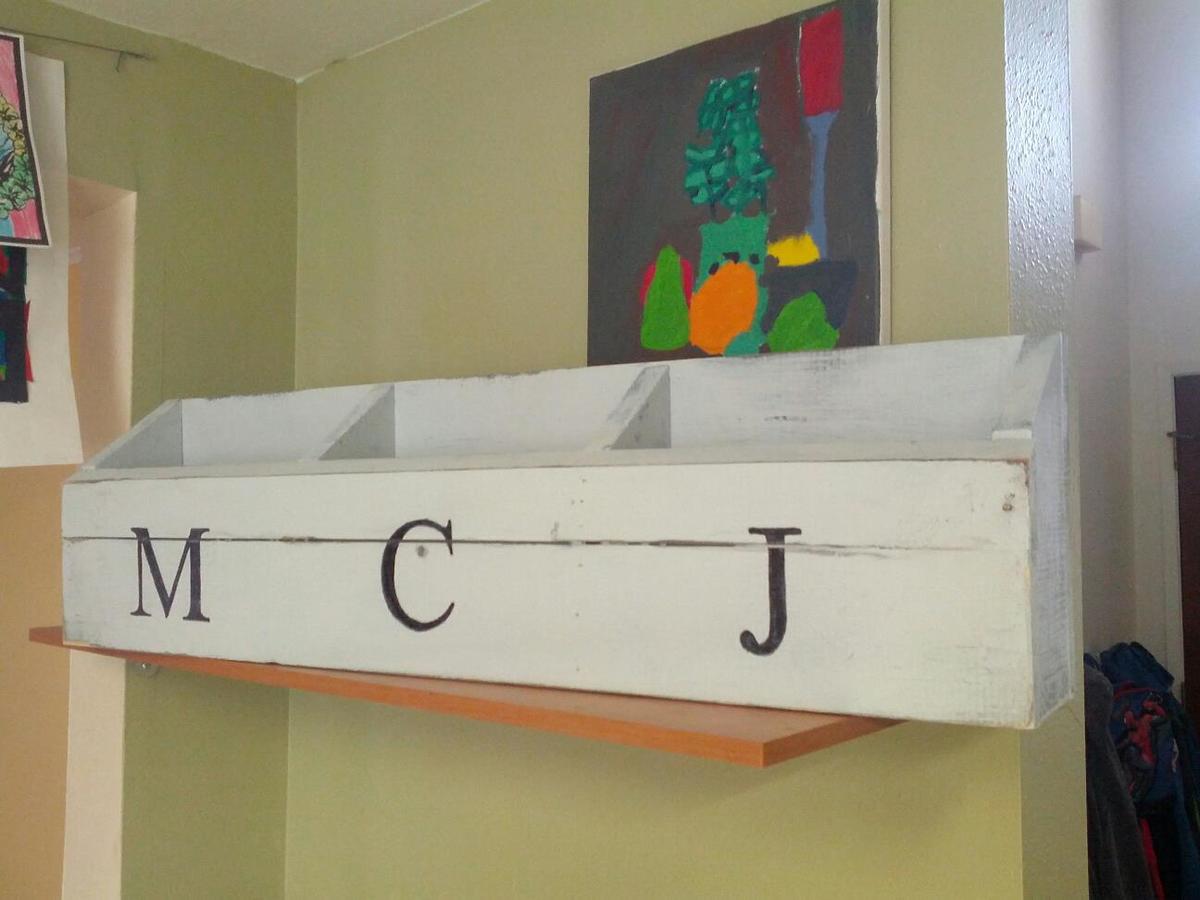
I'm trying to revamp our family "launch pad" in time for the start of school and was hoping to have a box for each kid to drop off their school forms and stuff. The "numbered cubbies on the wall" plan is just not practical for us -- I don't need a lot of little cubbies, just a few big ones! So I modified it to work for us. The letters are each of my boys' initials.
Also, I used scrap wood and leftover paint. So basically the cost was almost nothing, just a few nails and some wood glue.
Built from Plan(s)
Estimated Cost
0
Estimated Time Investment
An Hour or Two (0-2 Hours)
Finish Used
First I painted the piece black, and then covered it with some light gray house paint I had leftover. I used a sharpie pen for the letters and distressed everything.
Recommended Skill Level
Beginner
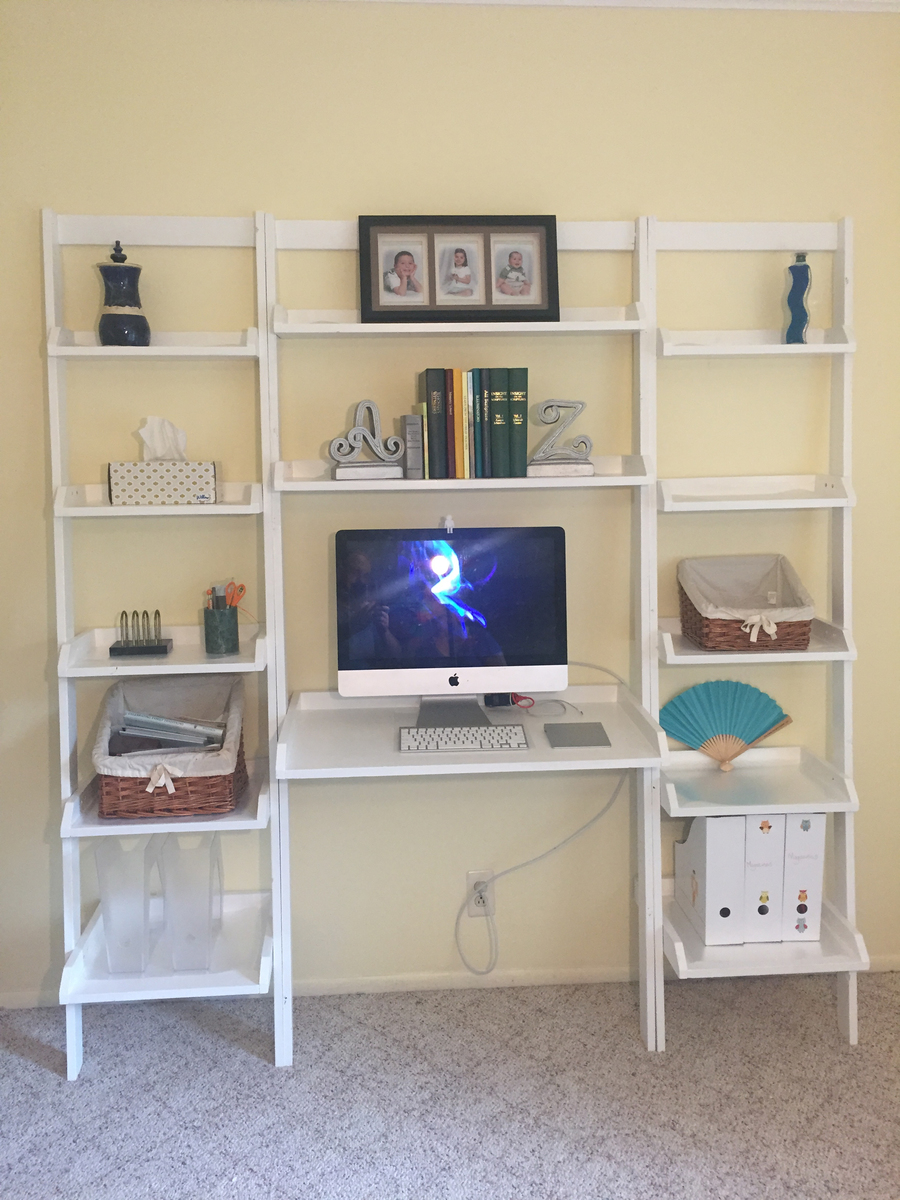
Our Leaning Wall Desk
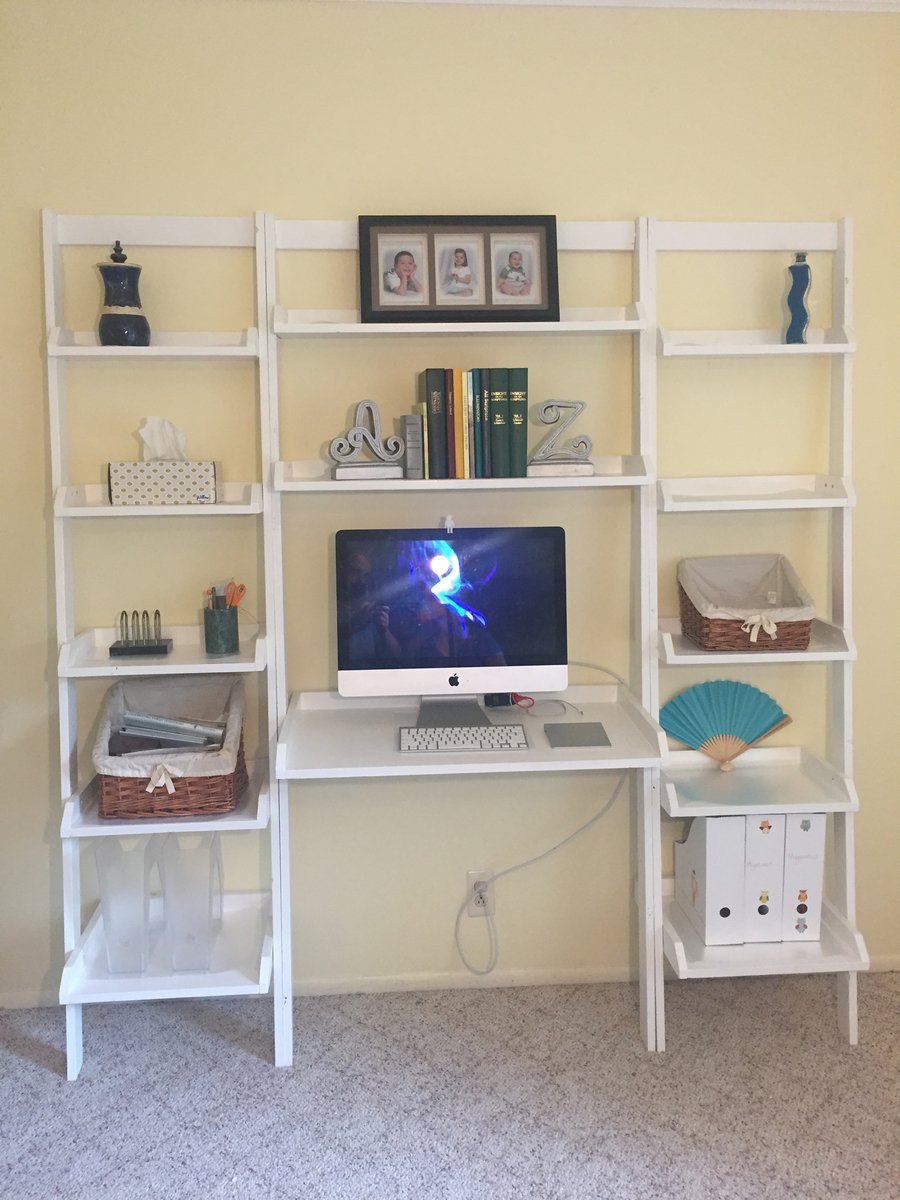
I followed your plans, with the exception of the computer desk. I mede it just a bit deeper, 1.5" or so. If I were to do this again, I think I'd go a little deeper still, maybe. Anyway, great design.
Built from Plan(s)
Estimated Time Investment
Day Project (6-9 Hours)
Finish Used
White latex paint
Recommended Skill Level
Starter Project
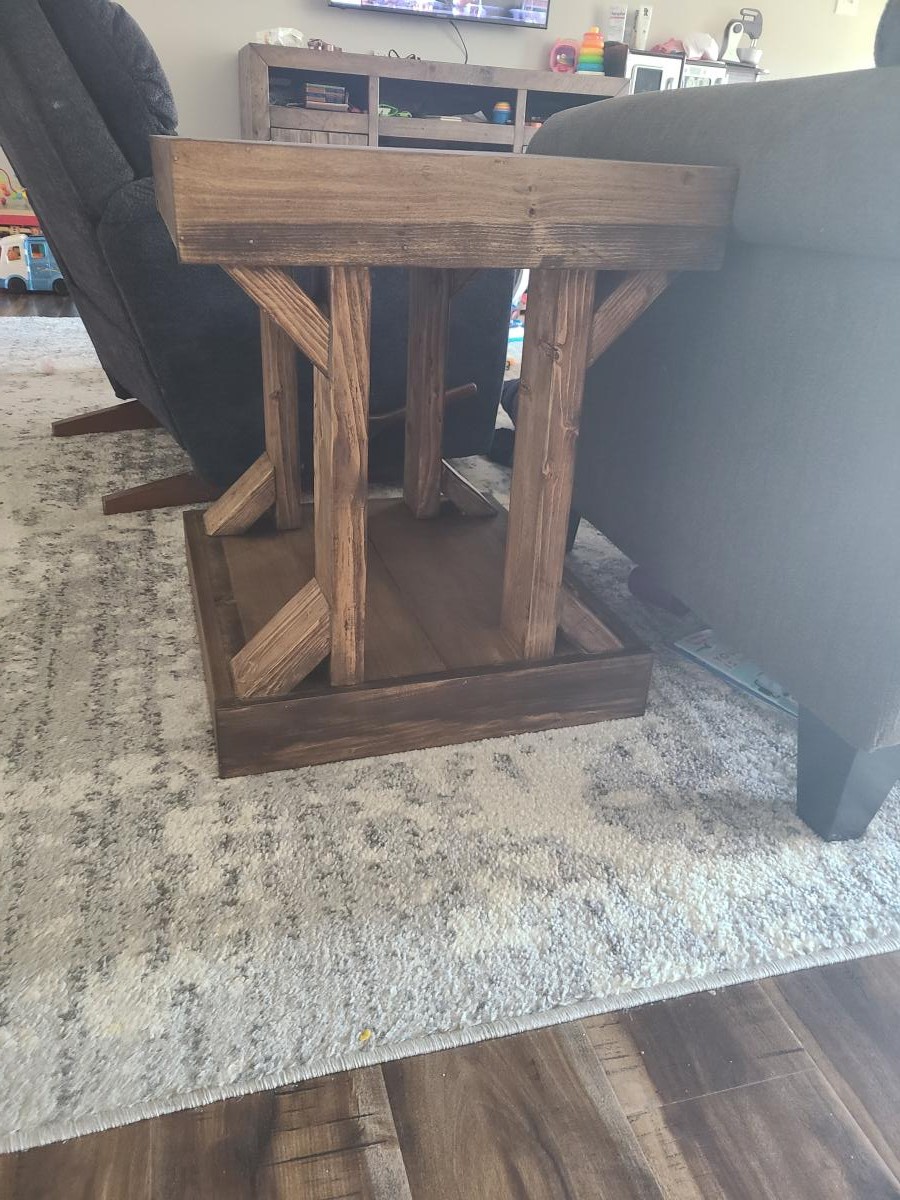
Modern farmhouse side table
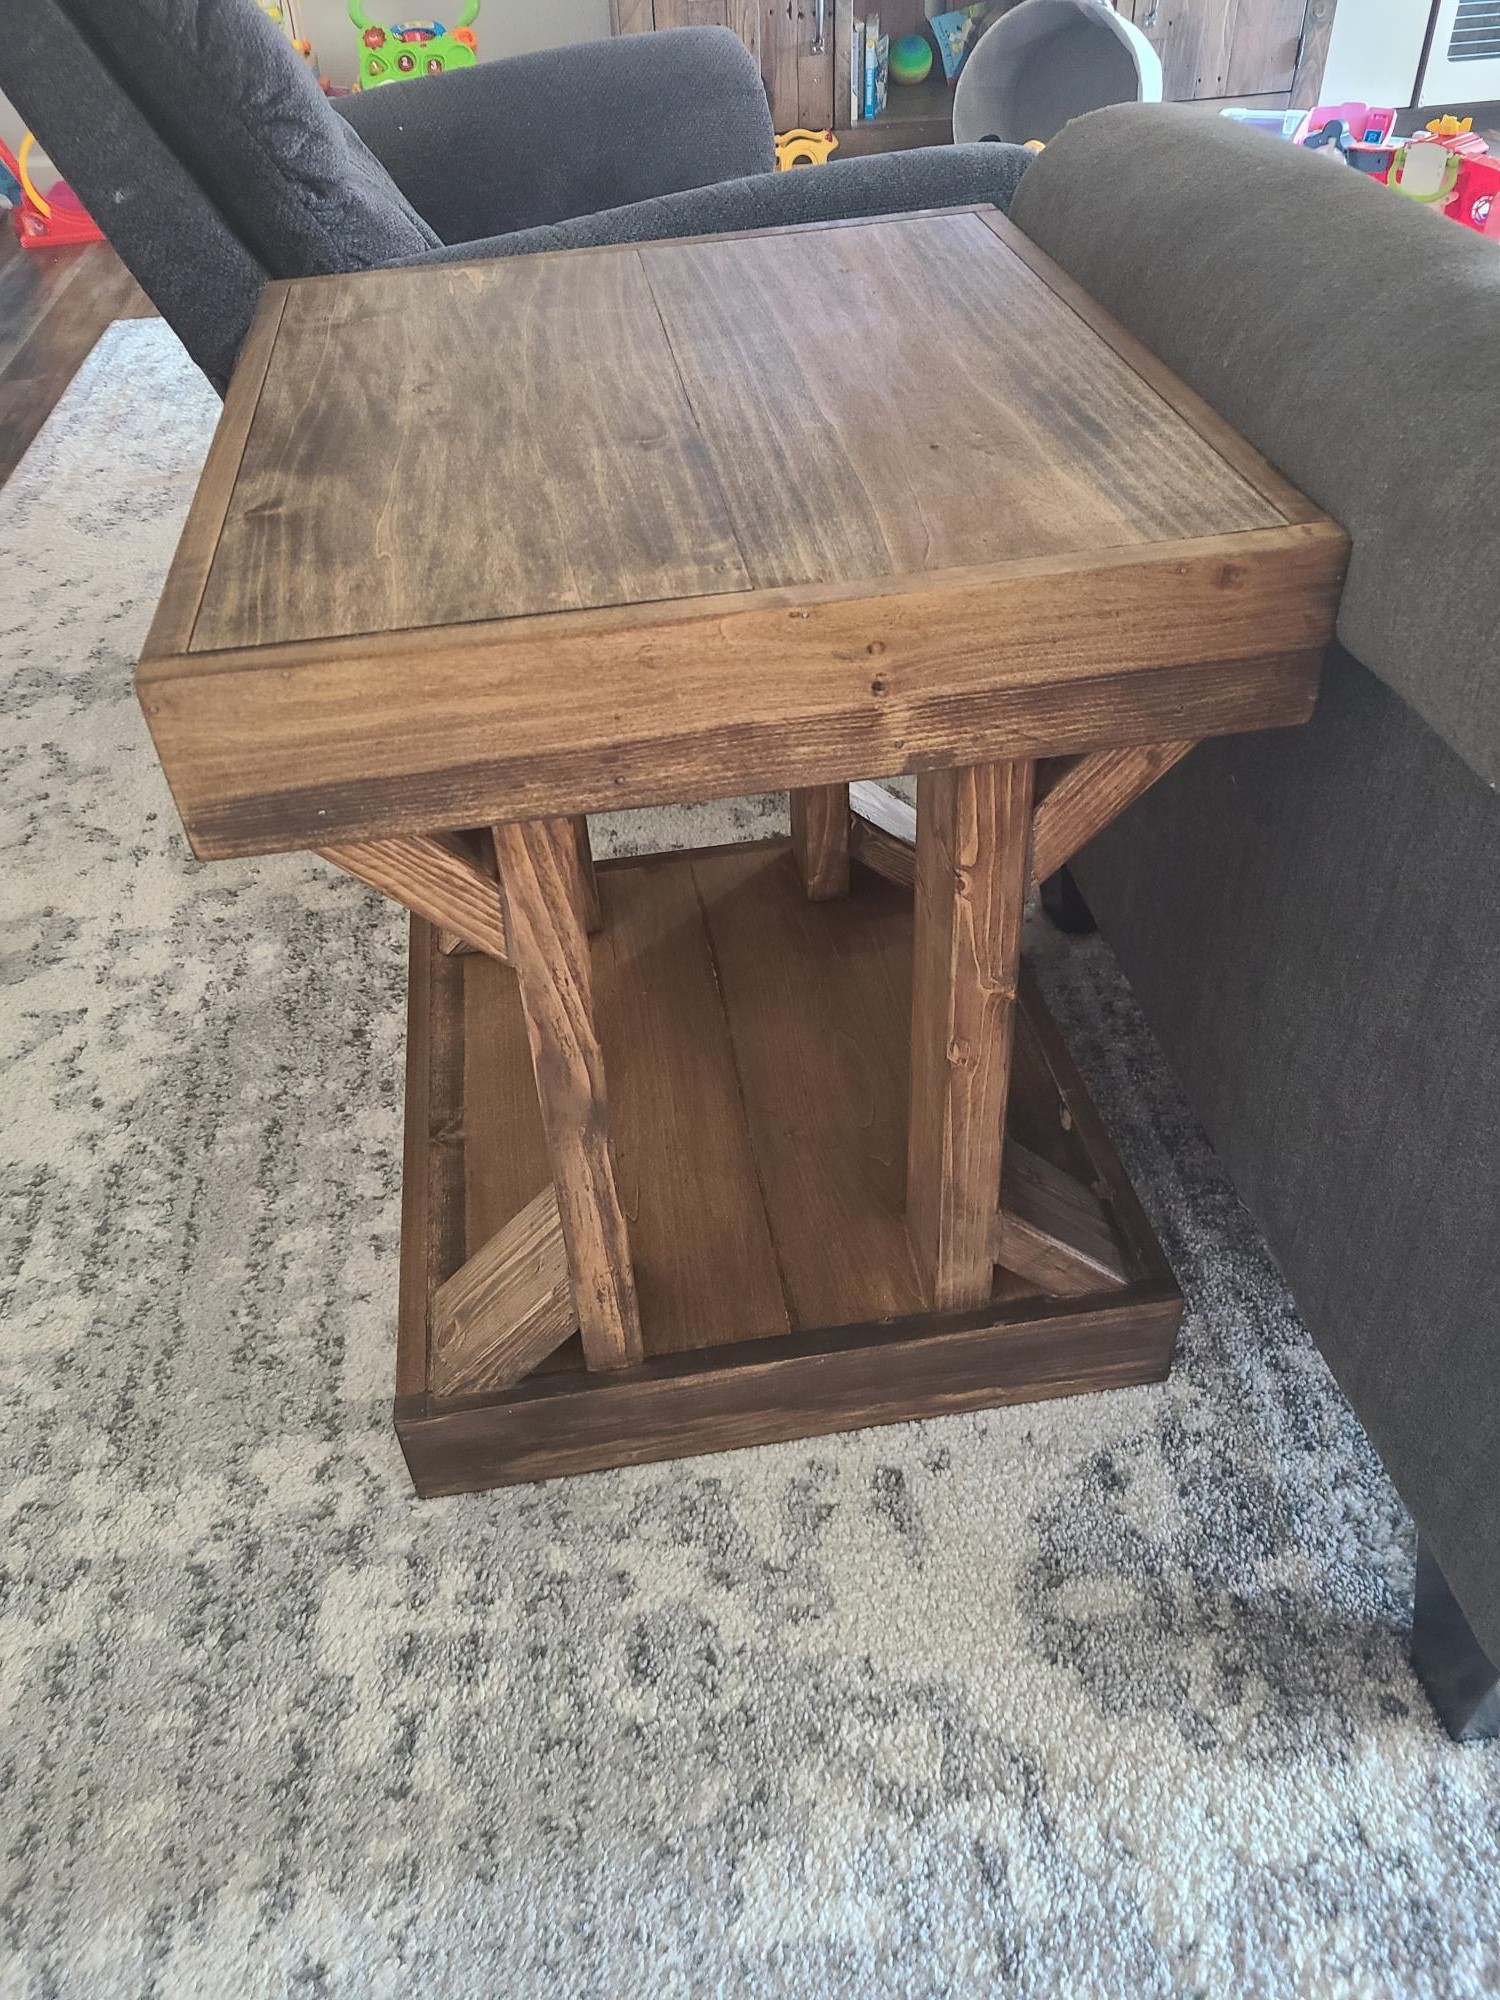
My first project since getting a miter saw! I'm so proud of how they turned out. We needed sturdy side tables so our toddler can't pull them down onto herself & these fit the bill. I dont have a brad nailer so had to pound in the nails by hand, which made it take a lot longer.... overall for me was a week & a half long project with 2 littles to care for at the same time. I used walnut stain, 2 coats. Can't wait to do another project!
Built from Plan(s)
Estimated Cost
$150 (for 2)
Estimated Time Investment
Week Long Project (20 Hours or More)
Finish Used
walnut stain two coats
Recommended Skill Level
Beginner
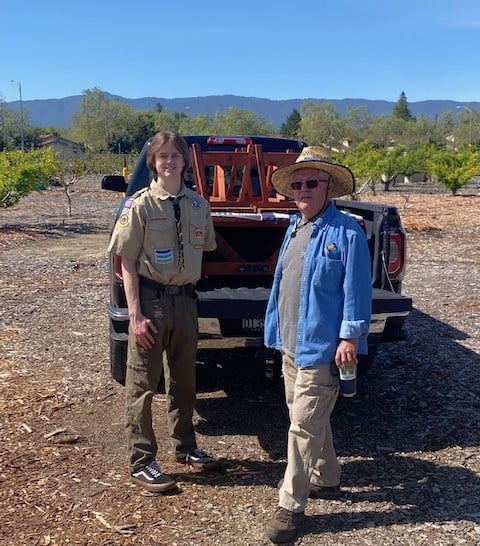
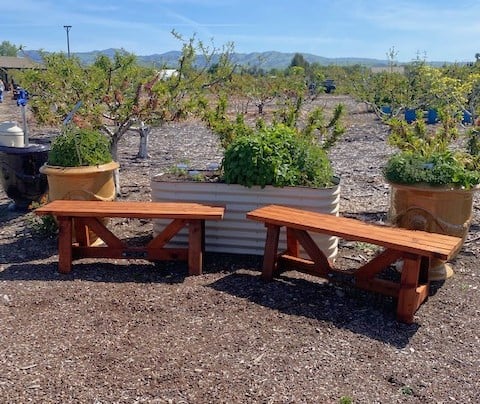
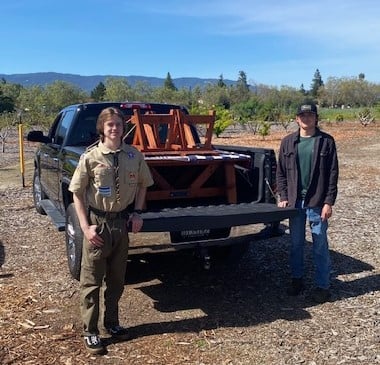
Eagle Scout Project - 6 Outdoor Garden Benches
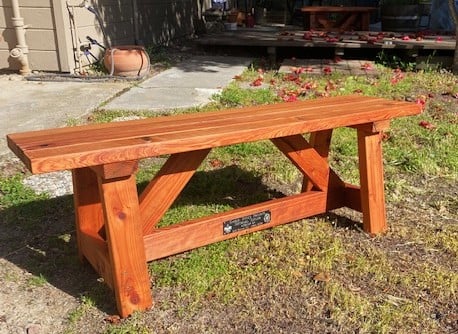
We found your great plans and site online. My son, Michael made 6 Garden Benches for his Eagle Scout Service Project and donated them to the local Master Gardener’s Association.
They turned out beautiful!
Thank you for sharing your plans. We’re looking forward to building more of your projects!
The Taylors
Built from Plan(s)
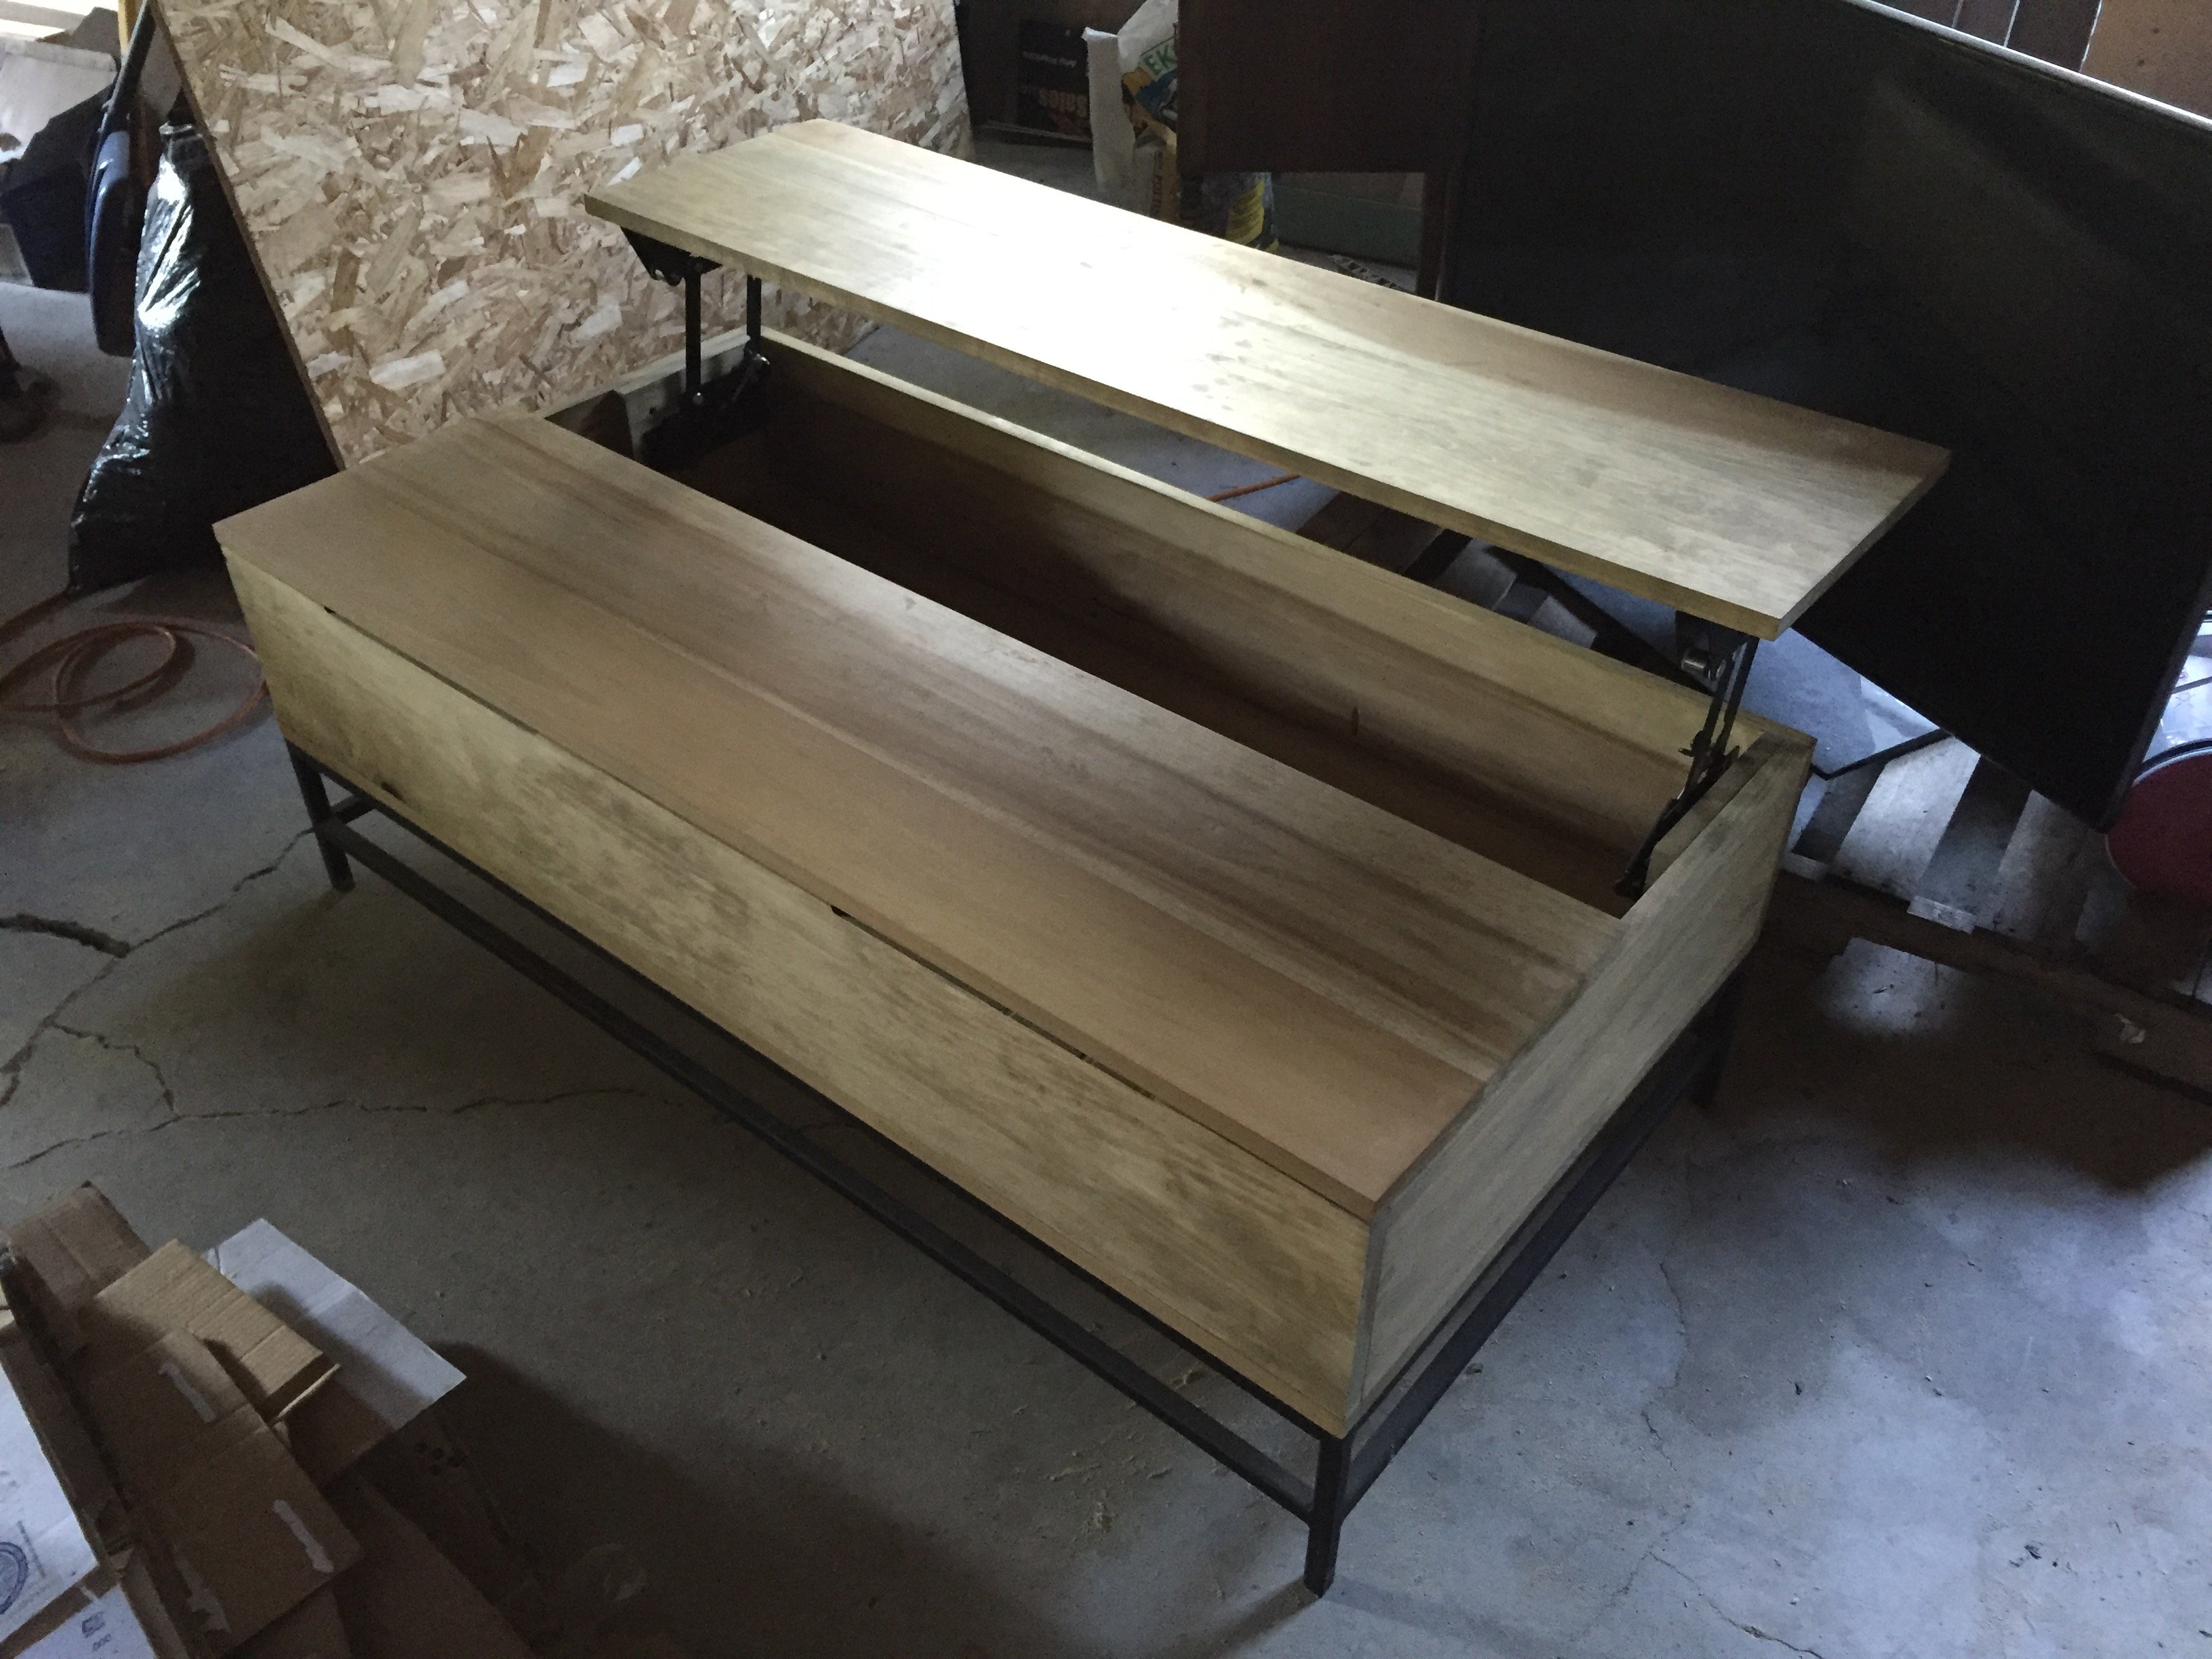
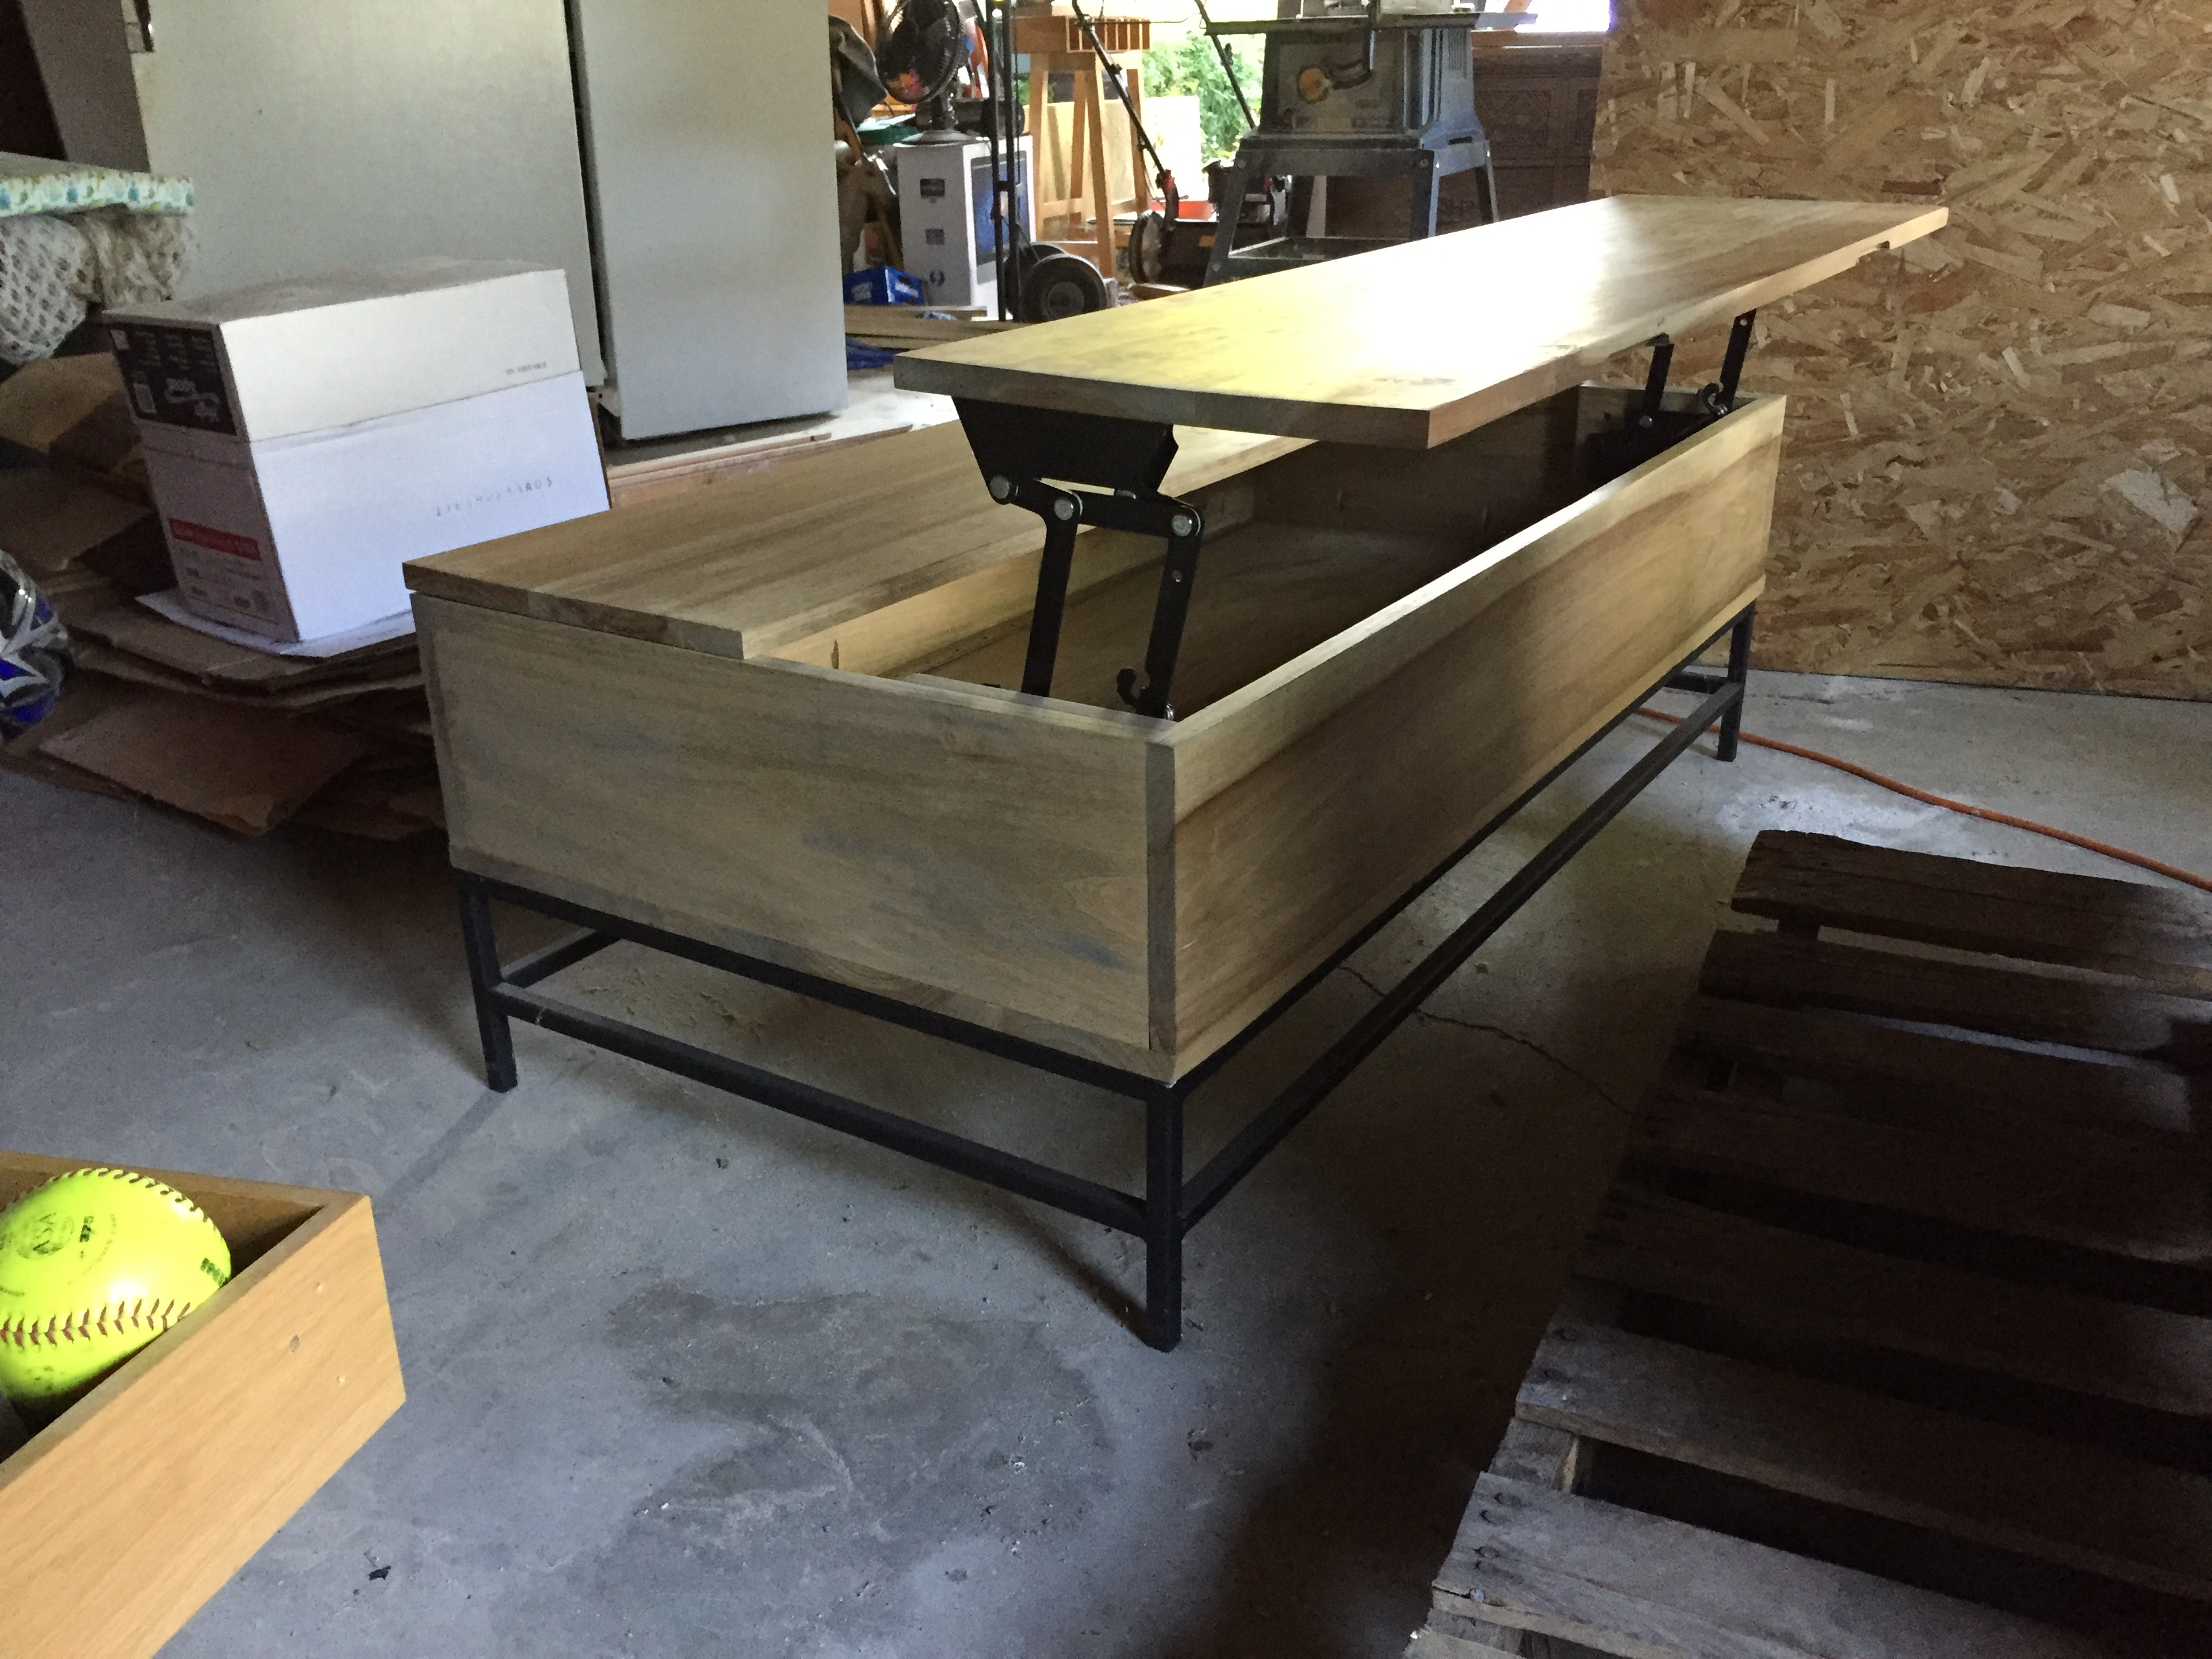
West Elm Knock Off Coffee Table
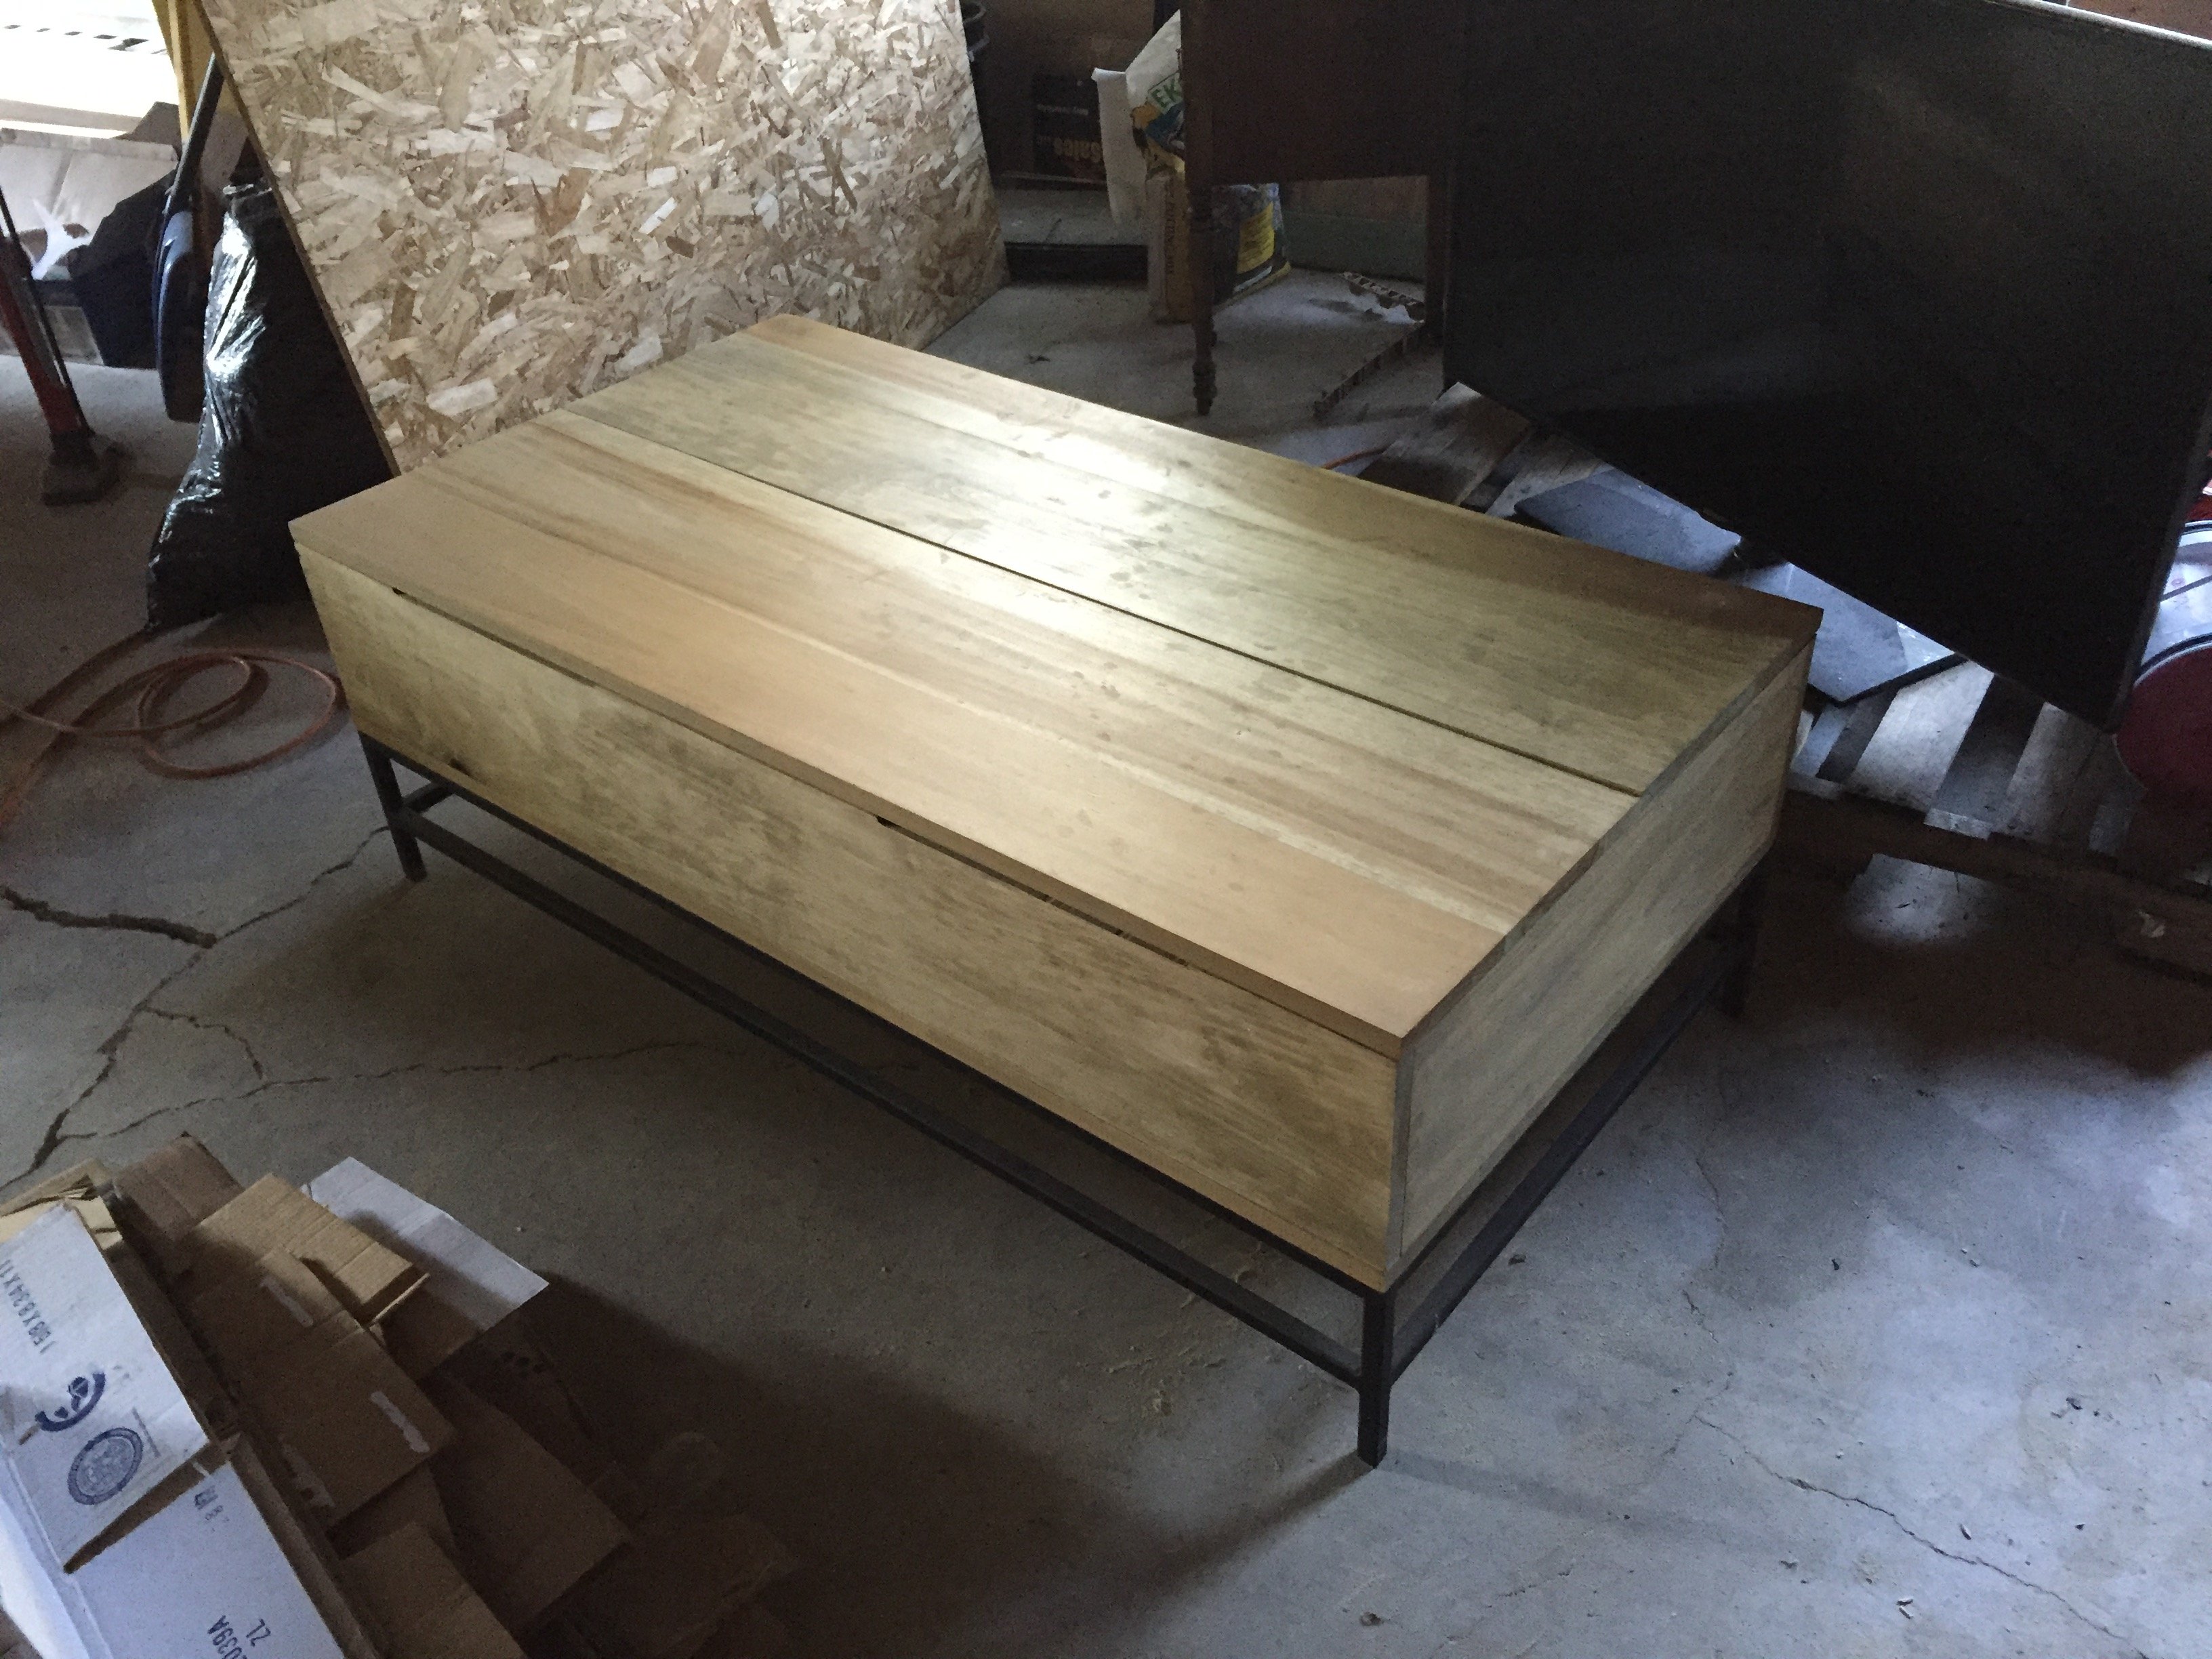
This was the first West Elm Knock off I attempted. This was the first coffee table my sister requested. This was also my first experience welding. All in all it turned out pretty amazing. She wanted one with a lifting table. I bought the lift off of Amazon for around $60. The wood is all Poplar and she used a mixture of stains to get the look she wanted. I also added a hinge to the back other half of the table top so you can lift it to add more stuff inside the table. I do not have any plans for this project as well i mostly just looked at the website and used the dimensions they had posted.
Estimated Cost
$150-$200
Estimated Time Investment
Week Long Project (20 Hours or More)
Recommended Skill Level
Advanced
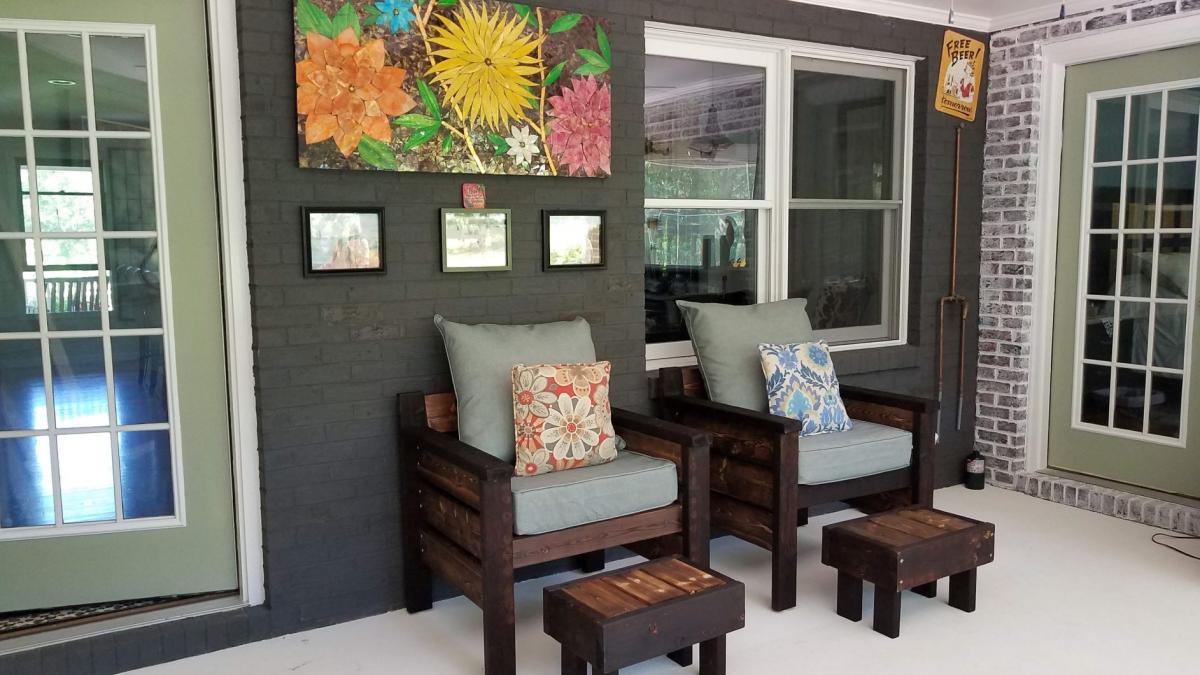
Modern Outdoor Chairs with modifications
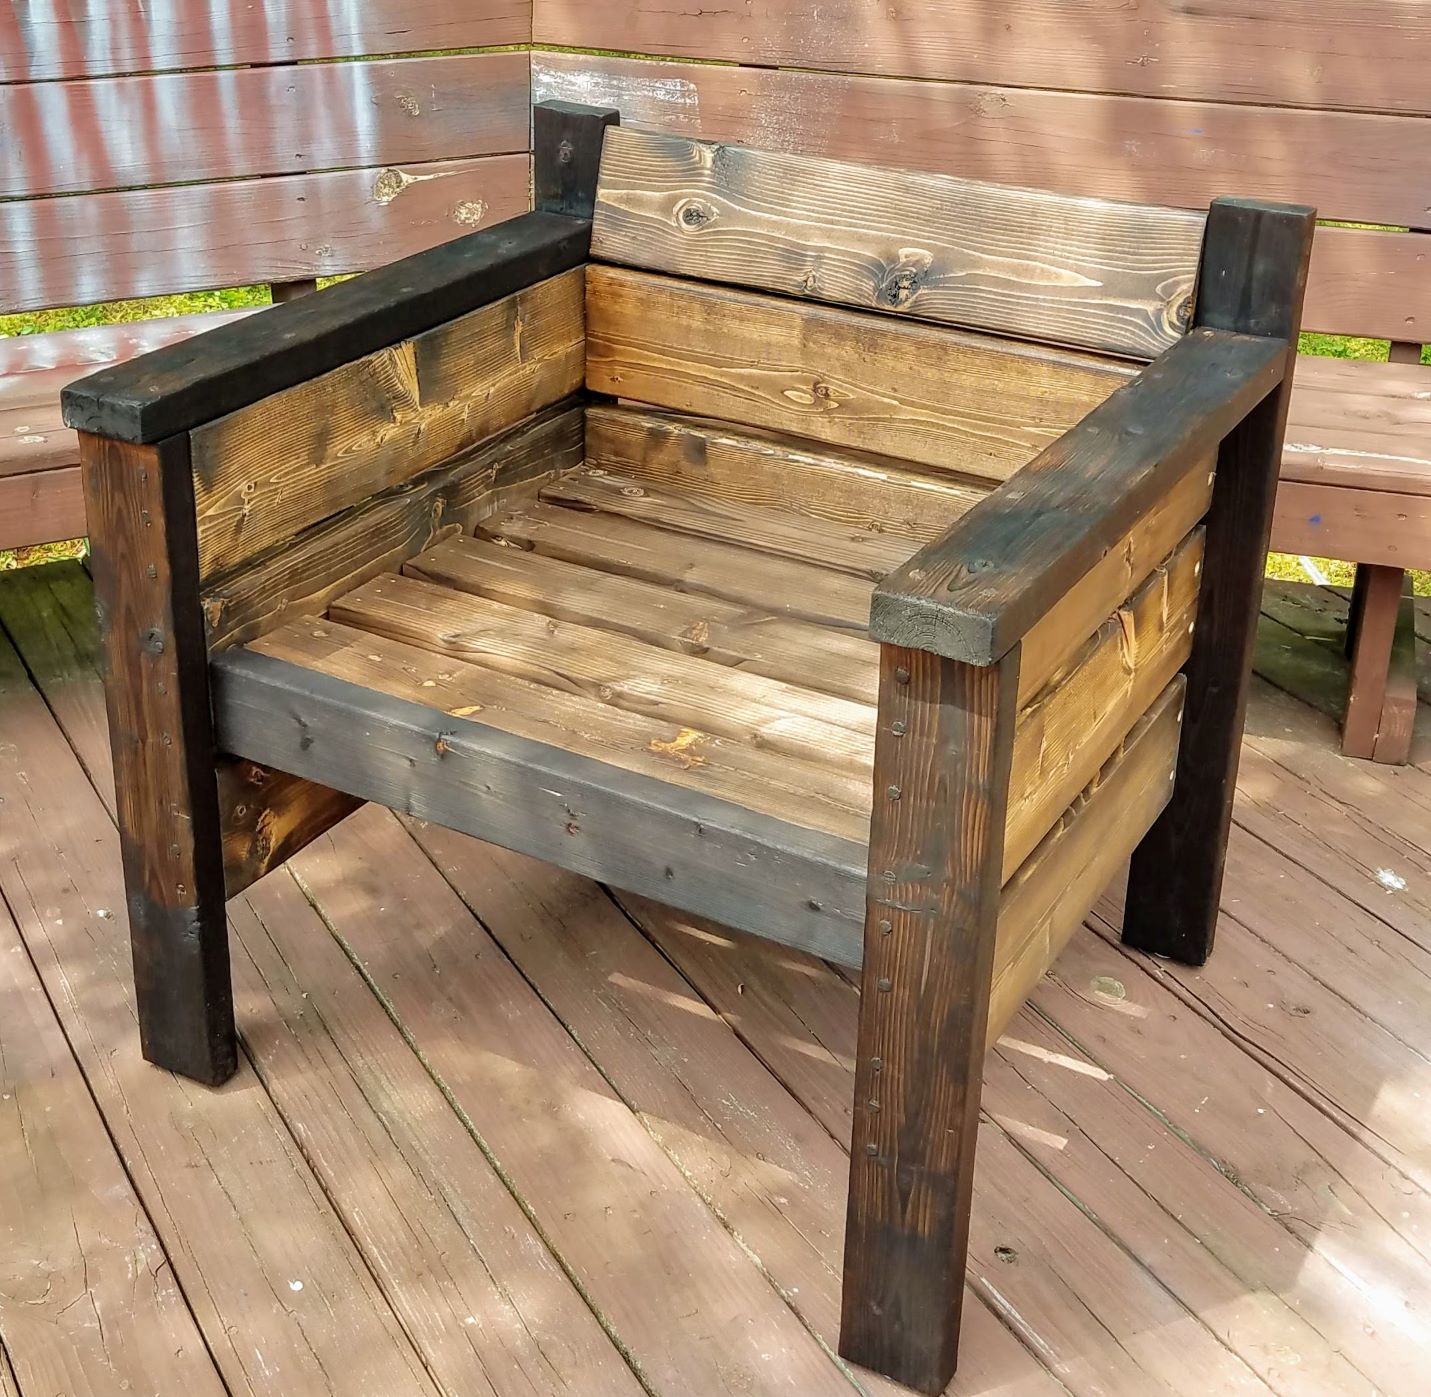
After renovating our screen porch at the onset of Covid, I searched online for an indoor patio furniture. As you probably guessed , with my limited budget, I couldn't find "affordable" and "quality" in one product . ALAS! Ana White's website and her Modern Chair Plans appears in my search. After reviewing her easy to use plans, my husband and I were confident we could tackle the project. With a few modifications, we are very pleased with results. Modifications: Added one additional 2 x 6 providing a higher backrest ; increased the chair height 3"(for us, making it easier to get in and out of the chair); and, used dowel rods to fill screw holes. Also with the extra leftover material, my husband made ottomans that under the chair for easy storage.
We love the results and use them daily! Thank you Ana for sharing your plans!
Built from Plan(s)
Estimated Cost
$40 per chair
Estimated Time Investment
Week Long Project (20 Hours or More)
Finish Used
Chair frame: Color / Shou sugi ban: wood-burning techniques
Chair slats: Espresso color stain
Chairs were sealed with Danish Oil (medium for frame / natural for slats). Chairs will be used in a screen porch protected from the weather.
Chair slats: Espresso color stain
Chairs were sealed with Danish Oil (medium for frame / natural for slats). Chairs will be used in a screen porch protected from the weather.
Recommended Skill Level
Beginner
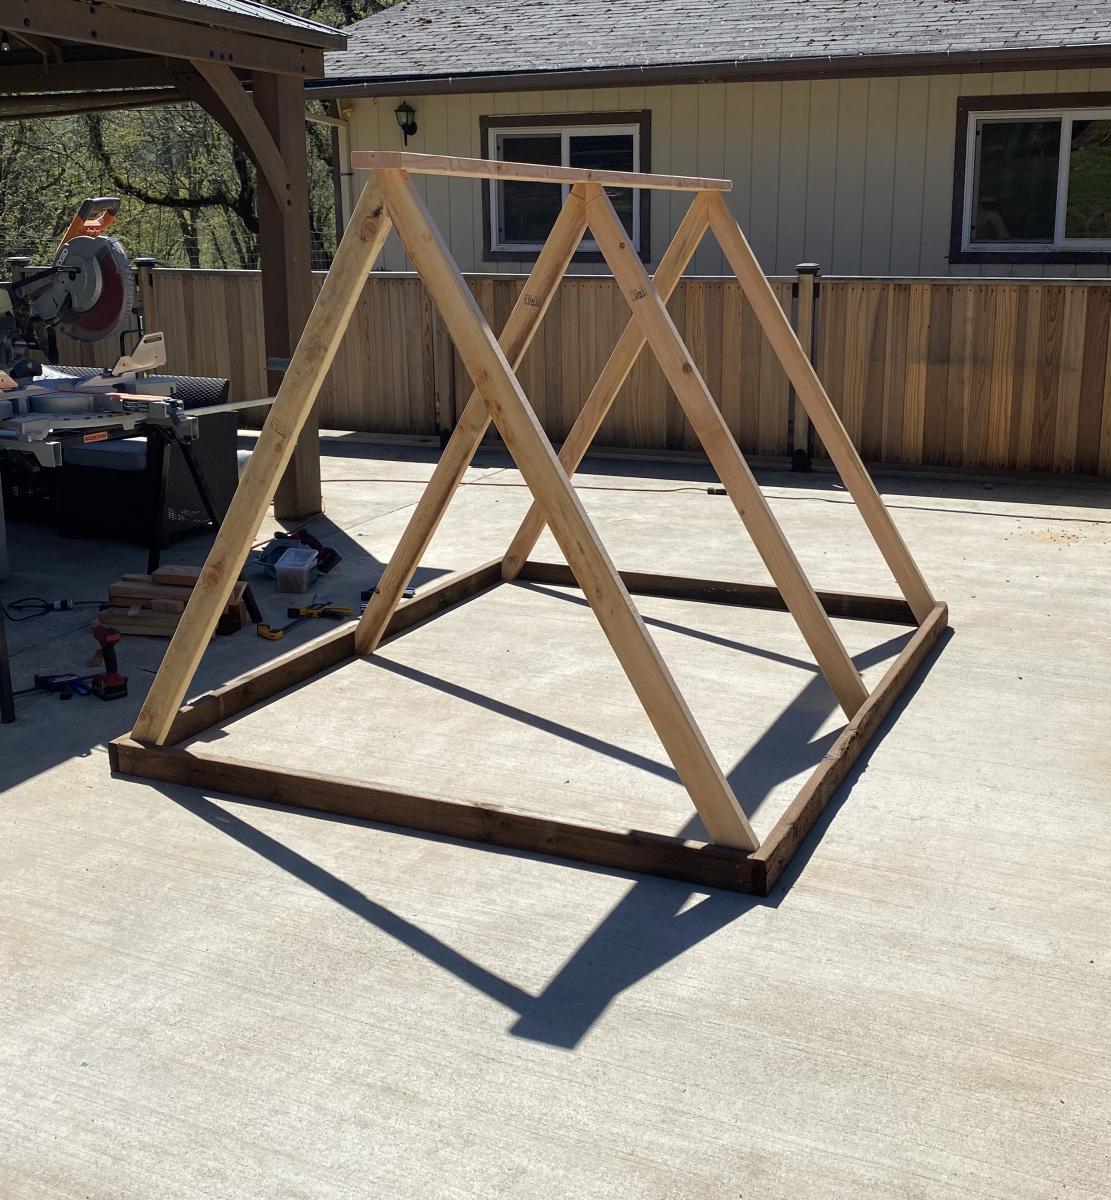
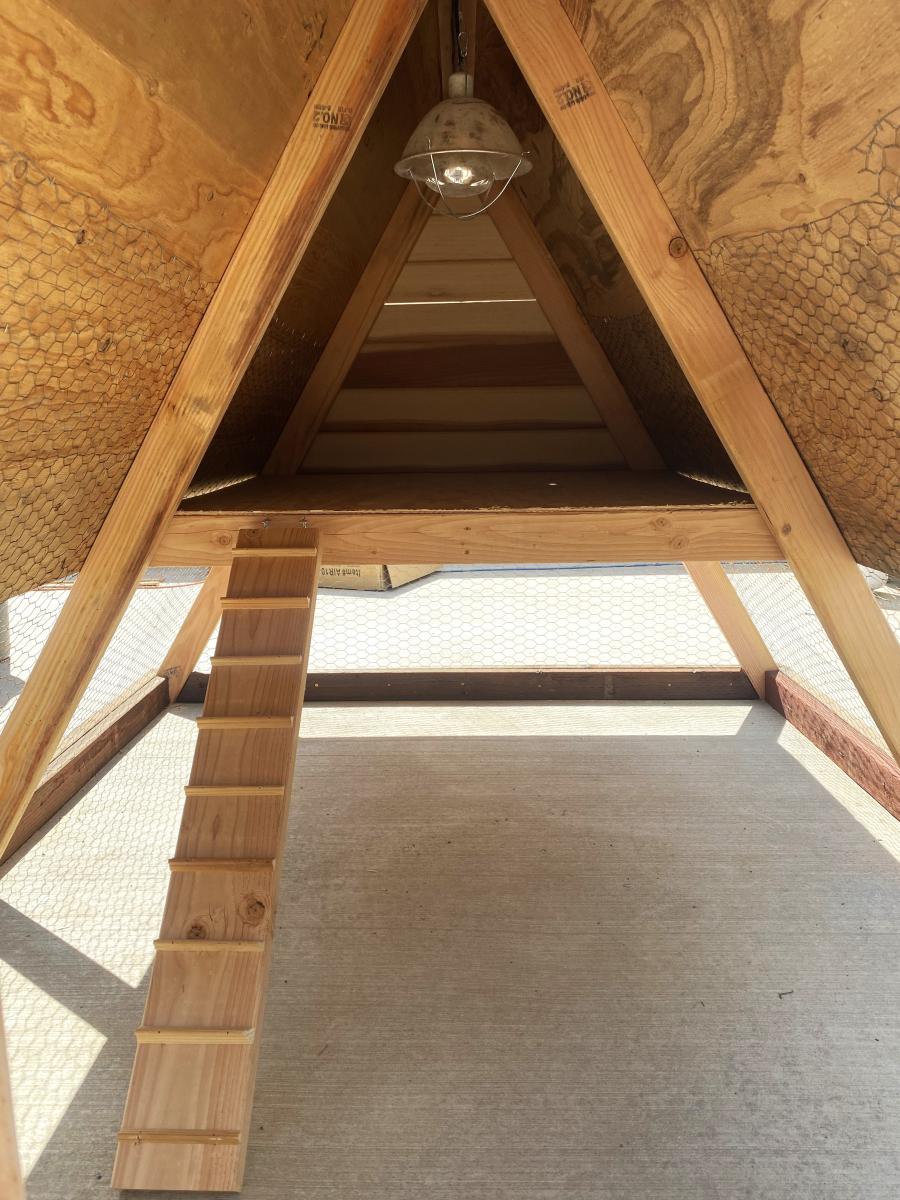
A-Frame Hen House
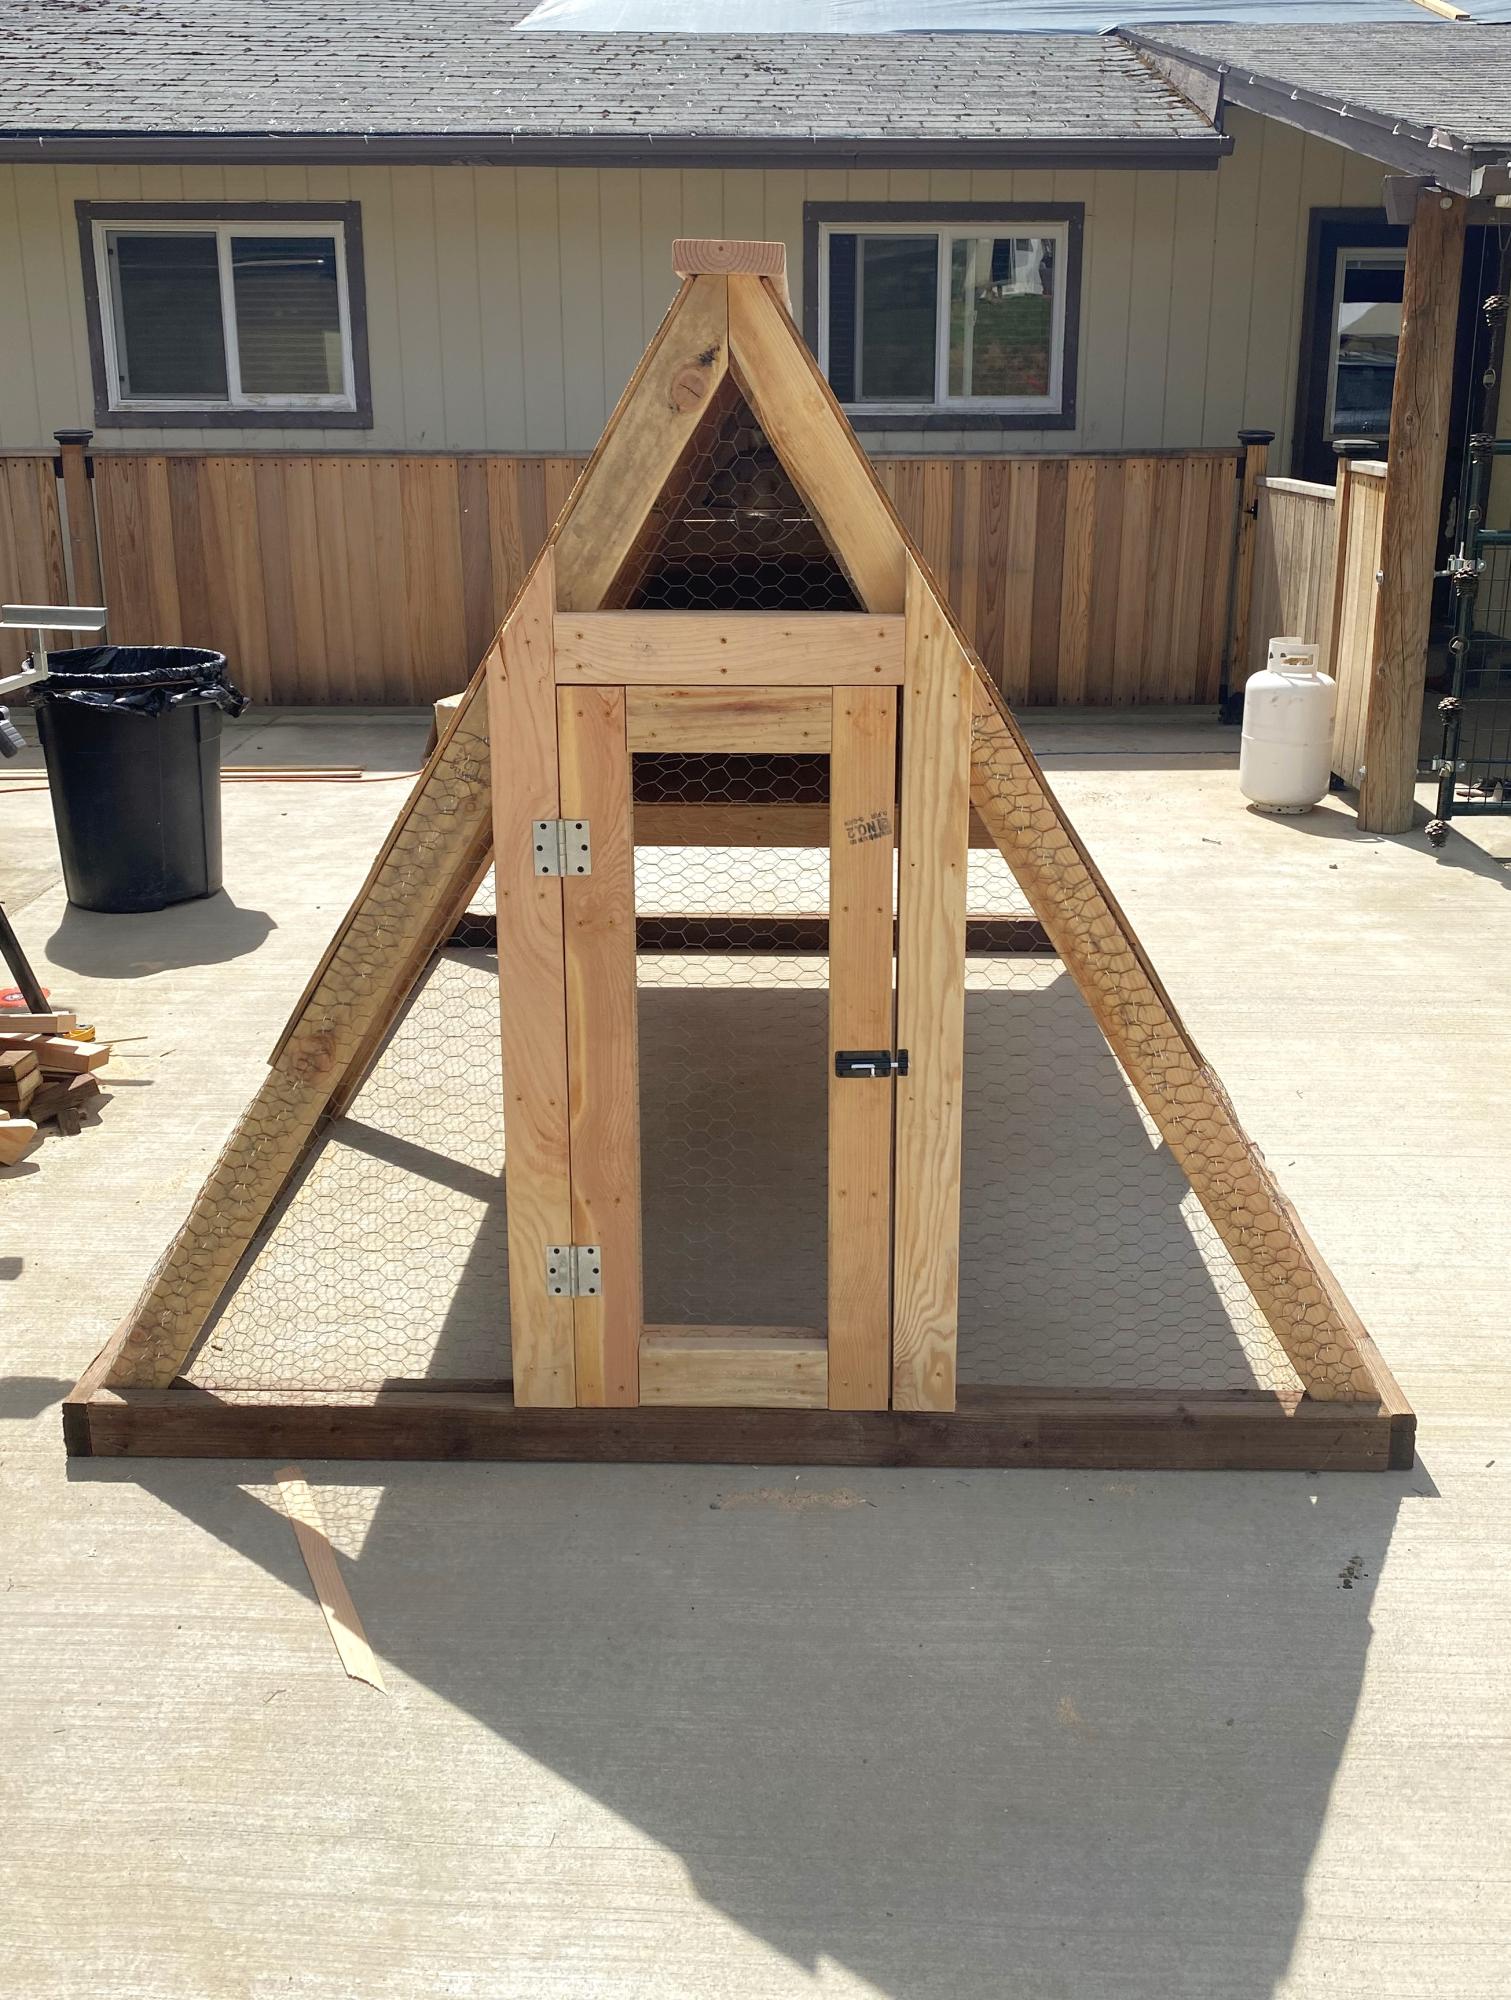
Great easy project to get the bigger chicks out of the garage to integrate with the older hens. Made some modifications because we have a lot of critters trying to kill the chickens/chicks.

Built from Plan(s)
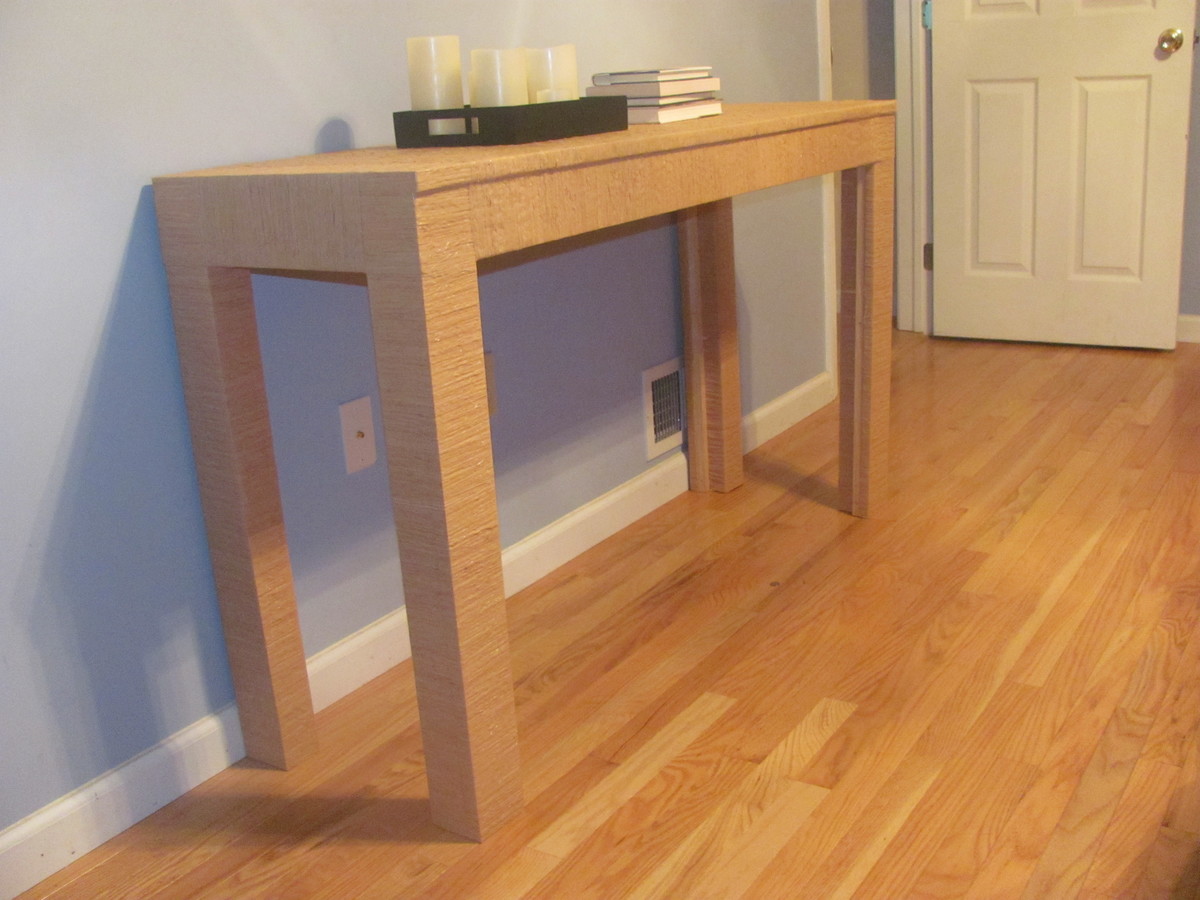
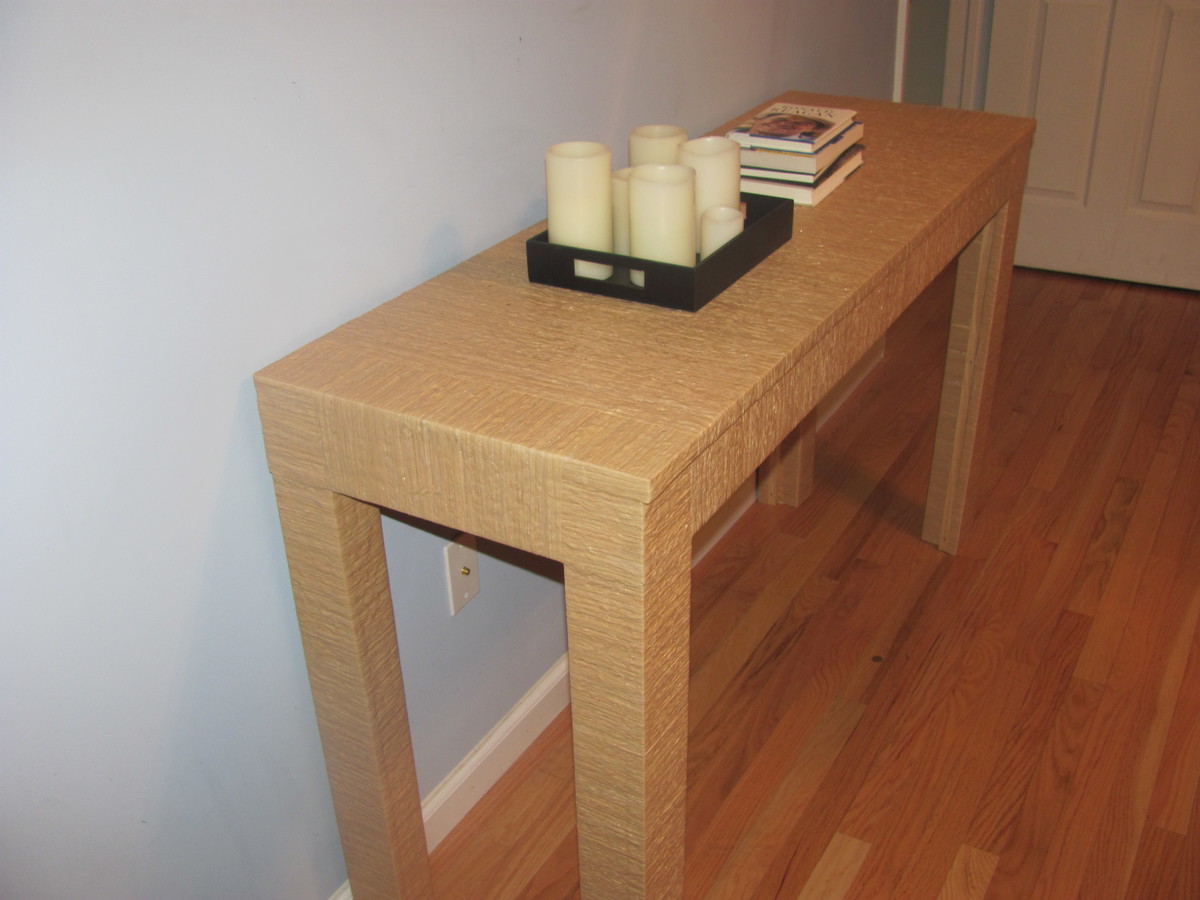
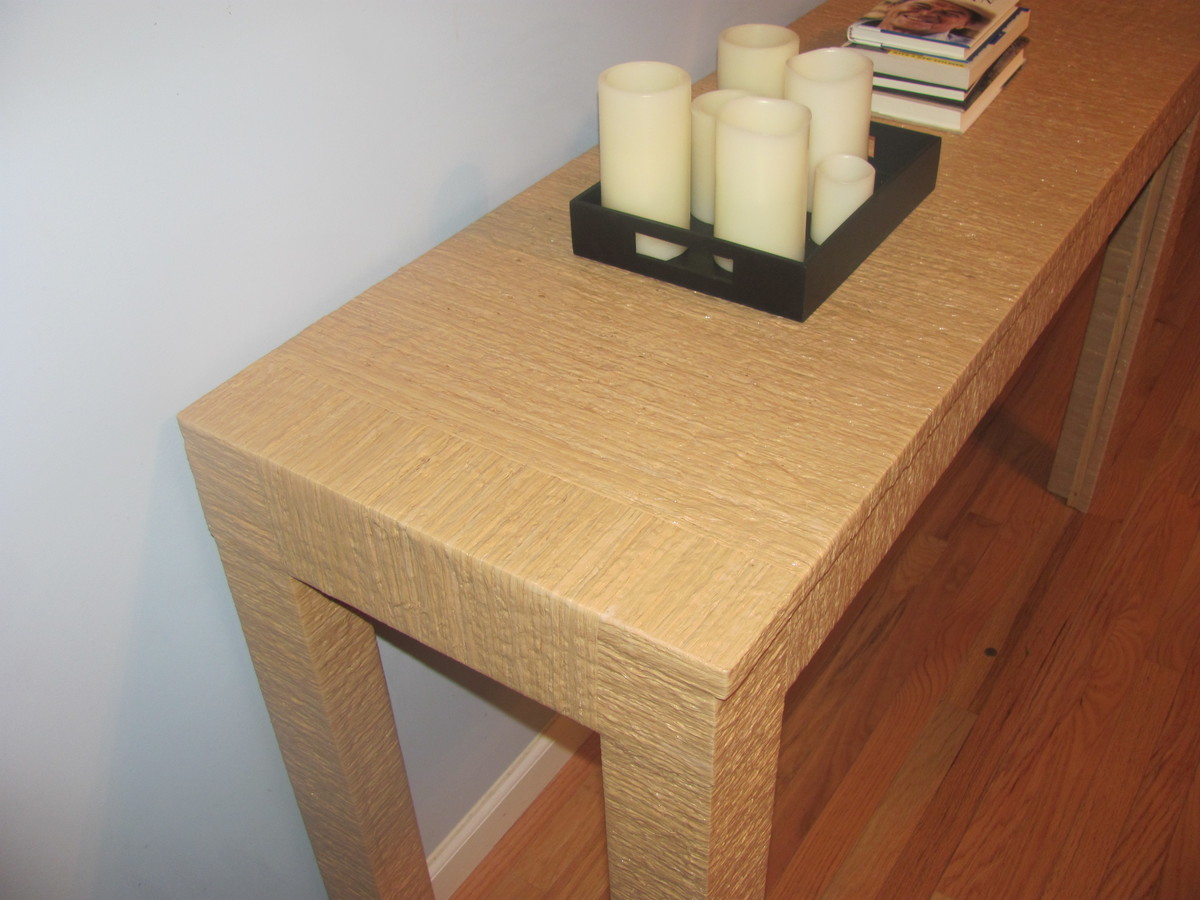
Parson Console Table
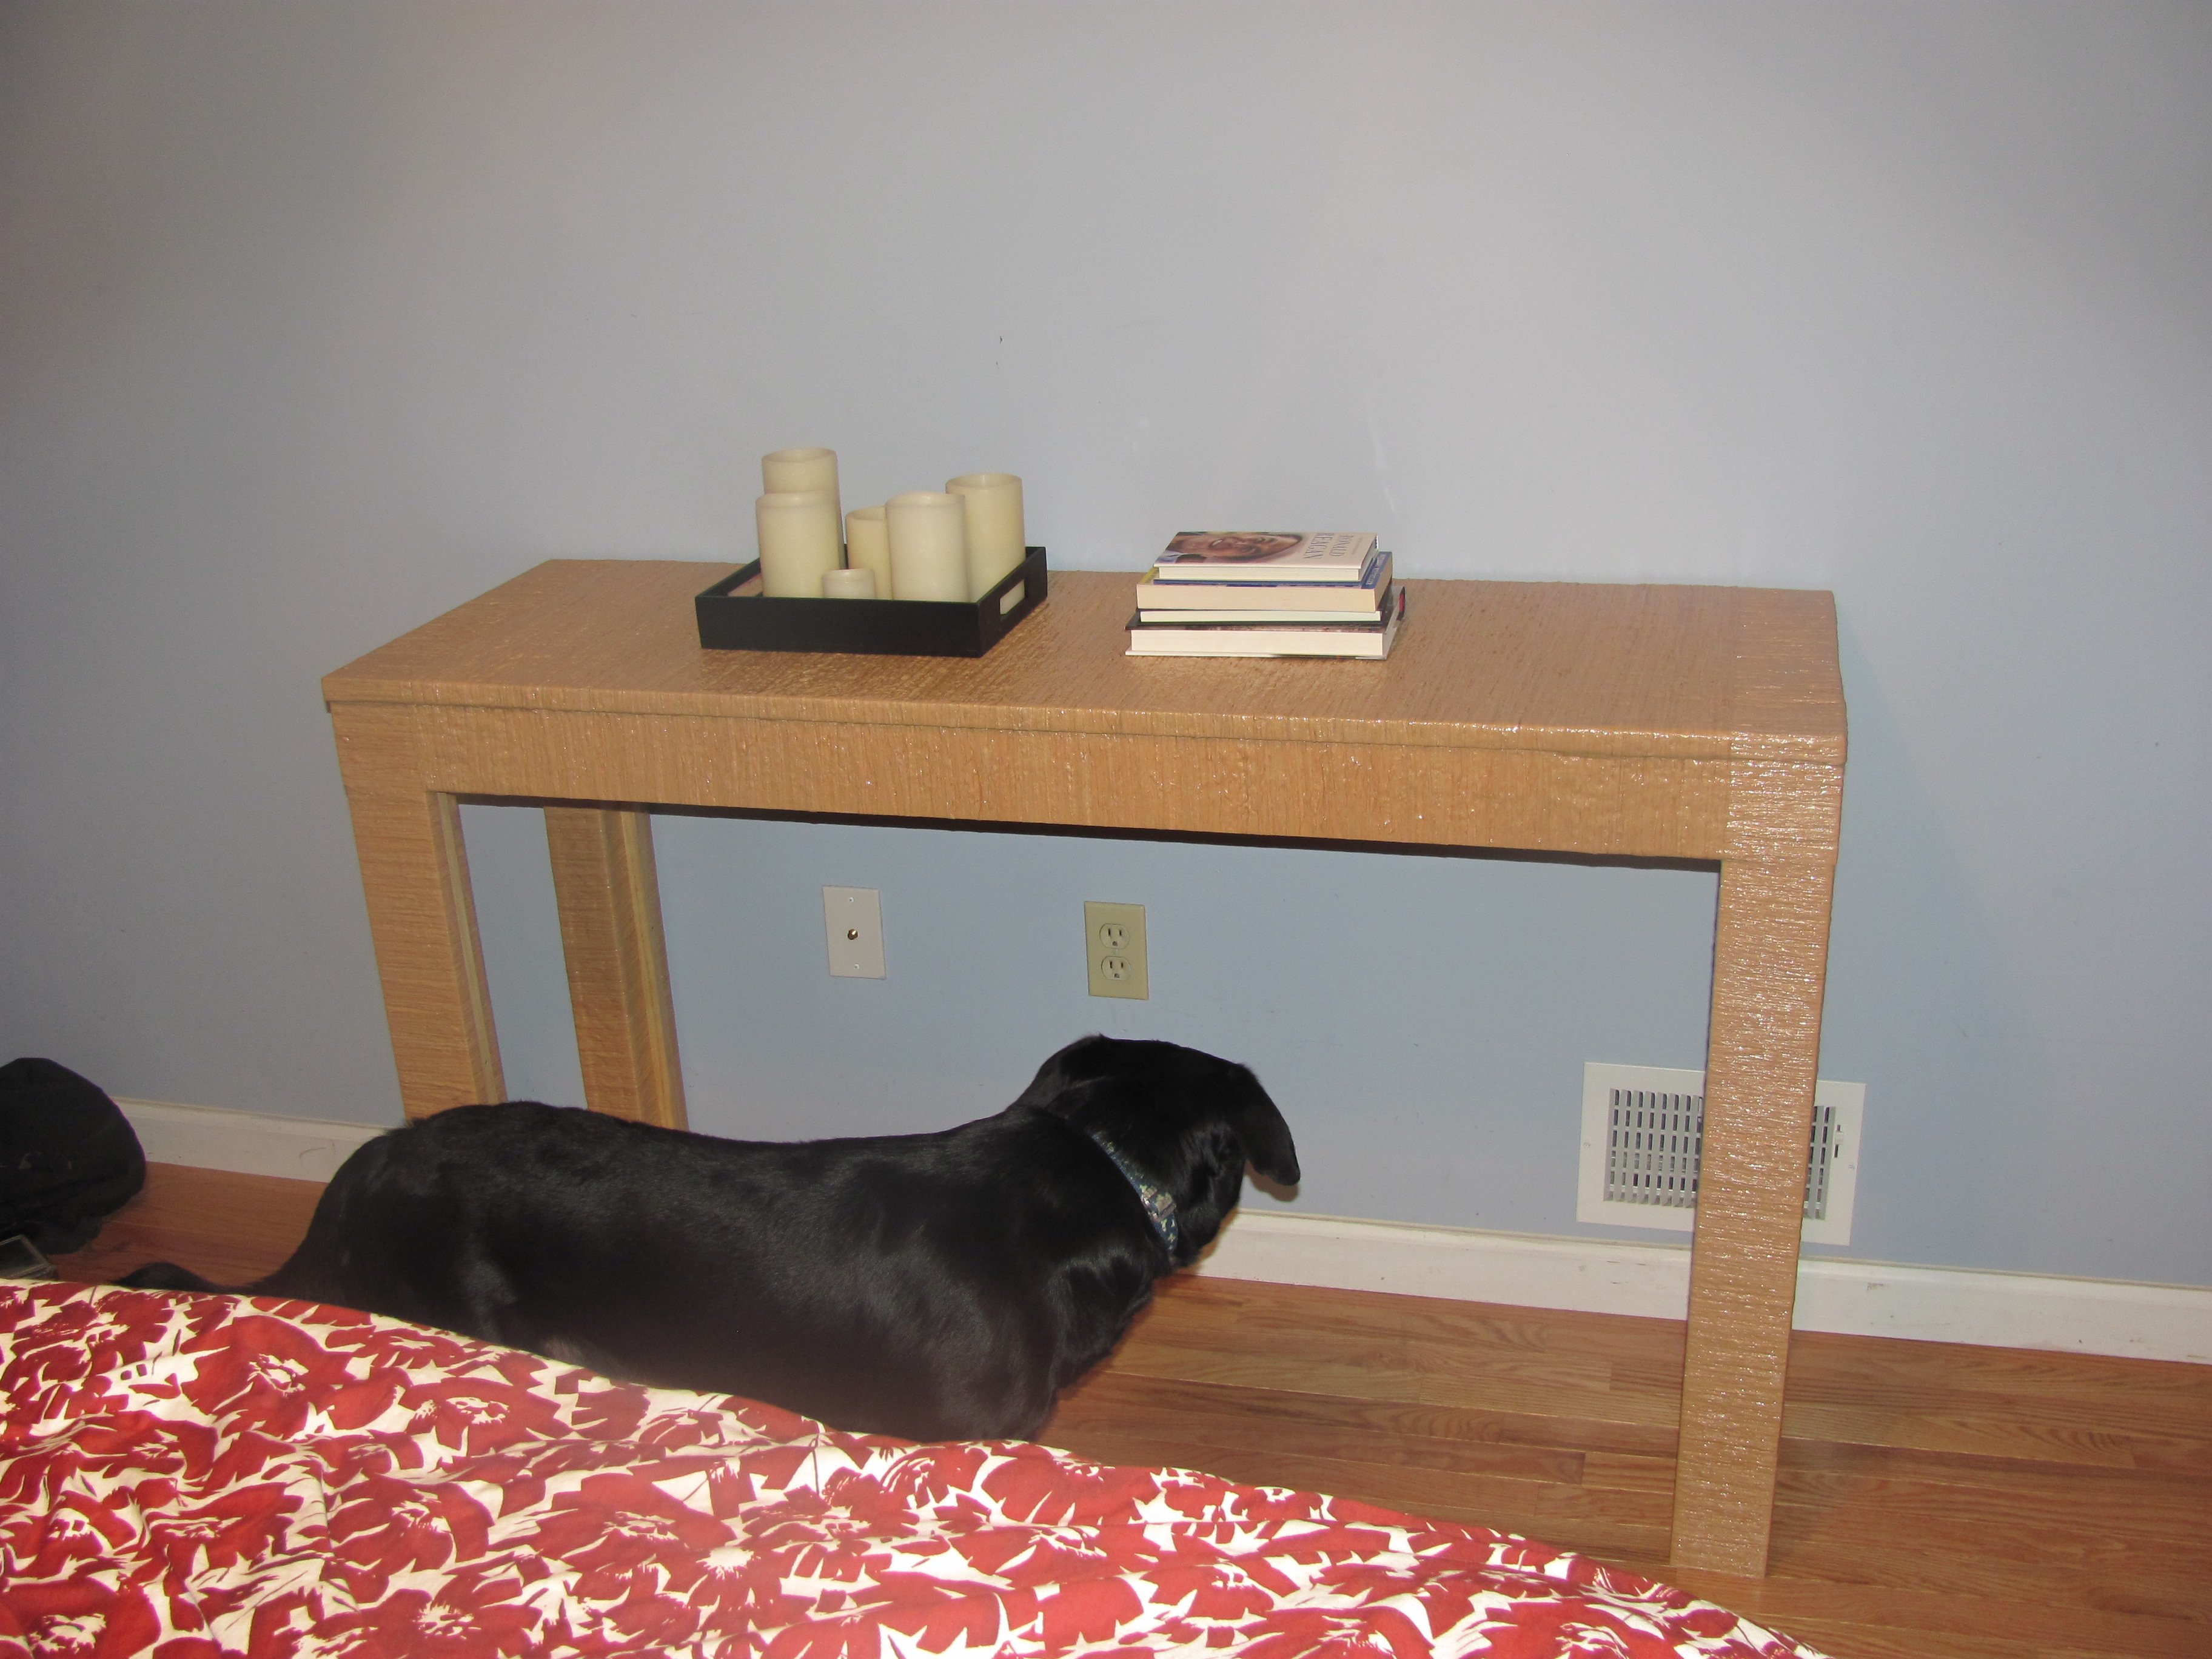
Thank you so much for the plan. I created a console table by adjusting the dimensions (finished table is 54 x 18 x 30) and omitted drawers. Used Modge Podge to adhere raffia to table (this was the most time consuming part of the project). Finished with a clear coat of polyurethane. Based this project on a table I originally saw in the HGTV Green Home 2010 master bedroom. http://hgtv.sndimg.com/HGTV/2010/03/03/GH2010-105_03-master-bedroom-wid…
Built from Plan(s)
Recommended Skill Level
Beginner
Comments

Sat, 06/22/2013 - 13:45
No, thank YOU...
I'd been wondering on how to attack the covering of my desk with fabric. I'd toyed with the idea of Modge Podge but was not quite sure on its adhering capabilities. Around here, it gets so humid that the adhesive on my 3D Command strips melts and things fall off the walls. How has it held up thus far? I'm attempting to cover mine in upholstery fabric.