Community Brag Posts

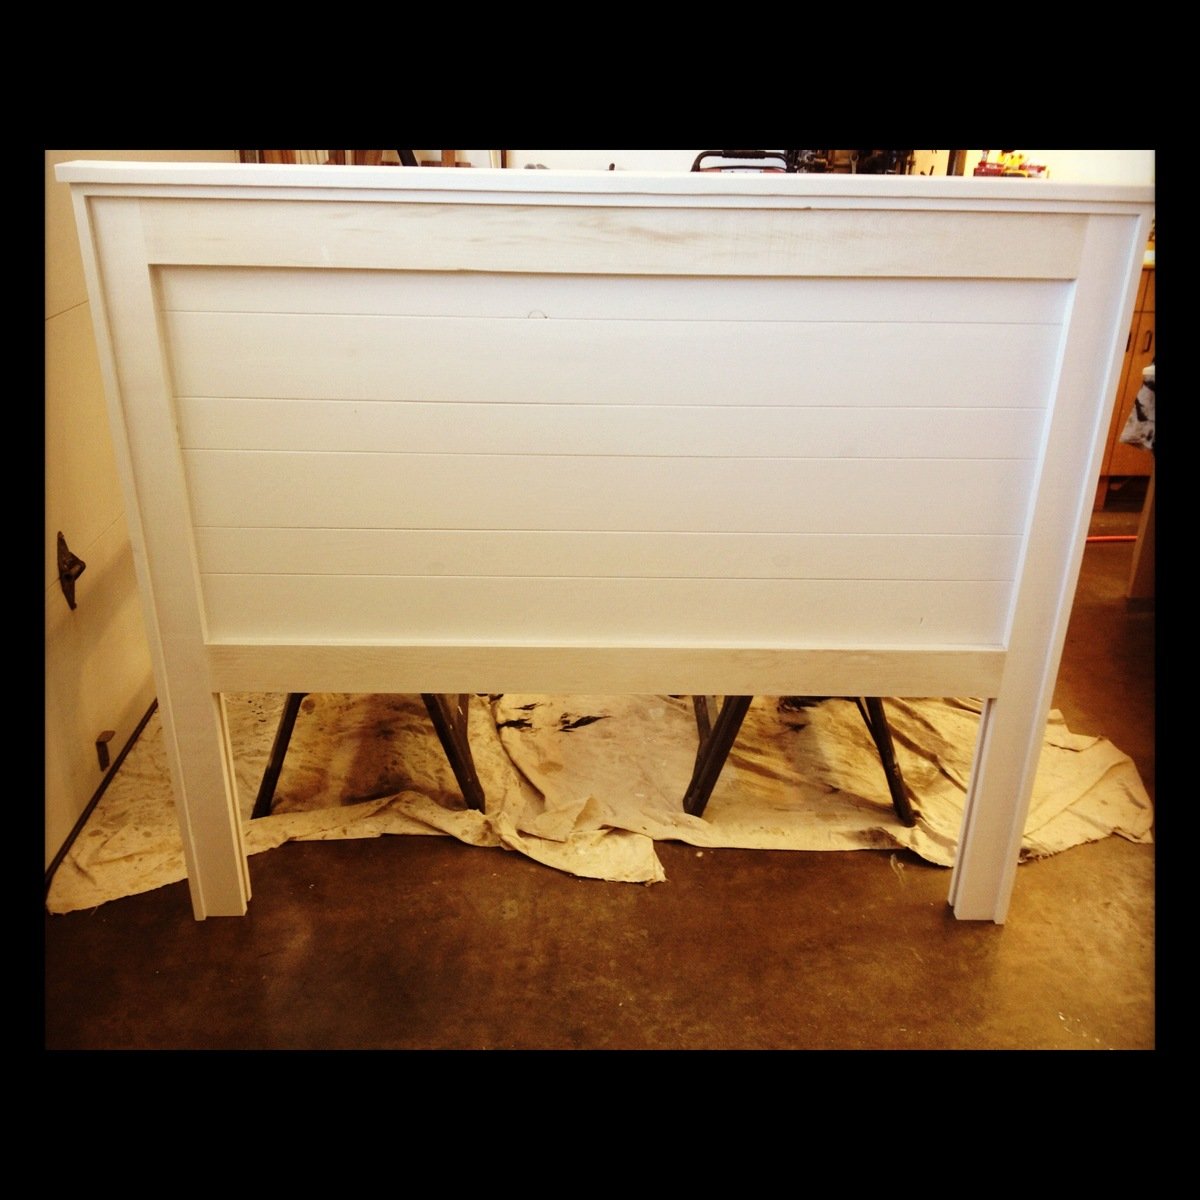
12 year old built her bed!

Submitted by gmktt on Wed, 07/08/2020 - 20:01

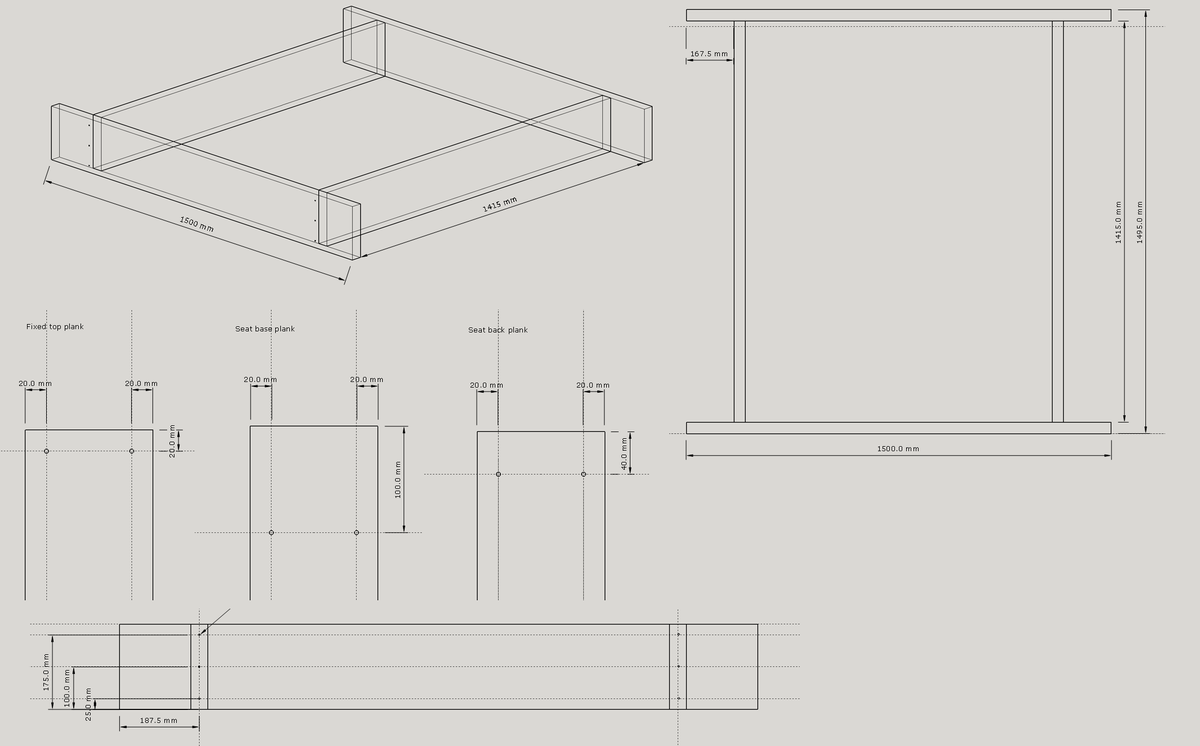
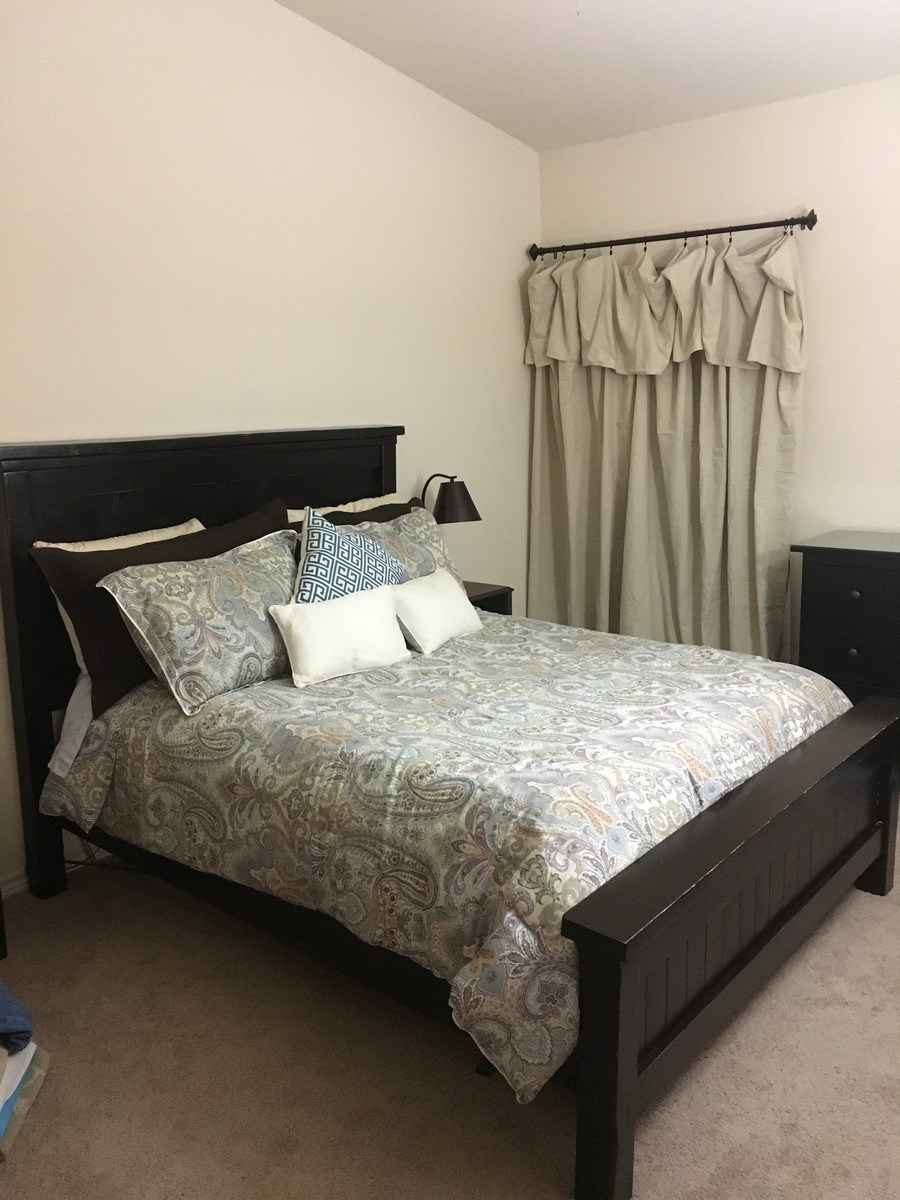
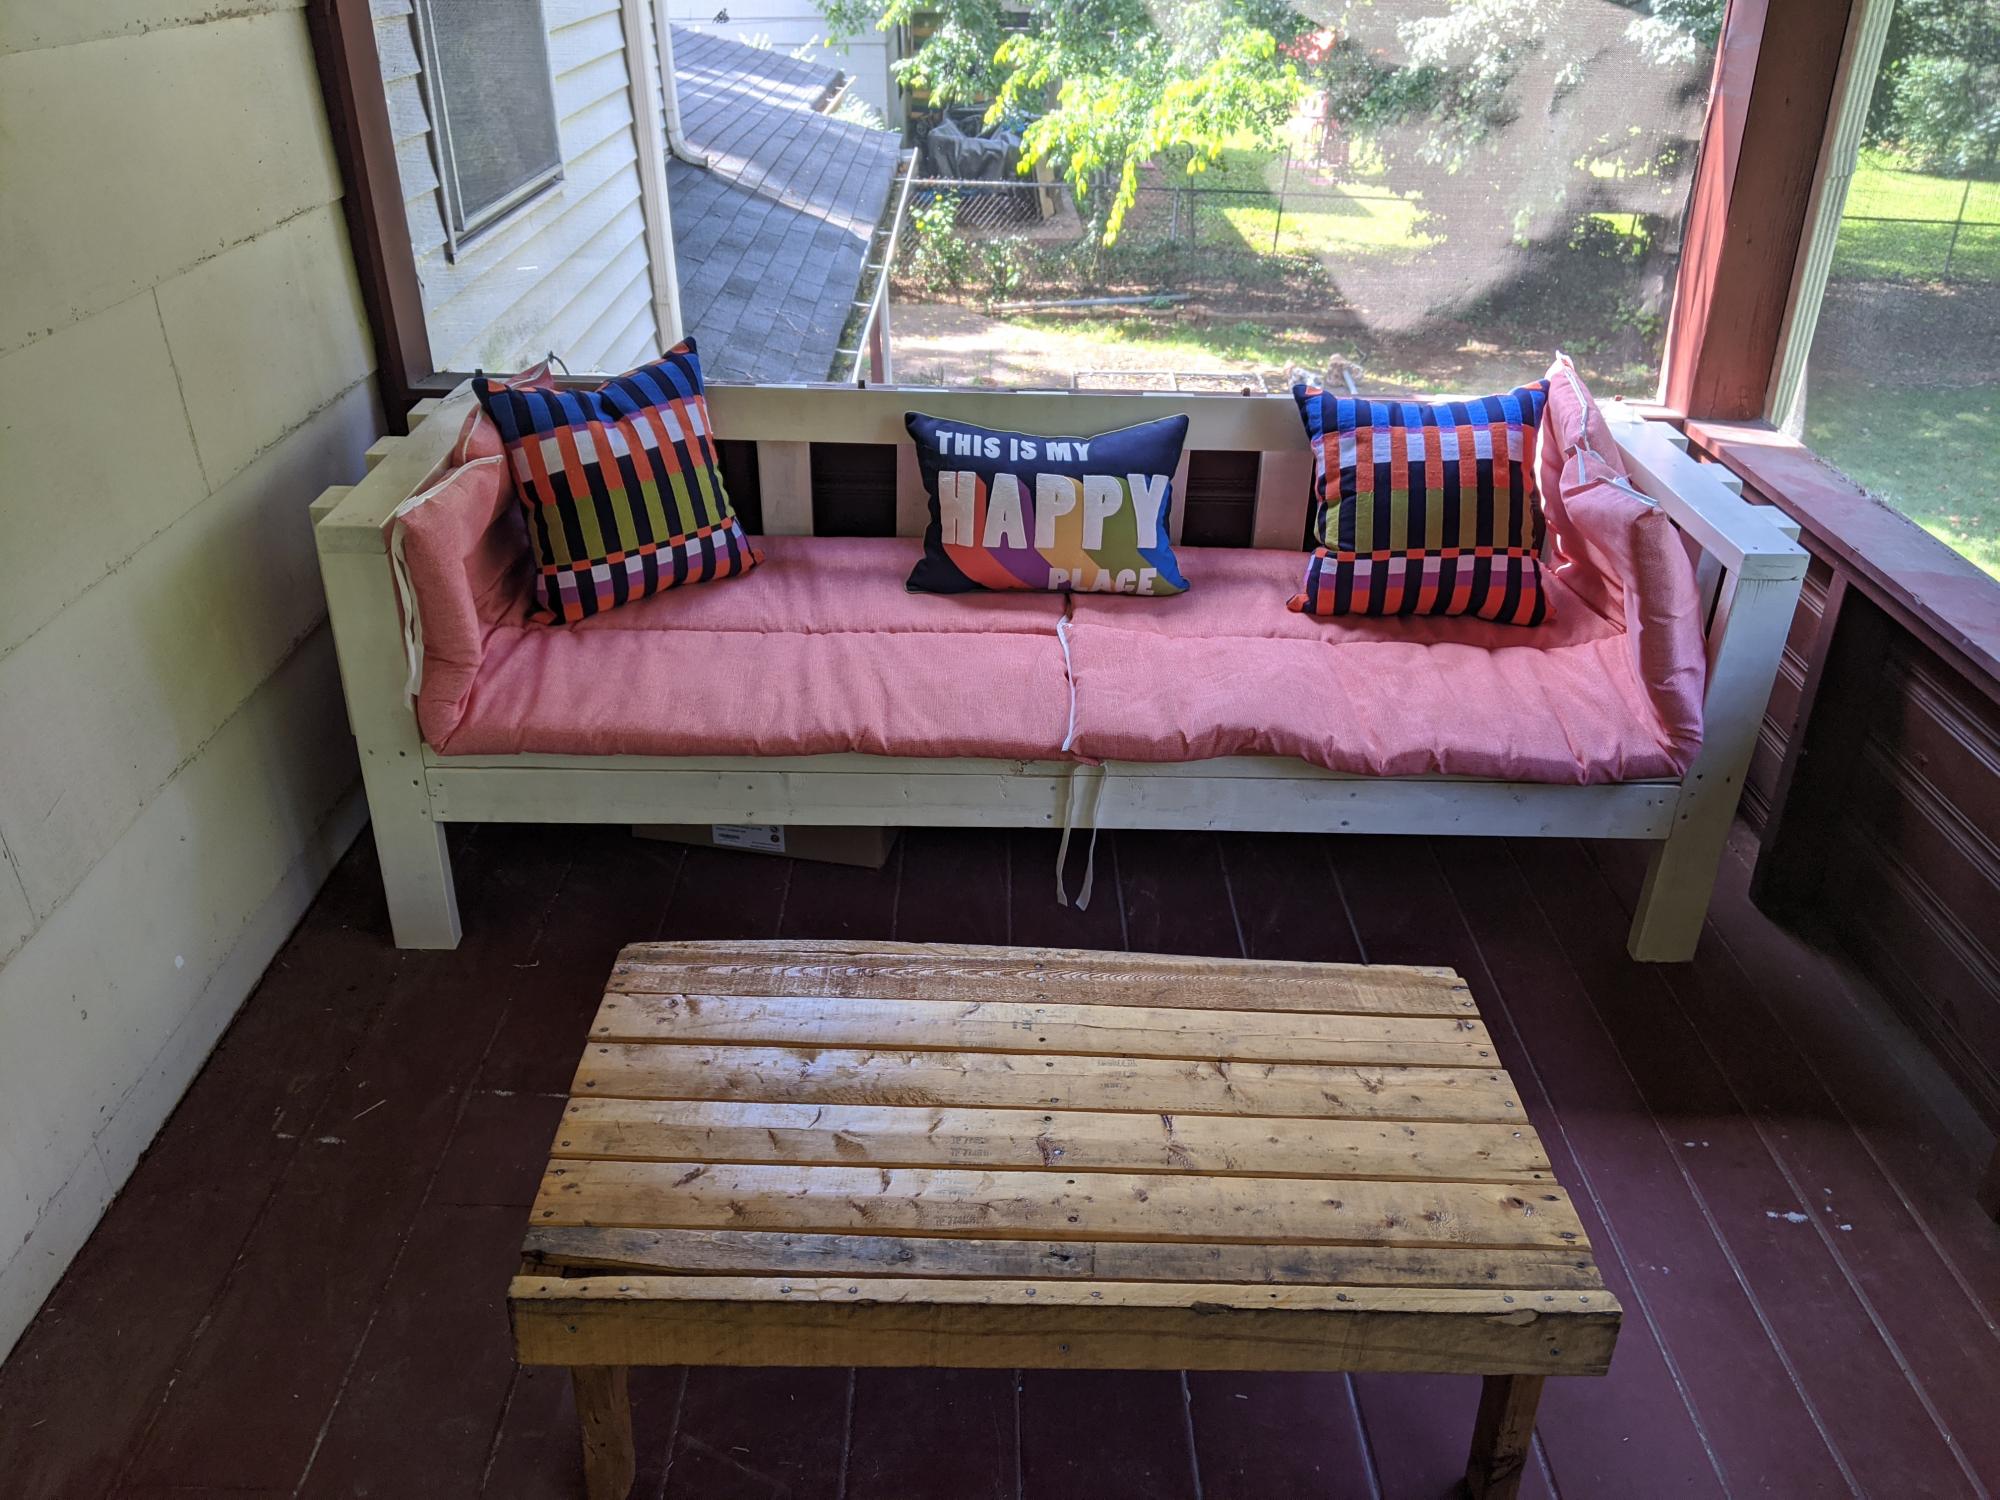
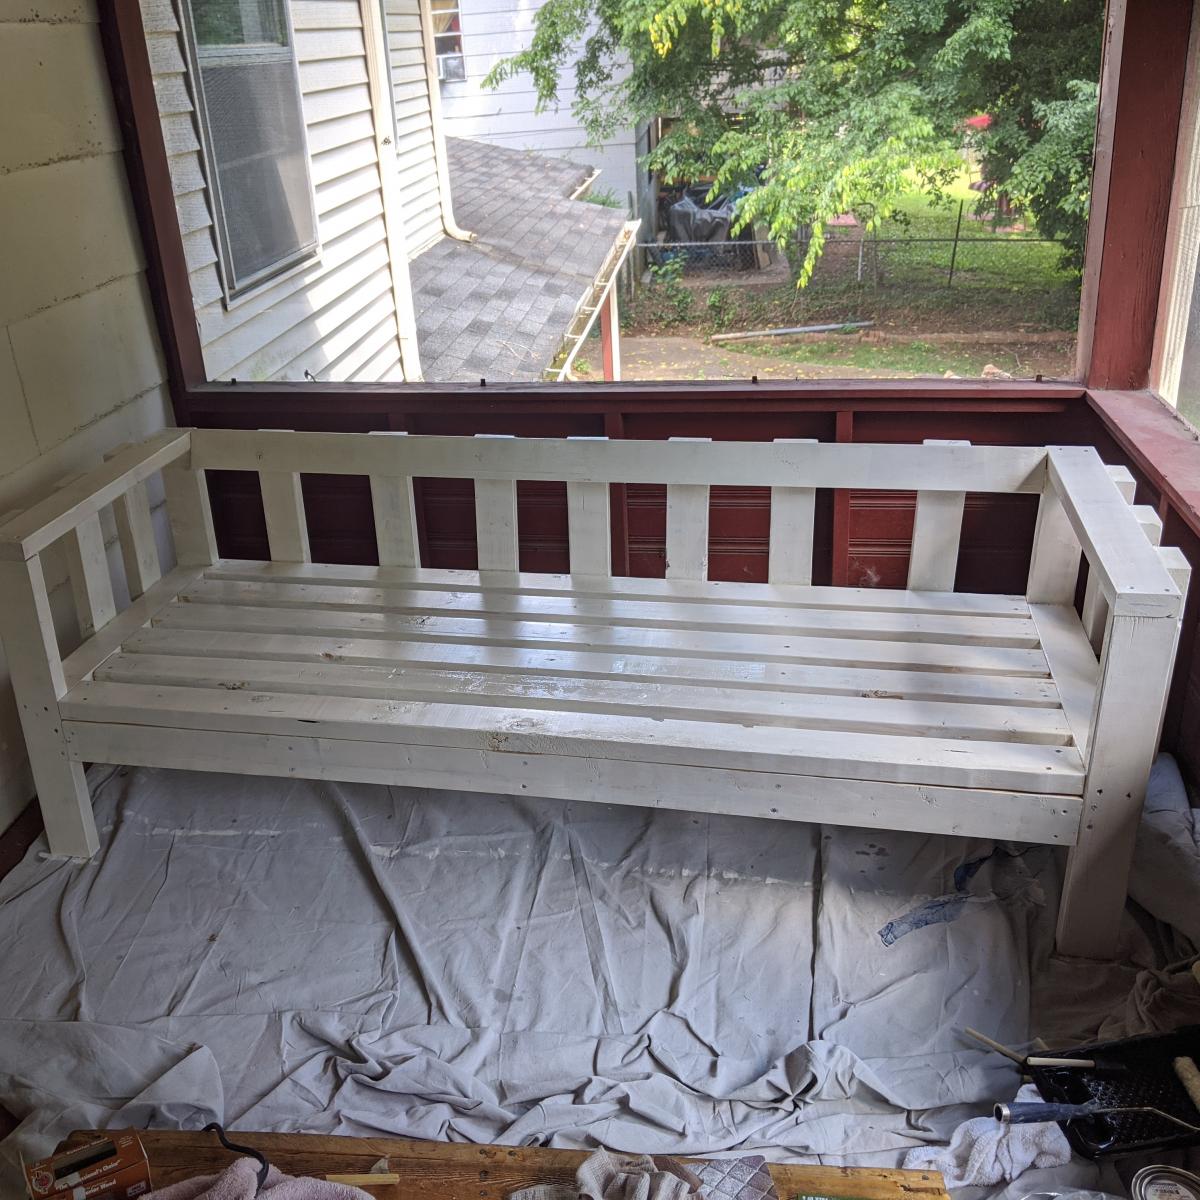
Thanks Ana White for the awesome plans! My daughter decided she wanted a new bed, so I told her I’d help her build one. I am not a carpenter, by any stretch, but I thought it would be some good dad/daughter bonding time. She tweaked your plans, did all the cuts, drilling, sanding, and painting (well, most of the sanding and painting anyway), and tolerated her father with great grace. It turned out pretty well. We couldn’t have done it without your plans! Thanks again! —Gabe

Built from Plan(s)
Estimated Cost
$600.00
Estimated Time Investment
Week Long Project (20 Hours or More)
Finish Used
White semi-gloss interior latex.
Recommended Skill Level
Beginner

Comments

Headboard Bench build

Submitted by Smiley2459 on Thu, 09/06/2012 - 20:26

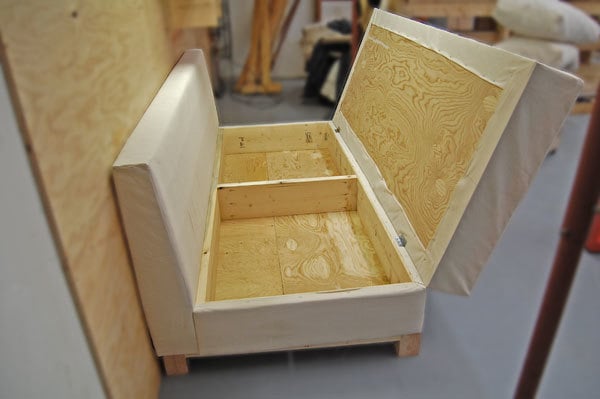
This bench was made from the Garden Bench build plan. It includes 2x4s, 1x3s, 1x4s, 2x2s, and an old head board for the back. It has been finished by sanding and spray painting.

Built from Plan(s)
Estimated Cost
$50-$60
Estimated Time Investment
Afternoon Project (3-6 Hours)
Finish Used
Rustoleum Primer and Rustoleum Leaf Green spray paint
Recommended Skill Level
Intermediate

Comments

spiceylg

Fri, 09/07/2012 - 04:39

I've been wanting to make a bench out of a headboard and possibly the footboard, too. Looks great!
tommirhea

Sat, 09/08/2012 - 07:27

I love this! It is sooo sweet. Now I'm going to keep my eye out for an old headboard. I like the color as well.
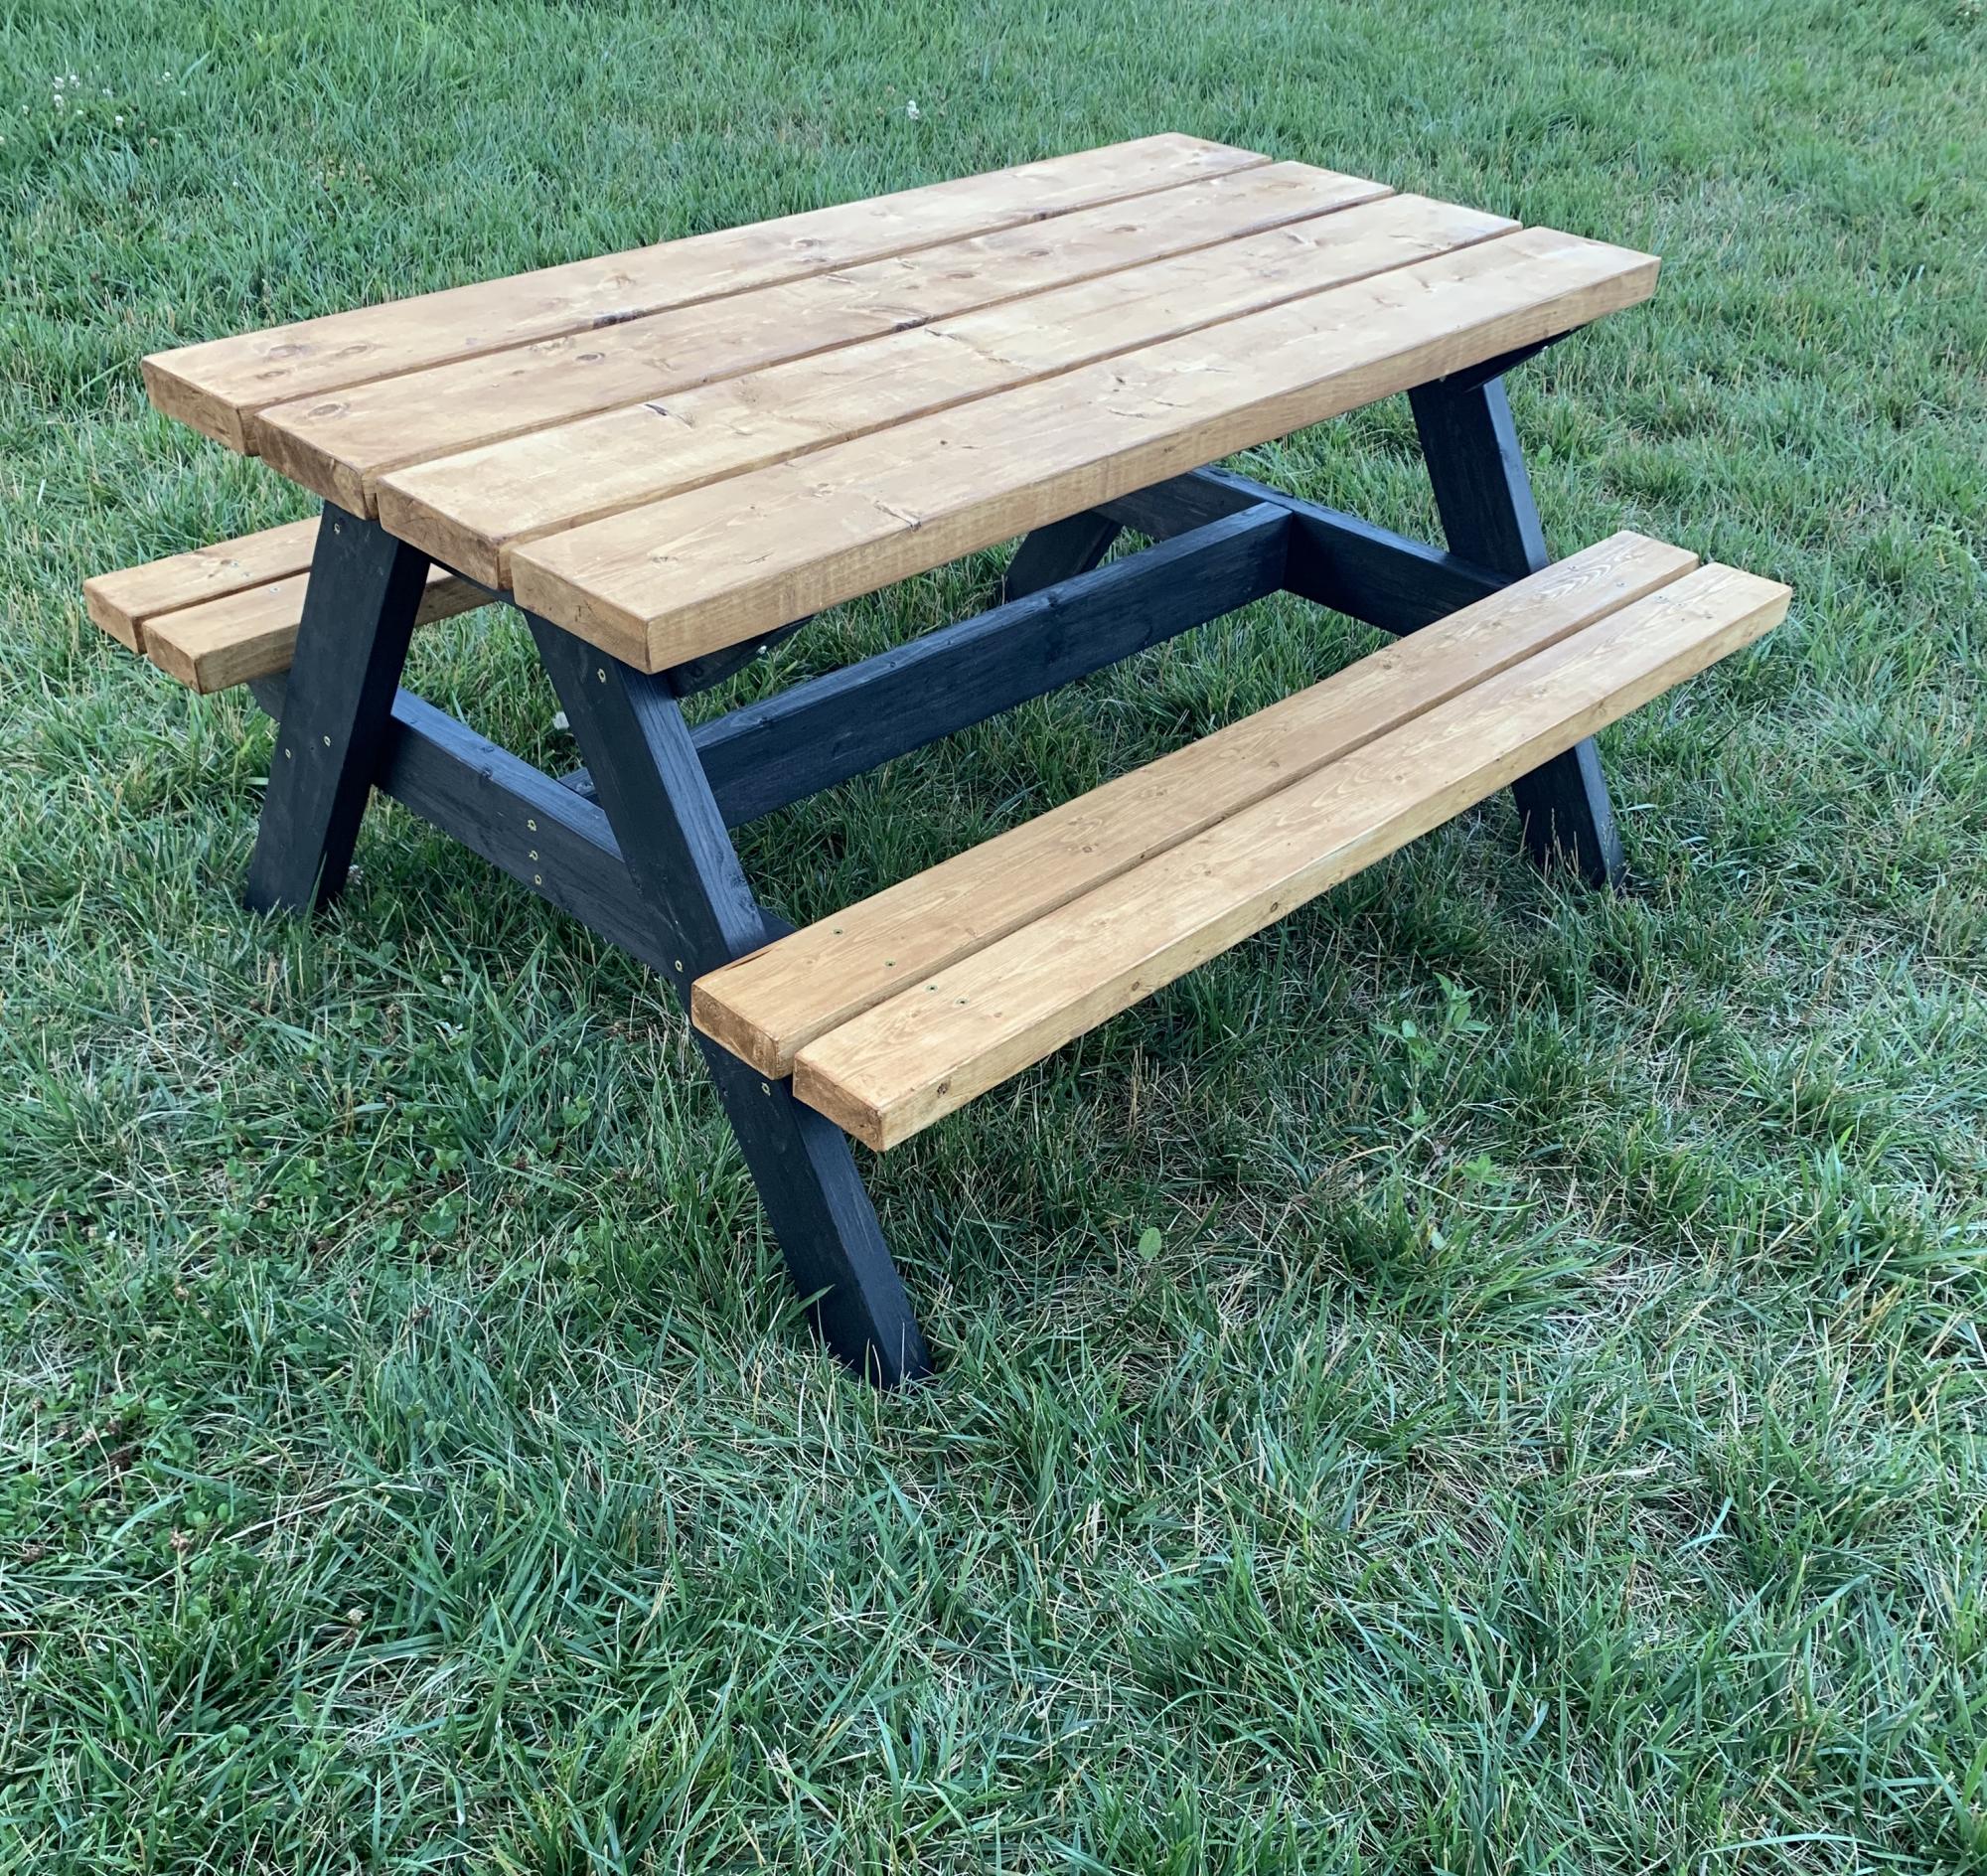
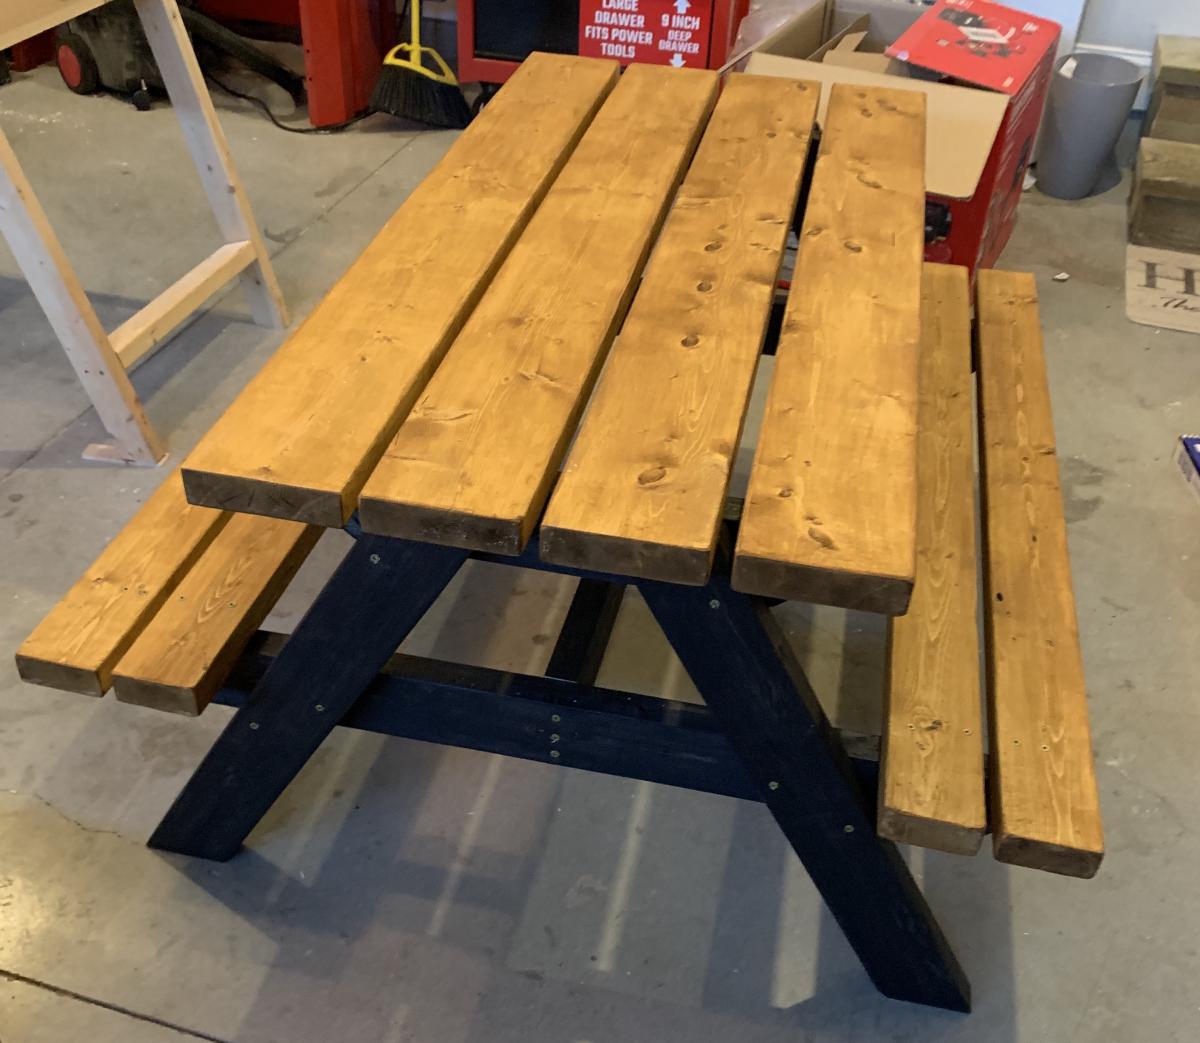
Big Kid Picnic Table

Submitted by bp1108 on Sat, 07/05/2014 - 09:27

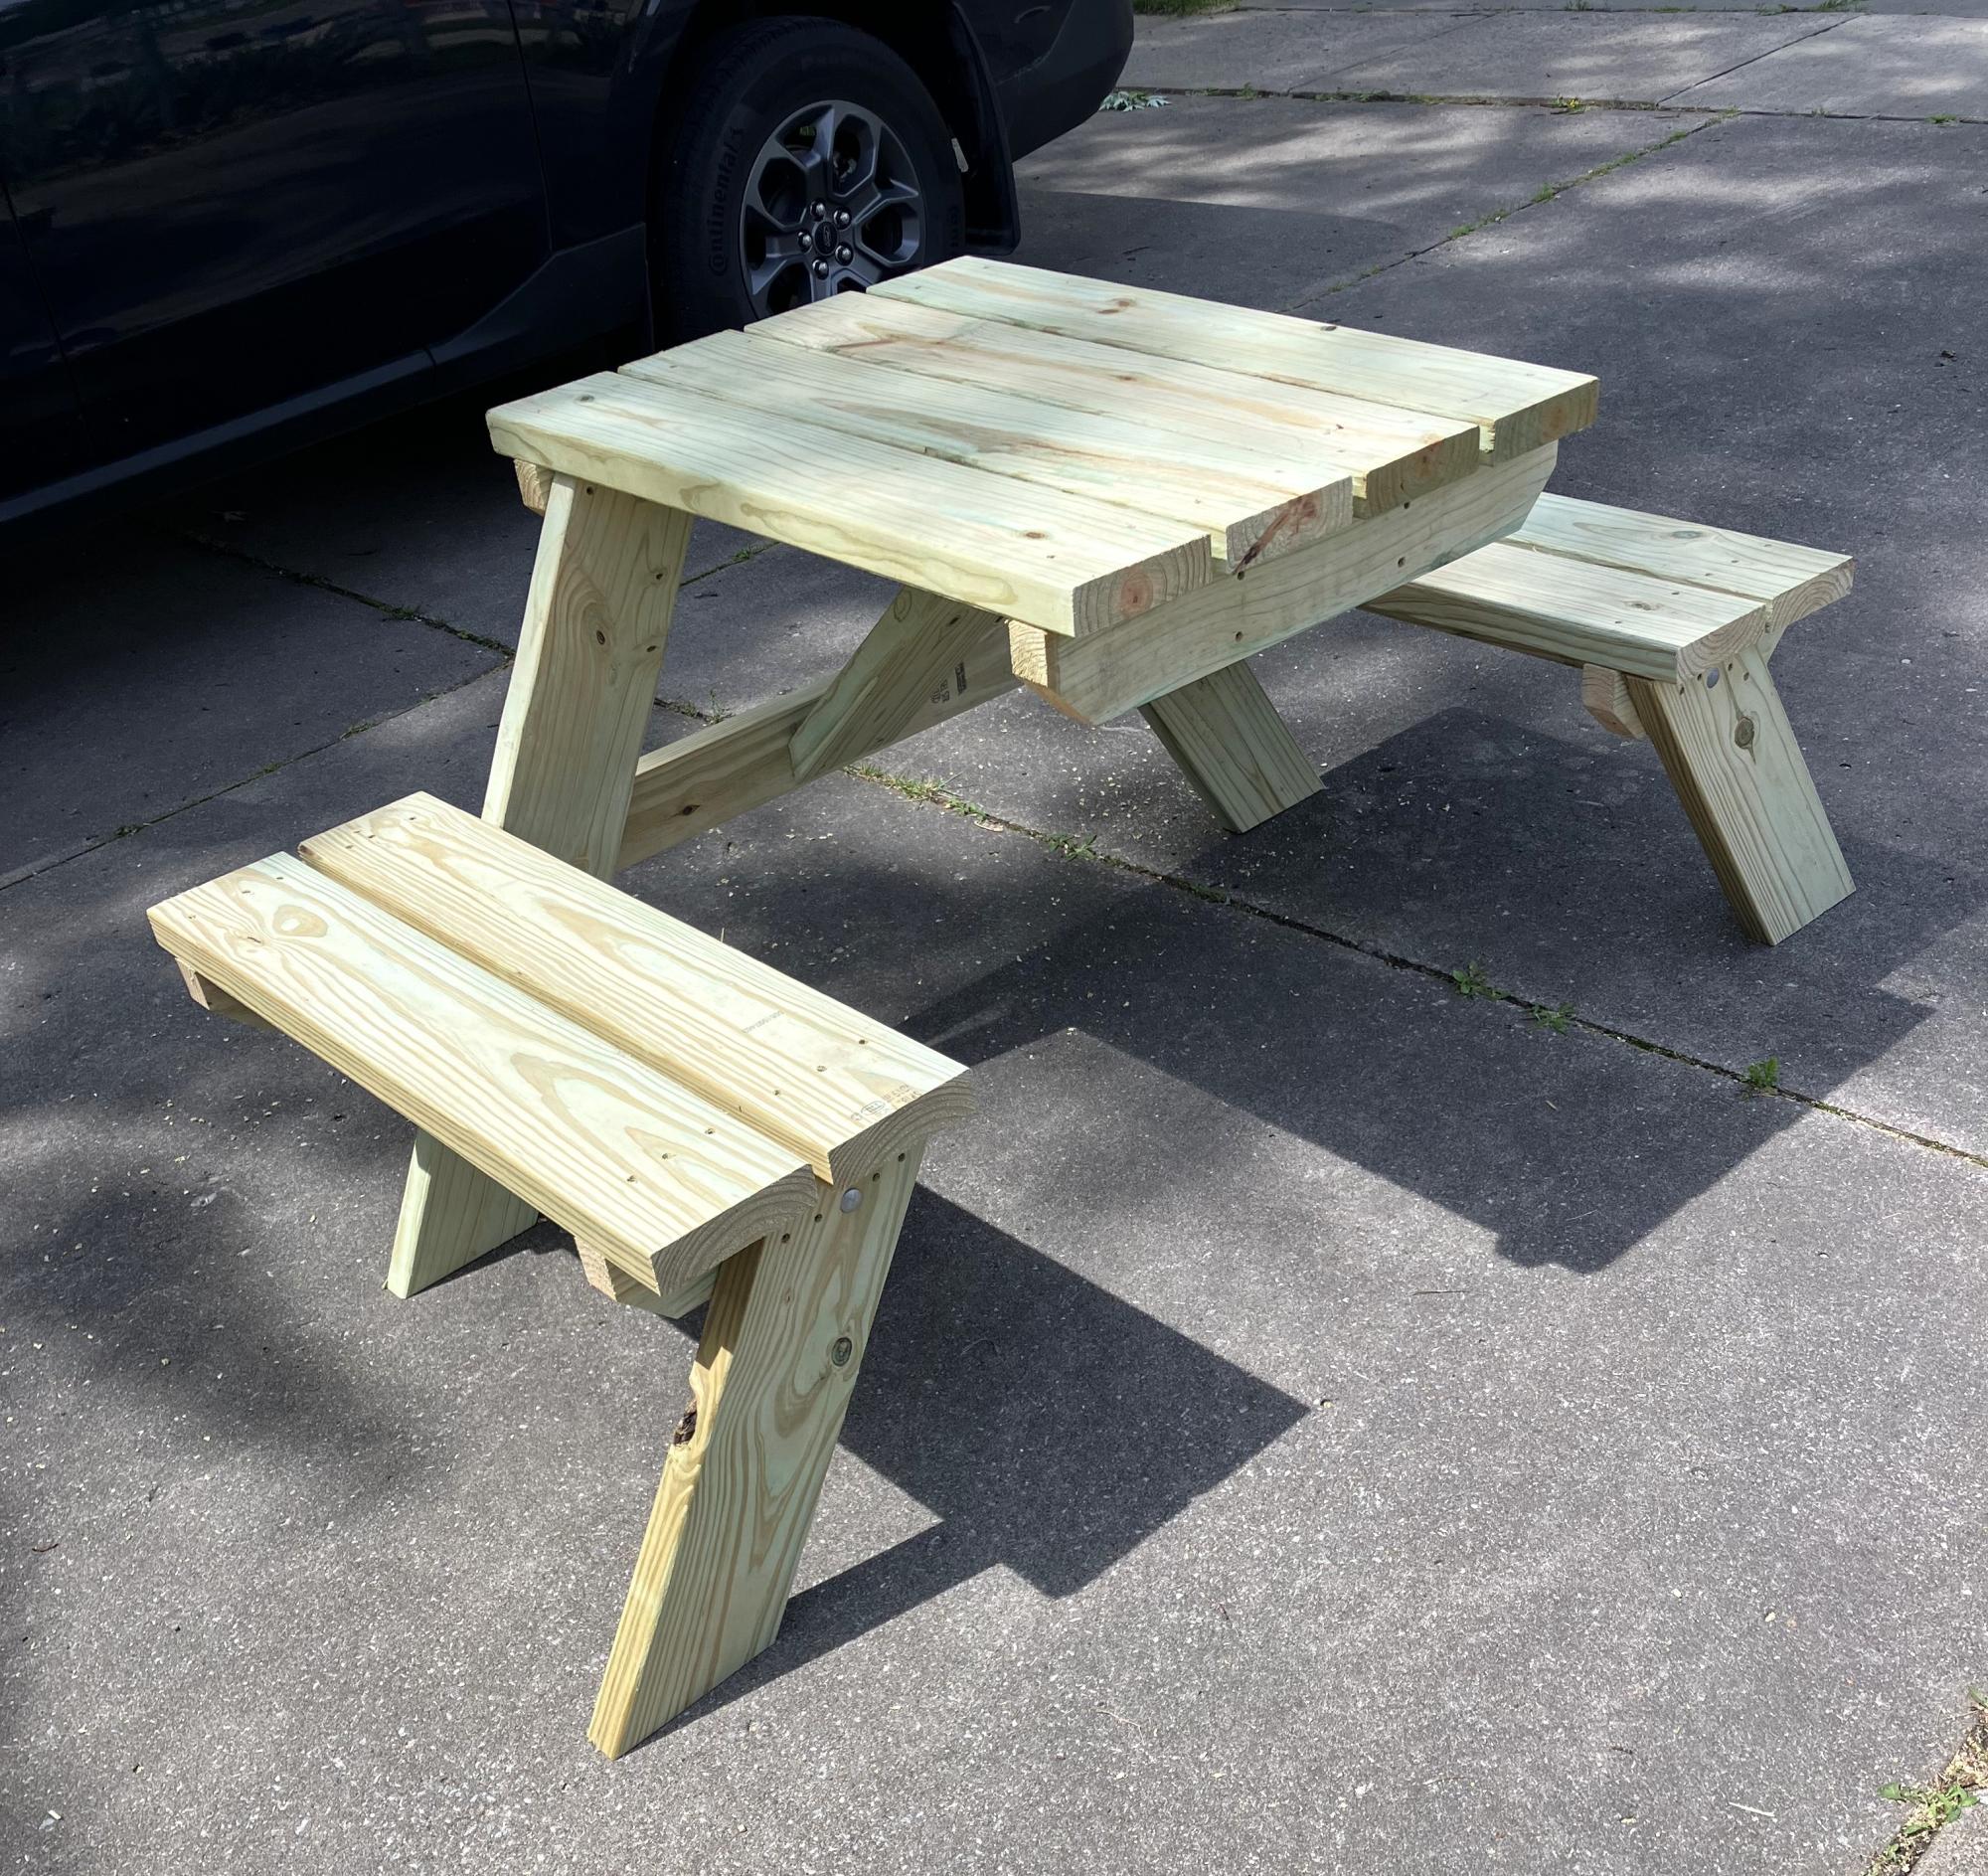
Started my summer project to build outdoor furniture.

Built from Plan(s)
Estimated Cost
$35 for wood, $10 for redwood stain
Estimated Time Investment
Afternoon Project (3-6 Hours)
Finish Used
Behr Redwood Oil-Latex Stain
Recommended Skill Level
Starter Project

Farmhouse Dining Table

Submitted by rpecho97 on Fri, 07/10/2020 - 08:08

Wood - common pine Stain - Danish Watco Oil Light Walnut - 4 coats Top of table Sealed - Minwax Polyurethane Clear Satin - 2 coats Legs painted with Rust-Oleum Chalked Charcoal - 2 coats

Estimated Cost
$50 lumber
$50 stain, seal, paint
Estimated Time Investment
Weekend Project (10-20 Hours)
Finish Used
Danish Watco Oil with topcoat Minwax Polyurethane Clear Satin
Recommended Skill Level
Starter Project

Olivia's Cute Kitchen

Submitted by azbilger on Mon, 09/10/2012 - 18:37

After spending what seemed like forever on Pinterest, drooling over all the adorable DIY play kitchens, I decided to build this one. The plans were so easy to follow and a guy at Lowe's did all the cutting for me, which was a huge time saver. I literally had it actually built in just a few hours with the help of my mom. Then I was able to primer, add two coats of paint, and accessorize over the next few days. I LOVE the results!! And I was so inspired by the one I originally saw online that I even made my own ruffled sink skirt!!! The fabric was leftovers from the handmade crib bedding set that my mom had made for my daughter. So everything coordinates perfectly!! I am in love....I think I even love it more than she does at this point because she is only 23 months old!! :) Hope she'll enjoy it for years to come!

***Update - Just added "burners" to her stove so now it looks complete!!***

Built from Plan(s)
Estimated Cost
Just over $200 because we went a little overboard on the special touches.
Estimated Time Investment
Weekend Project (10-20 Hours)
Recommended Skill Level
Beginner

Comments

Quintin79

Mon, 09/10/2012 - 22:04

Very cute!! What little girl won't love something like this! My oldest son would have loved this. He is 6 now so maybe his little brother may want something like this built.

Building our marriage....and a new bed

Submitted by Anonymous (not verified) on Thu, 10/13/2016 - 08:36

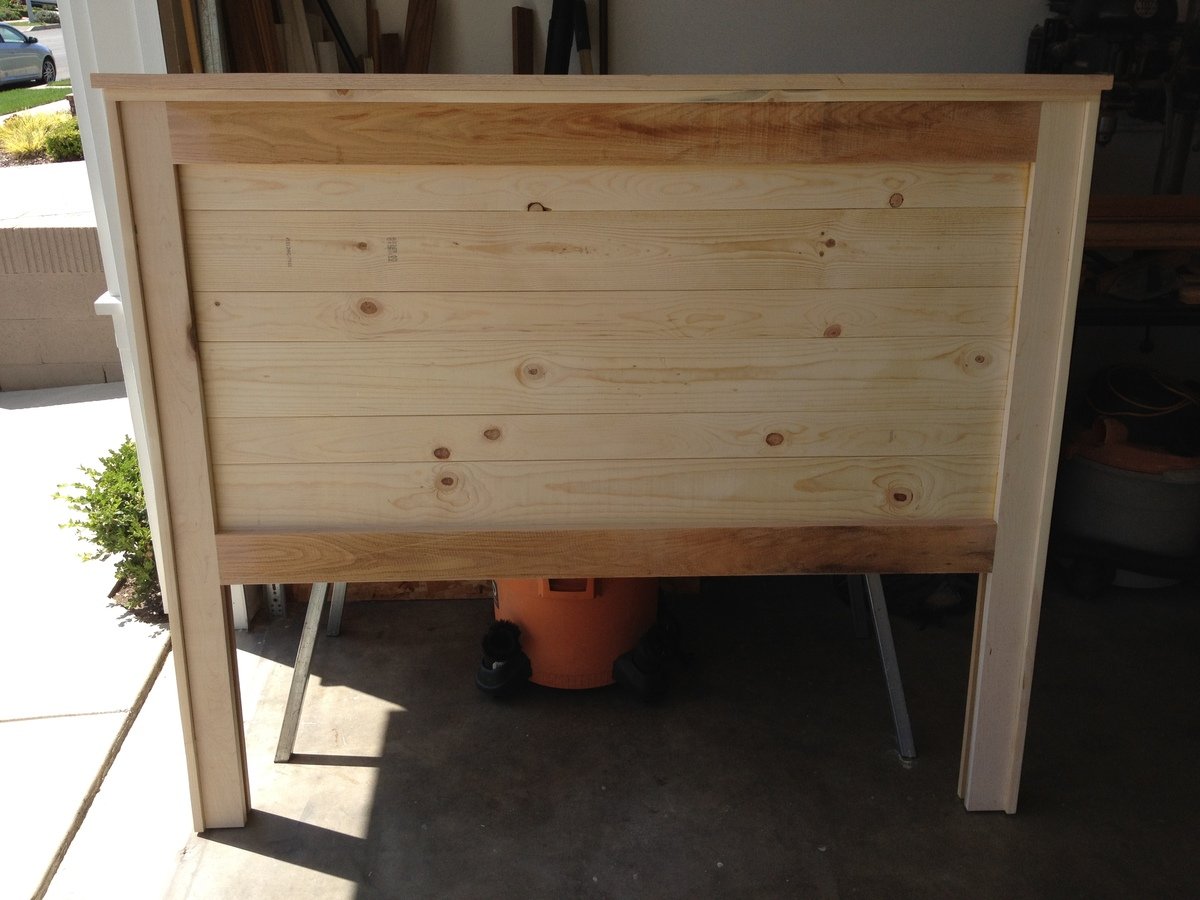
After being deployed for a year, my husband and I needed to spend quality time together.  I showed him the Queen Farmhouse Bed Plans and he loved it. We spent a weekend clearing out our over stuffed garage - sorting through things with a common goal in mind.  He loves woodworking and we love spending time together.  We spent two weekends cutting and sanding and putting it together.  We spent another doing three coats of stain and two MinWax poly coats.  We finally finished this weekend and I absolutely LOVE it.  I SERIOUSLY love how solid this bed is.  He bought the wood to build two matching nightstands this morning...and I can't wait until tomorrow to start on them.  

Thank you so much for sharing your plans and for so many sharing their brag posts - it was wonderful to read through them and see all the variations. 

Built from Plan(s)
Estimated Cost
$250
Estimated Time Investment
Weekend Project (10-20 Hours)
Finish Used
We did a coat of shellac (recommendation by the guys at Woodcraft store). Then a coat of General Finishes Java Gel and wiped it off. I used the instructions from Ana White's page on how to get a dark finish. We did 3 coats of Java Gel stain to get it pretty dark. I did two coats of Minwax Helmsman Spar Urethane in a satin sheen (sanding in between with 220). I decided (sort of last minute) to scuff up the edges to give it a more rustic look. The dark stain is gorgeous, but the naturally occurring scratches and scuffs that occur with life would have me stressing - so I decided to include them in the look so I could enjoy it.
Recommended Skill Level
Beginner

DIY Dugout Shelf

Submitted by vendo on Tue, 05/28/2024 - 10:21

I wanted to build something to keep my sons dugout organized. I took helmet and bag measurements and used Ana's free design tool to make 2 units to fit. He has 12 players on his team an it all worked out great and was a the perfect fit and solution! Each unit is 96" long, I had my local lumberyard rip 2 sheets of 3/4" outdoor rated plywood to 11.25" strips and then I made my cross cuts based on Ana's design drawings. It was built and painted in a couple of evenings and then we added the numbers and names to take it to the next level, can't wait to surprise the boys with it at practice tonight!


FREE DESIGN TOOL

Farmhouse Bed King Size

Submitted by CCNew on Thu, 09/13/2012 - 14:40

This was my gift to my husband for our 23rd Wedding Anniversary. I decided to build it on Friday and had it built the following Friday (but not stained). I was able to work on it a few hours each night.

This is my very first attempt at building anything bigger than a tole-painting project and I'm thrilled with the results.

If you have ANY skills at all, this is NOT a difficult project but it IS a heavy one!

I refused to let my husband know what I was building so I was on my own moving things around. It tipped over on me twice and I had the bruises to prove it.

I searched and searched and found a great price ($13 + shipping) on the side-rail hardware at http://www.woodcraft.com/product/2003981/9364/hafele-nomortise-bed-rail….

We like traditional looking furniture but wanted a touch of a modern feel. So I stained the inside panel with one coat of black stain and then we went over it with a thin coat of the oak stain that we used on the rest of the bed.

We opted to use the standard metal bed frame that goes with our box spring and mattress set. So it basically just sits inside the head & foot boards and side-rails. Eventually we will be adding the box of drawers or baskets underneath and then putting the cleats and cross supports instead of the metal bed frame.

Built from Plan(s)
Estimated Cost
$175
Estimated Time Investment
Day Project (6-9 Hours)
Recommended Skill Level
Beginner

Comments

craft table

Submitted by djdaho on Thu, 07/10/2014 - 12:25

I had been trying to figure out what kind of craft desk/table i was going to put in my craft room. I ran across ana white's modern craft table and knew it was the one.
My husband was kind enough to help me through the process and we completed it in about 2.5 days.
we live in AZ so it is pretty darn hot right now to be out in the garage making it, but we got it done! We tweaked a few things like height and we didn't use the risers.
It is our first build so it was a bit challenging and we learned some things along the way. But having the Kreg Jig definitely helped with putting it together.
we no sooner go it in the room and the cats claimed it as theirs!!
I haven't set it up w/ baskets yet, but will be doing that in the next few weeks.
Thank you Ana for the FREE plans, i will be checking out the site for more plans that we can get building!
Deb Rhoads

Built from Plan(s)
Estimated Cost
$200
Estimated Time Investment
Weekend Project (10-20 Hours)
Finish Used
Ben Moore simply white, semi gloss
Recommended Skill Level
Beginner

Horse Stable

Submitted by Anonymous (not verified) on Mon, 10/17/2016 - 18:10

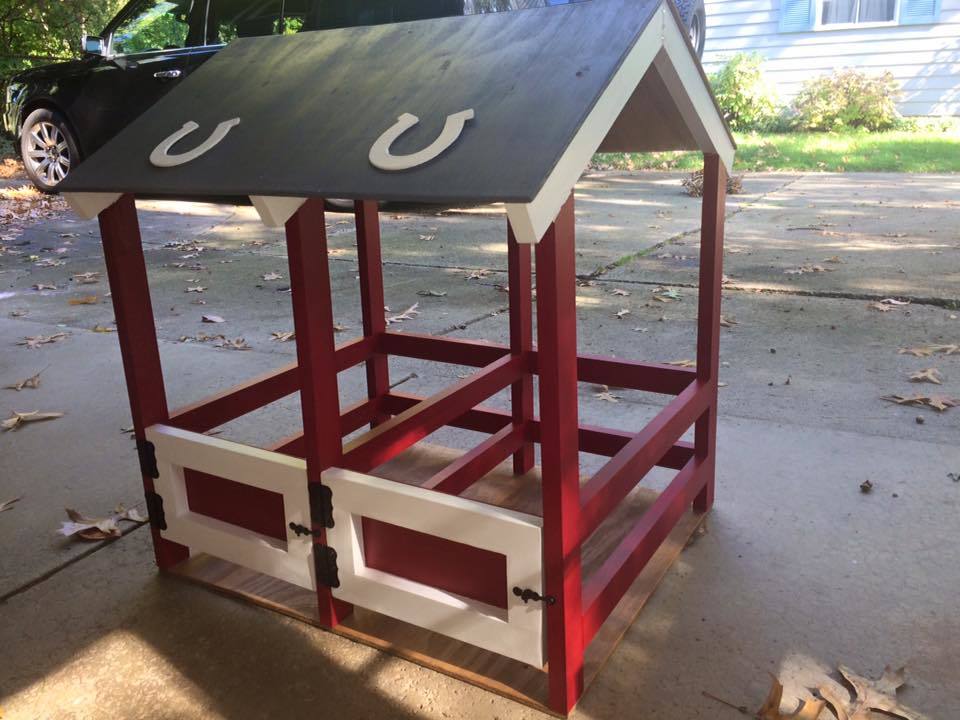
This took me much longer than I anticipated, mostly due to my being a novice and stubbornly trying to complete the project without the Kreg jig.  Everything went much more smoothly once I had all of the proper tools. 


I had to sneak to do all of this during my toddler's naptime on school days.  It took me nearly 20 hours over two weeks to finish as I had to clean everything up and hide it so he wouldn't see it and tell his sister!  If I would have had the Kreg jig from the start, I would have saved myself a significant amount of time and effort.

Estimated Cost
$50, plus $40 for the Kreg jig
Estimated Time Investment
Weekend Project (10-20 Hours)
Finish Used
Two colors of stain - brown for the underside of the roof and the flooring surface, grey on the surface of the roof to look like slate roof tiles. Two colors of paint - a traditional barn red with white trim.
Recommended Skill Level
Intermediate

One Piece Play Kitchen

Used the one piece kitchen made by Rebecca (good instructions, thanks!) with some changes and additions. Fun project, took much longer than I had anticipated. Can't wait until my new granddaughter is old enough to play with it.

Built from Plan(s)
Estimated Cost
$200
Estimated Time Investment
Week Long Project (20 Hours or More)
Finish Used
latex paint
Recommended Skill Level
Beginner

Linen Closet Shelves

Submitted by SaraLodise on Sun, 07/13/2014 - 20:01

The linen closet was in desperate need of better shelving and organization. I made these shelves out of one 3/4" plywood 4'x8' and two 1/2" plywood 2'x4' project boards.

Estimated Cost
$83 in plywood
Estimated Time Investment
Day Project (6-9 Hours)
Finish Used
One coat of Miniwax Special Walnut
Recommended Skill Level
Beginner

Balin Console Table with a twist

Submitted by CustomPulp on Wed, 10/19/2016 - 11:39

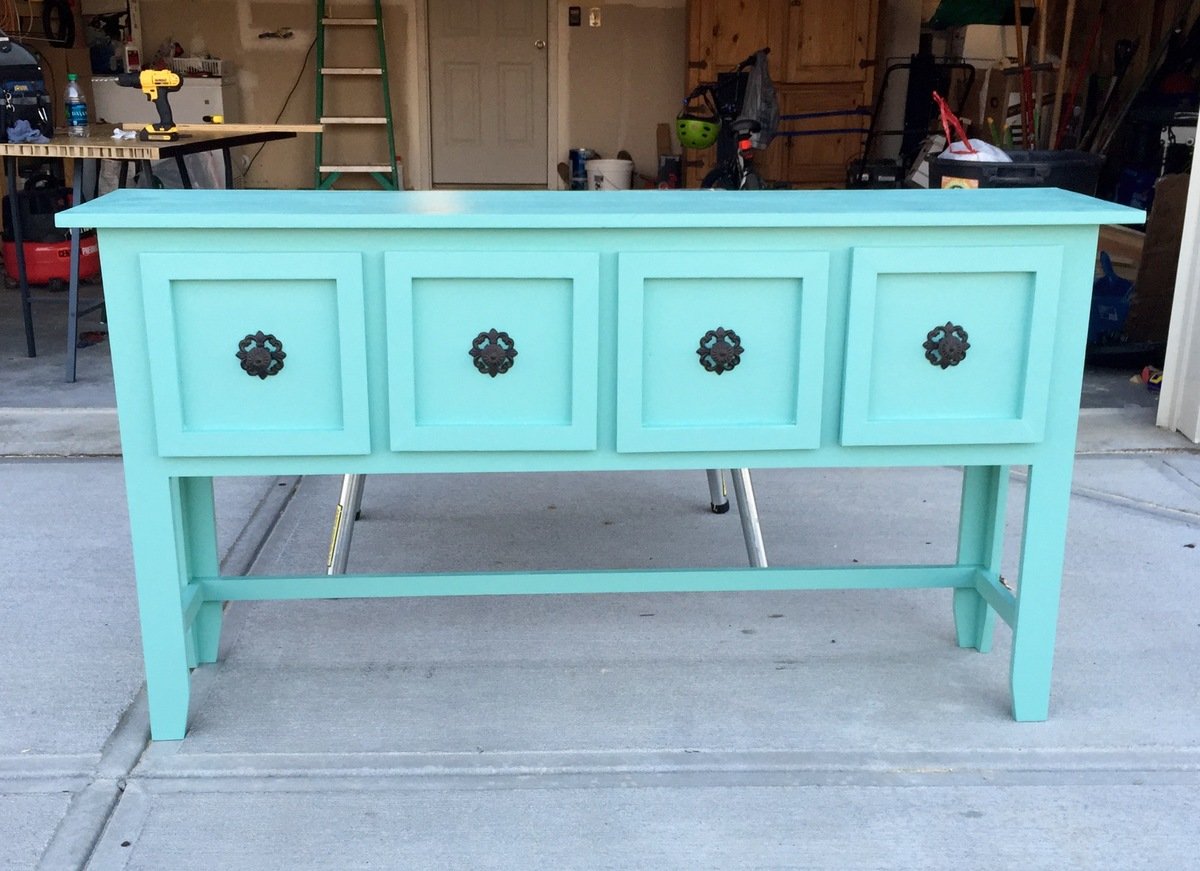
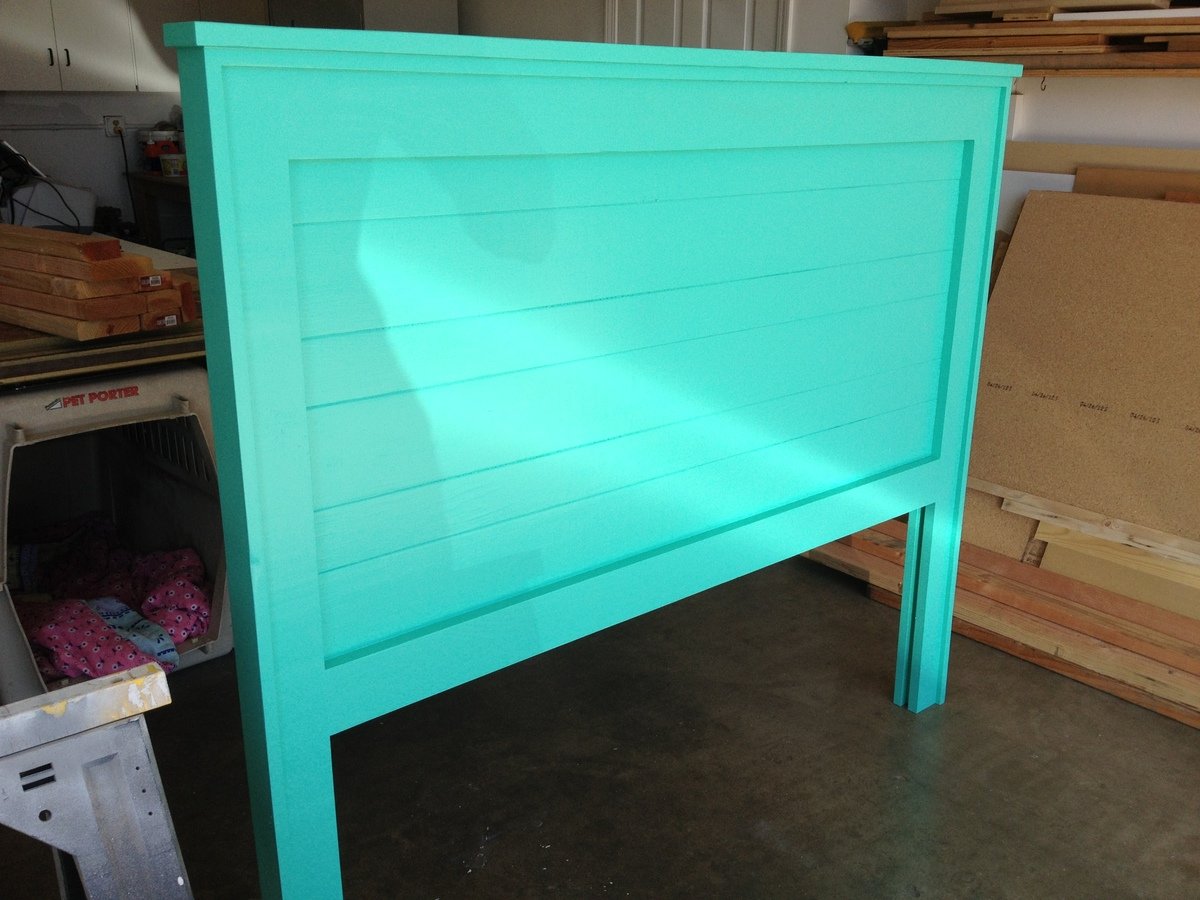
We needed an entry way table with storage.   The Balin Console Table was the perfect size for our needs.   I modified the drawers by attaching a wood frame around each one.  I decided to taper the legs with my mitre saw.   The hardware was purchased at Pottery Barn ($4/each) and the color is Valspar Turquoise / Gray - Semi Gloss.   I extended the leg length 6" to make the cabinet counter top heigth (plans call for a table heigth).

Project was easy (8 hours) from construction to finish.  

One advantage I had was using a sliding power mitre saw with a 12 1/4" cross cut for the 1x12 material.   It's possible to get a decent cut with a circular saw but the sliding compound mitre saw definitely makes that portion of the project go much quicker.


For best results, I recommend finish sanding with 220 grit and 2 coats of paint rubbing with steel wool after first paint application.   

Built from Plan(s)
Estimated Cost
$80
Estimated Time Investment
Day Project (6-9 Hours)
Finish Used
Valspar semi gloss - 2 coats
Recommended Skill Level
Intermediate

Pantry Door Spice Rack

Submitted by JakeZFW on Thu, 07/16/2020 - 16:50

This is a great project to clear up space in the pantry. I followed the Ana-White plans for the upper rack and then decided I needed more space for my larger Costco spices. For this I followed the plans for the top 23” but with 2 shelves. I gave myself extra depth by using 1x4’s instead of dowels. I work very slowly, so both portions took me about a day apiece with sanding, painting, etc. My favorite tool is now the Kreg jig. Totally worth the $40.

Built from Plan(s)
Estimated Cost
$80
Estimated Time Investment
Weekend Project (10-20 Hours)
Finish Used
Valspar interior paint to match the inside of the pantry door
Recommended Skill Level
Beginner
Back