Community Brag Posts

"X" Coffee Table - Walnut

Submitted by avanti on Sat, 01/26/2013 - 10:10

My daughter and I chose this design for a table for her new apartment. I happened to have some walnut lumber available, so we decided to use that, and it turned out a little less rustic than some of the tables, but it is exactly what she wanted. It was a great project to do with her and we both had a good time, plus she has a piece of furniture she is proud of.

Built from Plan(s)
Estimated Cost
$50
Estimated Time Investment
Weekend Project (10-20 Hours)
Finish Used
clear polyurethane wiped on - three coats sanded lightly between coats
Recommended Skill Level
Intermediate

Rustic X Coffee Table

Submitted by Cmontagna on Sun, 11/23/2014 - 18:31

Used the Rustic X Coffee Table plans for this project. I altered it slightly to add the bread boards on the end. I also used my jointer to create a more flush joint between boards. When I went to cut the "x"'s out of 2x2's the boards ended up being too short. I'm working on a similar piece for a family member and I am waiting to cut these pieces until I'm almost finished to save stock. I also used a chain, hammer, nails, and metal clamp to beat the table top to "age" the wood a bit. 


This project doesn't take long to build. Finishing takes about a week. 


Built from Plan(s)
Estimated Cost
$100 - $150
Estimated Time Investment
Day Project (6-9 Hours)
Finish Used
Finish:

- 1 coat of black tea

- used the oxidized solution on certain parts of the boards to create definition.

- Sanded these spots to lighten them up.

- 2 coats of Minwax Red Chestnut stain.

- 2 coats of finishing wax

- 2 coats of polycrylic
Recommended Skill Level
Beginner

Whiskey Barrel Coffee Table/Ice Chest Beer Cooler

Submitted by Anonymous (not verified) on Mon, 02/27/2017 - 10:55

Took an old whiskey barrel, secured the staves before cutting in half. Built a frame around the top. Built the lid out of old cedar picket fencing and cut the legs out of old Barnwood. Sprayed the inside with Flex Seal to make it waterproof. And used an old used Horse Shoe for the handle. Stained in 4 different shades and clear coated the whole table. 

Estimated Cost
Whiskey barrel $80 plus misc supplies. Approximate cost to build less than $100
Estimated Time Investment
Afternoon Project (3-6 Hours)
Finish Used
MinWax wood finish stain
Recommended Skill Level
Intermediate

2 twin sized beds

Submitted by Anonymous (not verified) on Mon, 12/14/2020 - 12:35

I submitted this build under anonymous on accident. Please assign it to my profile when posting if possible. Thank you.

Comments

Kentwood Bed

Submitted by 5tarts on Sun, 01/27/2013 - 21:39

My wife and I began the Kentwood bed last weekend as a project for 1) our oldest boy needed a new bed 2) a family project and 3) a project that would count for my oldest Weblos project to earn a building badge. After reading up on it about a month ago and finally finding the last Kreg jig in town (fairbanks, ak) we purchased the wood and began the building. This plan calls it a weekend project which it would have been if I had not been in school and other family engagements to get too during the weekend. So the weekend project turned into a two weekend endevor. After much hard labor and buying two cans of stain ( as the first can took a dive onto the garage floor and stained more floor than my project) the finally result is pictured. My wife and I love the look and sturdiness of this bed. After completion and final assembly my only addition or change to this plan would be to suggest using hardware attaching the side rails to the head and foot board, so there is less wear and tear on your project. Thanks for the plans!

Built from Plan(s)
Estimated Time Investment
Weekend Project (10-20 Hours)
Recommended Skill Level
Intermediate

Tracie's Ladder Shelf

Submitted by pondrider on Wed, 11/26/2014 - 10:32

I used all distressed or reused wood. While I followed plans from Ana’s posting I used reused or distressed wood, cutting the wood to the plans specifications.   Cutting the wood I also considered the nominal size of lumber and the size requested in the plans.  Even with the unit sanded and pained the I like the character that has come through.

Built from Plan(s)
Estimated Cost
Used my own materials
Estimated Time Investment
Afternoon Project (3-6 Hours)
Finish Used
Sanding and paint.
Recommended Skill Level
Beginner

Comments

Modified King Farmhouse Bed

Submitted by jhprice1 on Wed, 03/01/2017 - 13:50

Big thanks to Ana for the plans and the rest of the community for ideas! This was my first major project, and I'm very happy with the way it turned out. This bed was based on the King Farmhouse plan. I wanted a look that was a little less rustic than the classic farmhouse style, so I substituted the boards for oak plywood and framed it out with some pine boards and cove molding.  The pine boards are 1x3s.  I topped the headboard and footboard with a 2x4 and then a 2x6 overhanging the 2x4 evenly on three sides (it's flush in the back).

The posts are 4x4 cedar.  I used lag bolts and glue to attach the posts and concealed the large holes with wood plugs cut from scrap sections of the 4x4.  

I wanted to be able to break the bed down, so I used Rockler no-mortise bed fittings to connect the side rails to the headboard and foot board.  I highly recommend these fasteners.  They are easy to use and seem very solid. I framed out the bed with 2x4s that I connected directly to the side rails with pocket hole joinery.  (First time using the Kreg jig - love it!!).

Thanks again!!

Estimated Time Investment
Weekend Project (10-20 Hours)
Finish Used
I sanded everything down to 150 grit, applied one coat of Minwax Hickory Gel Stain and then one coat of Minwax Sedona Red Wood Finish stain.  I didn't use wood conditioner because I couldn't get the color dark enough.  I don't think the final product was too "blotchy" without the conditioner, but your mileage may vary depending on materials.

I used shellac for the finish, and I'm happy I did.  There was definitely a learning curve (don't go back and try to fix blemishes and missing spots, as it dries too quickly-just add another coat), but it's a forgiving and beautiful finish.  I did three "sessions" with 2-3 coats per session, sanding by hand with 220 grit paper after the first and second session. I switched back and forth between brushing the shellac and applying it with a rag. I didn't come away with a strong preference either way.  I was happy with the final result without rubbing it out or polishing.
Recommended Skill Level
Intermediate

Split drawer built-in bench with oak herringbone top

Submitted by GeekAthair on Sat, 12/19/2020 - 10:17

My second take on Ana White's mudroom bench design. This time I went with a split drawer design to provide room for the power outlet on the wall behind it and made my first attempt at a custom herringbone pattern for the benchtop. The frame is made out of douglas fir and the benchtop is made out of reclaimed red oak. The herringbone pattern is accented by two geometric mountain ranges (Minwax Antique Jade wood stain), signifying our placement here in the Pacific Northwest, nestled between the Olympic and Cascade mountain ranges. The benchtop was finished with 3 coats of Minwax Fast-Drying Polyurethane (semi-gloss). I'm very happy with how it turned out and plan to make a similar benchtop to replace the one in our dining room once I clear my plate a bit :)

Built from Plan(s)
Estimated Cost
450
Estimated Time Investment
Week Long Project (20 Hours or More)
Finish Used
Minwax Fast-Drying Polyurethane in Semi-Gloss
Minwax Woodstain in Antique Jade (for the mountains as well as the frame and drawers)
Recommended Skill Level
Intermediate

Comments

Dining Room Table Bench

My wife wanted a bench for one side of our dining room table. After looking at prices to purchase, I decided to see if I could build it. This was my first wood working project and I built the bottom half using only a circular saw. By the time I decided on the design for the back, and actually figured out how to build it, 18 months and many other building projects had passed. This is the final piece.

Built from Plan(s)
Finish Used
Sherwin Williams Pickled White with a blue tint.
Recommended Skill Level
Intermediate

Comments

Shaewc

Tue, 01/29/2013 - 14:21

This is gorgeous! I hope to tackle my first project also soon (see upholstered settee sketch I posted a few days ago) I will be overjoyed if mine turns out half this good!

Farmhouse Table

Submitted by nikkirumm on Sat, 11/29/2014 - 12:13

My husband built this farmhouse table for me for our anniversary. This was his first build and is so proud of his work. He completed it in time for us to host Thanksgiving for some soldiers in his unit. The table sits 8 comfortably and doubles as a ping pong table with my kids. 

Estimated Cost
$100 including supplies
Estimated Time Investment
Weekend Project (10-20 Hours)
Recommended Skill Level
Beginner

Comments

Ramone Cars adirondack chair

Submitted by Frank Diaz on Sat, 03/04/2017 - 11:37

Mid size adirondack chair made after the Disney Cars character Ramone.

Estimated Cost
60 dollars on wood and paint.
Estimated Time Investment
Day Project (6-9 Hours)
Finish Used
Acrylic paint
Recommended Skill Level
Intermediate

Toy Box - Christmas Gifts

I built these using the plans found on here for my niece and nephew for Christmas this year. They turned out a lot better than I expected.

Built from Plan(s)
Estimated Cost
$200-$300
Estimated Time Investment
Week Long Project (20 Hours or More)
Recommended Skill Level
Intermediate

Comments

Ken and Matt's Farmhouse Table

Submitted by Kenndfan on Fri, 02/01/2013 - 07:18

We used the Farmhouse Table plans but made a few modifications to get the look my wife was looking for. We've since built a cupboard to go with it.

Estimated Cost
$150
Estimated Time Investment
Weekend Project (10-20 Hours)
Finish Used
Early American stain with a satin poly
Recommended Skill Level
Beginner

Farmhouse Table

Submitted by kaileelev on Mon, 12/01/2014 - 12:08

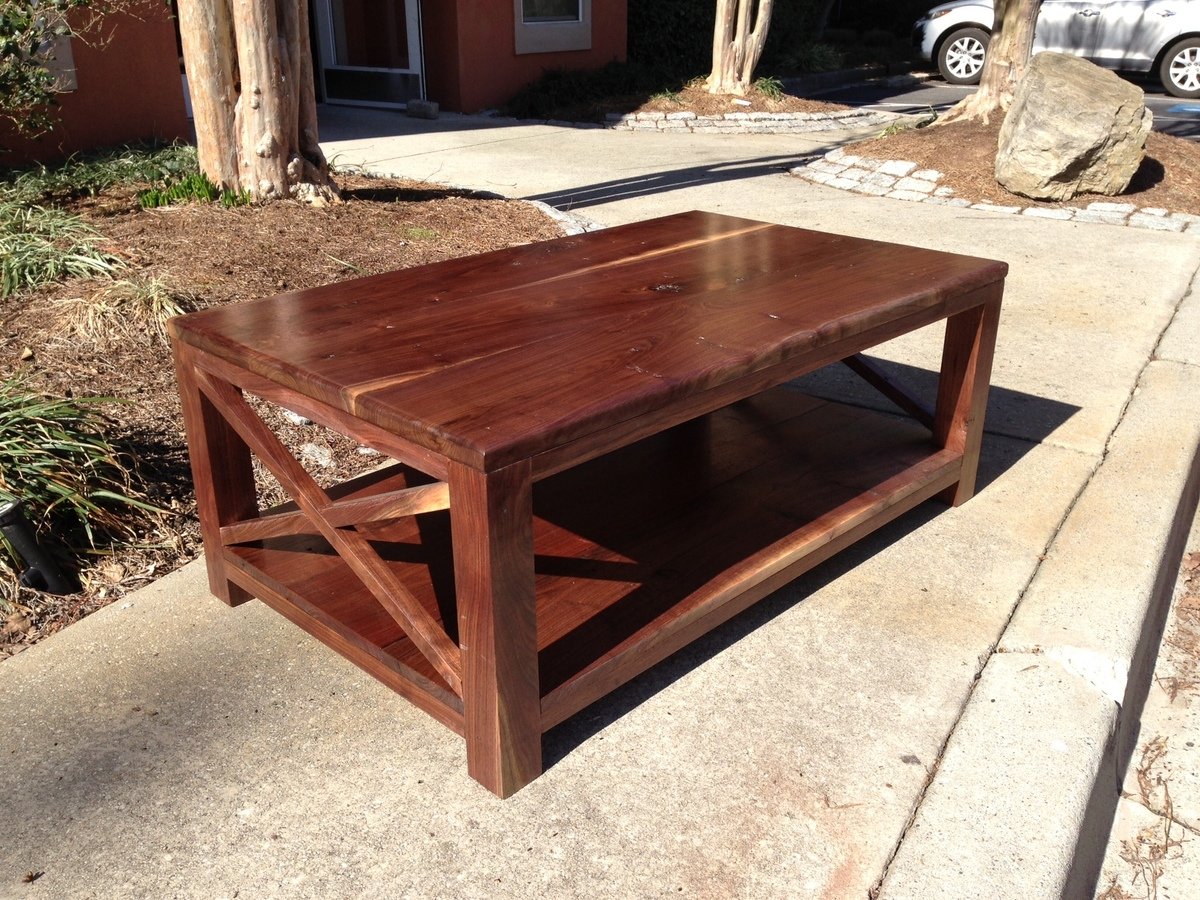
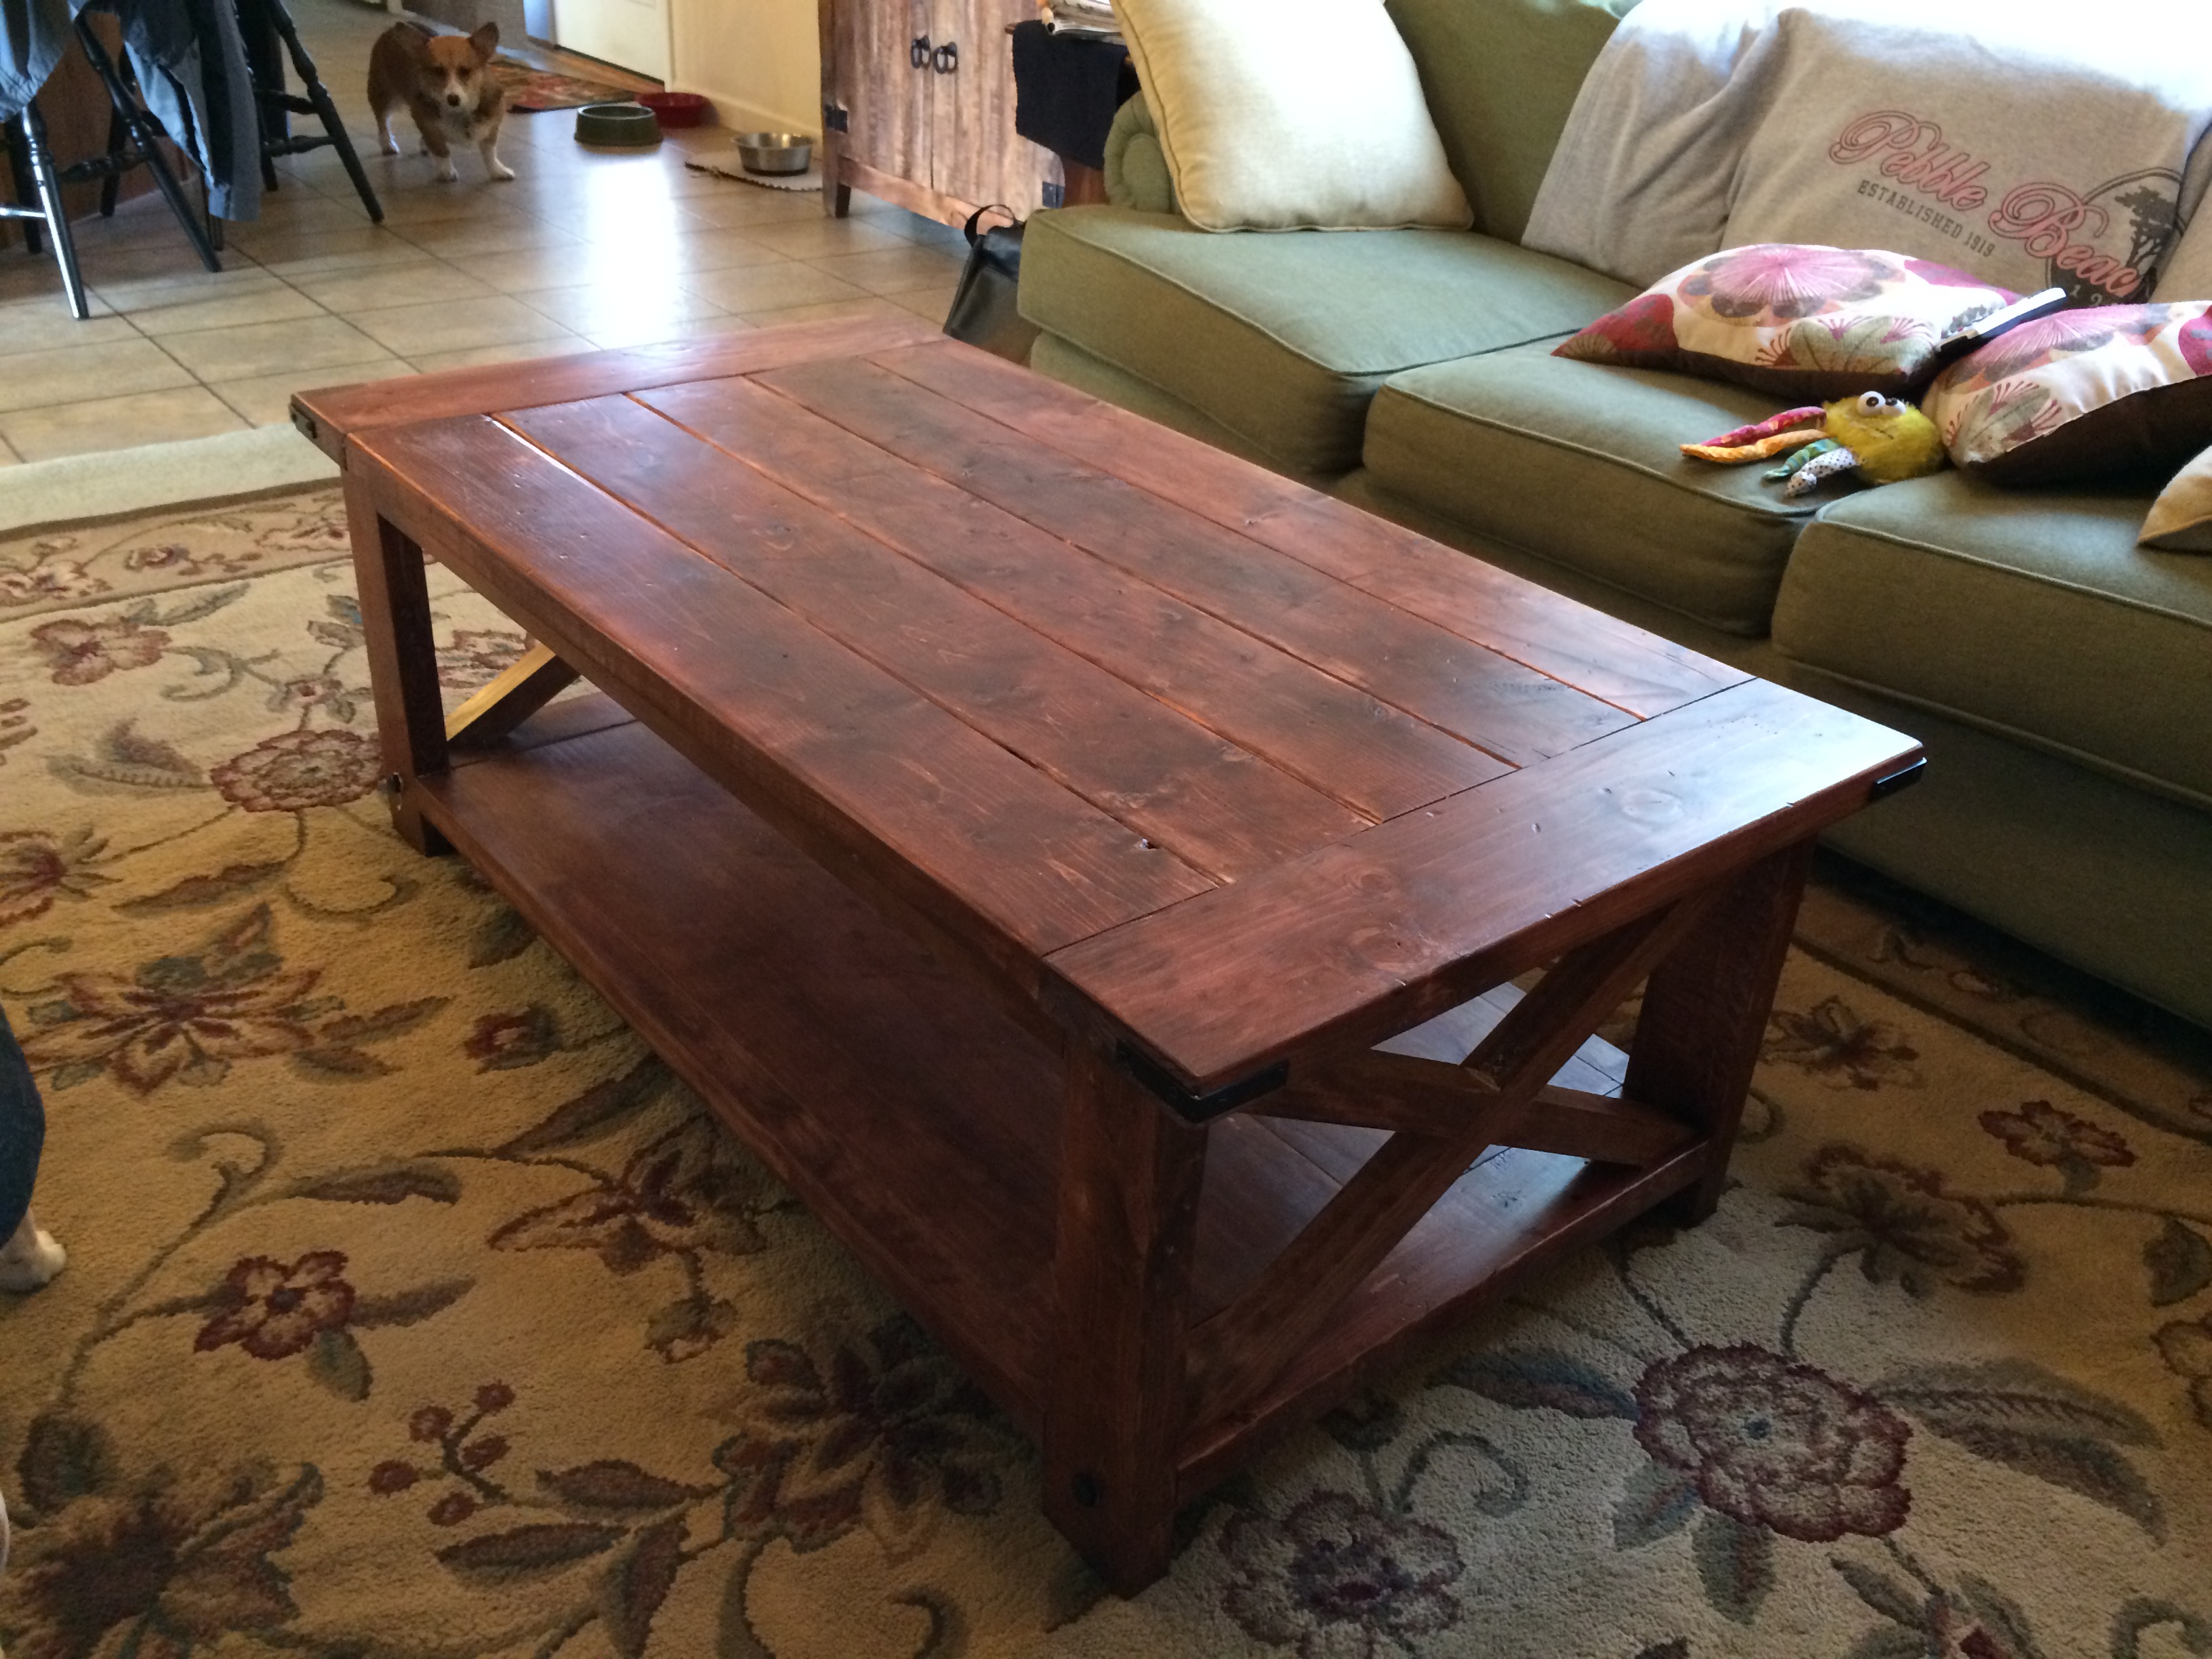
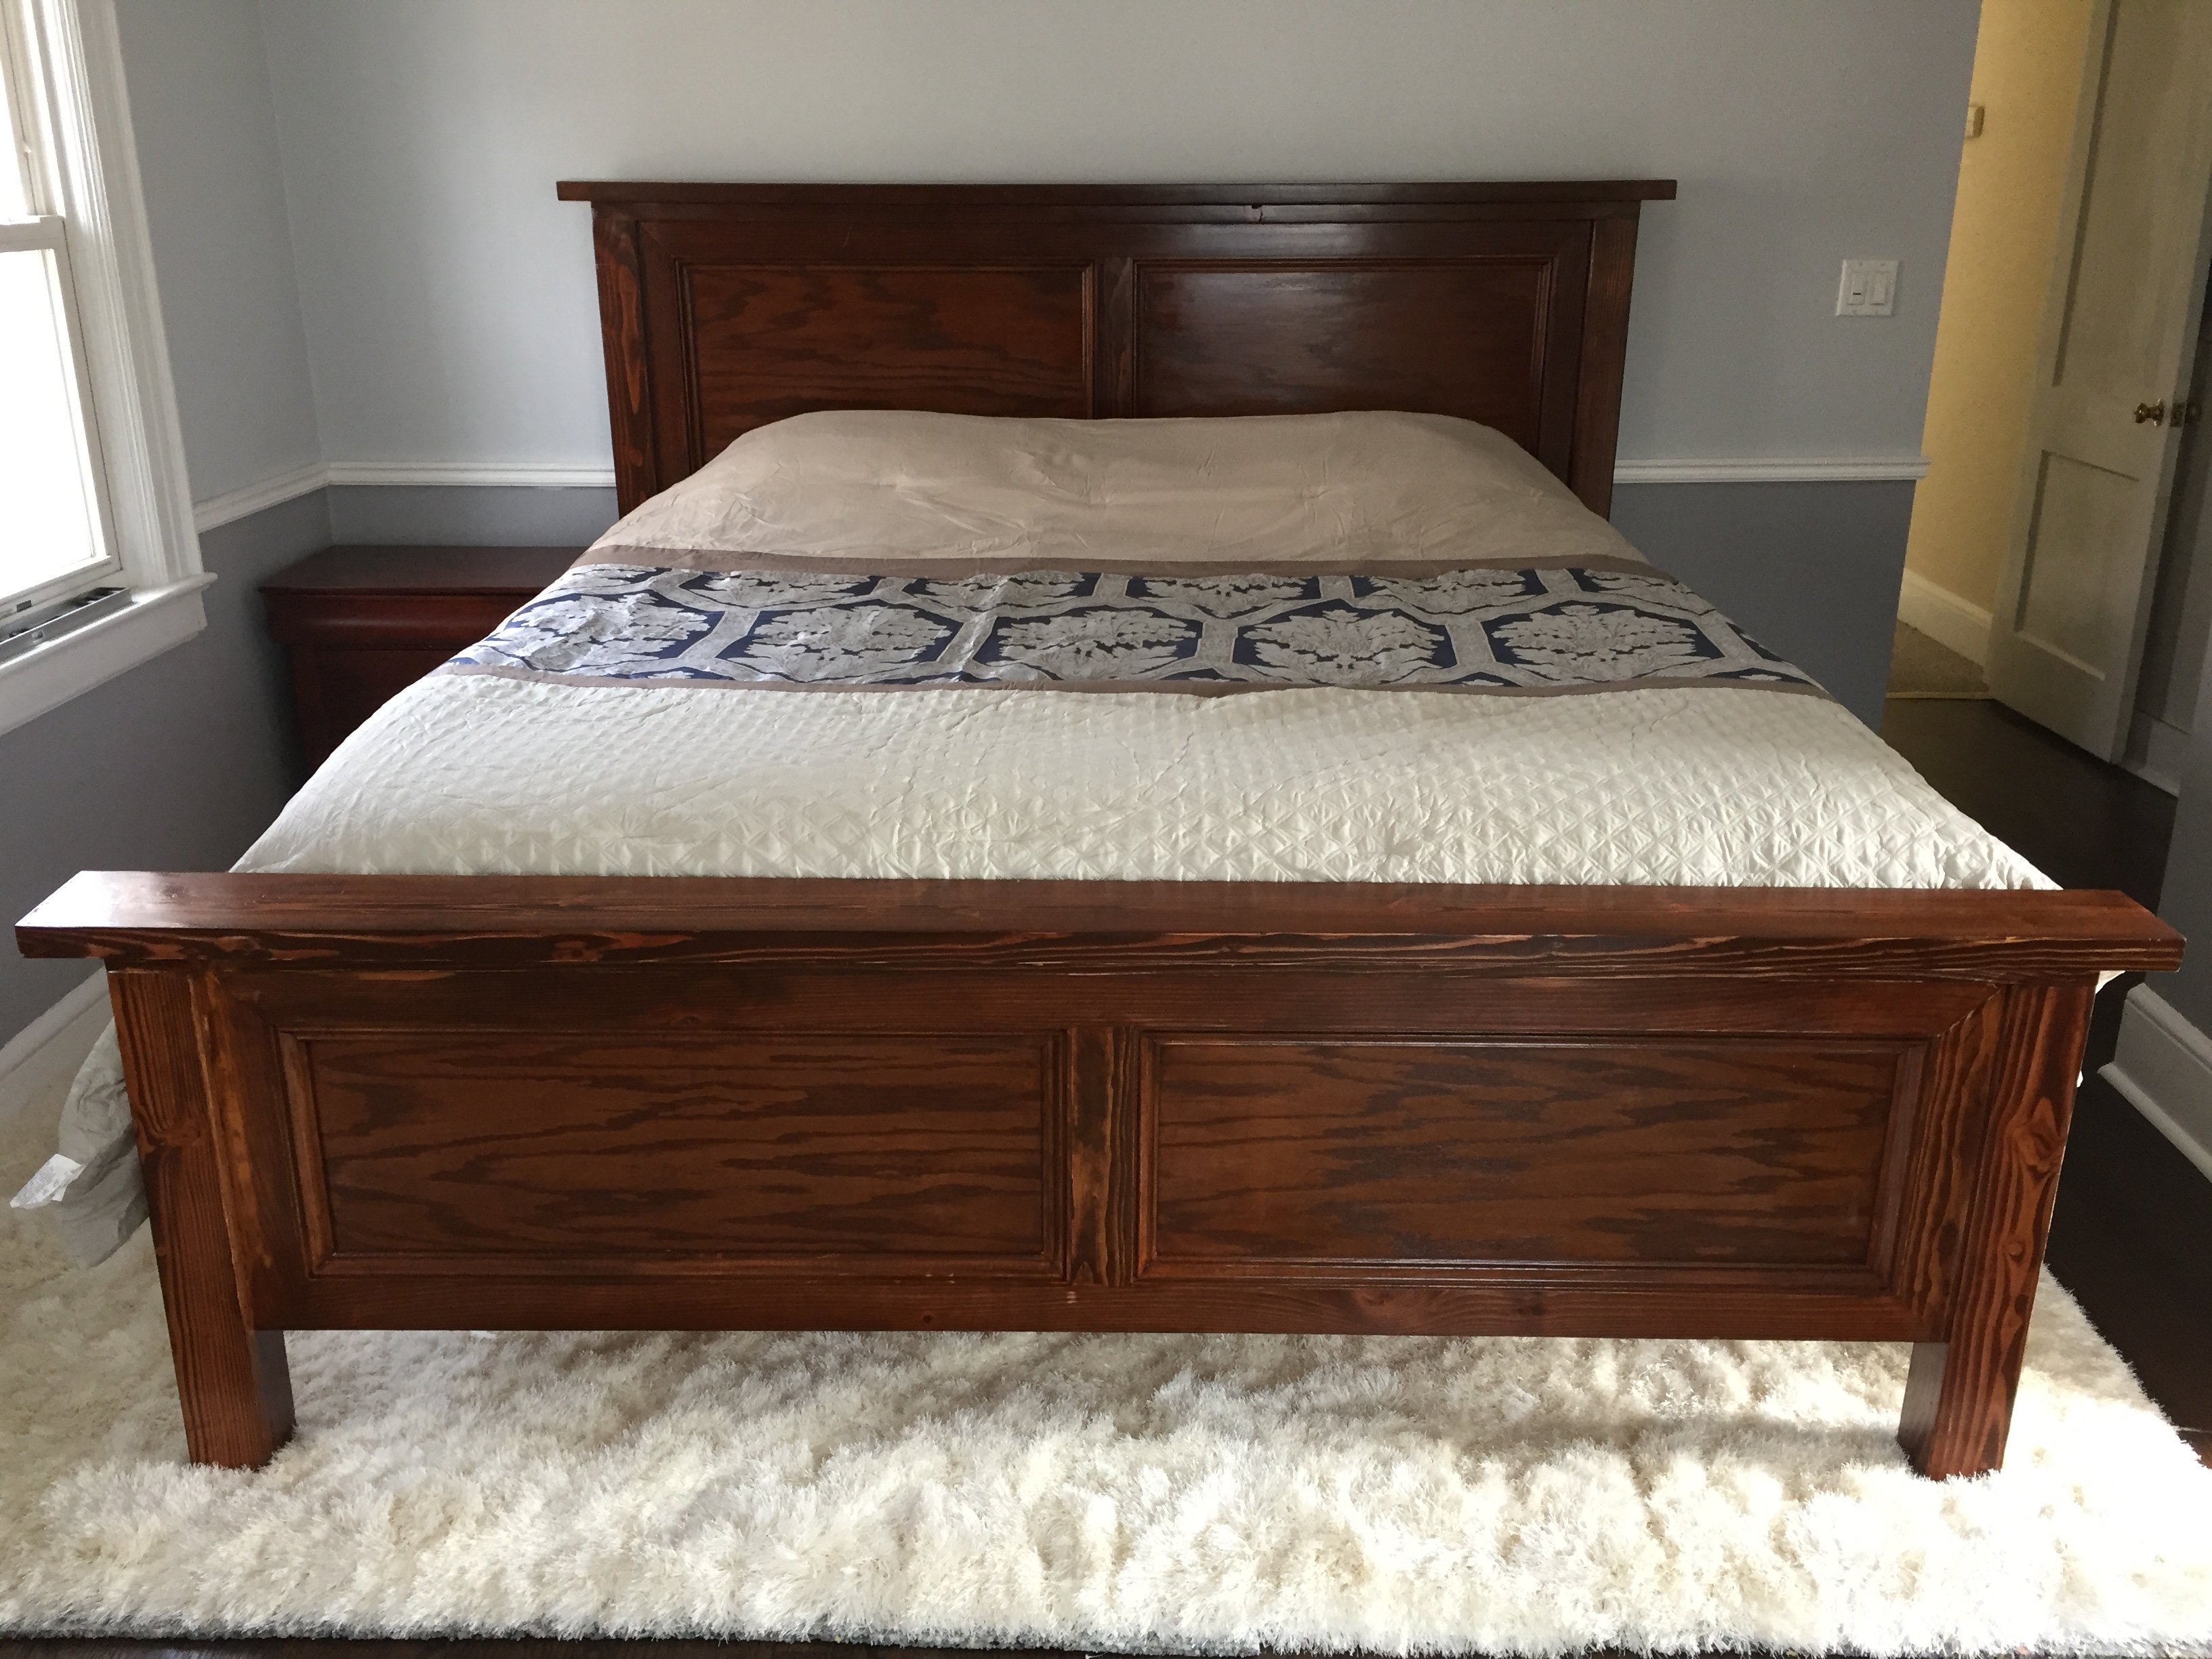
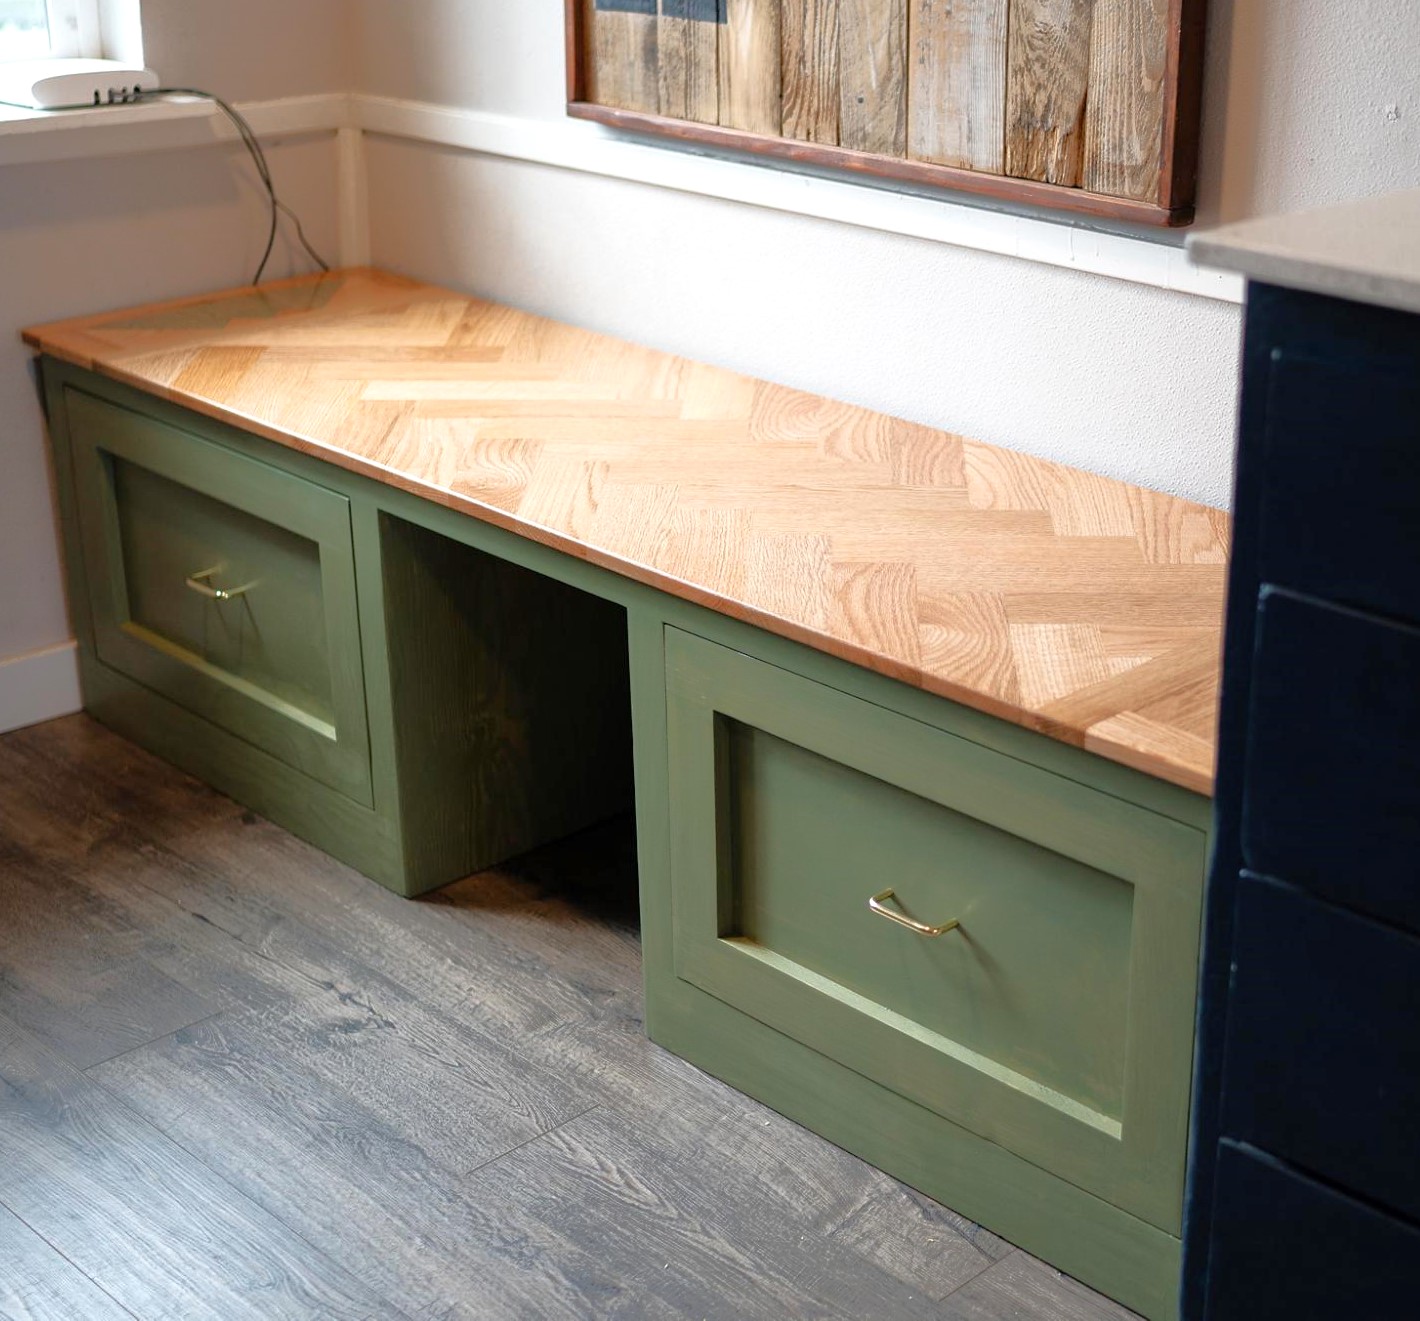
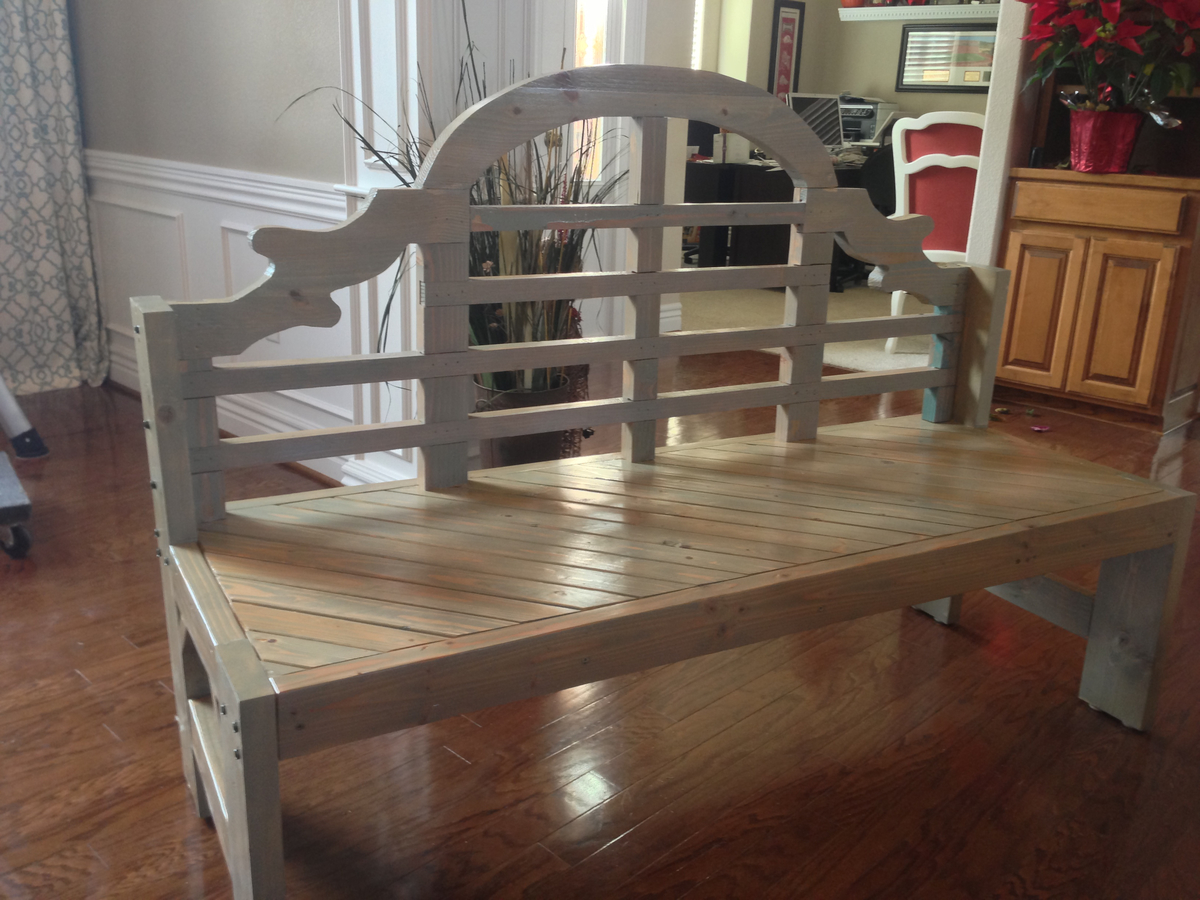
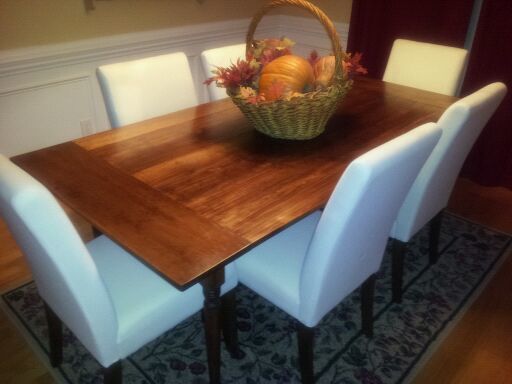
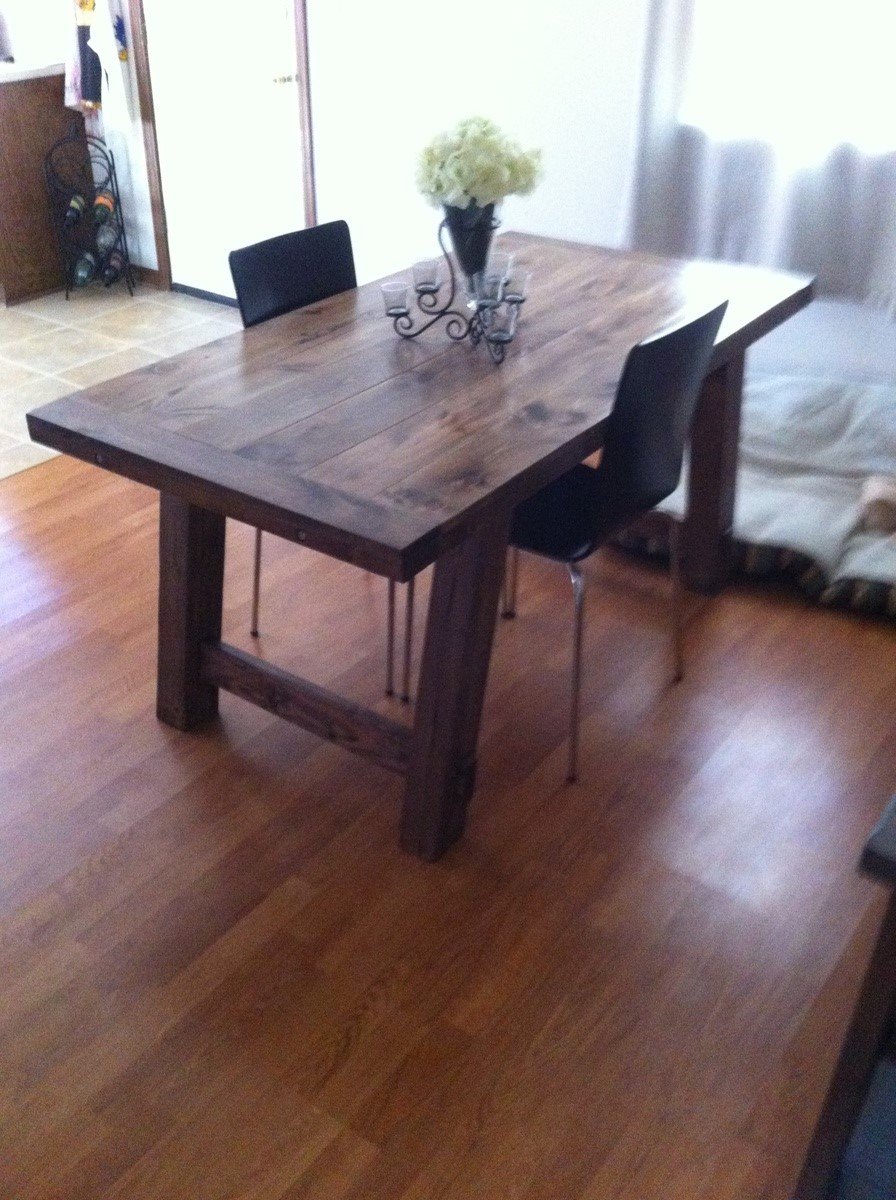
This was our very first building project and we are thrilled with how it turned out!

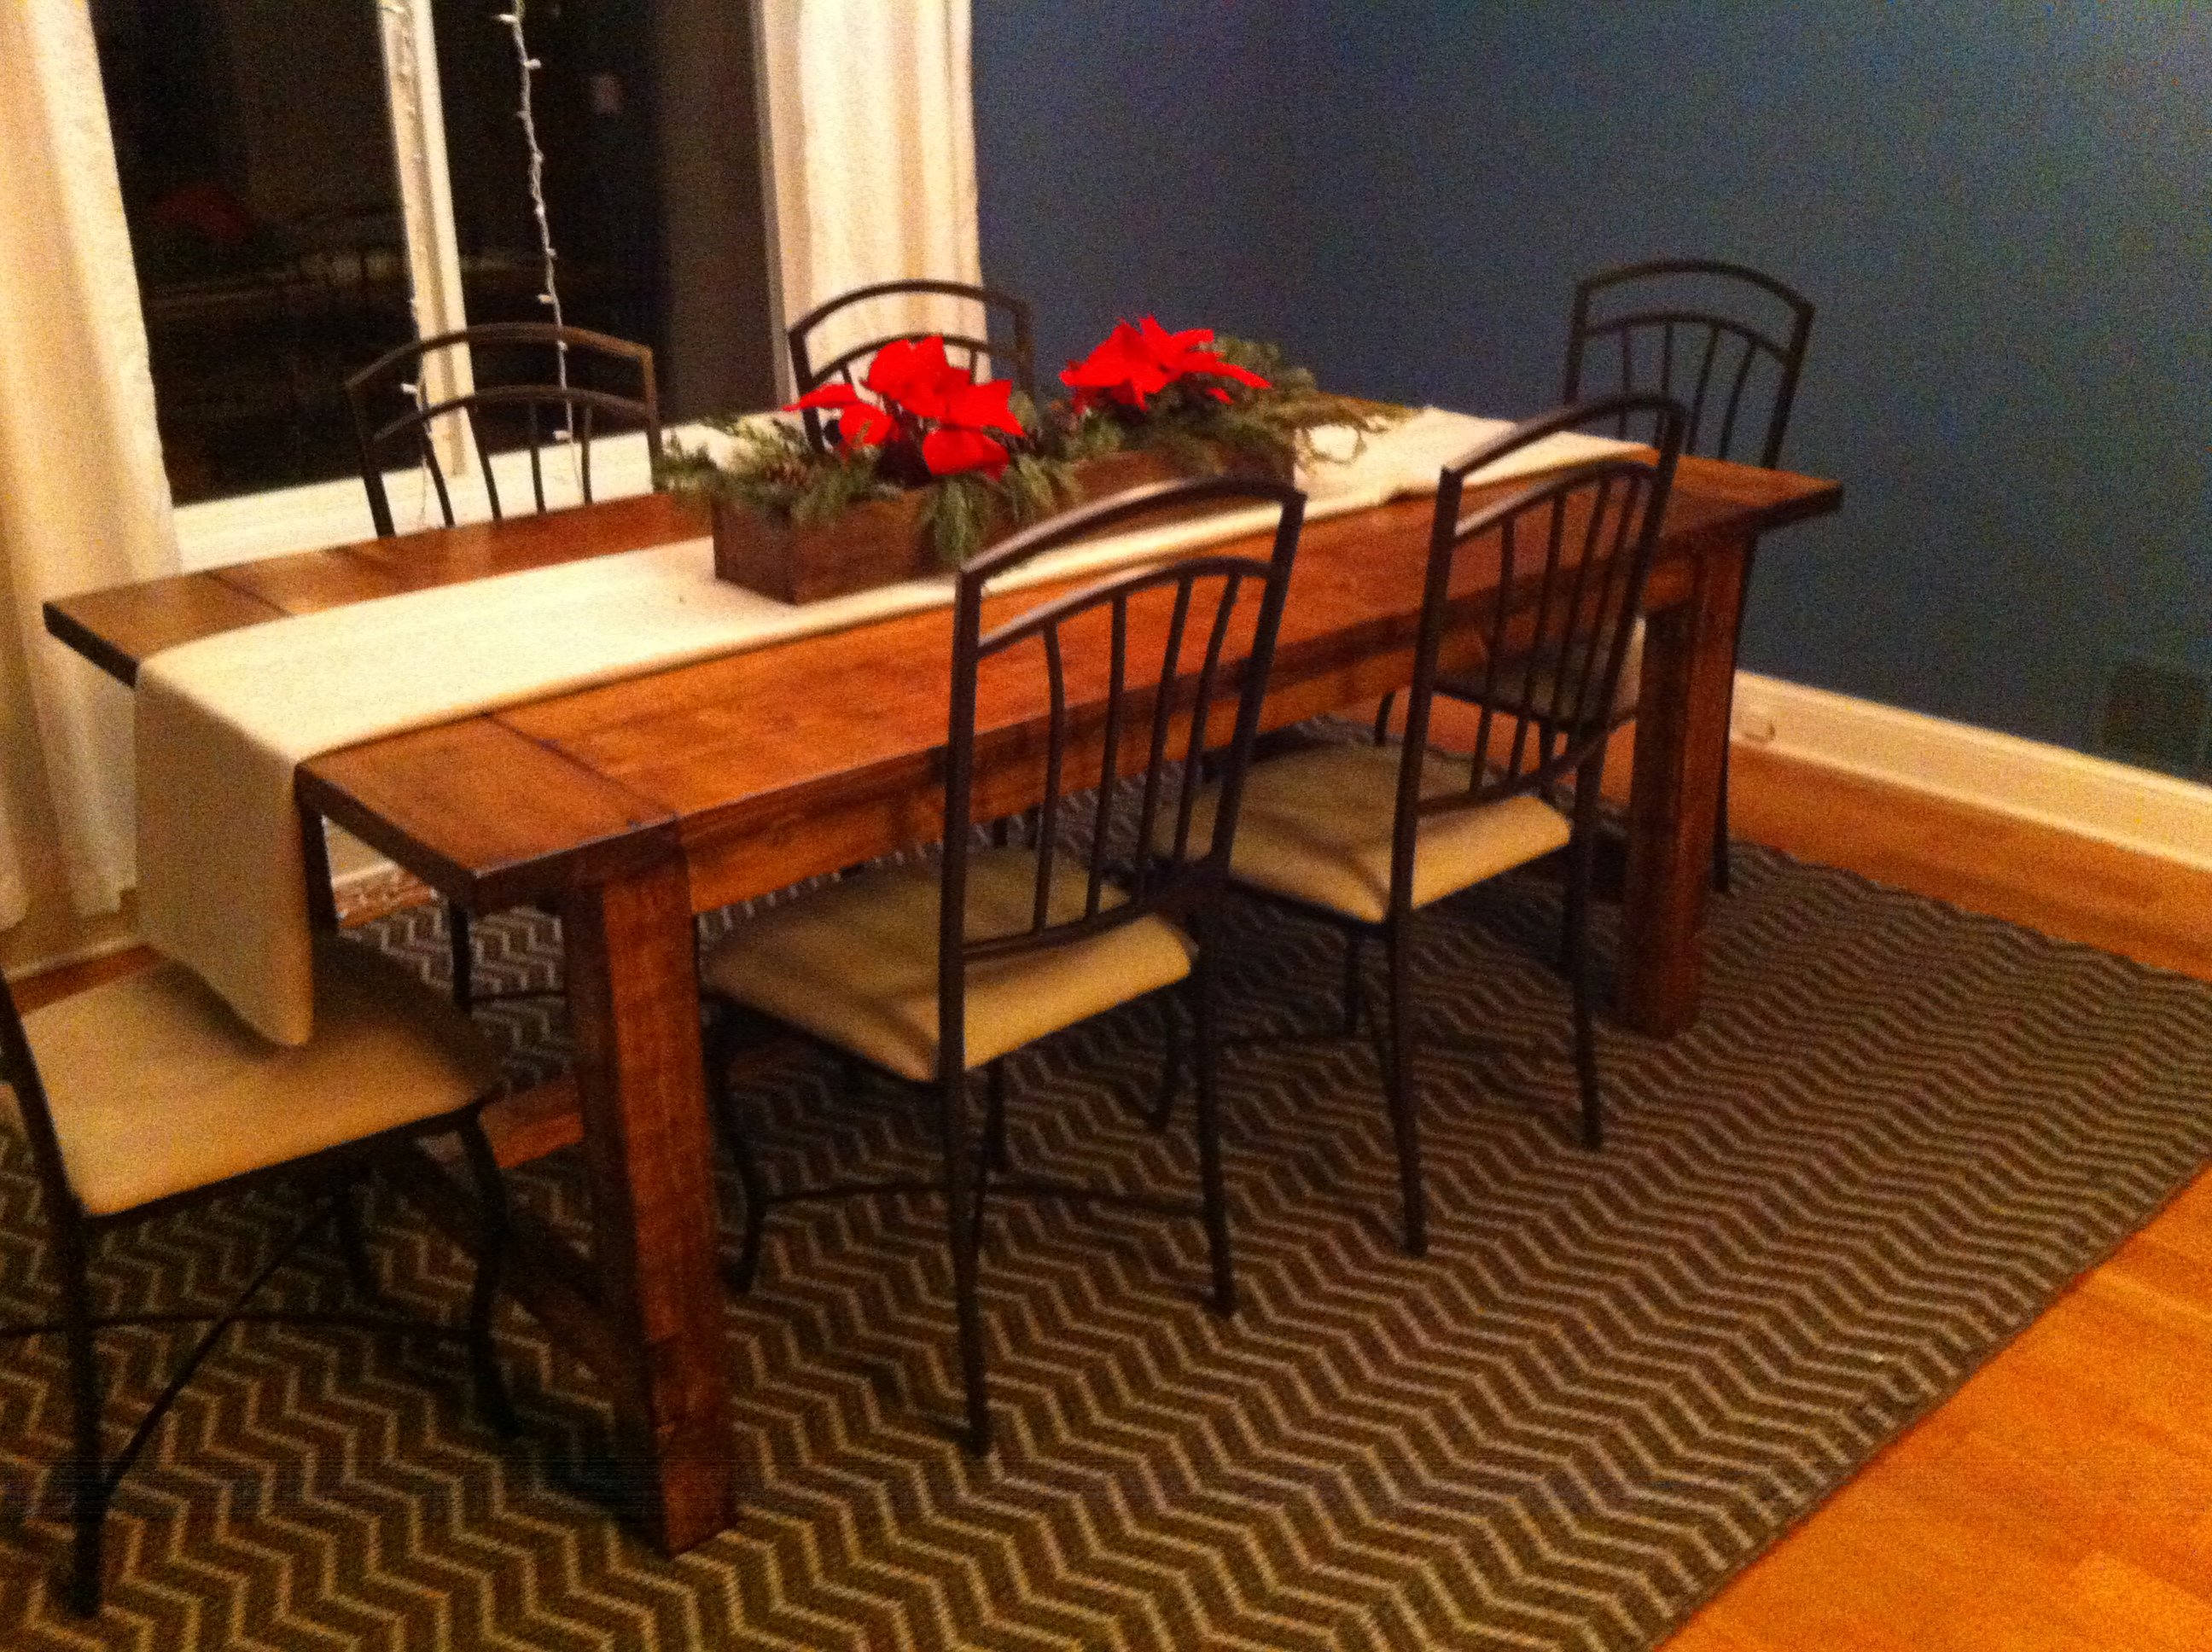
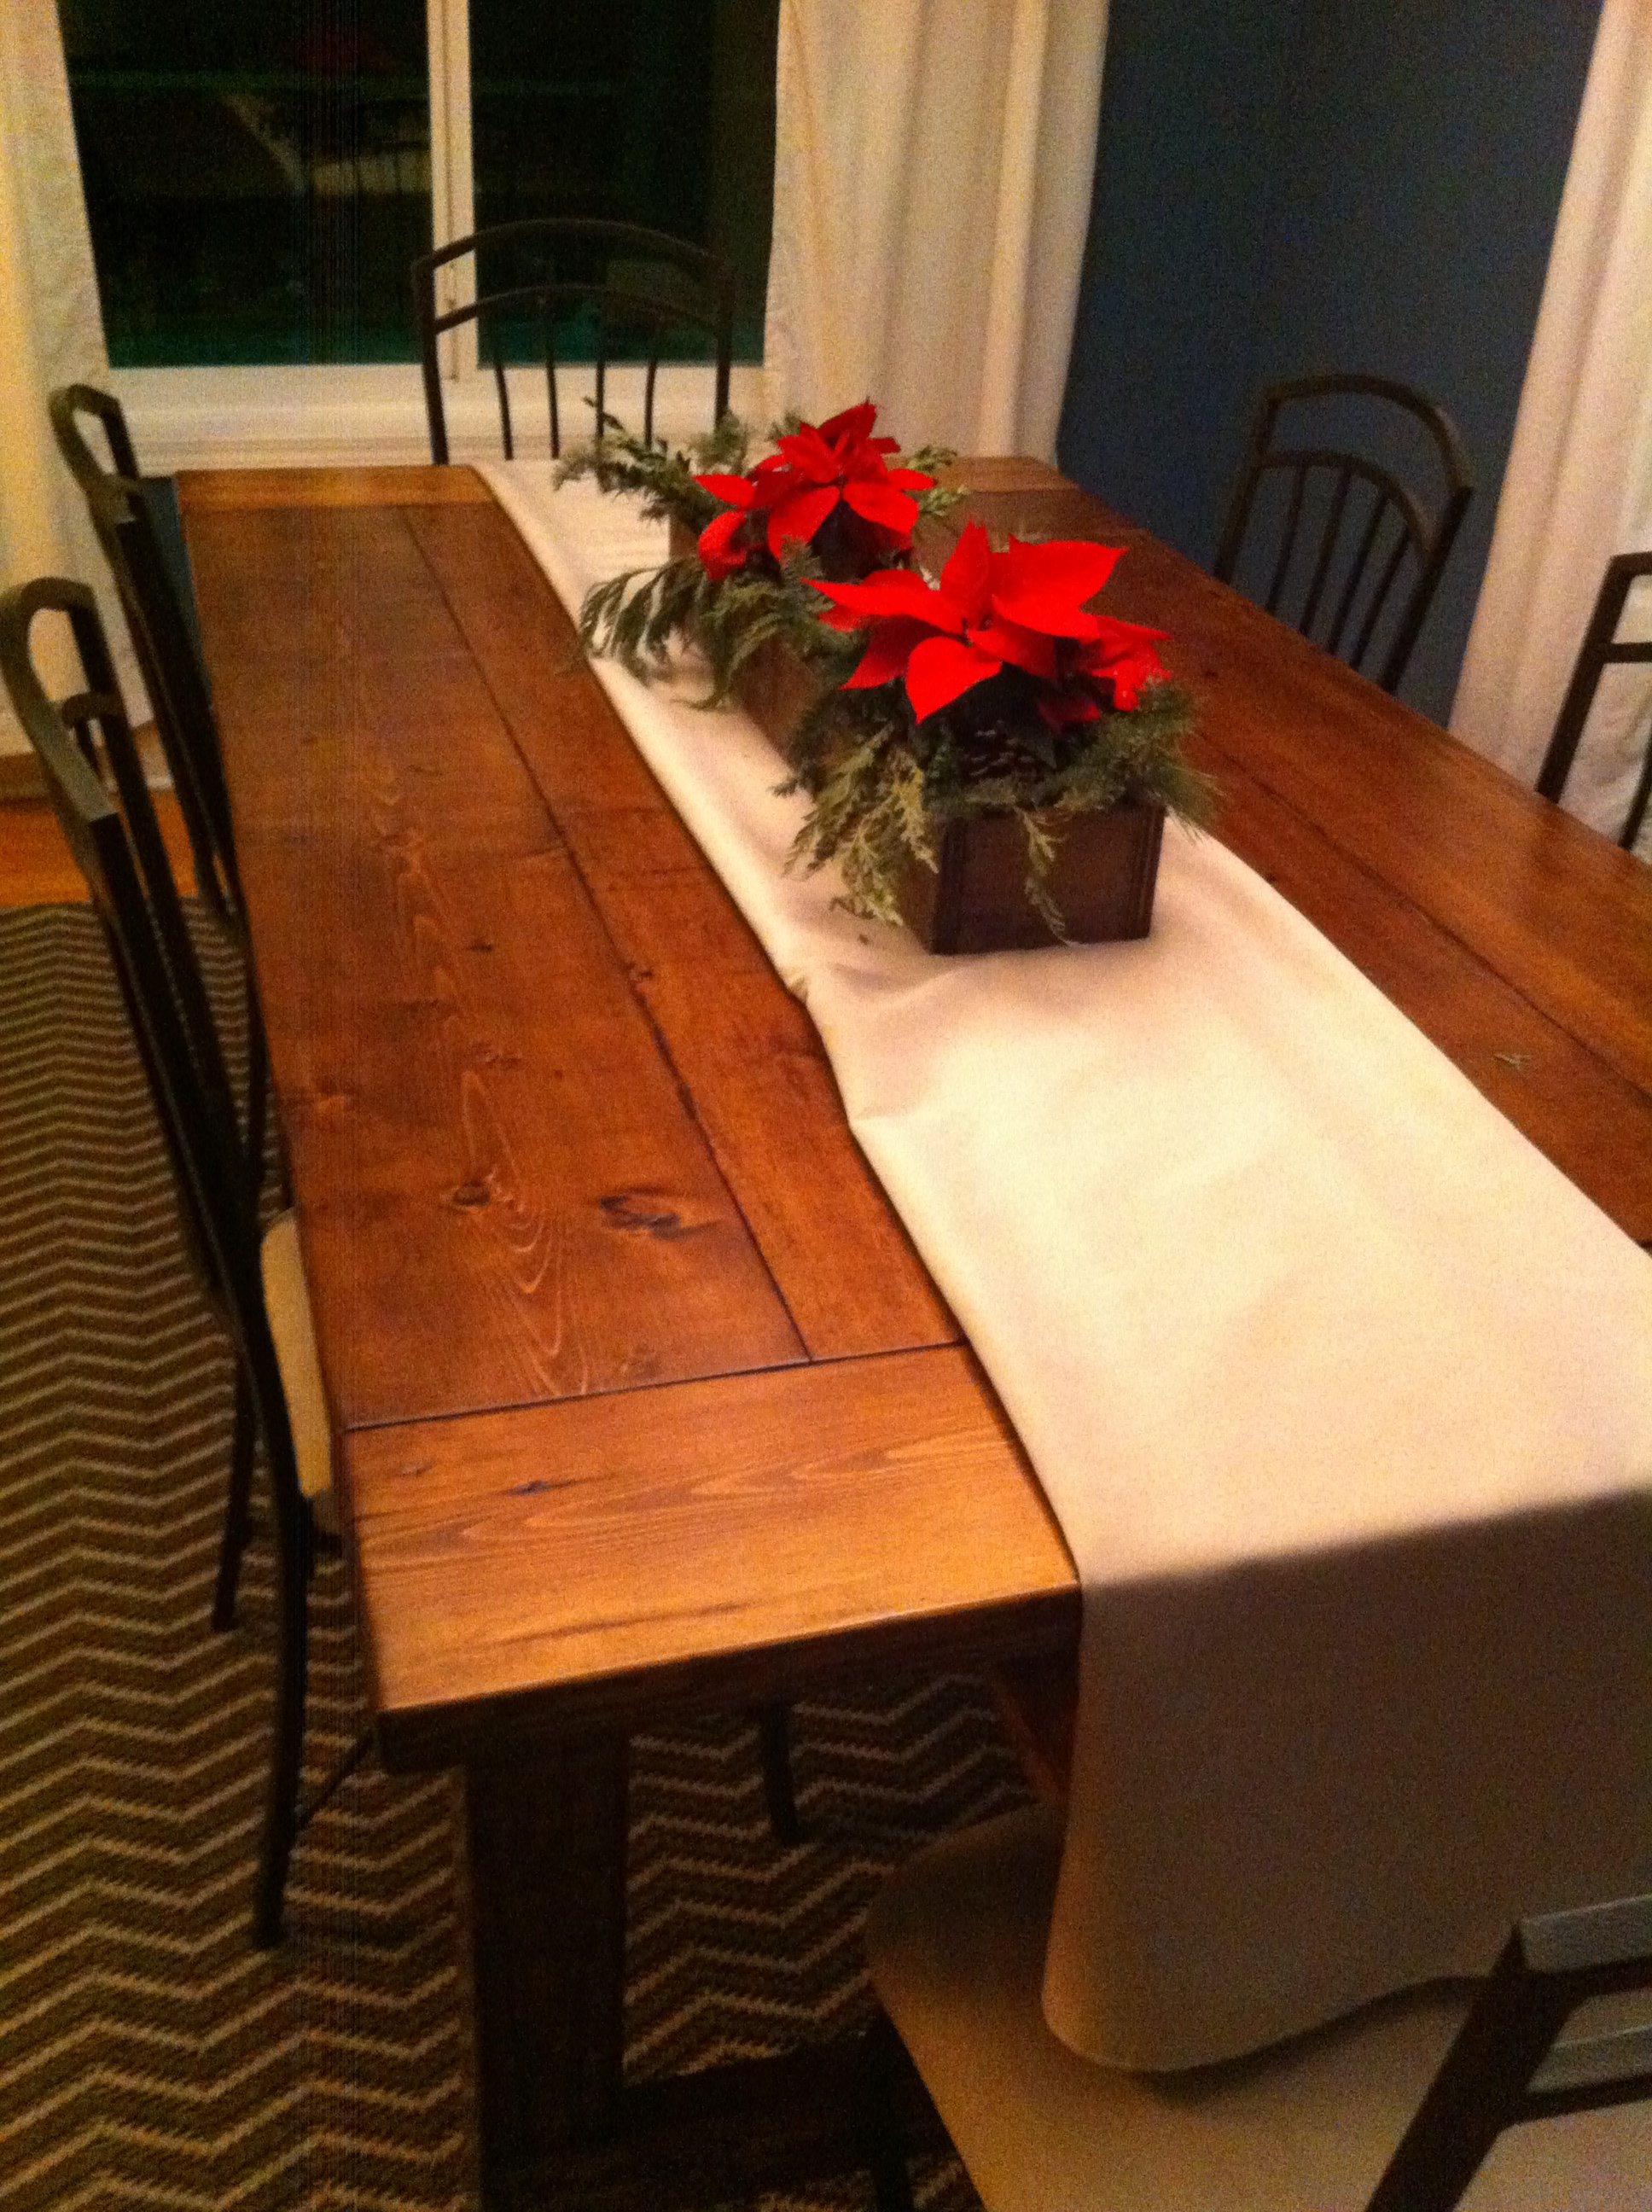
I changed up the dimensions a little bit... I wanted the table to be shorter and wider. I ended up using three 2x10s and two 2x8 for the table top to make it wider, and then just changed the cut list to make the table 76" long instead of 85". 

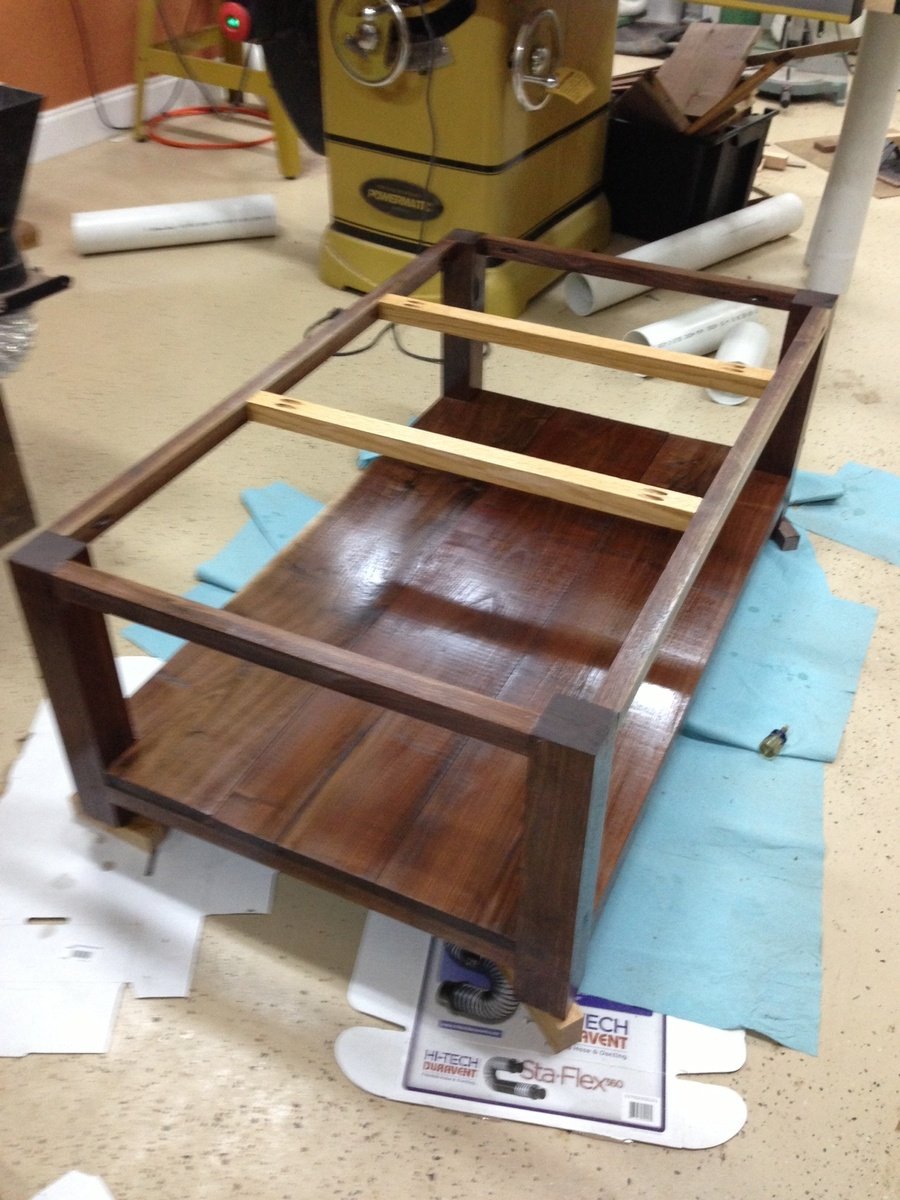
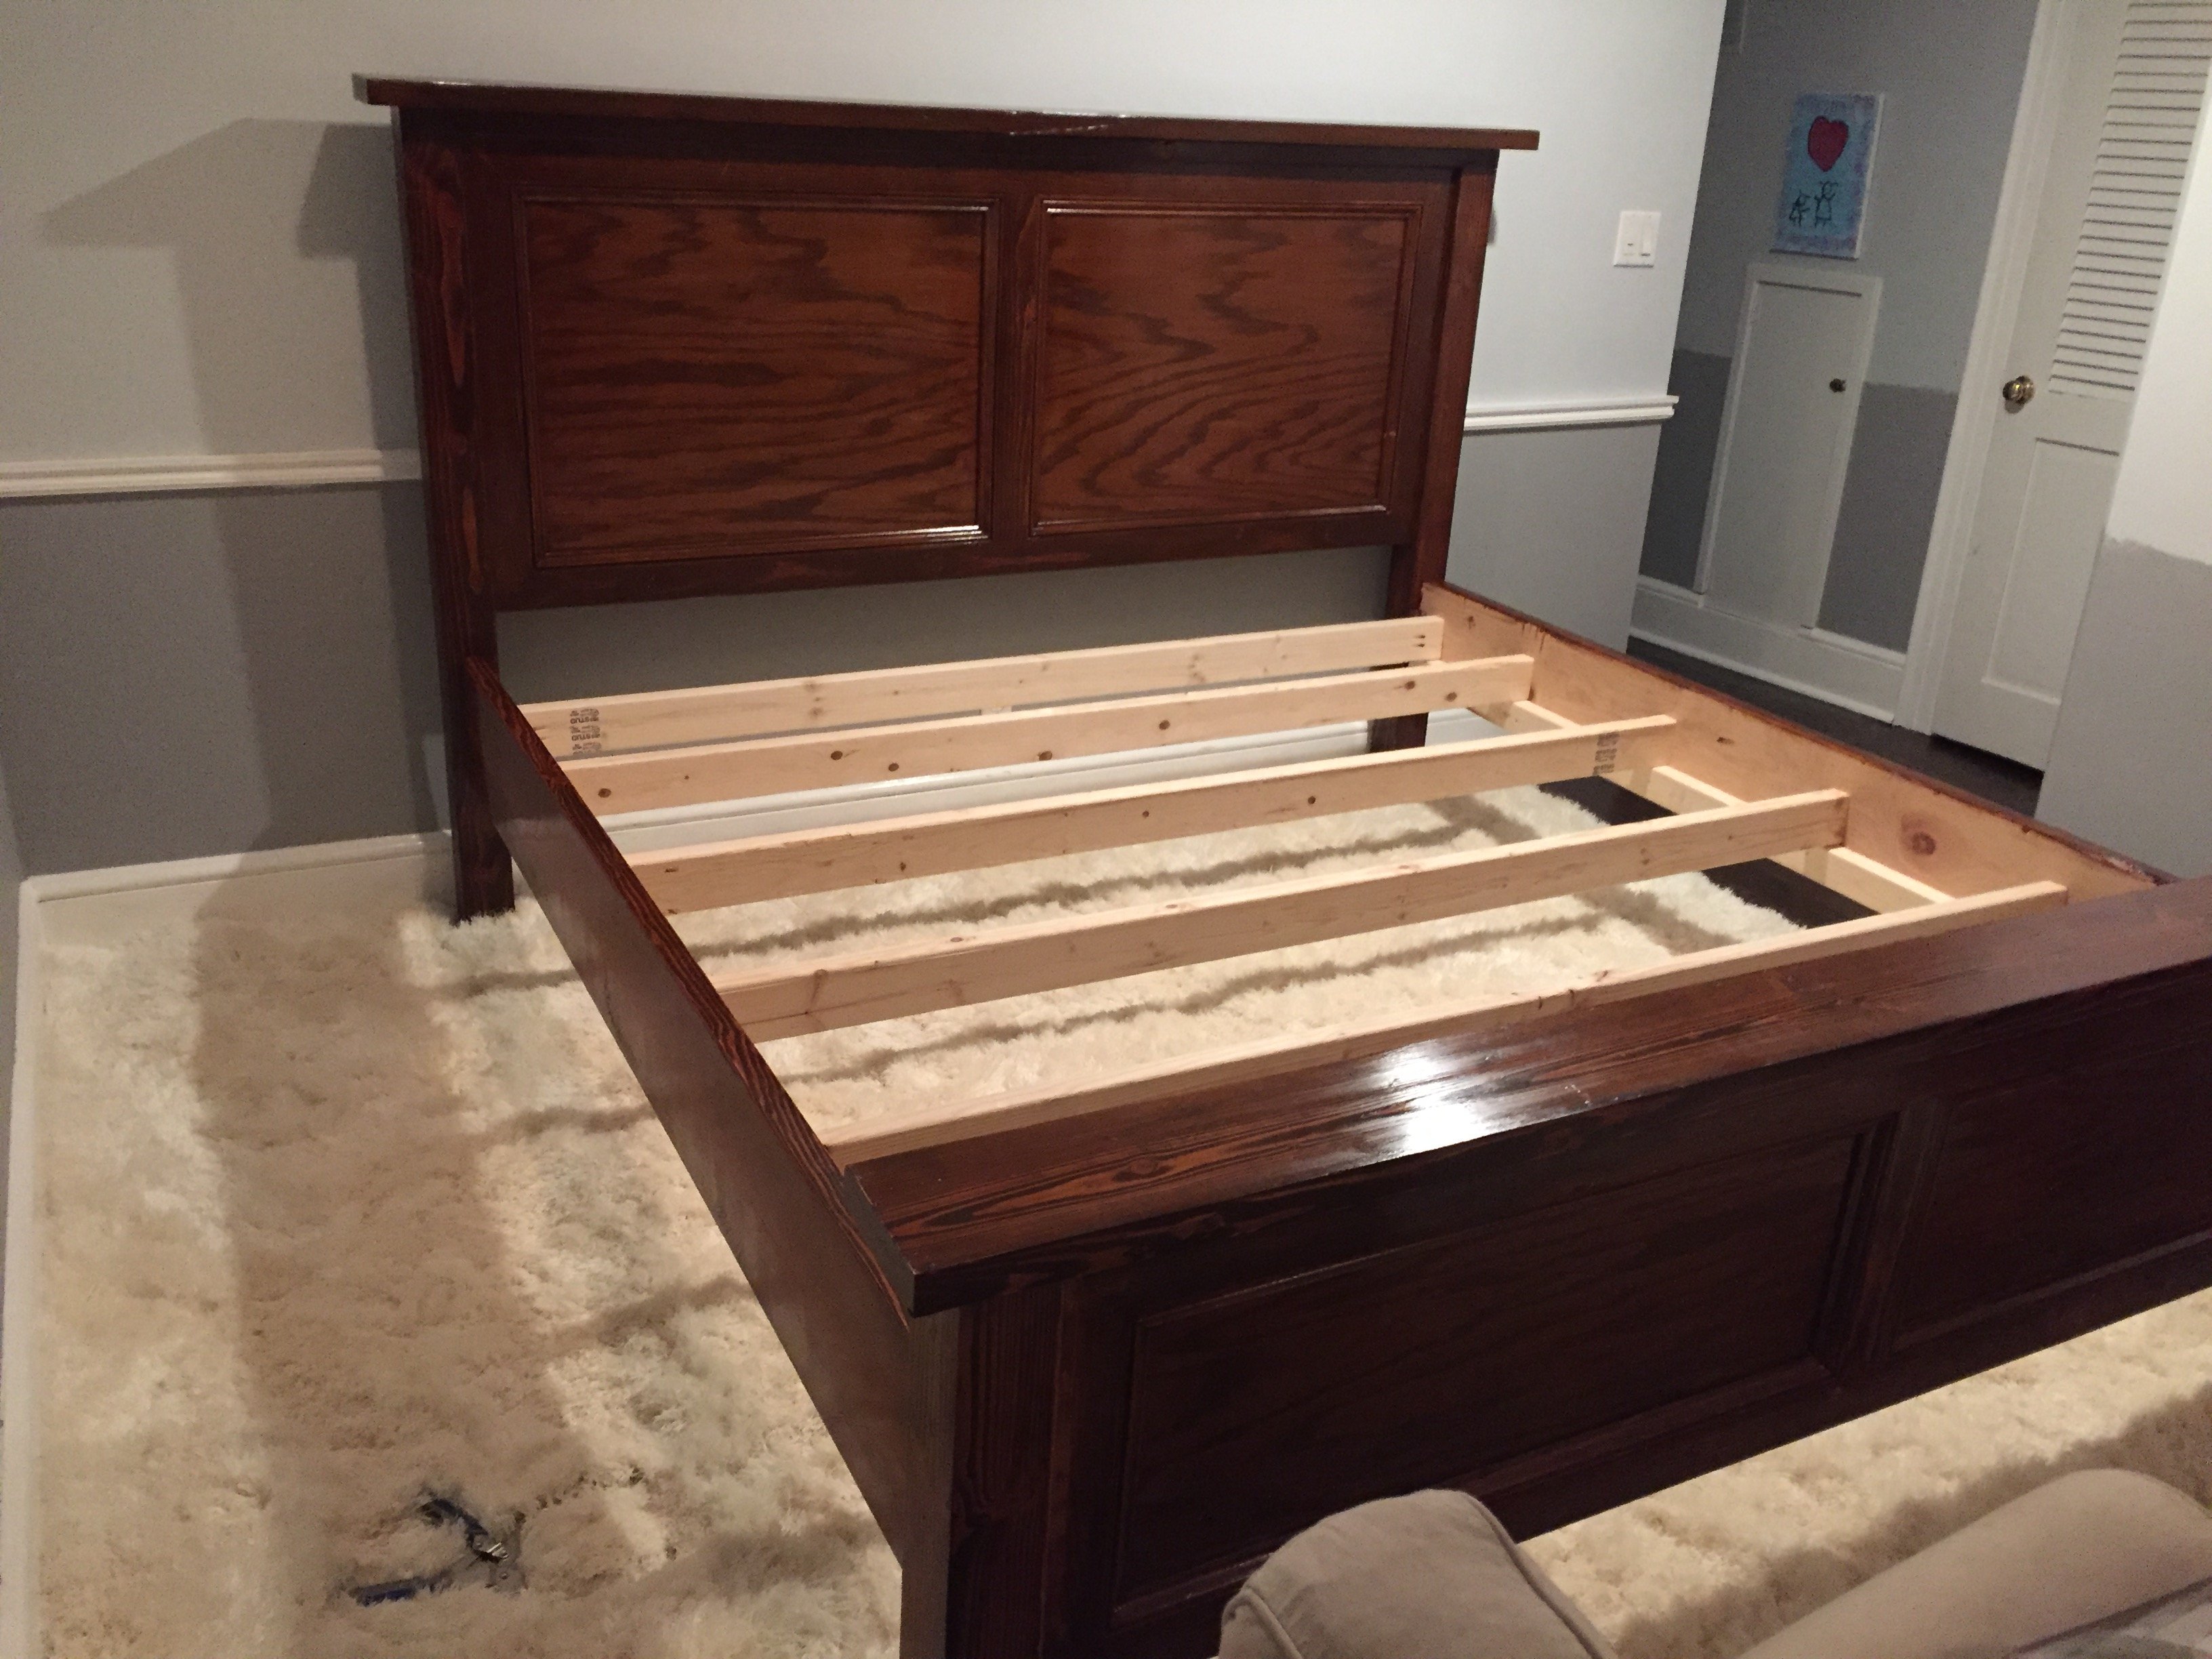
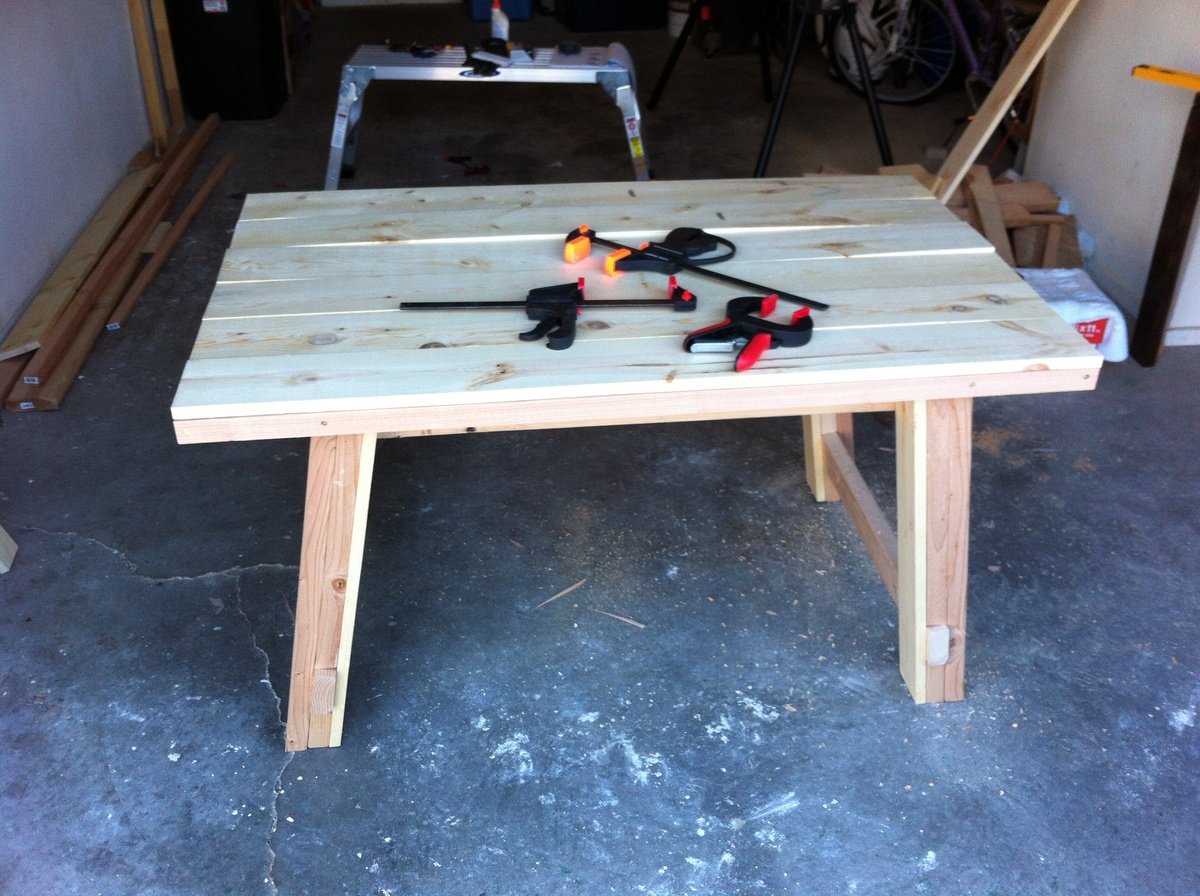
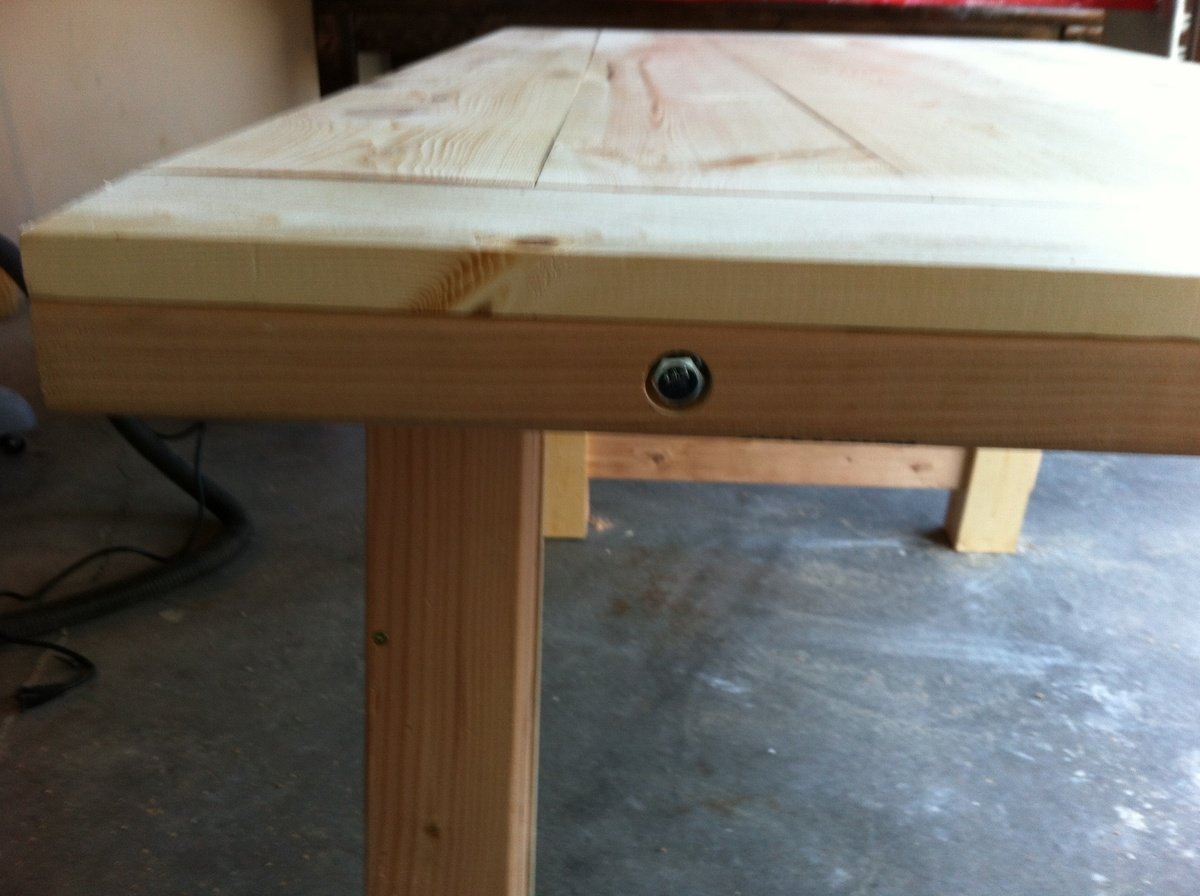
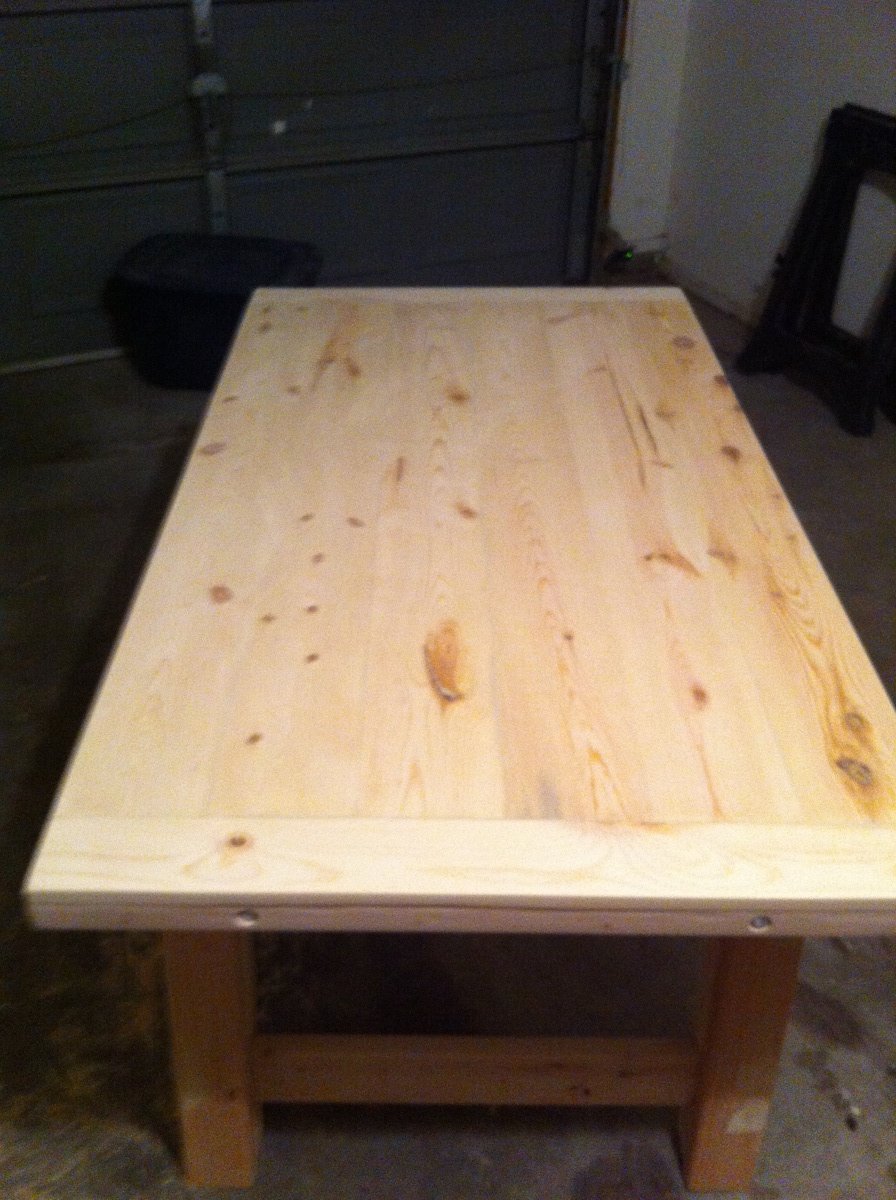
We did our best with picking out the straightest pieces of lumber from Fleet Farm, but even then had trouble getting the boards flush and flat to make the table top. I laid on the boards while my husband screwed them together, but even then had to spend hours sanding the top so that it was as flat as possible. 

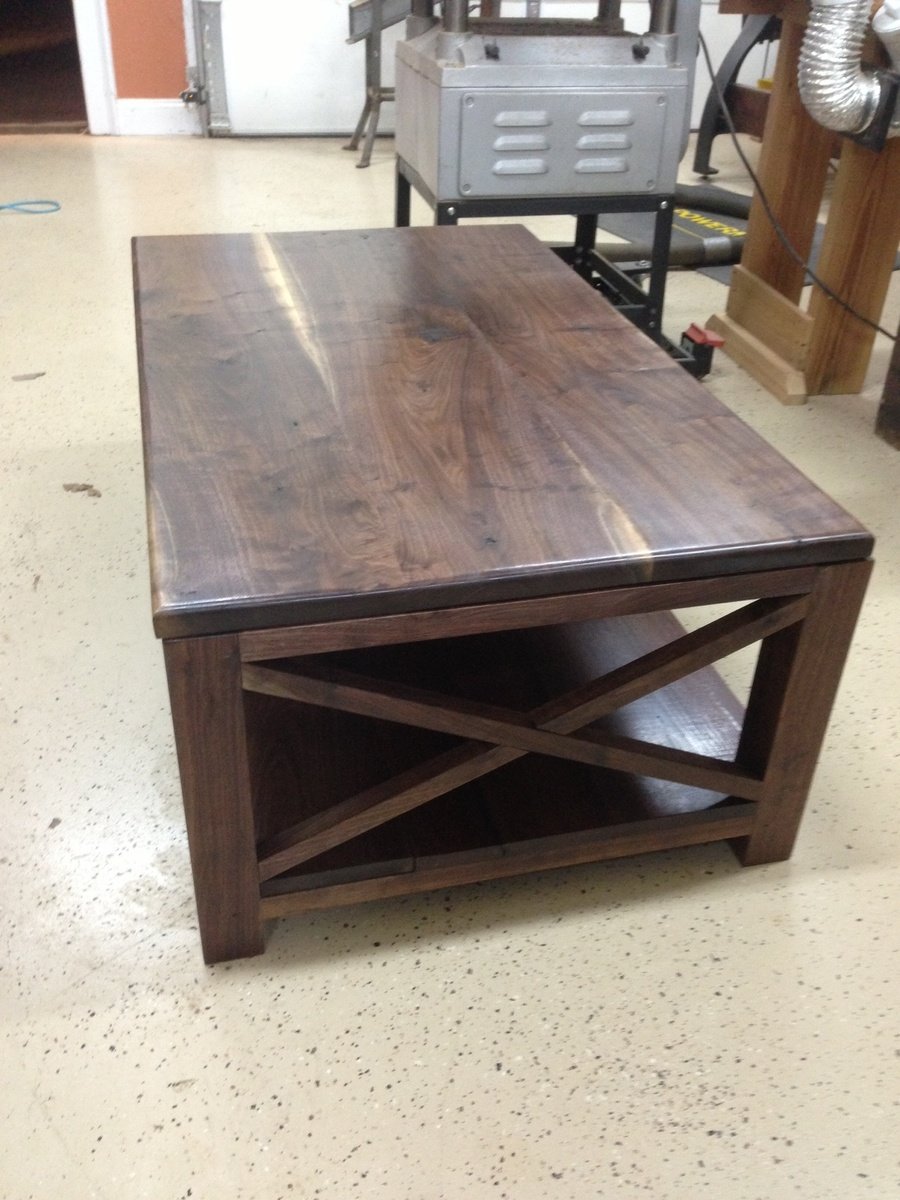
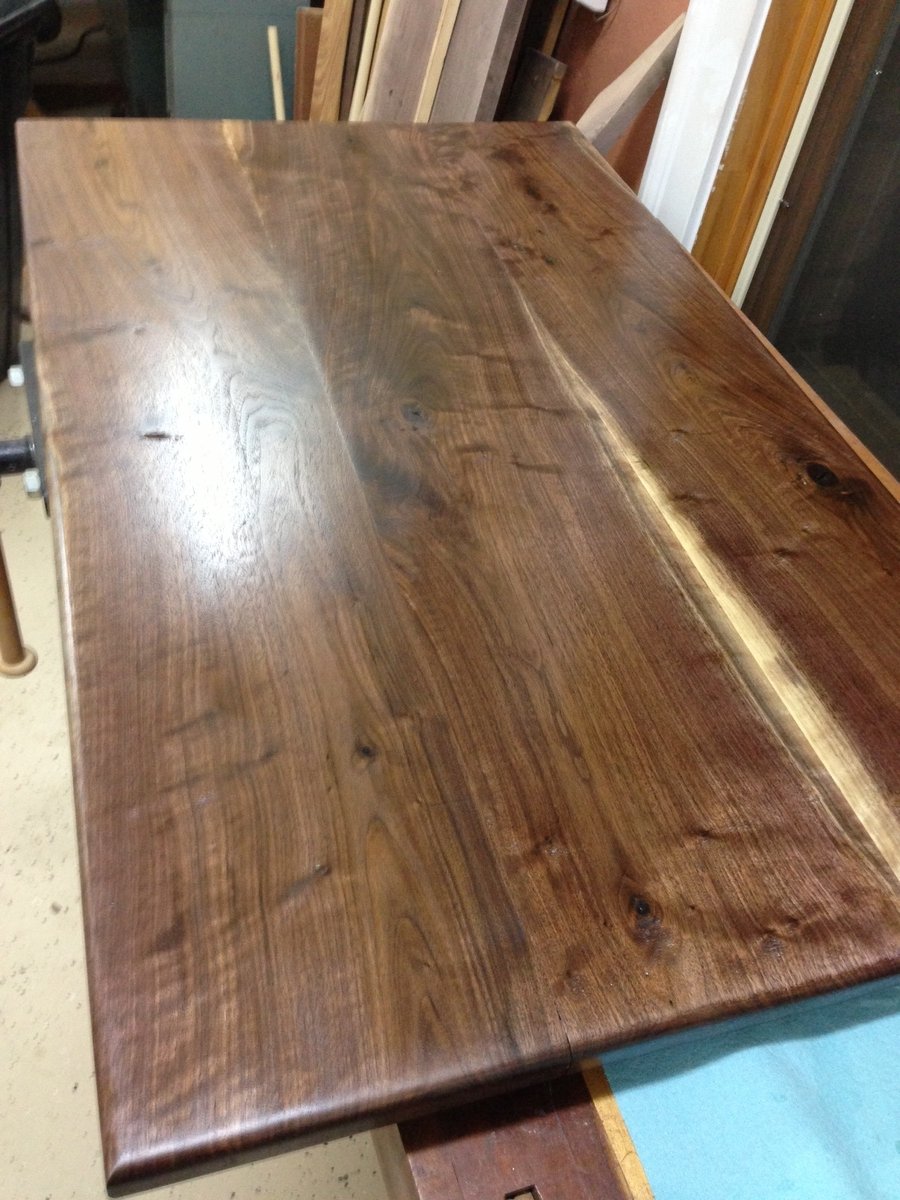
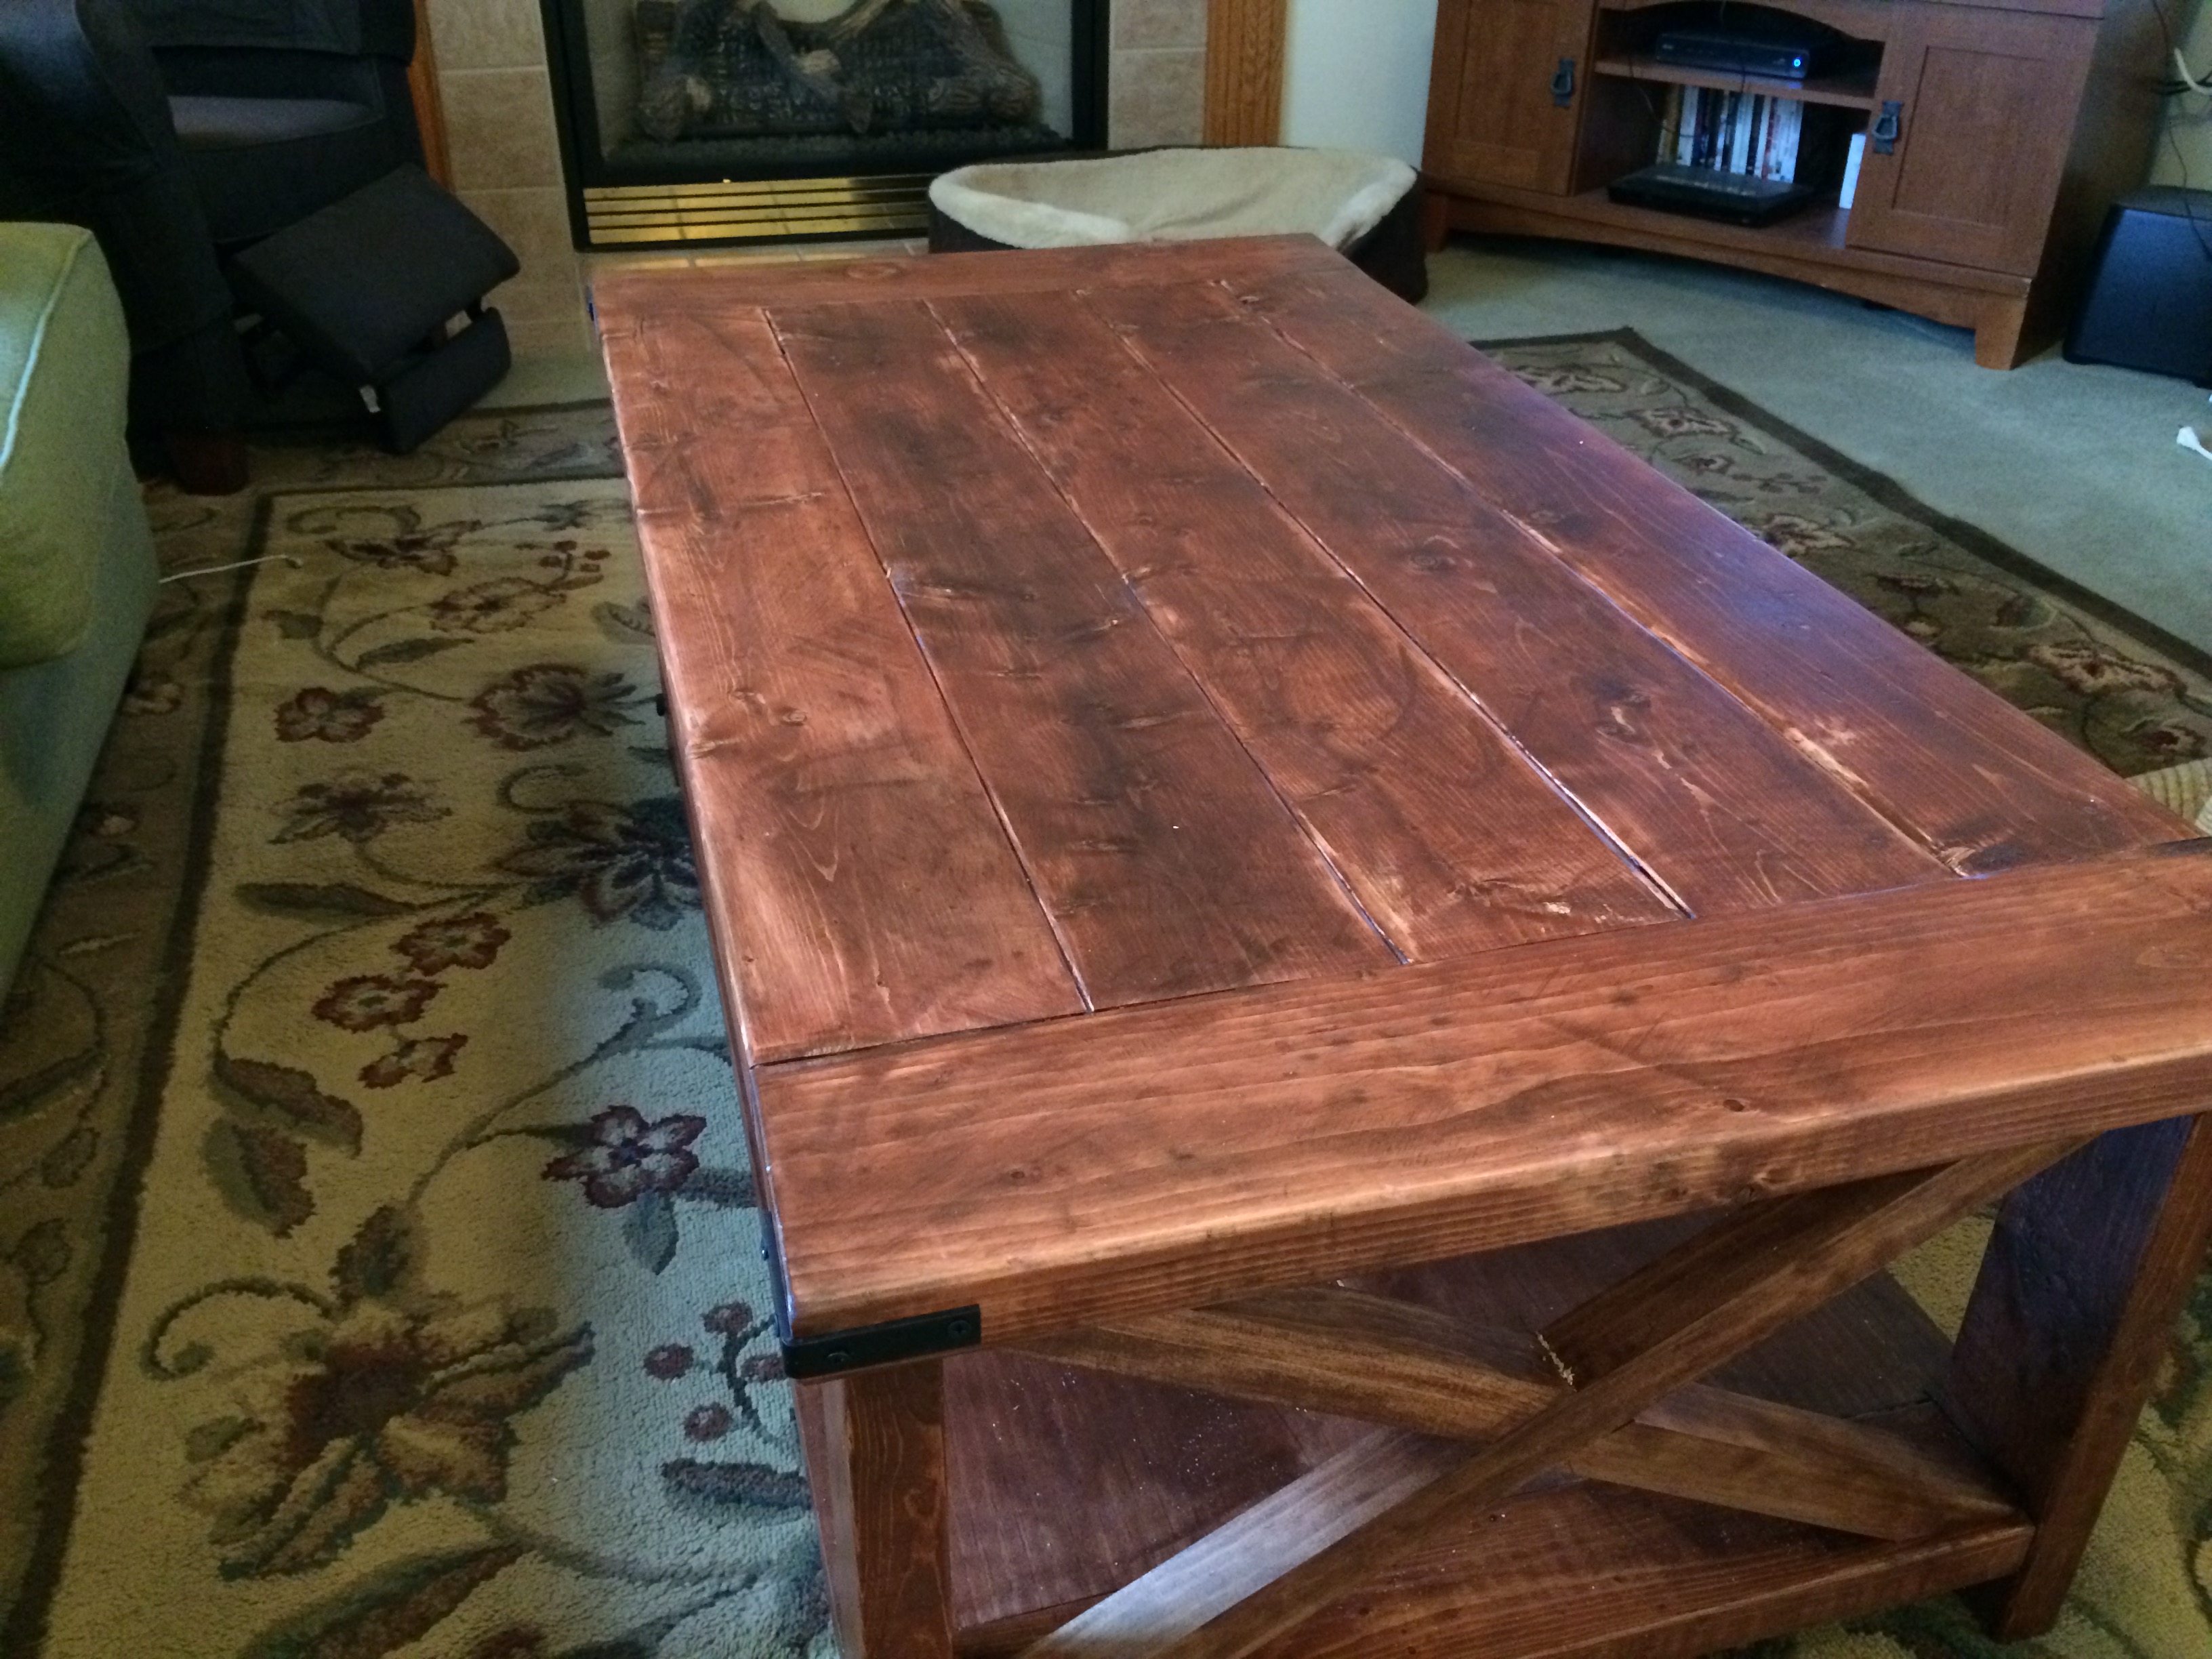
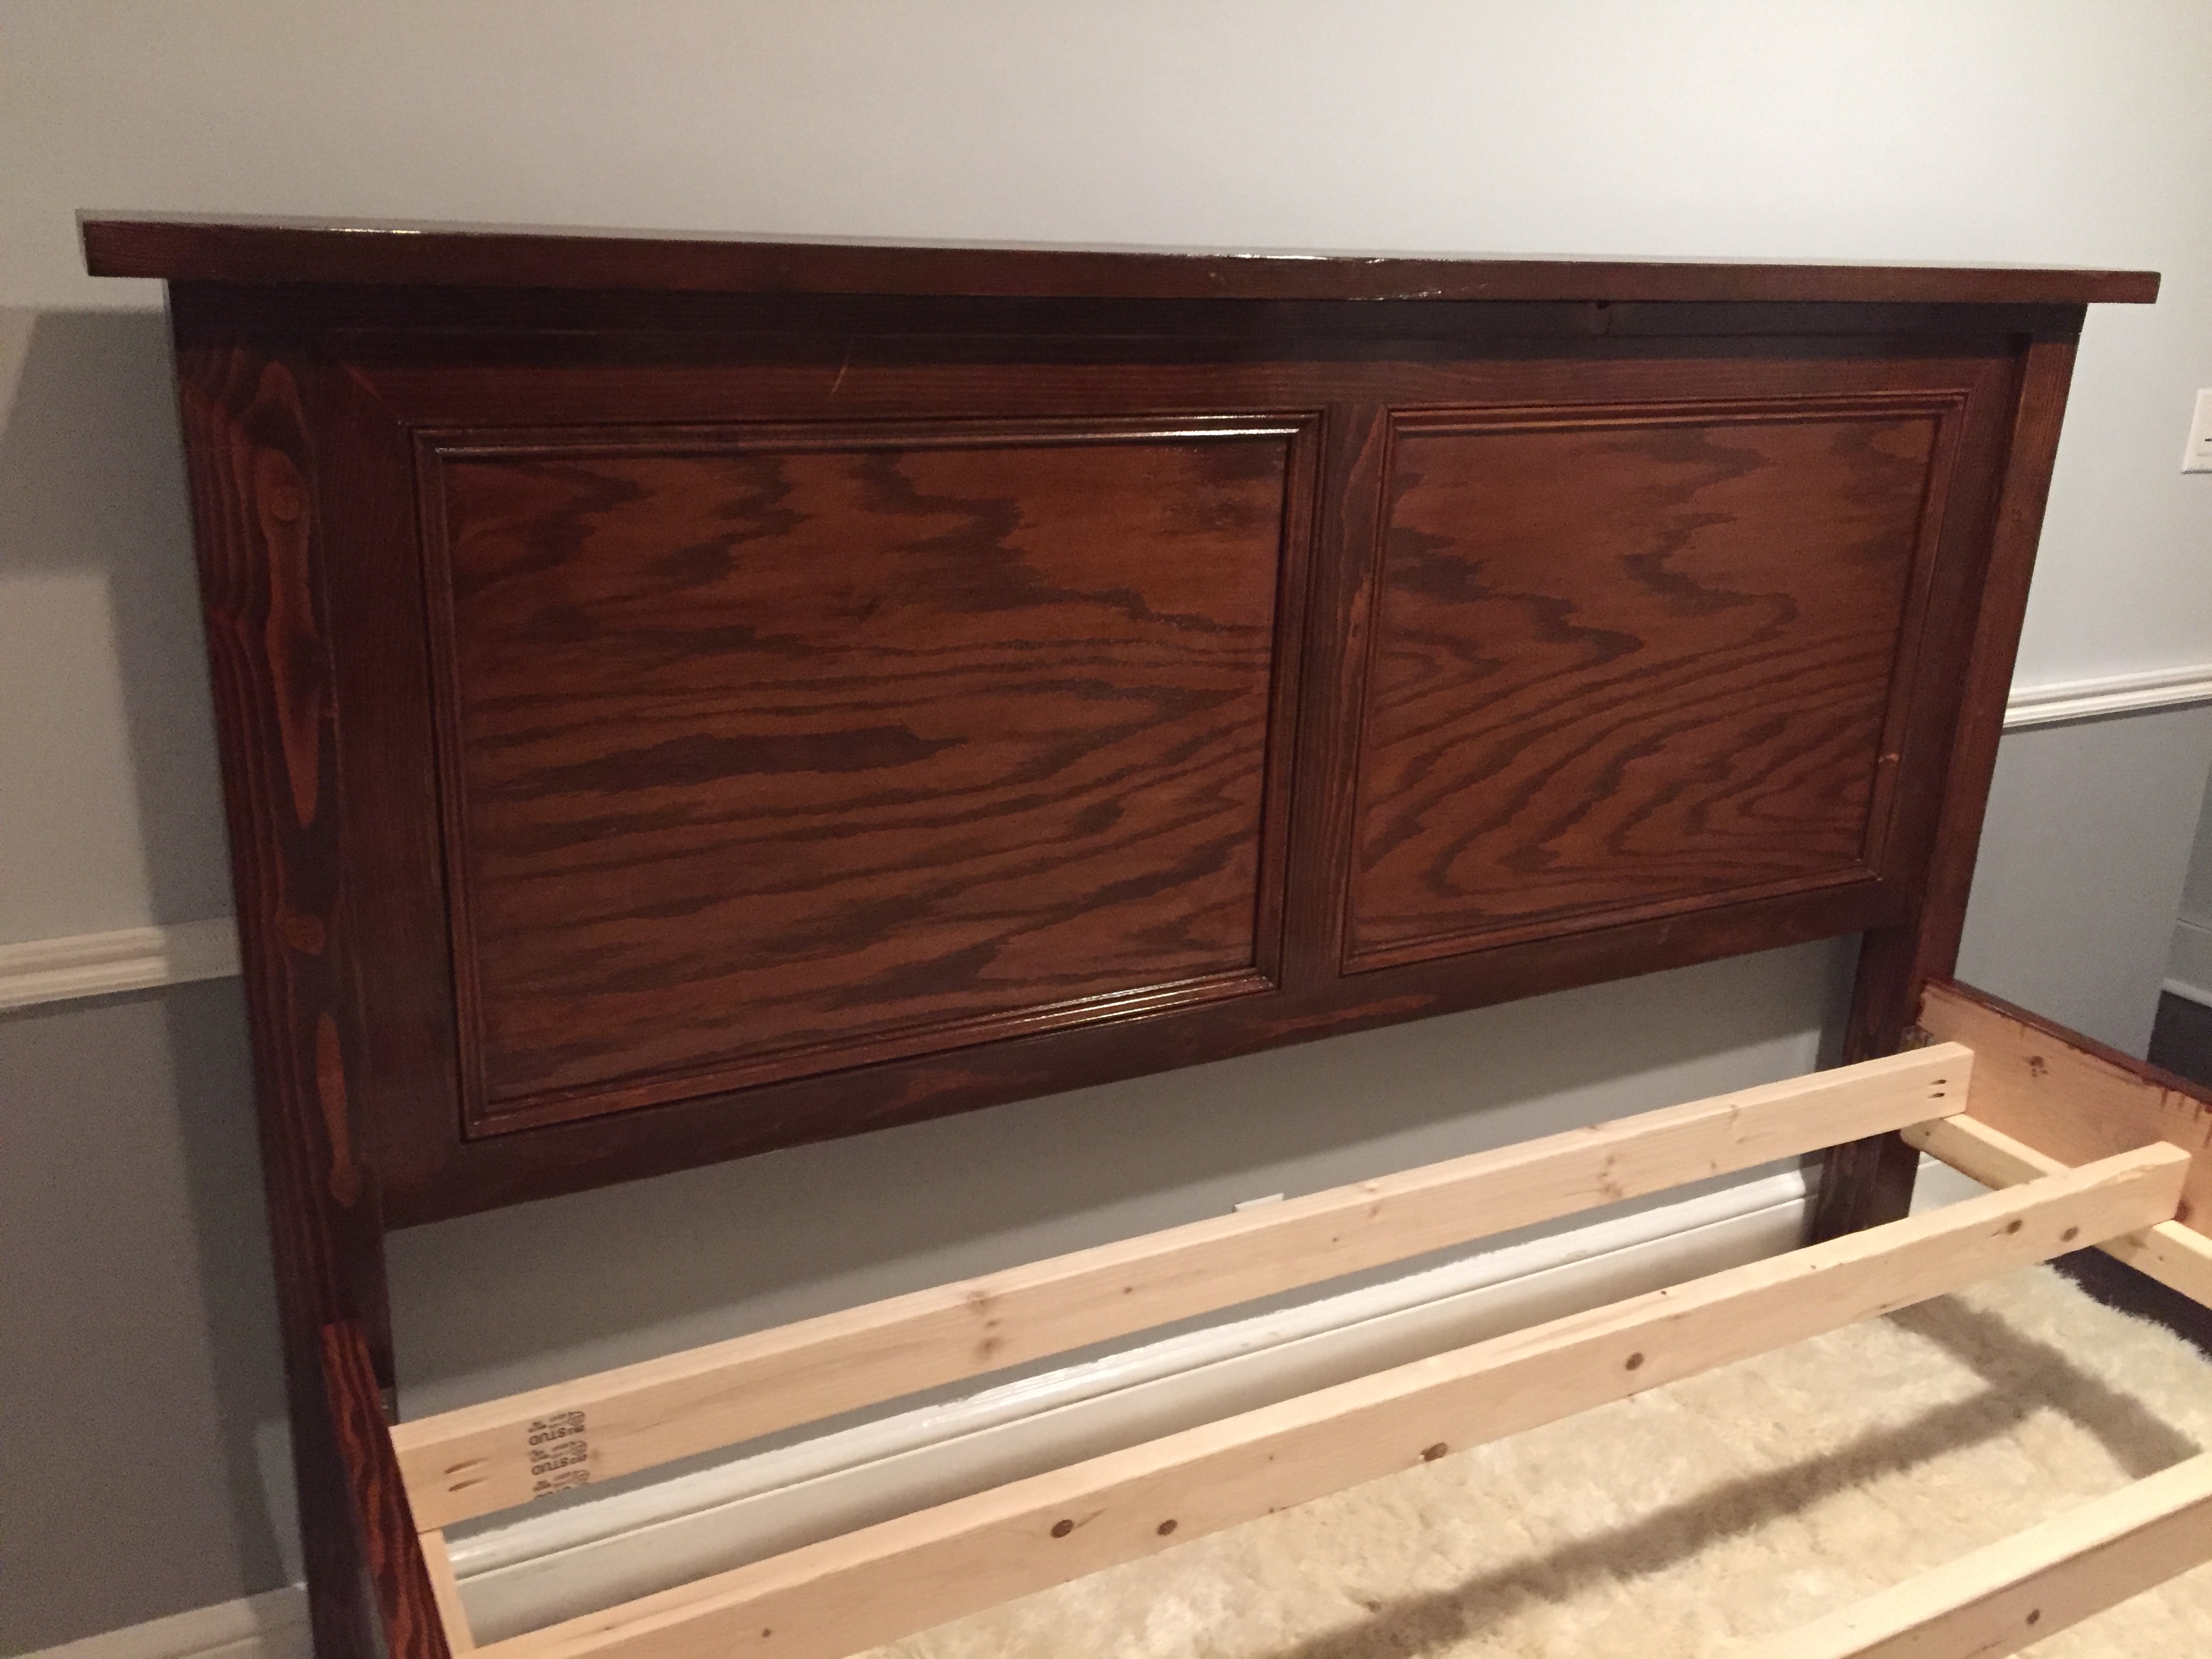
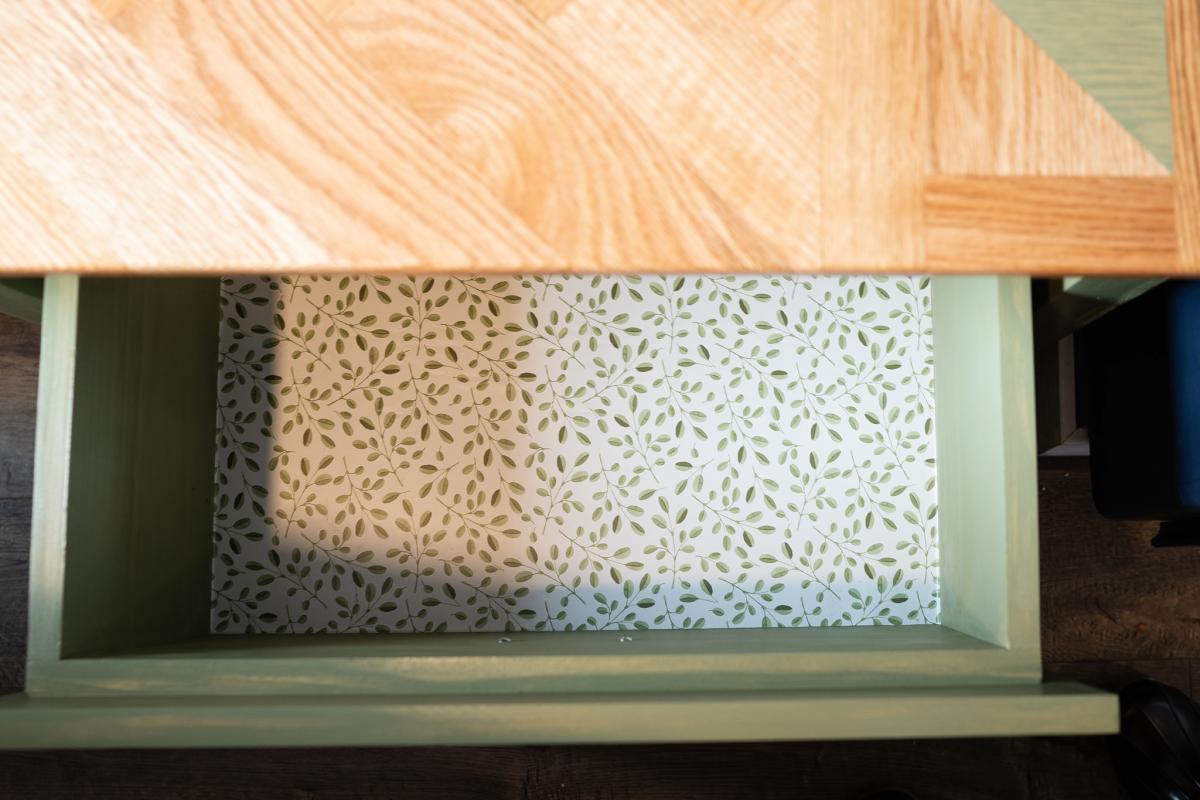
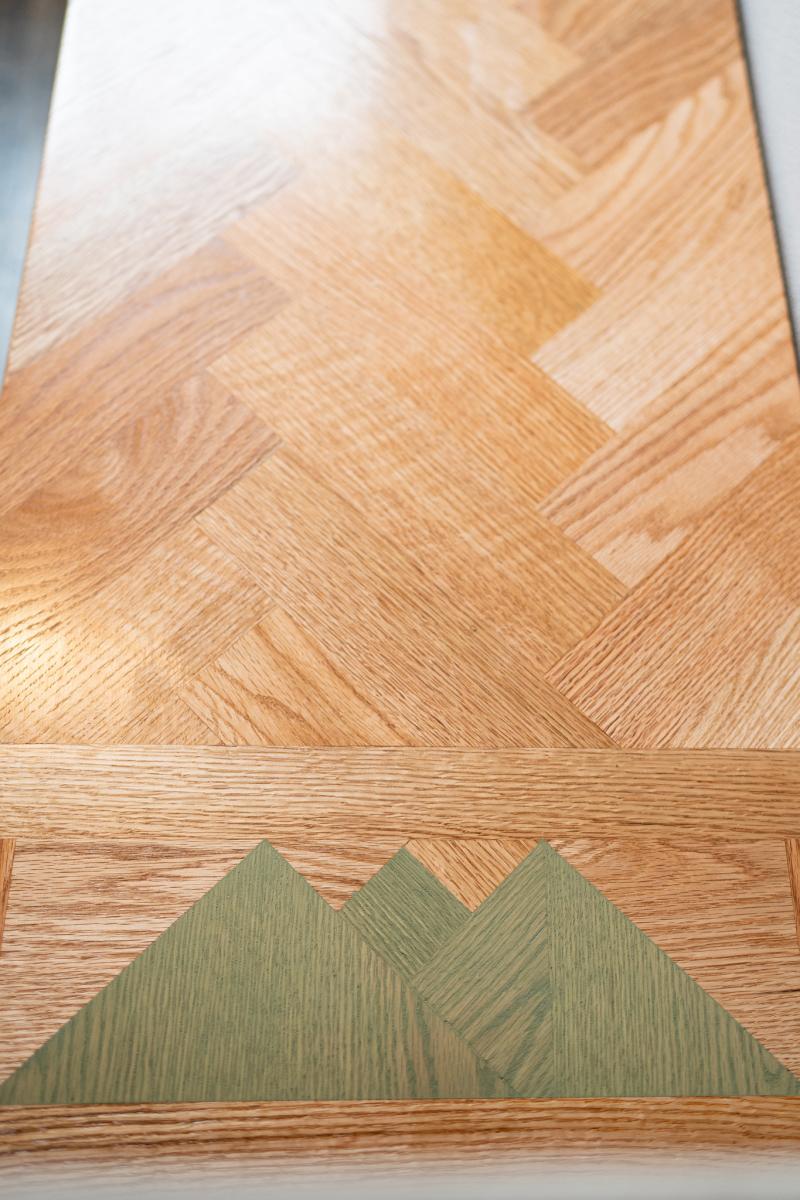
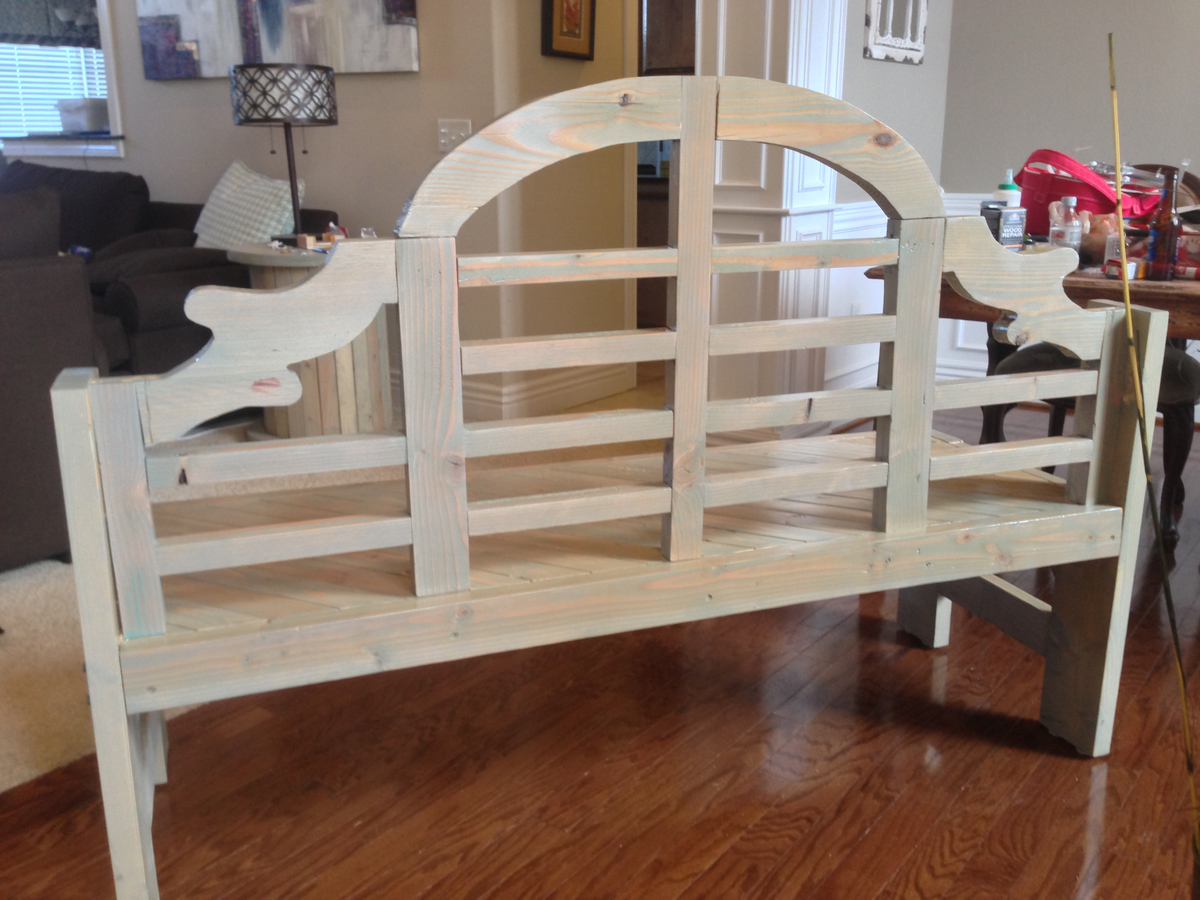
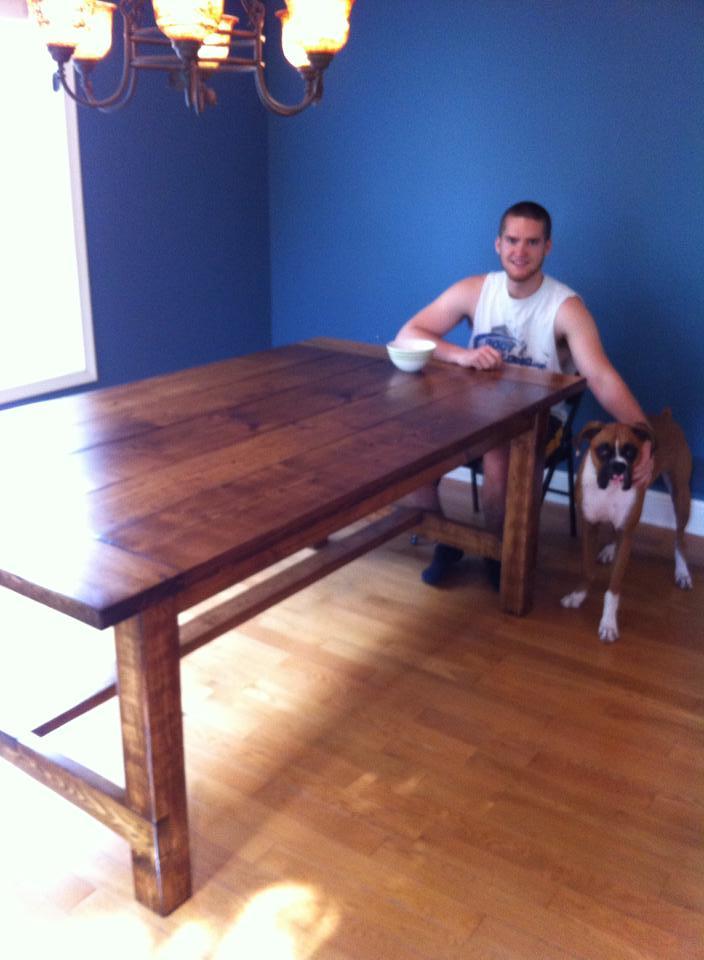
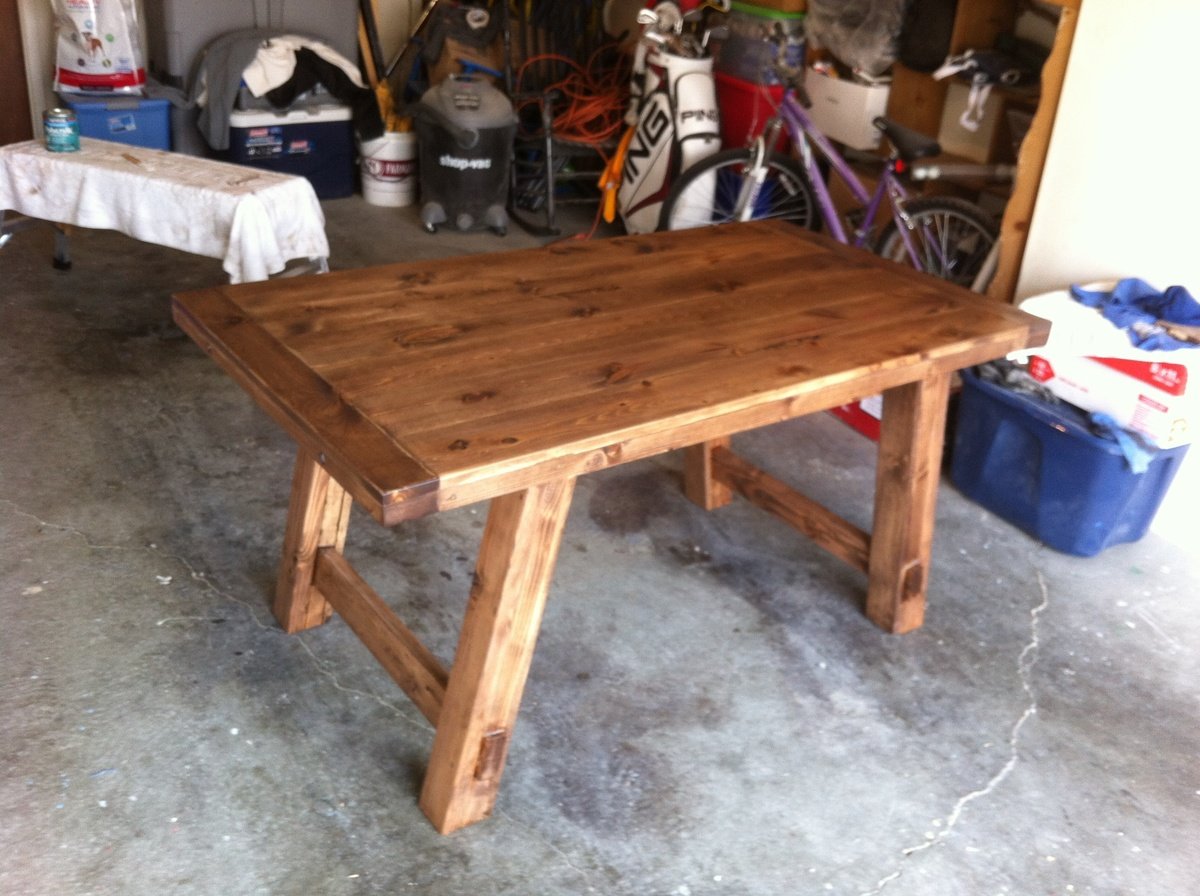
I did a couple coats of stain, which turned out really nice on the top of the table, but for some reason the legs turned a funny color. Some of the knots are a strange shade of purple. 

The polyurethane is amazing stuff. I had to control myself from putting on a million coats. Beware- that stuff sticks to everything and does not come off. (Olive oil helps get it out of hair ;)...)

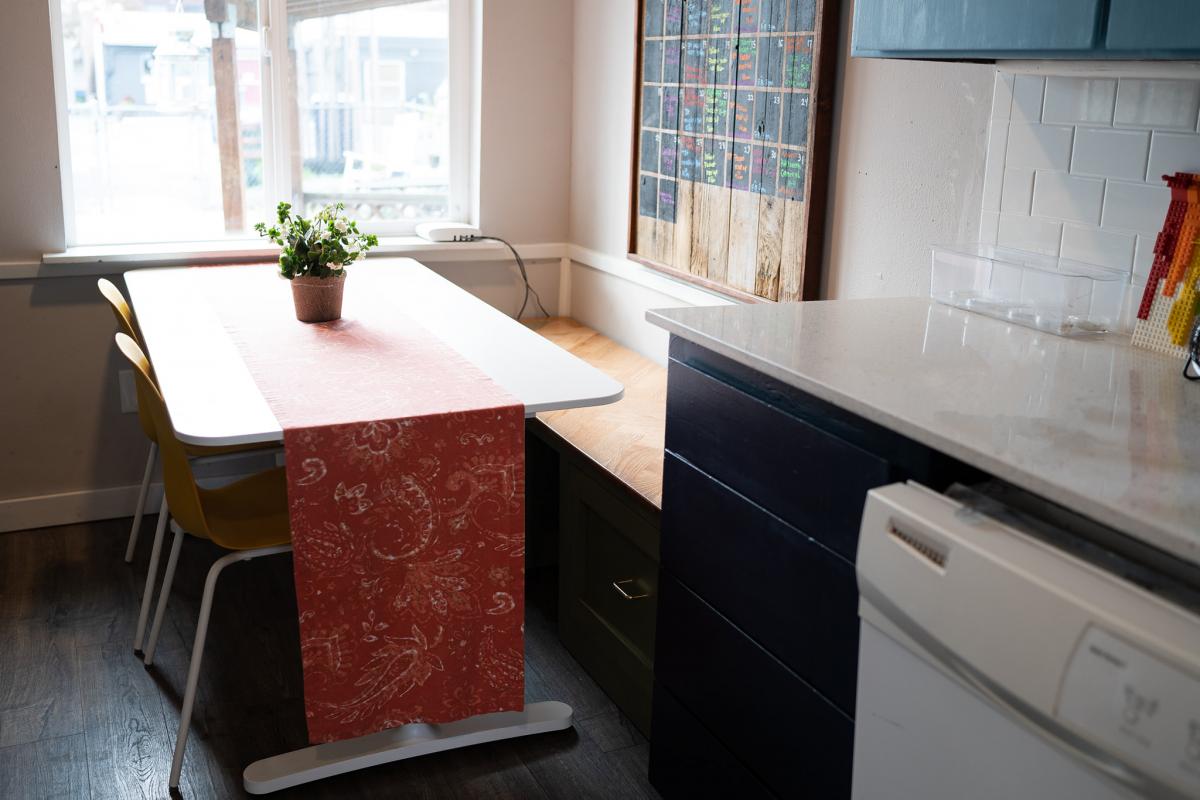
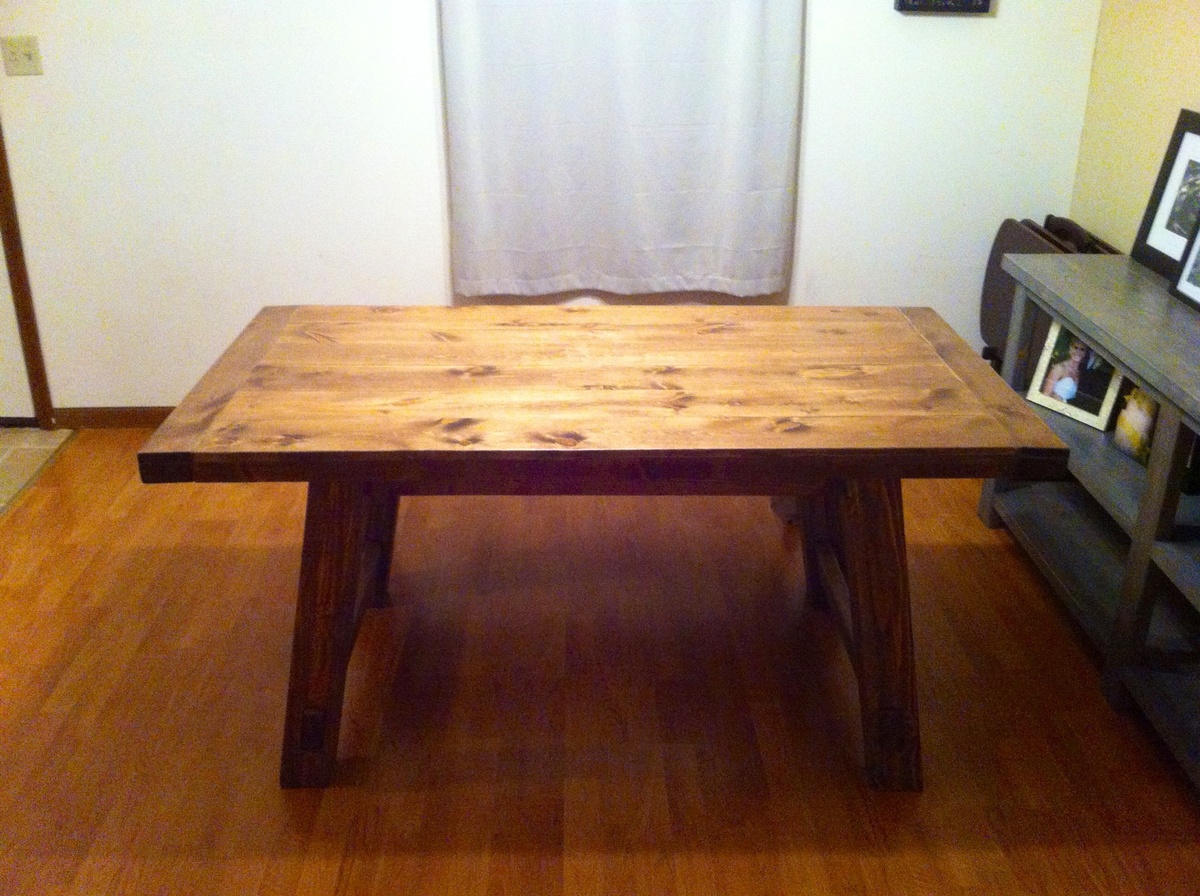
Anyways, I love this table and so do all of our visitors! We can comfortable fit 8 people at the table (squishy with 10 people) even with change in table dimensions. Great for hosting Thanksgiving!

Estimated Cost
This project cost us about $140 including stains, polyurethane, brushes, etc.
Estimated Time Investment
Weekend Project (10-20 Hours)
Finish Used
I used a MinWax prestain, then did four layers of stain alternating between Minwax Weathered Oak and Minwax Provincial. I'm not sure the Weathered Oak did a whole lot- but it did seem to make the color less yellow. I finished with three layers of Minwax Polyurethane on the legs and four layers on the table top.
Recommended Skill Level
Beginner

Comments

lbadger

Fri, 12/05/2014 - 19:18

This is beautiful! Nice work!  I have had a table like this on my list for a long time... I am getting used to using the kreg jig and joining lengths like this however I have been wondering how people get the boards flush as you can clamp them on the ends but not in the middle. I see your trick! But yes, good to know others are resorting to hours of sanding as well...  Enjoy!

earthbybike

Fri, 12/05/2014 - 20:04

The best way to get the boards flush is to plane them on the edges, drill the kreg jig holes, glue and then screw together.  Then use bar clamps on top and underneath to keep the top from bowing in either direction.  

Modern Farmhouse Queen Bed Project in Texas. First time Making a bed

Submitted by Anonymous (not verified) on Mon, 12/28/2020 - 05:55

This was a lot of fun to build and not very difficult with the right tools.
The only thing I changed was adding a 2x6 to the top cap instead of the 2x4. I like the look.

Honestly, the thing that took me the longest was picking out the straightest lumber off the shelf. lol

The painting was a different subject lol. I painted a dark gray and after not liking it I decided to give it a light gray wash for the weathered look I was going for. I love it! Thanks, Ana for the inspiration!

I would say anyone with a passion for making things, how to read a tape measure and attention to detail can make this bed fairly easily.

AJ in Texas

Built from Plan(s)
Estimated Cost
$175
Estimated Time Investment
Day Project (6-9 Hours)
Recommended Skill Level
Intermediate

Comments

Benchright

Submitted by BuilderX on Sun, 02/03/2013 - 10:16

Benchright table from Ana Whites plans. Made it 5 foot long to fit out space.

Recommended Skill Level
Intermediate

Comments

Mimi's Faux Mantle

Submitted by Anonymous (not verified) on Fri, 03/10/2017 - 04:47

Built this using the Anna White's "MIMI'S FAUX MANTLE" but instead of using crown molding I elected to use STONE TILES in a neutral tones and finished the surround and mantle in white giving the piece a nice soft appeal.  The building plans were easy to follow and took about 2 days to complete the whole process (because of drying times) not to mention how reasonable the cost was.  I already had the tiles,  adhesive, and paint from left over projects.

Estimated Cost
Cost was more than reasonable. I already had the tiles ,adhesive, and paint. Total cost was approximately $66.00.
Estimated Time Investment
Day Project (6-9 Hours)
Finish Used
I used Behr White Semi-Gloss Enamel paint purchased from Home Depot (I had the paint from a previous project). Use any tile of your choice since these were left over tiles I had on hand. When tiling use an appropriate tile for the space and glue with tile adhesive. I let mine sit overnight and grouted it the next day using a sanded grout in Bone (purchased from Home Depot) #832.
Recommended Skill Level
Intermediate

Coffee Table Train Table

Submitted by michlynn11 on Thu, 12/31/2020 - 09:02

First build was a train table for Christmas for my 3 children. They loved it! And I love that it has a top and can be closed. I also painted the base and secured the track to the bottom plywood so we don’t have train pieces everywhere. I used 1” screws from underneath and we can take them off in the future if they want to start building their own tracks. Hope this brings years of fun for the kids!

Built from Plan(s)
Estimated Time Investment
Week Long Project (20 Hours or More)
Finish Used
Whitewash with Select Walnut
BM Wrought Iron
Recommended Skill Level
Beginner

My first build

Submitted by makadams on Mon, 02/04/2013 - 14:52

This was my first used left over 2 by 4 from basement remodel and was first project using kregjig

Estimated Time Investment
Afternoon Project (3-6 Hours)
Finish Used
mahogany
Recommended Skill Level
Starter Project