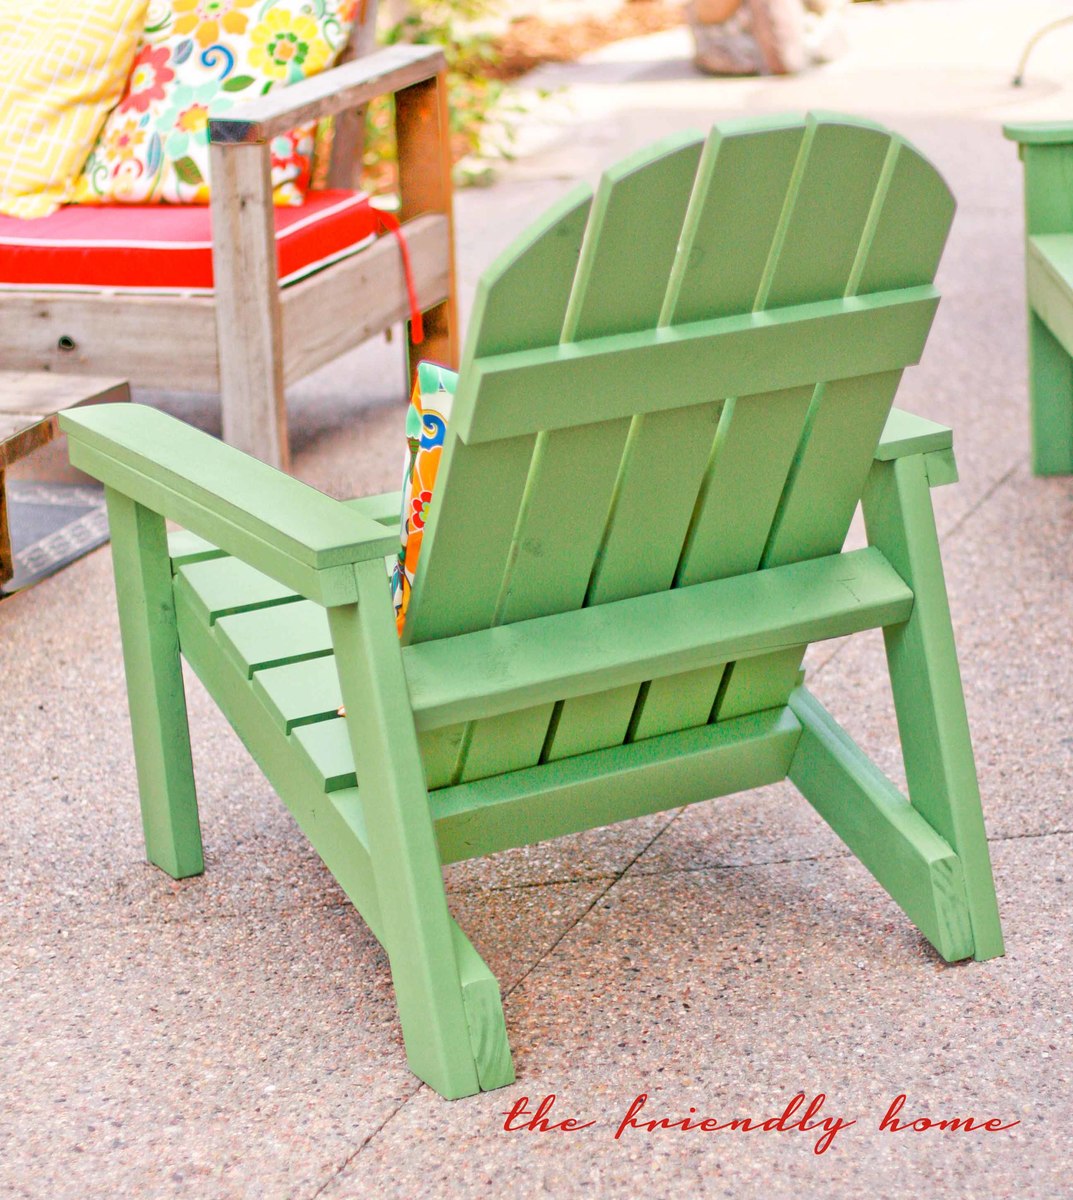
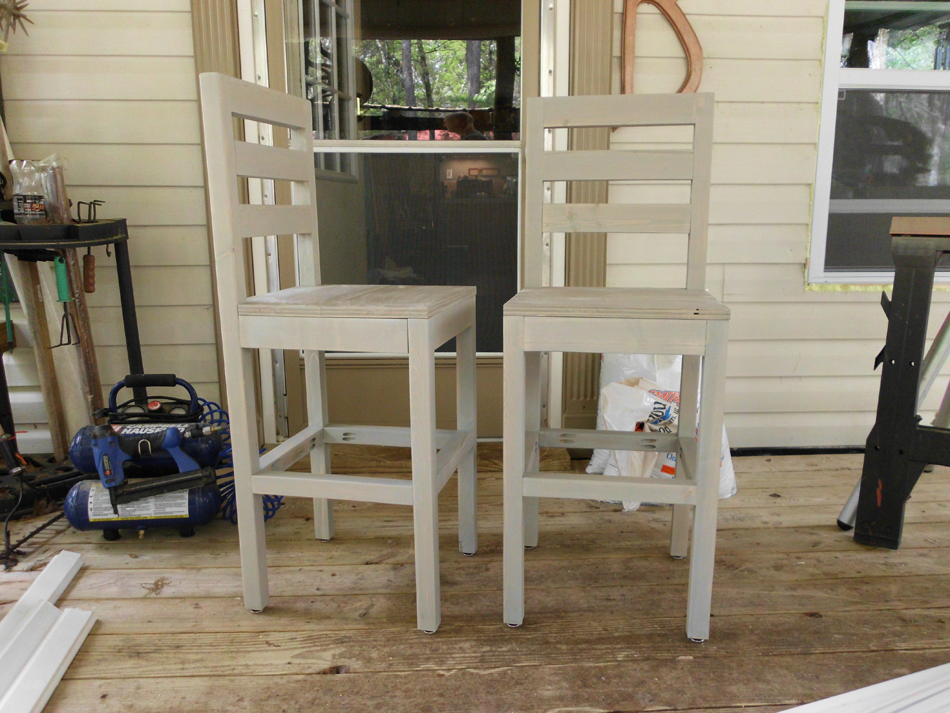
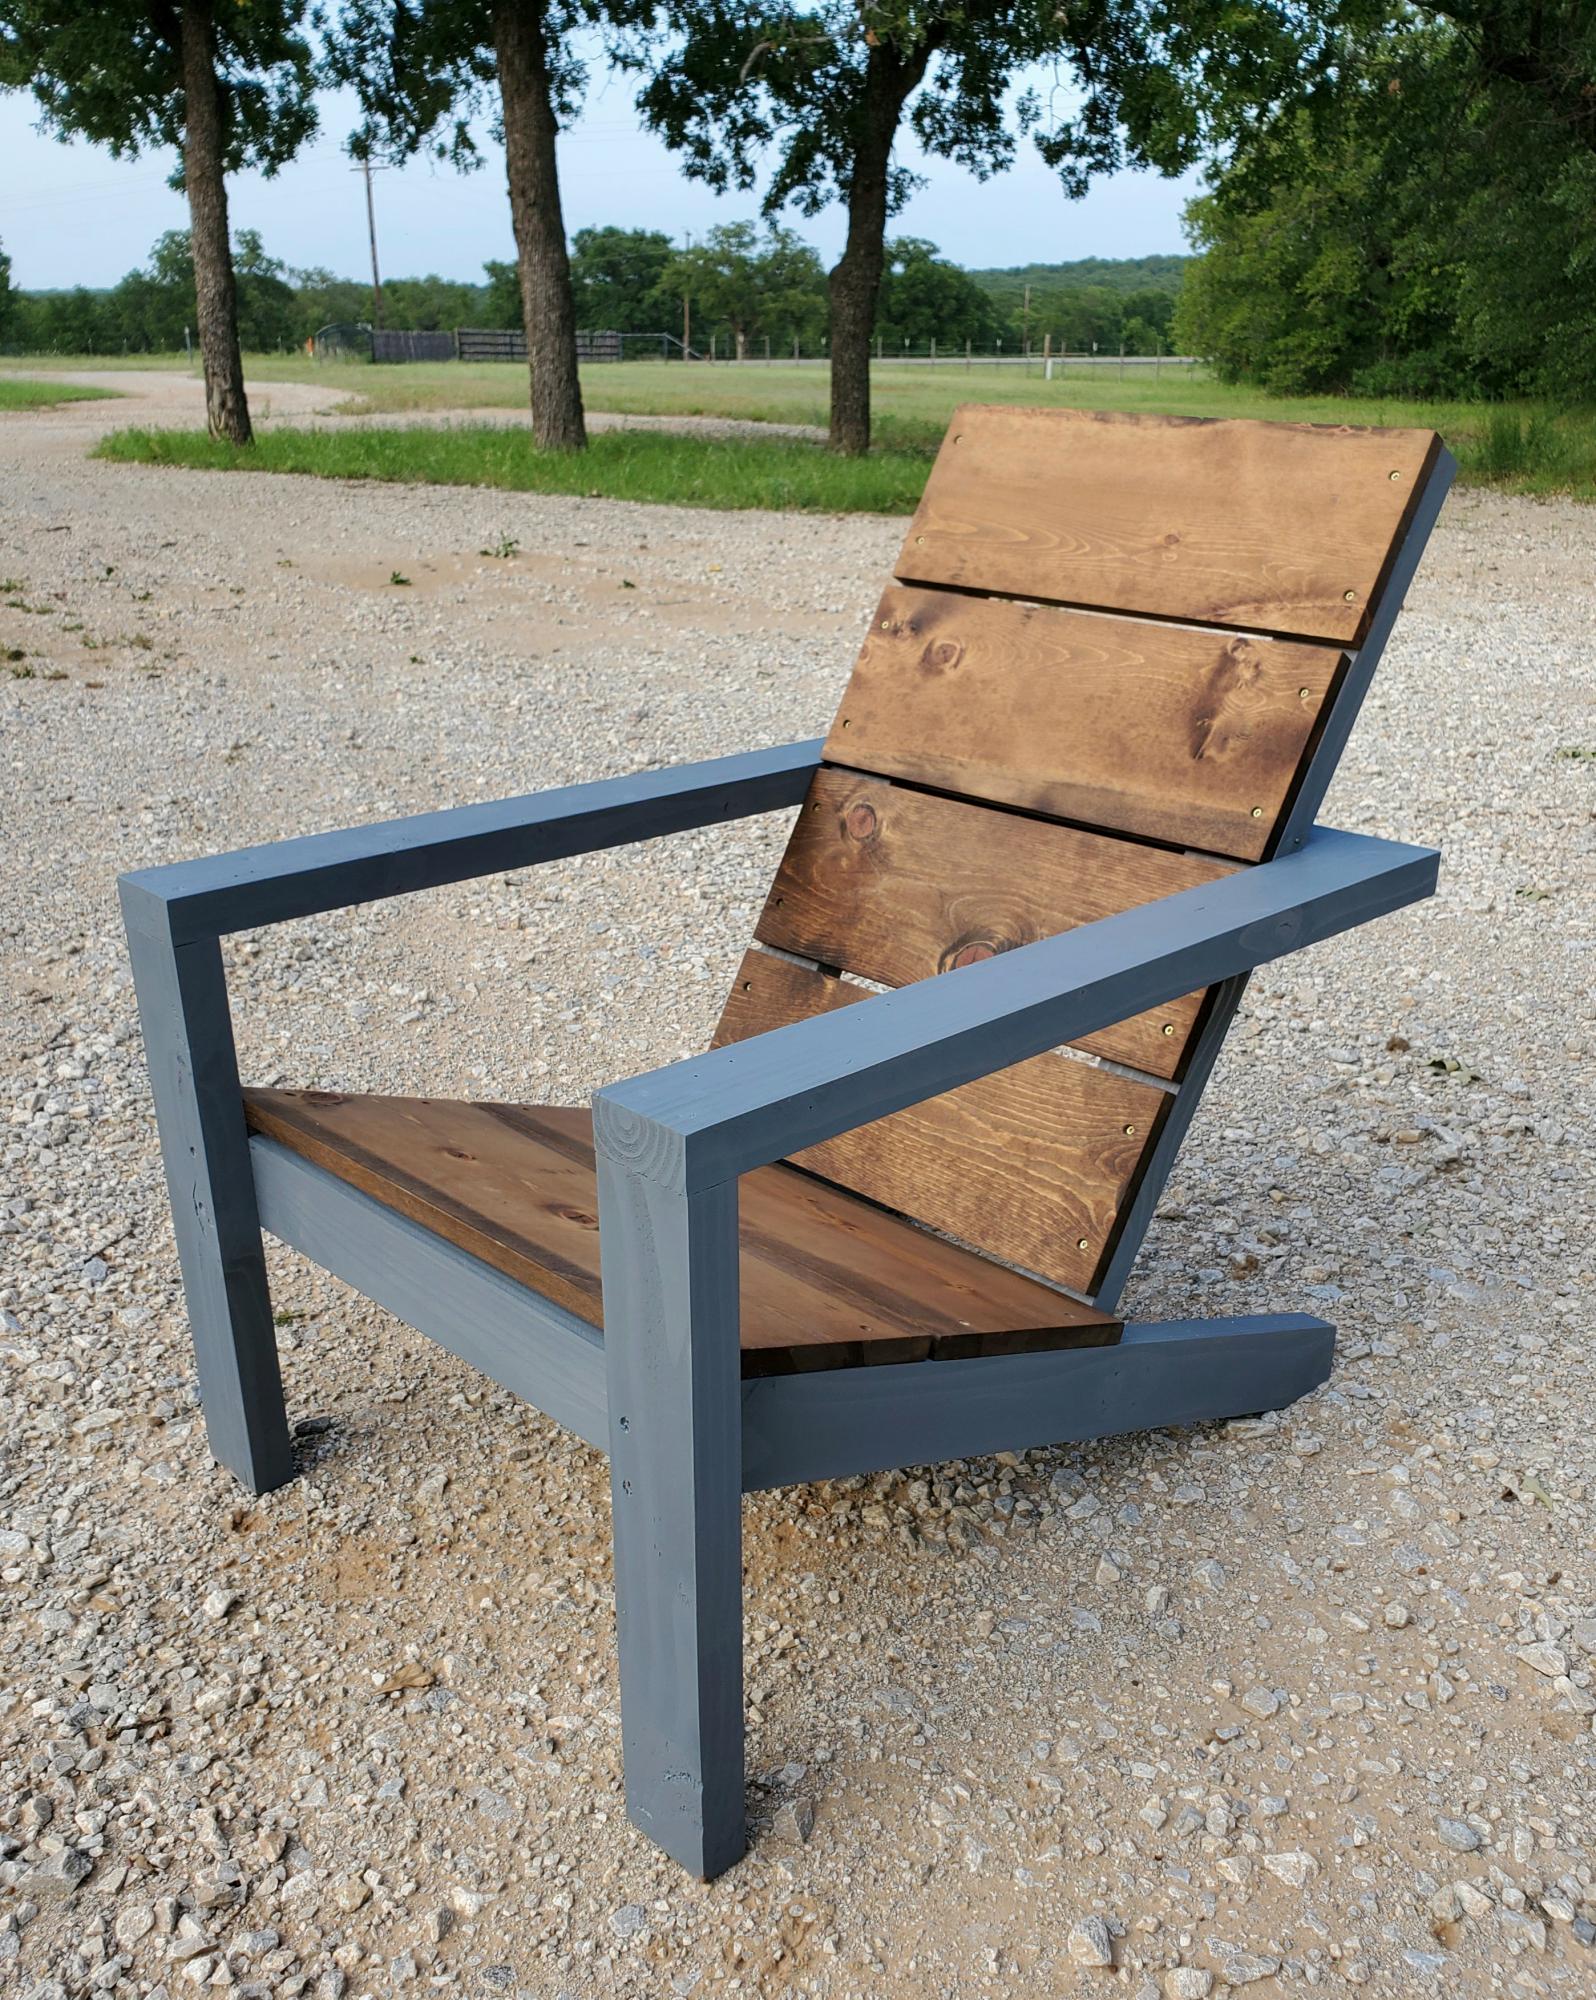
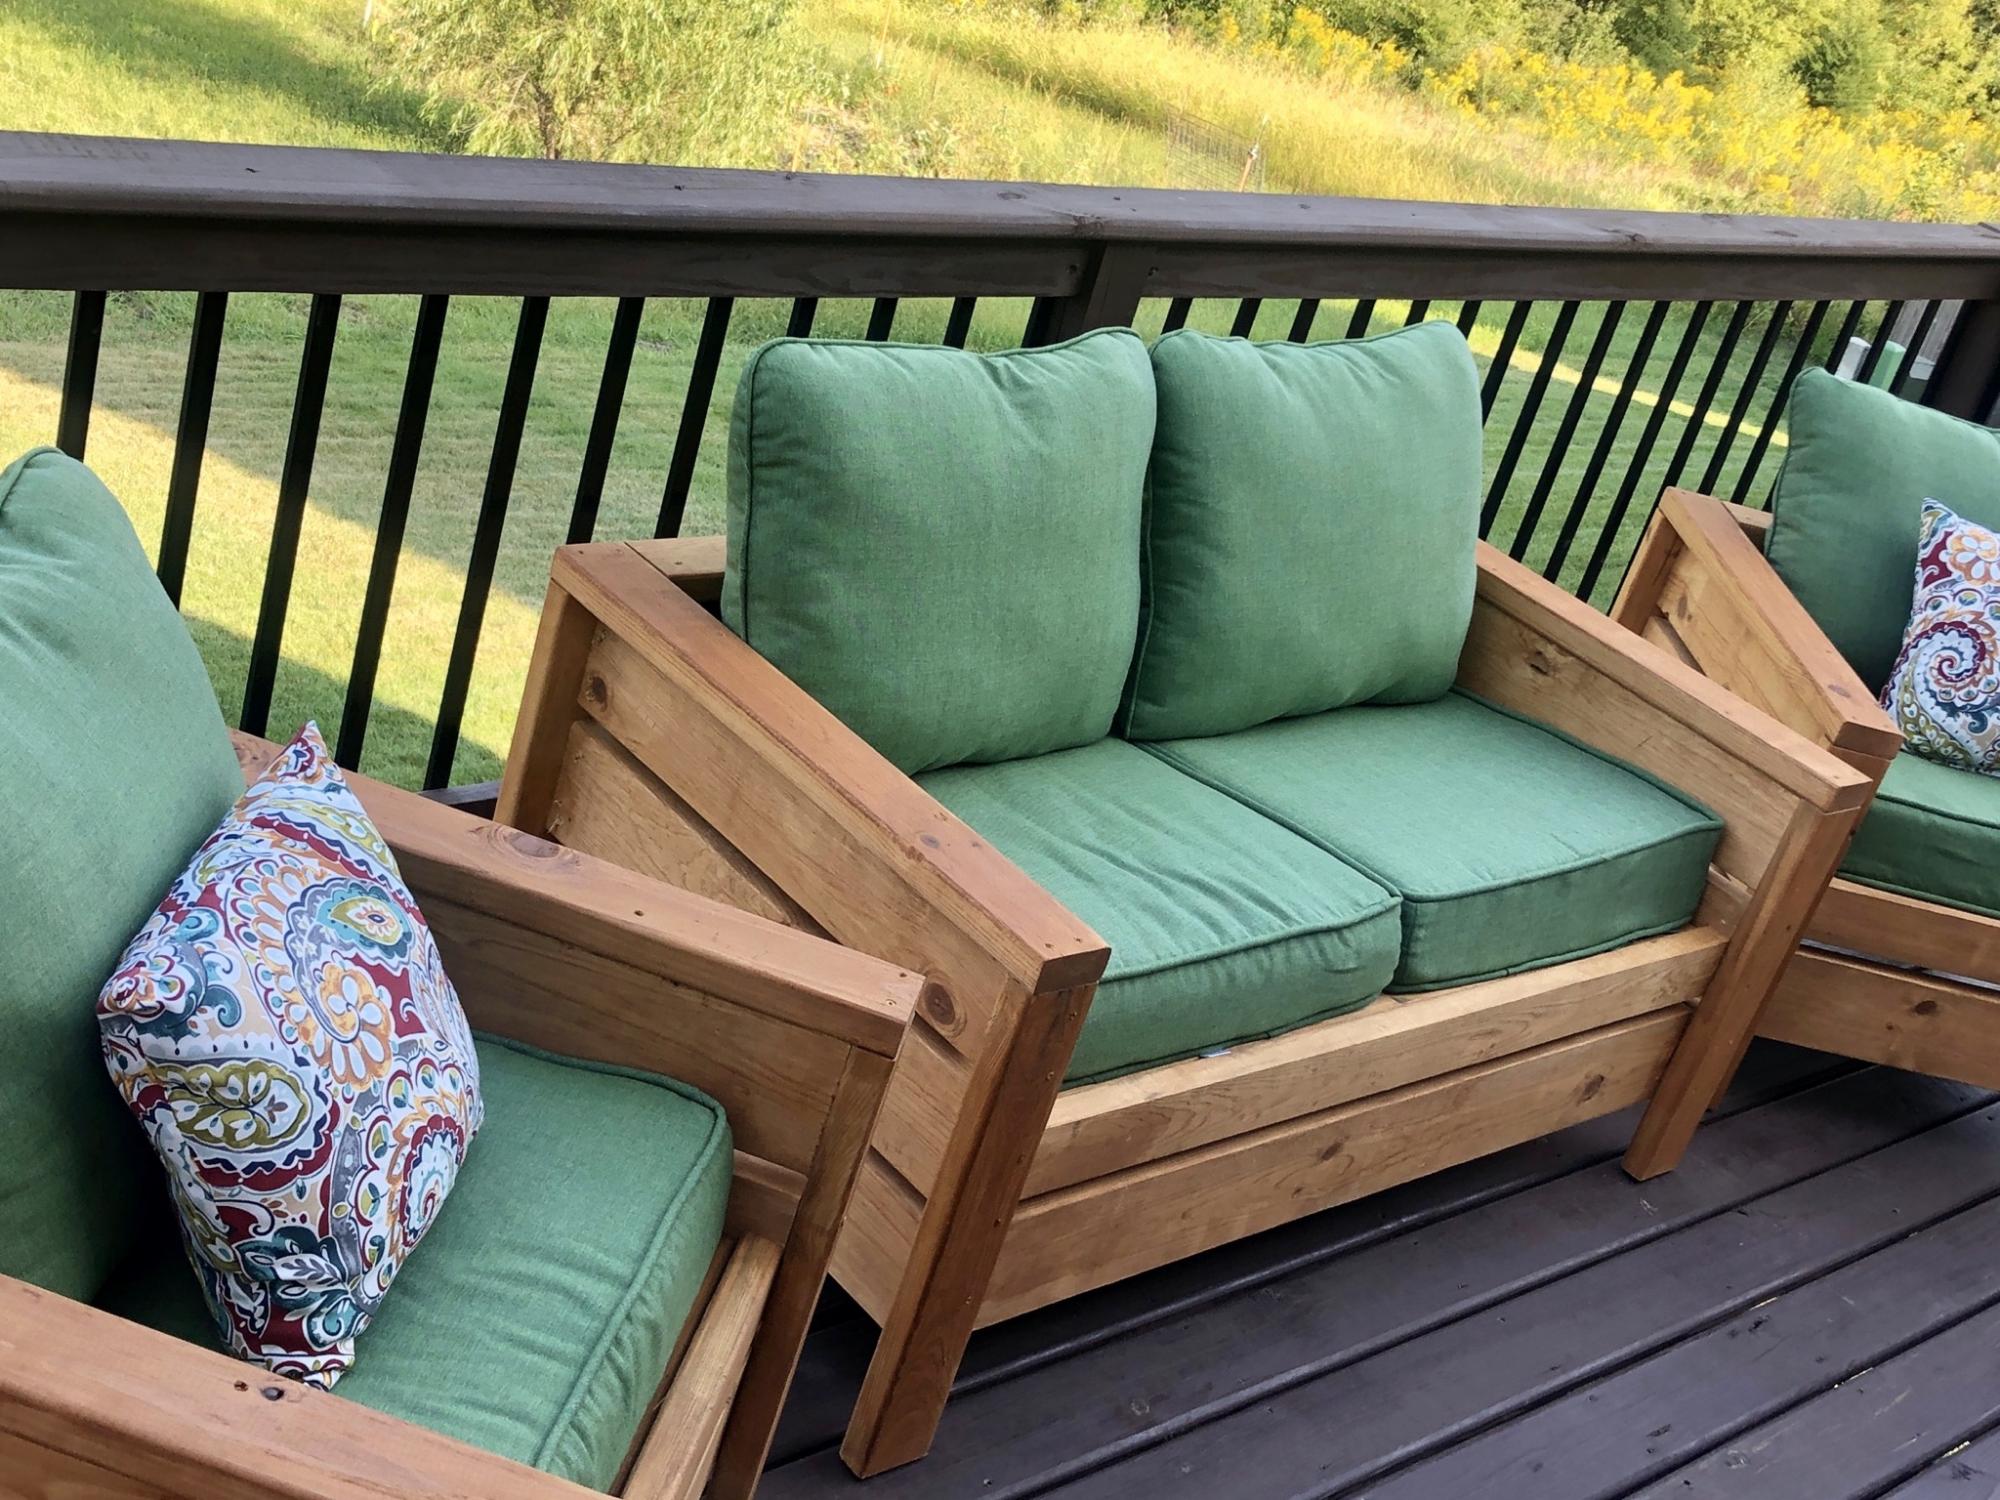
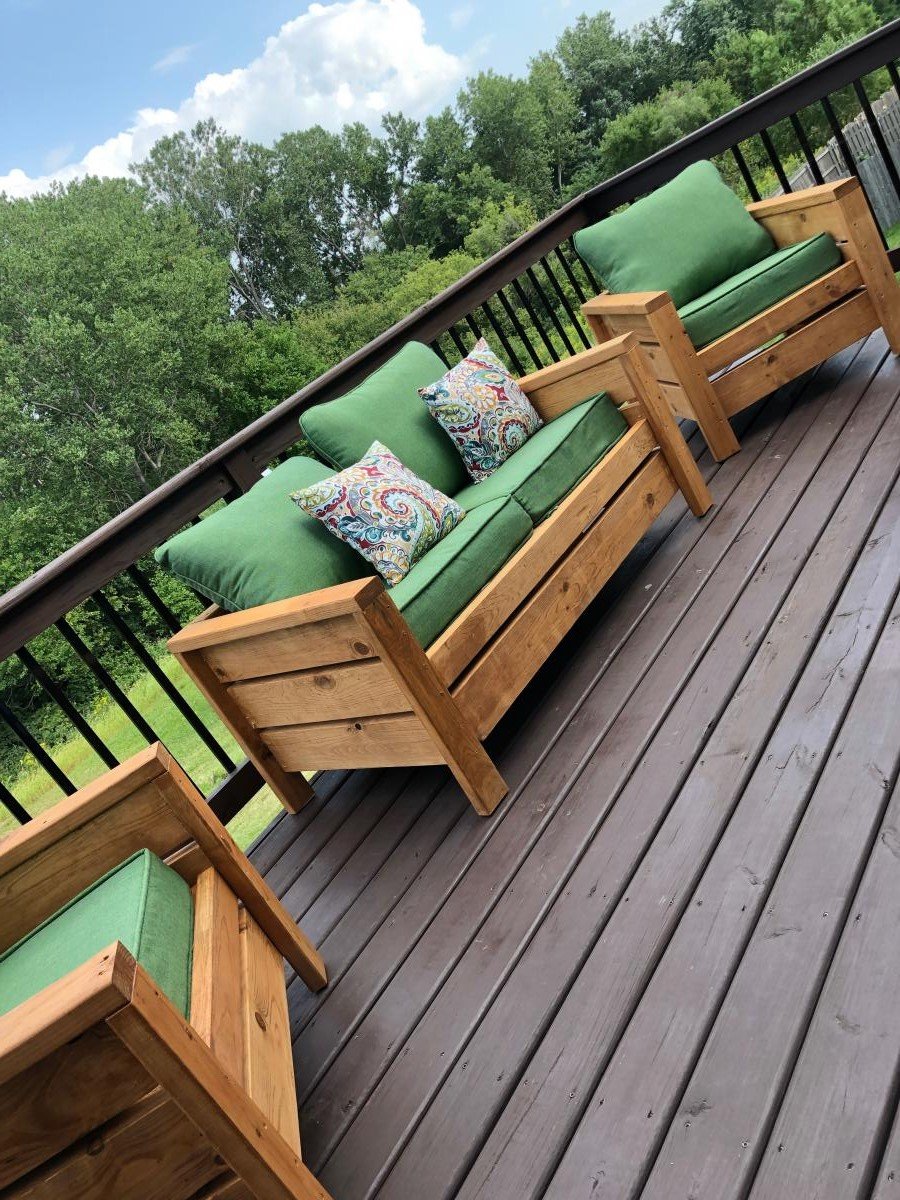
Green Adirondack Chairs
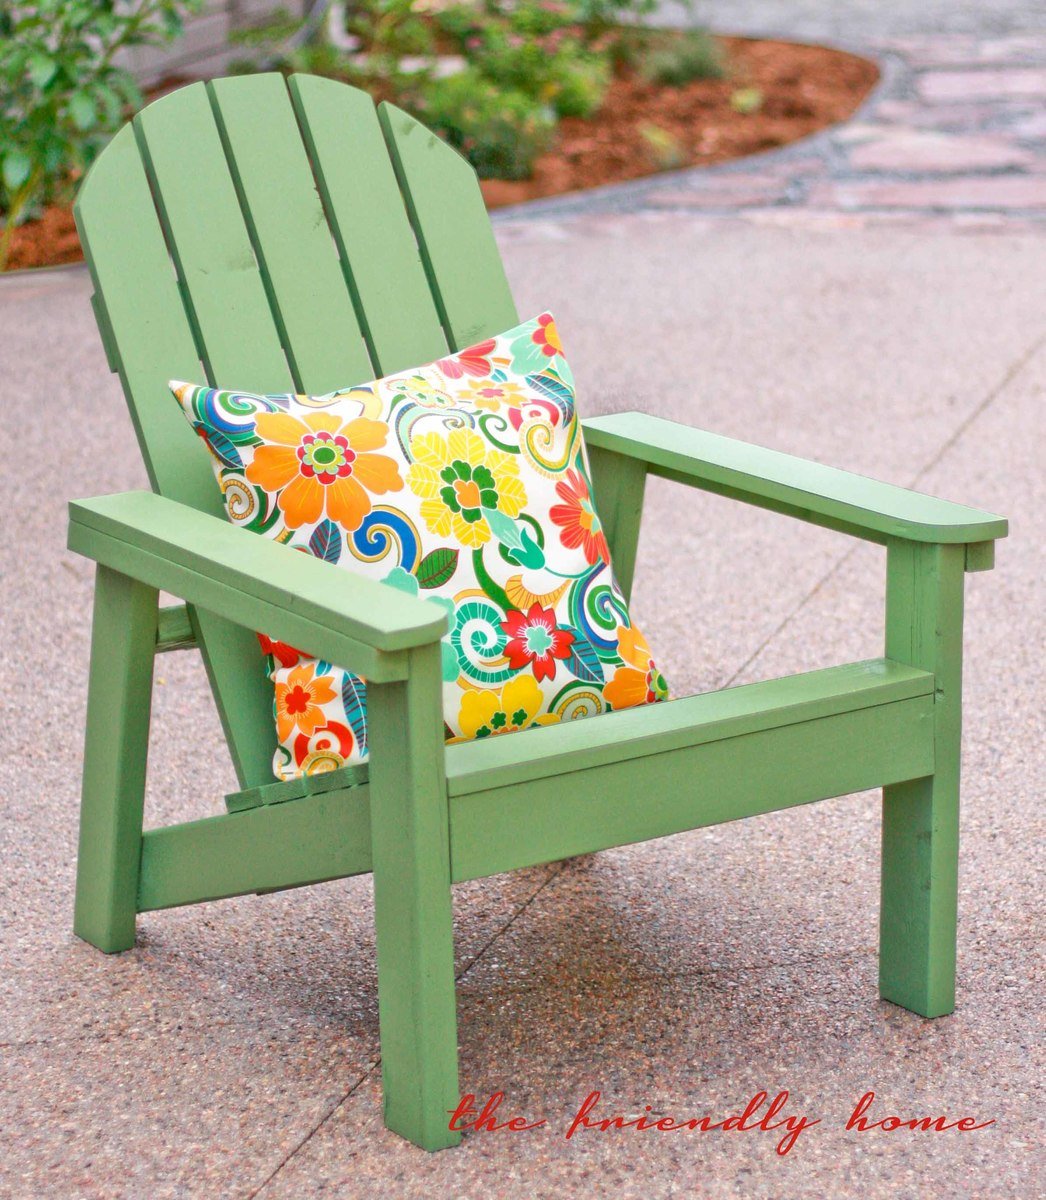
These are great chairs! Easy to build, comfy to sit in. Check out my blog post for more info.
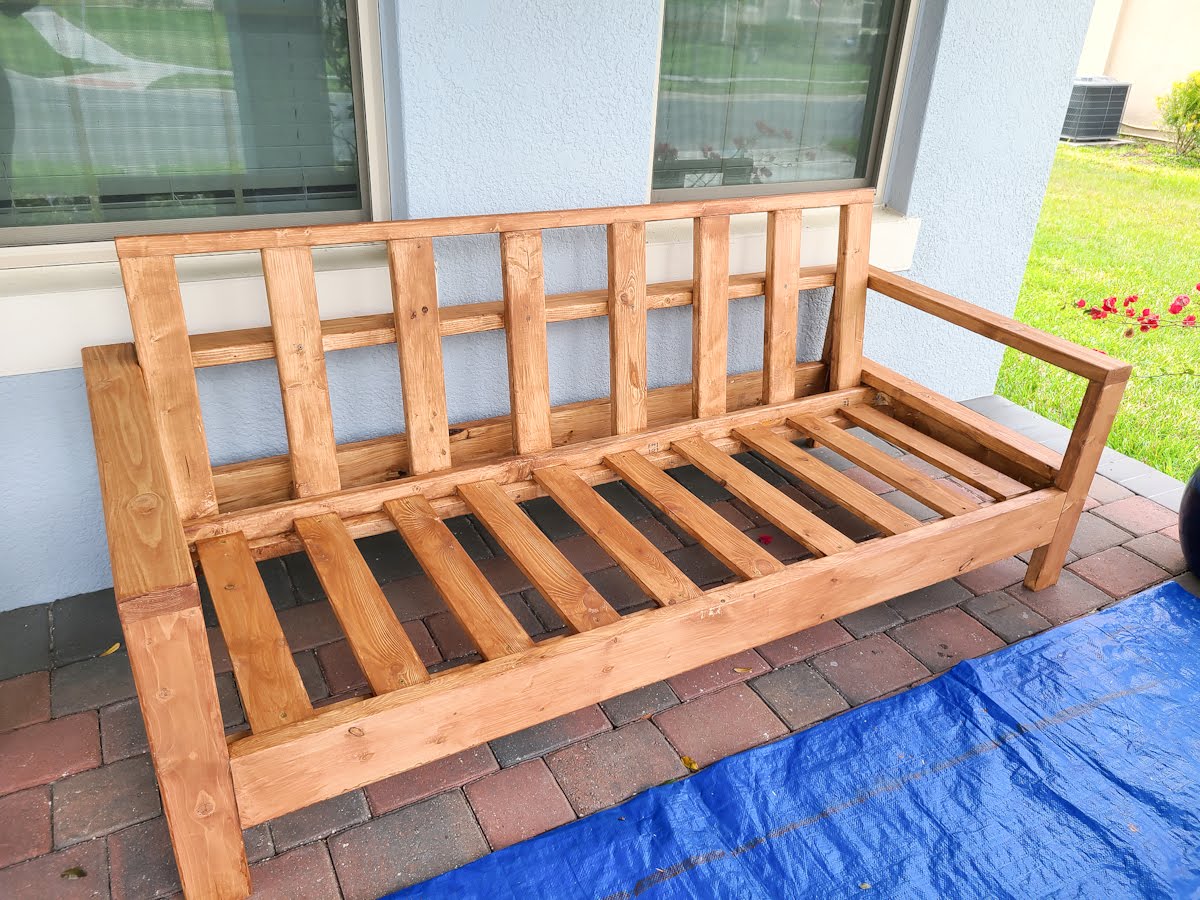
Built from Plan(s)
Estimated Cost
$32 per chair for lumber, plus finishing and hardware
Estimated Time Investment
Day Project (6-9 Hours)
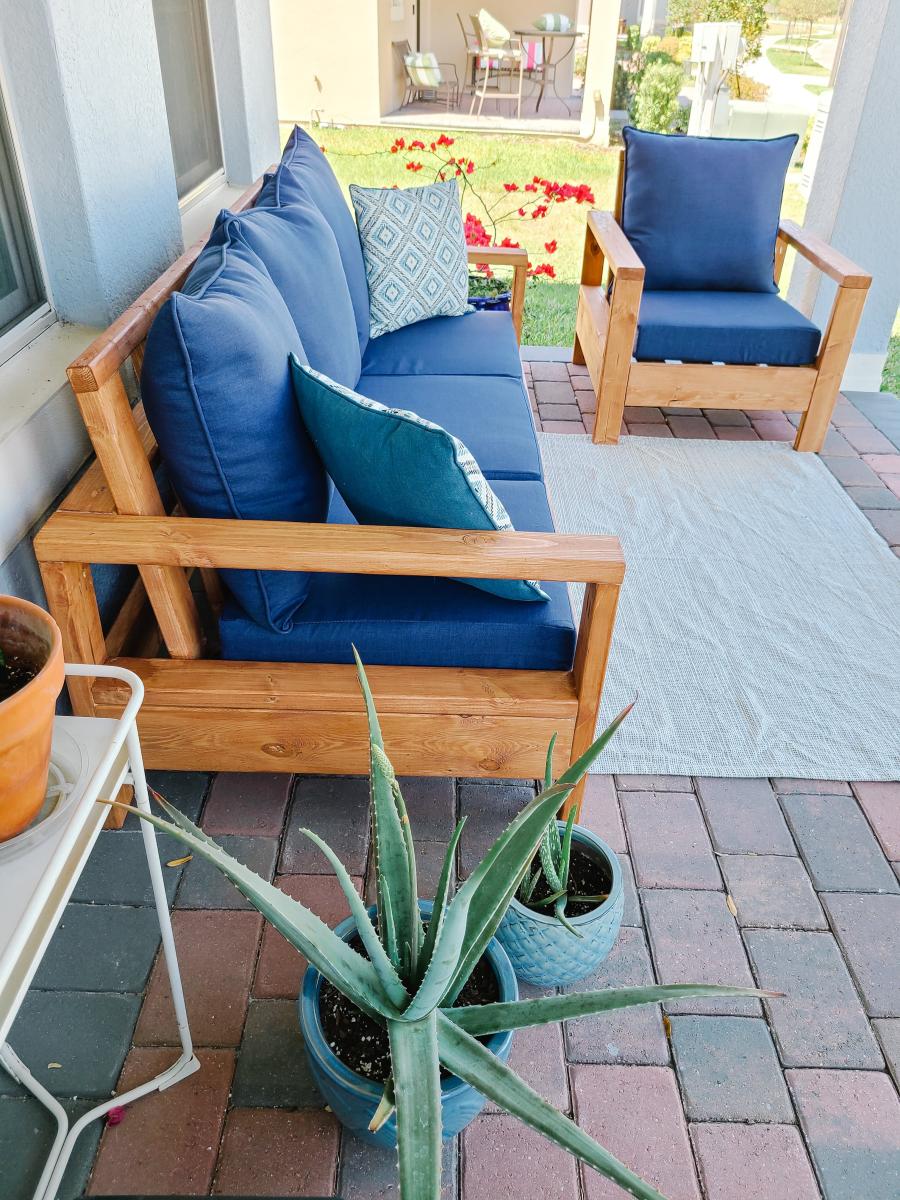
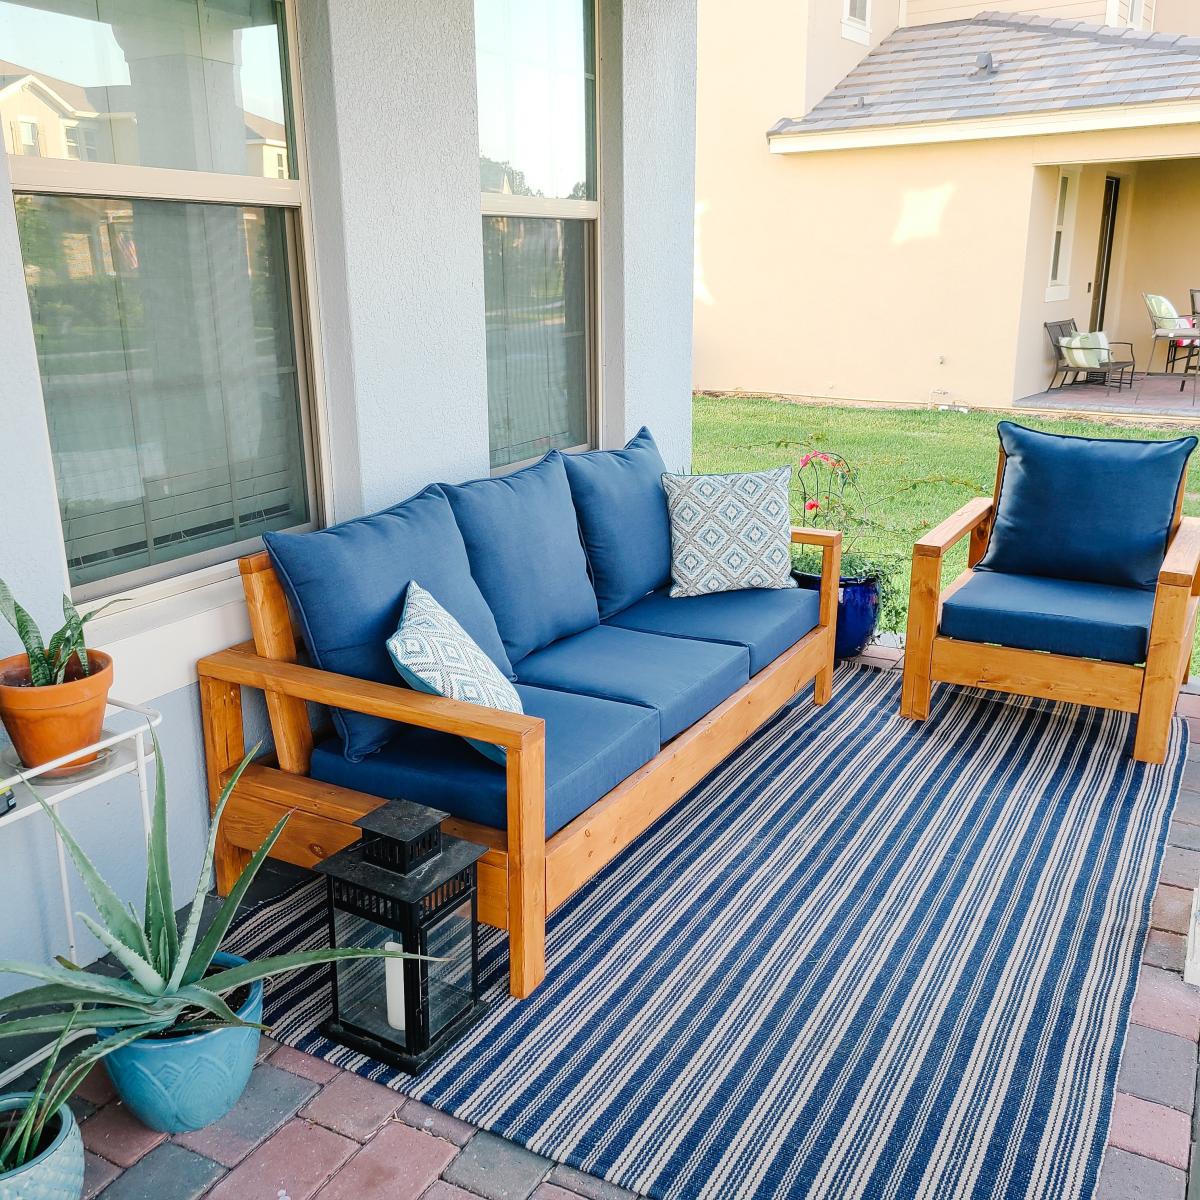
Finish Used
Exterior latex paint + primer in one, color matched to Sherwin Williams Dill
Recommended Skill Level
Beginner


Comments
Ana White
Mon, 06/24/2013 - 10:59
Beautiful chairs Hillary!!!!
Beautiful chairs Hillary!!!! I love the green!!!
Thanks so much for building and bragging!
Ana
WorkShopWendy
Thu, 06/27/2013 - 20:23
Nice Job
Hi Hillary, Great job. These are great chairs aren't they, and sturdy. I work at Home Depot and I hosted the Do it Herself work shop for them. Very easy to build and inexpensive. I really like the color you chose, very cheery.
keribeth
Fri, 06/28/2013 - 15:58
Beautiful!
I'll be making four of these this week in turquoise to match the little ones I made for the kids. Yours is an inspiration!
Debbie742
Sun, 05/10/2015 - 05:17
Very nice..
Are these kid size or adult, and where are the plans for them....
thanks bunches,
Debbie.