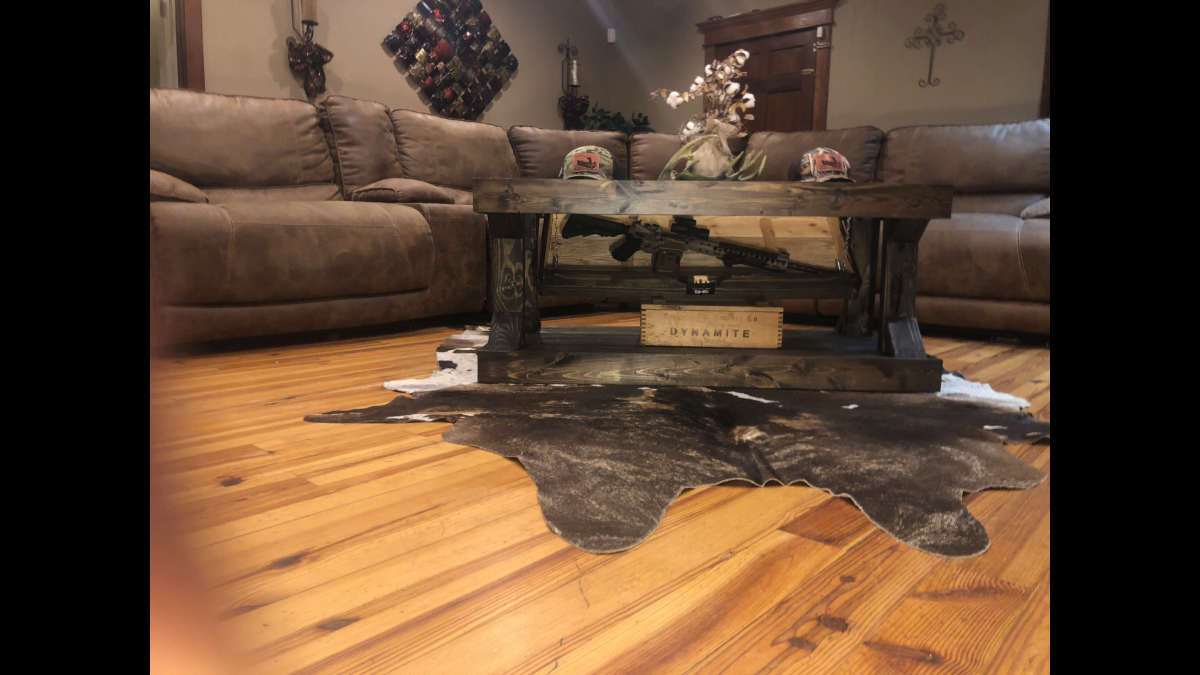
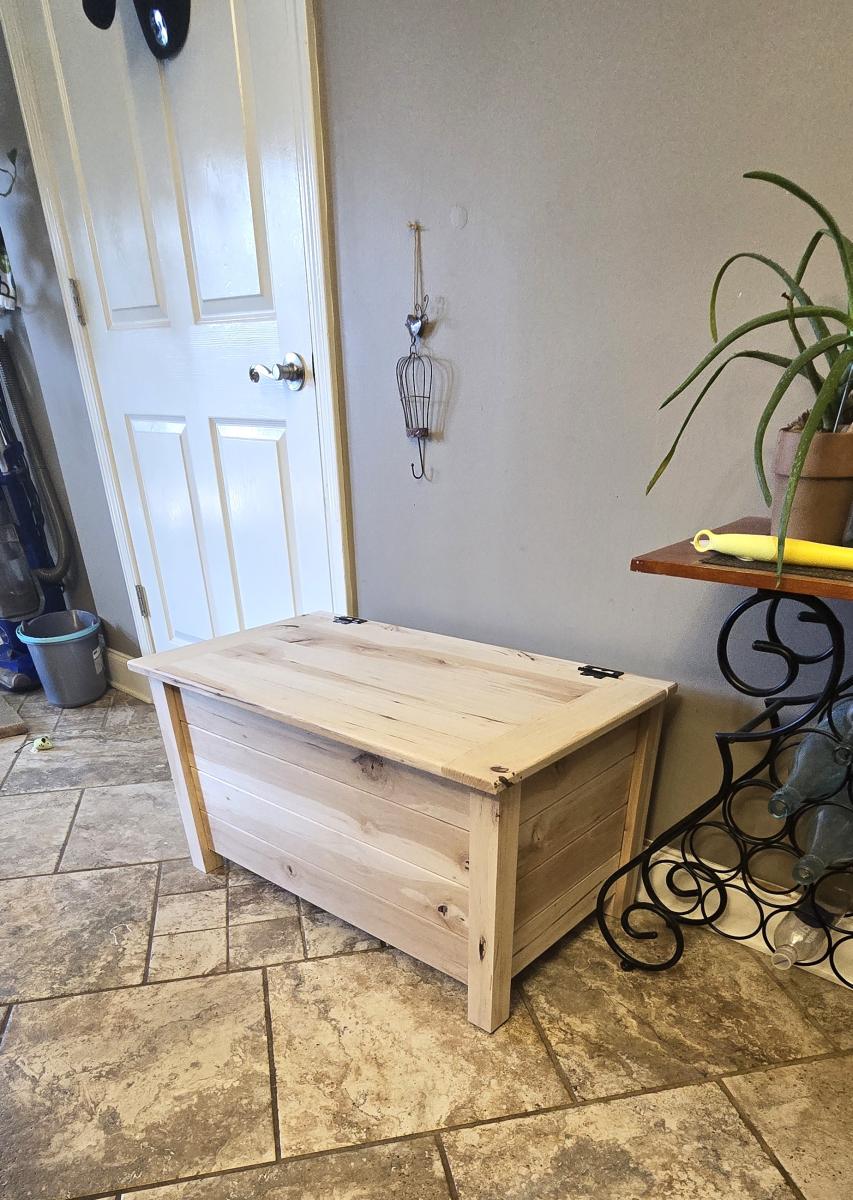
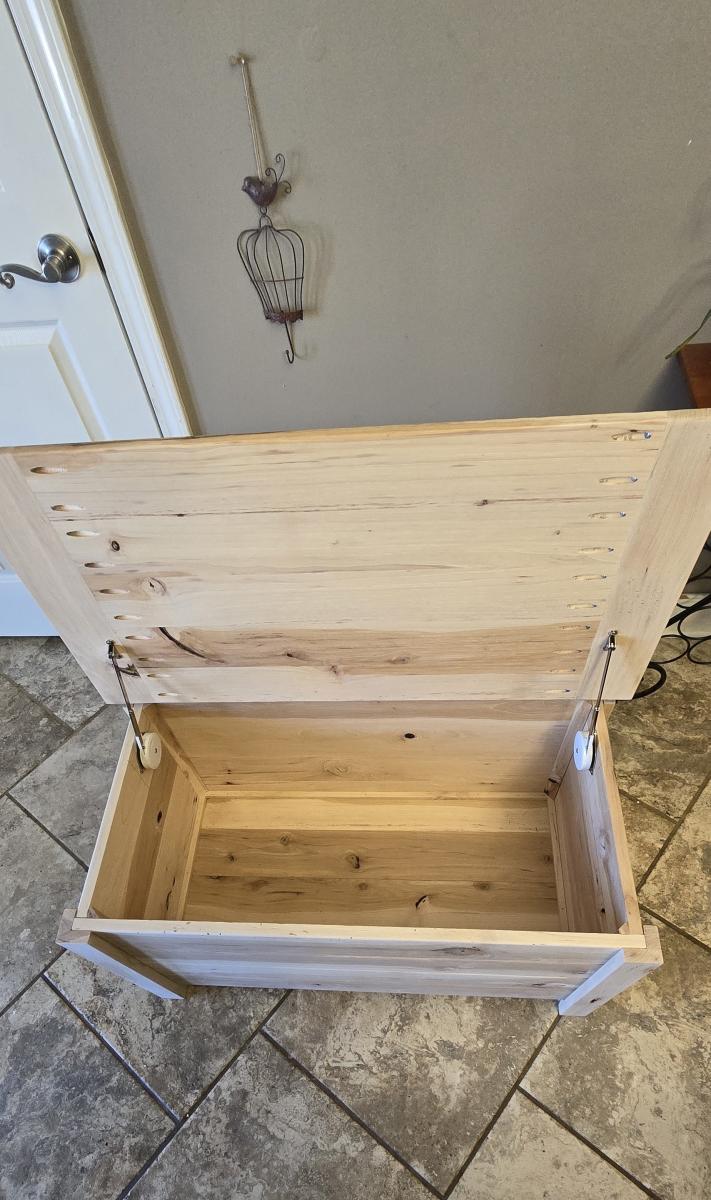
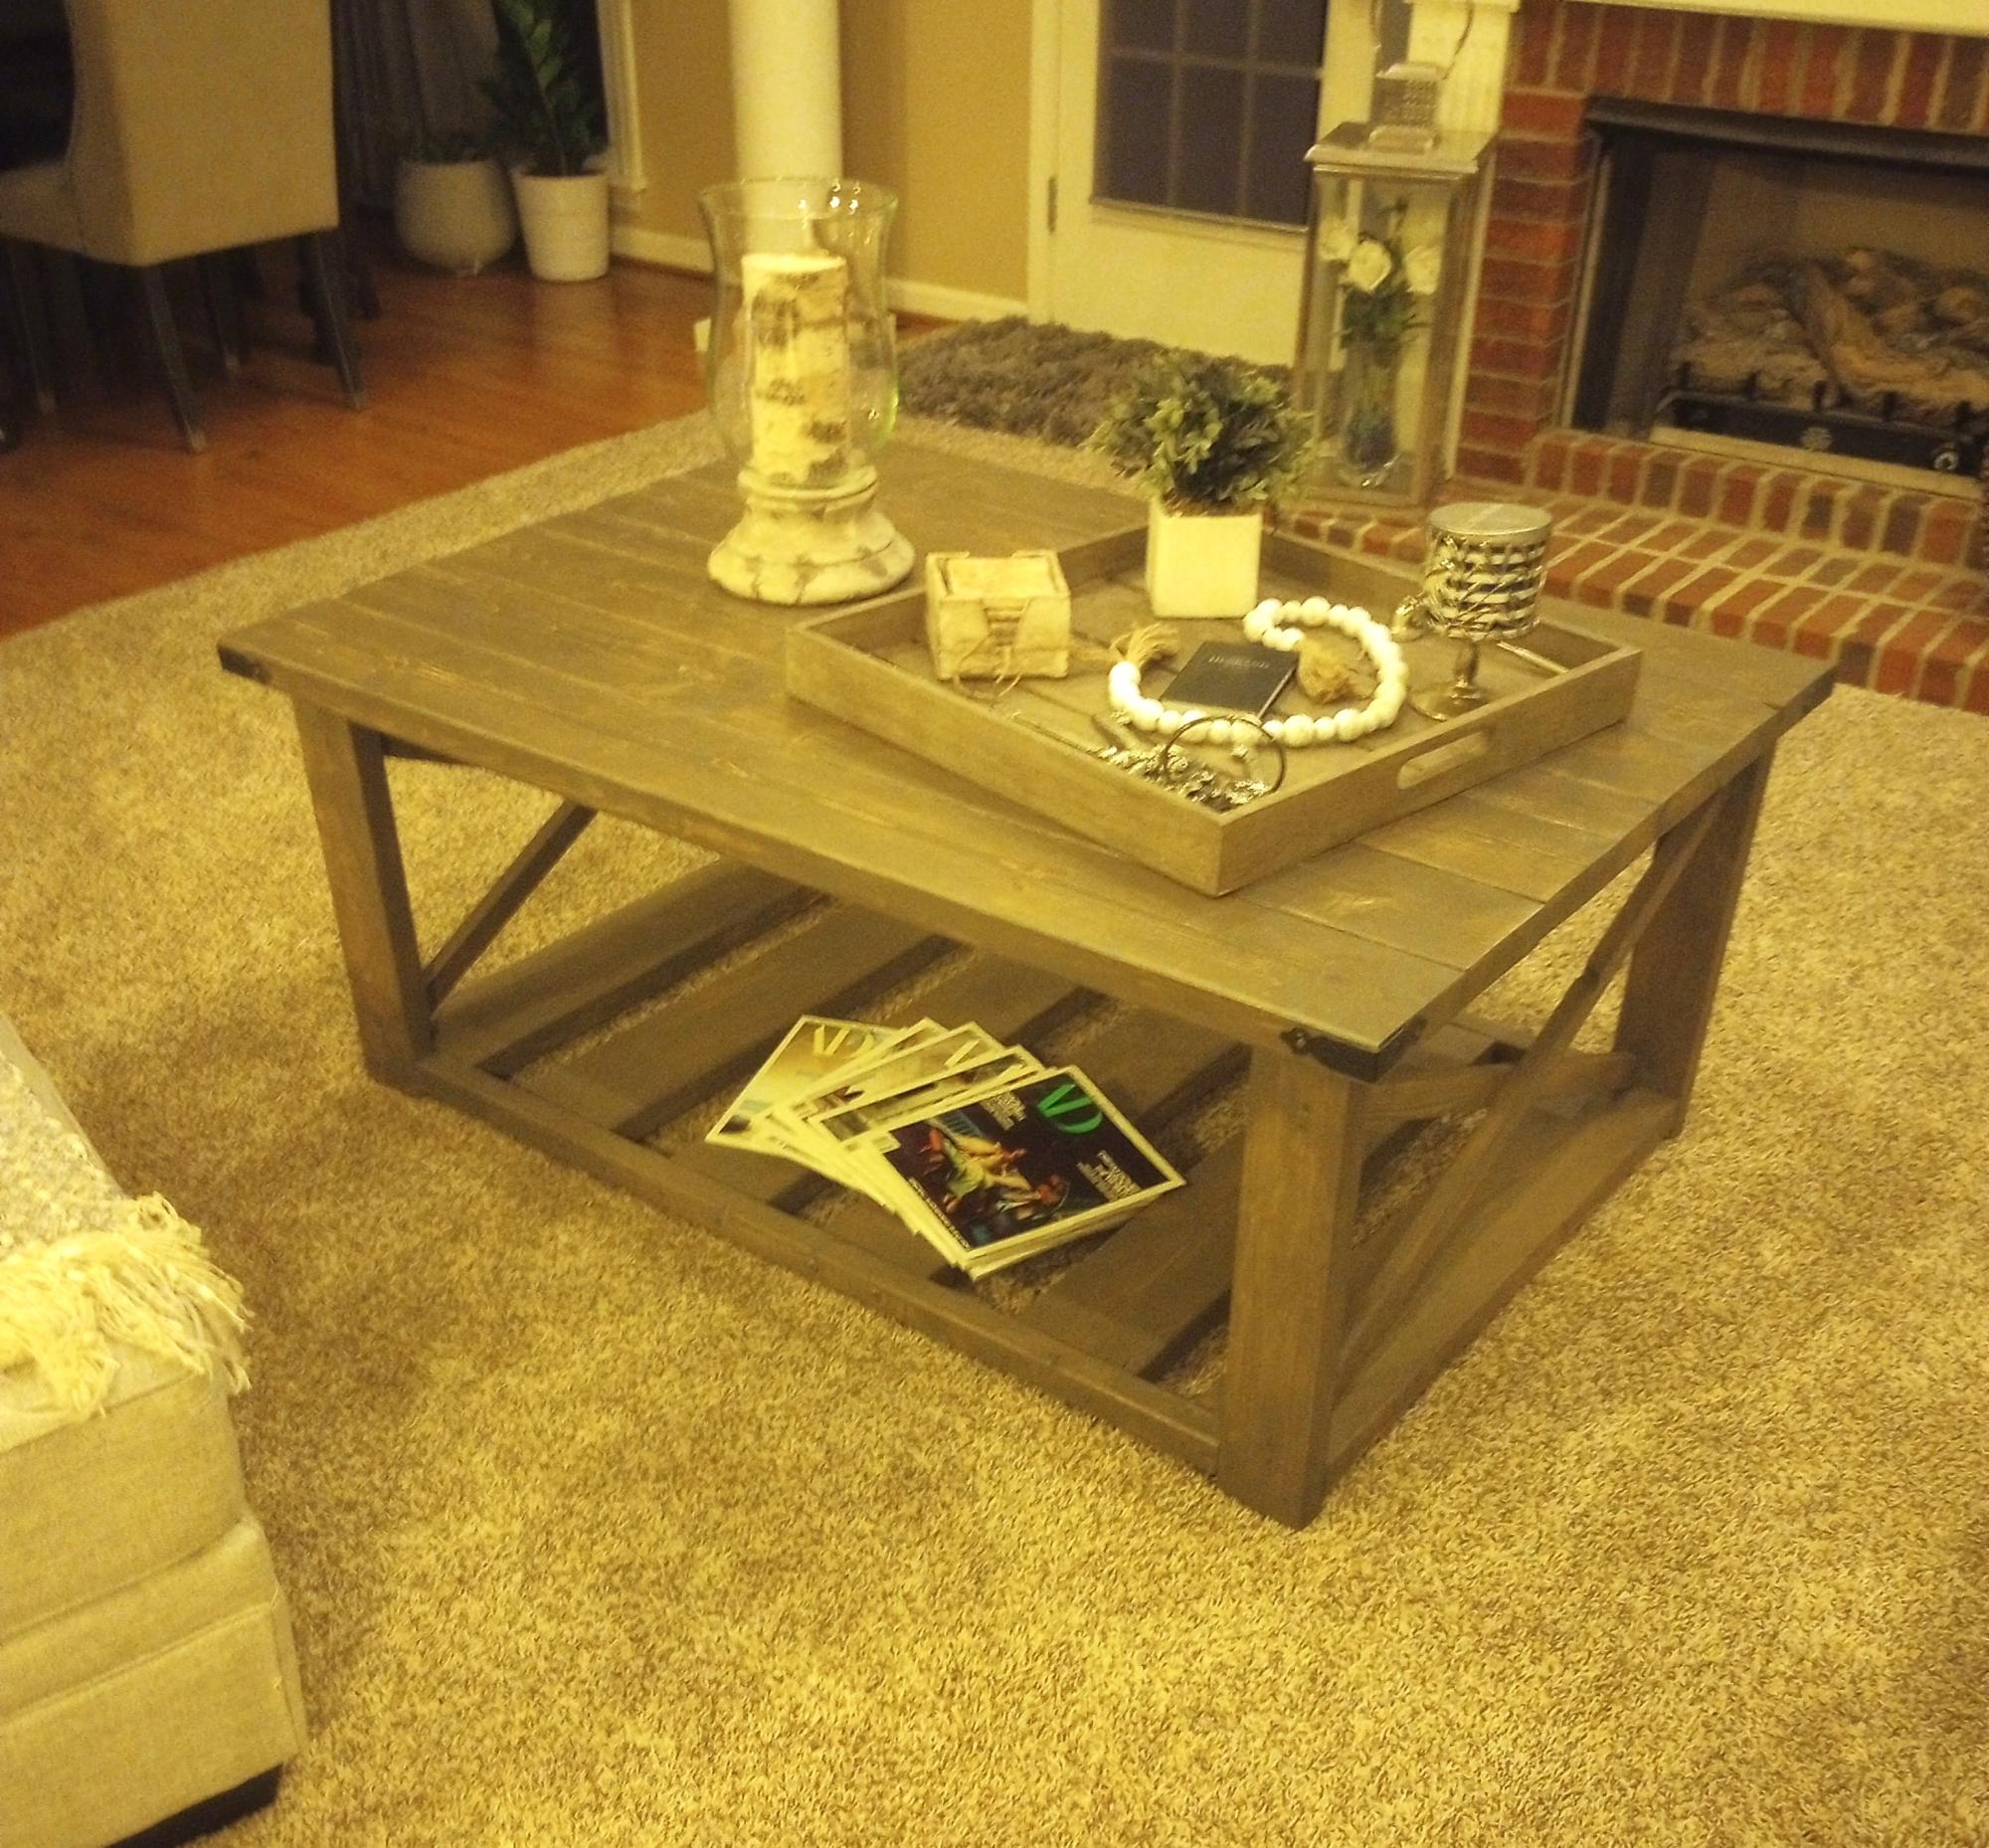
Modern Farmhouse Coffee Table Reloaded
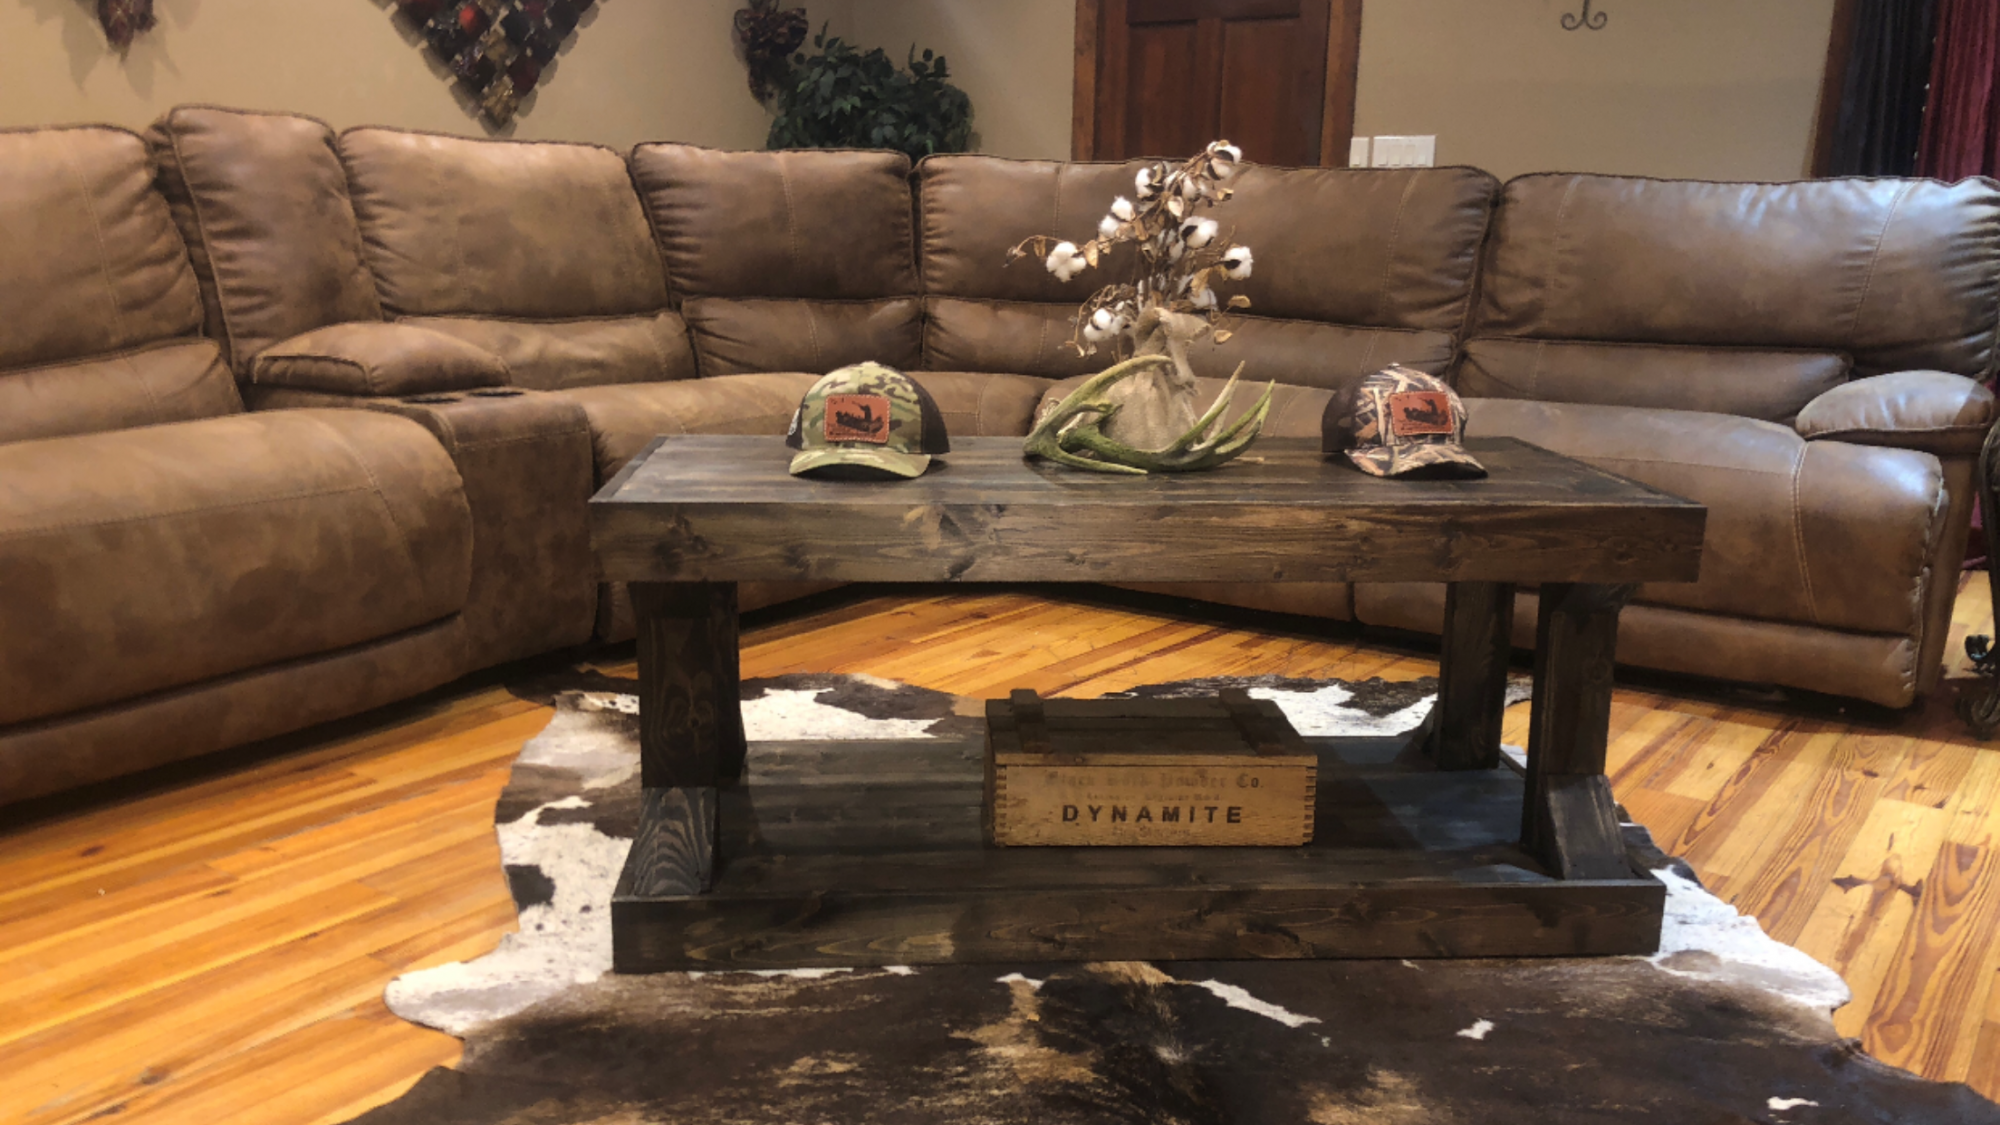
I wanted to add a little country boy charm to this otherwise beautiful design. So I added a RFID locking hidden compartment.
Built from Plan(s)
I wanted to add a little country boy charm to this otherwise beautiful design. So I added a RFID locking hidden compartment.
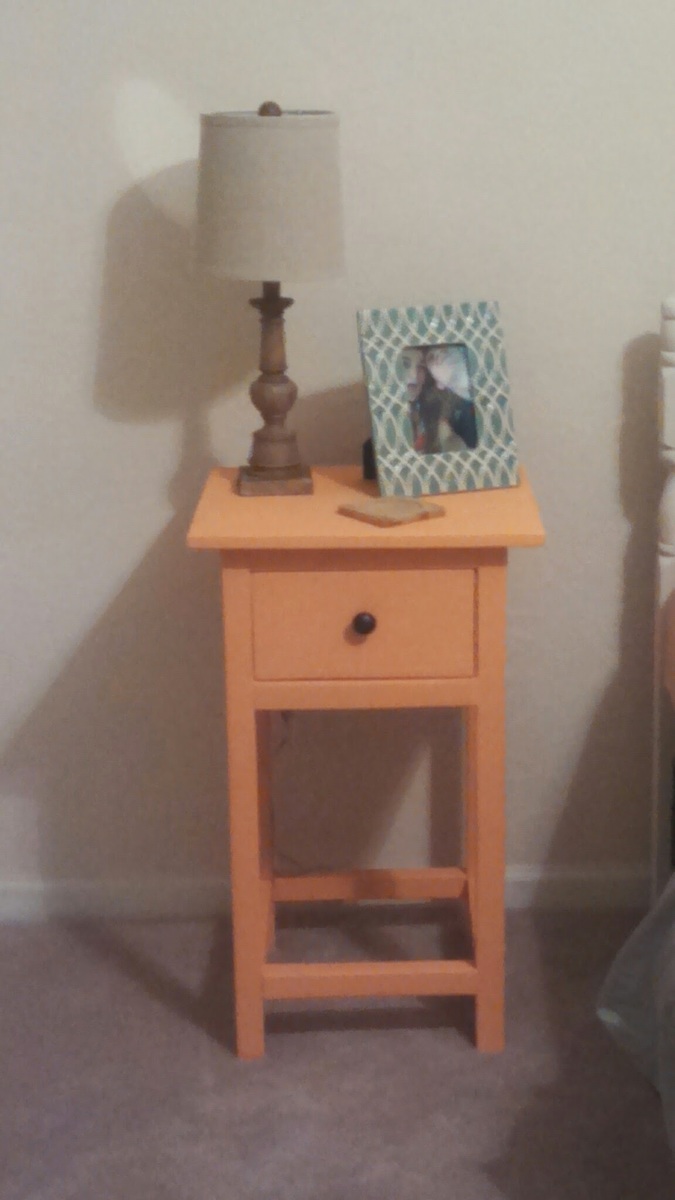
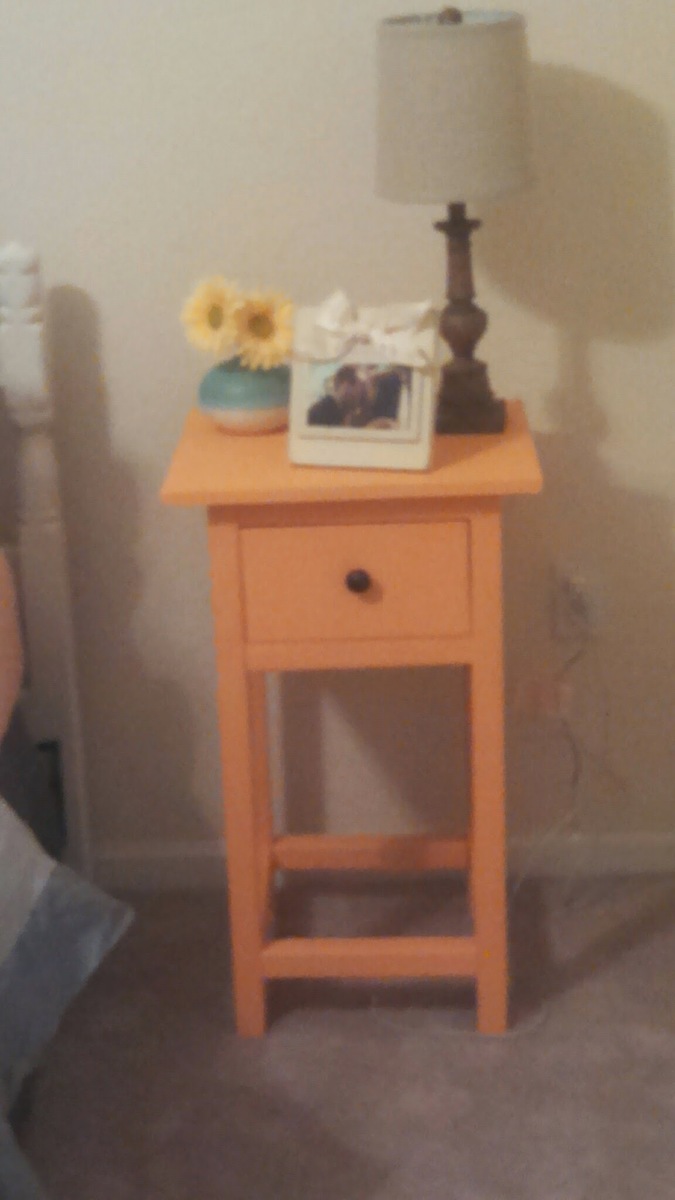
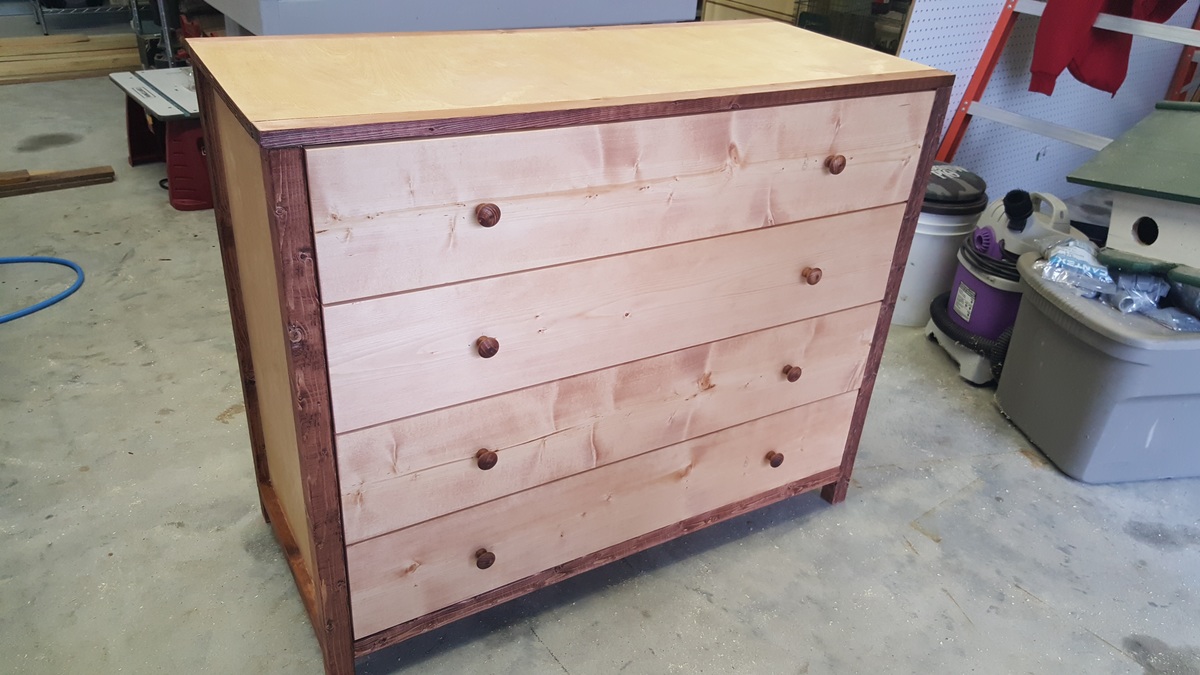
Our newlywed daughter was searching for nightstands for their new home. When we gave her a Daddy gift card for the Ana-White plans Nightstands she accepted as she would be able to decorate per specification and not because of some store color. She also received a superior product to what she was shopping.

Step 1
Getcha a FREE PIANO and some help to move that heavy sucker! You can find these pretty easy on Craigslist.
Step 2
Get a hammer, pry bar and a sawzall and start taking this piano apart. Make sure to wear safety glasses and gloves because those strings will pop you good if you're not careful.
Step 3
Sand down the pieces you are going to use. If the piano has laminate on it leave it if at all possible. If it's already curling up then you're going to want to invest in a power hand planer.
Step 4
Assemble the studio station according to your equipment you'll be using.
Step 5
Stain, Paint or just poleyurathane to your liking.
Step 6
Make some music! You can buy my album on Itunes or wherever you download your music. FYI! There are 2 Jonesey's. One uses profanity. This is NOT me. None of my music will ever have profanity in it.
Jonesey-My Favorite Day-EP https://itunes.apple.com/us/album/my-favorite-day-ep/id1087791540


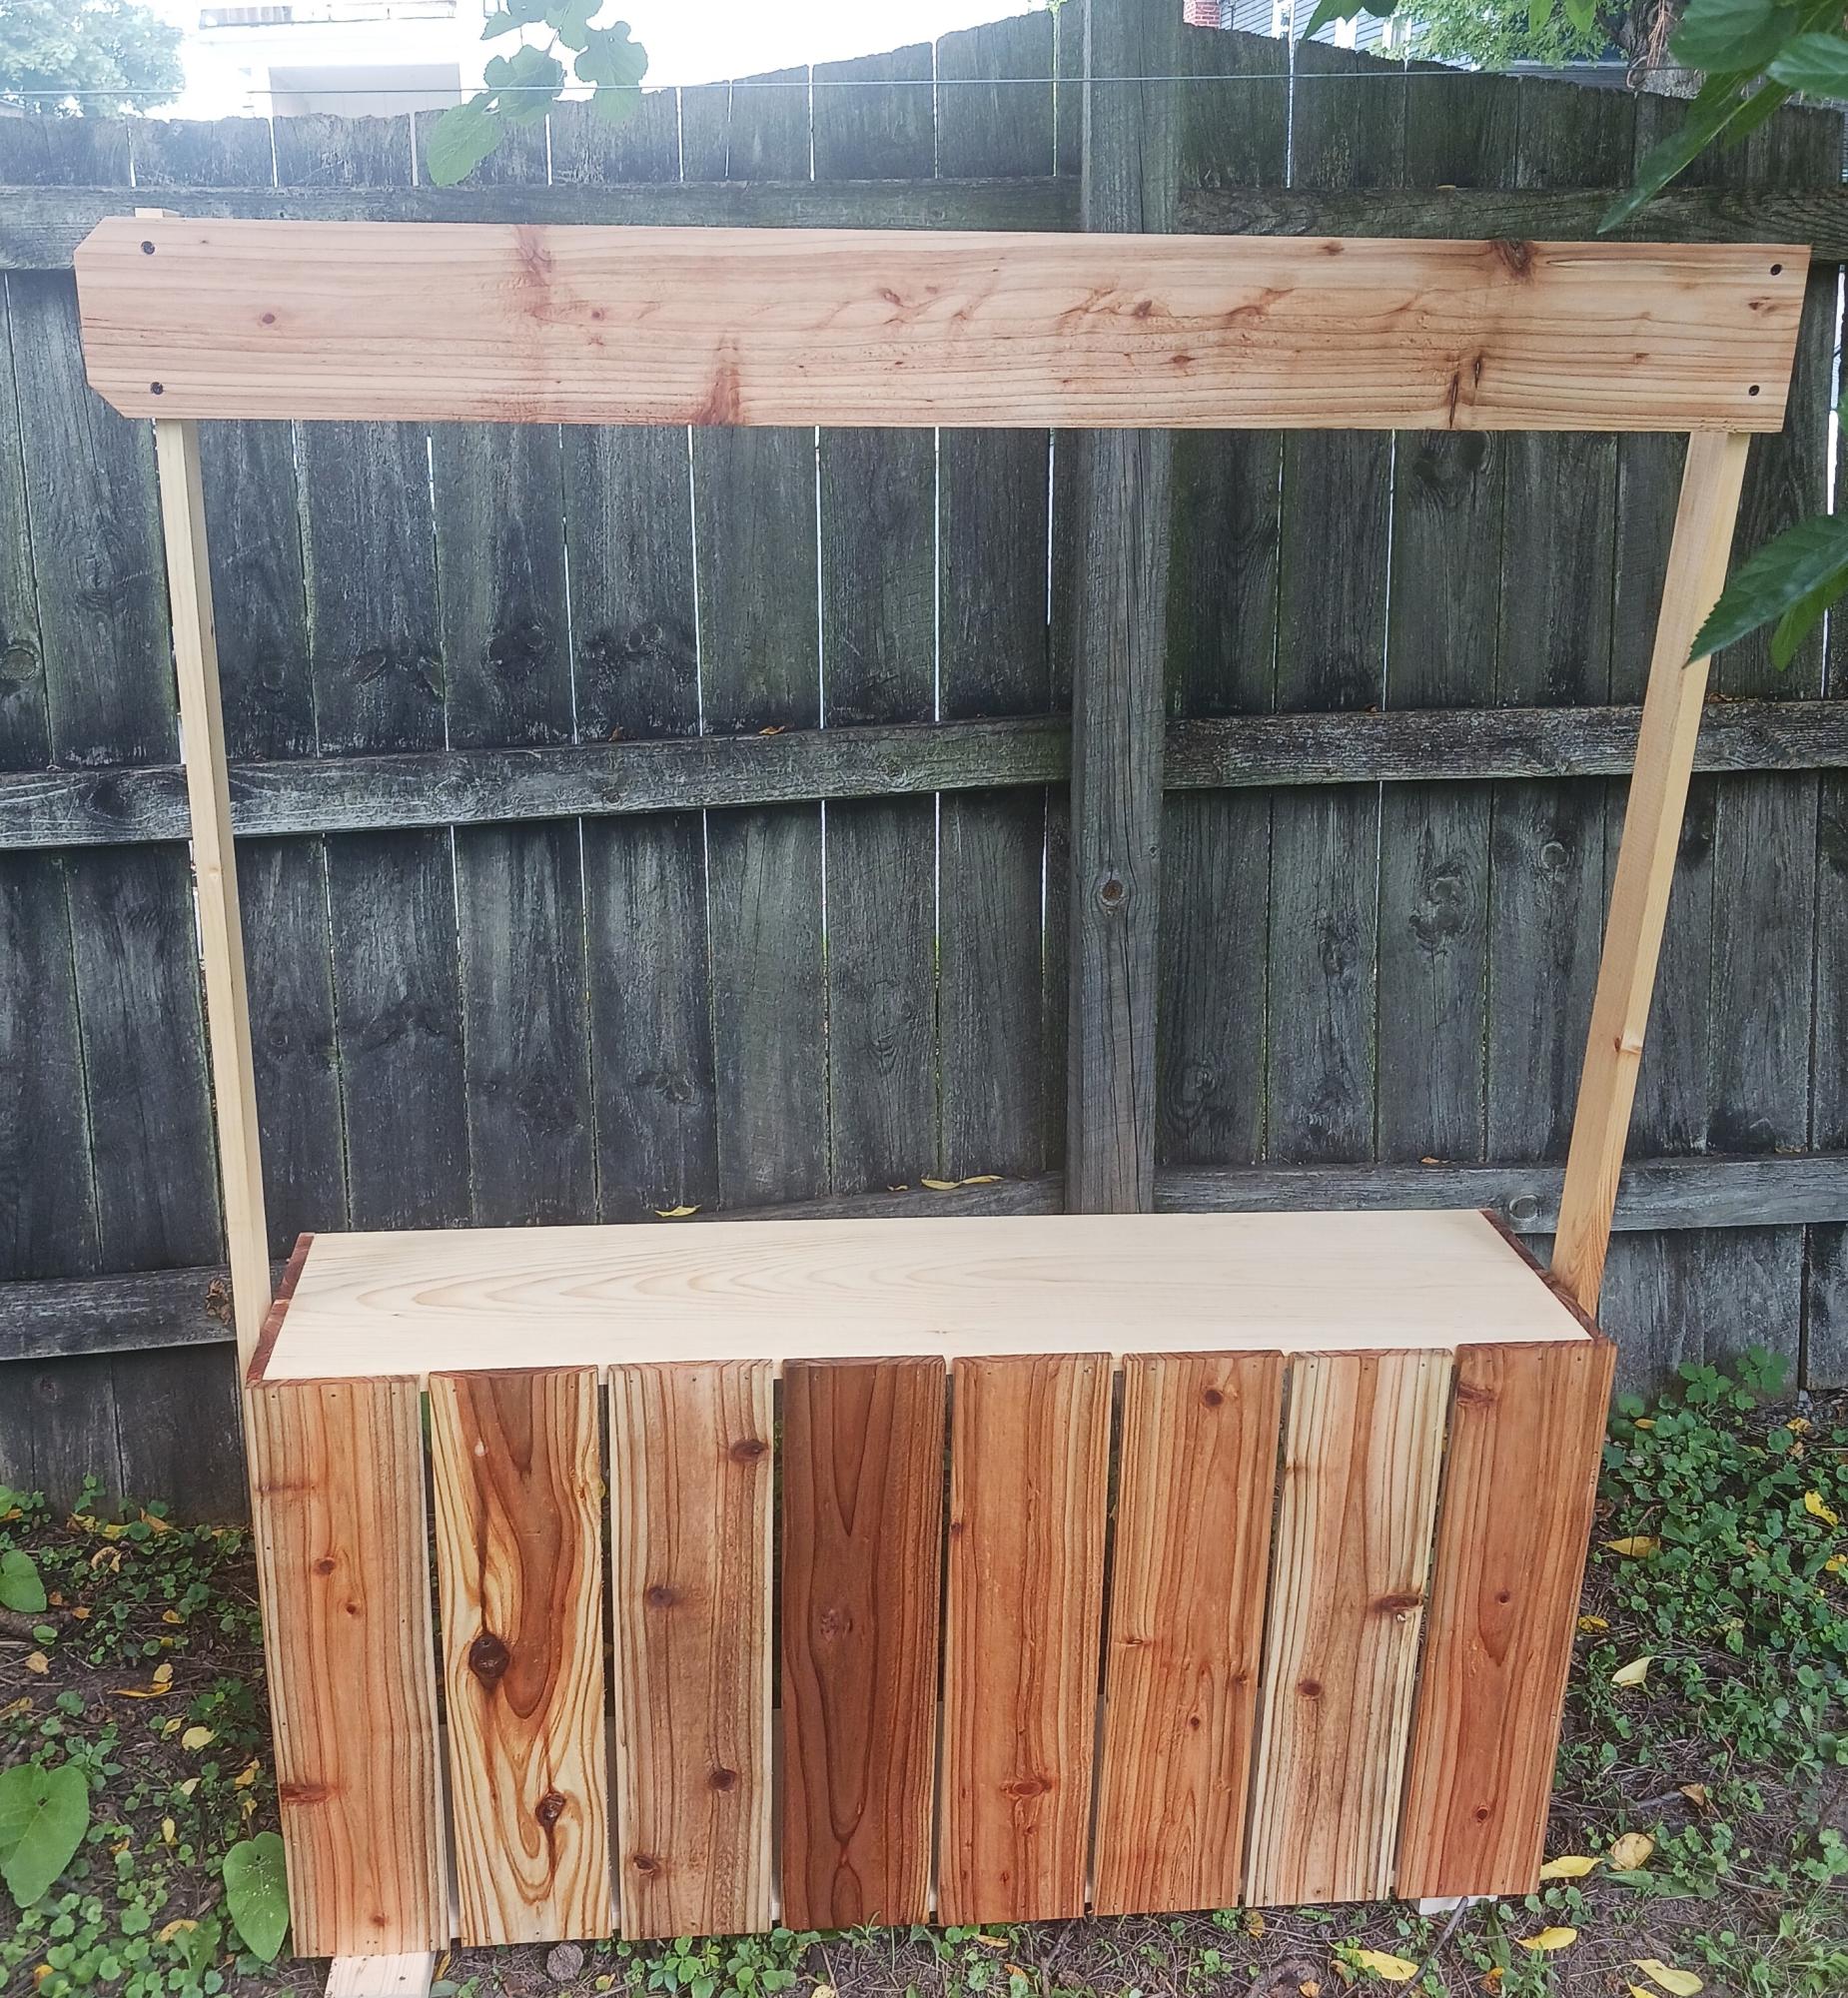
Simple Cedar Fence Picket Lemonade Stand
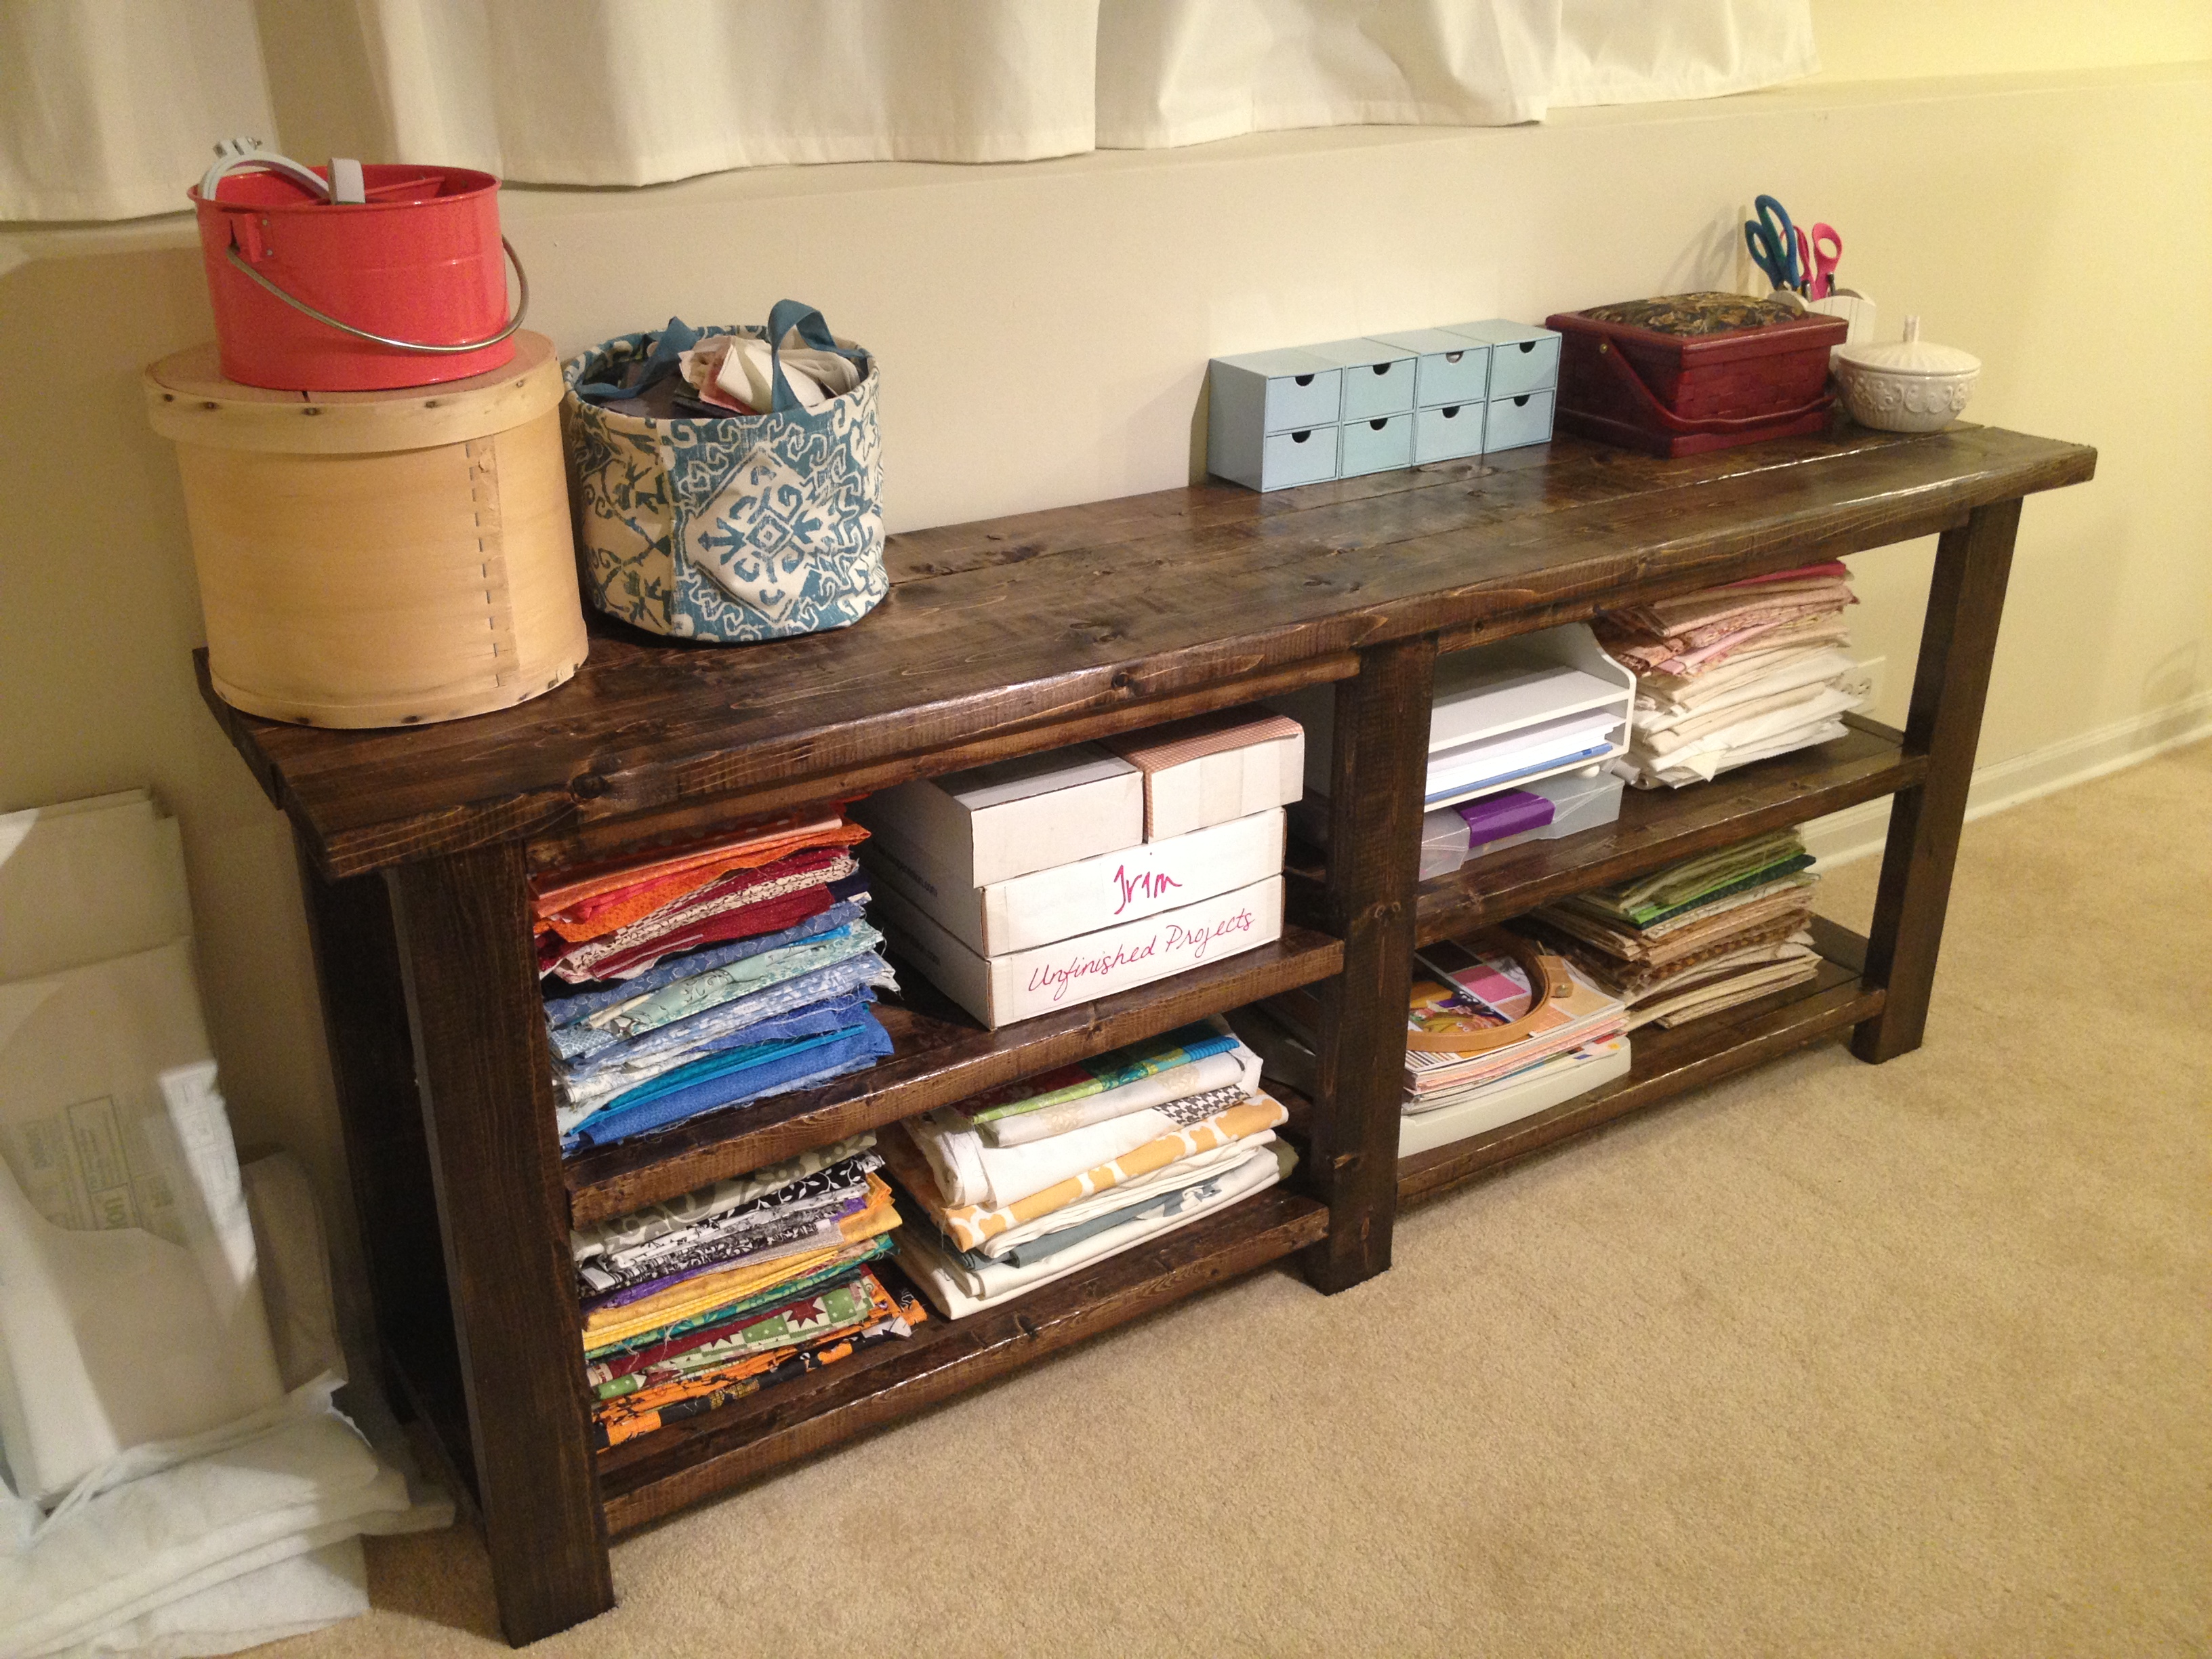
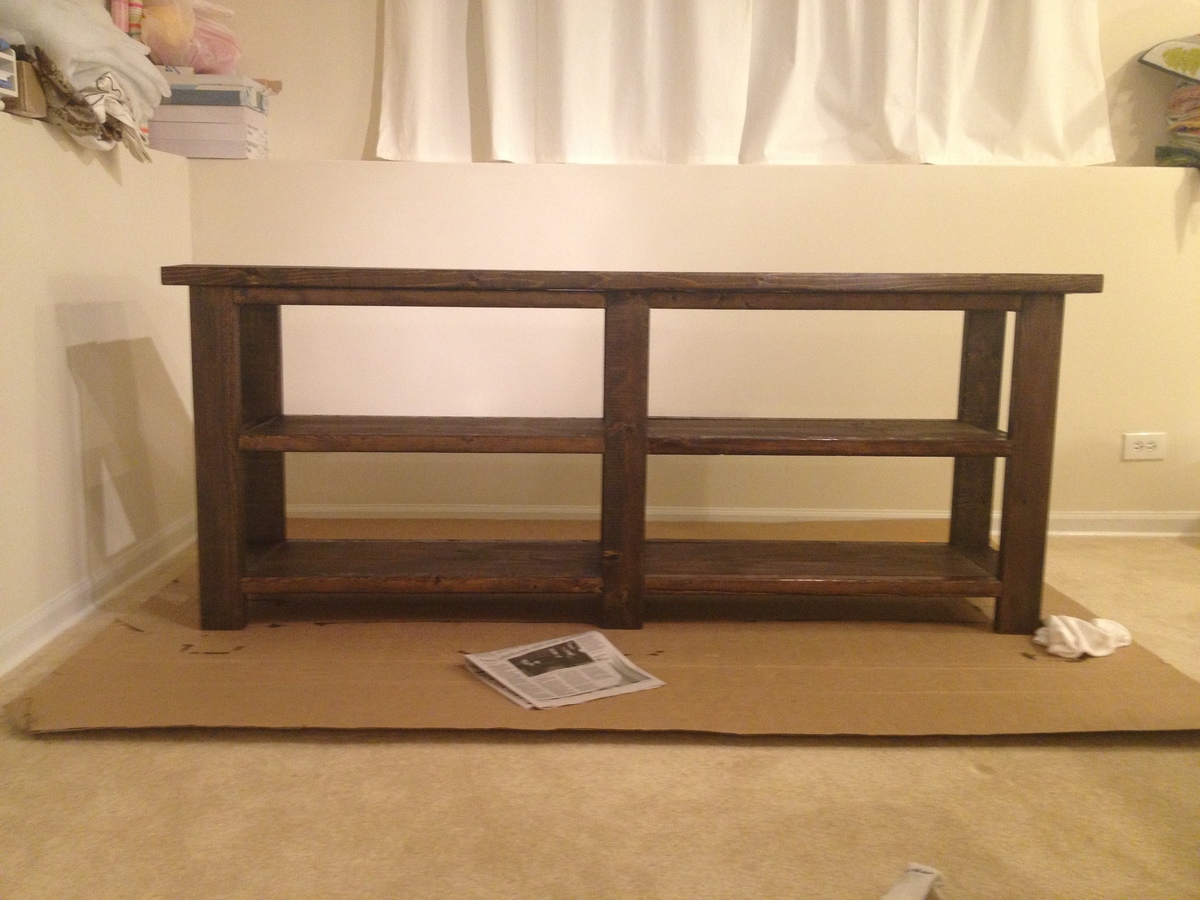
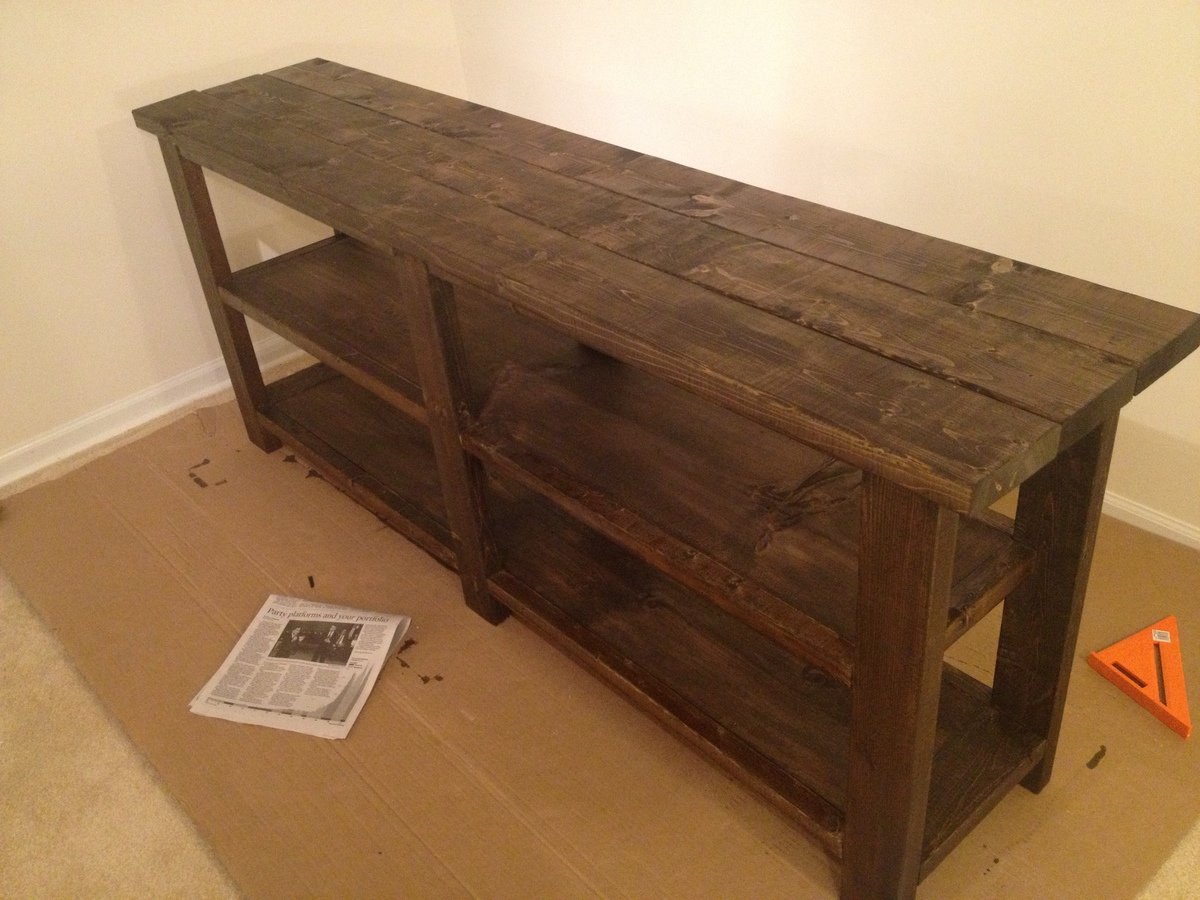
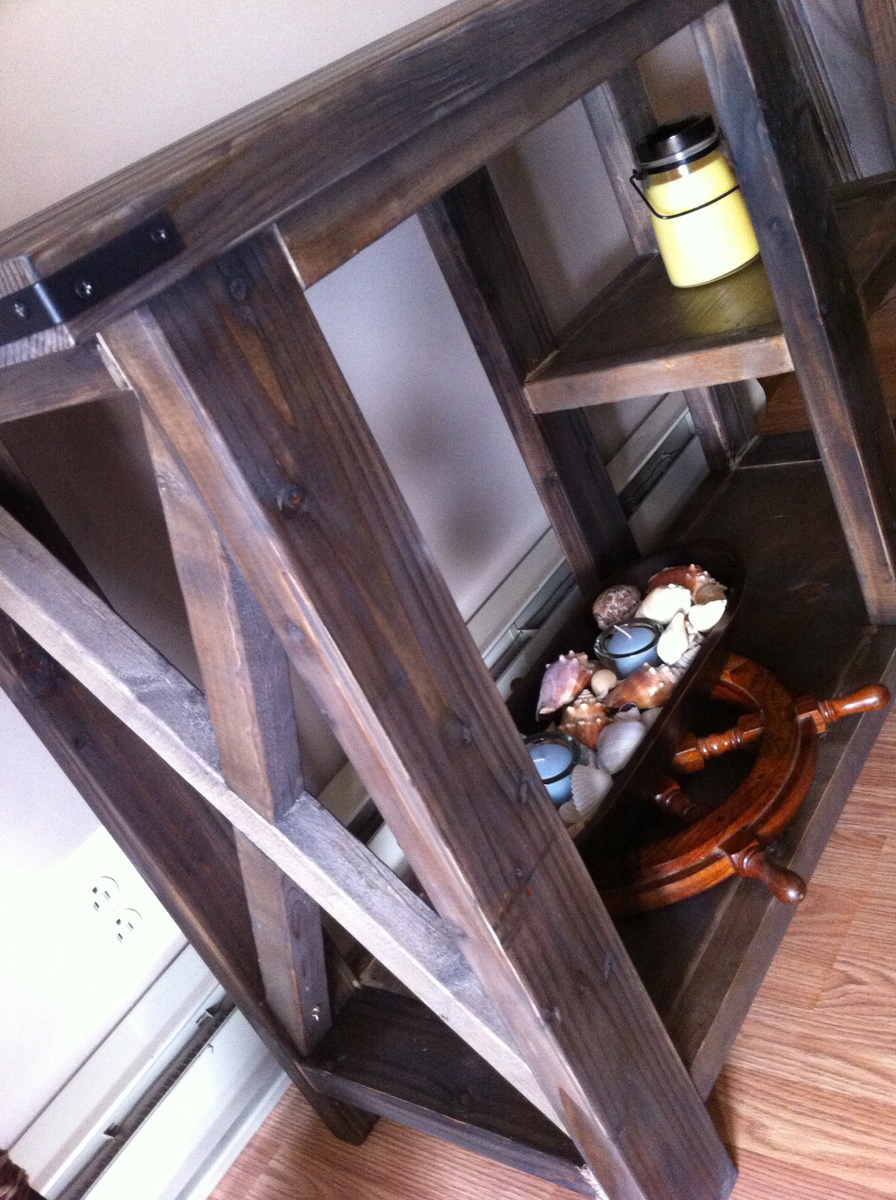
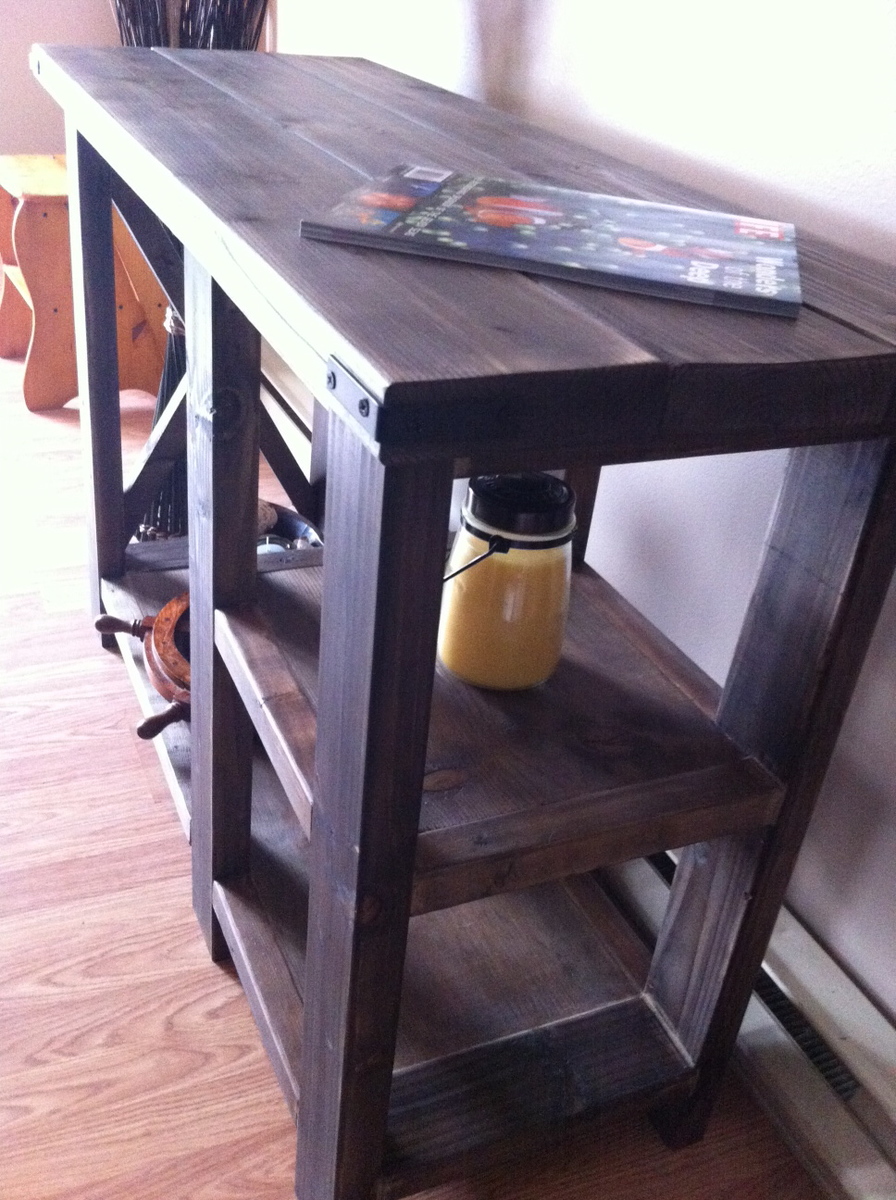
I wanted something large to store my sewing fabrics and materials in a pretty and open way! Then I found the Rustic X Console from Ana-White and knew it was perfect. the dimensions were bang on an the open shelving allowed for very accessible, visible storage option.
I made it in a weekend and used the Jacobean Minwax stain. Only spent about $60 in lumber. Oh and I didn't end up doing the "X" on the side. My compound miter saw won't do a 60 degree angle and my manual attempts were not working :) Doesn't need it, though, its gorgeous without.
I just love how it came out! Thank you Ana!
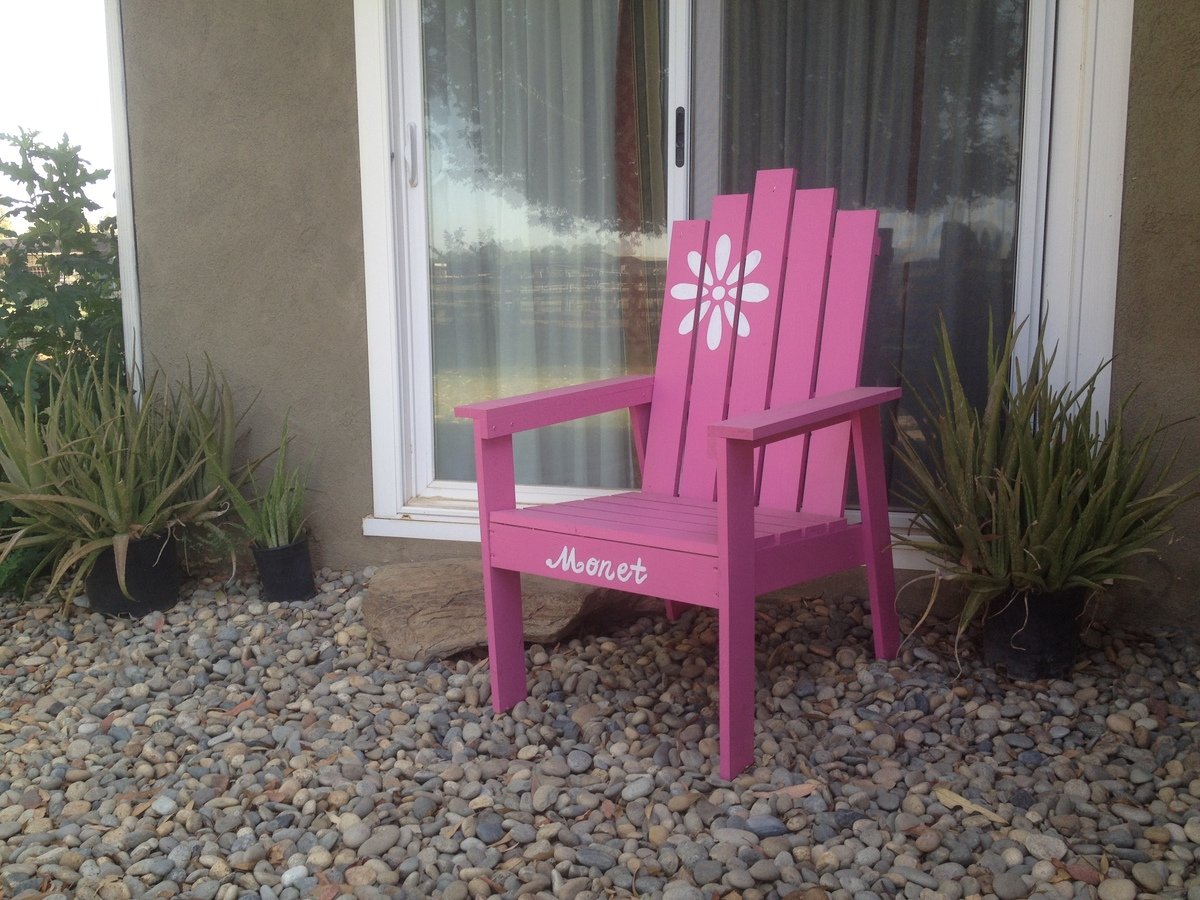
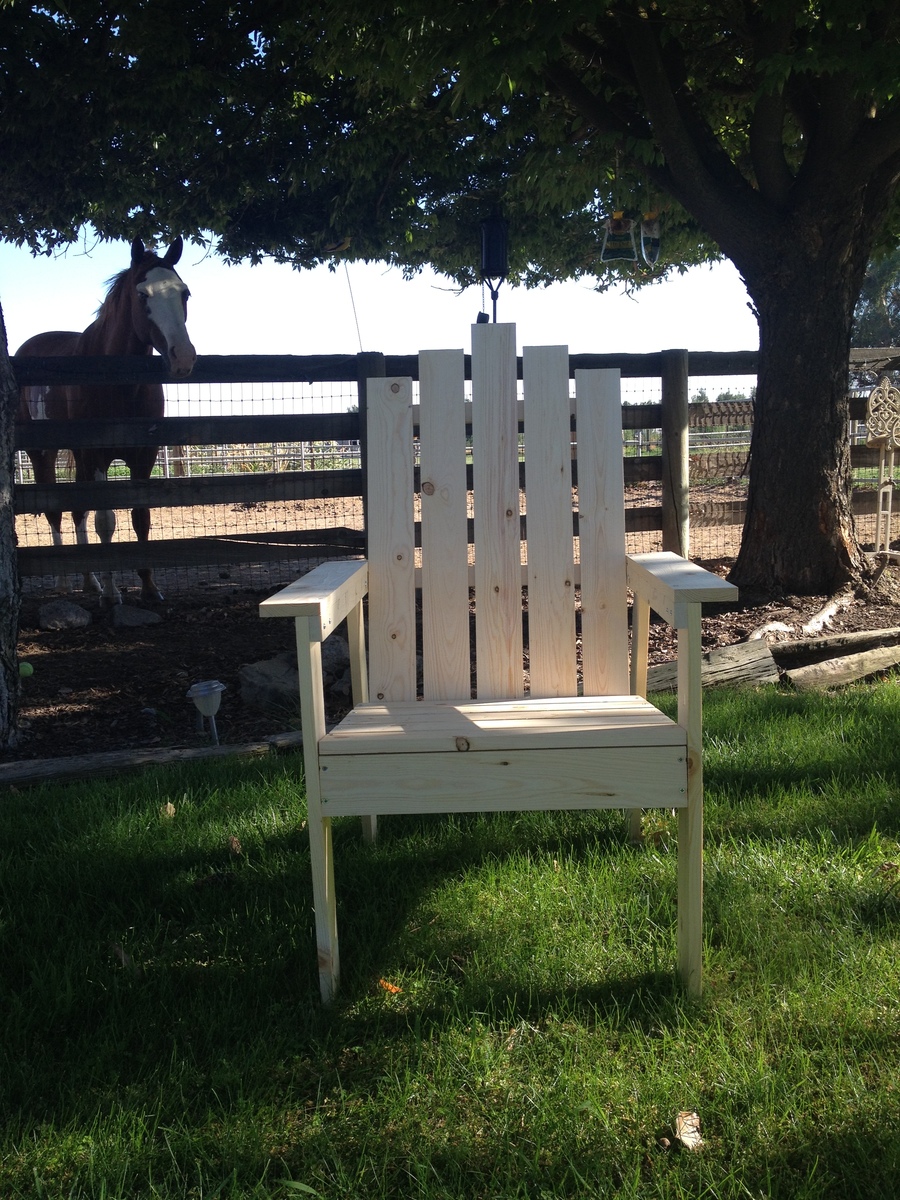
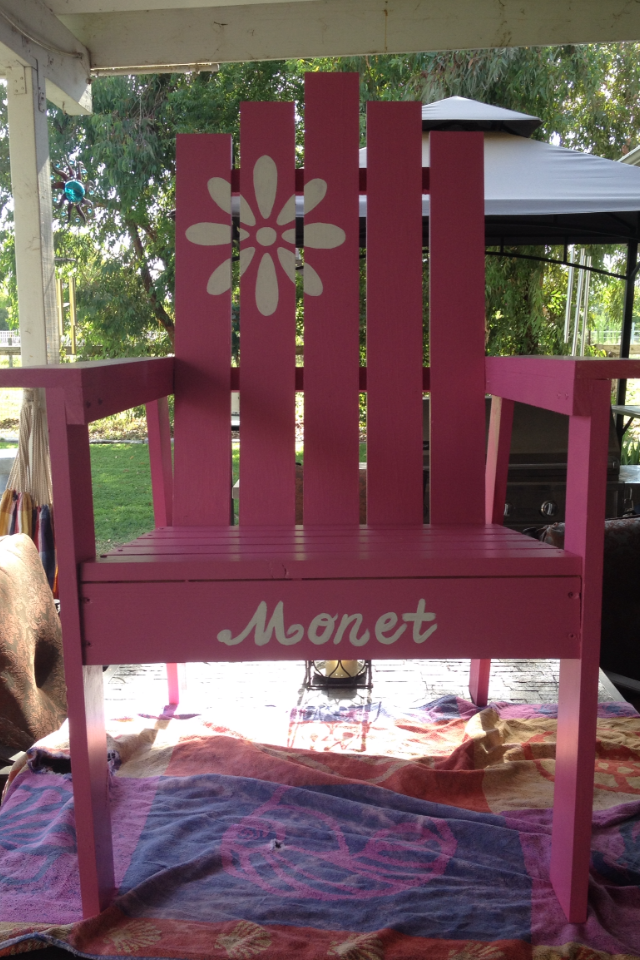
This was my very first build by myself (besides cedar plank planters). I made this for my boyfriends daughter so she could have her own personalized chair to sit by the fire pit. I actually used the plans from Ana's Handbuilt Home book.

Thu, 08/21/2014 - 08:38
I wouldn't mind at all. I just made a stencil out of an 8.5x11 piece of paper. The hardest part was hand painting it in. Brought back memories of coloring!
We didn't paint it, but I think it turned out well. We followed the plan almost exactly and it came out great!
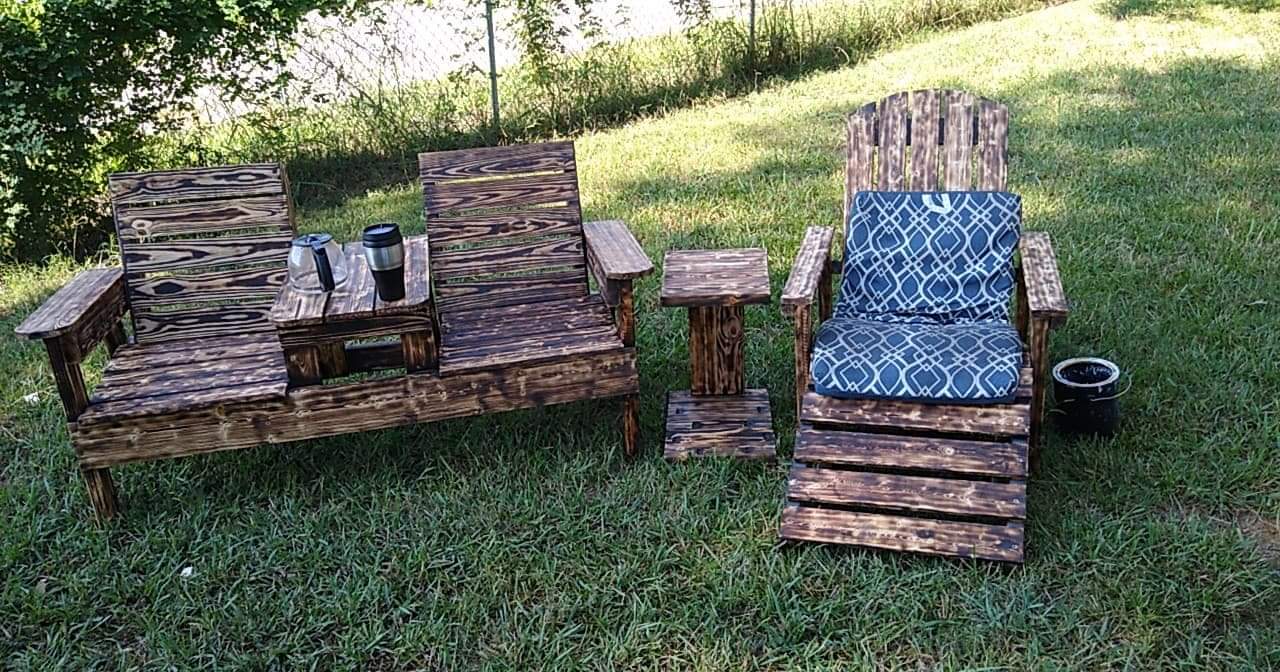
This was built for my wife's 50th birthday. We are going to add another single and side table to allow seating for 4, and I will probably do like a fire pit or something.
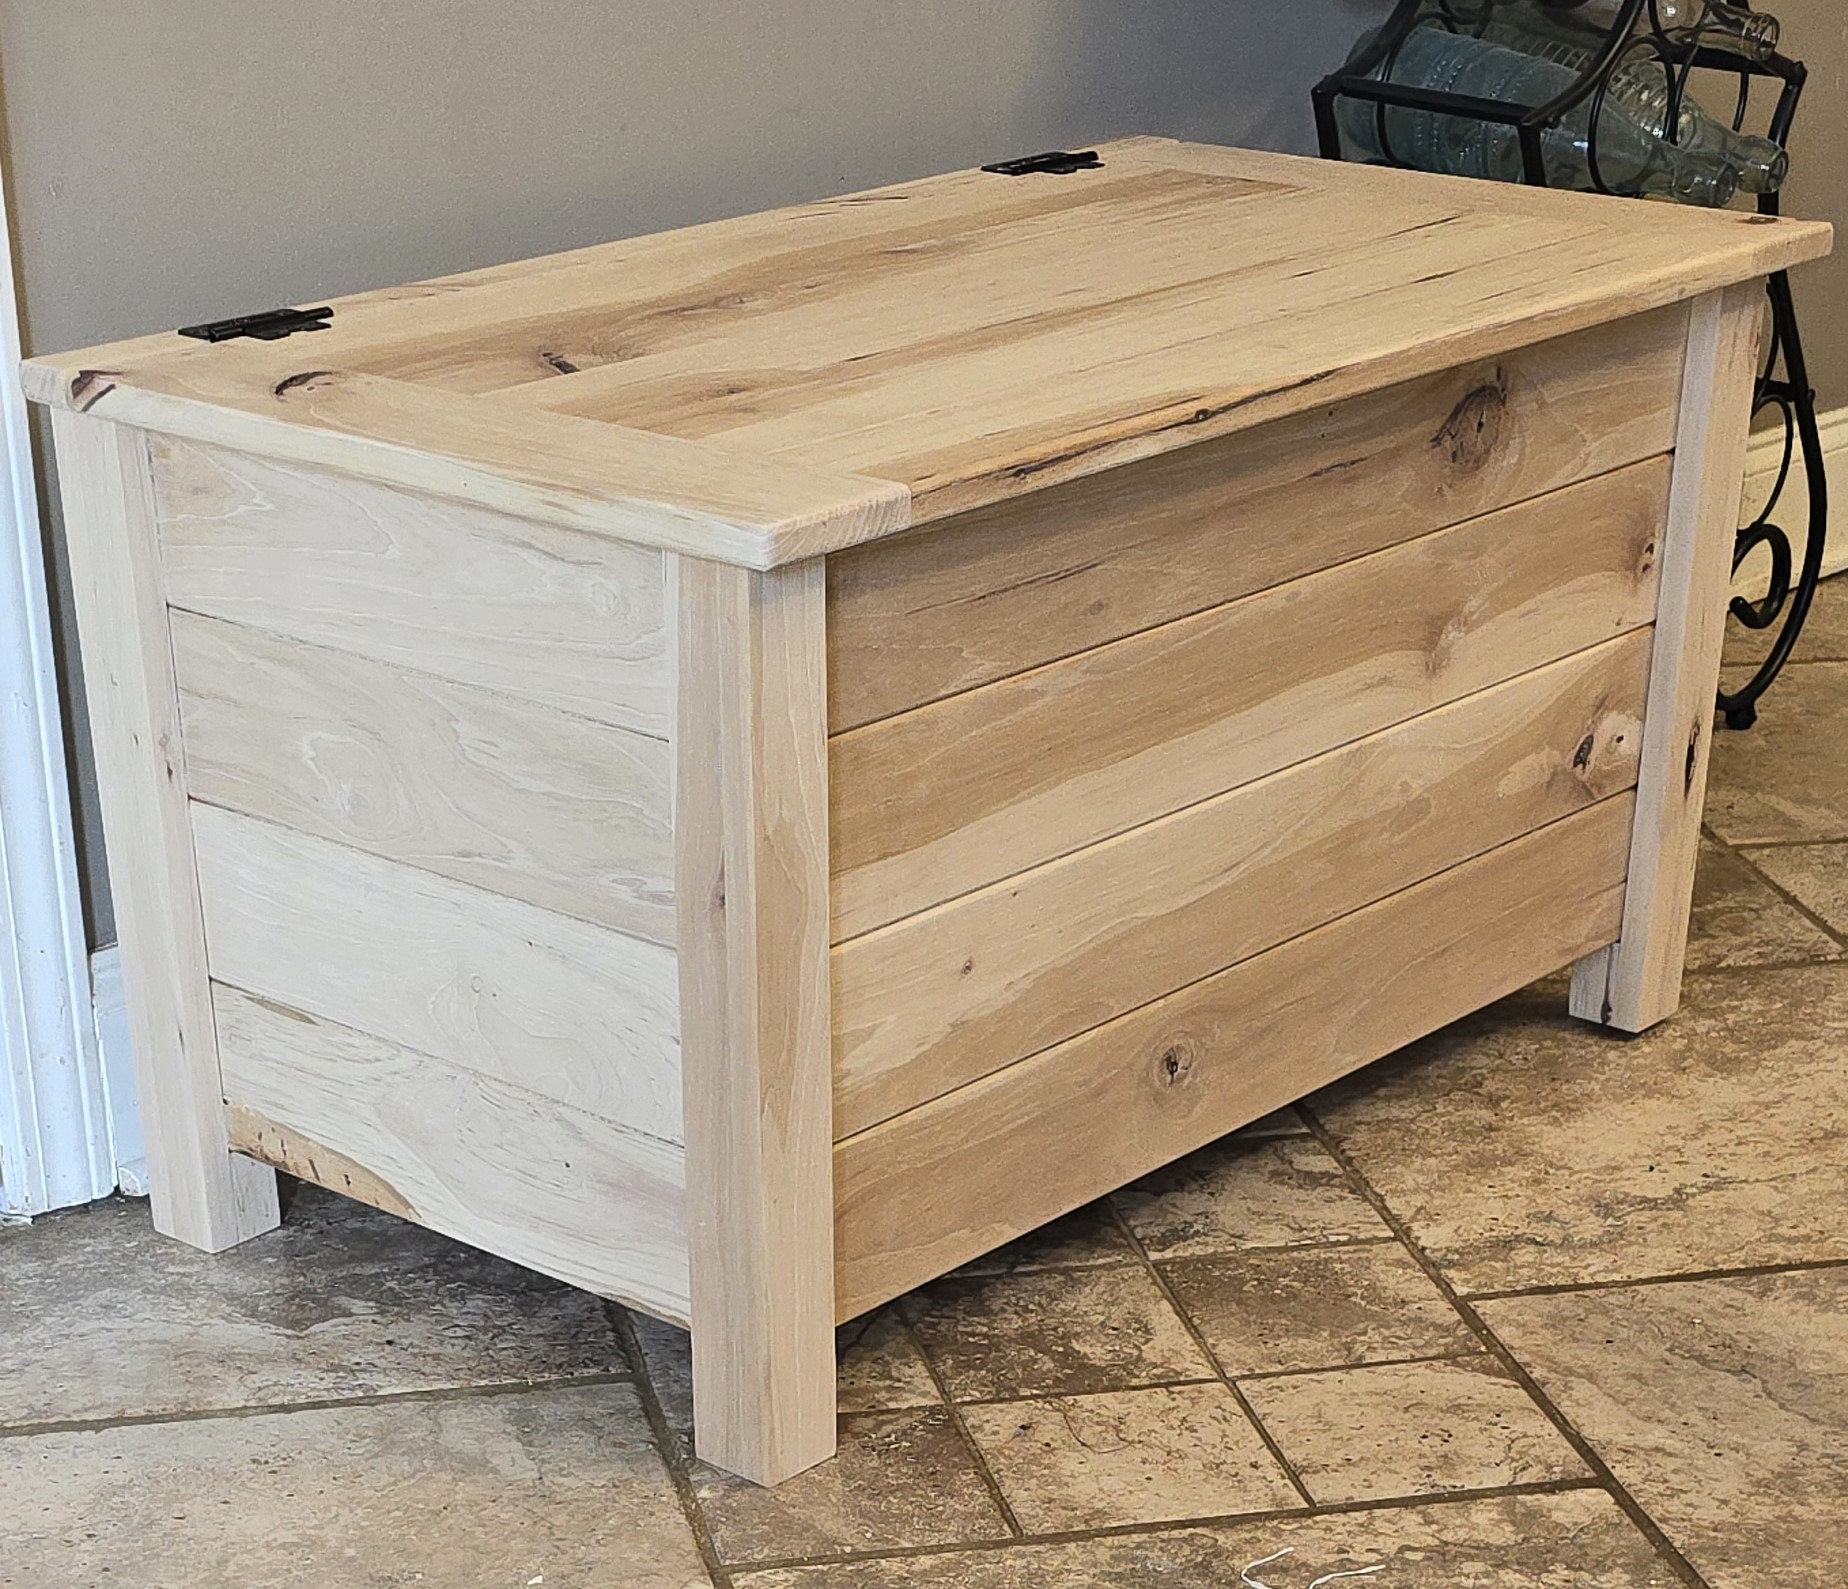
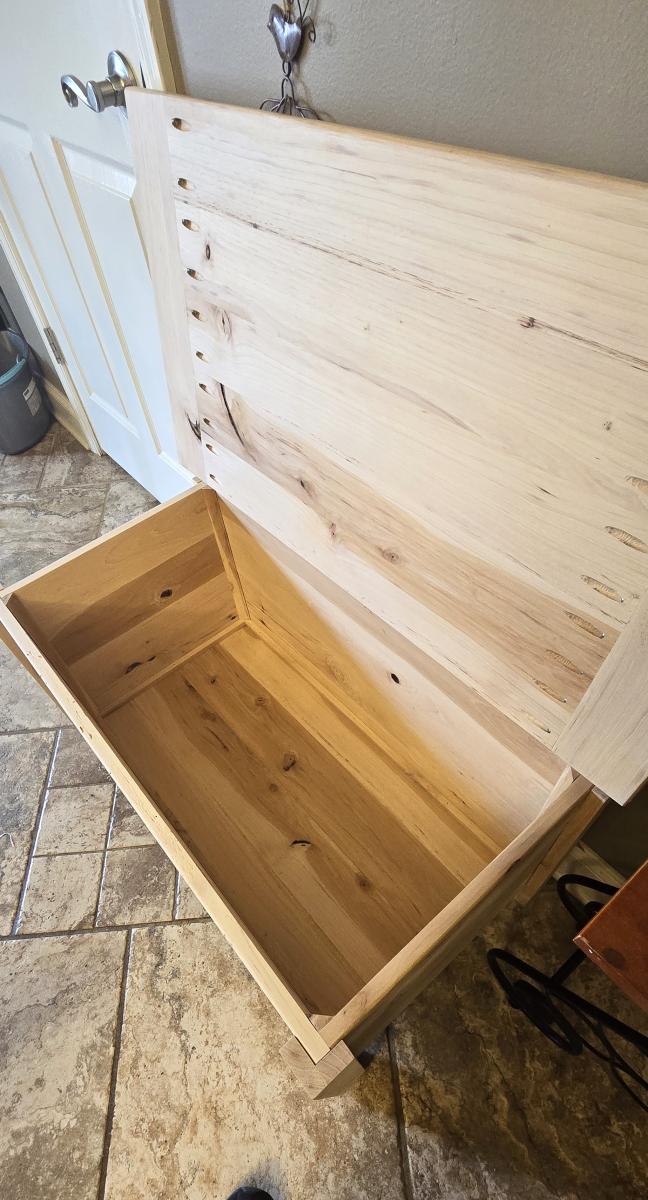
Built this for my granddaughter for her day, I made this out of pecan no plywood top or bottom, just glued up pecan to make the panels, routed the side panels to give it the individual board look. I made it 16 inches deep from front to back instead of the 13 in these plans. It's also 2 higher cause I didn't want to attach the bottom directly to the bottom, it's inside with base, this picture is taken before I sprayed it with high gloss polyurethane.
Garmans Woodscapes
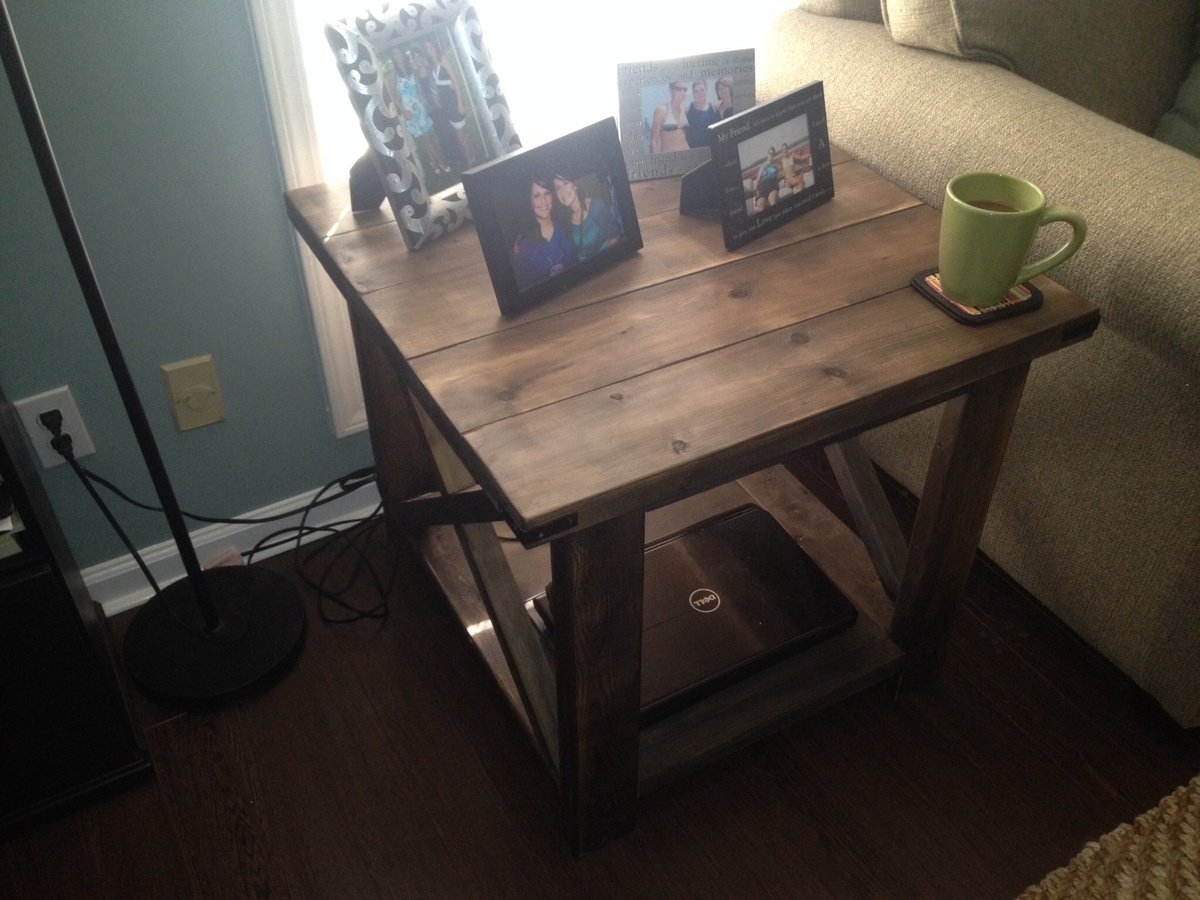
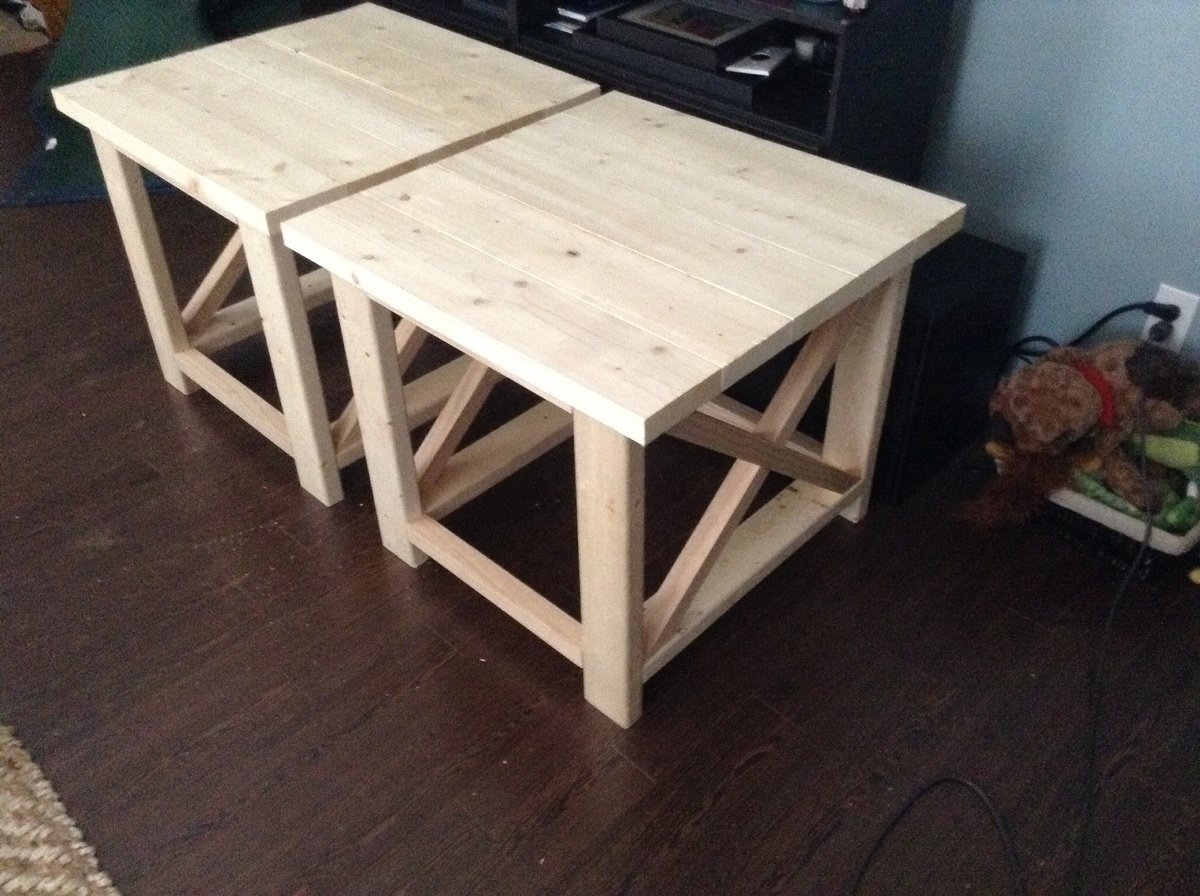
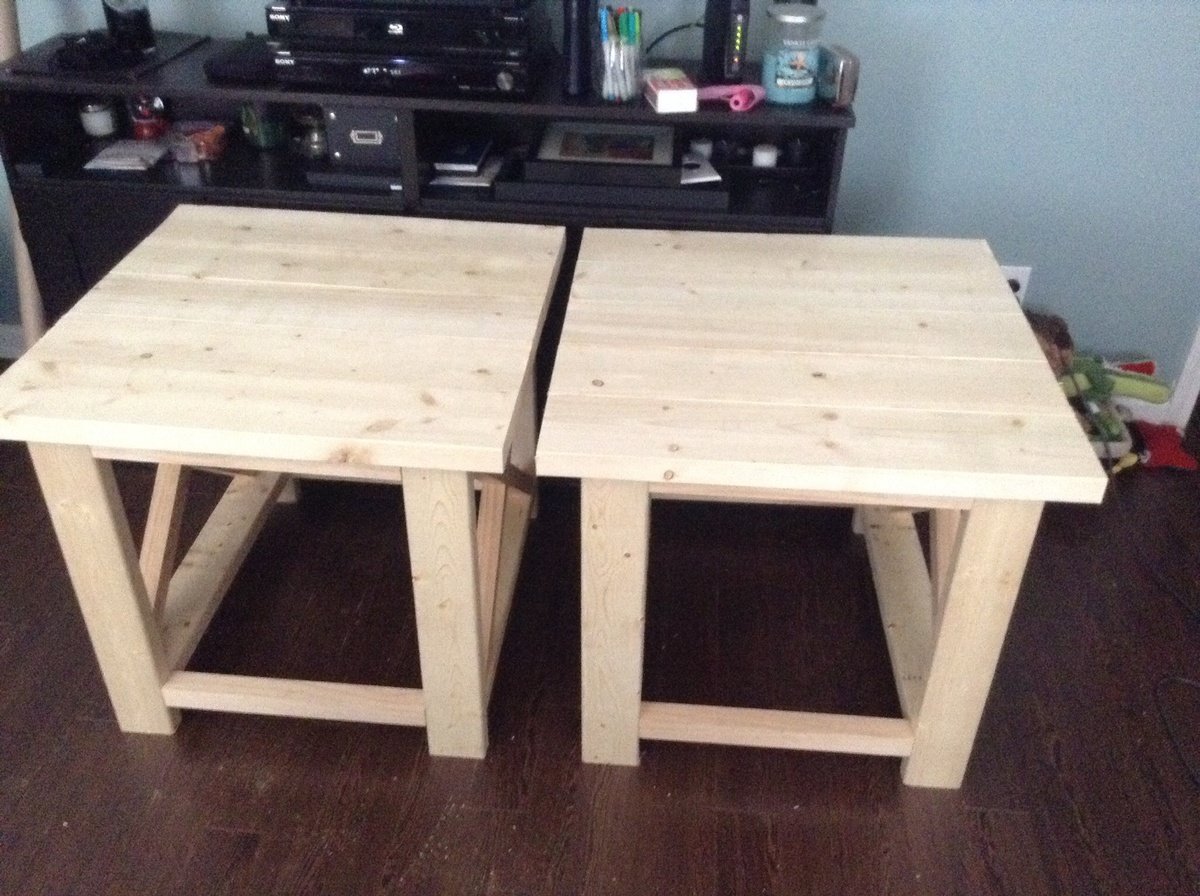
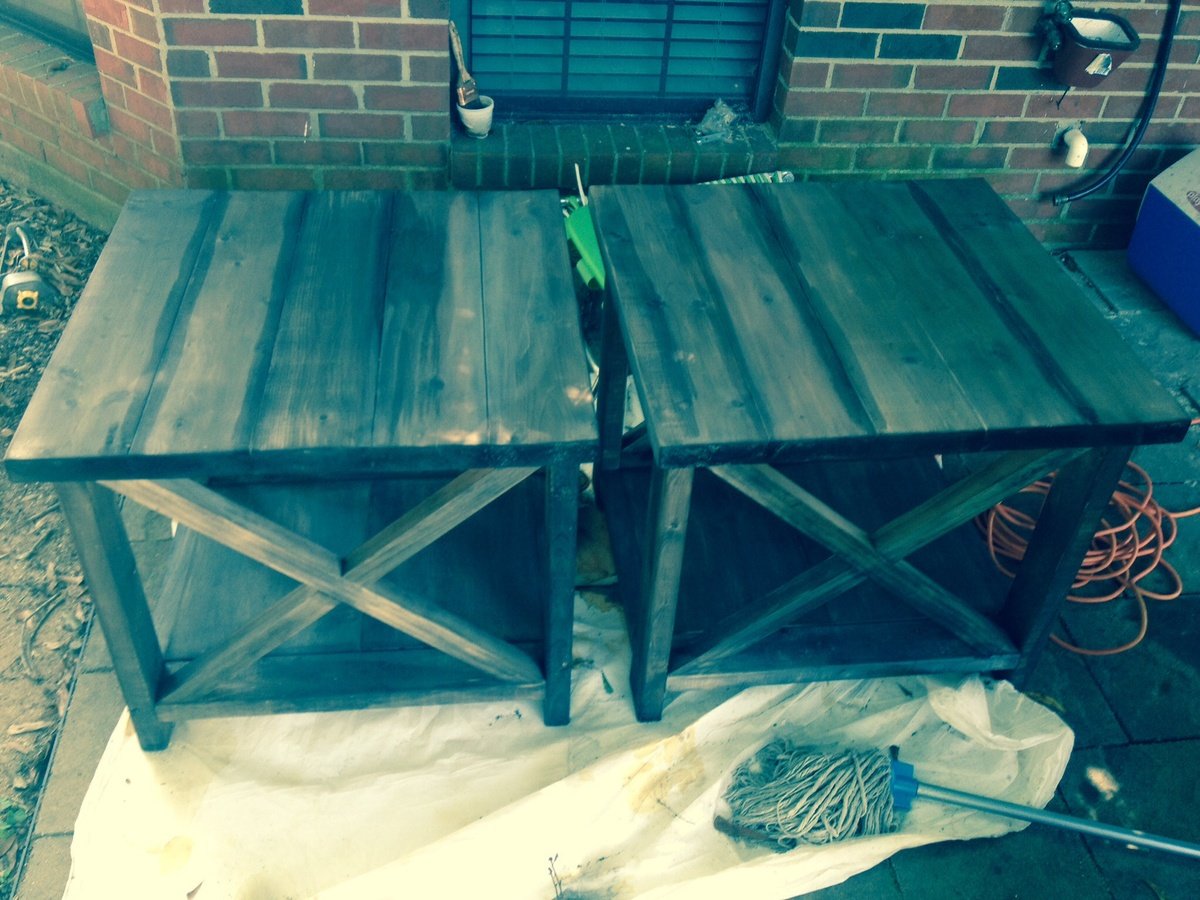
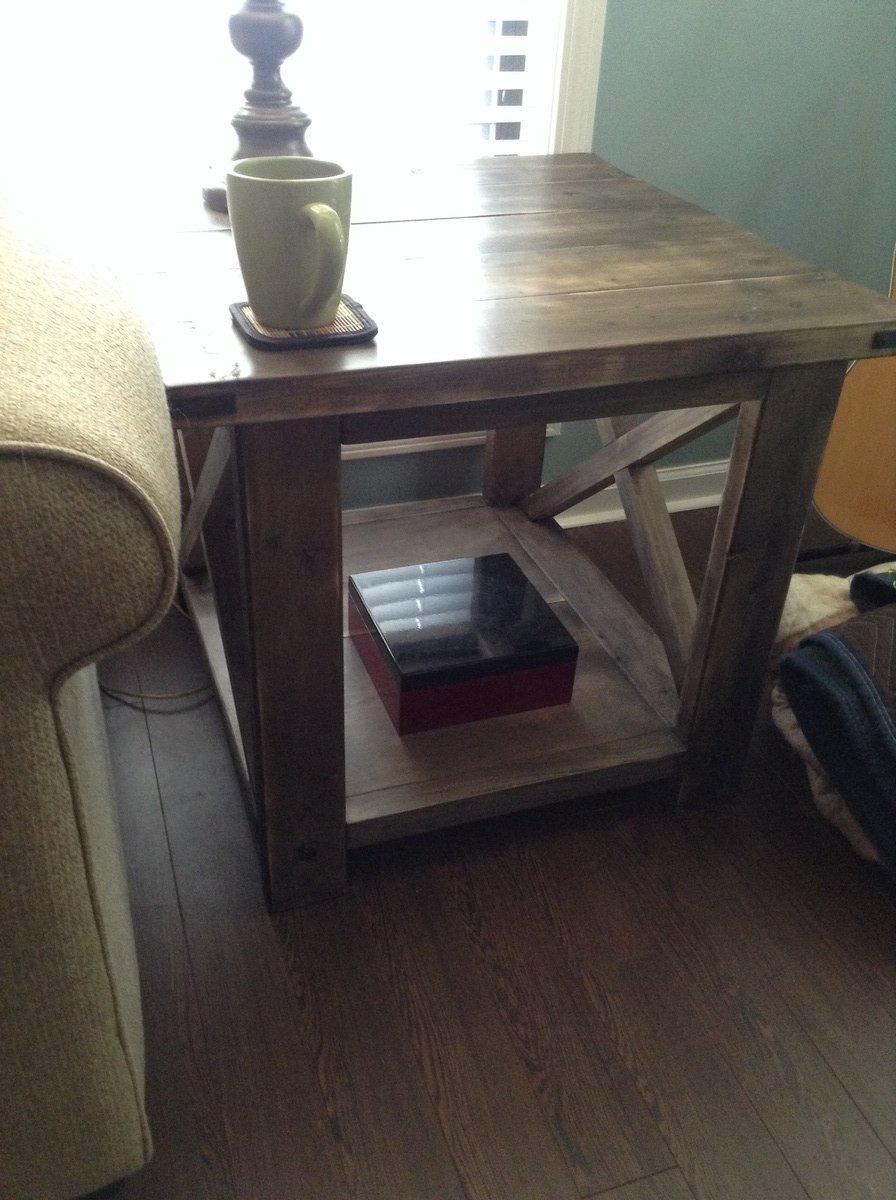
After building the iTable coffee table, I decided the move on to building some end tables. I do wish I had modified the plan so that they weren't quite so wide, but I absolutely love them . I used Hillary's oxidized finish with the steel wool/vinegar solution about 4 days old, and I brewed 12 bags to 32 oz. of water for the black tea.
I just finished off the tables with Minwax Finishing Paste Wax, as it's a little bit more readily available than the items Hillary used. The wax really warmed the wood up; I was debated mixing in some Minwax Wood Stain with the wax because the raw oxidized finish was so gray, but just the clear wax did what I was looking for.
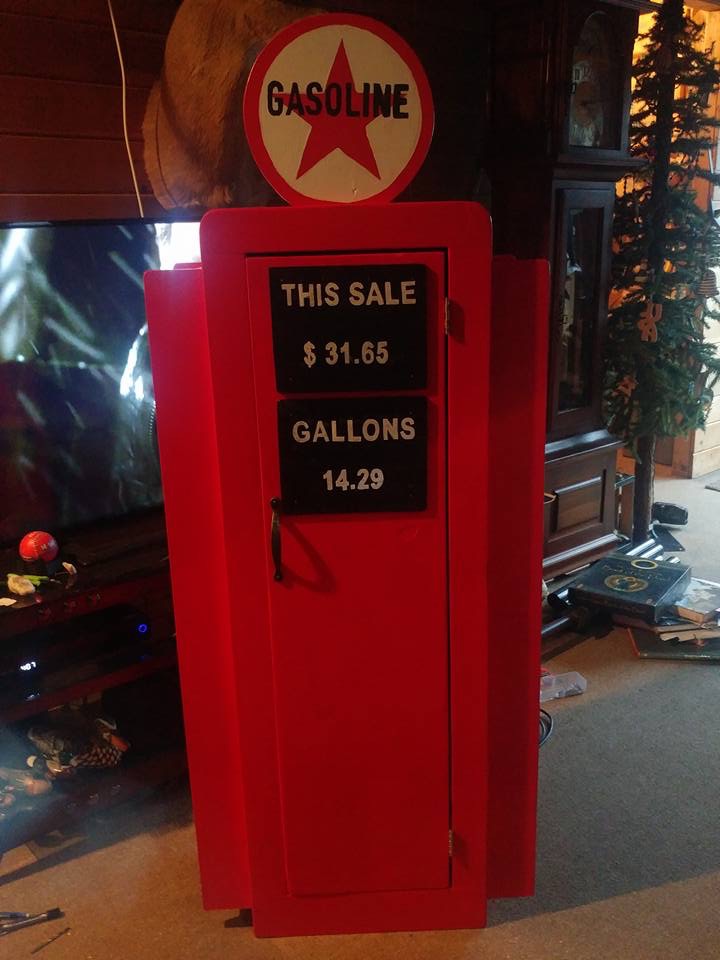
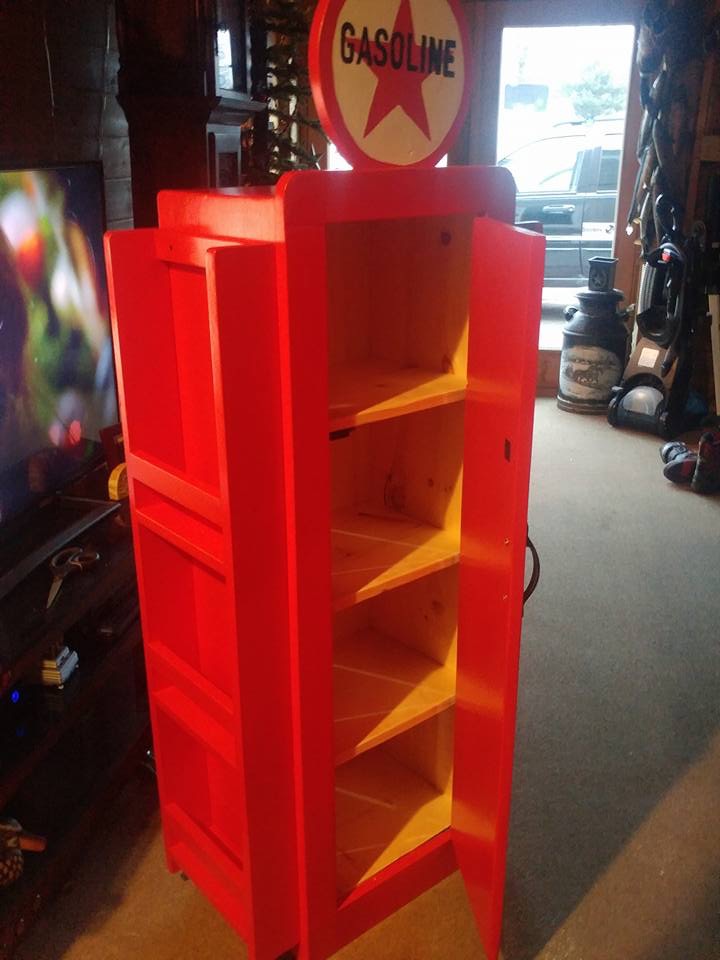
I built this for my grandson for his 2nd birthday to go along with the new race car bed that he got. I left off the pump handle and hose as a safety precaution since he is only 2 and a handful. This was definitely the gift that everyone was talking about! I love your plans Ana...keep 'em coming!!!
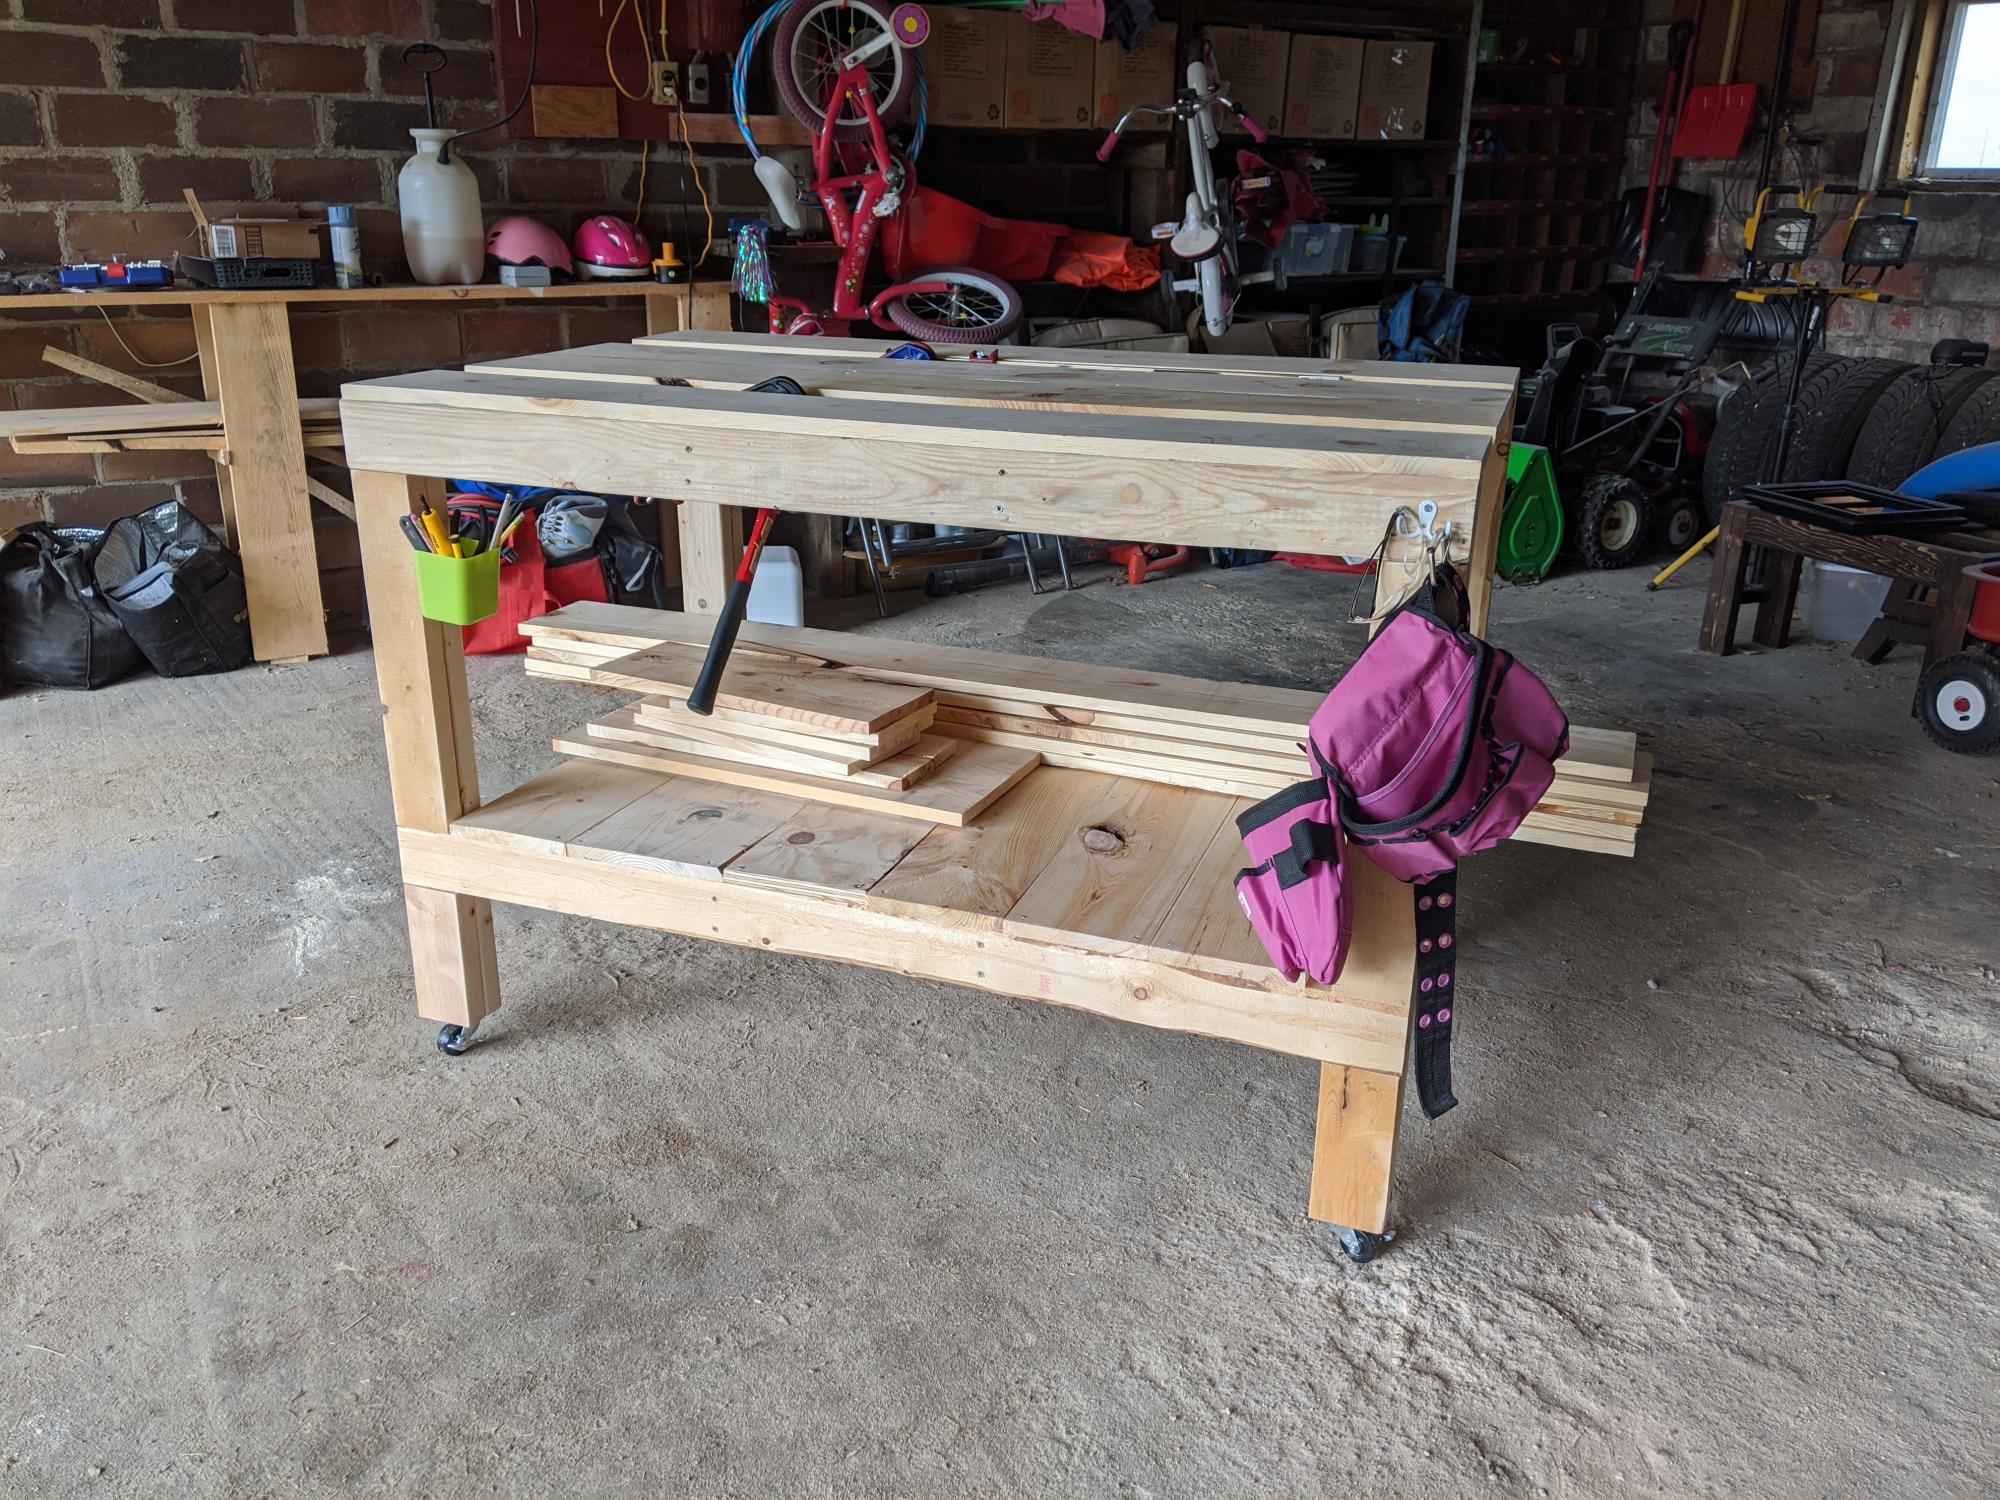
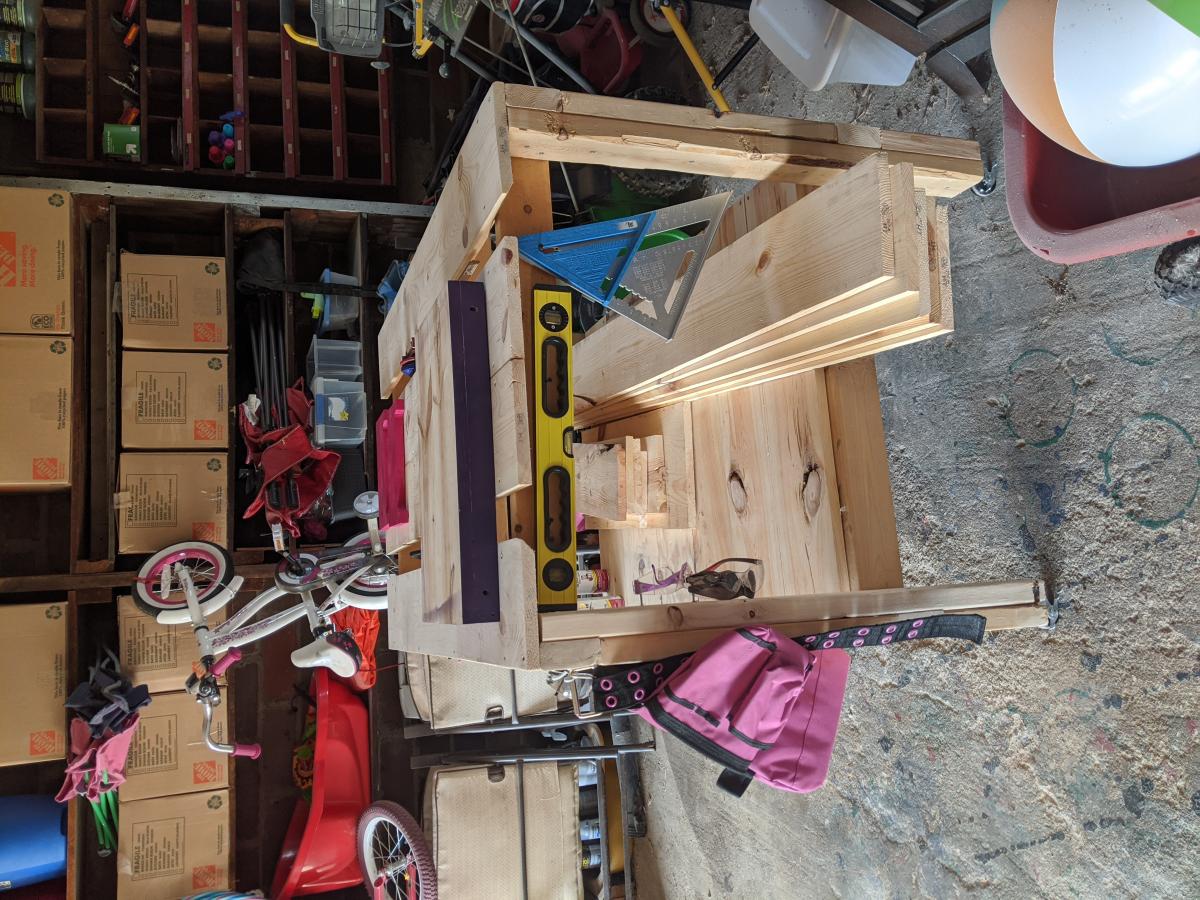
I needed a legit workbench and I had a bunch of wood to use up. I got a bunch of 1x8x6s from my local hardware store's scrap pile. There's a reason they were free... But I couldn't just toss them. I used all scrap, from the hardware store, my garage, and my brother-in-law's farm, except 3 2x4s that I bought new.
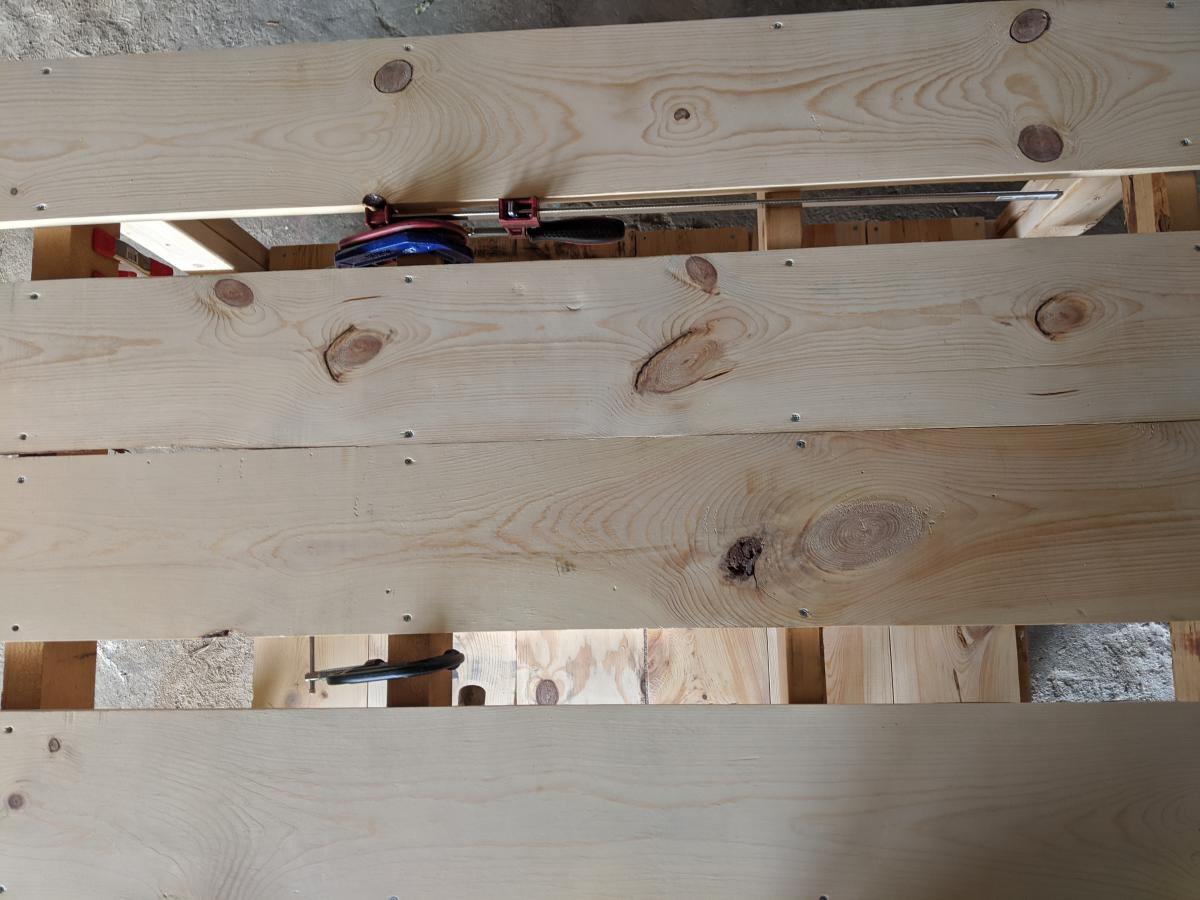
For this workbench, I used slats on the top and the bottom shelf. The frame is 2x4s. I had some idea I could use the space in between the slats to cut wood, but after adding 2in casters, it appears it might be a bit too tall. Even still, the spaces in between the slats make for excellent clamp storage.
And now I finally have a legit, mobile workbench to keep all my chaos somewhat contained.
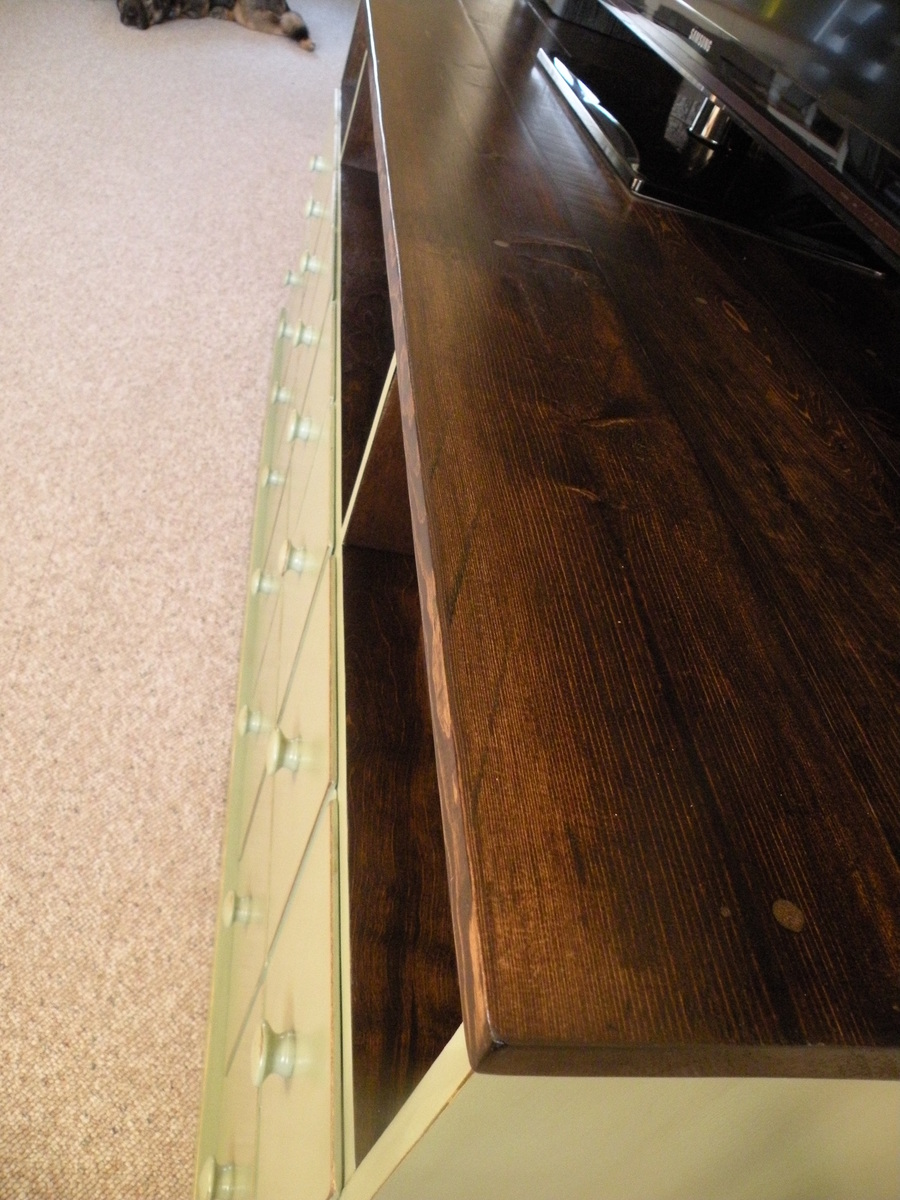
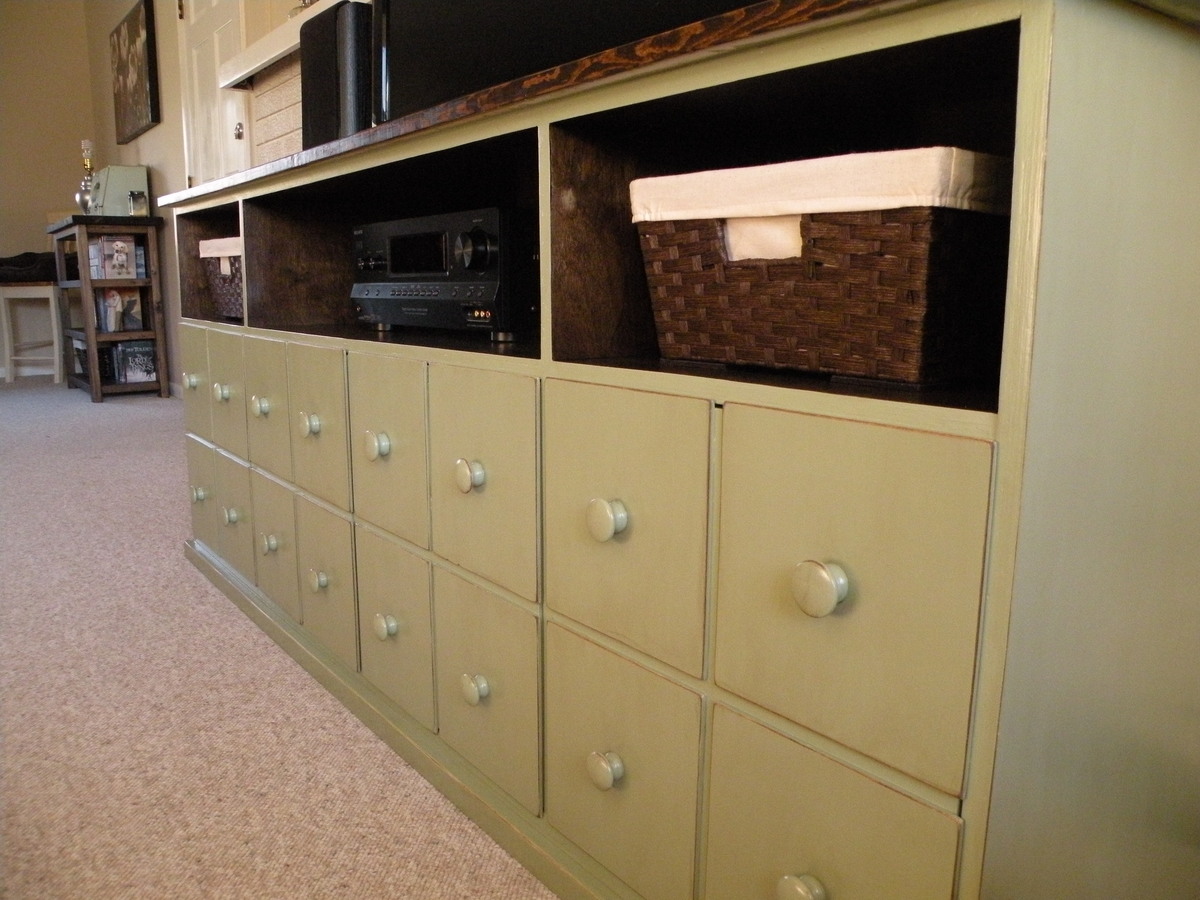
Coffee table I made inspired by you.
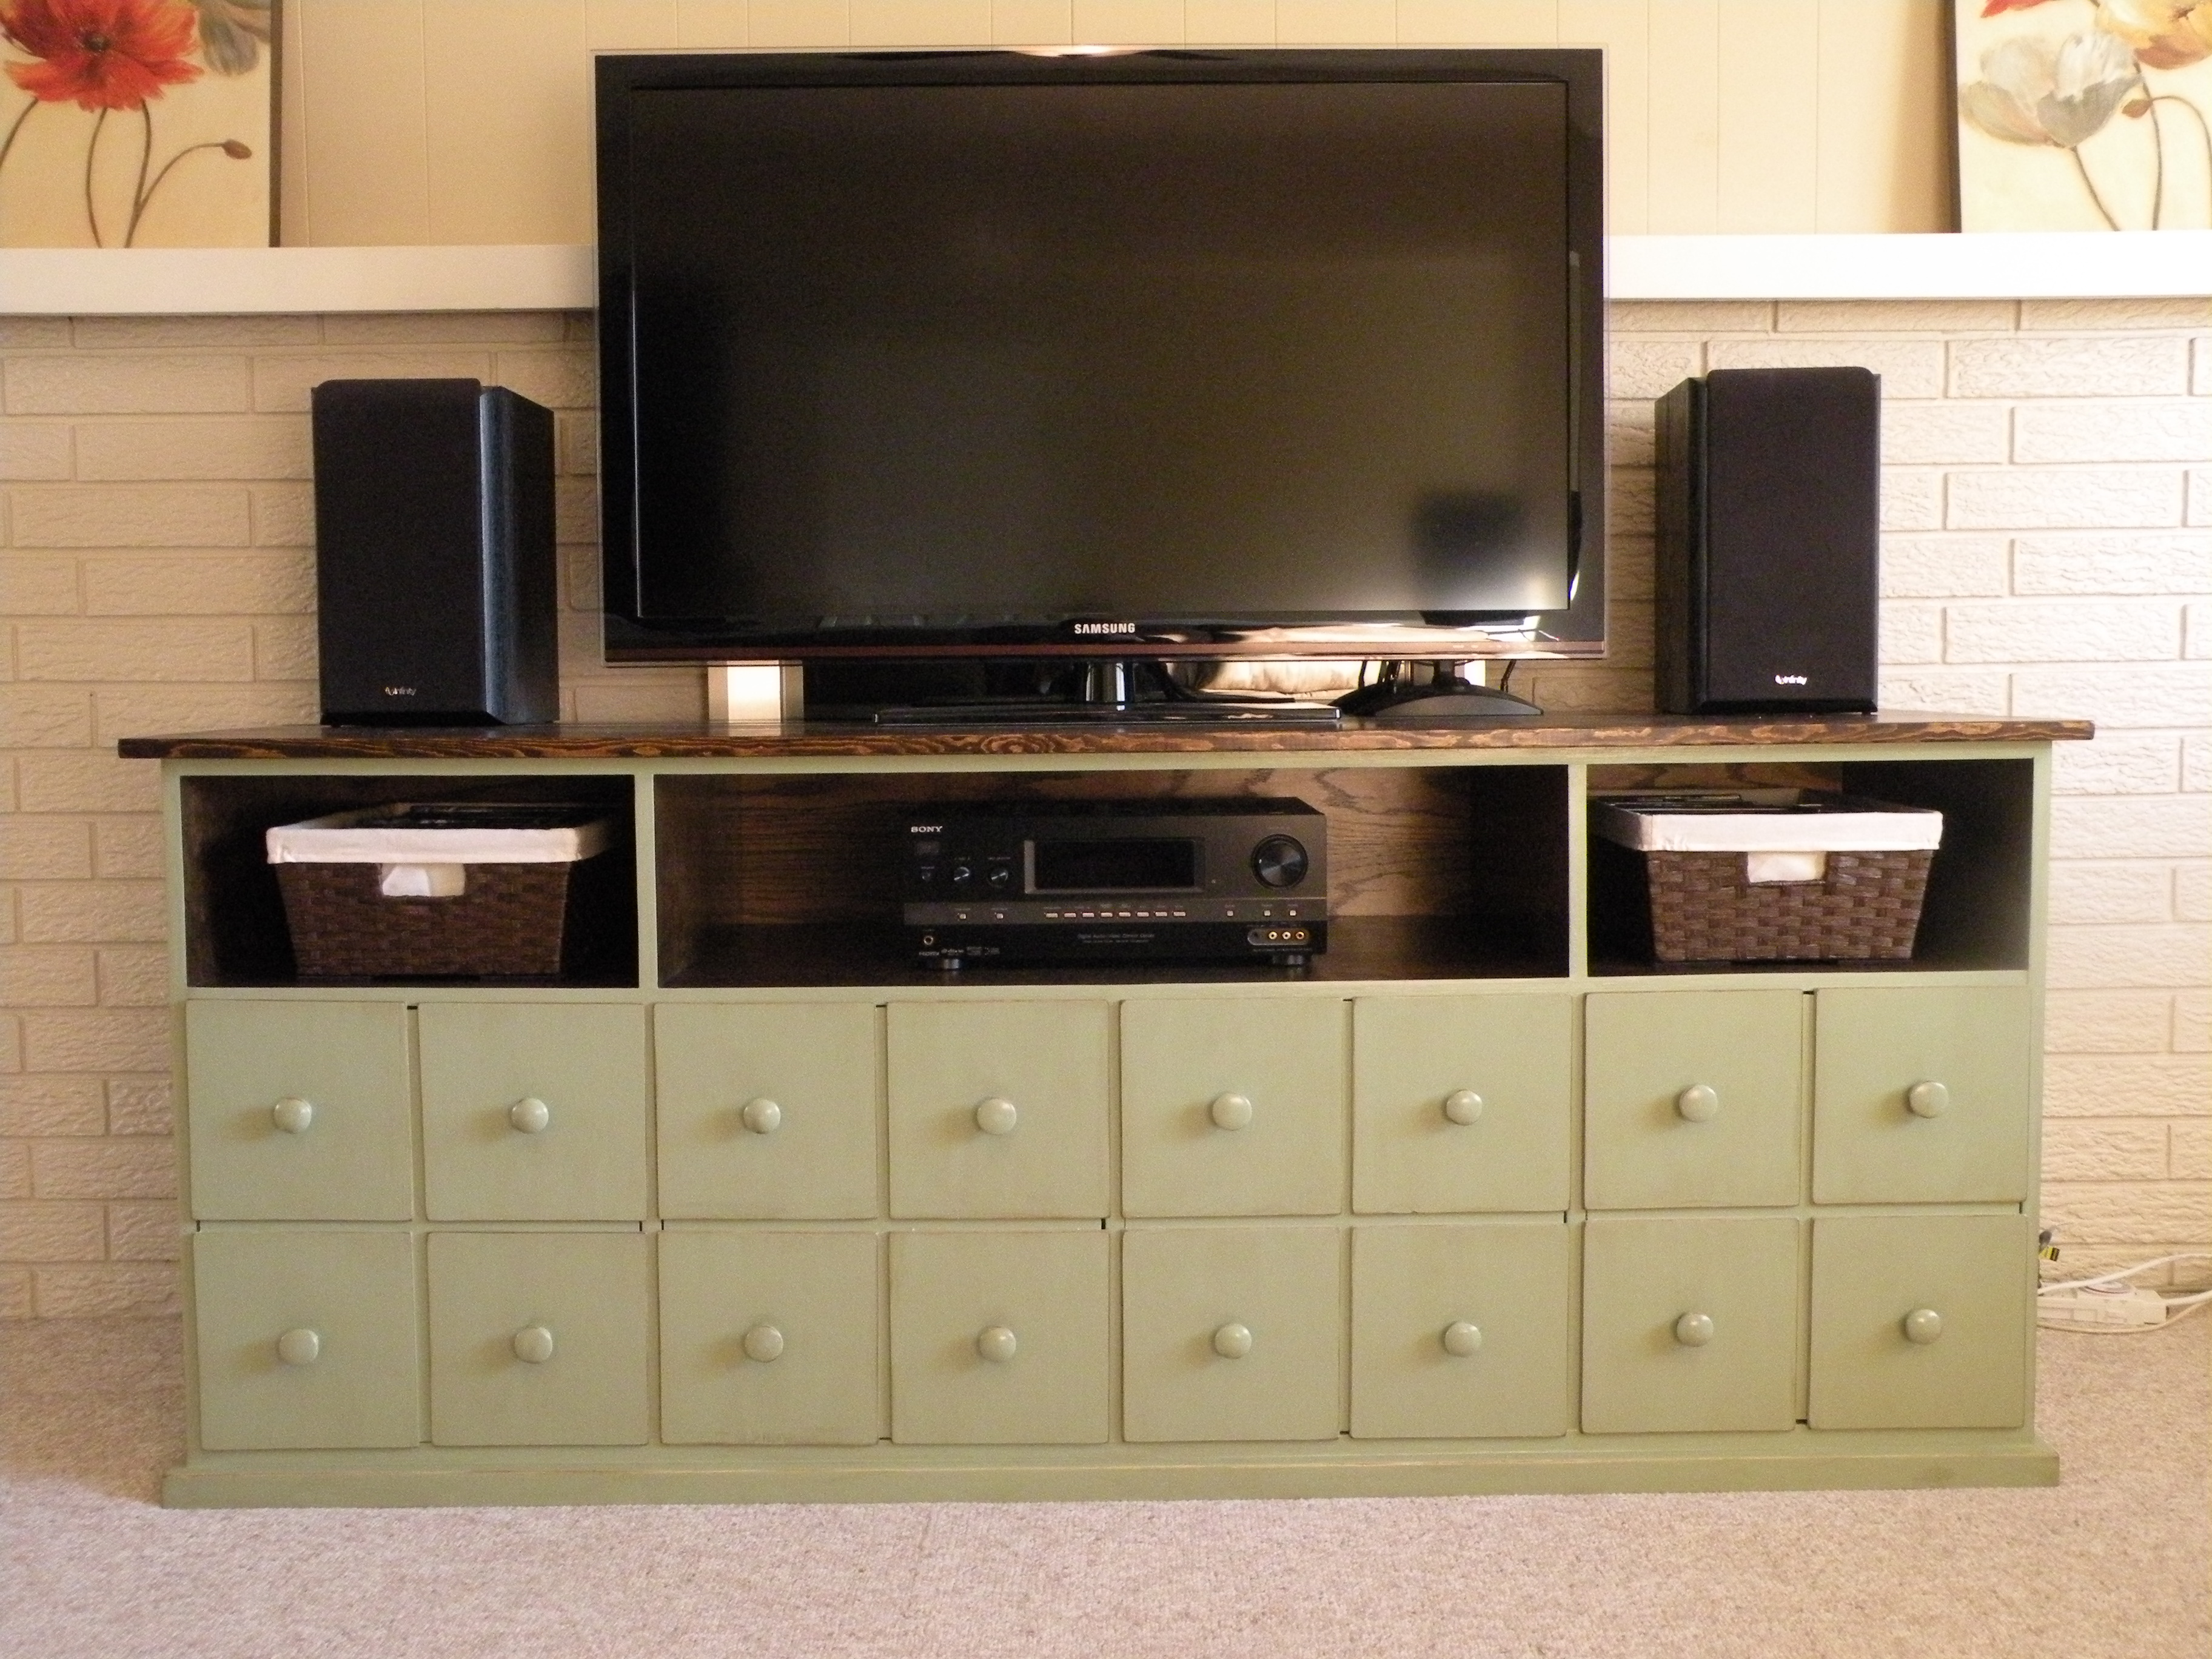
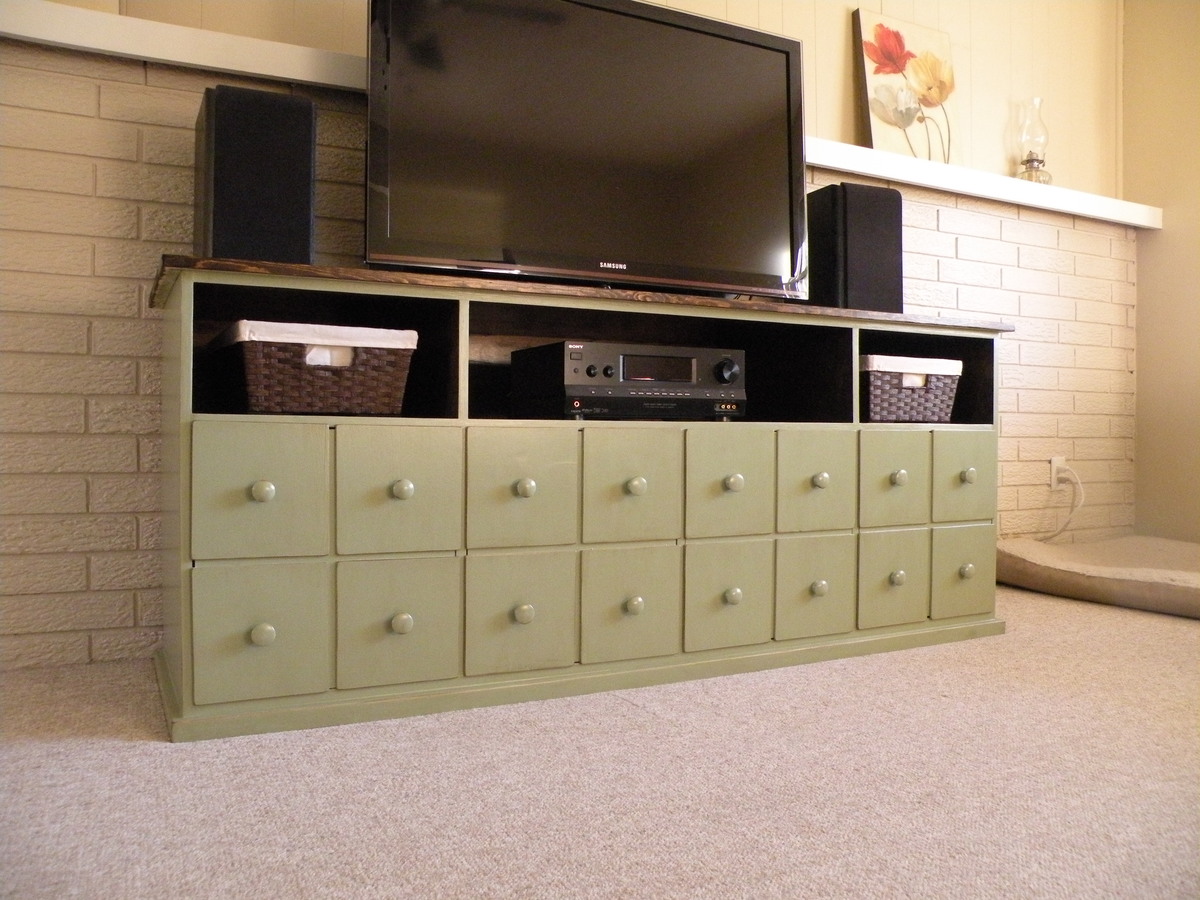
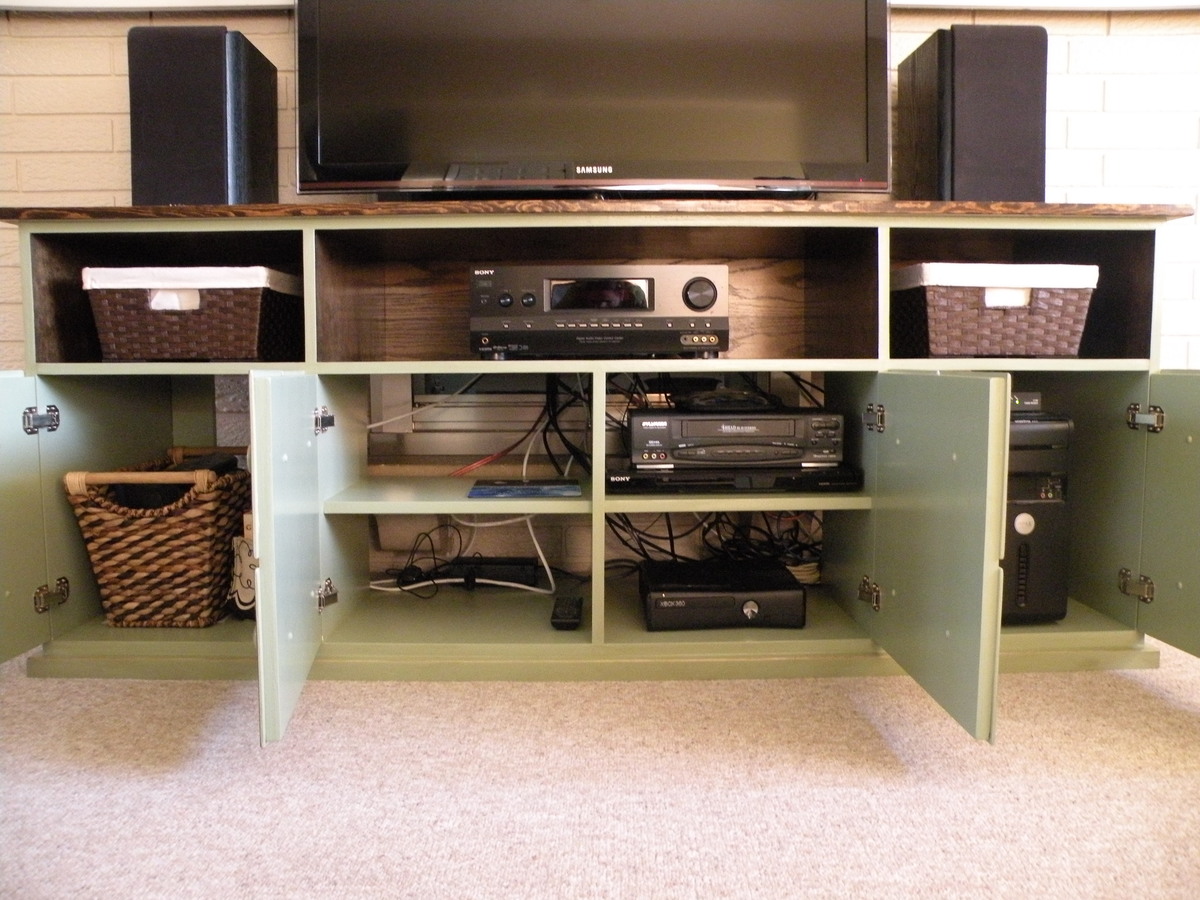
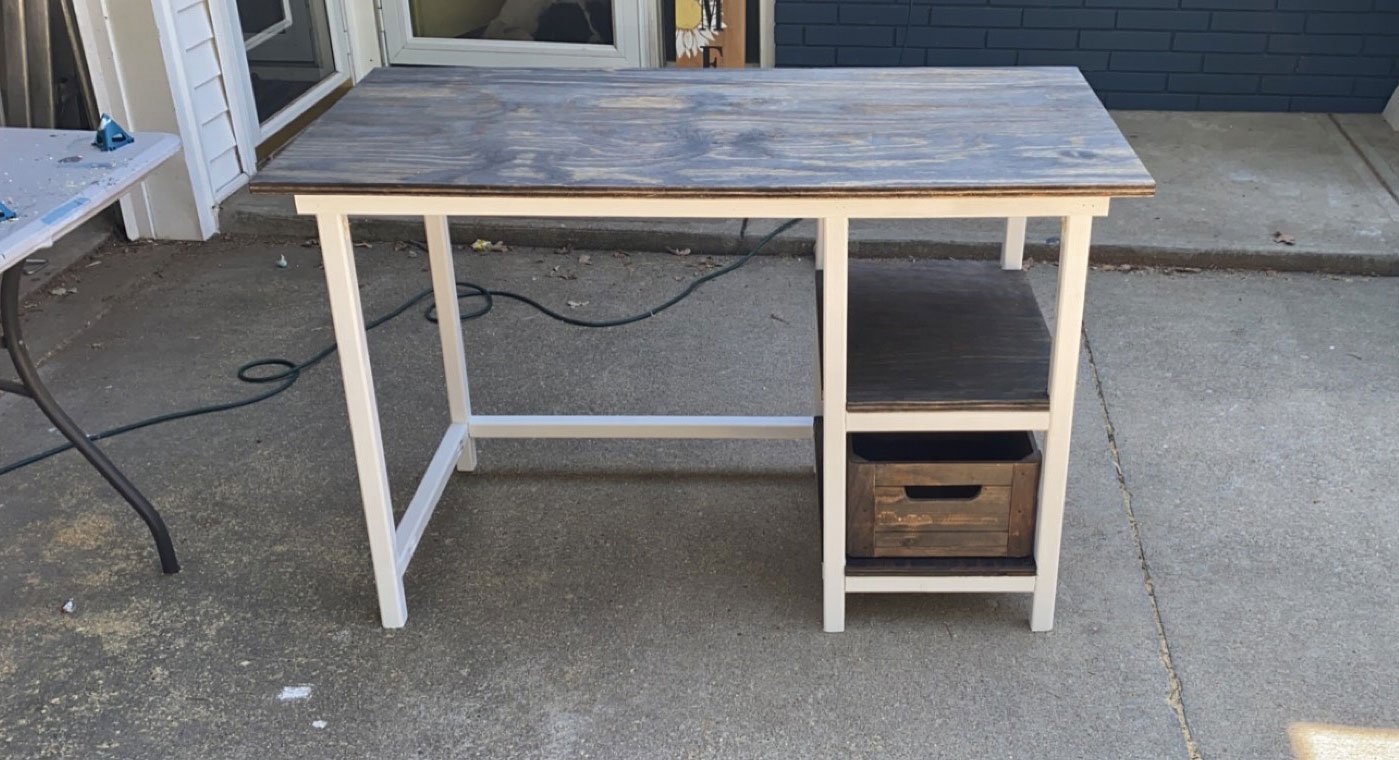
Overall this took about two weeks for me to build and finish. We modified the original plans to make it larger to accommodate a computer. It is 76" long, 30" tall, and 22" deep. We also had to customize it so we could fit it around our fireplace because space is limited in our house.
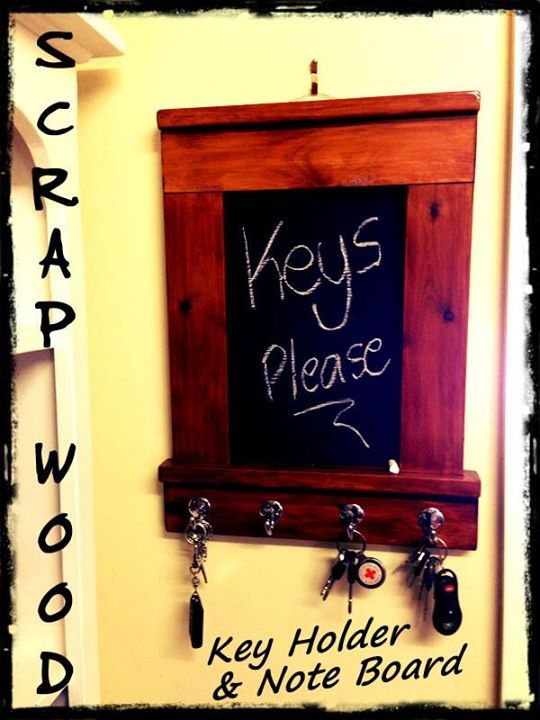
This creation was made using scrap wood, hooks I got from Bunnings and some blackboard paint. Apparently now Brodie doesn't know where the keys are. This was based on Ana White's Craftsman Frame Plan.
I am not sure what happened first time I posted this as it was posted as Guest (sorry). Anyway....
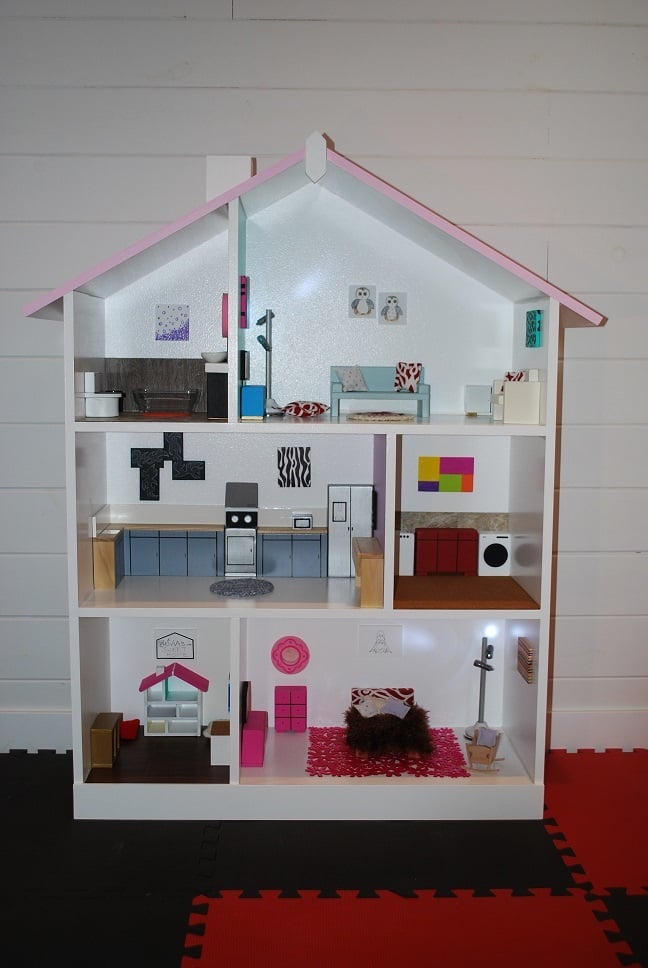
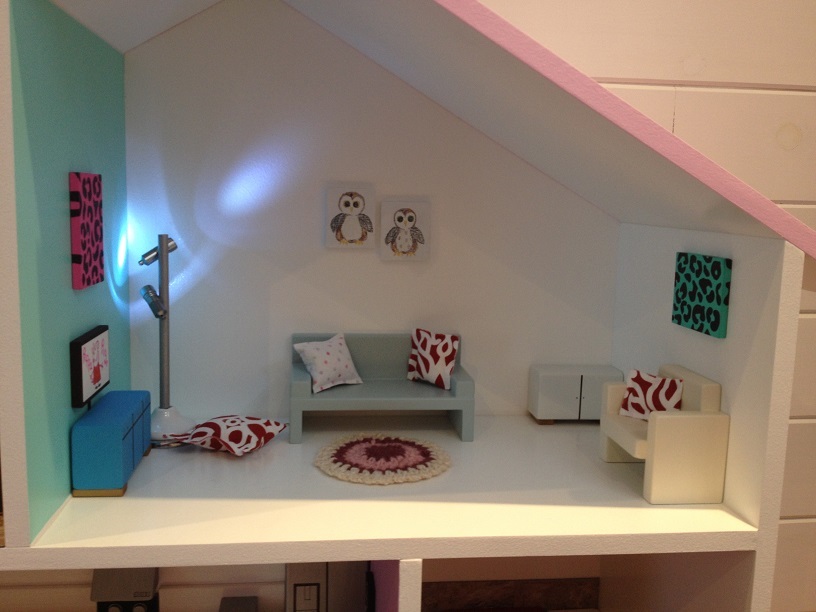
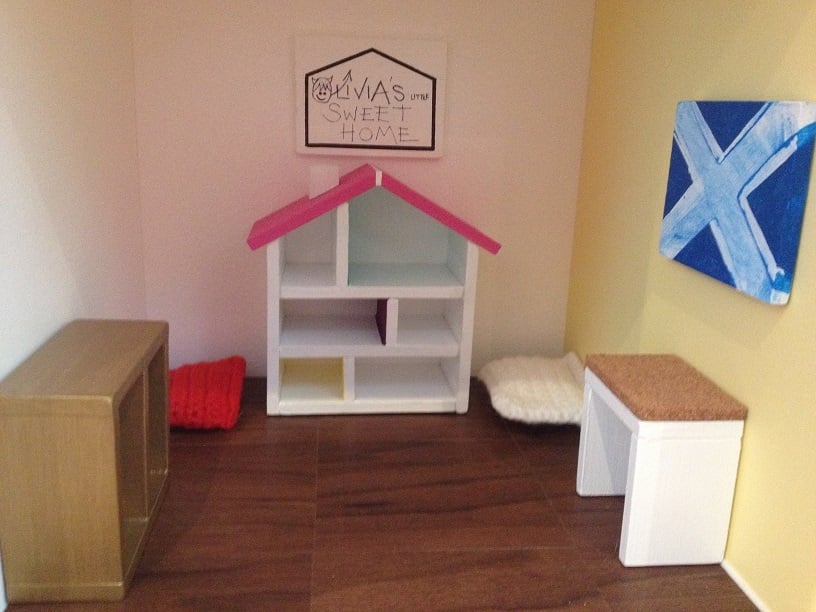
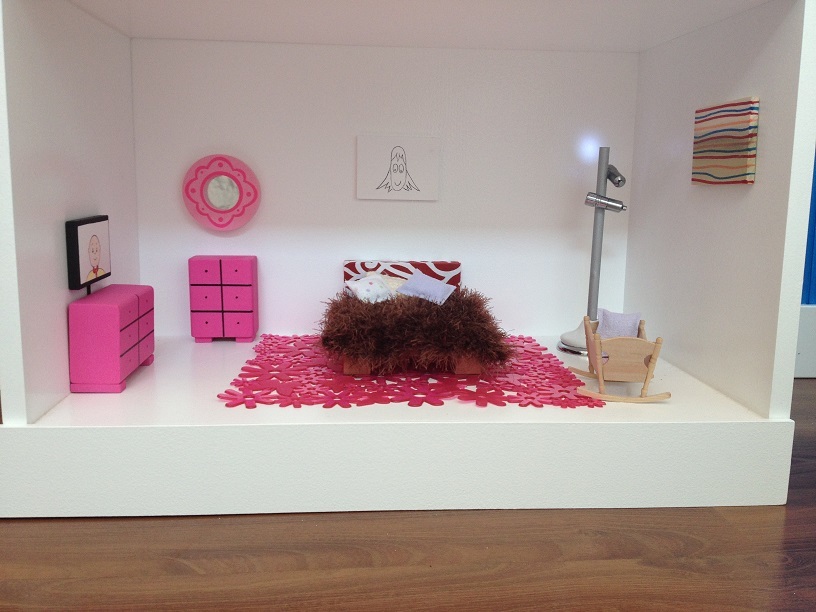
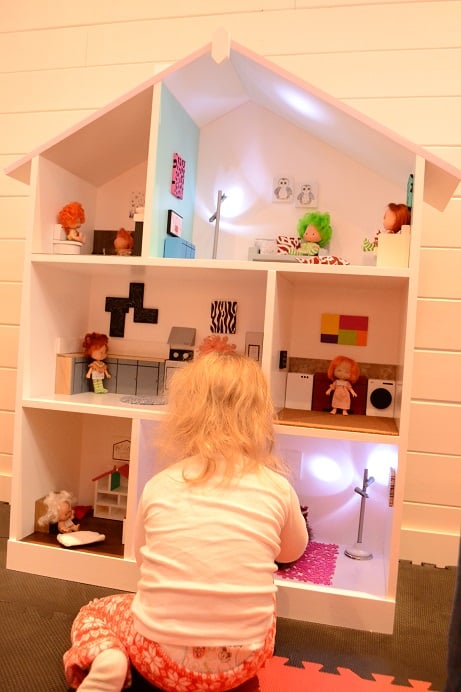
When my daughter was born I promised that I would make her a dollhouse. A few weeks ago I found these plans, and absolutely loved the visual layout of the rooms. I stuck with this layout and tweeked the dimensions according to what worked best for the space it would proudly sit in. It is 46 inches high and 31 inches wide at the walls, and is made from 12 inch wide MDF which I primed with a latex primer and then finished off with a semi-gloss white on the majority of the walls. I also mixed the colors for the roof and also the 3 accent walls to give it an extra wee shot of color.
I was very, very happy with the end result, and having caught what I now know as the "dollhouse bug" I thought "what about if I added a chimney ?". So I added it. I then though what about adding a roof ridge and gable to the roof. The house looked even better. Progressing onto full-blown "dollhouse-flu", I then decided to make a chair for what would later be the living room. That was it, fully addicted now I couldn't stop and found myself obsessively planning, designing, messing up, re-designing, cutting, building and painting until I reached the point where last night I attended my first "DA" meeting.
I found Dollhouse Annonymous very helpful and although not cured, I realise that it is perfectly acceptable for a 44 year old Scotsman to build a dollhouse for the daughter (naughty 2 1/2 year old daughter) that is the love of his life. If she is happy when she unwraps it on Christmas morning, then all of the work shall be worth it.
This site is top of my bookmark list and I love it. !

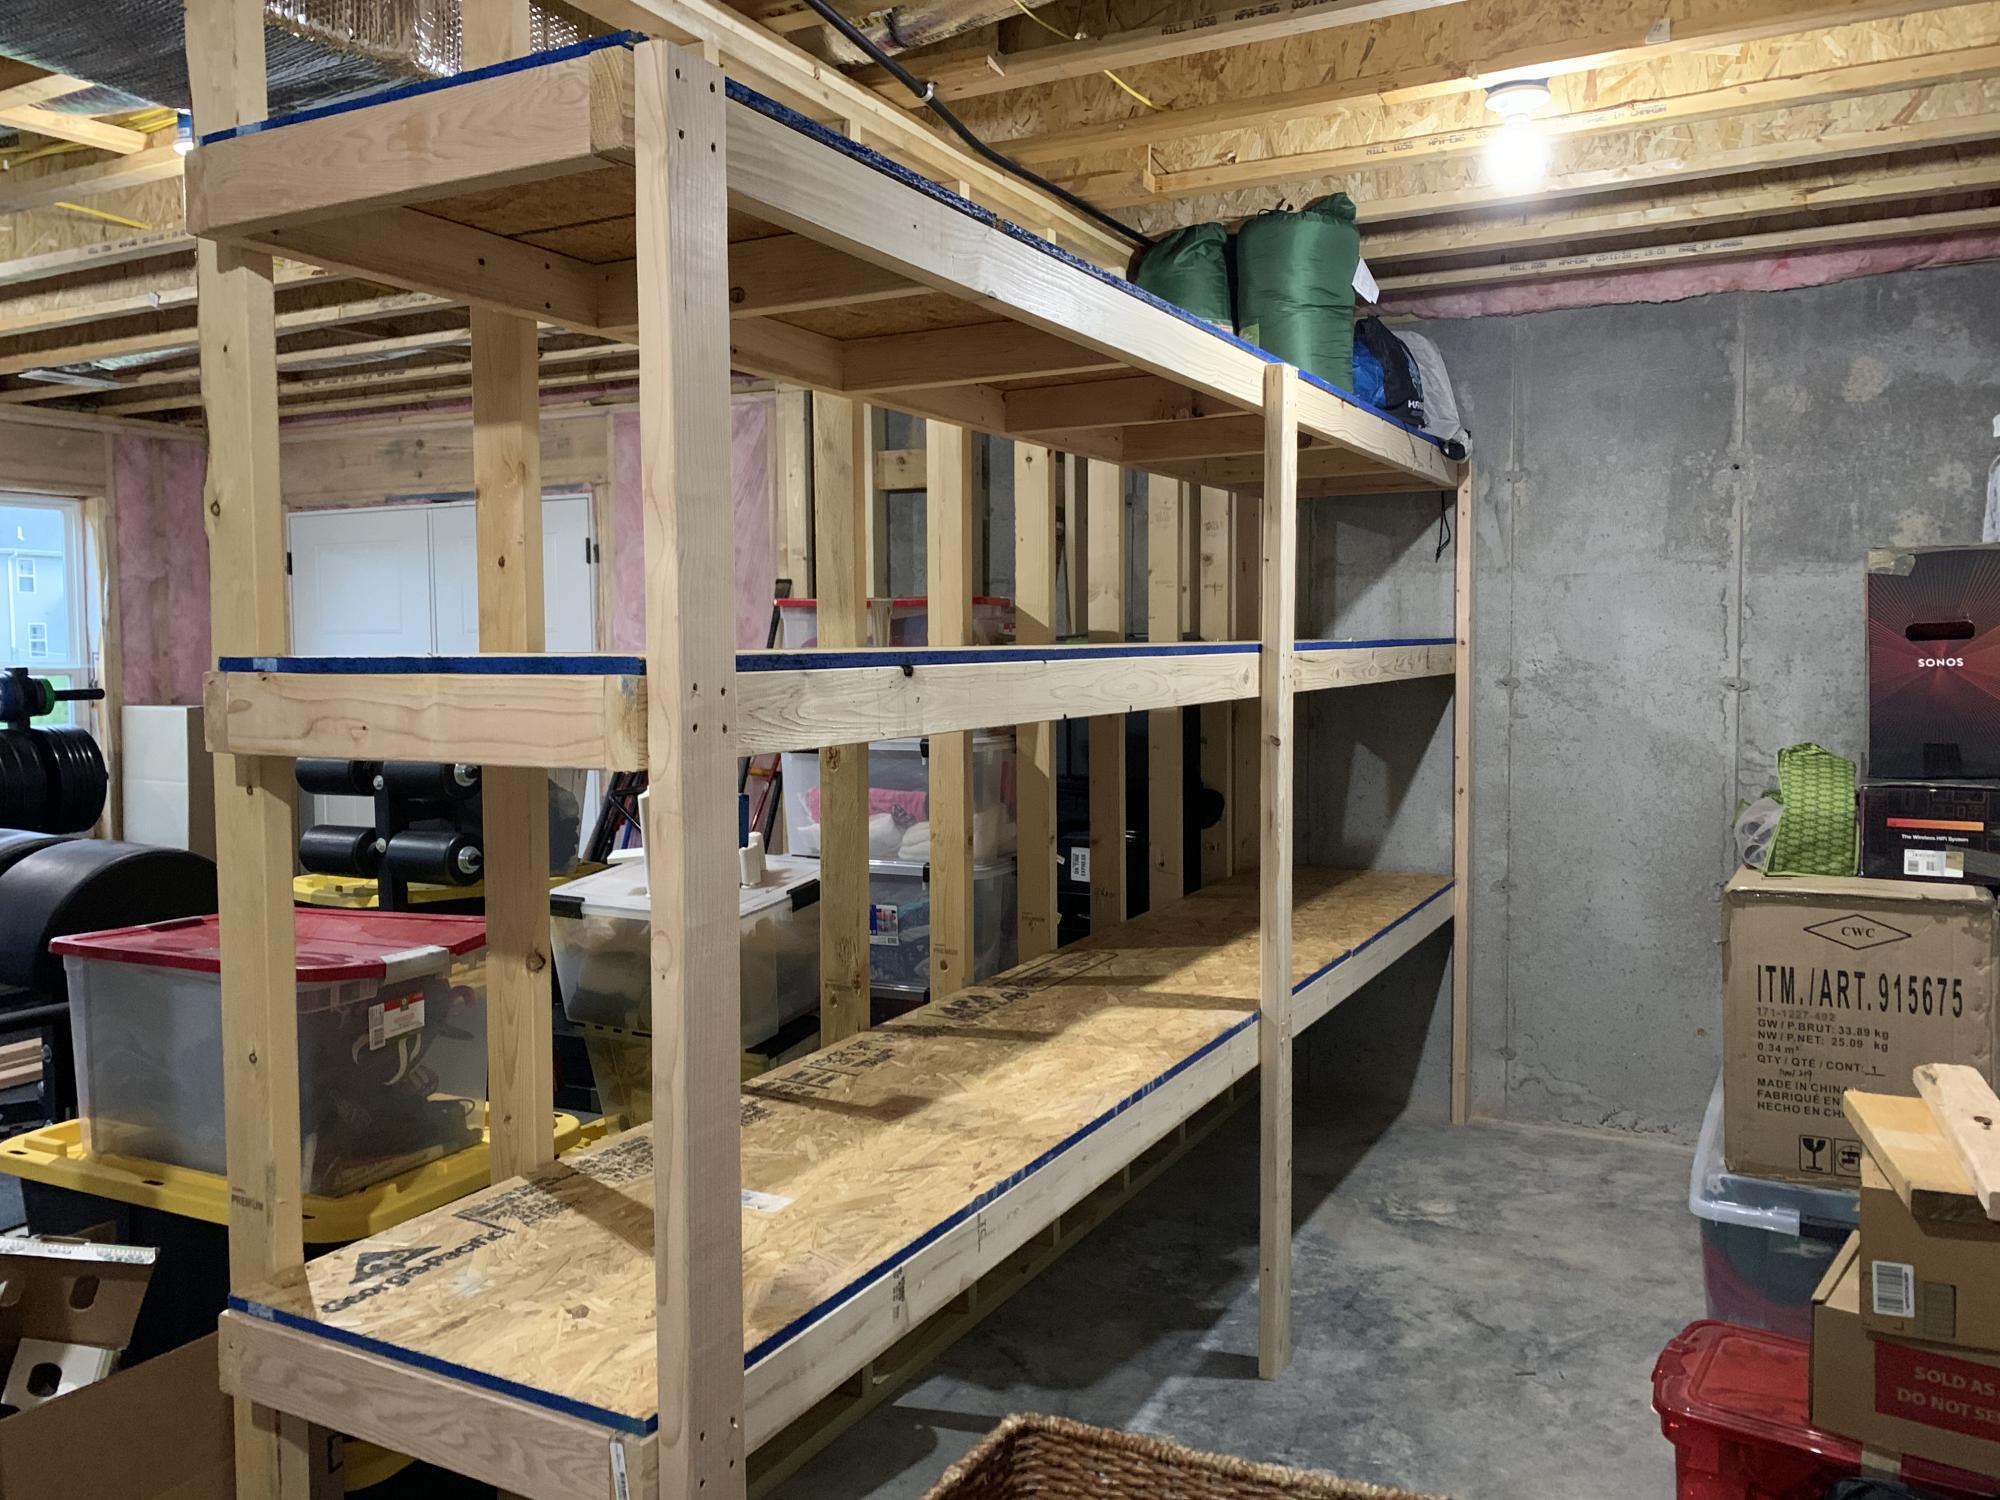
We just moved onto a new house with ample unused space I. The unfinished part of the basement so I decided to make a 12’ wall of storage shelves, altering Ana’s plans just a little bit. I did two 24” tall shelves on bottom and two 18” y’all shelves up top. It was a fun project and I got to use my Kreg HD Jig for the first time! These shelves are SOLID!
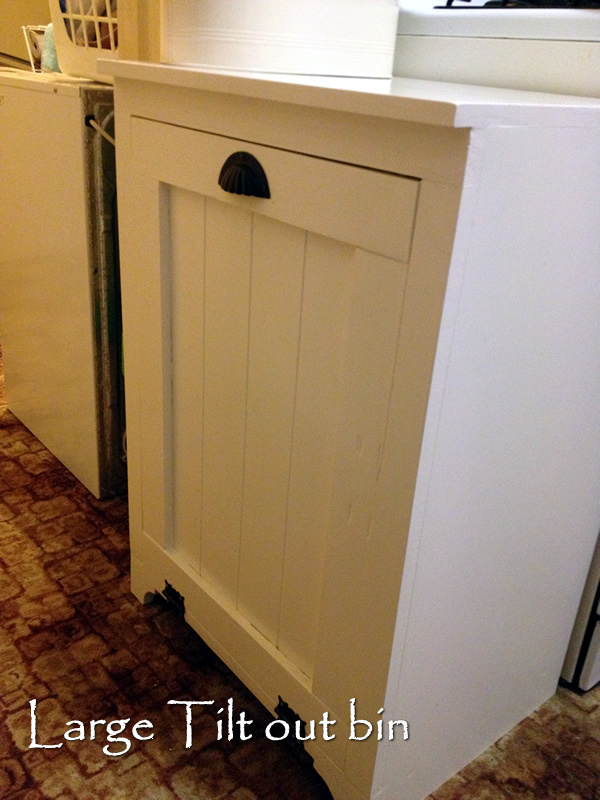
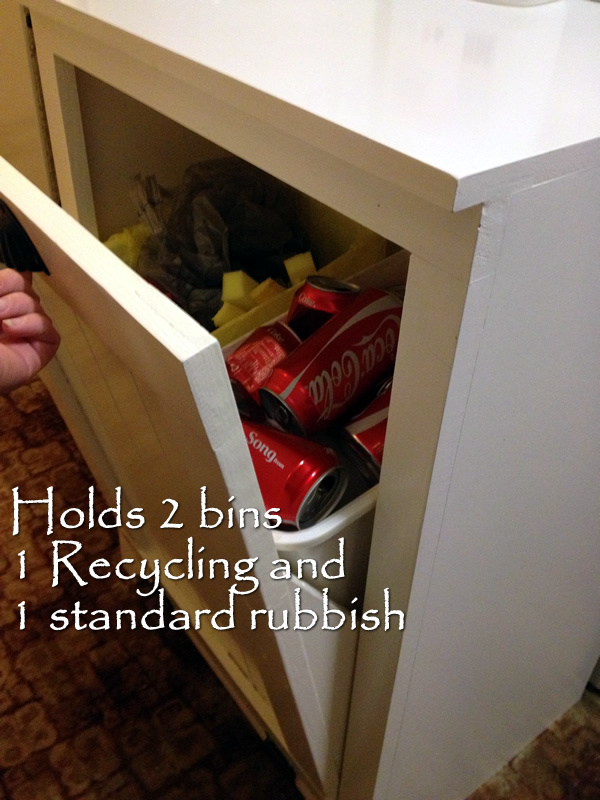
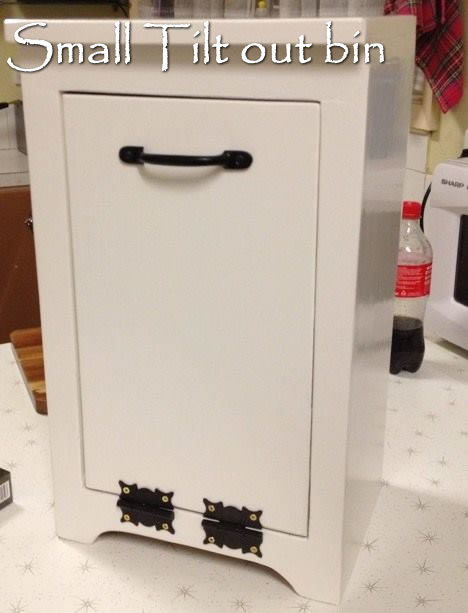
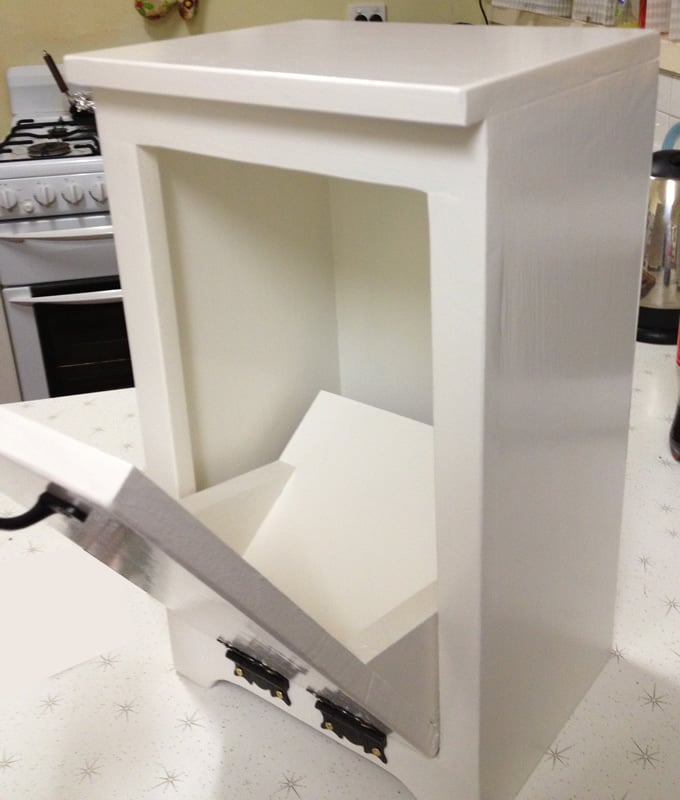
I love this bin so much I built a large one and a small one. The small one is for the bathroom. The large on is for the kitchen. This is actually a rather easy build. I used mdf. I grooved the front panel on the large bin to add character. This was built from Ana White's Wood Tilt Out Trash or Recycling Cabinet Plan.
Thu, 09/11/2014 - 10:17
Can you give me a few more details about your grooved front panel...
did you just run the panel thru a table saw?
Tue, 01/24/2017 - 16:03
I know its been awhile, however the one you have both normal trash and a recycle bin in.. is that the same dimensions as the ana-white build for a single?
I assume the trash cans are just flipped side ways to hold 2 instead of 1?
looks great, thank you!
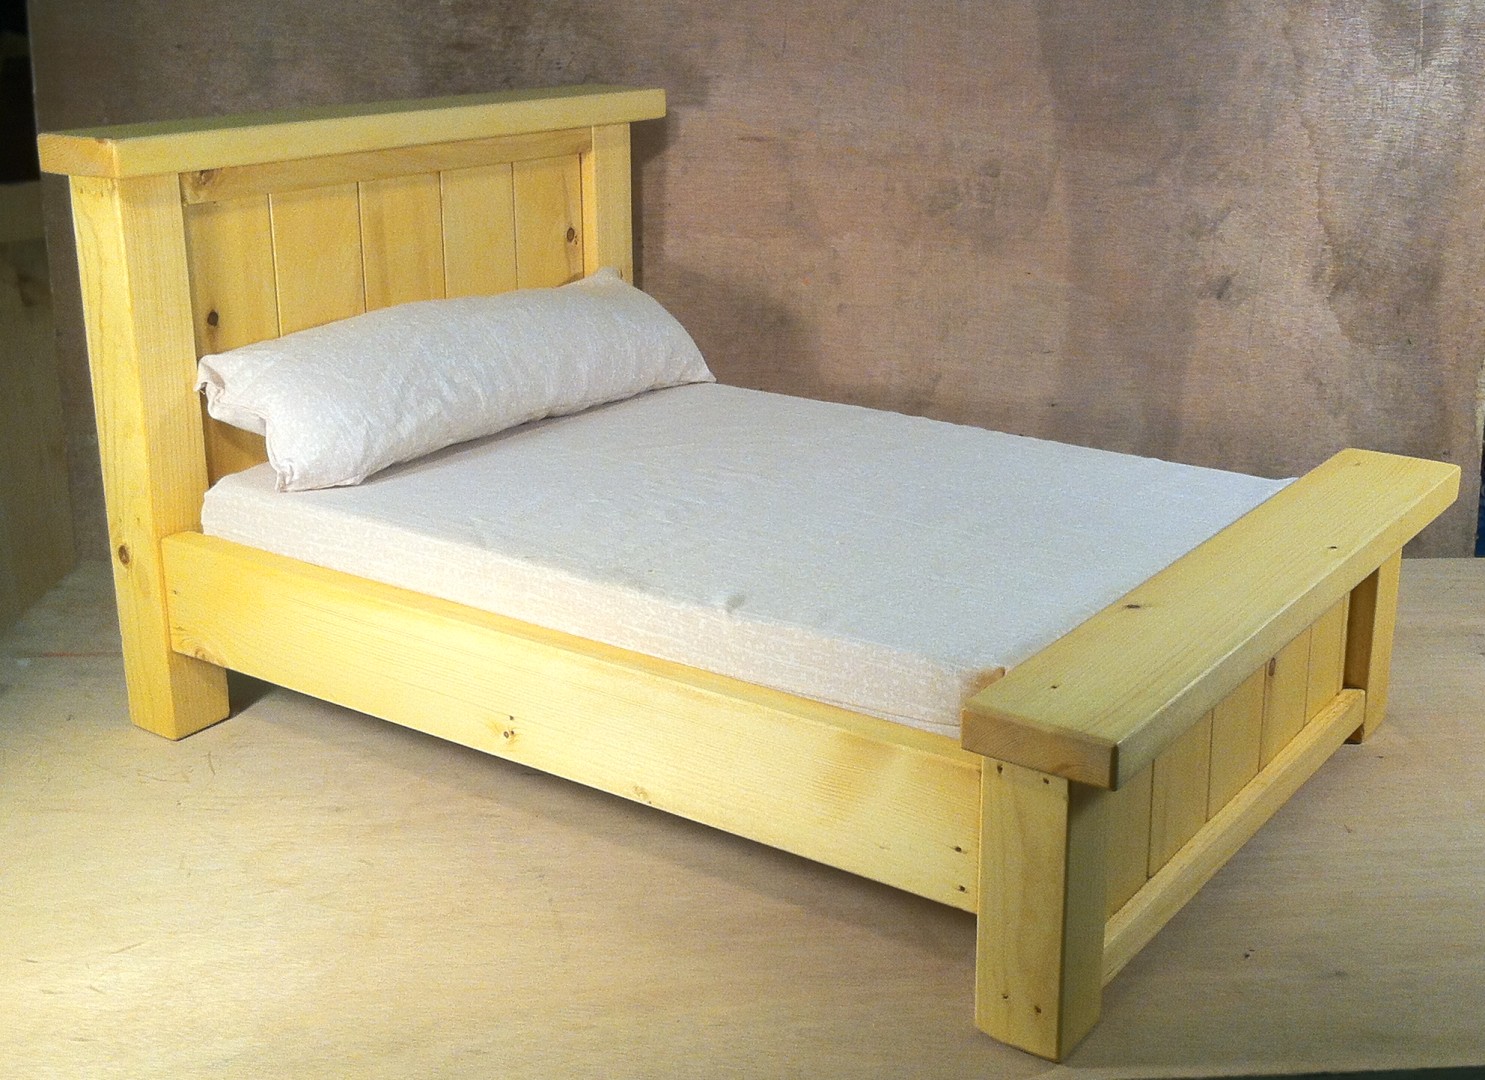
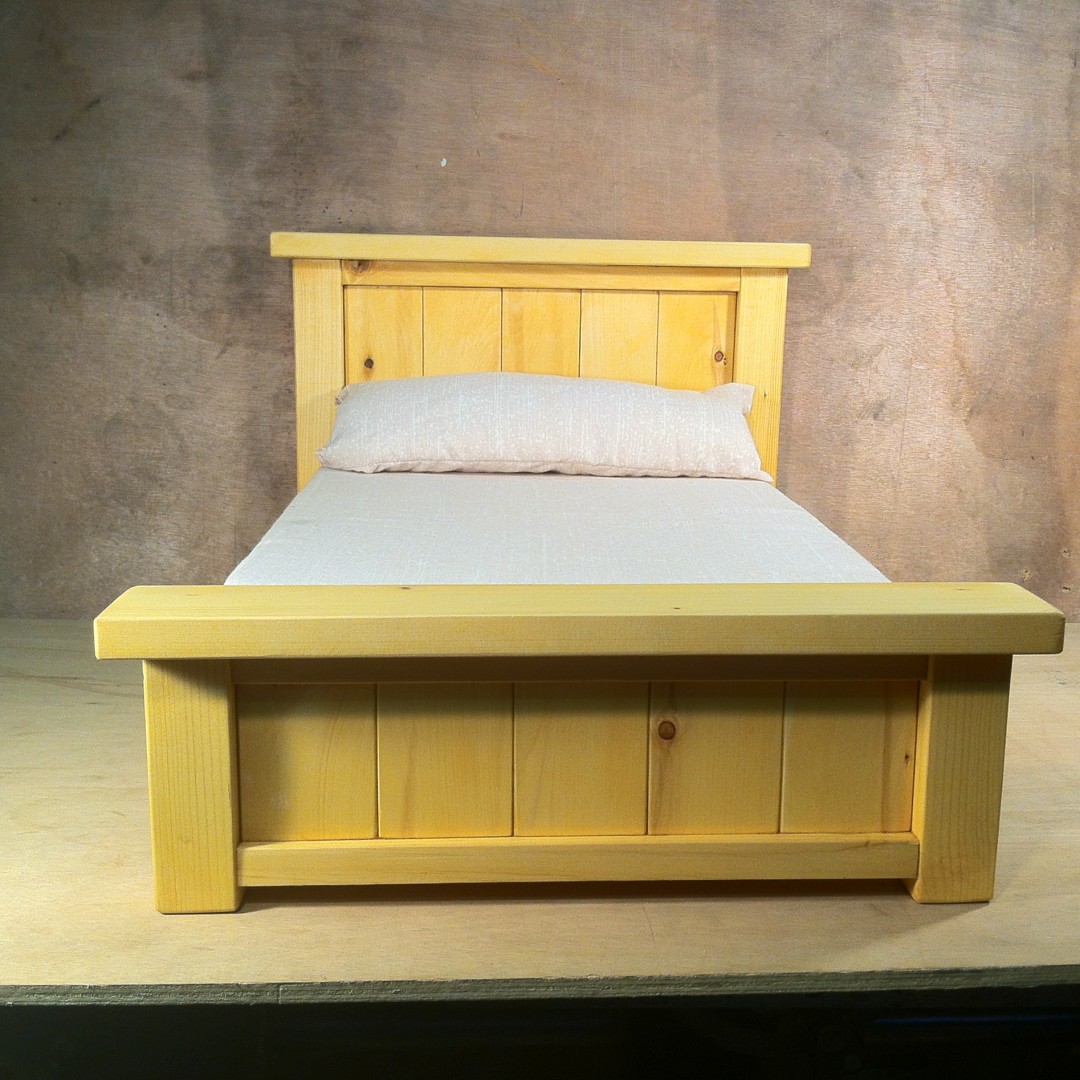
Made for my grand daughter. It was too cold in the shop to use carpenters glue, so I used medium thick, gap filling CA (cyanoacrylate)glue, and brad nails instead of screws.
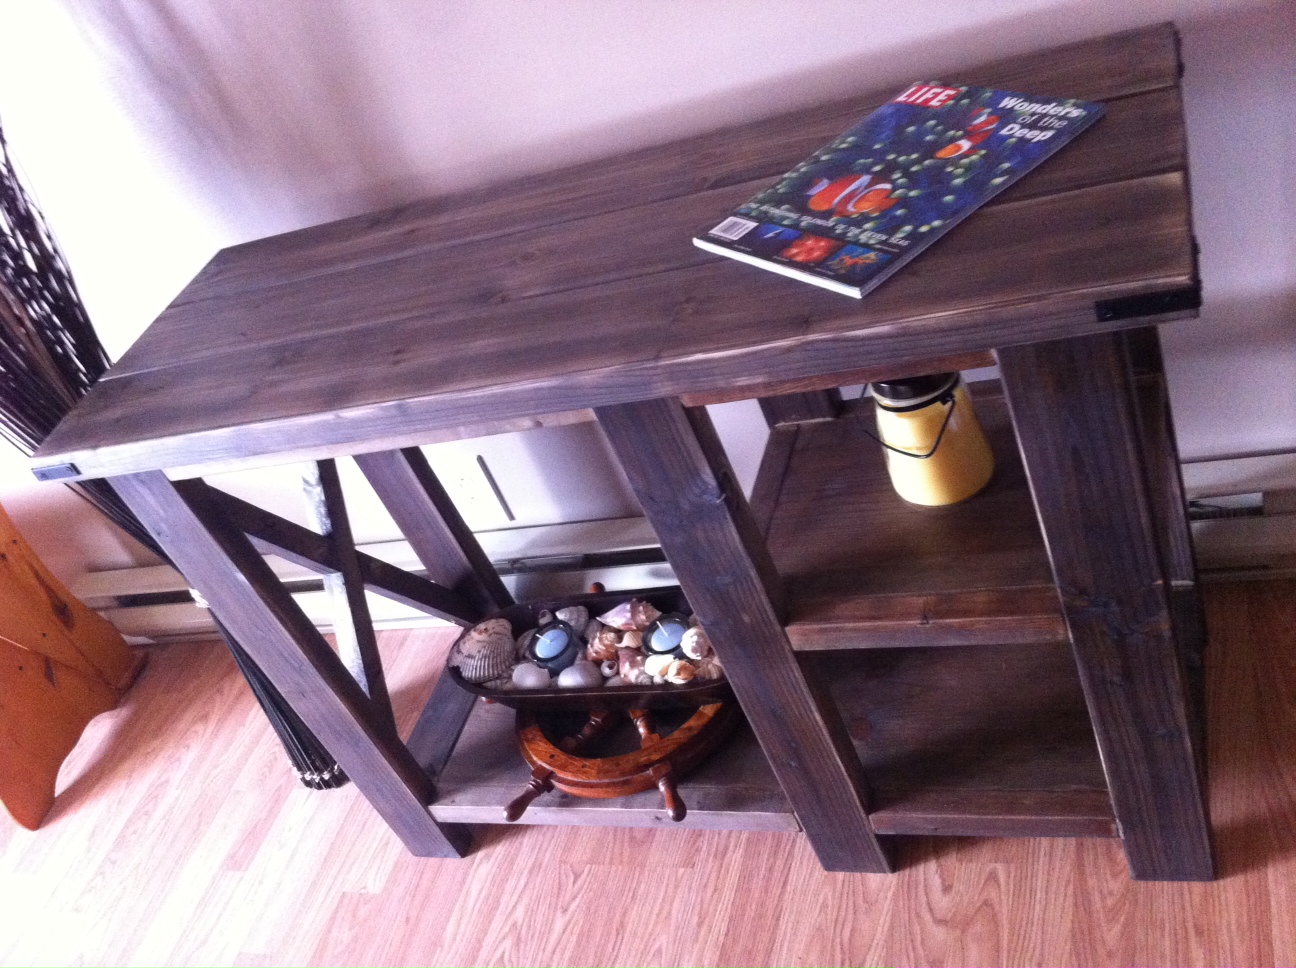
This is my very first project. Never used a saw before until a few weeks ago. I am really happy with the way it turned out.
I shortened the plan and modified the second shelf. I was planning on an "X" brace for both sides but got carried away and realized it wasn't going to work on the one side. I like the end result and don't mind that its missing.
I would have finished it sooner but was a bit intimidated by the angled cuts. My miter saw only cuts 45.

Mon, 11/26/2012 - 18:17
Wow you did an awesome job on this! Congrats! Looks very professional. The modified second shelf is a great touch, I think it looks perfect without an X on that side. BTW love the shells and captain's wheel too. :)


Comments
Ana White Admin
Thu, 04/29/2021 - 10:28
Cool!
That's awesome, thanks for sharing!