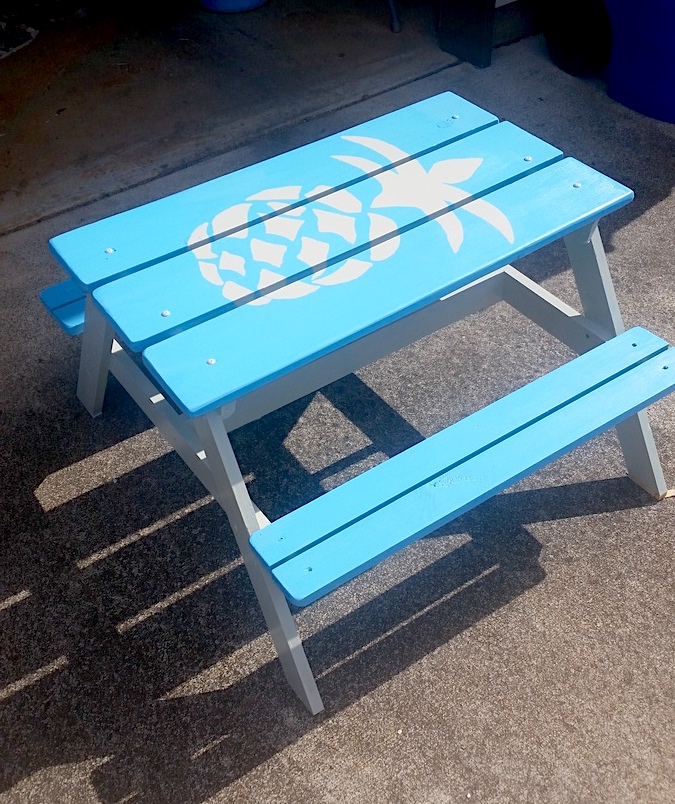
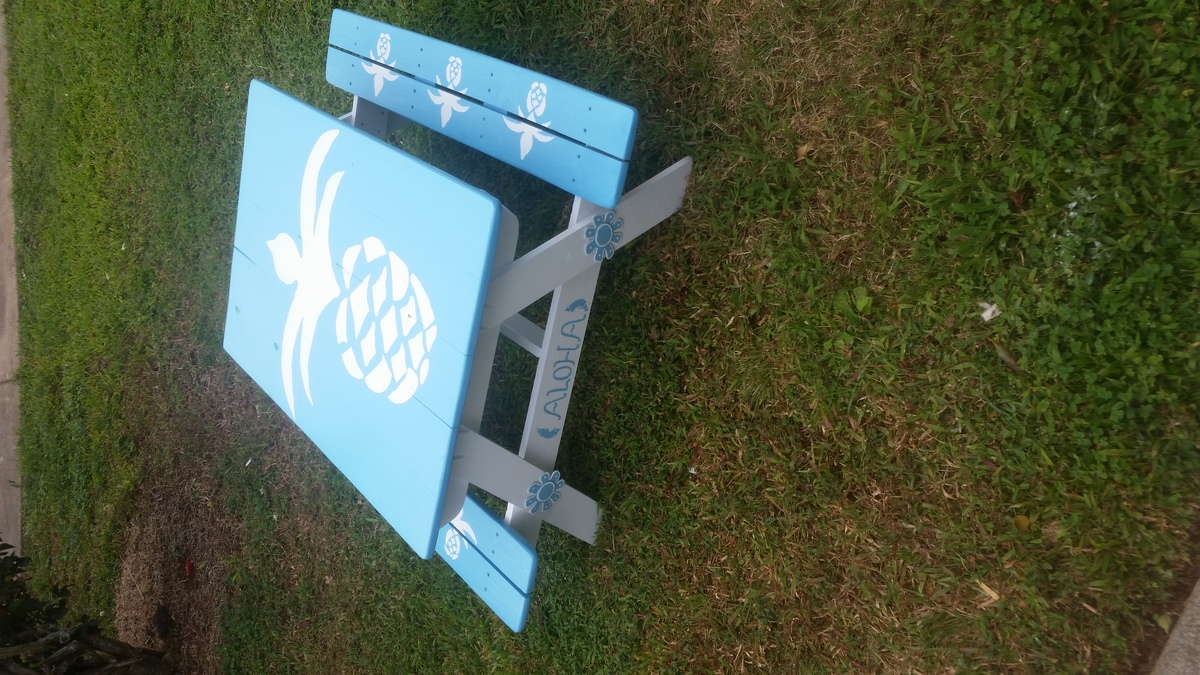
Community Brag Posts

Child Picnic Table

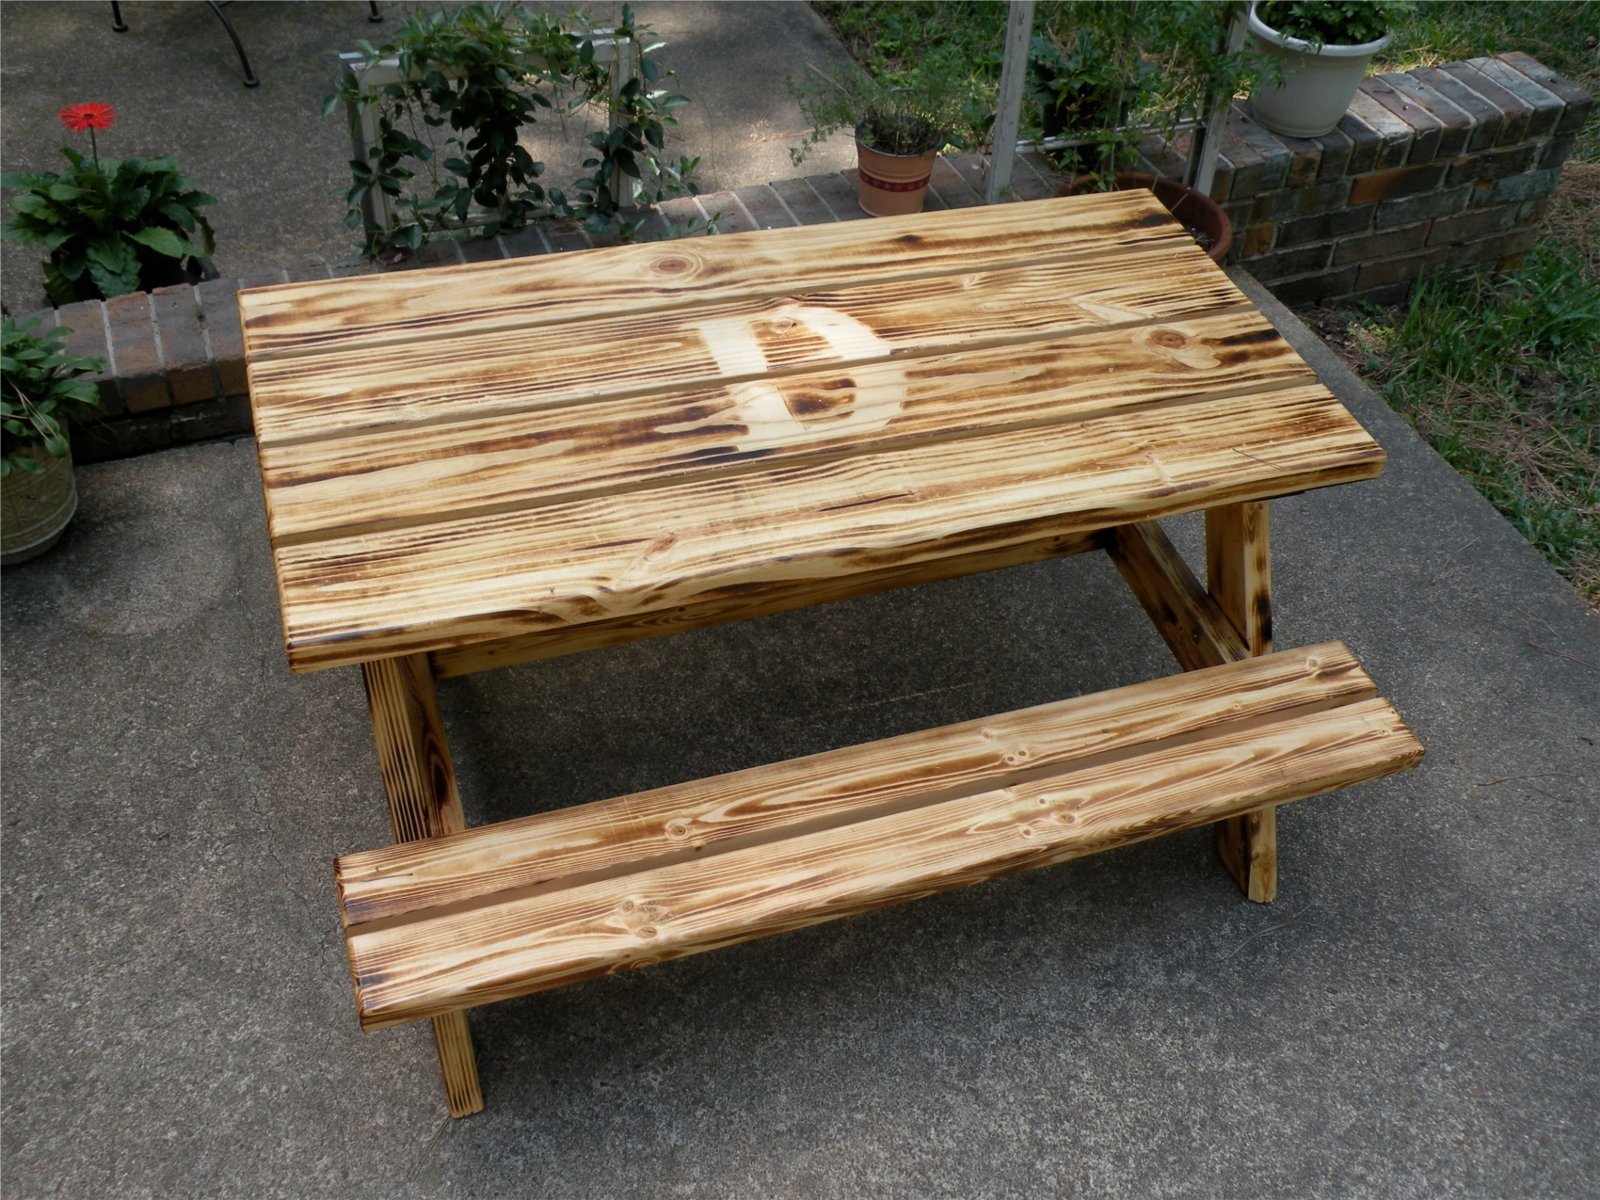
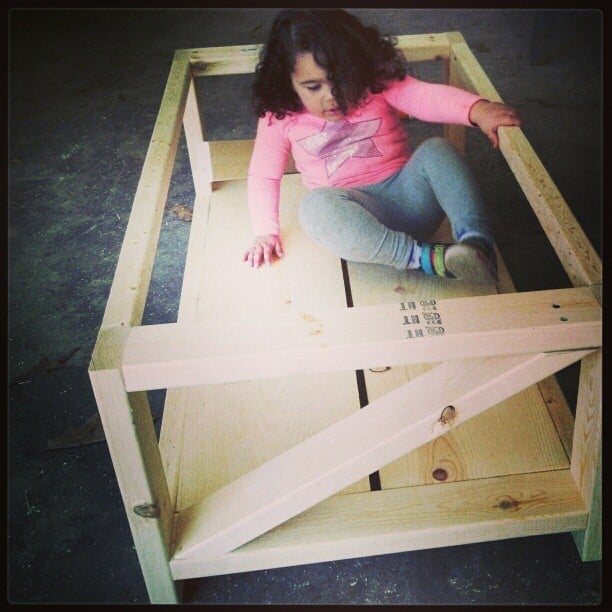
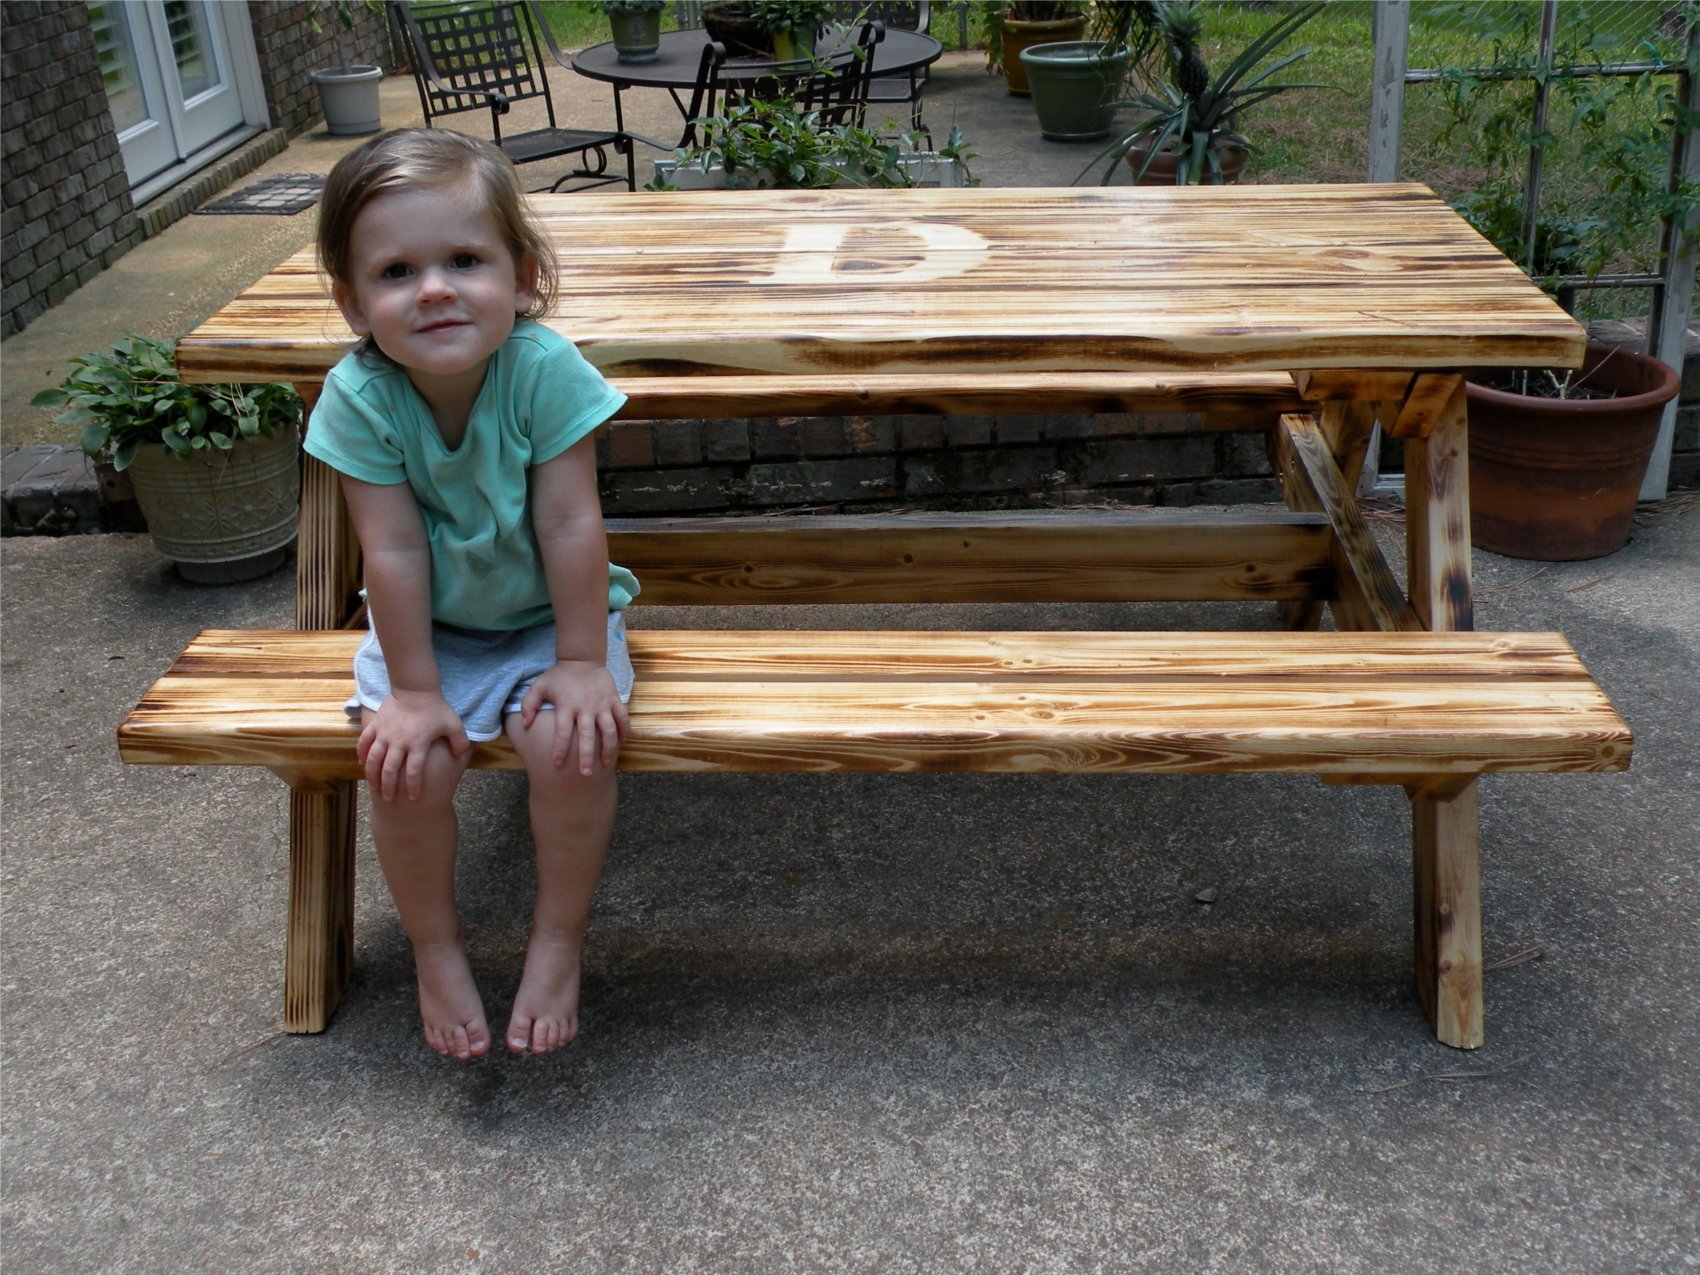
I modified this plan quite a bit. I chunked up all of the wood for a sturdier table. I also did braces on the underside of the table and benches so there would be no nail/screw holes on the top. For the D, I taped a chip-wood letter from Hobby Lobby to the wood while I burned over the entire top.

Built from Plan(s)
Estimated Cost
$20
Estimated Time Investment
Day Project (6-9 Hours)
Finish Used
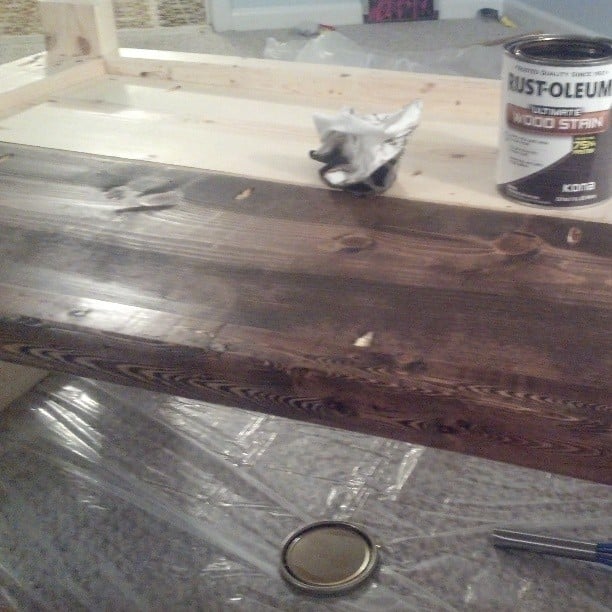
Burned the wood and sealed with outdoor polyurethane.
Recommended Skill Level
Starter Project

Coffee Table With Flip Top

Submitted by grovesteen on Sat, 07/13/2013 - 12:16

Please click the link to my blog post "One Man's Trash is Another Man's Treasure" to get the full story and more pictures.

Estimated Cost
$40.00 with found objects
Estimated Time Investment
Week Long Project (20 Hours or More)
Finish Used
Base: "colorwashed" with latex paint and water mixture. One part paint to two parts water. Mix thoroughly, brush on and wipe off with a damp rag. Top: Minwax Special Walnut Stain with three coats of Polyurethane. Sanded between each coat with 220 grit sand paper.
Recommended Skill Level
Intermediate

Solid Oak TV Stand

Submitted by cjlucas78 on Fri, 07/10/2015 - 06:10

I took the design of the Farmhouse Media Console and modified it to work for my needs. It is made from solid oak with a dark maple stain and semigloss laquer clear coat. I made it wider to work for my 70" TV, deeper to fit my electronics down the middle, right door hides the subwoofer (so it isn't a big box in the room) and the right door is shelves). I added trim to the top/bottom edges to get it a nice look as well.

Estimated Cost
450
Estimated Time Investment
Weekend Project (10-20 Hours)
Finish Used
Hand planed the top to ensure it is smooth then Dark Hickory stain and semi-gloss lacquer
Recommended Skill Level
Intermediate

Homemade Home Office with Peninsula Desk

Thank you Ana for so many amazing plans and shelf help that helped me get this monster built! Now my husband has a nice office where he can work from home. I was so impressed with how easy it was to make the plans in shelf help and how quickly it all arrived. (I can’t link the drawer slide trick plans, but they were key and I based the middle table off of the foldable farmhouse idea)

Comments

Hanging Bed

Submitted by dhrider33 on Sun, 05/22/2011 - 17:48

My son wanted a loft bed for his birthday ... until he saw this hanging bed! When he and his sister went to their cousin's house for the night, we decided to give it a try.

It's actually not that hard. Being rookies, we didn't realize how heavy the 2x4s are. If we were to do it again, we would use 1x4s instead. But, our bed is quite sturdy. We exhausted our cordless drill mid-way through the project.

But, this plan doesn't need many cuts. Most of the cutting was done at Home Depot.

The tricky part was actually getting it on the wall. We borrowed 2 squat racks and put the bed on those until it could be anchored. We also bought L brackets and used those rather than the lag bolts. The rope gives it a nice look, but actually won't become load bearing unless the bed starts to fall.

Our son loves the bed and it gives him plenty of extra space to work with in his room.

Built from Plan(s)
Estimated Cost
~$75
Estimated Time Investment
Weekend Project (10-20 Hours)
Finish Used
Natural
Recommended Skill Level
Beginner

Seesaw Surprise

I was actually looking for loft-bed plans when I stumbled upon this little gem. My kids were out of town for a week at the grandparent's house. I had some free time on my hands and before jumping into a big project like a loft bed, wanted to get my feet wet with a smaller project. I way overshot the 2 hr assembly time on this one. My extended cut/assembly time was because I triple coated each surface with paint and then put a clear coat sealant over the whole project. The paint choice was because my daughter's favorite color is blue and my son's is green. Plus, the racing stripes across the base and the cantilever took some extra time with added paint. With the screw holes, I took a 1/2 inch thick dowel and chopped off a bunch of 1/4 inch thick "coins," match painted them & glued them over the screw holes. As a result, it appears that there are dowels holding it together. With the seats, I used my trusty jigsaw and cut a ~34 inch long hourglass shaped piece of wood (wide at the top/bottom, narrow in the middle), then cut that in half to use as the form-fitted seats. I shaped the outdoor fabric (awning material that matched my paint job) around the seats, filling with 3 inch thick batting. The kids are coming home tomorrow and I hope they like their new toy.

Built from Plan(s)
Estimated Cost
$75
Estimated Time Investment
Day Project (6-9 Hours)
Finish Used
White primer, gloss enamel, painters tape to help form stripes,
Recommended Skill Level
Beginner

Kitchen Tower Cabinet

This is our first Ana White project and we're pretty happy with the results. We modified the plans a bit to use 1/4" plywood for the sides instead of the heavy 3/4" ply. Specifically built for our kitchen since we couldn't find one that we really liked or could afford. Pottery Barn seriously sells this for $1200?!?! Score!

Estimated Cost
$70 + finishing
Estimated Time Investment
Weekend Project (10-20 Hours)
Finish Used
DIY chalk paint and wax - distressed.
Recommended Skill Level
Intermediate

Rustic X End Table

Made two of these and I made them a bit thinner as I wanted these to be on the end of the sofa where there was not a lot of space. Matched the hardware with my rustic X console table I made a few years back.

Built from Plan(s)
Estimated Cost
$25 each.
Estimated Time Investment
Day Project (6-9 Hours)
Finish Used
Weathered Oak with a a wipe on poly and an additional layers of polyurethane on top surface.
Recommended Skill Level
Starter Project

Beefy step stool

Submitted by wudrite on Sun, 02/13/2022 - 12:12

Legs made of 2x10 southern yellow pine scrap for strength & stability. Rails made of radiata pine scrap. Top made out of hickory panel reclaimed from $0.50 restore cabinet door for strength & weight while looking sharp. Legs & rails have 2 coats, top as 3-4 coats of platina shellac. Was fun to do a scrapwood project that provides something both nice & practical. Result extremely stable, no amount of weight seems to phase it.

Comments

Library book cart with handprints

Submitted by Leah on Wed, 05/25/2011 - 16:15

My children's books at my children's level! They take pride in building for themselves, and I couldn't be happier~

Ana's library cart was a breeze to build! I used my new pocket-hole jig with great success. This cart is strong, and holds a load of books.

The guys at Blue cut the wood. Thanks to the staple sticking off the end of some of my lumber, the cuts were off. I had to use coarse sand paper to take 1/8inch off some ends. Lesson learned~
The finish was the most fun. I used paint leftover from other projects, all water-based products. The top of the shelf has my 4yr-old son's hand-prints, the smaller face has my 2yr-old son's hand-prints. Alex loves it most, going to it and patting it and pressing his hand on it first thing every morning. They are both very proud of our work :D

Built from Plan(s)
Estimated Cost
$35
Estimated Time Investment
Afternoon Project (3-6 Hours)
Finish Used
The entire cart was painted with Martha Stewart's Lemon Ice, the light green. The outer edge and shelf bottoms are painted with Behr's Summer Festival @ 50%, it's a shame the picture doesn't show the light teal well. The hand-prints are Behr blues, tho the names are forgotten. Satin poly covers and protects it all for years to come :)
Recommended Skill Level
Starter Project

Red sideboard

I modified the plan for the planked wood sideboard so it wasn't so large. I also took out the middle door and made an open area with shelves and a stemware rack.

Built from Plan(s)
Estimated Time Investment
Week Long Project (20 Hours or More)
Finish Used
I used a sanding sealer, then painted dark red. I topped it off with two coats of matte poly.
Recommended Skill Level
Intermediate

Comments

Slat Tool Wall // John Heisz Design

This weeks project was a slat tool wall to organize all my most used hand tools. I wanted a way to have everything in reach and also easy to organize and keep track of. This is John Heisz original design and I decided to build one for my shop. Here is a link to his site with a full tutorial including measurements- http://www.ibuildit.ca/Workshop%20Projects/tool-board-1.html

I also have a couple videos of my process here- https://www.youtube.com/watch?v=qNz_a_vKAqY

and here- https://www.youtube.com/watch?v=eYQldf_vHlE

Estimated Cost
150
Estimated Time Investment
Weekend Project (10-20 Hours)
Recommended Skill Level
Intermediate

Comments

Farmhouse head and footboard

Submitted by Anonymous (not verified) on Sun, 03/06/2022 - 18:33

Still need to paint it. Perfect weekend project. Such an easy build! Thank you!

Built from Plan(s)

Comments

Simple Modern Outdoor Sectional

This was our first project and i gotta say, I love doing this! There are so many ideas on this website!
This was super easy, my husband and I had trouble with some of it because it wasnt fitting right, but we just tweaked it and it turned out perfect!
I had been looking online for an outdoor sectional for months, and the price was too high for us to spend. Our final total was only 238 dollars all together. Store (and bad quality at that) furniture would have cost us over 500. So, I am VERY pleased.
I got the cushions on craigslist. Listed at 8 dollars a cushion. They were still in the wrapping! We have one extra cushion that we plan on making an ottoman soon.

Estimated Cost
240
Estimated Time Investment
Day Project (6-9 Hours)
Recommended Skill Level
Starter Project

Rustic X mixed with a Triple Truss Coffee Table

I considered myself pretty good at cutting and assembling, less when it comes too filling, sanding, and staining. I could not figure out the X for the life of me! Luckily I could figure out the Tuss table :D

Estimated Cost
$80-100
Estimated Time Investment
Afternoon Project (3-6 Hours)
Recommended Skill Level
Beginner

King Farmhouse Bed

Submitted by DVGofAZ on Tue, 07/21/2015 - 08:58

I followed Ana's Farmhouse bed plans, using 1 x 12 boards for the sides and leaving off the extra piece at the top of the headboard. I didn't want to cover any more of the brick than necessary and I have a large bit of artwork to put over the bed too.

Because my mattress is a Sleep Number bed on a pedestaI I had to add a footboard to keep the mattress from sliding off the end. The footboard is simply a 24x24 section of plywood with wainscoating and 1x2s to match (sort of) the headboard.

Built from Plan(s)
Estimated Cost
$400
Estimated Time Investment
Weekend Project (10-20 Hours)
Finish Used
Antique White paint
Recommended Skill Level
Beginner

Comments

Grandy Sliding Door Console

Submitted by Justjoshin on Sun, 02/18/2018 - 05:59

Used this plan and tried to Gary a rustic look. 

Built from Plan(s)
Estimated Cost
$400
Estimated Time Investment
Weekend Project (10-20 Hours)
Finish Used
Minwax dark walnut, white pickling stain, and clean poly.
Recommended Skill Level
Intermediate

corner shelf for spring organizing

I built this corner shelf as part of my spring organizing effort. I have to say, that the shelf looks too good to be left in the basement's corner.

Comments

Narrow Farmhouse Table

Submitted by tfox on Tue, 05/31/2011 - 19:49

This is my take on Ana's Narrow Farmhouse Table project. I plan on adding a bench to one side and random color matched chairs to the other.

Built from Plan(s)
Estimated Cost
$100
Estimated Time Investment
Weekend Project (10-20 Hours)
Finish Used
Minwax Special Walnut stain with six coats of Wipe-On Poly. Finished with steel wool to knock down shine of poly.
Recommended Skill Level
Intermediate