DIY Linen Cabinet
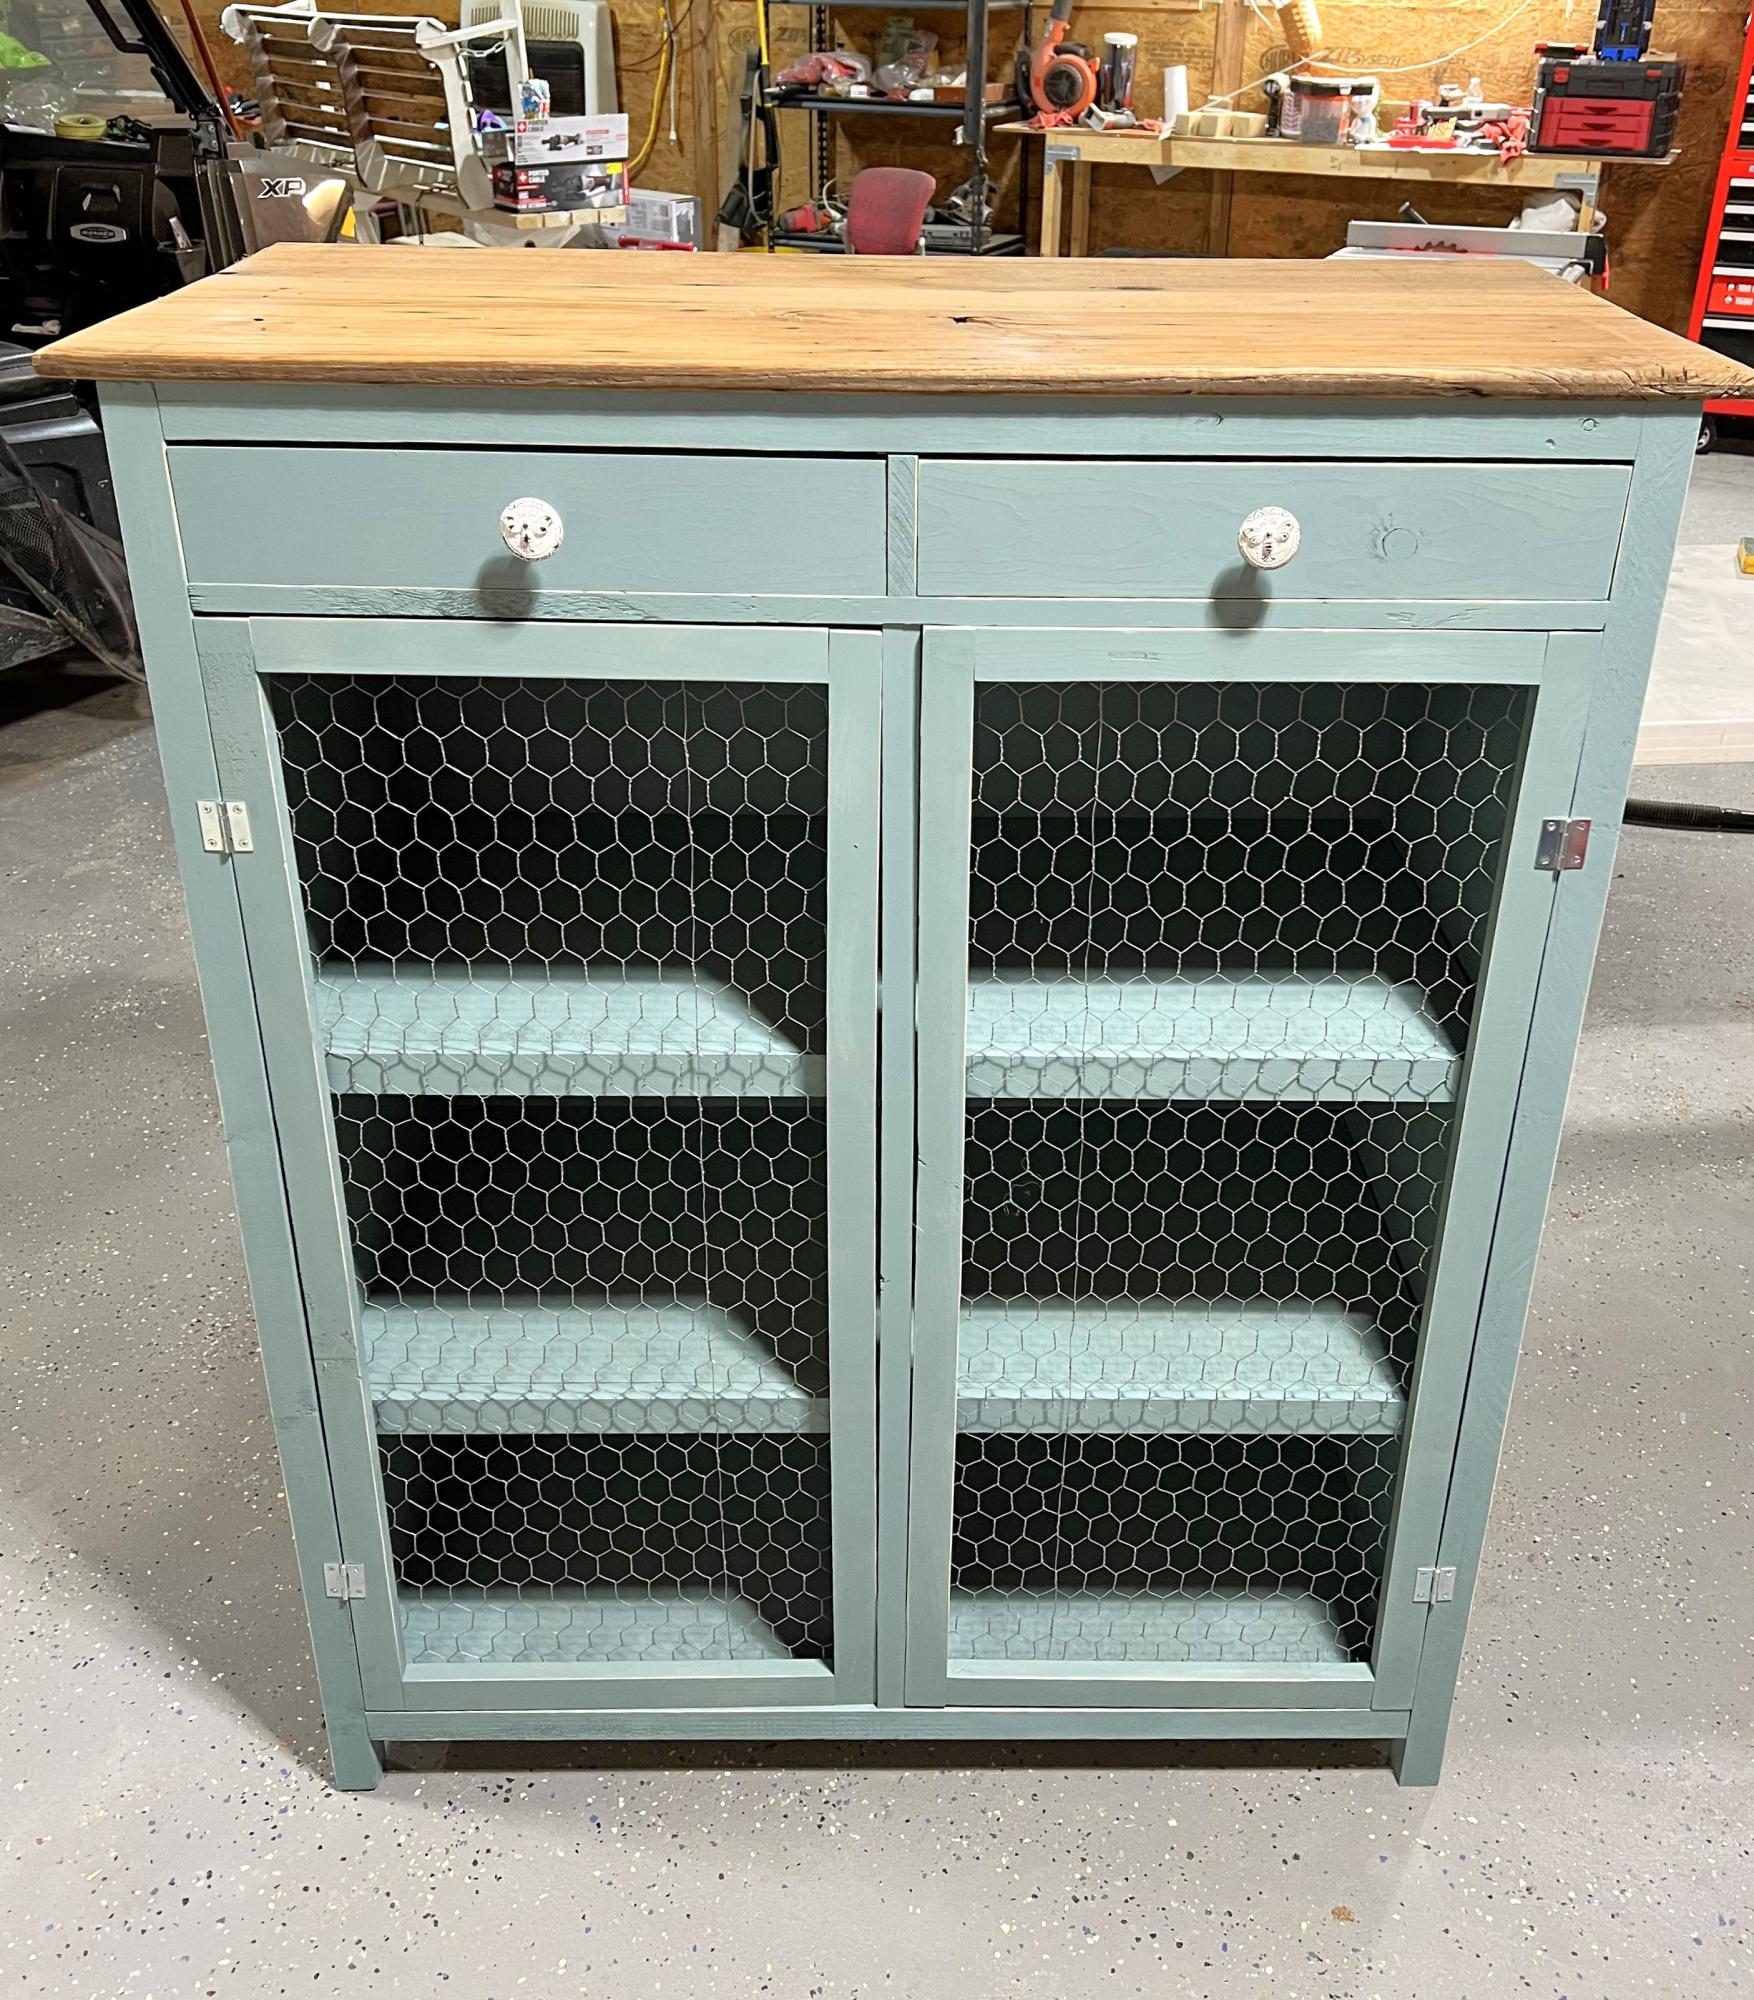
My husband and I built the Hemnes Linen Cabinet for our daughter and it turned out beautifully! Thanks for the plan, Ana.
Cheryl
Built from Plan(s)
My husband and I built the Hemnes Linen Cabinet for our daughter and it turned out beautifully! Thanks for the plan, Ana.
Cheryl
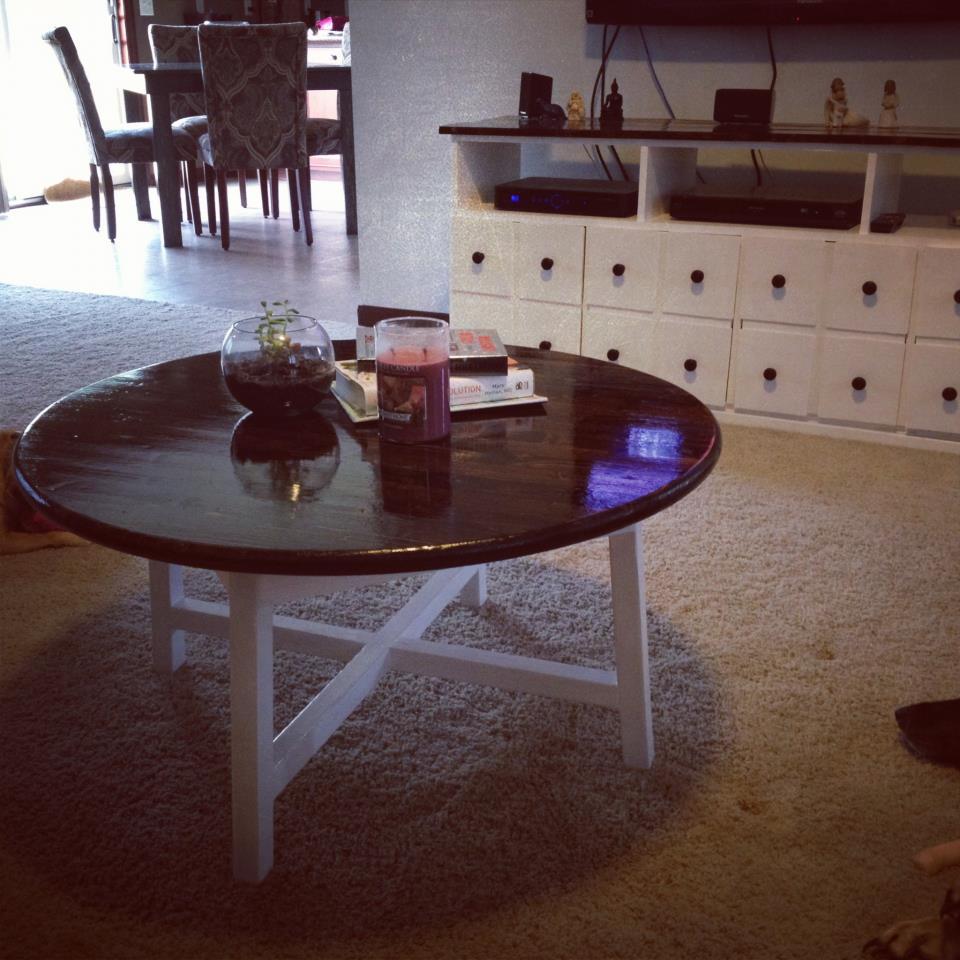
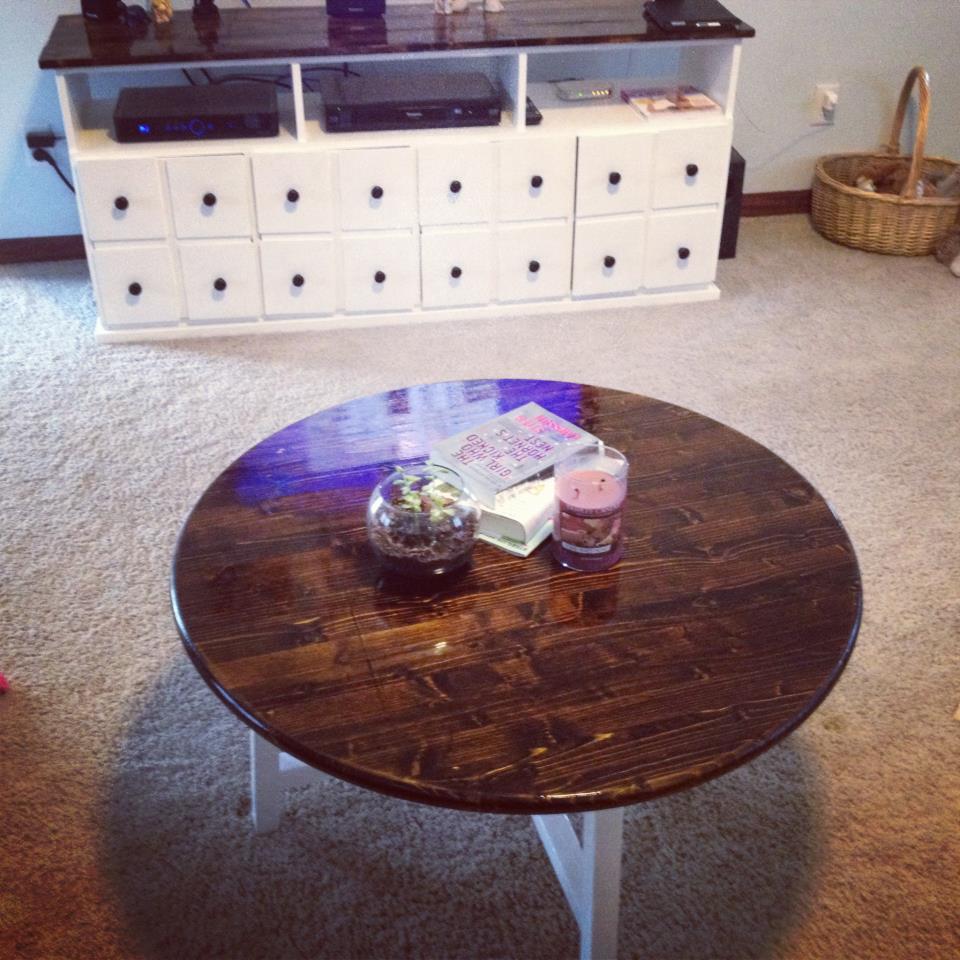
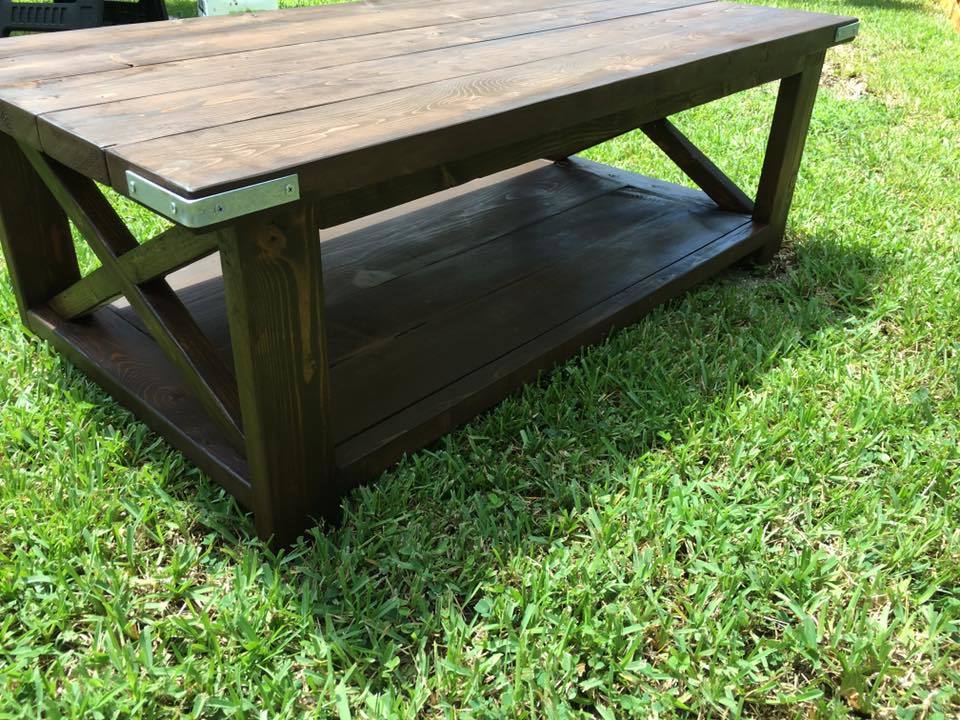
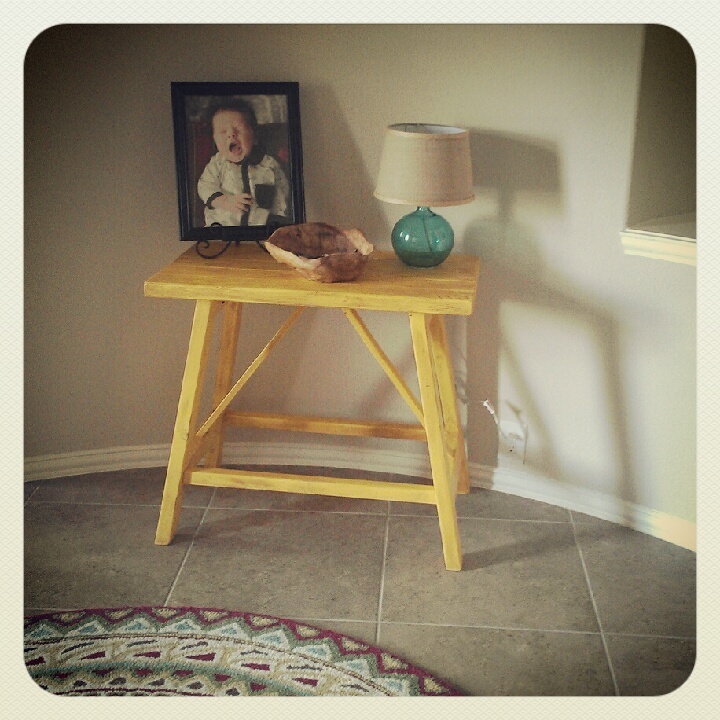
I modified this design to fit the specifications I wanted for a coffee table. I think it worked out perfectly for what I wanted. I made the base completely out of scrap I had laying around, and I bought a 36" round top from my local Lowe's store.


Tue, 01/05/2016 - 17:31
do you think i could get the modified peramiters from you? It looks amazing and i really like this table design but its too big for what im looking for. Do you think you could help me out?
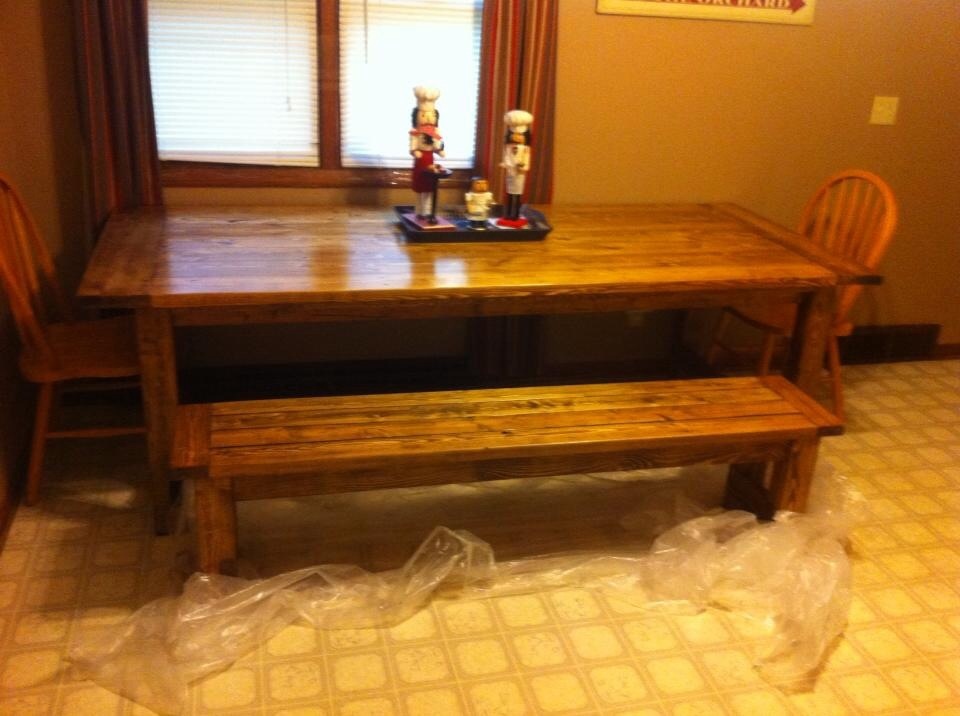
Farmhouse table and bench
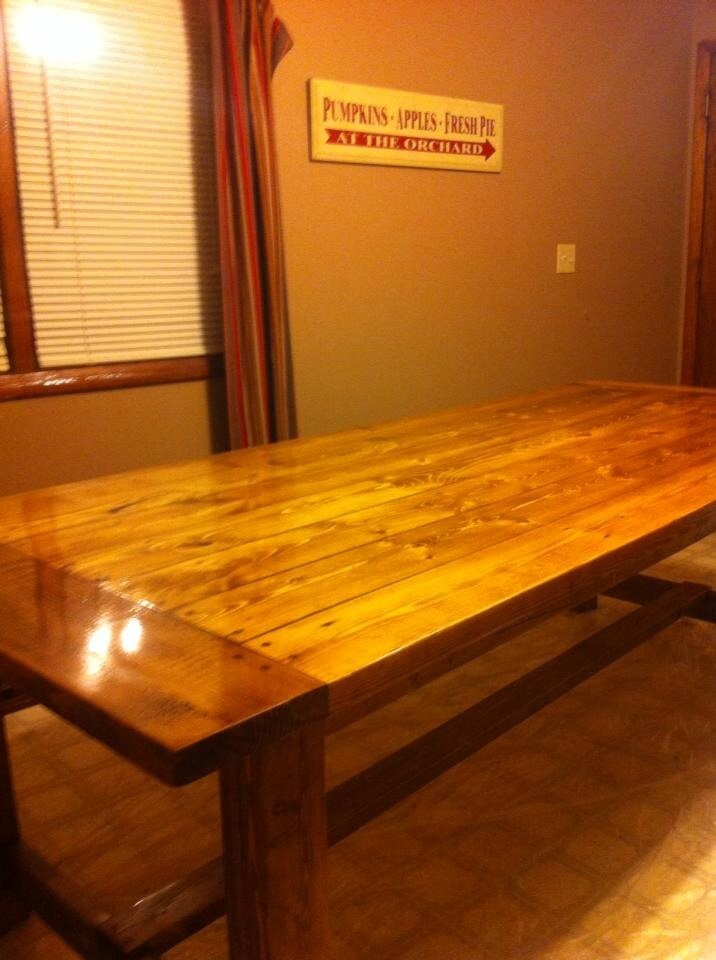
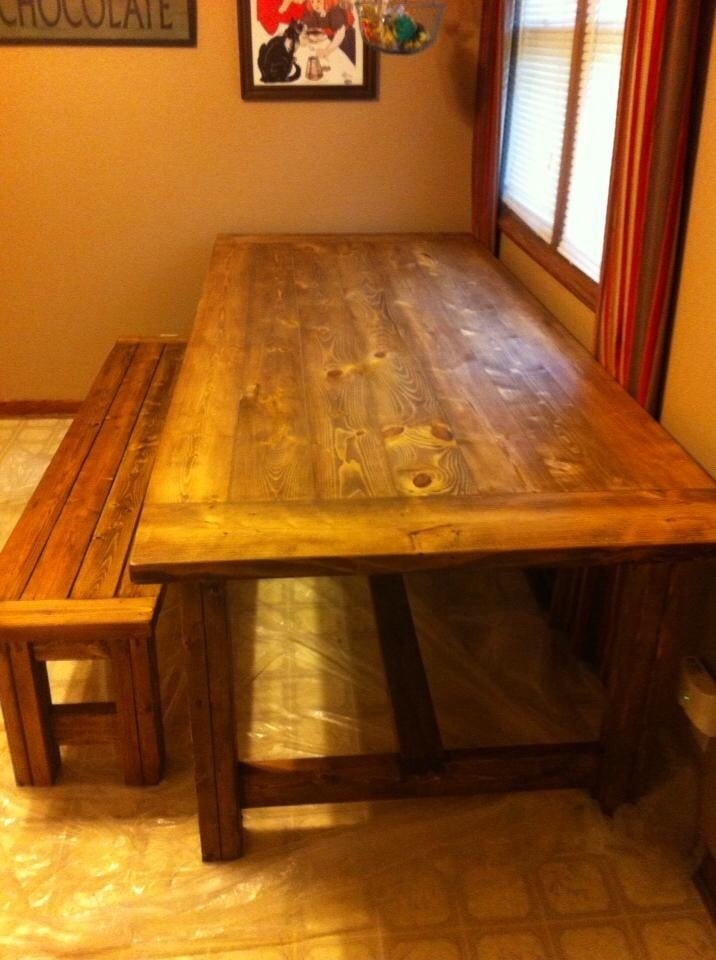
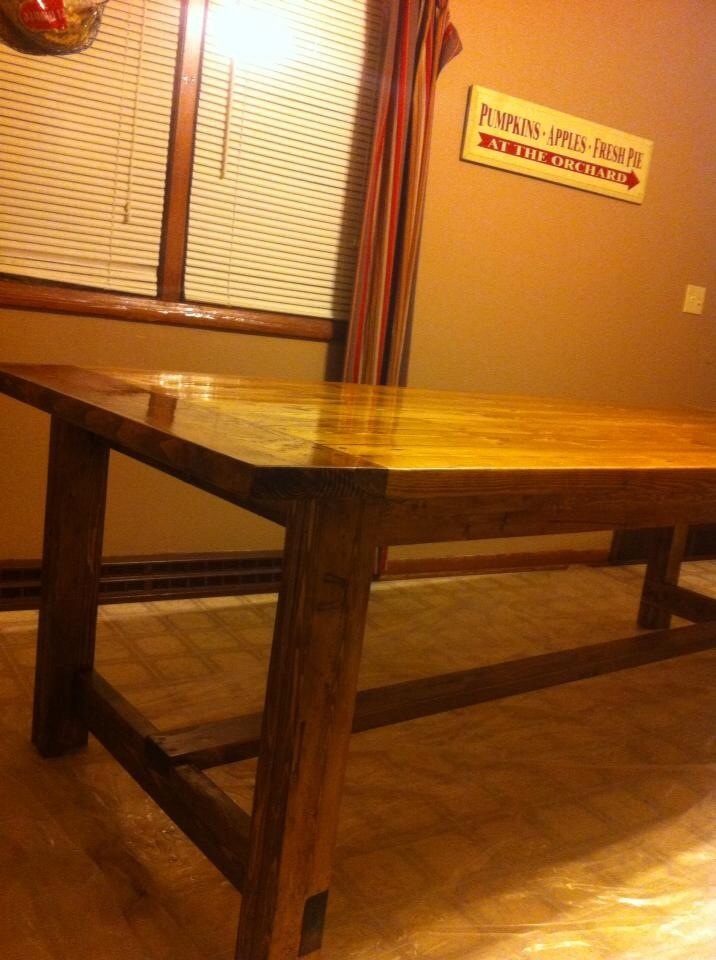
I made this in 1 day from the plans here on Ana White what a fun project it was and fairly simple to build
for such a beautiful piece..www.facebook.com/groups/ozaofwc/

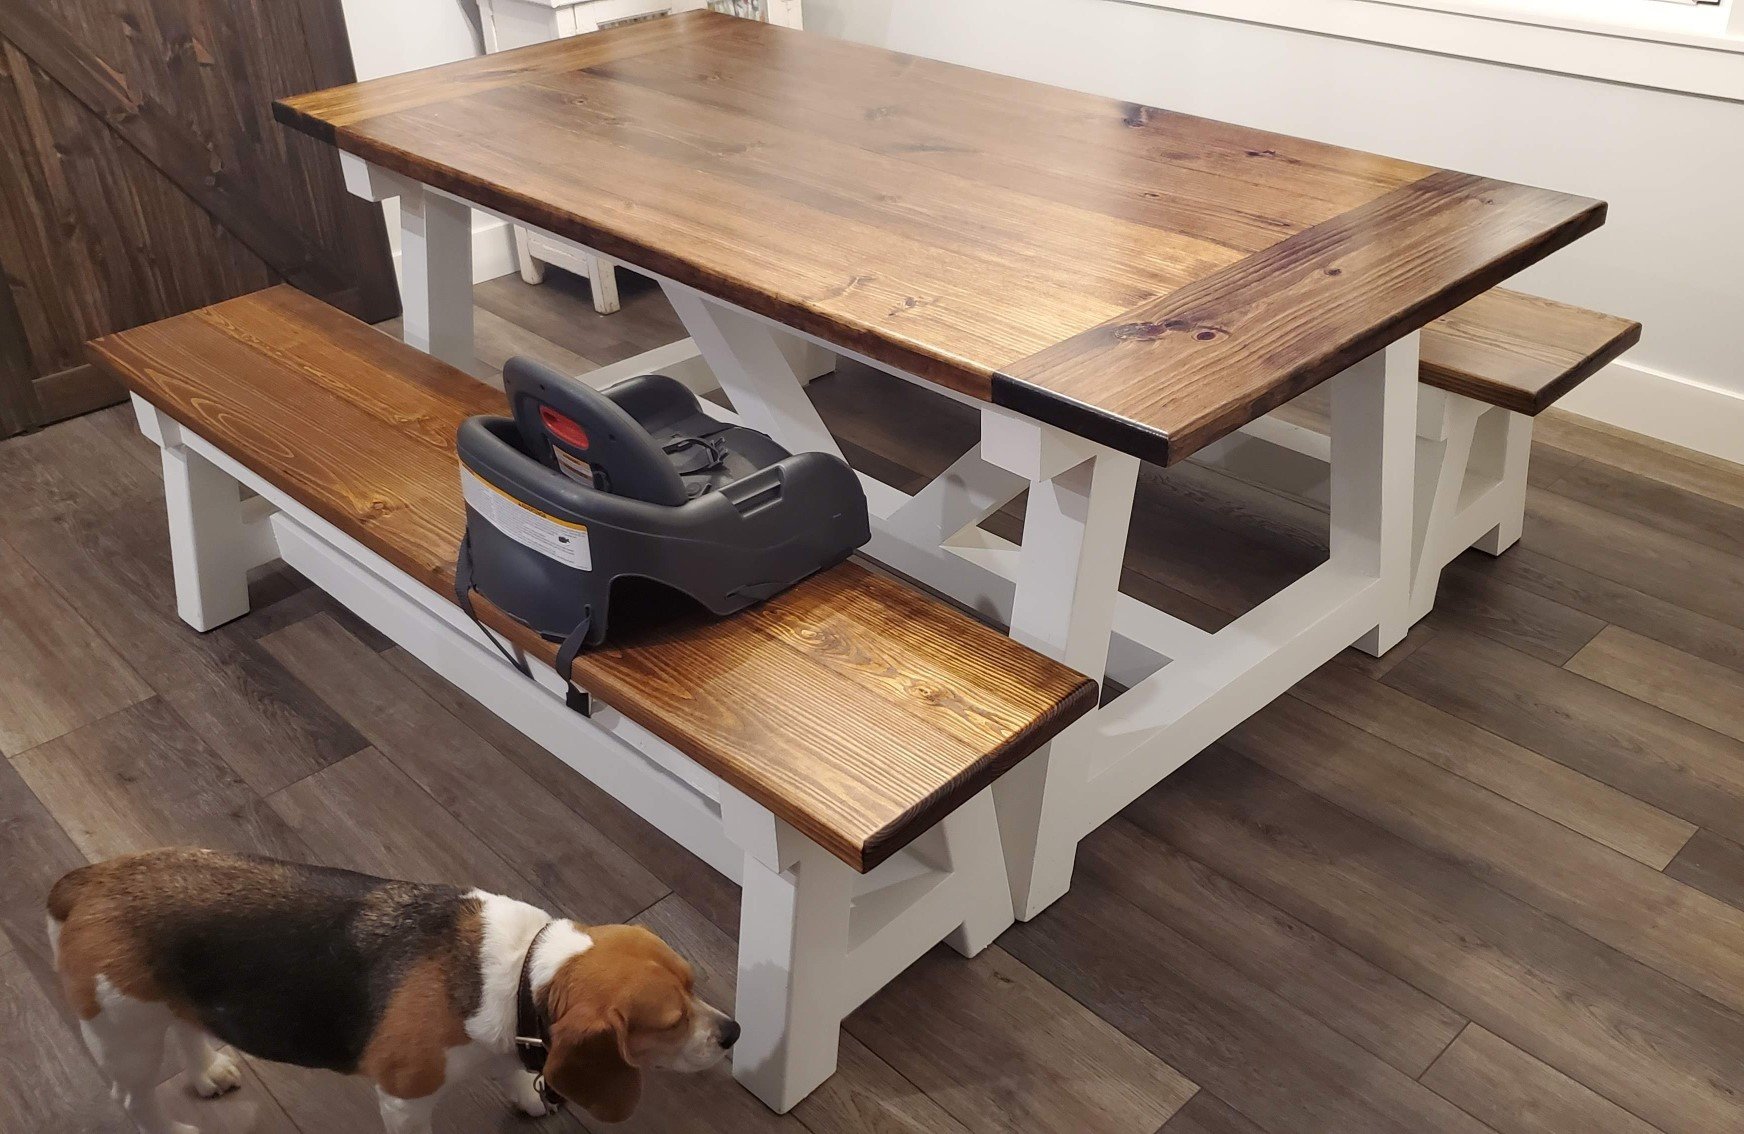
Built this table and bench for my son and his wife's new home. Made from southern yellow pine.
Pat Sprunk

Decided to use some scrap pieces of wood to make this for our backyard. Only difference I did was use 1x6 instead of 1x8 since that is what I had around. Thanks for the plans.

found these plans online and threw them together slightly modified for my wife since she is the main laundry person in our house right now since I'm working two jobs. she was thrilled and posted this picture online now i'm signed up to build three more for single moms we know!

This was a nice easy build for a saturday or sunday morning. Build this as a house warming gift.


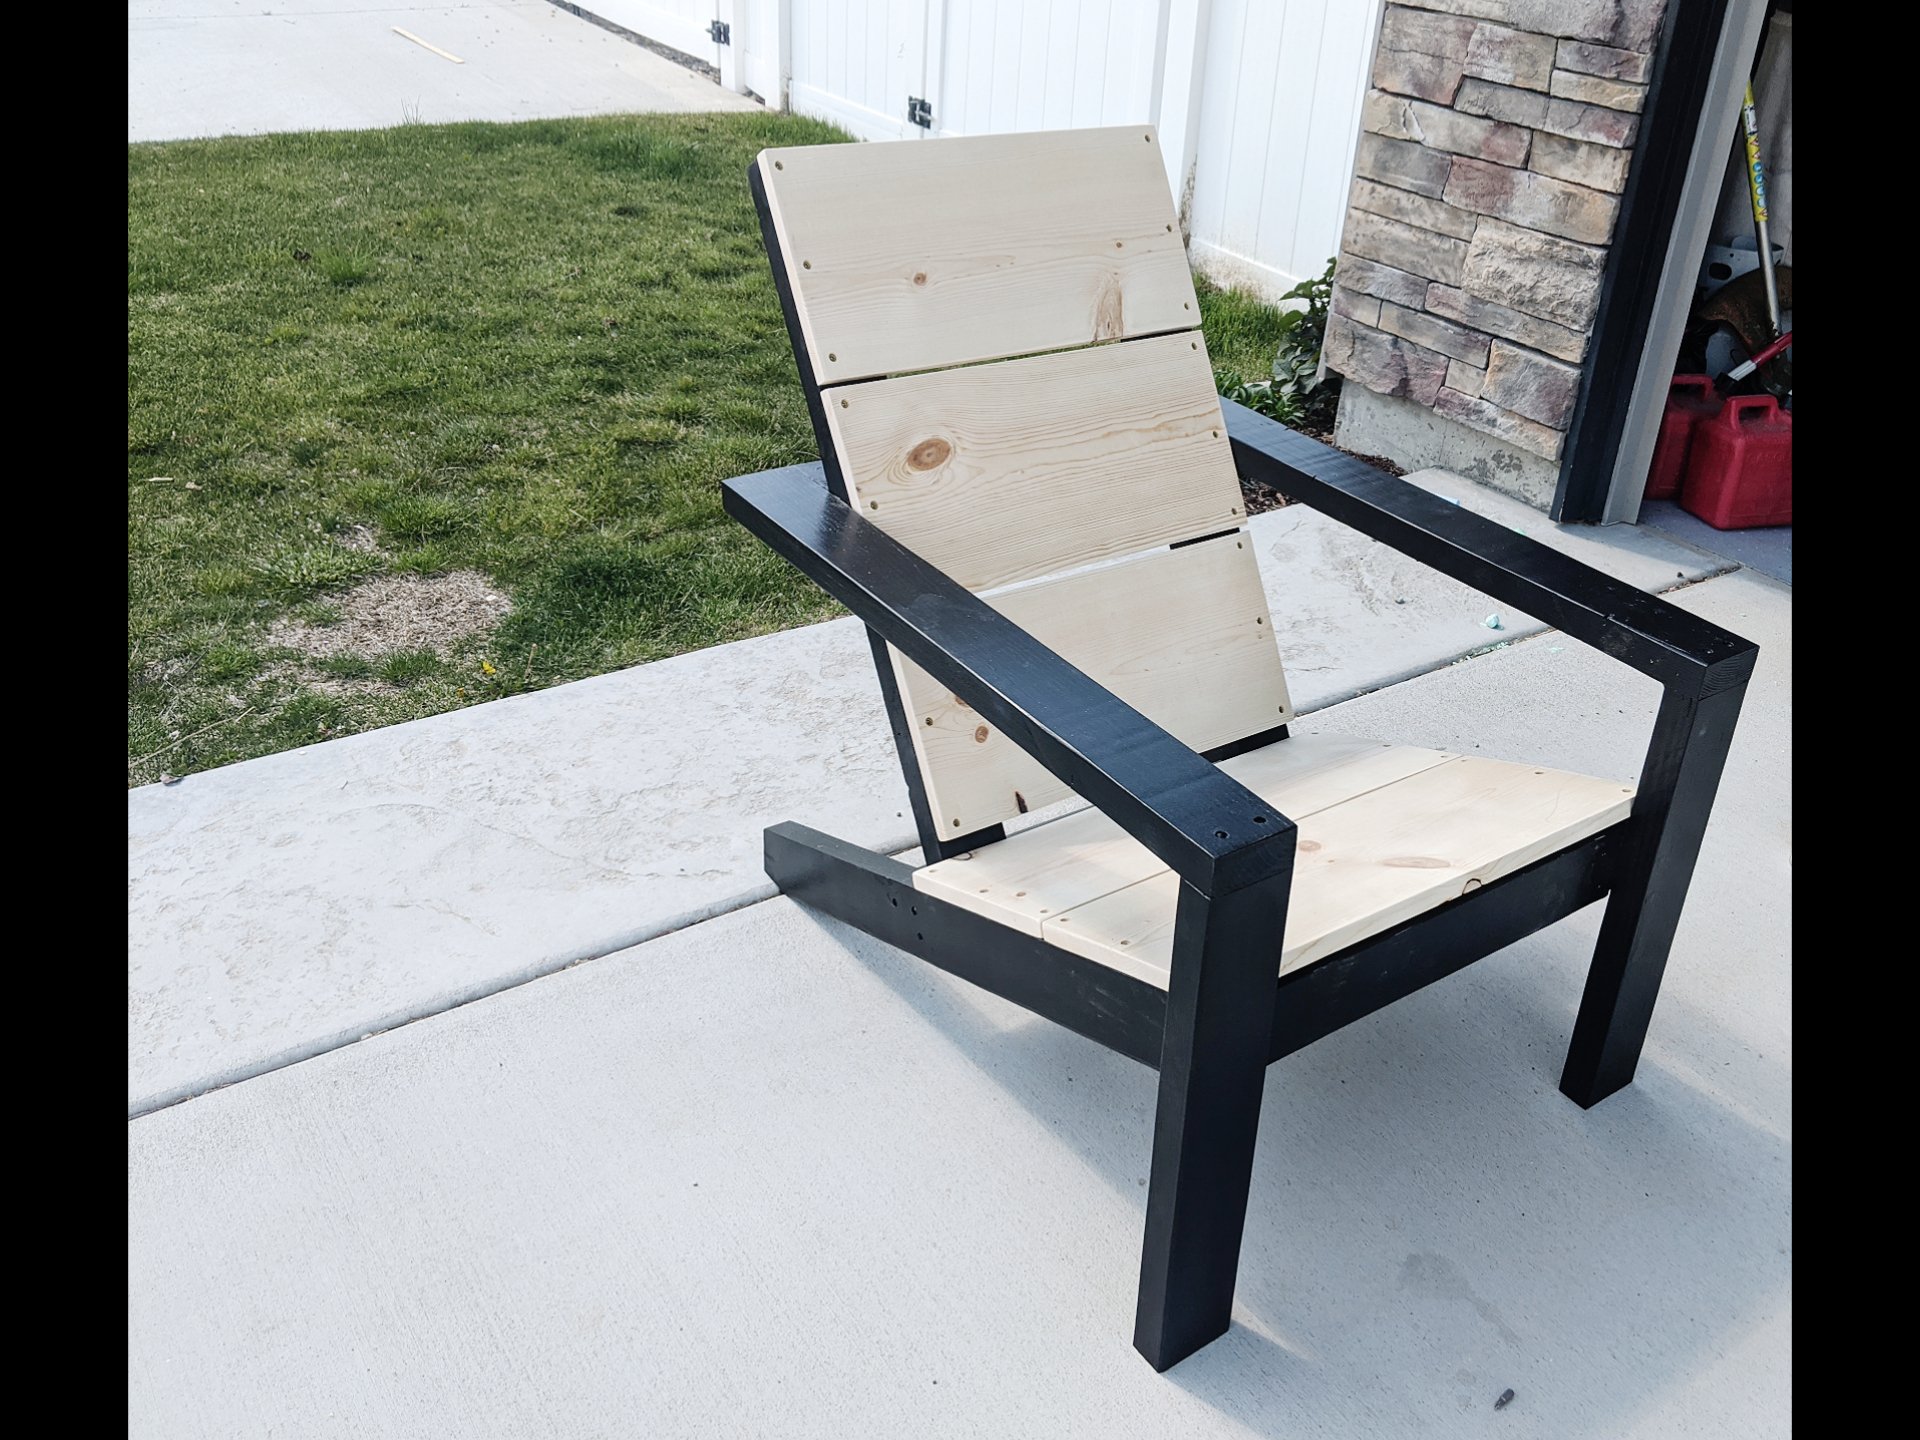
This was my first project.....my husband does woodworking projects all of the time but this one I picked out and he helped me. I really love how it turned out. We love the darker stain and can’t wait to do our second one!! We only had to purchase the wood for seat and back. We already had screws and 2x4’s.
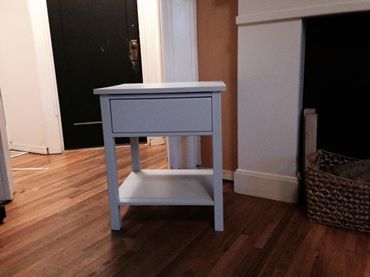
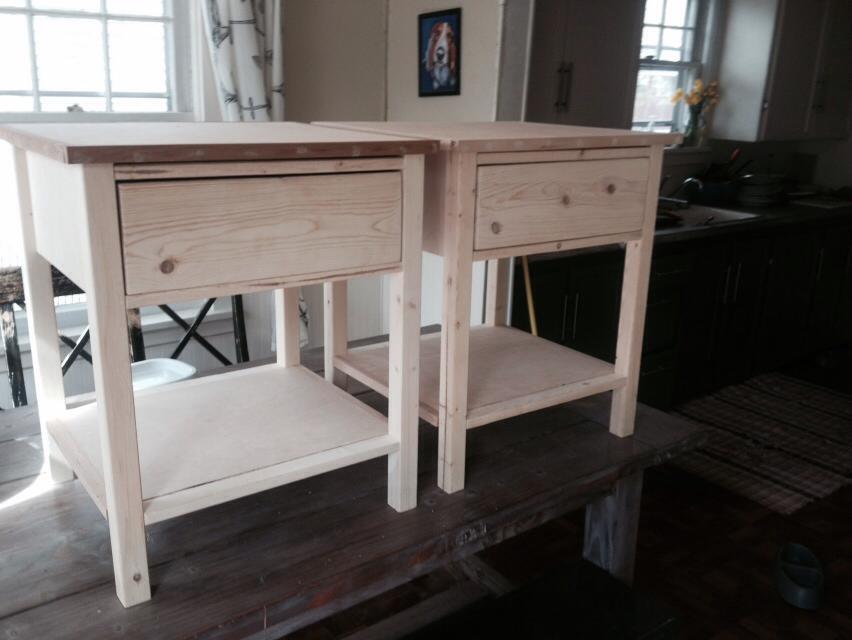
I made two of these farmhouse end tables for a friend/client. She wanted them to be very light gray when painted. I went to the blue store to get some paint mixed and waited... and waited.. and waited... and couldn't find anyone for the paint section. So I eventually just mixed it myself. It does have a bit of a bluish hint to it but I think they are very pretty.
These were a fun build and probably the best drawers we have ever made but we did have to use wooden guides on the inside to be sure it will close perfectly.
I hope she loves them!
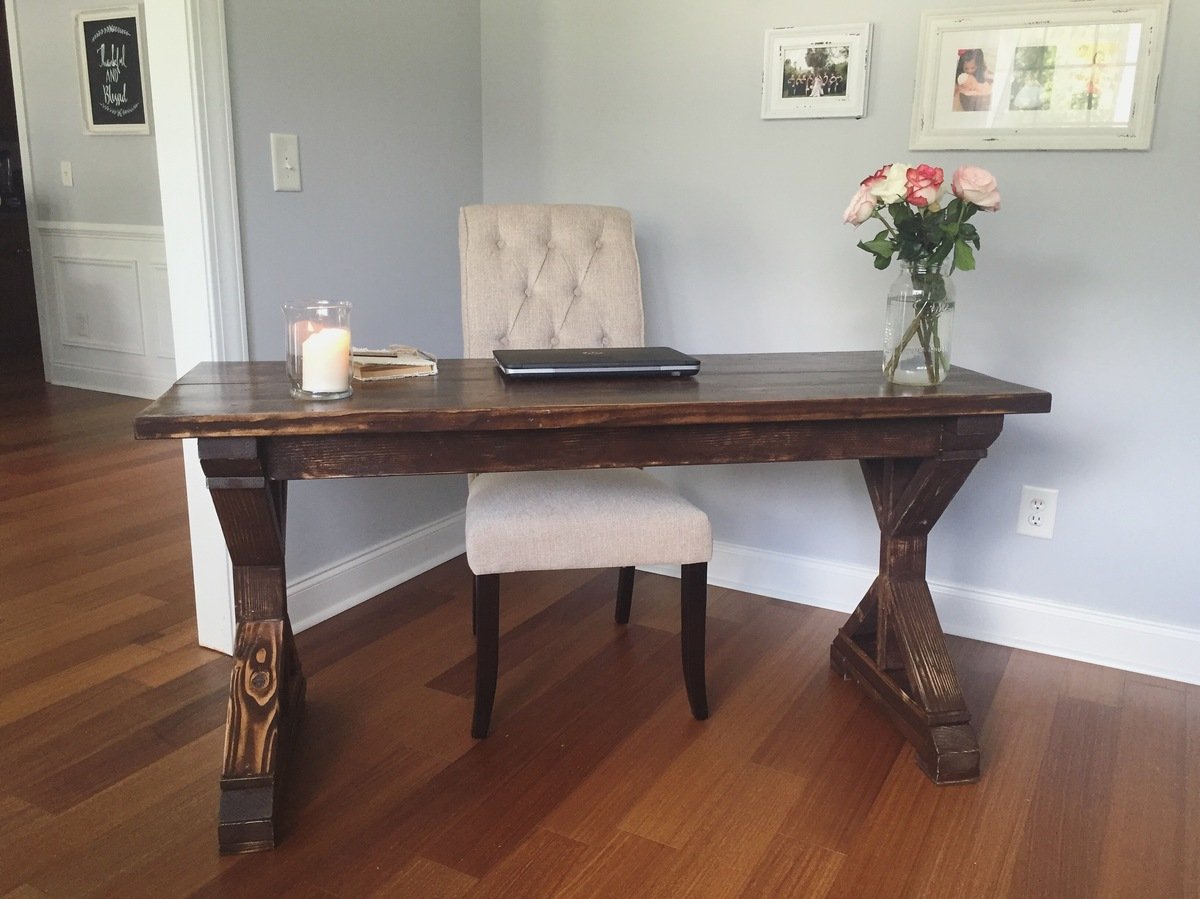
I have a tendency to kick my feet while I'm working at my desk so I decided to customize the bottom and have only legs. I love how it turned out!

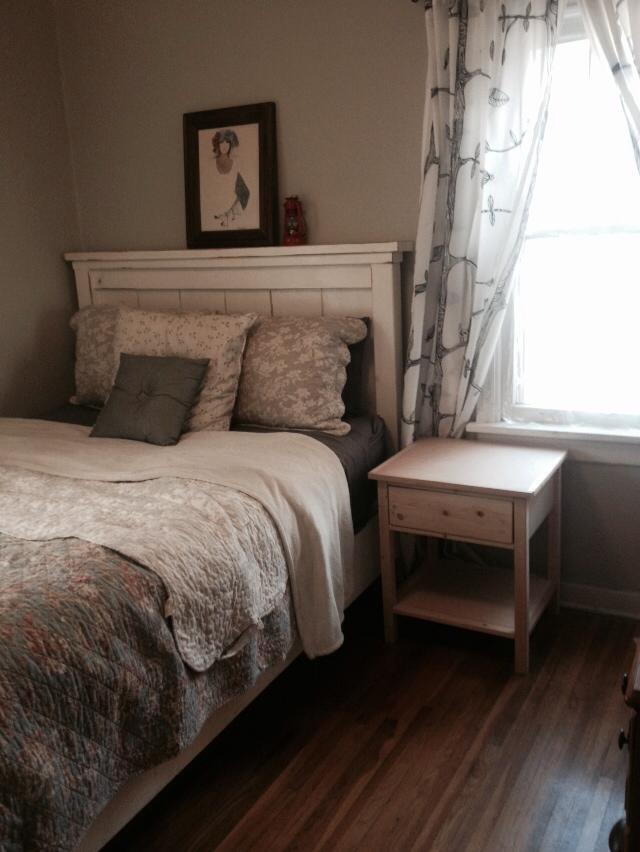
I made this for my daughter. Thank you Ana, it came out perfect.

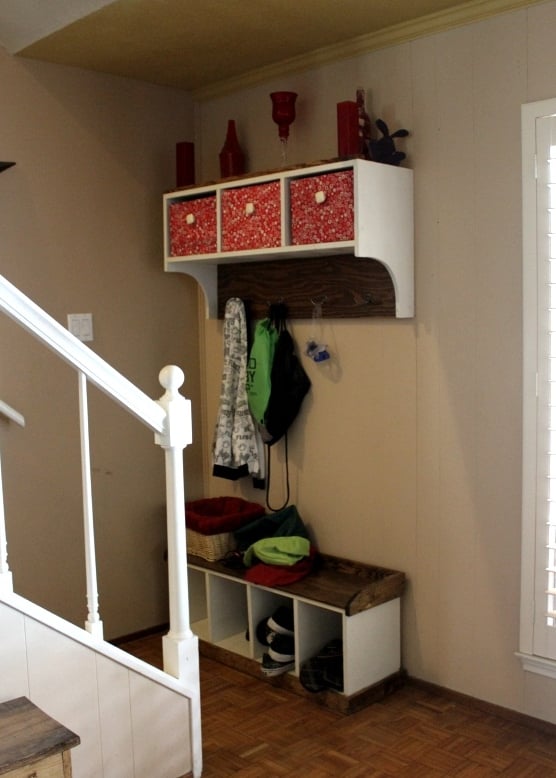
I modified the size on this a bit and as in a few of my other builds, I needed room for all five boys to put their stuff ;)
It is at the bottom of the stairs and I'm not sure what our house would look like without it!!!! EVERYTHING ends up here!!!
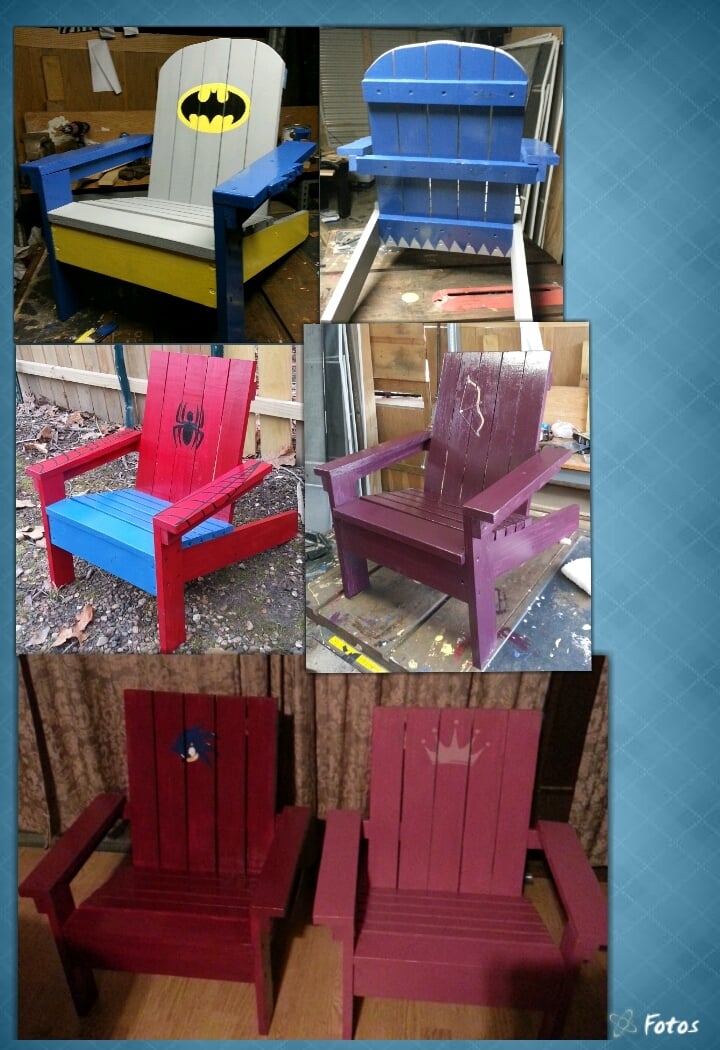
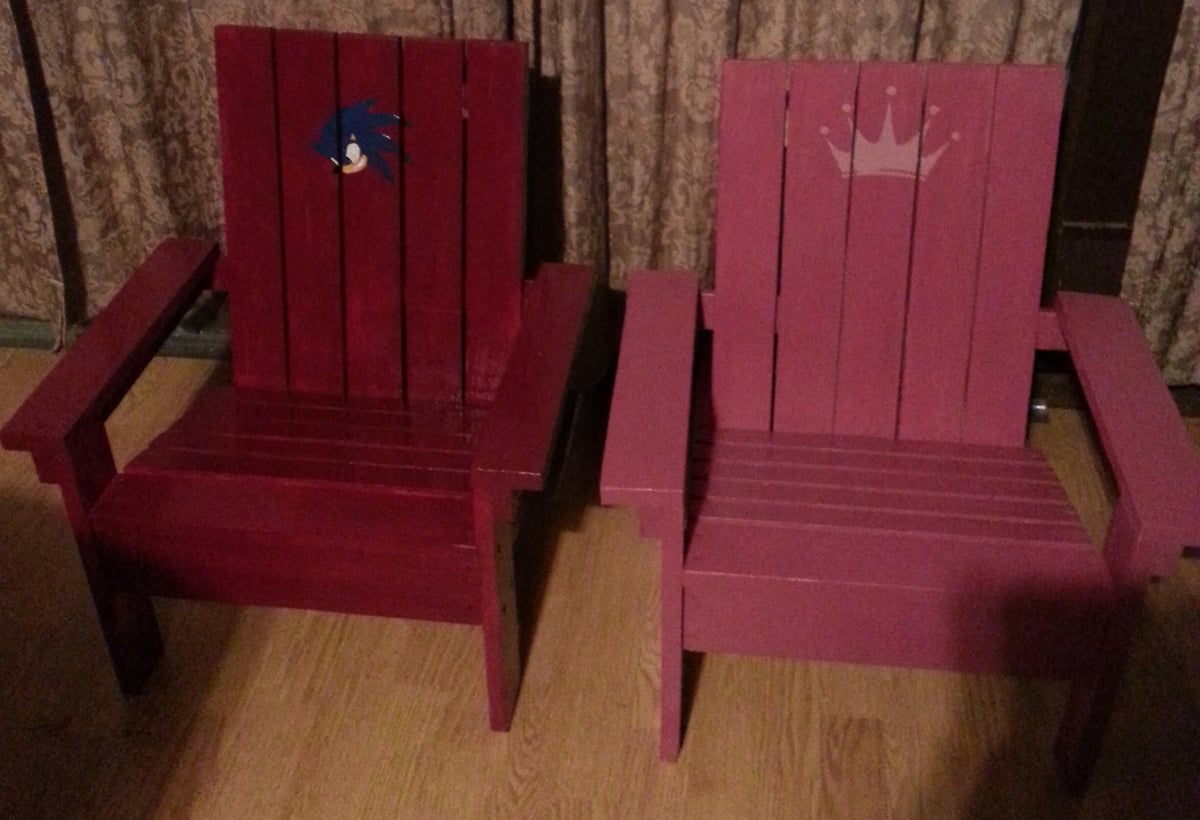
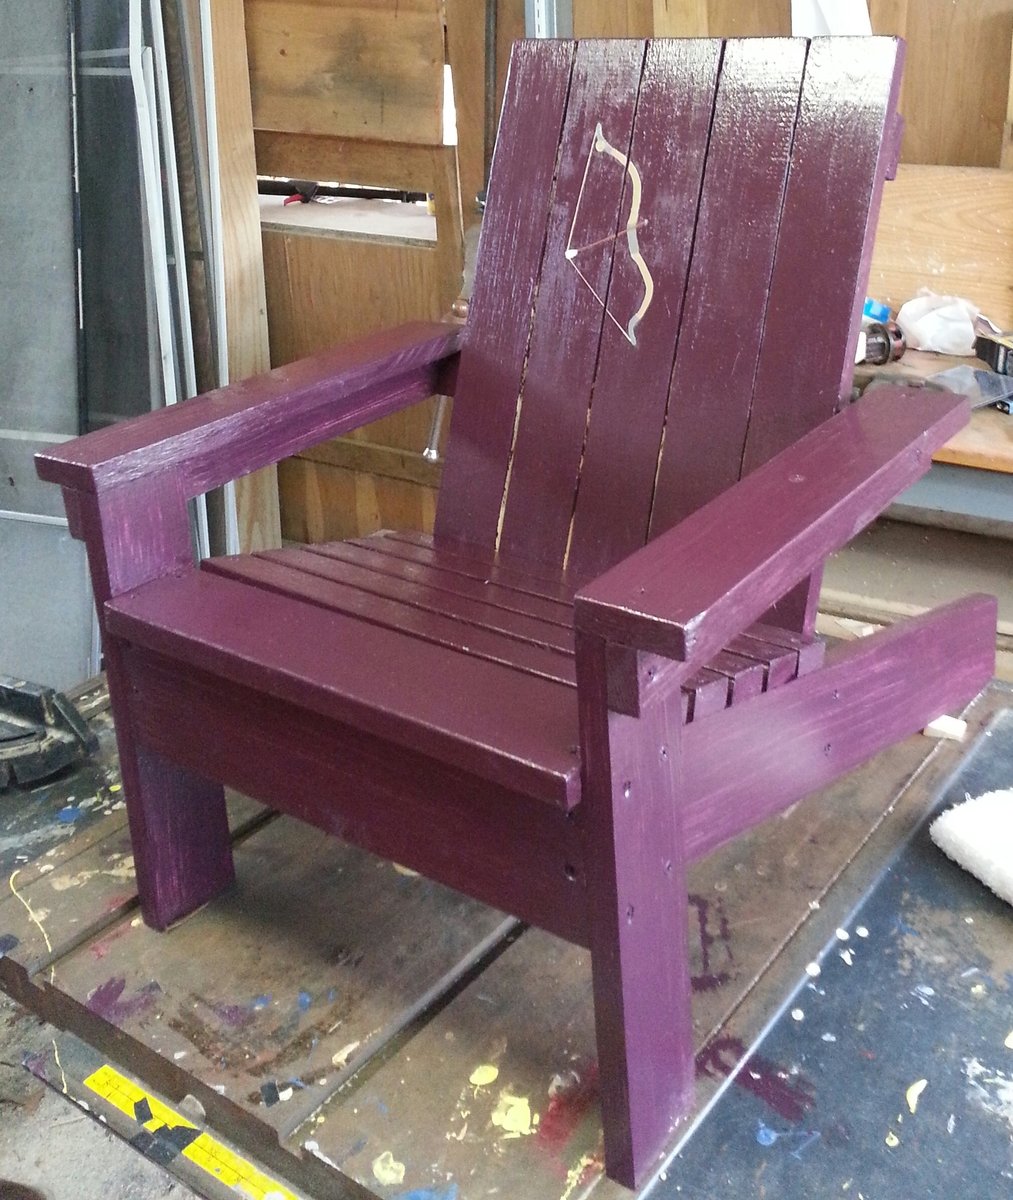
I started msking tgese for my kids and couldnt stop. first was the sonic and princess then spiderman then batman and last the brave chair.


Sun, 06/09/2019 - 13:02
These are so fun! Love all the different designs!
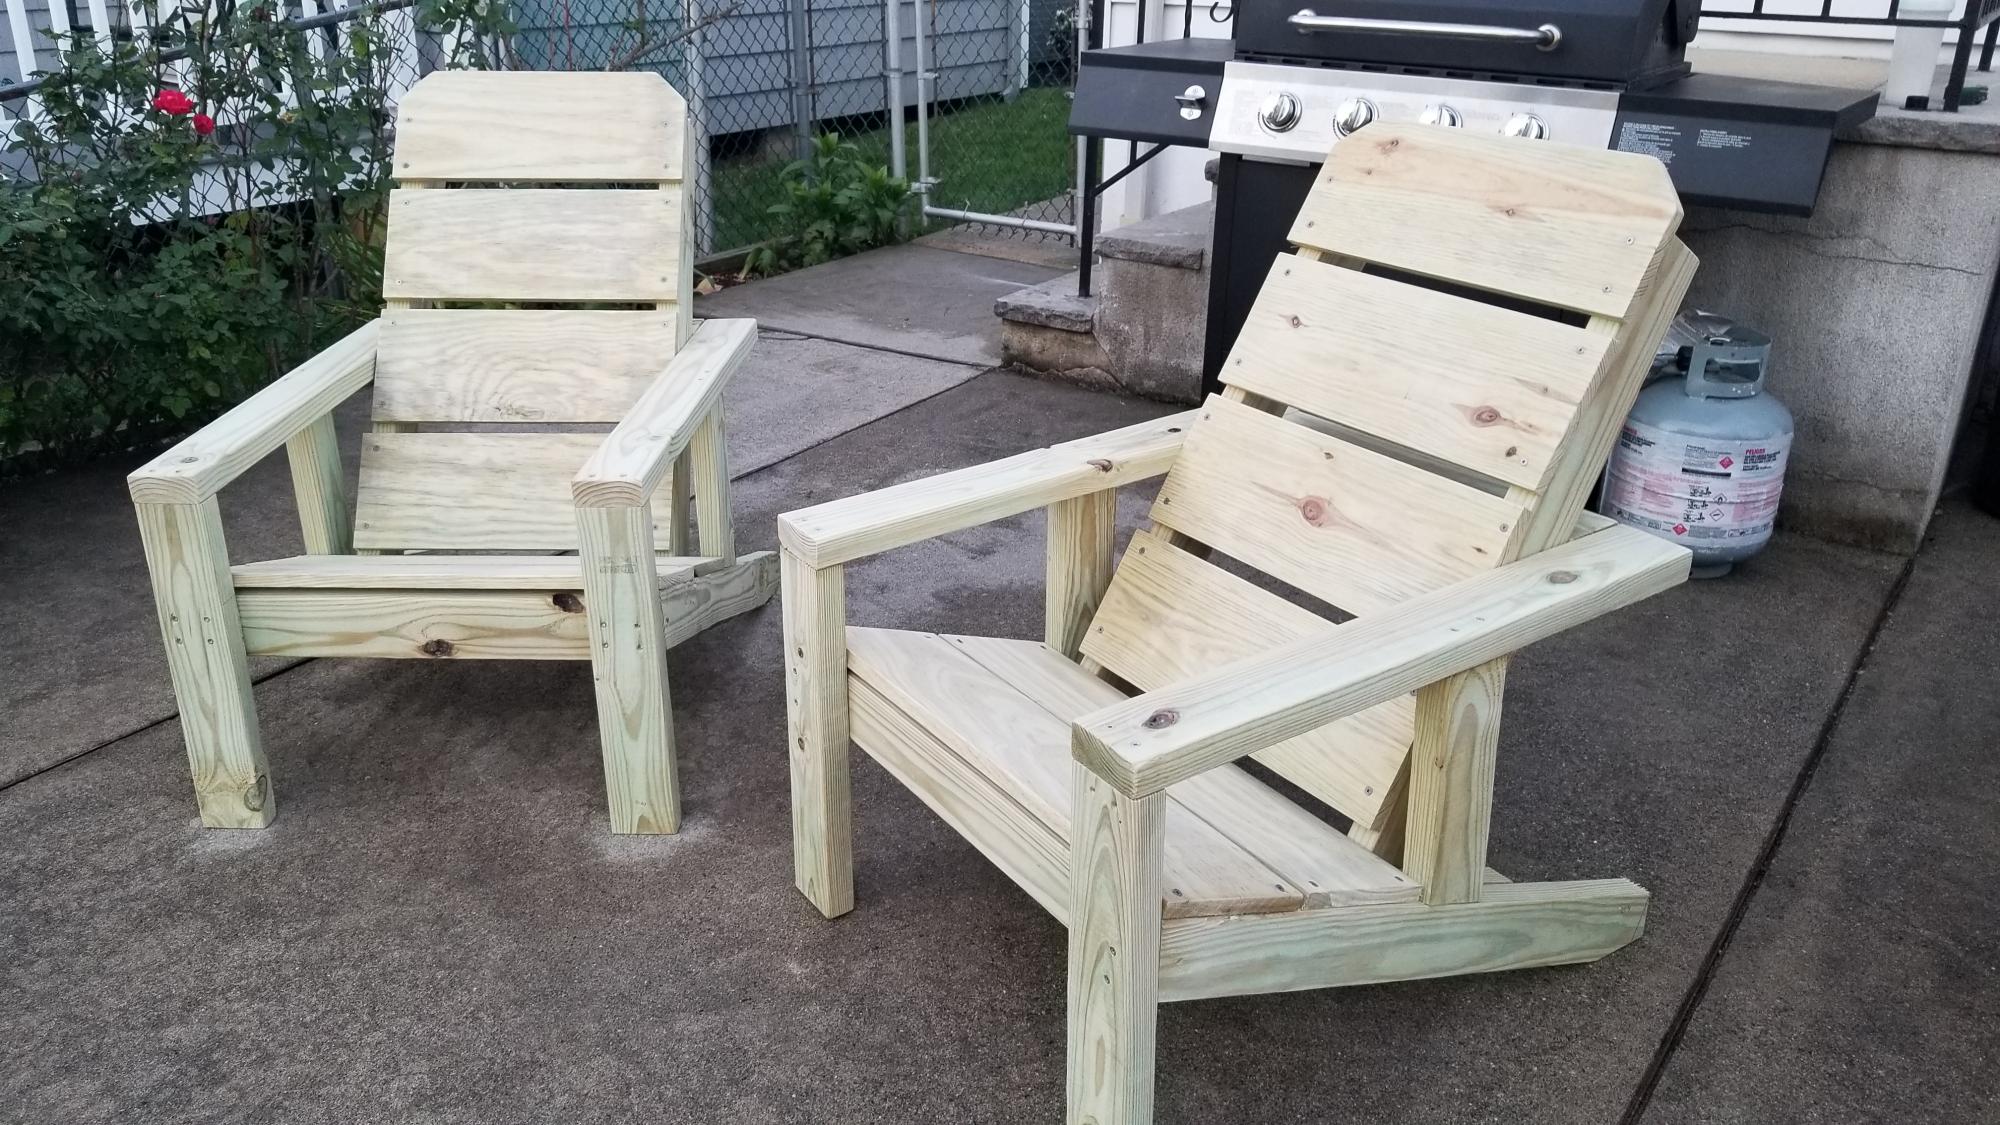
I'm pretty happy with this build being that I had no experience and I modified the plans a bit to add more support for the arm rails and only had access to 1x8x8 and not 1x10x8 lumber. Very comfy chair, my neighbor saw the build and offered to buy 4 if I would make them for him!
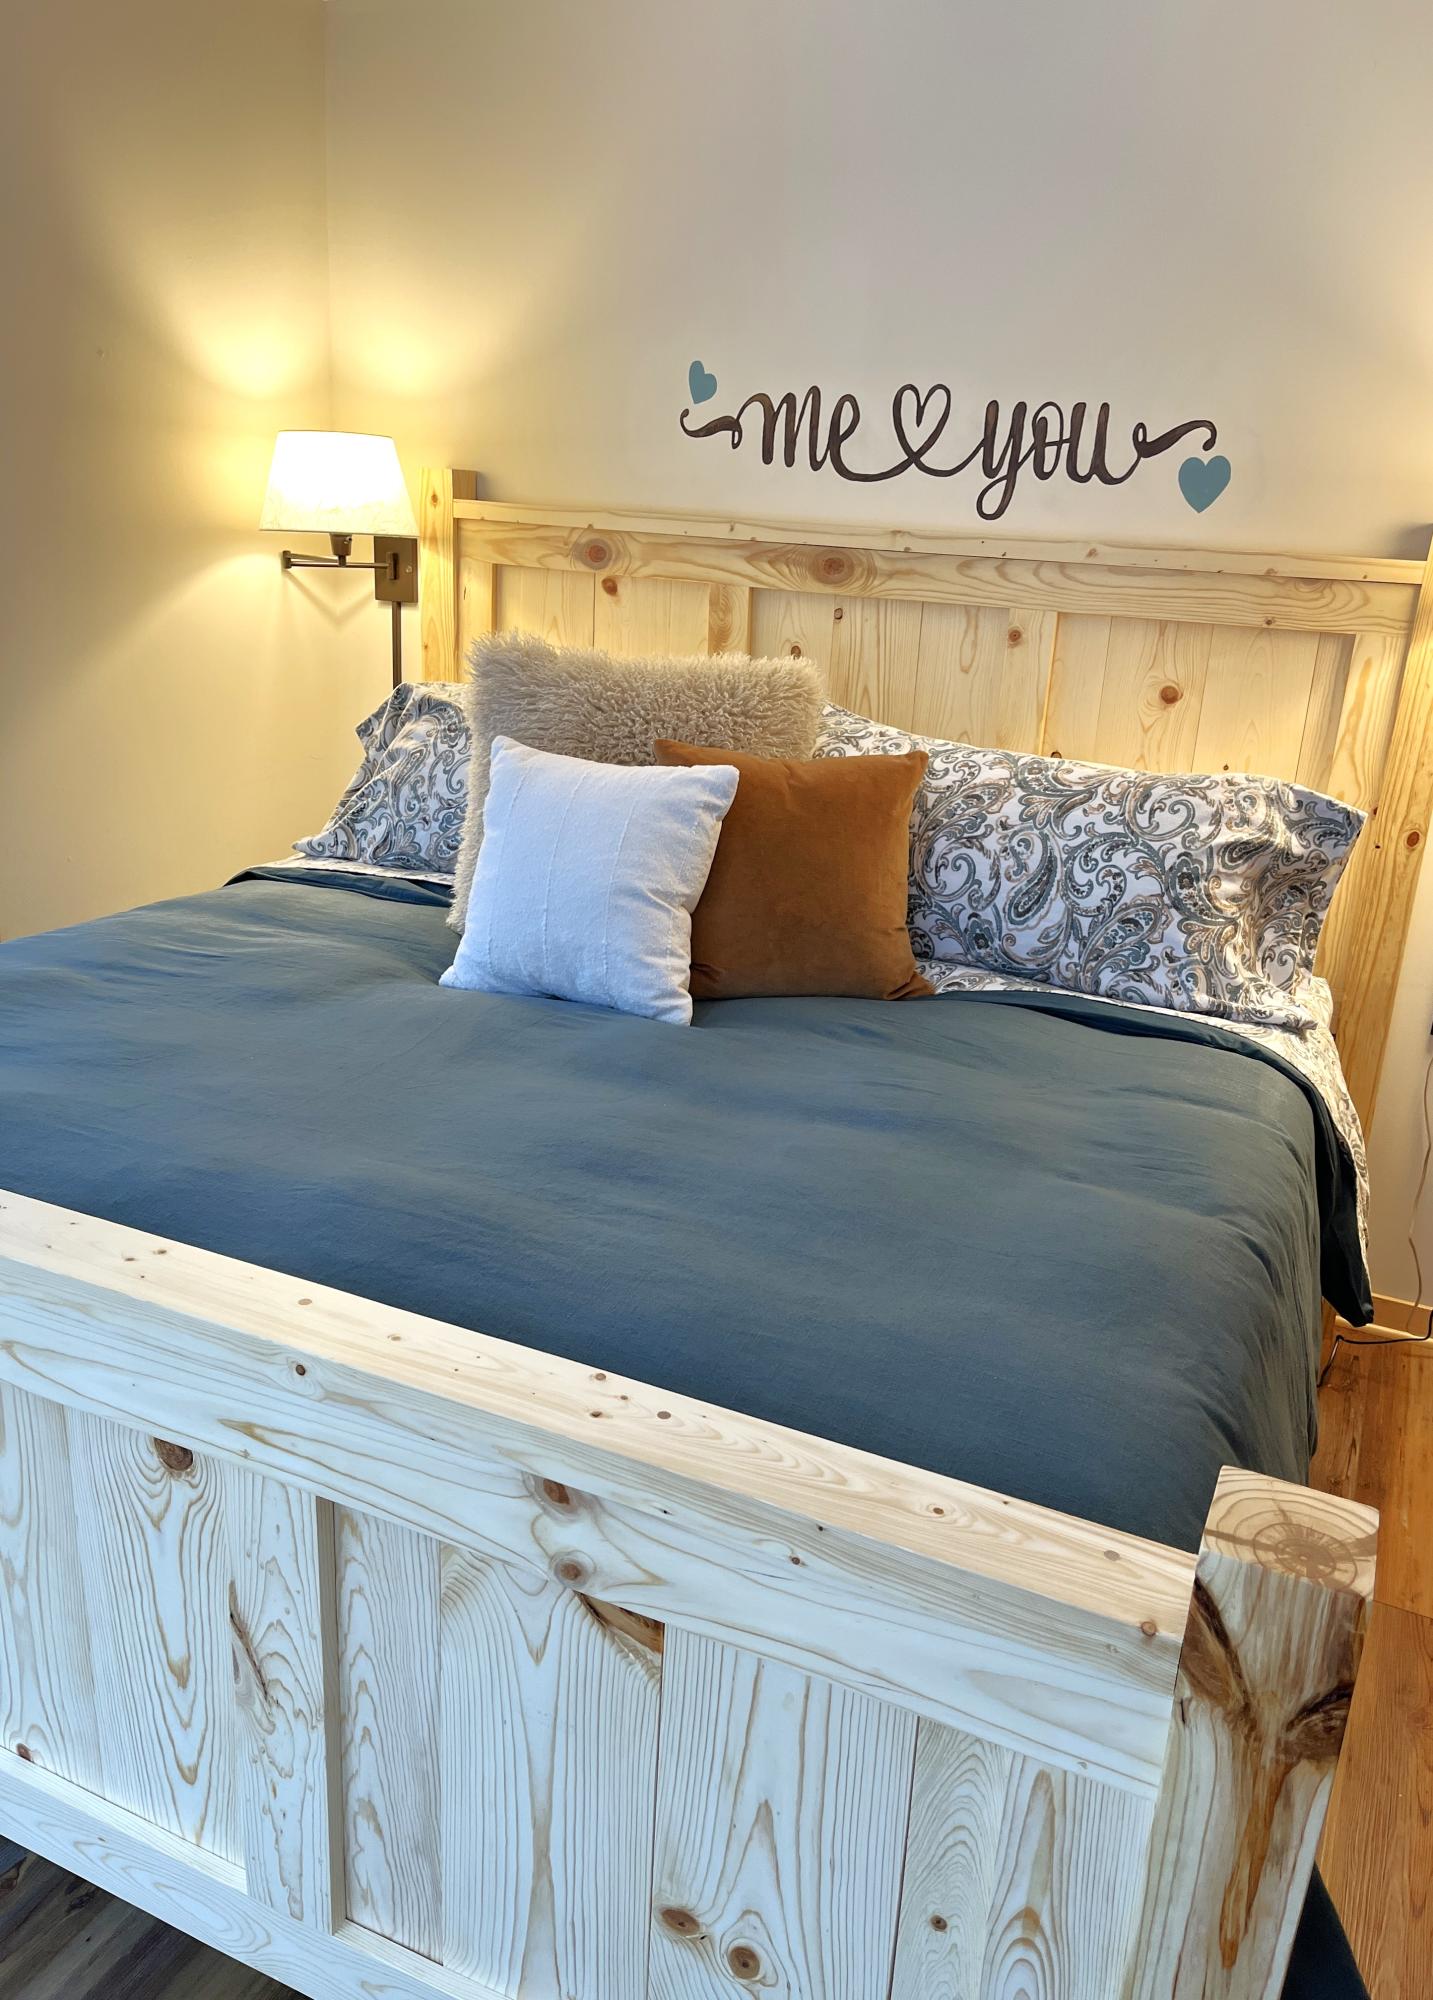
Made the Farmhouse Bed to fit our new adjustable bed. Thanks to Ana White and all her free plans, I’ve been able to build SO many things!
Jessica Benson
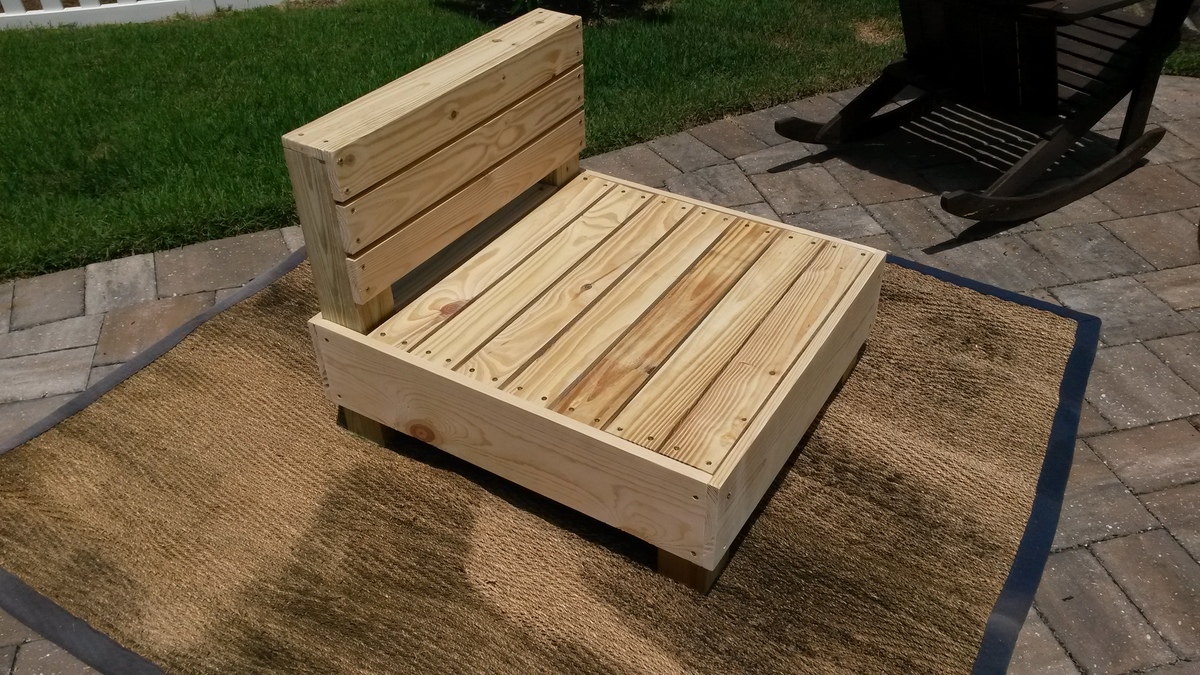
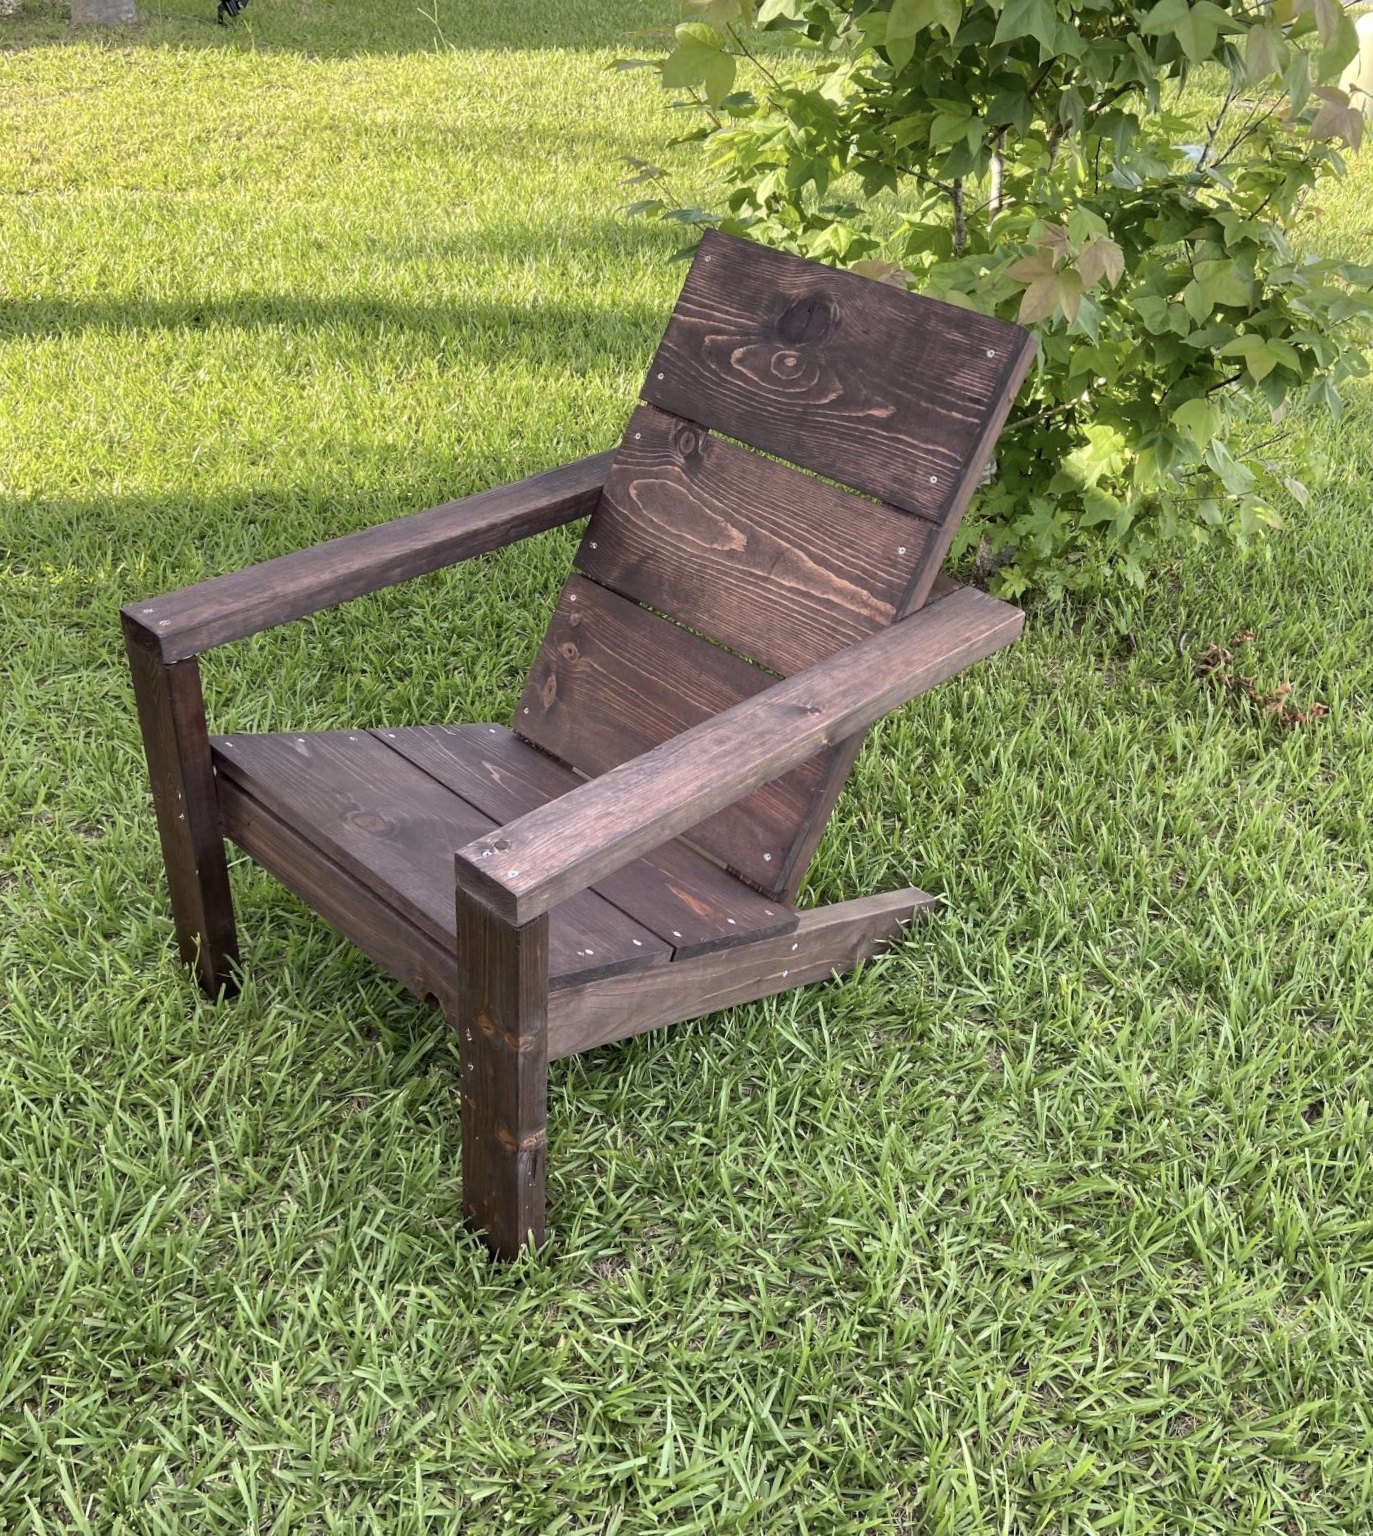
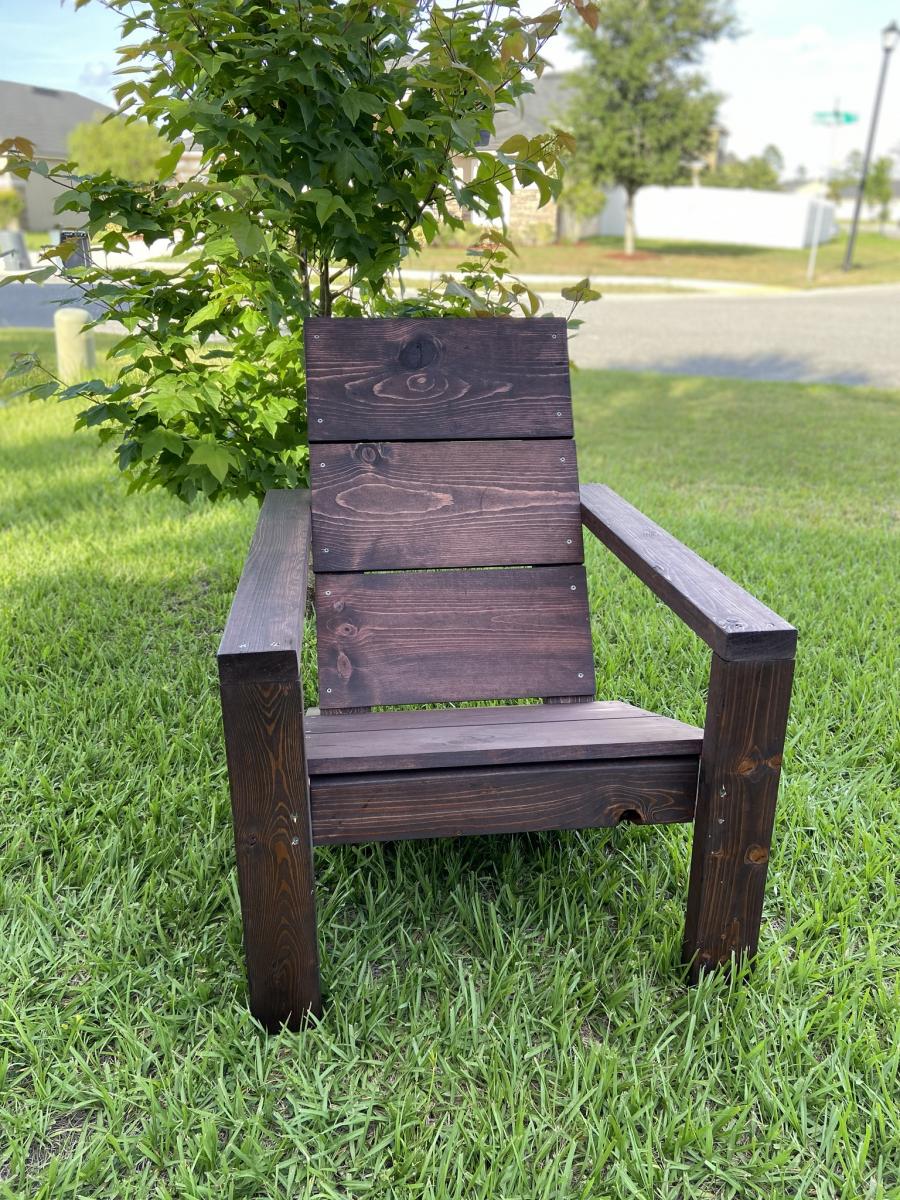
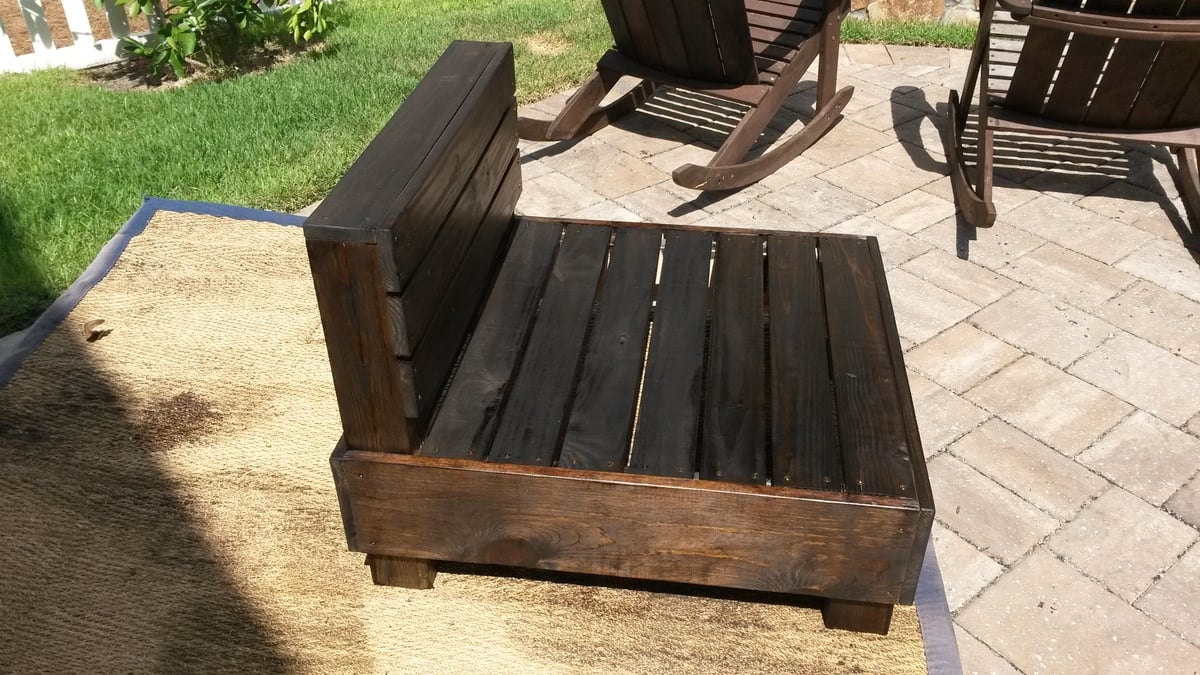
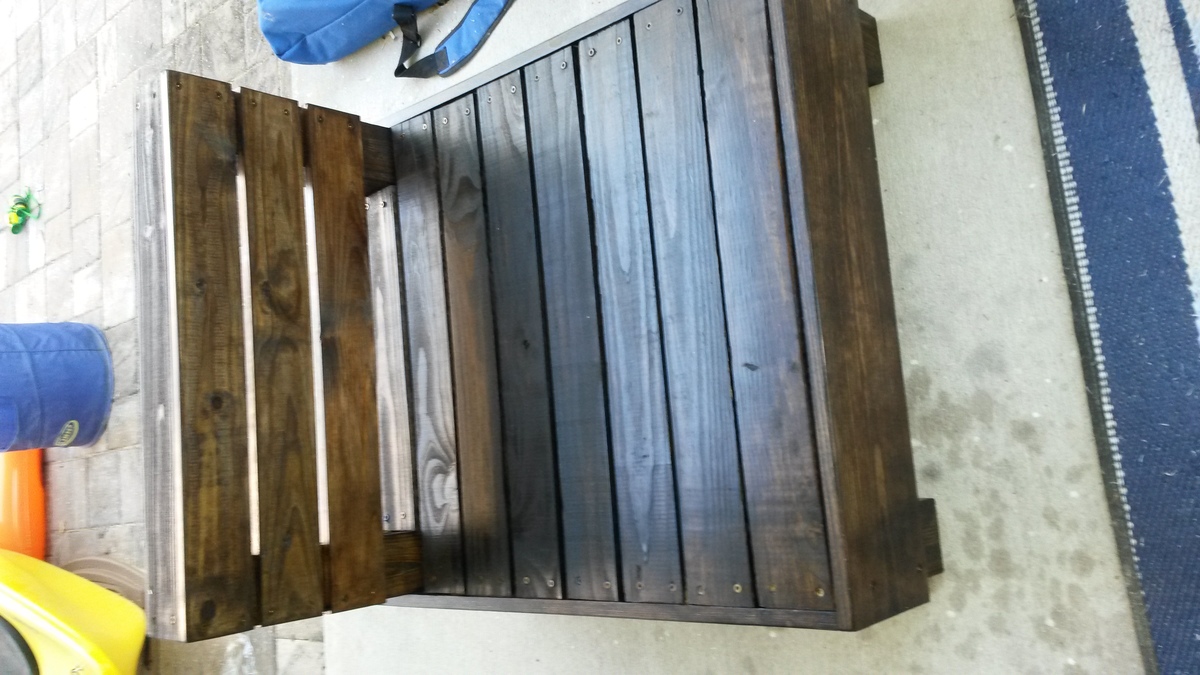
This is one of two chairs that I recently built to replace some outdoor furniture that only lasted 2 years in the Florida sun. Rather than buying a new set, I figured I could just rebuild them using wood which would last a lot longer. I built these off the measurements of the chairs I was replacing, and also had to keep the dimensions the same since they came with custom cushions that I wanted to re-use. They are approx. 15" high at the seat, 31" deep and 28" wide
I used 4 PT 4x4's for the support in the corners, 4 - 1x10 common board for the outside edges and 12 1x4's. I used decking screws and stained it with a dark walnut followed by a coat of poly.
They are on the heavy side, but came out great and will definitely last longer than 2 years!
Just followed the plans, and am in love with the finished look!
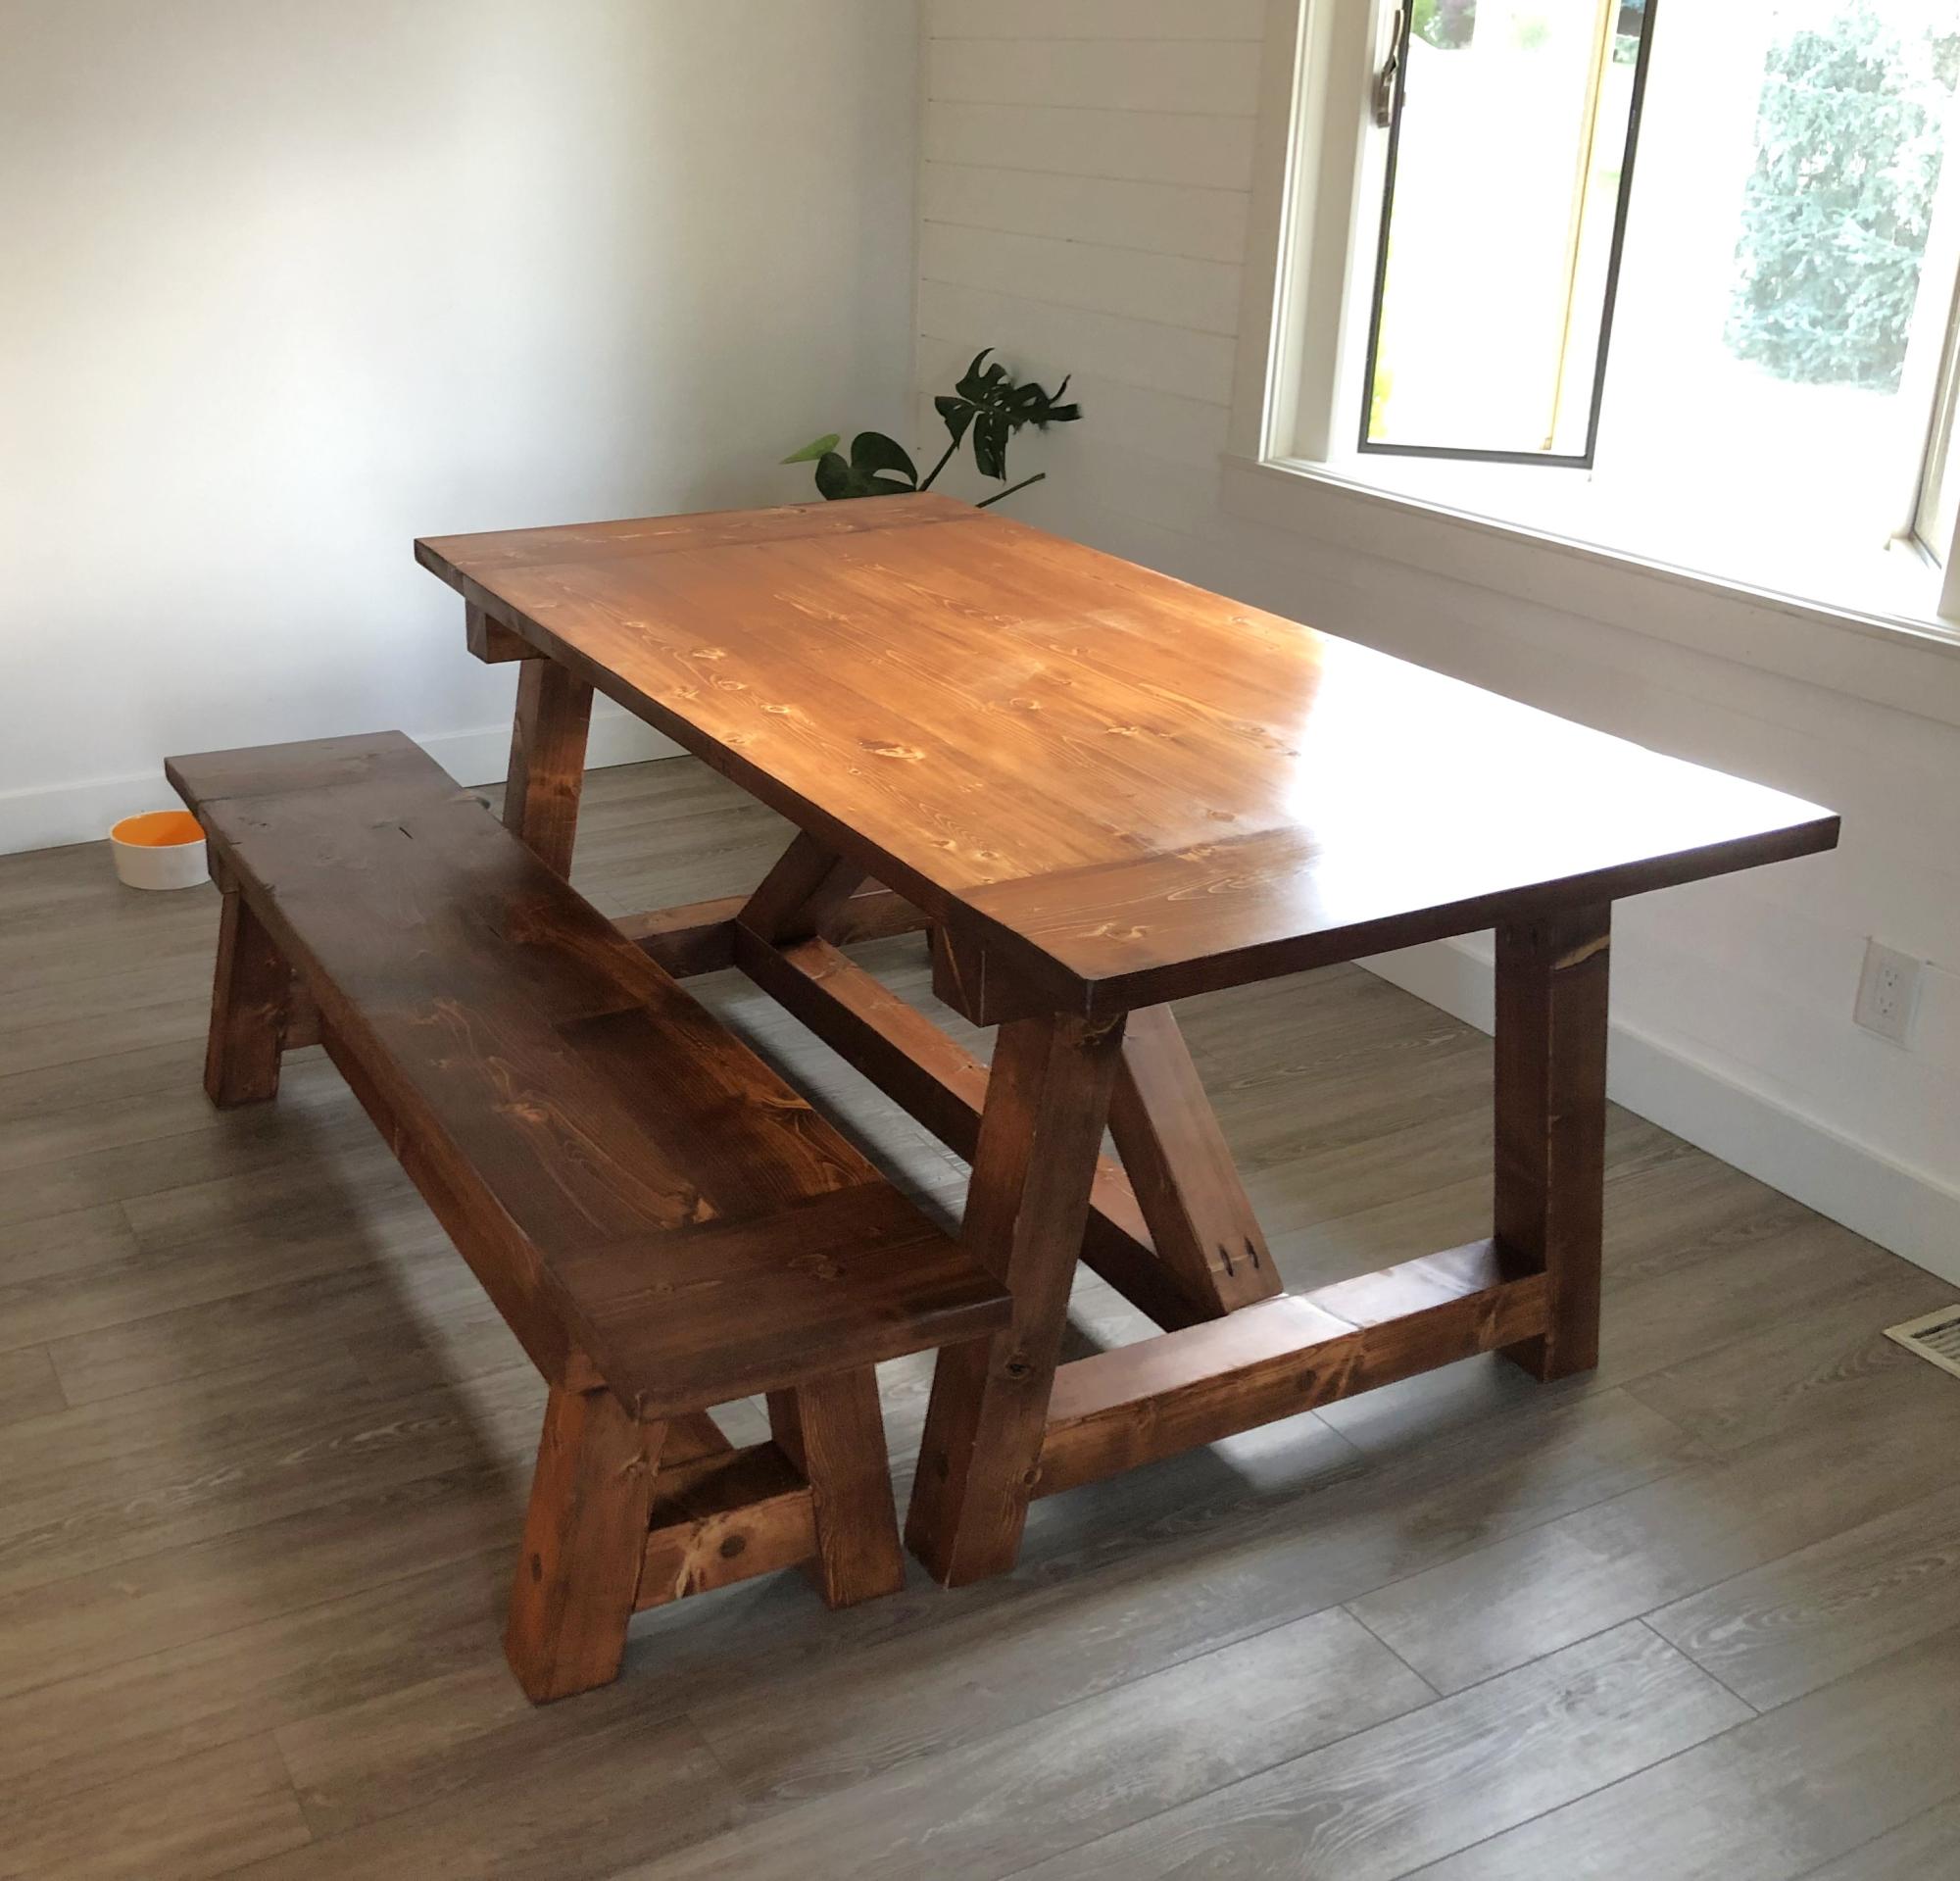
I built this Truss Table for a house warming gift for my daughter.
Rick Briere
So my husband and I have this thing...I find the projects, he builds the projects and I get to finish it. I'm more of the artsy one and he is more hands on. So this is the first table we did from Ana!

Comments
Ana White Admin
Mon, 01/08/2024 - 10:09
Beautiful cabinet!
Love the color choice and hardware!