Community Brag Posts

A bathroom cabinet for all that stuff!
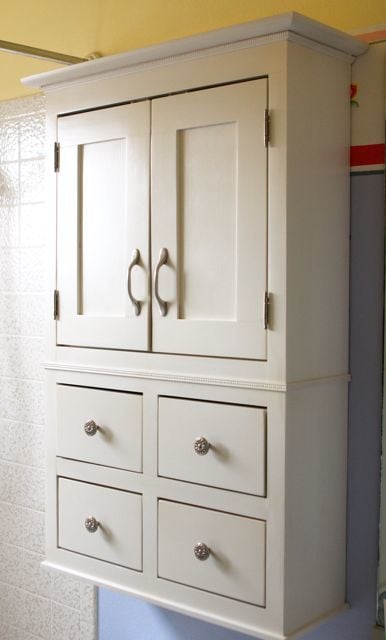
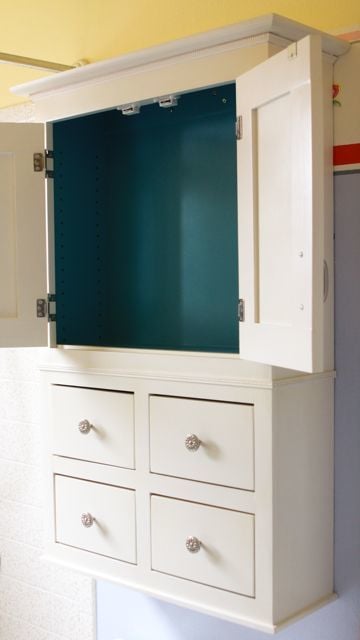
Overall measurements: 24x40. I followed the same basic steps as the nursery armoire, but on a much smaller scale and with a 1x3 added to the back for hanging the cabinet on the wall. I sketched this out on my own and built it to fit above the toilet in my girls' bathroom.

For the first time, I used my table saw to route a space for the 1/8" MDF cabinet backing and drawer bottoms. I will probably use the same method again, but the MDF has to be absolutely square for it to work.

Also a first for me, I used a shelving jig to drill perfectly spaced shelf pin holes on the inside of the cabinet. I love the jig and the accompanying drill bit (from Woodcraft -- orange and blue do not carry it) and I'm looking forward to using it a lot more in the future.

The white latex paint finish is covered in Krylon "crystal clear" spray, which is (sadly) not actually crystal clear. I really like its durability and ease of application (re-coat after only one minute!), but will only use it on darker colored projects in the future. I'll have to sand, paint again, and recoat with my old standby, Minwax Polycrylic, to get rid of the yellow tones in the "crystal clear" Krylon spray.
Built from Plan(s)
Estimated Cost
$125
Estimated Time Investment
Weekend Project (10-20 Hours)
Finish Used
Spray primer followed by Sherwin-Williams ProClassic semi-gloss white (which I applied in several thinned coats). Krylon not-so "crystal clear" topcoat.
Recommended Skill Level
Beginner

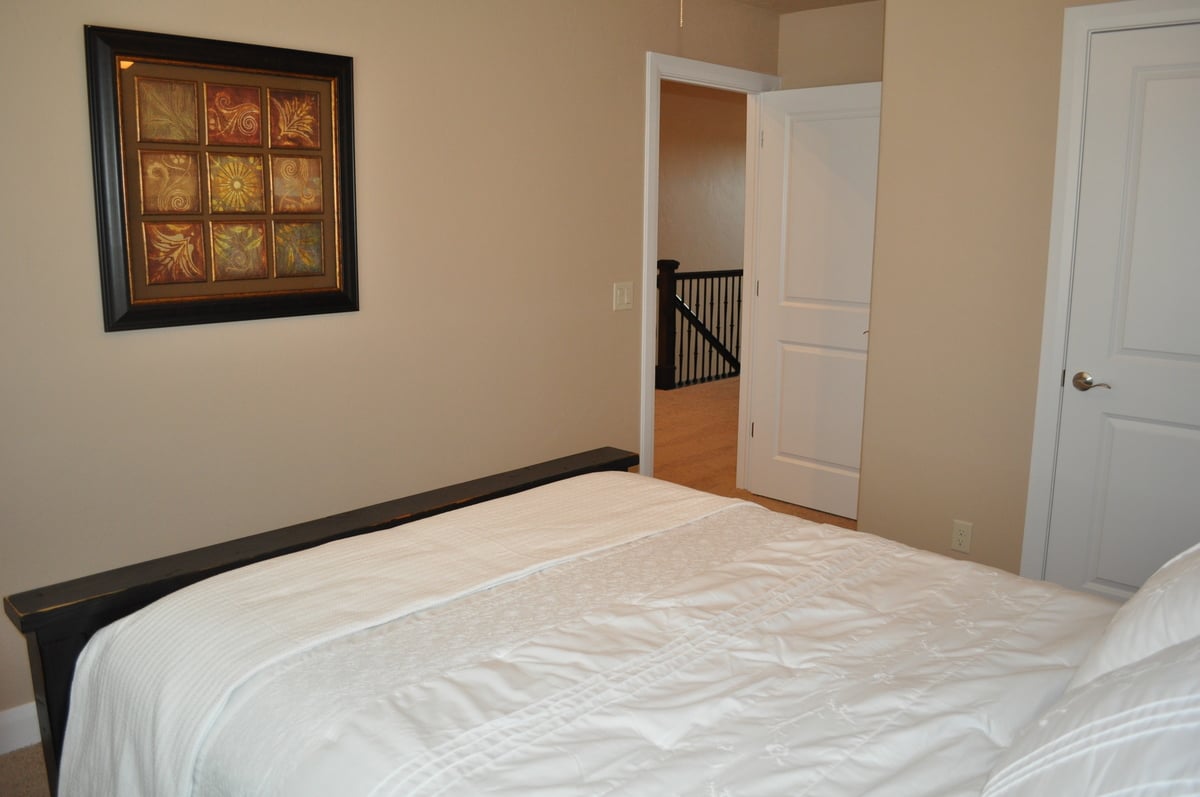
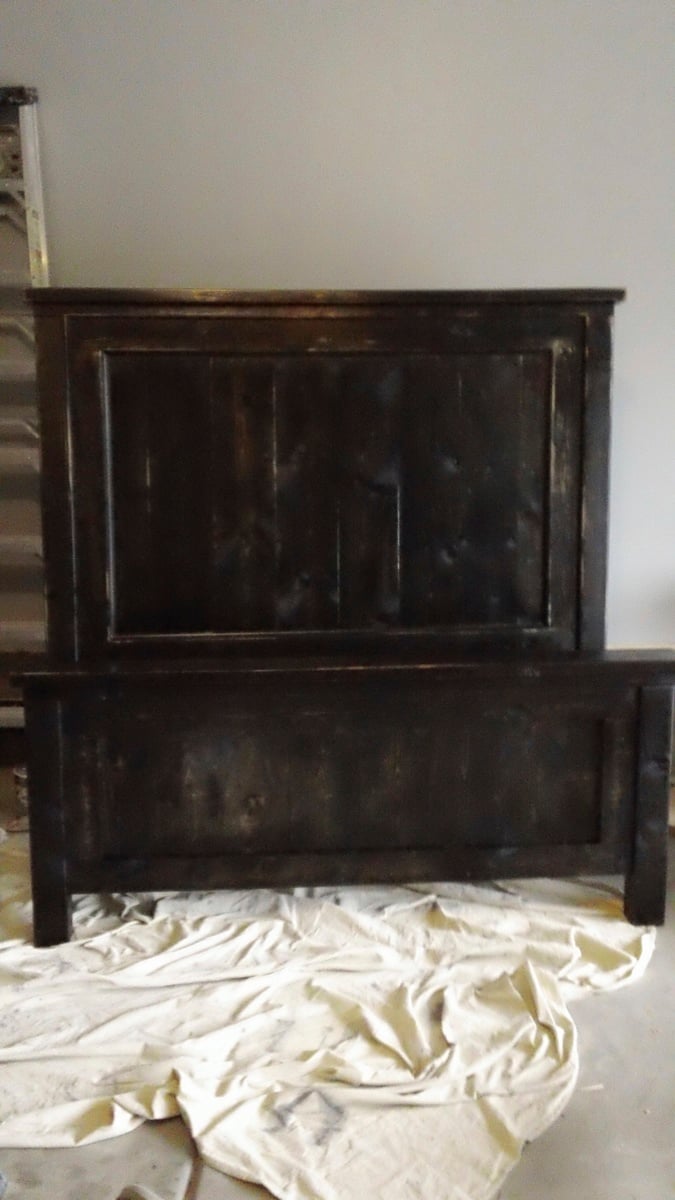
Queen Size Farmhouse Bed

Submitted by Yodannos on Sun, 06/09/2013 - 13:28

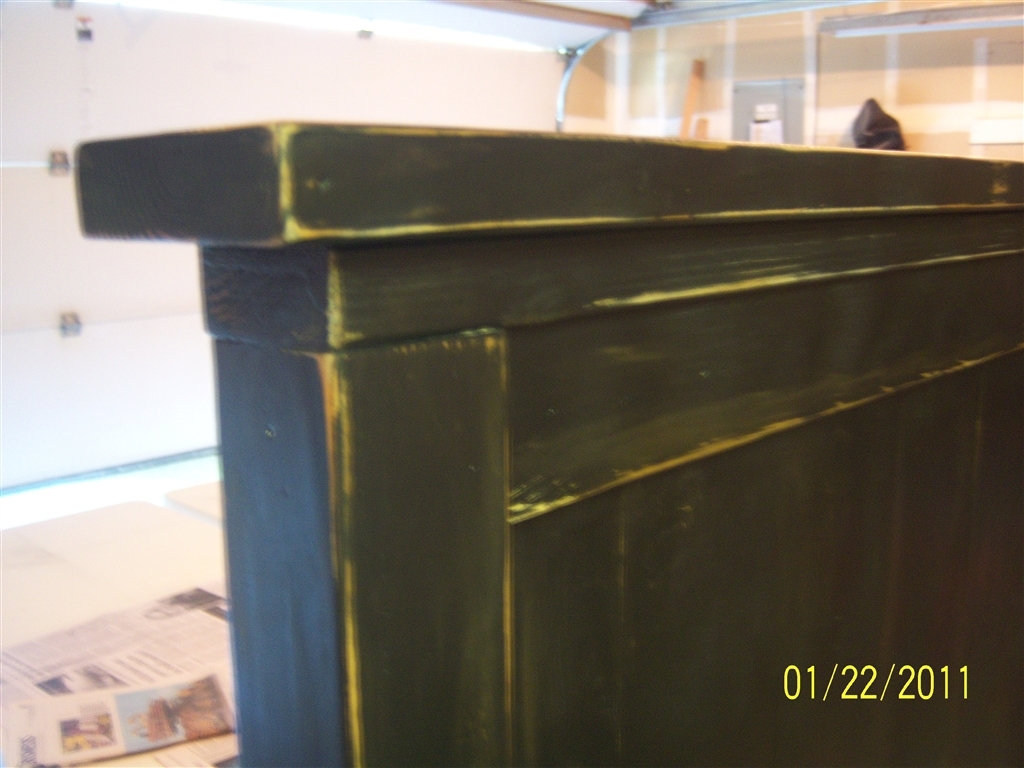
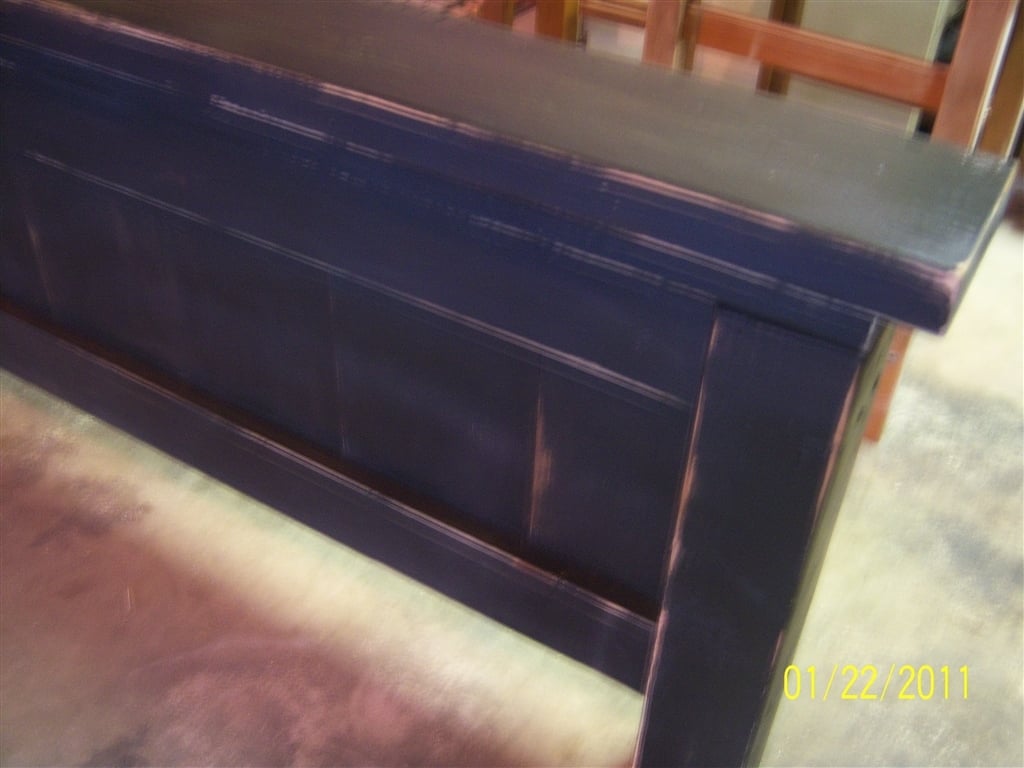
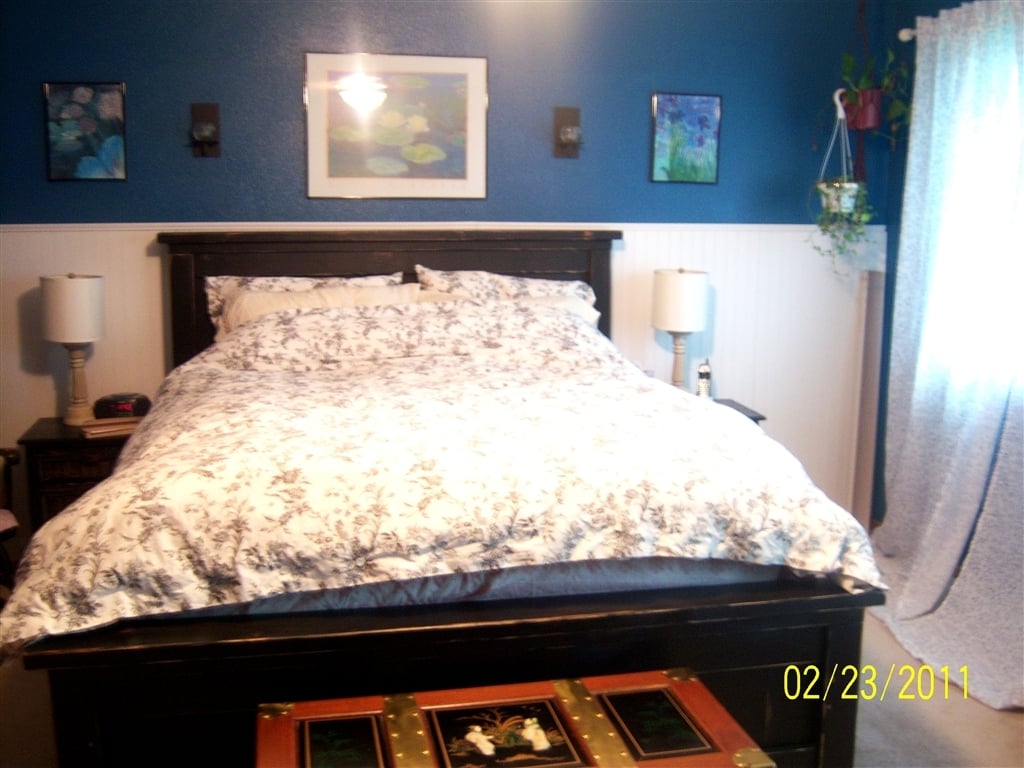
Modified Queen Farmhouse for a rental unit that we have. I changed the heights of the head/footboard to give it a taller look.

Built from Plan(s)
Estimated Cost
$200
Estimated Time Investment
Weekend Project (10-20 Hours)
Finish Used
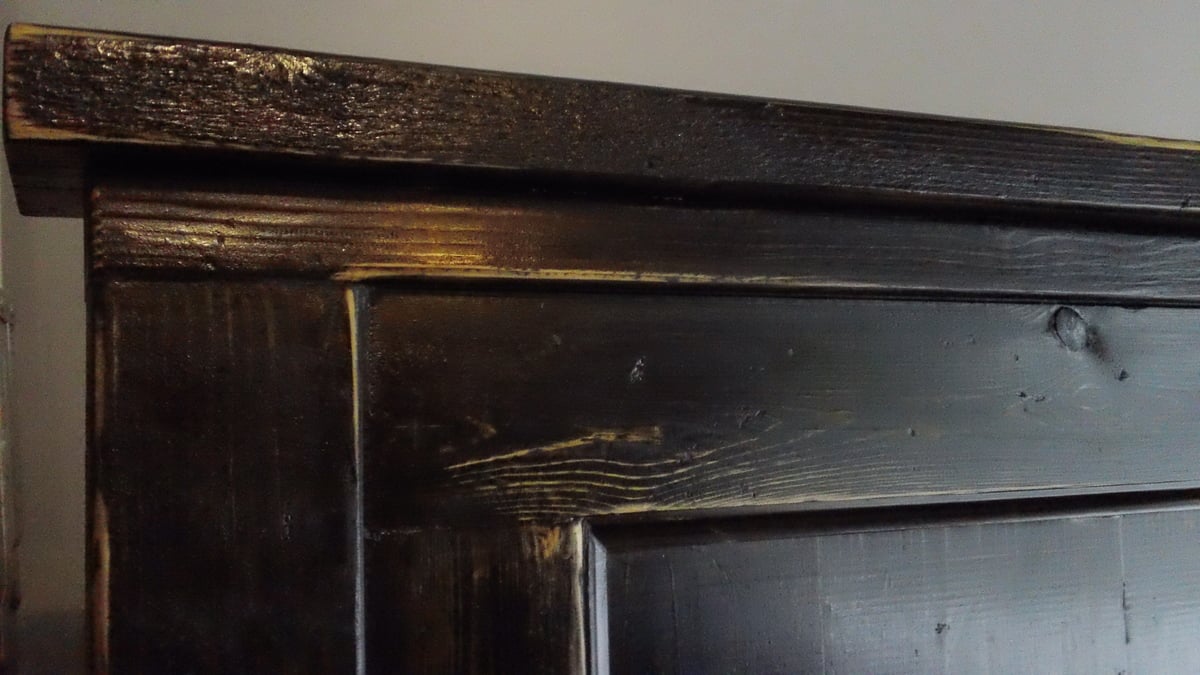
Minwax ebony (3 coats). Antiqued by sanding various edges. 2 coats of satin polyeurethene.
Recommended Skill Level
Intermediate

Comments

Full Size Bed Headboard

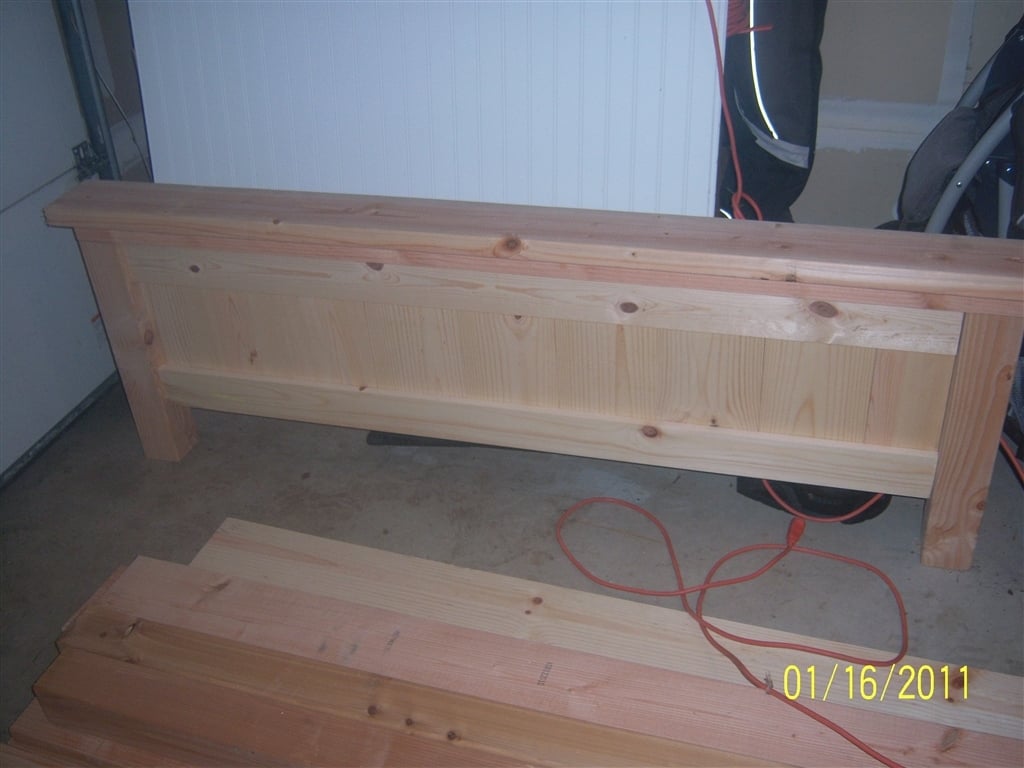
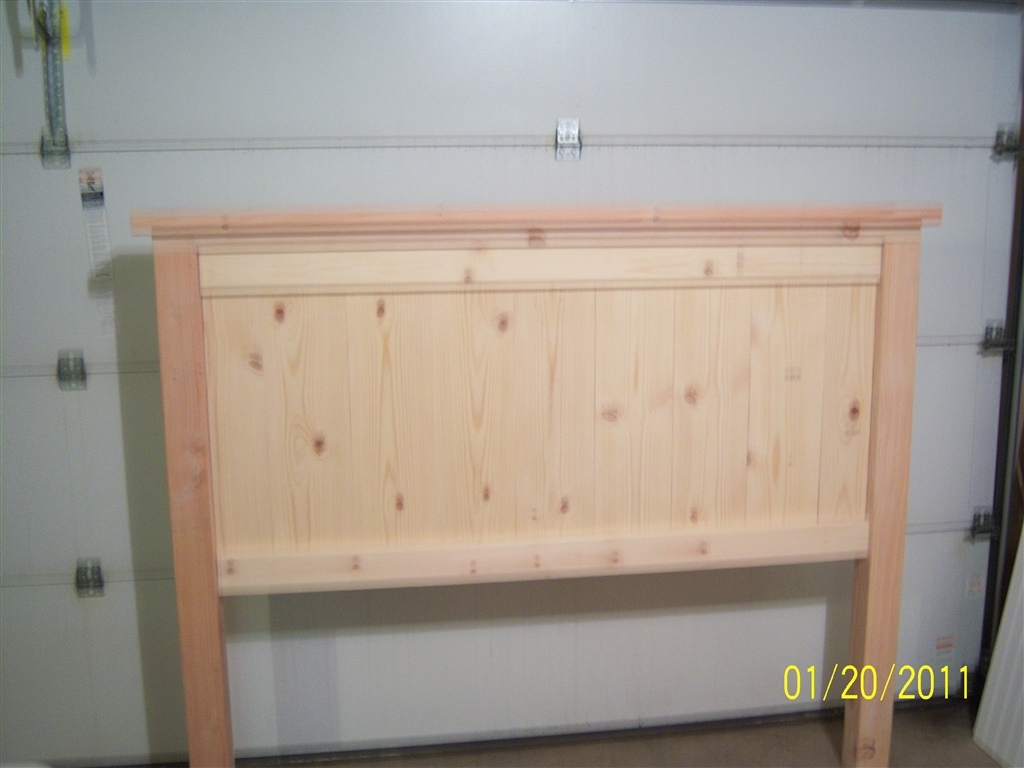
Headboard with tongue and groove boards for the face.

Estimated Time Investment
Afternoon Project (3-6 Hours)
Recommended Skill Level
Beginner

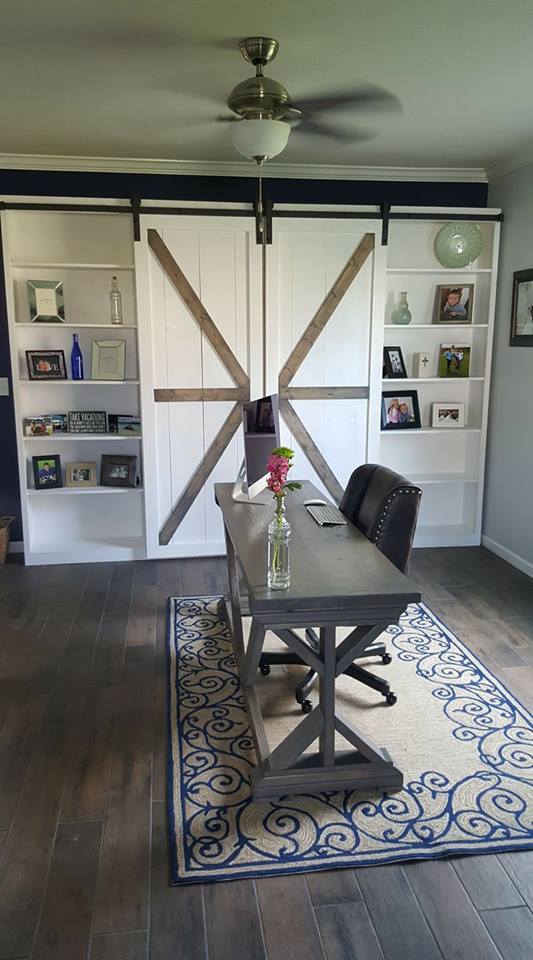
Barn Door Storage Wall and Trestle Desk

Submitted by Anonymous (not verified) on Mon, 10/23/2017 - 10:14


Some of my first builds... I built this wall unit with sliding barn doors and the desk in front of it.

By Kraig Faulkner

Recommended Skill Level
Intermediate

Comments

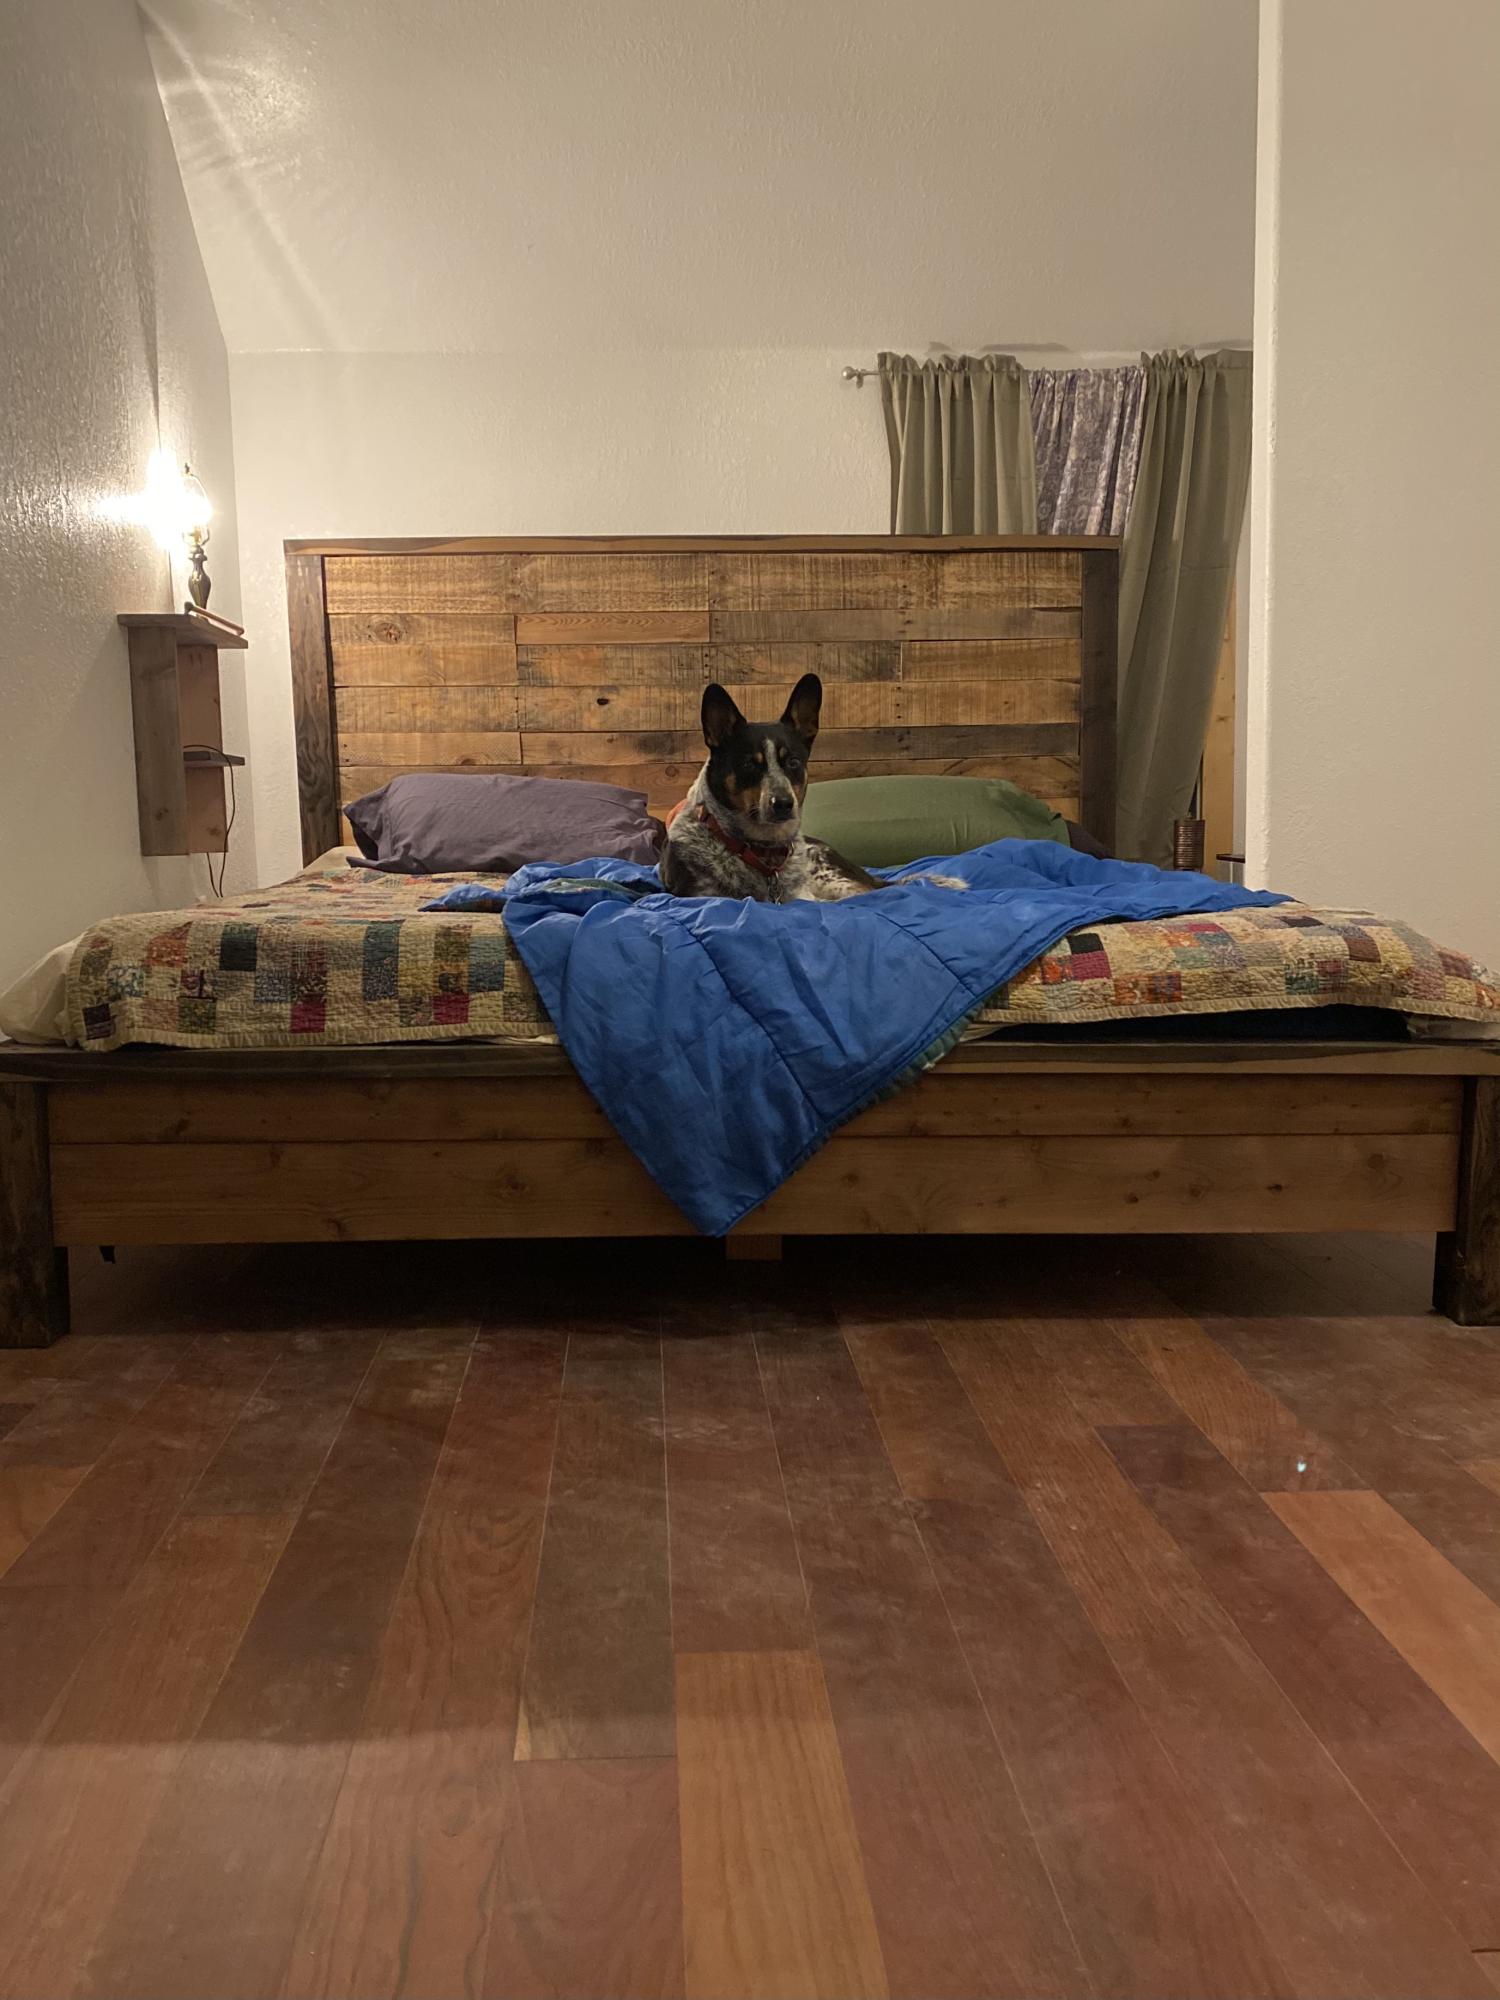
Modern Farmhouse Bed

Submitted by Anonymous (not verified) on Fri, 11/05/2021 - 13:34

After living in a 19ft travel trailer and touring the country, moving every three months as a travel nurse, for four long years, it was awesome to build our bed frame!
I swapped out the 1x4s on the headboard with pallet wood, and finished the whole thing with 000 steel wool and vinegar stain.
Absolutely love it! And man! Do we sleep well now!!!

Built from Plan(s)

Comments

Planters

Submitted by Liz H. on Thu, 03/31/2011 - 11:33

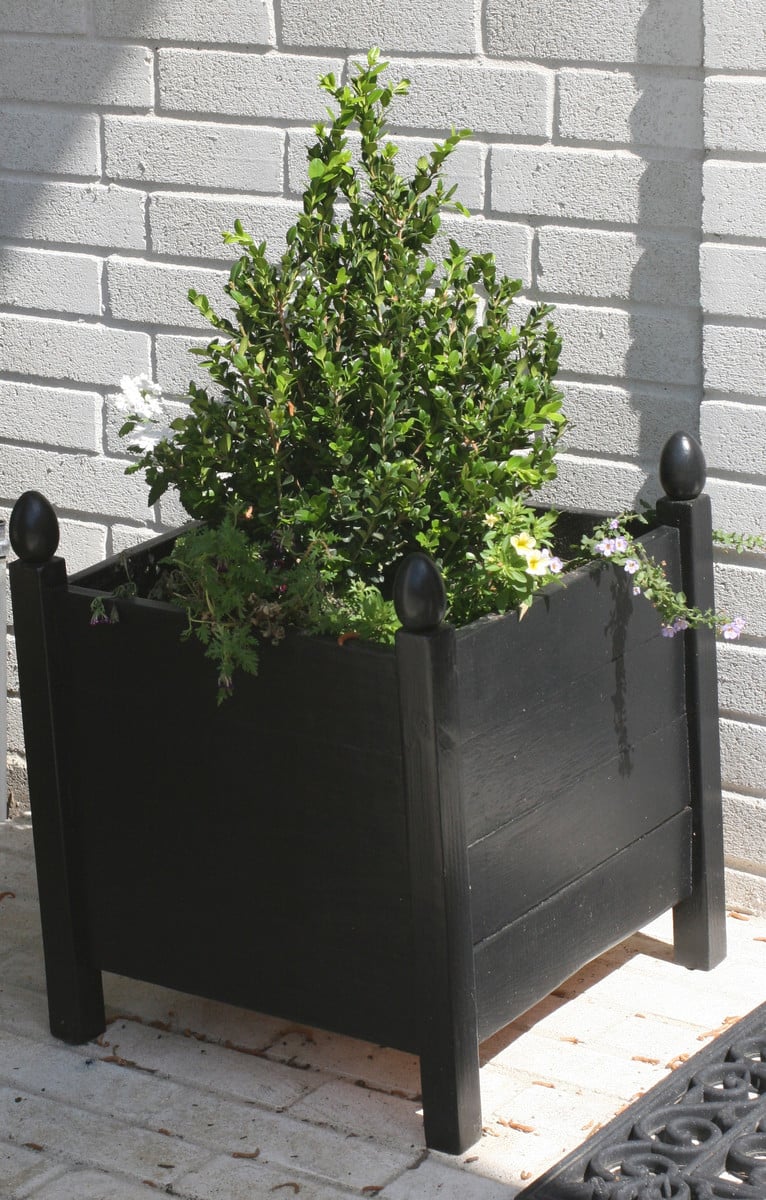
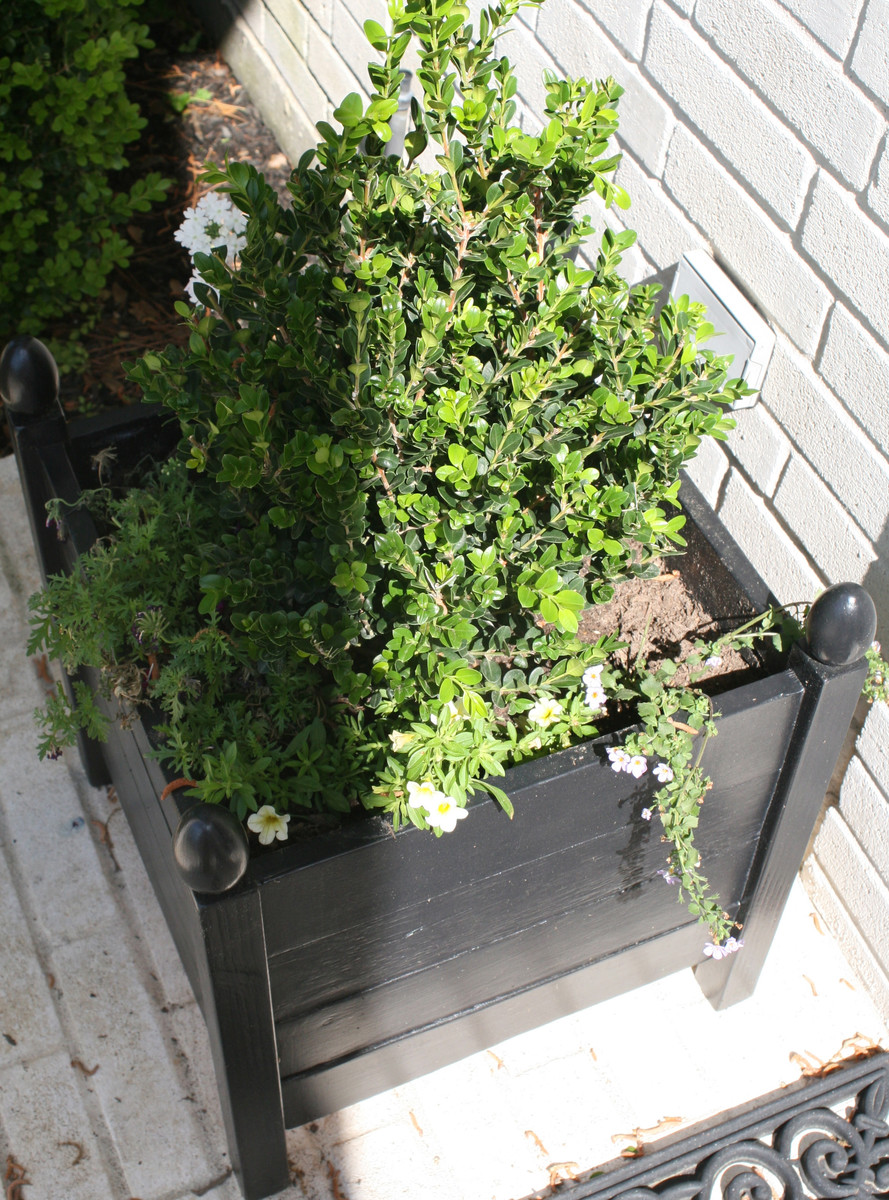
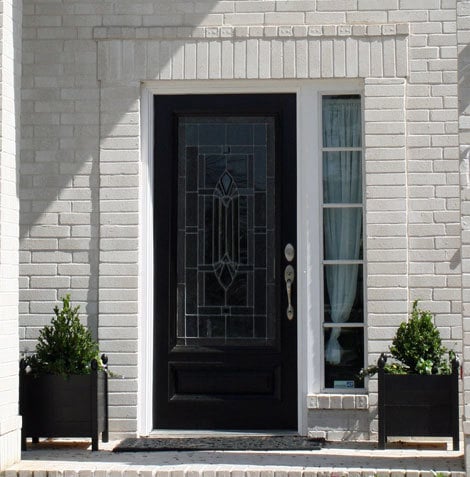
This was a fun easy build...I took the toy box plans and used 1X4s instead of solid sides and bottom.  I cut the legs short and put finals on.  

Estimated Cost
$25
Estimated Time Investment
Afternoon Project (3-6 Hours)
Finish Used
Black outdoor paint.
Recommended Skill Level
Starter Project

PICNIC TABLE THAT CONVERTS TO BENCHES ~ Cedar Finish

Submitted by Tonya P on Mon, 06/10/2013 - 19:50

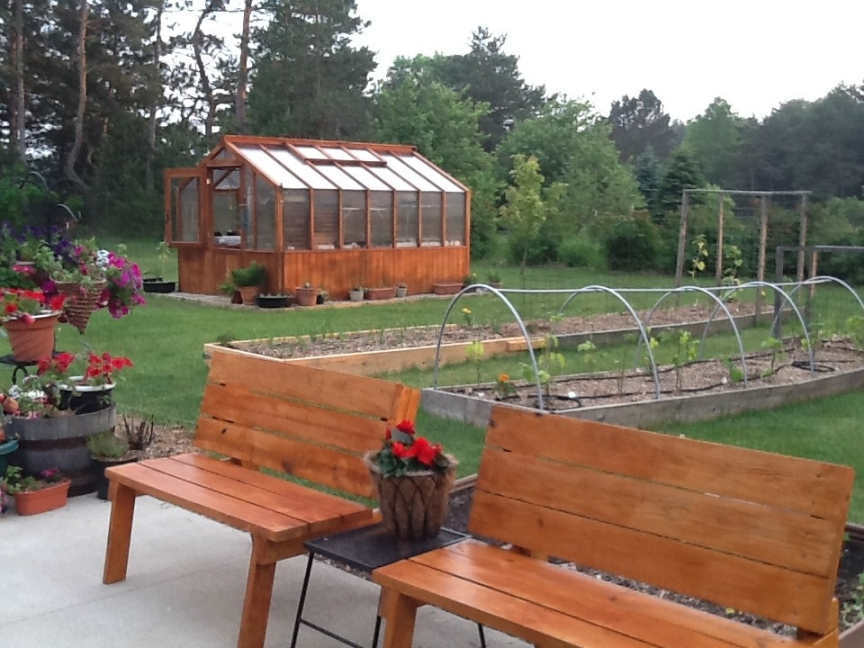
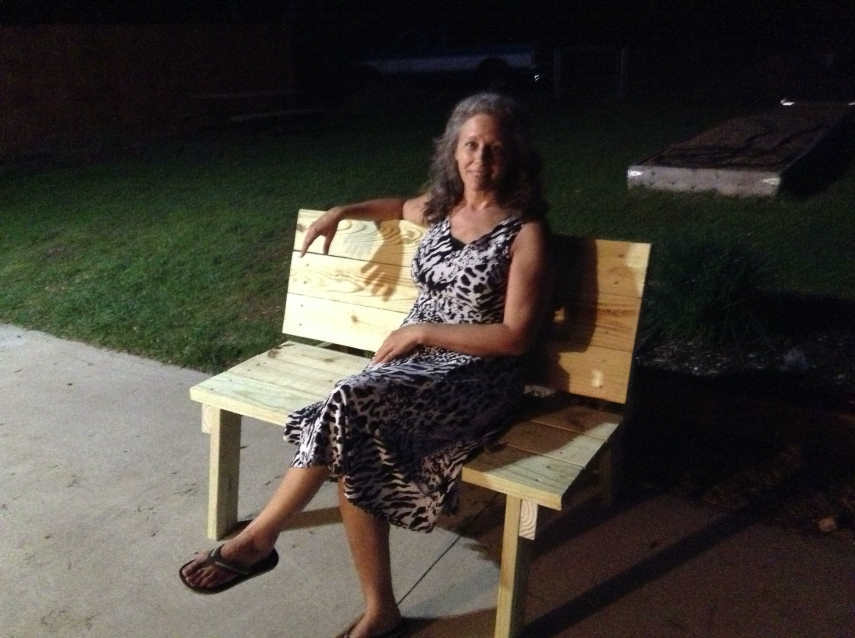
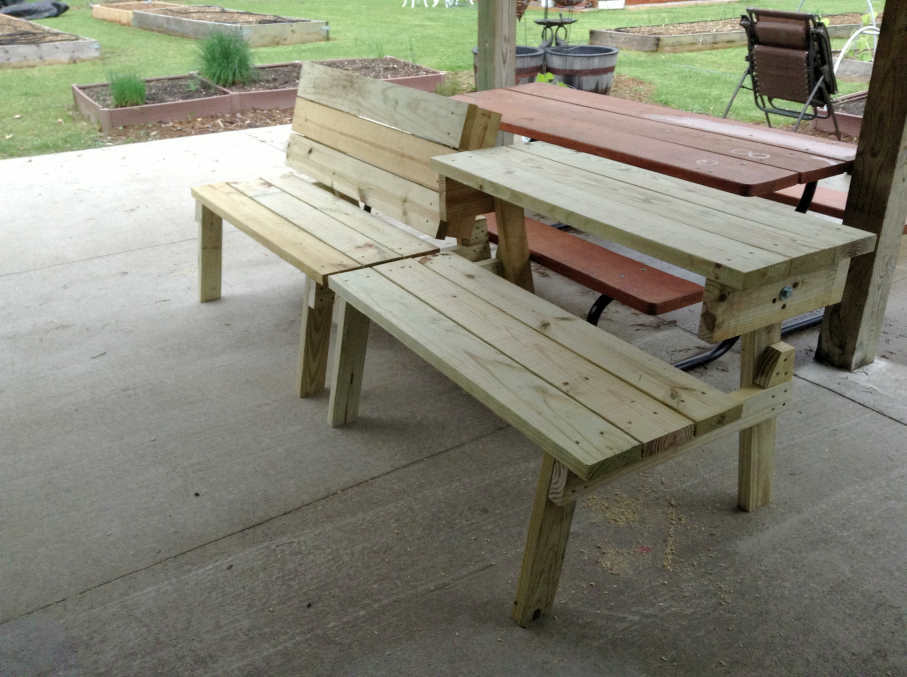
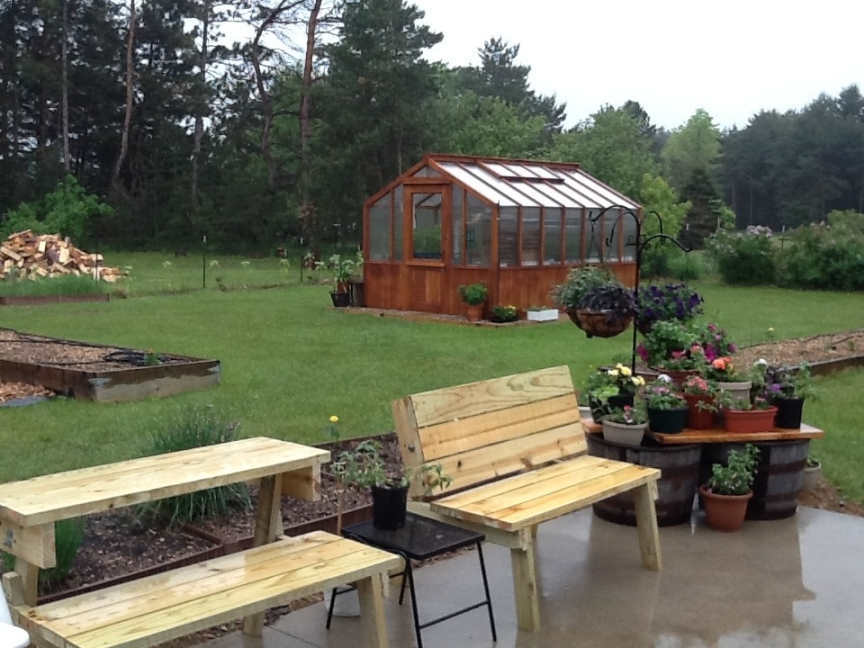
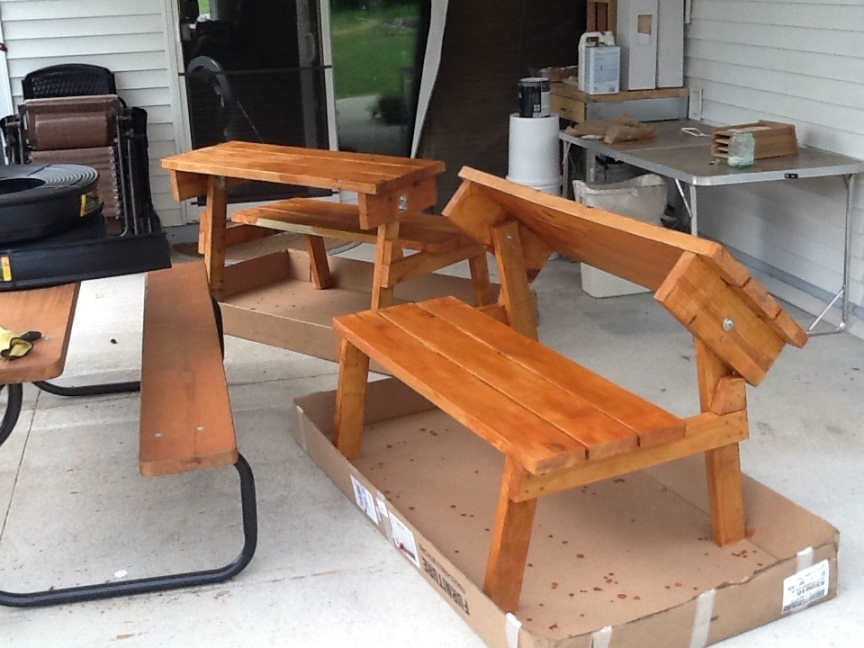
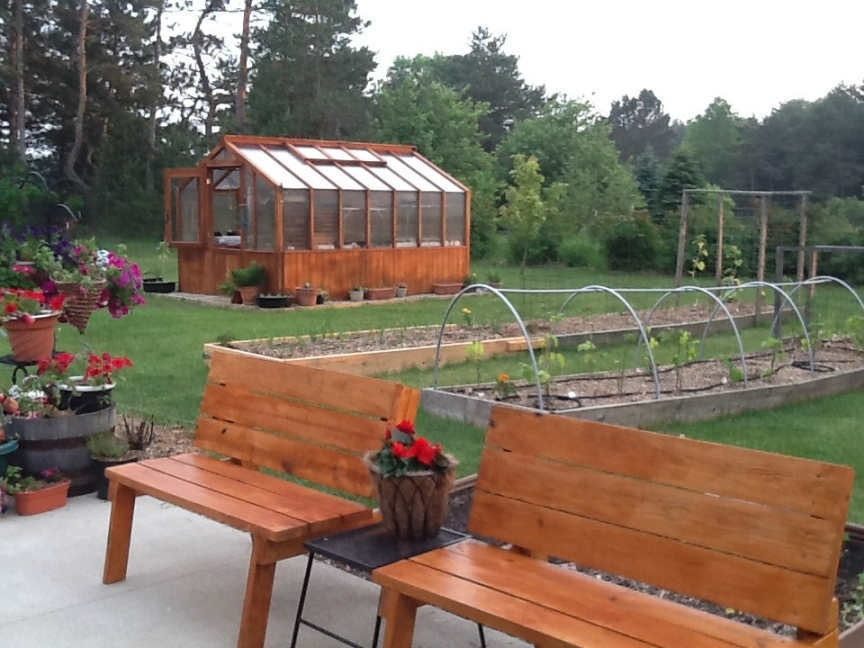
I saw a type of this for sale at Costco for $109 (for just ONE bench, not a pair). It' looked nice, and I almost bought it, but it had metal legs and trim and I wanted more of a natural look to go with my Cedar theme that I have going in my back yard garden/patio/greenhouse area. After seeing it in the store, I did an online search to see if I could find something a little more organic in nature... imagine my surprise when Ana's version of the bench/table came up! I looked over the plans and thought... well, I made the modified Farmhouse Table via her excellent instructions, I can surely do this! I did make a small change, I cut small pieces of wood to use as stops for the backs of the benches, instead of using holes and bolts to hold the backs at an angle that is comfortable. You can see this in the pictures, they are just beyond the back of the seat boards, on the leg supports. Thank you Ana! It was easy, quick, and they look SO good on my patio. I will be making more, maybe even selling a few because so many have asked me if I might :) I figure the cost was about $65 for both benches. A great deal and a fun project! Patrick really has to refrain himself from wanting to "help" me, but I am determined to do it myself... and low and behold! With Ana's generous free plans and inspiration, no problem!

Estimated Cost
$65 for the two
Estimated Time Investment
Day Project (6-9 Hours)
Finish Used
Cedar Stain. The project was not stained until the benches dried out for several days. They were built using green treated lumber, so they needed to dry out well before staining.
Recommended Skill Level
Beginner

Comments

Kabarie

Wed, 07/17/2013 - 13:11

Oh, great job!! I love it. The back stops for the bench is a great idea because those bolts are expensive! I'm going to do the same. Thank you for the idea!

Seasonal And Holiday

Farmhouse table

Submitted by Chalkie on Wed, 11/10/2021 - 16:49

We moved into our house 2 years ago that was built in 1935. We recently decided to knock a wall down separating our kitchen and dining room to make it 1 large kitchen with a dining table. While removing the wall, I decided to repurpose those old 2x3 wall studs into our dining table. The wall also contained random 4x4s, which was perfect for the legs. It took a while for me to figure out what kind of leg style would work with the amount of wood I had to use. The fancy X farmhouse table was the perfect leg design for what I needed. I must say, wood from the 30s is MUCH different than the wood today.
Built from Plan(s)

Comments

Farmhouse table & bench!

Submitted by jamie_C on Sun, 04/03/2011 - 19:42

This was quite the project- took us several weekends to finish (we don't have a garage or really any good working area- we rent.  Oh and we also have a toddler).  We assembled the table in the living room, stained it on our front sidewalk, did a couple coats of poly in the backyard, and finished the last coat of poly in the dining room!  (we know how heavy this table is, that's for sure!  We modified the original farmhouse table dimensions so that this table would fit in our oh-so-tiny dining room.  As you can tell, we also decided to build a bench to go with it.  We are extremely pleased with the results!

Estimated Cost
$125
Estimated Time Investment
Week Long Project (20 Hours or More)
Finish Used
Used wood filler on screw holes, and did LOTS of sanding. Used two coats of Cabot Early American stain. Followed by 3 coats of polyurethane, and 2 coats of Minwax Polycrylic on the table top.
Recommended Skill Level
Beginner

Home Depot Adirondack Chair

Submitted by Seth on Wed, 06/12/2013 - 12:07

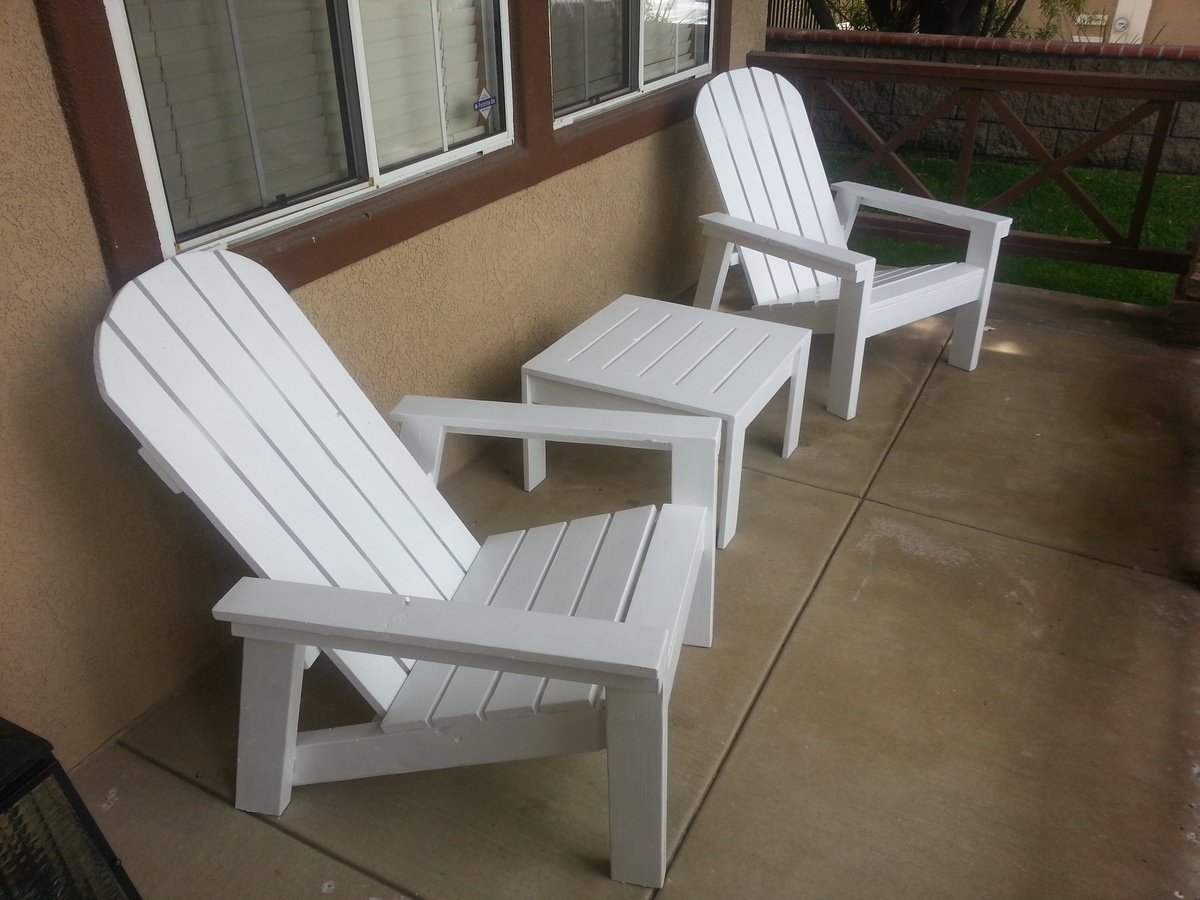
A few weeks ago my wife said she needs a footstool for our rocking chair while she rocks the baby to sleep. Being a sneaky husband, I quickly began planning to build her one because I knew I wasn't going to be able to find anything commercially sold that matched our baby room colors. A week later I have 2 Adirondack chairs, a table, a bunch of tools I didn't have before, and no footstool.... So about the chairs...The plans were super easy and well thought out. I learned a few things about cutting angles, which if you look closely you can see the seat portion does not extend to the front legs. Instead of wasting more wood, I simply adapted the plans. This makes the backs of the chairs sit upright more, but I actually like it because I have a bad back. We sanded it with 150 grit sand paper, and should have done a second sanding with a finer paper, but we didn't. I primed the wood with a basic multi purpose primer and then painted with BEHR outdoor white semi-gloss. I wanted to seal it with a poly, but Home Depot did not recommend sealing with with Poly, and I could not find a Poly in Home Depot that did not warn AGAINST using it on painted surfaces. Oh, and make sure you wear eye protection! Dust in the eyes is brutal. Fortunately I have a kind wife who washed them out for me. :) Now I have a nice pair of clear glasses.

Estimated Time Investment
Day Project (6-9 Hours)
Finish Used
BEHR white semi-gloss exterior paint

They only needed 1 coat of primer and 1 coat of paint. This paint was really thick.
Recommended Skill Level
Starter Project

Comments

Wardrobe

Submitted by meckylang on Sun, 05/17/2015 - 08:50

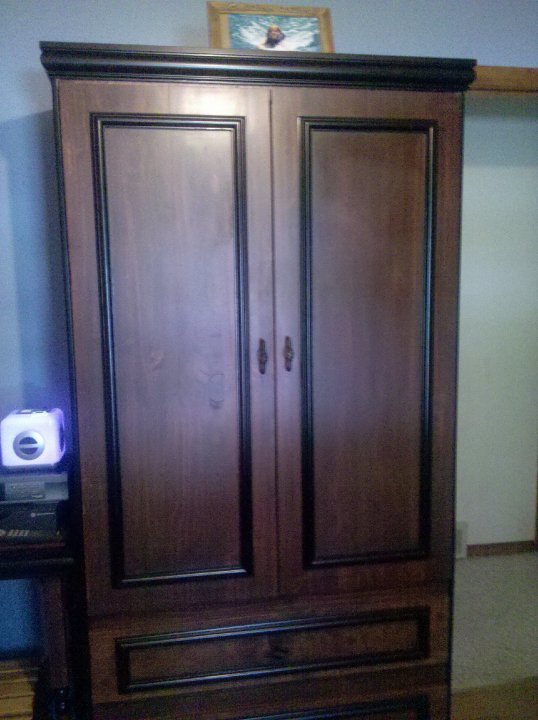
I built this wardrobe for my daughter. I wanted cubbies to keep her folded clothes neat and easily accessible, yet giving her two drawers for undergarments and accessories.

Finish Used
Dark cherry stain on main parts. Black paint used on all of the trim.
Recommended Skill Level
Intermediate

Sideboard and floating shelves

Submitted by knollgf on Tue, 12/05/2017 - 20:35

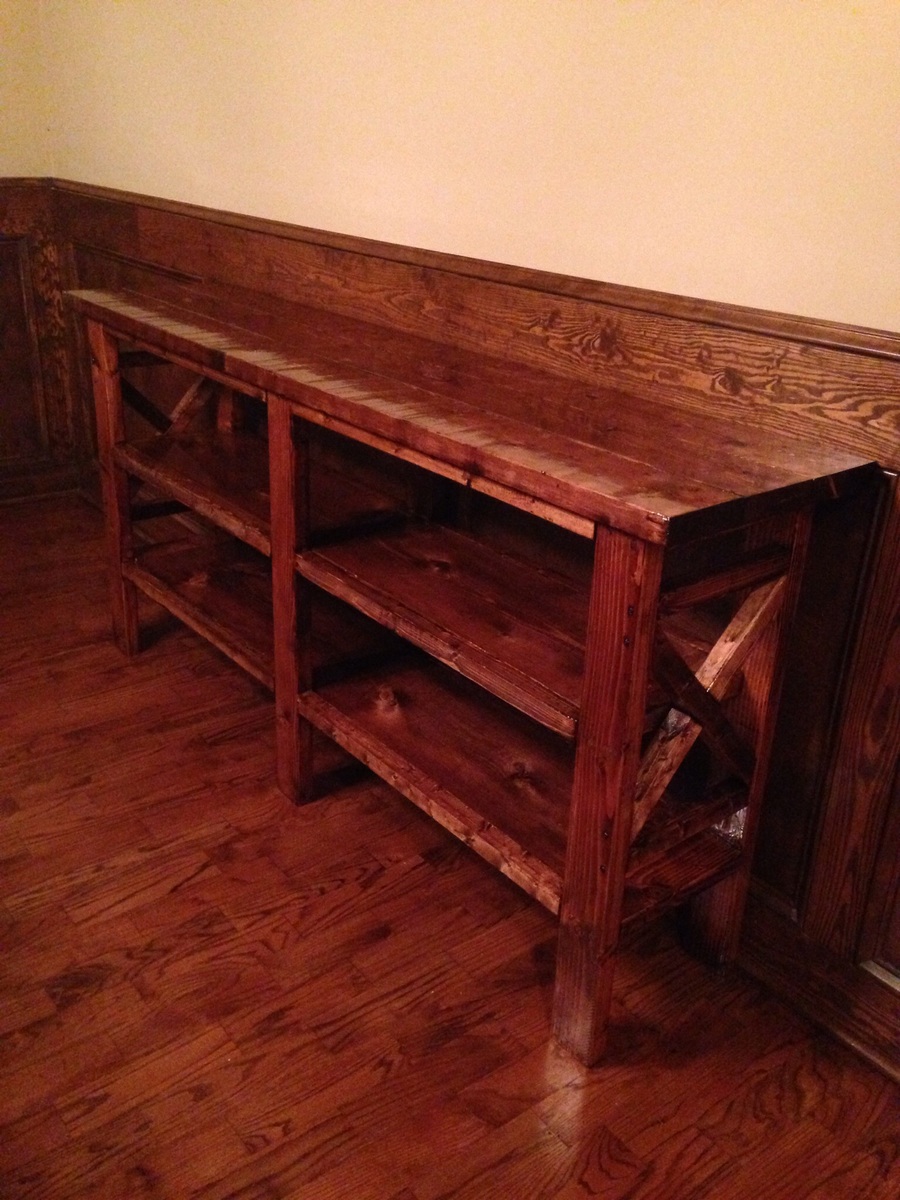
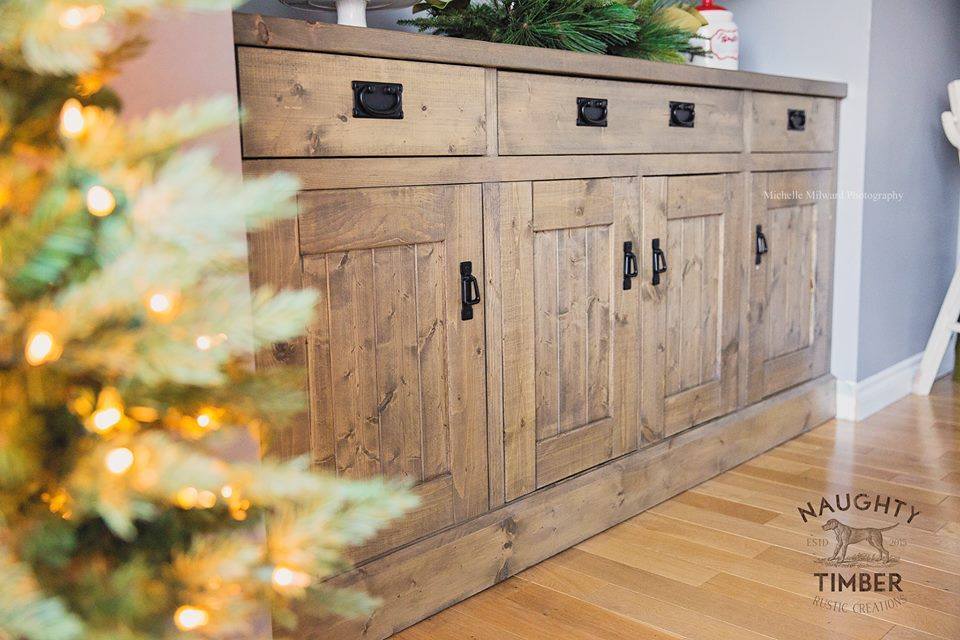
My wife wanted a piece for our dining room. This was a easy weekend project. I had to modify the size to fit my space. I decided to use red oak for the top. It was more expensive but is a much harder wood with a nicer finish. I made the hardware myself from aluminum flat bar. 

Estimated Cost
$200-$300
Estimated Time Investment
Weekend Project (10-20 Hours)
Finish Used
Flat white base
Espresso top
Recommended Skill Level
Beginner

Comments

Seasonal And Holiday

Easy Clip Art Rails

Submitted by MeghanAnn on Tue, 04/05/2011 - 05:37

I had been holding onto some Martha Stewart Alphabet Cards since my, now 3 year old, son was a baby.  Some of them had been drawn on : ) so I couldn't hang up the alphabet, but I got creative with spelling some words out instead.  I am so thankful for Anna's plans, I finally found a way to hang these without buying a lot of picture frames!  My son loves them, and hangs his paintings and photos often.
Built from Plan(s)
Finish Used
Luscious Green spray paint by Valspar at Lowes.
Recommended Skill Level
Starter Project

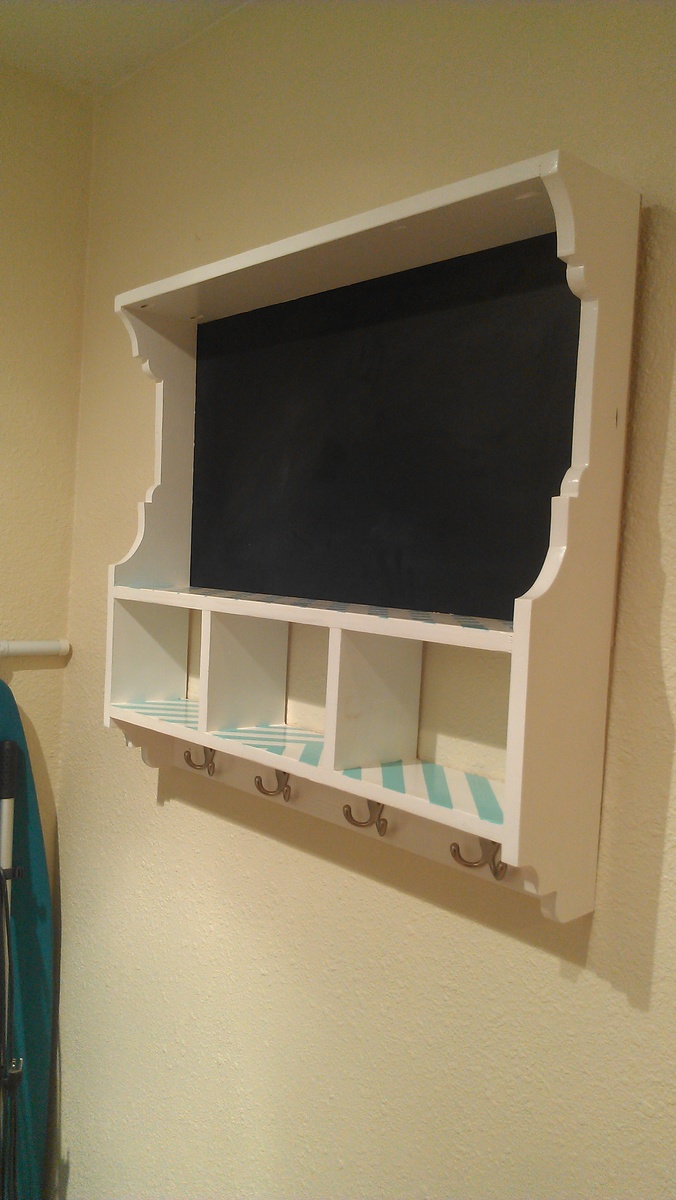
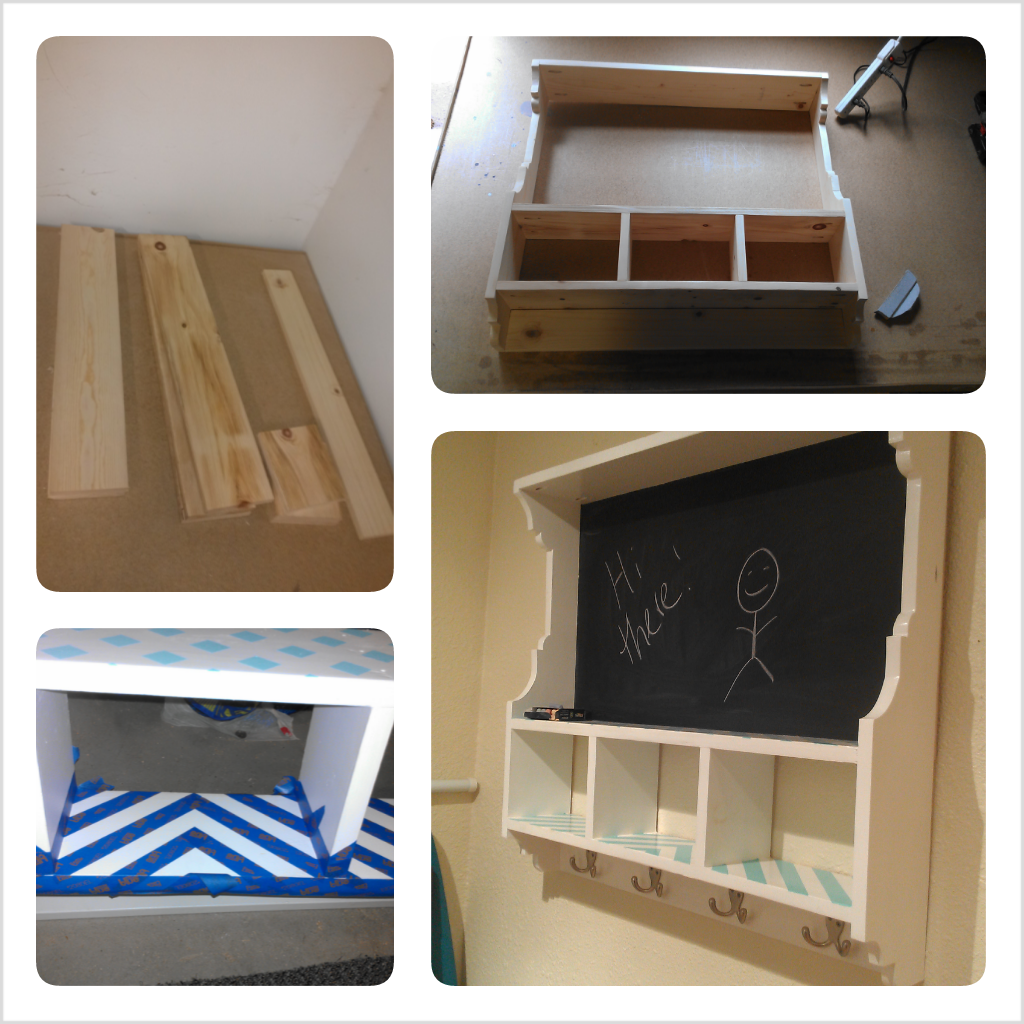
Chalkboard Cubby

This cubby was my very first project! I just finished remodeling my kitchen, all that was missing was a place for my keys, dog leashes etc. My little house doesn't have a proper entryway so I created a "welcome station" with this cubby. The trickiest part was definitely cutting the sides, but I was able to get those tight circles with a little forethought and a lot of sanding :) I used leftover paint and samples from choosing colors for the kitchen, so it automatically coordinated with the rest of the decor.

Built from Plan(s)
Estimated Cost
~$40
Estimated Time Investment
Day Project (6-9 Hours)
Finish Used
3 coats of Behr "Polar Bear" white paint and samples (Rainwater, also Behr) with LOTS of taping! I think I spent ore time taping than I did actually painting! I also did 3 coats of clear satin coat. I didn't sand in between because I like the look of brush strokes :)
Recommended Skill Level
Intermediate

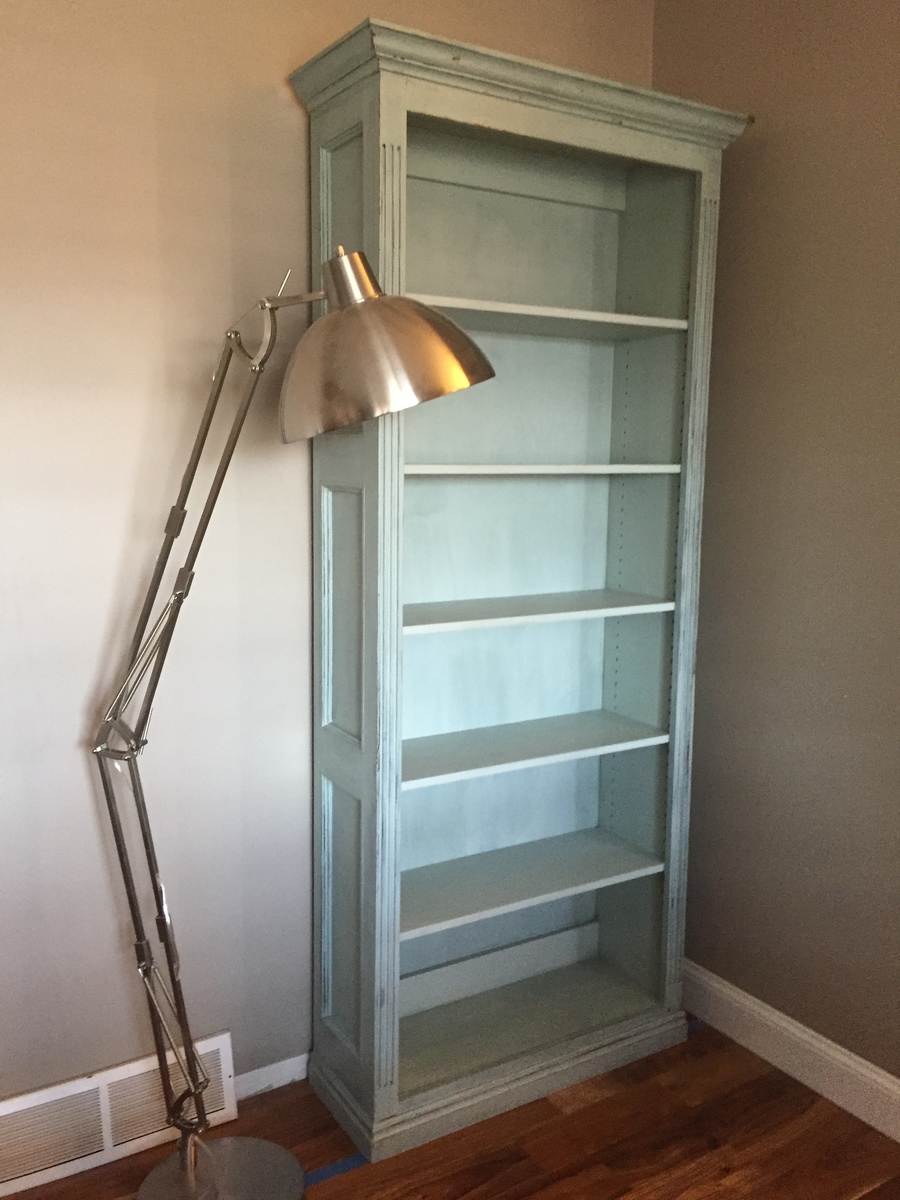
Ballard Design Bookshelf Knockoff

Submitted by marenras on Wed, 05/20/2015 - 14:09

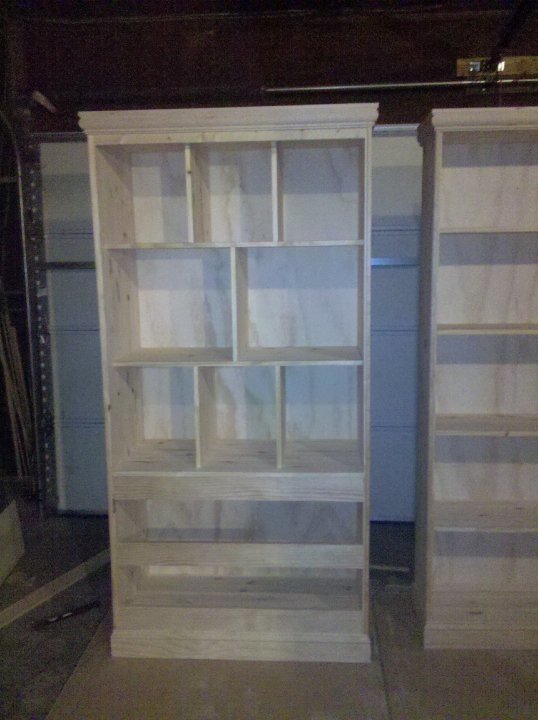
I fell in love with the Ballard Designs Turin bookshelf. But it was way too expensive and not the right size for my space. So I made up my own version!

Made from plywood with a poplar face frame. For the side panels I just nailed on poplar rails & stiles, then routed a simple cove molding with my router. The base molding and crown molding I bought by the foot from HD. I routed the fluting on the face frame with a hand held palm router and a small U-groove bit.

Estimated Cost
$100
Estimated Time Investment
Weekend Project (10-20 Hours)
Finish Used
Custom color milk paint. I used Old Fashioned Milk Paint in oyster, soldier blue, and tavern green, in a ratio of 3:1:1/2. First, I stained the piece in dark walnut. Then I rubbed on furniture wax in the areas I wanted the milk paint to resist. I applied the milk paint, lightly sanded to distress, then waxed everything.
Recommended Skill Level
Advanced

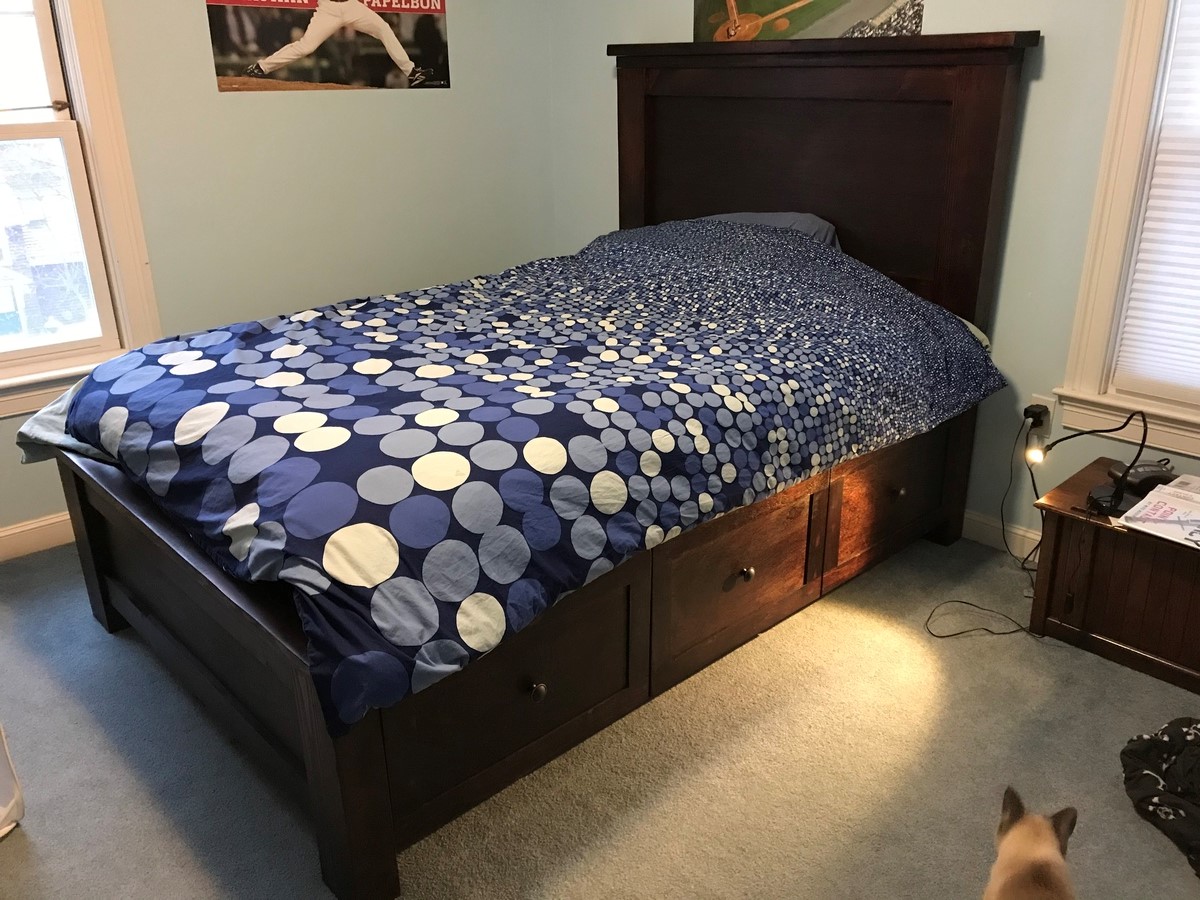
Full Farmhouse Bed with mods

Submitted by Kingsamui on Thu, 12/14/2017 - 16:29

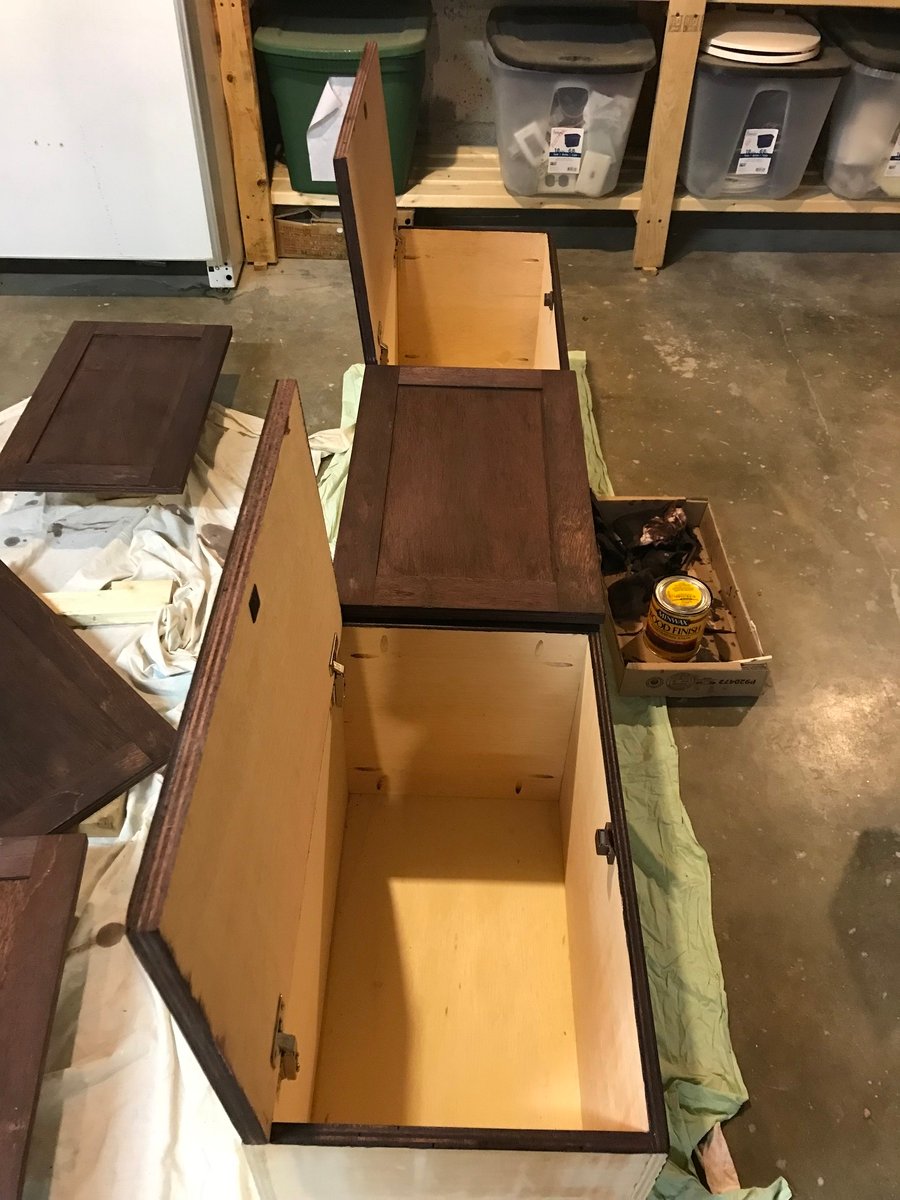
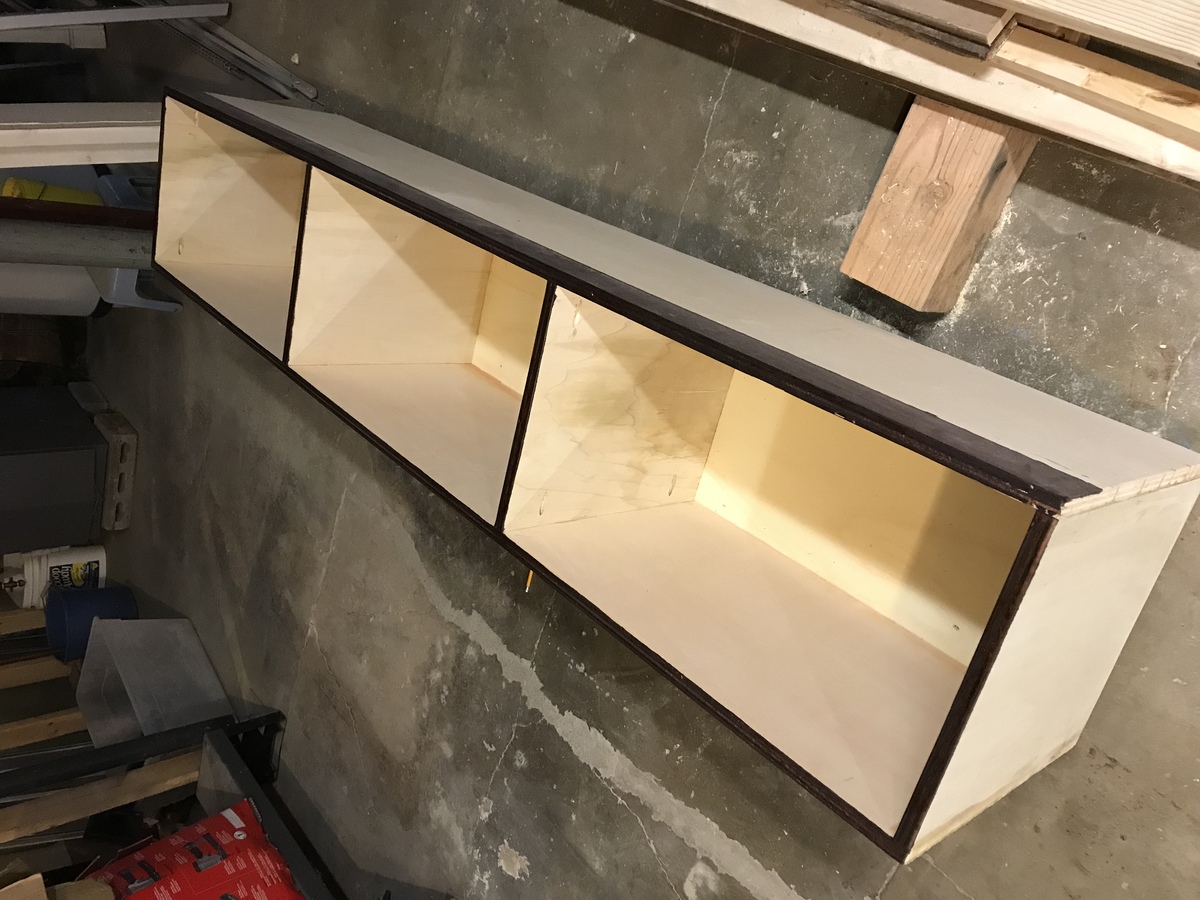
Made the standard full farmhouse bed with storage, but did a couple modifications. 1) Didn’t use drawers, but wanted closed, not open cubbies. I made the drawer fronts and then attached with full overlay hinges and magnetic catches do they open from top down like a horizontal cabinet. 2) built the slats as two, one piece slat frames which sit on the cleat so that they can easily be removed for the extra long term storage between the cubby boxes. Just lift mattress and the two pieces of slats and lots more space. 

Estimated Time Investment
Week Long Project (20 Hours or More)
Finish Used
Red Mahogany Stain and semi-gloss polyurethane
Recommended Skill Level
Intermediate

Lazy Susan

Submitted by heidi4kidz on Mon, 11/29/2021 - 15:28

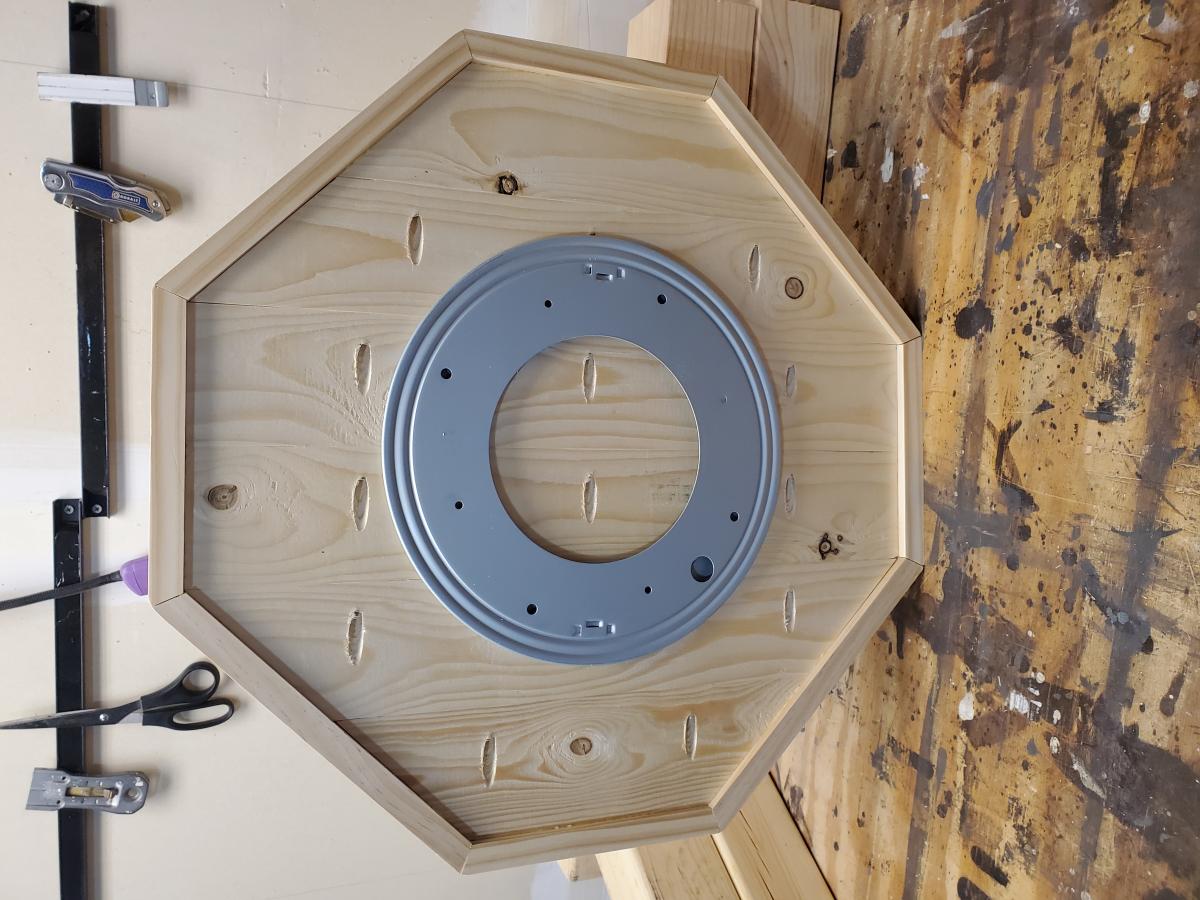
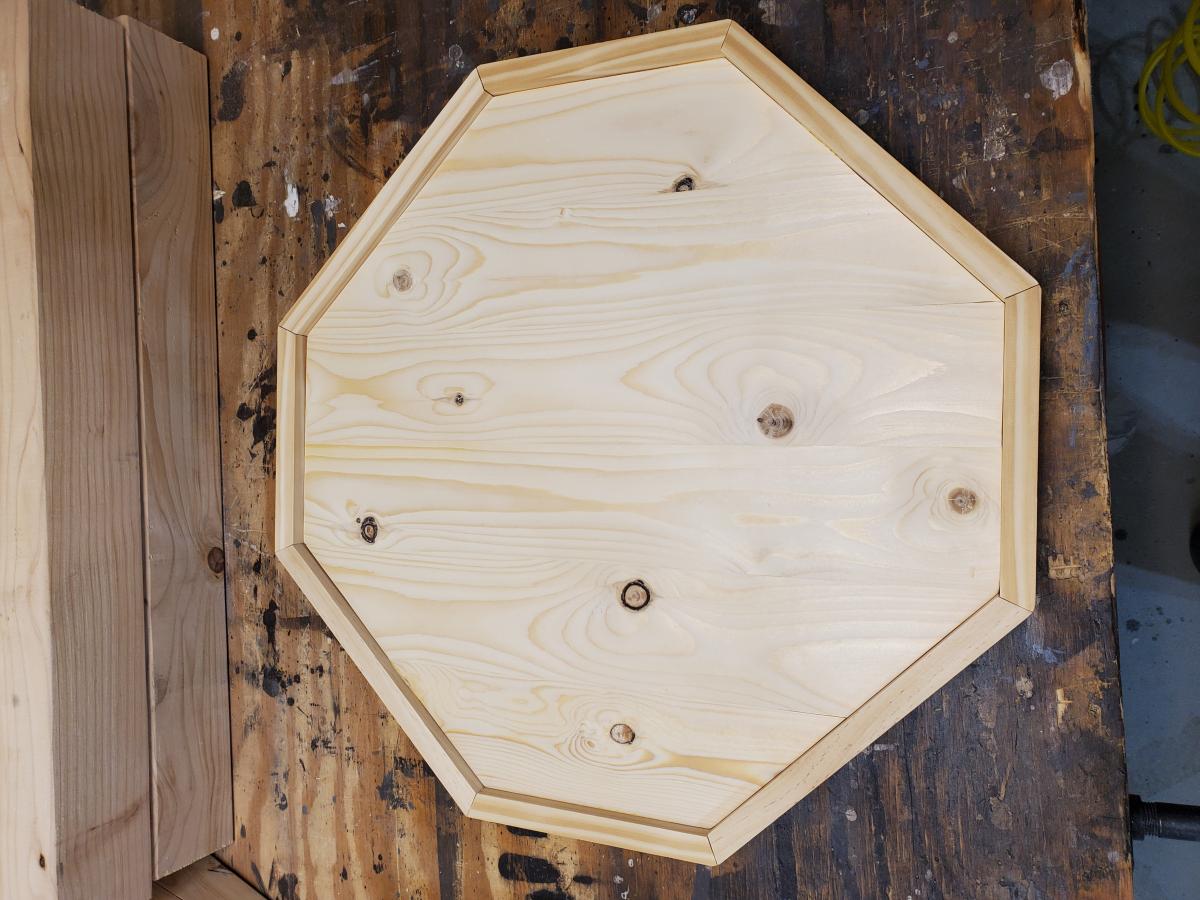
Made this for my moms caregiver for Christmas ❤

Comments

my very own Farmhouse style BED

I have been looking for a new bed for our master bedroom for a long time.  I just could not find one that actually fit ME.. the look and size.  Then I found Ana's website, wow I feel in love with it as soon as I saw it.  

I tried to talk my husband into making it for a Christmas present, but he was nervous to make it for fear he would not do well on the project.  Finally I talked him into making it for my birthday... WOW once he started on it things came together fast.  In no time I was out there sanding and painting and sanding some more..
Thank you SO much Ana!
Built from Plan(s)
Estimated Time Investment
Weekend Project (10-20 Hours)
Recommended Skill Level
Starter Project

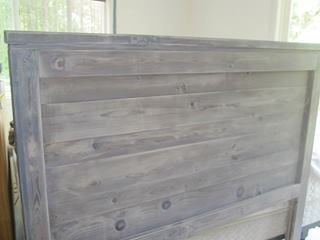
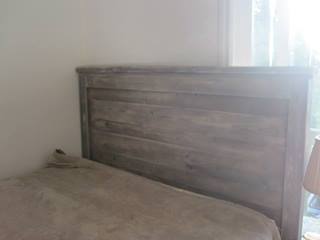
Headboard

Submitted by taurusbia on Mon, 06/17/2013 - 10:47

So this was my first project. It's not perfect, but I LOVED how it turned out!! A few lessons learned....
1) I know common sense would tell you to get the straightest boards, which I thought I did. When I went to put them together, a few were bowed. I tried to put those at the bottom.
2) I did end up putting a brace vertically in the middle on the back with left over 1x6. It just added a little more support.
3) Since I'm a beginner, I didn't know better, but go easy on the wood filler, especially if you are going to use any kind of opaque finish.
4) The only other thing I can think of, is unless you have someone to help you out, build this close to where you plan on putting it. I am in the middle of a remodel, so was able to build this in my bedroom. This sucker is heavy and awkward for one person to move when it's finished!!!
5) I built this with my finish nailer (2" nails) and wood glue. (Light on the glue...it expands quite a bit!)

Estimated Time Investment
Afternoon Project (3-6 Hours)
Finish Used
SOOOO excited about this finish!!!
I applied black tea with a paint brush, and thoroughly let it dry (a day or two). Then I applied my steel wool/vinegar "juice" that had been brewing in the garage about a month.
After that dried thoroughly, I sanded with my little electric sander (iron shaped). I think the grit was 120. I sanded across the boards, and along the edges, let it skip and jump where it wanted.
After vacuuming it, I applied Minwax Pickling Whitewash with a brush, let it sit a minute or two, and then wiped it off (with the grain) with a towel. I found it easier to work one (no more than two) planks at a time, or it was harder to wipe off.
Then I applied Minwax furniture sealing wax with cheesecloth.
Recommended Skill Level
Starter Project

Comments