Corona Coffee Table
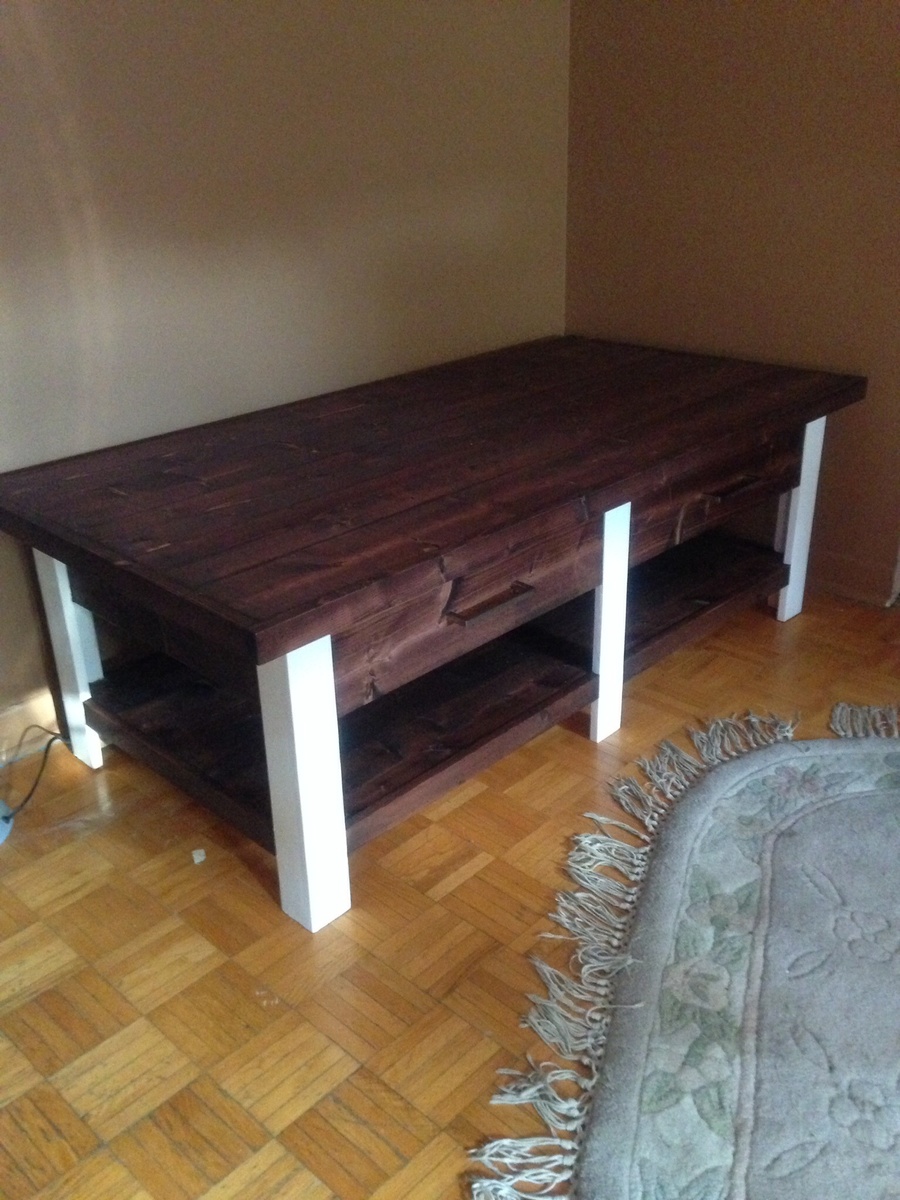
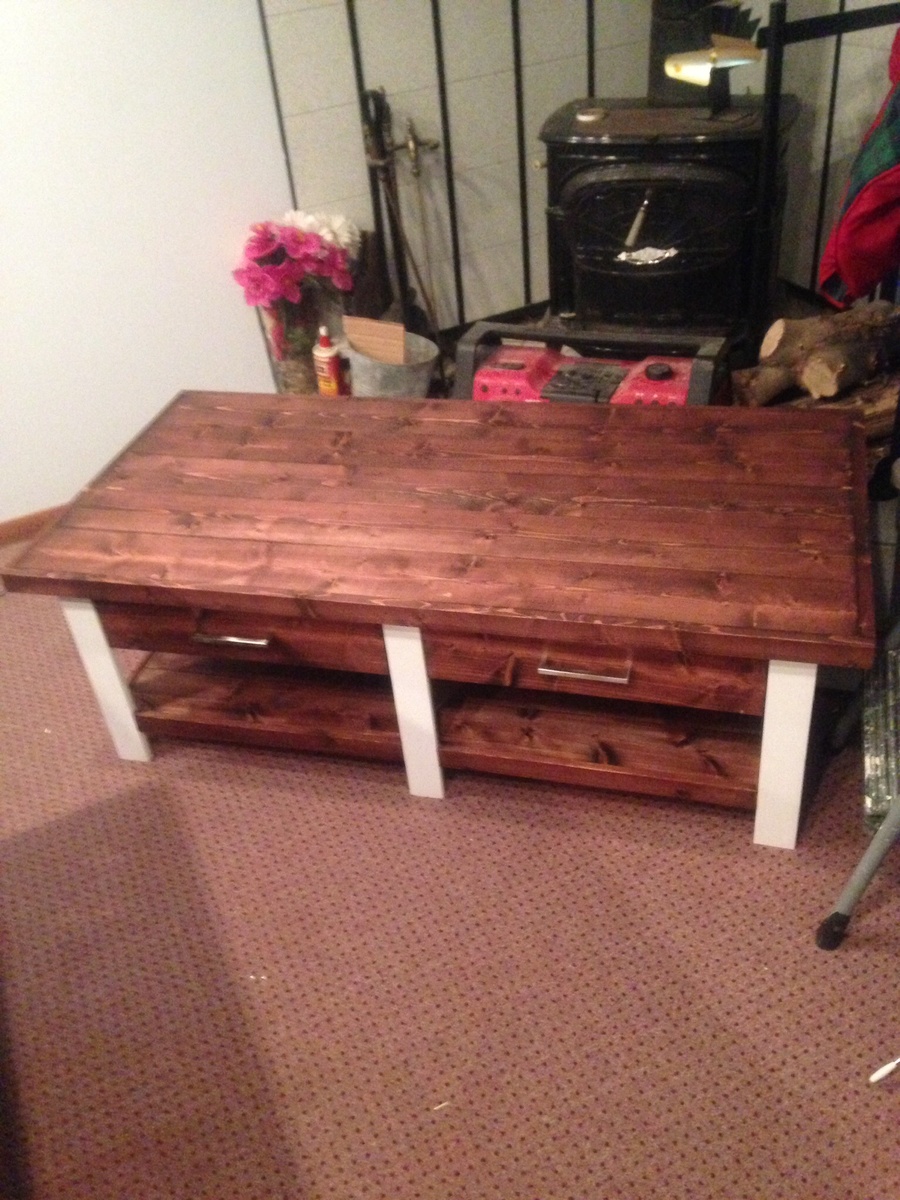
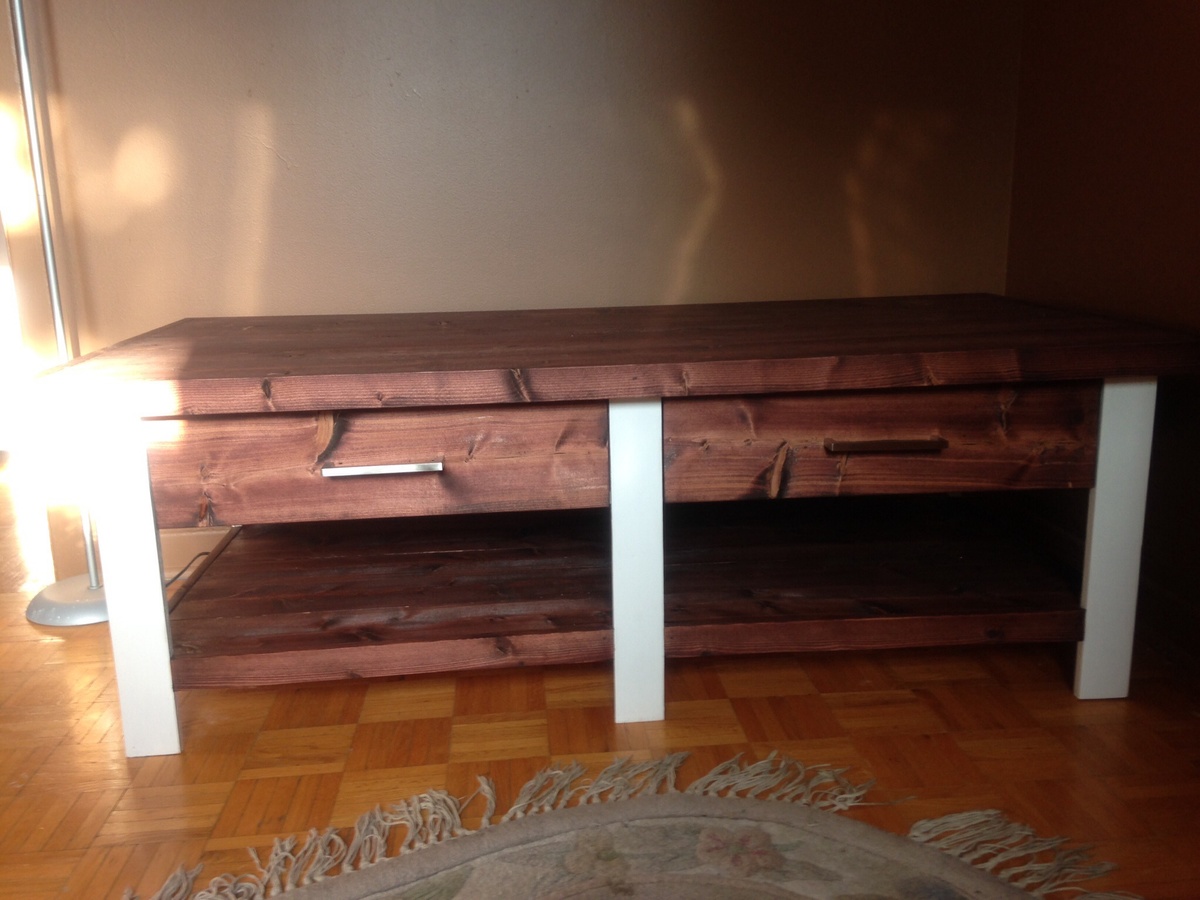
This was the second piece that I built using the plans here and I think it turned out great! Originally I was going to stain the whole project but my fiancee convinced me otherwise and I'm glad she did.


This was the second piece that I built using the plans here and I think it turned out great! Originally I was going to stain the whole project but my fiancee convinced me otherwise and I'm glad she did.


I had a fun time building this easy to follow project. A brad nailer does make a world of difference. I chose to stain the inside of the drawers but had to let it sit out for awhile before use. Thank you for posting this project, it has made my family very happy.

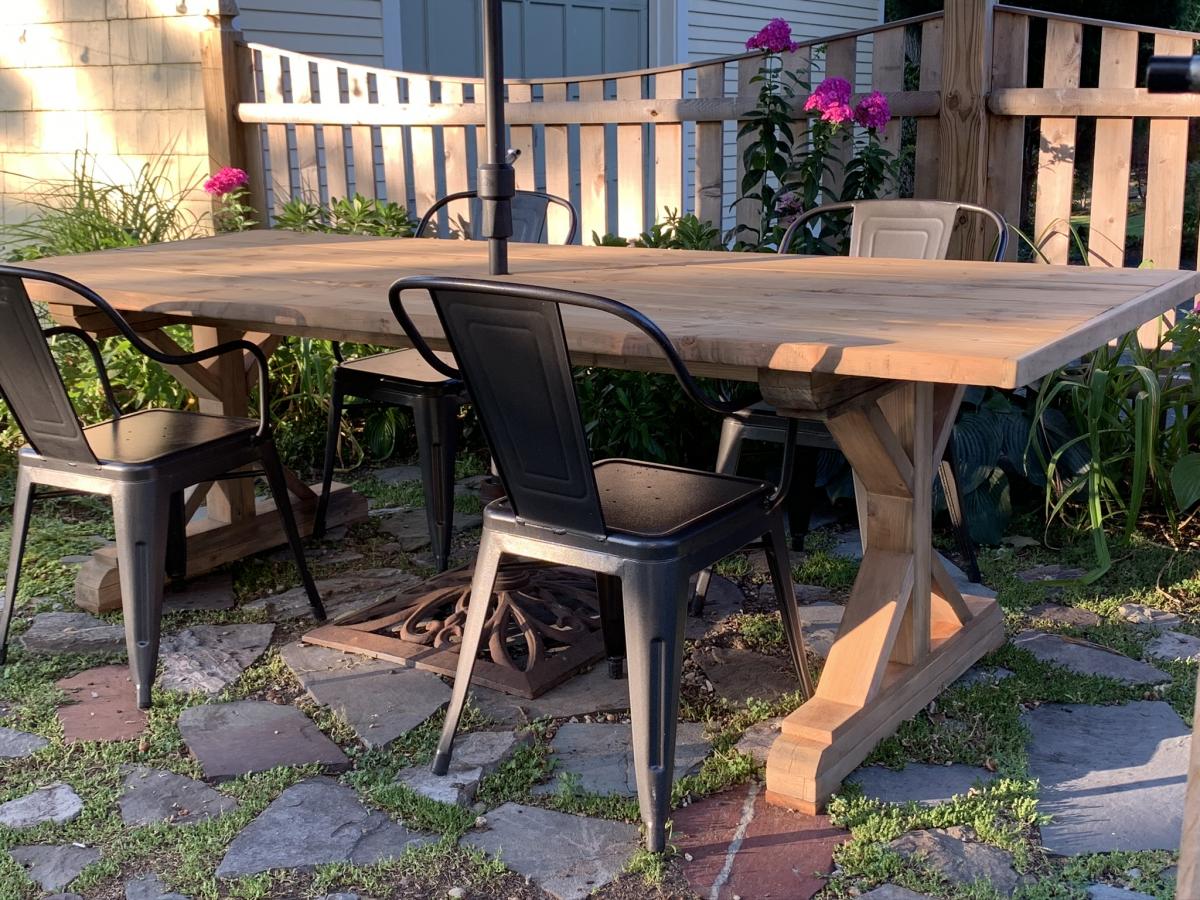
I built this for use as an outdoor patio table suitable for an umbrella by eliminating the center truss below the table. Instead, I used my Kreg Jig to join the two sets of legs with 2 2x4s each set about 6 inches off center directly under table top. (See picture). I used Douglas Fir for most of this build. I also added a 1x2 cap to the bread board ends of the table top to help stabilize it against warping. I secured the table top to the frame with countersunk screws under glued wood plugs since I needed to allow a gap between boards for water drainage. I used the Varathane wood weathering product to soften the “new wood” look. I helped preserve the wood with a coat of Benjamin Moore’s clear Arborcoat. This acrylic product will allow the wood to continue to gray naturally. I recommend this as an intermediate project due to the awkwardness of joining the 45 degree angle cuts. Having a second set of hands here would have been very helpful.
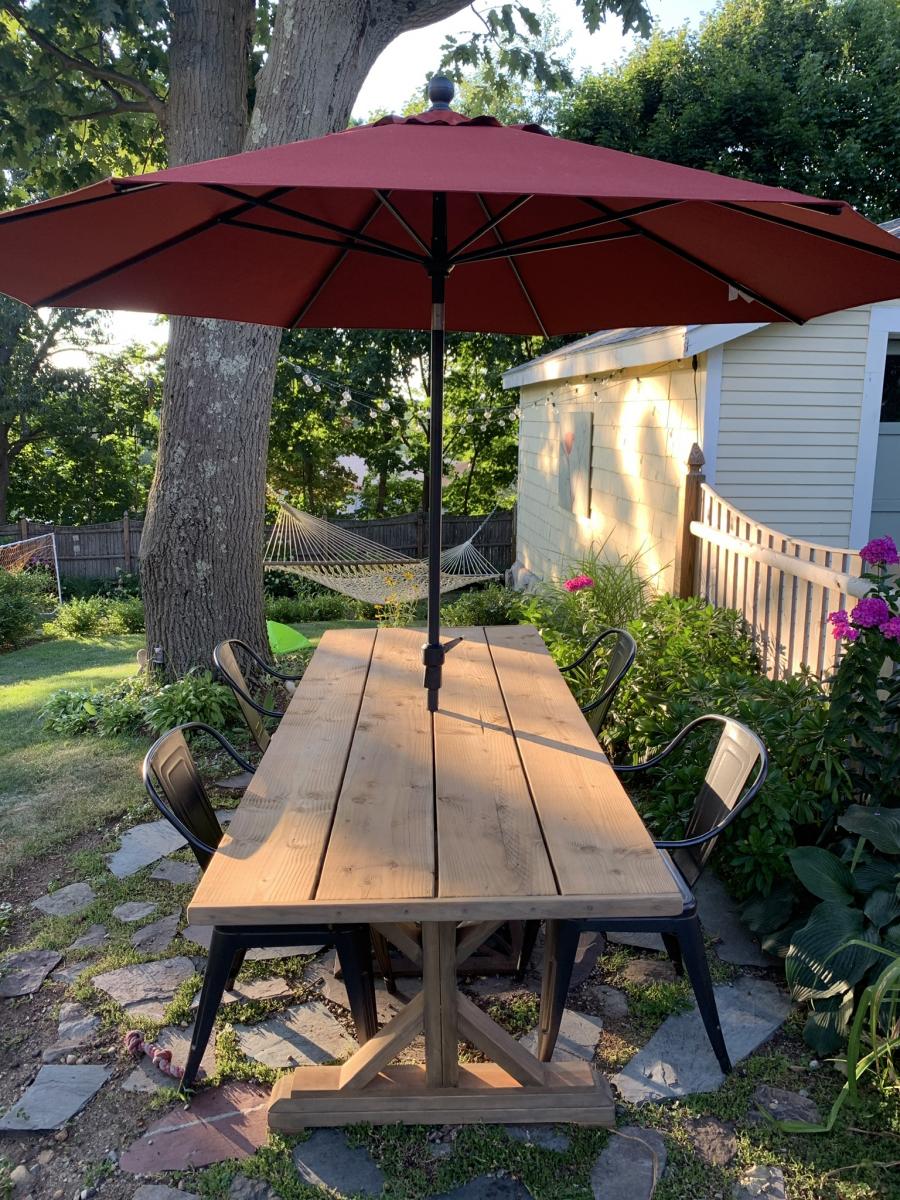
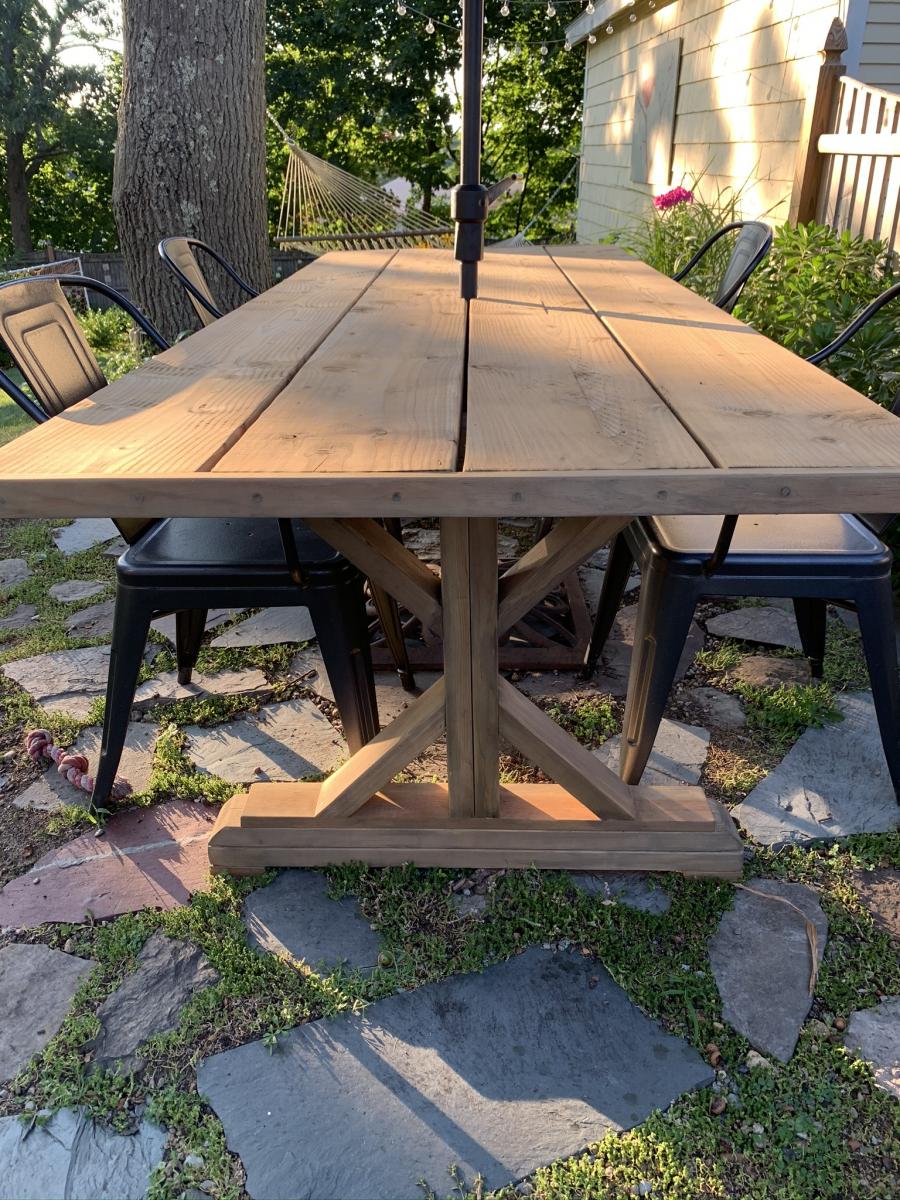
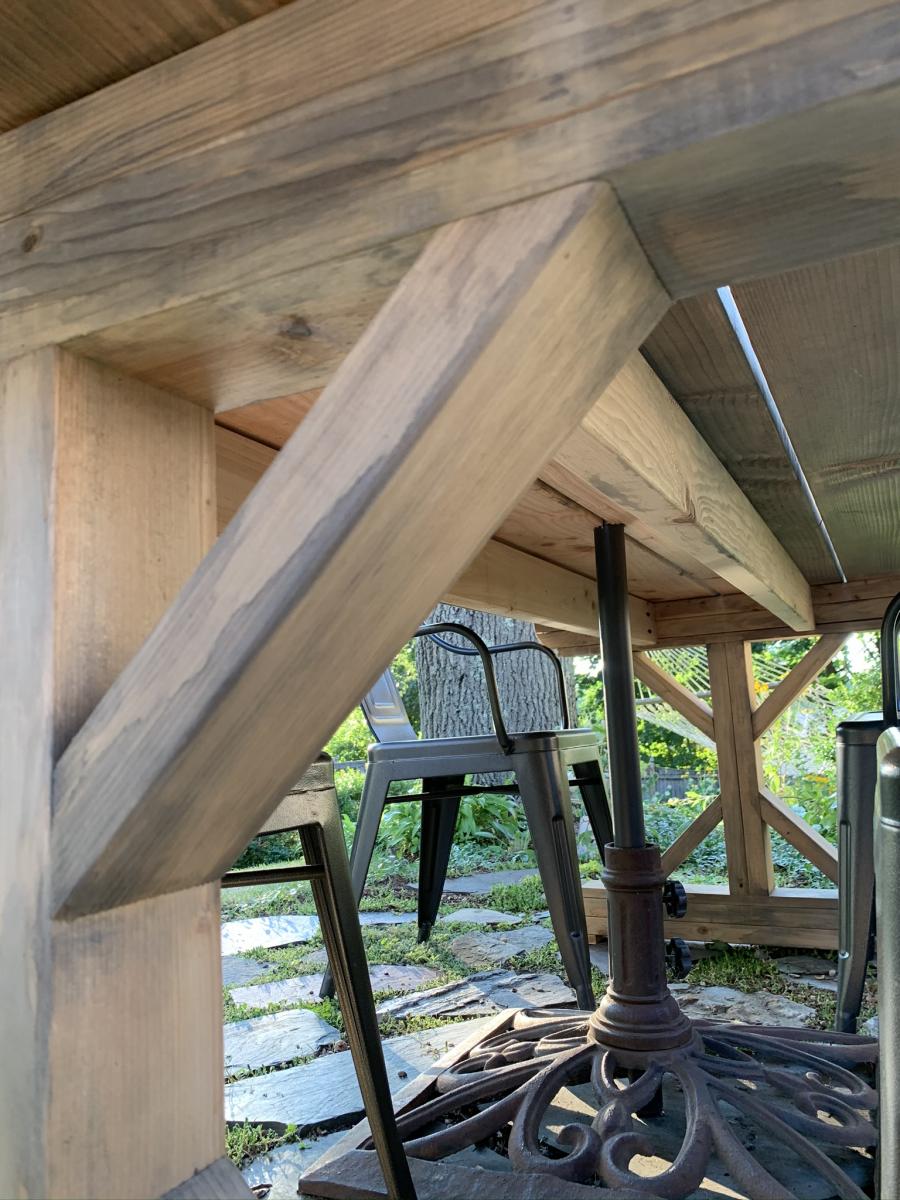
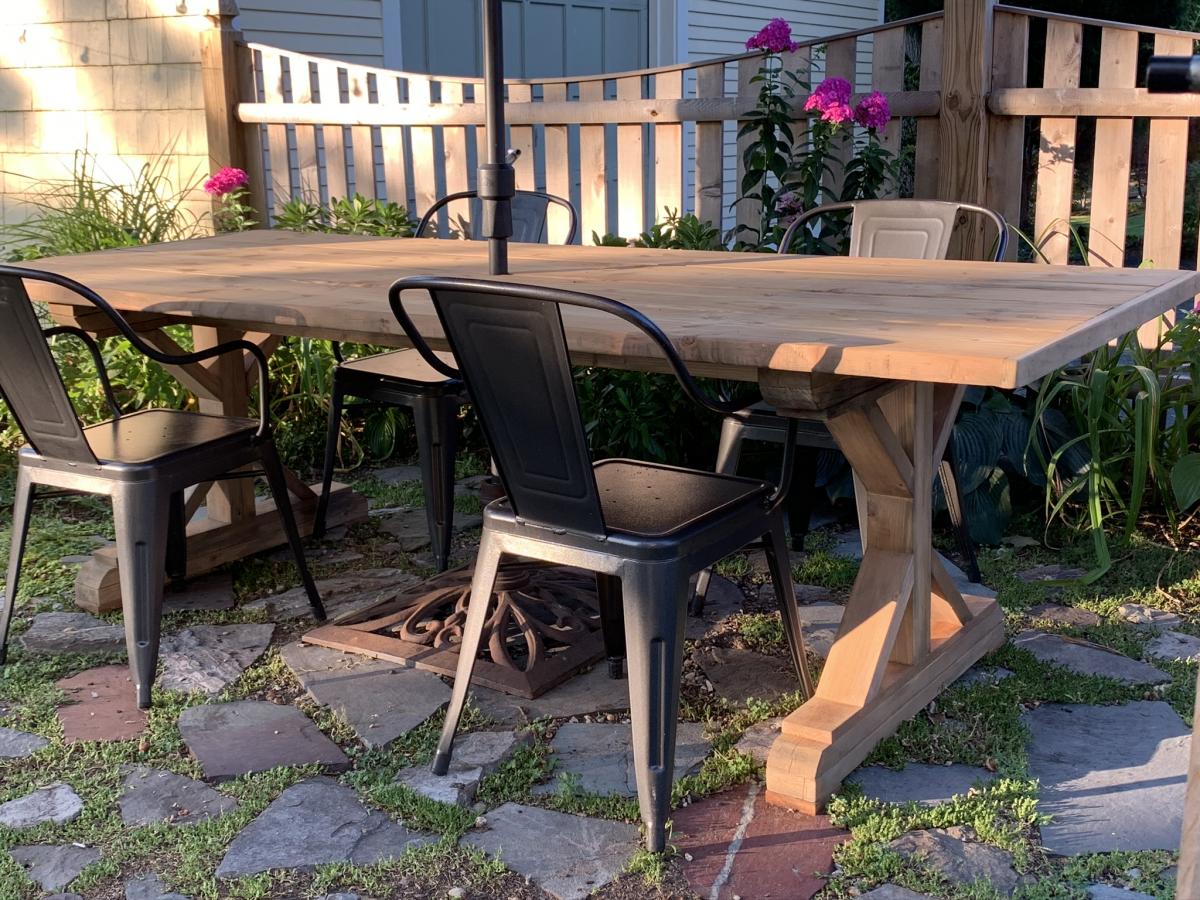
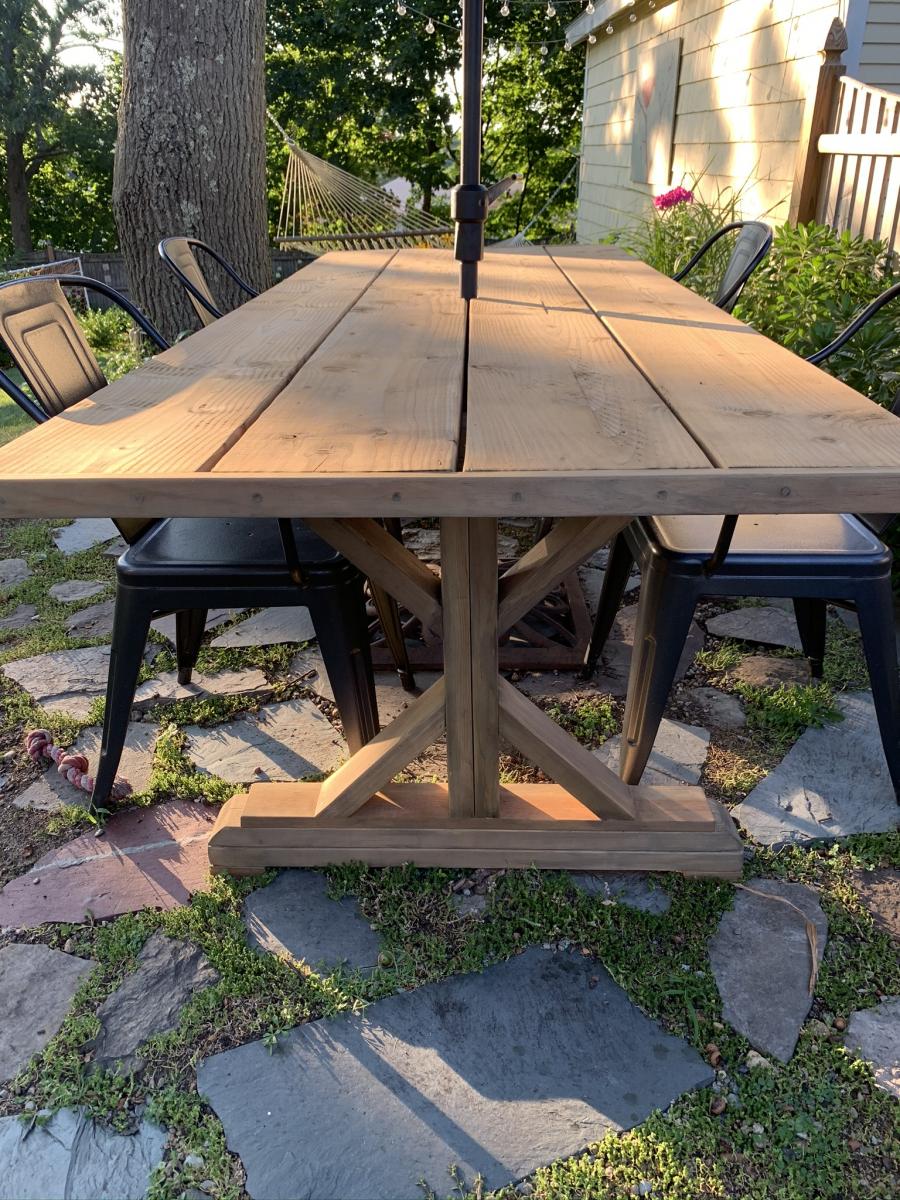
Thanks for this, it was fun to build!
I made this bed for my wife using the plans found on this side.
I worked out great and she loves it!!!! Very east project. It took one week end to complete. I altered it slightly and added decorative side panels.
Tue, 05/21/2013 - 03:59
The project looks good and perfect for the home and we always look for decking up our home in the most beautiful way possible and for that you can check out http://blog.decorplanet.com/2012/06/exploding-toilets-prompt-recall-of.html.
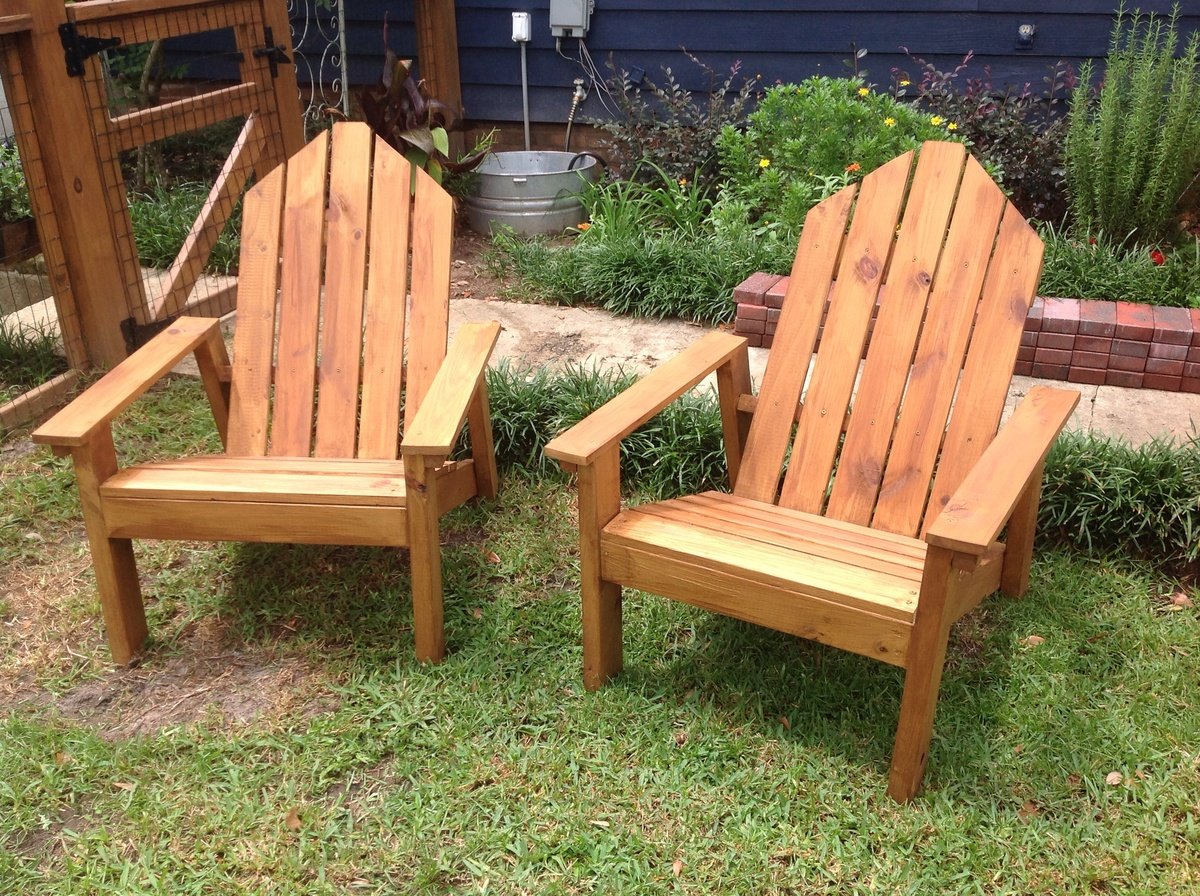
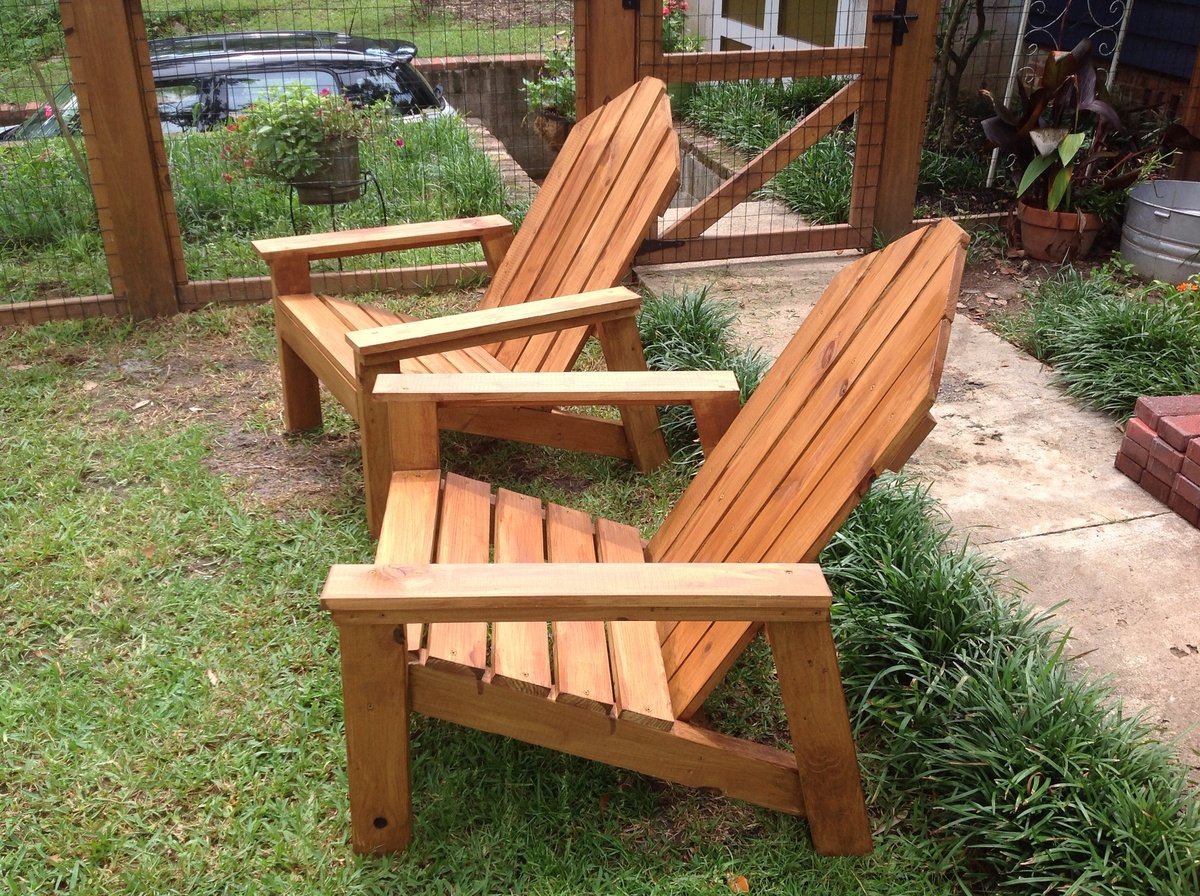
We built this off the standard plan. We stained them with deck stain and used pressure treated lumber. The only thing we did different was ana arrow-shape top.
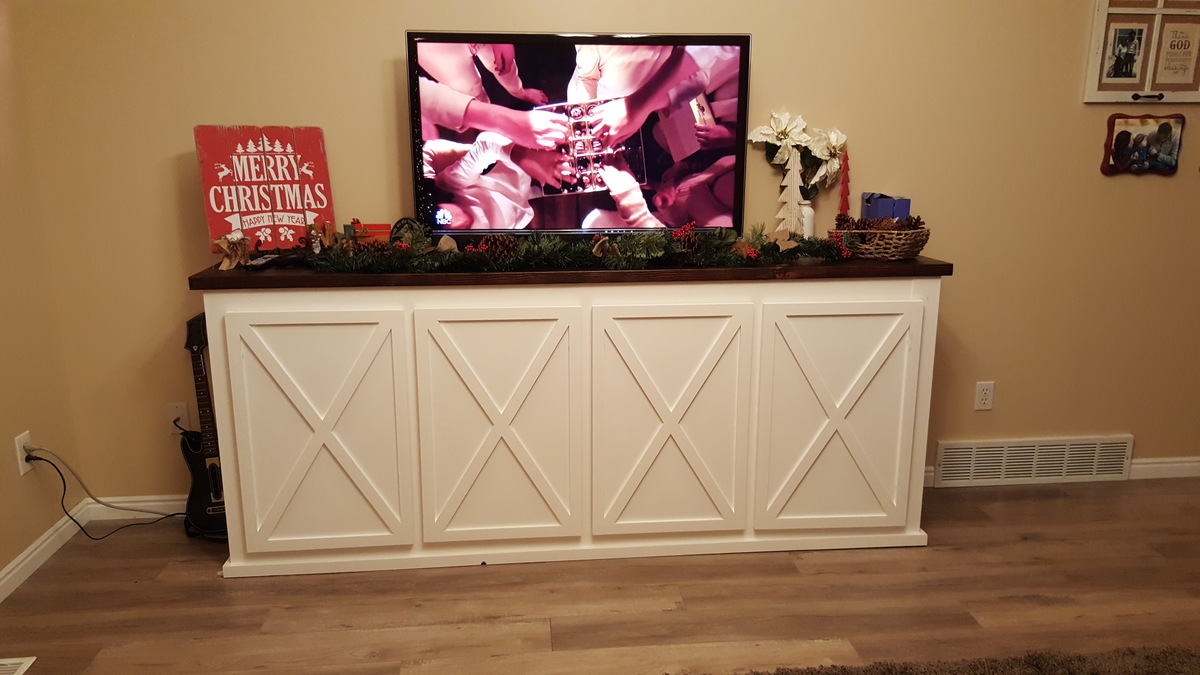
My wife and I were looking for a farmhouse style media console and found the Grandy Sliding Door Console and loved the look of it. After reading the plans and discussing it we decided that we did not want to take the extra time to build the metal sliding hardware and also wanted it for a lot of storage items, so we decided to just build 4 hinged doors instead. We love it and the plans were so easy to follow. We followed the plans step by step up until we built the hinged doors. We also did not put any wood on the back side of the project since it is against the wall and we have doors covering the front opening. Time consuming to finish it nicely with staining, sanding, painting, etc. But not too difficult of a project overall. The doors take some time to get all the angles just right, but worth taking your time to make sure everything is straight and even.
Mon, 01/02/2017 - 14:04
Beautiful job on this piece! We are also wanting to install hinged doors...was wondering if you might share how you installed them so that they aren't visible and doors are on the outside of the piece?
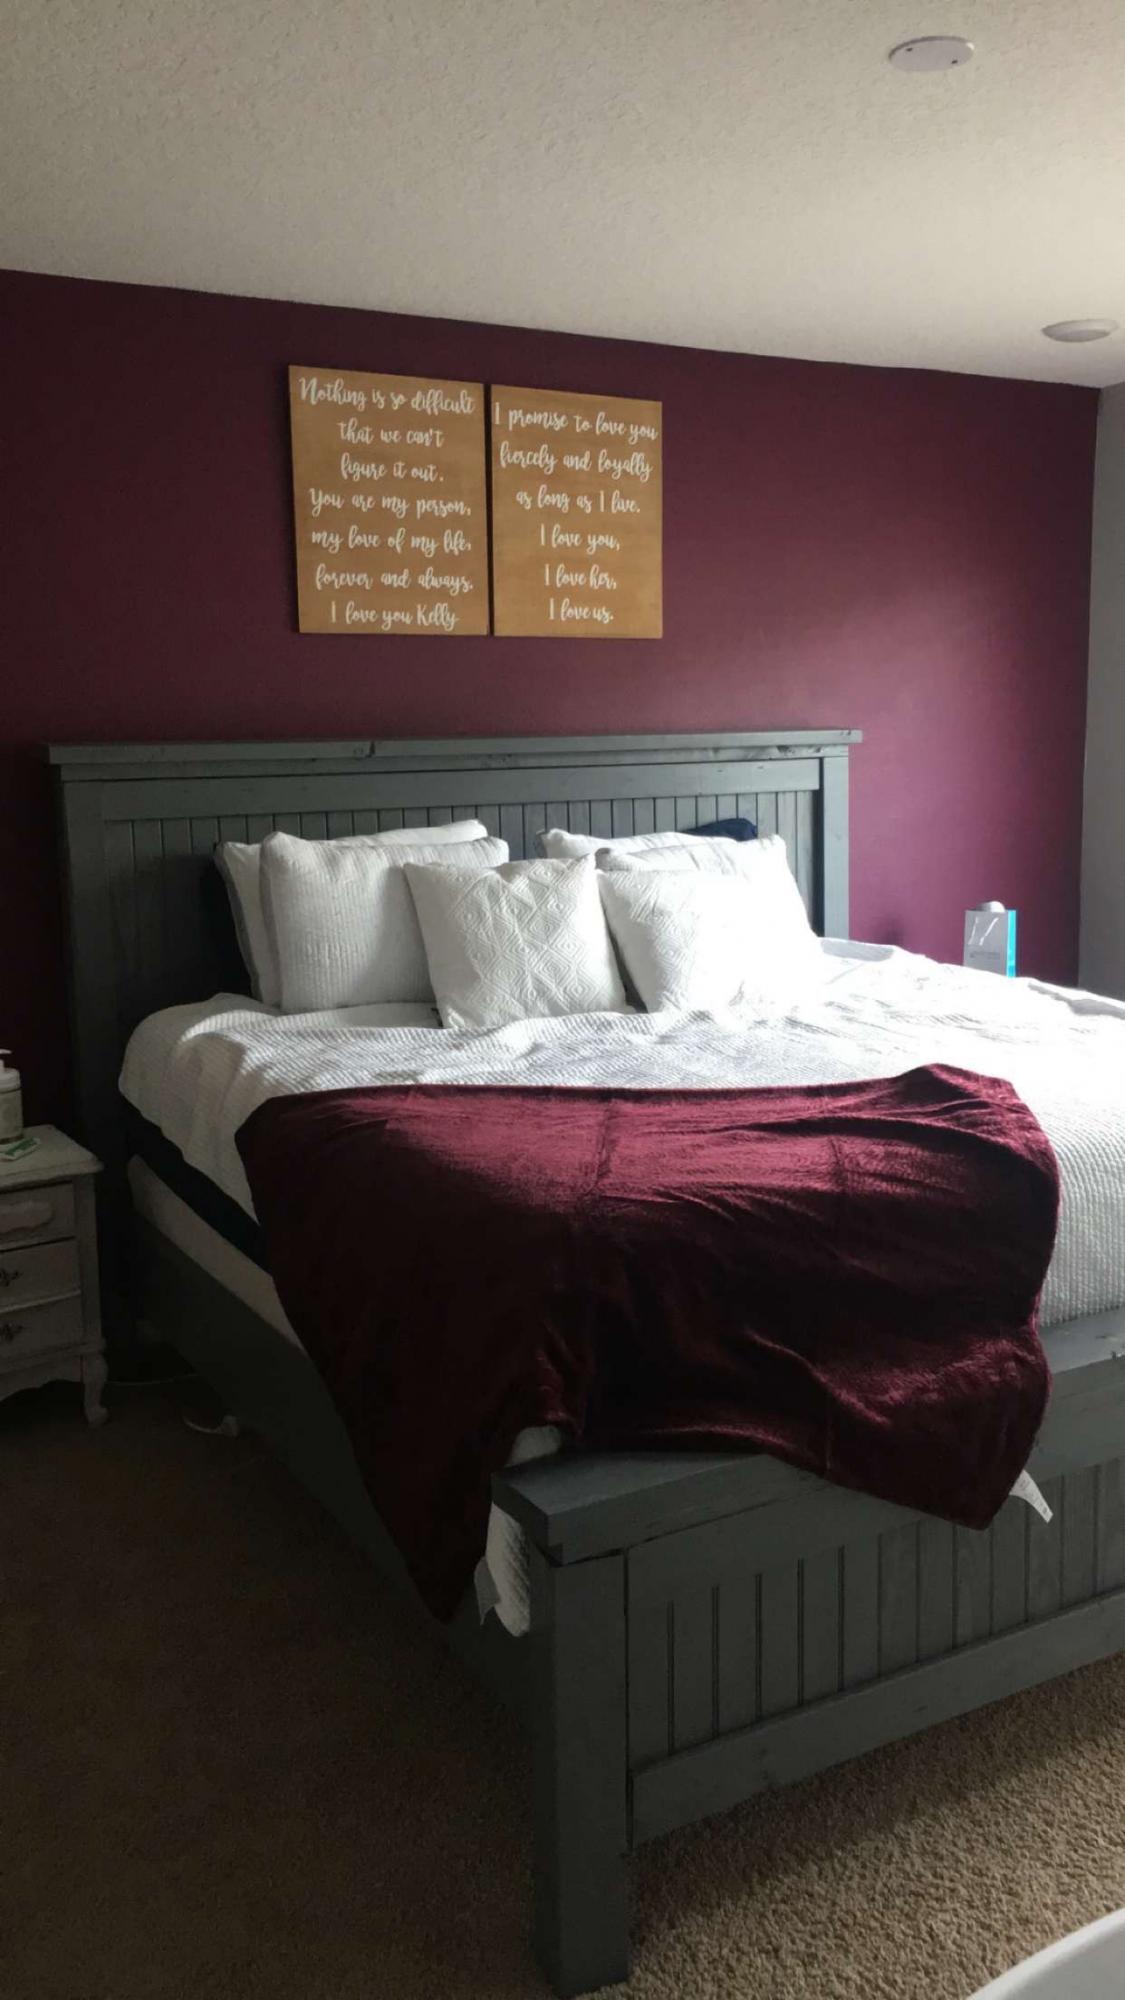
Made from the plans
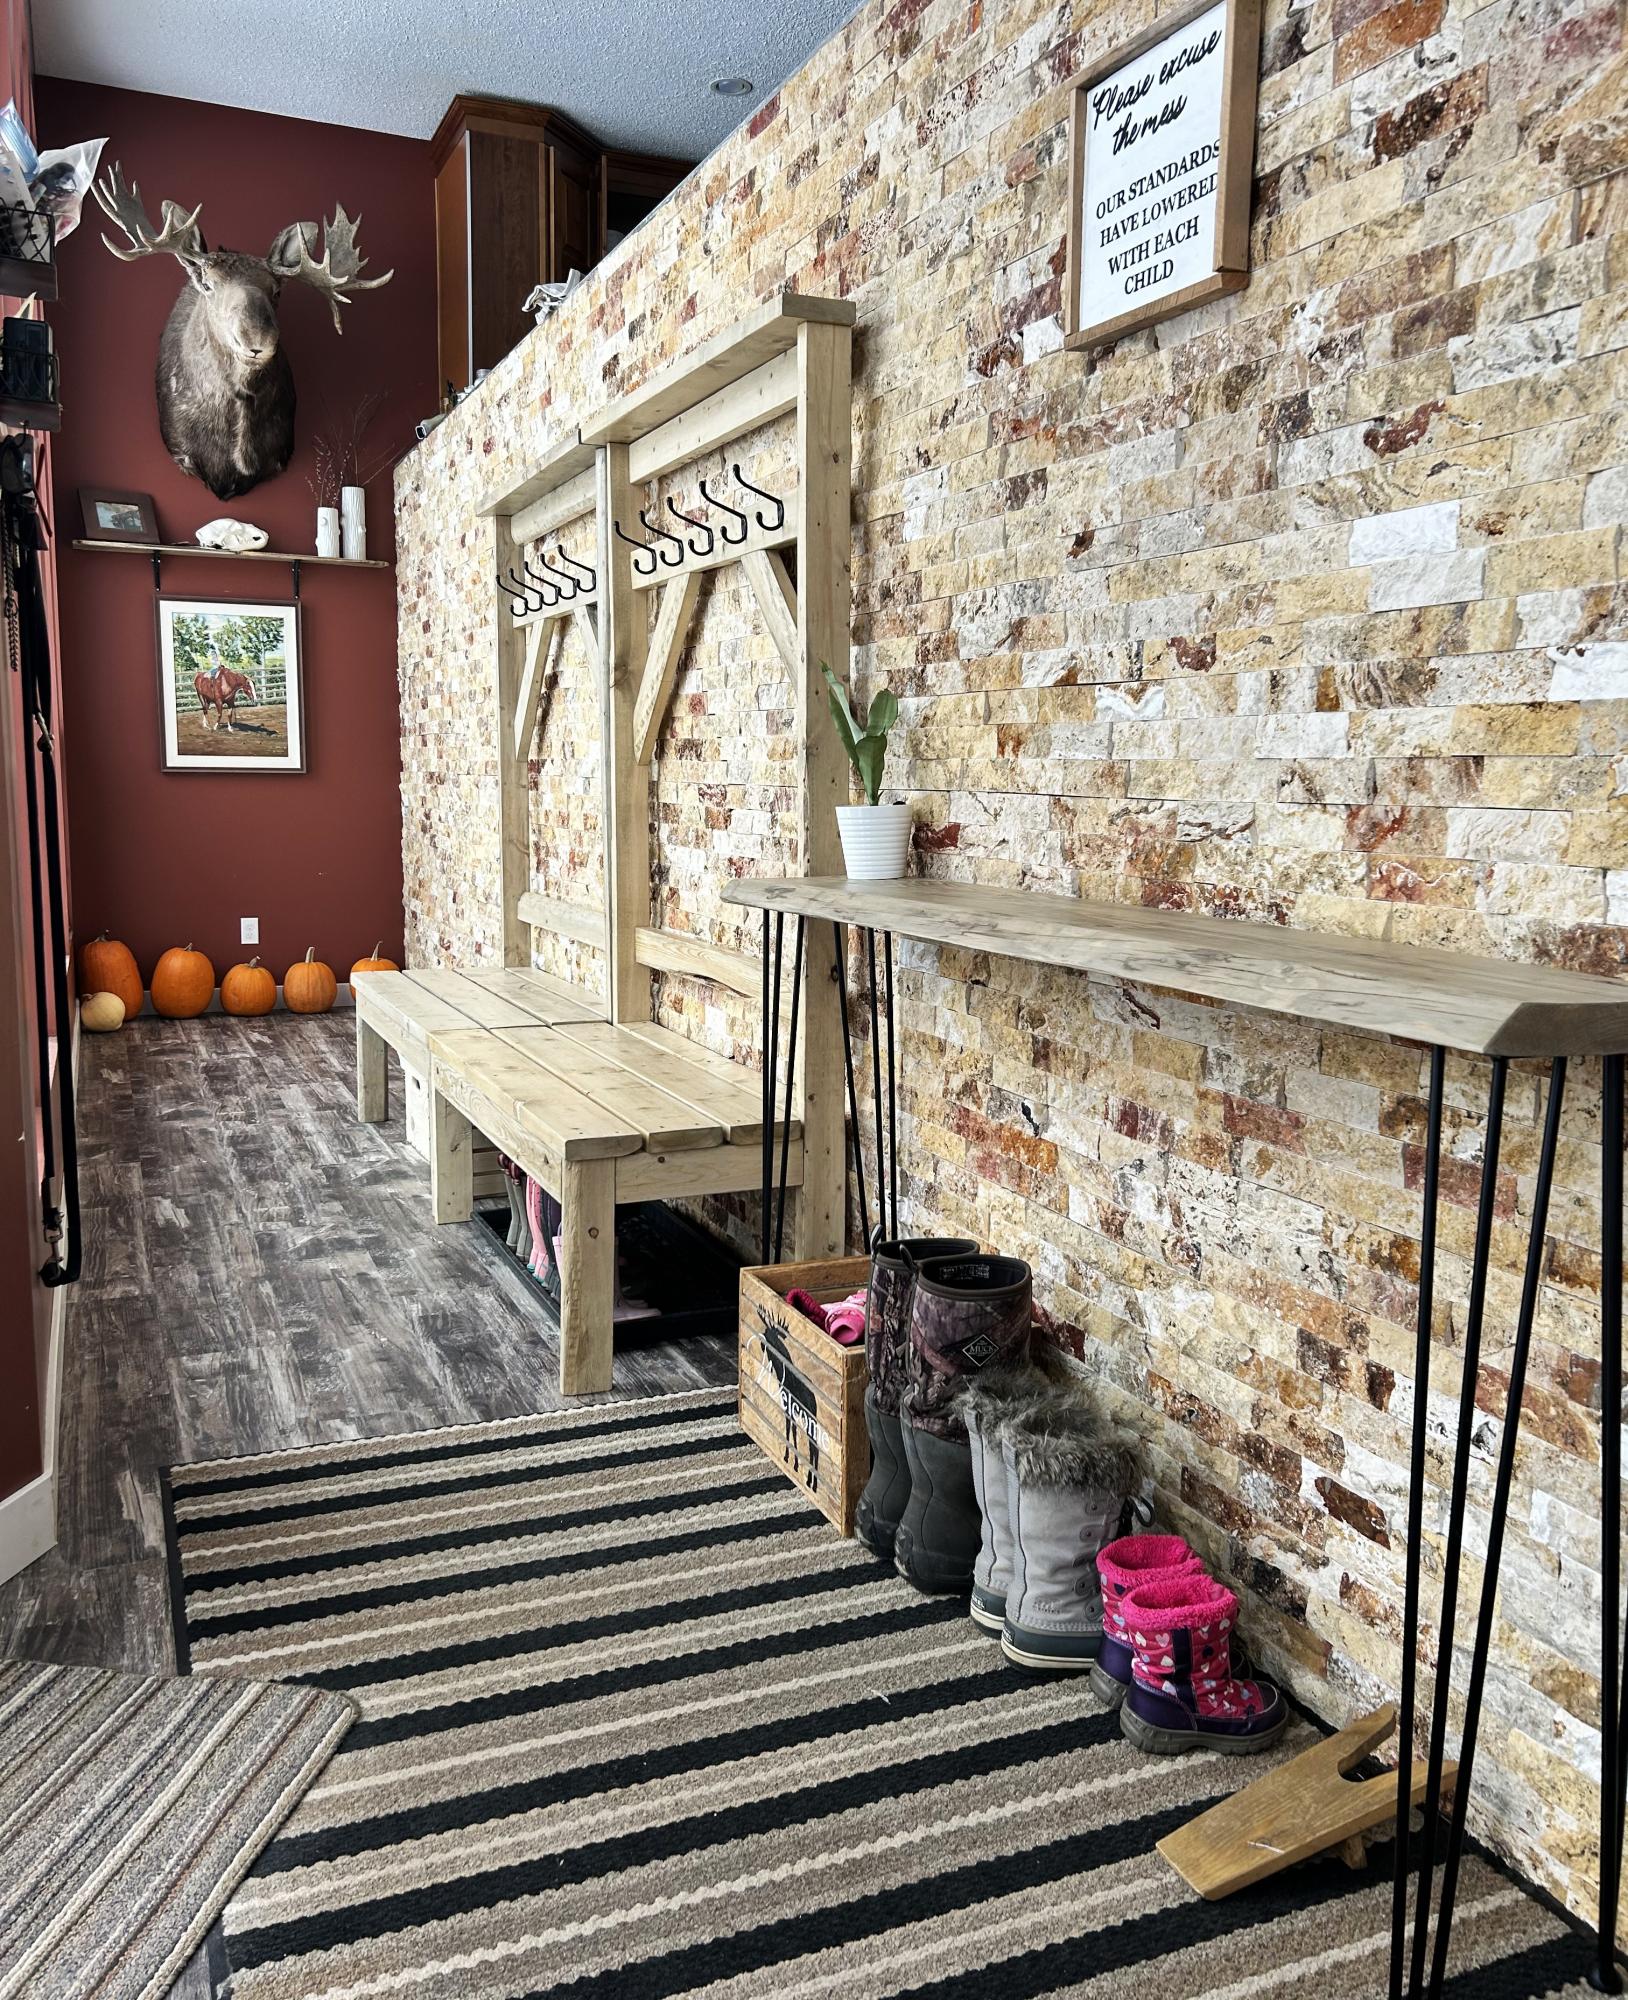
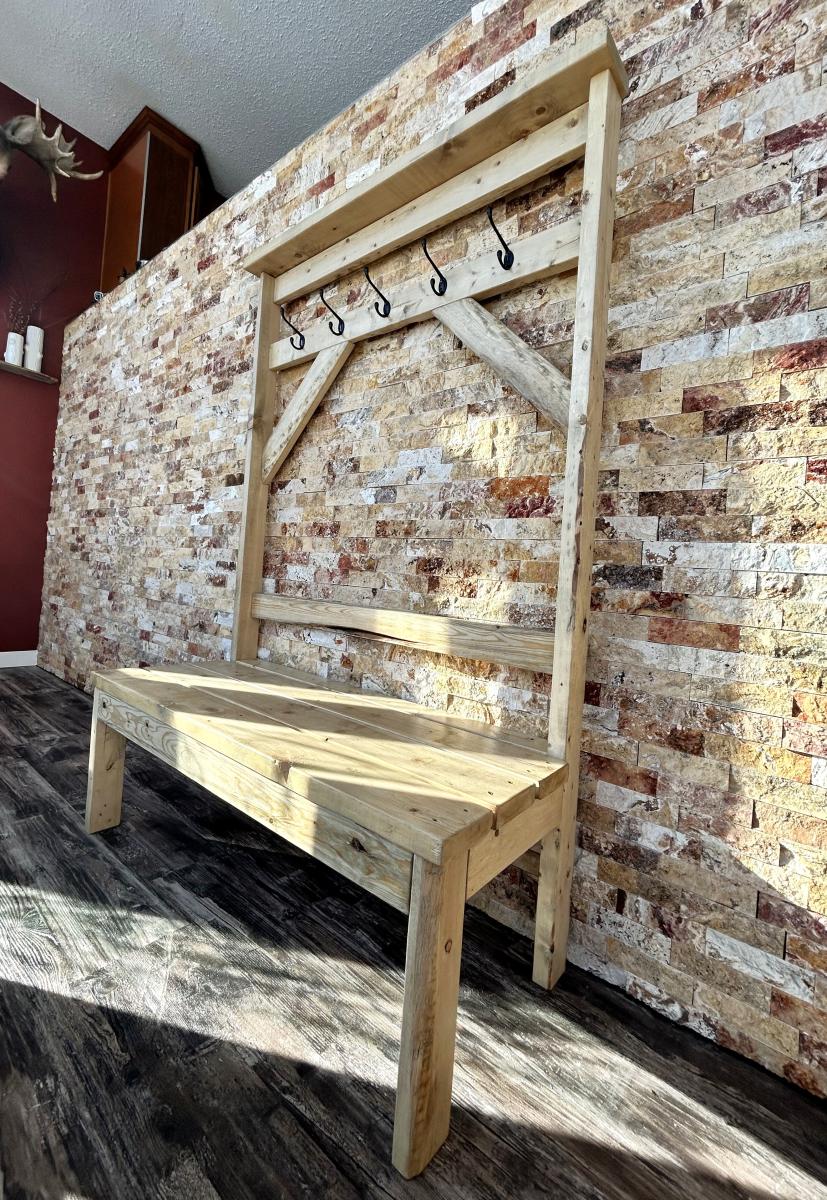
Using your entryway bench plans I made 2 of these. They are the envy of everyone who visits!
Brittany M
This is my first project, and I'm so happy with how it turned out. This was so easy to make, a great place to start for beginners! Thank you Ana White for your inspirational website.
Really simple project, modified the plans a bit but kept the same concept. Had a lot of bun building.
Mon, 09/01/2014 - 16:24
Why isn't anyone commenting on my table. Does no one like my table.
My brother-in-law and I took on this project in the fall of 2016. I don't mean to brag, but it turned out amazing. #happywifehappylife
We adopted the plans from the Full Farmhouse Bed Plans. But we added two banks of cabinets and made it a lot taller.
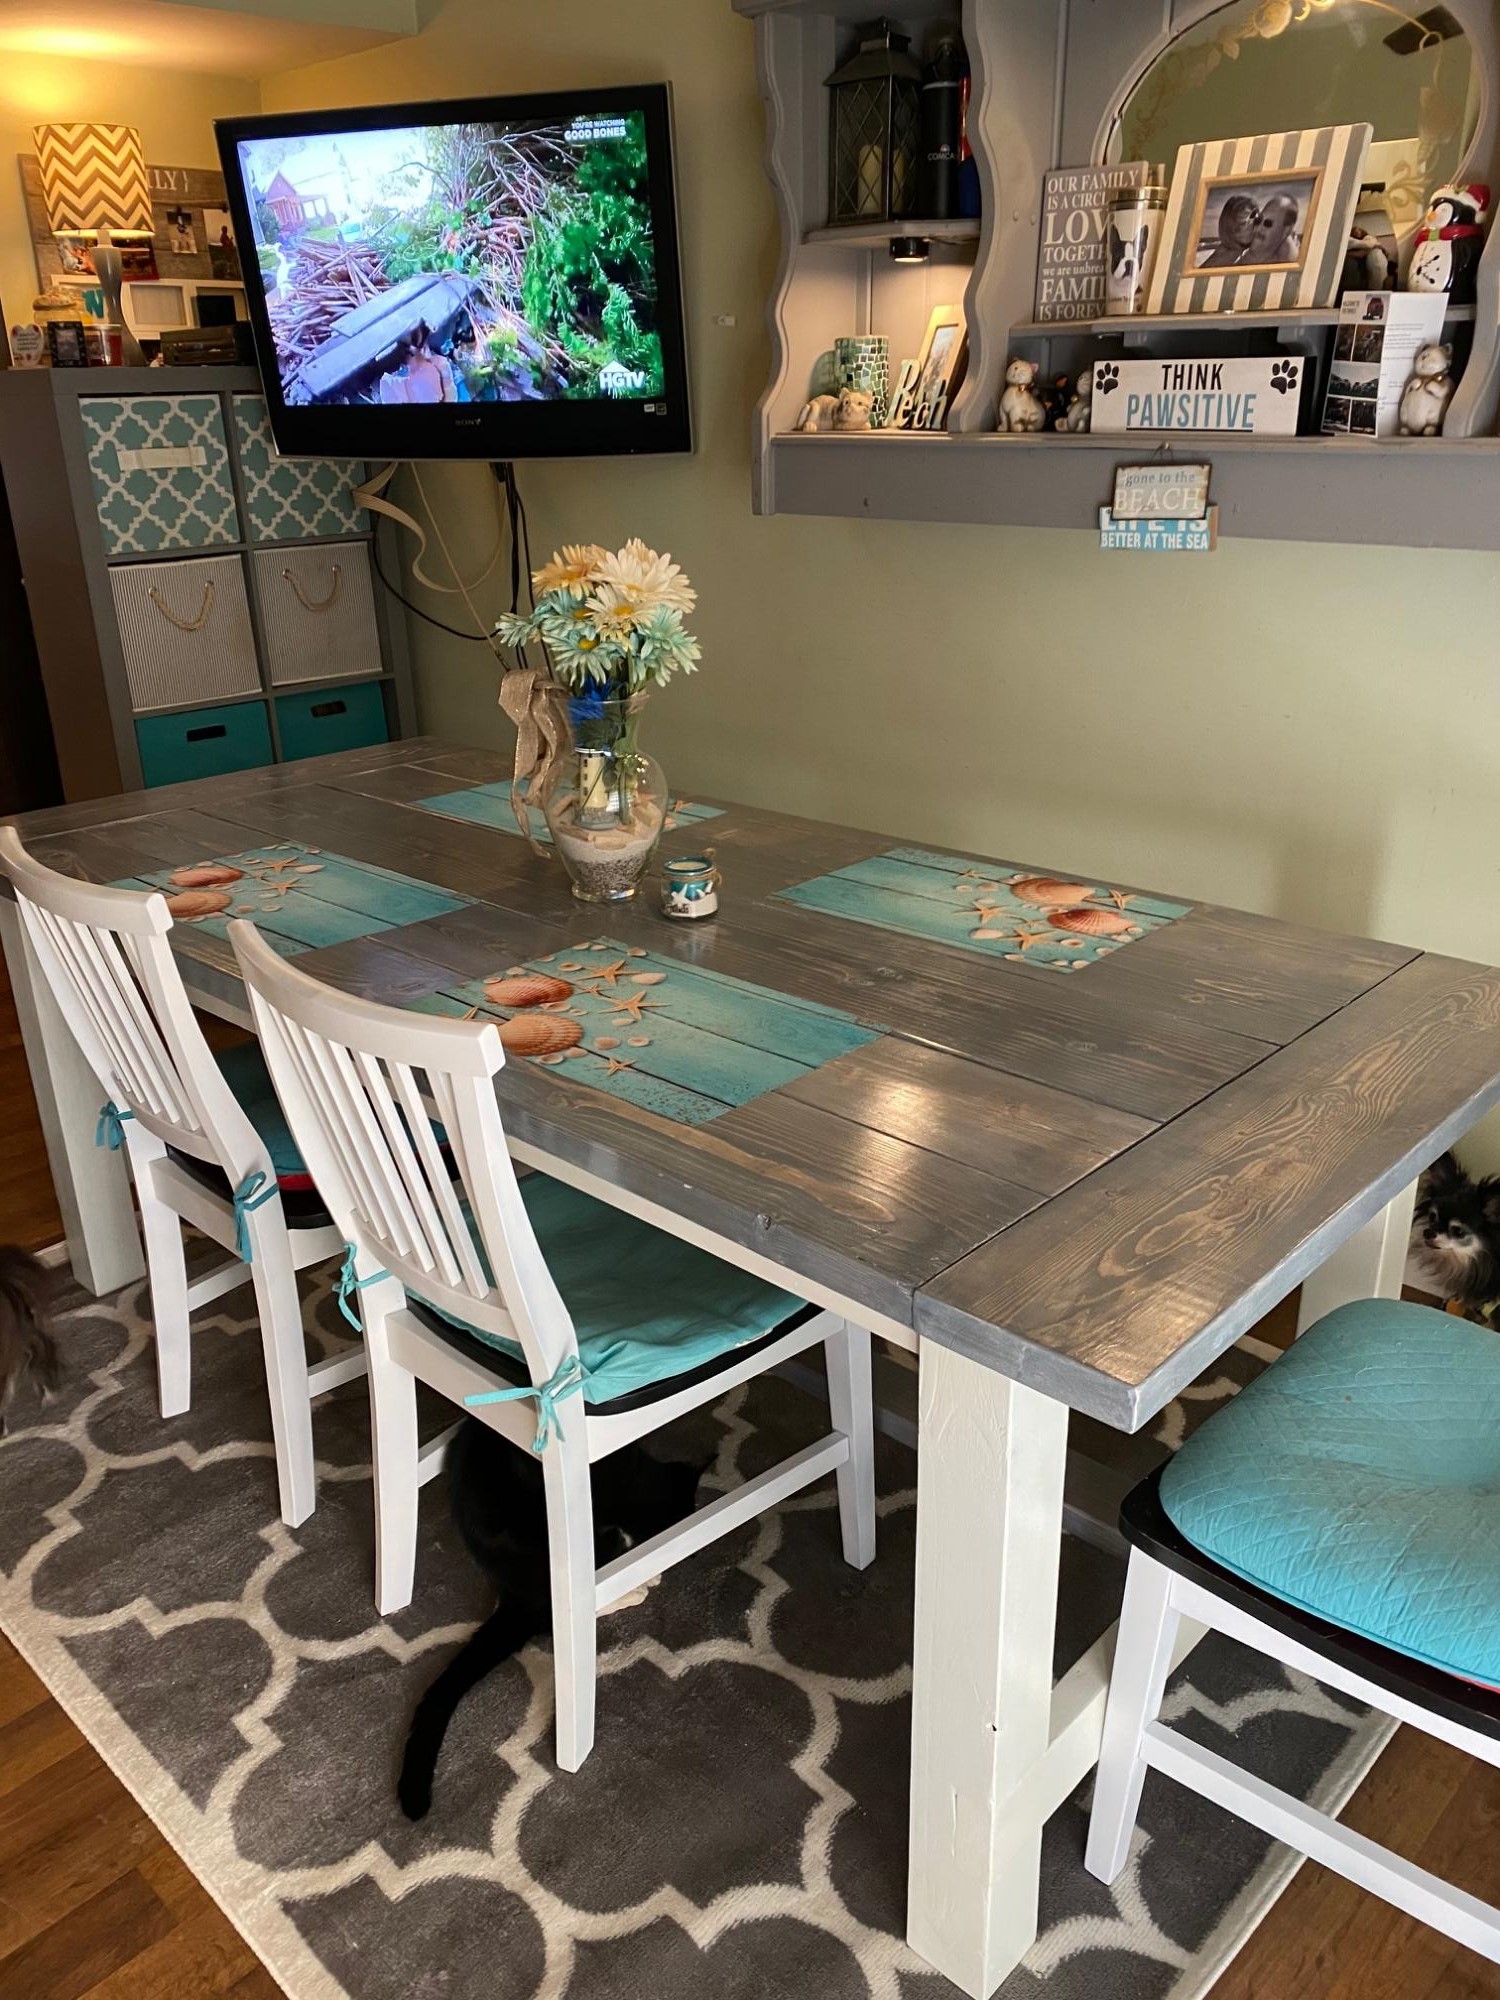
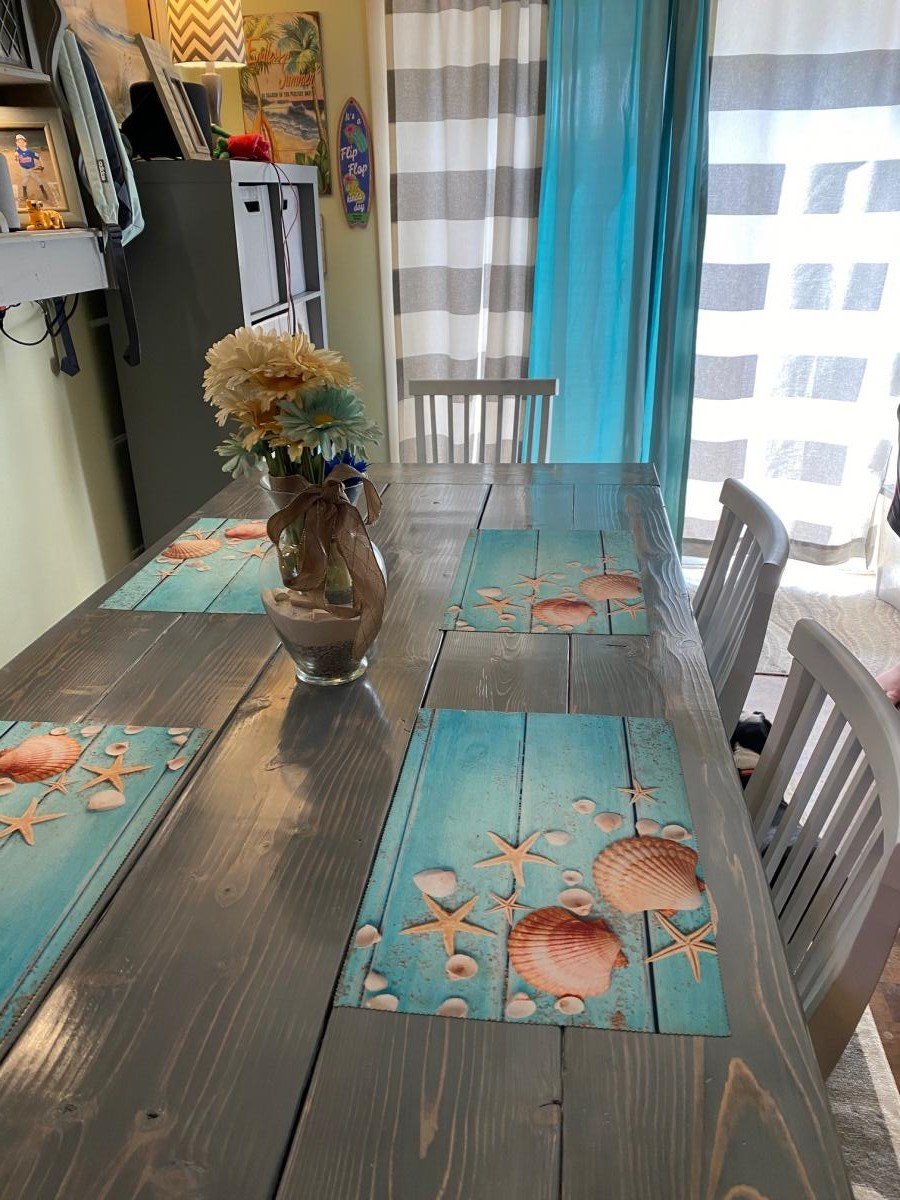
Thank you Ana for these plans! This is the updated farmhouse table that uses pocket holes. I thoroughly enjoyed making this table. I was so pleased with it and myself for what I had accomplished on this project! It turned out beautifully and my family and friends love it! It wasn’t that difficult to do, you just need to take your time and it will come together . Once you learn the set up of the kreg pocket hole jig, it really isn’t that difficult to do at all and so worth doing. I’m off to build a matching coffee table and tv stand. (Also plans found here)
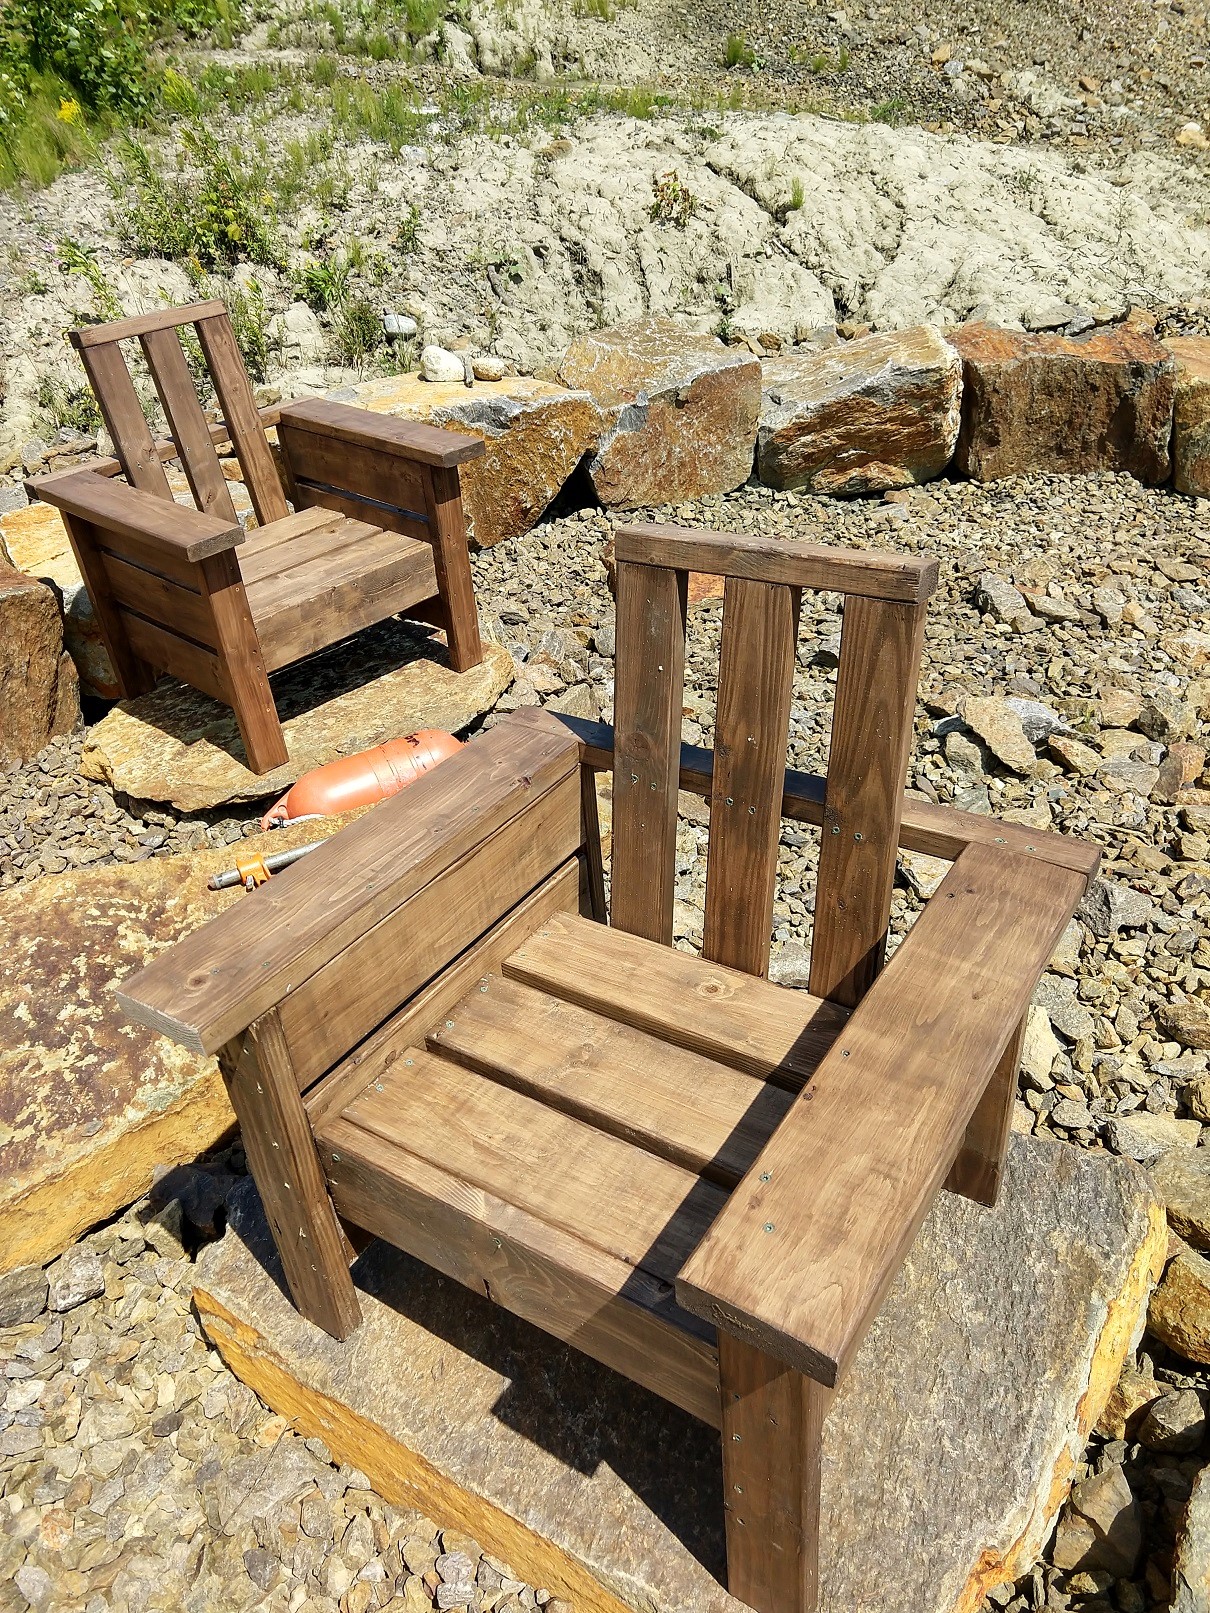
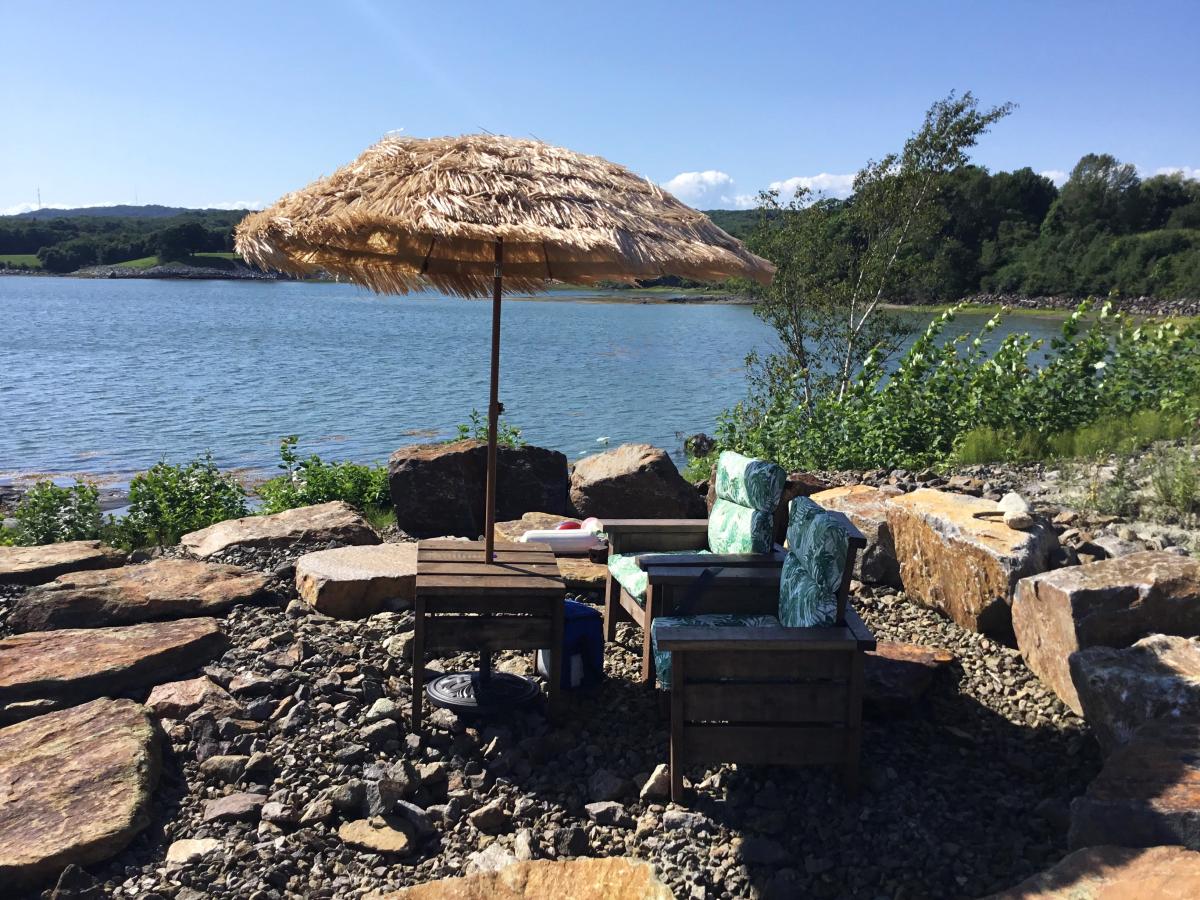
Modified two of your plans to make some chairs and table. Will be making two more this winter. Perfect for our Maine coast home.
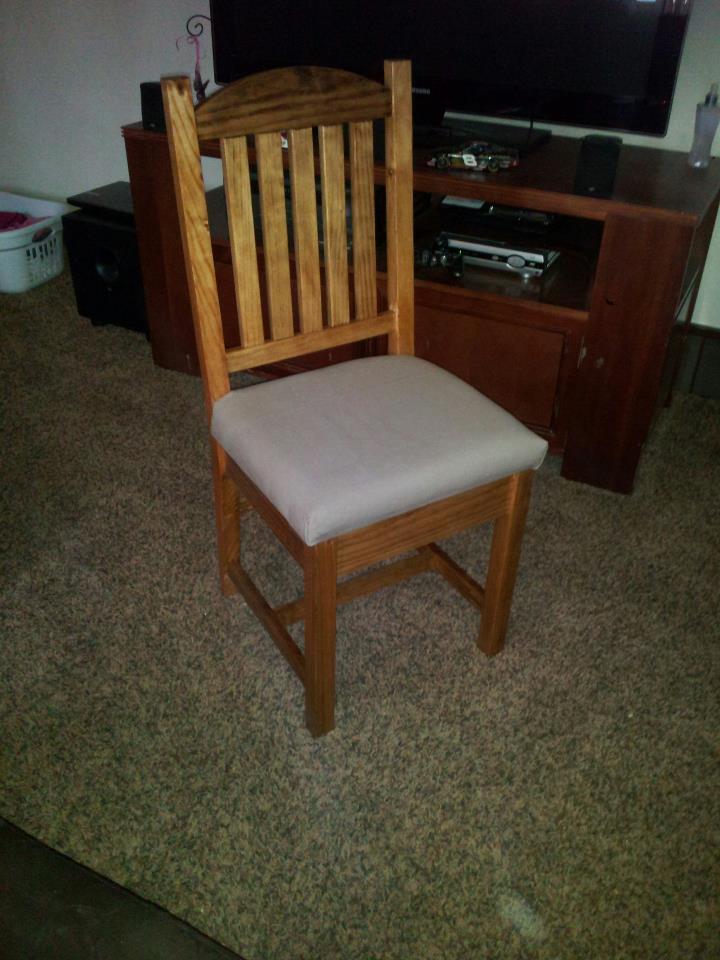
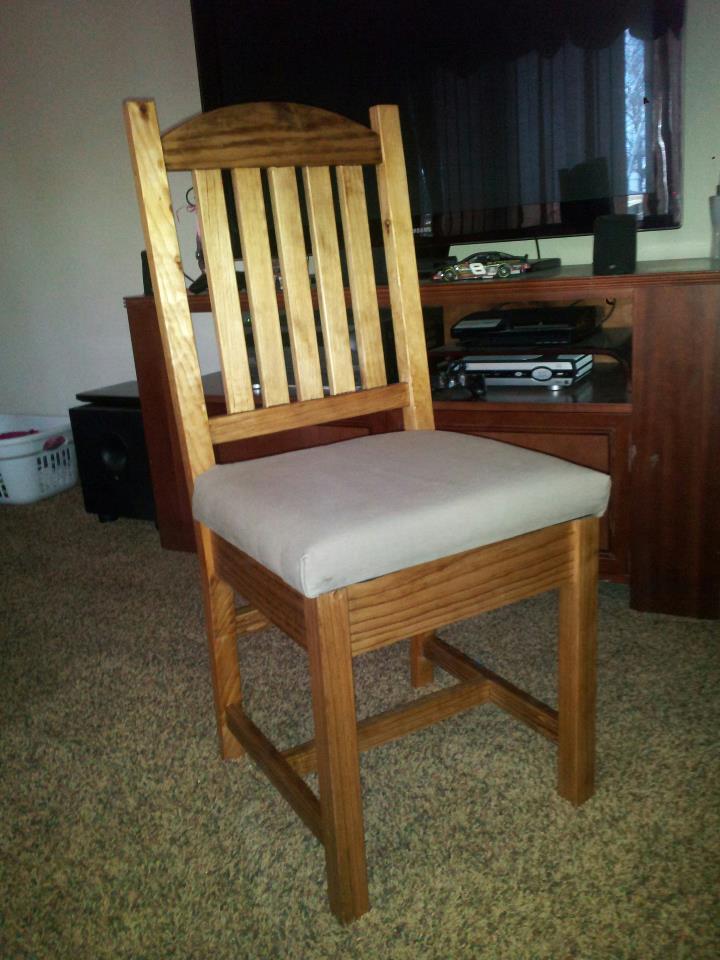
This is a build a month in the making... I started and assembled 3 chairs but just couldn't get them exactly the same, so I labeled them "garage chairs" and went on to the next project. It wasn't until the BF surprised me with a router and router table that I started dreaming of chairs again!! (It also helped that I begged and begged for a band saw for my birthday hehe) I built the Narrow Farmhouse Table for a homework table for my kids, and have been itching to create chairs to match. :)
I made a template for the chair leg, and arch for the top of the chair. I cut the legs down using a jig saw, and then used the router and cut them to the template. EXACTLY THE SAME! SCORE!! The rest was just following instructions. I did make the legs a little taller, and the whole chair more narrow.. Gotta fit 5 kids at this homework table!! The seat cushions were a breeze (they scared the crap out of me until I did it and realized how darn easy it was) and then just searched the internet until I found a back design I liked :) ANA IS AWESOME!!! And to think I used to spend my days sleeping or watching TV. I don't know if I've ever been more happy OR productive in my life! Finish is golden oak. Thanks again Ana!! I've saved thousands in the last few months DIYing and building building building!!
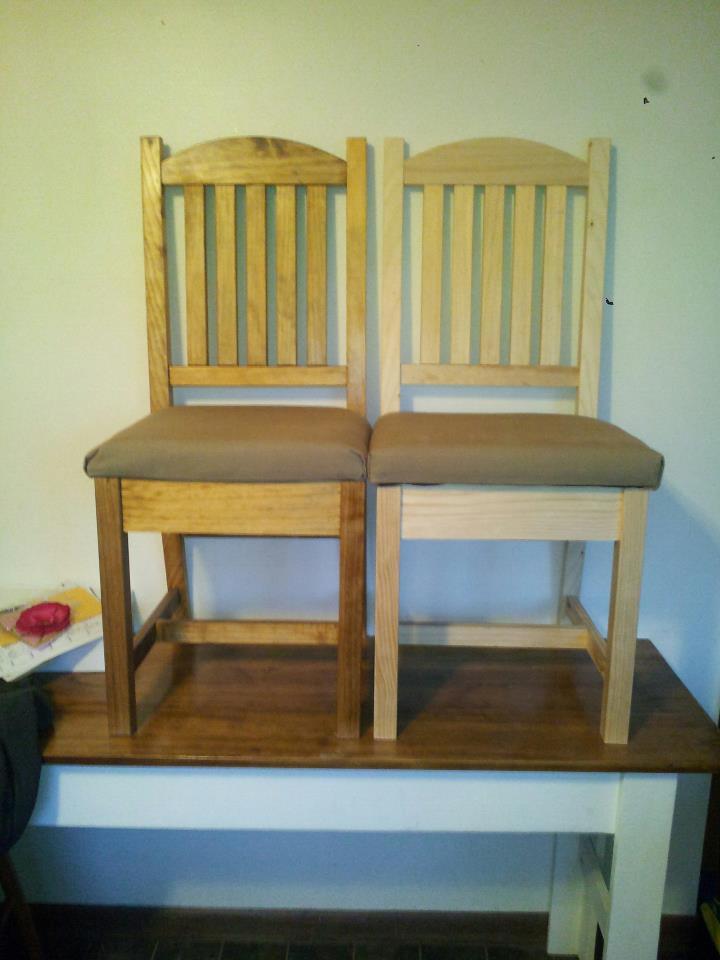
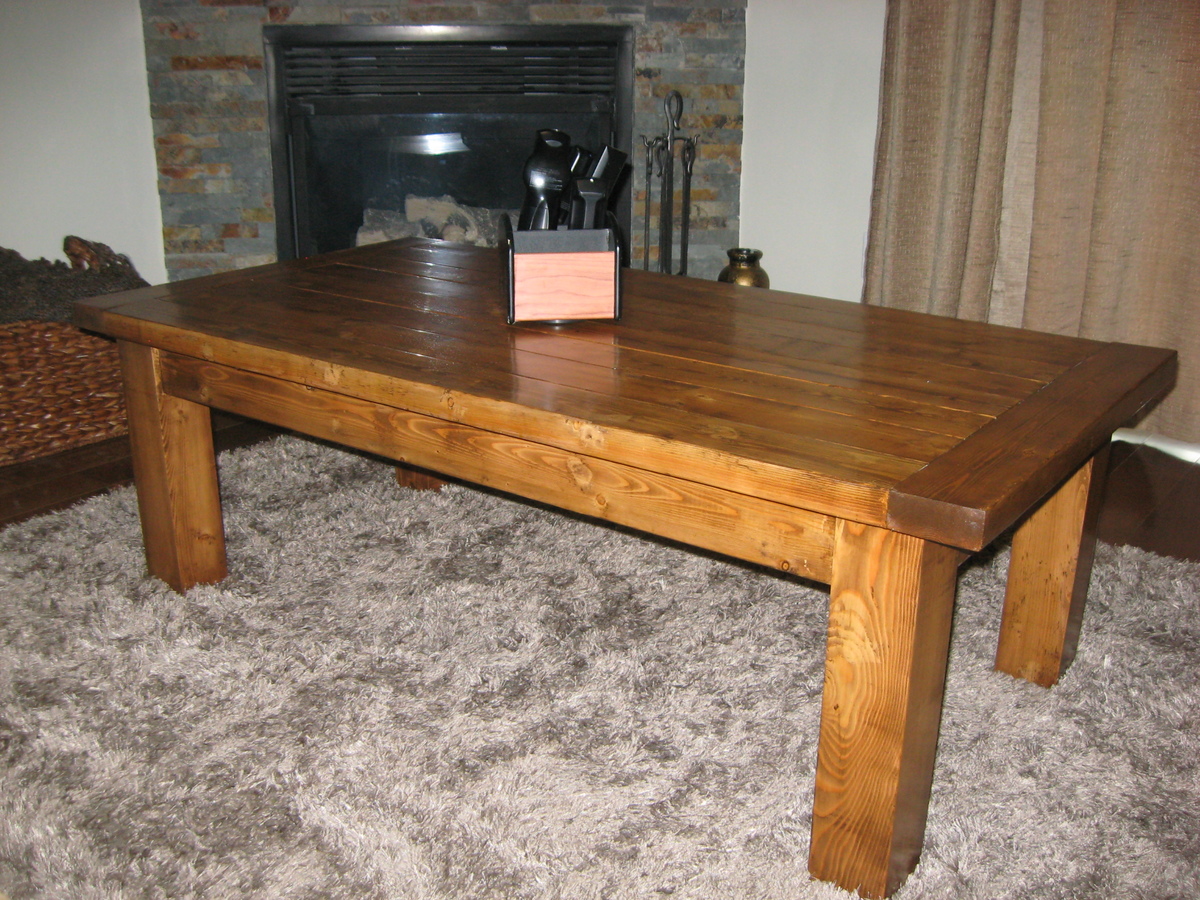
Although handy - these are the first pieces of furniture I have ever created. Used only 2X4 and 4X4 pieces - Douglas Fir right out of the lumber yard - not kiln dried wood. First time using pocket hole equipment - was worth getting the premium kit from Kreg's - drilled close to one hundred holes. Other than the equipment, the materials totaled less than $200 for all three pieces. $120 for the wood and another $80 for screws and paint products. Sanded the wood to a 220 finish and applied a Gel Dark Walnut stain and added 5 coats of clear satin from Minwax. Tried the wood conditioner on a test board and did not see not much difference so I decided to go without on all 3 pieces of furniture that I built. Experimented with different stainable wood fillers from Elmer's. Quite happy with the result - just in time for a visit from mom and dad. Total time for three pieces - close to 40 hours but worth it.
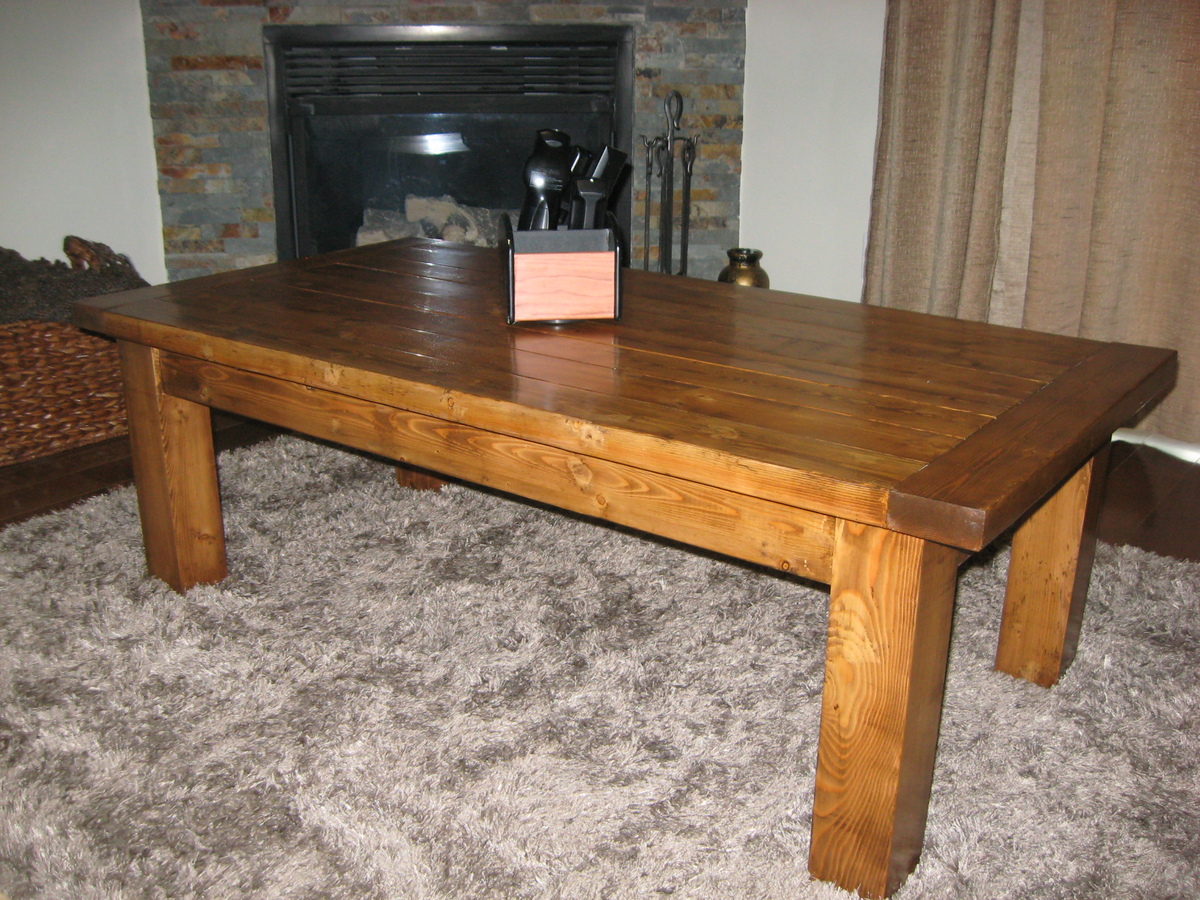
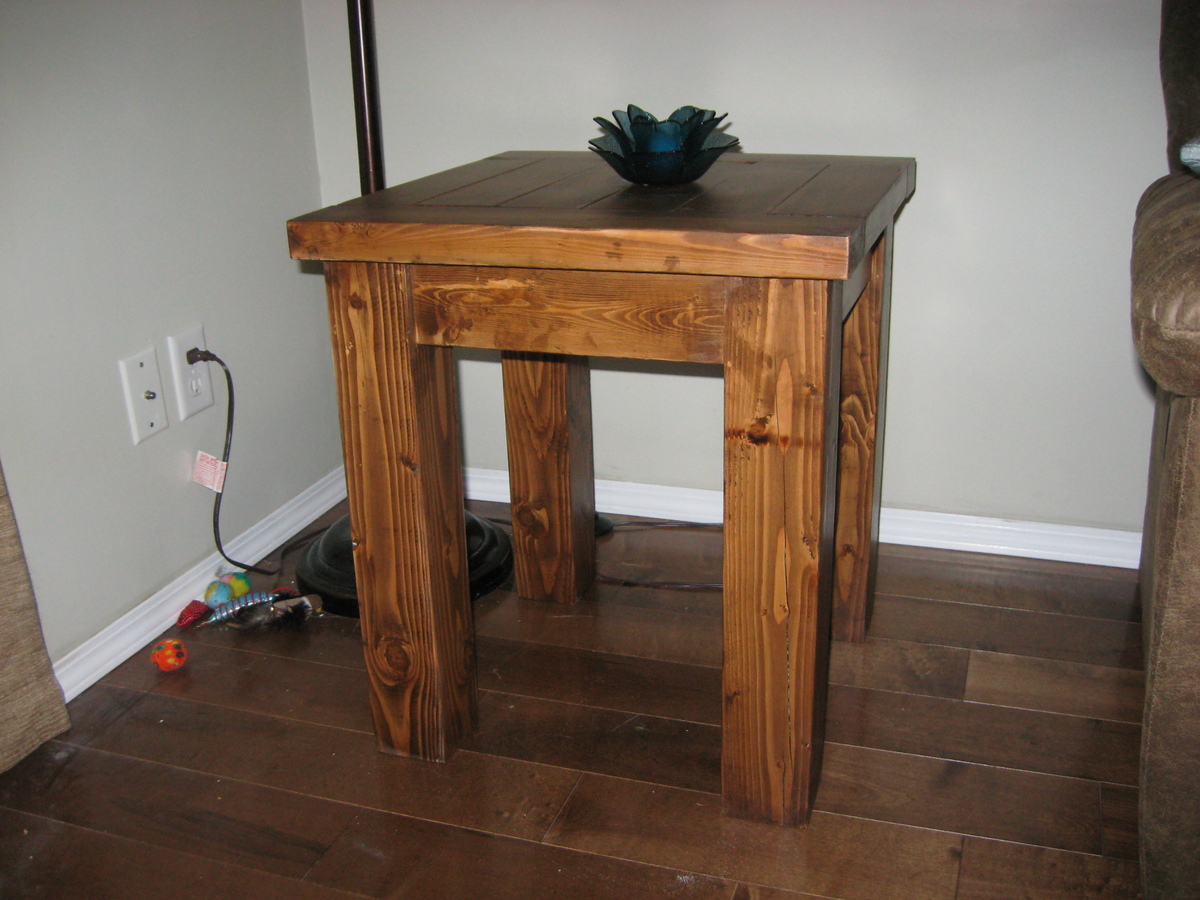
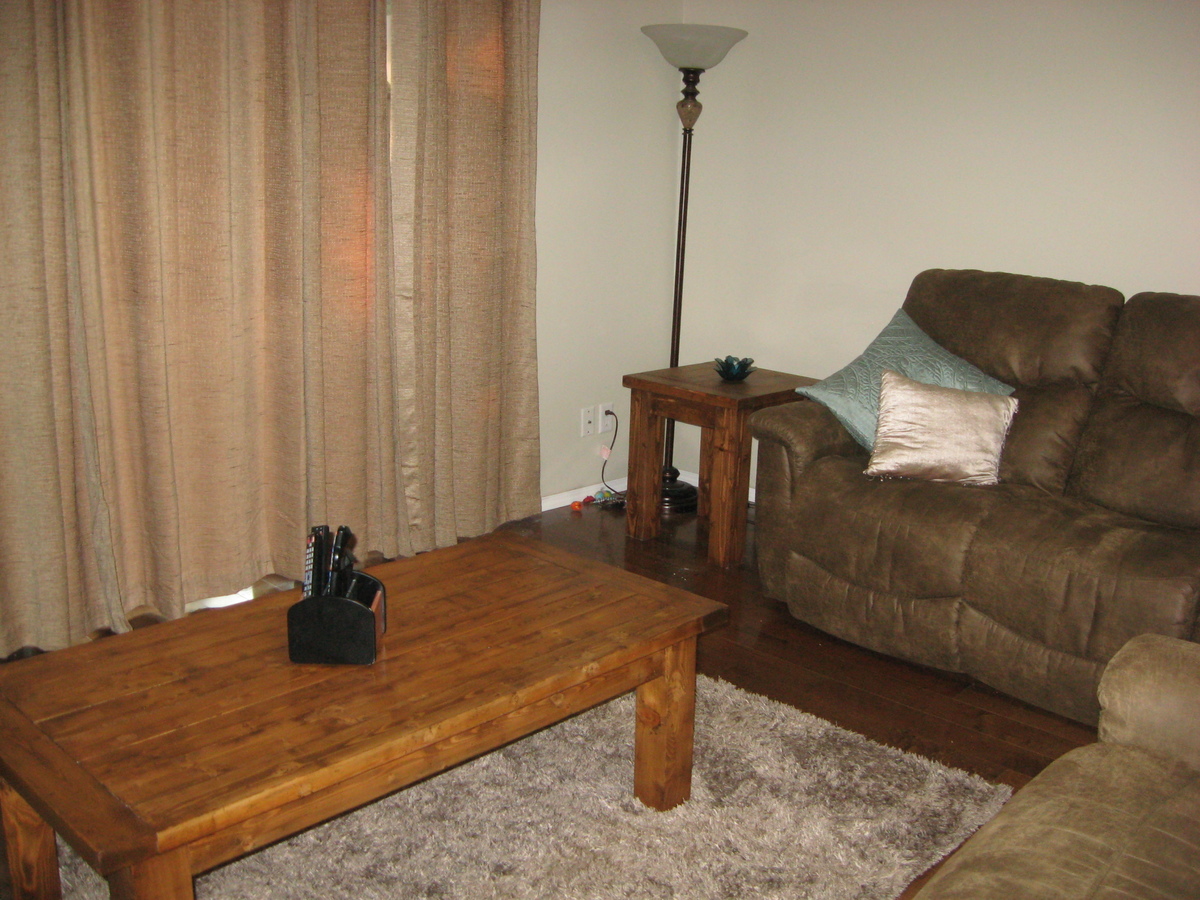
Thu, 08/21/2014 - 07:35
They look great! Mom and Dad are going to be quite proud... and maybe ask for a set of their own. ;)
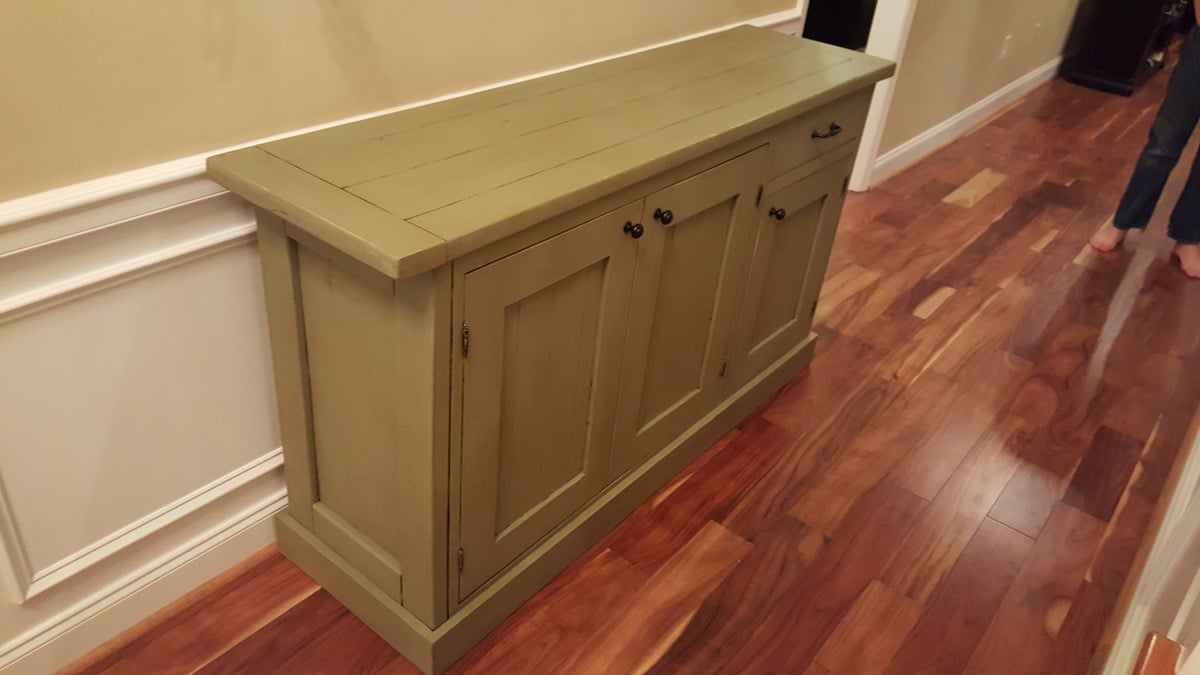
I built this slightly modified version of the buffet for my wife. She LOVEs it and did a great job finishing it with Annie Sloan paint and a wax (she's the finishing expert in the house). Plans were right on and I'm very pleased with the final product. Thanks for a great website and plans! Getting ready to undertake a dining room table now.
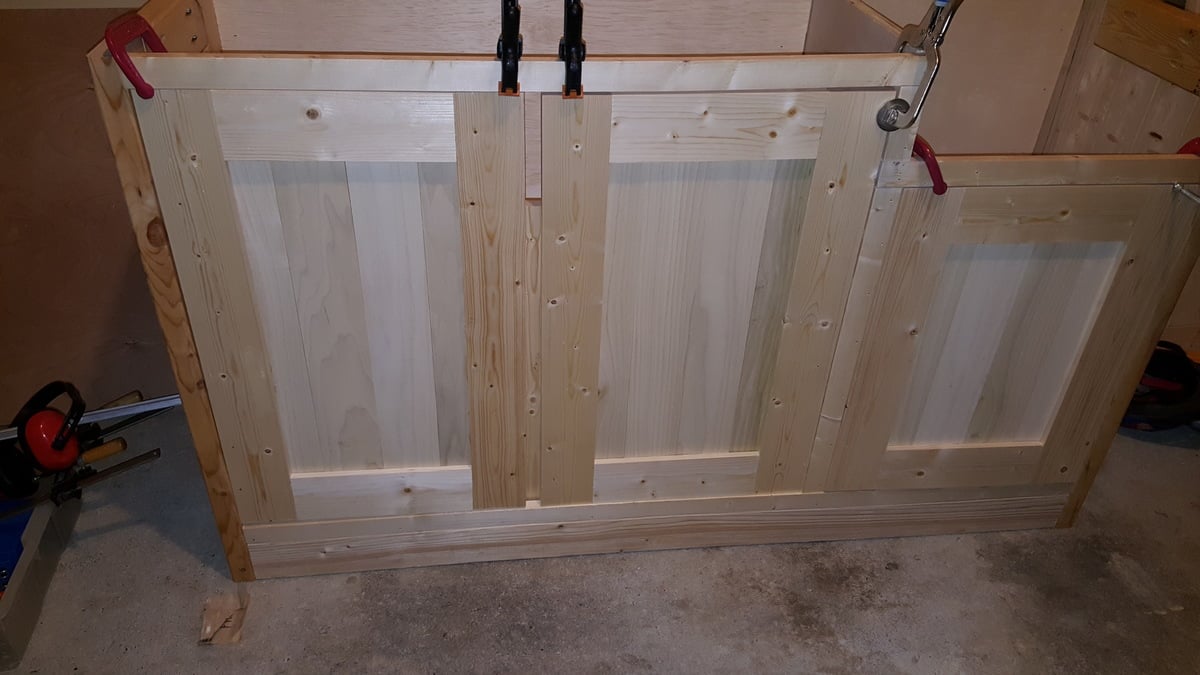
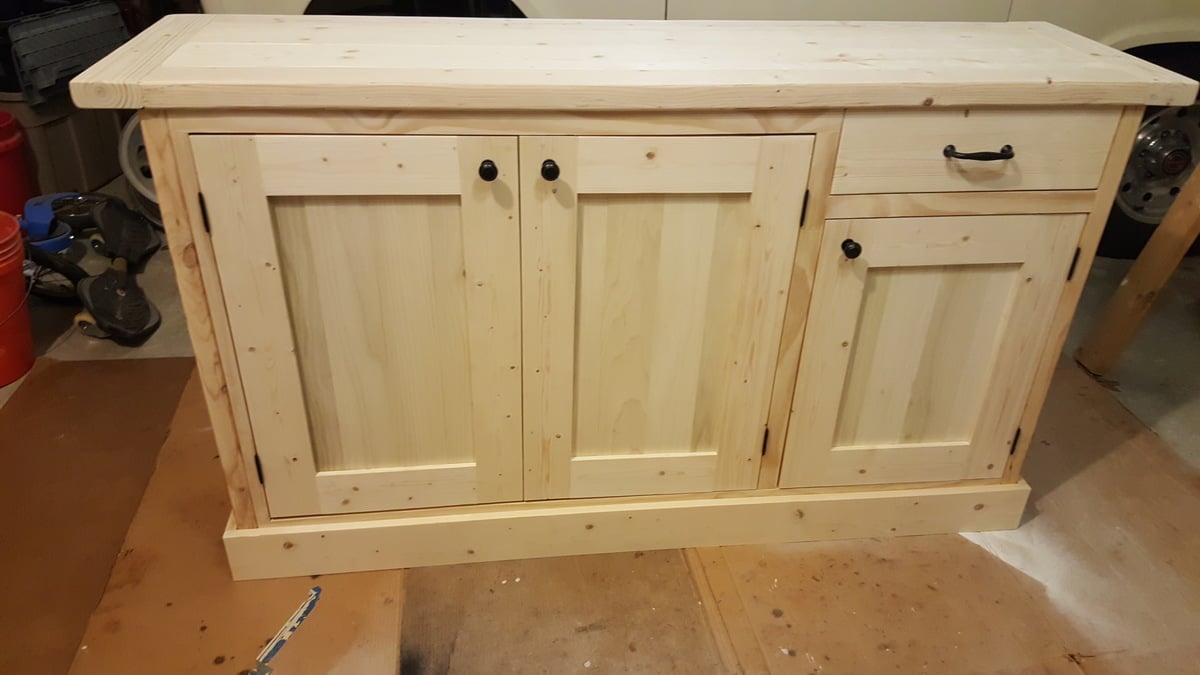
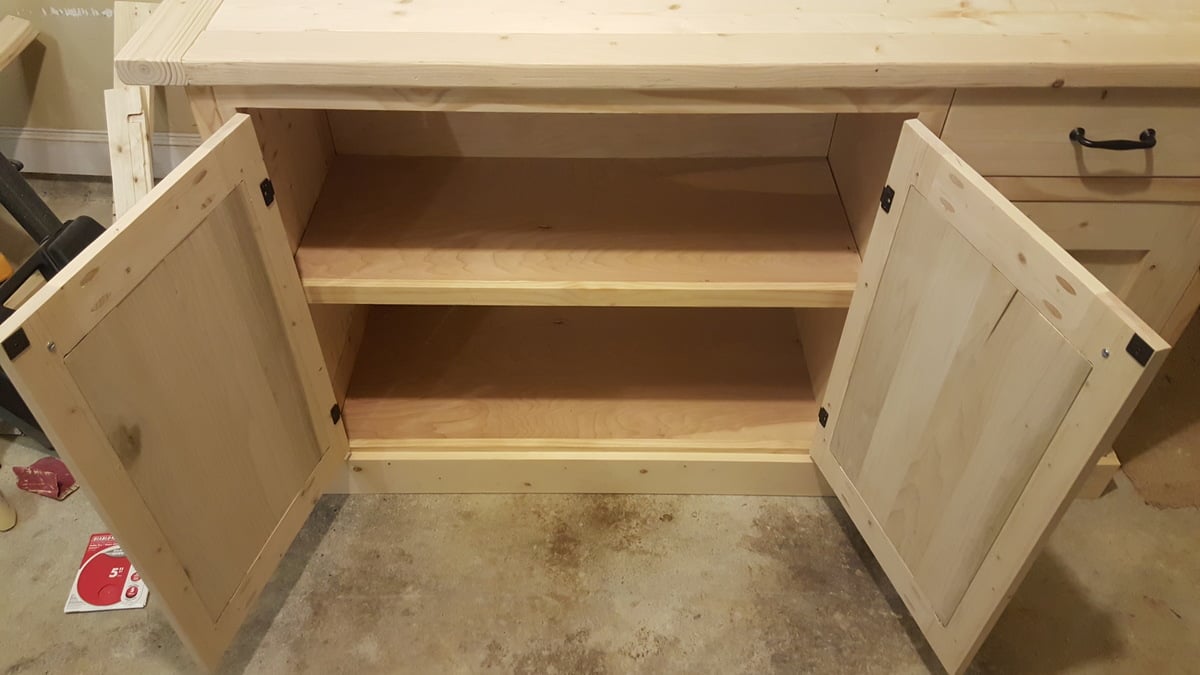
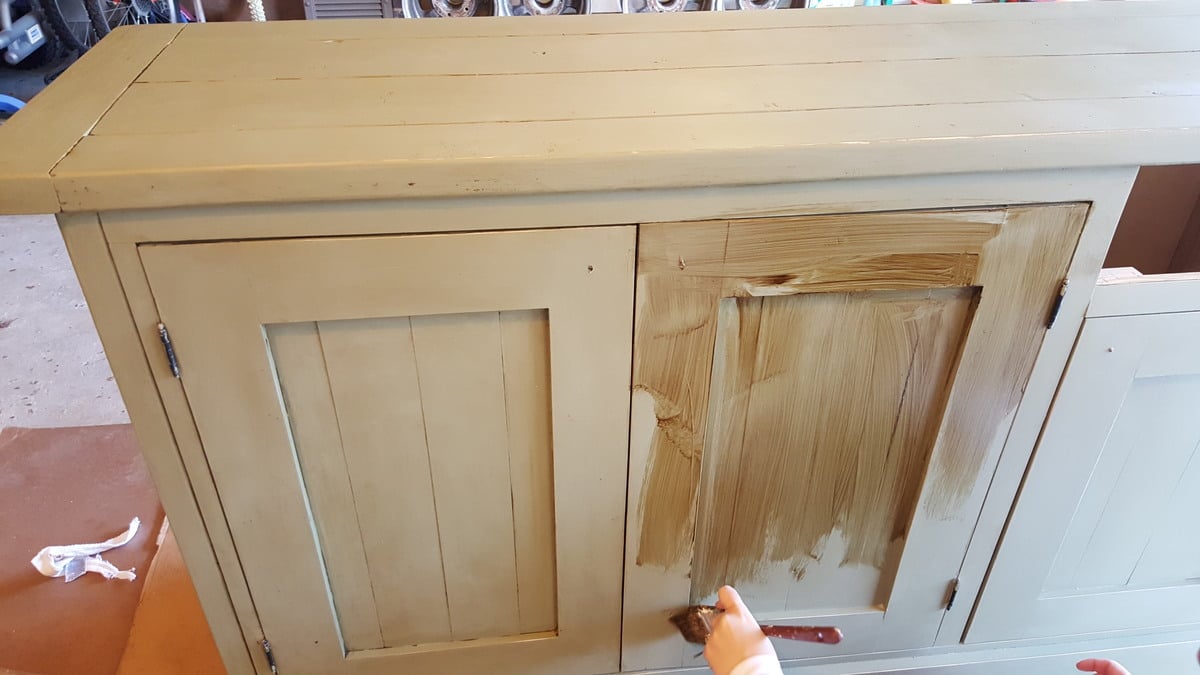
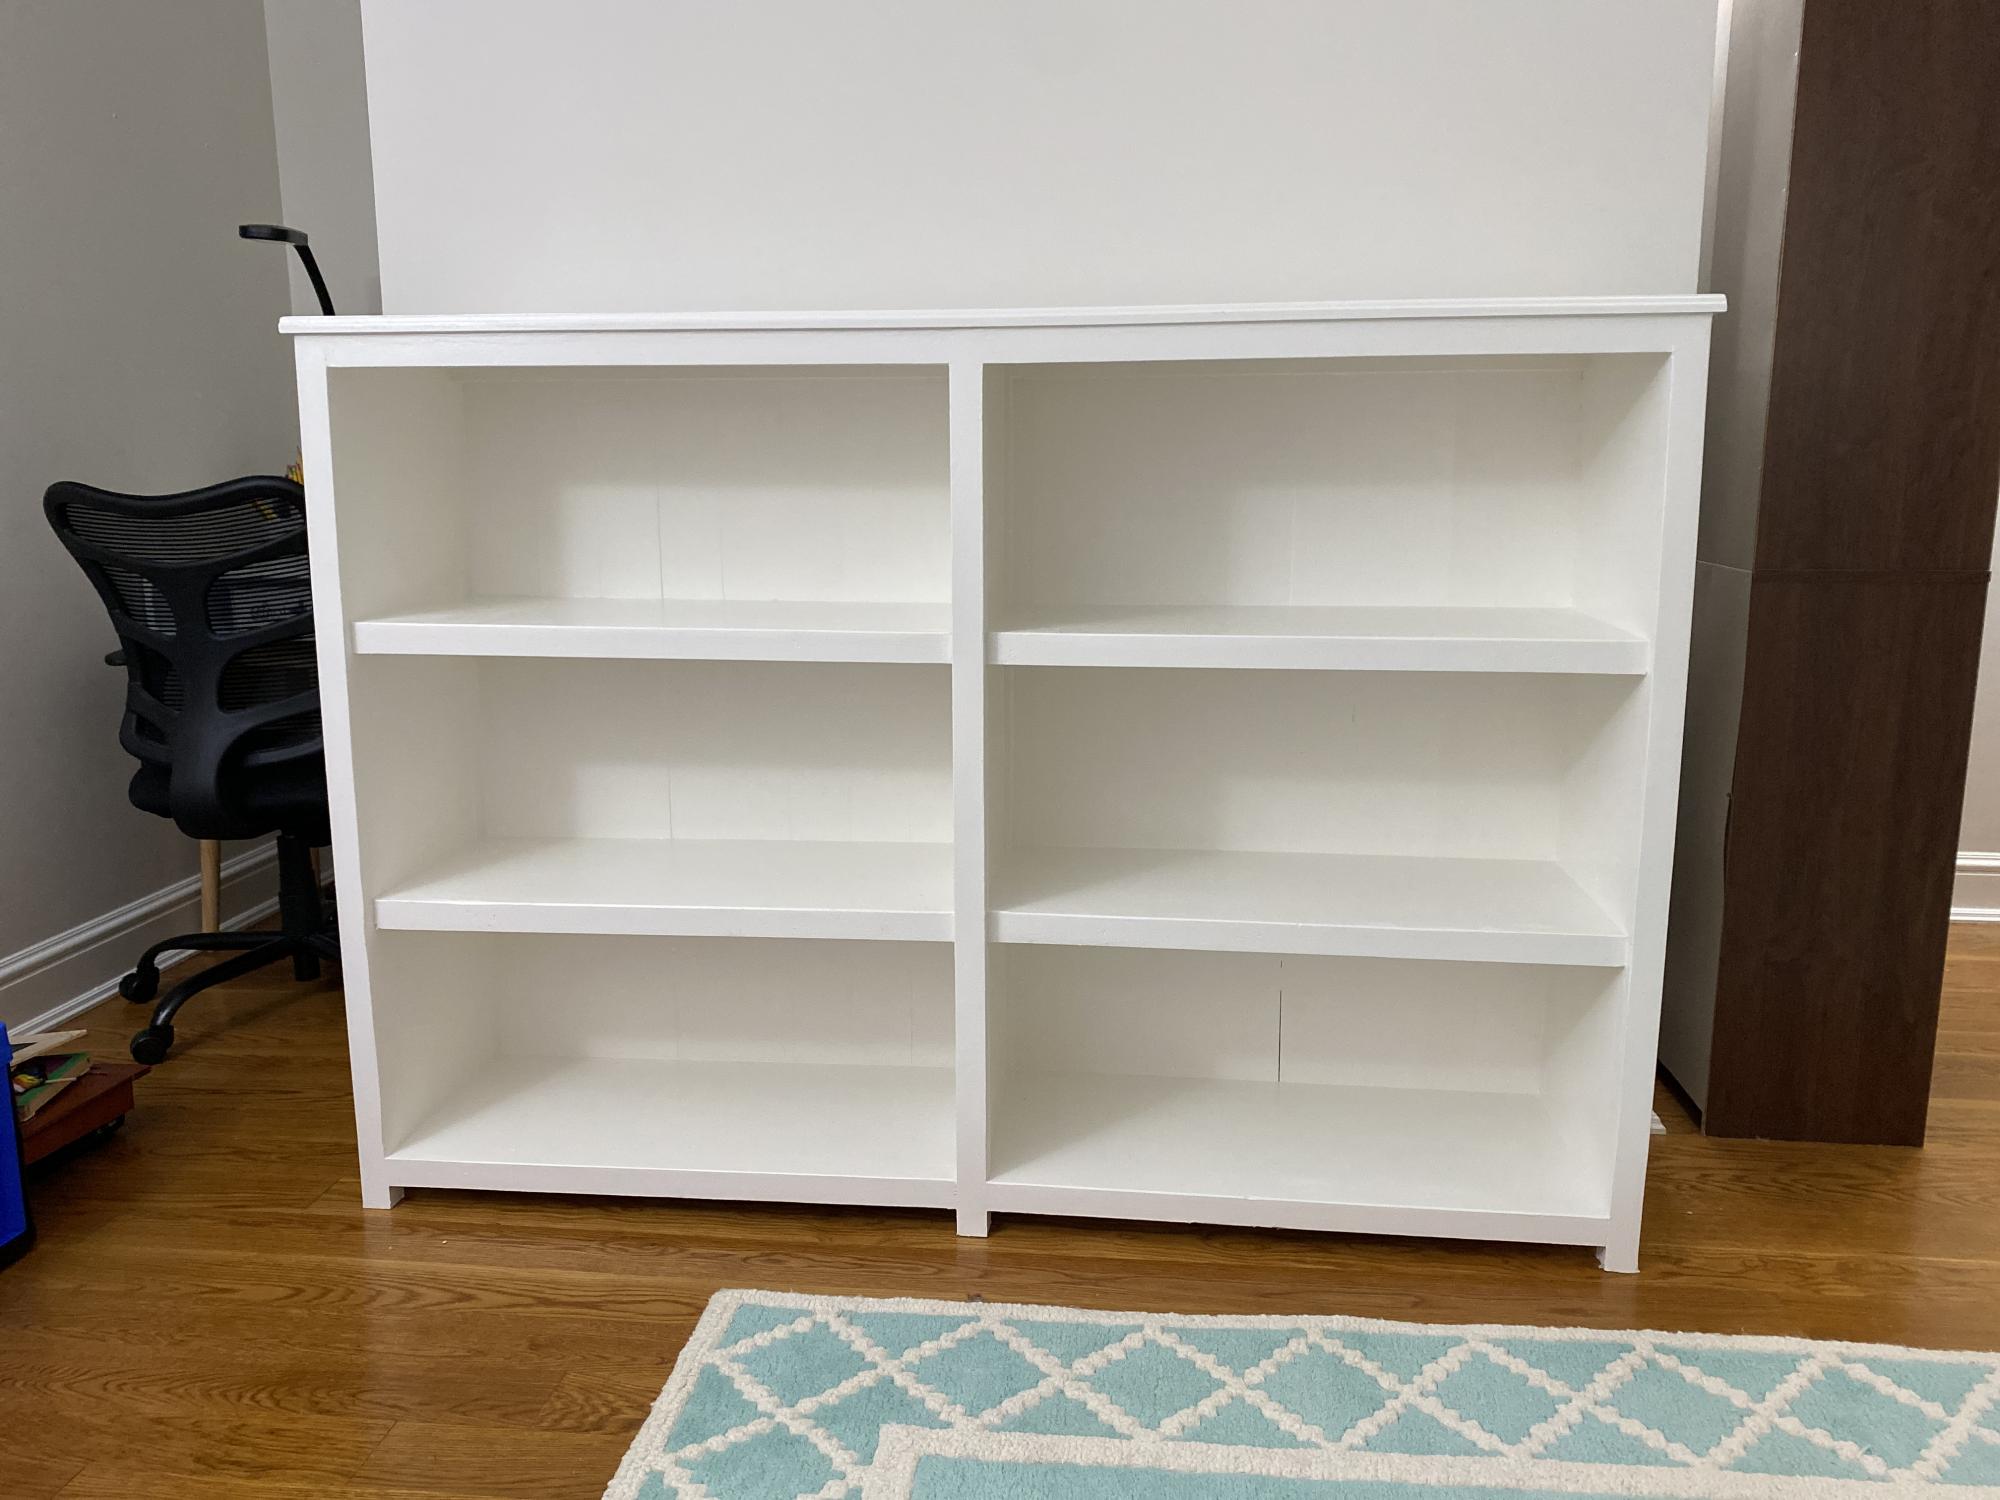
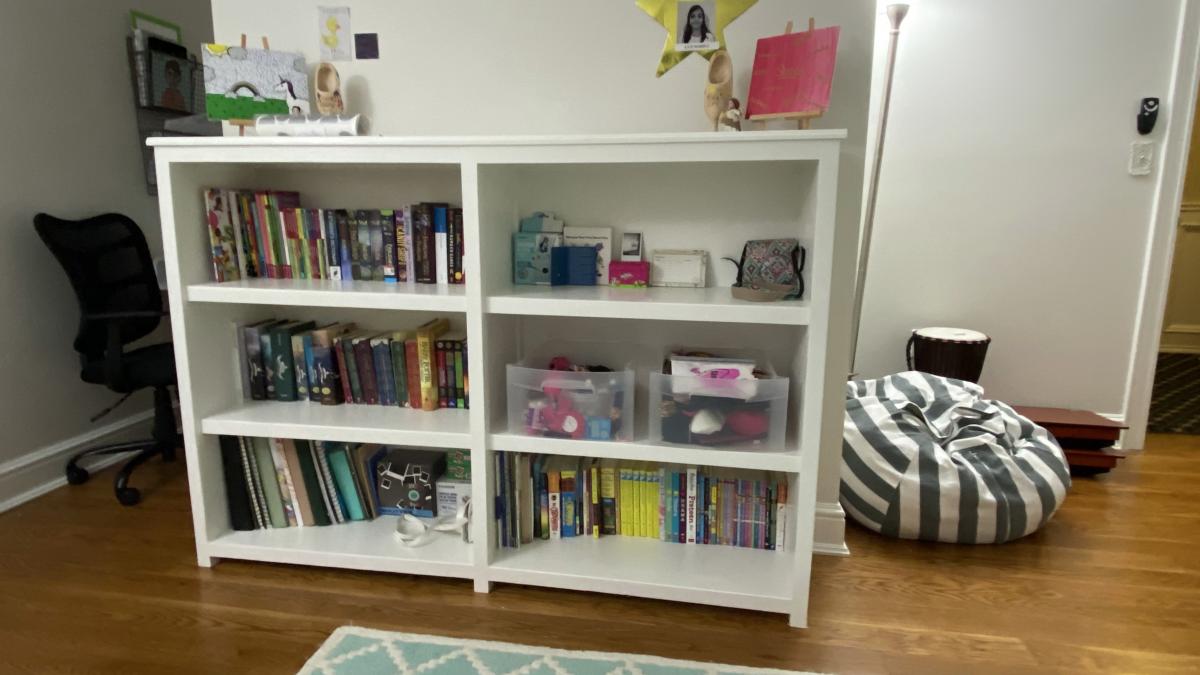
This was my first project, and I did it together with my two oldest children (13 & 11).
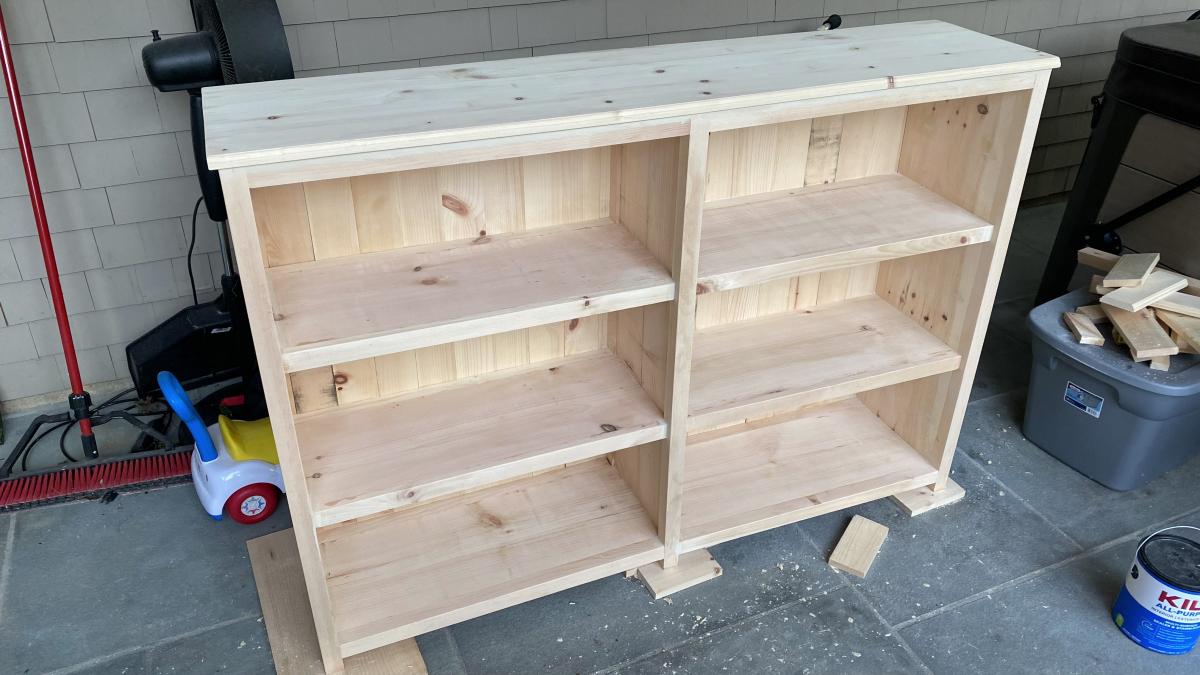
We started with the basic Kentwood Bookshelf plan, but wanted to have it a little shorter to make use of the tabletop. We also wanted it wider to fit a specific location in my daughters' room.
Broadly sticking to the Kentwood instructions, we measured the longer space we had and what that would mean for each of the measurements for the cuts. It was tricky to get the measurements right for the 1 x 12s in the middle which had to be a little longer than the 2 x 2 and 1 x 2 frame fronts to fit snuggly, but we got there.
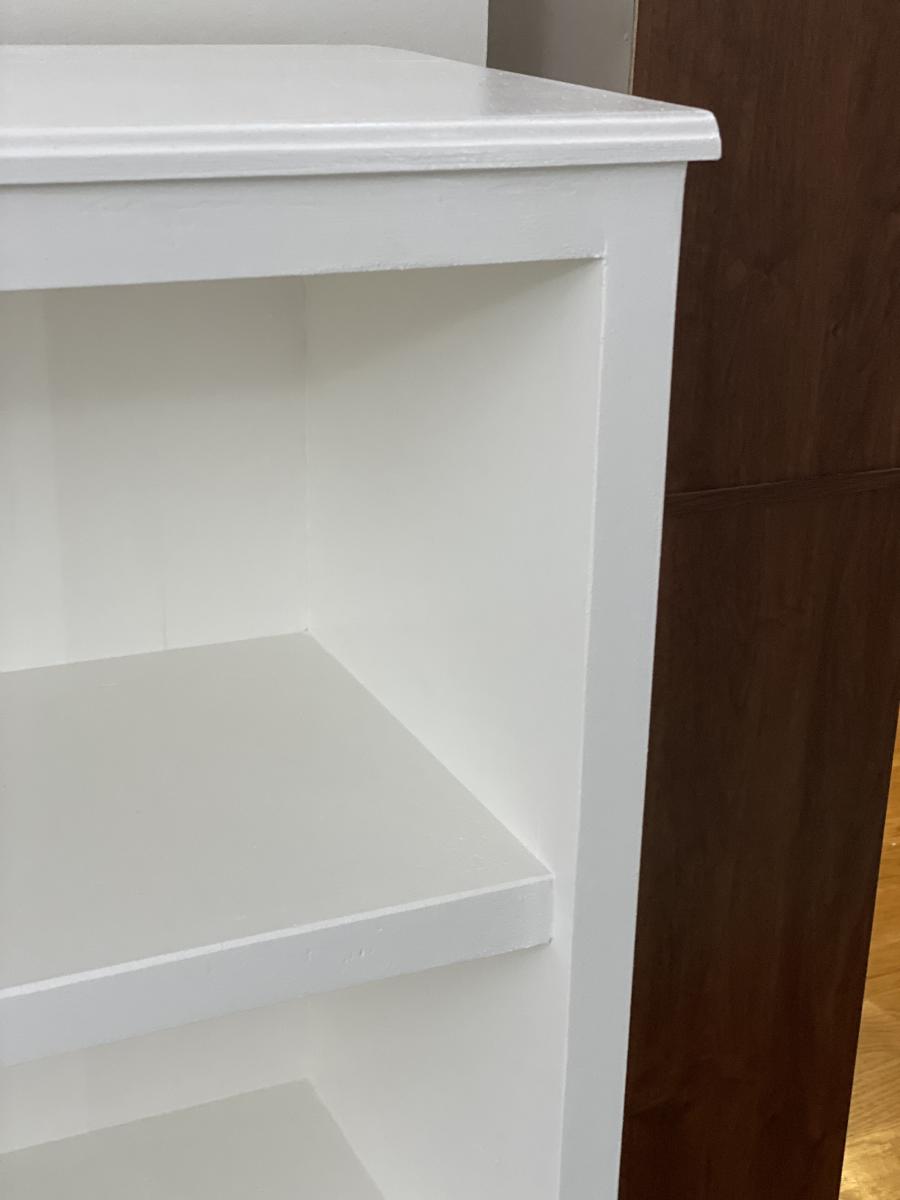
We finished the top and back with 1 x 4 boards instead of planking. It added cost and weight (whole thing probably weights 150 pounds), but hopefully it will last a long long time. We routed the front edge of the table top to give a nicer finish.
Painted it white in the end. Tried to put a clear coat over it, but made a mistake of using an oil-based clear coat which turned the whole thing yellow. Had to sand it down and repaint. Ugh. Lesson learned!
We're very happy with the results.
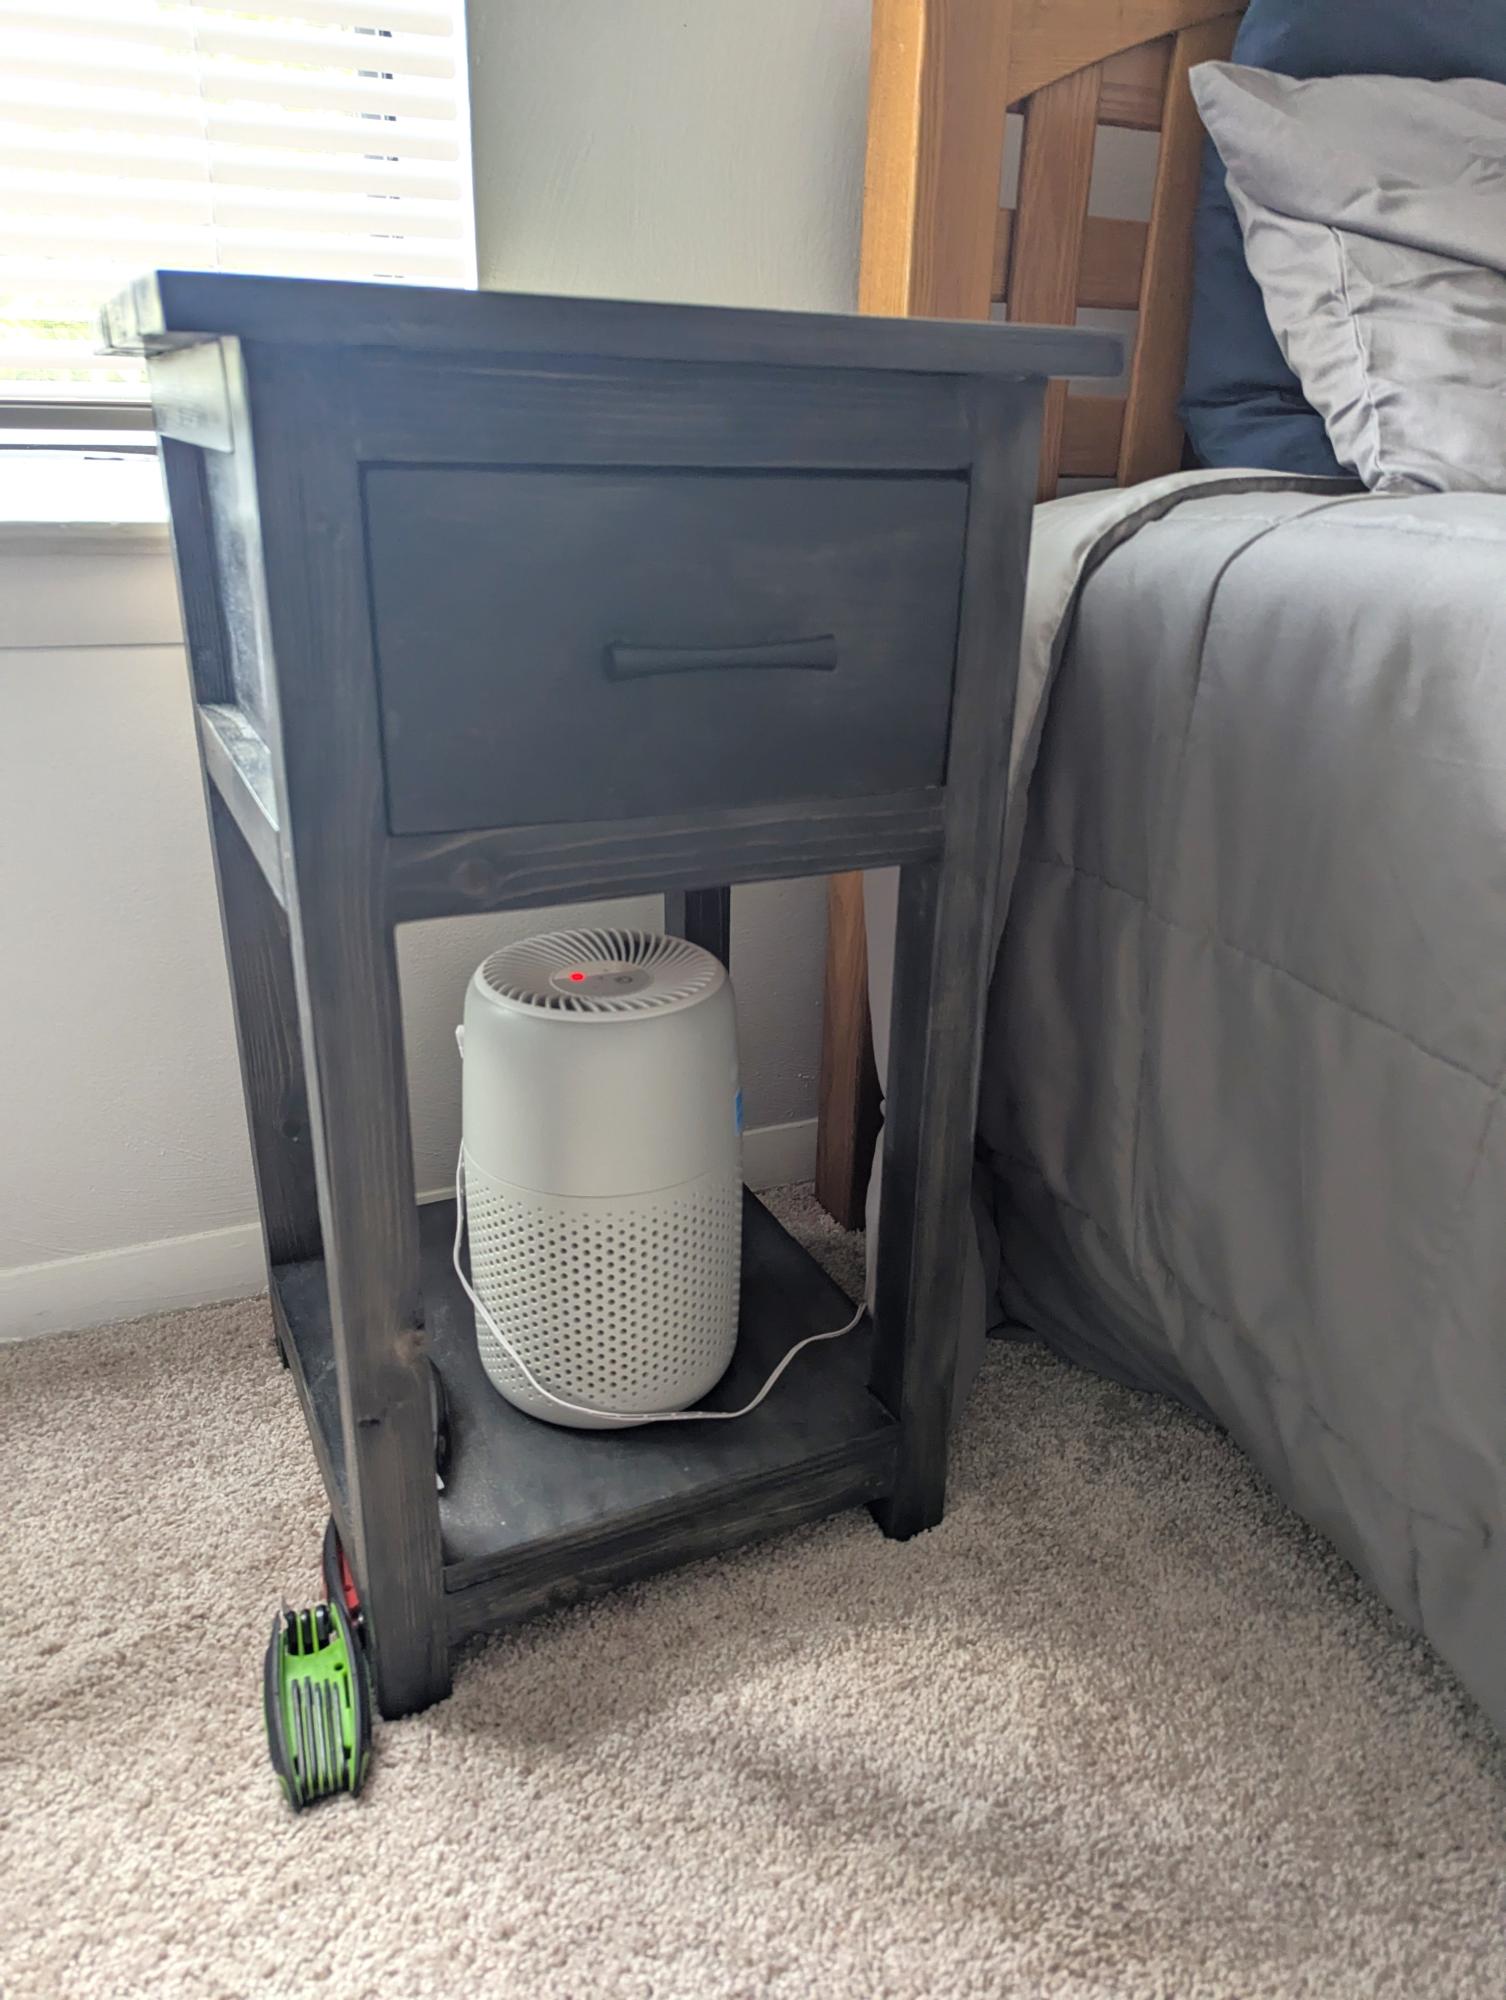
DIY End Table by Bonnie Jerry
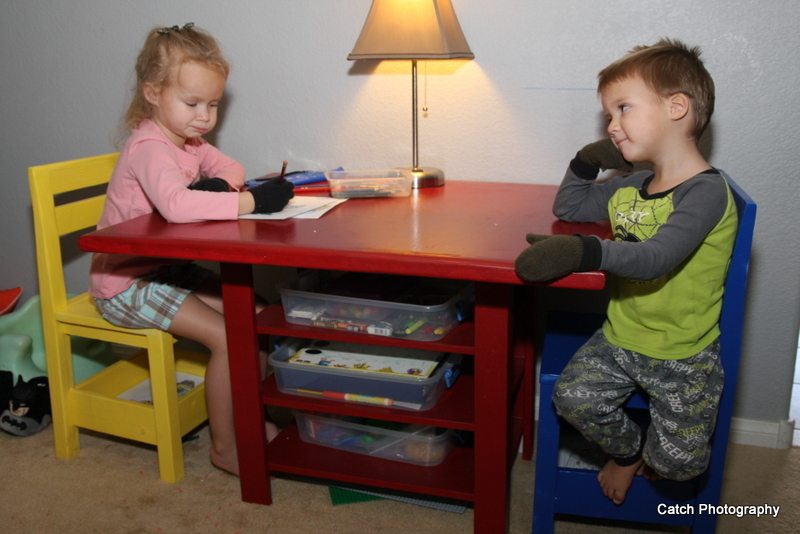
I wanted a table with storage, I added a couple extra "shelves" This was the easiest design to do this with. Just be sure to add from the top shelf to the bottom if you are using a Kreg Jig. You might want to pre-paint also . My shelves are 5 inches apart to fit perfectly my little flat style containers for art stuff and playdough.
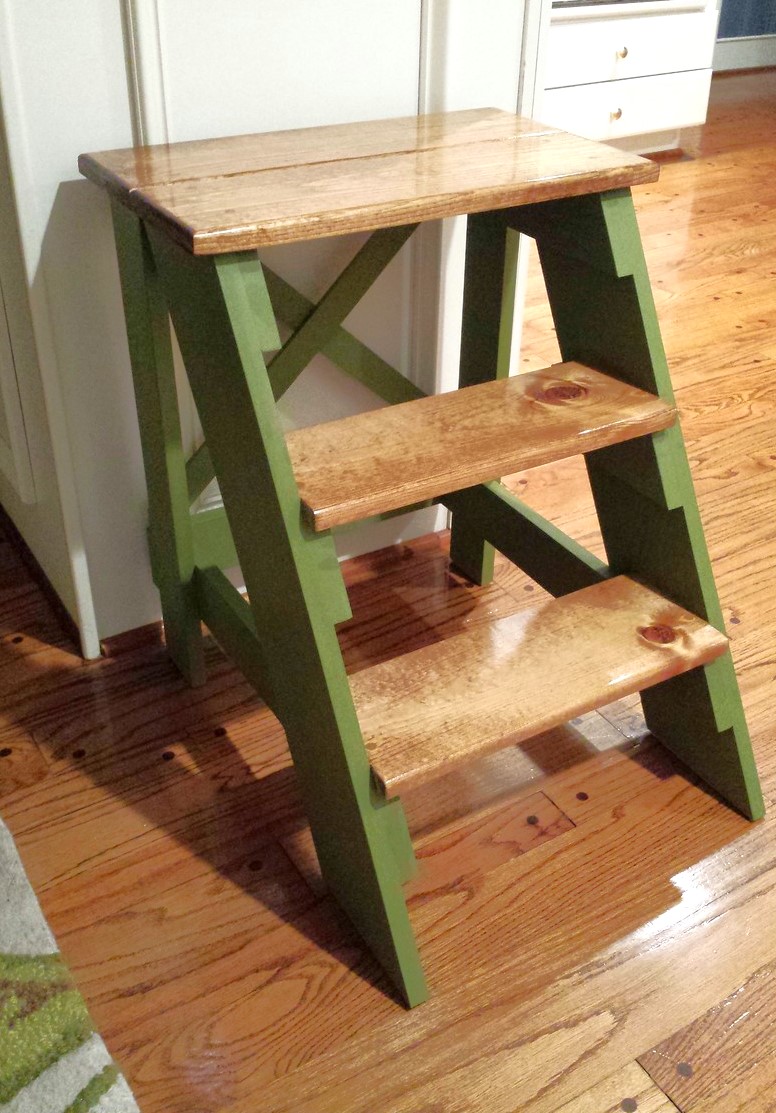
Did the multi-finish on the step stool. On the steps, I used the Minwax Pre-Stain Conditioner, followed by Minwax 'Early American' stain and then Minwax clear gloss polyurethane. The rest of the stool was painted with DIY chalk paint. The paint is 1 cup flat paint (Valspar Jungle Thicket) mixed with 1/3 cup plaster of paris and 1/3 cup water. The chalk paint portion was finished with the Minwax Finishing Paste Wax and gave the flat paint look a nice sheen.