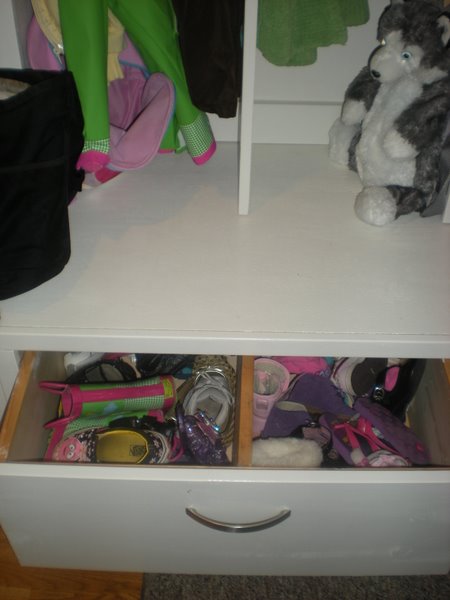
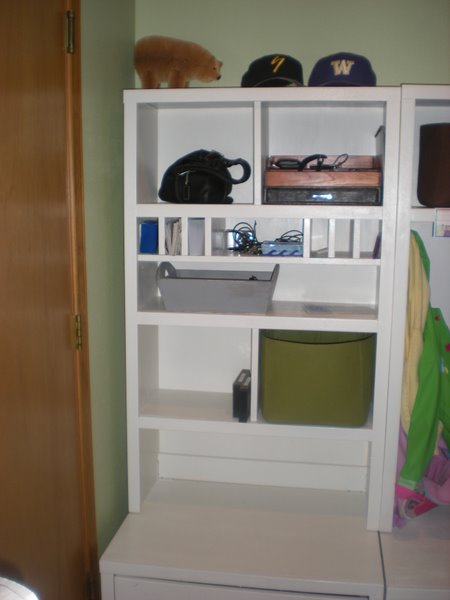
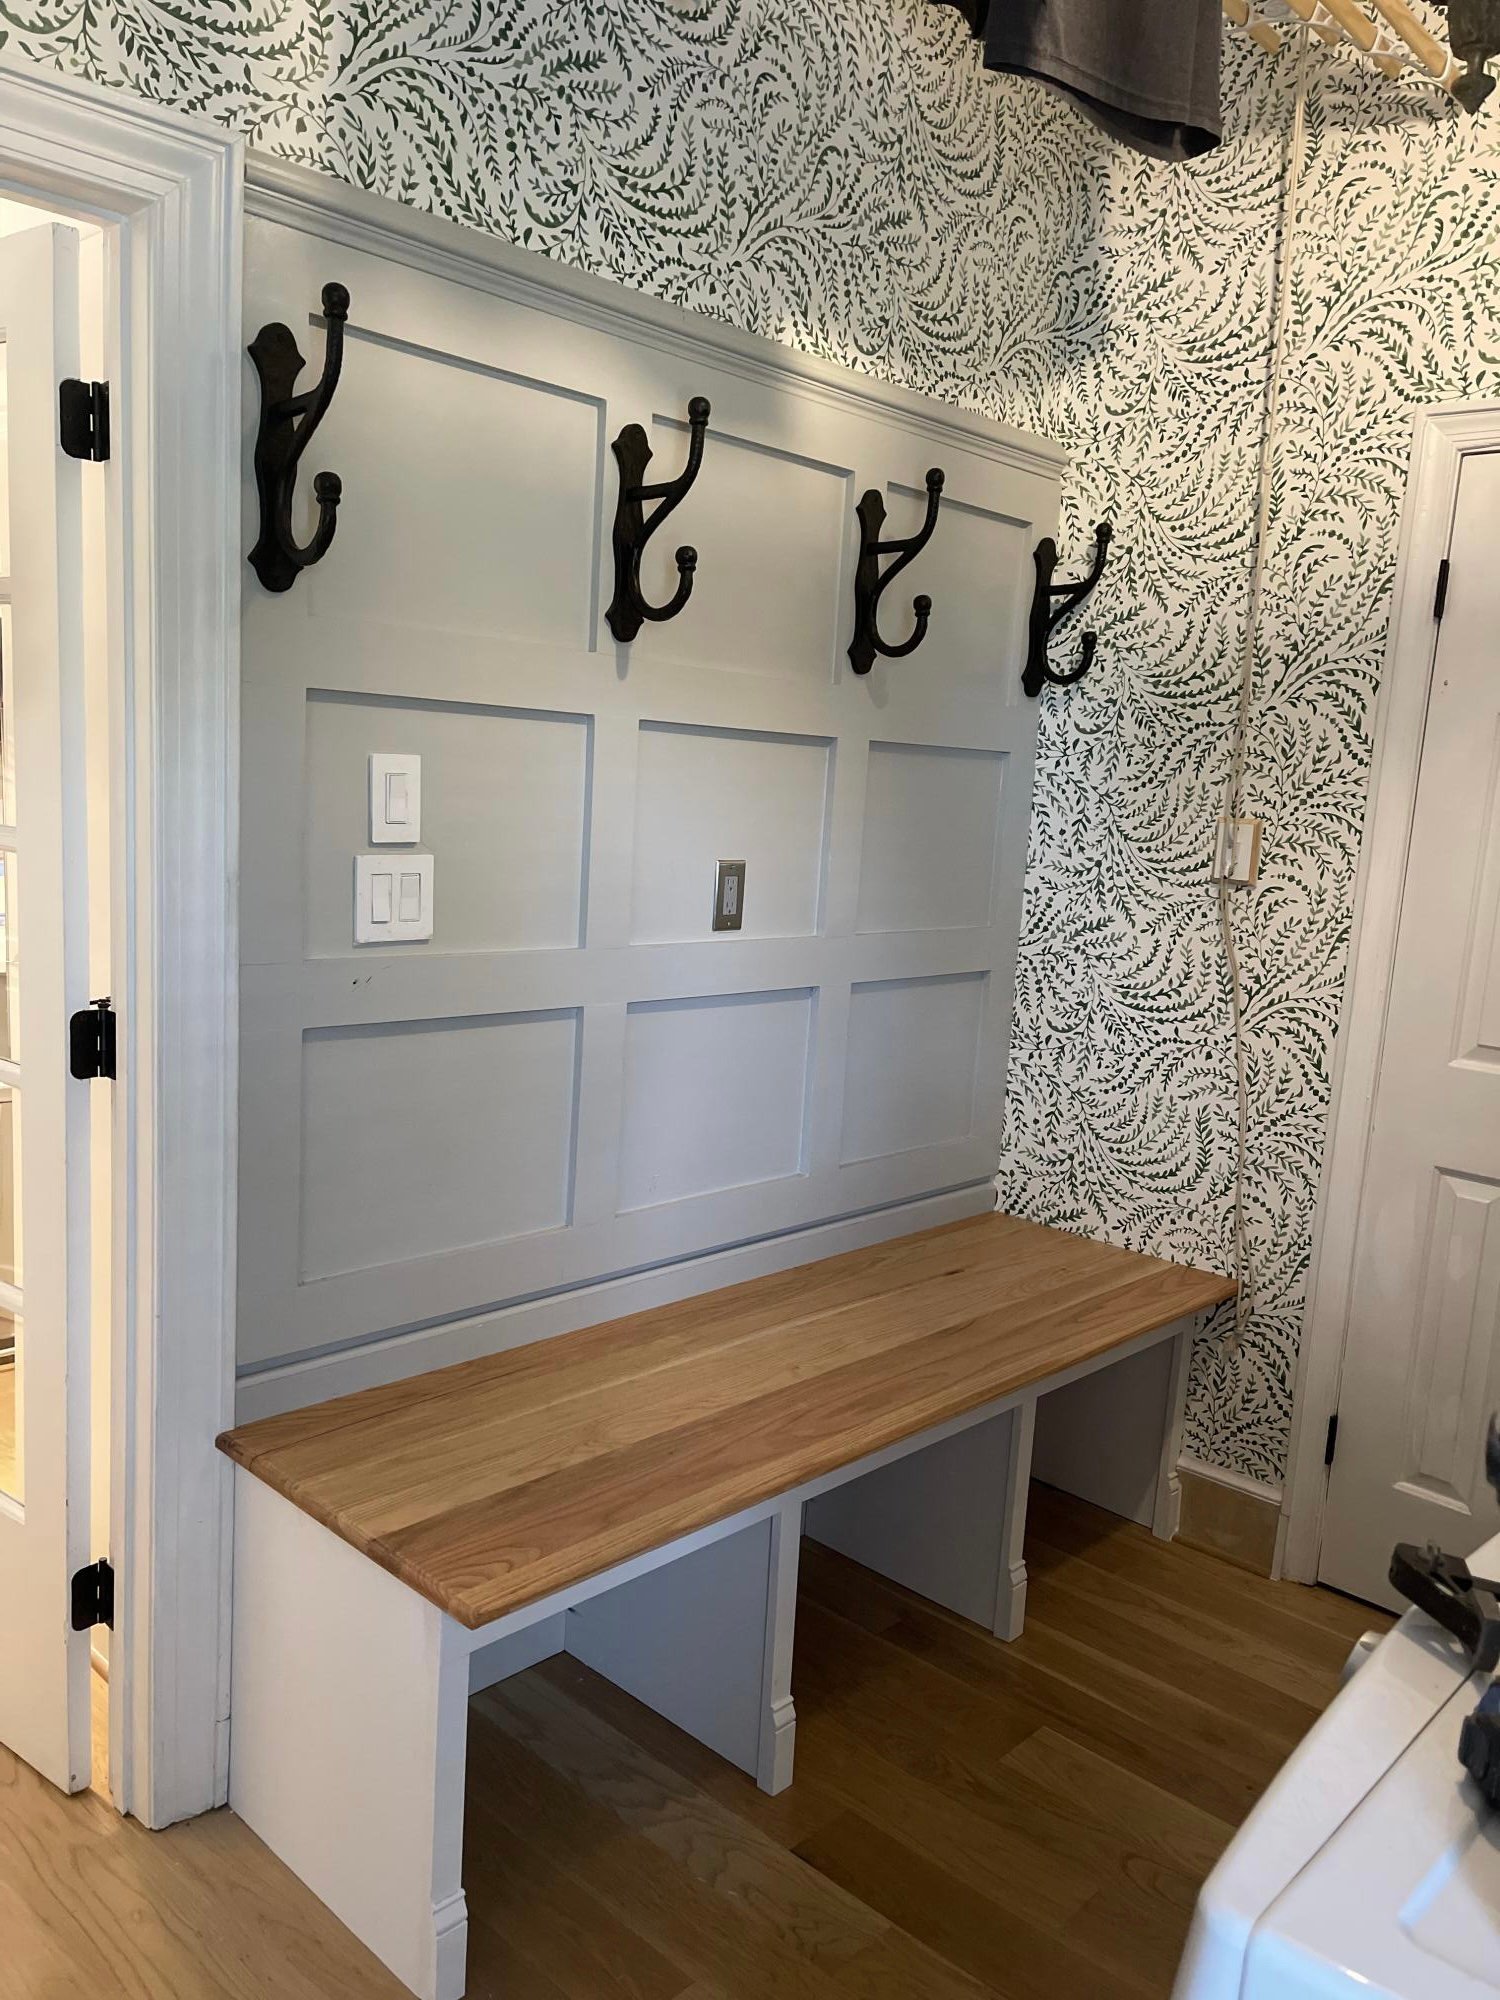
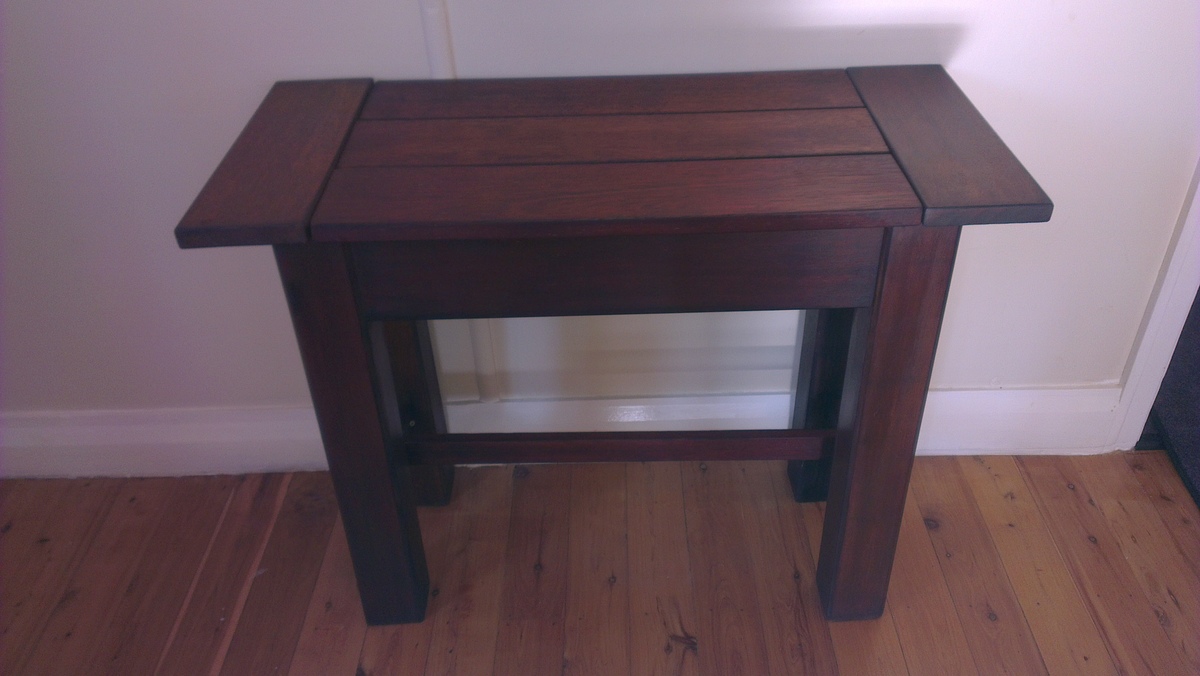
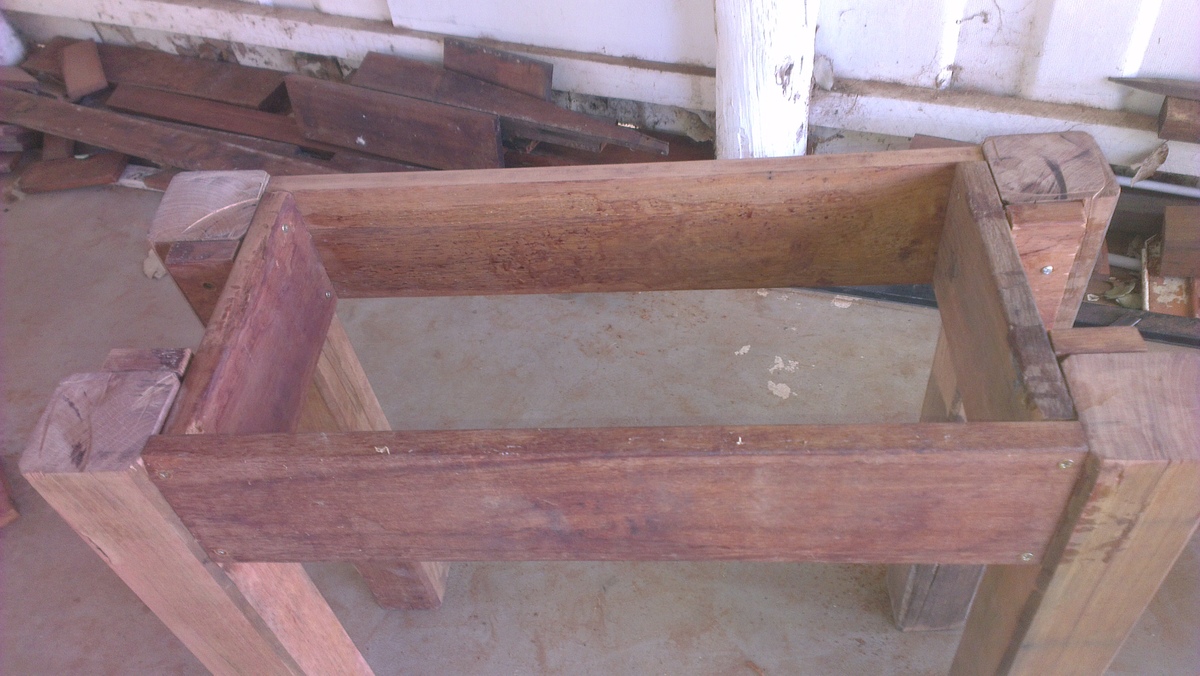
Braden Entryway Mail Sorter/Locker/Shoe drawer
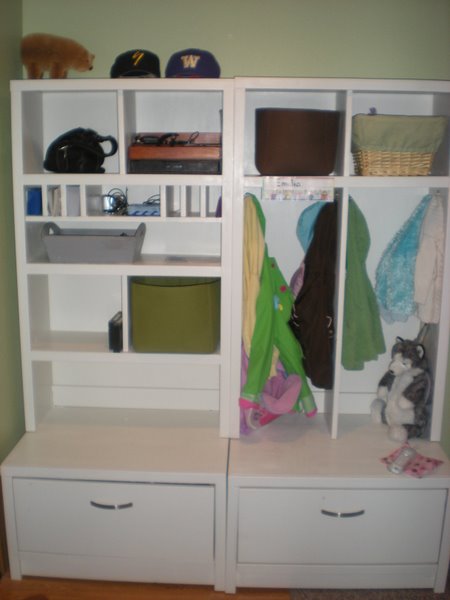
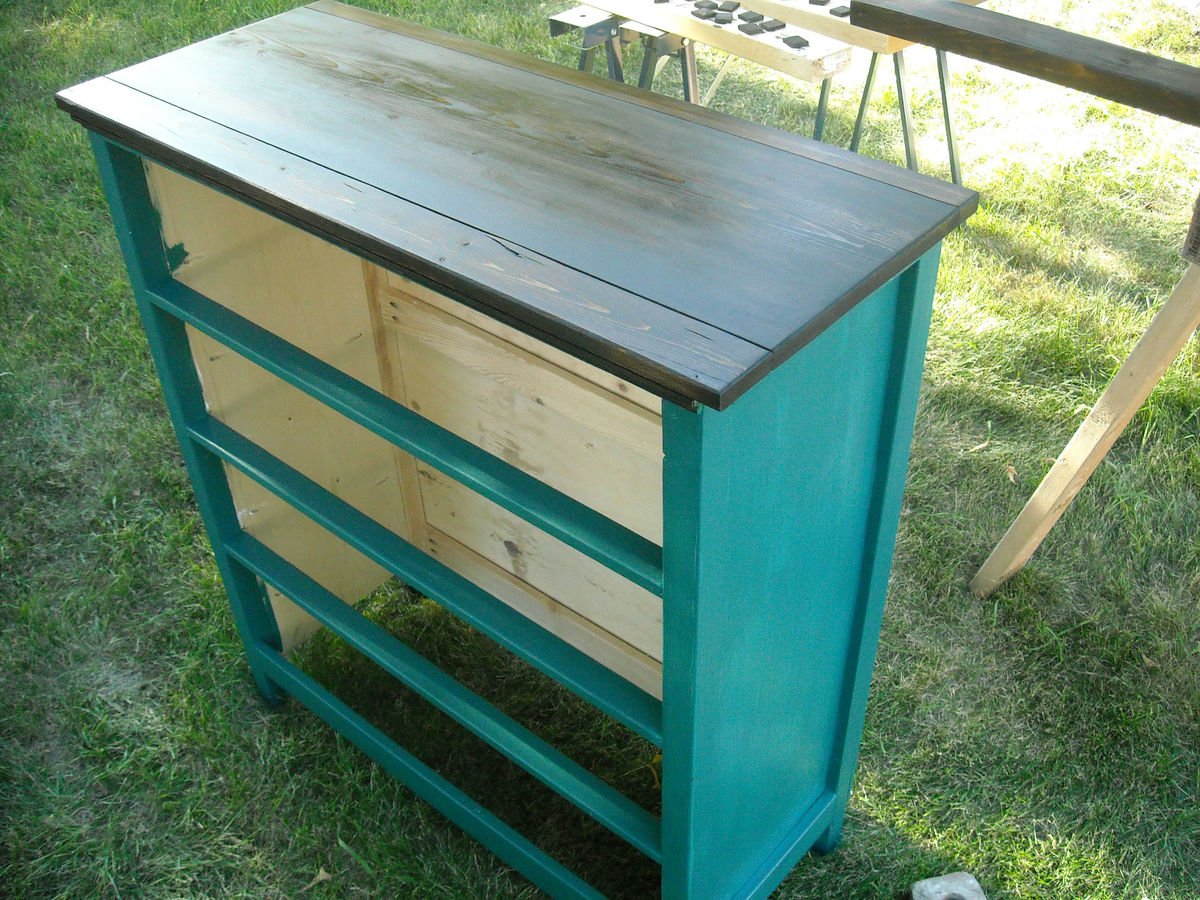
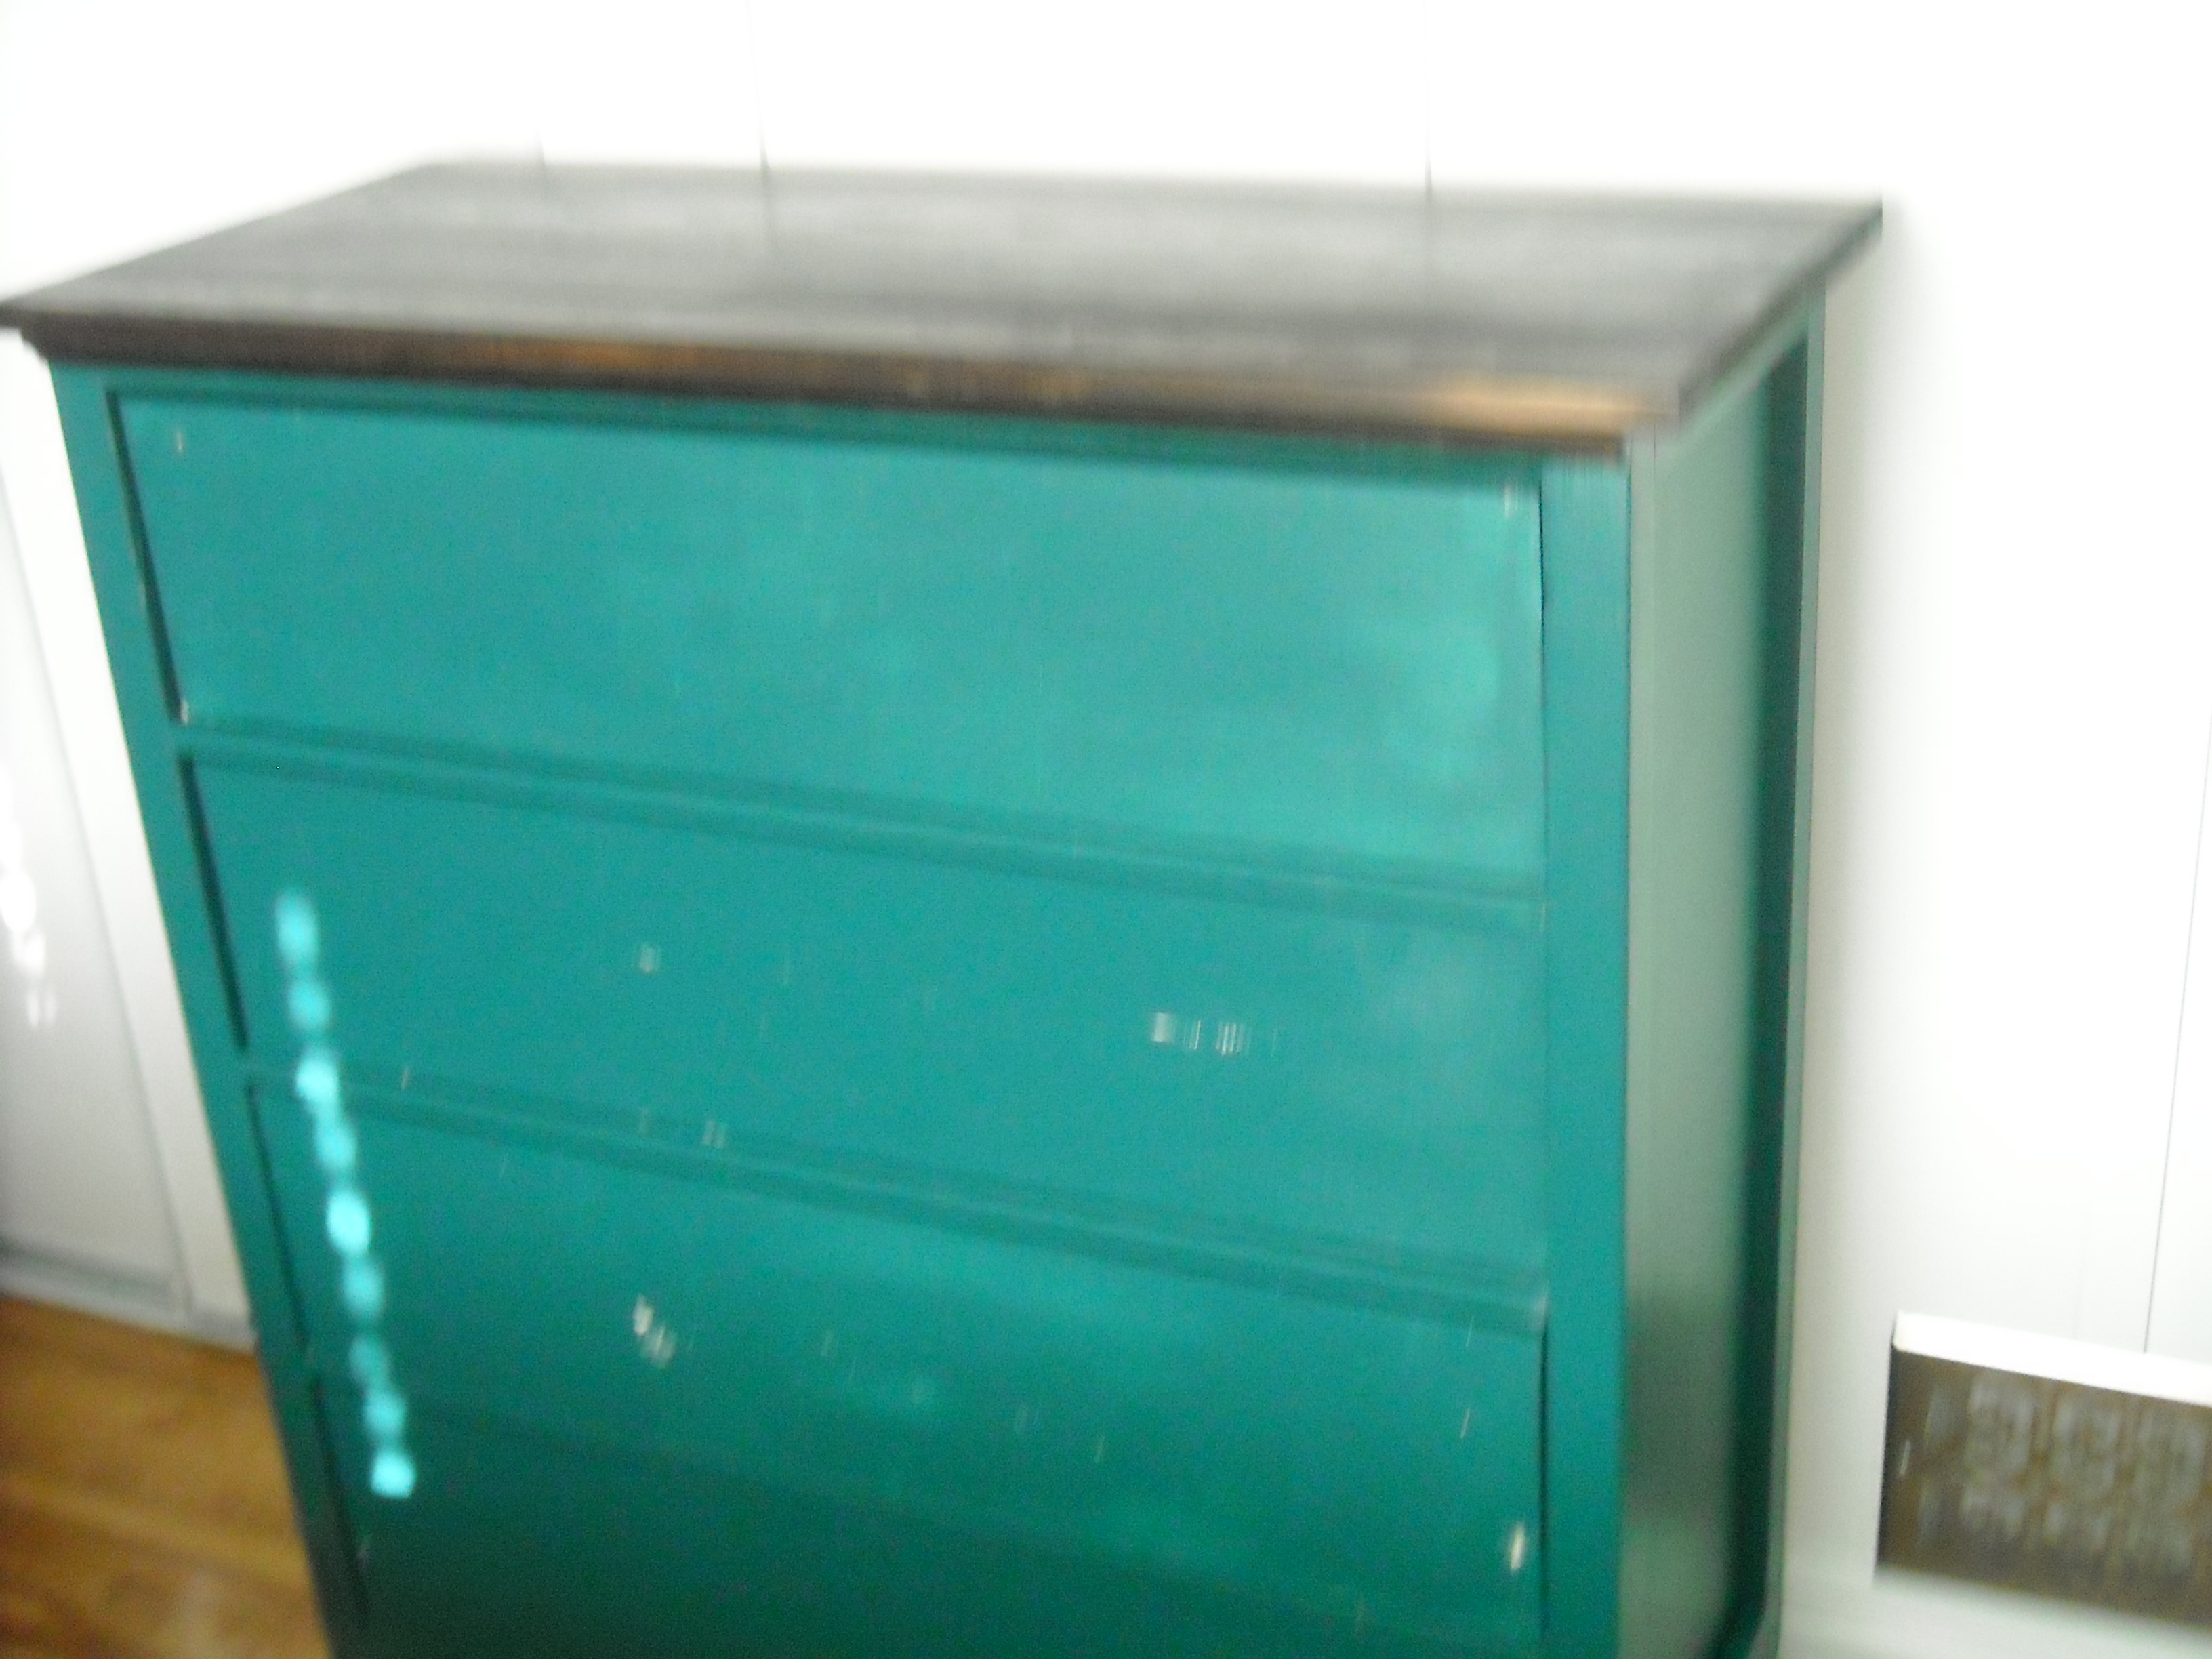
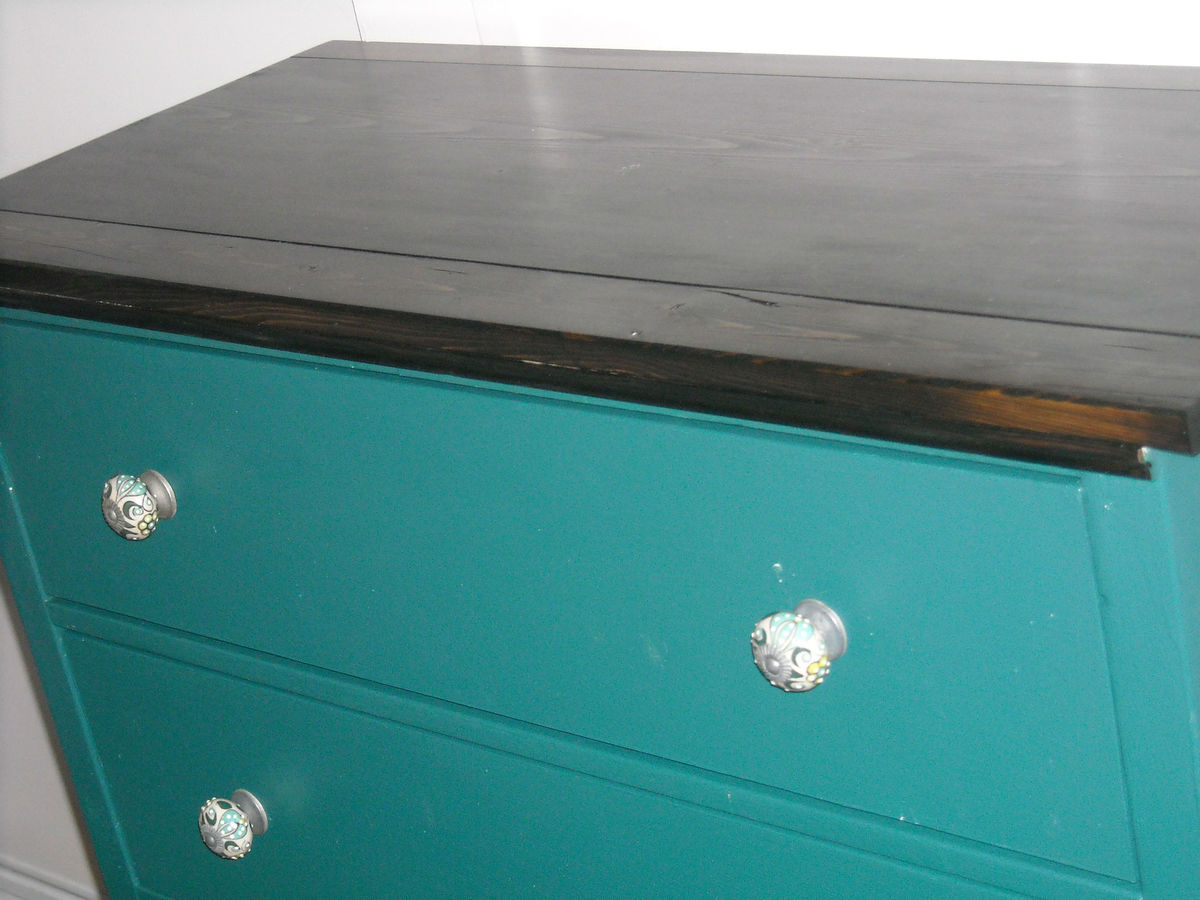
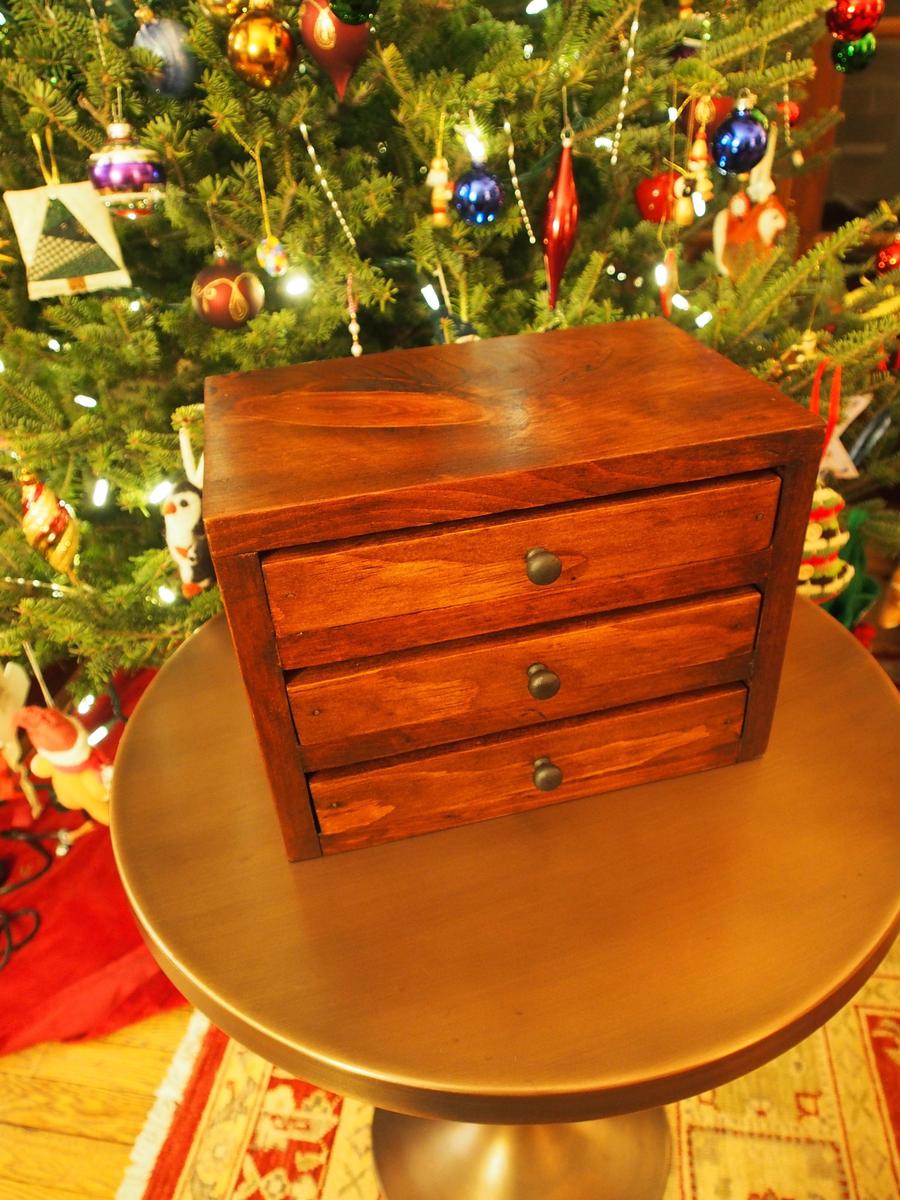
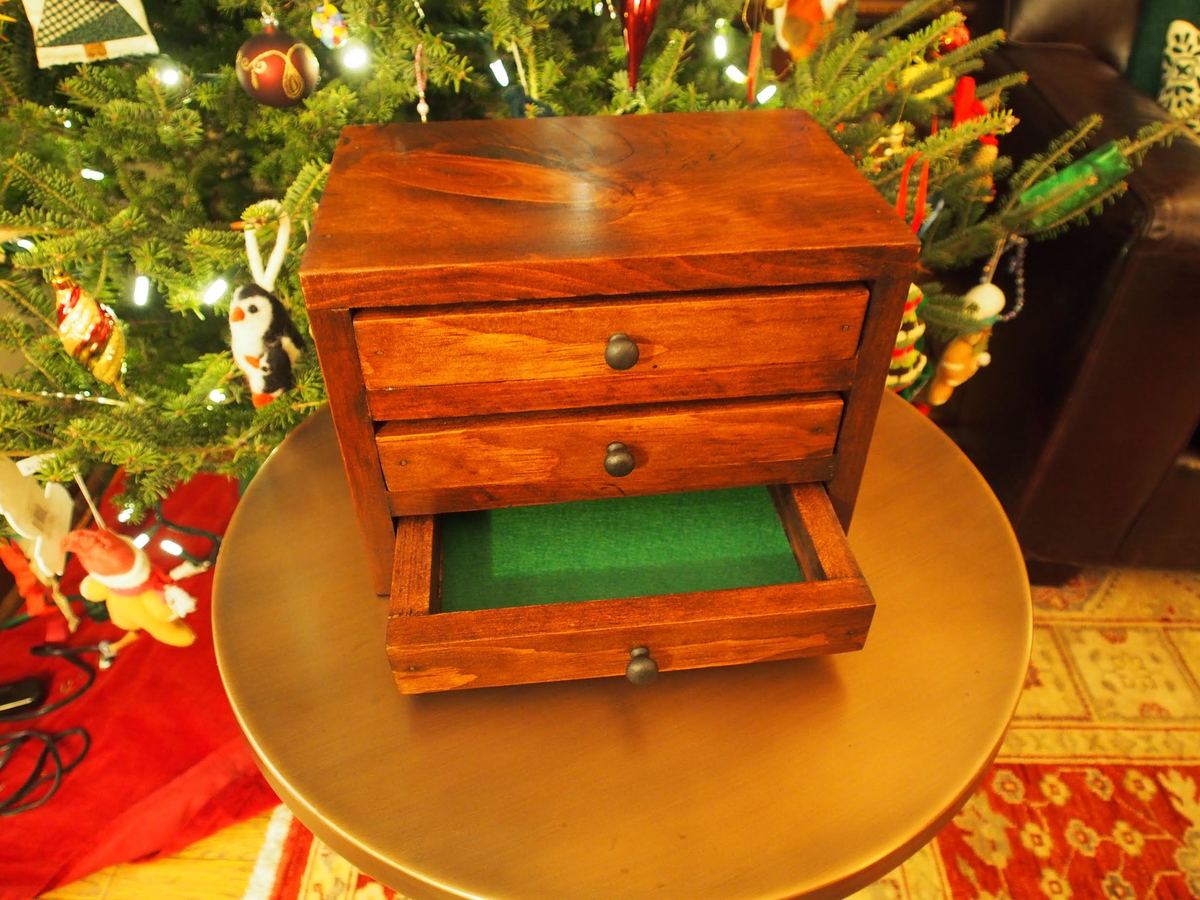
This is the greatest website ever! Thank you so much Ana White! Anyway, this was my first project. Our family room was a mess - shoes everywhere, coats strewn, you name it. We don't have a mud room - you just walk in from the garage to BAM, the family room. So the mess needs to be contained and organized and the Braden Shoe Drawer, Locker and Mail Sorter/Phone Charger was our answer! I would have loved to have done the locker-mail sorter-locker layout but space is limited in the room so I was only able to make one locker. I did make a 3rd drawer, per Ana's awesome wood cutting instructions and that drawer is in a storage closet. So, pay attention to her cutting instructions - she knows what she's talking about! I had some left over wood (1x10) and used that as a divider in the shoe drawer to keep each kids' shoes separate.


Comments
Ana White
Sat, 09/03/2011 - 10:04
Just love the divided drawer
Just love the divided drawer and this whole set! What am amazing project! So proud of you! The finish is just perfect too!
StacieM
Sat, 09/03/2011 - 12:59
Looks great!
This looks great for a first build! The drawers are great for hiding the shoes and I love the mail sorter. Awesome job!
4TheInnocent
Thu, 12/01/2011 - 13:26
GREAT JOB
I'm new to Ana's site & I desperately need to find a Mud Room Locker System & since I don't have an office downstairs I either need a desk put in my kitchen or a mail sorter system of some kind! You did a fabulous job but I have to admit that I'm terrified to even start this project!!!!! I'm afraid that I'll make a huge mess of it!!!! Any suggestions for a newbie???? Thanks a million!