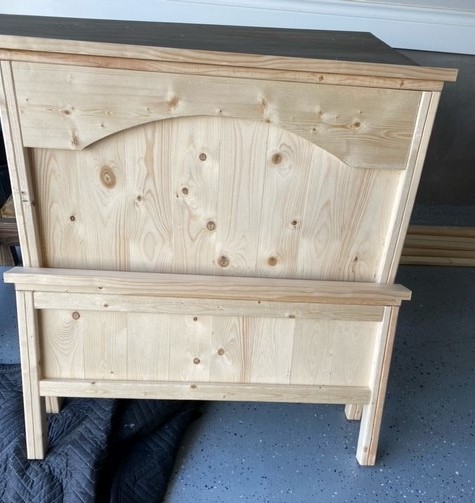
Community Brag Posts

Spotlight / X Desk with Drawers

Submitted by Francoise on Mon, 12/31/2012 - 06:56

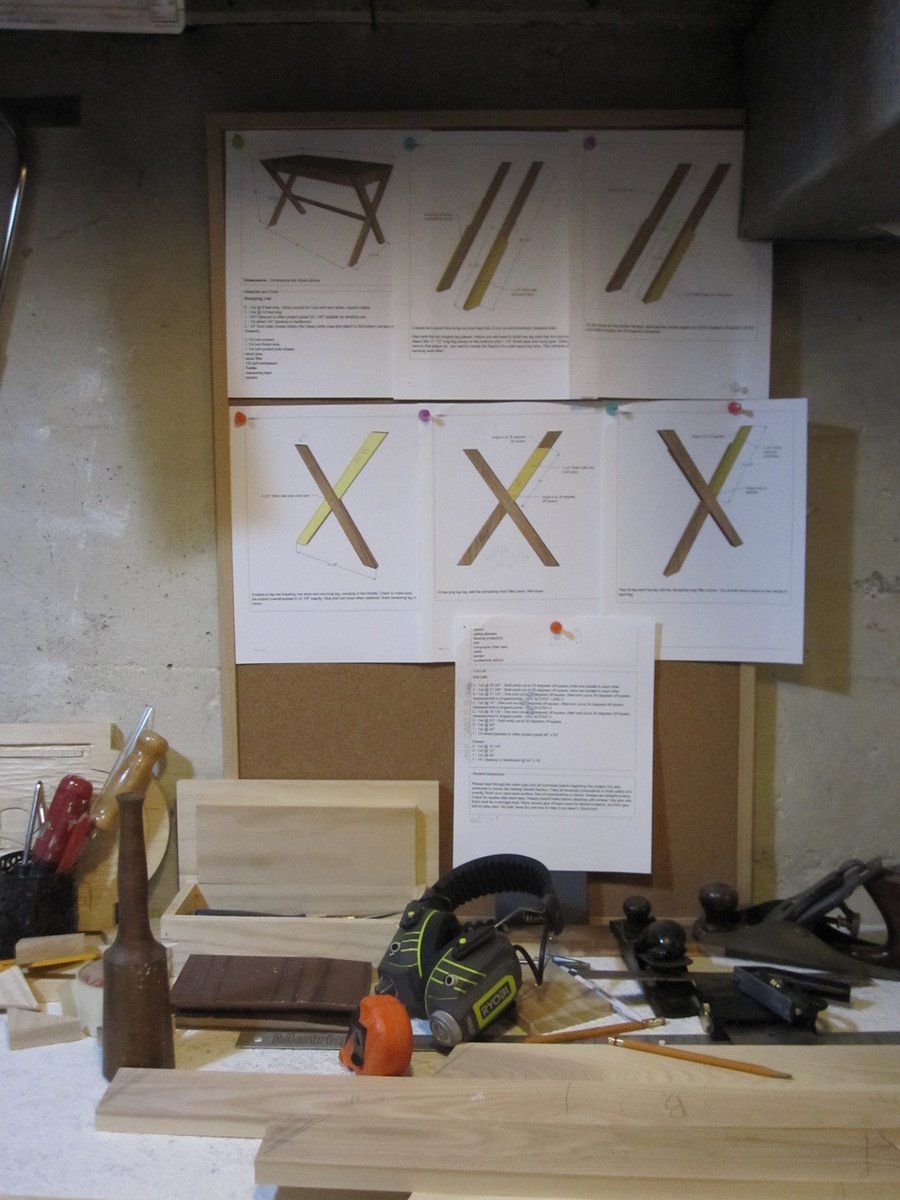
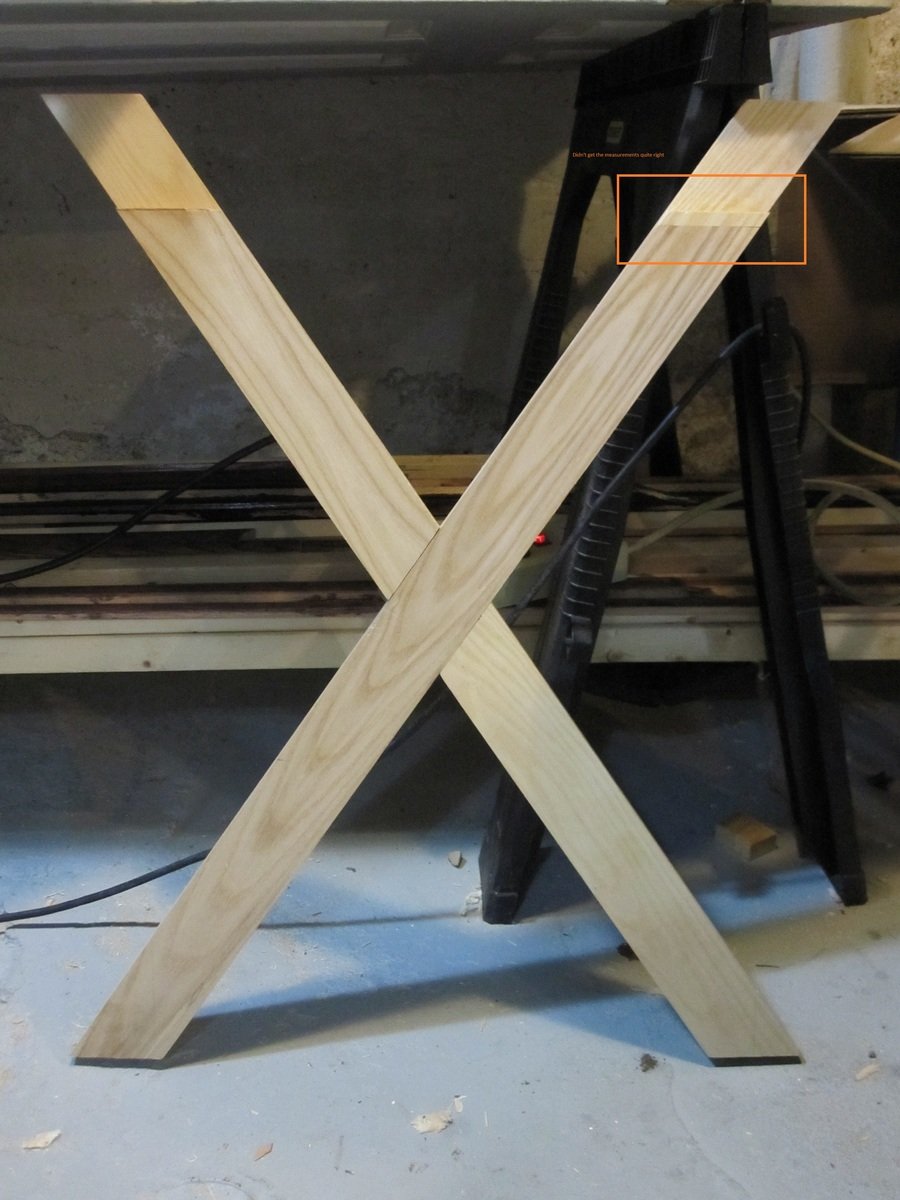
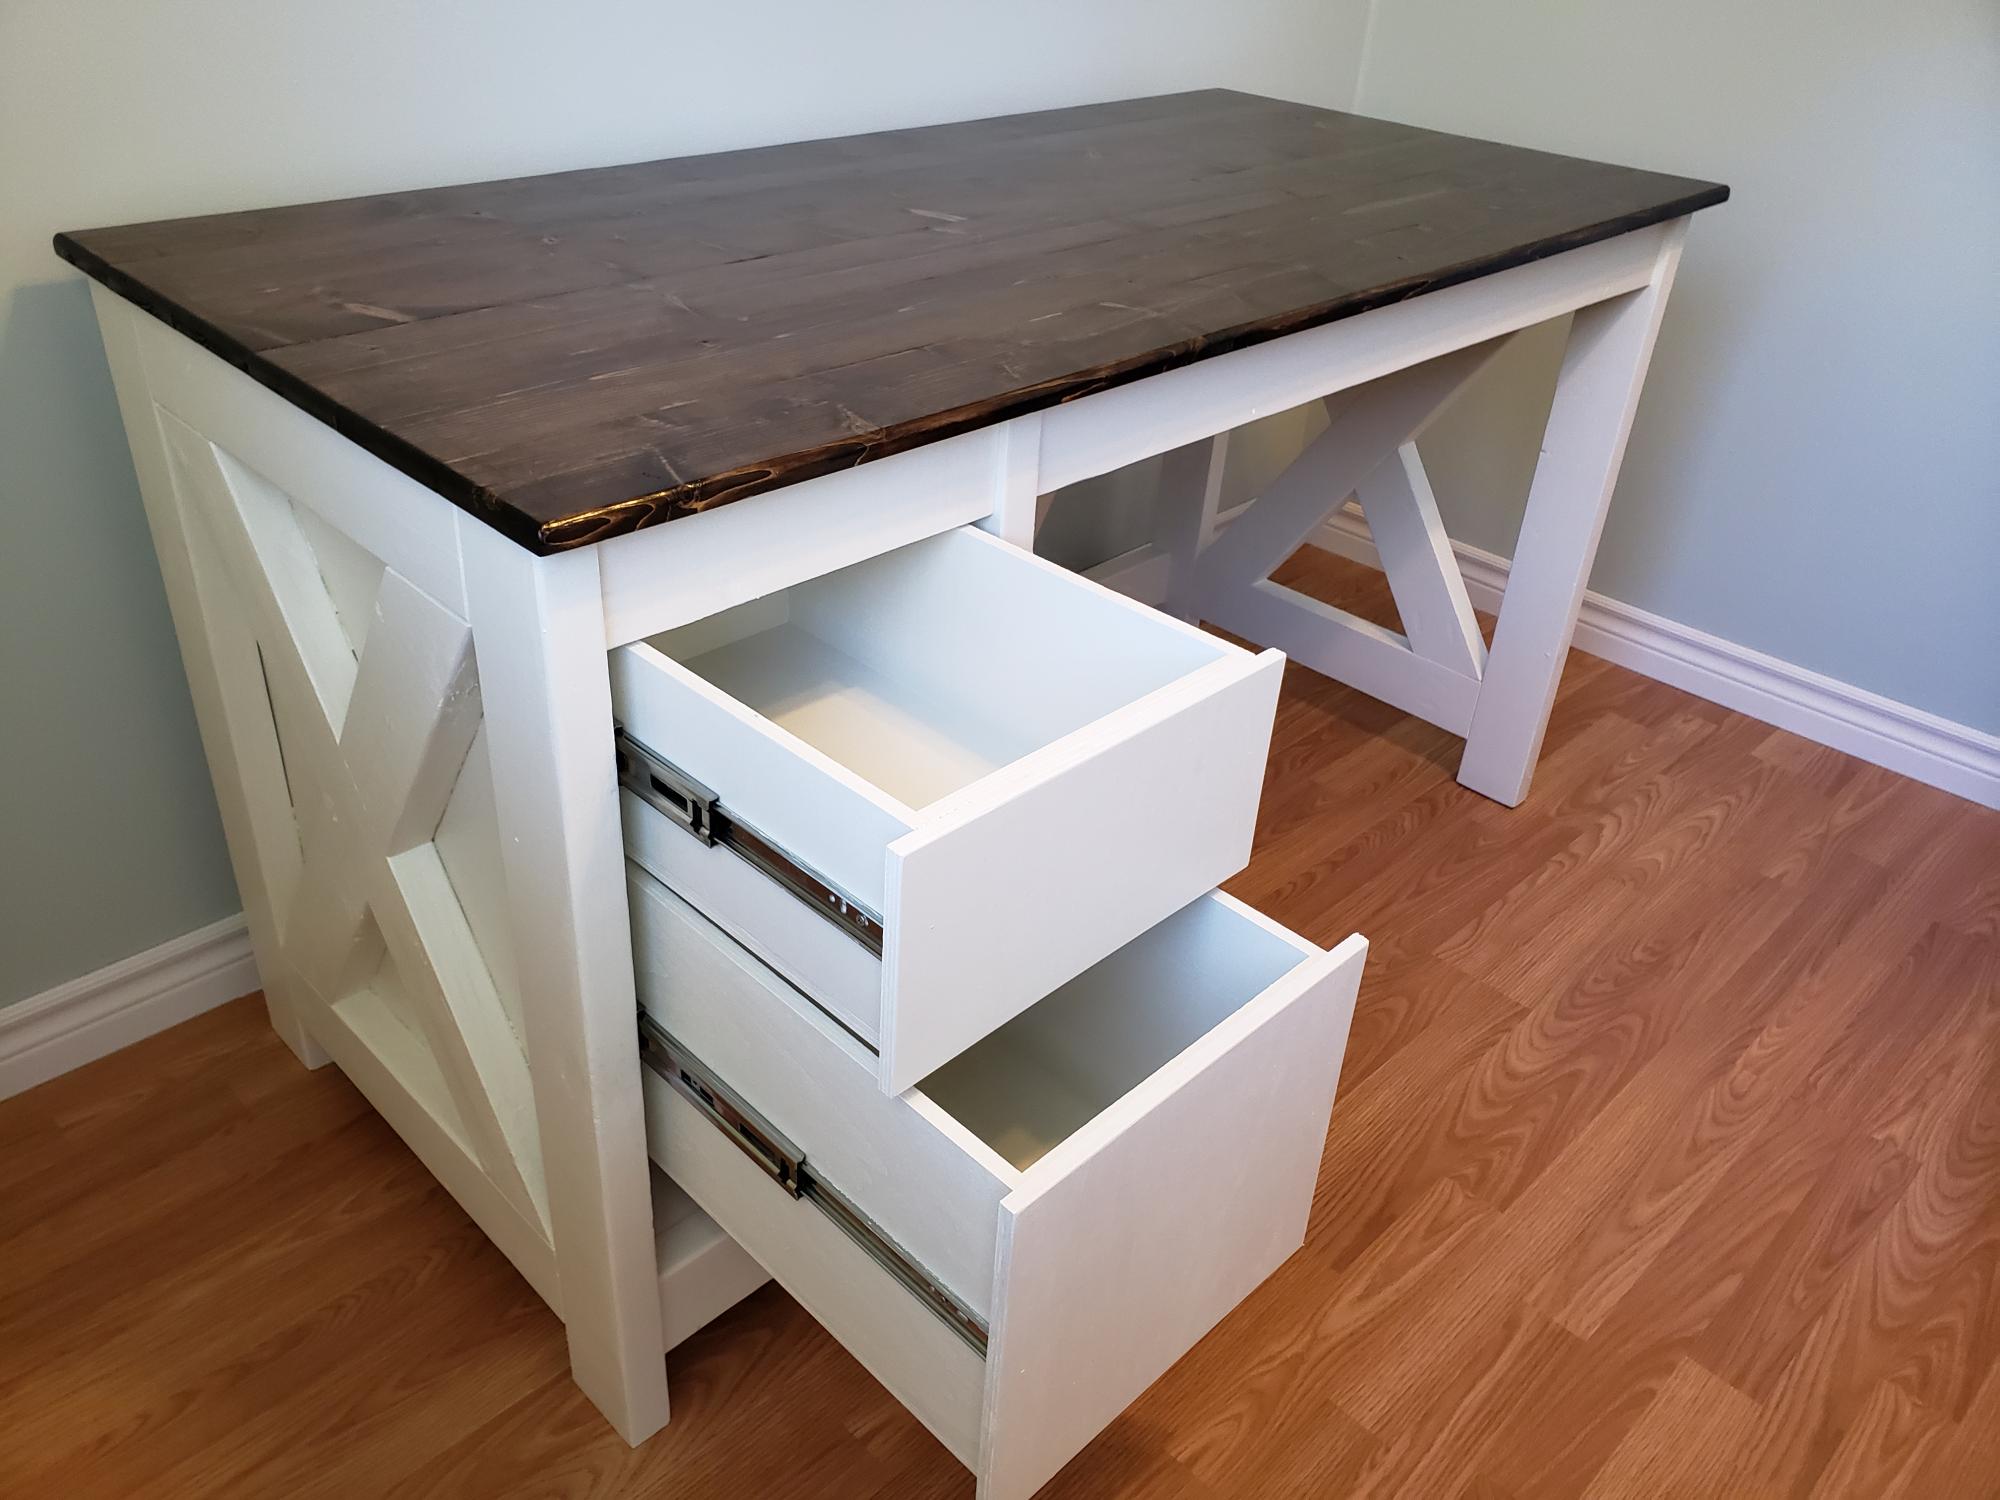
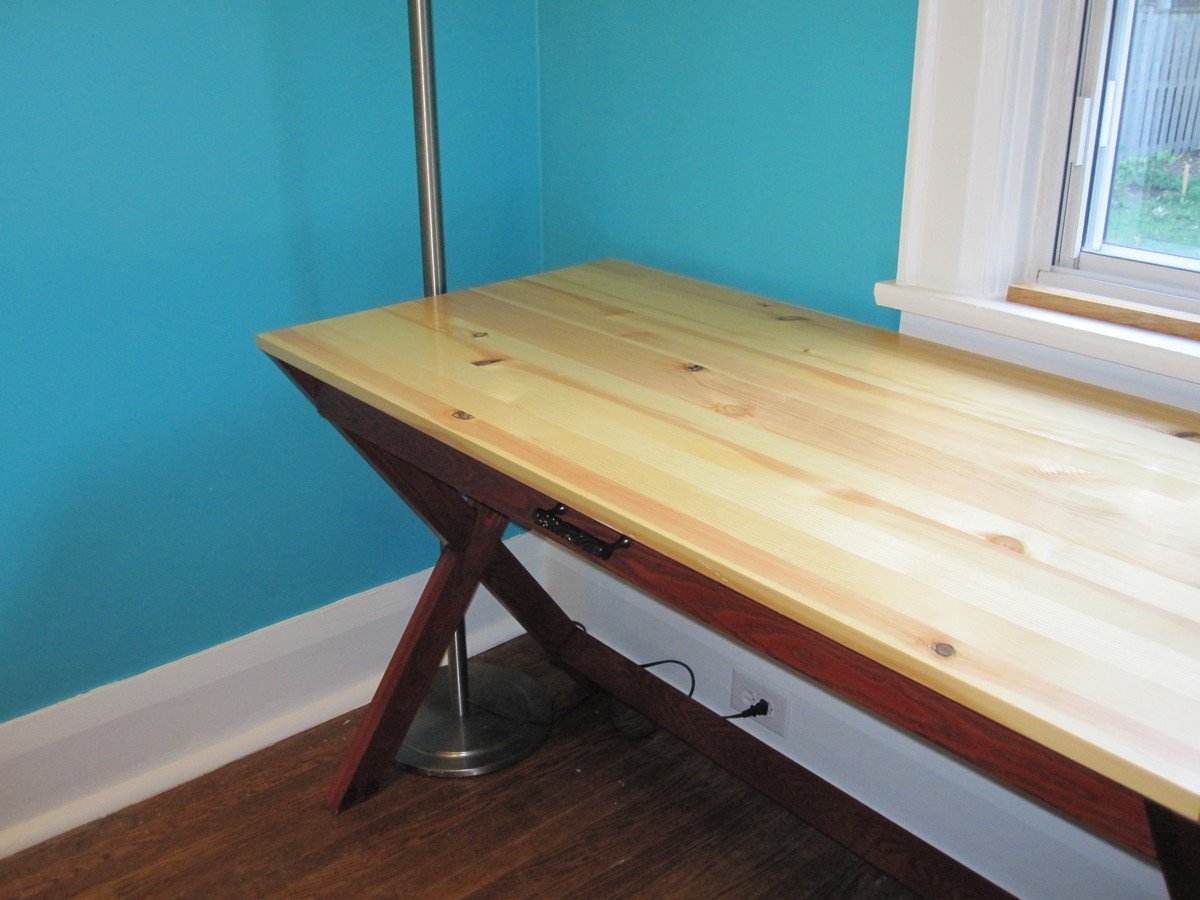
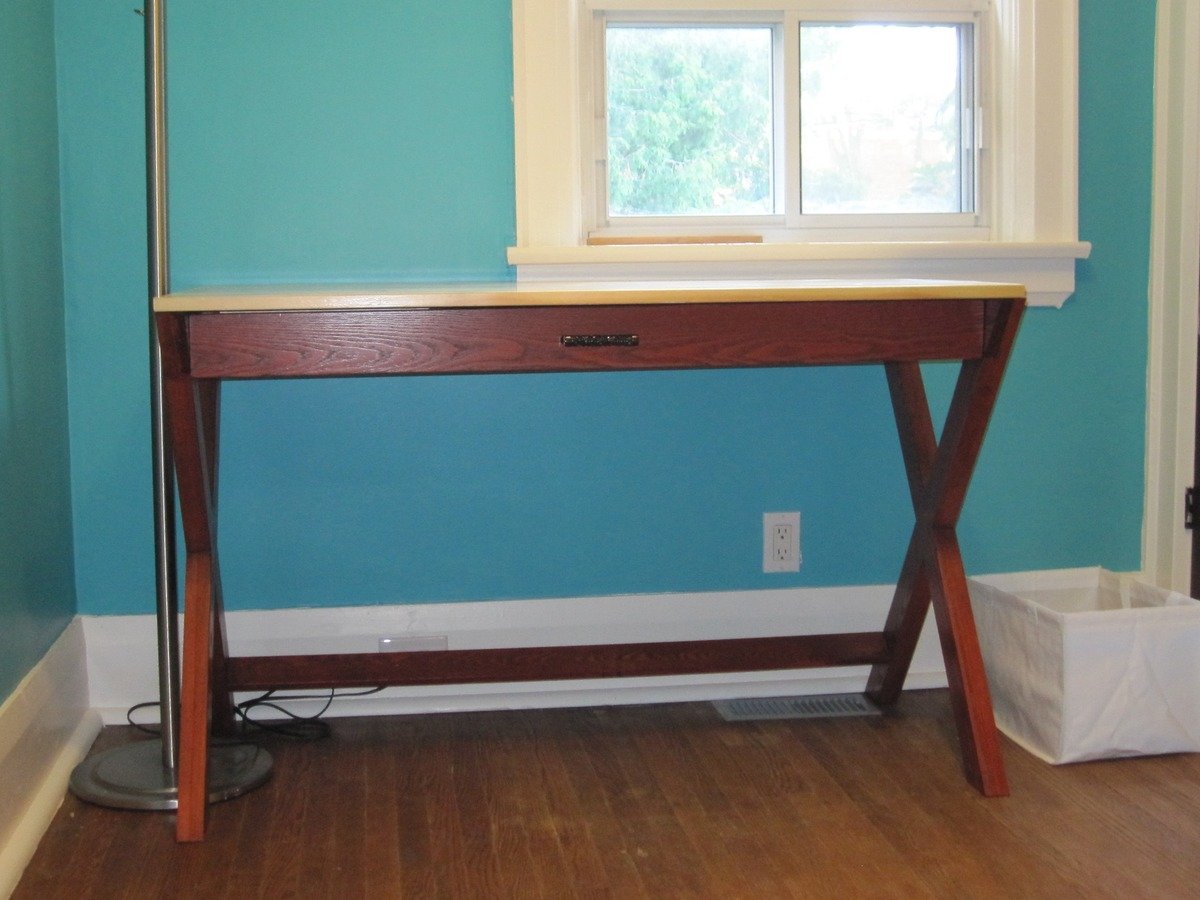
Strong, sturdy desk. Dressed ash for the body and a pine project panel for the top at my husband's request. I really enjoyed building this and learned a lot (meaning I also messed up a lot).

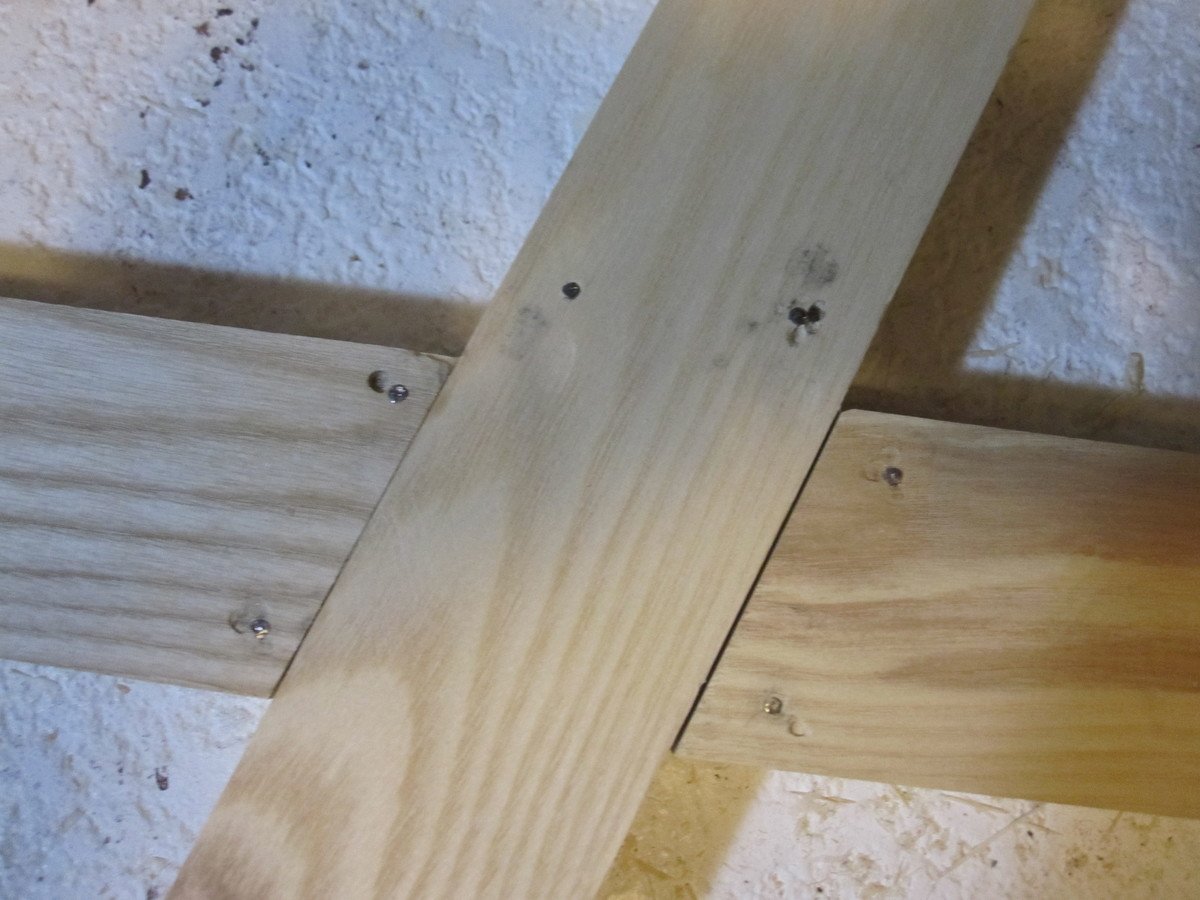
I used dressed ash for the legs and drawer front and discovered the difference between nailing in softwoods such as pine and hardwoods such as ash. I was using a nail set to get the nails flush. I ended up making holes when the nail set bounced off the nails (see picture). I learned that if the nailing was going too well, that was because the nail set was making a hole in the wood.

Built from Plan(s)
Estimated Time Investment
Week Long Project (20 Hours or More)
Finish Used
General® Water-Based Dye Stains, Cinnamon for the legs & Shellac for top
Recommended Skill Level
Intermediate

Vegetable Bin

Submitted by ctay on Tue, 10/14/2014 - 17:18

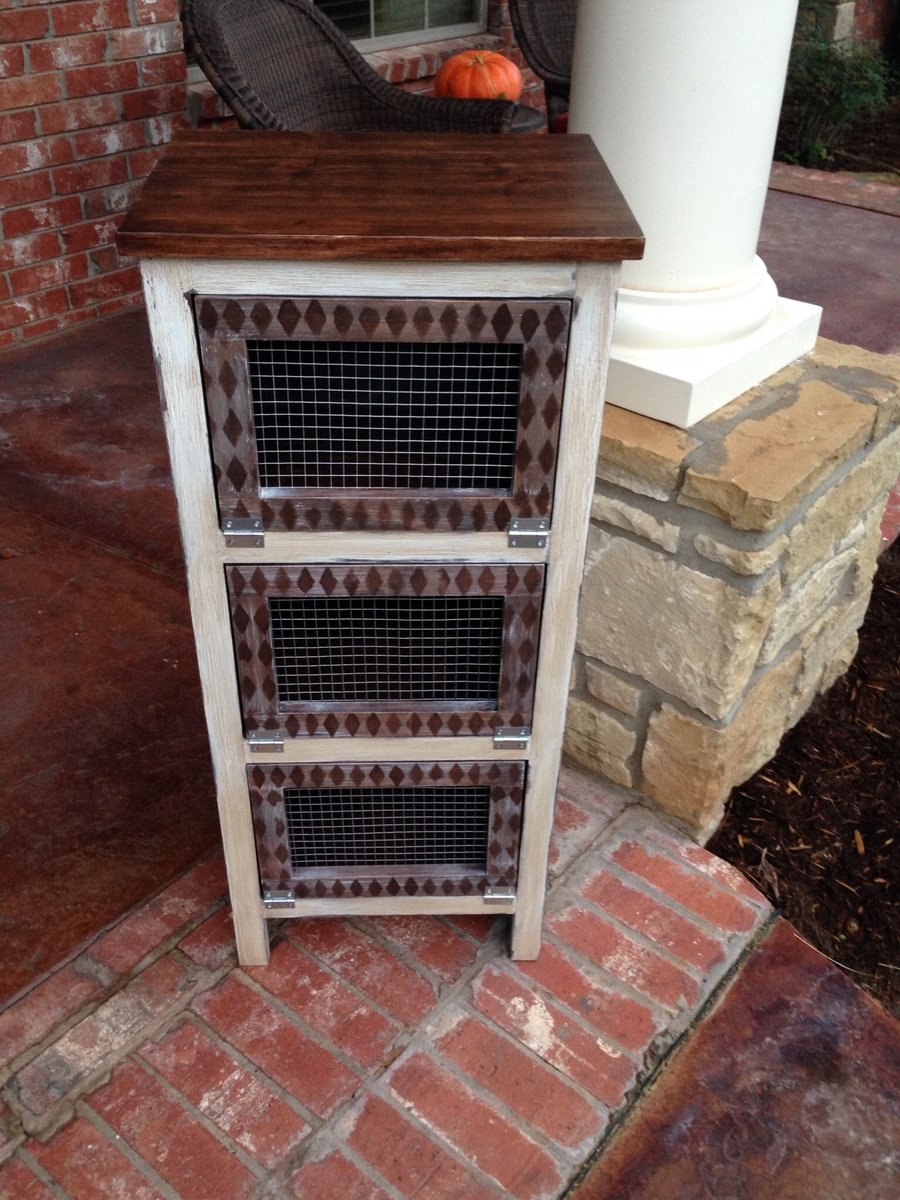
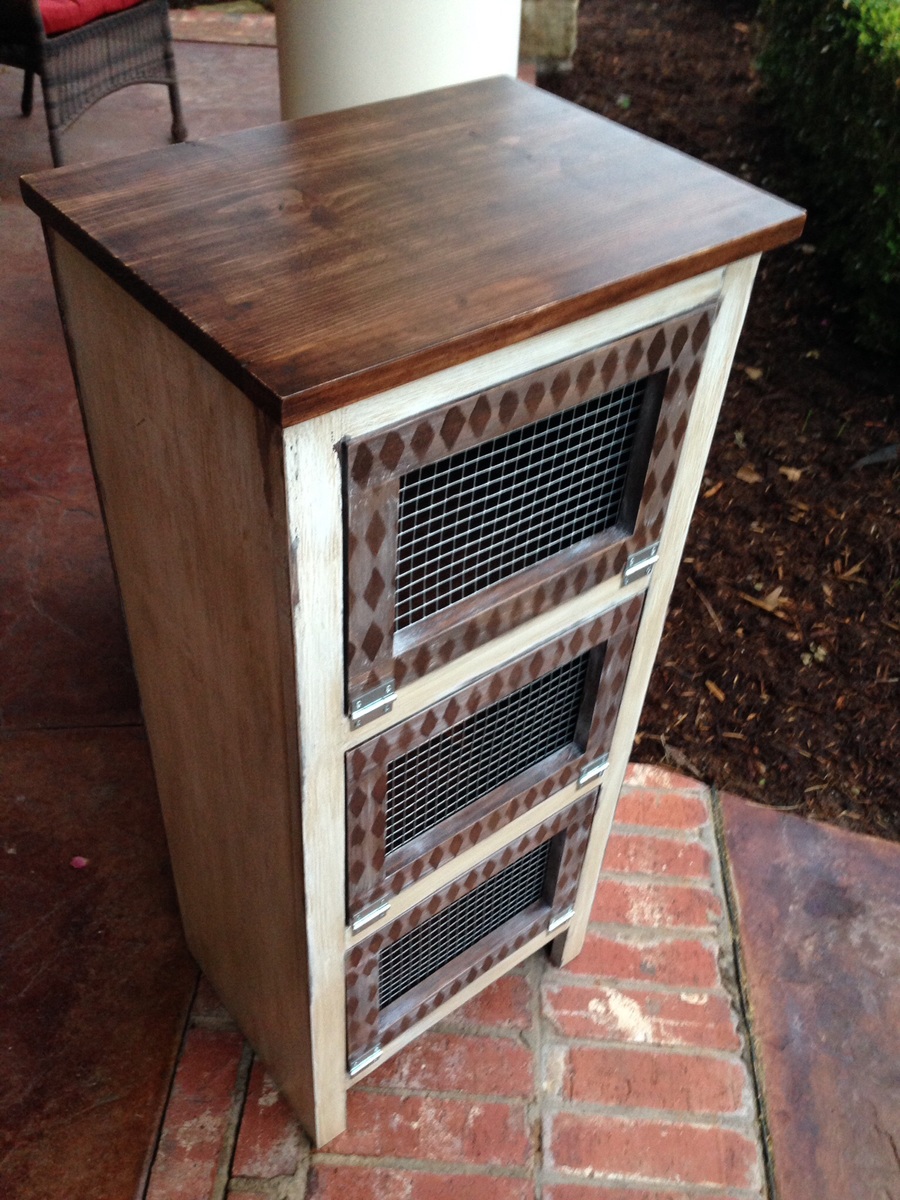
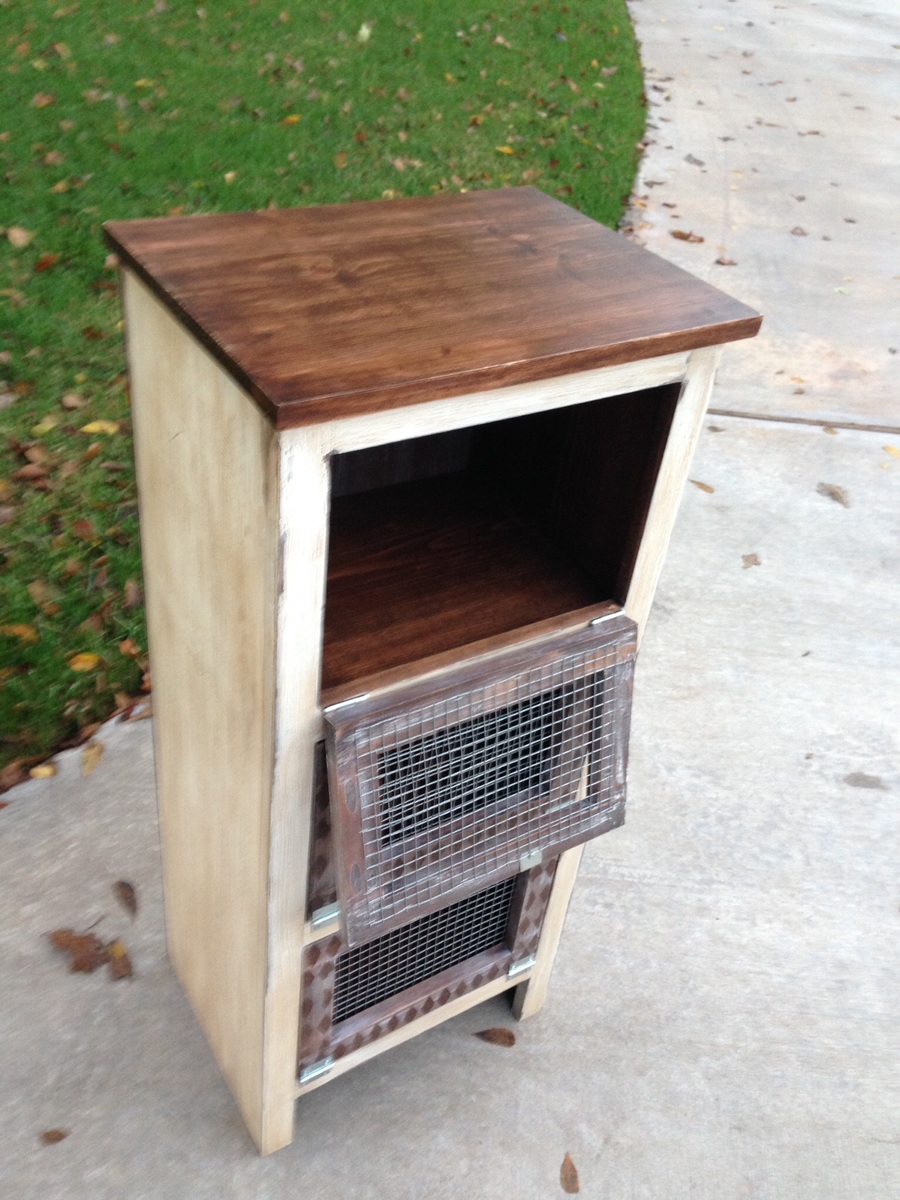
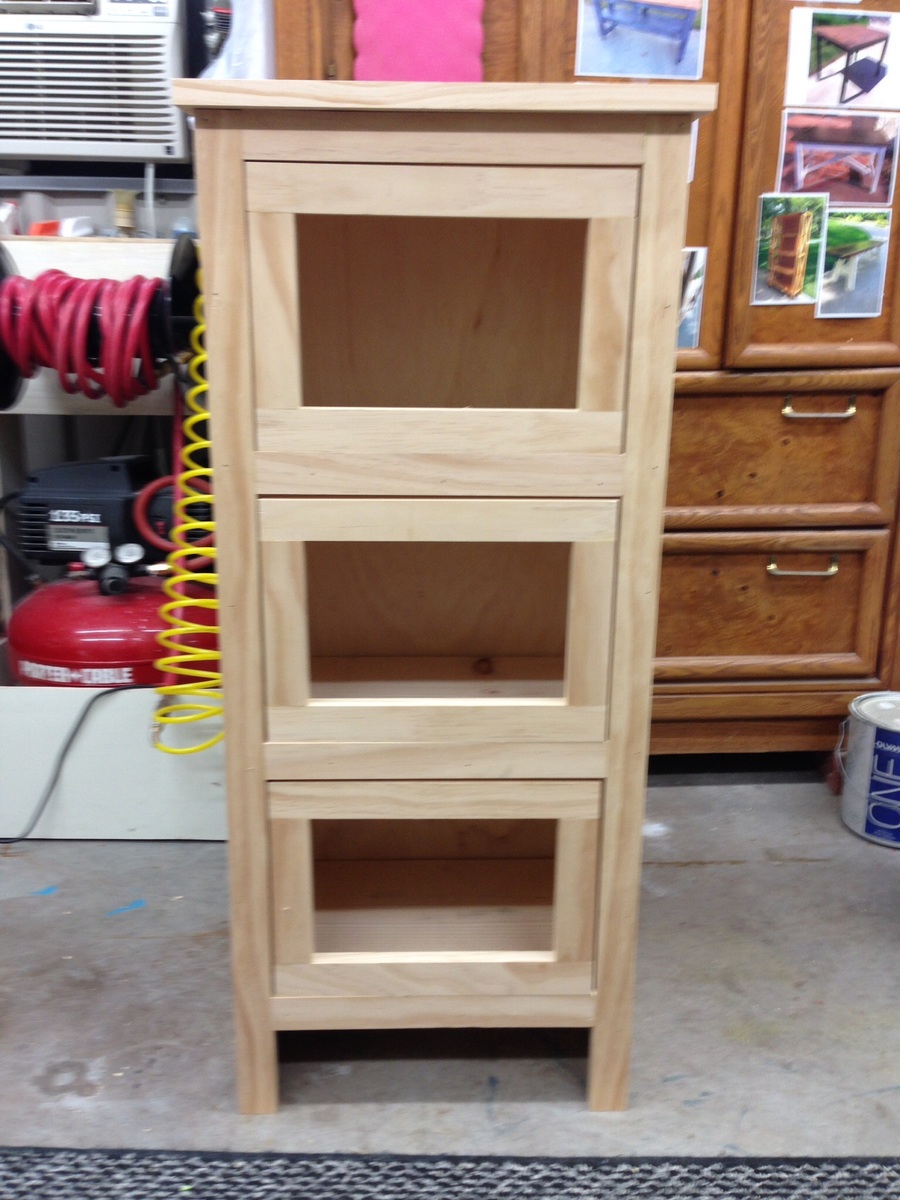
Built this vegetable bin for my sister in law. Just needs knobs, which I'm letting her pick out. Easy build finished in an afternoon. Stained and painted the next day. Could use this for other storage as well. 

Built from Plan(s)
Estimated Cost
60.00 for materials. Already had the plywood for back and paint and stain.
Estimated Time Investment
Day Project (6-9 Hours)
Finish Used
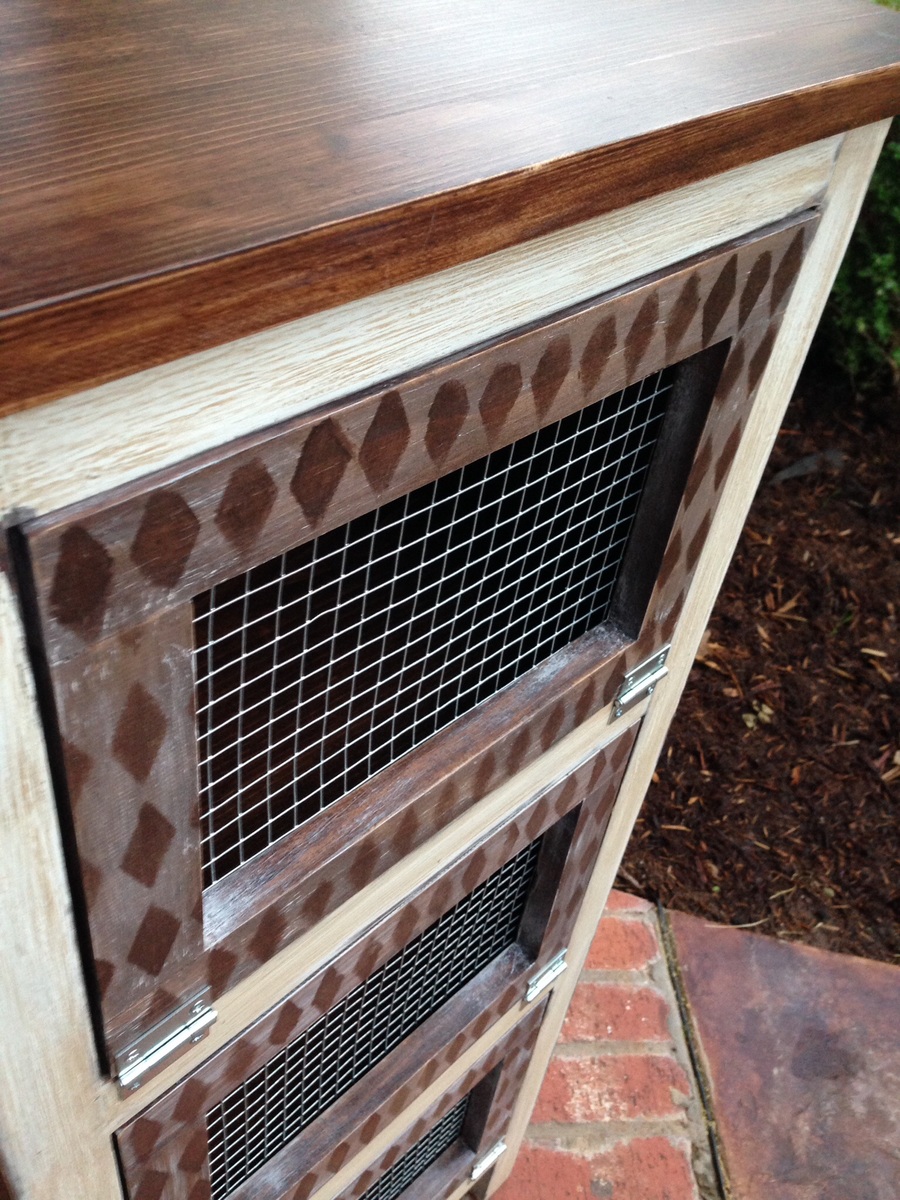
Rustoleum stain in dark walnut for top and edges. Painted in white chalk paint with brown glaze. Distressed to see the dark stain on the edges. Doors are stain with white wash over it and stenciled using stain over that.
Recommended Skill Level
Beginner

Comments

ctay

Wed, 10/15/2014 - 20:30

Thank you Joanne!  Really enjoyed building this!  This is also the first time I have shared one of my builds!  Glad I did. :)


Clubhouse with a slide

Submitted by Anonymous (not verified) on Tue, 01/24/2017 - 17:37

As a stay at home mom of 2, I was looking for a play area to bring indoors for the winter or rainy days.  I came across this clubhouse bed.  I added a slide and a private room underneath with lights and it's perfect.  And since this is a brag page, I just want to say that I built this completely by myself.  It was the first thing that I've ever put together without a kit, so I just went all it.  The kids love it!

Built from Plan(s)
Estimated Cost
$300-$400. The slide was expensive.
Estimated Time Investment
Weekend Project (10-20 Hours)
Recommended Skill Level
Beginner

Comments

Farmhouse X Desk

Submitted by Jeremysj on Thu, 10/15/2020 - 10:59

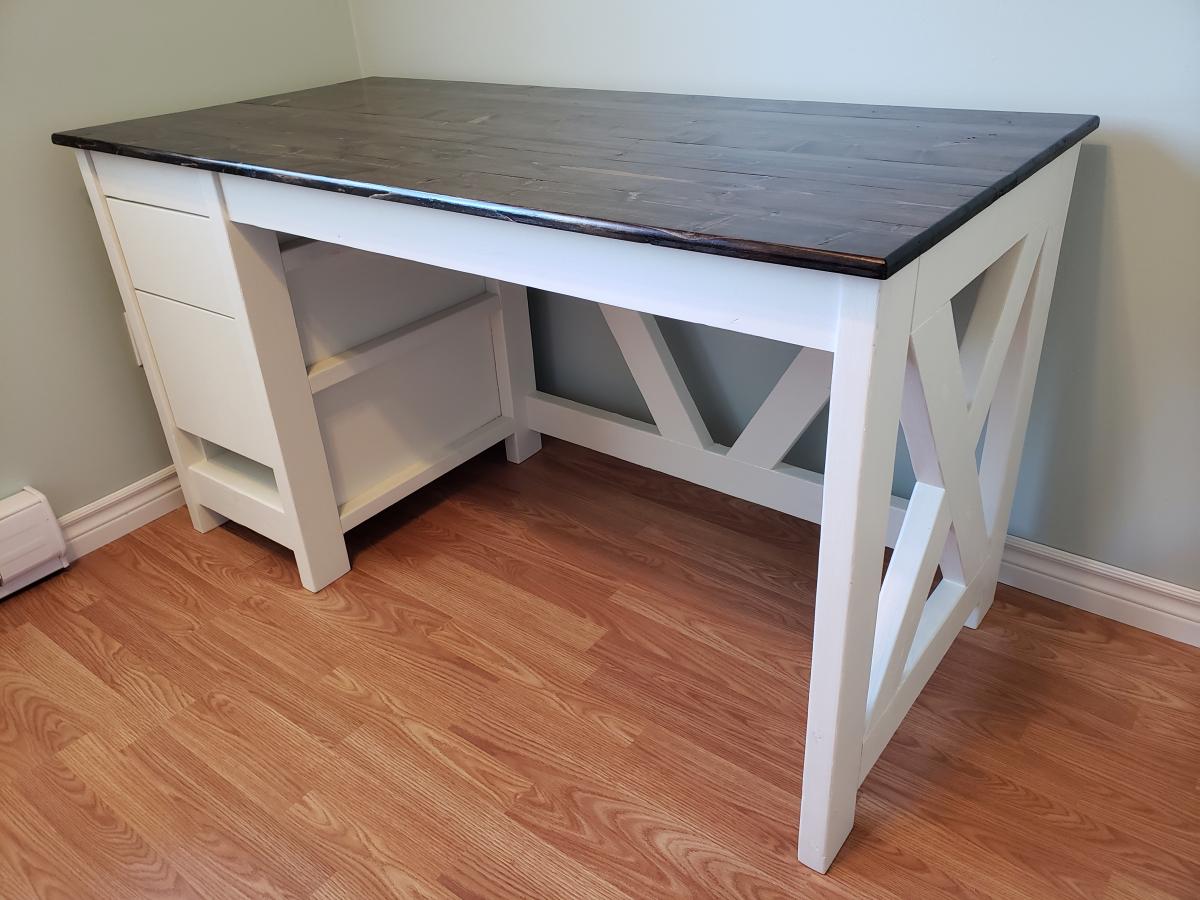
I built the Farmhouse X Desk with full extension drawers instead of shelves.

Built from Plan(s)
Estimated Cost
$125
Estimated Time Investment
Weekend Project (10-20 Hours)
Finish Used
White cabinet & furniture paint and dark walnut stain for the top. Finished the top with several coats of Minwax polycrylic.
Recommended Skill Level
Intermediate

Updated Tryde Coffee Table with shelf

Submitted by kaylaevans on Tue, 01/01/2013 - 17:50

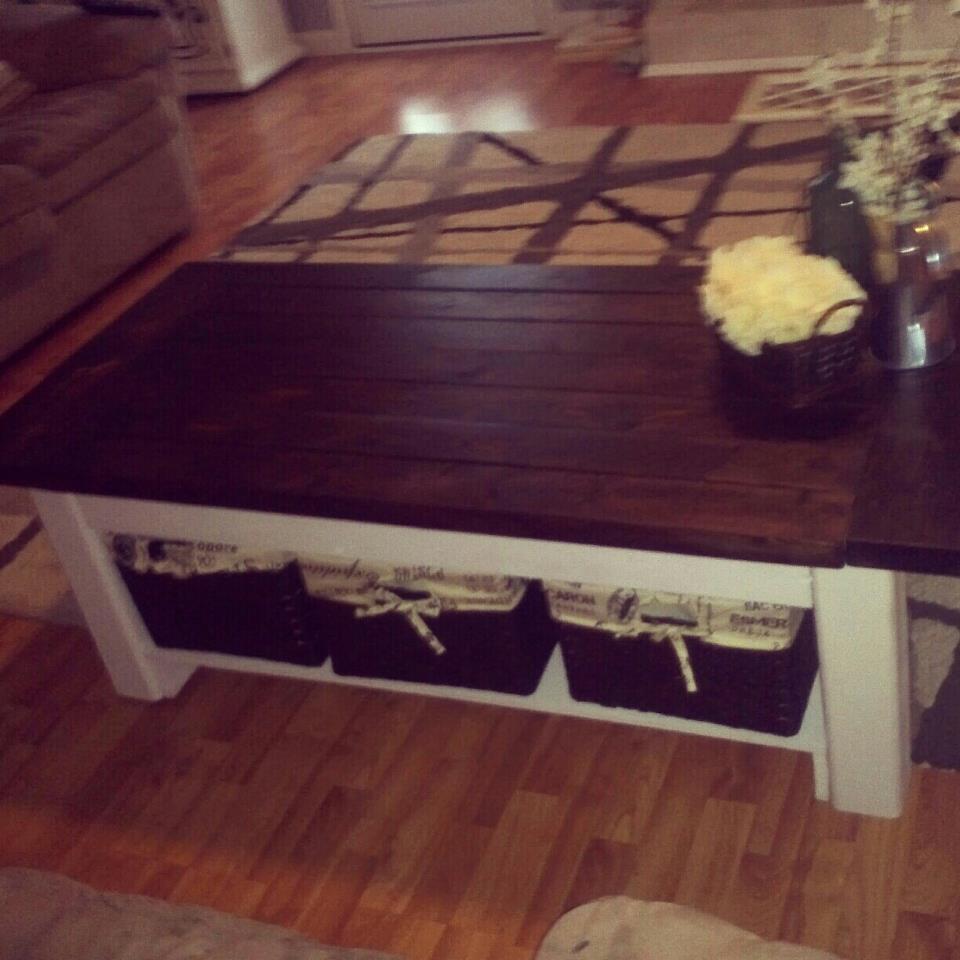
I made the table from the original plans and then just added a shelf on bottom to put my baskets on!

Built from Plan(s)
Estimated Cost
50
Estimated Time Investment
Afternoon Project (3-6 Hours)
Finish Used
I stained the top and painted legs and bottom shelf white
Recommended Skill Level
Beginner

Coffee Bar

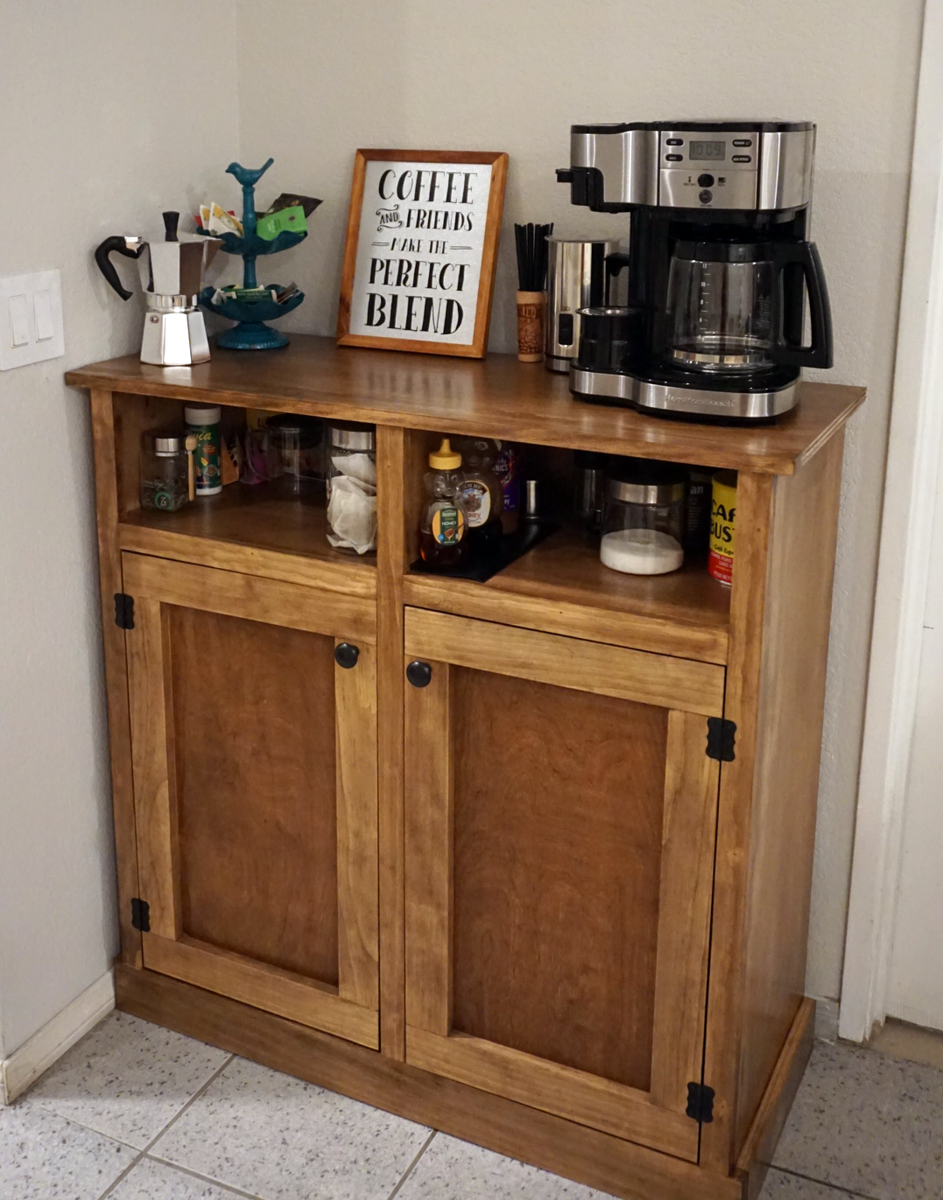
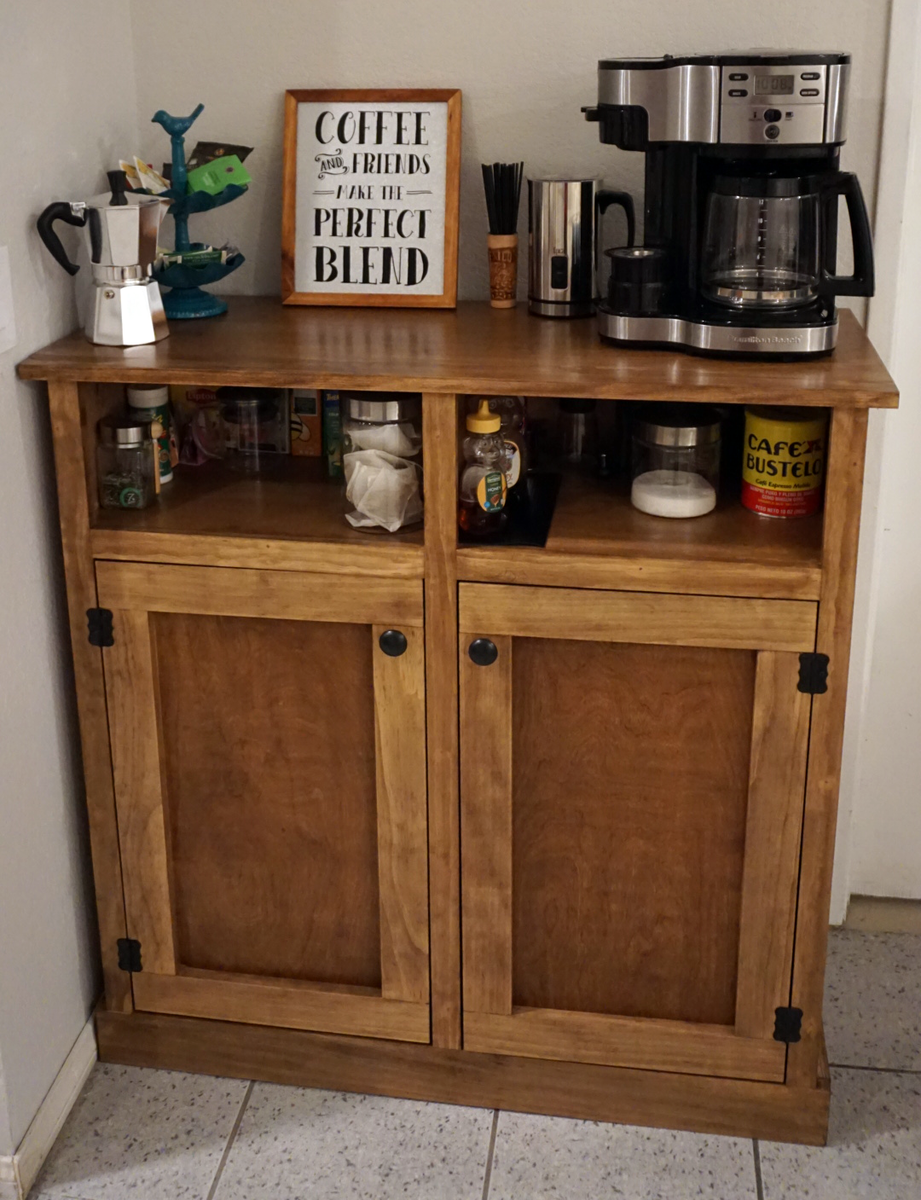
This is my second project. It's a coffee bar to free up space in my kitchen countertop. It has quite a few imperfections but I am very proud of the finished product. Can't wait for my next project!

Built from Plan(s)
Estimated Cost
About $140
Estimated Time Investment
Weekend Project (10-20 Hours)
Finish Used
Pre finish stain conditioner, 2 coats of Varathane Kona stain, and 3 coats of water based polyurethane.
Recommended Skill Level
Beginner

Comments

Outdoor Sectional - Love It !

Submitted by Anonymous (not verified) on Sun, 10/18/2020 - 06:11

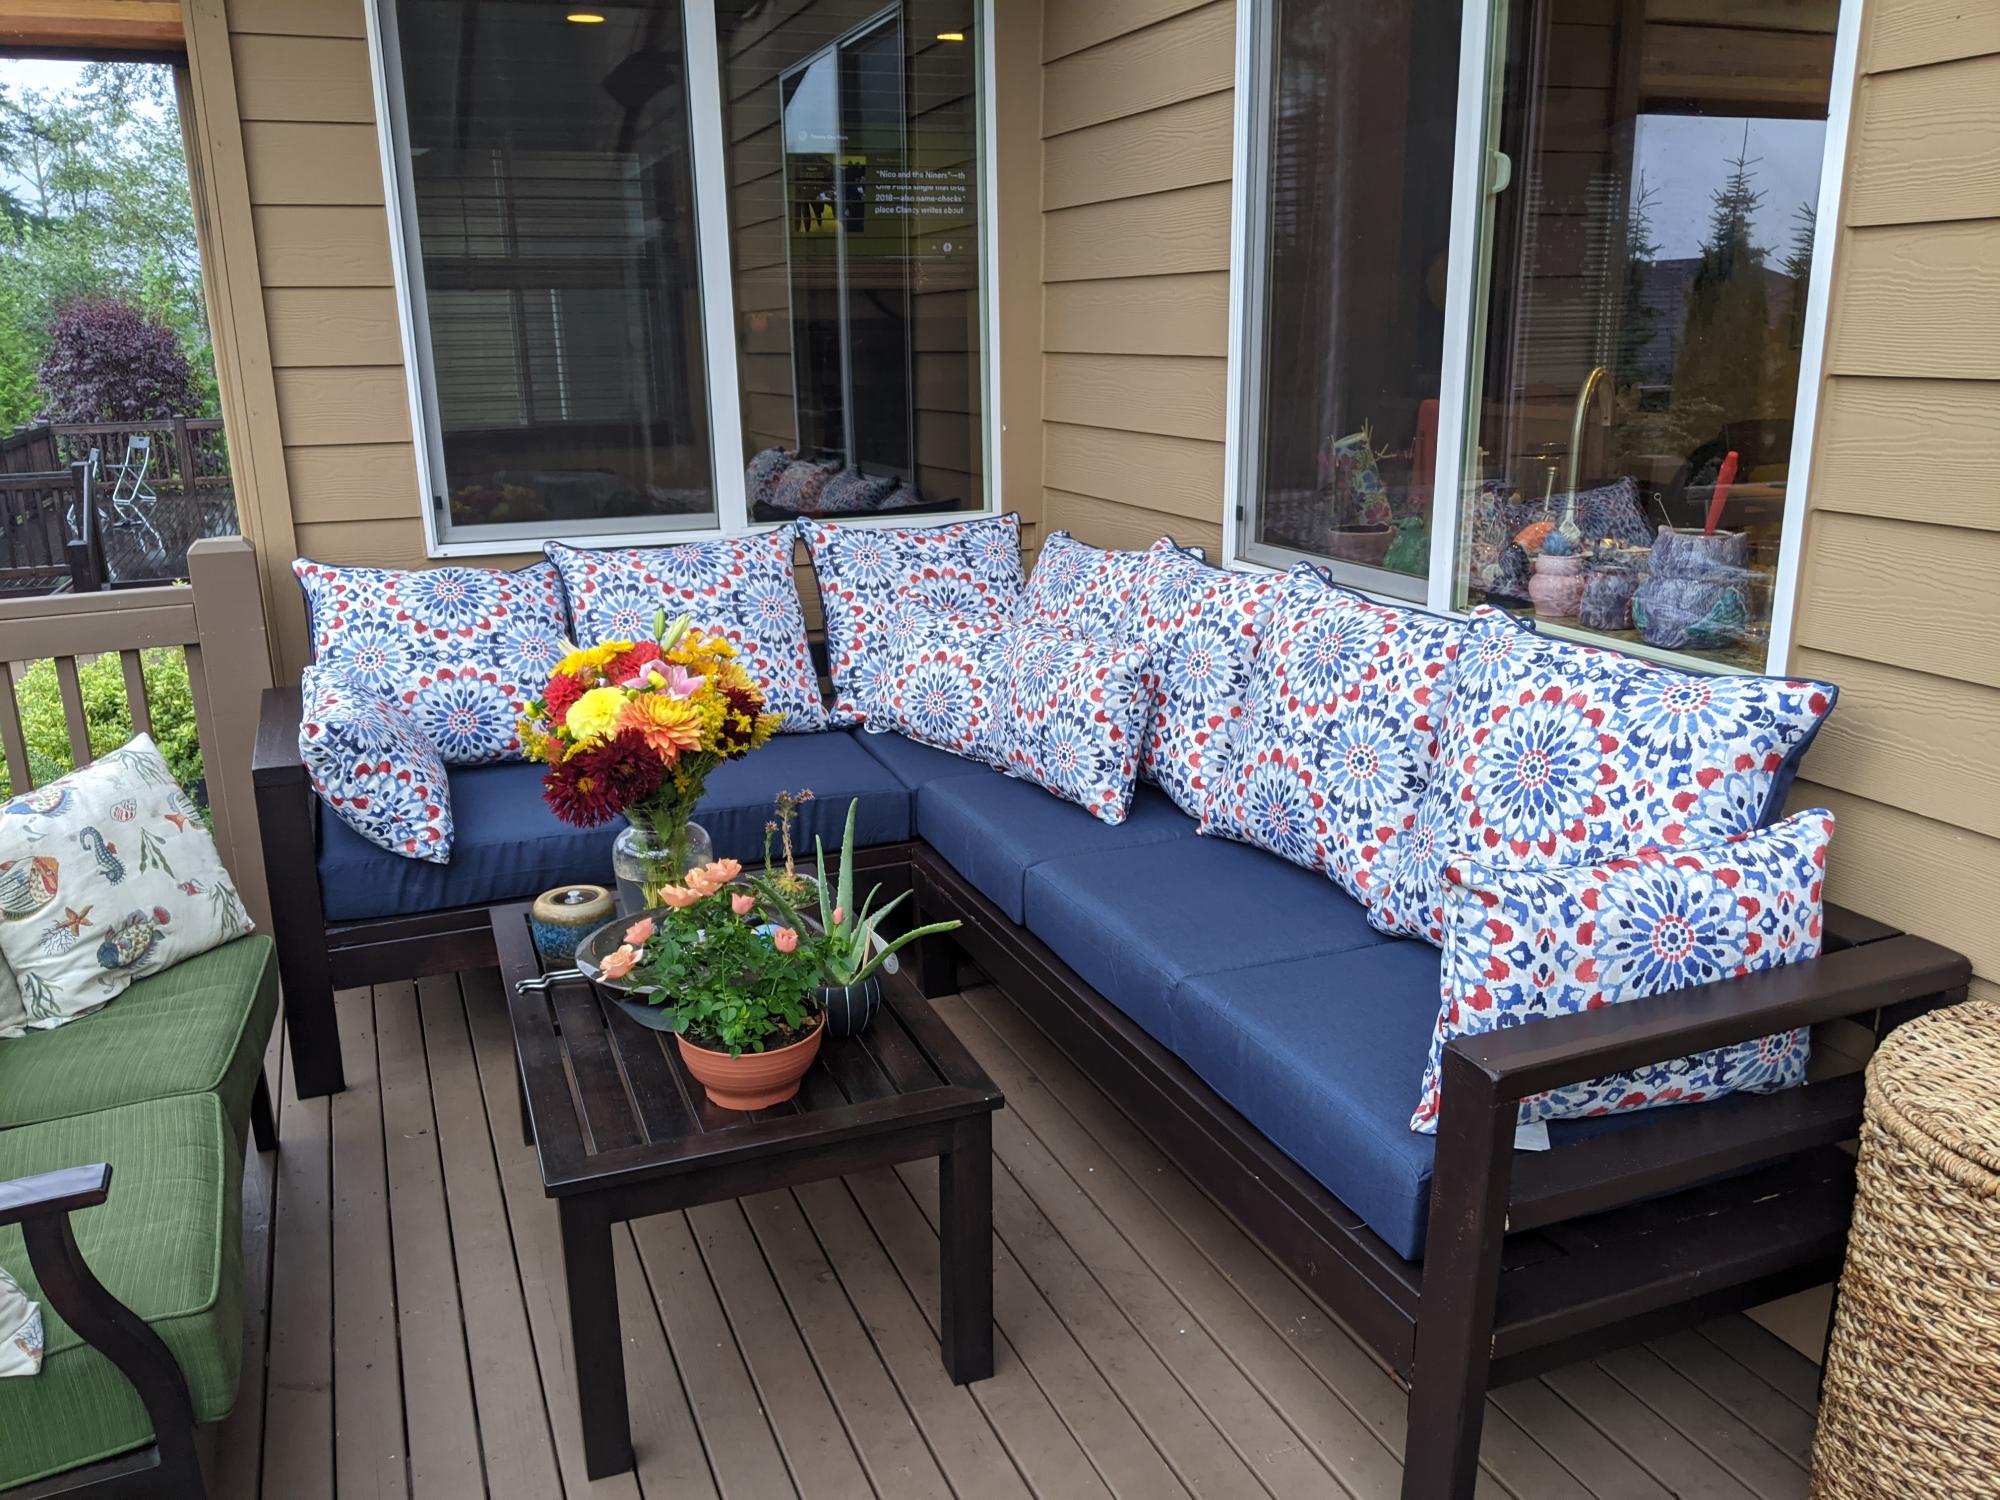
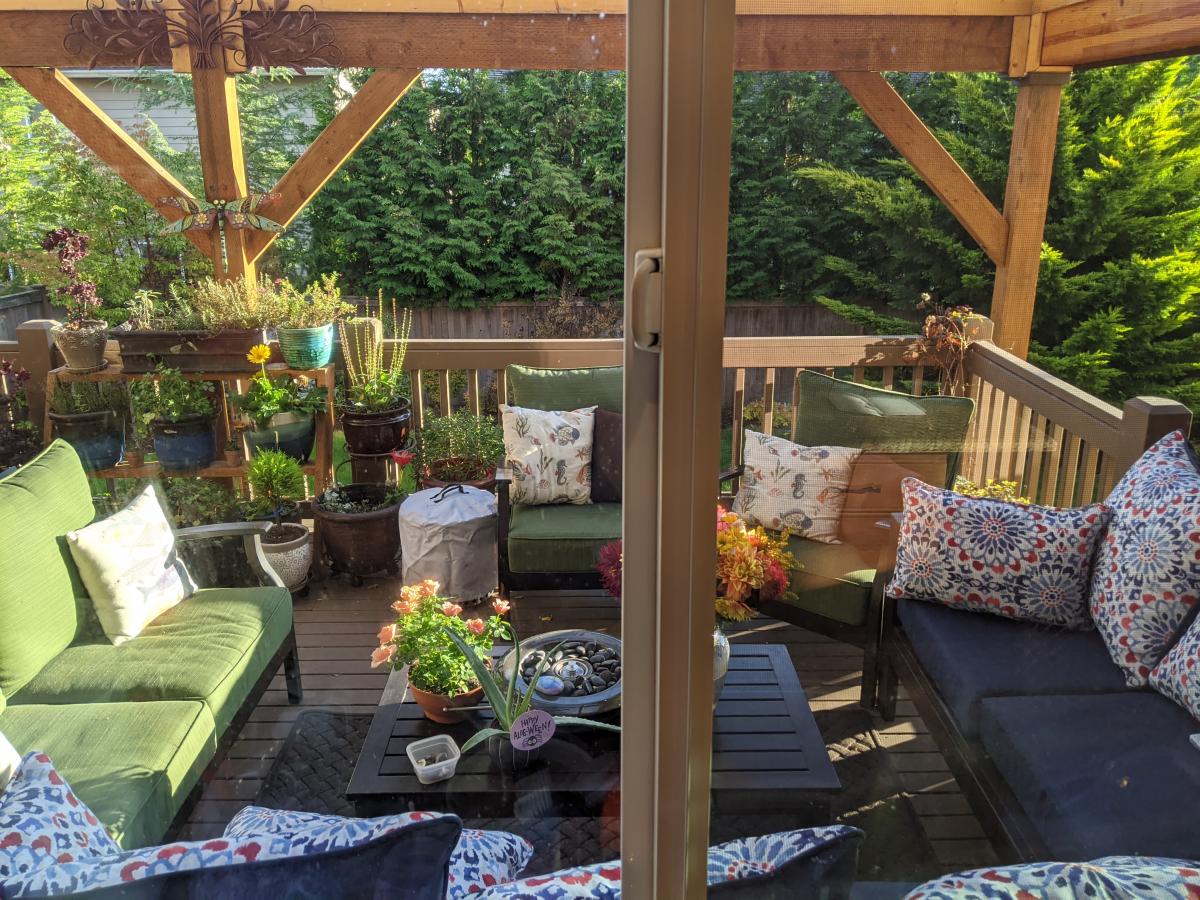
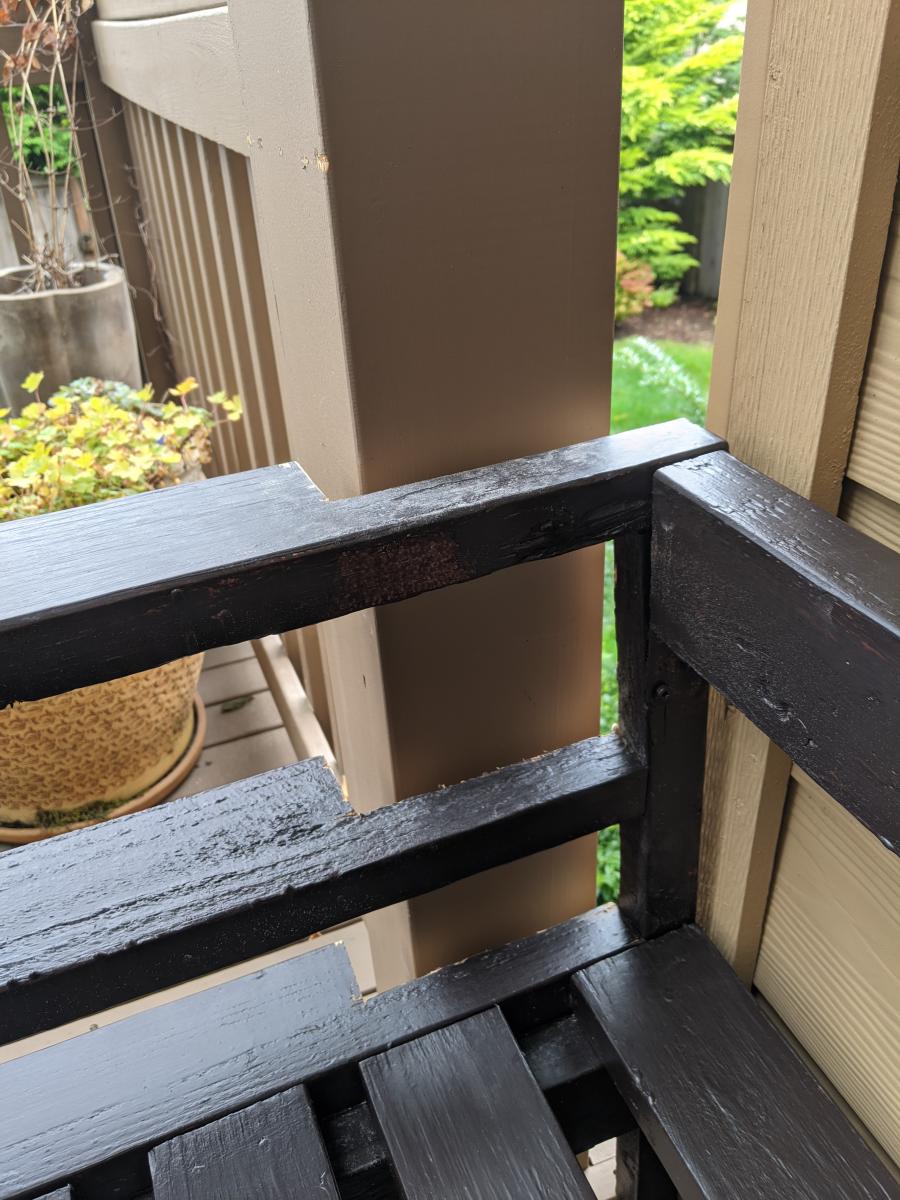
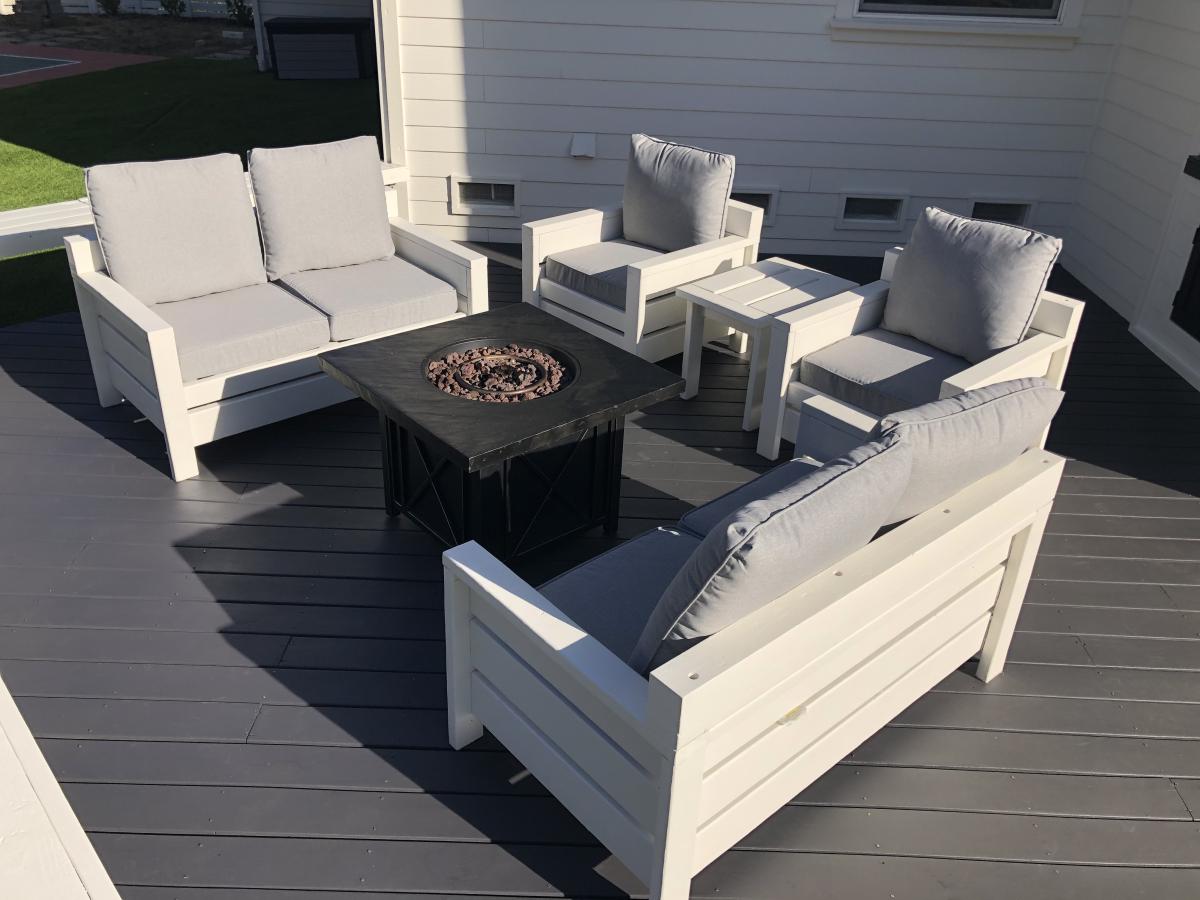
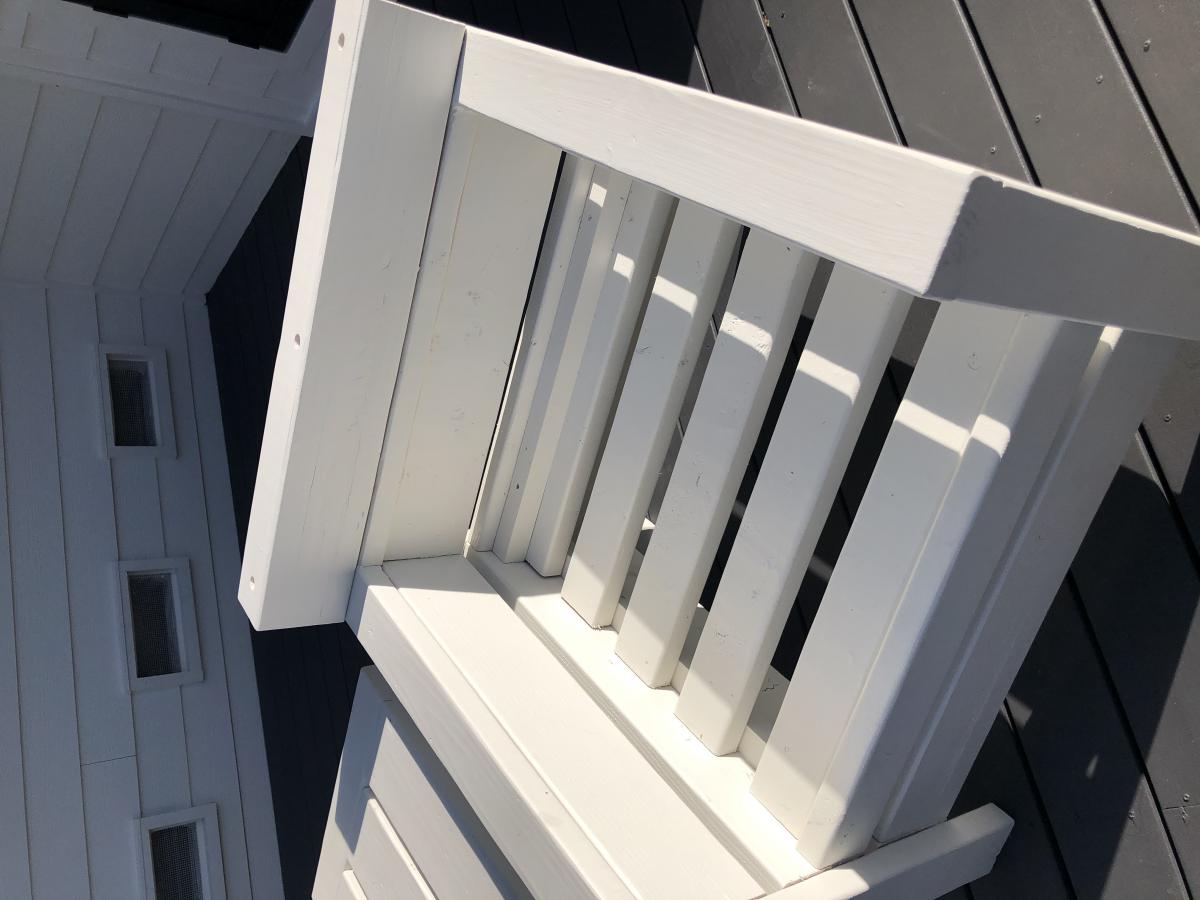
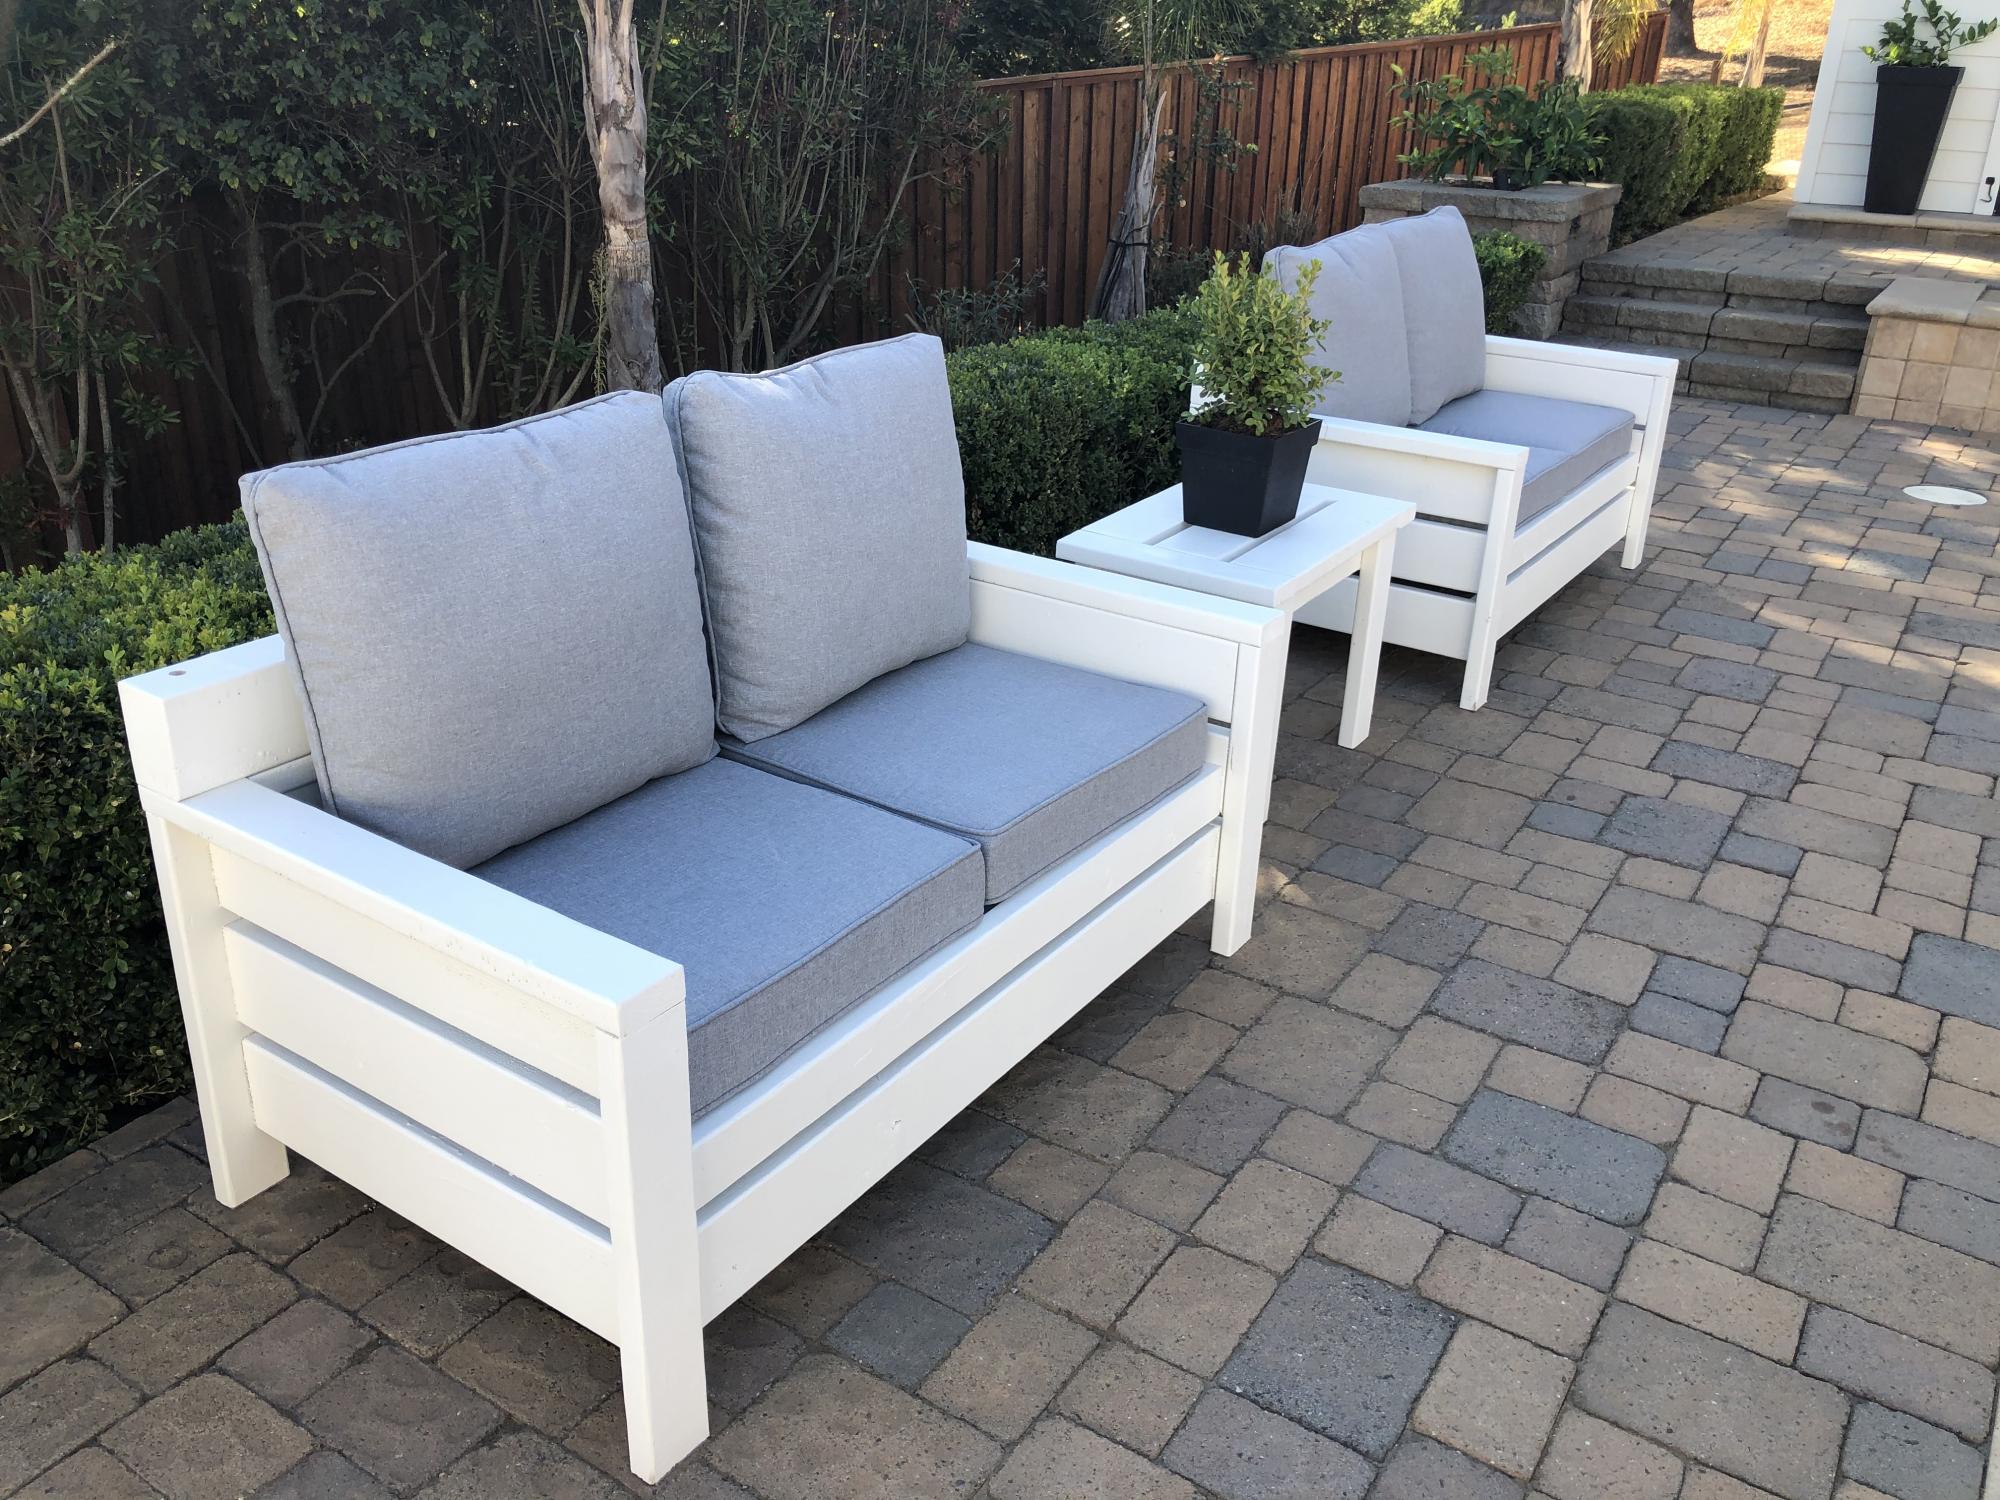
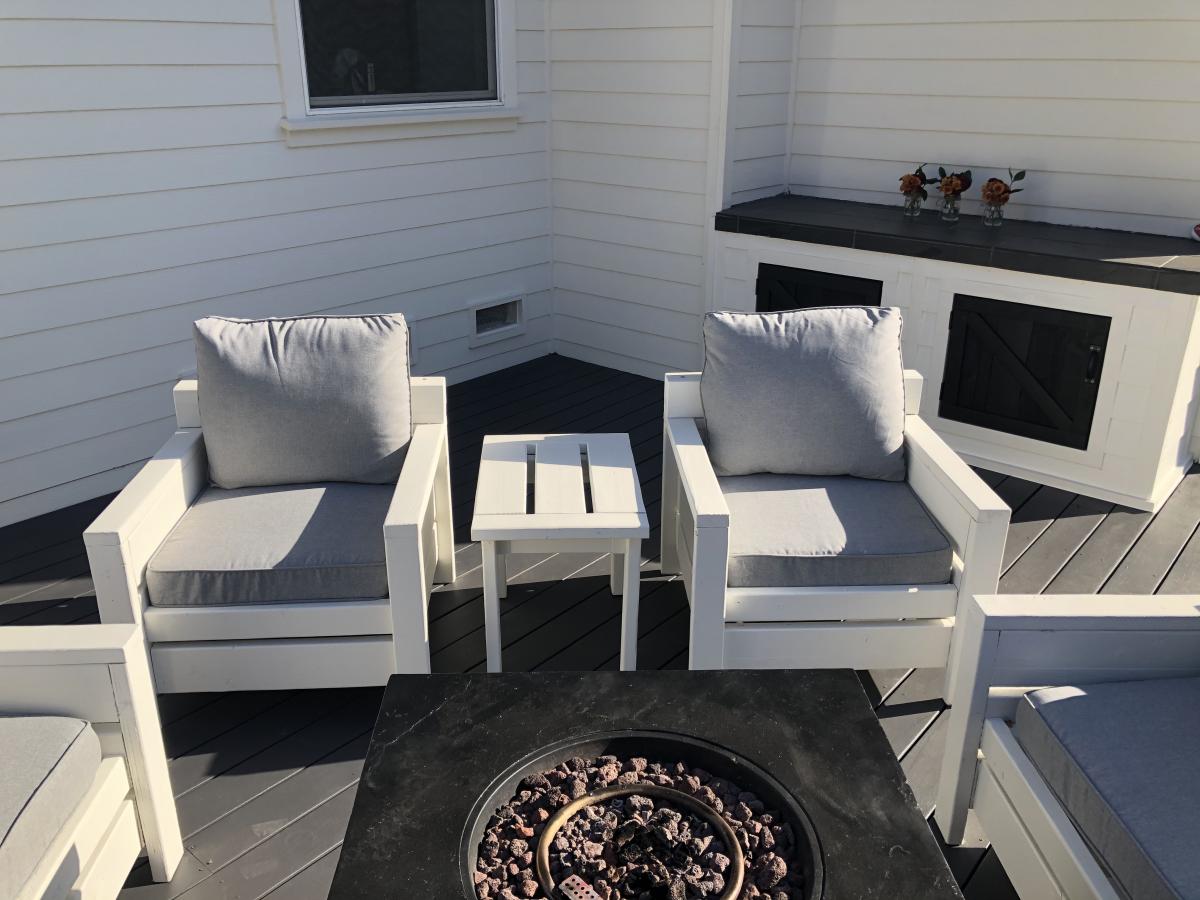
Great experience building this sectional, although would recommend pre-drilling the holes where practical to avoid splitting. It only happened to me a few times on #2 douglas fir, but I would have preferred to avoid it. As you can see from the picture, I didn't account for the siding taking up the space, and was expecting a perfect fit. Easily fixed with a bit of saw work, and now it's really custom fit for the space. :-)

I've added the details of the finish we used, and really happy with how it turned out, with the exception of my garage workshop lighting not revealing the spots I need to touch up now that it is in the natural light.

And of course, this is a terrific time to purchase couch cushions at the end of the season. Lots of great sales, and we found these at Target for $47 per top/bottom set.

Estimated Cost
$600
Estimated Time Investment
Week Long Project (20 Hours or More)
Finish Used
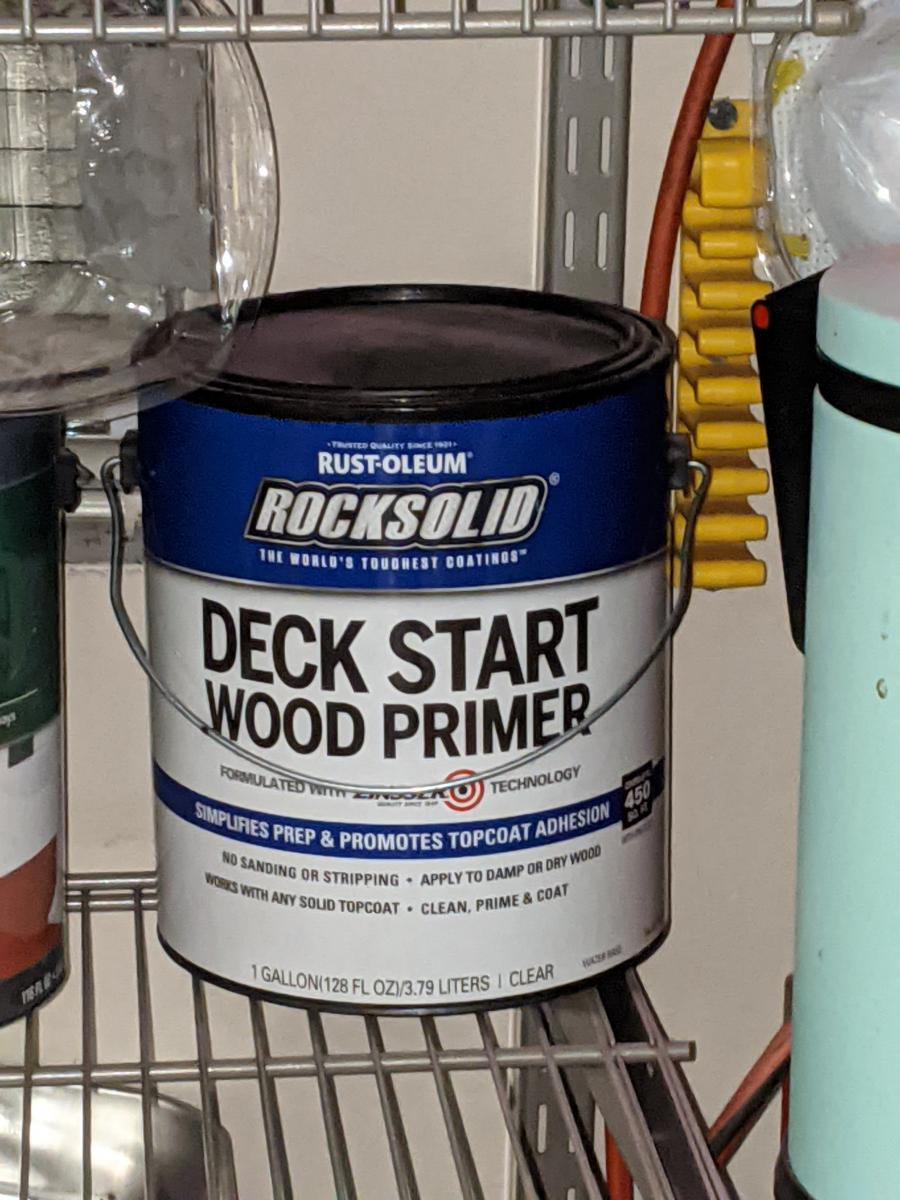
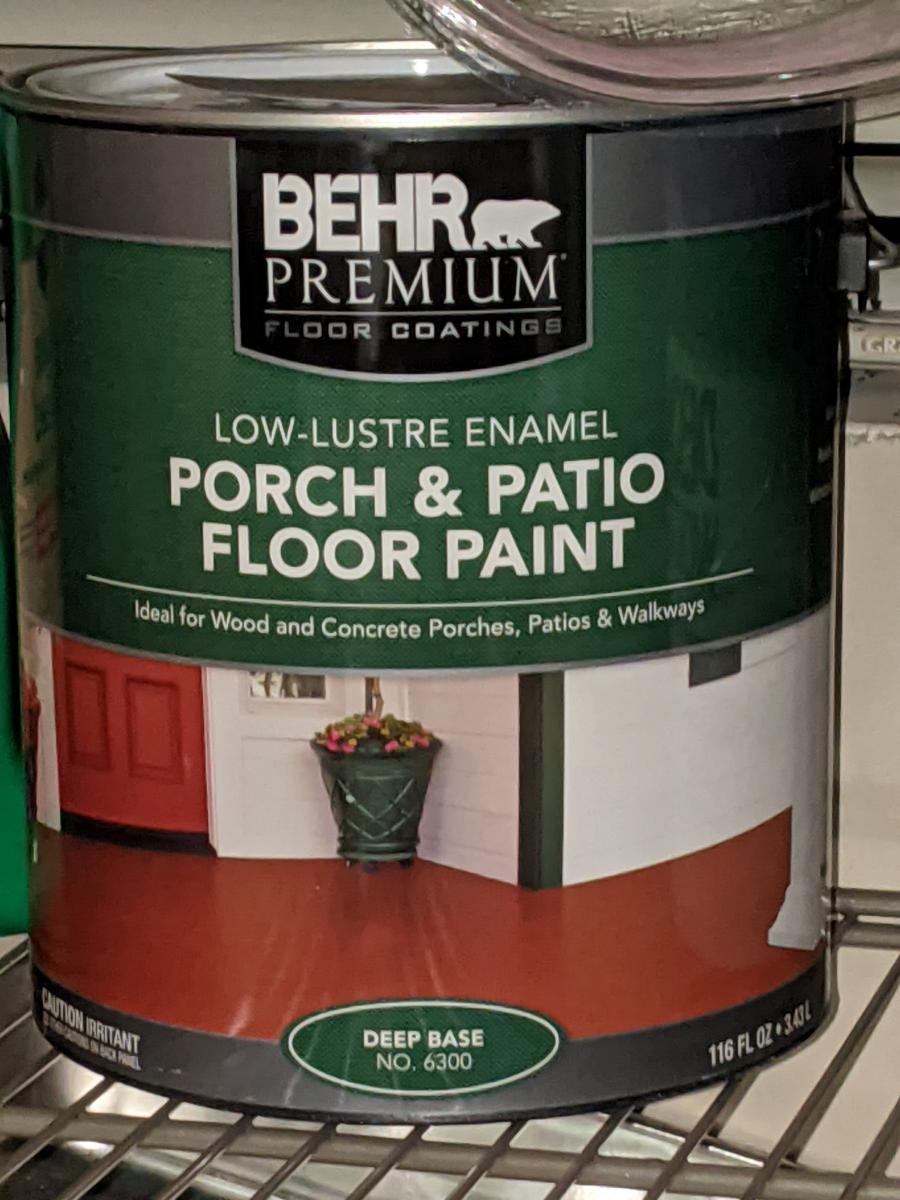
Rustoleum Rock Solid Deck Start Wood Primer followed by Behr Premium Porch and Patio Floor Paint. This gave a really matte finish that looks a lot like the metal patio furniture we will have next to it, and Home Depot was able to tint this for us. We also added a mildew and moss inhibitor to the paint at the store for a couple extra bucks since we live in the PNW. The extra time needed to get multiple coats on for full coverage was totally worth it.
Recommended Skill Level
Beginner

FARMHOUSE TABLE

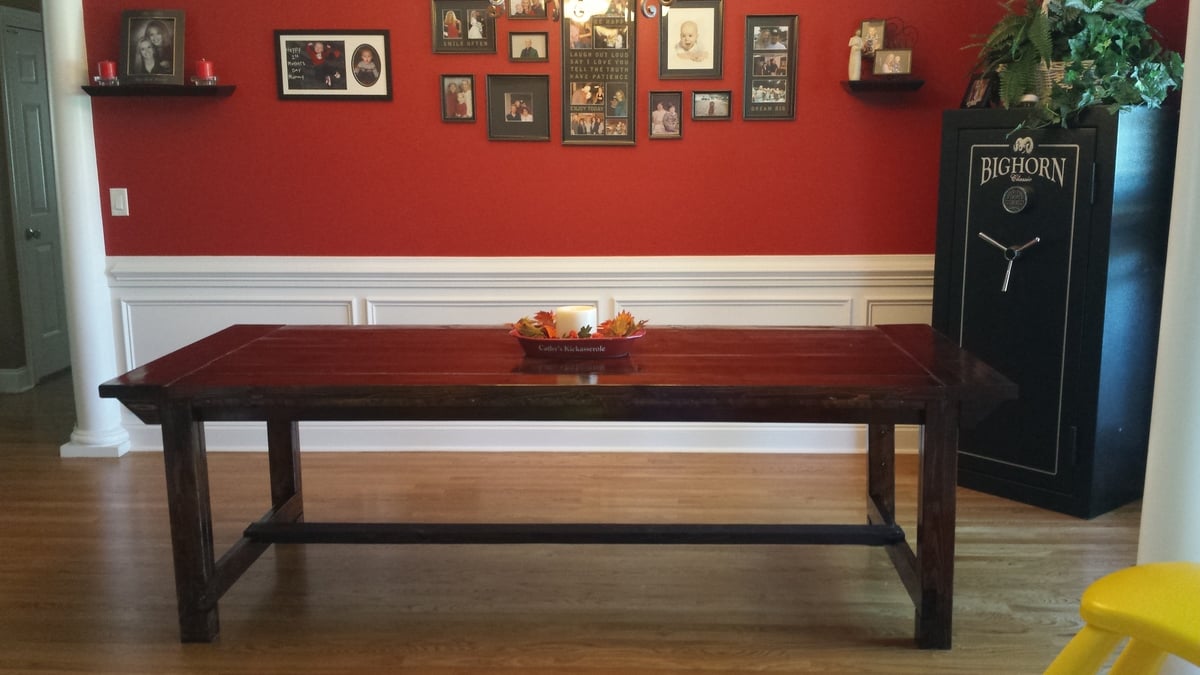
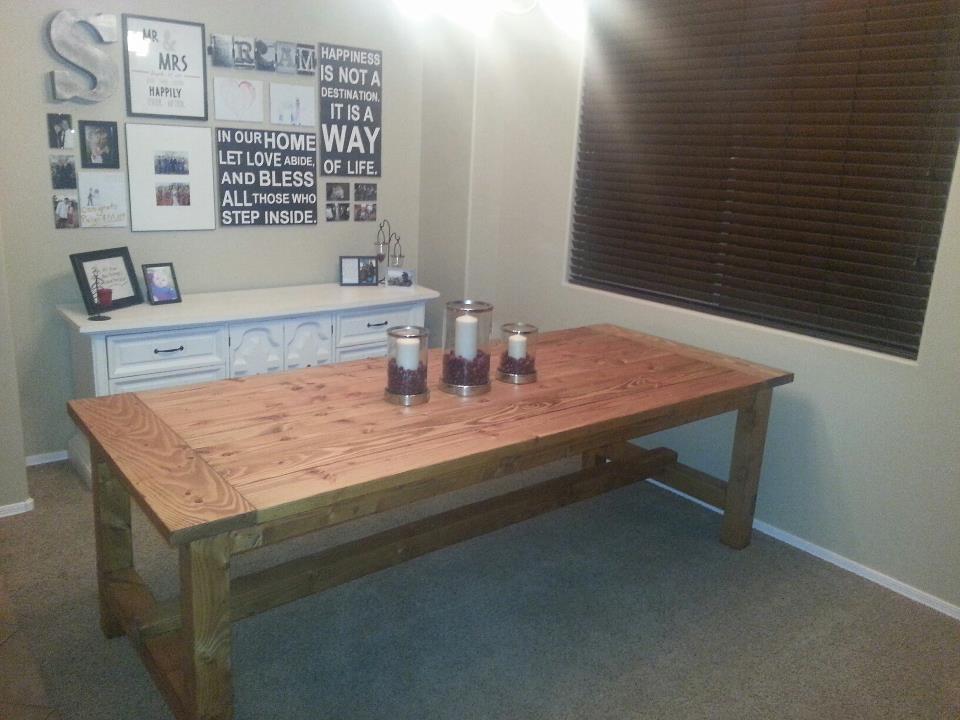
Made this table over the long New Years Eve weekend. Whole lot cheaper than the table from Pottery Barn.

Estimated Cost
$150
Estimated Time Investment
Weekend Project (10-20 Hours)
Finish Used
Watco Danish Oil in Medium Walnut we put on three coats after using Minwax pre-stain conditioner. We haven't decided whether or not we'll put on a polyurethane yet.
Recommended Skill Level
Beginner

Sideboard as a sewing cabinet

Submitted by Anonymous (not verified) on Mon, 01/30/2017 - 17:58

Built the week of Thanksgiving 2016, this is a slightly modified sideboard without the top drawers and with increased height so the top drawer inside the center cabinet rolls out at a height of 29" and works as a sewing desk.  The lower drawer slide holds the vinyl cutter and neatly slides out of the way when the laptop is put away after cutting is complete.  Up inside the center console just behind the door catch is a pair of LED work lights that light up the sewing area.  The cabinet is finished with a blue milk paint and a few layers of poly over the top.  Hinges were sourced at Home Depot and the knobs were found at Hobby Lobby. A 3/4" x 3/4" piece was added above and below the doors along the entire length of the piece to hide the lights and give the doors a more framed look.  Routed out a rabbit frame for 1/4 ply cut in 3.5" strips for the door insets.  Kreg jigged the entire thing together.  Brad nailed only the front bottom trim.  Everything else is screwed or screwed and glued in place.  Tip for the DIYer: make sure if you use a drywall square that it is actually square.

Built from Plan(s)
Estimated Cost
$250, plywood most expensive part
Estimated Time Investment
Week Long Project (20 Hours or More)
Finish Used
blue milk paint and verathane poly
Recommended Skill Level
Advanced

Comments

Hidden Catbox

Submitted by Anonymous (not verified) on Thu, 10/22/2020 - 07:26

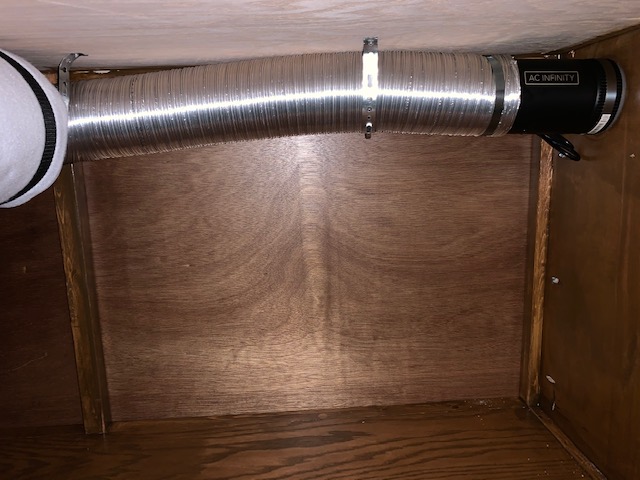
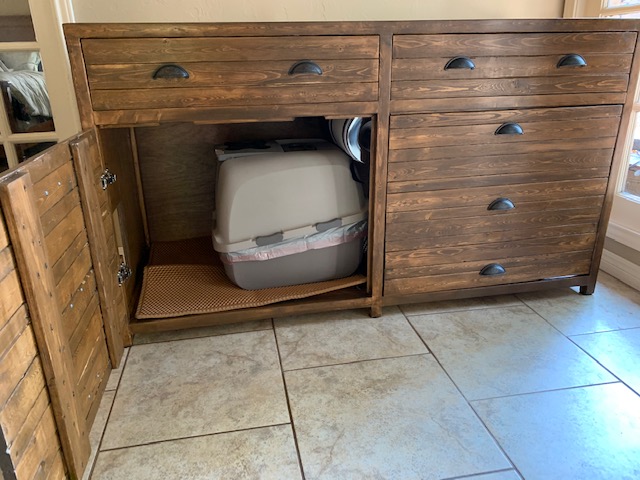
Wife and I decided we needed something to contain the smell of our two litter boxes. Found the Ana White plans and modified them to fit my needs. Used a grow house filter attached to an inline extractor fan to keep a slight negative pressure inside the box. With the extractor fan on low there is zero litter box smell.
Project turned out really well. Although this one turned out great, I would spend the extra money and buy the better wood for the frame next time.

Estimated Cost
$350.00
Estimated Time Investment
Week Long Project (20 Hours or More)
Finish Used
Minwax water based prestain, old leather stain, and polycrylic finish
Recommended Skill Level
Intermediate

Comments

Sausha's Washer/Dryer Pedestals

Submitted by joshlimo on Thu, 01/03/2013 - 20:10

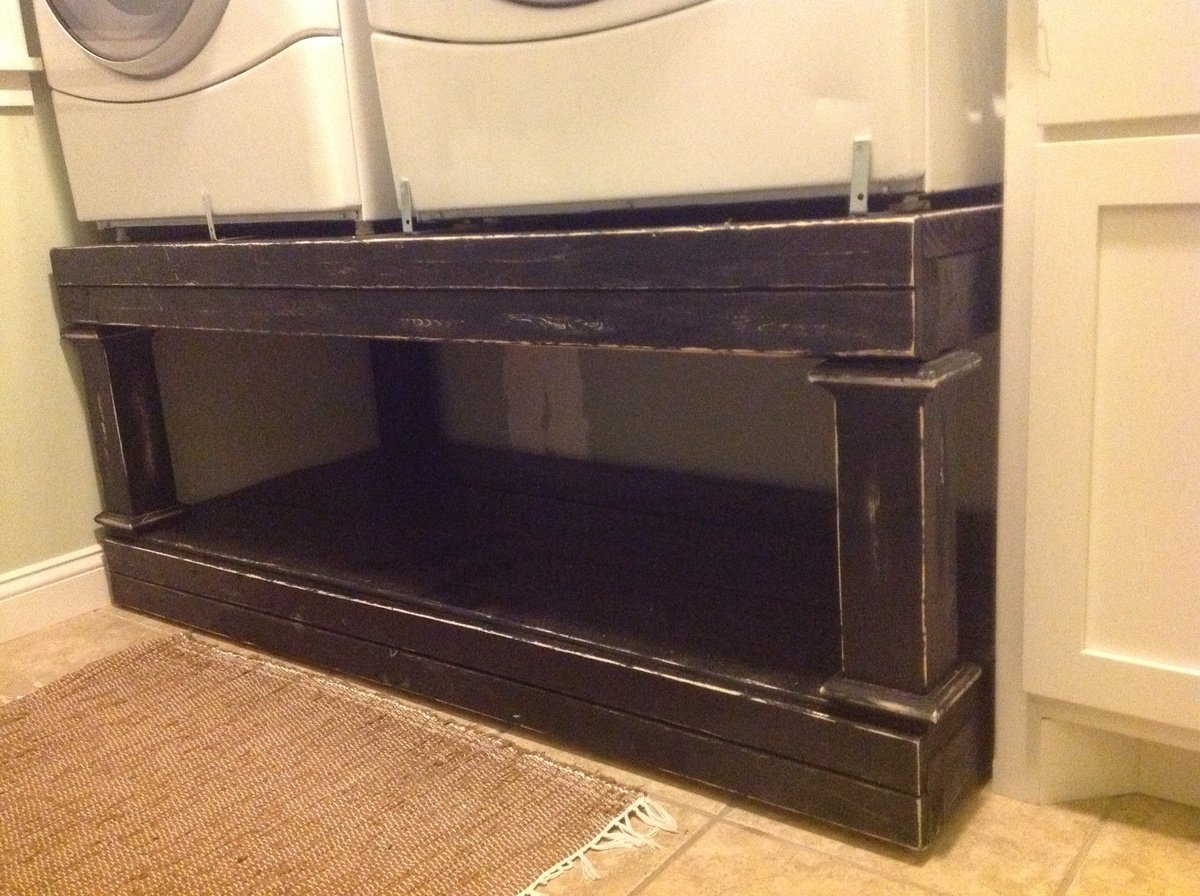
My wife has been dropping hints about this pedestal for a while so I decided to use my Christmas break to build it. Before making this, I measured the area I was using and decided 28"x58" was what I needed, the 60" would've been too big. I was also tempted to bring the width to 24" due to the ease in buying precut plywood at those measurements. But, the 28" is better for the width of the machines. I used 3 2"x10"s on the top because they were cheaper than buying 2 big sheets of plywood. I could either buy a 2' x 4' sheet or a huge one, and I would've needed 2 big ones for the dimensions of this pedestal. They made the pedestal very sturdy, and heavy. The boards also fit just perfectly with the width of 28". The trim on the front is from 2 1"x 3"s. I glued and used a nailer to tack them. Instead of the recommended 11" for the legs, I went 14" just to bring the washer/dryer to a more desireable height. I had some regrets while I was trying to heave the washer up there. But with 6 boards and a kitchen chair, I was able to get it up there. After I was completed, I realized the thing was a little wobbly because I failed to square it up while I was building the frame. I went to the local hardware store and bought some "feet" that screw into the bottom, kind of like anchor screws for a wall, and are adjustable. They were only a few bucks. In order too distress the front of the pedestal I used 80 grit sandpaper by hand. I thought I would want white underneath, but it turns out i like how the wood peeking through looks. I did read that if you want a different color underneath, you should paint it, then put candlewax on the spots that you want to peek through, then paint it with the next color. As a precaution, I screwed a few angle brackets in front of the machines. One thing that i didn't anticipate was the dryer vent. It was initially coming straight out of the wall into the dryer. When I had the dryer raised up, the pedestal was pressed up against the wall, and blocked the vent. So, I had to cut the drywall and add a tube to raise the vent up. Since we will be painting our laundry room soon, this wasn't too big of a problem.
Estimated Cost
$135
Estimated Time Investment
Day Project (6-9 Hours)
Finish Used
Black paint, hand sanded to distress, used 80 grit sandpaper
Recommended Skill Level
Beginner

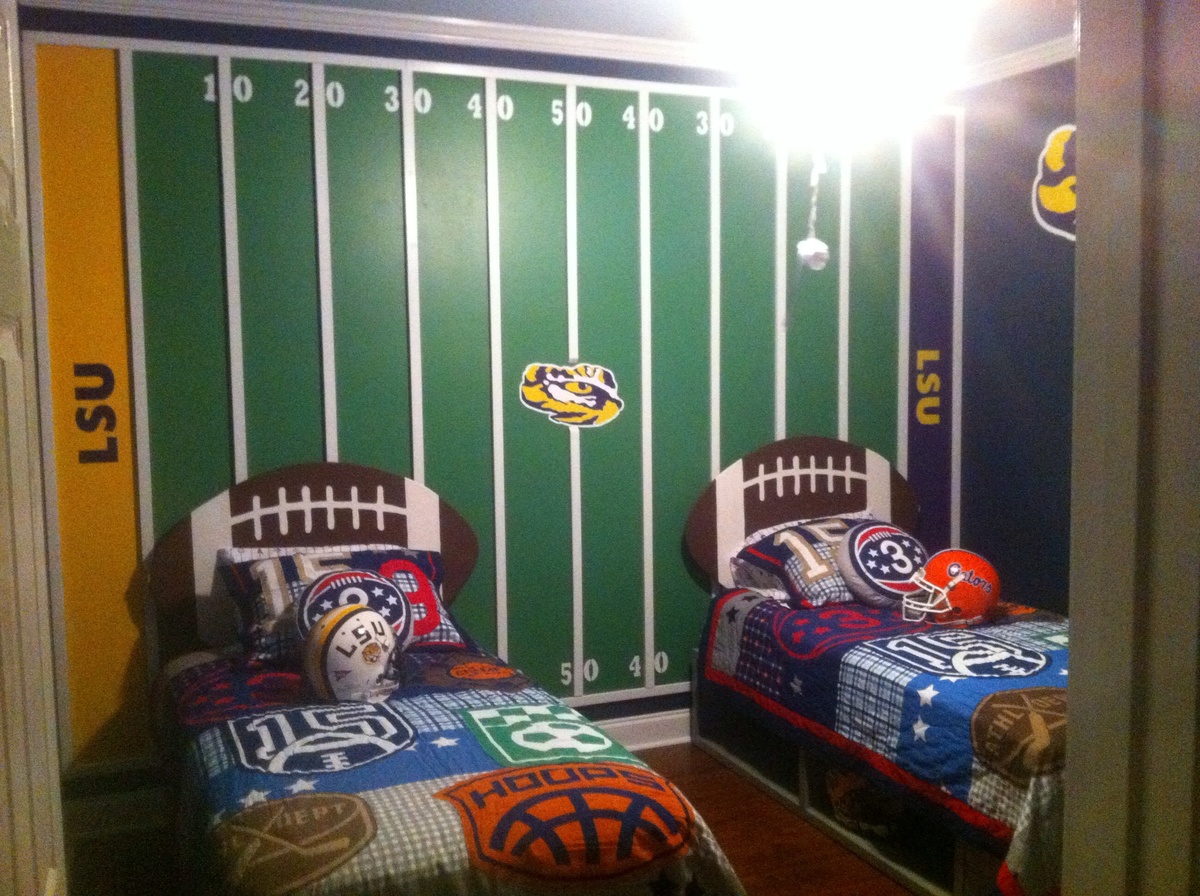
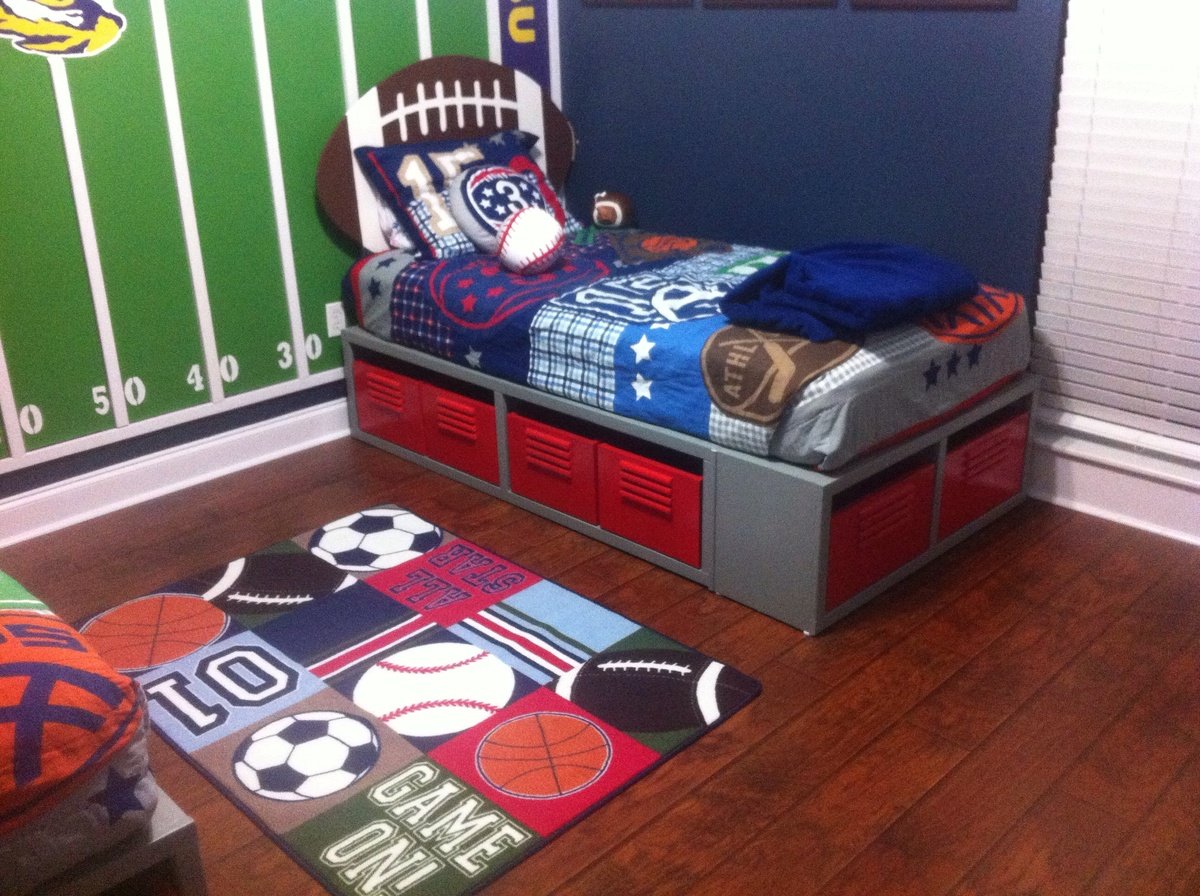
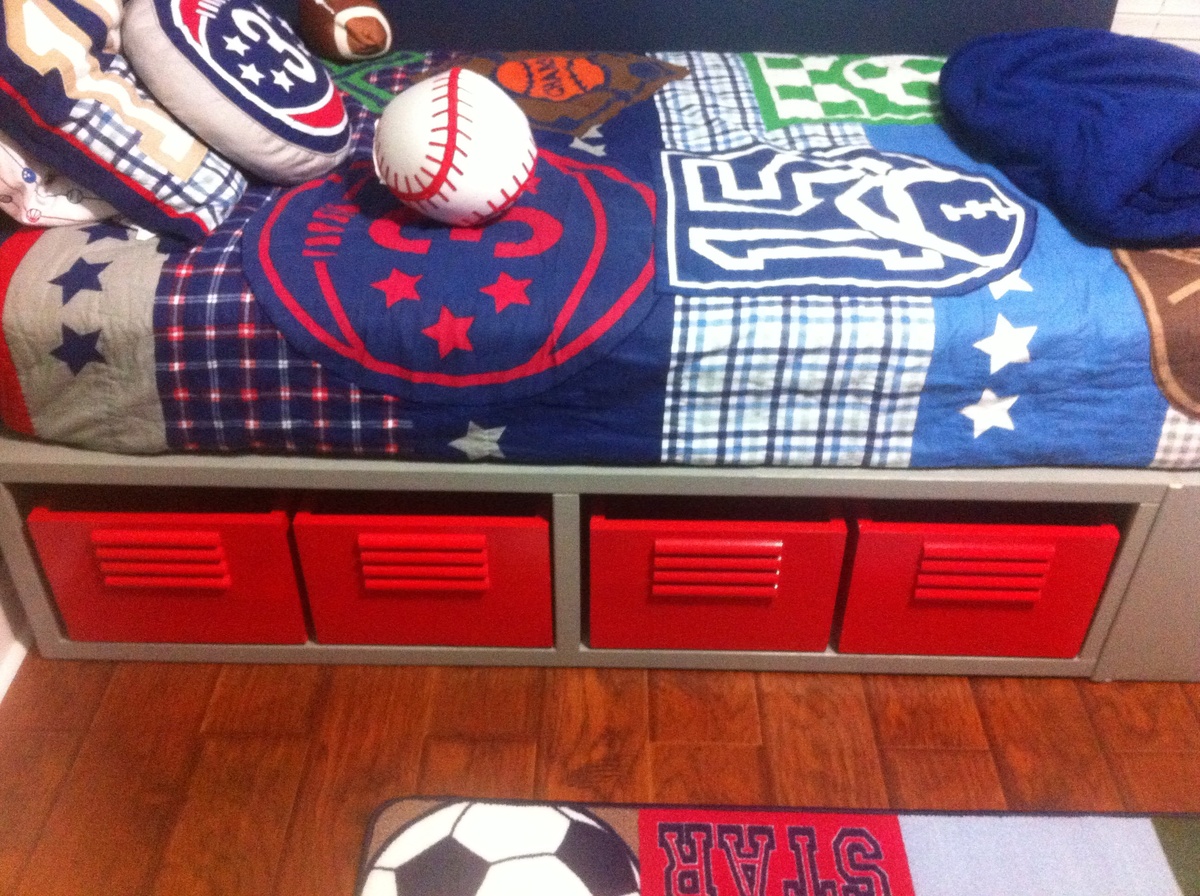
Football room

Submitted by DIY JEFF on Sat, 10/25/2014 - 12:02

My first big project. 

Built from Plan(s)
Estimated Cost
200.00
Estimated Time Investment
Weekend Project (10-20 Hours)
Finish Used
Sherwin Williams All purpose enamel.
Recommended Skill Level
Beginner

Modified Chevron Bed using Engineered Hardwood Flooring

Submitted by Anonymous (not verified) on Thu, 02/02/2017 - 10:47

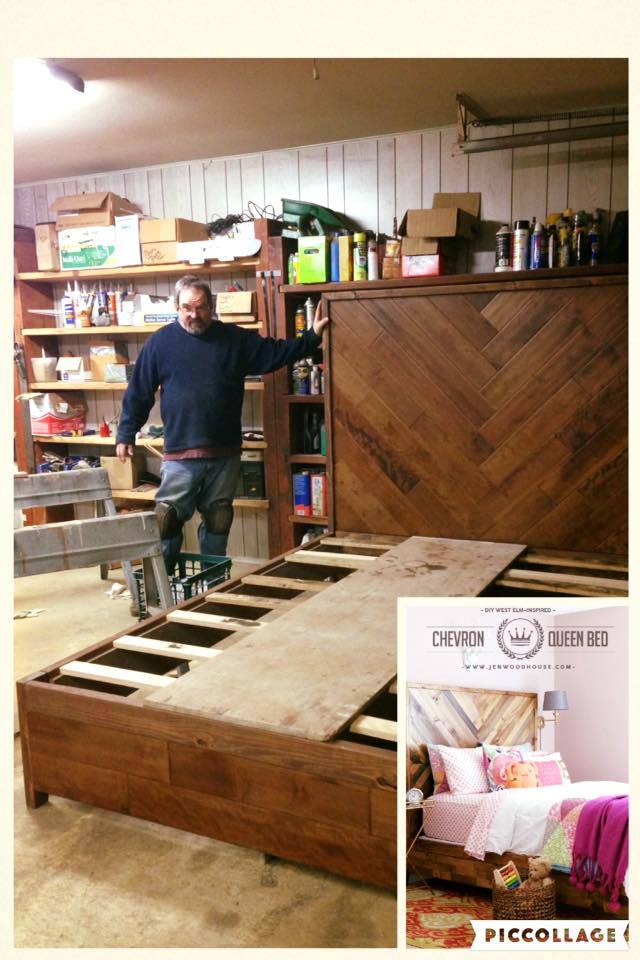
My husband and I really enjoyed working on this together. We had a bunch of leftover engineered hardwood flooring. It worked out great for this project! We staggered the boards in the chevon pattern and took it all the way down instead of reversing it (since it seemed like so much more work and I thought the mattress and pillows would cover it anyway), so it was simple to piece it all together. I love the look. We made the bed with detachable railings, which was necessary - because this bed is HEAVY. Thanks for the great idea!

Estimated Cost
$20 (utilized plywood and hardwood flooring that we already had)
Estimated Time Investment
Week Long Project (20 Hours or More)
Recommended Skill Level
Beginner

Modern Outdoor Collection

Submitted by Anonymous (not verified) on Tue, 10/27/2020 - 16:06

Great plans - thanks so much! Started with two chairs, and kept going...

MODS: Once built, we felt there wasn't enough back support, so added a 2x4 then 4x4 on top. Also added a 2x2 in back of the seat bed, so our 25" x 25" seat cushions didn't float around.

Recommend paint gun vs. painting by hand.

Estimated Time Investment
Weekend Project (10-20 Hours)
Finish Used
Two coats of Behr waterproof stain + sealer (BM swiss coffee)
Recommended Skill Level
Beginner

Comments

Seasonal And Holiday

Chelsea Loft Bed

Submitted by zmindyk on Sat, 01/05/2013 - 18:39

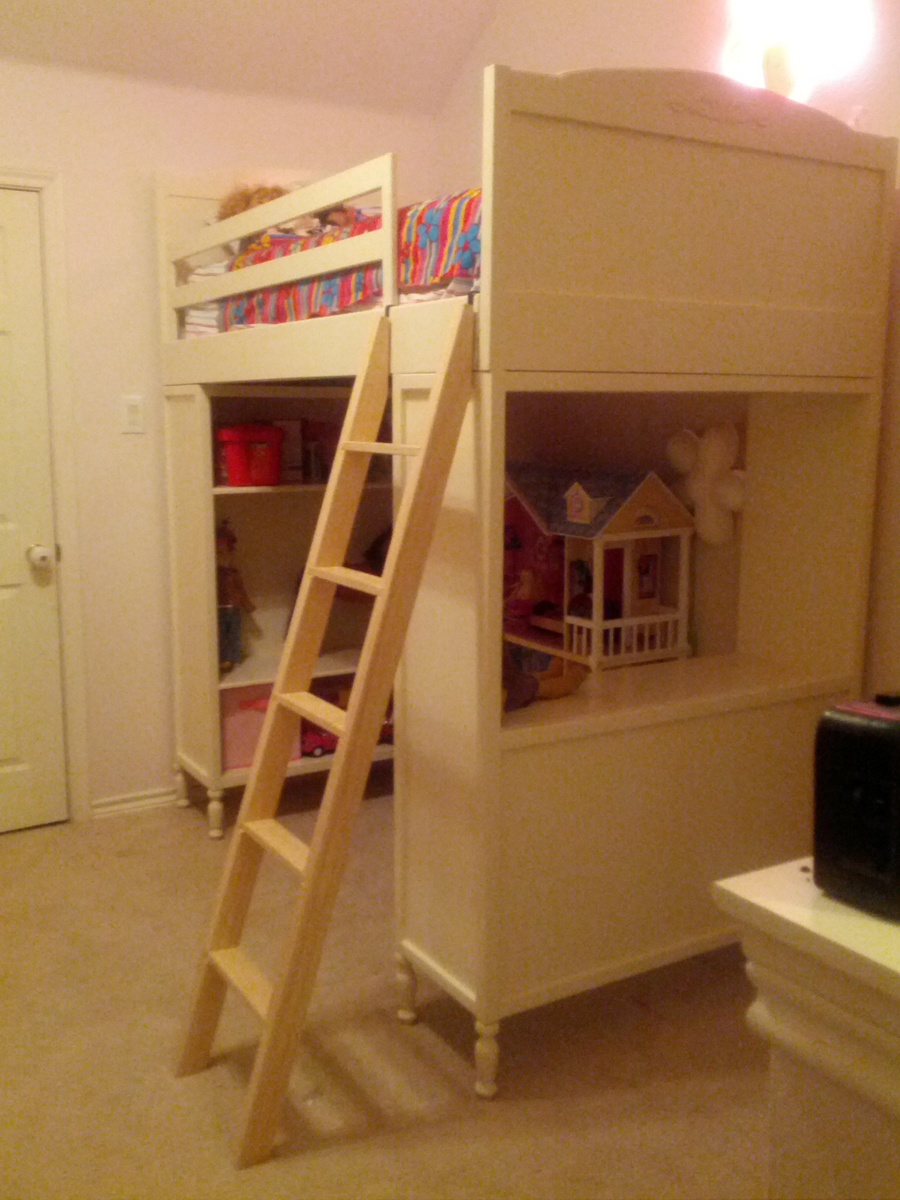
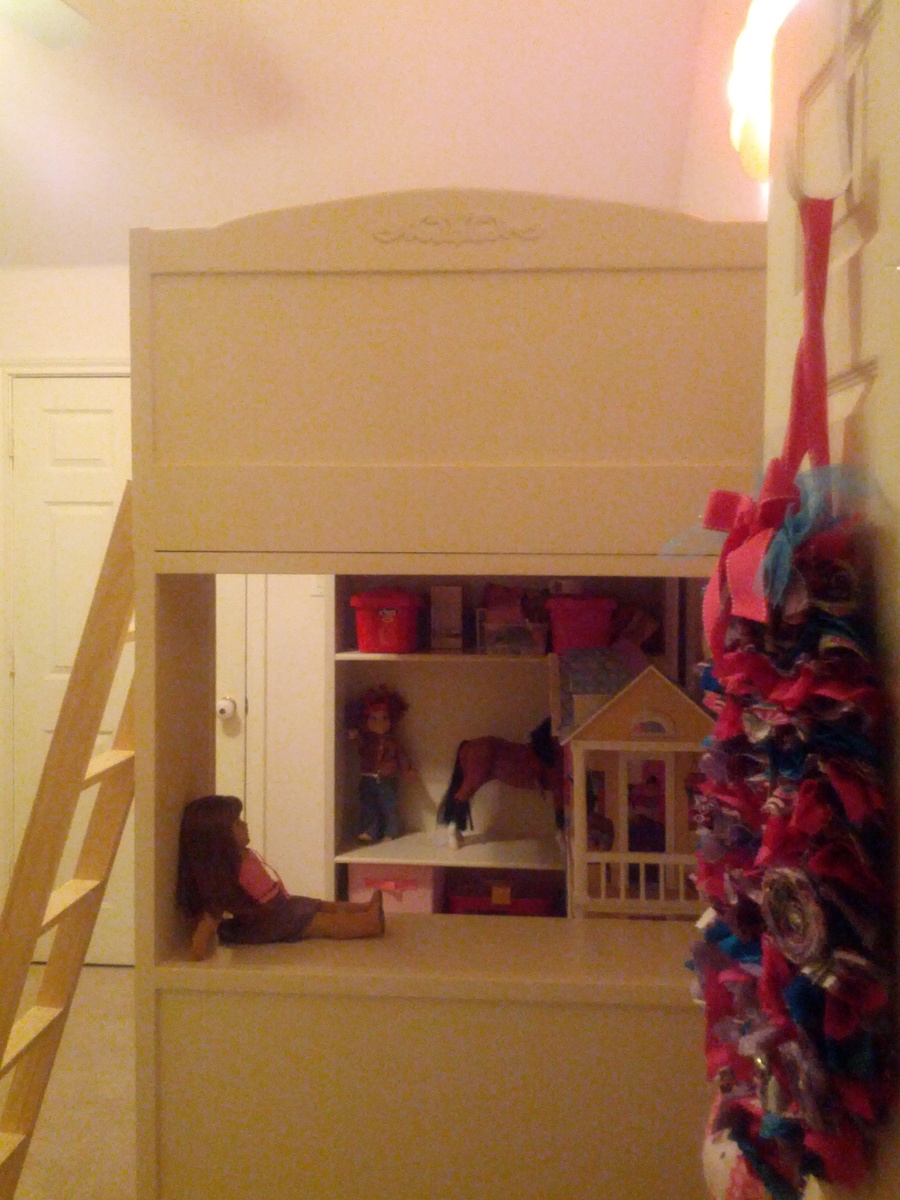
I built this for my daughter's room, to give her a little more play space. I did end up altering the plans slightly for stability. I added backs to the bookshelf and to the desk. If I had to do it again, I would not use the turned feet, it is a weak point in the design. Instead I would have continued the 2x2's to the floor. It got cold on me, and I am waiting for warmer weather to paint her ladder.

Estimated Cost
$350
Estimated Time Investment
Week Long Project (20 Hours or More)
Finish Used
Paint I had left over from other projects.
Recommended Skill Level
Intermediate

Affordable pipe slat bed

Submitted by Dafoemomma on Mon, 10/27/2014 - 18:13

We fell in love with the look of this bed but at $600 it was out of our budget.  The heavens opened and the angels sung when we found Formufit furniture grade PVC.   It even comes in different colors!  We used 1" but I would recommend 11/4" to make it a bit more sturdy.  We glued most of it together and chose to omit one section out of each of the headboard and footboard.  Another note, because the PVC slips in the fitting about 1" you need to add 2" to each measurement.  We did not and it turned out just fine but we were 2" shorter than the measurements.  We also used four 3' sections, 2 four way in the center and added two more legs and caps as the formufit doesn't come in longer than 5' and we wanted more stability.  The wood slats will be put on when our split ring hangers get here as we couldn't find them in out town.  Total cost was about $150 because we used recycled pallet boards for the mattress platform.
Estimated Cost
$150-$200
Estimated Time Investment
Day Project (6-9 Hours)
Finish Used
Twin sized bed
Recommended Skill Level
Starter Project

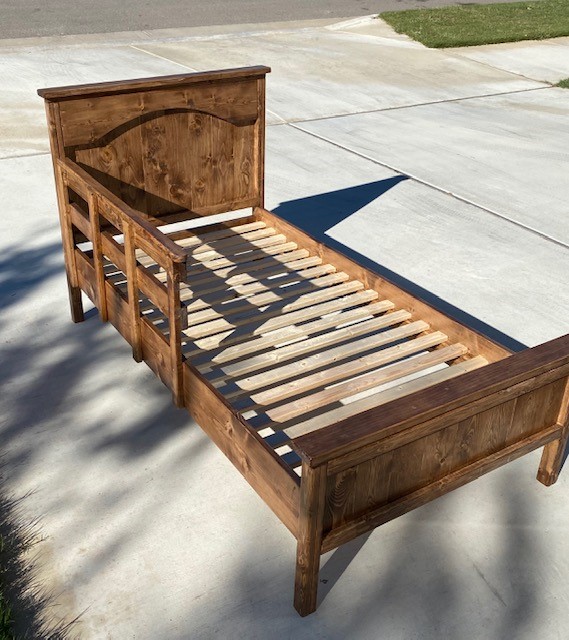
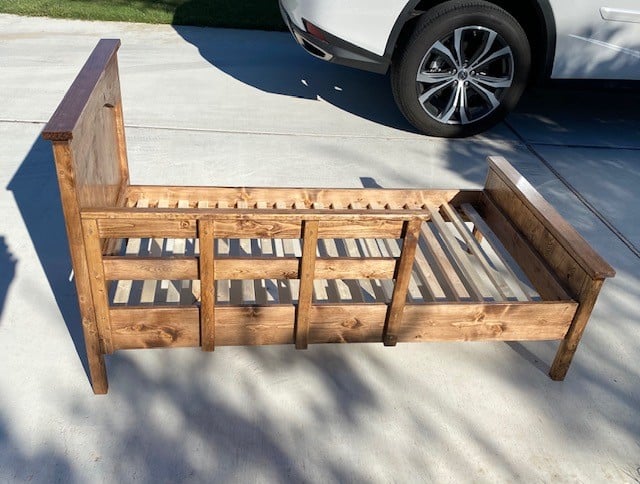
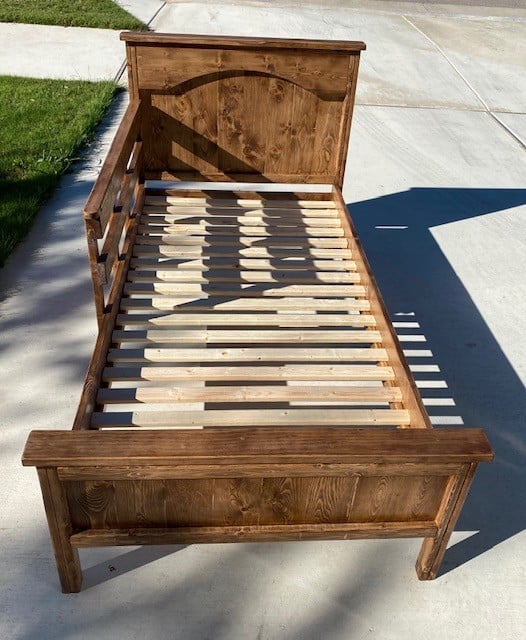
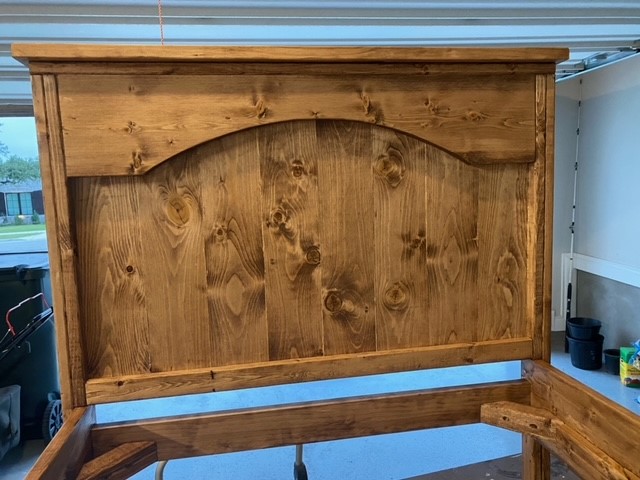
Farmhouse Toddler Bed with Rail

This was my second Toddler bed. This one with a single side rail. I really like this plan. Just remember that Toddler mattresses are not always the same dimensions. Find out the size of the mattress first and adjust your dimensions accordingly. I also stained and clear coated the railing separately so it can be removed as the child gets a little older and still have the bed completely finished without it.
Built from Plan(s)
Estimated Cost
$56
Estimated Time Investment
Weekend Project (10-20 Hours)
Finish Used
English Chestnut Stain with a Satin Poly top coat
Recommended Skill Level
Beginner

Comments

Kids Workbench

My first build after getting a Kreg Jig for my birthday! I built this workbench as a Christmas gift for my two sons - 3 and 1. It took much longer than it should have, mainly because I could only work on it 10-20 minutes at a time when I could steal a break from the kiddos. I'm really happy with how it turned out - I based it on a bench that I saw in the Pottery Barn Kids catalog. Now I just need some pegs so they can start hanging their tools!

Estimated Time Investment
Afternoon Project (3-6 Hours)
Finish Used
Minwax water based wipe-on stain in pecan. Only used the wipe-on kind because it was the only water-based option available.
Recommended Skill Level
Beginner

Comments