Community Brag Posts

Kids Workbench

My first build after getting a Kreg Jig for my birthday! I built this workbench as a Christmas gift for my two sons - 3 and 1. It took much longer than it should have, mainly because I could only work on it 10-20 minutes at a time when I could steal a break from the kiddos. I'm really happy with how it turned out - I based it on a bench that I saw in the Pottery Barn Kids catalog. Now I just need some pegs so they can start hanging their tools!

Estimated Time Investment
Afternoon Project (3-6 Hours)
Finish Used
Minwax water based wipe-on stain in pecan. Only used the wipe-on kind because it was the only water-based option available.
Recommended Skill Level
Beginner

Comments

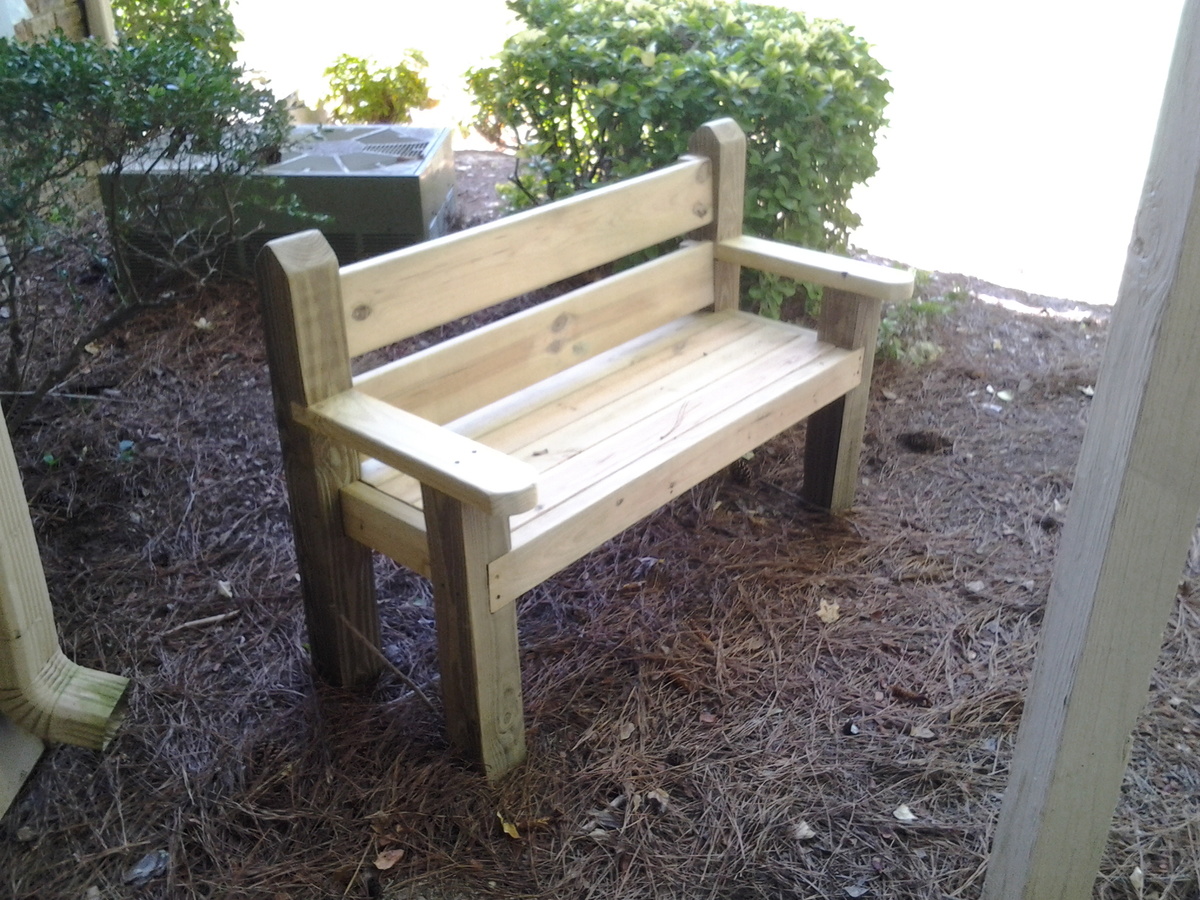
Garden bench

Submitted by jsosebee on Sat, 11/01/2014 - 18:59


What goes here?

Estimated Cost
$45.00
Estimated Time Investment
Day Project (6-9 Hours)
Finish Used
None
Recommended Skill Level
Beginner

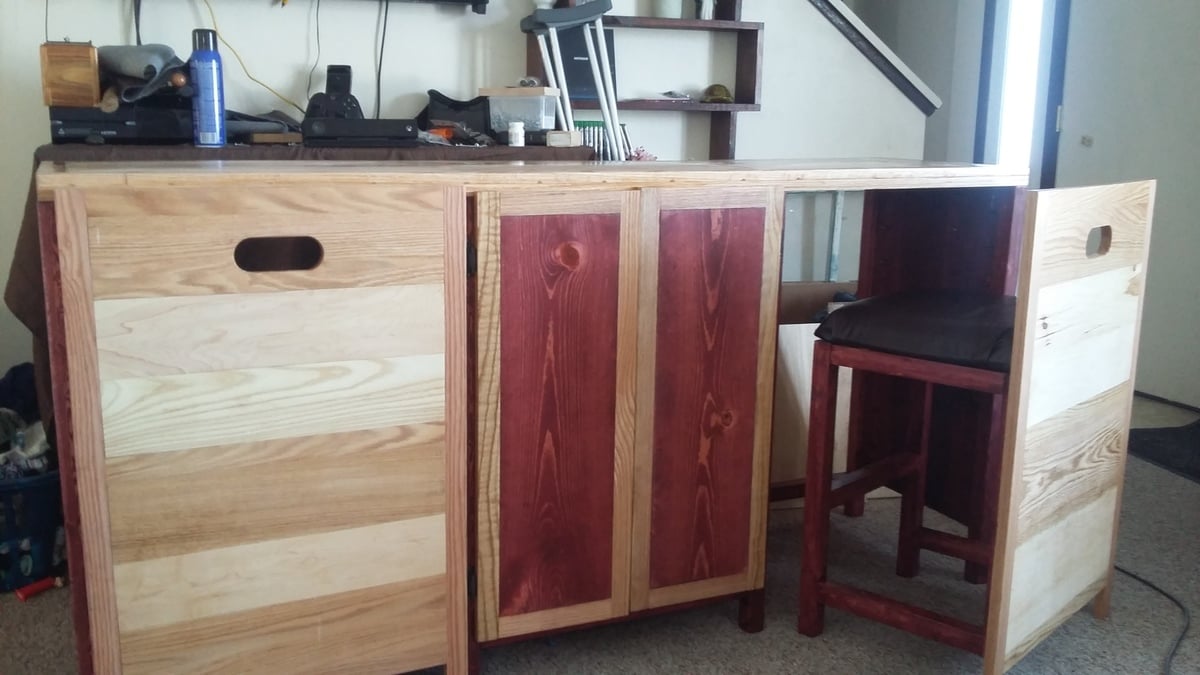
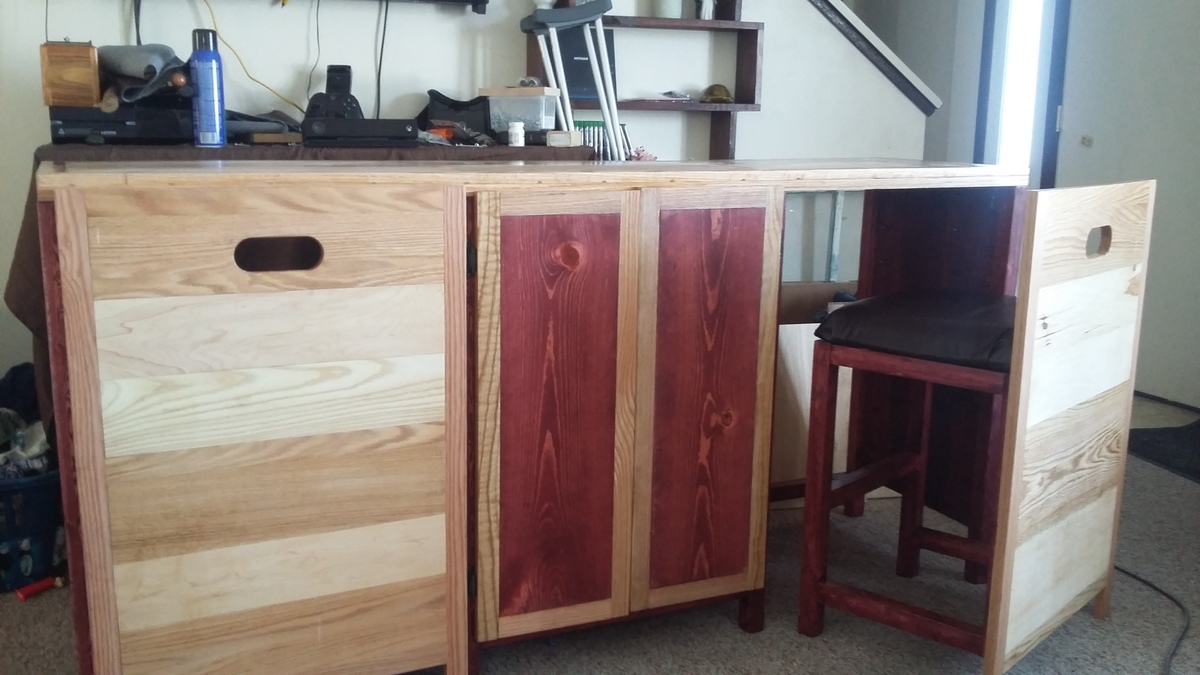
rustic glamour hidden desk

Submitted by Johnny469 on Wed, 02/08/2017 - 11:22

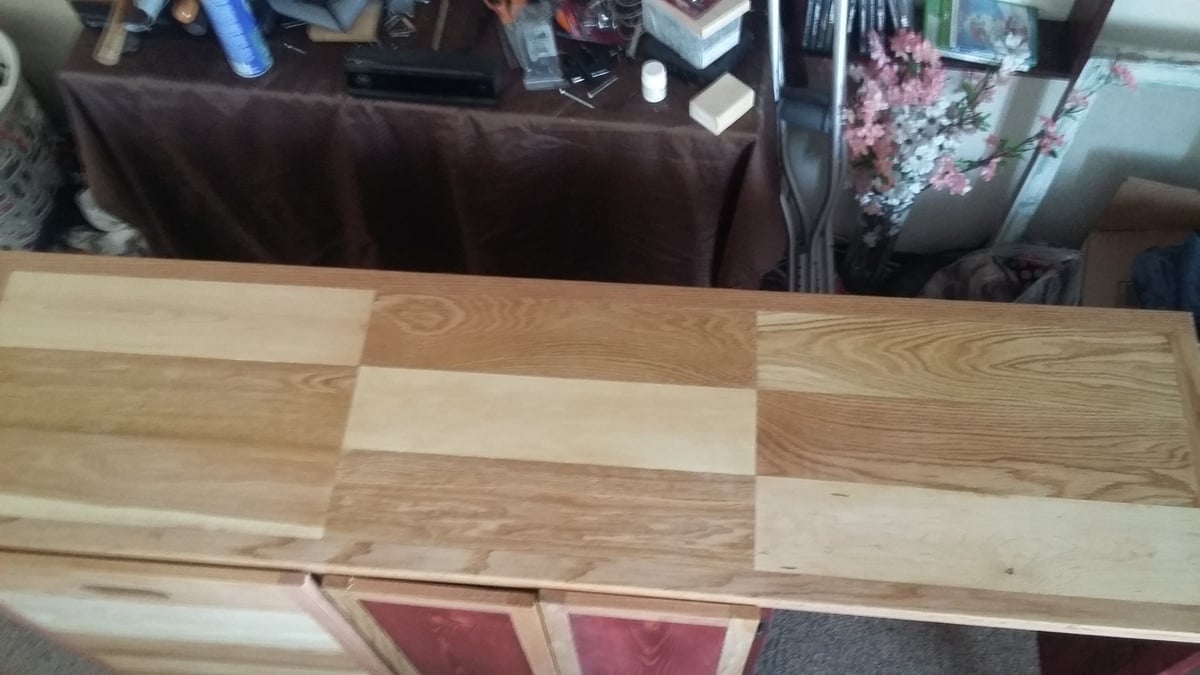
This is my version of the hidden desk. This desk is completely made out of solid wood. The stained wood is pine and the natural wood is a mixture of oak, cherry and maple.  I still have to add shelves and door pulls but otherwise its done.

Built from Plan(s)
Recommended Skill Level
Intermediate

Comments

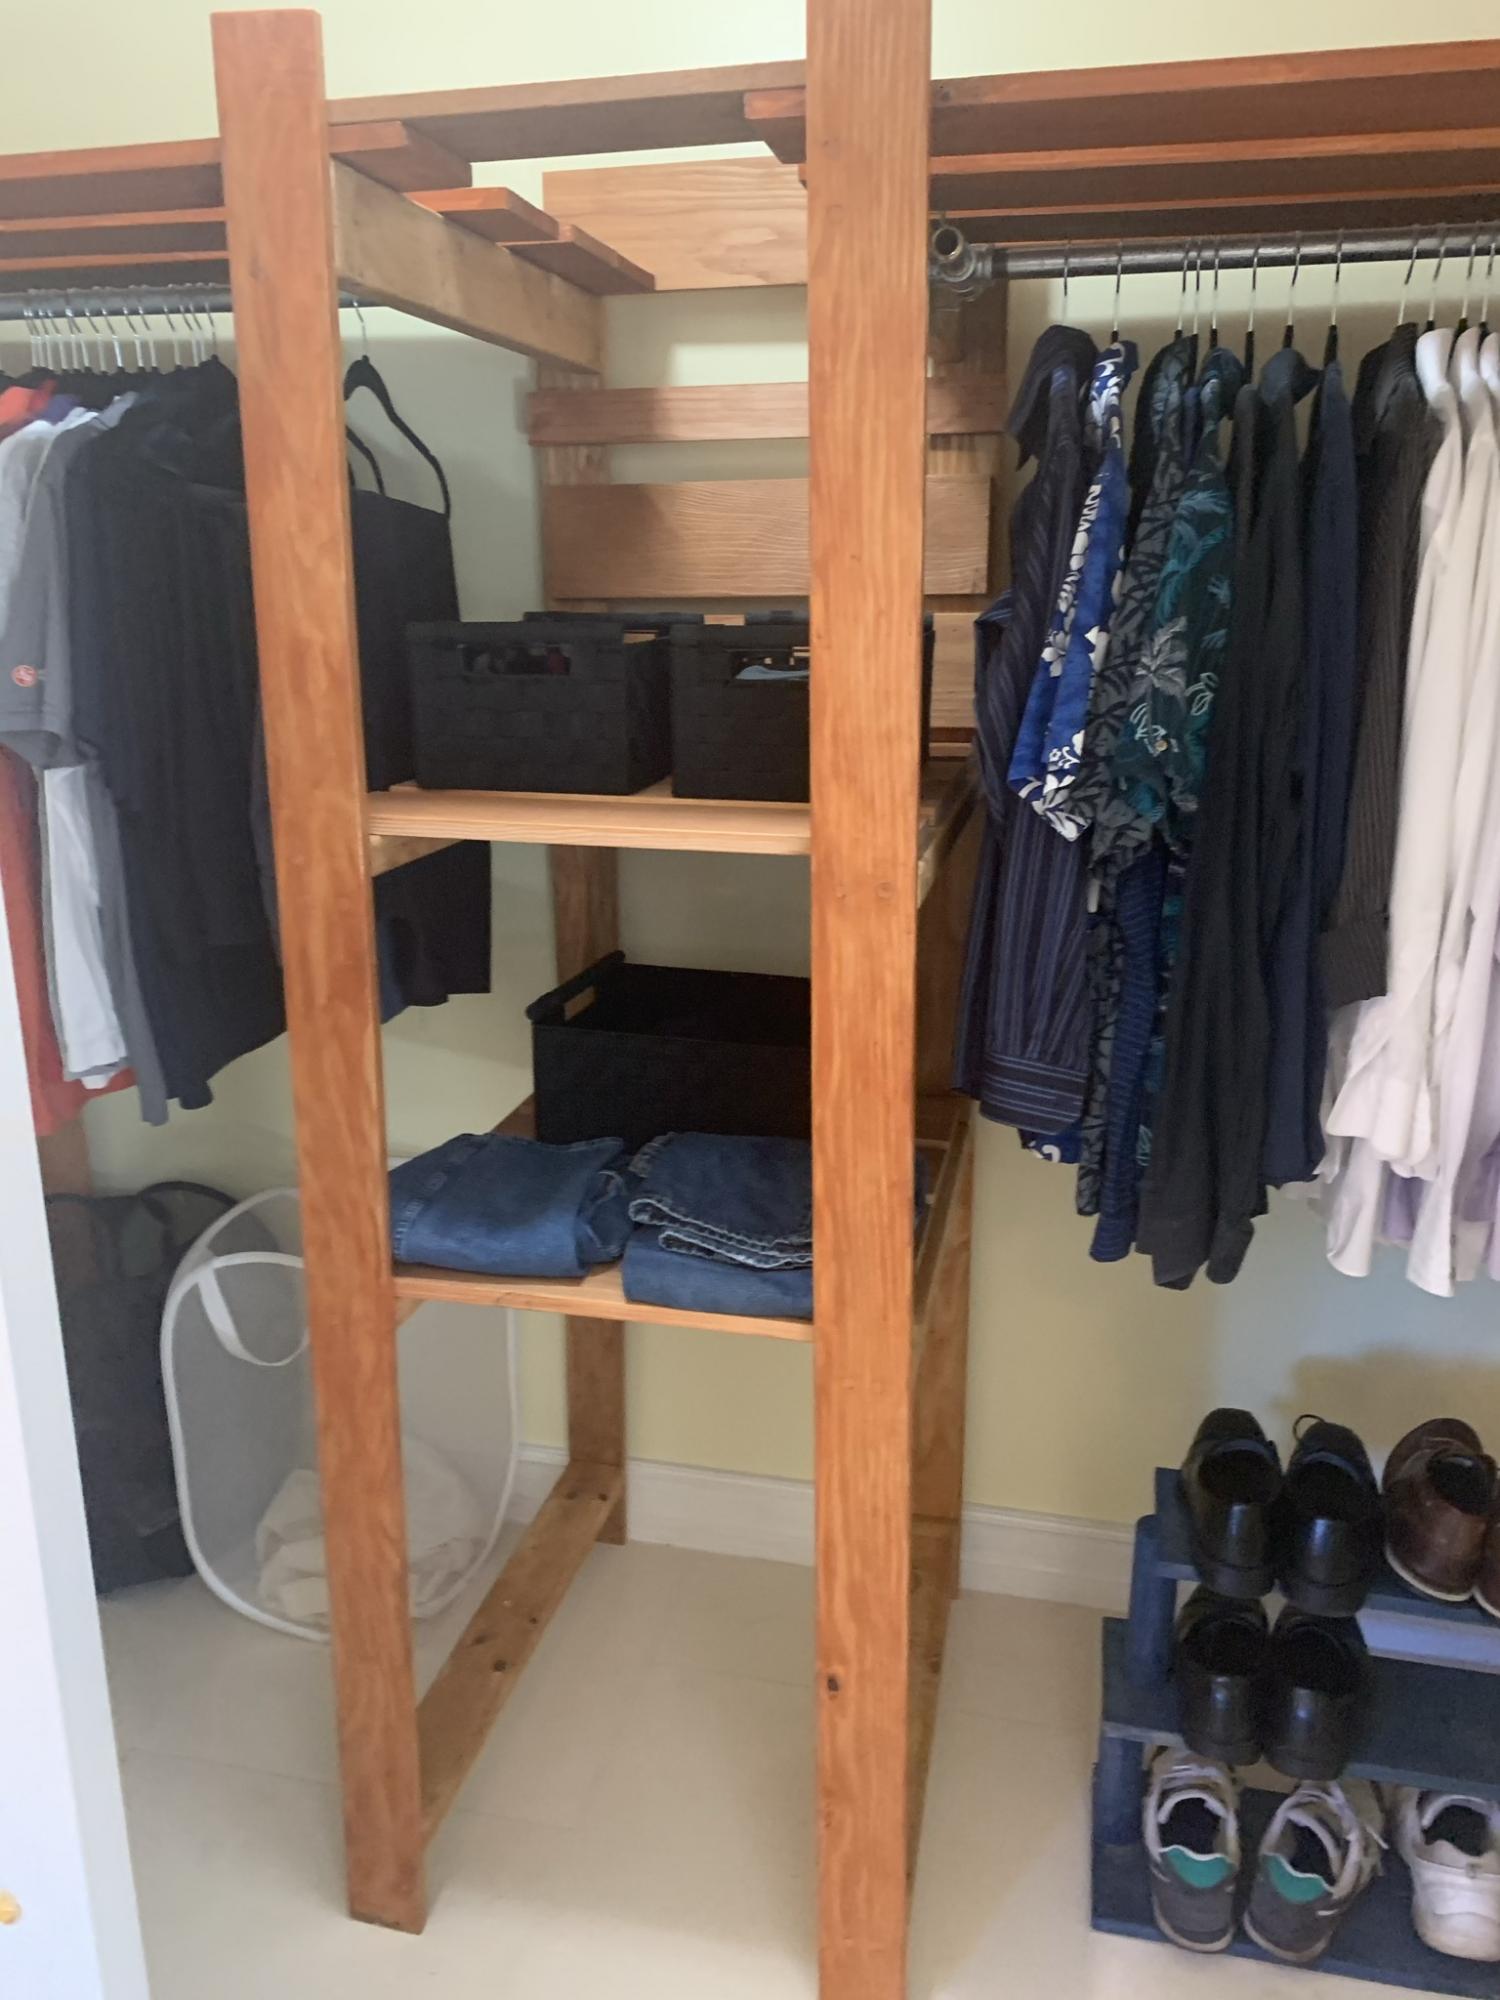
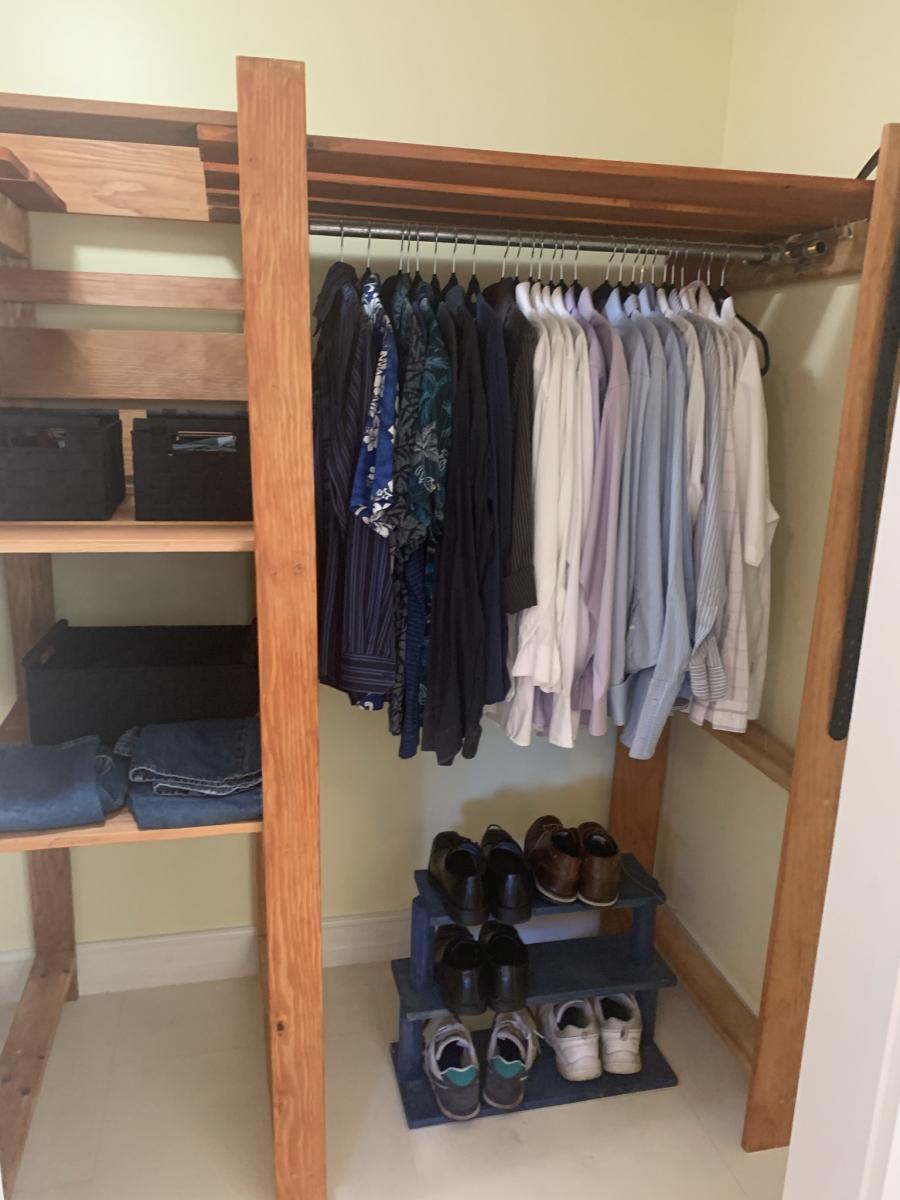
My DIY Closet Project

Hi DIY Peeps.

This is a pretty simple project.
The main point is to keep everything level across the 4 boxes.
I used simple jig's which were exact copies so I knew where to attach the shelves properly and level.

Note this on the pictures.

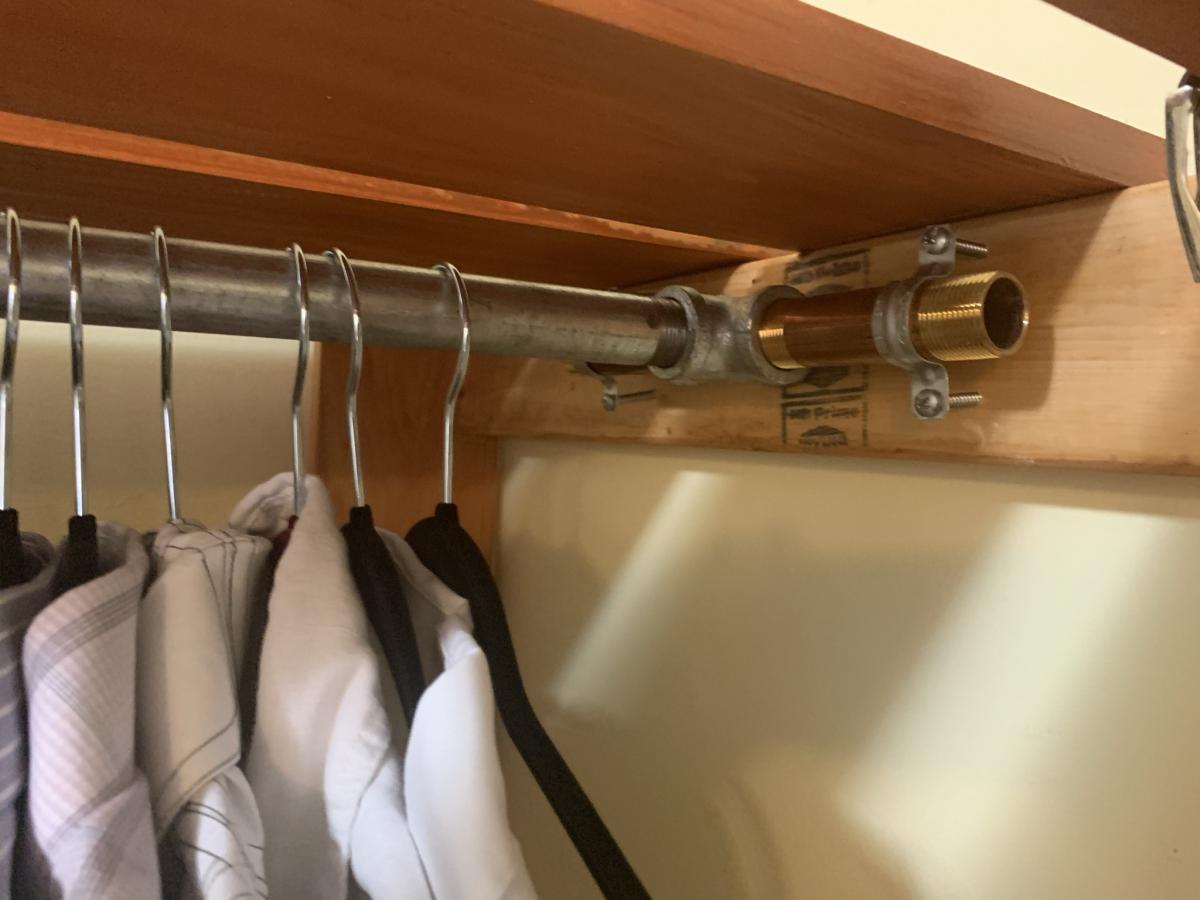
I wanted to use all Galvanized Pipe but sadly no matching parts.
Here I would suggest as Did Ana to keep your shelve parts no more then 3 feet or so.
Why, you can get off the shelf 36" precut galvanized pipes easy. Most closets are 8' or less so anything over that is a problem.

My measurements were

H=78"
W=8' 3"
Depth 28"

The Center Part is 2' as that was the natural distance as I went wall to wall 3 + 3 + 2 = 8

I modified the build to allow more storage on the top for bigger boxes and use as a Linen Closet of sorts.

My closet is out of Fir , and 2x4's I didn't want a all 2x4 closet. The thin wood at 3/4's get a lighter look to the closet. Also don't forget to screw the frame to the wall for safety, this is a pretty heavy closet !

Pine would work as would poplar or oak. But the 3x4 thick and 5" and 3" wood really made it look great.
Notice have the 5" is the middle and the 3" wide is at each end. This gave the closet a more fun look.

Notice the hanger for the 3' galvanized rod. I used Copper and pipe clamps to give it a unique look.
This really makes the closet Pop.

Overall it was a fun project, it took 3 weekends as I stained it with Carmel Oak color and that took 3 coats on the Fir.

The shelves are the longest part of the work, but use the jigs like I did and it will come out all level.

I am very happy with it in the End, Sadly i can't open the doors all the way to show how big this actually is!

Estimated Time Investment
Week Long Project (20 Hours or More)
Finish Used
Honey Oak Stain.
Recommended Skill Level
Beginner

Comments

Storage step stool

I made this step stool in around four days. It took longer because of the five coats of paint. It has two coats of paint and three coats of finish. It should stand up to many years of use. With the storage area empty, the lid dropping closed can be somewhat loud. I added felt bumpers underneath the top step to dampen the sound. It's light enough for my 18-month old to push around.

The jigsaw cuts weren't always perfect. I filled any gaps and countersunk screws with wood filler. I used a mouse sander to smooth everything out after screwing it all together. The longest part was the painting. I painted every surface, hidden or not, to protect the wood and hopefully make it last forever.

I didn't list an estimated cost because I had to purchase several tools, including a jigsaw, sander, and countersink bits. It was probably user error, but the countersink drill bit was a pain to use. The locking nut couldn't be tightened enough to keep the adjustable drill bit in place.

Built from Plan(s)
Estimated Time Investment
Weekend Project (10-20 Hours)
Finish Used
Two coats of Minwax Polycrylic over two coats of Behr Premium Plus Ultra semi-gloss paint (color: Old Fashioned Pink).
Recommended Skill Level
Beginner

Upholstered Toy Chest

We made these toy chests for baby shower gifts.  We followed the plan for the most part.  We skipped the notching on the front of the chest, and opted to upholster the top.  I added names to the front as well to personalize them a bit as well.  Overall, it went pretty smooth, once we got going.  The plans were clear and easy to follow.  This was our first build off of plans from Ana-White, and I think they turned out pretty nice! 

Built from Plan(s)
Estimated Time Investment
Day Project (6-9 Hours)
Recommended Skill Level
Beginner

Comments

DIY Guest Bathroom Makeover on a Budget

Submitted by Anonymous (not verified) on Sat, 02/11/2017 - 09:31

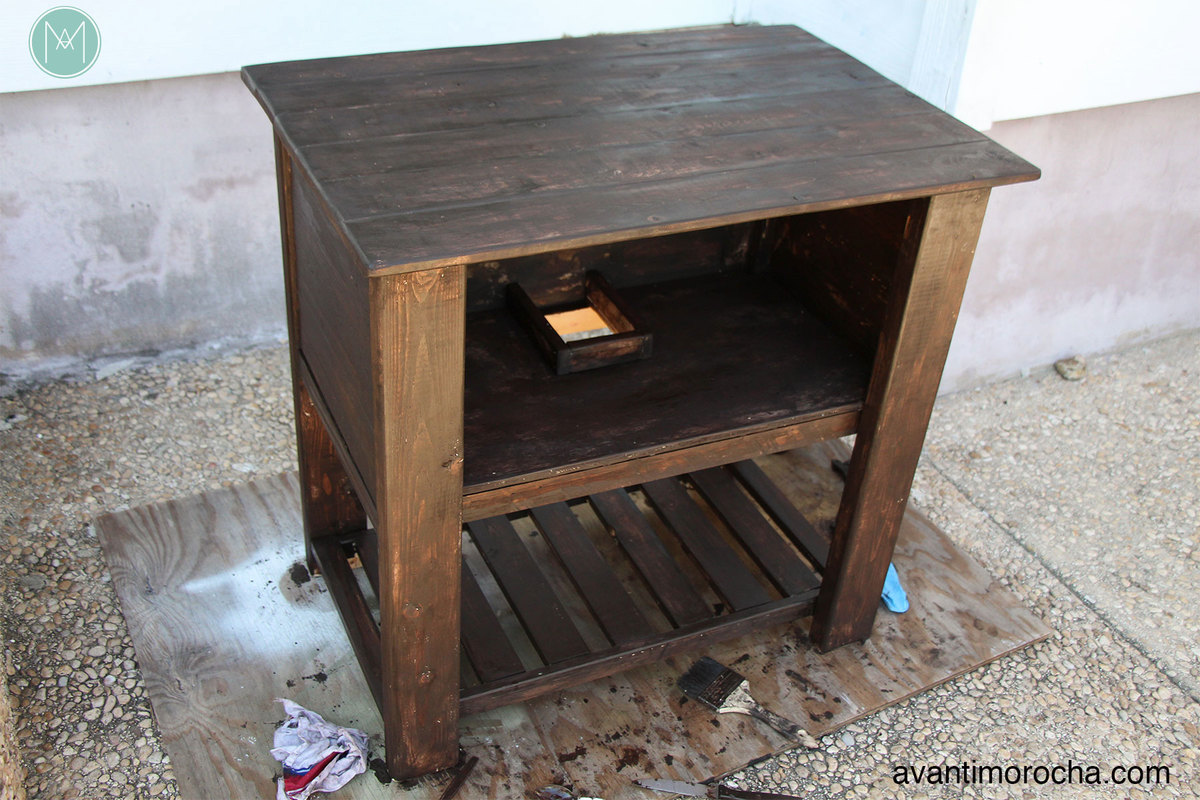
My husband and I decided that the best way to keep our guest bathroom makeover on a budget was to build the vanity ourselves.  

Estimated Cost
$700 - $800
Estimated Time Investment
Weekend Project (10-20 Hours)
Finish Used
Stained and varnished
Recommended Skill Level
Intermediate

Garage Shelves + Work Bench

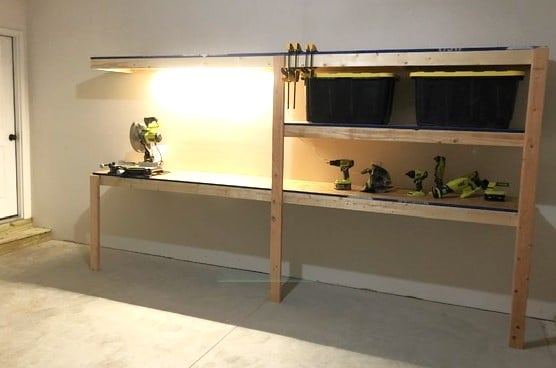
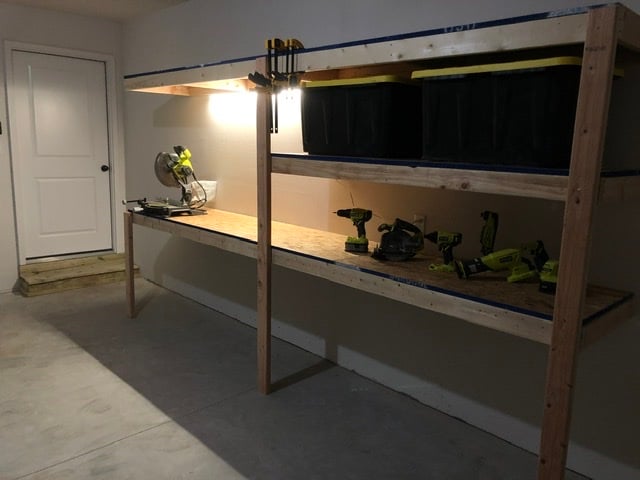
I used Ana’s plans for the garage shelves, but modified them to include a work bench. A lot of you tubers have done this, built a combination work bench and shelving, but I built nearly everything according to Ana’s plans. 12 feet long, 24 inches deep. I got some LED lights (two 1600 lumen strip lights) from menards that really brighten up my entire garage and make the work bench more useful. The one thing I really wanted was to not have a supporting pillar on the work bench to keep it open, and I loved how it turned out. I went for 3/4 plywood, mostly to have a stronger work surface, and I’m glad I did. I have since added a supporting 2x6 off of the study to support the top shelf above the bench and its strong enough to do pull-ups off of, and I have reinforced the support leg under the bench with a cross bar. Thanks for the great plans!!

Estimated Cost
~$200 (lumber prices have gone up recently due to supply issues with covid)
Estimated Time Investment
Weekend Project (10-20 Hours)
Recommended Skill Level
Starter Project

Comments

Simple Bookshelves

A smaller version of the original plan, intended to be a nightstand for our bedroom.

Built from Plan(s)
Estimated Cost
25
Estimated Time Investment
Afternoon Project (3-6 Hours)
Finish Used
Behr Paint in Distant Thunder
Recommended Skill Level
Beginner

Comments

X coffee table

Submitted by Terrybob on Thu, 11/06/2014 - 05:01

coffee table

Finish Used
Antigua white glider gel paint. Stain on top
Recommended Skill Level
Beginner

Larger Rustic X coffee table

Submitted by Anonymous (not verified) on Sun, 02/12/2017 - 20:42

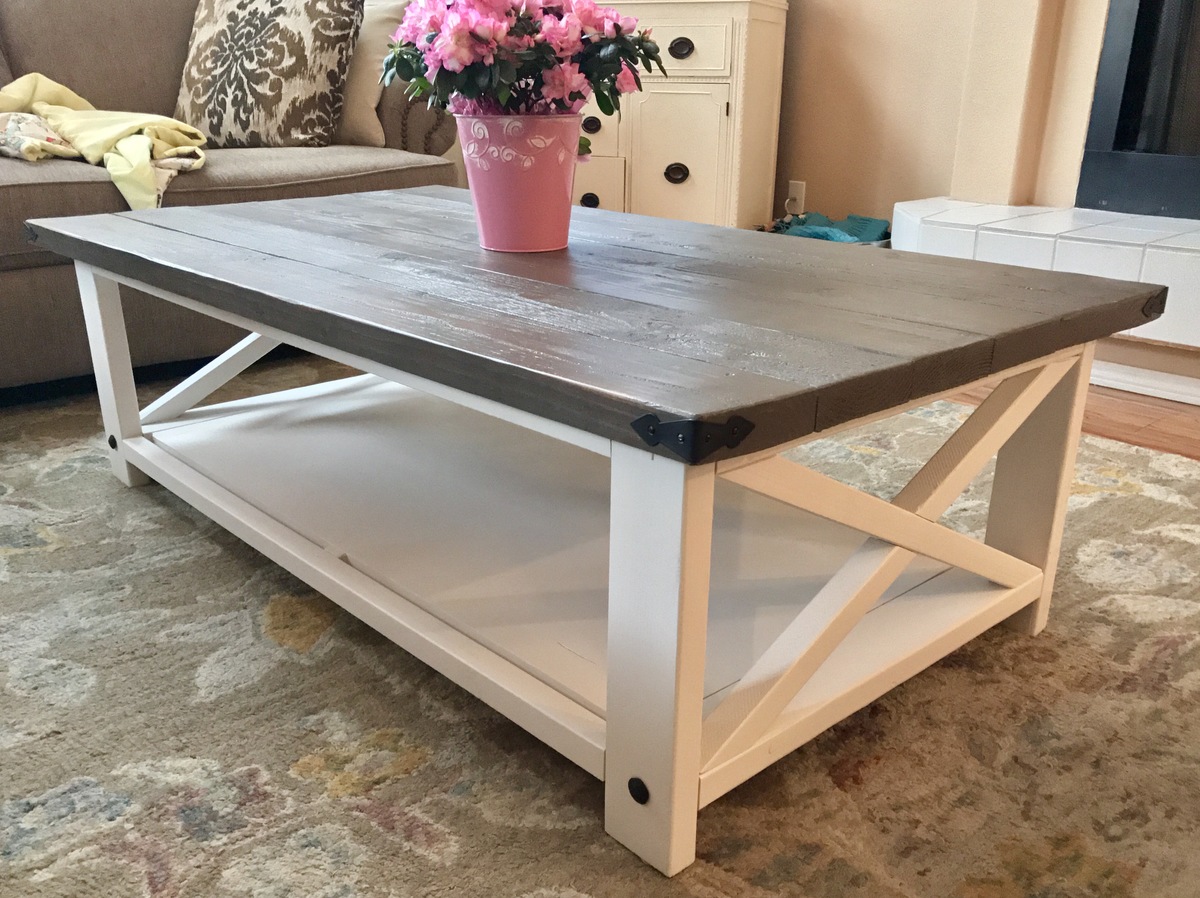
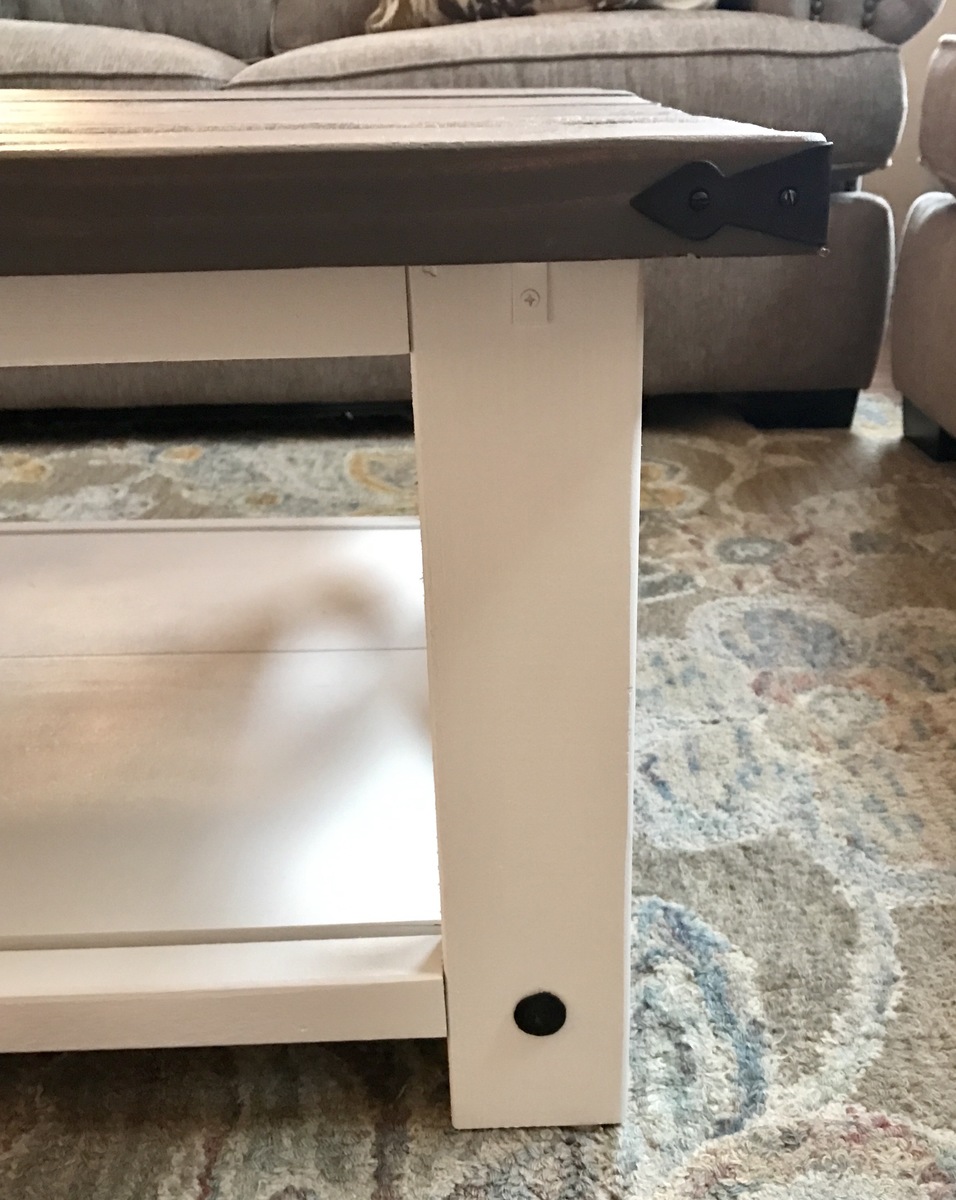
I used upscaled plans for the table that ended with a table top of 60" x 36" that helped match our oversized couches. Fun easy project!

Built from Plan(s)
Estimated Cost
$80
Estimated Time Investment
Weekend Project (10-20 Hours)
Finish Used
For Top: Varathane- wood conditioner, Briarsmoke stain, sealed with 3x thick polyurethane.
Base: Glidden Diamond Acrylic paint in Antique White, sprayed on with spray gun.
Recommended Skill Level
Intermediate

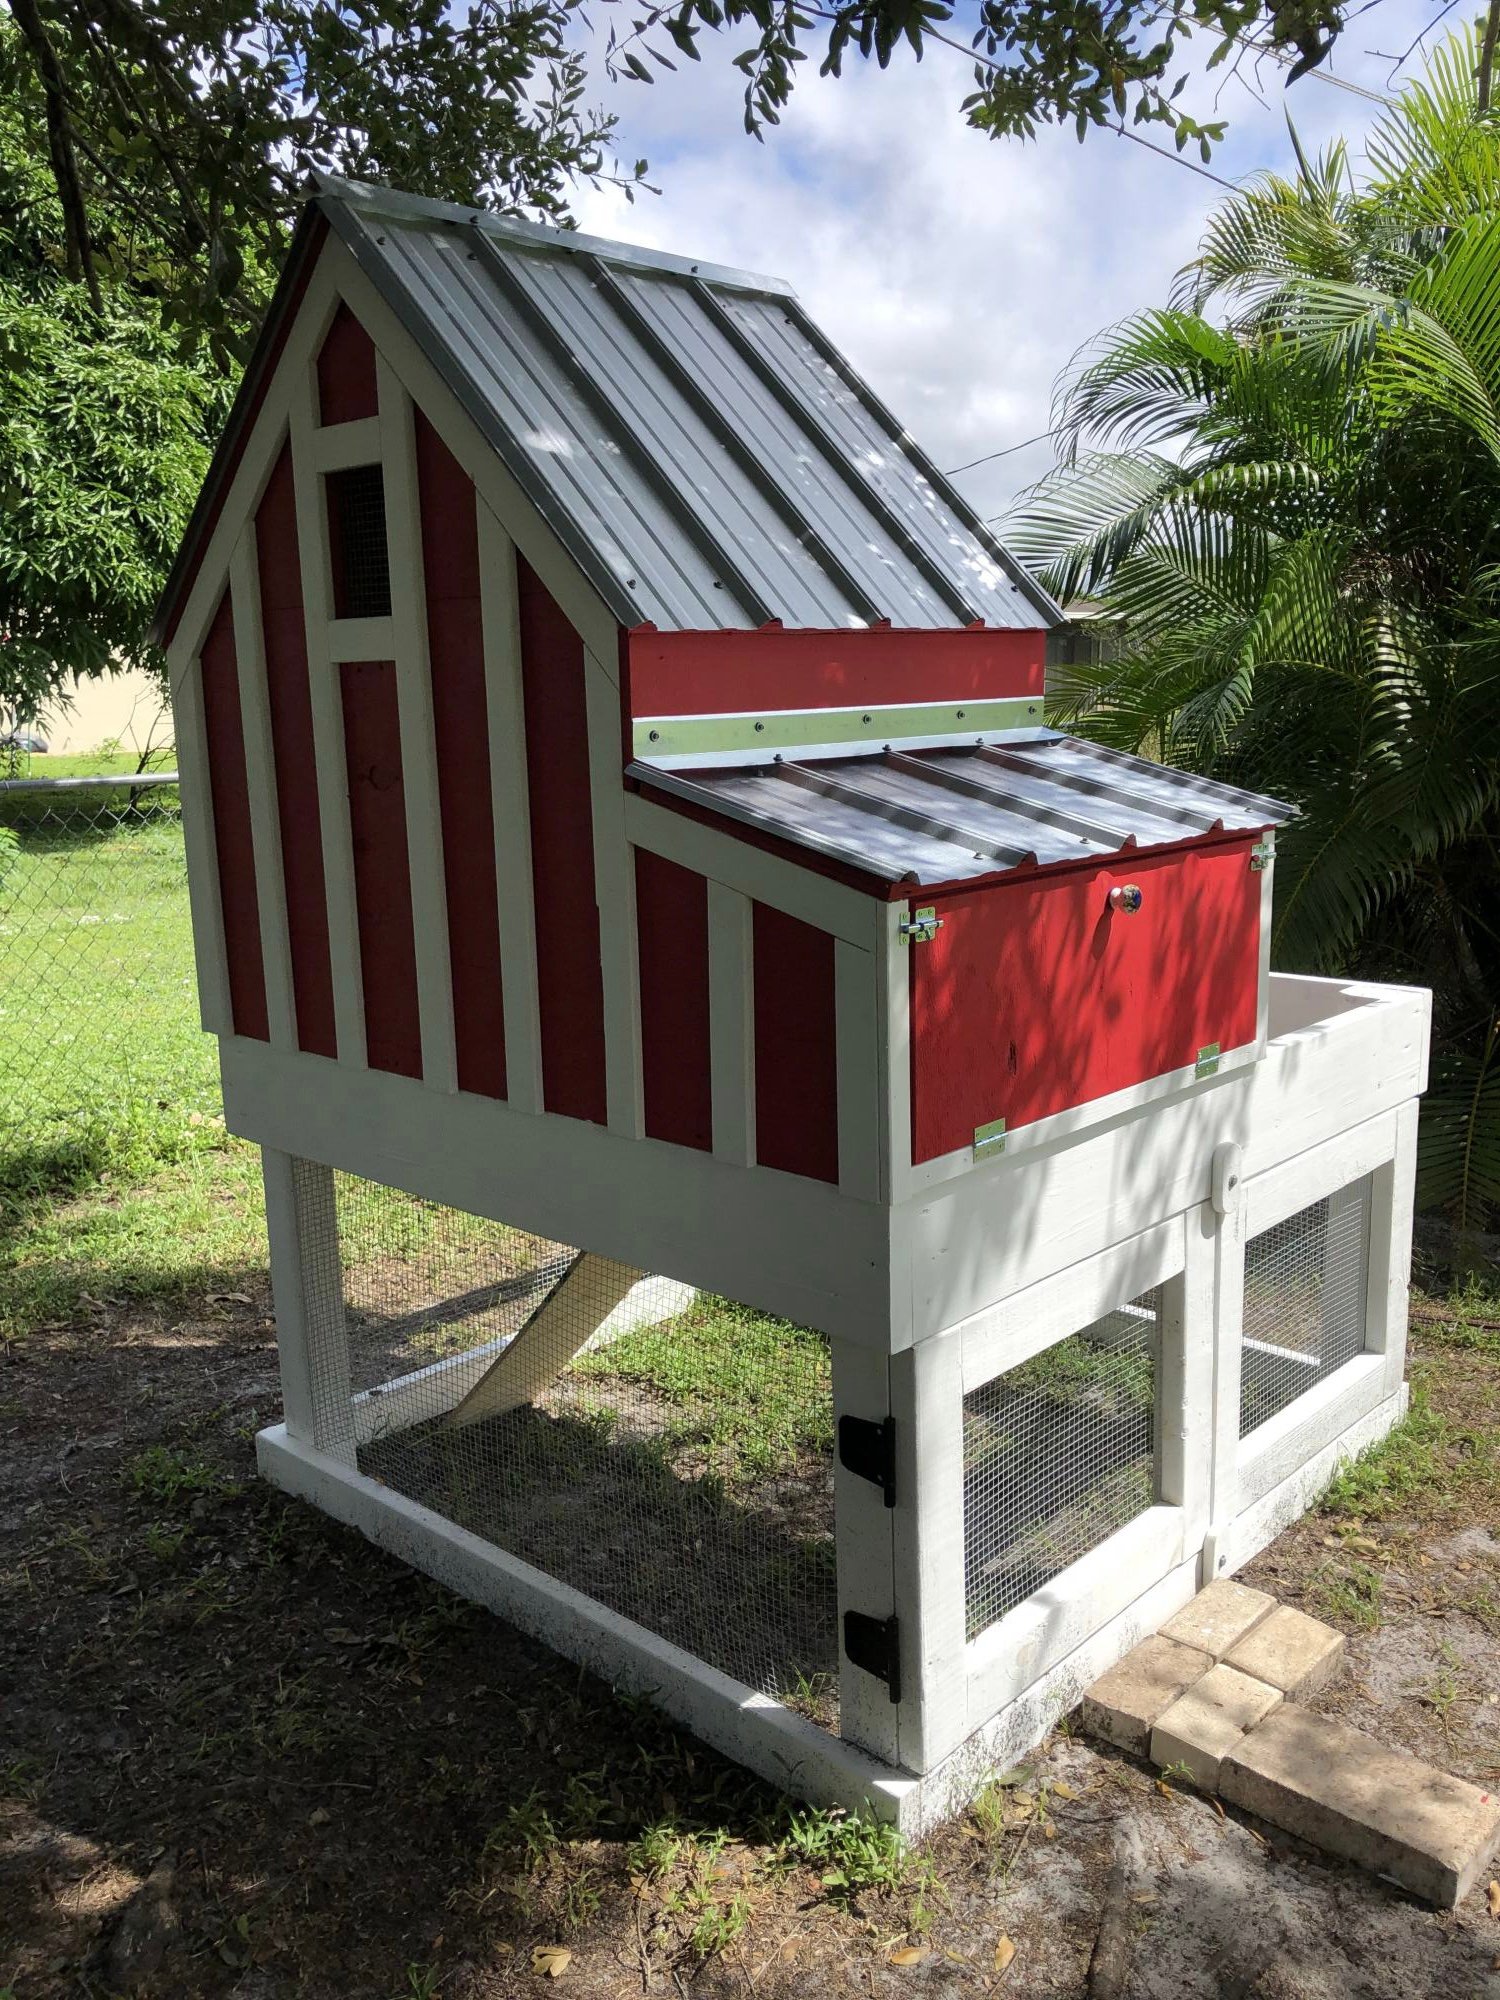
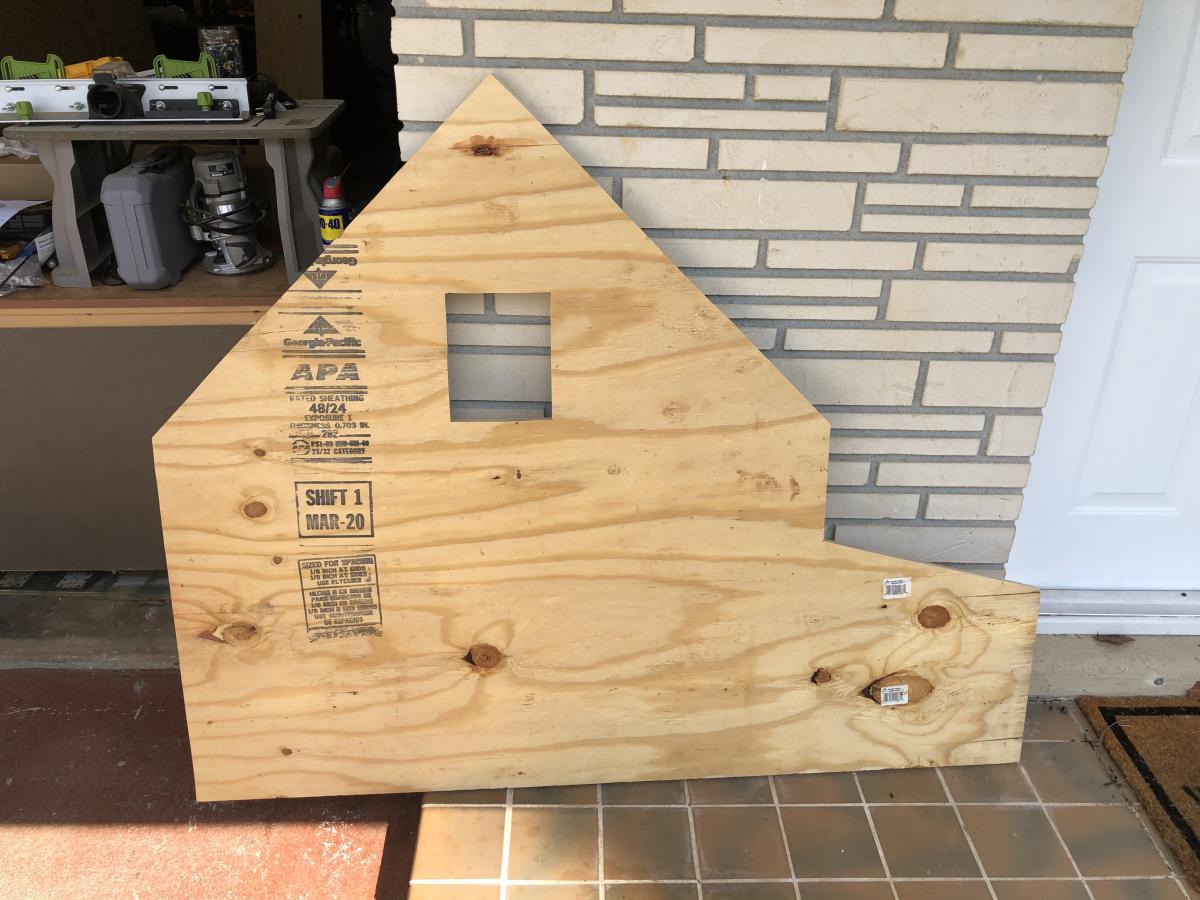
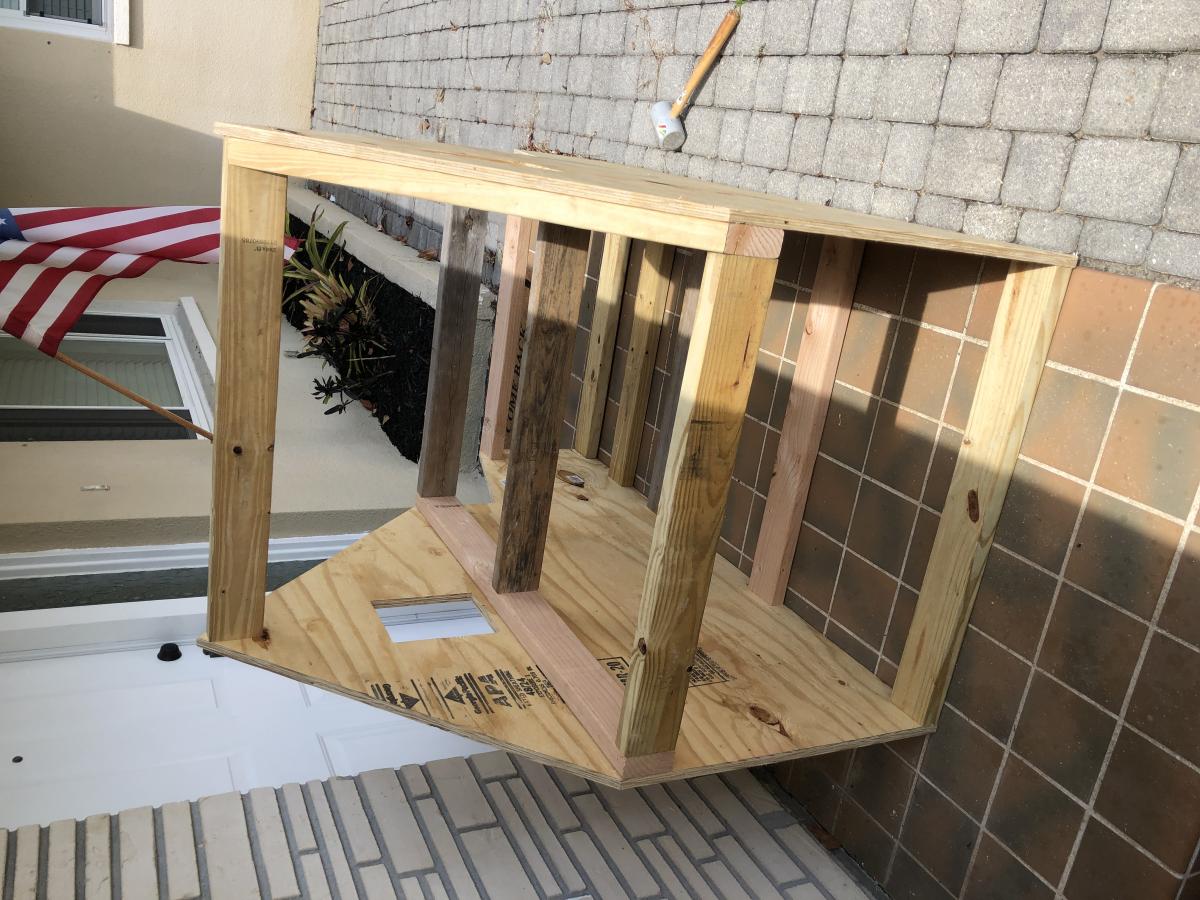
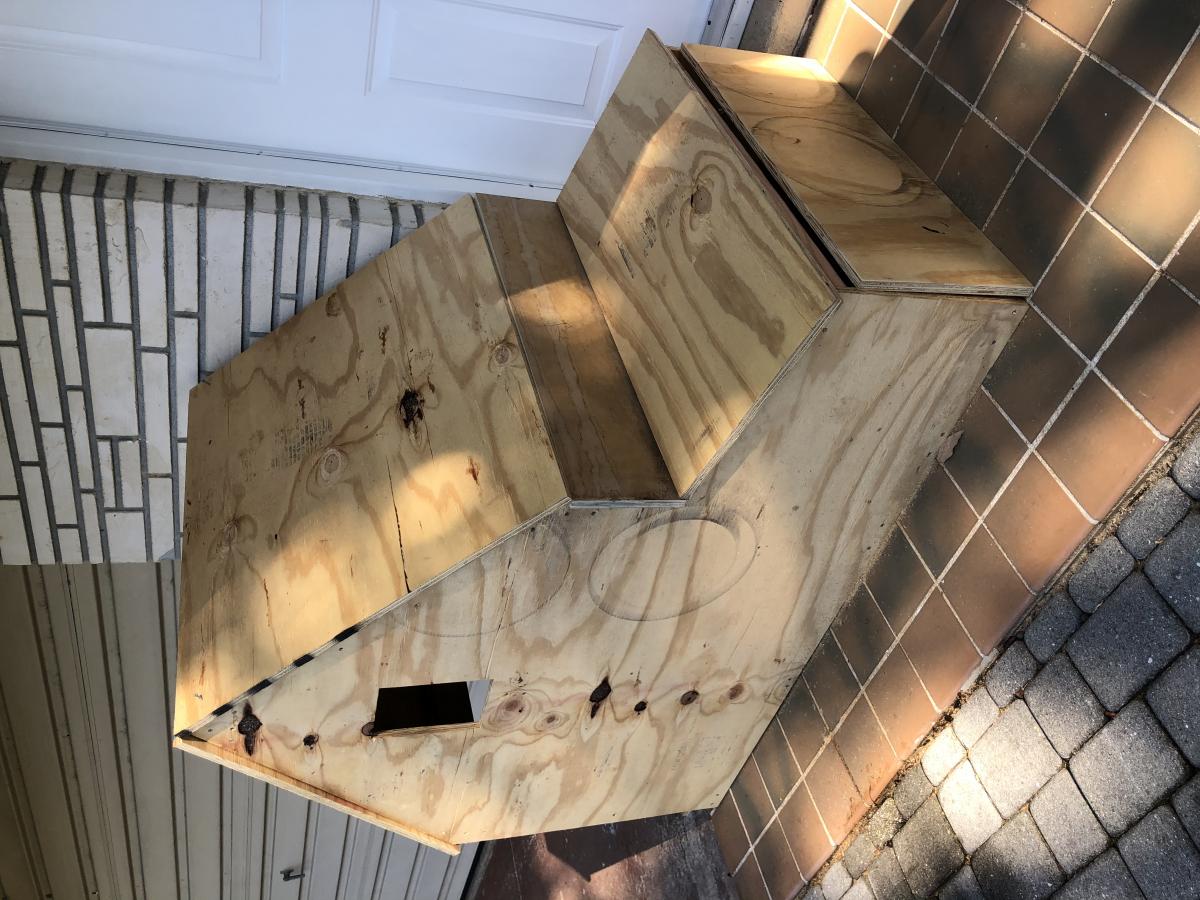
Stylish Chicken Coop

Submitted by Anonymous (not verified) on Wed, 11/11/2020 - 15:52

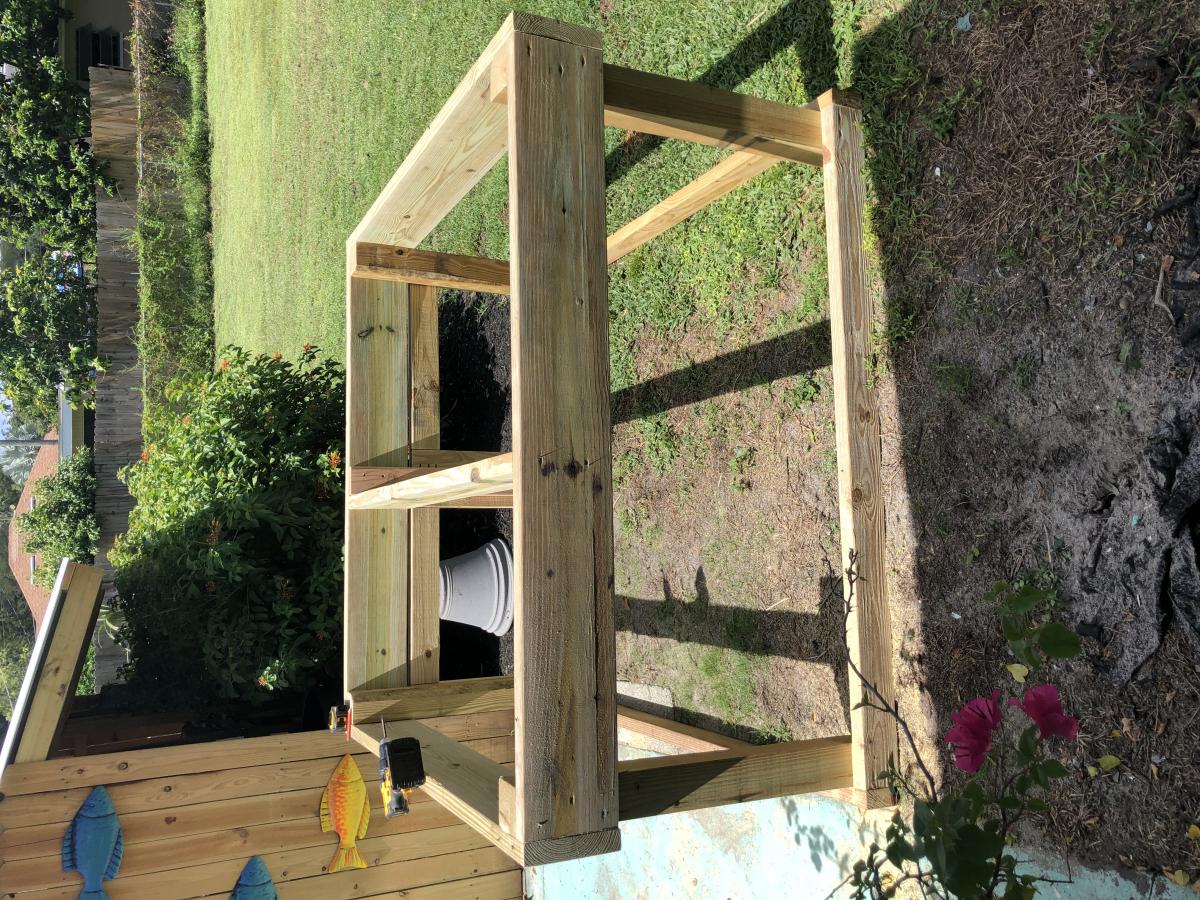
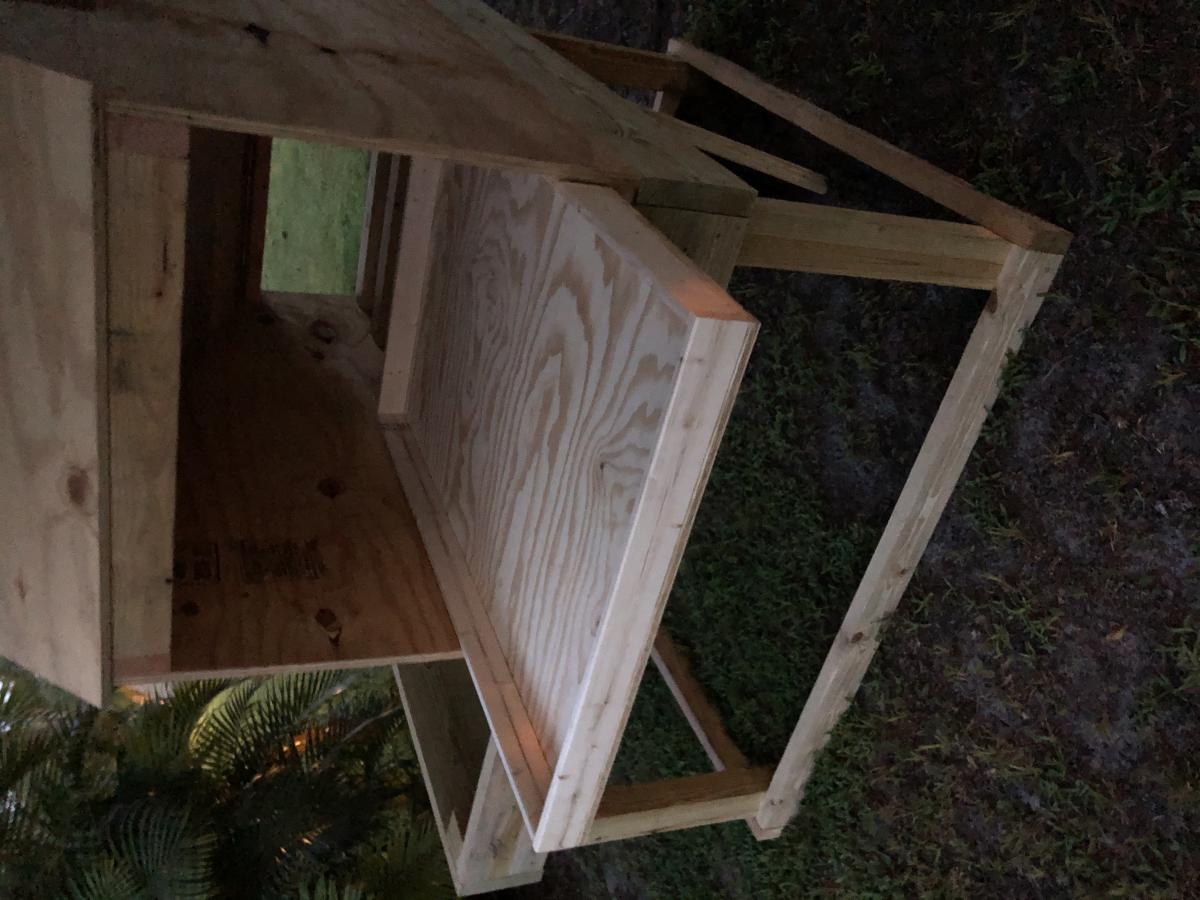
Housing three (3) hens now that are about a month old. Probably late January before can expect any eggs.

Great project. Metal roof worked well. I used flashing for the ridge caps. Have allowed for as much ventilation as possible for this Southwest Florida heat.

Thanks Anna, for sharing this project.

Estimated Time Investment
Week Long Project (20 Hours or More)
Finish Used
Sherwin-Williams outdoor barn red and white.
Recommended Skill Level
Intermediate

Gallery Ledges

Submitted by Mhillis on Sat, 01/12/2013 - 10:10

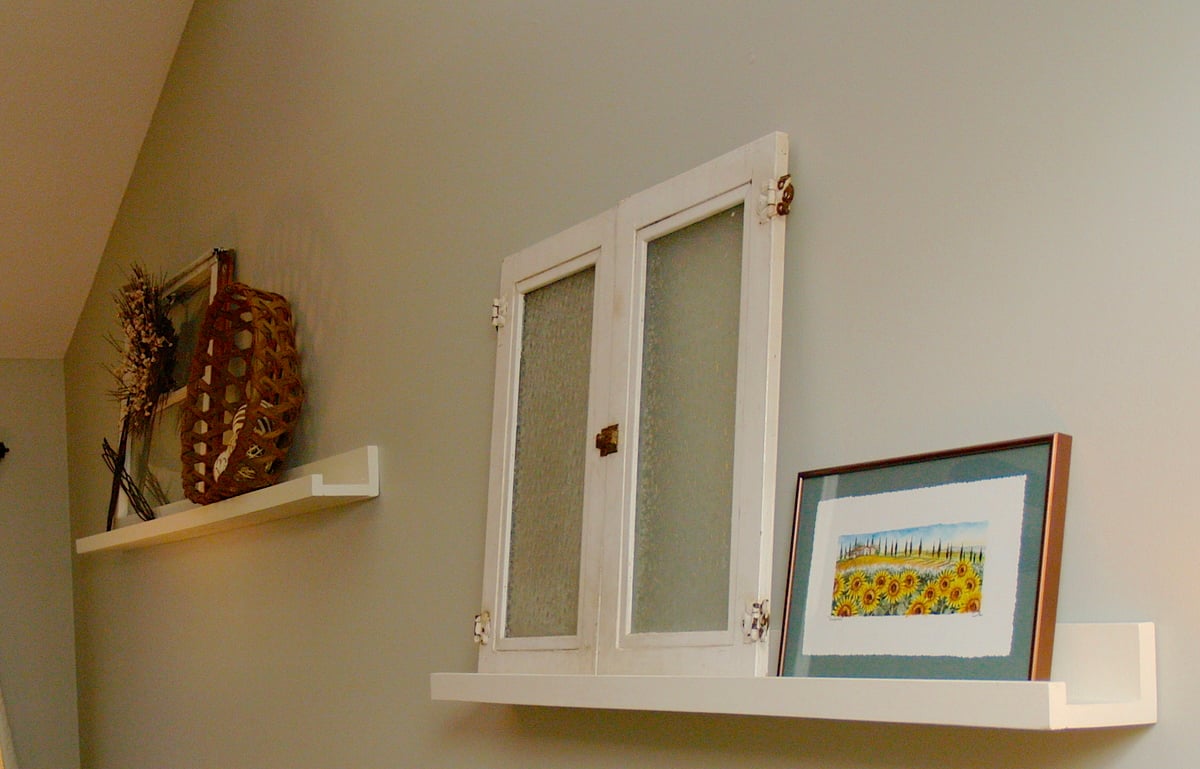
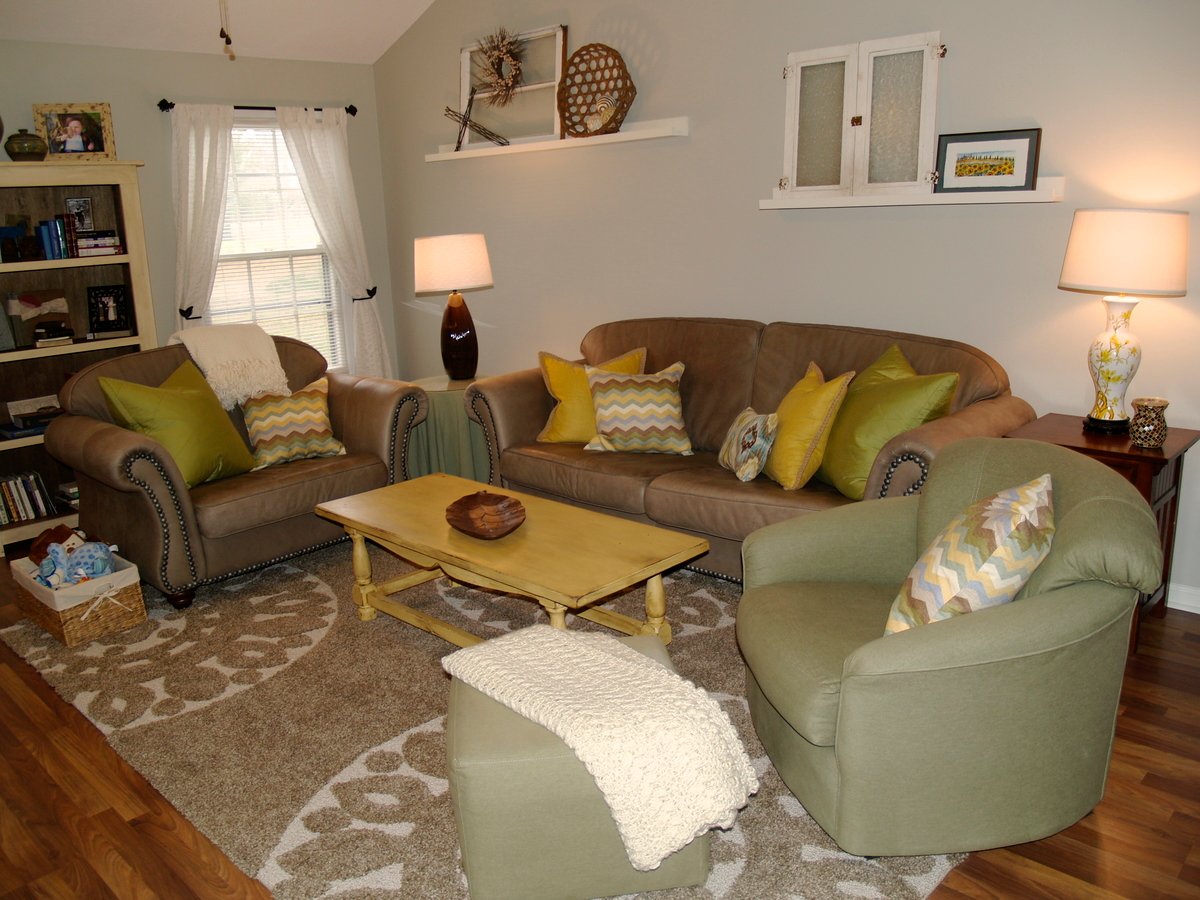
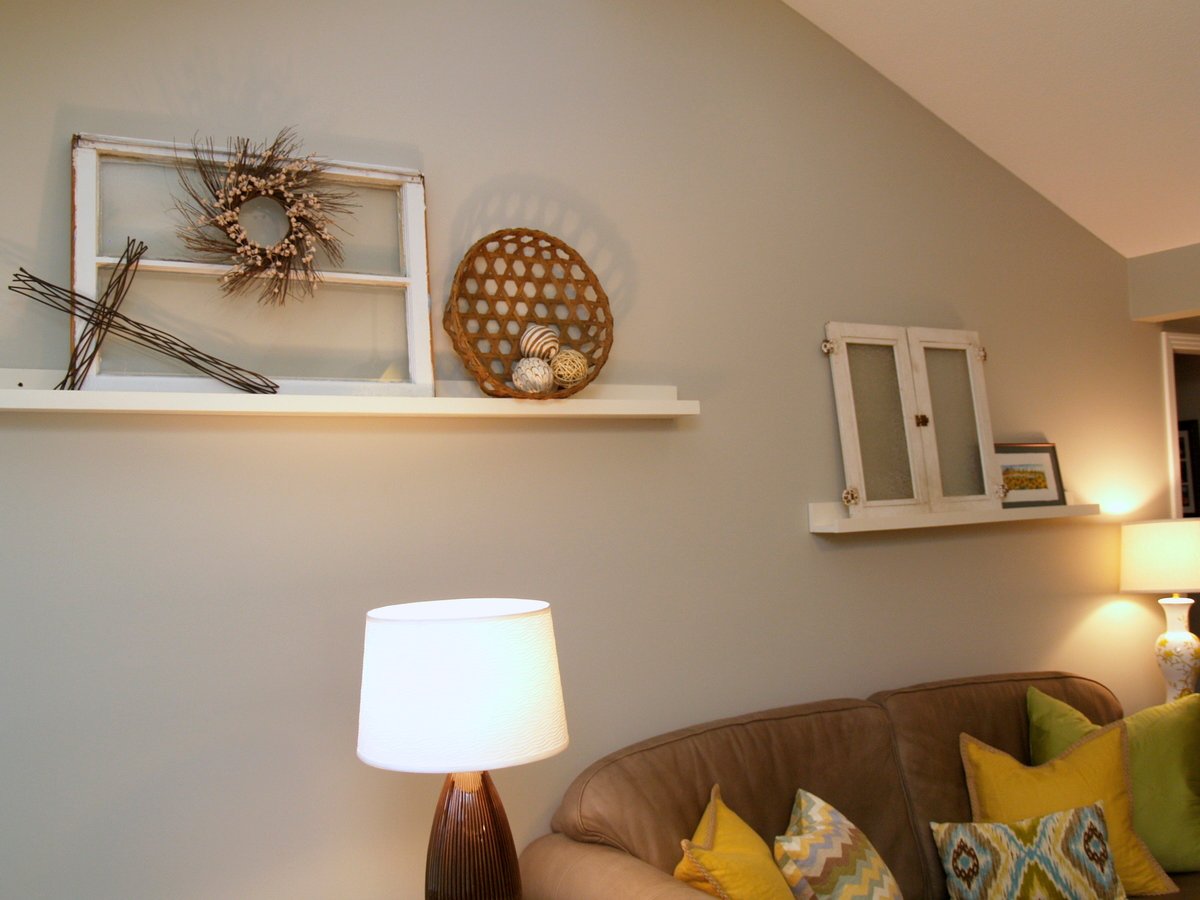
Our living room is long with a vaulted ceiling. I wanted to find a way to break up the length of the room visually, and Ana's ten dollar ledges were the perfect solution. They also had a great price tag!

I changed the the plan just a tad to break up our wall space, creating two ledges - one 6' and one 4' long - instead of one that is 10' long.

The only other variation we made to the plan was adding kreg pocket hole plugs (http://www.kregtool.com/solid-wood-pockethole-plugs-prodview.html) since we hung our shelves high enough to see where screws were drilled in.

After shelves were assembled, I painted them using Lowe's Antique White in satin finish. This project was easy, fast, and very affordable! I love that we can change out the items on display either seasonally or whenever we want a fresh new look. These ledges would work in any room and even instead of a chair rail in a dining room... and the lip on the front makes them safe so that nothing will slide off!

Built from Plan(s)
Estimated Time Investment
Afternoon Project (3-6 Hours)
Finish Used
lowe's antique white paint, satin finish
Recommended Skill Level
Starter Project

Small Kitchen Island

Submitted by stacynabby on Sun, 11/09/2014 - 10:15

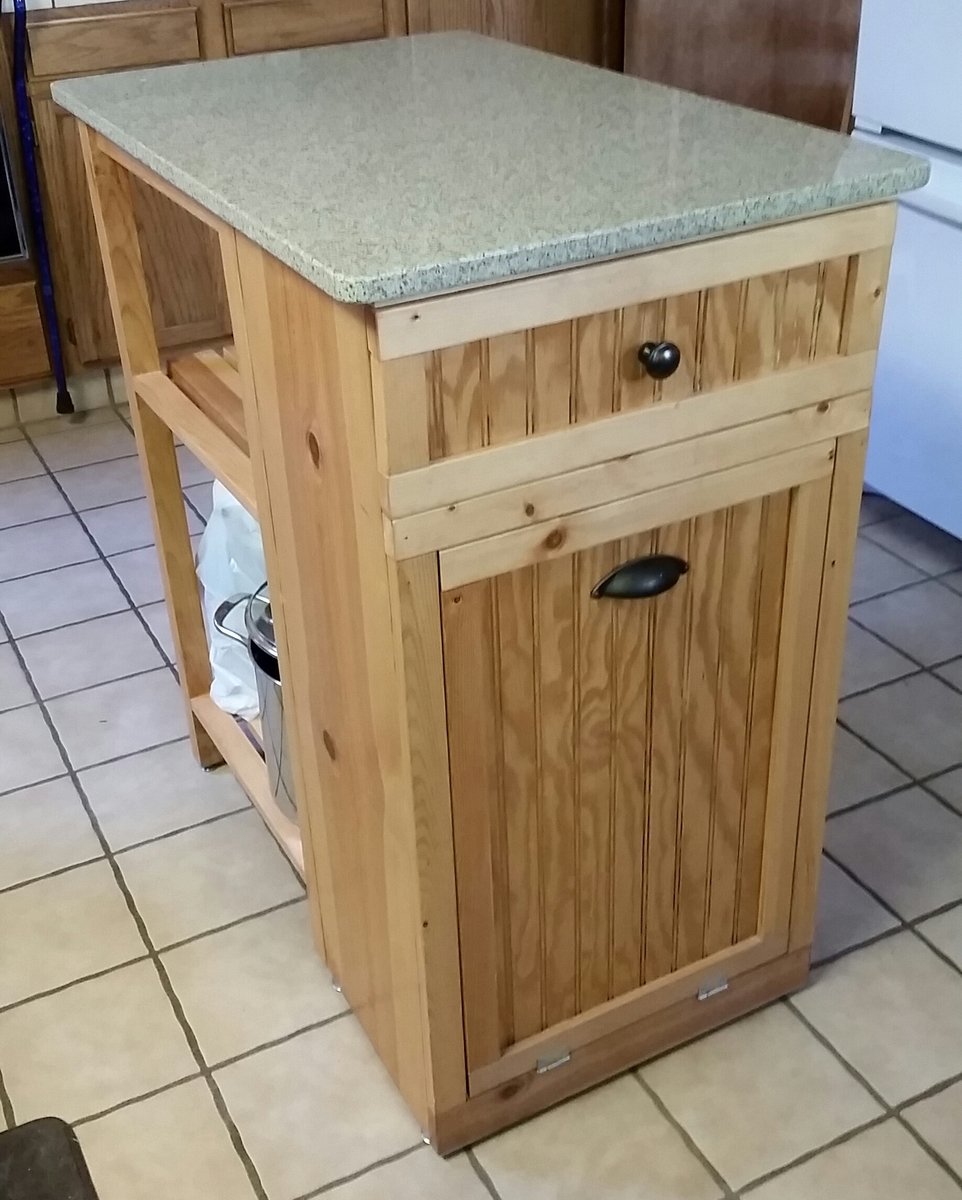
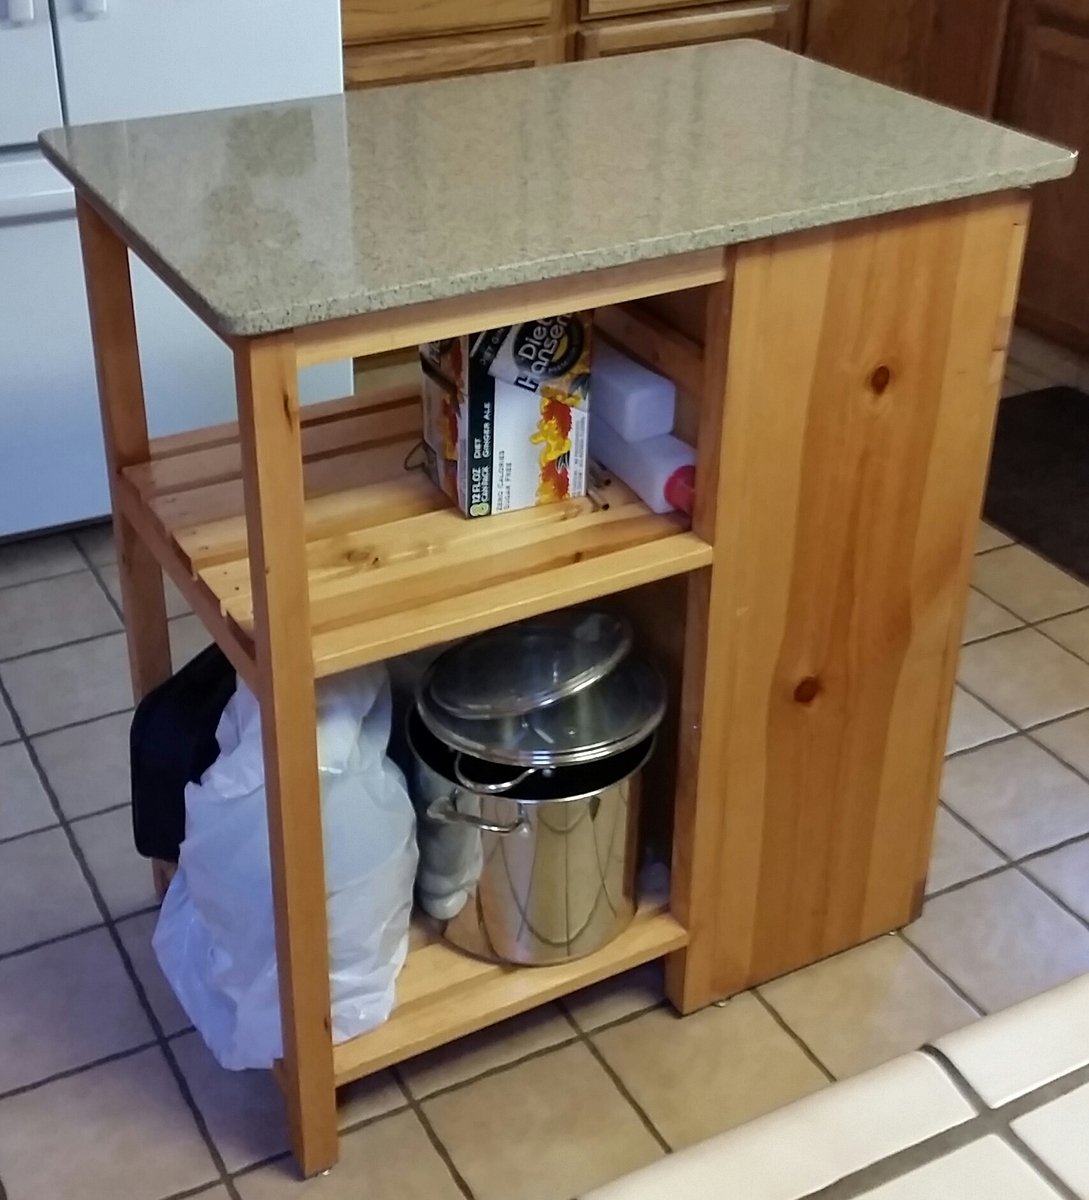
I built this for my mom to replace her small, rolling butcher block. I wanted to add in the tilt out trash cabinet, so I built off the back of it to give her some storage and a bigger work surface. I had a local countertop business custom fabricate the top out of a piece of scrap quartz (that was the spendy part of the project).

Estimated Cost
$40 for the wood and $480 for the quartz top
Estimated Time Investment
Day Project (6-9 Hours)
Finish Used
Minwax Polyshades natural
Recommended Skill Level
Intermediate

Comments

Farm Table & Re-Purposed Chairs

Submitted by khudson on Wed, 02/15/2017 - 11:22

Following Ana White's Plan for a Farm Table, we were able to build our own and it turned out perfectly! We also re-purposed chairs to complete the look!

Built from Plan(s)
Estimated Cost
$300
Estimated Time Investment
Day Project (6-9 Hours)
Finish Used
Kitchen Table
Recommended Skill Level
Beginner

Rustic X inspired coffee table

Submitted by williemac on Mon, 11/16/2020 - 19:54

I built my coffee table to fit my sectional sofa. My dimensions are 56x32x17 1/2. For the bottom shelf I used 2 rough cut 1x10s cut to fit and the top is rough cut 1x8s. The 2x4s are reclaimed from the trash pile of a local construction job.

Estimated Time Investment
Day Project (6-9 Hours)
Finish Used
Tung oil only on the top. We're repainting in the living room and will completely finish later to match.
Recommended Skill Level
Beginner

Dresser Wine Bar

Material: Re-purposed dresser from thrift store.
Finish: Rustoleum High gloss black paint finish with brushed nickel drawer pulls

This is a very manageable weekend project that does not require any power tools. For more photos of the transformation check out my blog.

Estimated Time Investment
Day Project (6-9 Hours)
Finish Used
Old dresser and Rustoleum High Glass Black
Recommended Skill Level
Starter Project

Master Closet Renovation

Our master closet in our home was HUGE- but pretty horrible design wise prior to this DIY.  1 light bulb fixture in a 12 foot deep closet, horrible wire shelving running the whole wall, and a pretty much horrible use of space.  As a surprise for my husband who was away for his job, I decided to create a dream closet for both of us!

I used Ana's master closet tower plans as a starting point and went from there.  I modified the towers to be wider (24" wide each) and also taller so that they would go completely to the ceiling of the closet.  I also modified the plans to allow for drawers and a pull out laundry bin on both sides of the closet, as well as shoe and clothing storage above said drawers. 

For the project I used Home Depot cabinet grade plywood for the tower carcasses and then purebond 1/2 plywood for the drawer boxes, shelves, and drawer fronts. I purchased the Kreg Shelf Jig and Rip Cut guide for this project and both proved themselves invaluable until I get a table saw (HINT HINT Hubby).  

For the trim I used 1 x 2 furring strips and 1 x 4 lumber for the decorative cut outs above the 4 tower units.  I also used cove moulding to tie in all the sections of the closet with one another.

I painted the main towers white (as well as the wall to encourage the appearance of "built in) and then stained the shoe and clothing shelves dark walnut with a few coats of satin POLY to finish. 

For the back wall I purchased target contact wallpaper and installed that- as well as a wall mirror so I don't have to balance dangerously on my bathroom tub to see if my shoes match my outfit anymore.

All in all, the project took about 3 weeks to finish.  I was lucky that my mother was around the first few days of the project so that I could do the demo work and at least get the one side of the closet framed in, as the rest of the project was completed during "nap time" for my (NOSY) toddler.  

In the end, we are both estatic with how this project turned out - I installed a valet bar and a pull out tie/belt rack for the husband and that add an even more "custom" touch to the closet...


I've posted many more photos to my blog detailing this closet reno- www.thesewchicmommy.com if you want to see a more "step by step" build. 


Project cost: $750-800 ( including paint, mirror, wall paper, all hardware, lumber etc) 

Time: 3-4 weeks 

Estimated Cost
$750- 800
Estimated Time Investment
Week Long Project (20 Hours or More)
Finish Used
Satin valspar paint, dark walnut stain with rustoleum satin POLY finish
Recommended Skill Level
Intermediate

Comments

JoanneS

Wed, 11/12/2014 - 14:53

Love your closet, you did a beautiful job!  Your blog link had some great pictures too.  All the neat touches like the laundry pull-outs, decorative trim at the top, and the pull-out tie rack are brilliant!

Stephanie Dexter

Fri, 11/14/2014 - 15:56

Thanks so much for your kind words... I'm in love with the closet and honestly would be perfectly happy sleeping in there now ha ha!  Thanks again for the inspiration- I could have never done it without your site Ana! 

Virtual learning desk

Submitted by Anonymous (not verified) on Sun, 11/22/2020 - 13:20

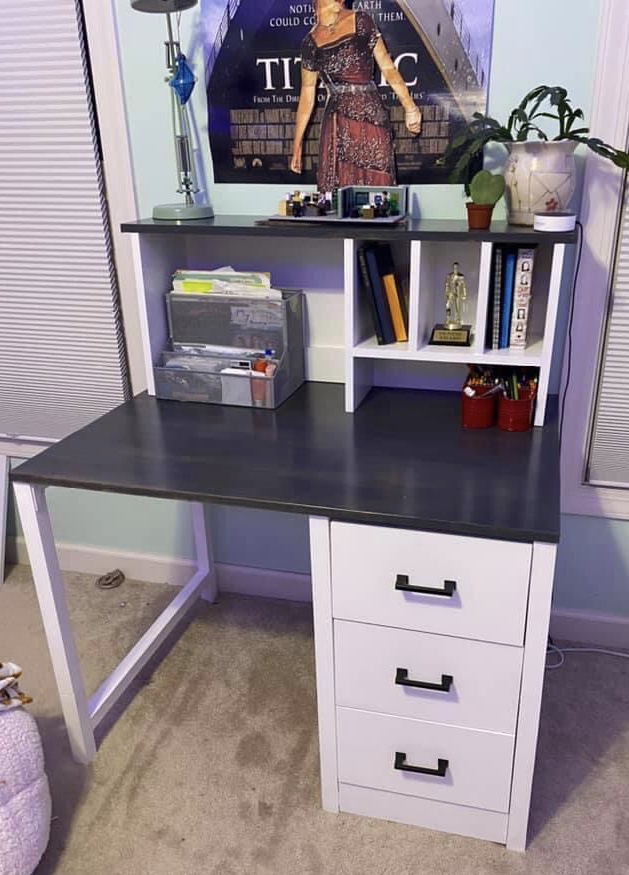
Modified from the hutch and desk plans. Made for a friend’s daughter who needed a larger desk to accommodate all of her virtual learning needs.
https://www.ana-white.com/woodworking-projects/desk-hutch-file-cubby-ba…
https://www.ana-white.com/woodworking-projects/desk-drawers-and-file-cu…

Finish Used
Varathane Smoke Gray stain
Ultra white semi-gloss
Recommended Skill Level
Intermediate

Comments

The Simple Bed (Full-Size)

Submitted by JReed on Mon, 01/21/2013 - 12:17

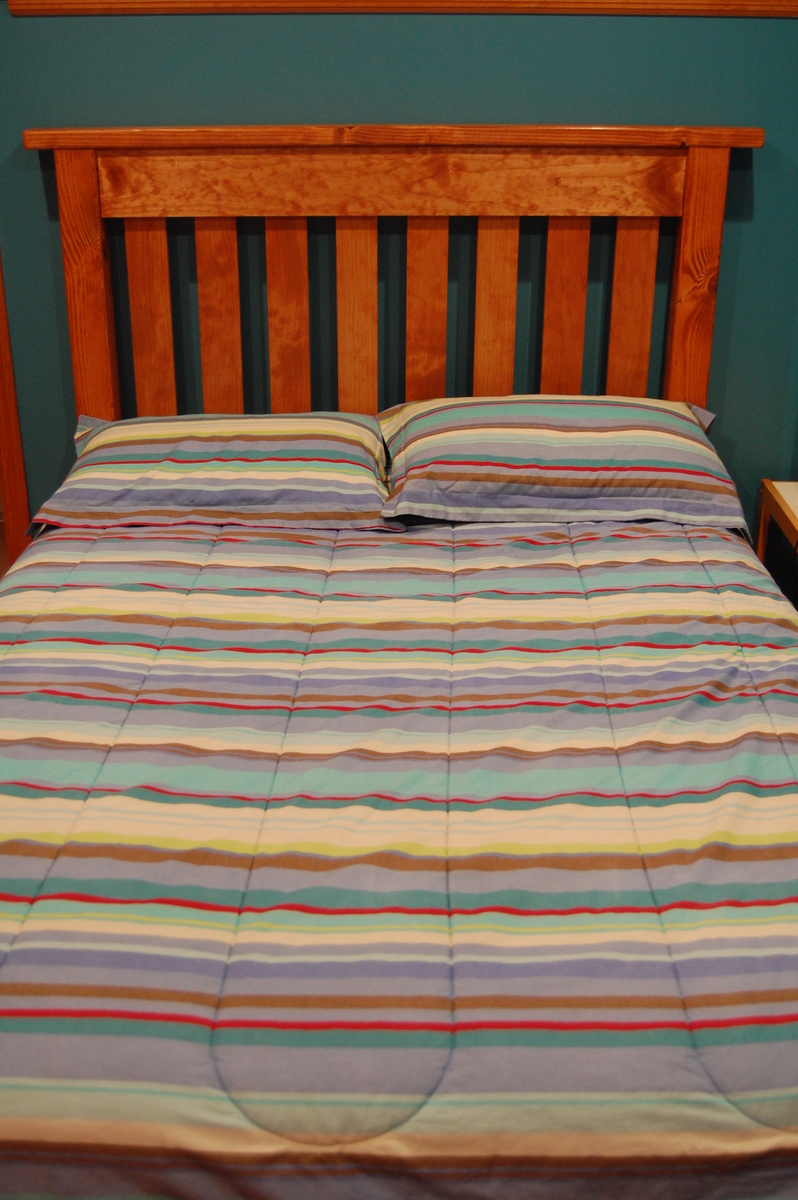
We had been looking for a headboard for our son for the longest time, but could never find anything we liked in the shade we needed in the stores. Fell in love with this bed, thought it was one of the more "boyish" styles that I've seen which was what I wanted for my son. Asked my husband if he thought he'd be able to build it, he said he'd try and voila! We, however, modified the plans a bit and only made a headboard, but overall, I love it!

Estimated Time Investment
Weekend Project (10-20 Hours)
Recommended Skill Level
Beginner