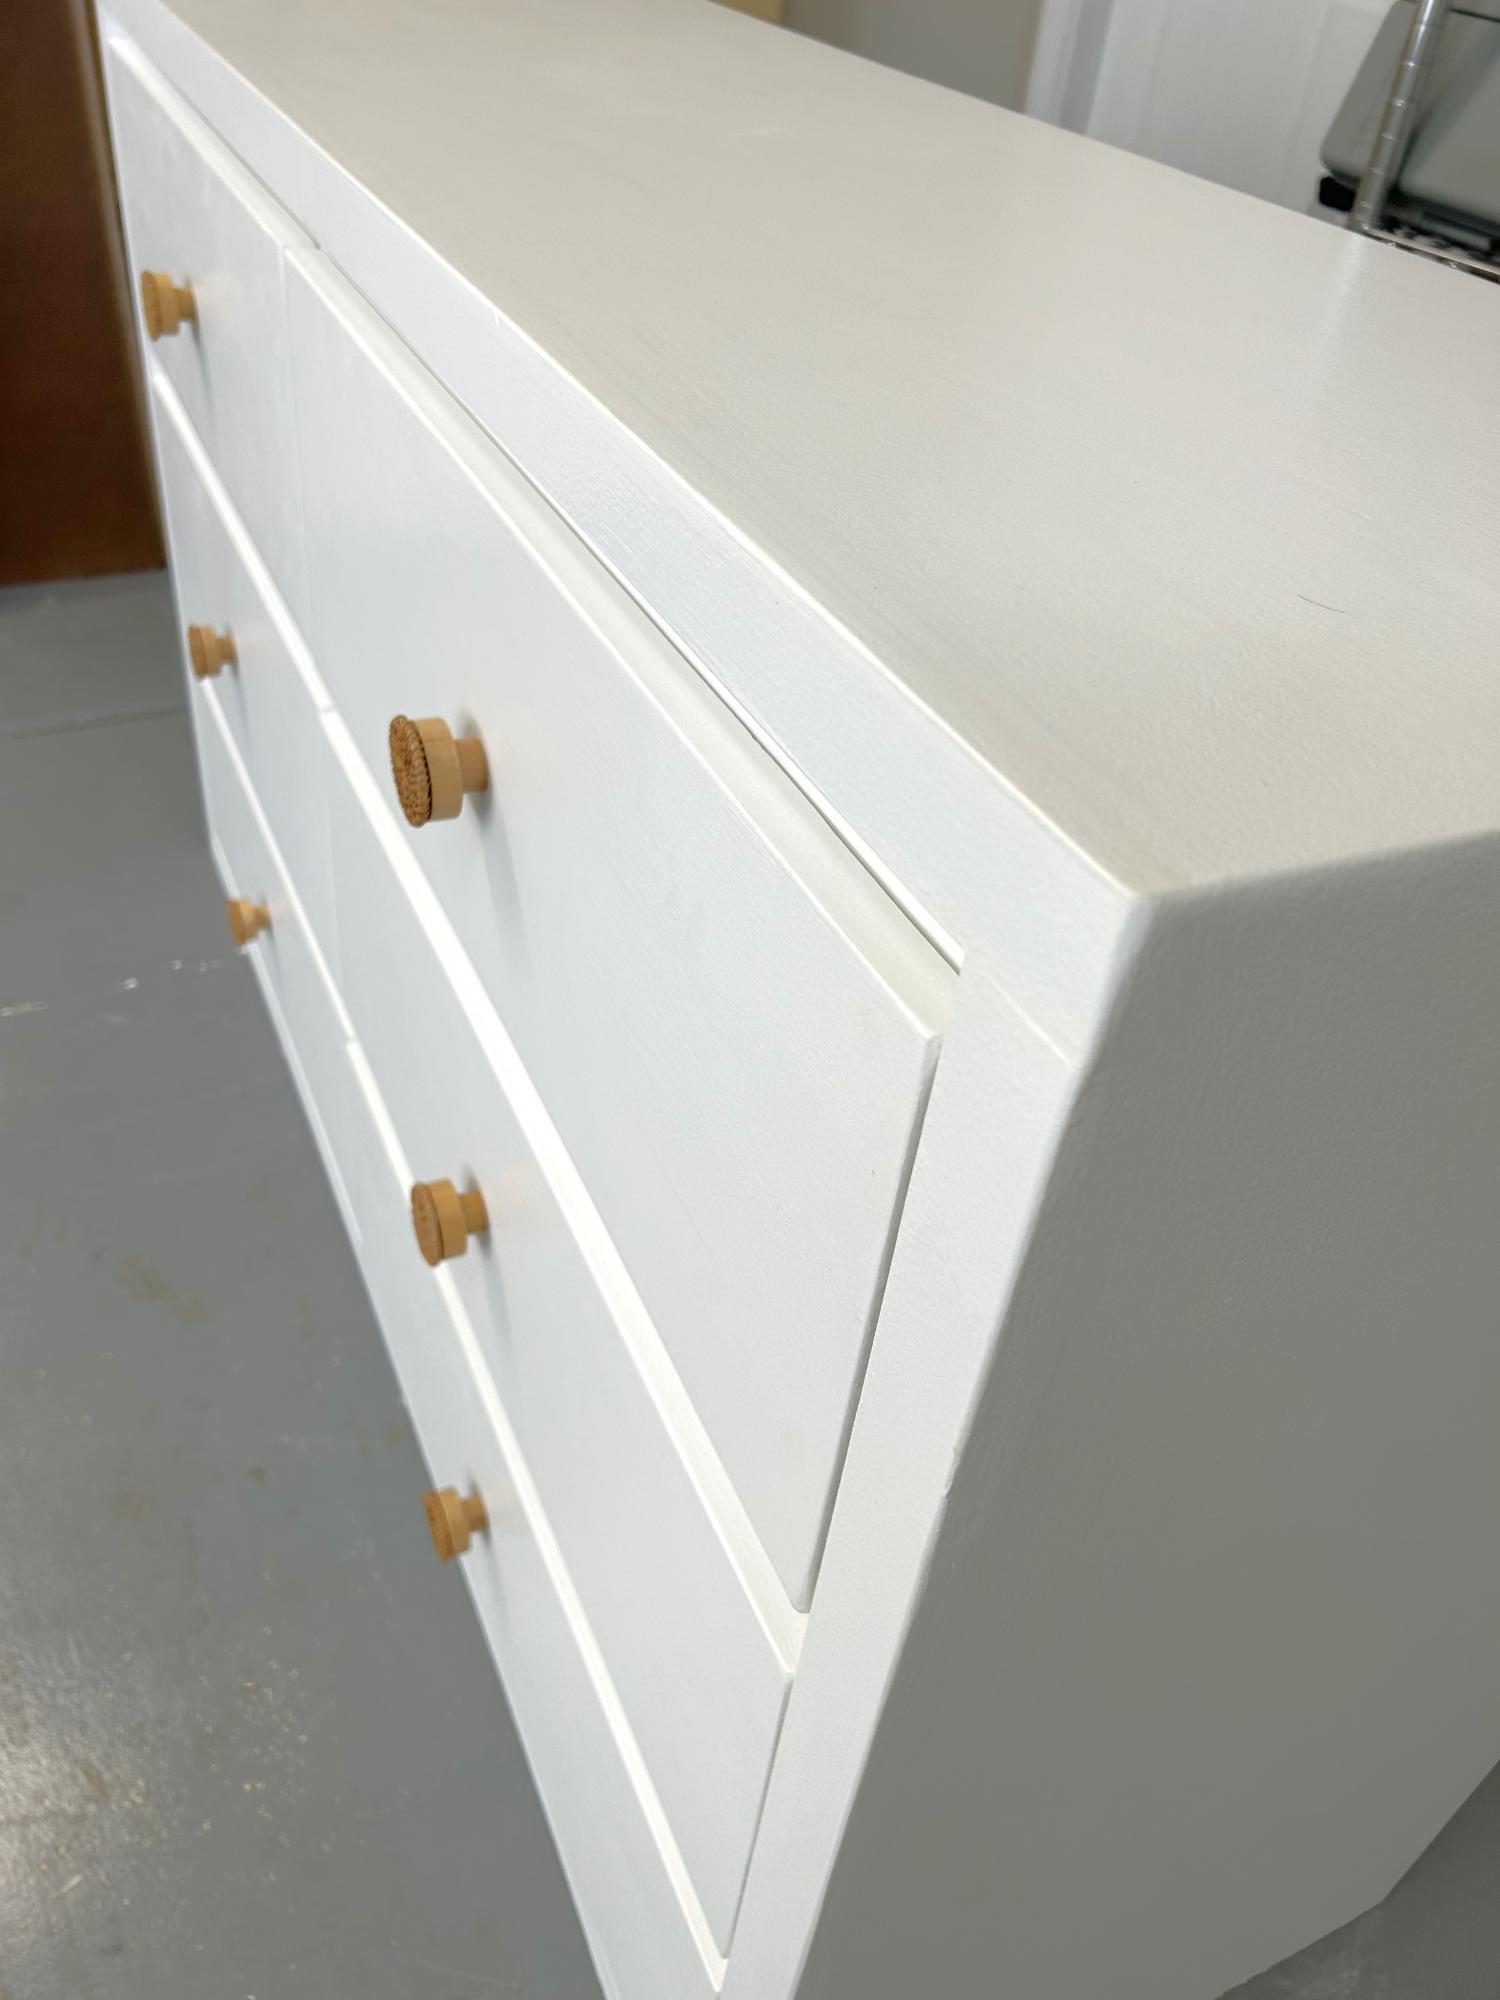
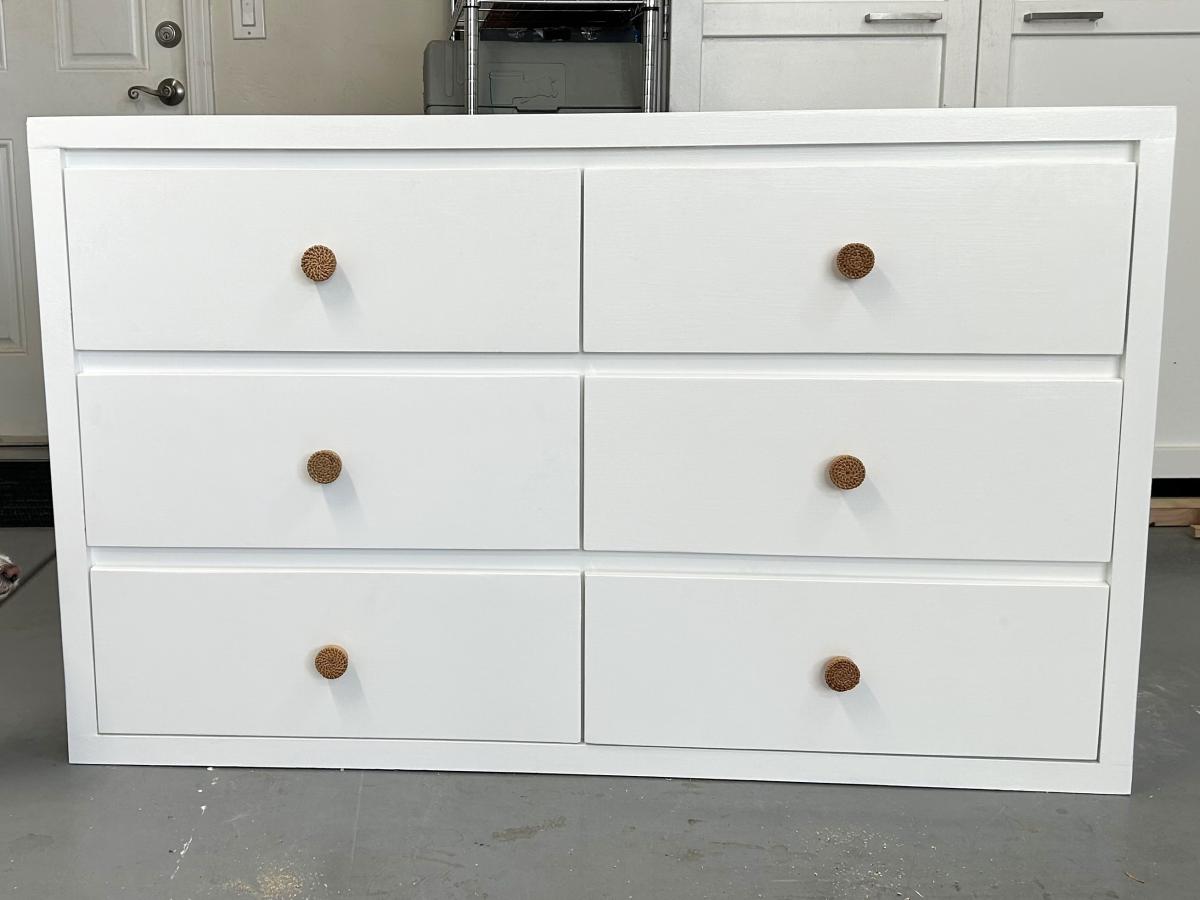
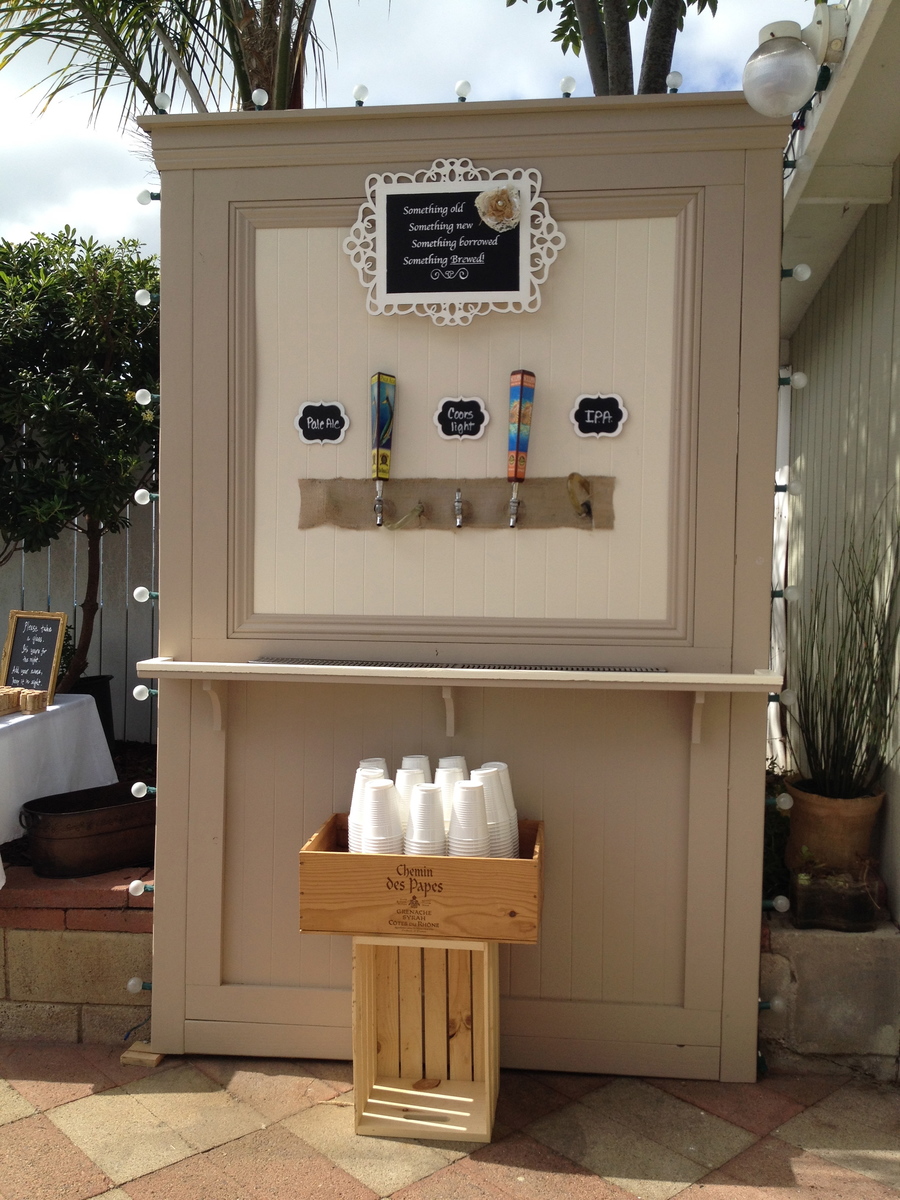
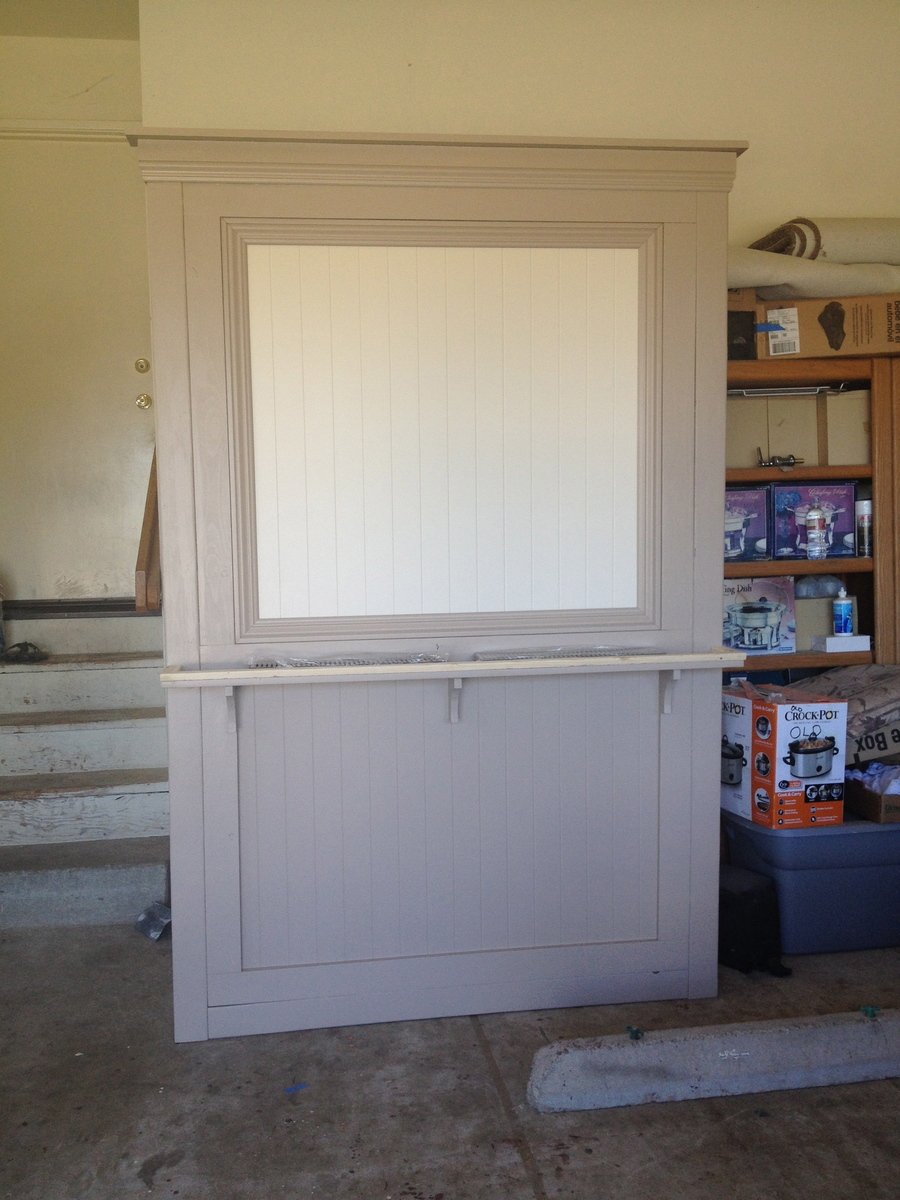
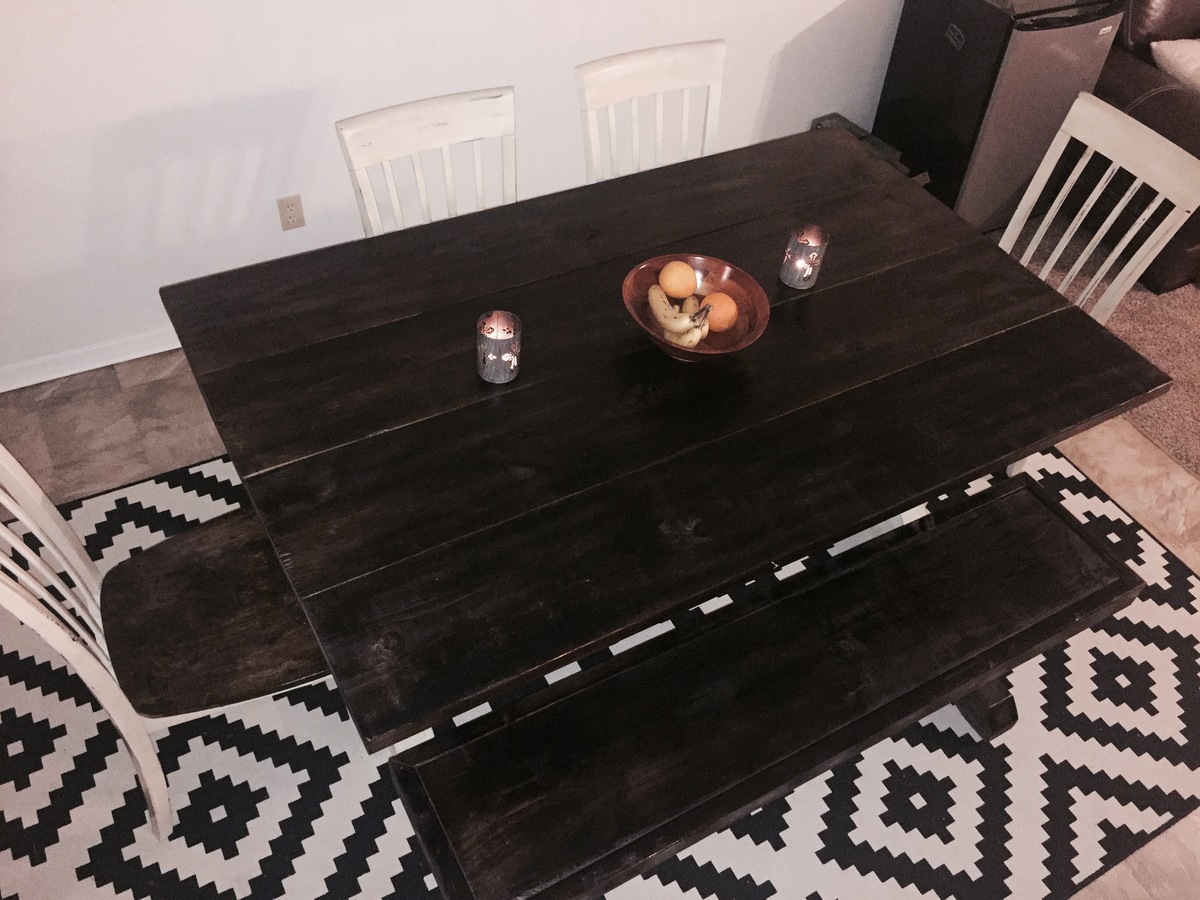
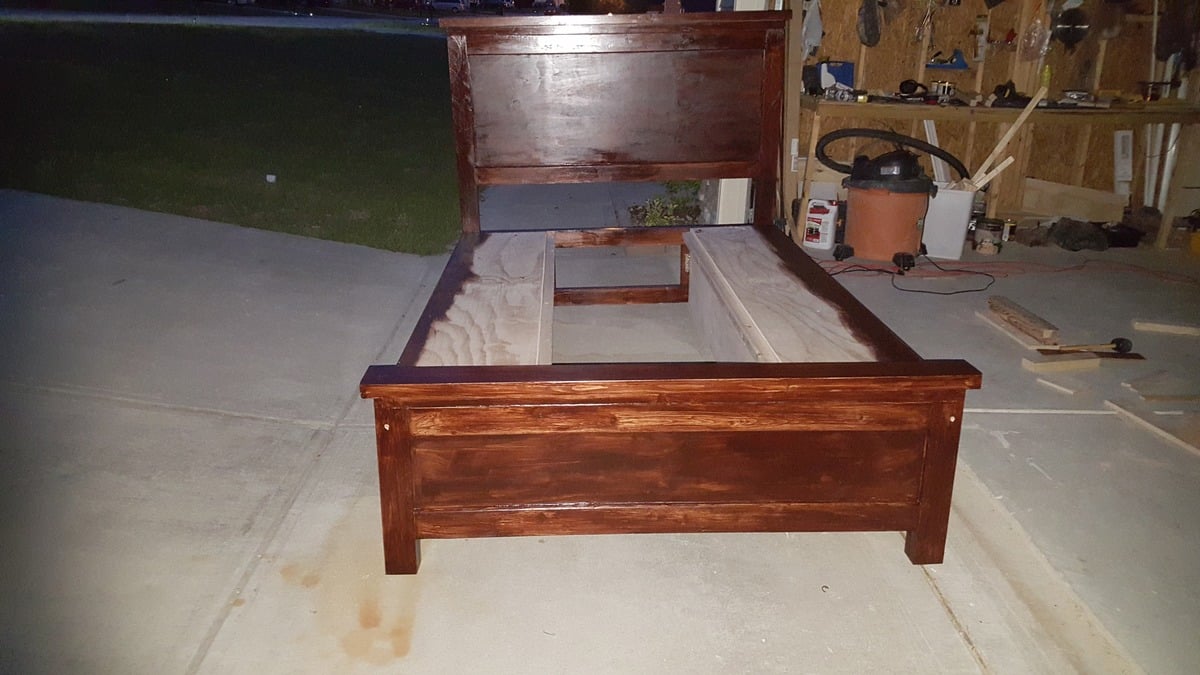
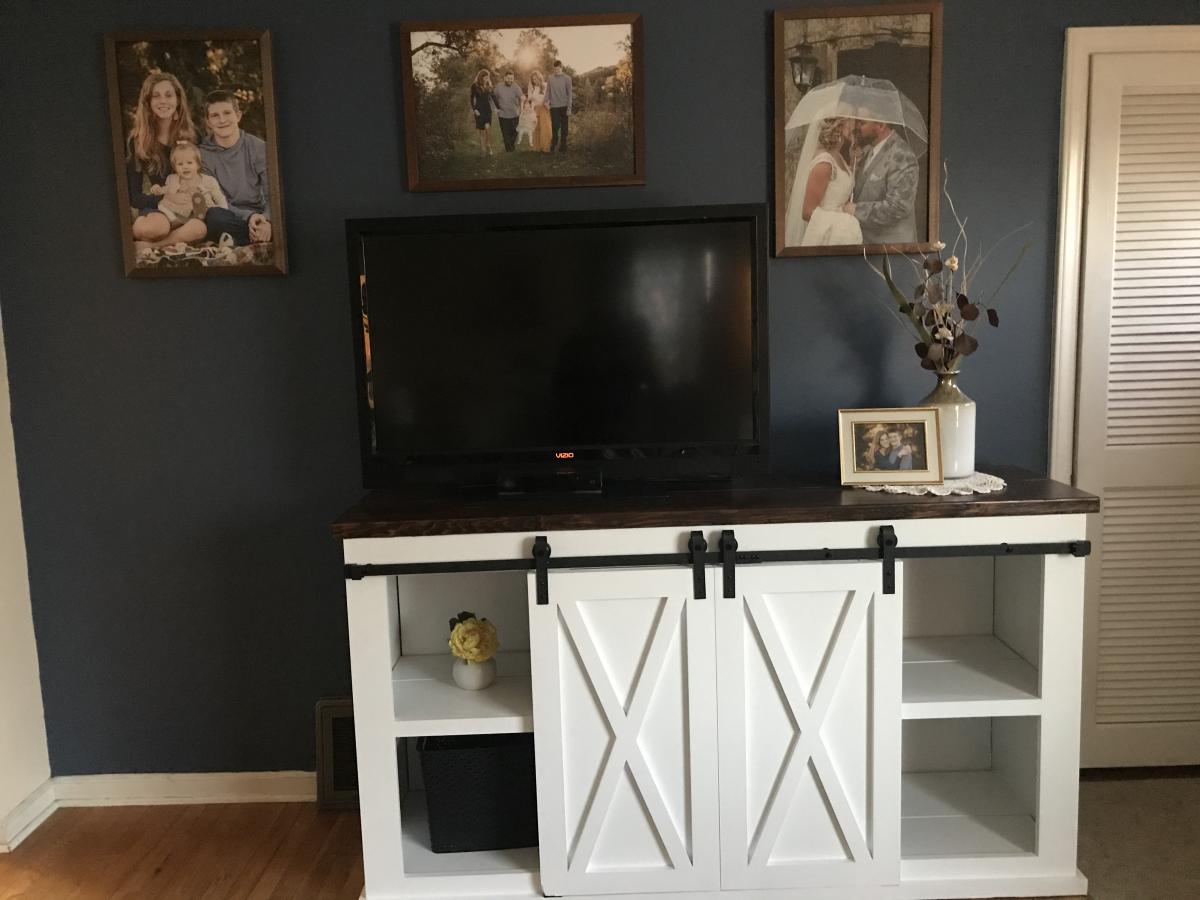
Grandy Barn Door Console
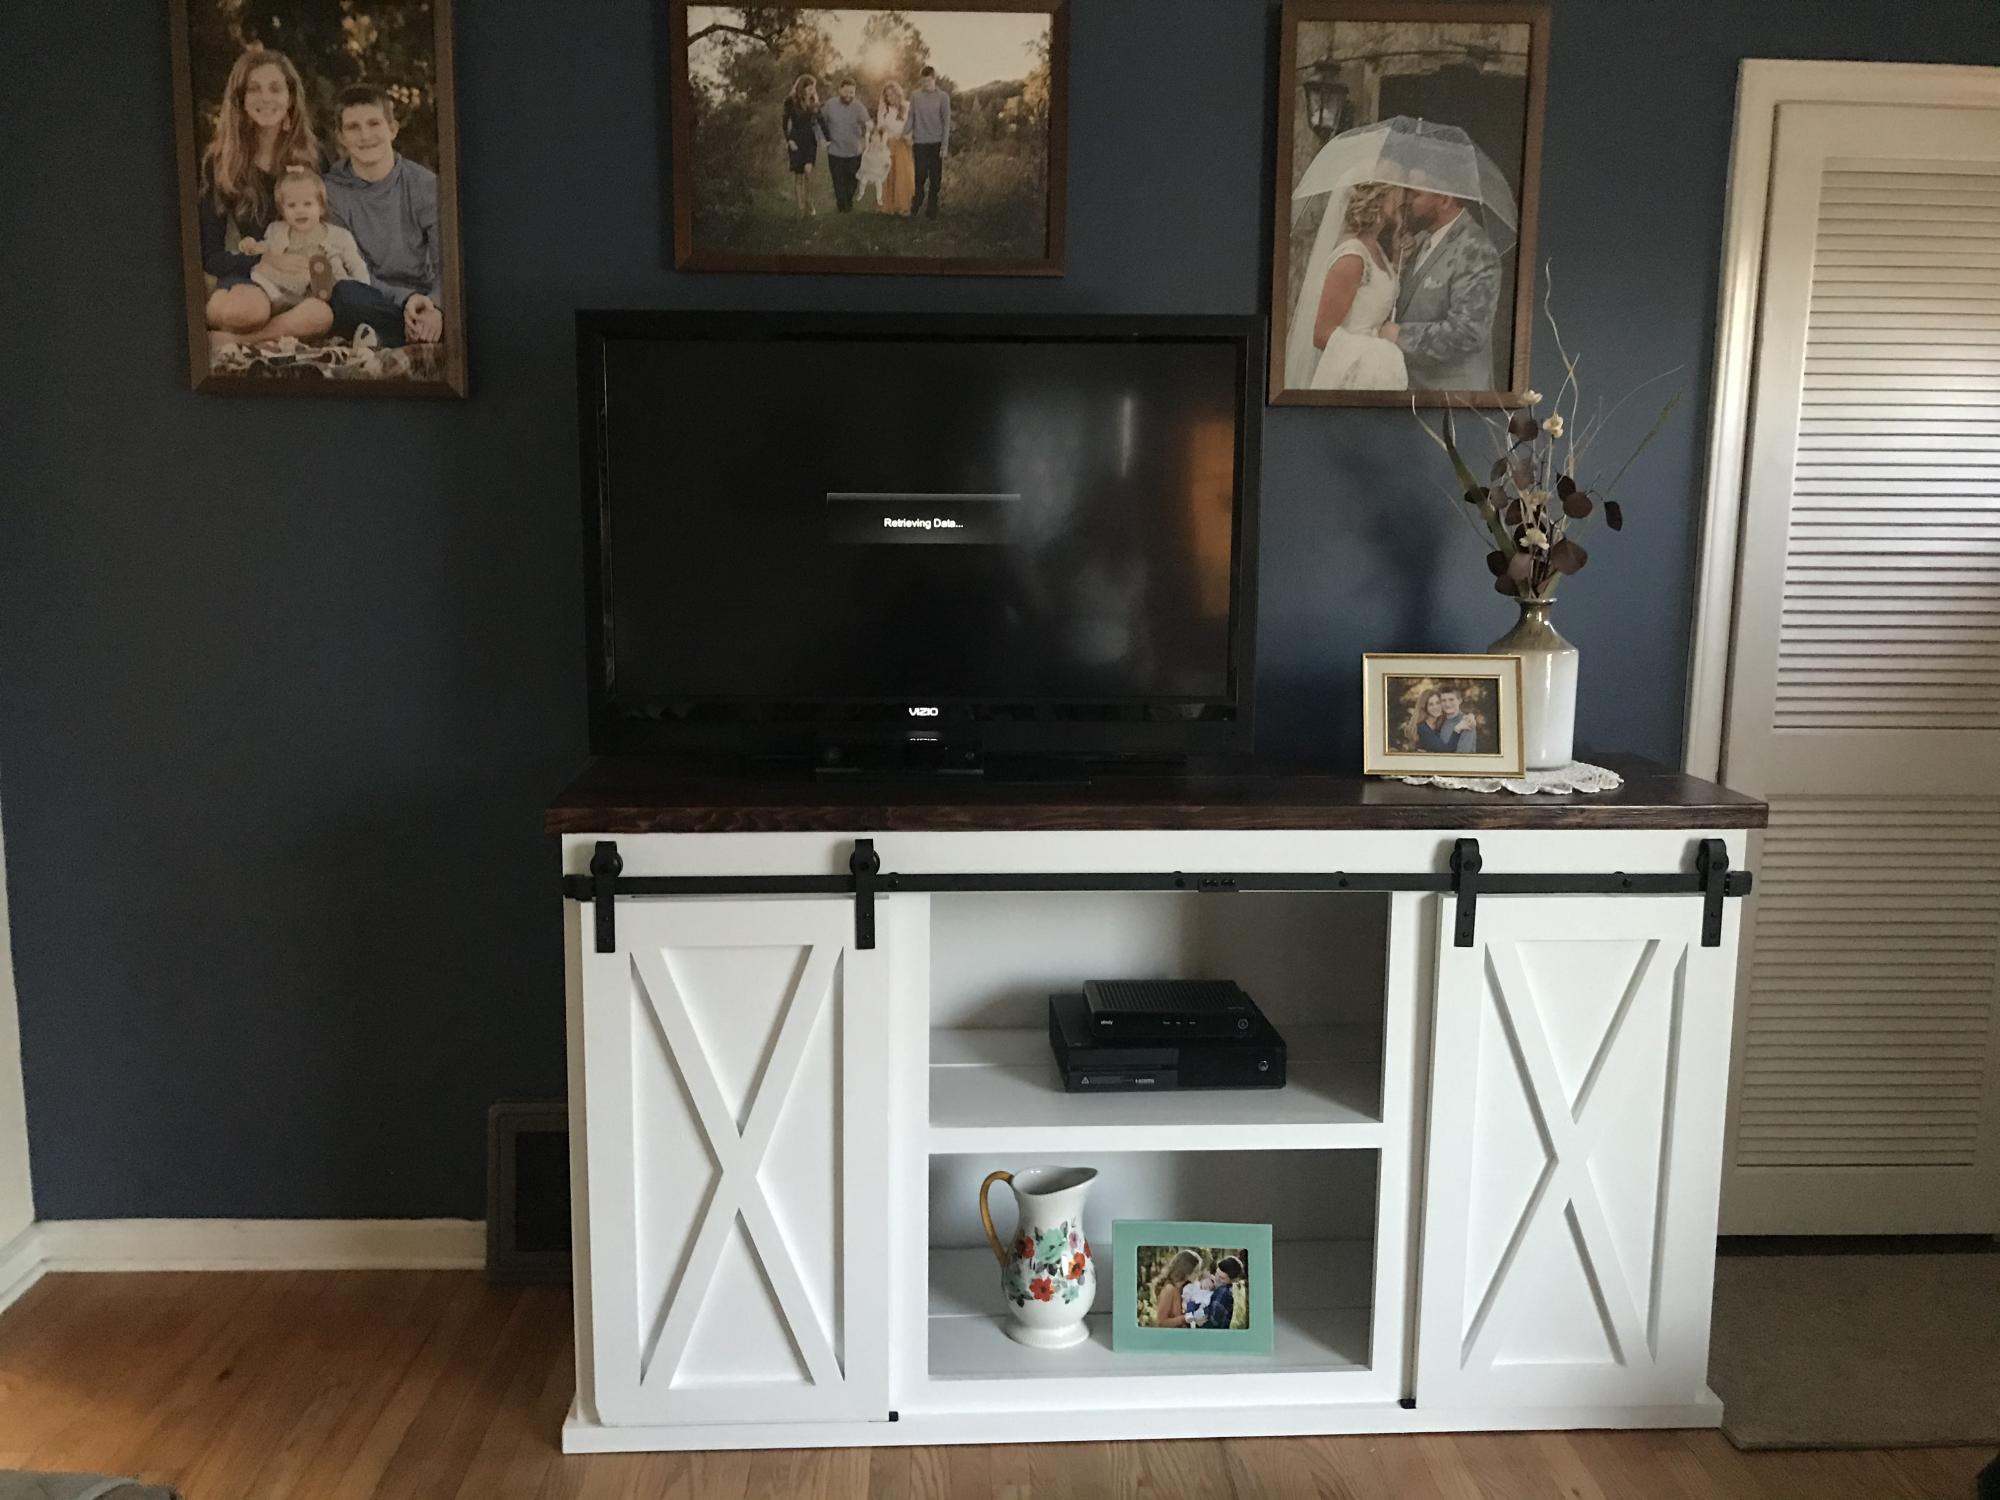
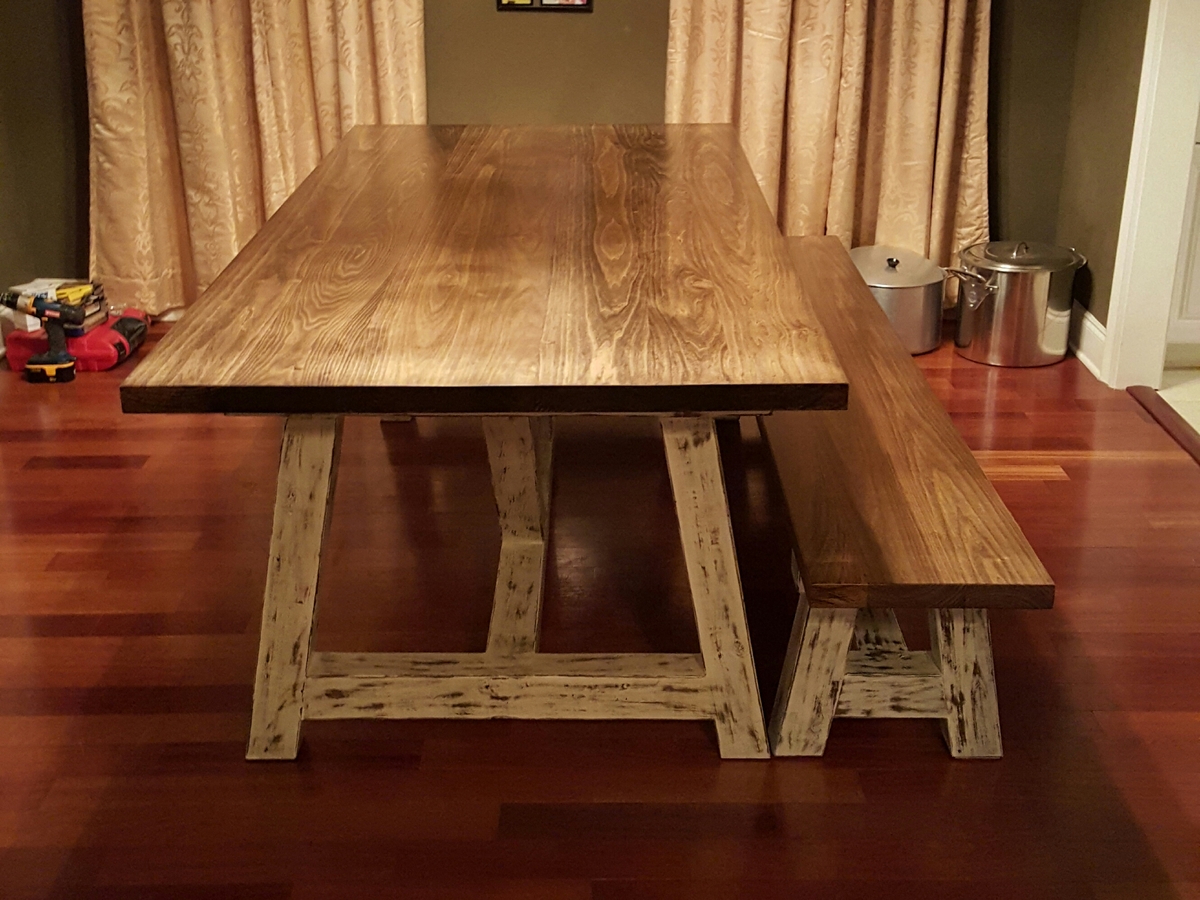
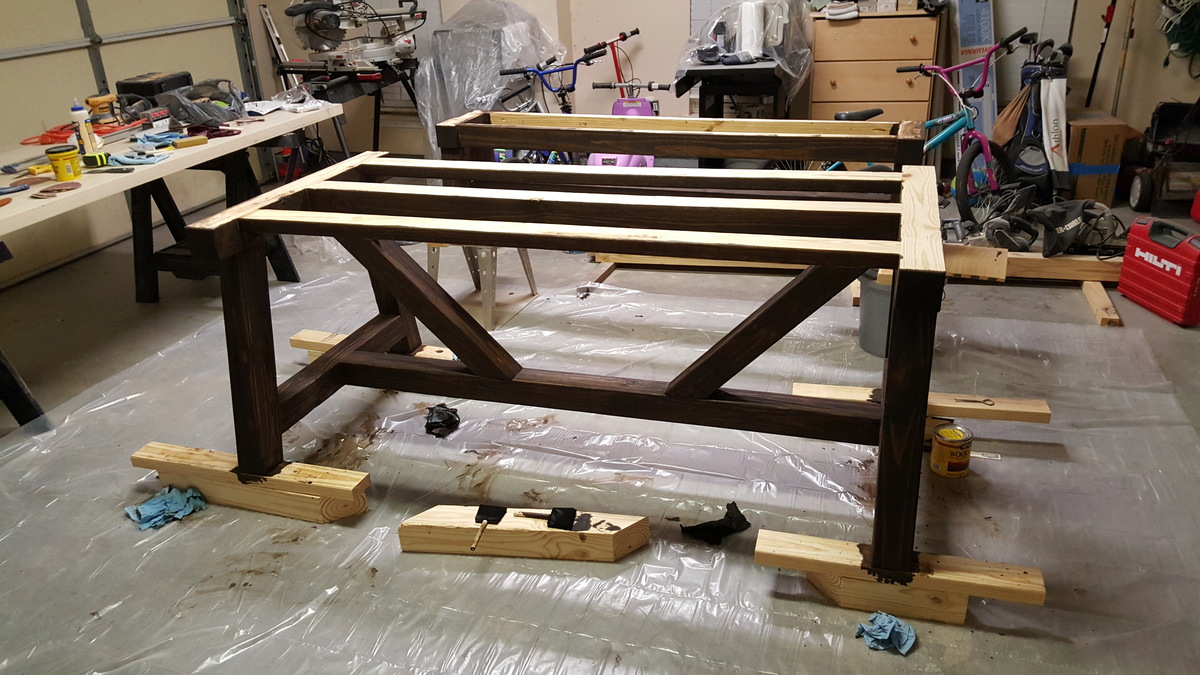
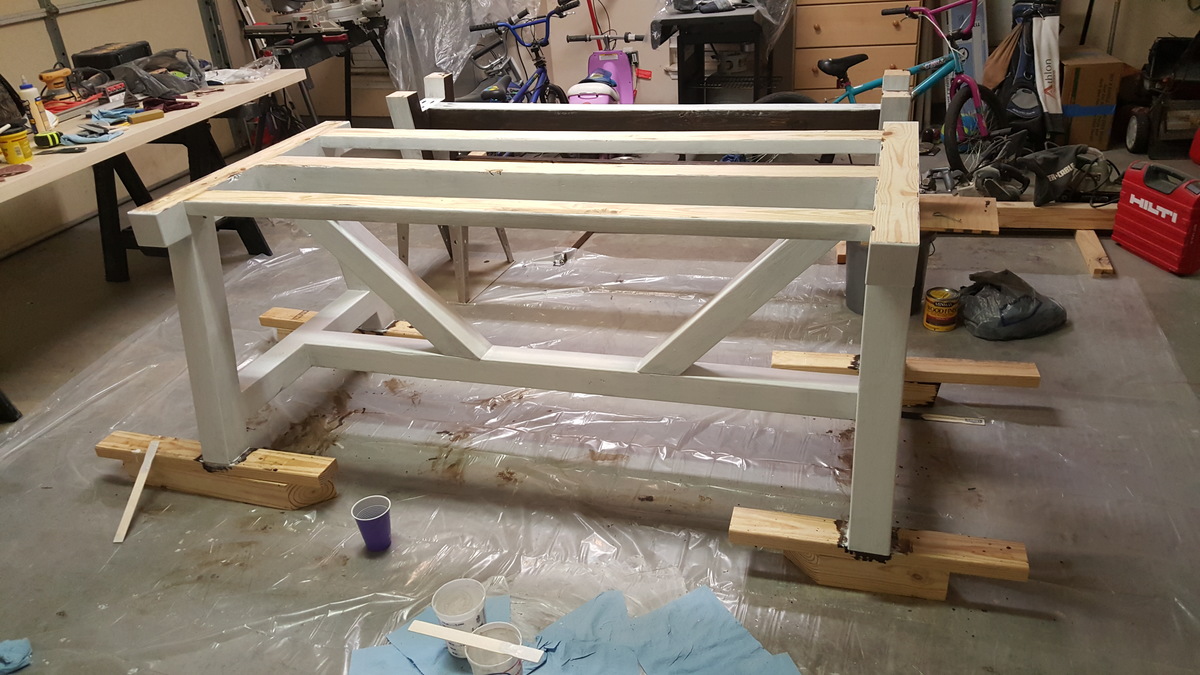
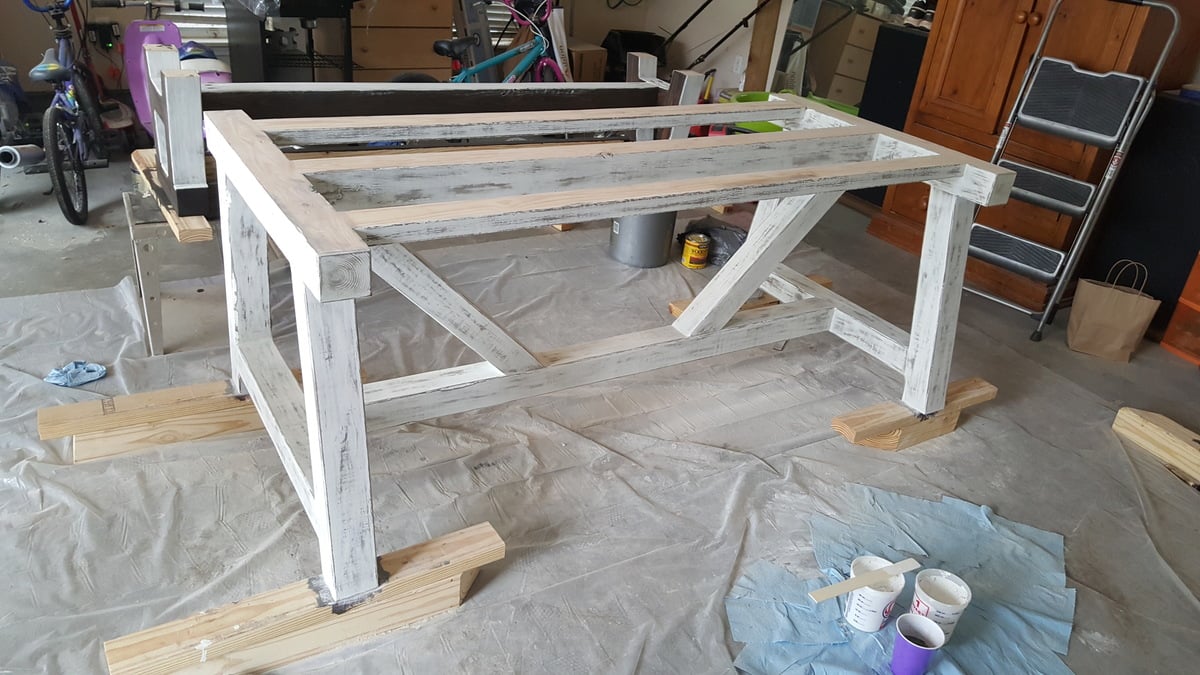
I built this unit based on the Grandy Barn Door Console plans. I adjusted it down to 66”. The top is Dark Walnut with Satin Poly. All lumber was purchased at Menards.
Built from Plan(s)
Estimated Cost
$350.00
Estimated Time Investment
Week Long Project (20 Hours or More)
Finish Used
Satin oil based polyurethane
Dark Walnut Stain
White paint
Dark Walnut Stain
White paint
Recommended Skill Level
Intermediate