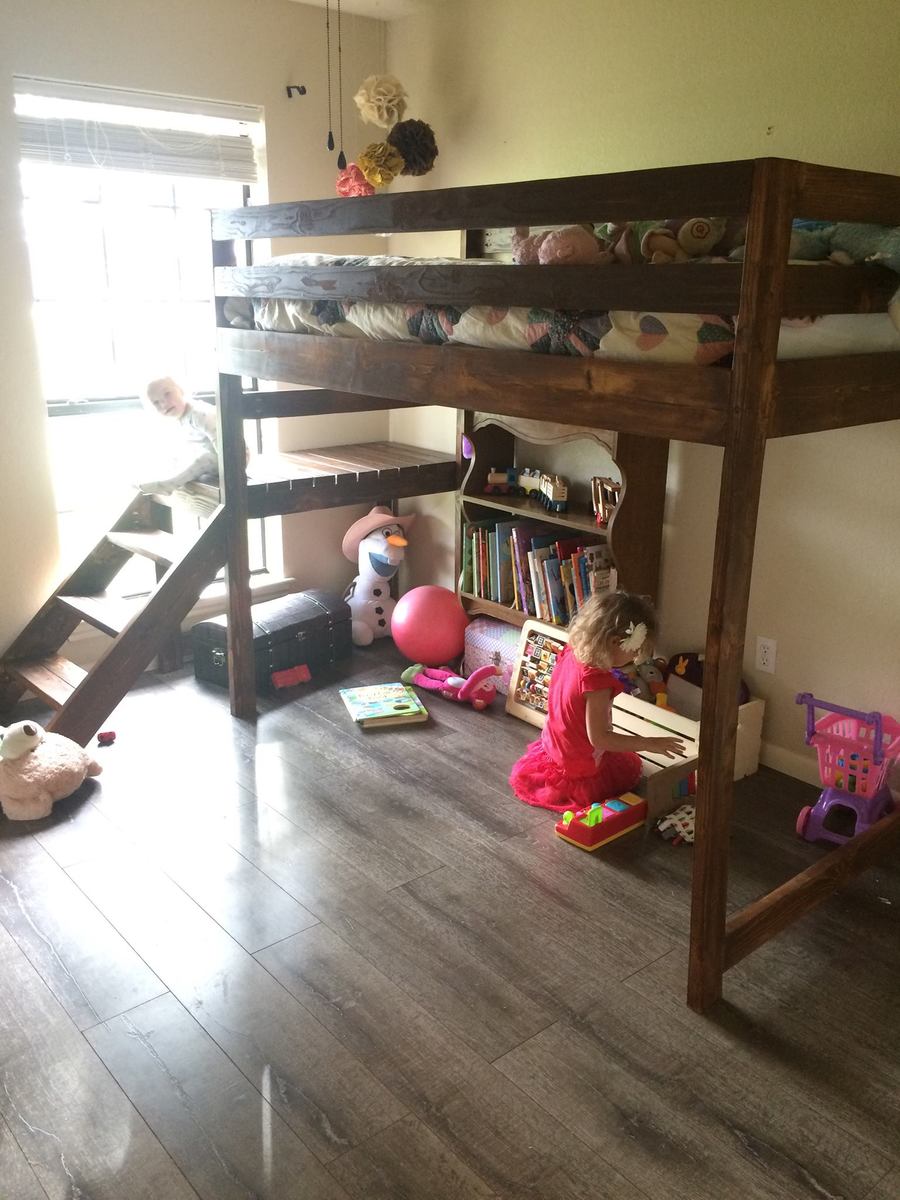
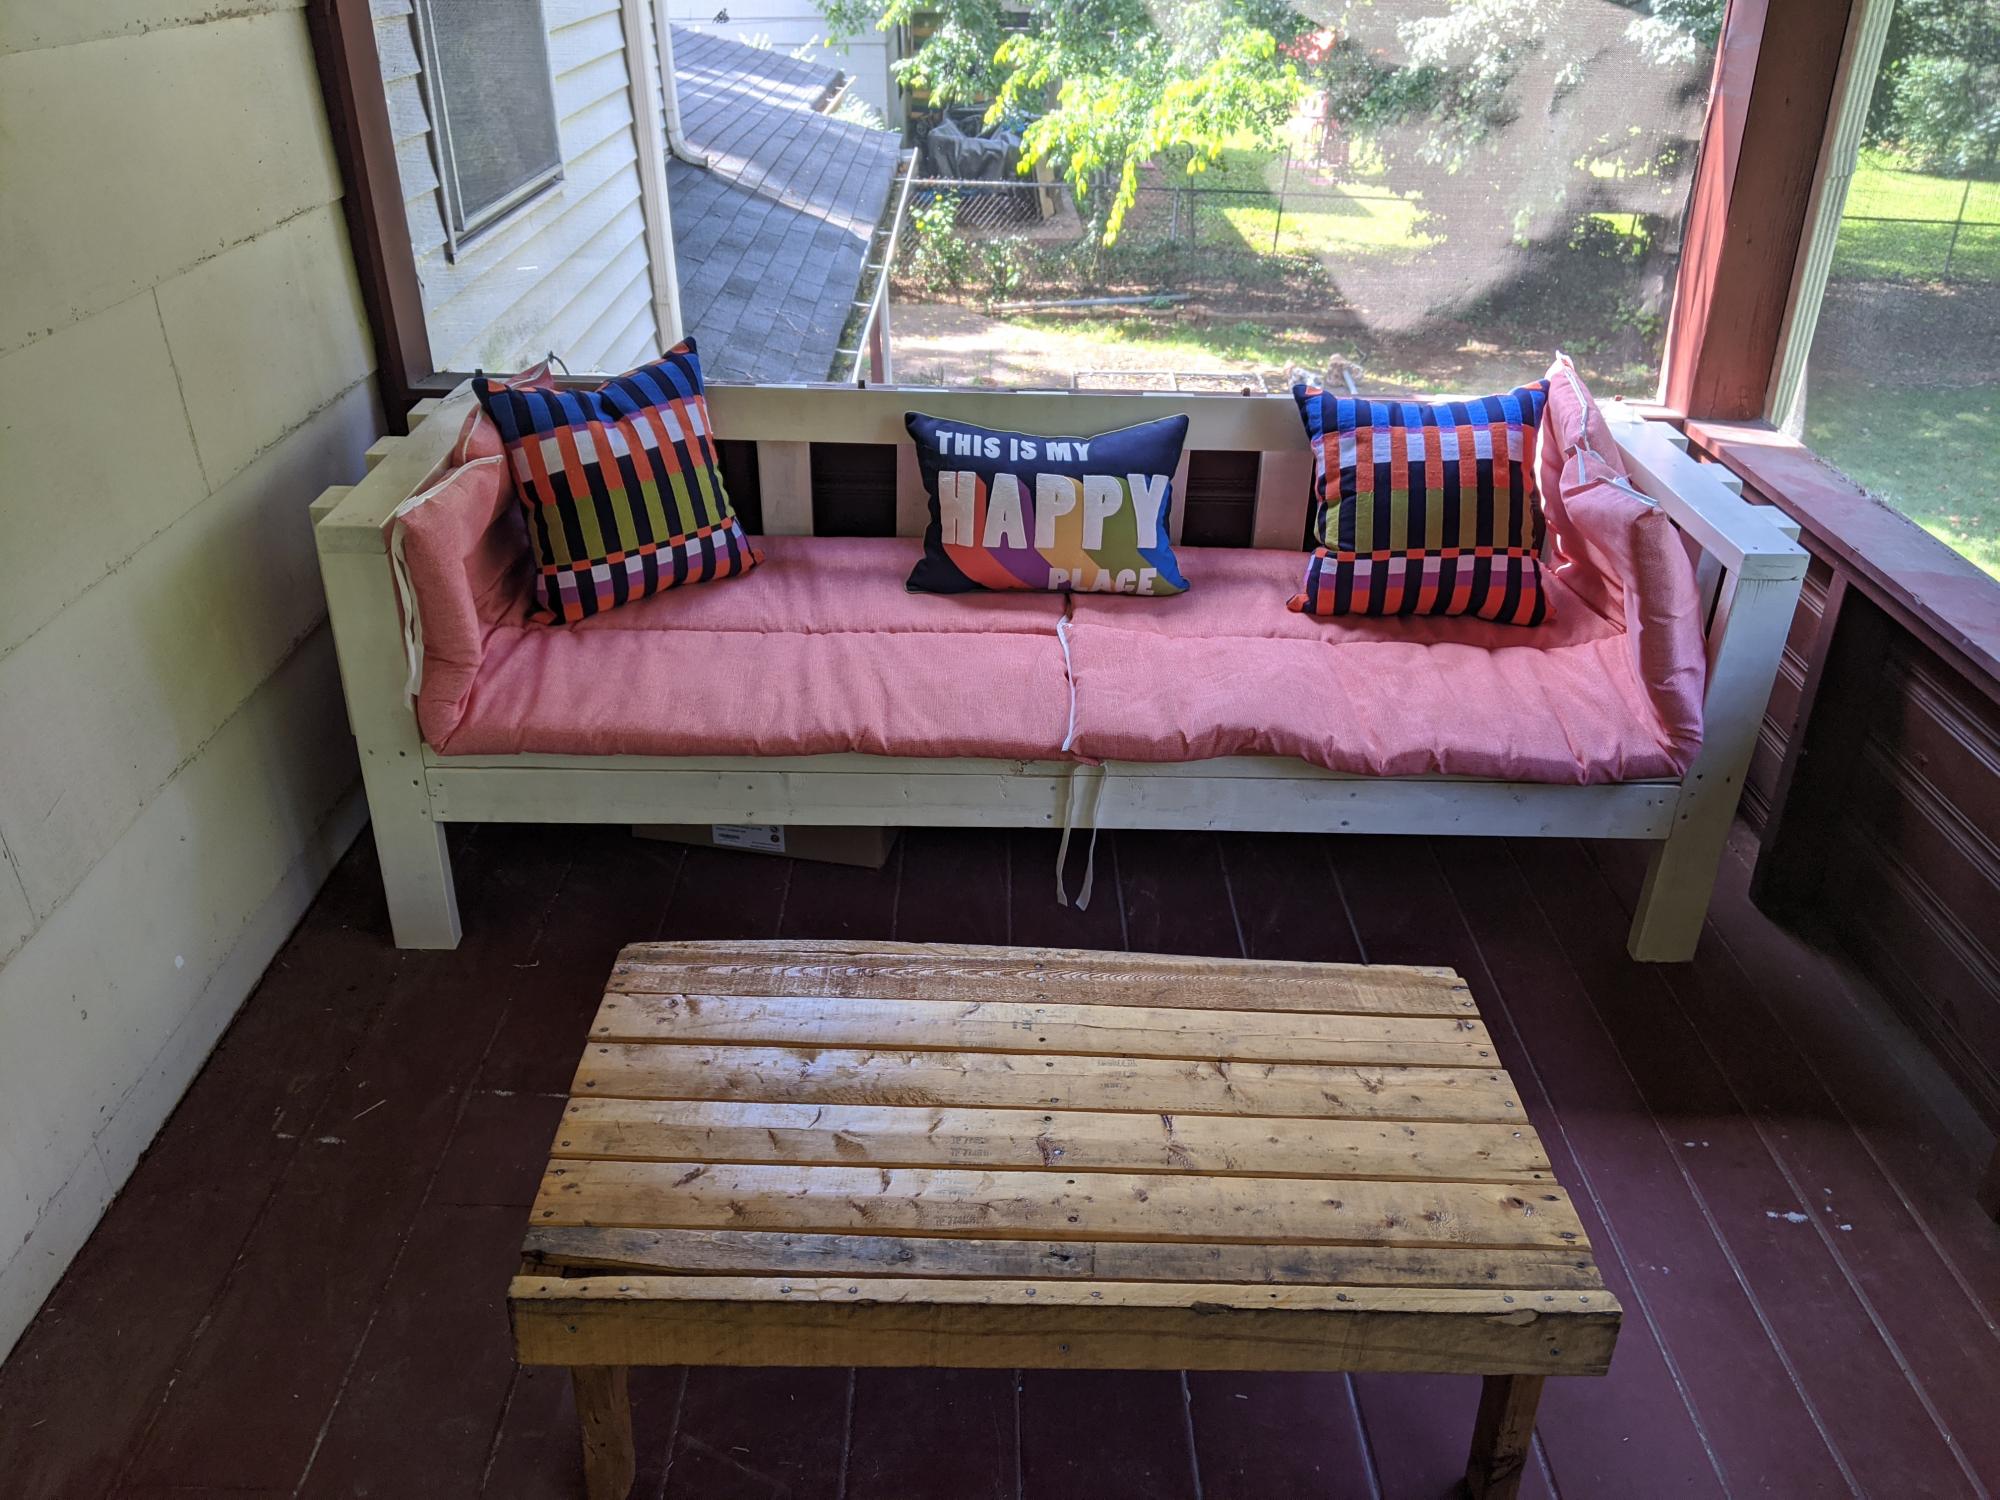
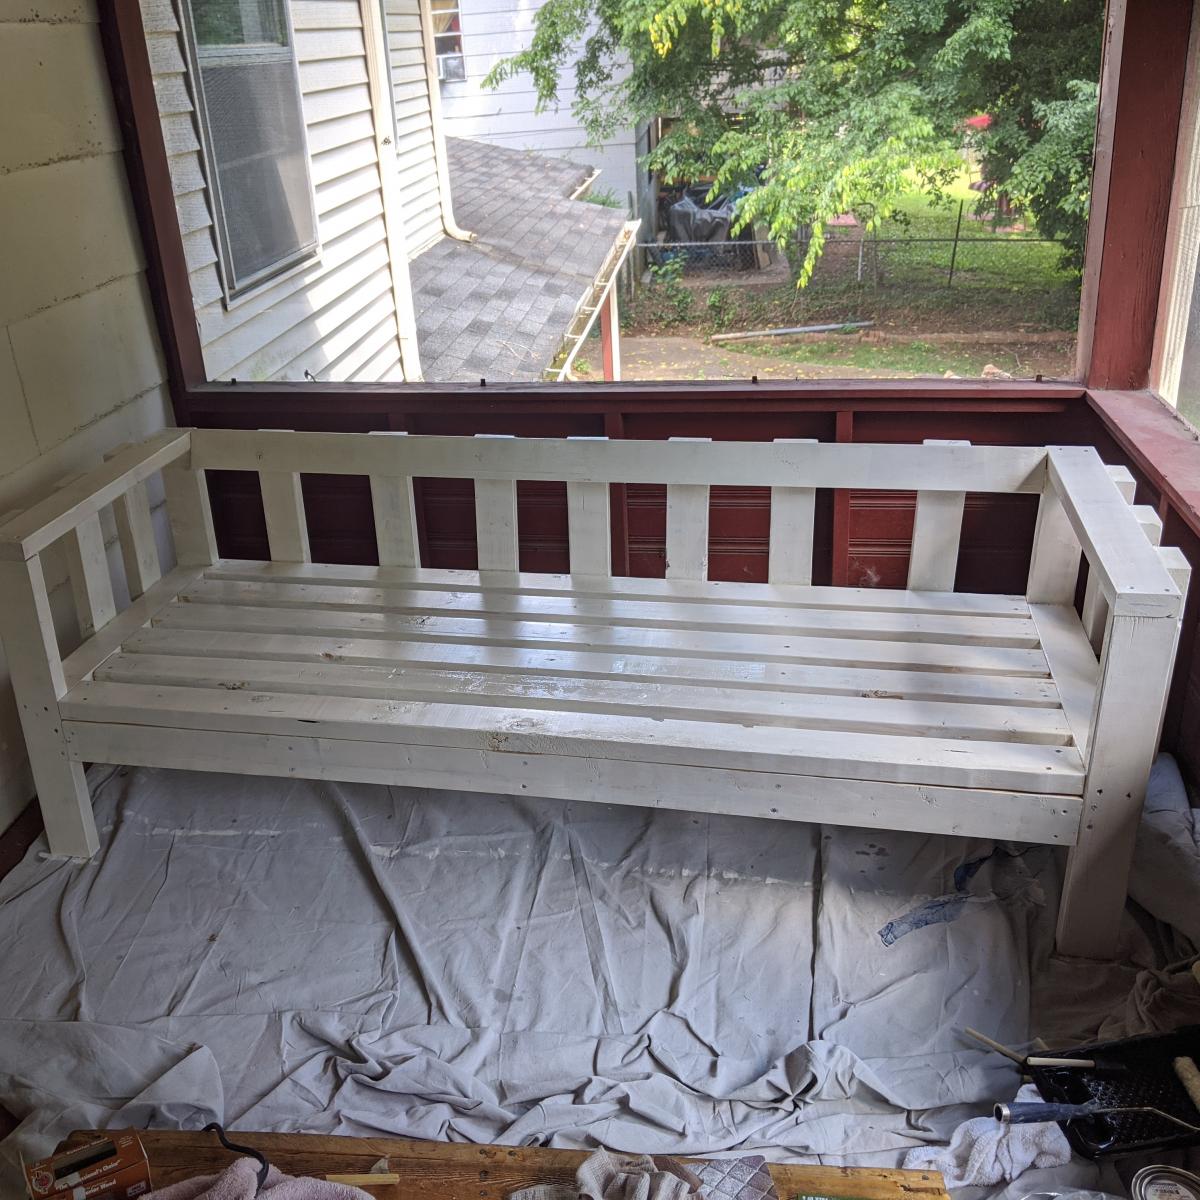
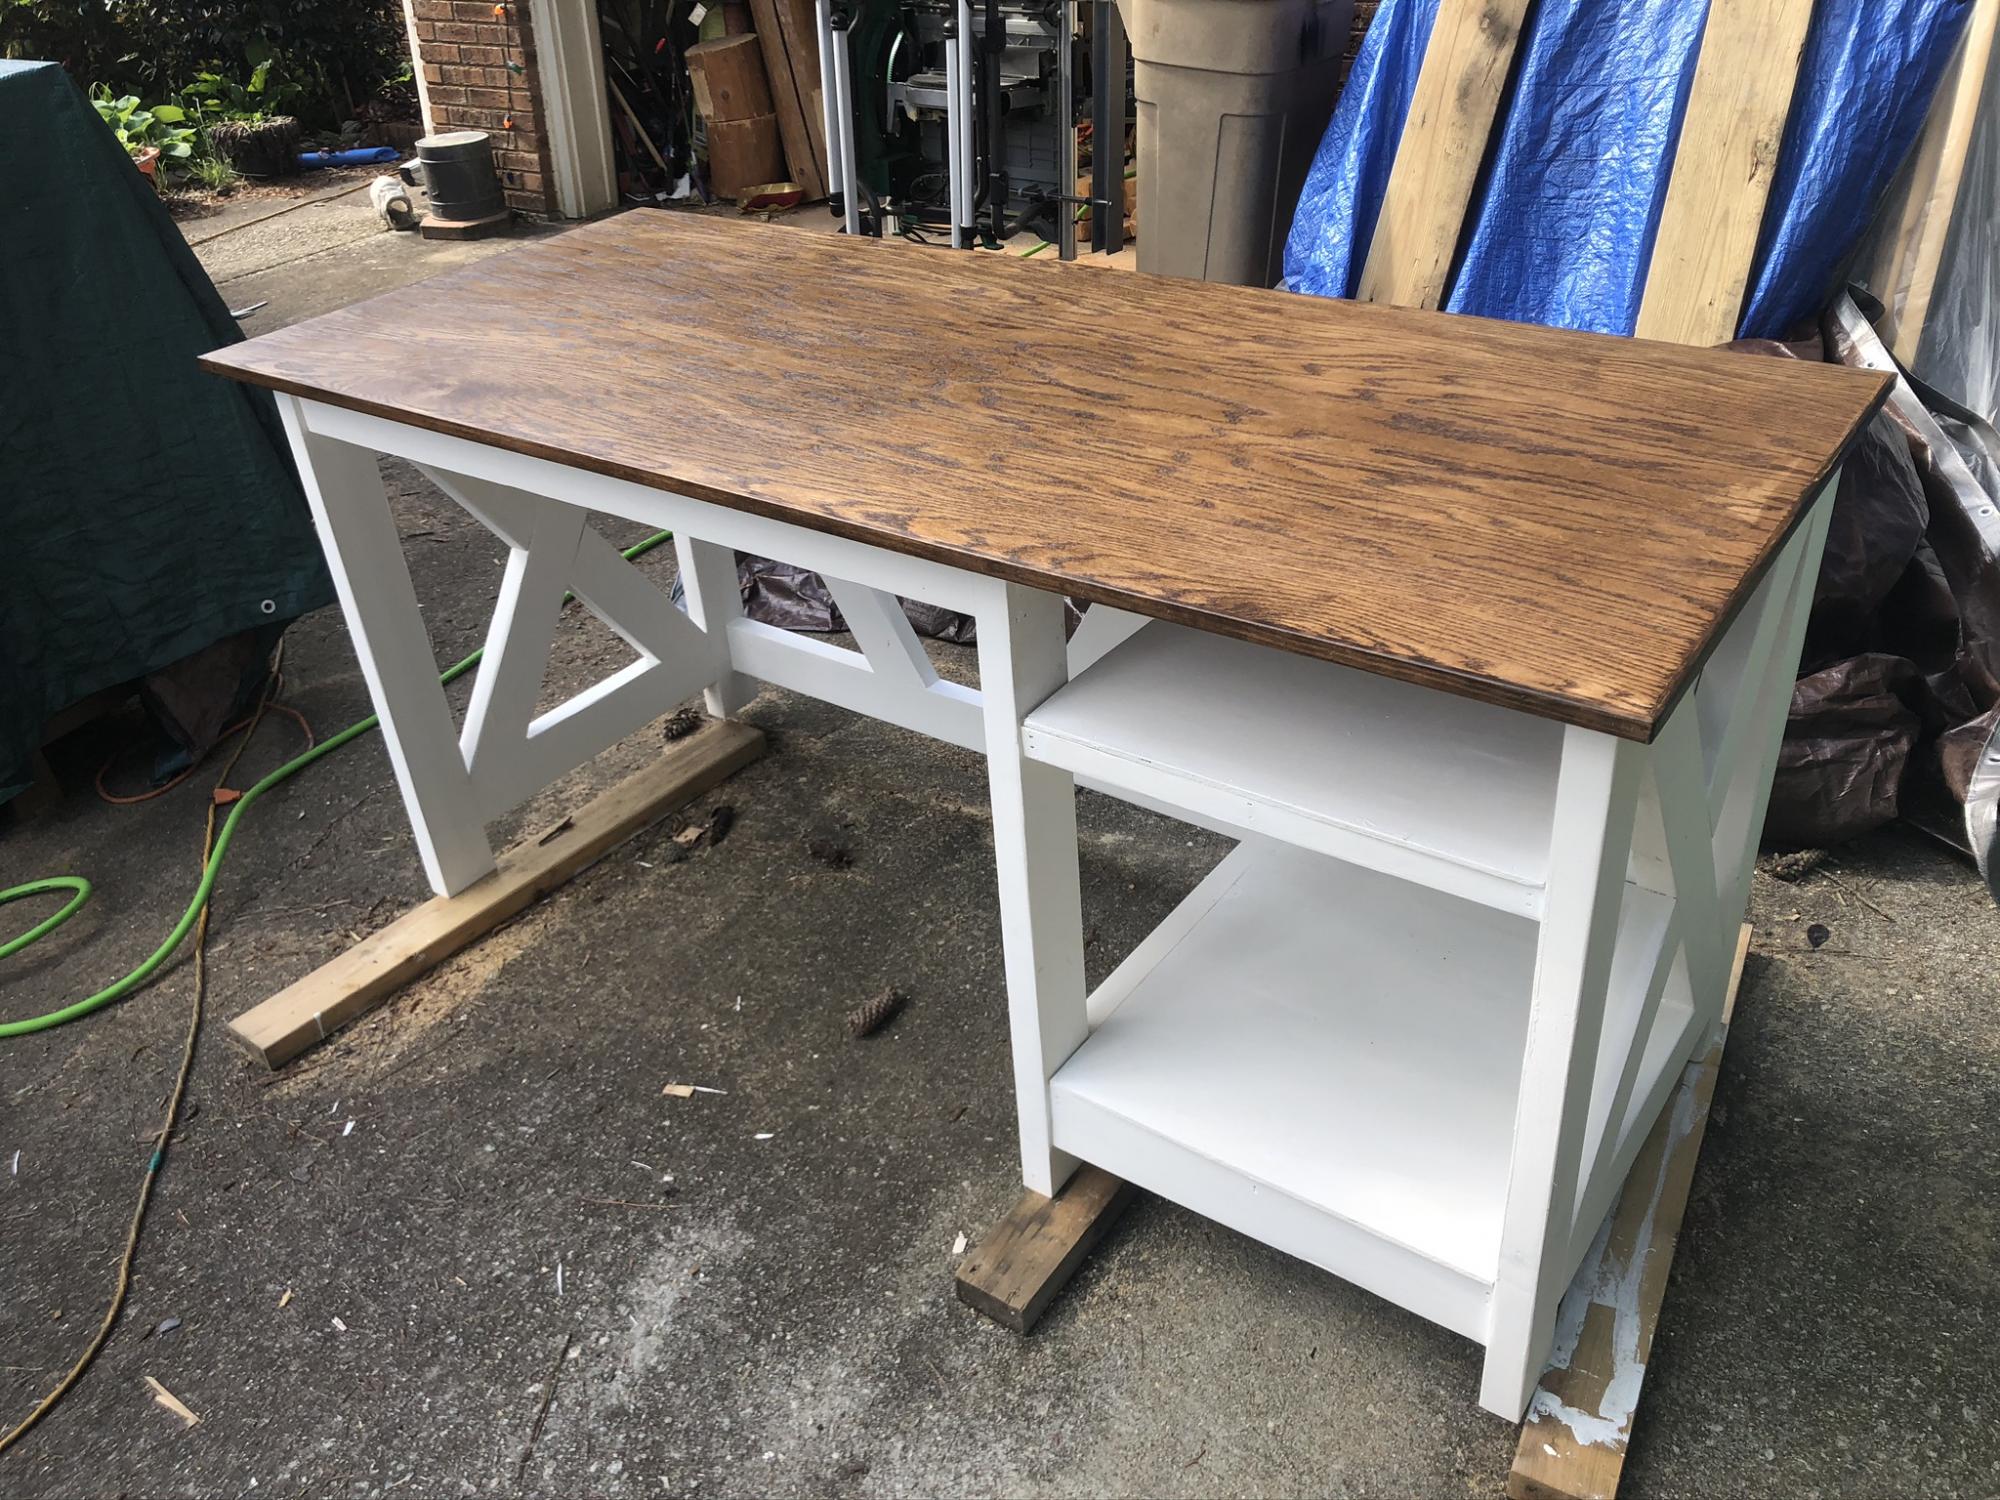
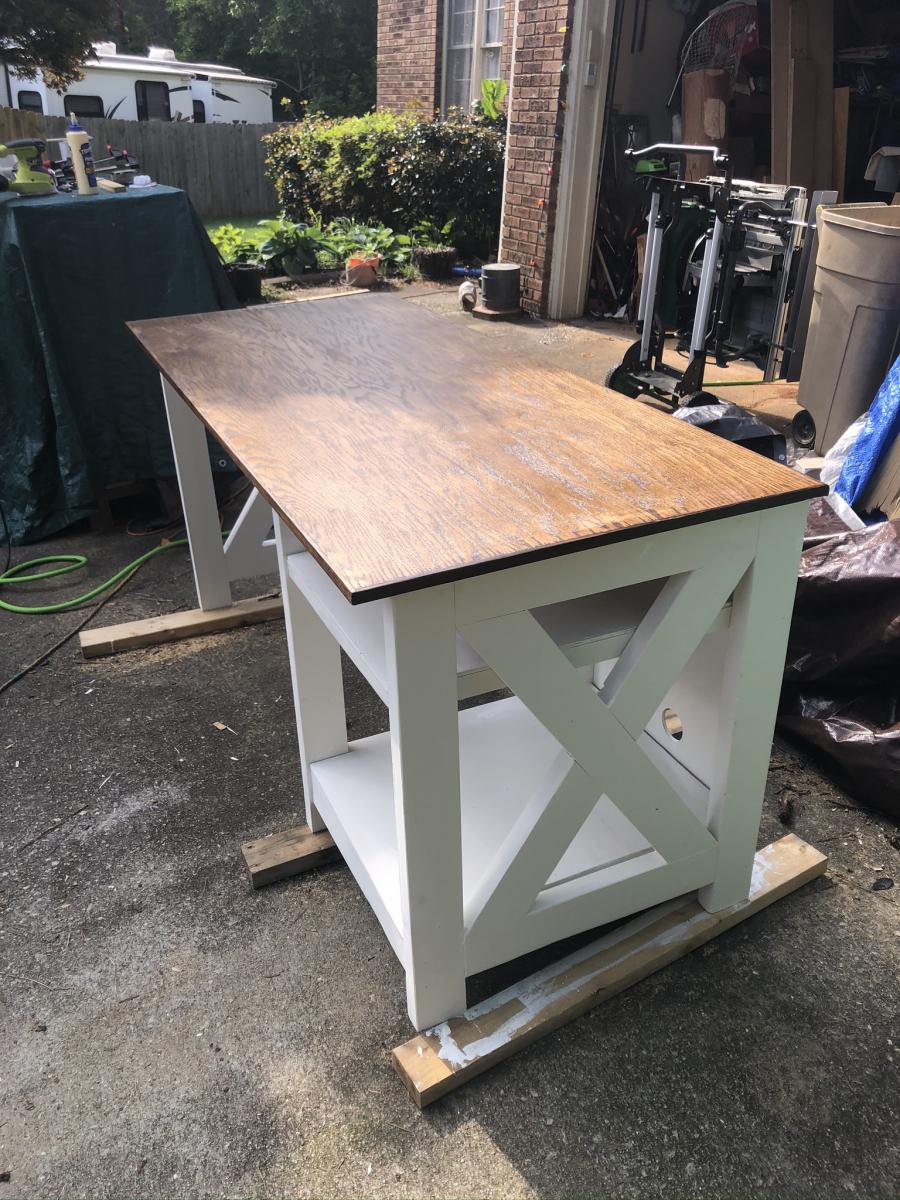
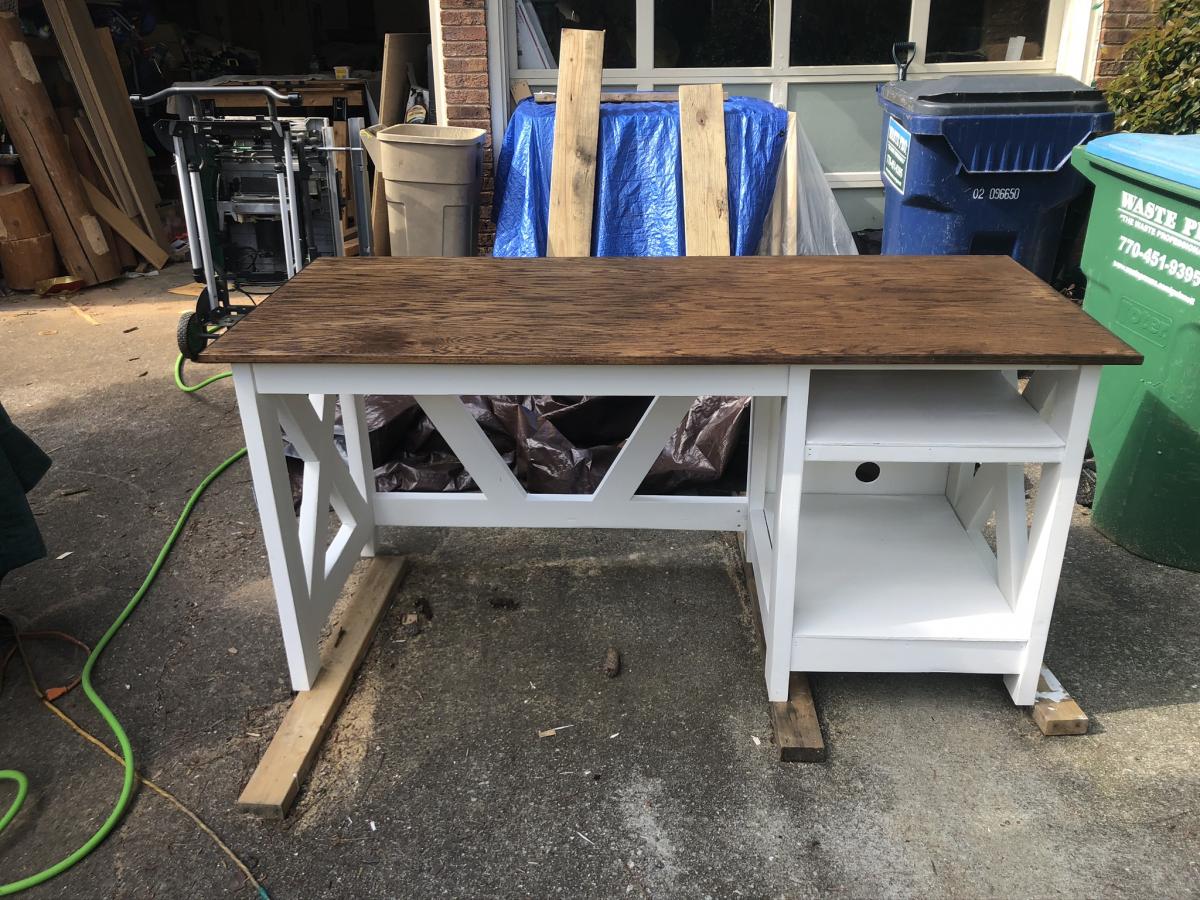
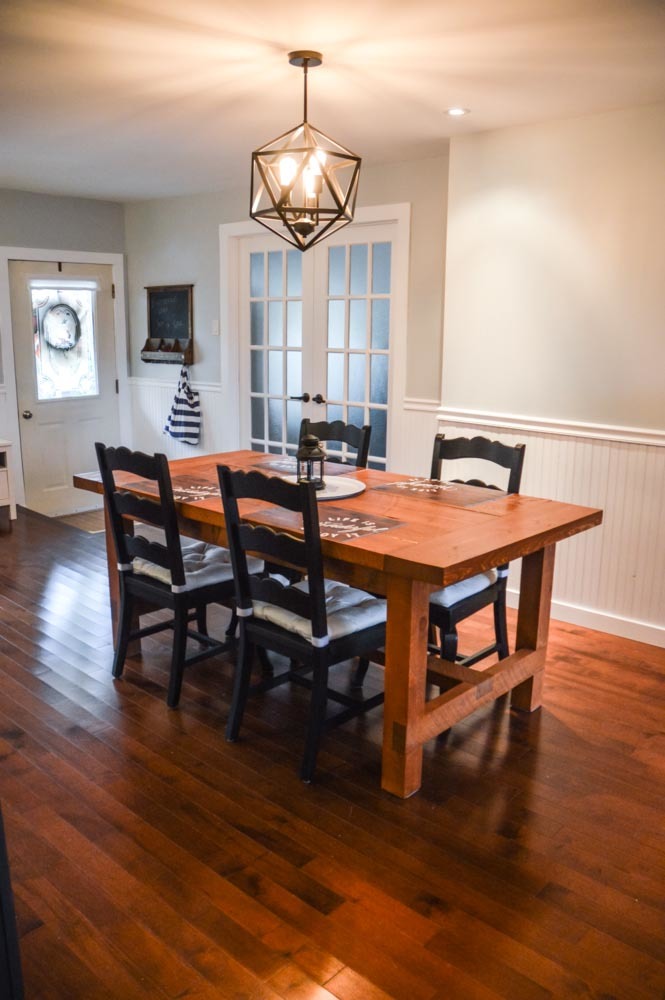
Toddler Upholstered Bed - Farmhouse Toddler Bed Hybrid

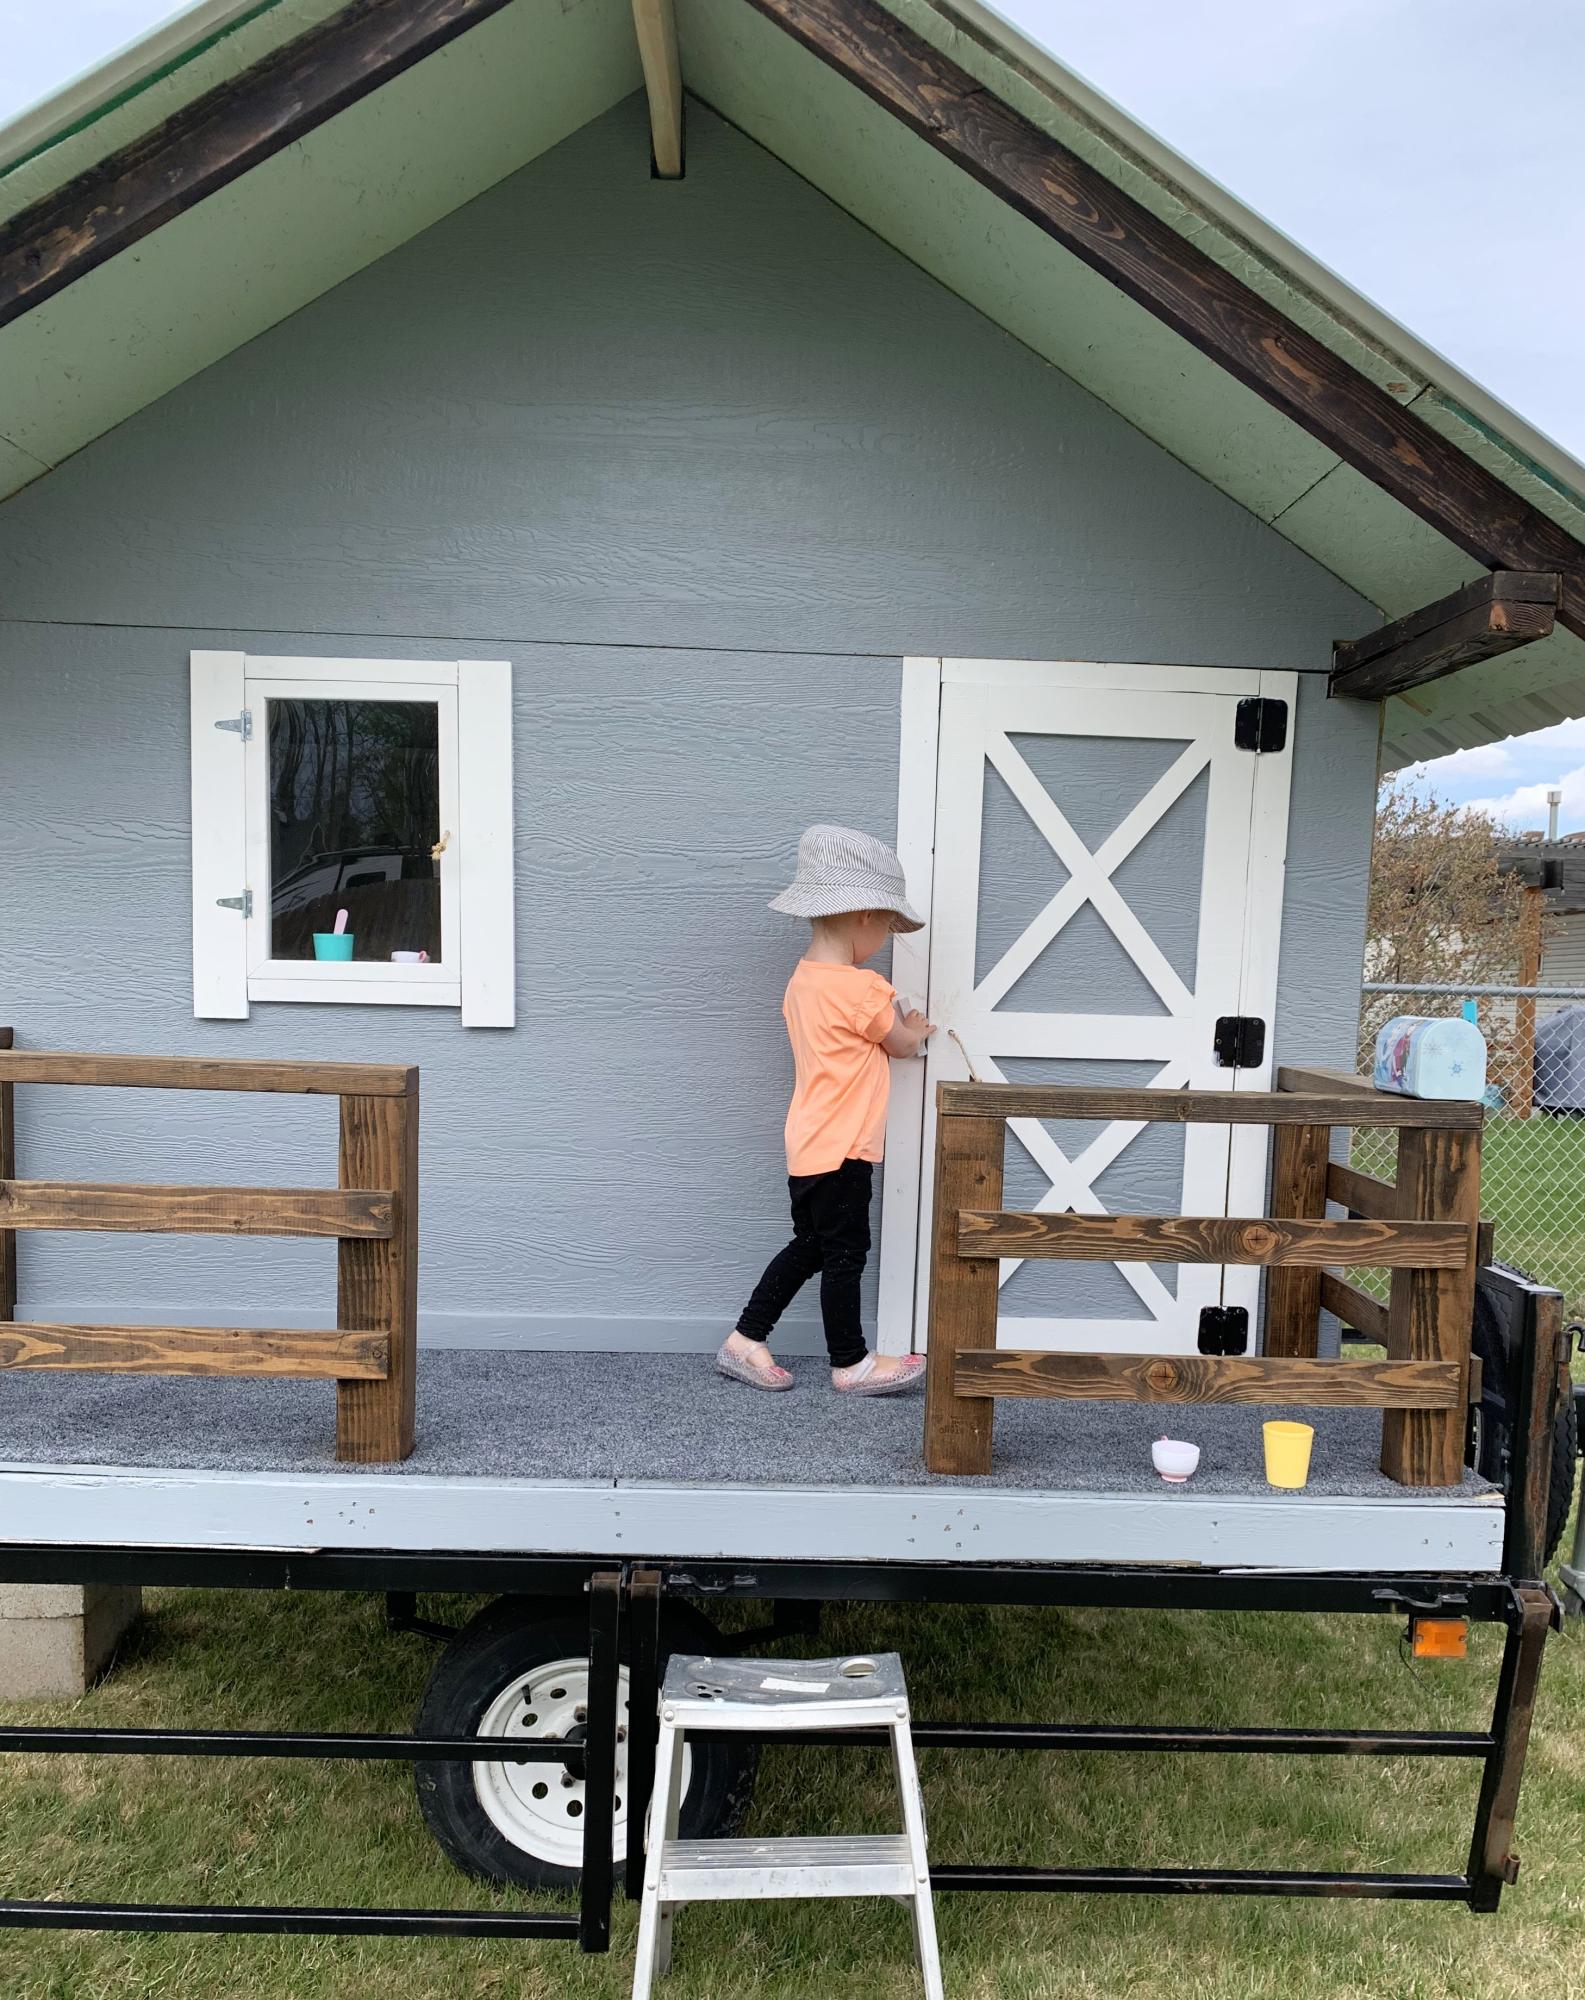
My daughter has a farmhouse themed room. This bed fits righting into the decor, with the sideboard forming part of a chicken coop that is painted over it.
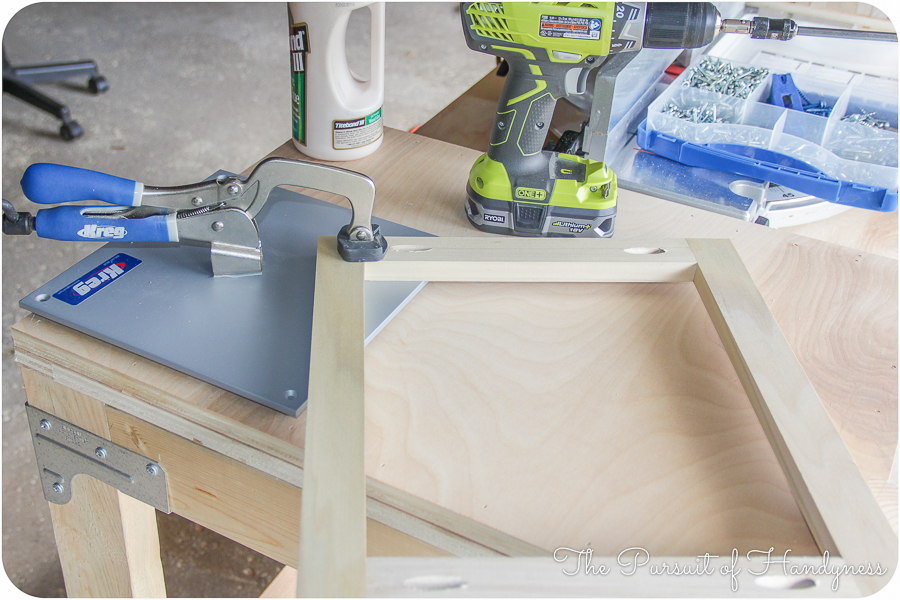
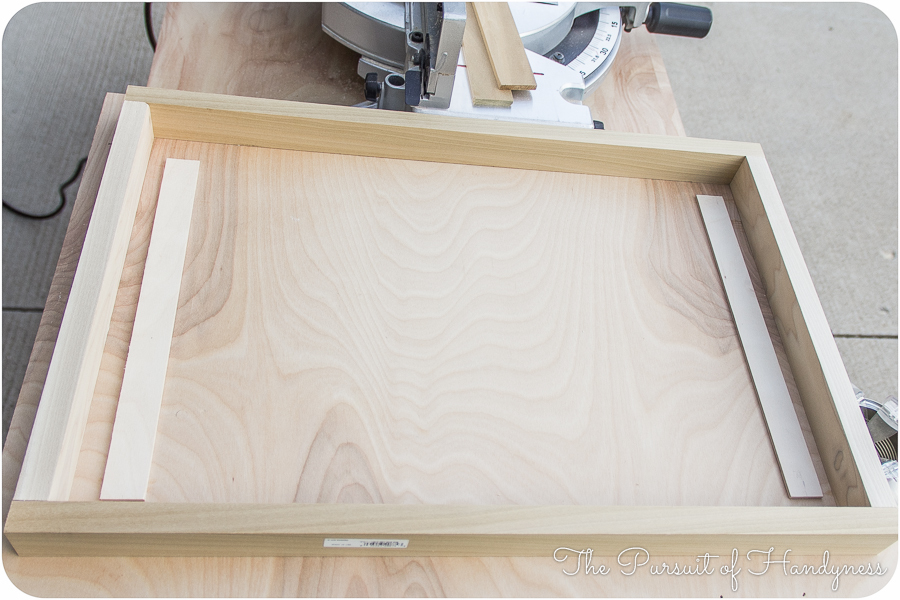
Built from Plan(s)
Estimated Time Investment
Afternoon Project (3-6 Hours)
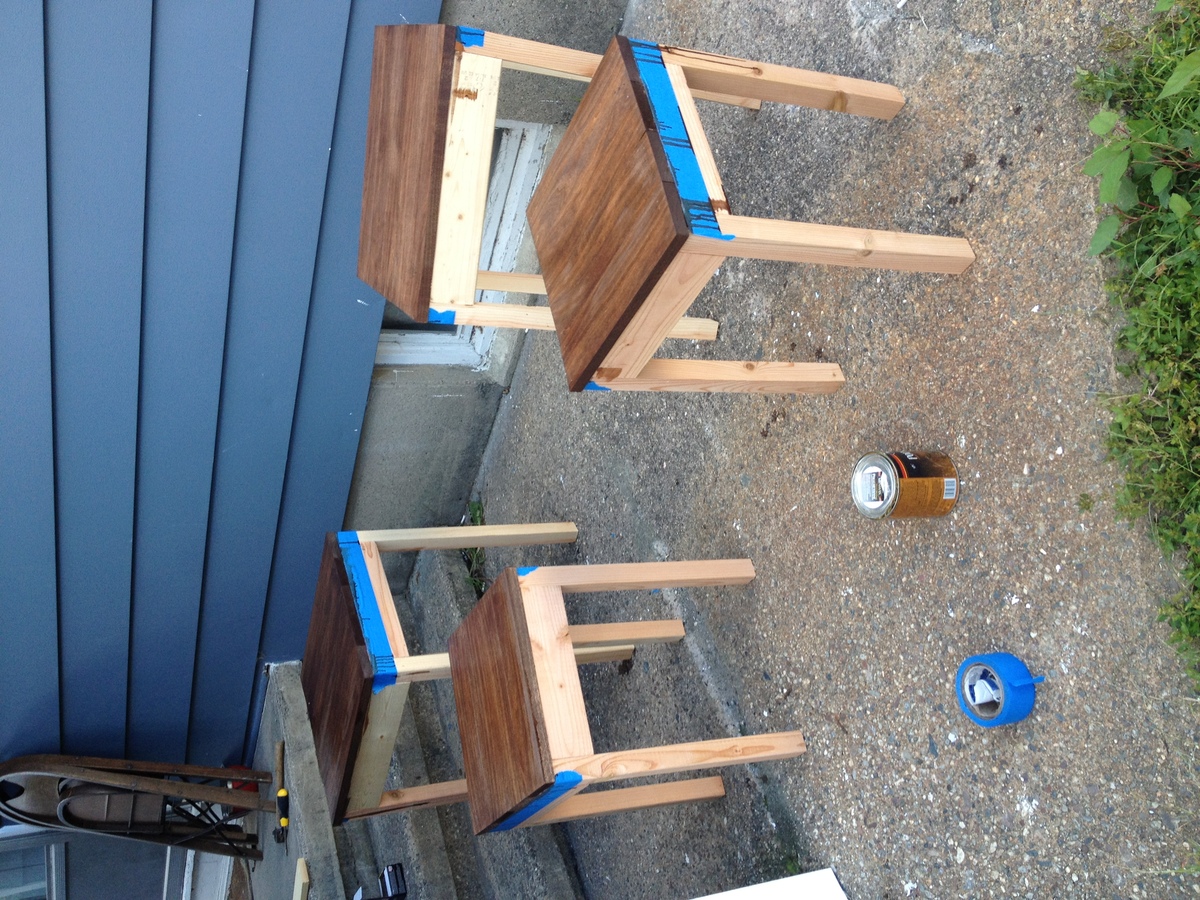
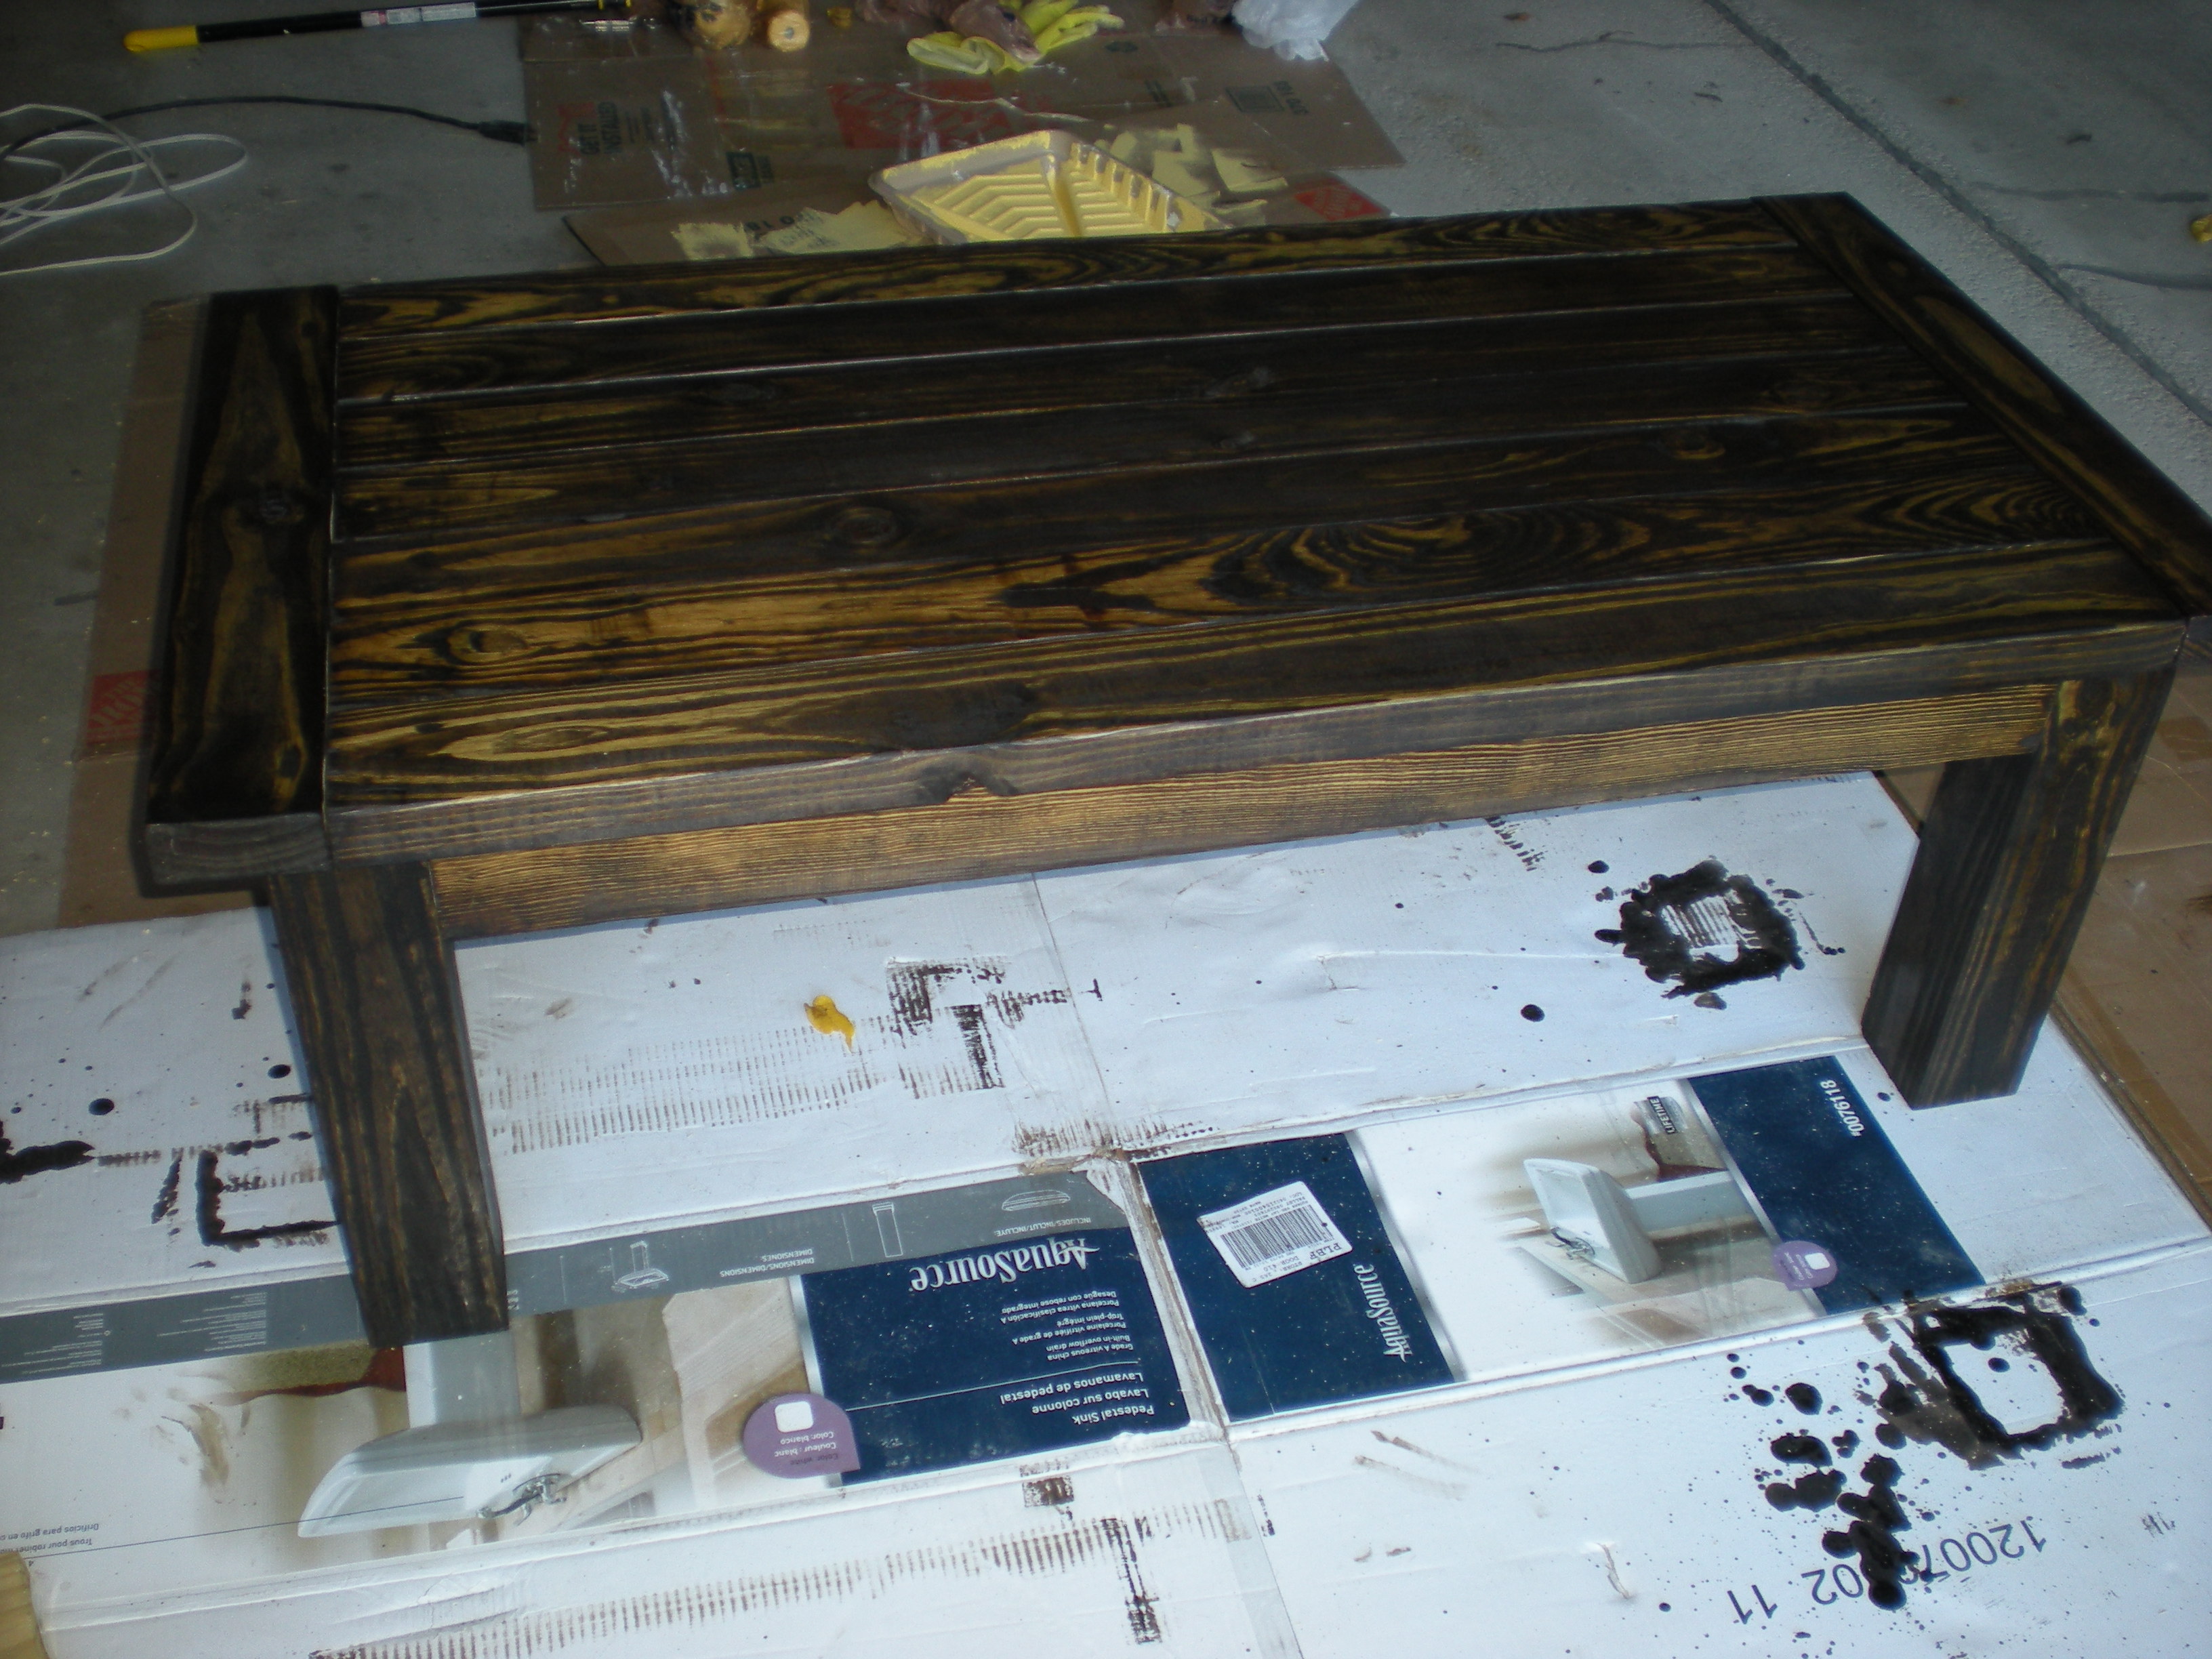
Finish Used
Danish Oil (Dark Walnut)
Recommended Skill Level
Beginner