Community Brag Posts

Adirondack Chairs

Submitted by JoanneS on Thu, 04/25/2013 - 18:12

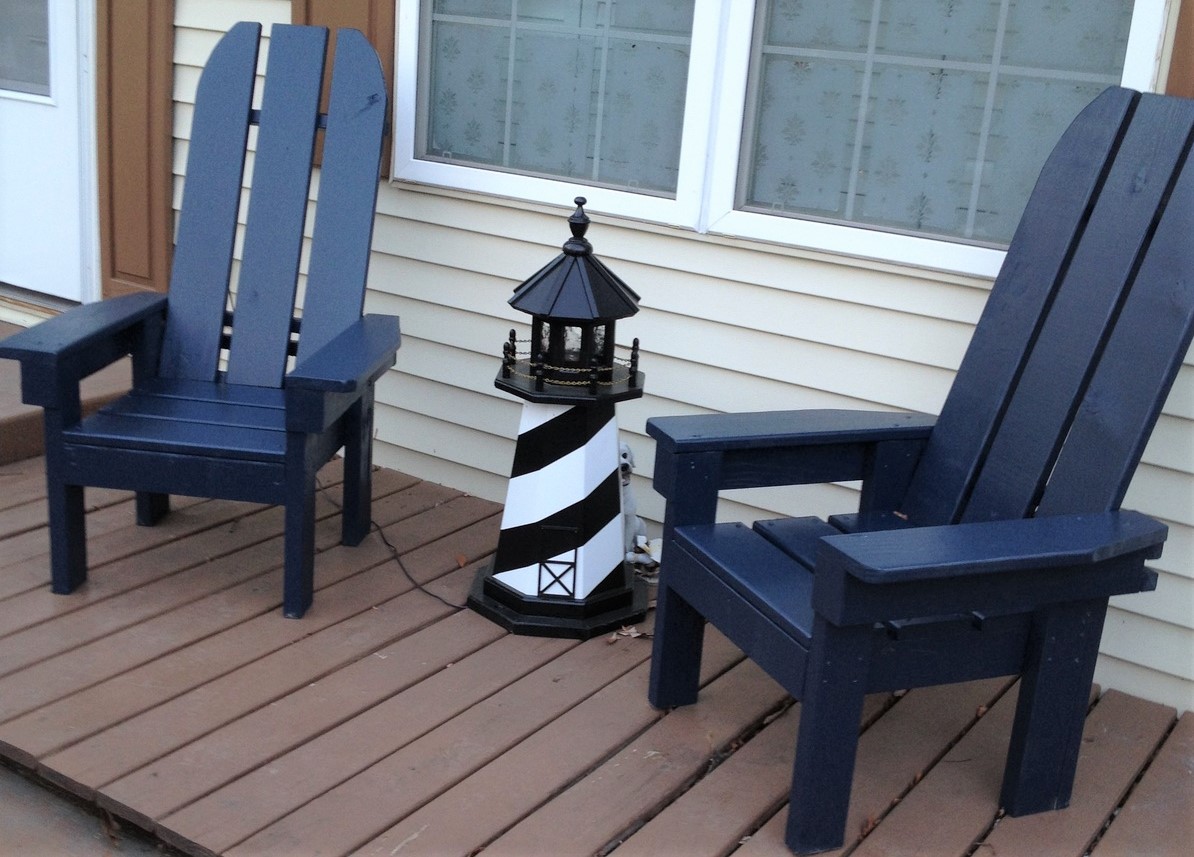
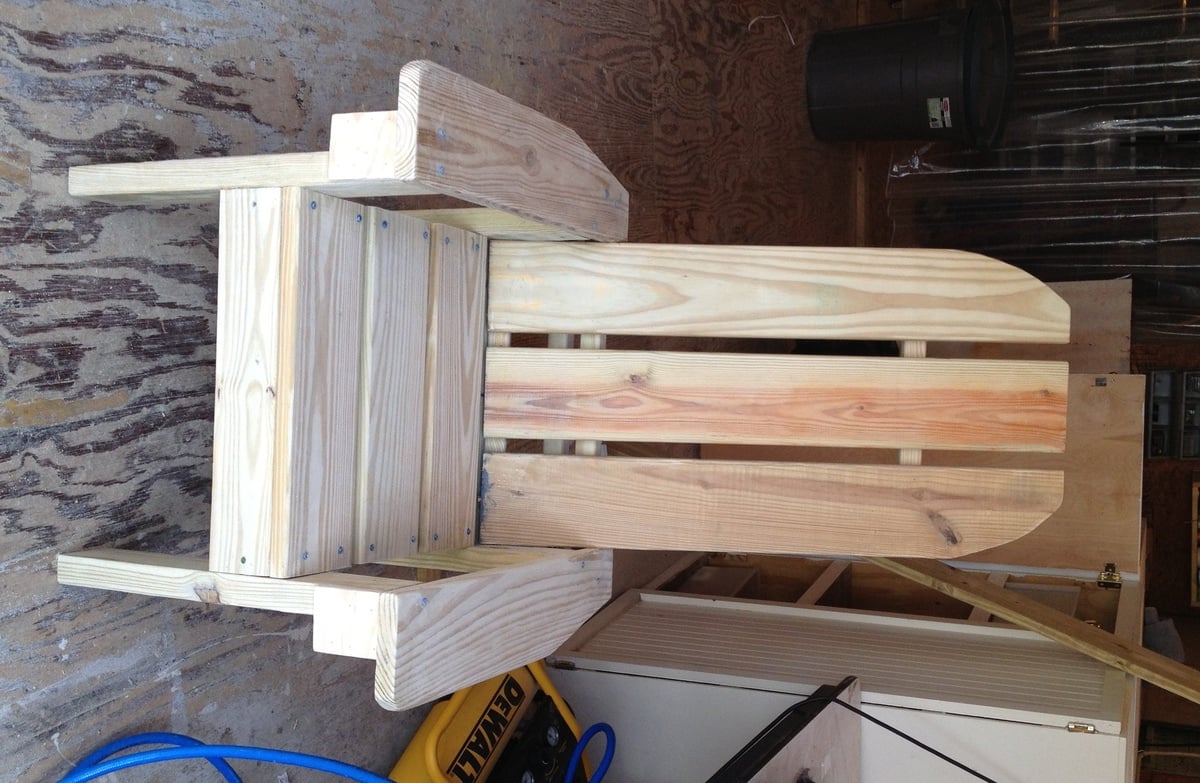
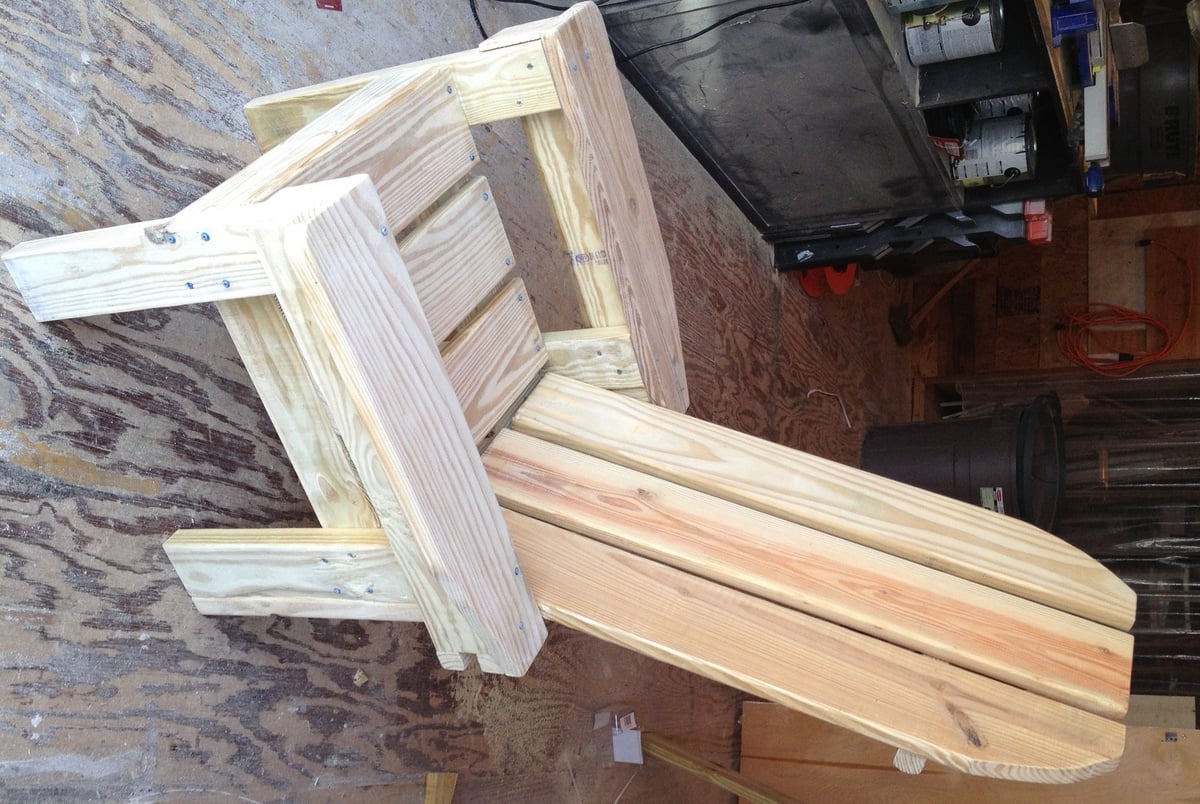
These sturdy chairs are a wonderful replacement for plastic deck chairs! They are nice and heavy, and won't blow over in a storm! This project is a mix of Ana's Adirondack Chairs and the Simple Outdoor Lounge Chair. I combined ideas from the two plans to use the extra lumber we had left over from an outside project from last year. Left-over lumber included some 2x4 for the bottom frames, some 5/4 decking board for the seat, back, and arms, and a few balusters at the back. Most of the lumber was left over, so I only had to spend $20 for 2 boxes of Kreg screws and 2 pc 5/4 x 8 decking board. Finished with some left over exterior latex semi gloss paint. This was a fun weekend project - built the chairs on one day, and finished the sanding and painting the next day. My next project is a little outdoor table to go with them, and I have a few scraps left over to use for that. These chairs have received lots of compliments, and we've given Ana's web site name to several admirers. Ana, thank you for your wonderful plans!
Estimated Cost
$20
Estimated Time Investment
Weekend Project (10-20 Hours)
Finish Used
Ace Royal exterior semi-gloss paint in navy blue (left over paint from about 5 years ago, was color-matched, so it doesn't have a name).
Recommended Skill Level
Beginner

Comments

mepaganjr

Sun, 09/28/2014 - 10:46

I don't see any plans for this chair.  Is it possible to get them?

JoanneS

Sun, 09/28/2014 - 18:15

Hi Mepaganjr,

I used the plan for the Simple Outdoor Lounge Chair

http://ana-white.com/2010/05/plans/simple-outdoor-lounge-chair

as my guide for the seat part, and the slant of the back,

and used Ana's Adirondack Chair

http://ana-white.com/2010/05/furniture-plans-adirondack-chair-ana.html

as the inspiration for the tall chair back and front legs.  I did several adjustments to fit the mixture of sizes of 2x and 5/4 scrap wood that I had available.   I traced a paint can lid to make the curve on the top of the chair backs.

A great plan that has a similar seat and legs is the Adult Adirondack Chair, which is in Ana's book, The Handbuilt Home, on page 174.  That's a great plan because it only uses six 1x4's an one 1x2.  If I hadn't been using up the mixed scrap lumber, I would have used the Adult Adirondack Chair plan.  

Happy building!  :)  Joanne
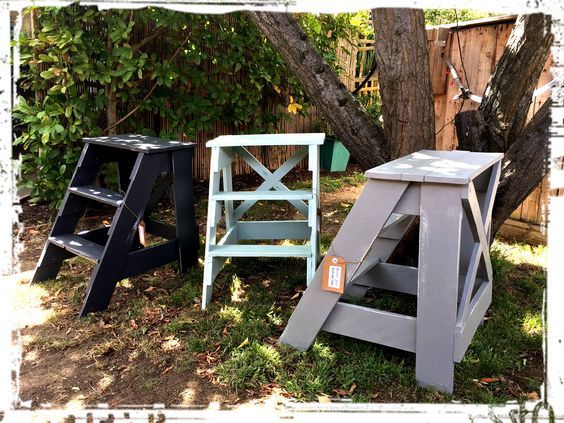
Vintage X Back Step Stool End Table

Submitted by naomi on Fri, 06/23/2017 - 06:04

This project is one of my favourites. I loved it so much that I made 6 of them. 

They are extremely easy to make. The plans are super easy to follow.


Estimated Cost
$0 This project cost nothing because I used free pallet wood and paint that I already had.
Estimated Time Investment
An Hour or Two (0-2 Hours)
Finish Used
Chalk Paint
Recommended Skill Level
Beginner

Comments

DIY Mobile Lumber Rack

I finally have order in my garage! I built a mobile lumber rack using plans from the Rogue Engineer. My husband and I knocked out this project one Sunday afternoon. It can store a huge load of lumber and best of all, it’s portable. We are very, very pleased with the final project! Storing all our lumber on the rack has freed up a great deal of space in our garage.

Estimated Cost
50
Estimated Time Investment
Afternoon Project (3-6 Hours)
Recommended Skill Level
Beginner

Comments

jennibee

Sun, 06/21/2015 - 16:07

I made one of these about a month ago after seeing it on the Rogue Engineer's website and just love it. It's exactly what we needed since we are always having to move things around in the garage. You did a great job.

jennibee

Sun, 06/21/2015 - 16:08

I made one of these about a month ago after seeing it on the Rogue Engineer's website and just love it. It's exactly what we needed since we are always having to move things around in the garage. You did a great job.

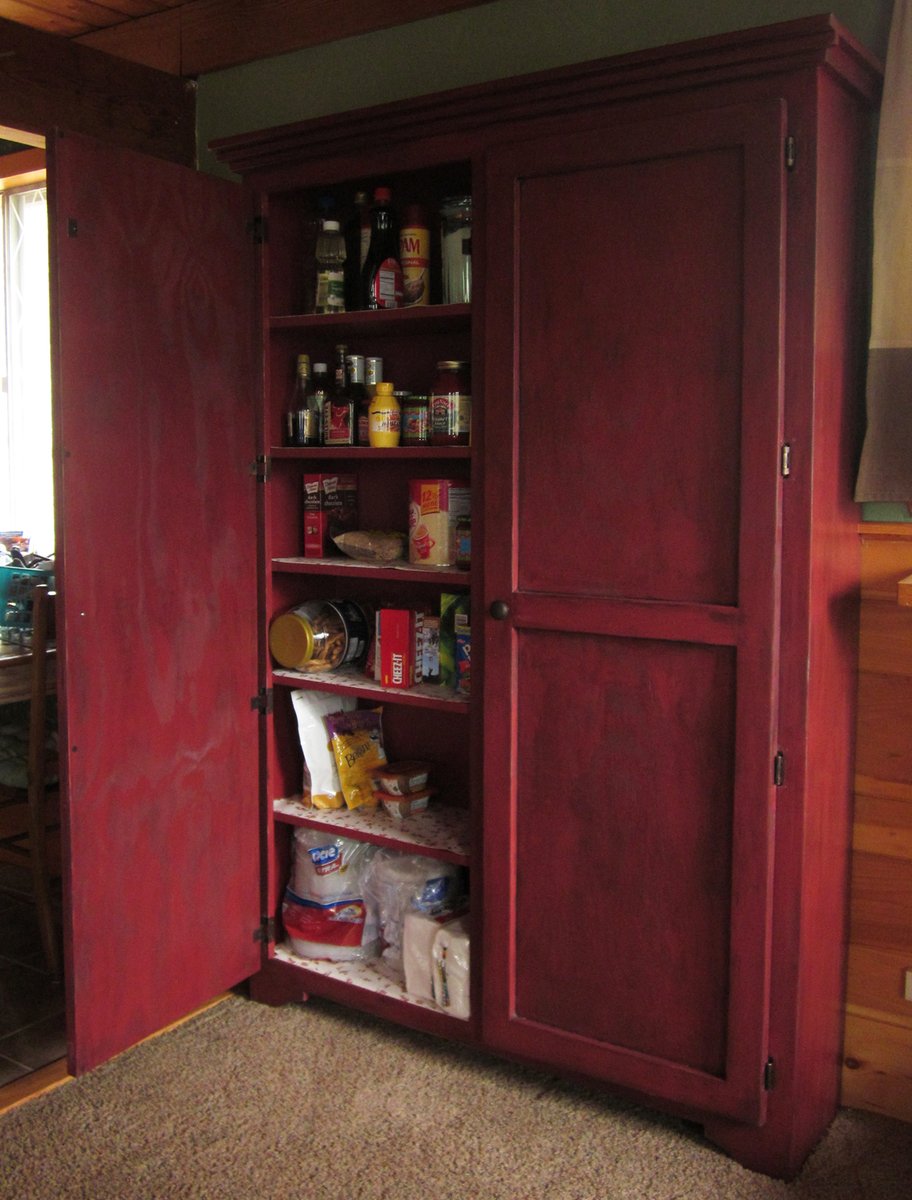
Our new pantry

We bought a vacation home that has such a small kitchen. I knew we needed more storage. So I checked out Ana's plans and made this bad boy based on the Simplest Armoire plans.

The home is in the mountain/lakes area of northern New Hampshire, so I wanted to bring the outside colors in. I used Valspar Cabin Red paint and the Valspar Antiquing glaze over the top after distressing it a bit.

Built from Plan(s)
Estimated Cost
$200 +
Estimated Time Investment
Weekend Project (10-20 Hours)
Finish Used
Valspar Cabin Red paint
Valspar Antiquing glaze
Recommended Skill Level
Beginner

First time project

Submitted by keahunter on Sat, 07/04/2015 - 03:17

This was my first attempt at making anything. Thank you to Ana for providing such easy plans and the encouragement to try something. I think I'm hooked!

Estimated Time Investment
Day Project (6-9 Hours)
Recommended Skill Level
Beginner

Comments

Seasonal And Holiday

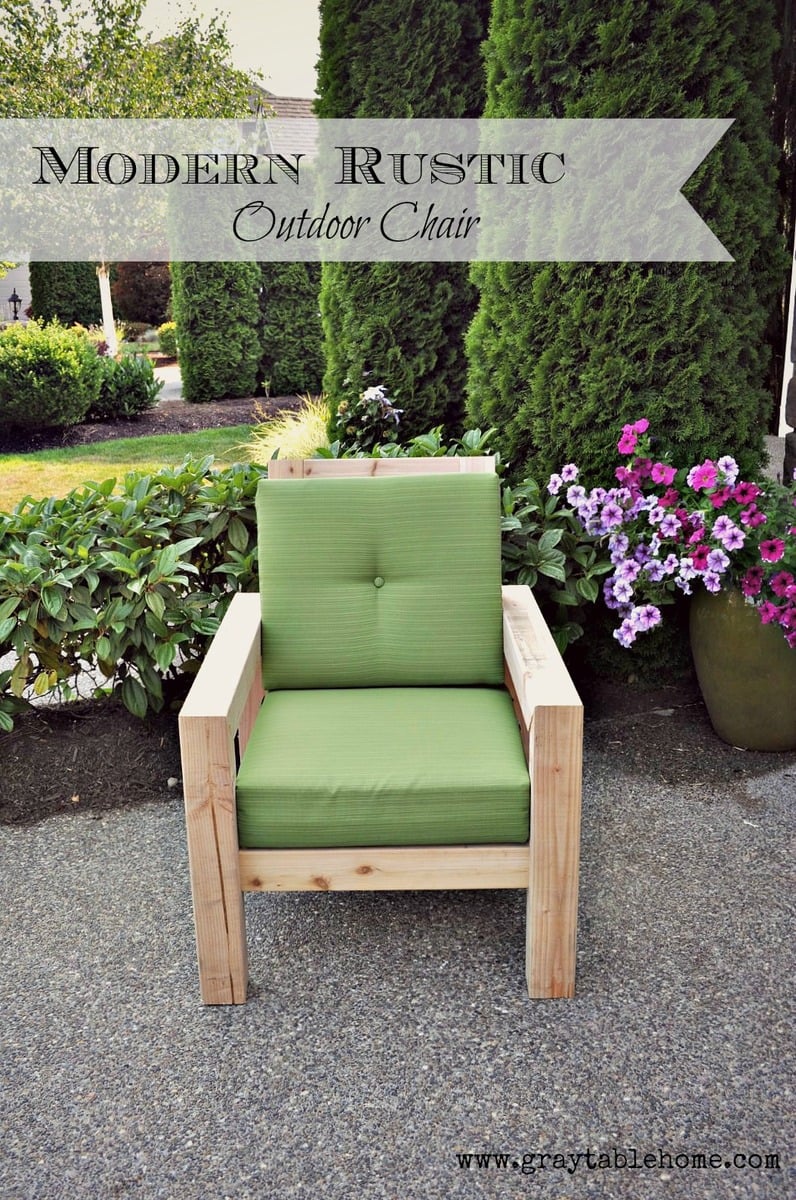
DIY Modern Rustic Outdoor Chair

Submitted by susanshamp on Fri, 07/10/2015 - 15:07

I made this outdoor chair by looking at a variety of plans and designs from Restoration Hardware and other stores. Check out more info on the project on my blog link. Thanks for looking!

Estimated Time Investment
Afternoon Project (3-6 Hours)
Recommended Skill Level
Beginner

Comments

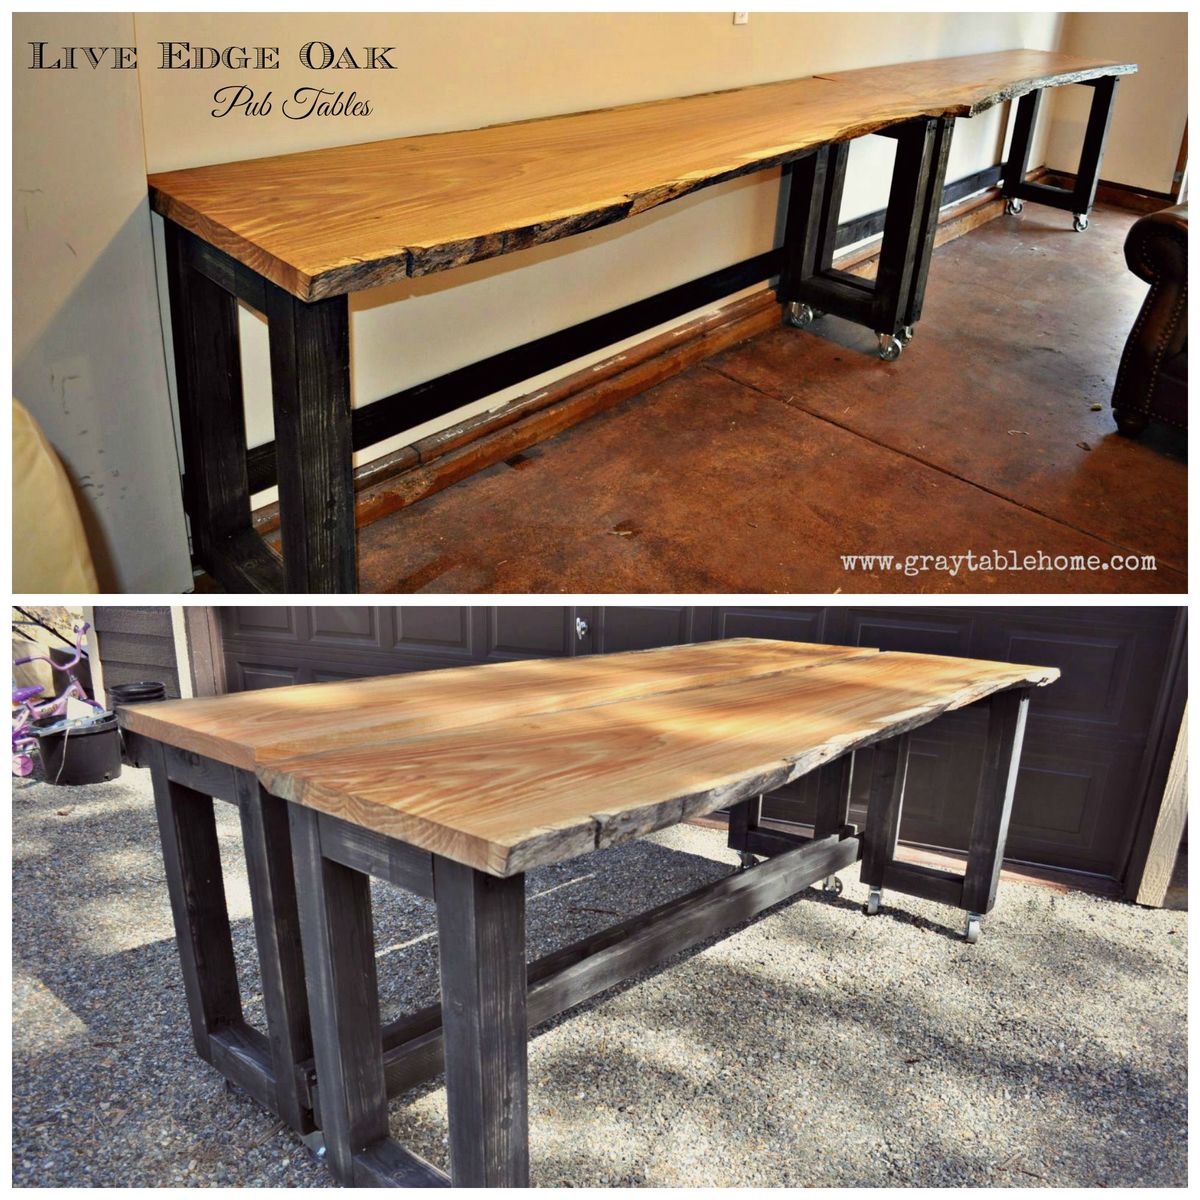
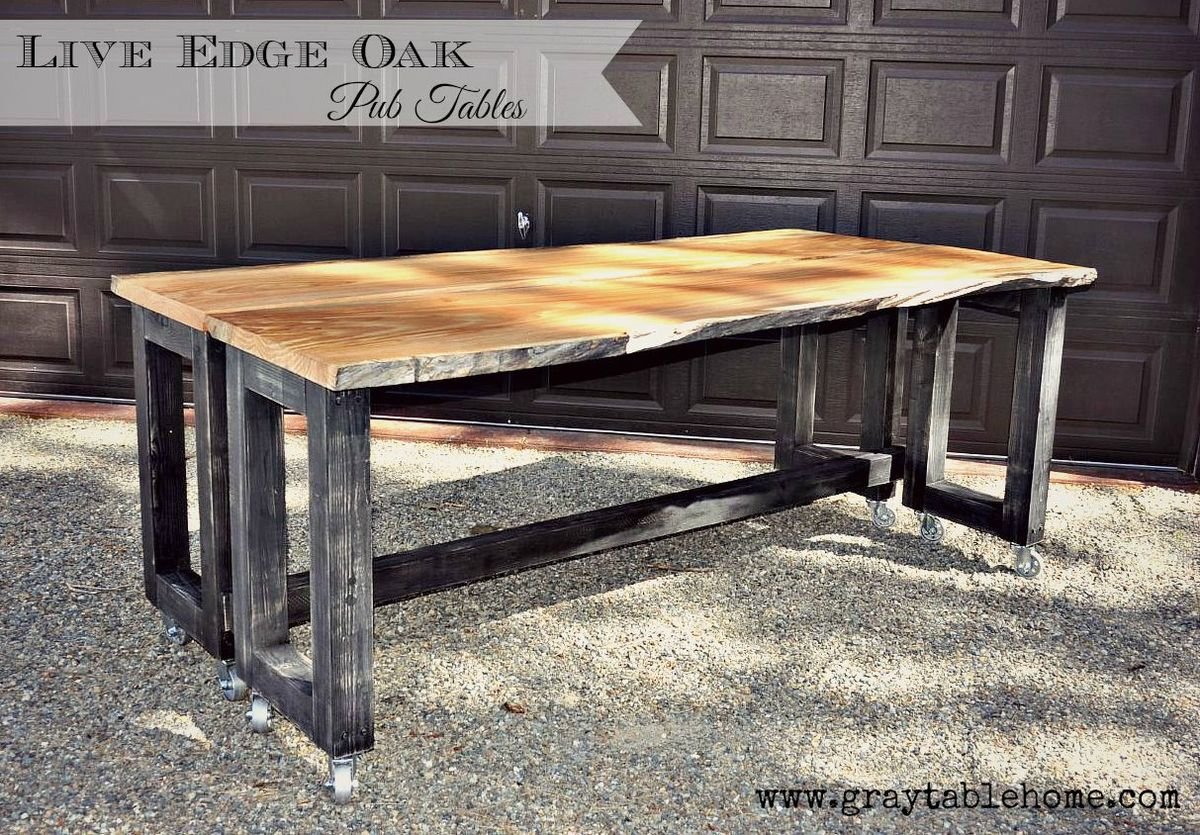
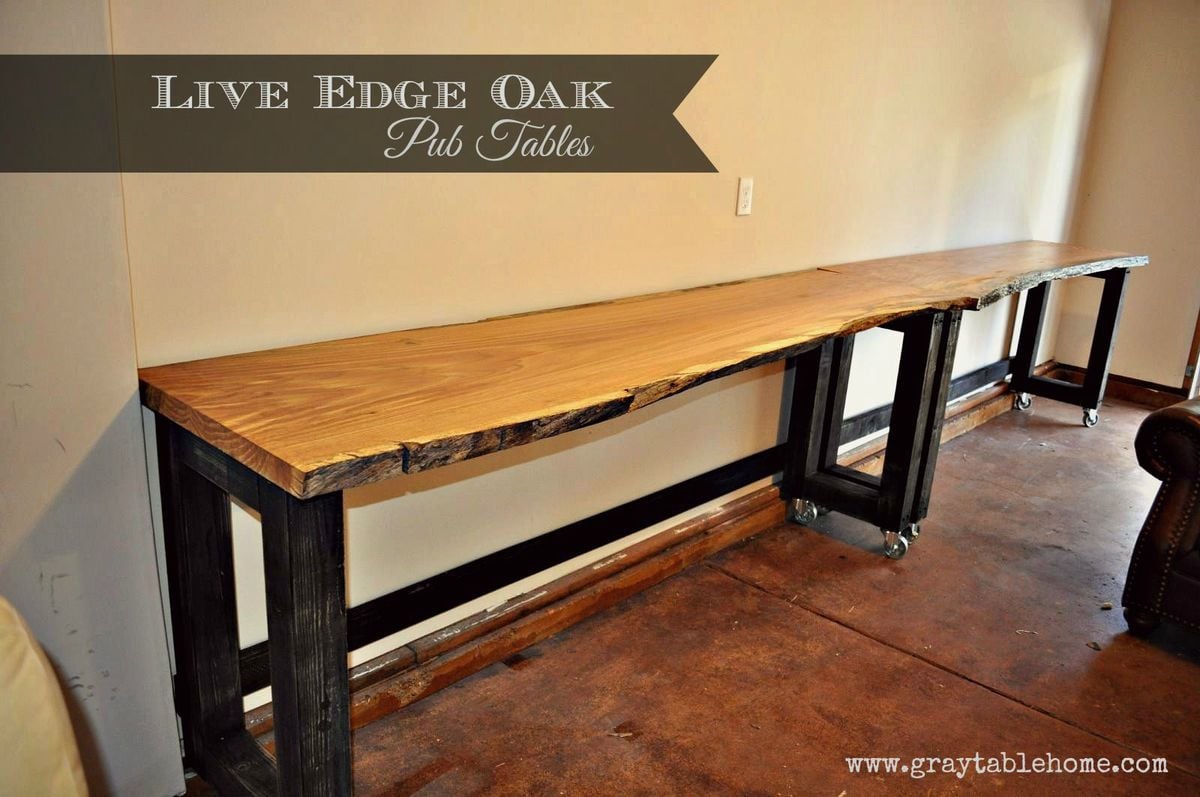
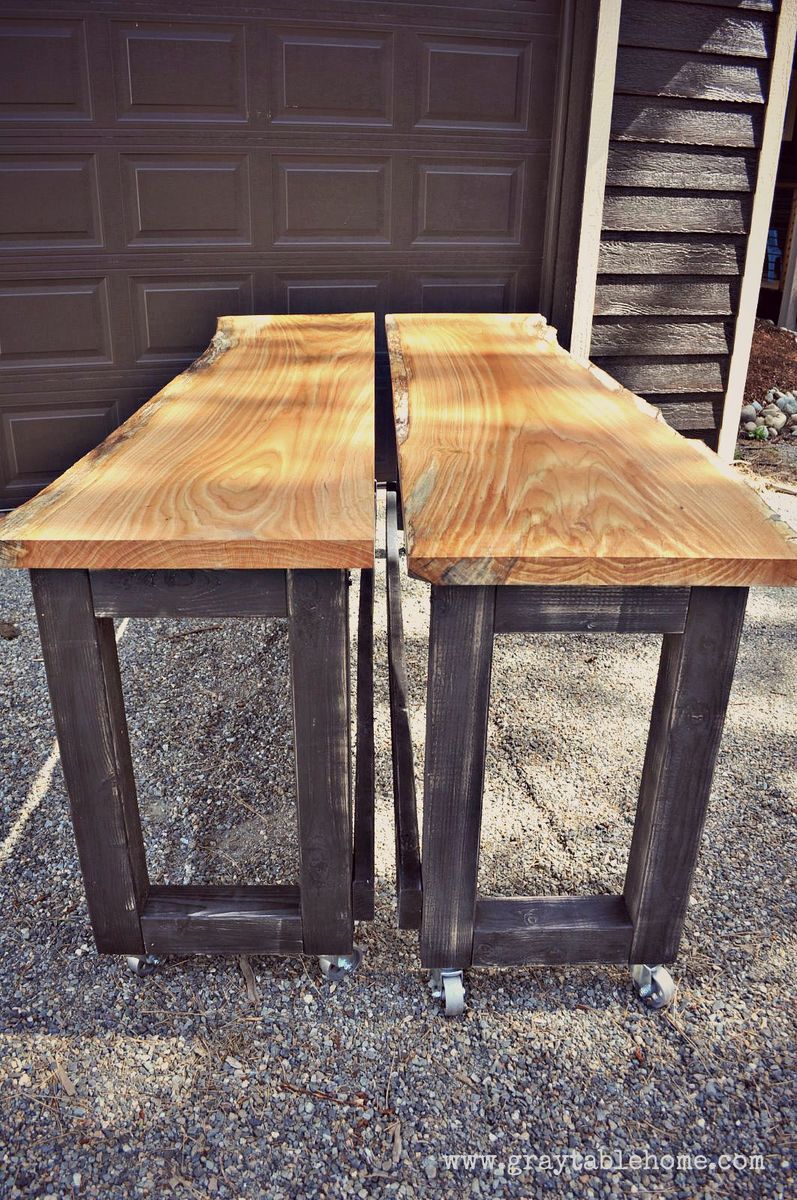
DIY Convertible Bar / Pub Table

Submitted by susanshamp on Thu, 07/30/2015 - 16:38

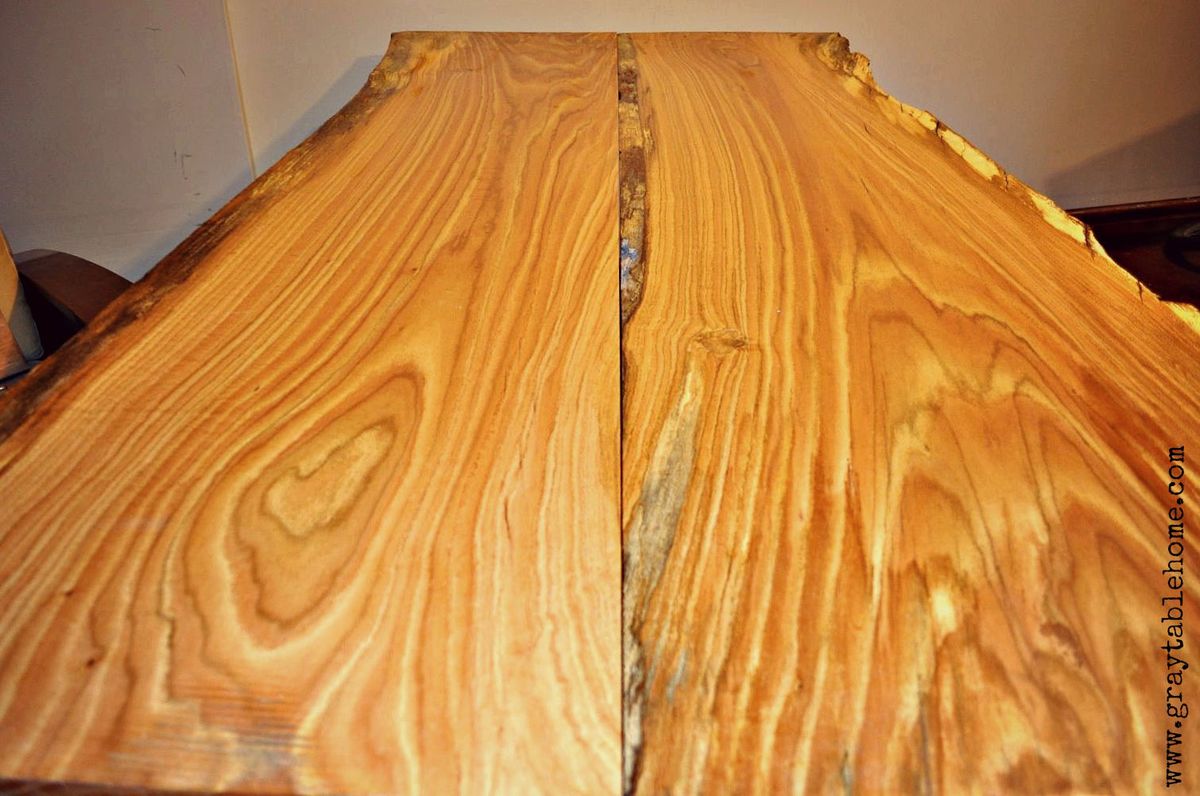
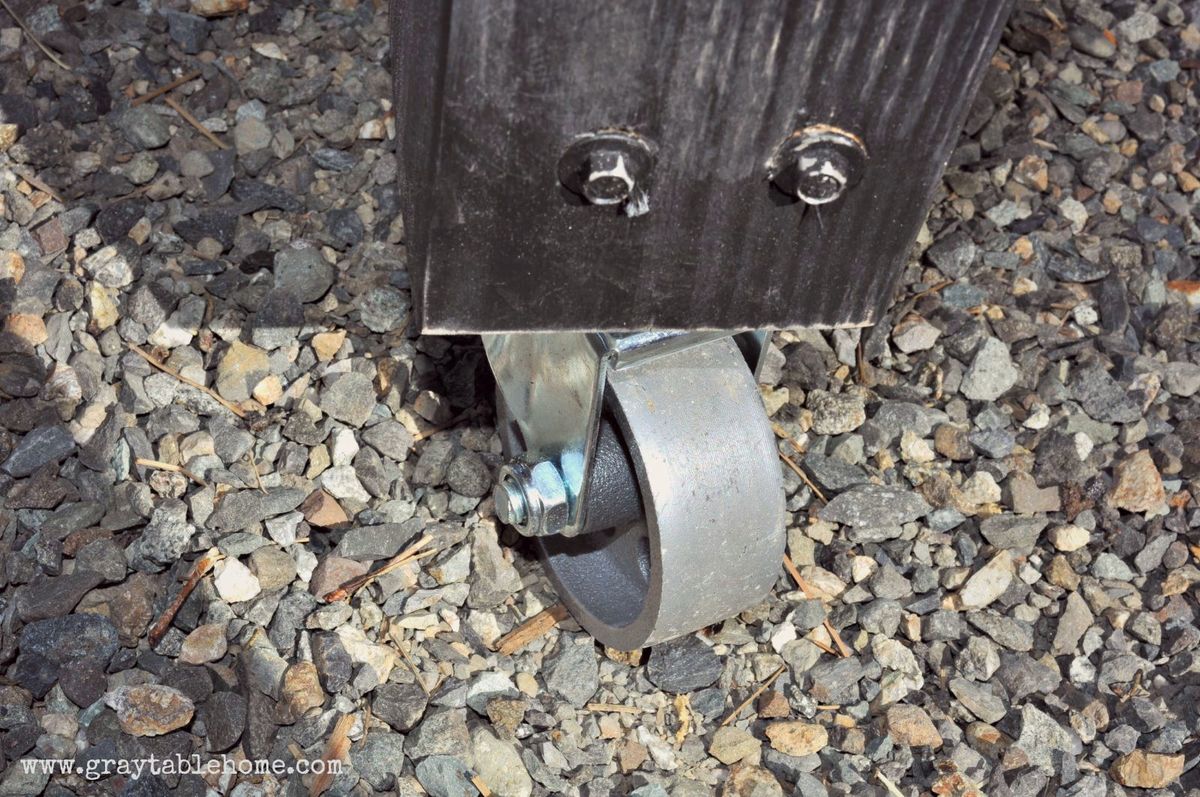
This rustic modern version of a pub table has multiple uses - it can rest along a wall to make a 16 foot long bar, or rolled together to form an 8 foot long pub table. It is standard counter height 36" and will accomodate seating for 8-10 counter stools. If you don't have live edge wood slabs, you can also use construction lumber (2x8s or 2x12s) to achieve similar dimensions and versatile use in a more cost effective way.

Estimated Cost
Using construction lumber, approx. cost is $50 per table
Estimated Time Investment
Afternoon Project (3-6 Hours)
Finish Used
Poly on slabs, distressed black paint on base
Recommended Skill Level
Beginner

Comments

kev117s

Fri, 07/31/2015 - 04:10

Awesome idea! I think I will have to try for a dining table version of this table. Do you happen to have a way to lock the 2 pieces together? 

My stainless steel kitchen island

Submitted by LRSinCA on Sat, 10/24/2015 - 22:36

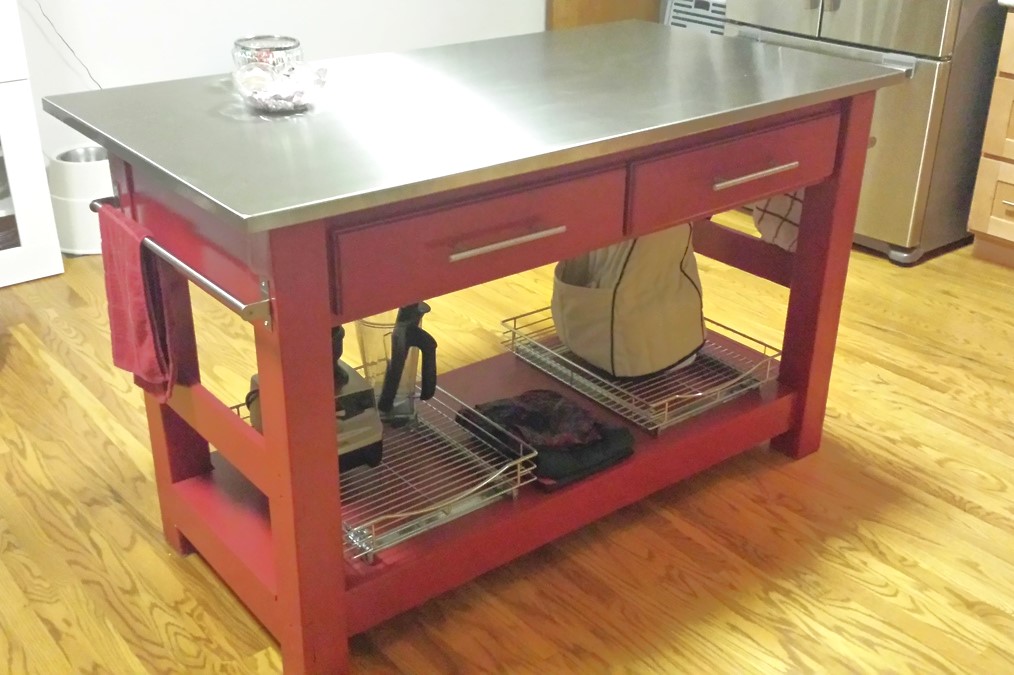
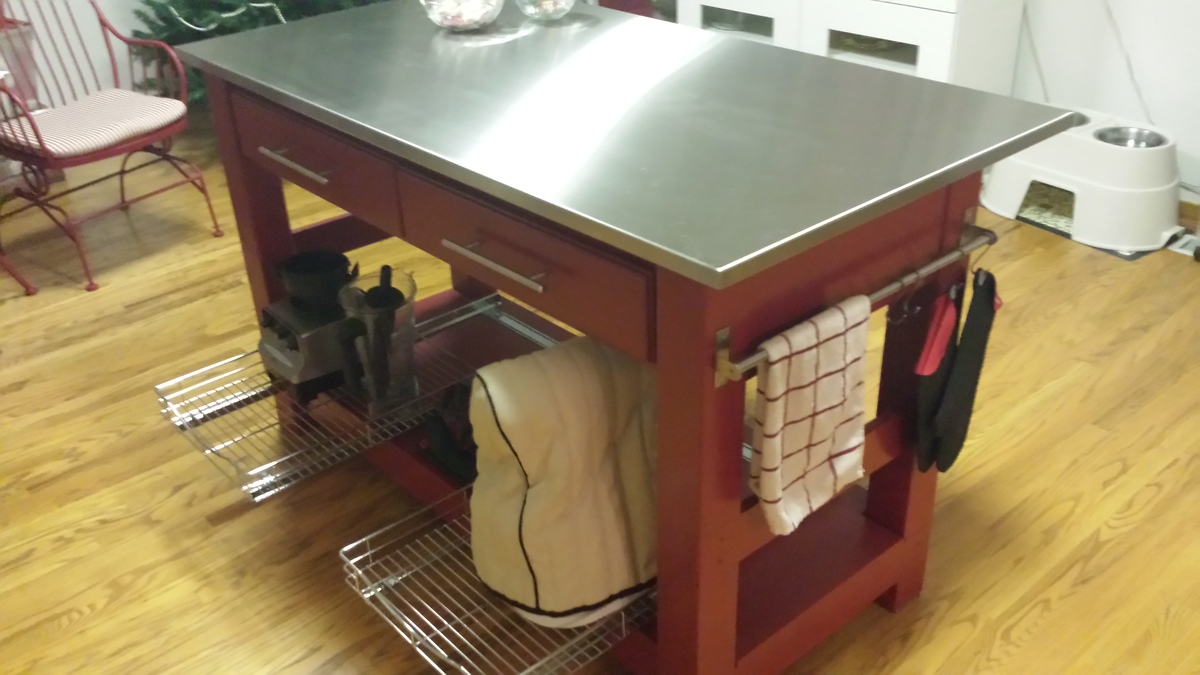
I really do enjoy my island. It has great storage and the added prep space has been wonderful. With the added counter space It has aloud me to make breads and pizzas and with the stainless steel top it is a breeze to clean. I really have enjoyed Ana's website with all the great plans and tips. 

Built from Plan(s)
Estimated Cost
It was a bit more expensive because of the top. In total it was around $400.00
Estimated Time Investment
Week Long Project (20 Hours or More)
Finish Used
I used a primer and then the Red paint on all the wood except the inside of the drawers along with the stainless steel top which I love. I used a spray primer to seal all the wood and then I used my Paint sprayer for the Red. I then used a gloss poly spay for the top coat to give it a nice shine.The stainless steel top I had made here in the Oakland, CA area. It works great to prep on and roll out pizza rounds.
Recommended Skill Level
Intermediate

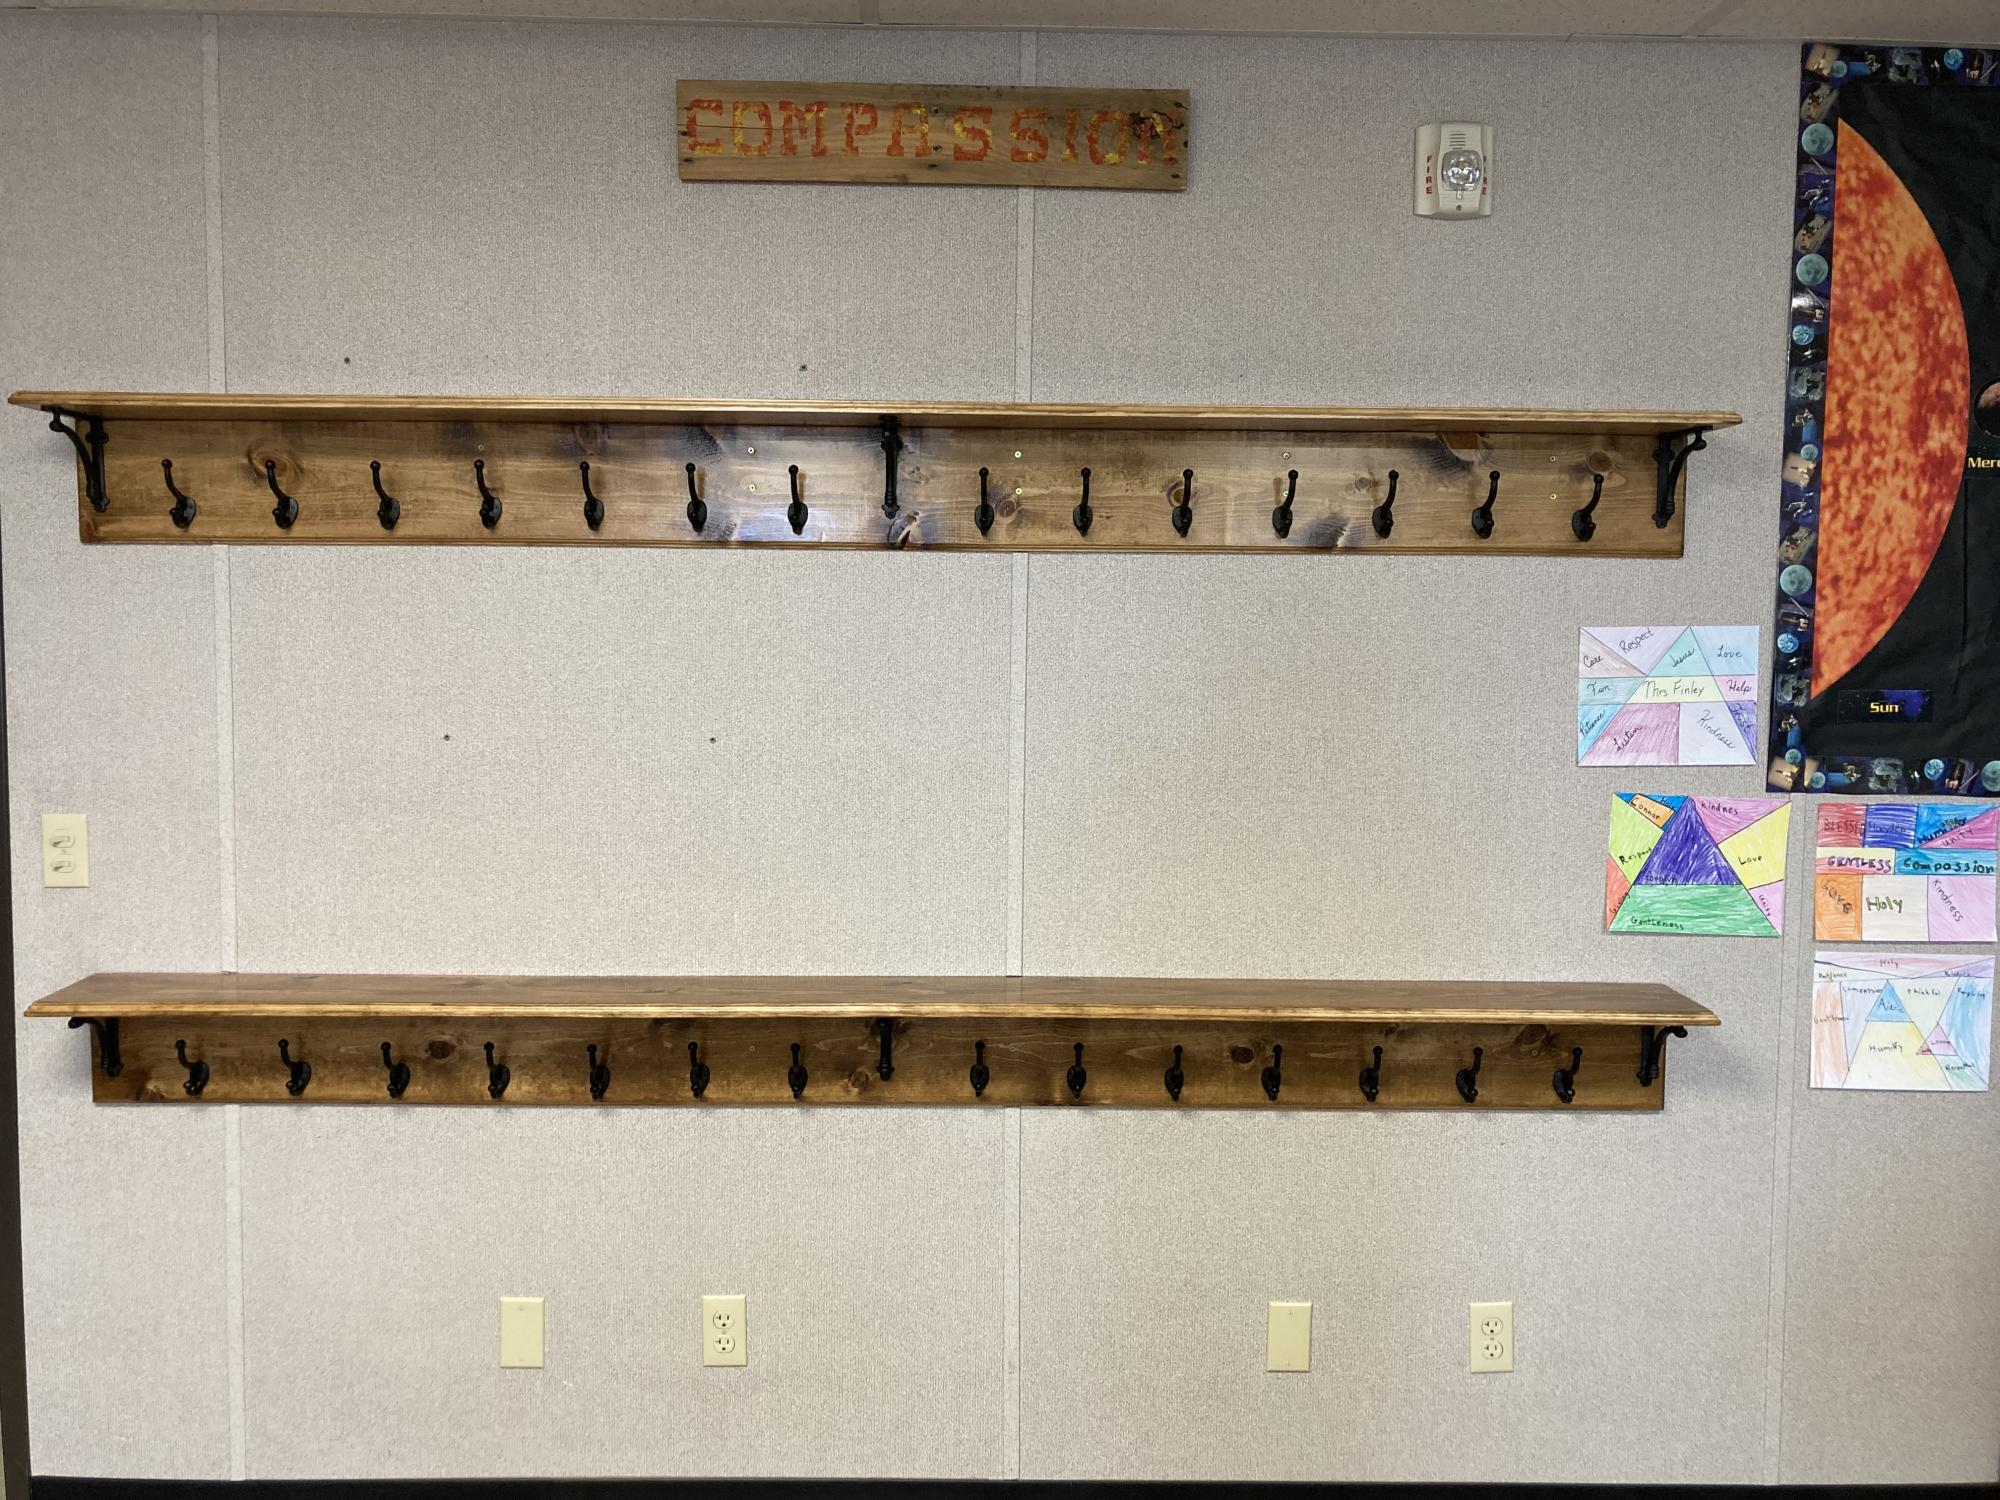
Classroom wall coat/backpack/lunch rack with shelf

Submitted by jendon on Sat, 08/20/2022 - 20:13

Dear Ana,
I was able to change classrooms and needed a place for my students to hang their backpack, lunch, coat, and snow gear. I used a combination of your ideas and created this. Each shelf is 8ft. Long with cast iron supports and coat hooks. The zinc hooks were too thin and we could bend them. The wood was sanded, stained with golden oak, and routed out the edges. I pocket holed every 8 inches and joined wall board to the shelf. The coat hooks are 6 inches apart. I cannot wait for the class to see it on Monday. Thank you Ana for all the ideas and making me feel comfortable to create on my own.
Blessings,
Jennifer

Comments

Ana White Admin

Sat, 08/20/2022 - 21:01

Thank you for sharing your projects, no doubt everybody is going to appreciate what you've built and use it everyday!

Rustic X Farmhouse Coffee Table with Storage

Submitted by Anonymous (not verified) on Sun, 02/05/2023 - 08:54

This project was made from reclaimed wood from my office where they had built a temporary safety railing out of 2x4s and 2x6s. I added a compartment for storage. The top is stained in a classic grey. I painted the body in black followed by white. I then sanded the body to allow the black to bleed through for a distressed look.

Comments

Farm Table for Birthday

Submitted by Docmike on Sun, 06/23/2019 - 20:15

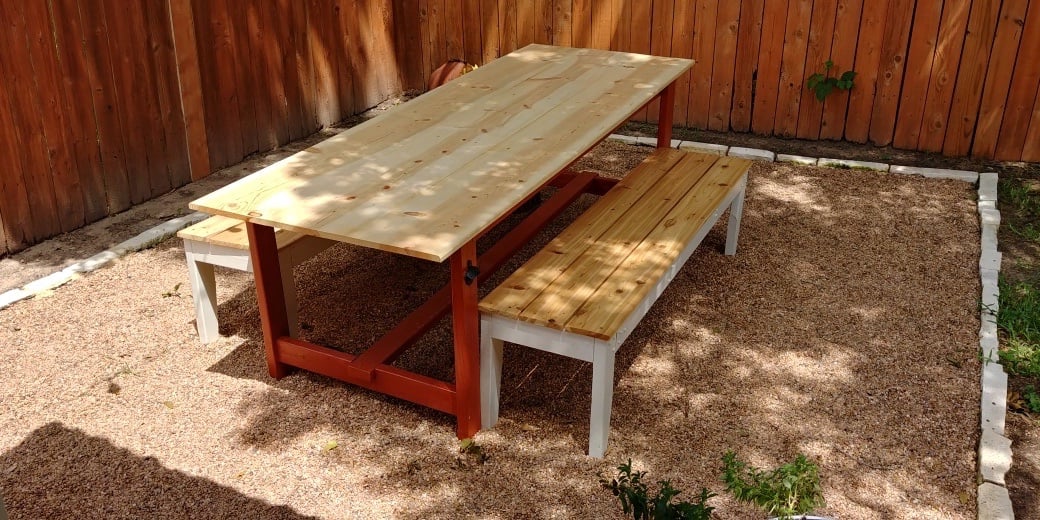
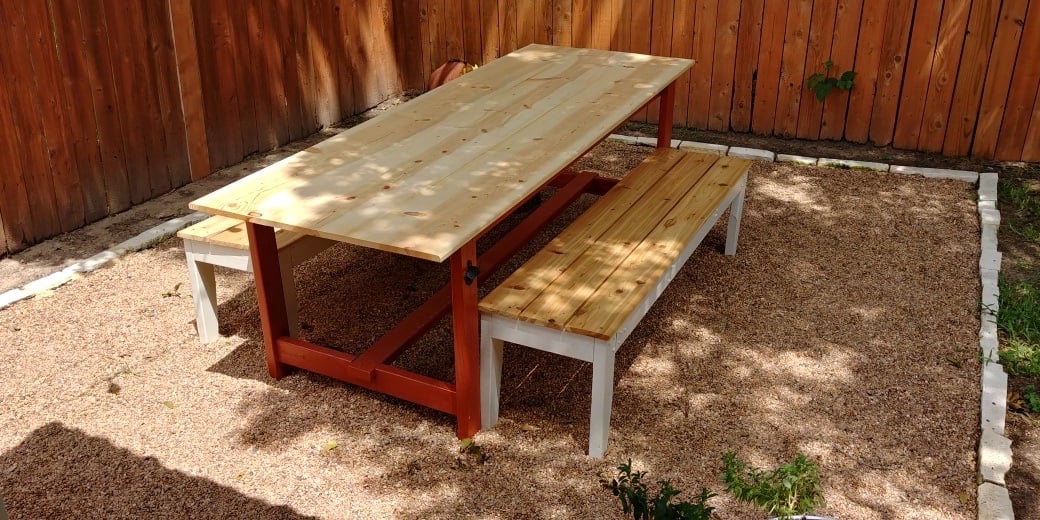
This table was for my wife's birthday present.  I followed/modified the simple and pocket hole farmhouse table plans.  The table top is 1x12 pine as I couldn't find any cedar that wasn't cupped or warped after several weeks looking and wanted a wider board top.  Then we used the easiest padded bench plans, adding height as suggested to the legs and using 3 cedar 1x6's for seats.  All tops were sanded and sealed before 4 coats of marine spar poly were used.  

Thanks for the plans, Ana.  

Estimated Cost
$300 - $400
Estimated Time Investment
Week Long Project (20 Hours or More)
Finish Used
Minwax Pro Polyurethane Spar Varnish
Recommended Skill Level
Beginner

Planter step

I only needed one step up, but replacing the old, cracked, weird, faux concrete step with the new planter box worked great!

Estimated Cost
$86
Estimated Time Investment
Day Project (6-9 Hours)
Finish Used
Solid color exterior stain.
Recommended Skill Level
Intermediate

Comments

Seasonal And Holiday

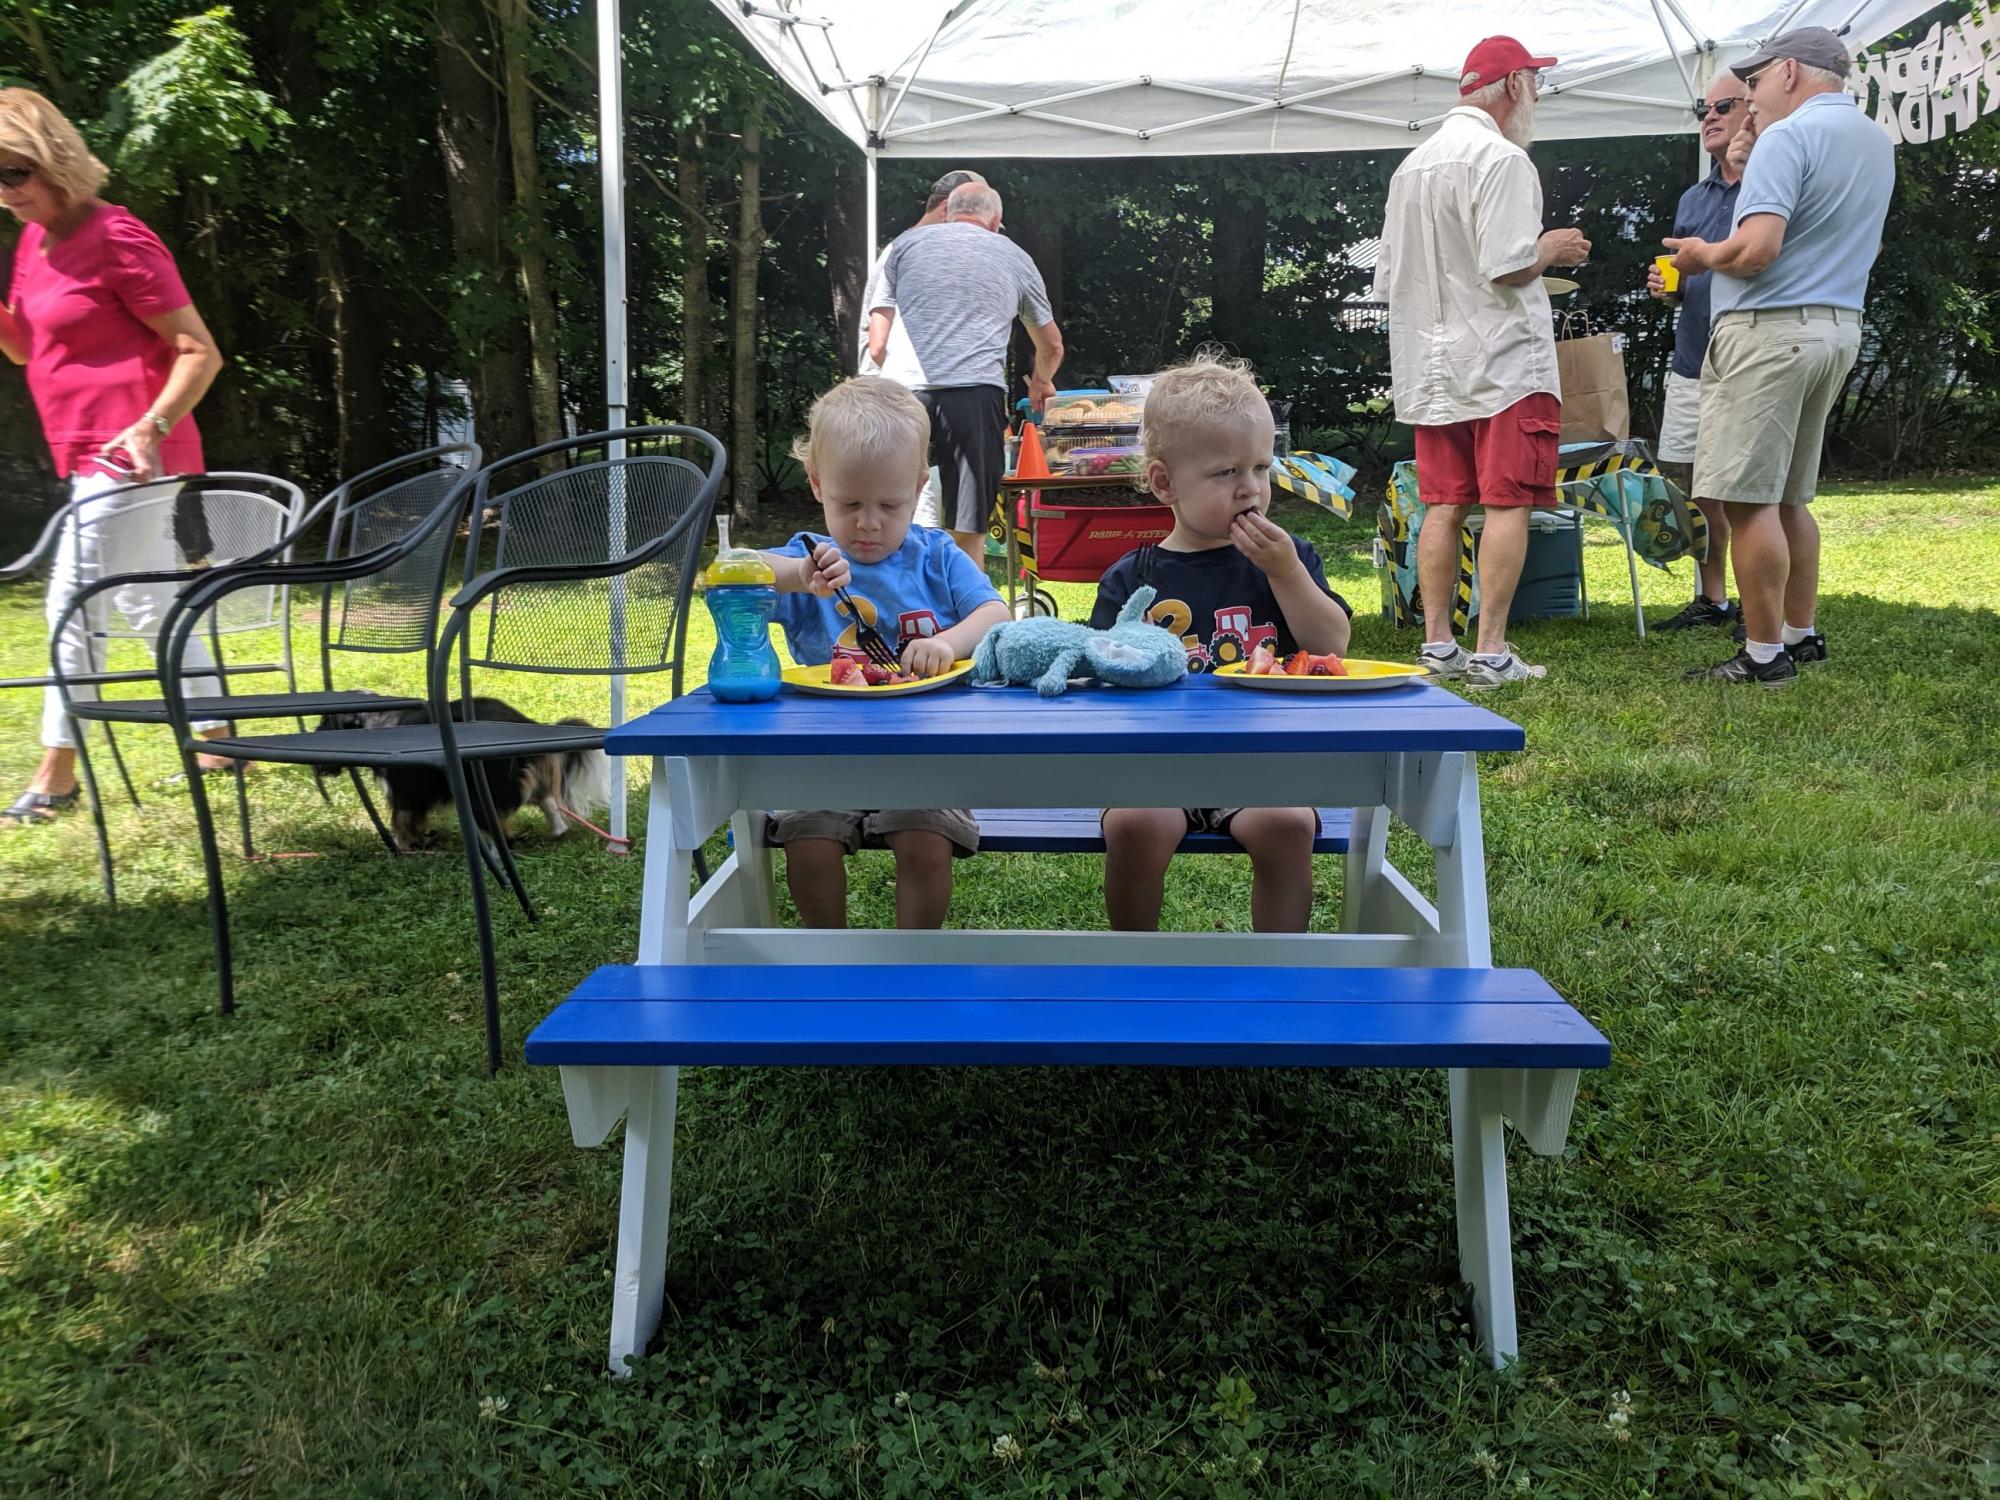
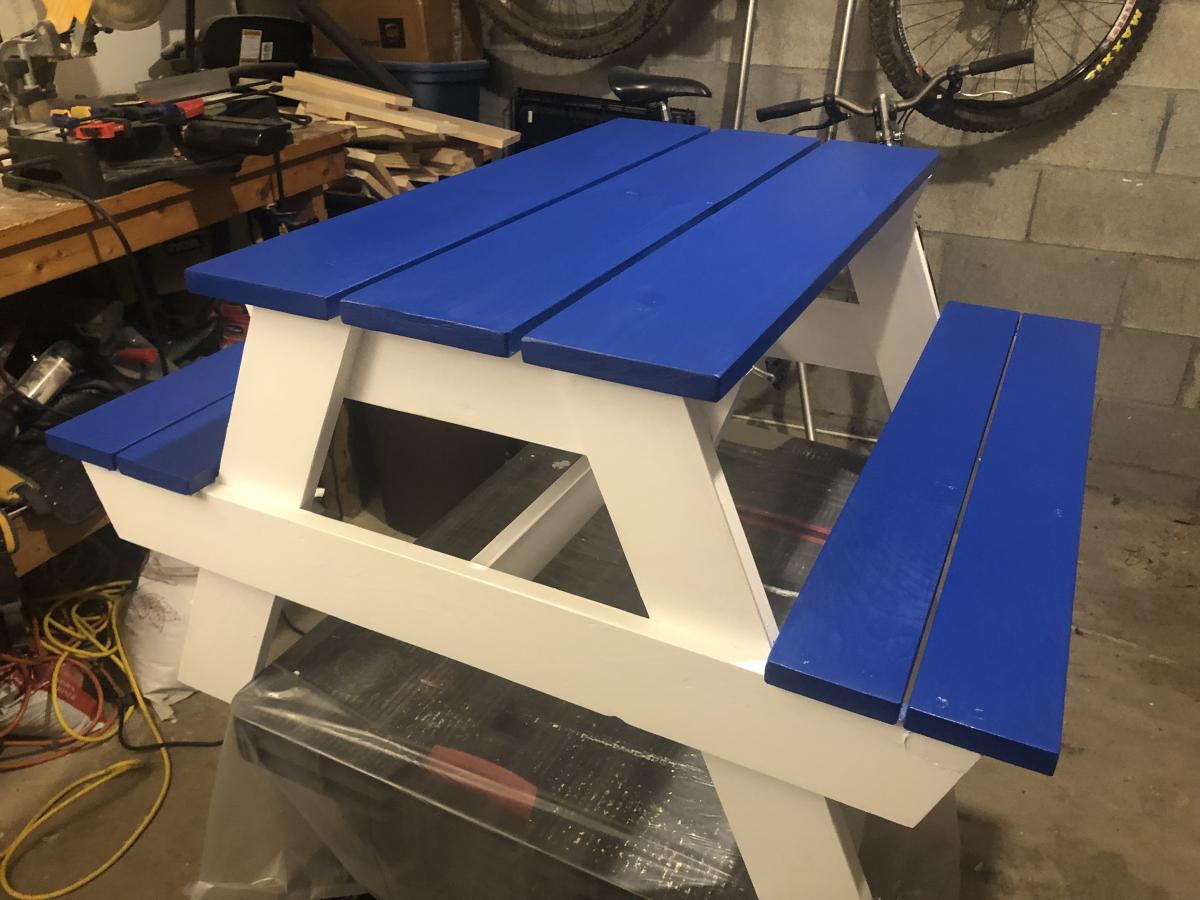
Little Kids Picnic Table

Submitted by JamieLynn on Fri, 07/19/2019 - 12:44

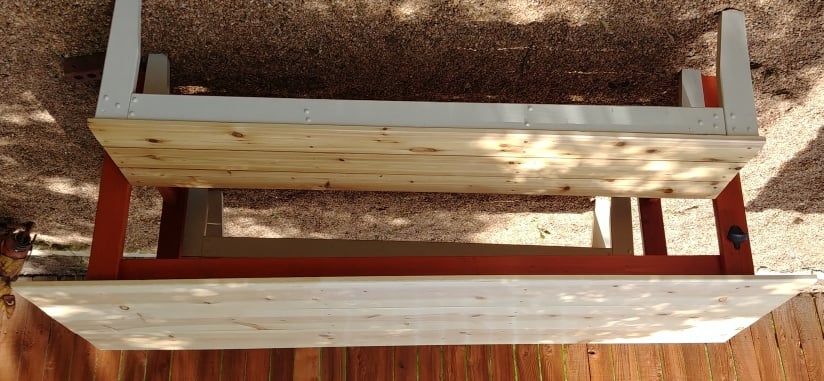
This was a really fun build. The bottom side boards were put on the outside instead of the inside (this was an accident) but it still seems very sturdy. Perfect for 2-5 years old.

Built from Plan(s)
Estimated Cost
$20
Estimated Time Investment
Day Project (6-9 Hours)
Finish Used
Exterior Paint
Recommended Skill Level
Beginner

Comments

Rustic X Console

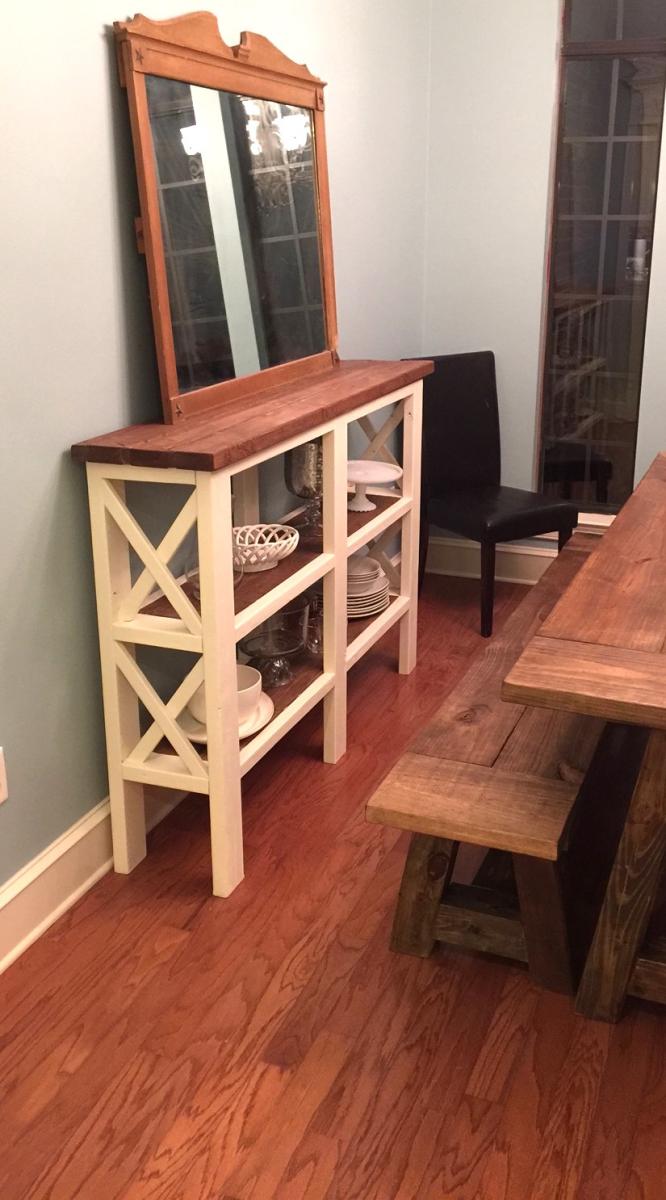
Needed to add a buffet console to the empty wall in our formal dining room.

Built from Plan(s)
Estimated Cost
$65
Estimated Time Investment
Afternoon Project (3-6 Hours)
Recommended Skill Level
Beginner

Toy Storage

Submitted by hoffer5353 on Sat, 01/07/2012 - 19:30

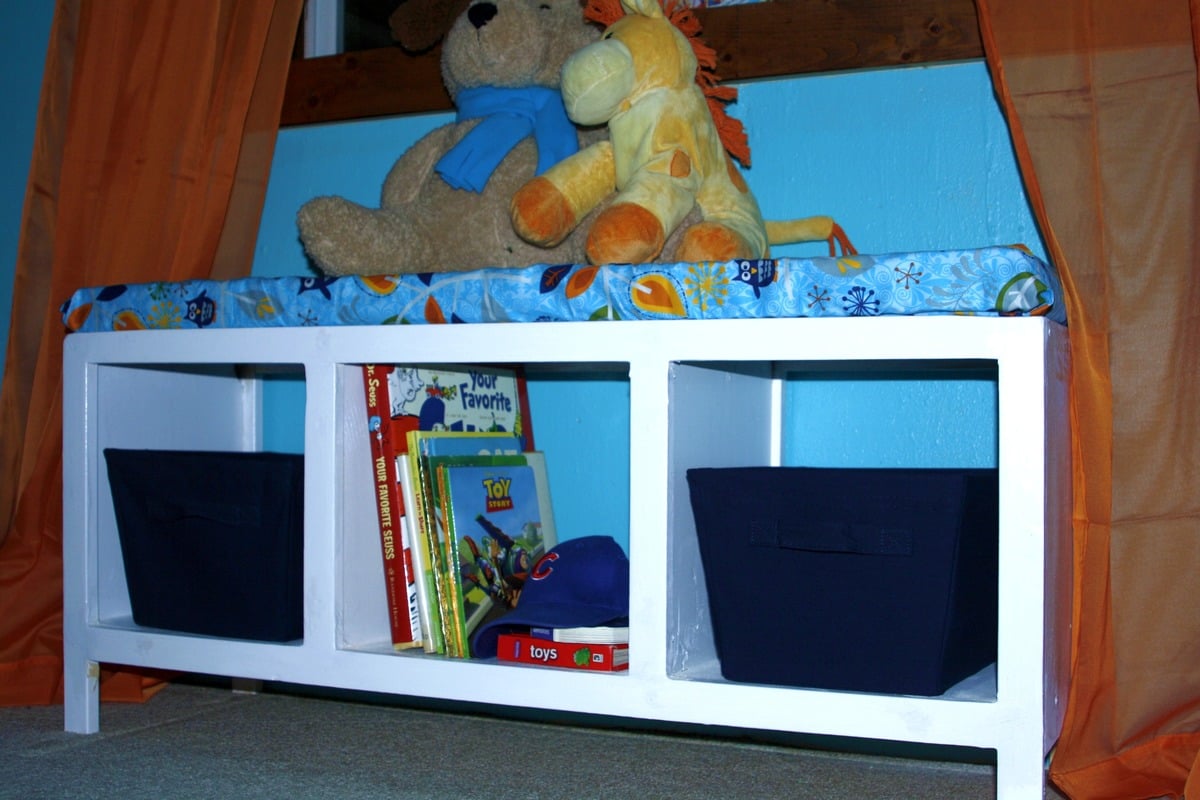
After our basement remodel I decided we needed some storage for our growing collection of of toys.
This project went together much more quickly than I expected. I am so happy with the results.

Built from Plan(s)
Estimated Time Investment
Day Project (6-9 Hours)
Finish Used
valspar, interior semi-gloss
Recommended Skill Level
Intermediate

Comments

Vmc107

Fri, 07/19/2013 - 07:05

hi! Ive been looking for something like this for toy storage in my living room. Were you able to post the plans to make something like this?

Industrial Coffee Table

Submitted by Anonymous (not verified) on Tue, 02/16/2016 - 12:24

I was seeing this coffee table everywhere so I knew we had to make it. It's the easiest build ever. I think the only tricky part is the painting near the edge. We like a more sanded/finished top. We tried spray painting the base and then attaching the top, but then we sanded the top and the spray paint on the base near the top came off, so I had to cut in and I'm not good at that.

So we're still working on a way to do this properly. We tried making the top on the ground and then sanding & attaching it. But the top needs to be completely exact/square in order to do this. We live in a old farmhouse, so we prefer to attach it as we go - then sand. We also plane the top for a more exact and modern look. 

Estimated Cost
Under 50.00
Estimated Time Investment
Afternoon Project (3-6 Hours)
Finish Used
Top stained in our custom beachwood mix. A mixture of Minwax stains, Bottom spray painted in Oil Rubbed Bronze & semi-gloss polyurethane ( two coats )
Recommended Skill Level
Beginner

Comments

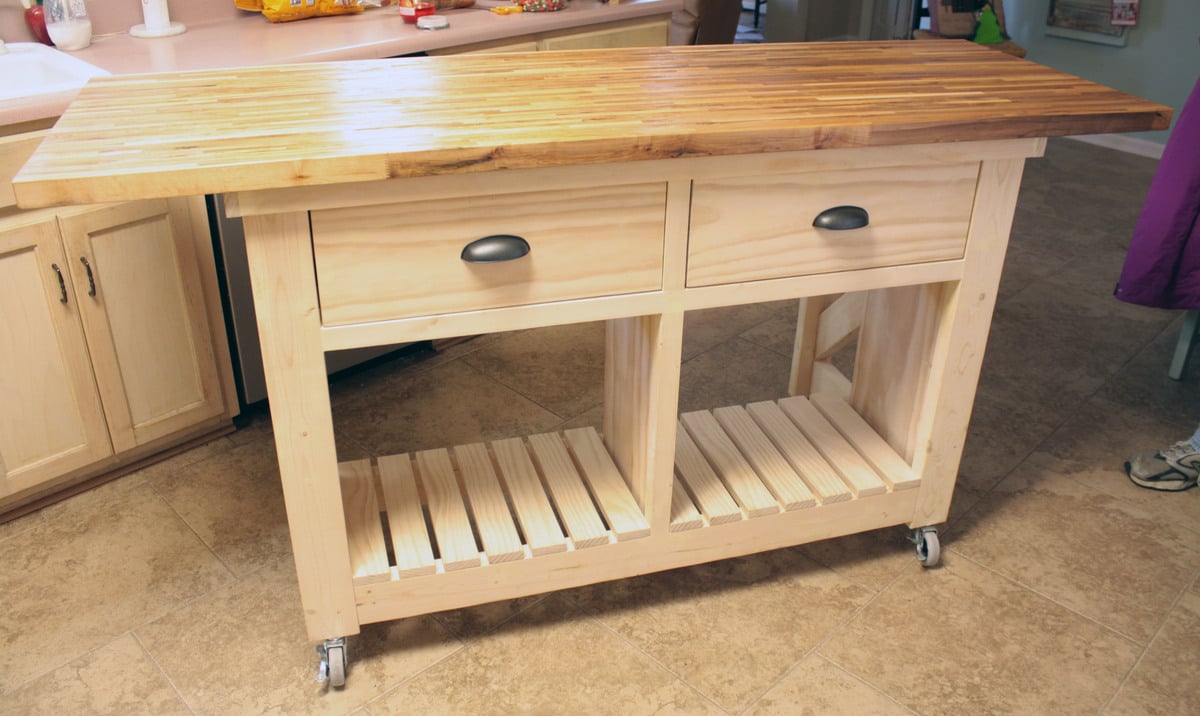
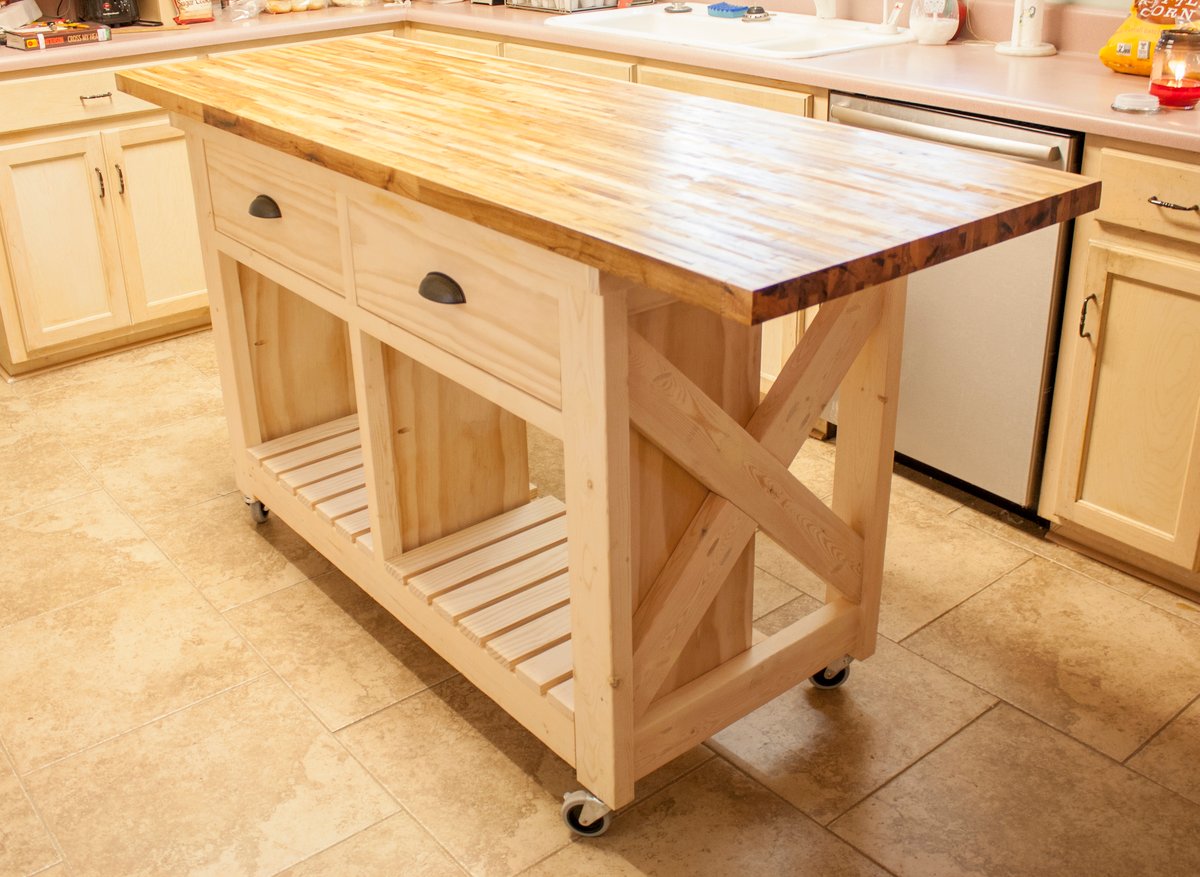
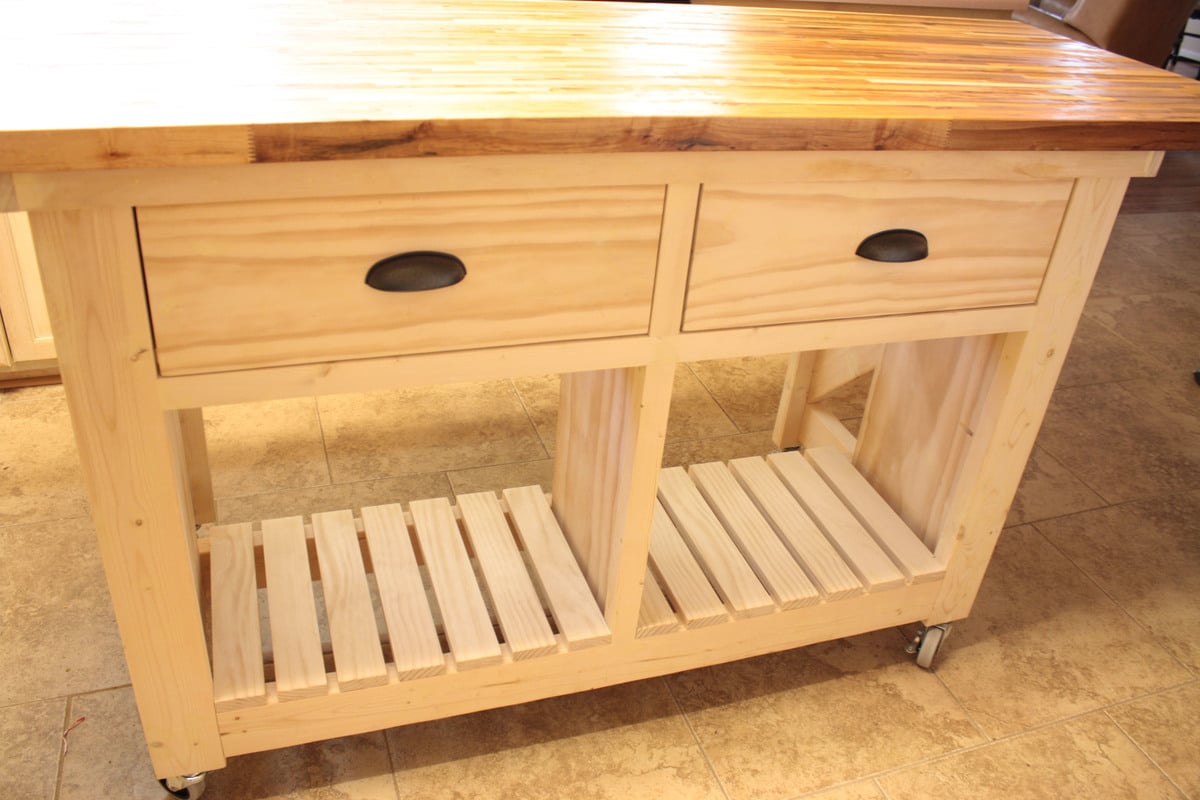
Double kitchen island with butcher block top

Submitted by bhoppy on Wed, 01/01/2014 - 11:58

I started on the project when I went home for Thanksgiving and finished up the drawers when I was home for Christmas. I live about 7 hours from my family. I took a few tools with me (kreg jig and drill) but borrowed a circular saw and miter saw for all the cuts. It was difficult working on it because it was fairly cold and my dad only has a carport. Which is why it took longer. My step-mom says she wants to paint it maybe with some milk paint. She also did not want the center shelf as she wanted a place for taller items.

The butcher block top was $299. It comes from lumber liquidators in 25" by 96". My dad had about 2 feet cut off the length. Ikea also sells butcher block tops for roughly half the price I think, but they were out of stock in both Atlanta and Charlotte.

I also made the small kitchen island before and this one went much more smoothly. Having the extra set of hands was awesome and made for a wonderful memory as I built it with my father:-)

Built from Plan(s)
Estimated Cost
$400
Estimated Time Investment
Week Long Project (20 Hours or More)
Finish Used
None yet
Recommended Skill Level
Intermediate

Comments

Ana White

Thu, 08/15/2019 - 12:14

This is amazing Stephanie!!!!  I can't believe I didn't see this sooner.  

We are going to feature your photo with the plans - thank you so much for sharing a brag post!  Hope you are well!

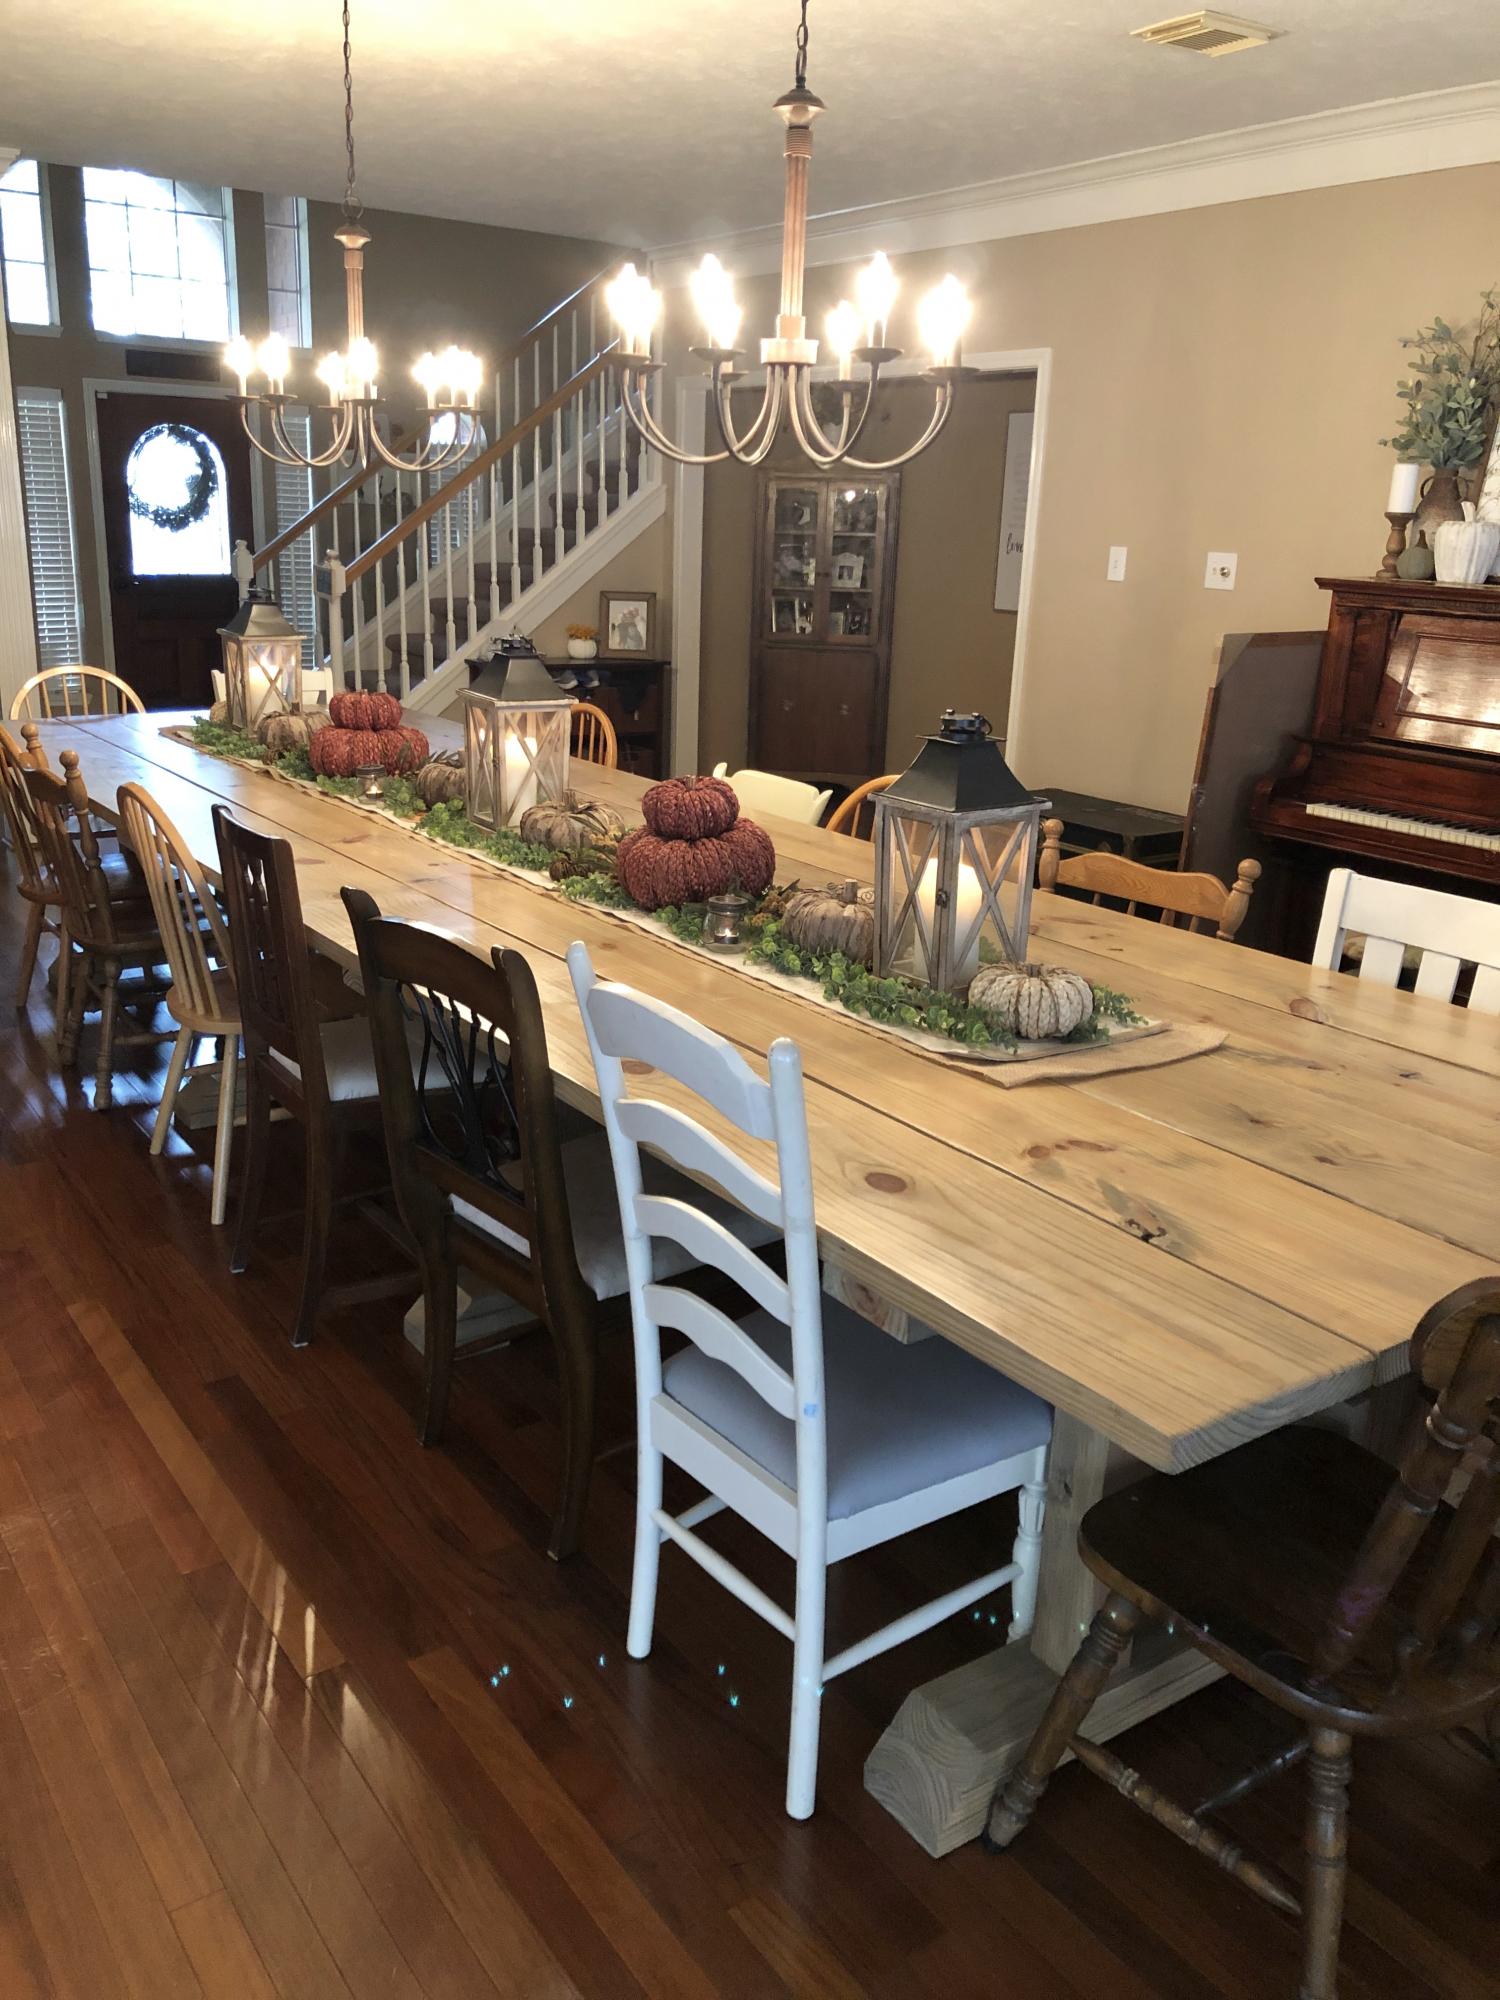
16ft x 5ft farm table

Submitted by Anonymous (not verified) on Tue, 10/29/2019 - 18:43

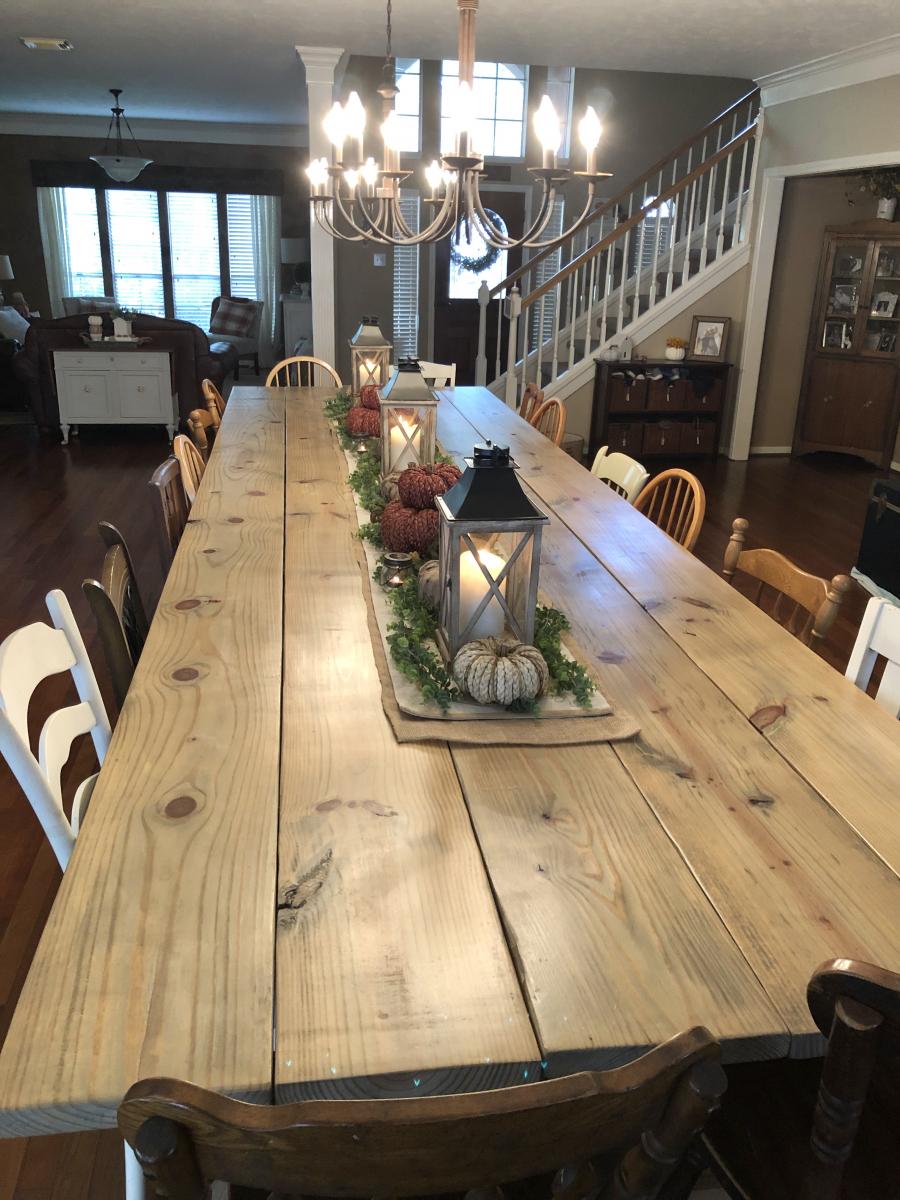
This table was created using a variety of plans. It can seat up to 20 people comfortably. The table top was built with 5 pieces of 2x12. The legs were a combination of 4x4 posts and 2x6s. 2 coats of Minwax Weathered Gray was the stain and then 3 coats of varathane semi-gloss finish. We sanded between each coat of poly.

Estimated Cost
435.00
Estimated Time Investment
Weekend Project (10-20 Hours)
Finish Used
Varathane semi gloss poly
Recommended Skill Level
Intermediate
Seasonal And Holiday

scraps come to life!!

Submitted by sueslager on Mon, 03/26/2012 - 06:15

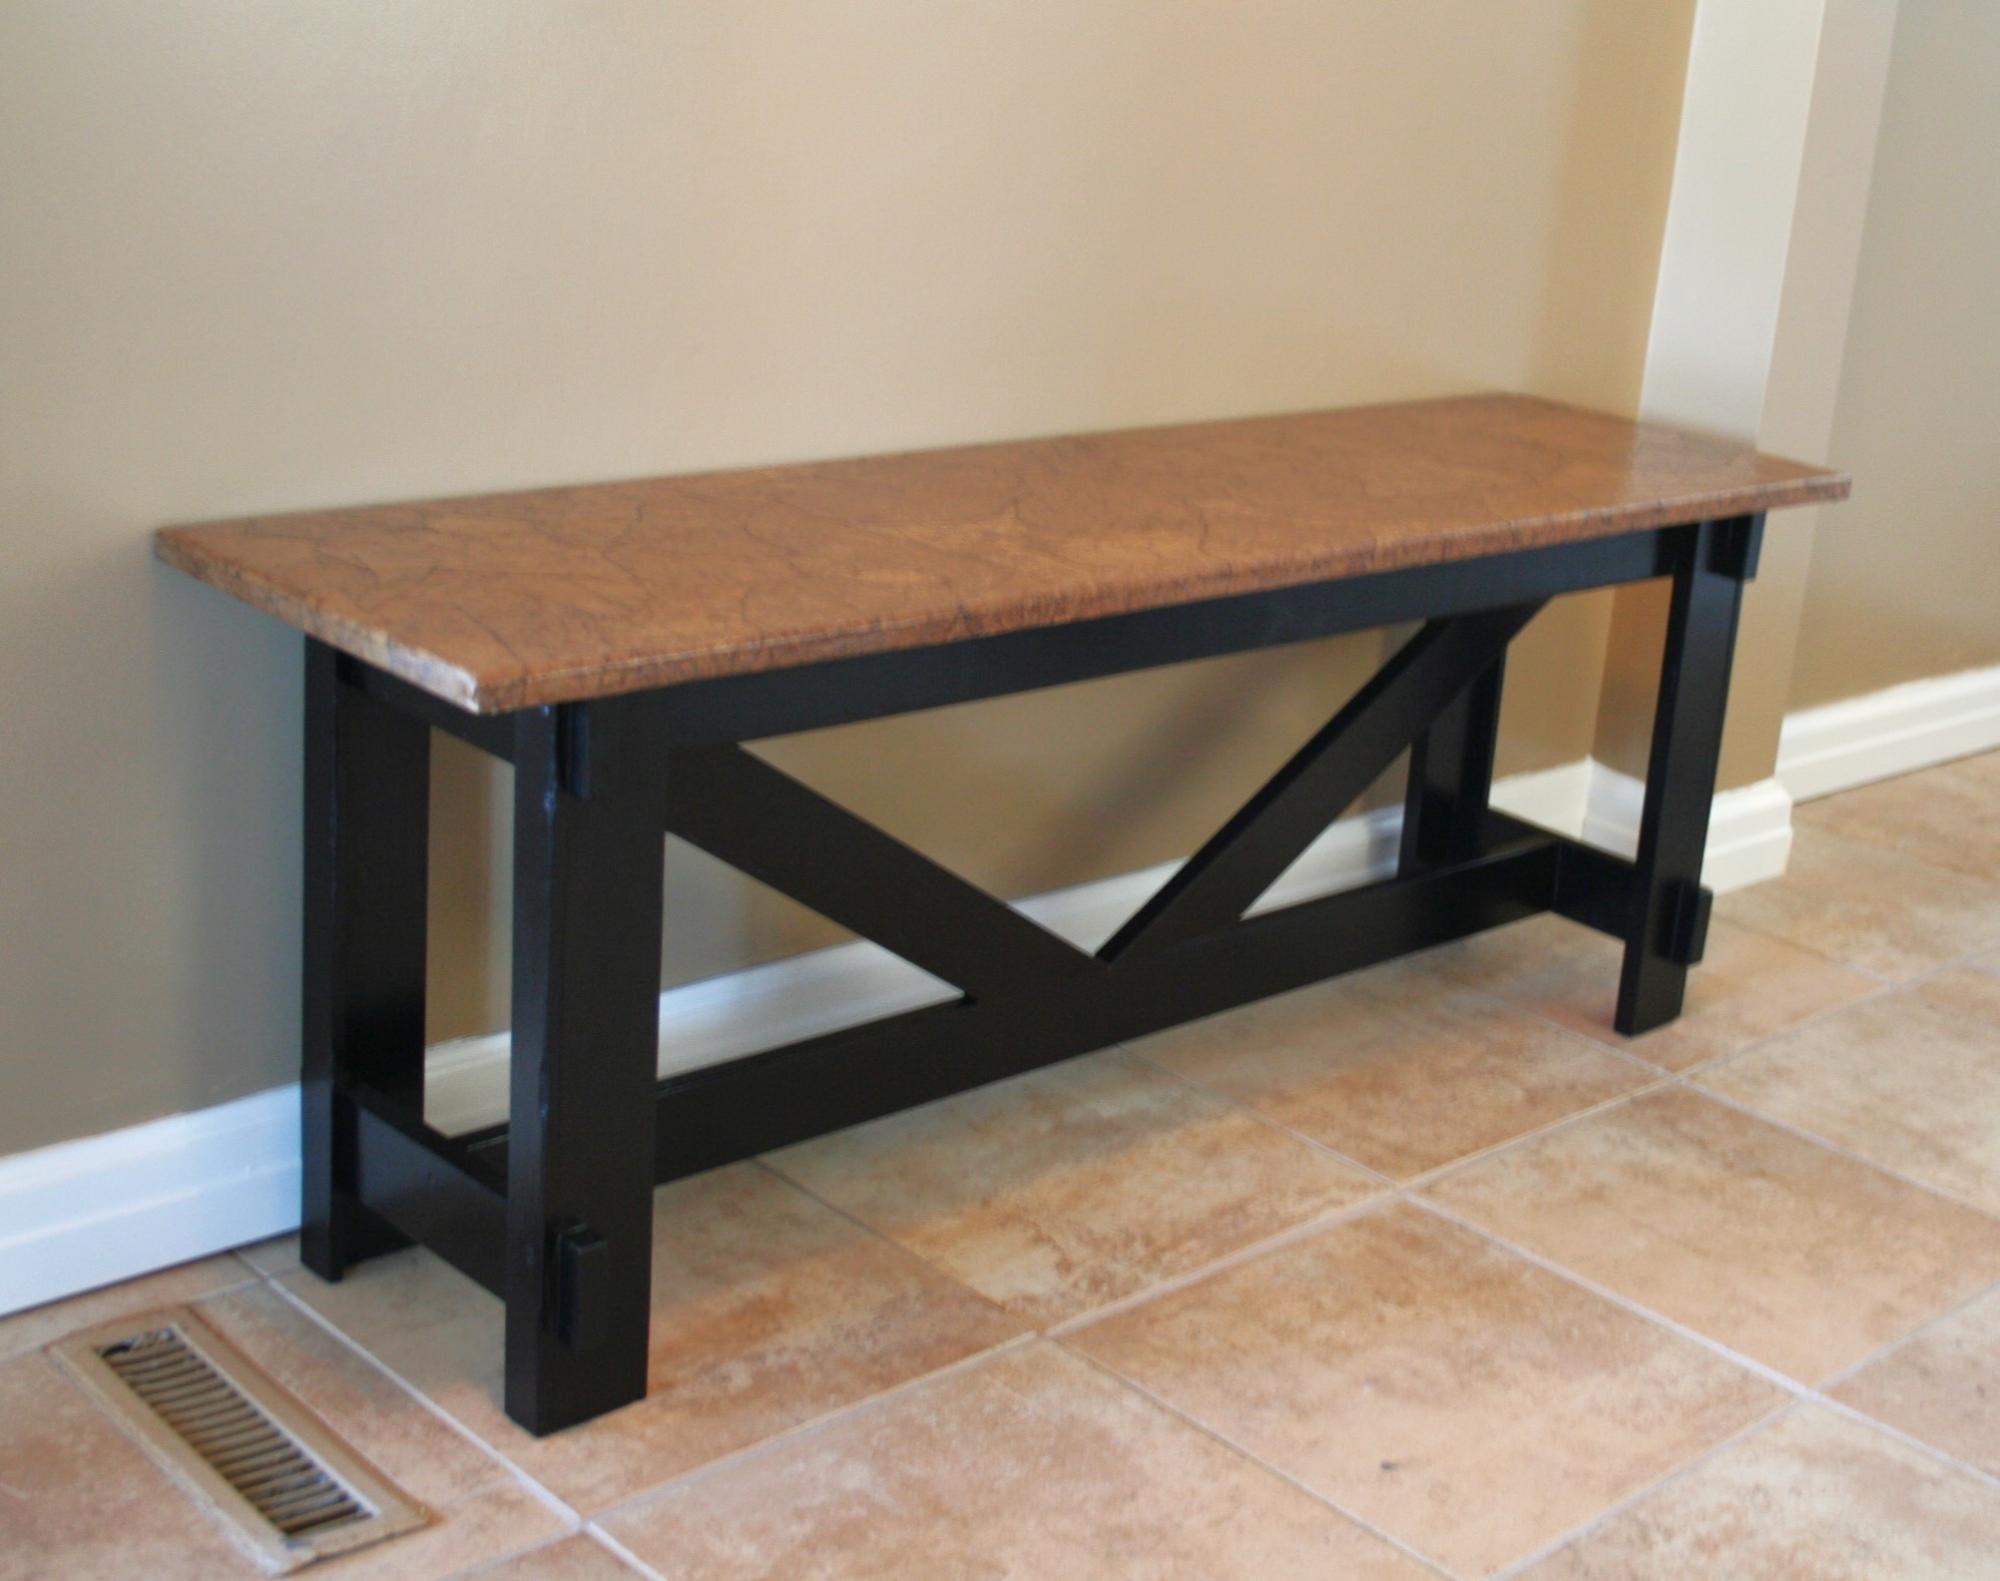
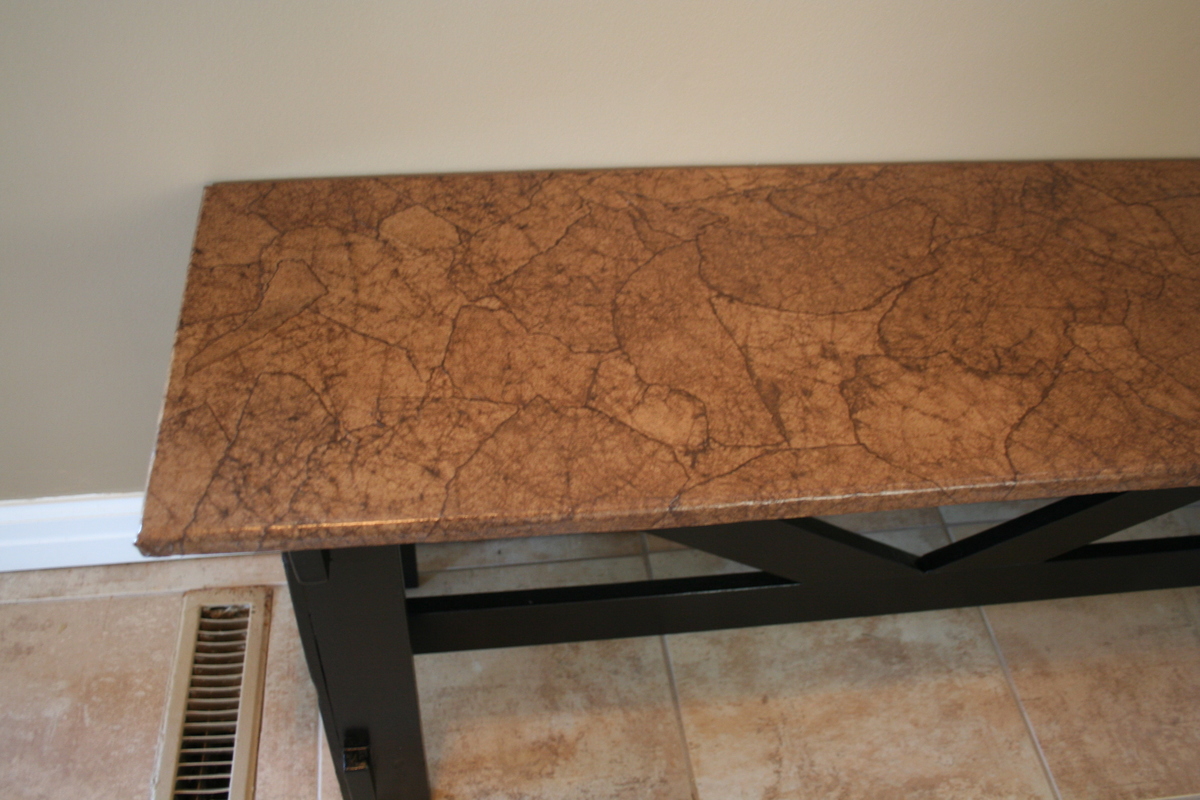
Thank you ana ... and all of you "braggers" ... I have a huge list of projects now, but this is the first one from your ideas. I had an old piece of 3/4 plywood left over from something else so that became the top .. and other sizes were adjusted as needed. I realize now that i should have taken pictures along the way ... it was pretty ugly before finish :) The top is brown paper bagged ... the best instructions out there are at http://lovelycraftyhome.com/2011/11/09/the-ultimate-brown-paper-floorin… ... it is truly almost magic how beautiful such simple ingredients and technique become (and cheap) Thanks again!

Estimated Cost
free - from leftovers and scraps
Estimated Time Investment
Afternoon Project (3-6 Hours)
Finish Used
satin black oil enamel
Recommended Skill Level
Beginner

Comments

Bunnie1978

Mon, 03/26/2012 - 07:20

I love the texture. I have never heard of paper bagging. LOL. It is very unique, and I'm sure it can be just as durable as anything else with the right finishing. Nice job! I am very impressed.

sueslager

Mon, 03/26/2012 - 10:20

my finished dimensions ended up being 13 (W) x 48 (L) x 18 (H) ... found Ana's dimensions were very adjustable though ... the only trick was the cross braces ... and those i ended up having to hold in place and draw the cut lines .. my geometry failed me :)

from what i hear the "paper bagging" is quite durable .. there are reports all over the web of people who have had it in place on their floors for years with only occasional touchups with poly ... definitely time consuming with needing so many poly coats .. but they go quickly. i'm putting it on my stairs next ... have tile below, will be wood above .. and i'm too cheap to pay for hard wood stair tread!!

kaytrishjr

Wed, 03/28/2012 - 13:25

You did a wonderful job!!!! Mine is holding up just fine, my son practically does cartwheels on it everyday, no problem! Now, I'm about to start on my floors this week, cant' wait to see how it turns out!

sueslager

Wed, 03/28/2012 - 17:52

i already tore out the carpet on my steps ... if we still like it the bedroom will be next ... hope your project goes smoothly!