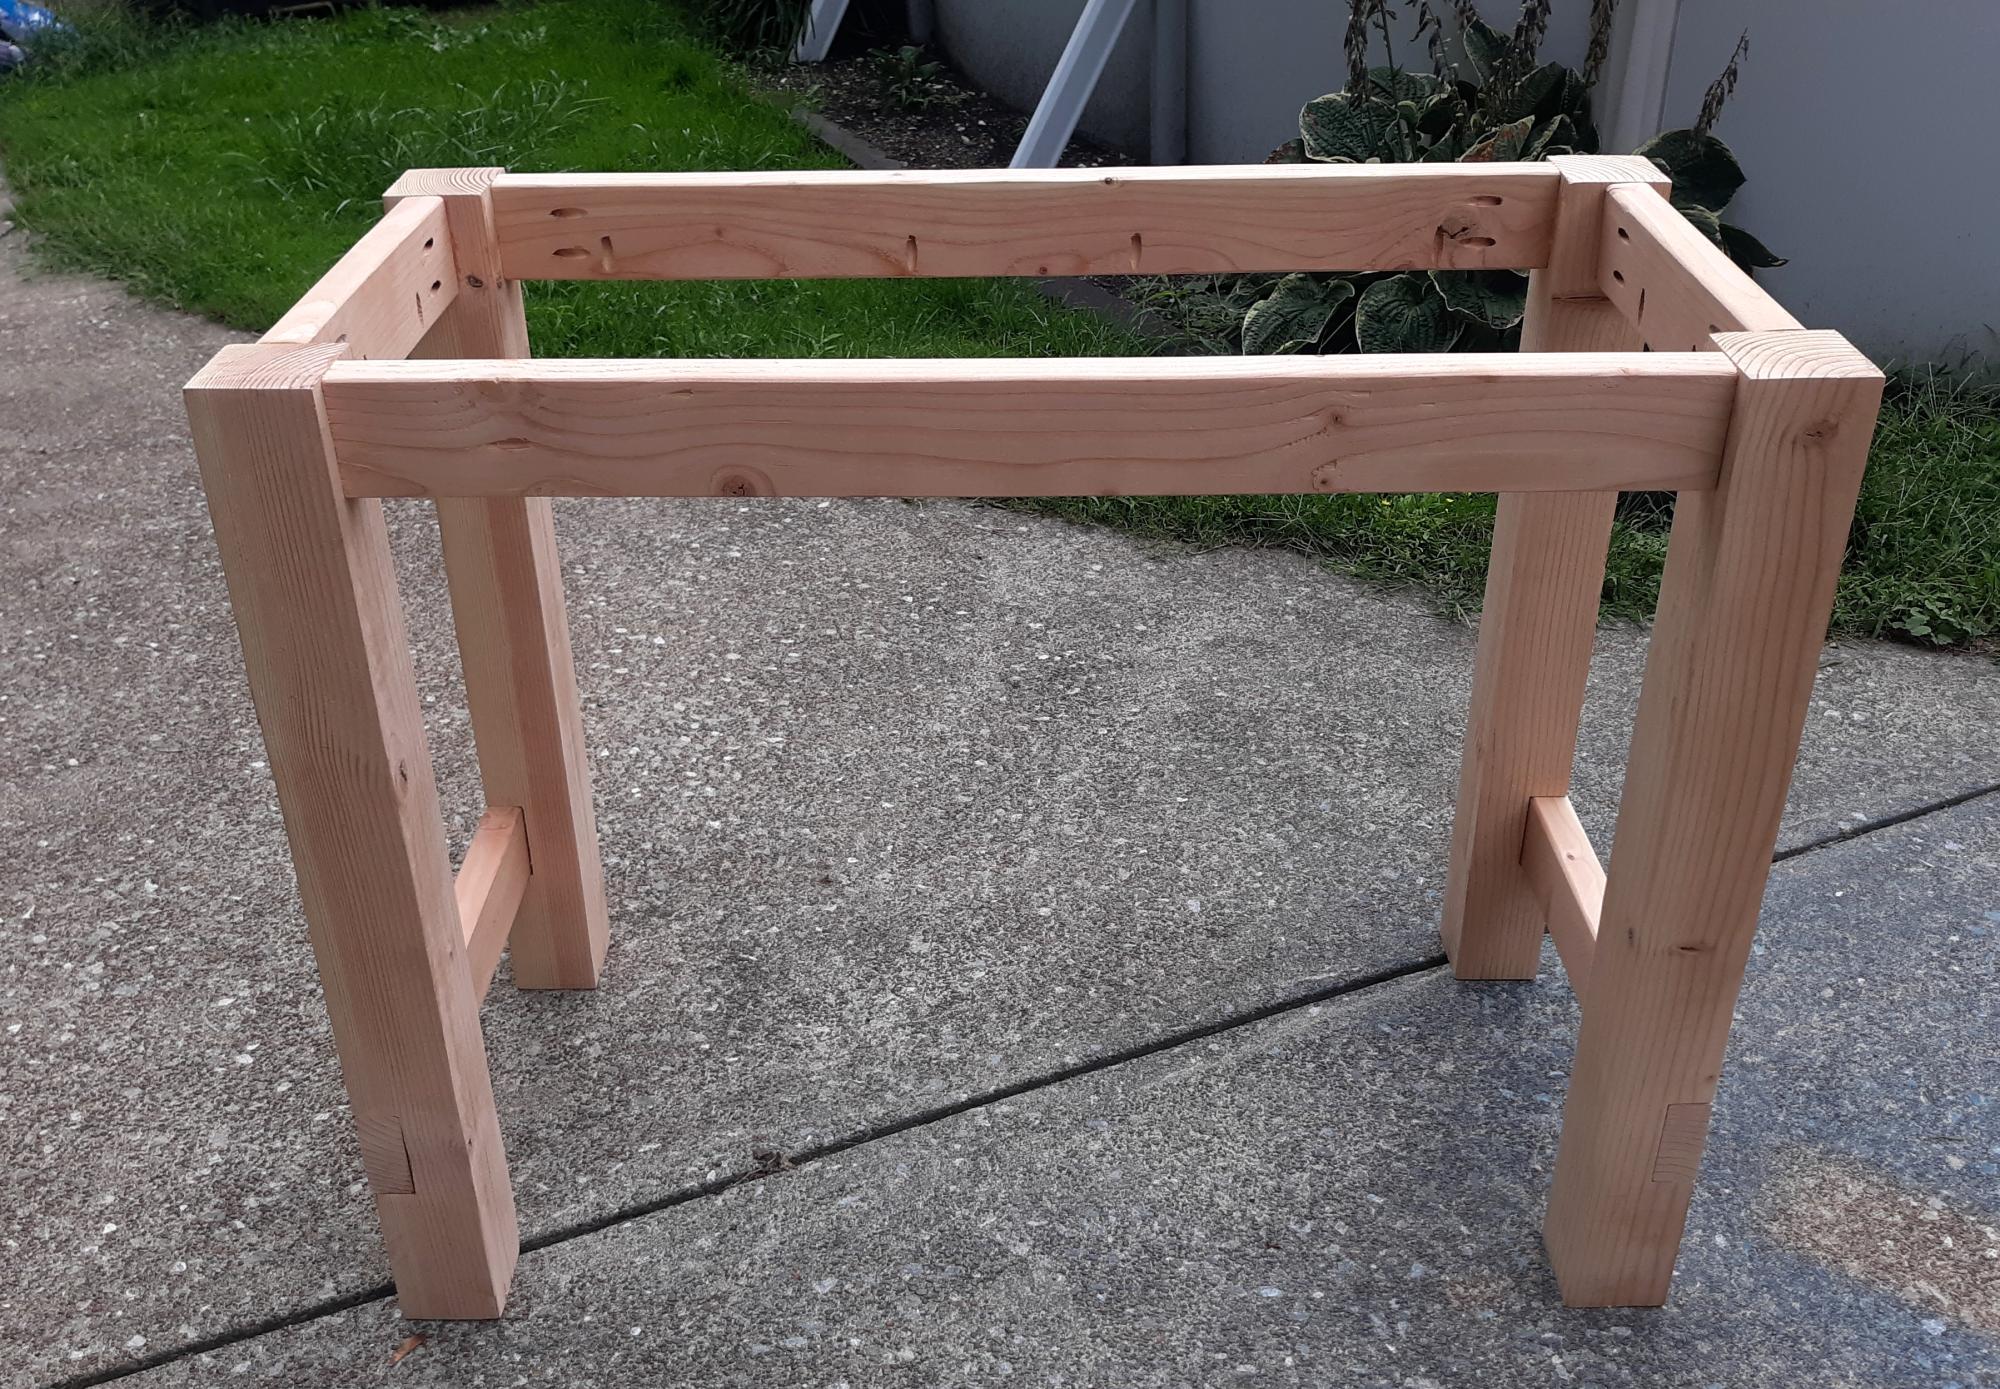
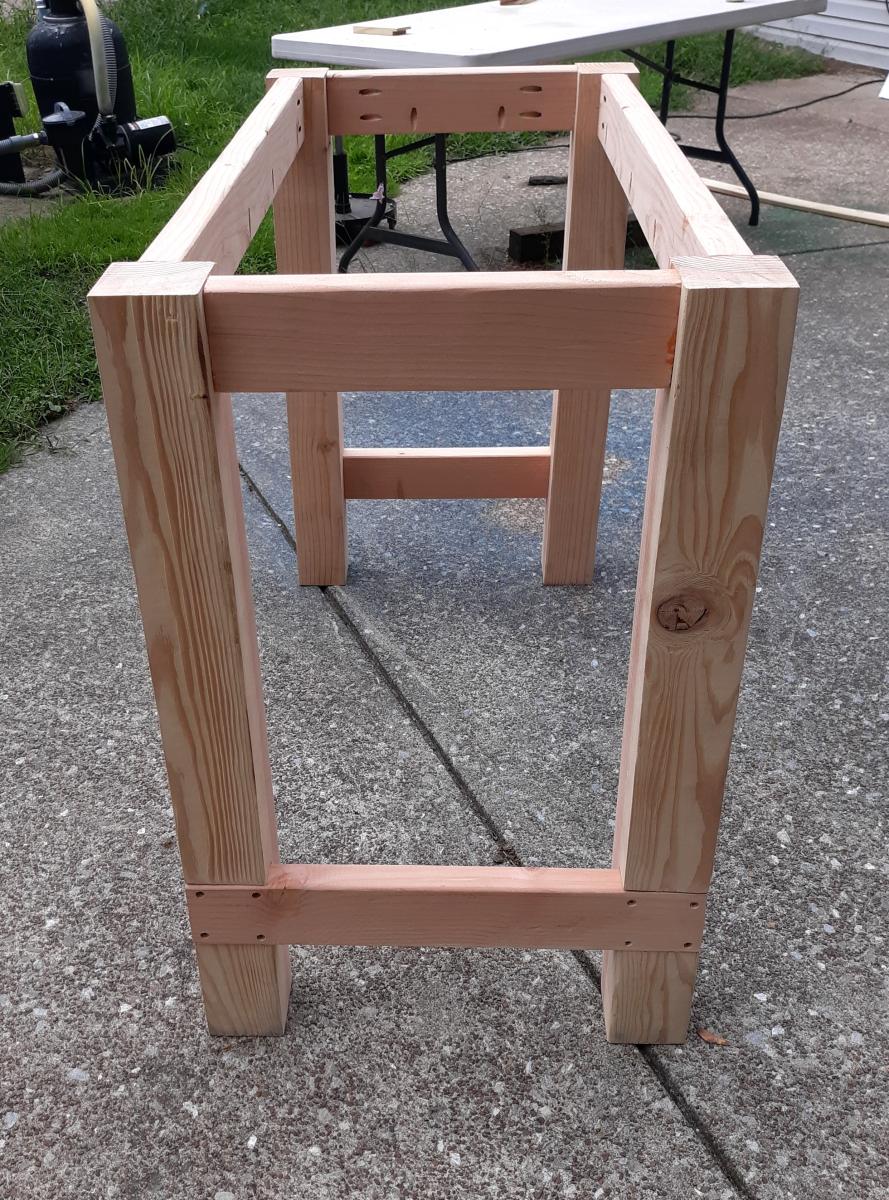
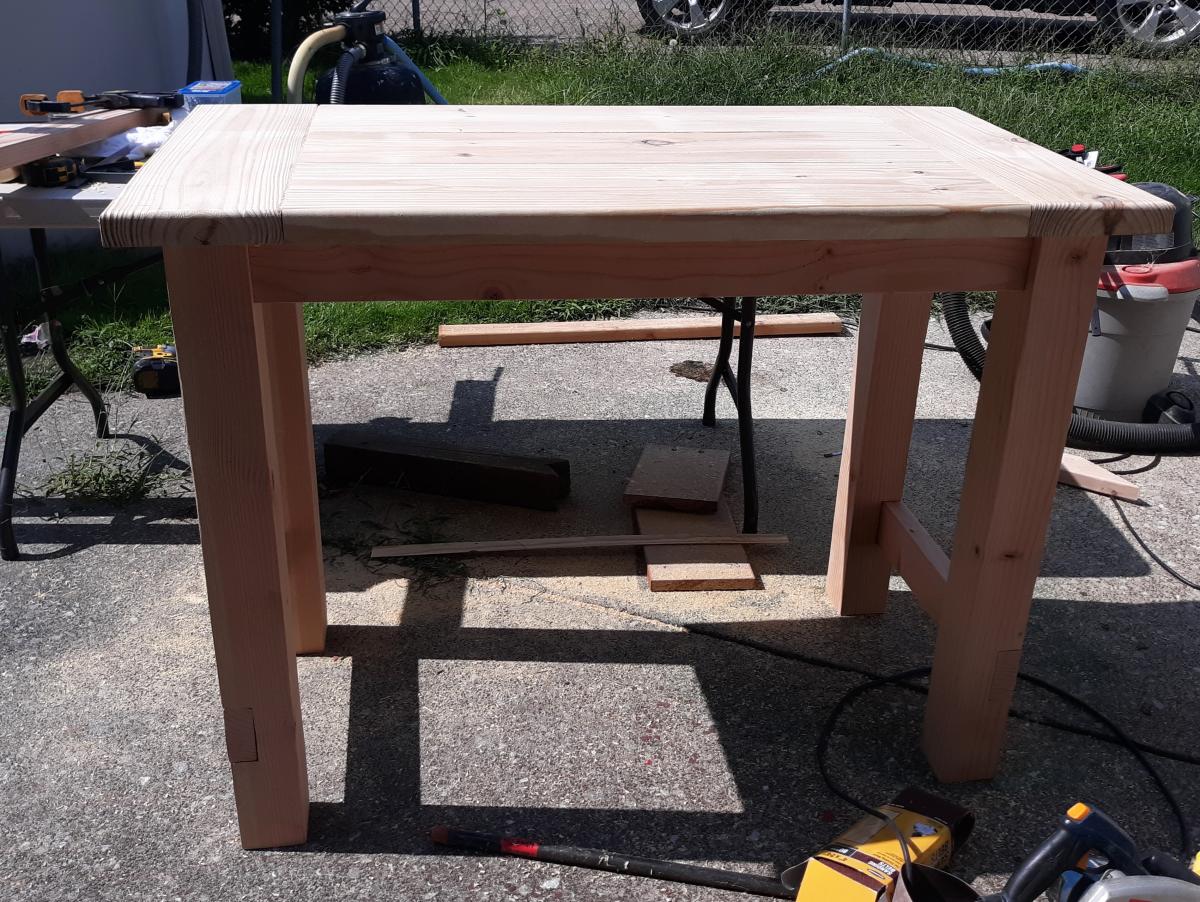
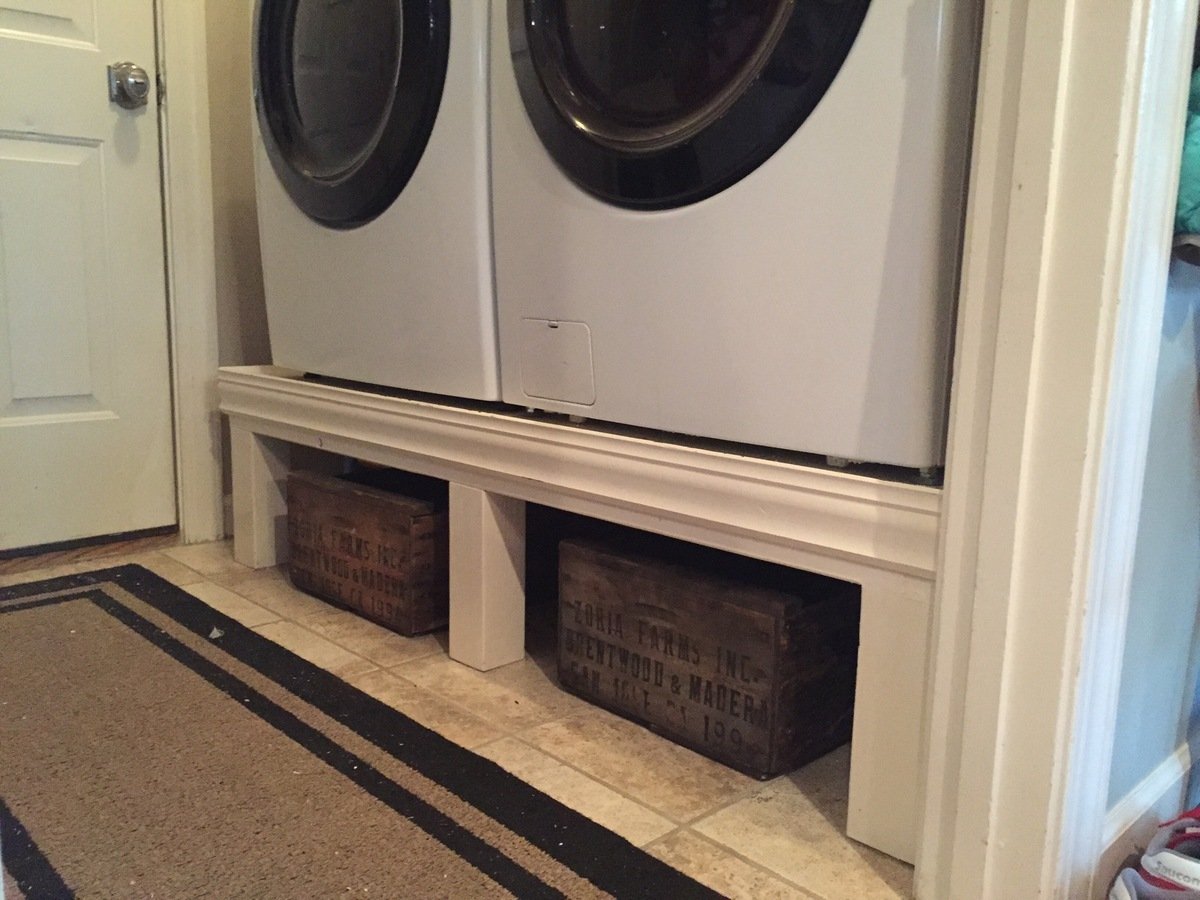
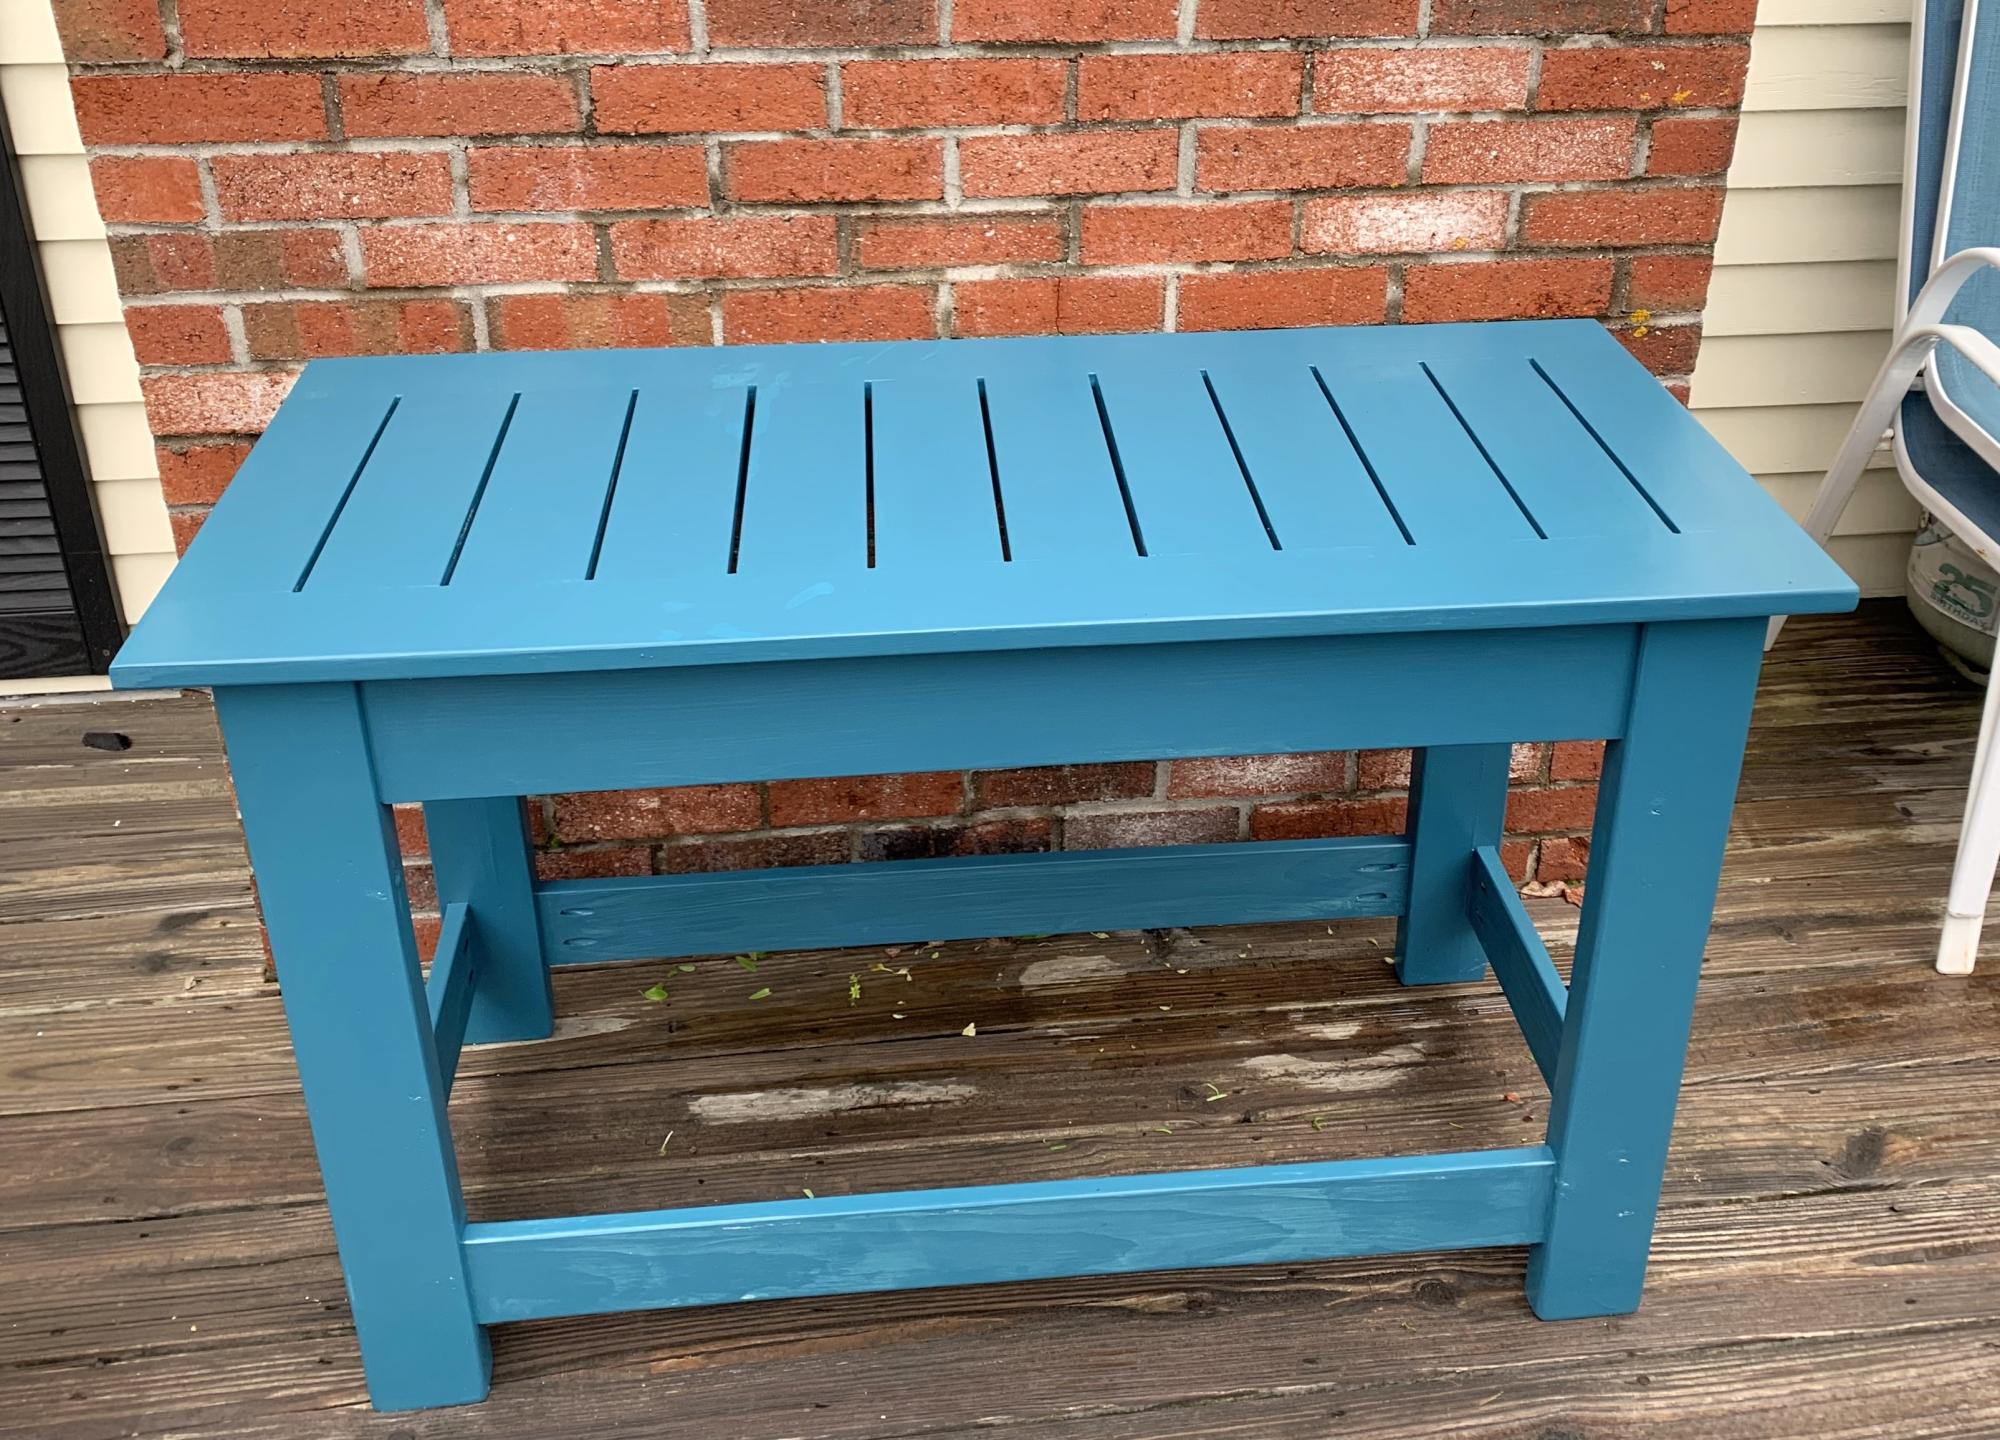
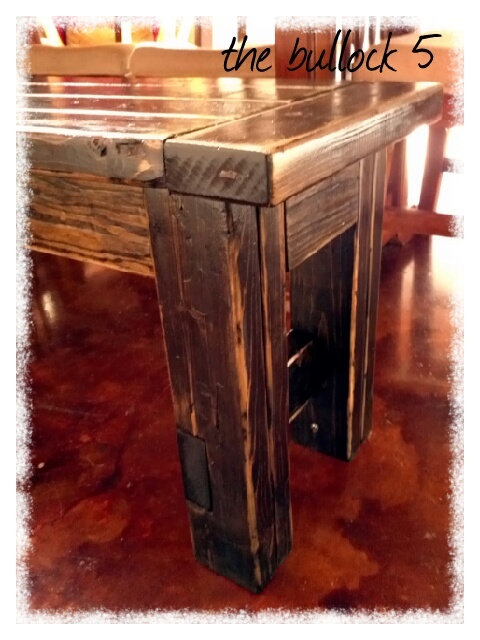
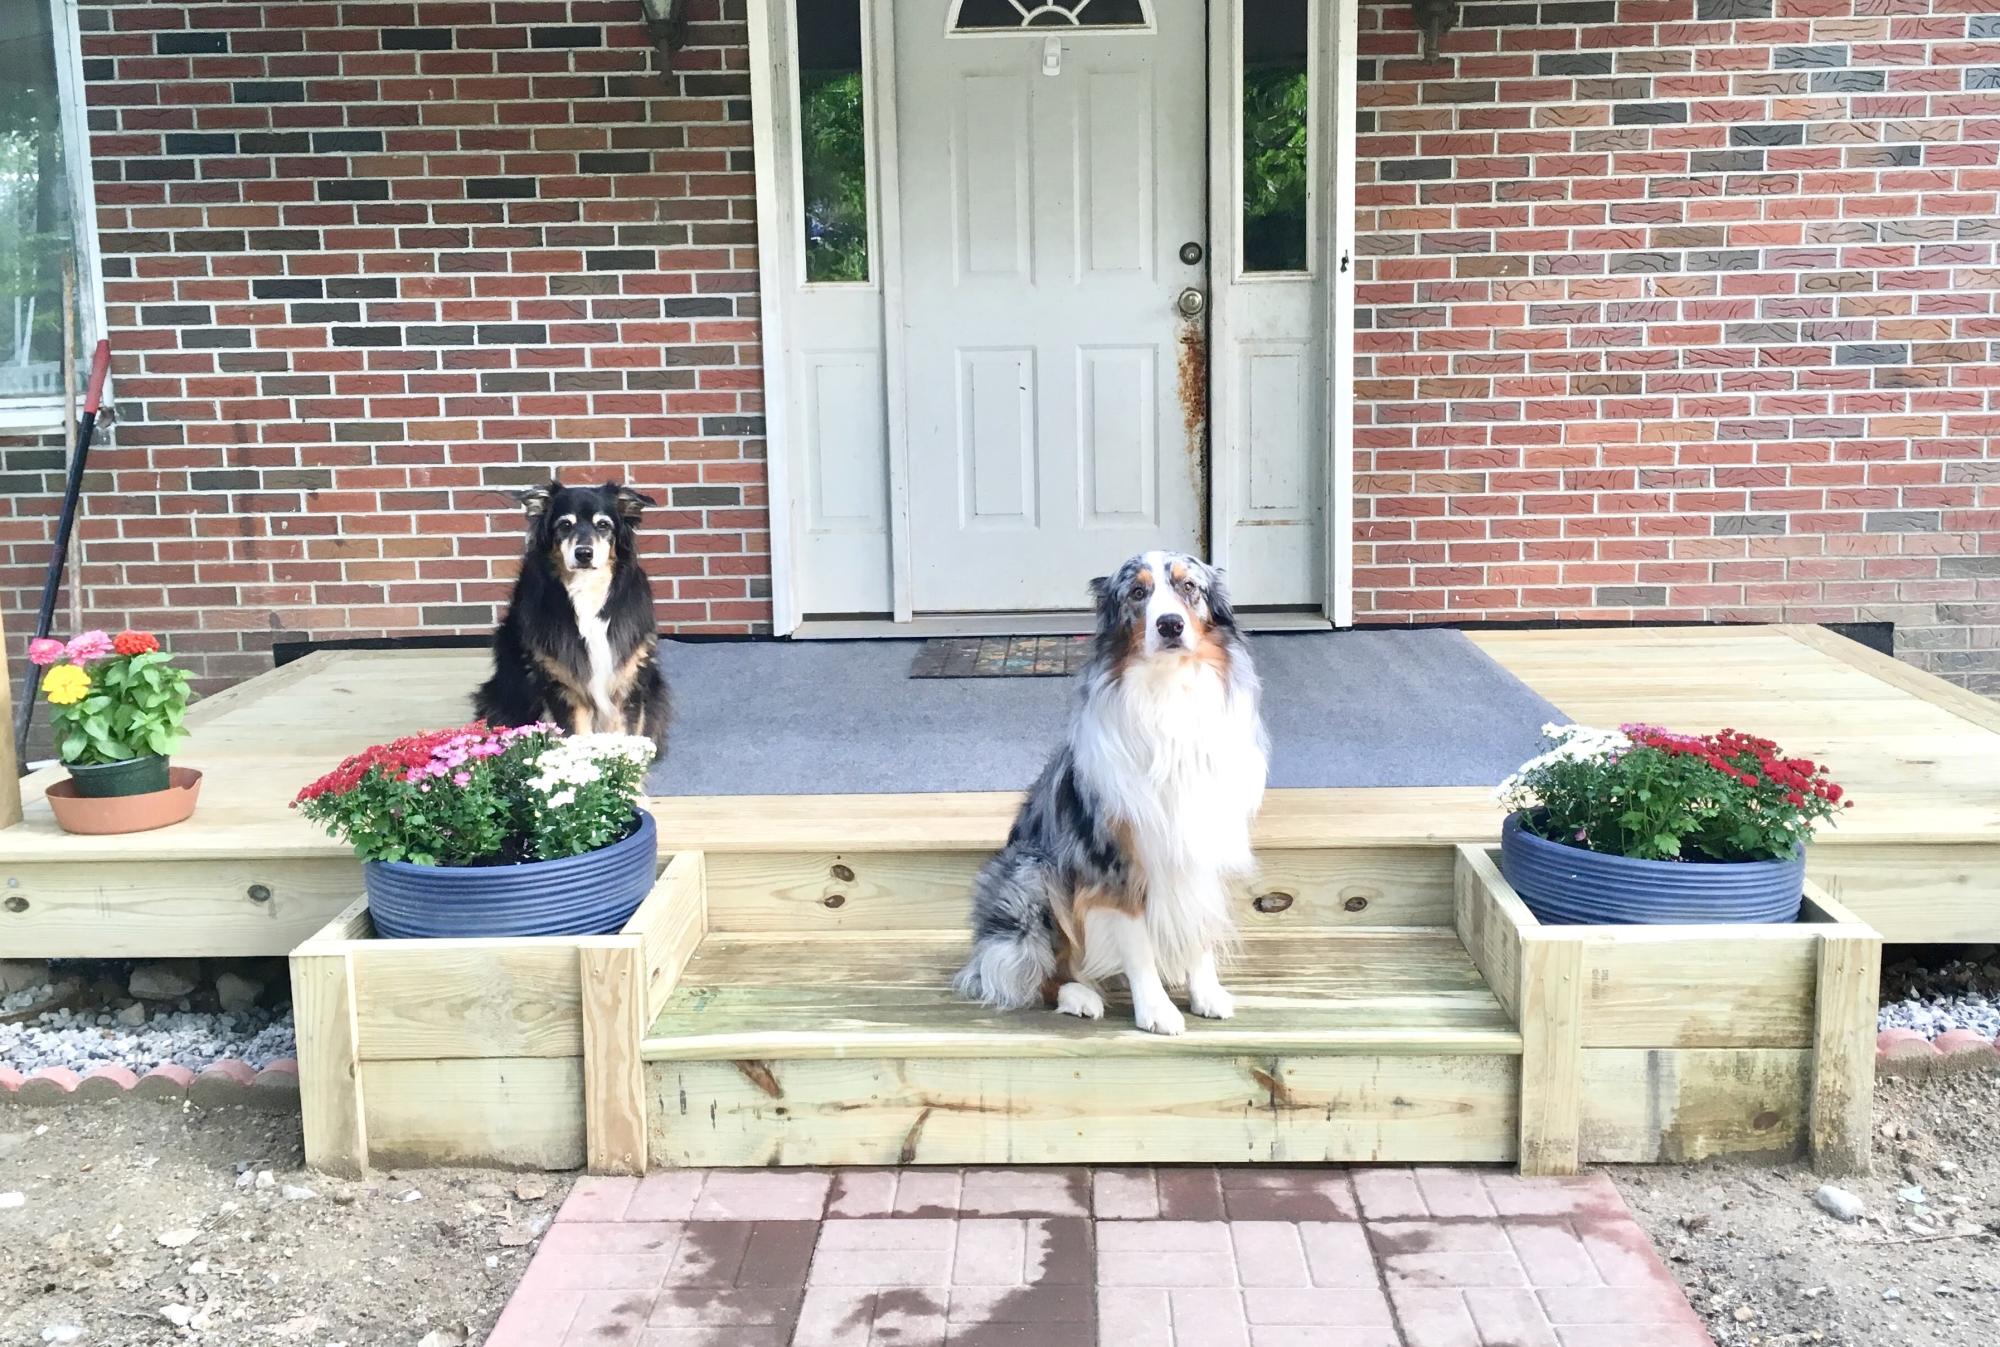
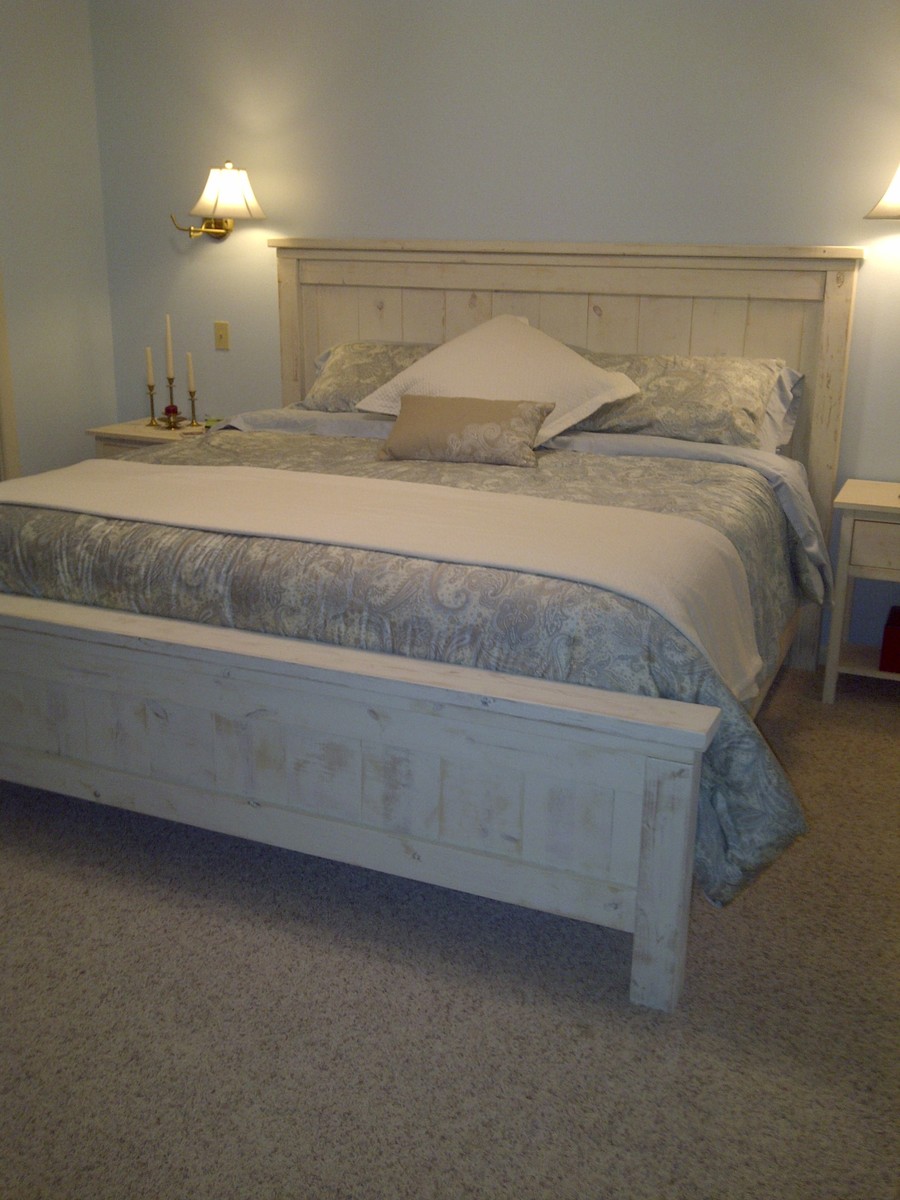
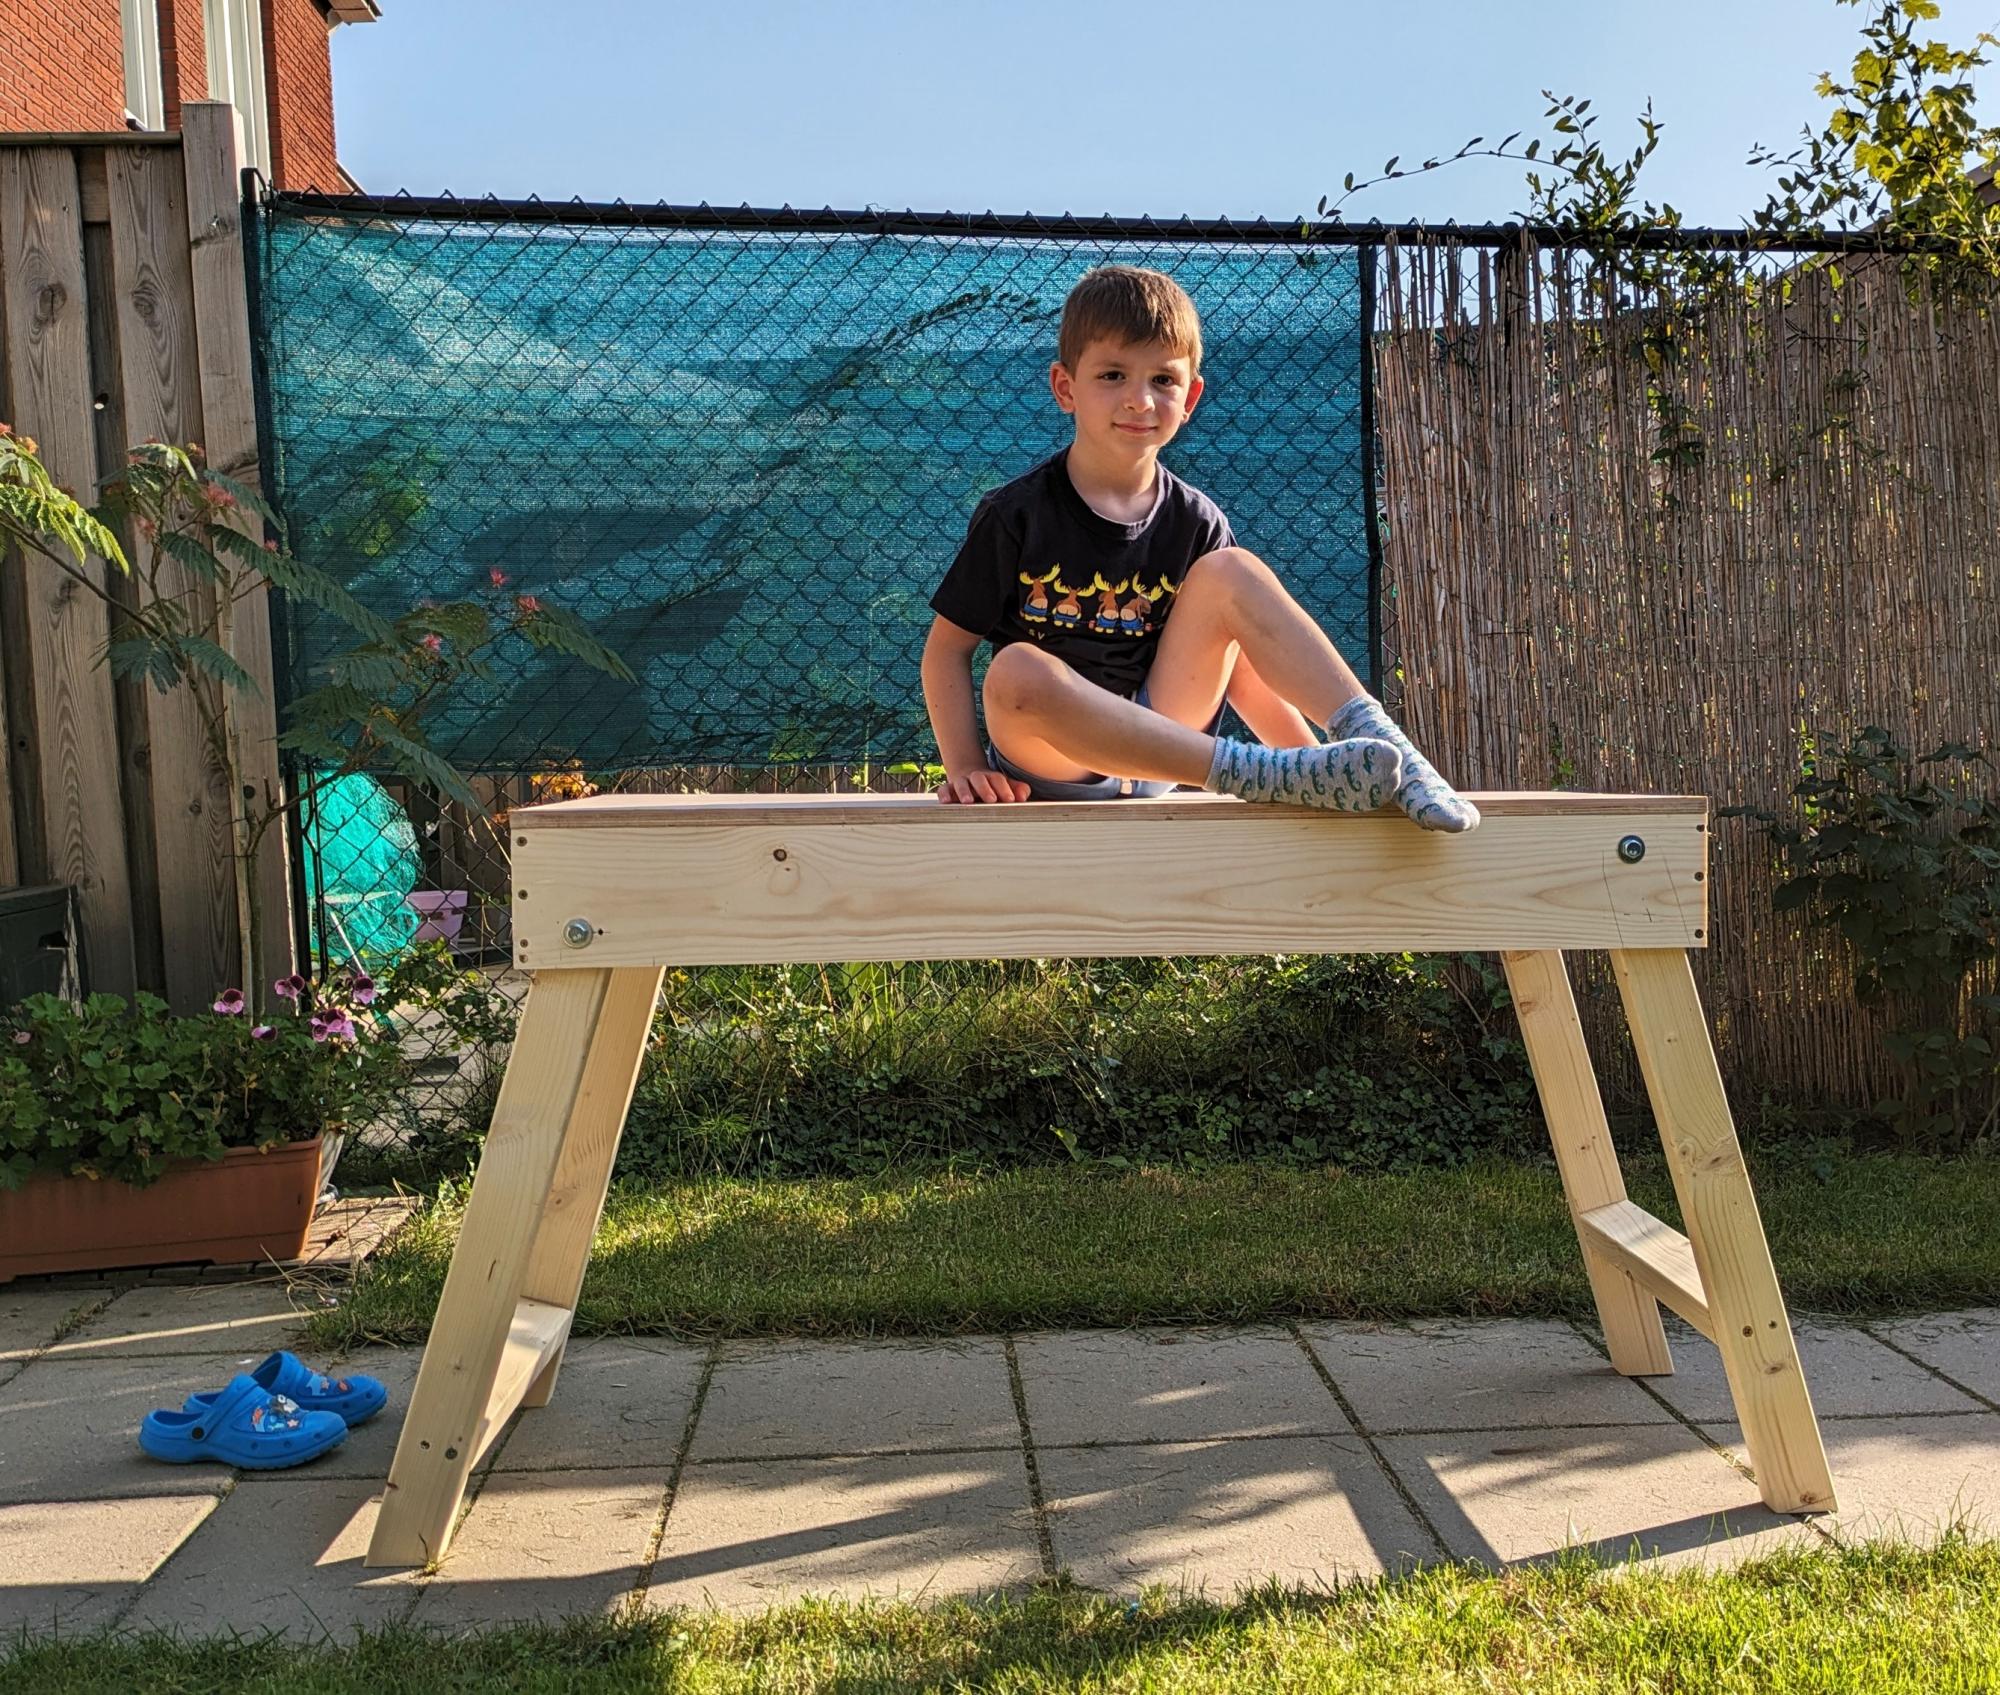
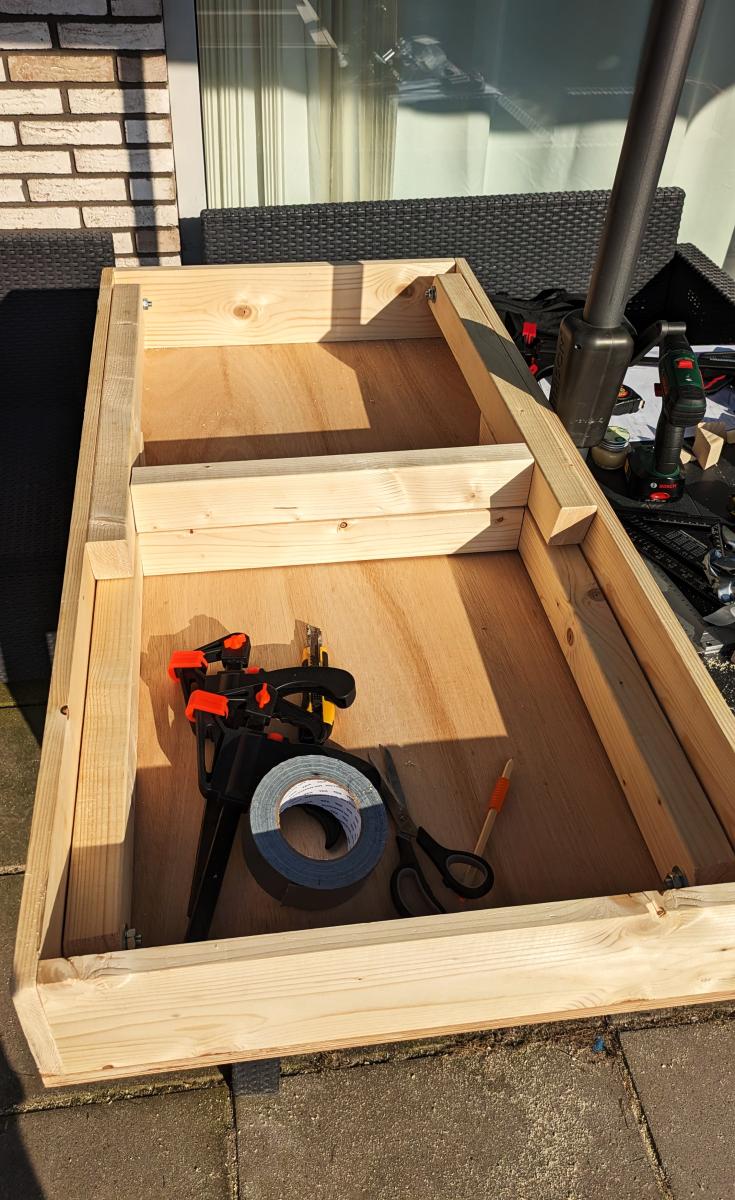
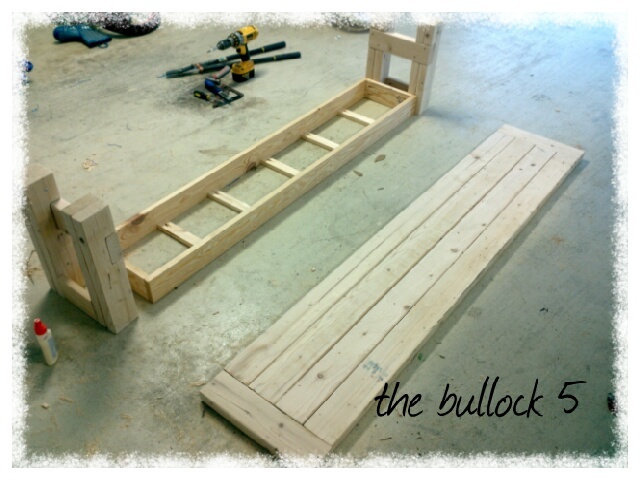
Rustic X Small Rolling Kitchen Island
Good tips from everyone. We added a 2x4 (hidden under the top) to have added saftey feature to ensure my kids wouldnt pull out the drawer.
I built this table for my wife. I added a 1/4 round to the edge of the table. She did all of the finish work including the top which is Unicorn Spit and epoxy. I turned out really nice. Thanks for the plans!
Made this using your farm house toy box plans. Modified slightly as I incorporate old firefighter equipment into most of my projects. Built the frame but instead of slats used retired fire hose. Complete with a white board on the lid. Plans were perfect and allowed me to easily modify to get the result I wanted.
Sat, 02/04/2023 - 22:03
Love the material repurpose, looks fantastic, thanks for sharing!
I used the plans Ana offered as a starting off point for this project. I loved the photos of the exact plans, but it was too long and too short for the space I wanted to fill. I ended up building pull out drawers from pallets instead of installing the apothecary drawers in the plans. I used the bottom cubby to place a dog bed (which they love) and still have one one bin to build to fill the center hole. I used a solid piece of butcher block style wood on the top that I sealed Polyerathane. Thanks Ana!
I loved the husky farmhouse talbe and after using a small round dining table for years, I figured it was time to get a larger table. What a great build! I definitely appreciate Ana's plans and ideas. I finished it right before Halloween as you can see and my 4 yr old son loves the new table for our sit down meails.
Thu, 10/17/2013 - 09:28
Thank you Ana! Its been a great addition to my home! =)
Tue, 07/07/2015 - 00:27
I love this table and i am trying to find a cheap way to get a dining room set( chairs will be bought and stanined). My husband is good a building things, my only concern how do you get all that detail into the legs of the table? Is there anyway you can pre-buy them made? We don't have a wooden lathe to do anything intricate.
Thanks if you can advise
I followed Ana's plan exactly, but increased the dimensions to the standard XL crate size (42L x 28W). The base is painted gloss white and the top is stained espresso.
This is a fun and simple project to make. It consists of 12 pieces that are all the same size. The pieces are glued together to make 3 assemblies. Getting it apart or putting it together is the challenge. As always, there is a trick.
Build Instructions: https://www.instructables.com/id/Hexagon-Puzzle/
Solution: https://youtu.be/QUmHdIprCl0
Thank you Ana for your detailed plans. Always so easy working on your projects.
Fri, 02/10/2023 - 09:11
This is so pretty, love the finish! Thank you so much for sharing.
We eventually will build the rest of the bed, but for now we needed a headboard. Hubby helped me with this one, since it was large, I loved having an extra pair of hands. This headboard is reversible, so if our tastes change, we can unbolt it and flip it over to the side that is just stained and polyurethane. Pretty neat! This headboard is extra tall, because we have our bed frame up on risers, and we wanted a picture shelf but didn't want it interfering when we sat up in bed to read or what-not. Hubby used the router to make grooves in the top before we attached it, so our pictures wouldn't be crashing down on our head! Our metal bed frame comes just shy of the outer edge of the legs of the headboard, so when we build the rest of the bed, the side rails will meet the edge exactly. We placed the headboard behind the bed frame to mark where to drill the bolt holes and attached the headboard to the frame with 4 inch long, quarter inch wide bolts with washers and nuts. Two on each side.
Sat, 10/22/2011 - 20:35
and the reversible idea is great.
This was my first attempt at building a piece of furniture. It's an outdoor table based on the providence table plans. I used old 4x4 pressure treated posts from part of my fence that was no longer needed for the base. The posts were fit together using lap joints and secured using fastenlok screws. The base was then painted with french grey chalk paint (first time experimenting with chalk paint) and then covered with a thin coat of brown briwax. The top is made of 8 foot by 1 inch ipe boards that are 4 different widths but the overall width is about 42 inches. The ipe was purchased rough sawn and needed to be planed to uniform thickness. I used a natural stain meant specifically for ipe and other tropical hardwoods.
My dad actually built this. I had been drooling over the table at Pottery Barn for two years but couldn't afford the $3000 price. Found the plans here and gave it to him with adjustments on the turnbuckles underneath. I wanted the V shape instead of straight across. The tabletop was obtained from an old wood bridge in Eastern WA. I love, love, love this table. The materials cost was $250. The labor was my birthday present.
I’m in love with how well this bed turned out. Modified by using a 2x4 for middle support and 1x4’s for slats. It was less money and felt better for support.
I have always loved the entertainment center from Pottery Barn. When I saw that the sale price was still $900, I knew my husband and I could build it for way cheaper. This took about a week (with a lot of breaks) and the total cost was around $250. I think the biggest expense was the all the knobs, but I feel like they make the piece!
Sun, 04/08/2012 - 23:53
It looks great!! My OCD is totally soothed by your perfectly spaced faux drawer fronts!! From looking closer at your pic I can see that you made all doors instead of drawers and doors. I want to do the same. It also looks like you used a different type of hinge than suggested. Any reason for that? Do you have shelves in all 4 spaces? Would you mind adding a few more detailed pictures, maybe with your doors open? Or just giving some more details to what you did differently would help.
This is a great way to double up on space & creativity! My dad and I built this dress up storage/puppet theater for my daughters using Ana White's plans with added inspiration from The Picky Apple's post about their own top shelf and theater hacks - you can view it here: http://www.thepickyapple.com/blog/2011/03/24/dress-up-storage-bin-and-p…. We added hinges and magnetic catches to the front so that the storage center can be turned around and opened to lay flat for access to the puppet theater.
Sun, 10/04/2015 - 12:44
Hi, I read you tweaked the plan and then did not know the dimensions of anything in the beginning. Have you gotten them since?
my wife and I had our first son, Mason, over the summer and I was in love with the idea of building his crib. It was a lot more work than I had anticipated but it was well worth the hard work. it came out beautifully. I made a 2X4 spacer that we can remove as he gets older to lower the mattress height. i used all pine lumber for the crib.
I had a loft space that was not being utilized so I created a crafting space using an Ana White Barn Door Console plan. I just started building furniture 5 years ago using a jigsaw, a miter saw, and a power drill. You are never too old to start
started and made the coffee table first then decided i wanted matching end tables so i looked up some different designs on here and decided on one. made the top and the front of the doors the same to match the top and drawers of the coffee table. next is gonna be the tv stand i think but here are the three all done.
What do you do when your child gets too many toys for Christmas? Build a toy box of course. I went with a 1X6 instead of 1X4 as the top front apron, yes it’s not easy to put books in, but when you have a 9 month old I was more concerned with a place to put Legos so I won’t step on them. That small change made a world of difference. The toy box is sturdy which is what I needed, knowing he is going to use it to pull up on while learning to walk. I primed it and then painted the front two aprons and sides with chalkboard paint and the remainder grey to match the table I made in the same room. The chalkboard paint takes a ton of coats and requires a lot of waiting (neither of which I am good at), but I think the outcome was worth it.
So proud of hubby for making these amazing beds for the boys!
We made the footboard a little taller, pattern was simple to follow and adjust to meet our needs.
My first project, great for learning the very basics, didn't take long to build, but took a couple of days to finish, with drying times of paint and finish.
Mon, 11/07/2011 - 21:38
I was excited to see your post made from my plan. I hope Mackenzie loves it as much as my kids do!