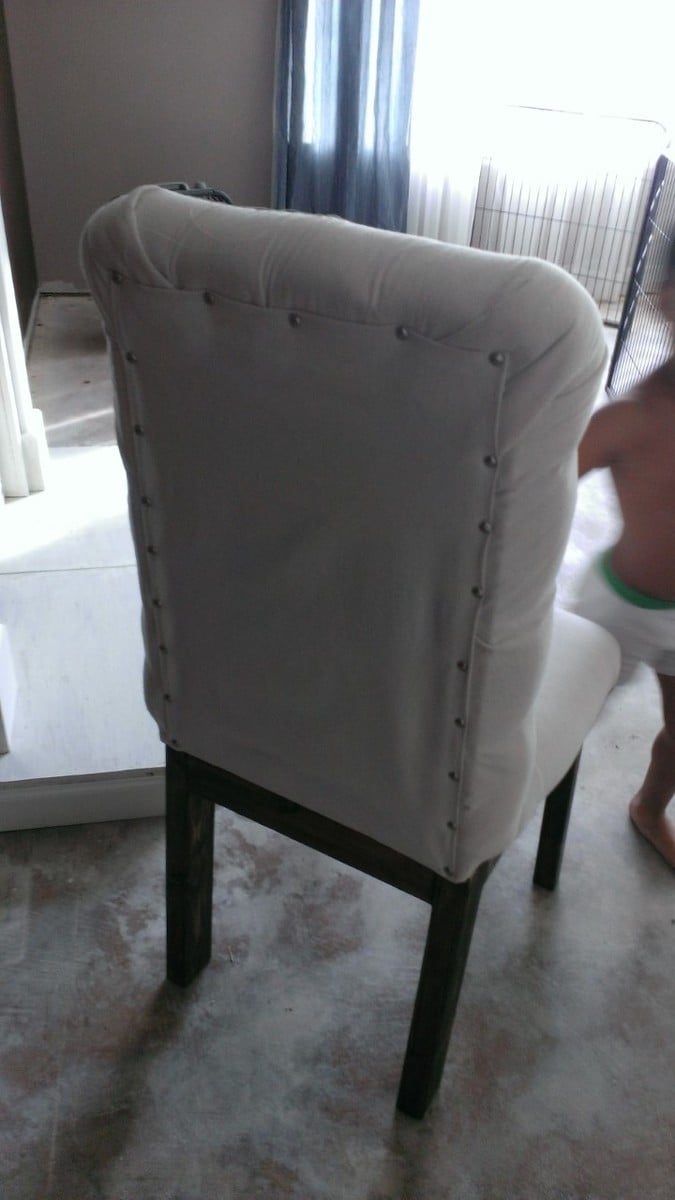
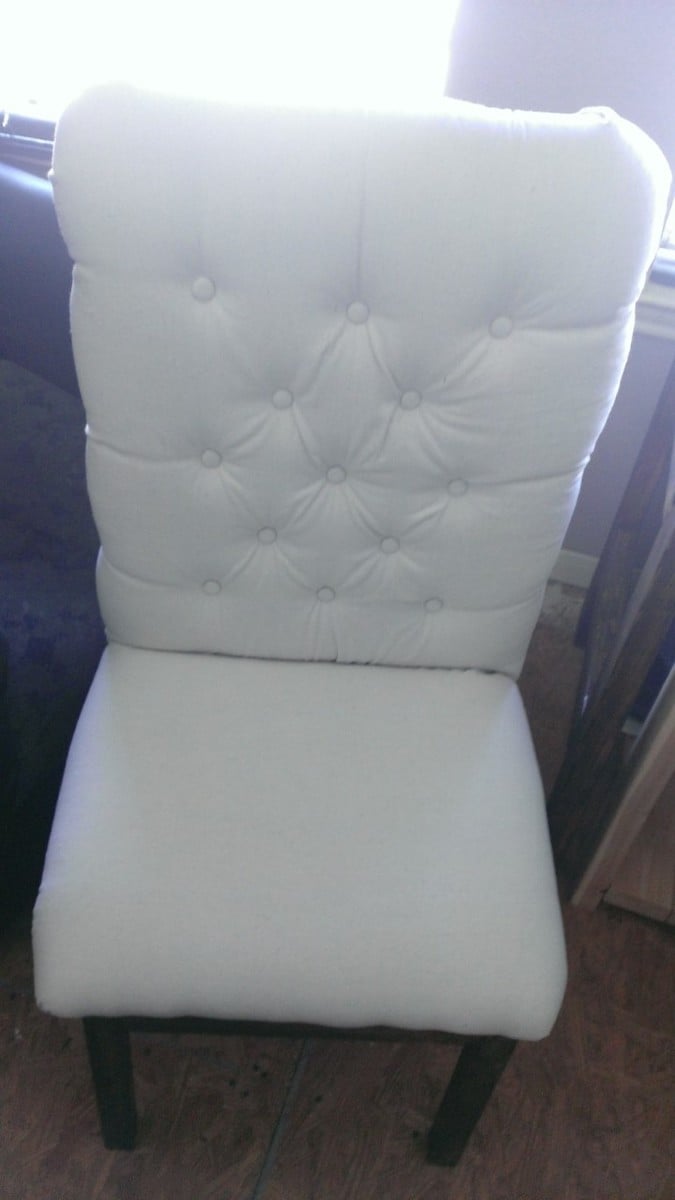
Thanks!!! Love it
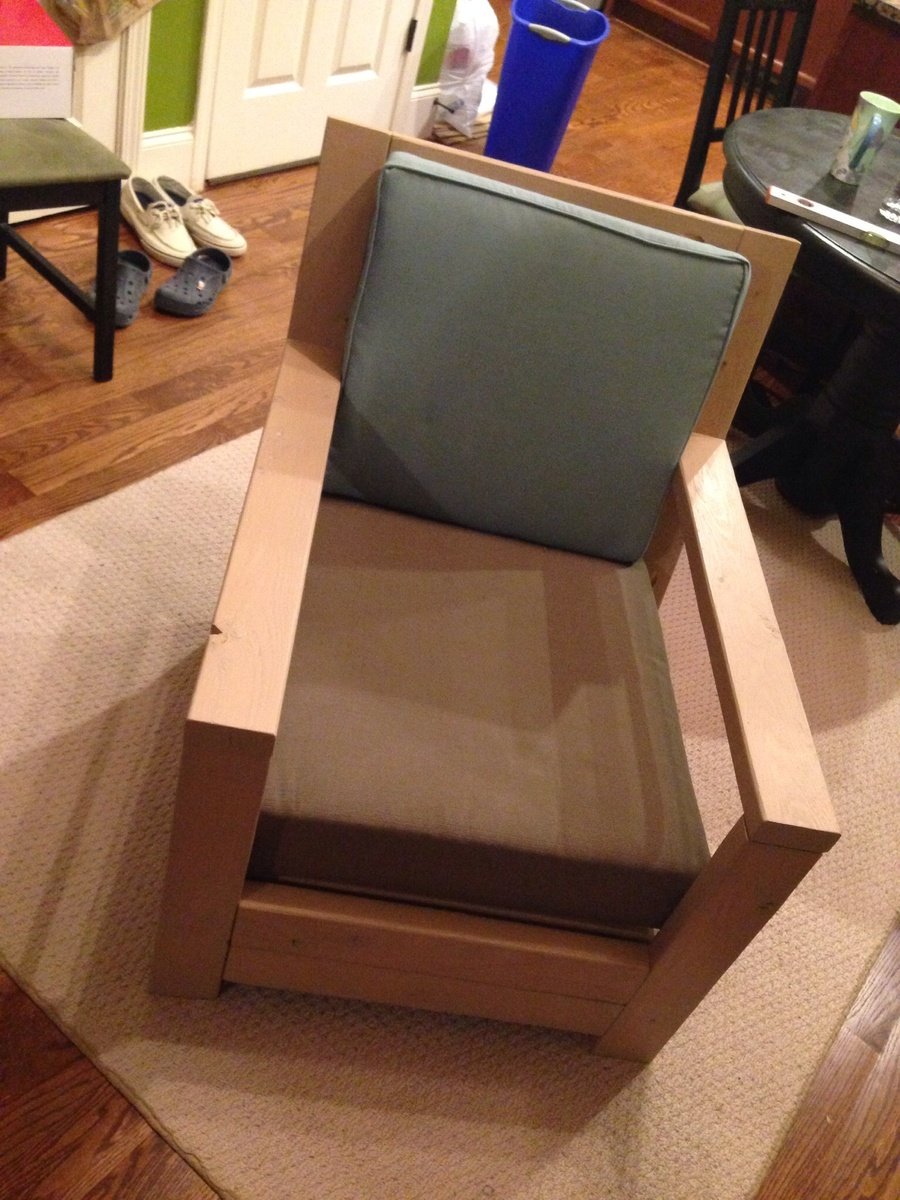
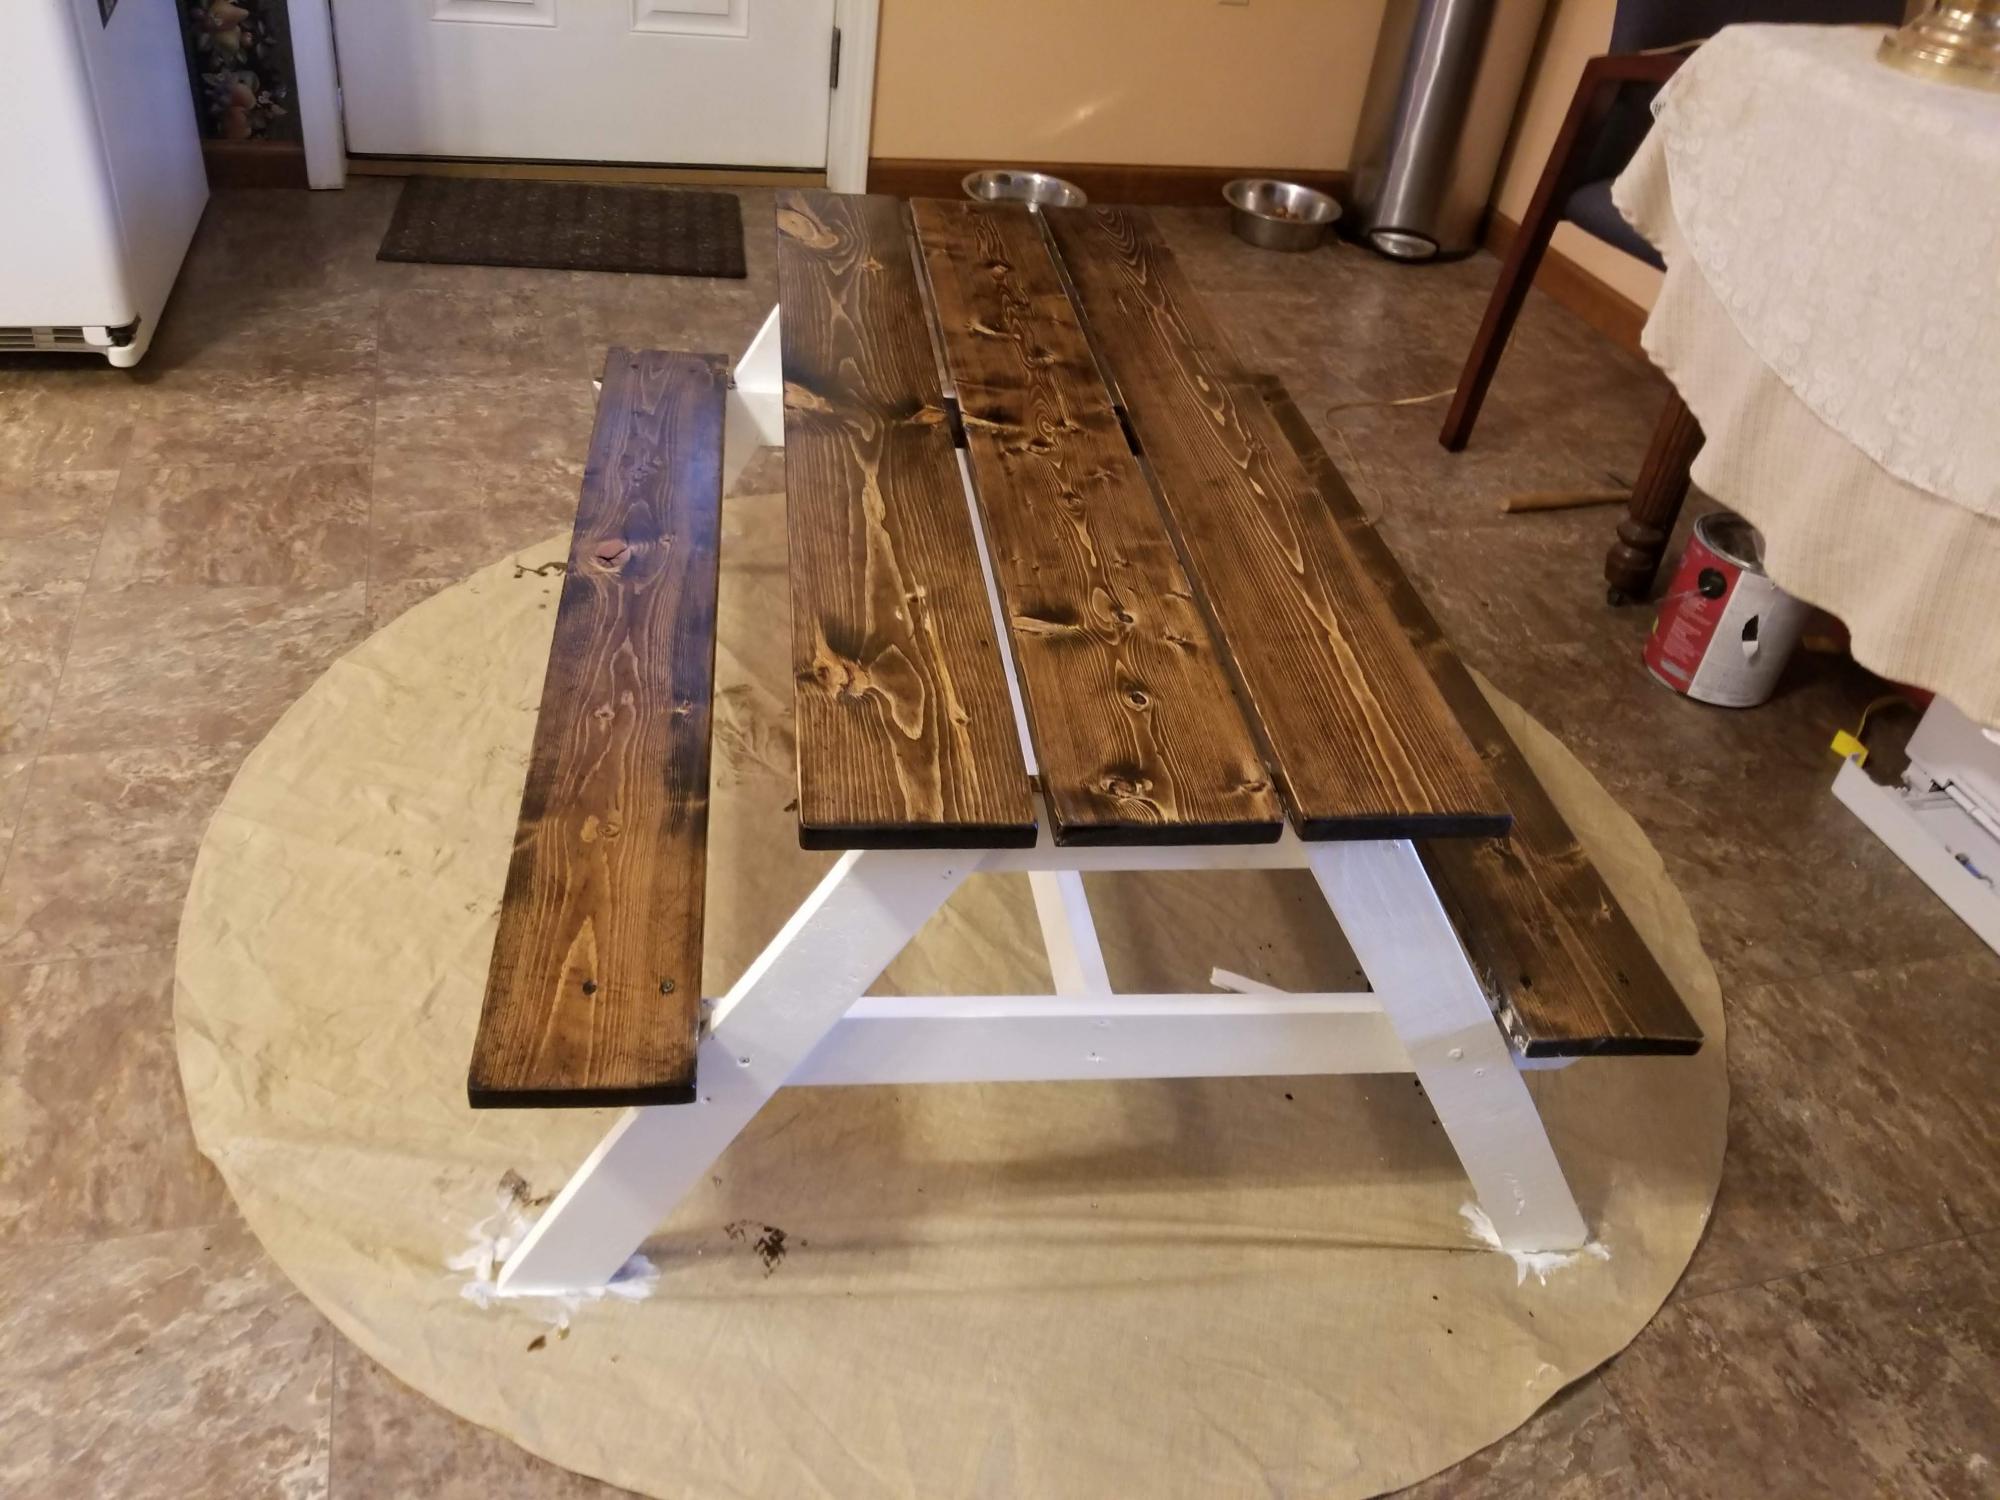
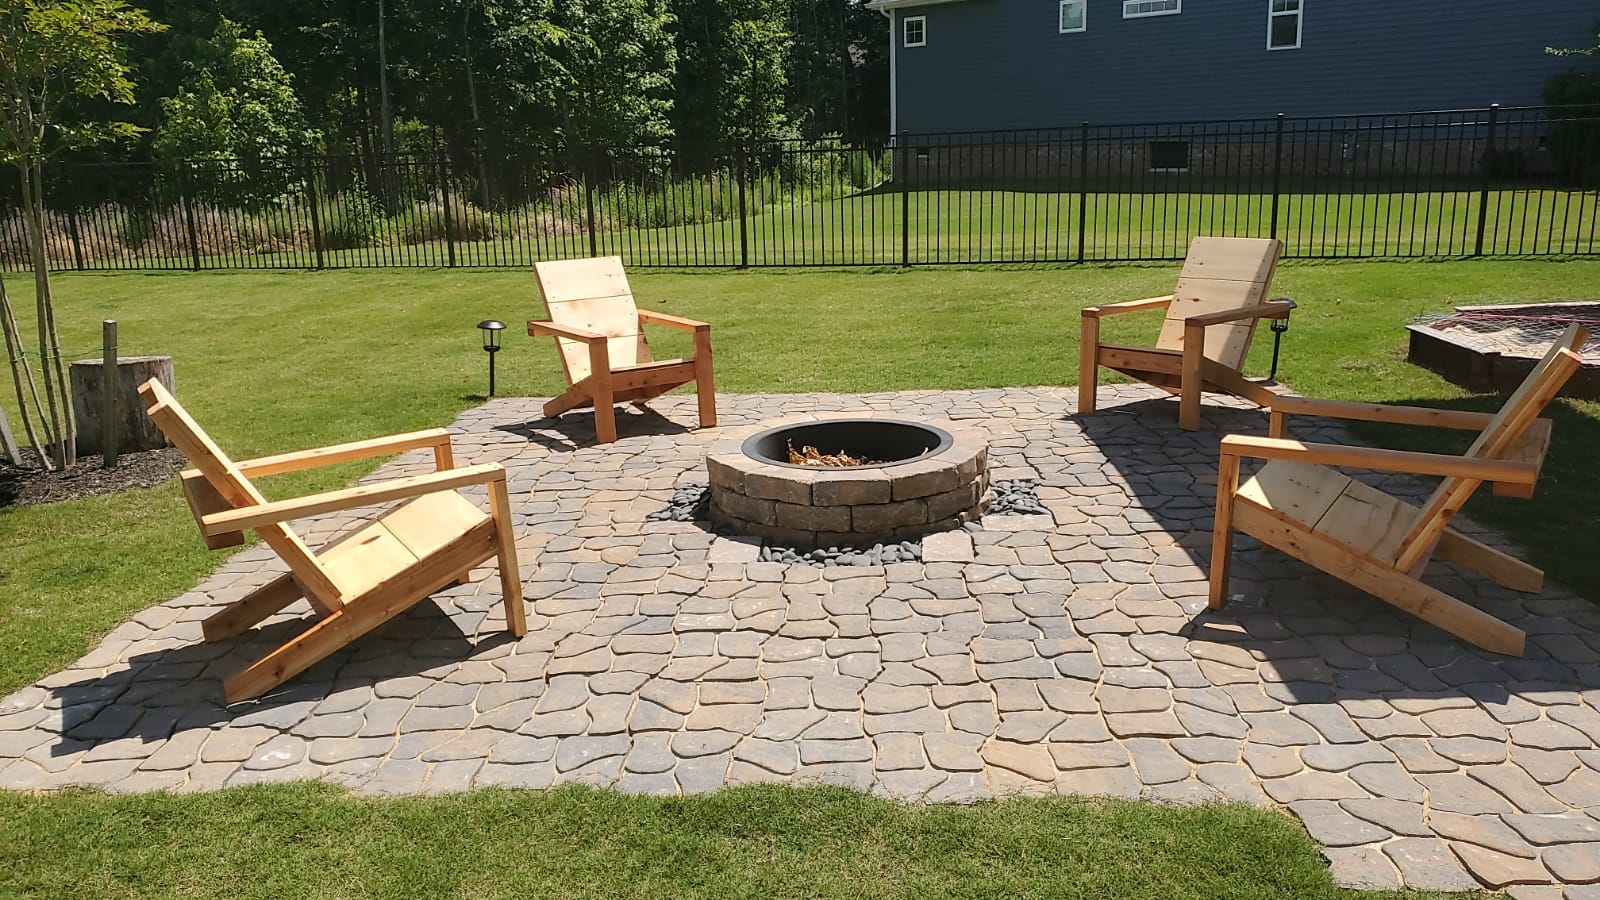
Thanks so much for the plan!! I altered the plan so it would fit the cushions I brought and used 2x4s and 2x3s only. Total cost with cushions - $45! Excited to make a matching love seat!
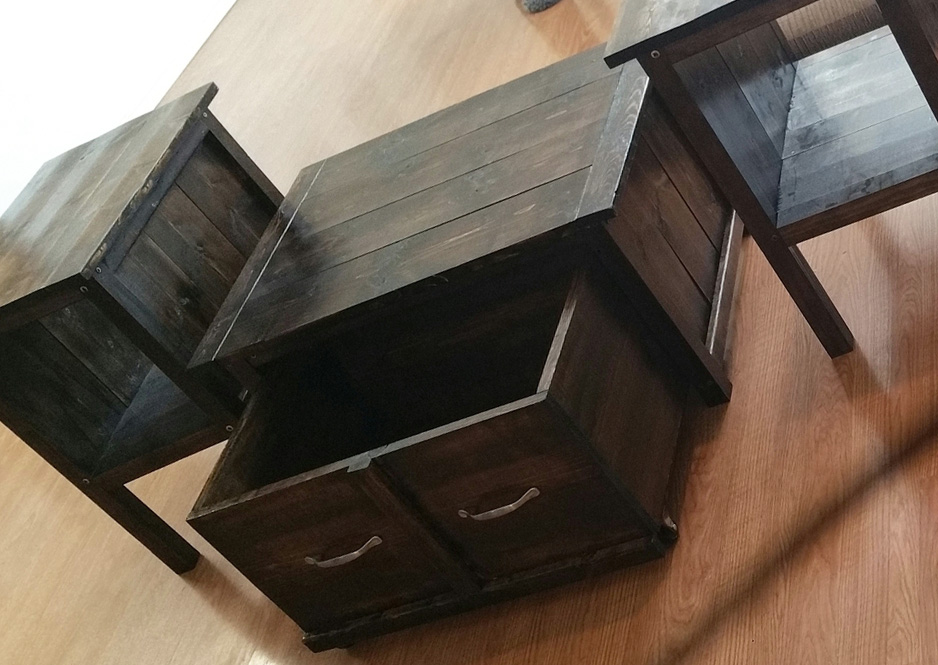
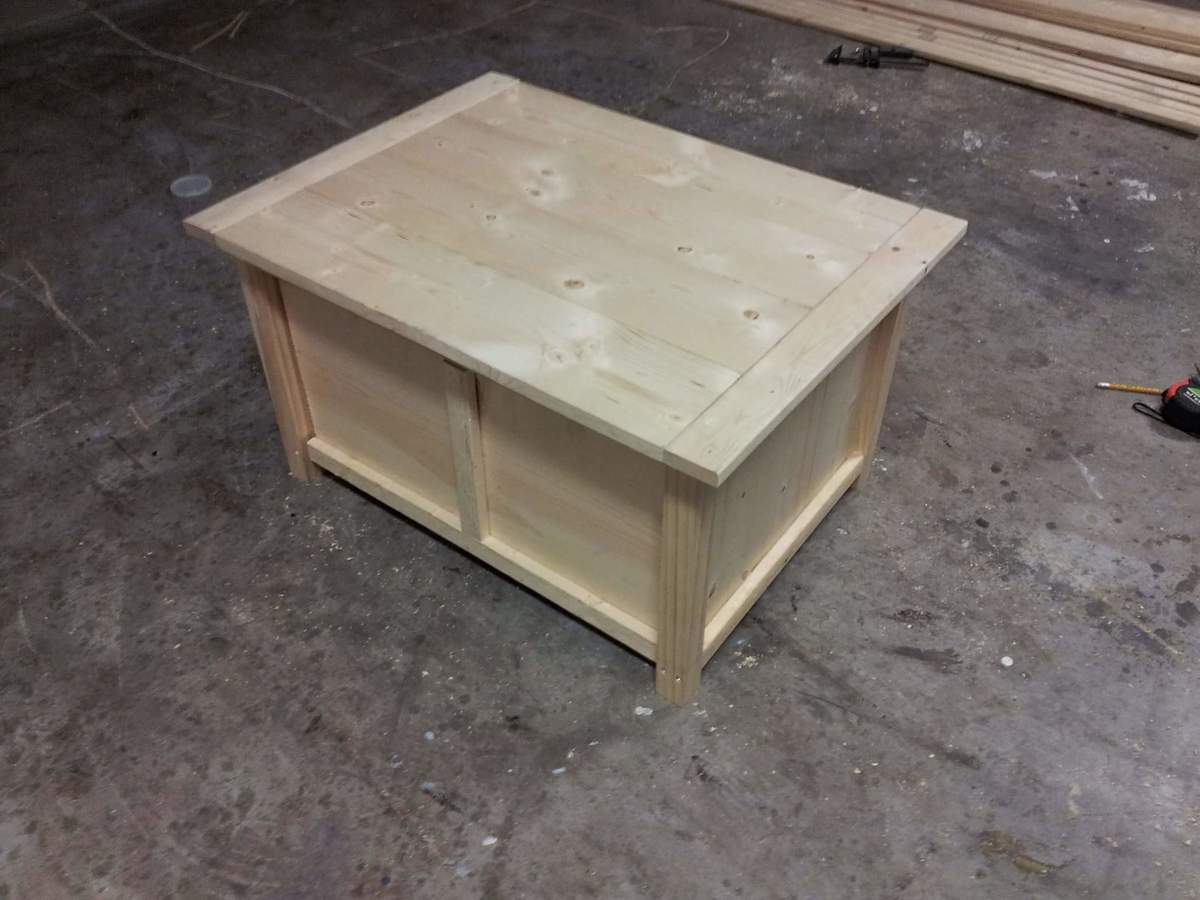
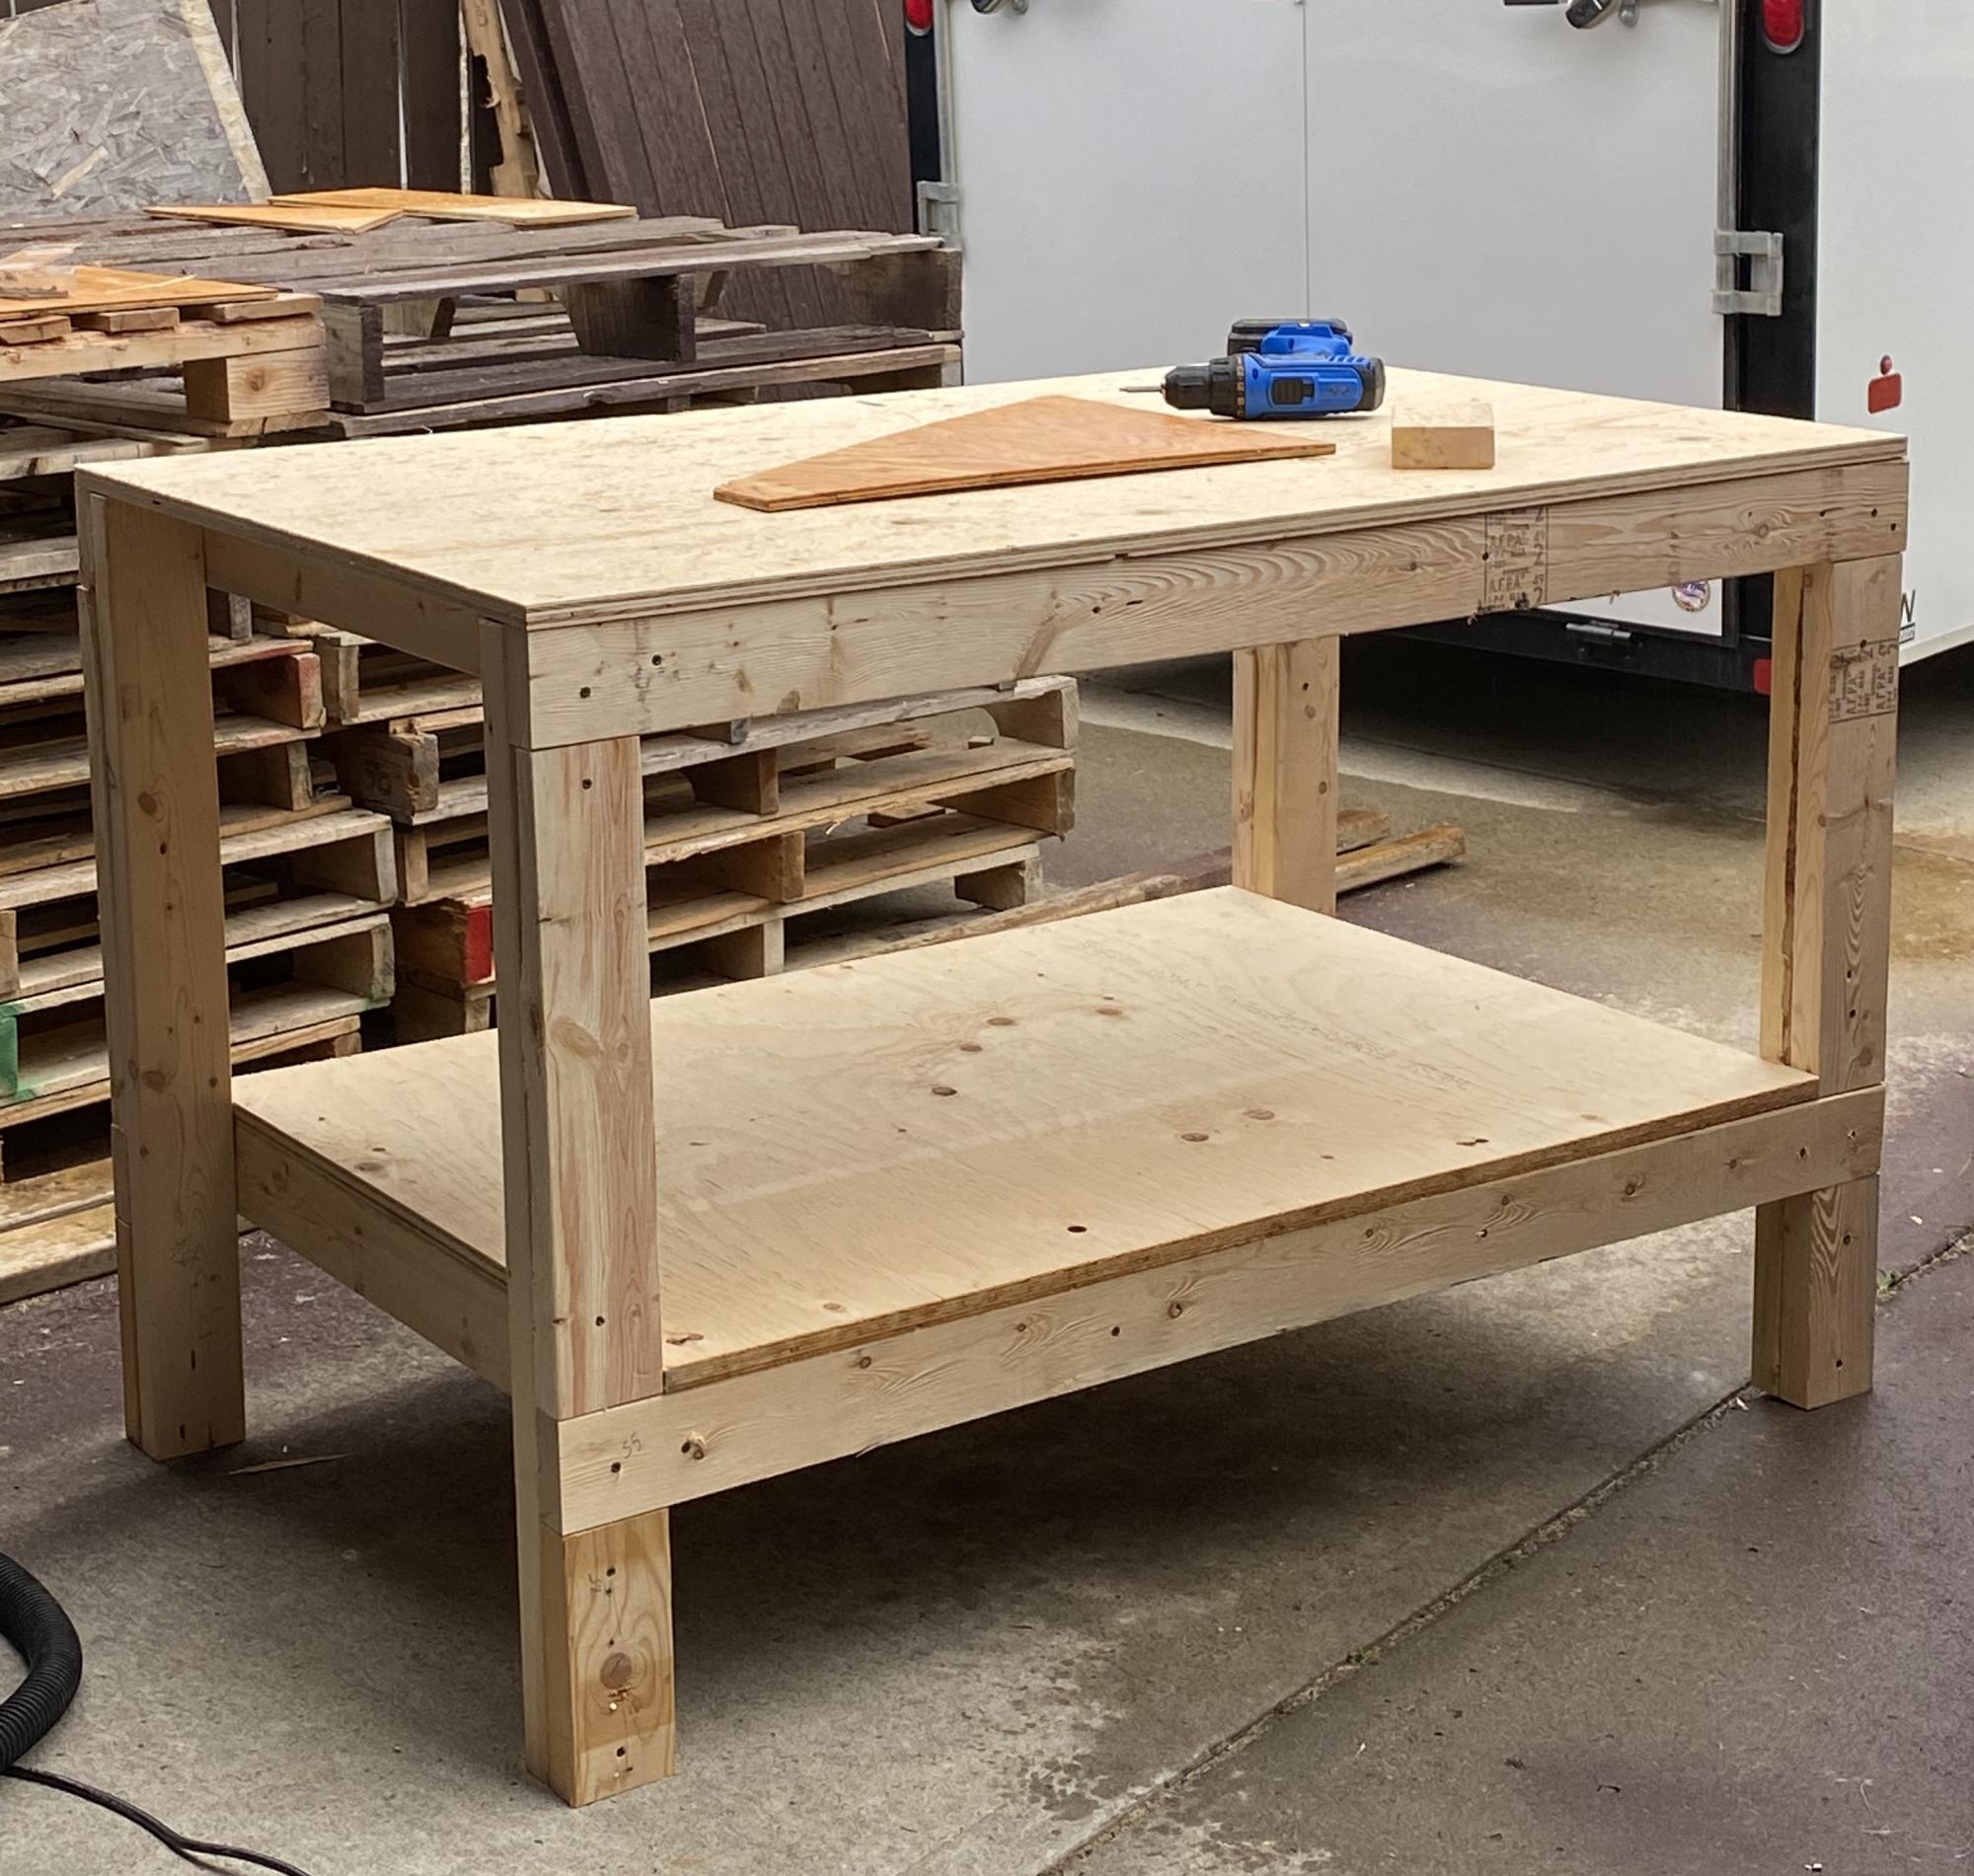
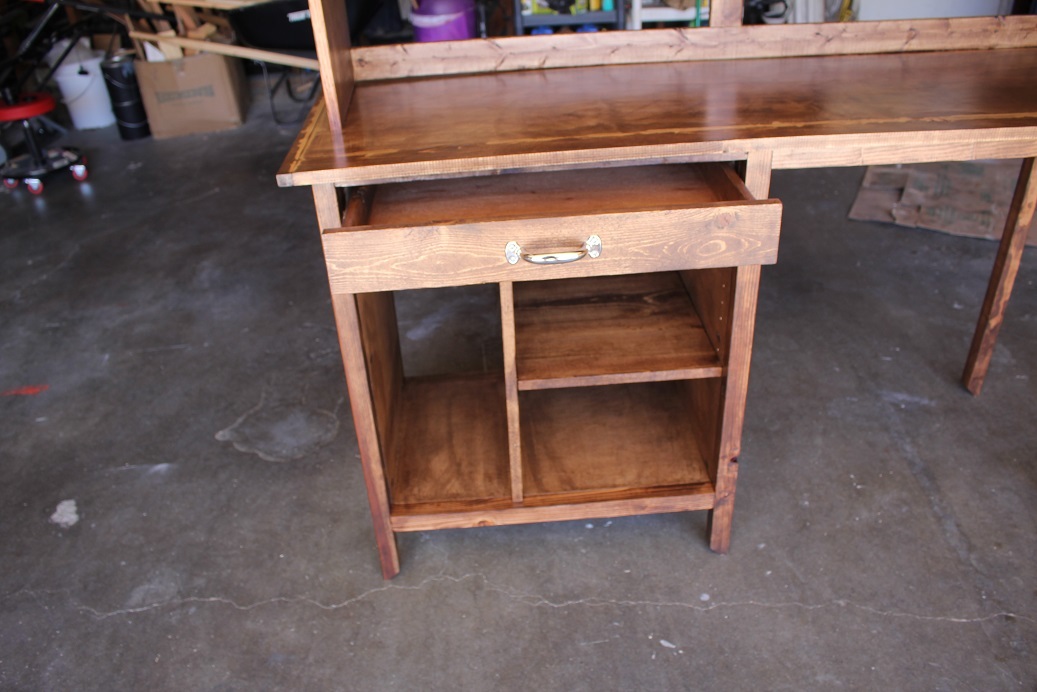
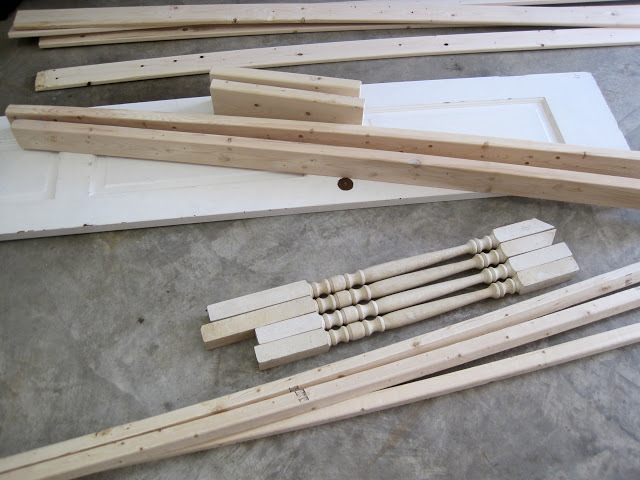
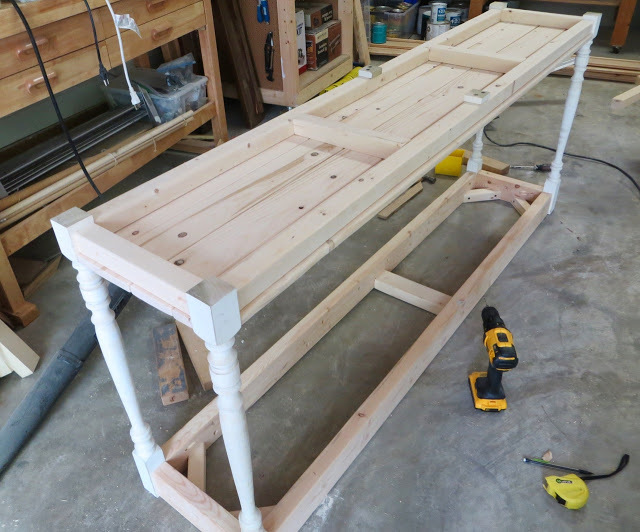
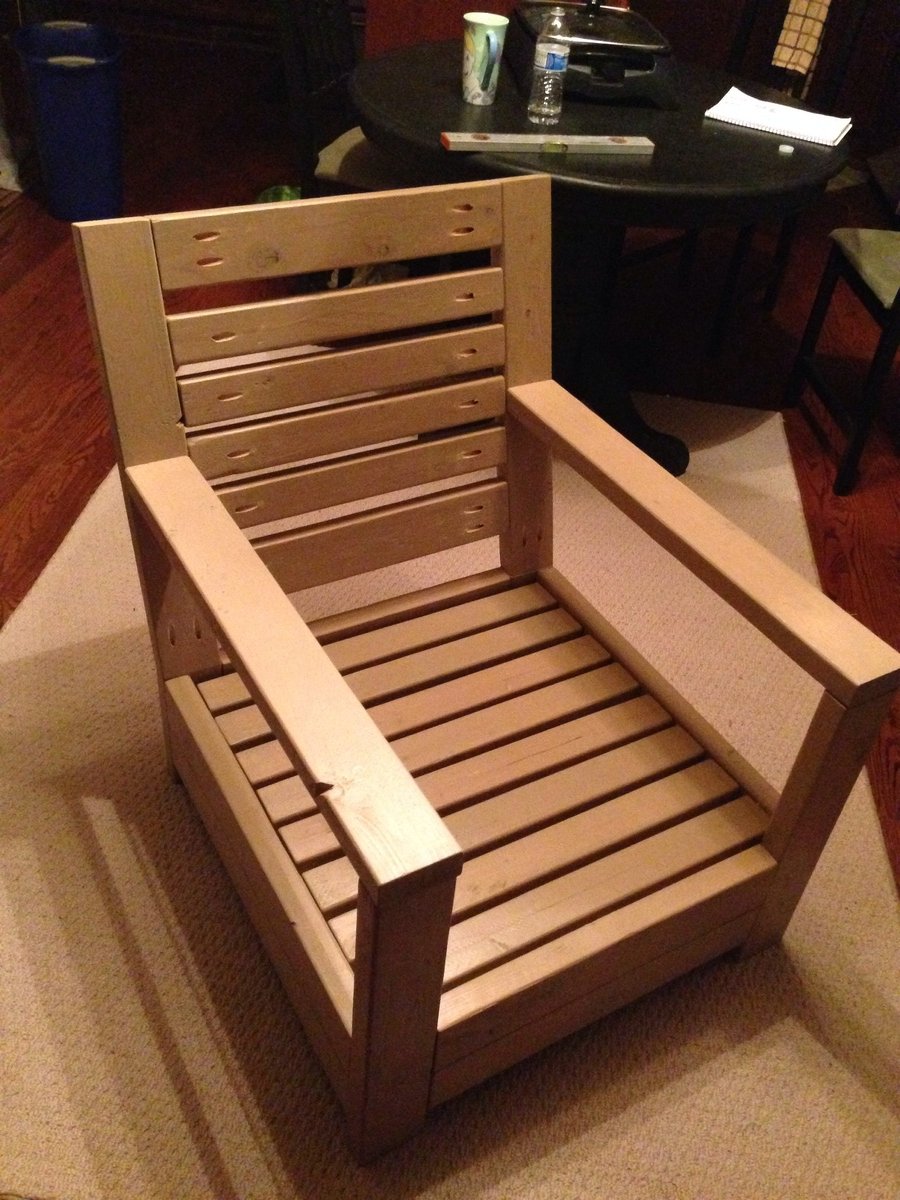
I was afraid that 1x4s may be too weak, so I used 2x4s instead. It's pretty sturdy.
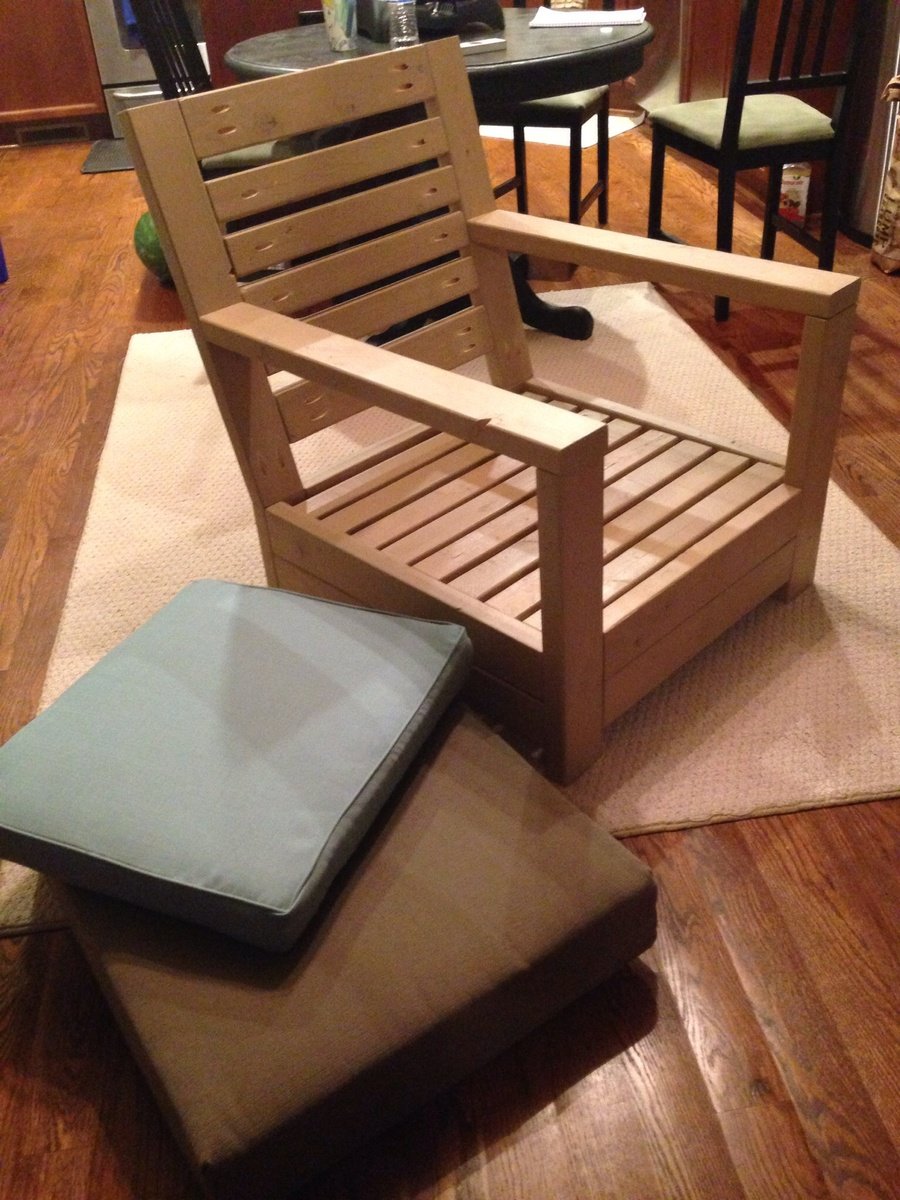
Cushion sizes:
19x20x3
22x24x6

Estimated Cost
45
Estimated Time Investment
Weekend Project (10-20 Hours)
Recommended Skill Level
Beginner