Pantry from Simplest Armoire
Used Chalkboard paint for the doors.
I was so inspired by Ana's plans I made two tables, that can be put side by side, alongside each other or used as two separate tables with benches. I also made a bar with granite top...... It was lots of sanding as I did not have a planer at the time, but I love the finished project and get compliments by all that see it. Thank you Ana White.
Cathy B
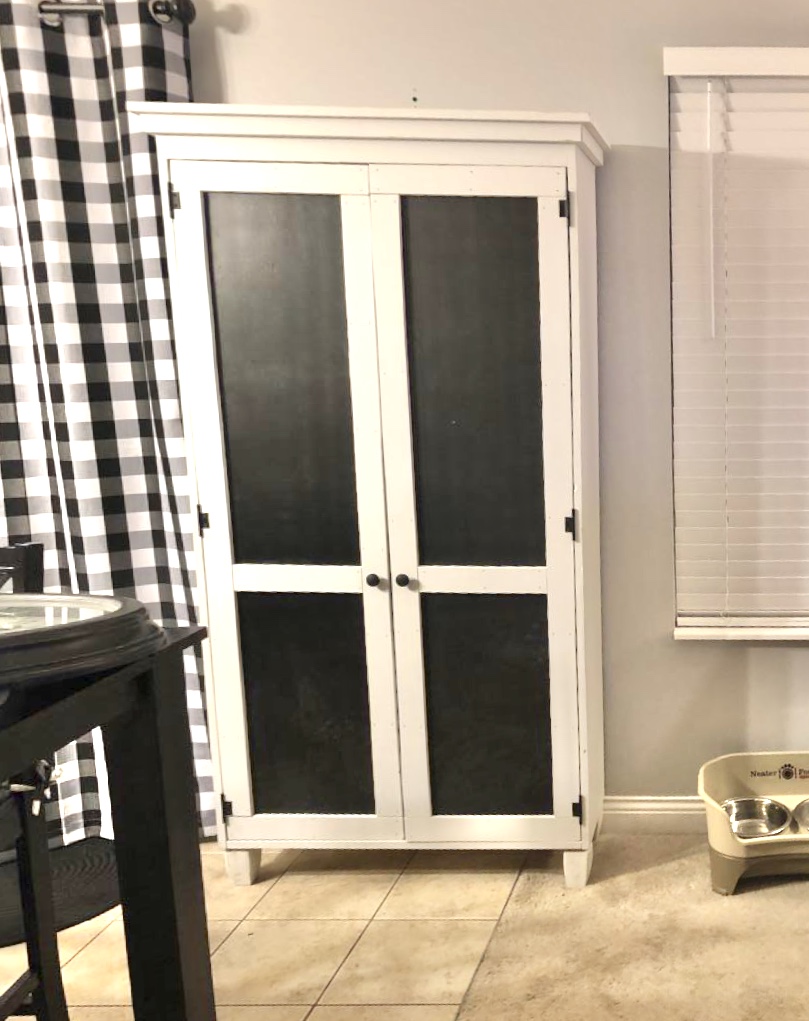
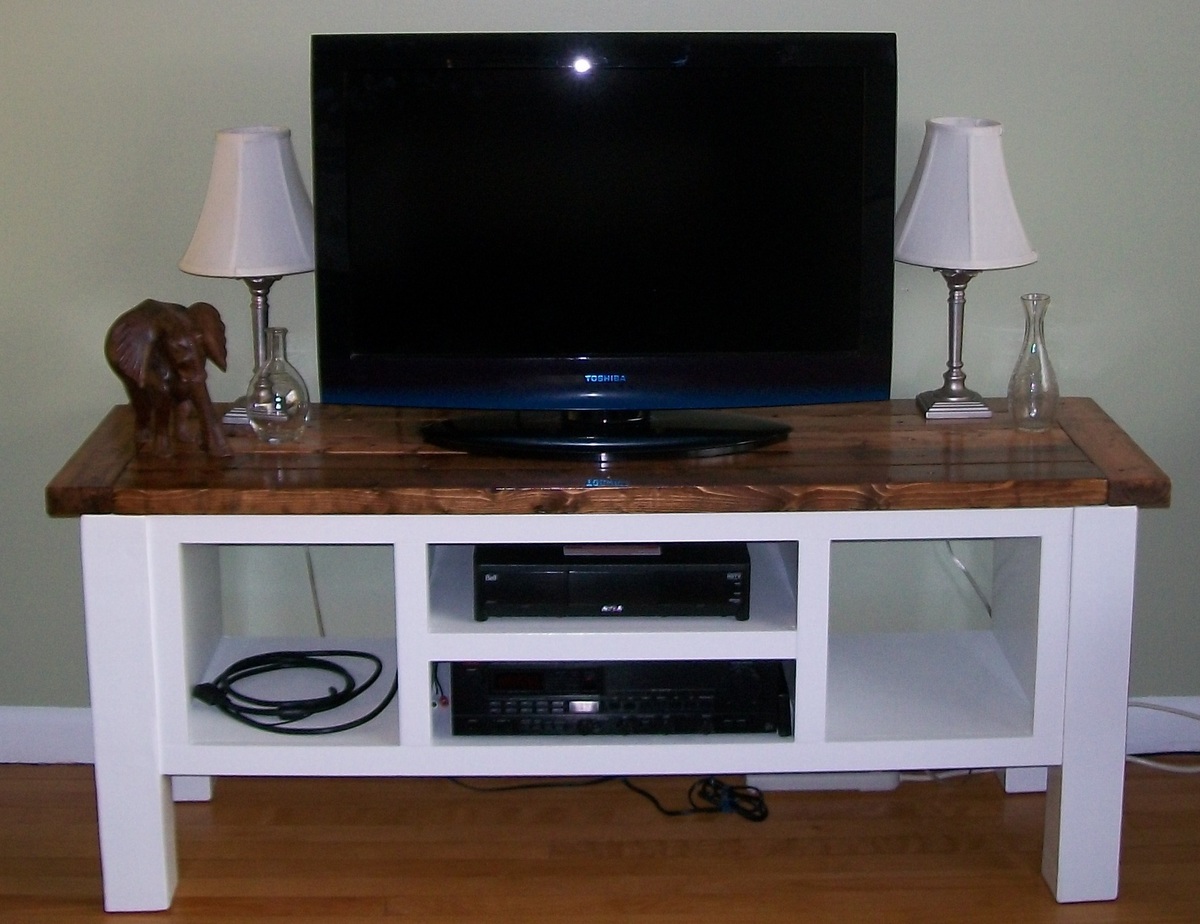
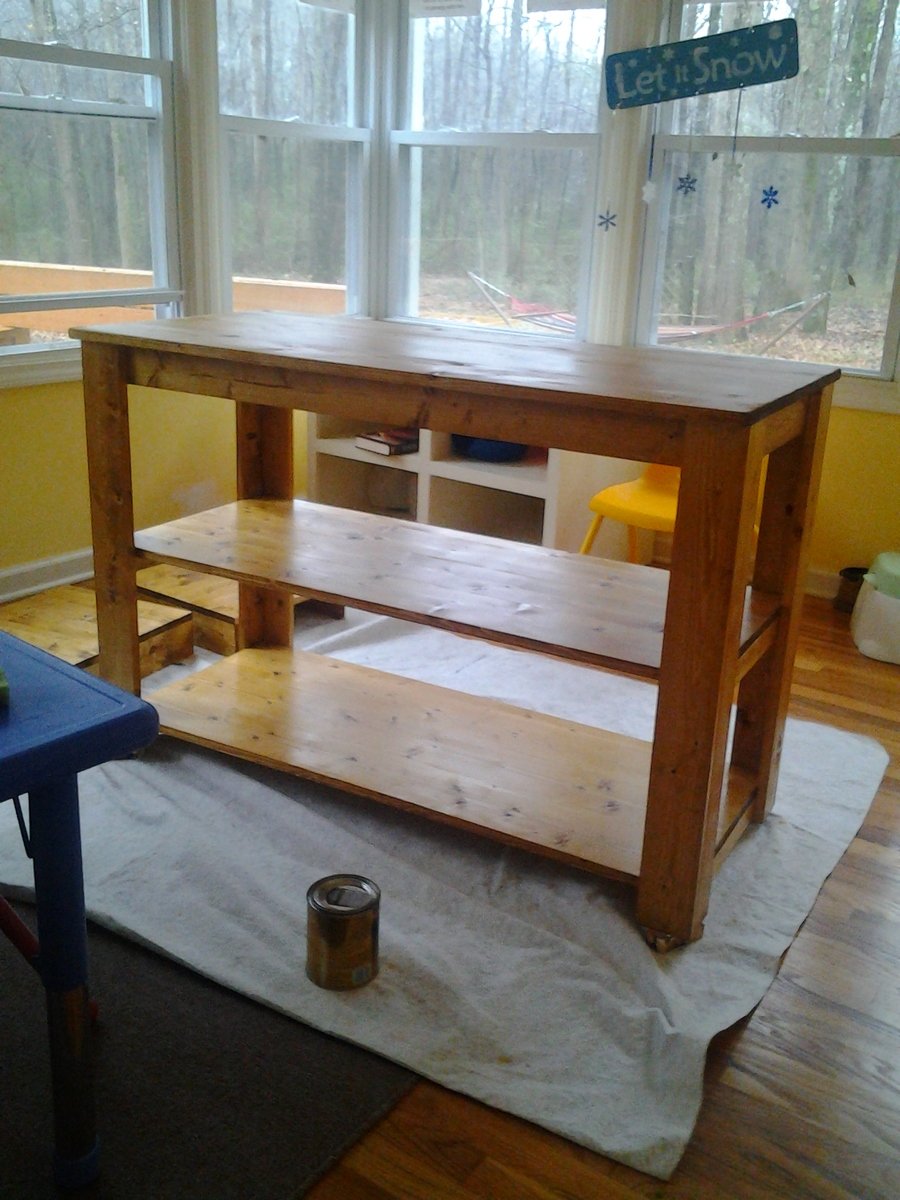
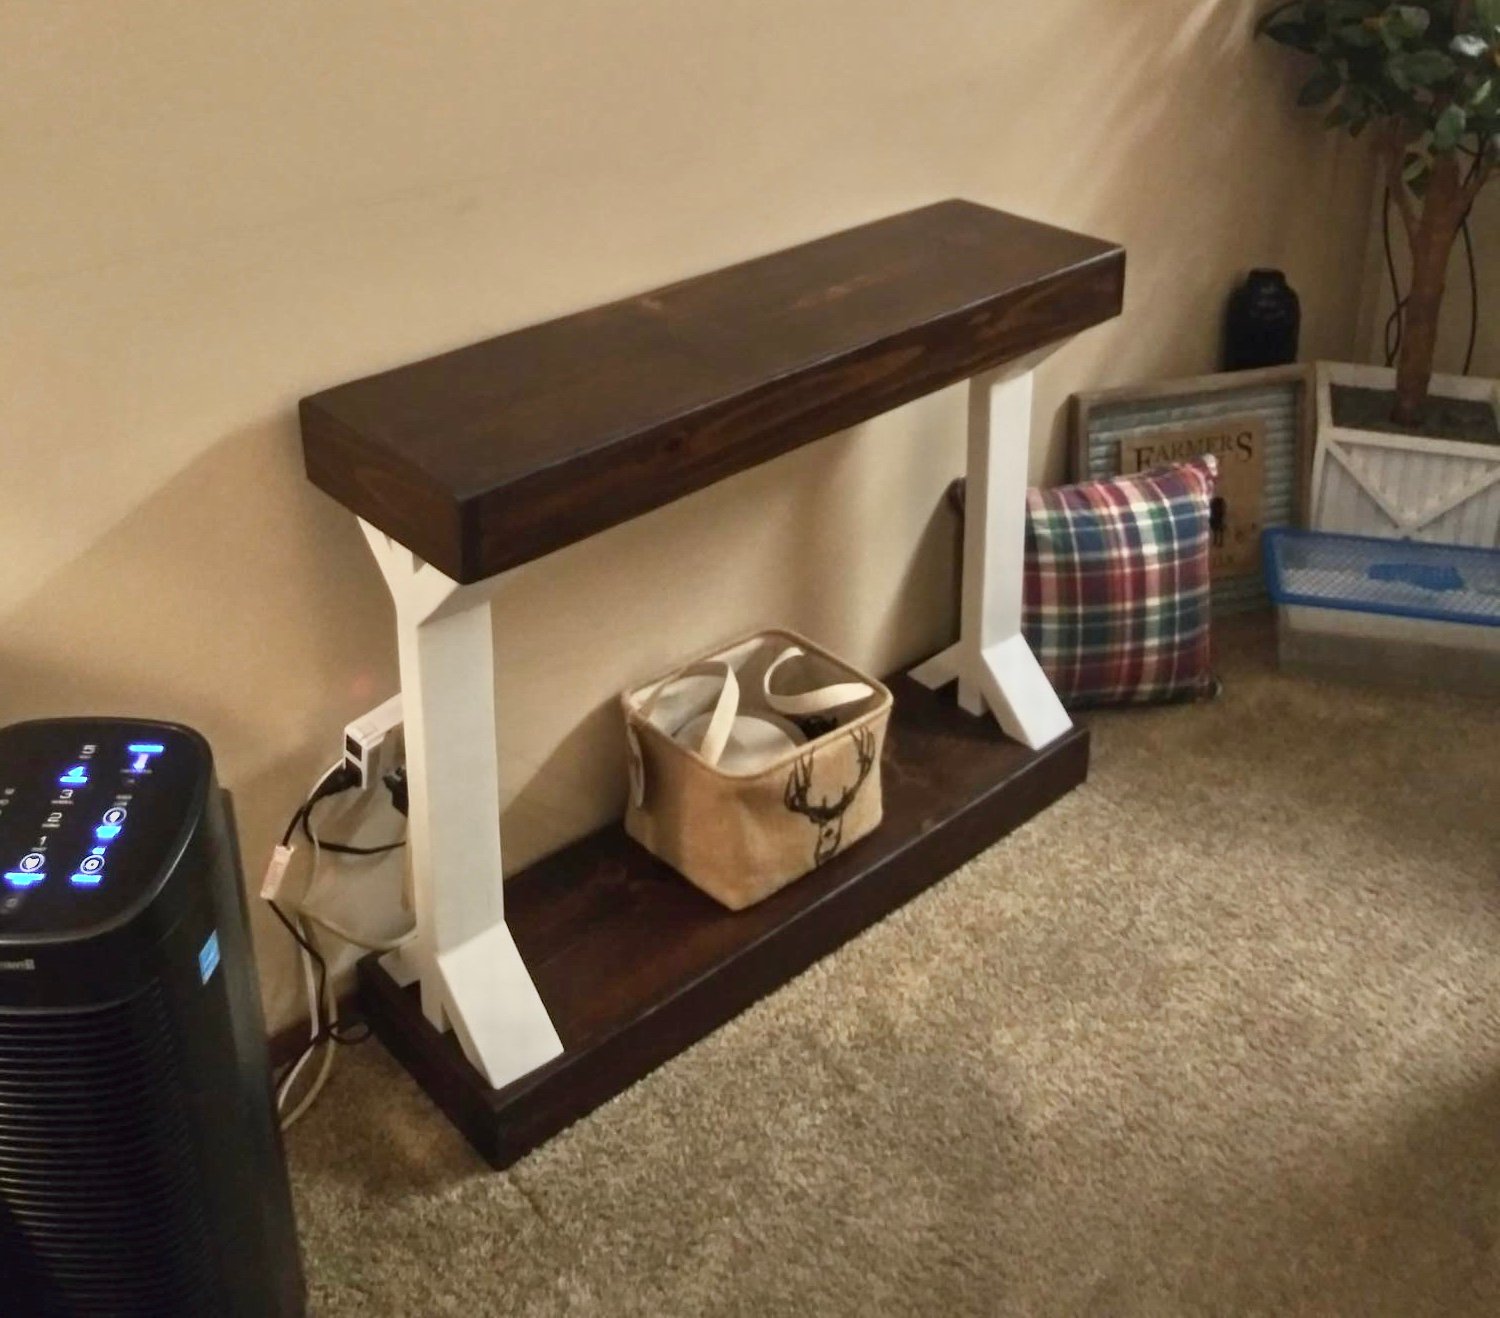
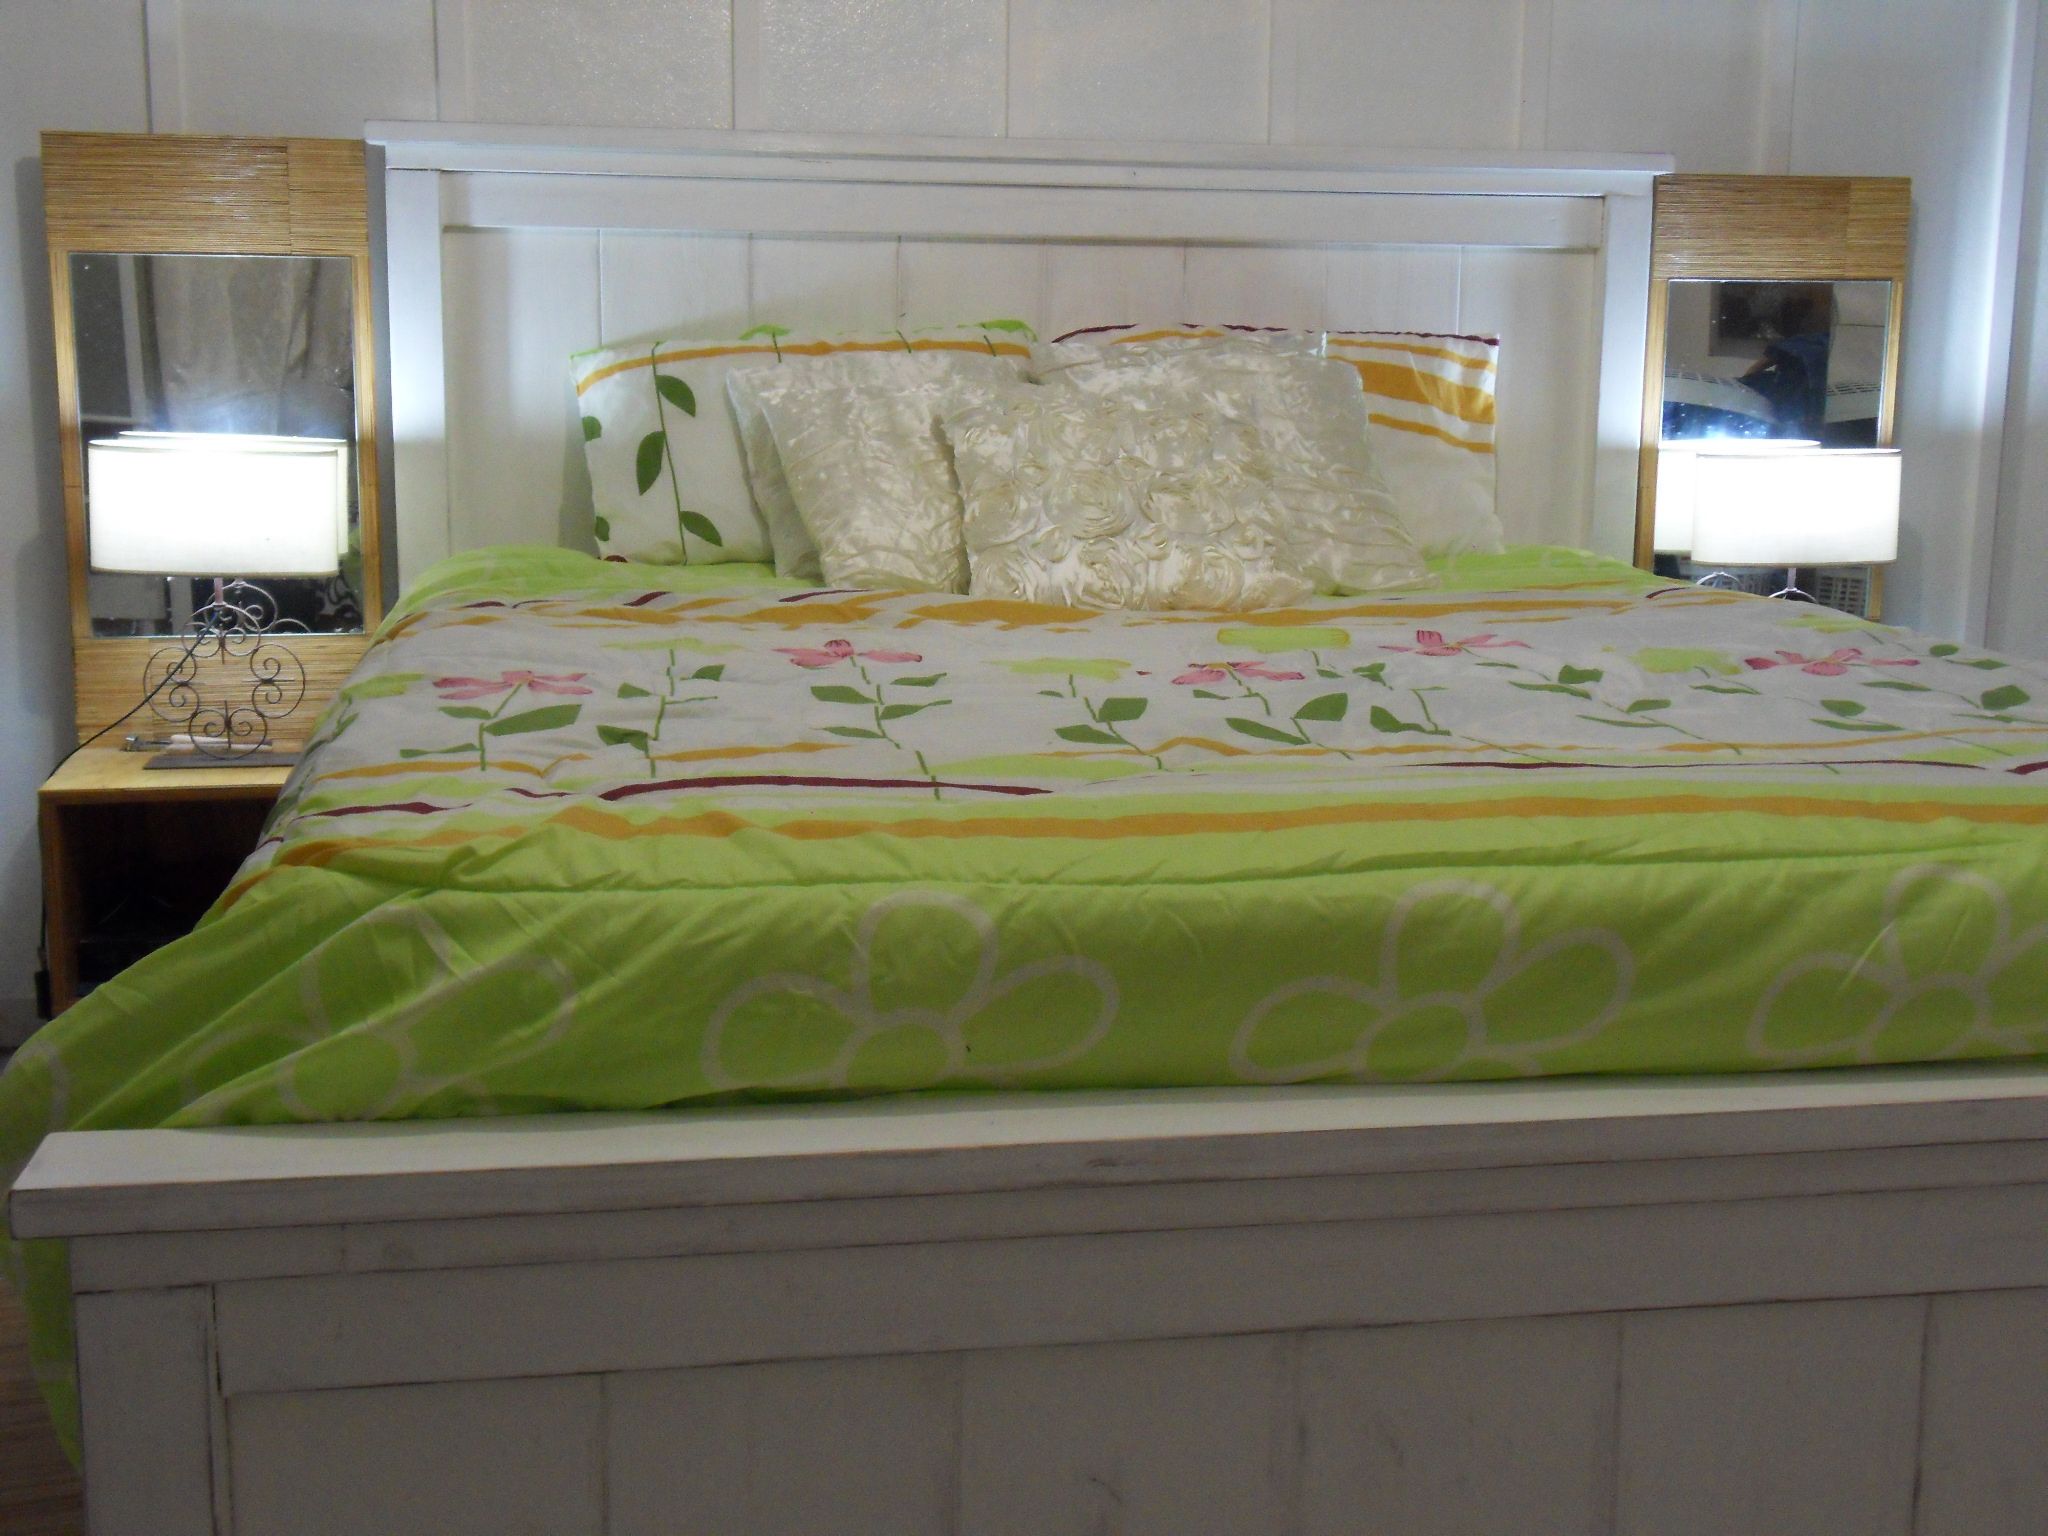
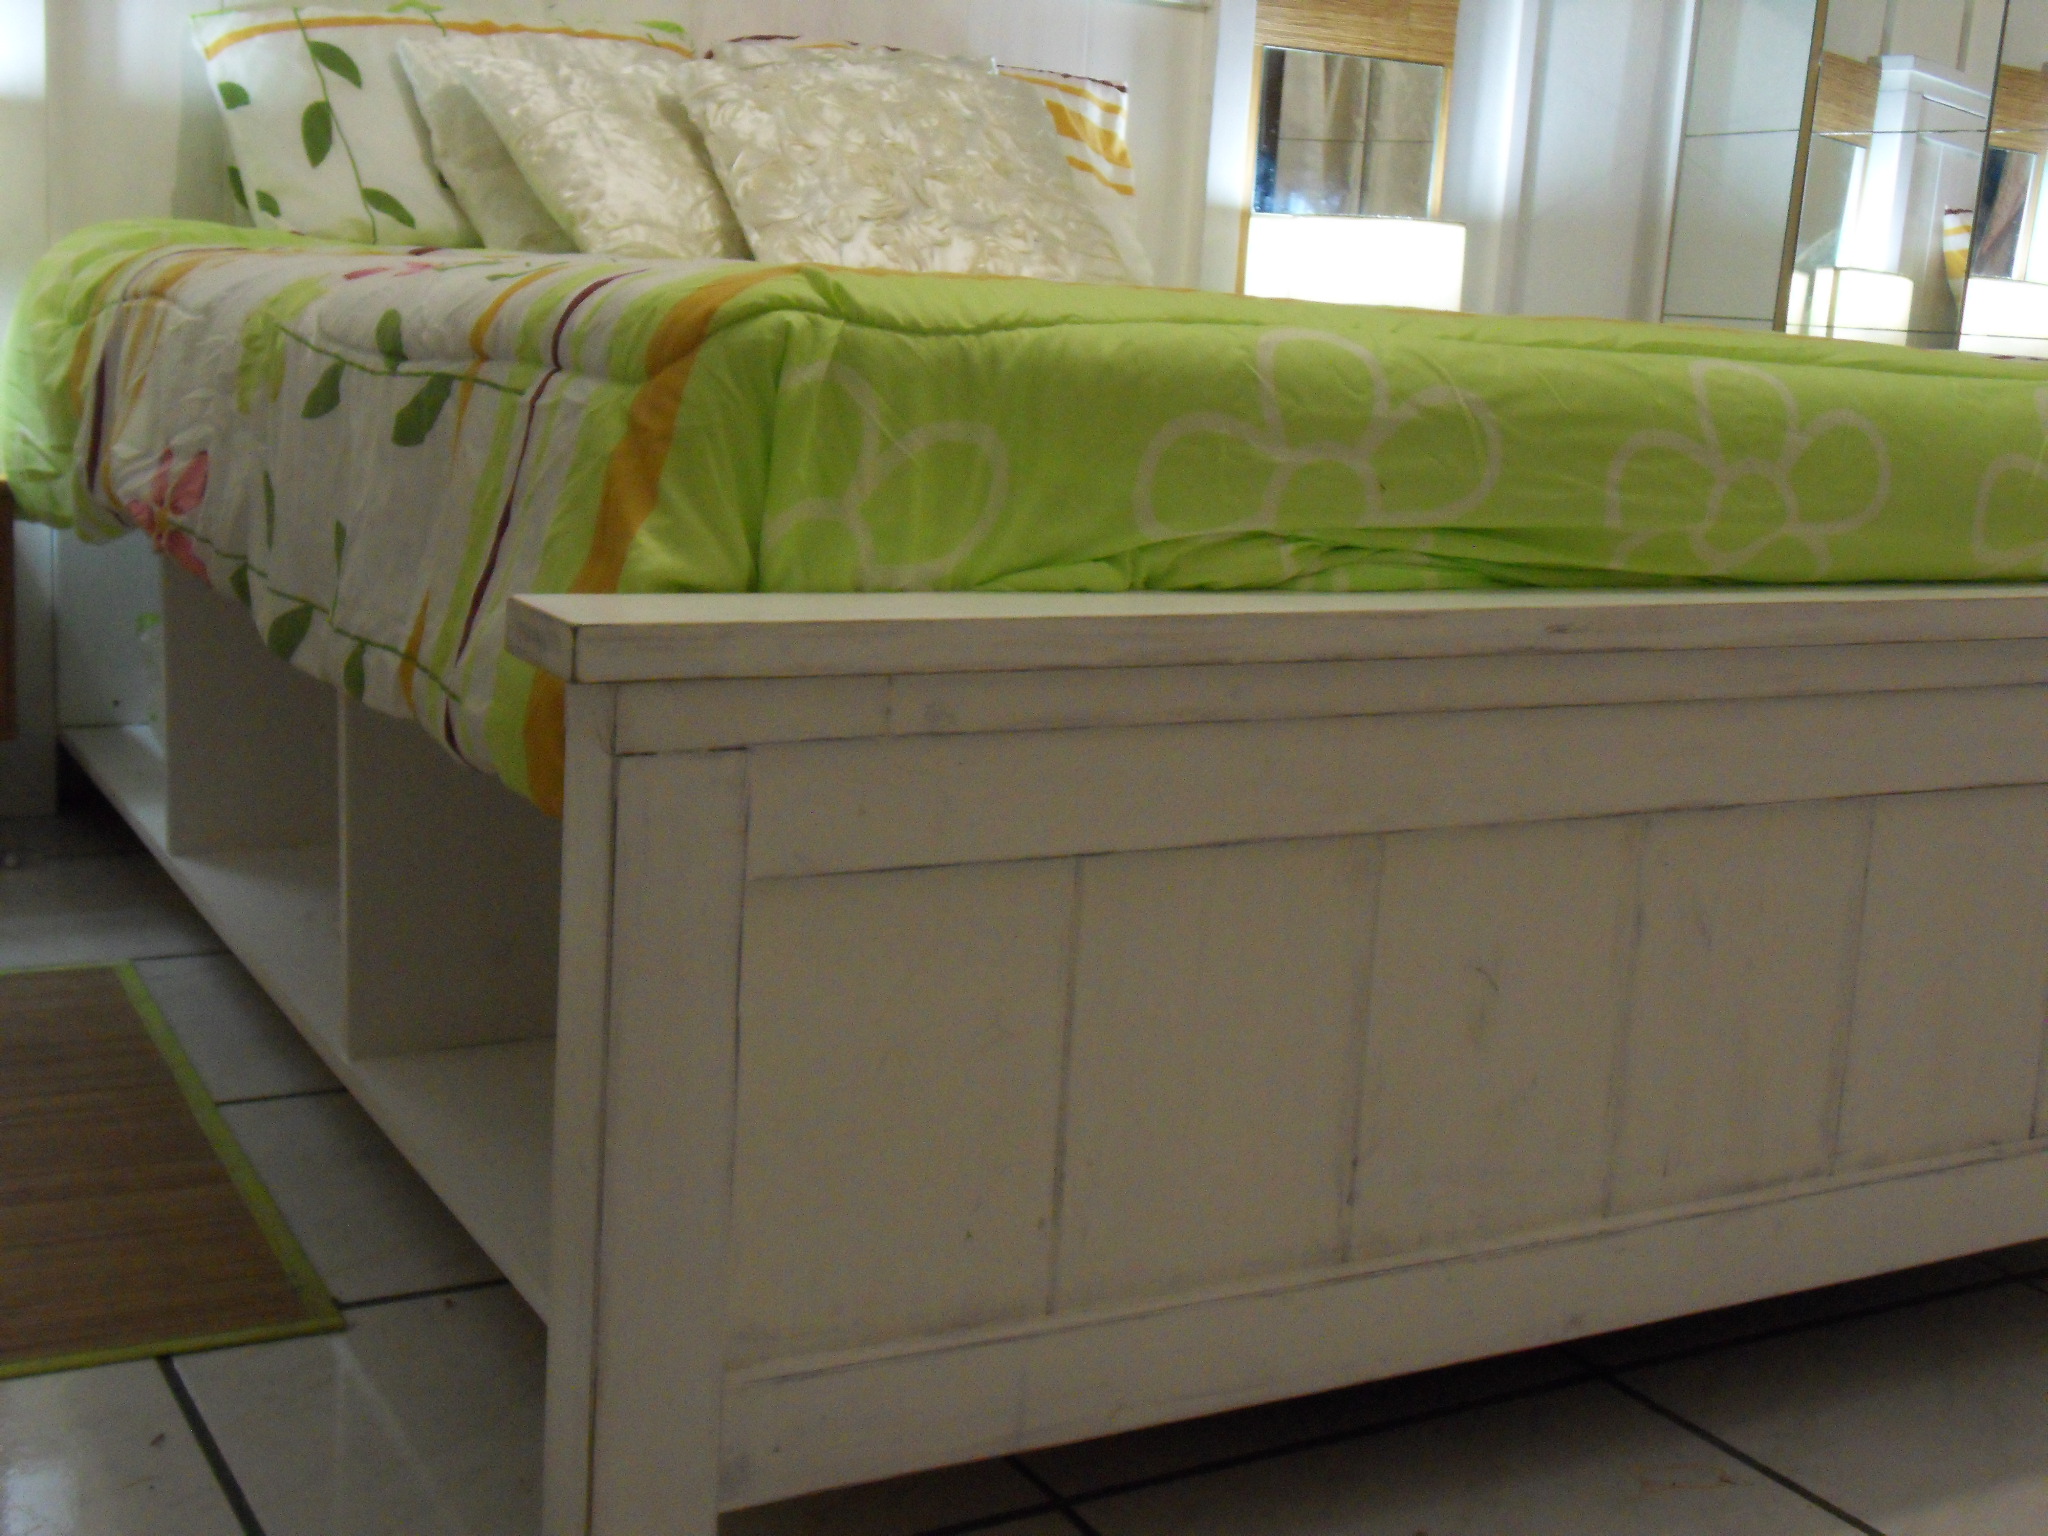
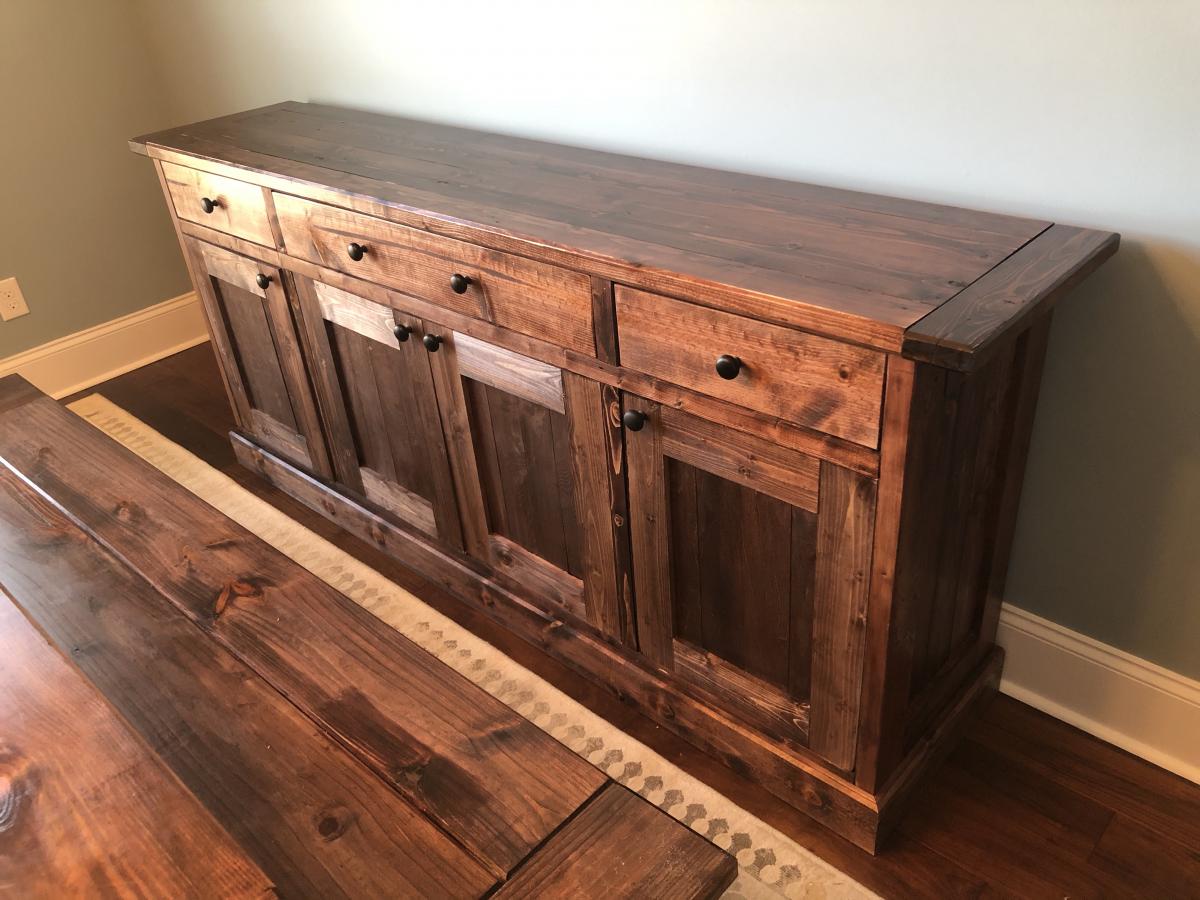
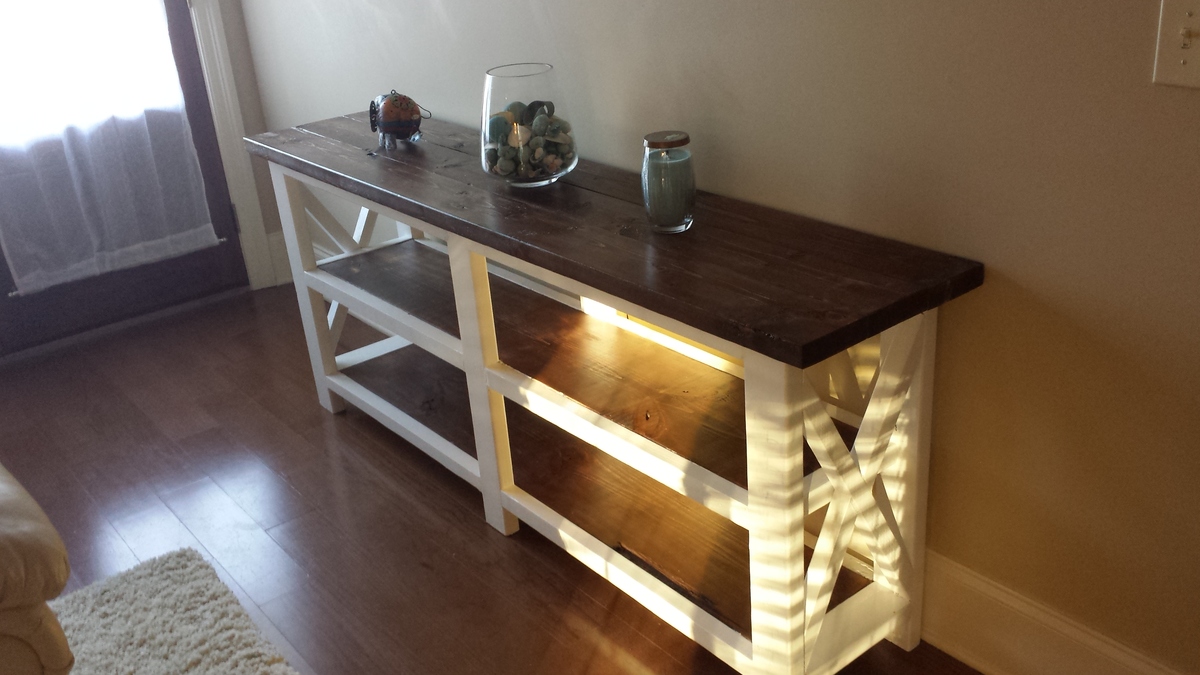
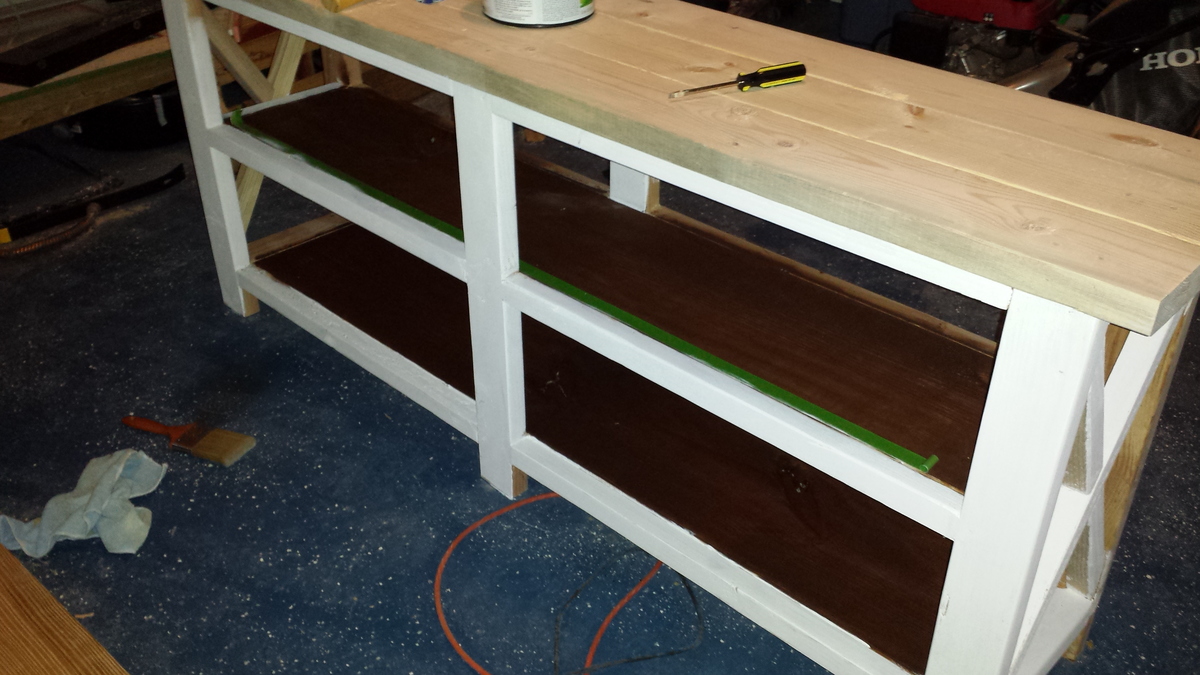
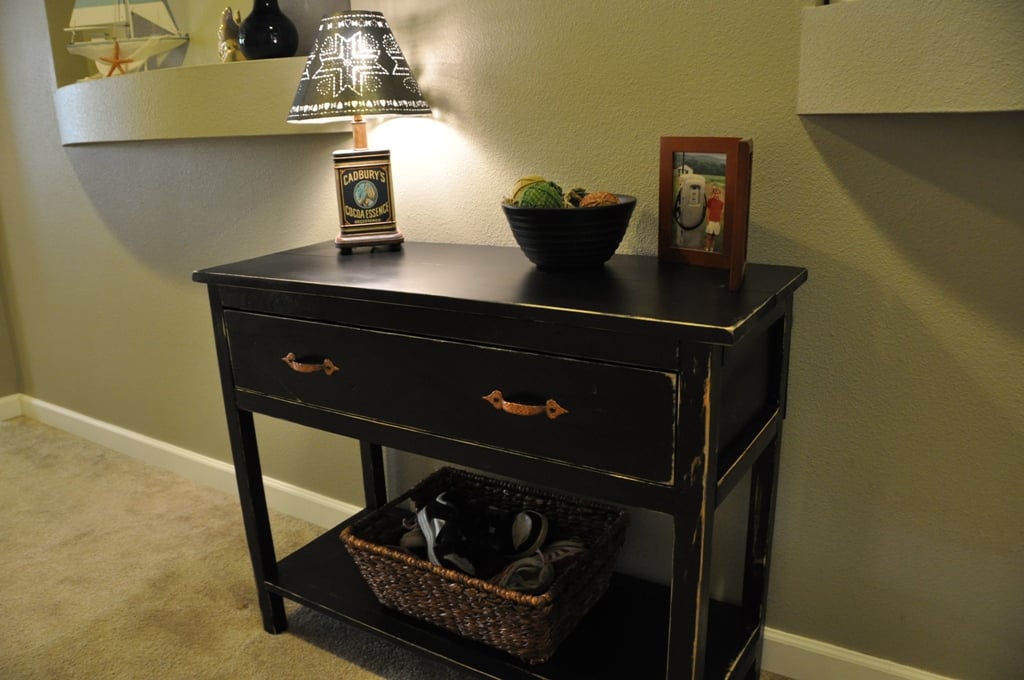
This was our first build, so it was definitely a learning process! We followed the plans pretty closely, with a few minor modifications to suit our needs. The finish was inspired by CreativePineapple's stain/white paint combo - we loved it so much that we had to do our own version!
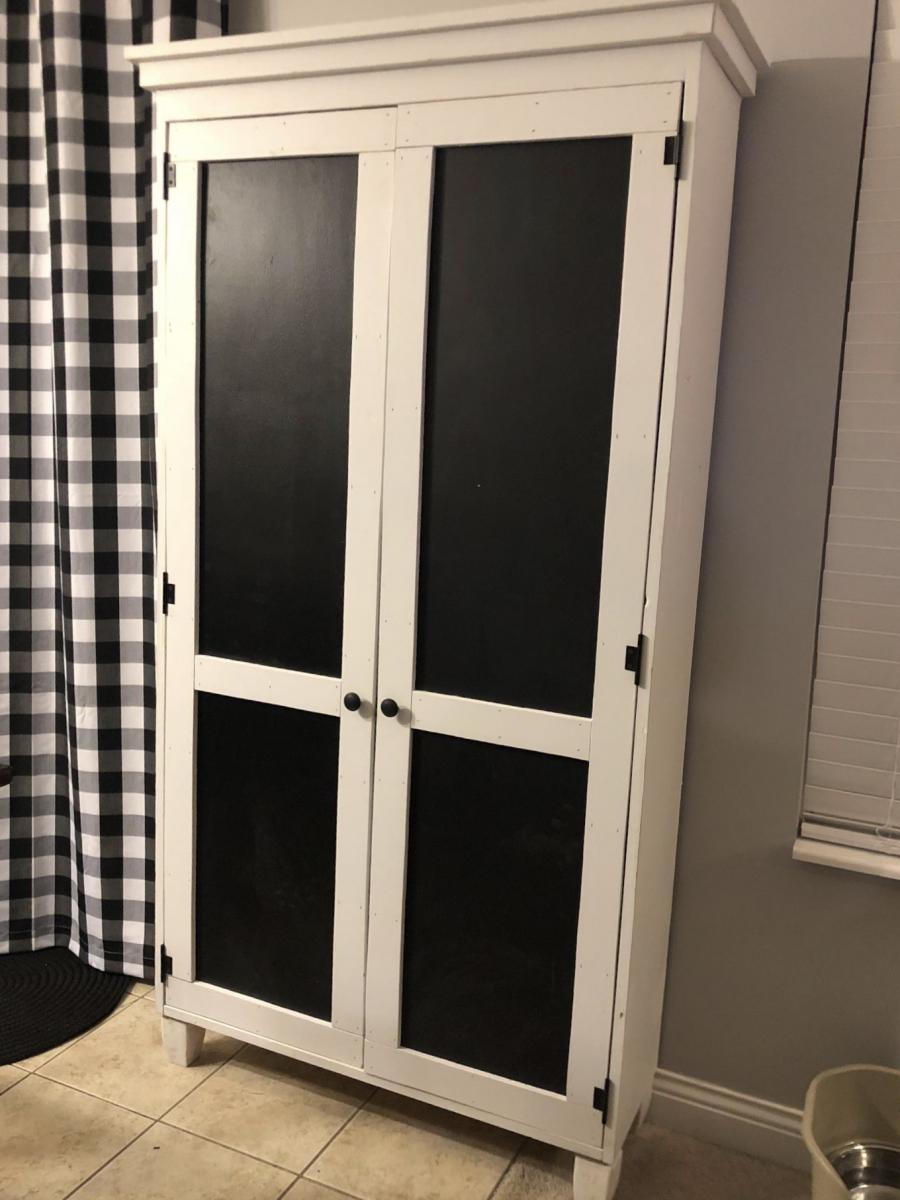
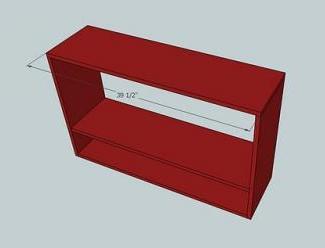
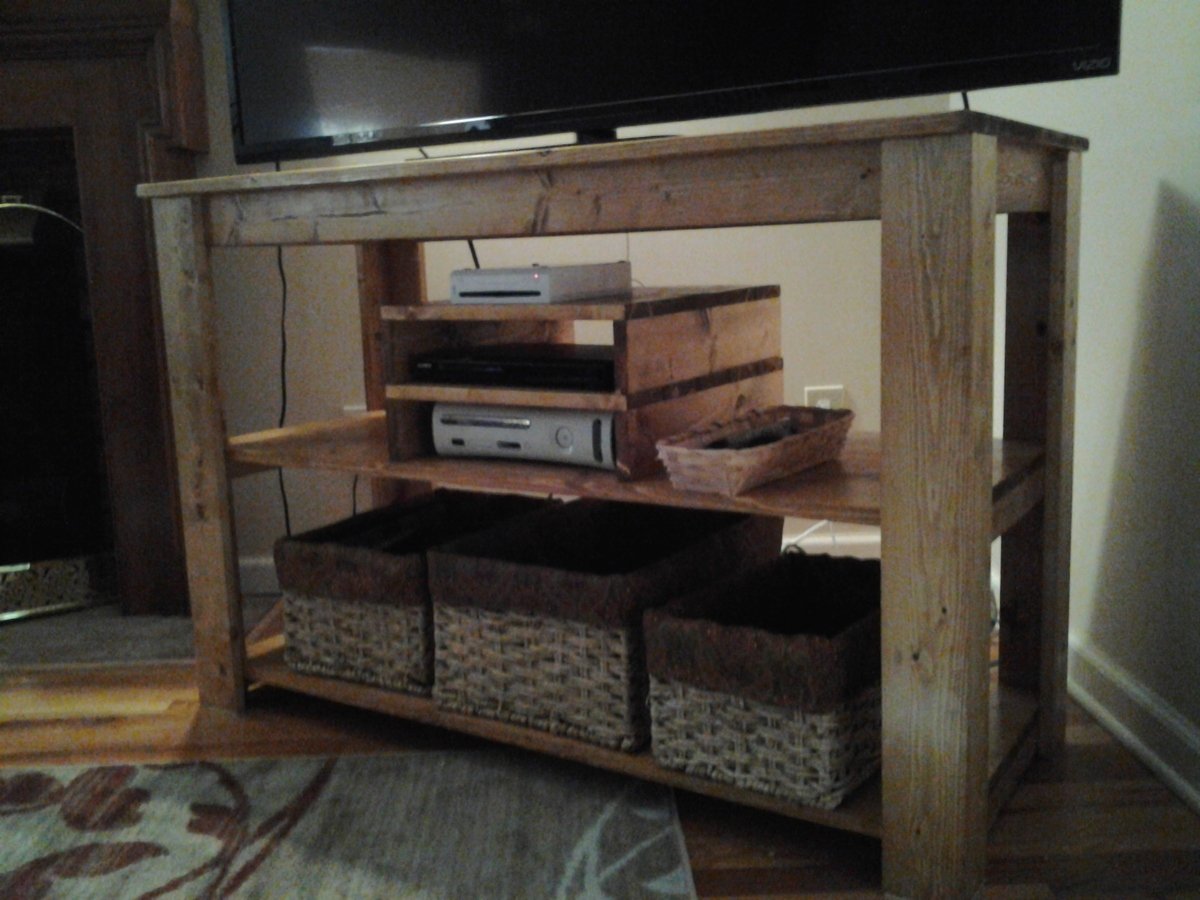
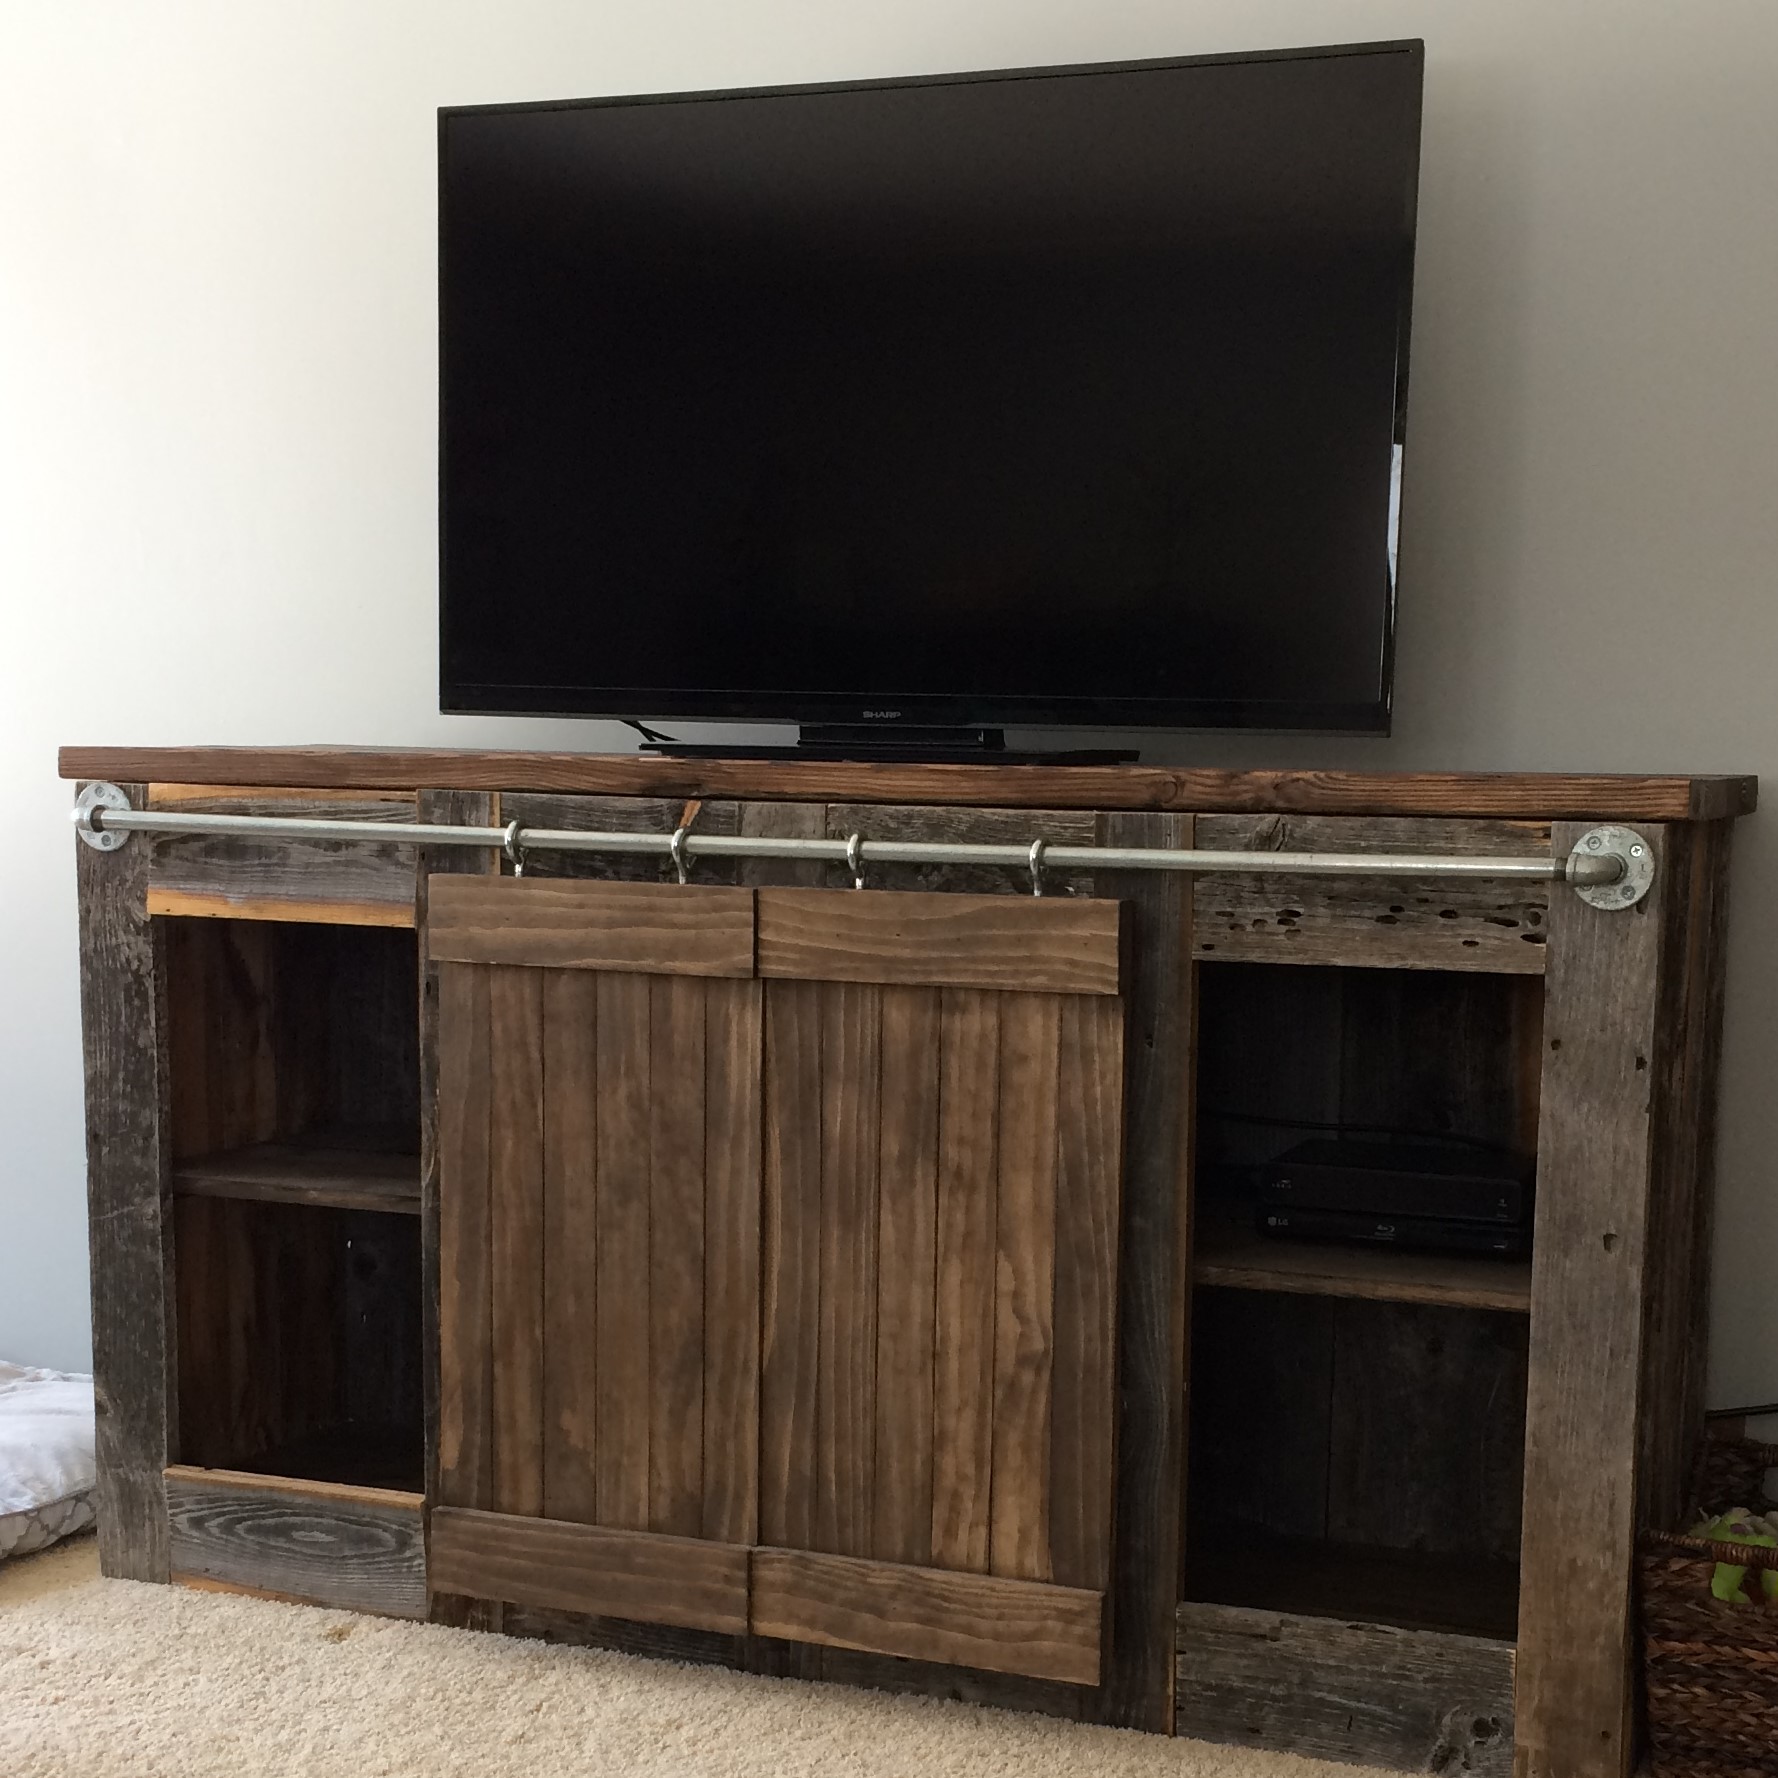
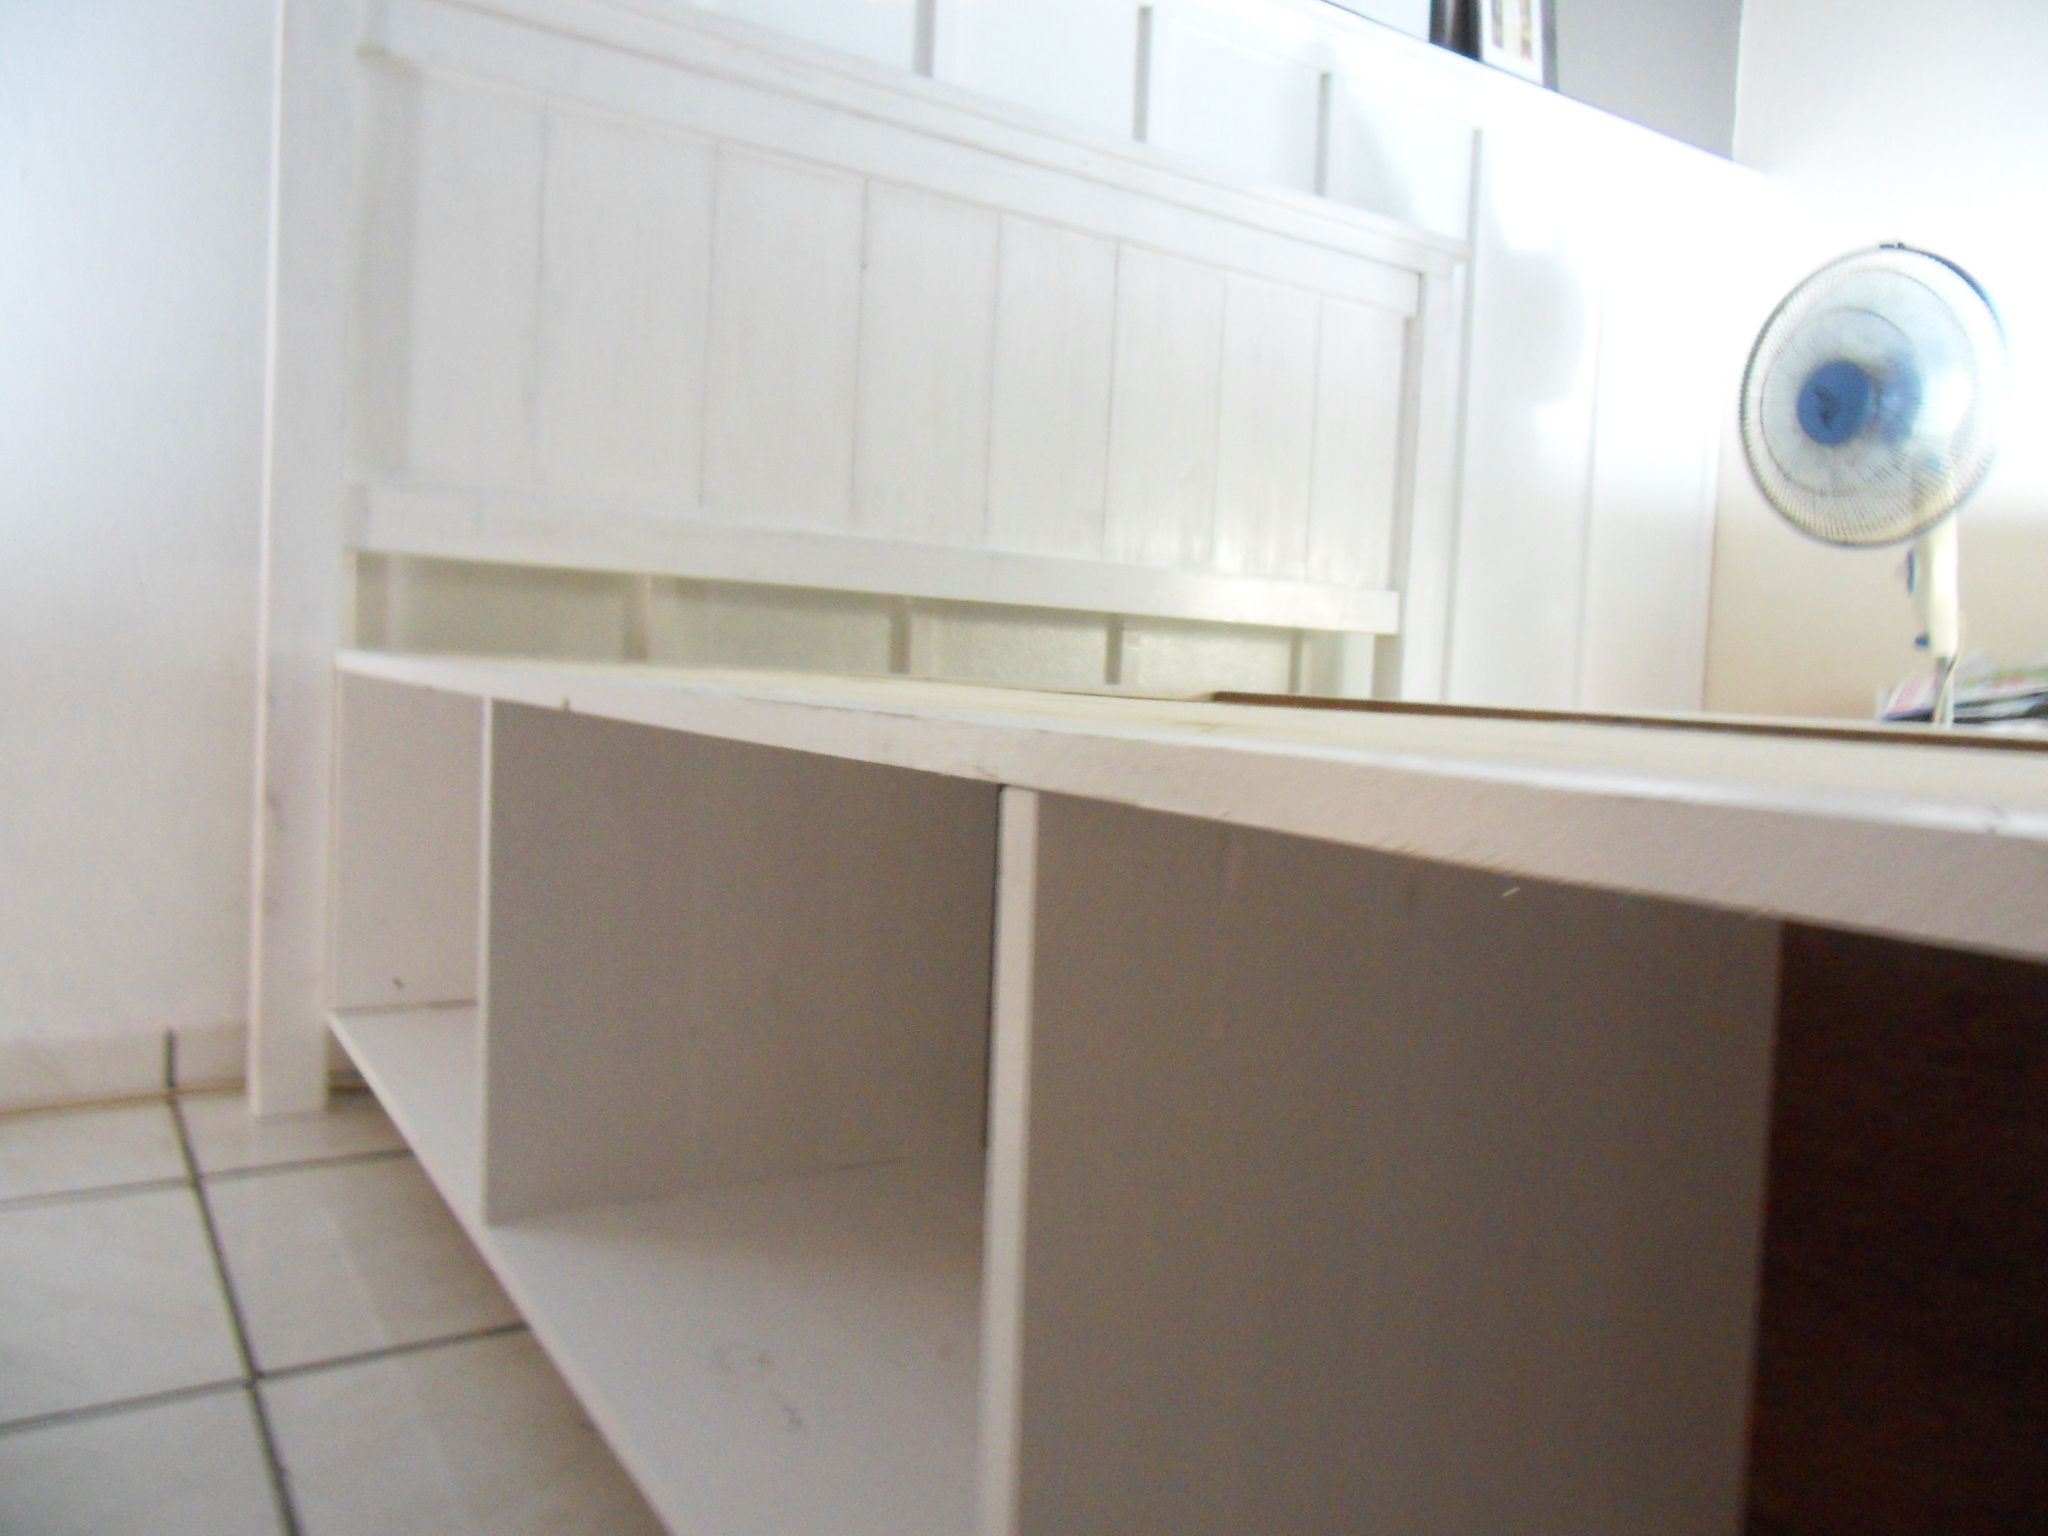
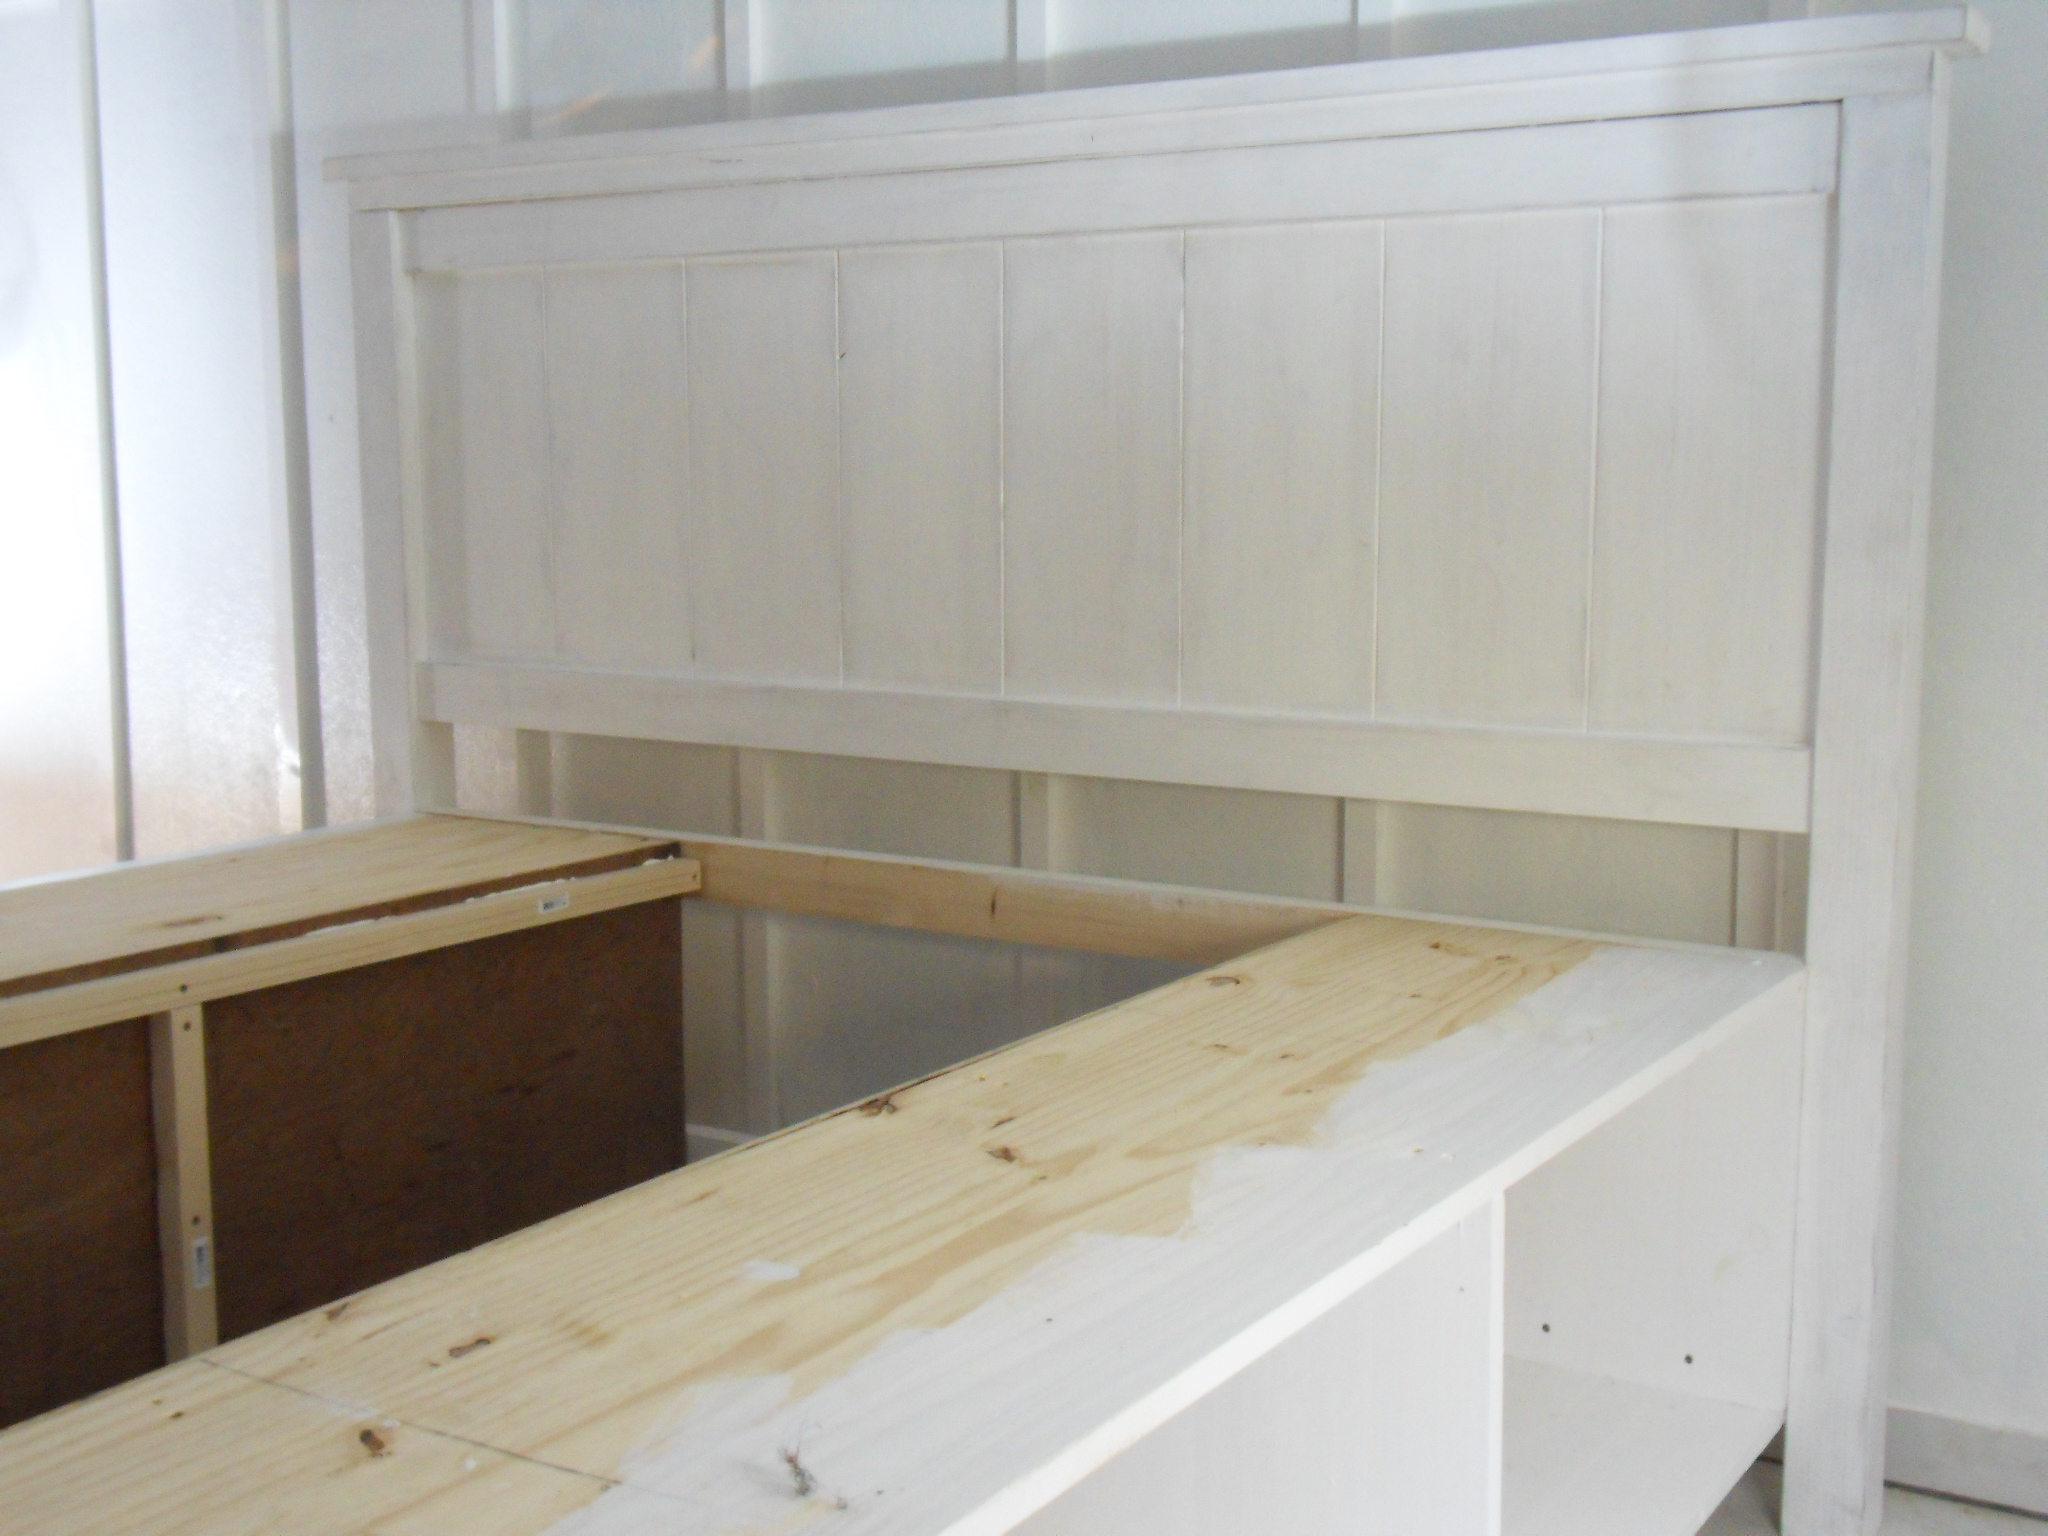
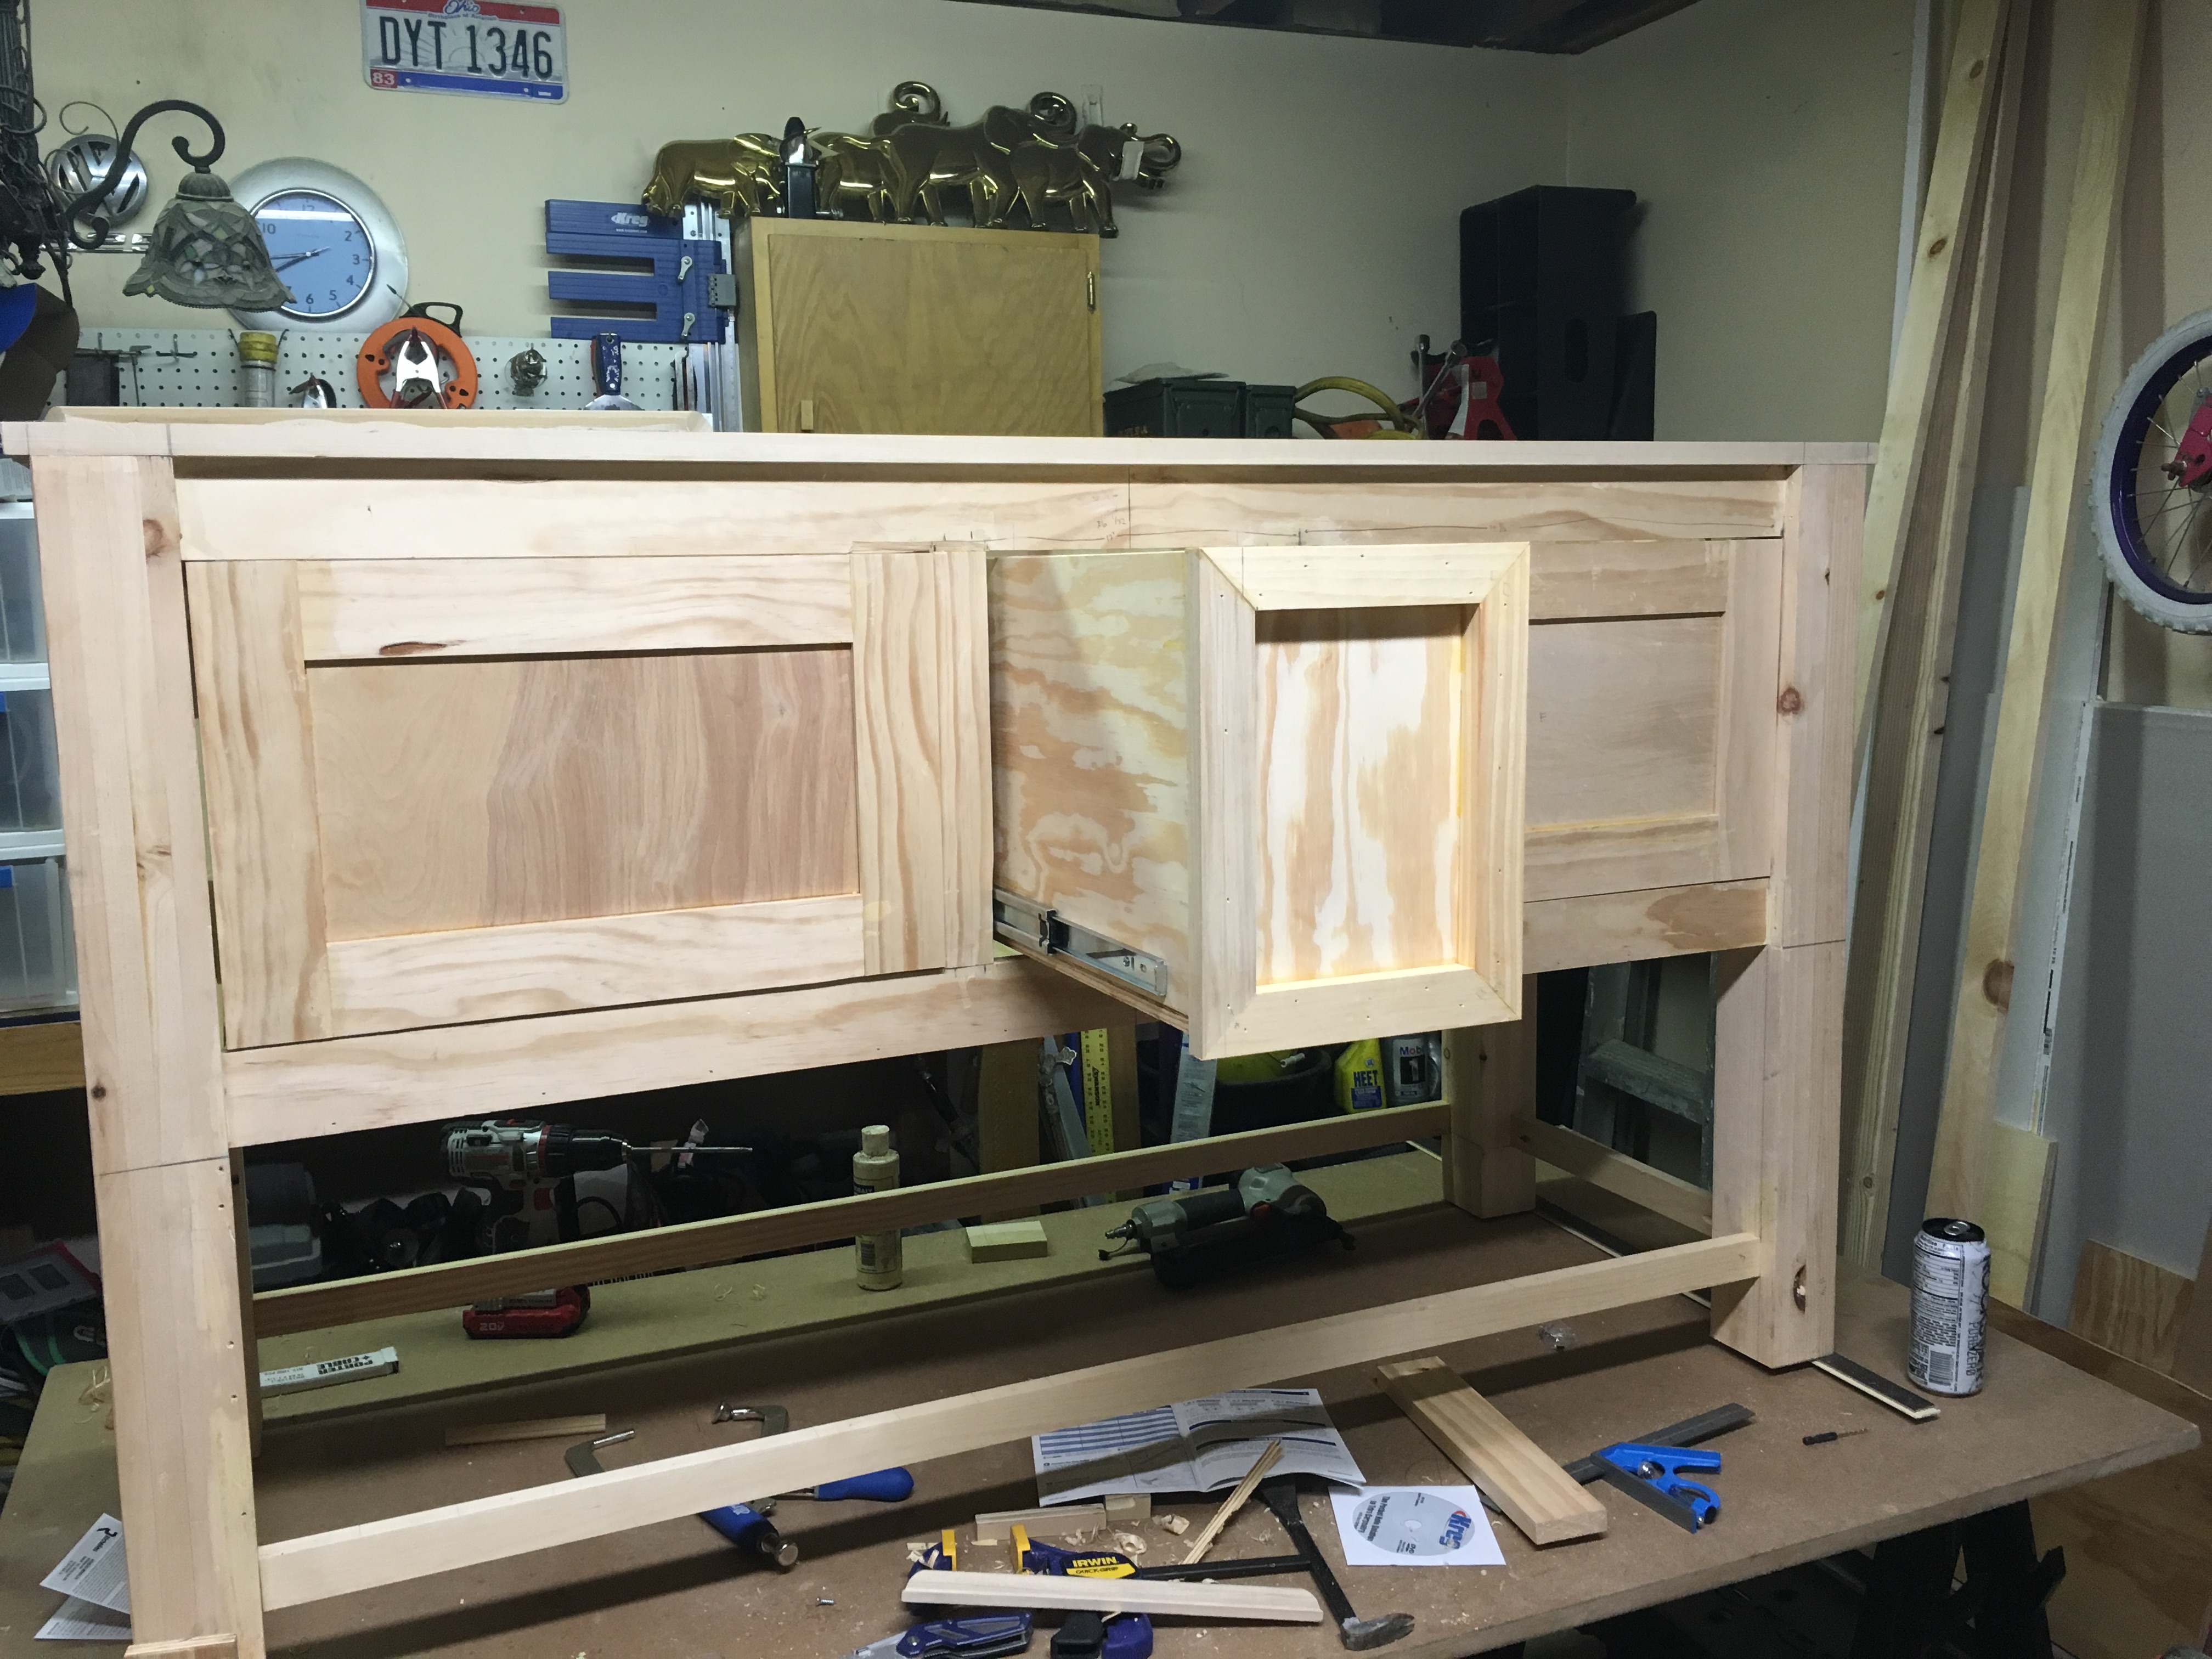
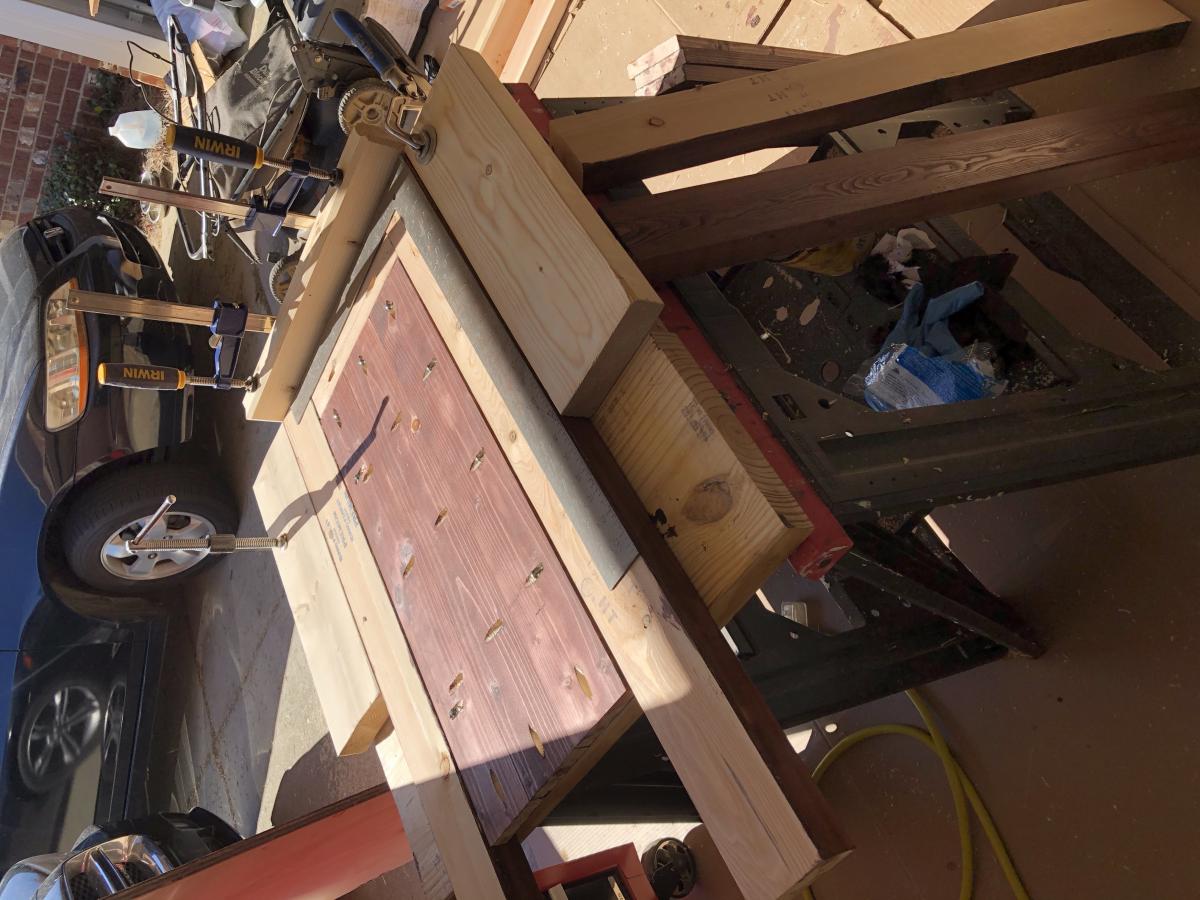
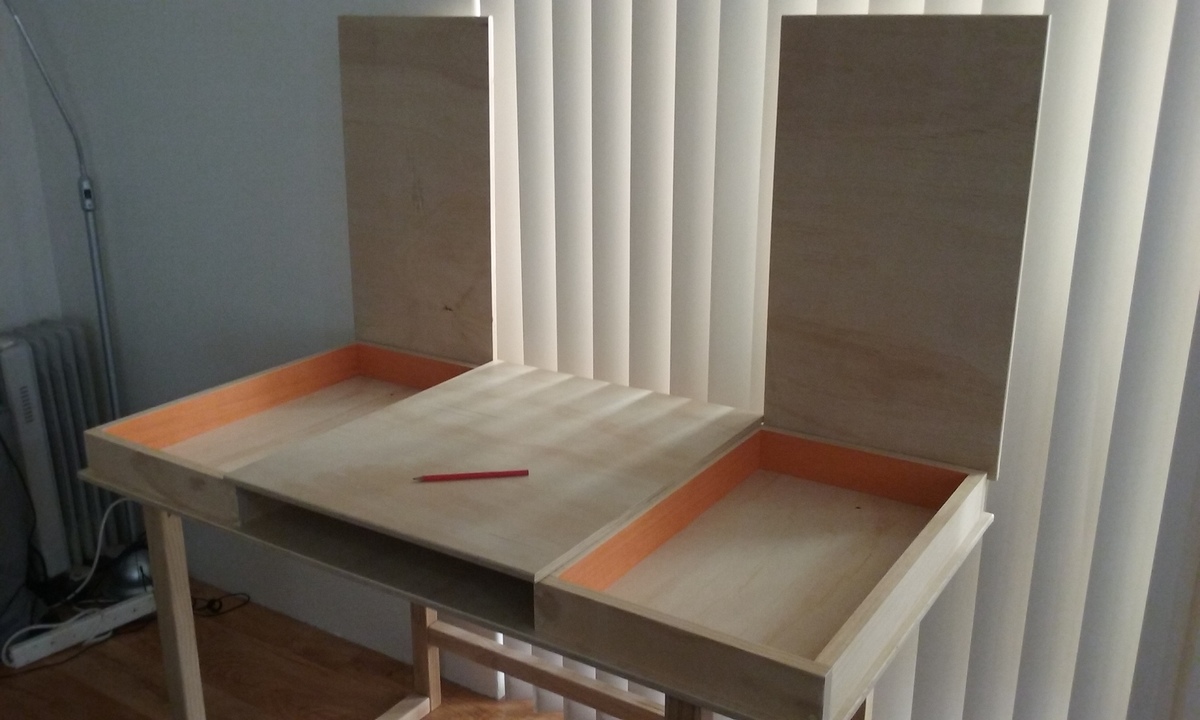
The center console section was built out of 3/4" MDF - we knew we were going to paint, as opposed to stain, and it was quite a bit cheaper. We primed and painted this section as we went, as we knew that getting our hands/brushes into the cubbies after assembly would be difficult. This added to the time to finish, but it did make for an easier (and probably more even) paint job.
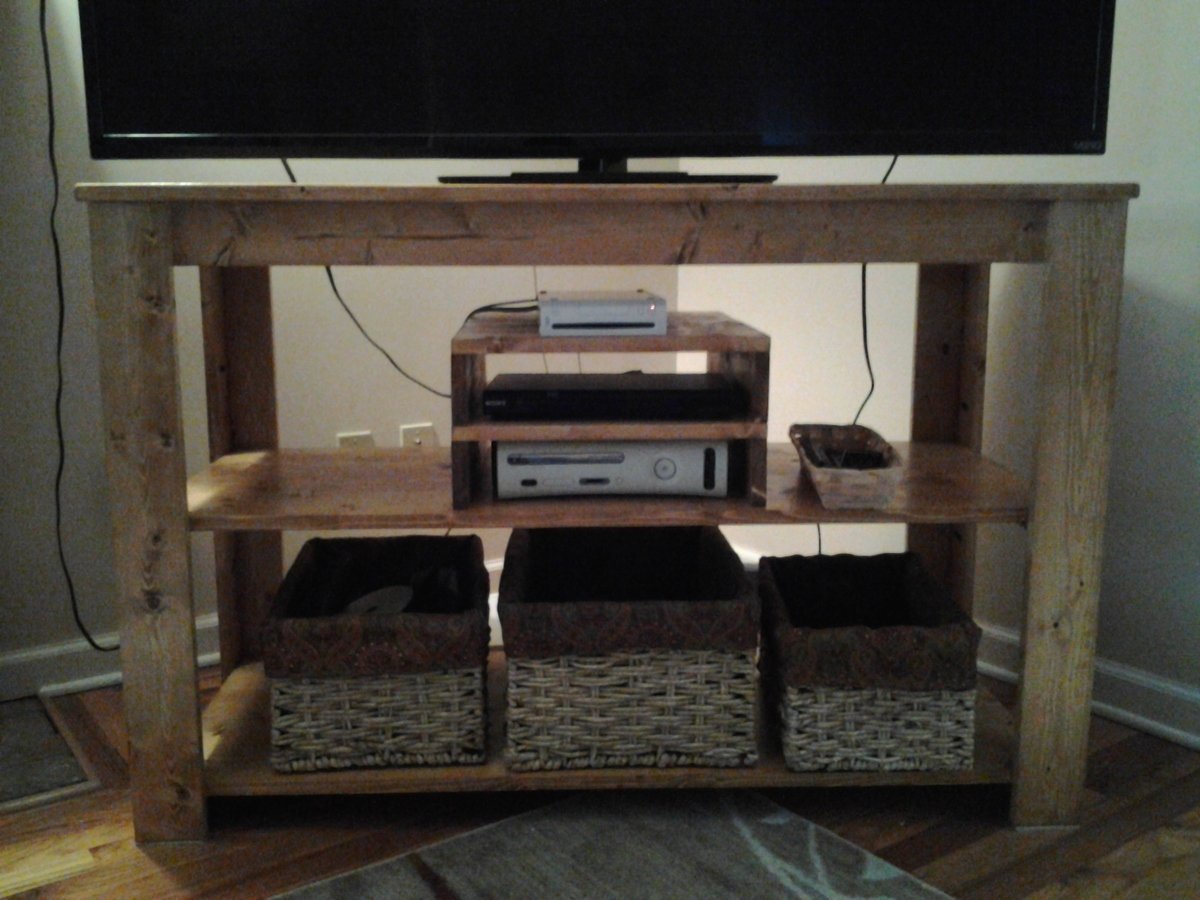
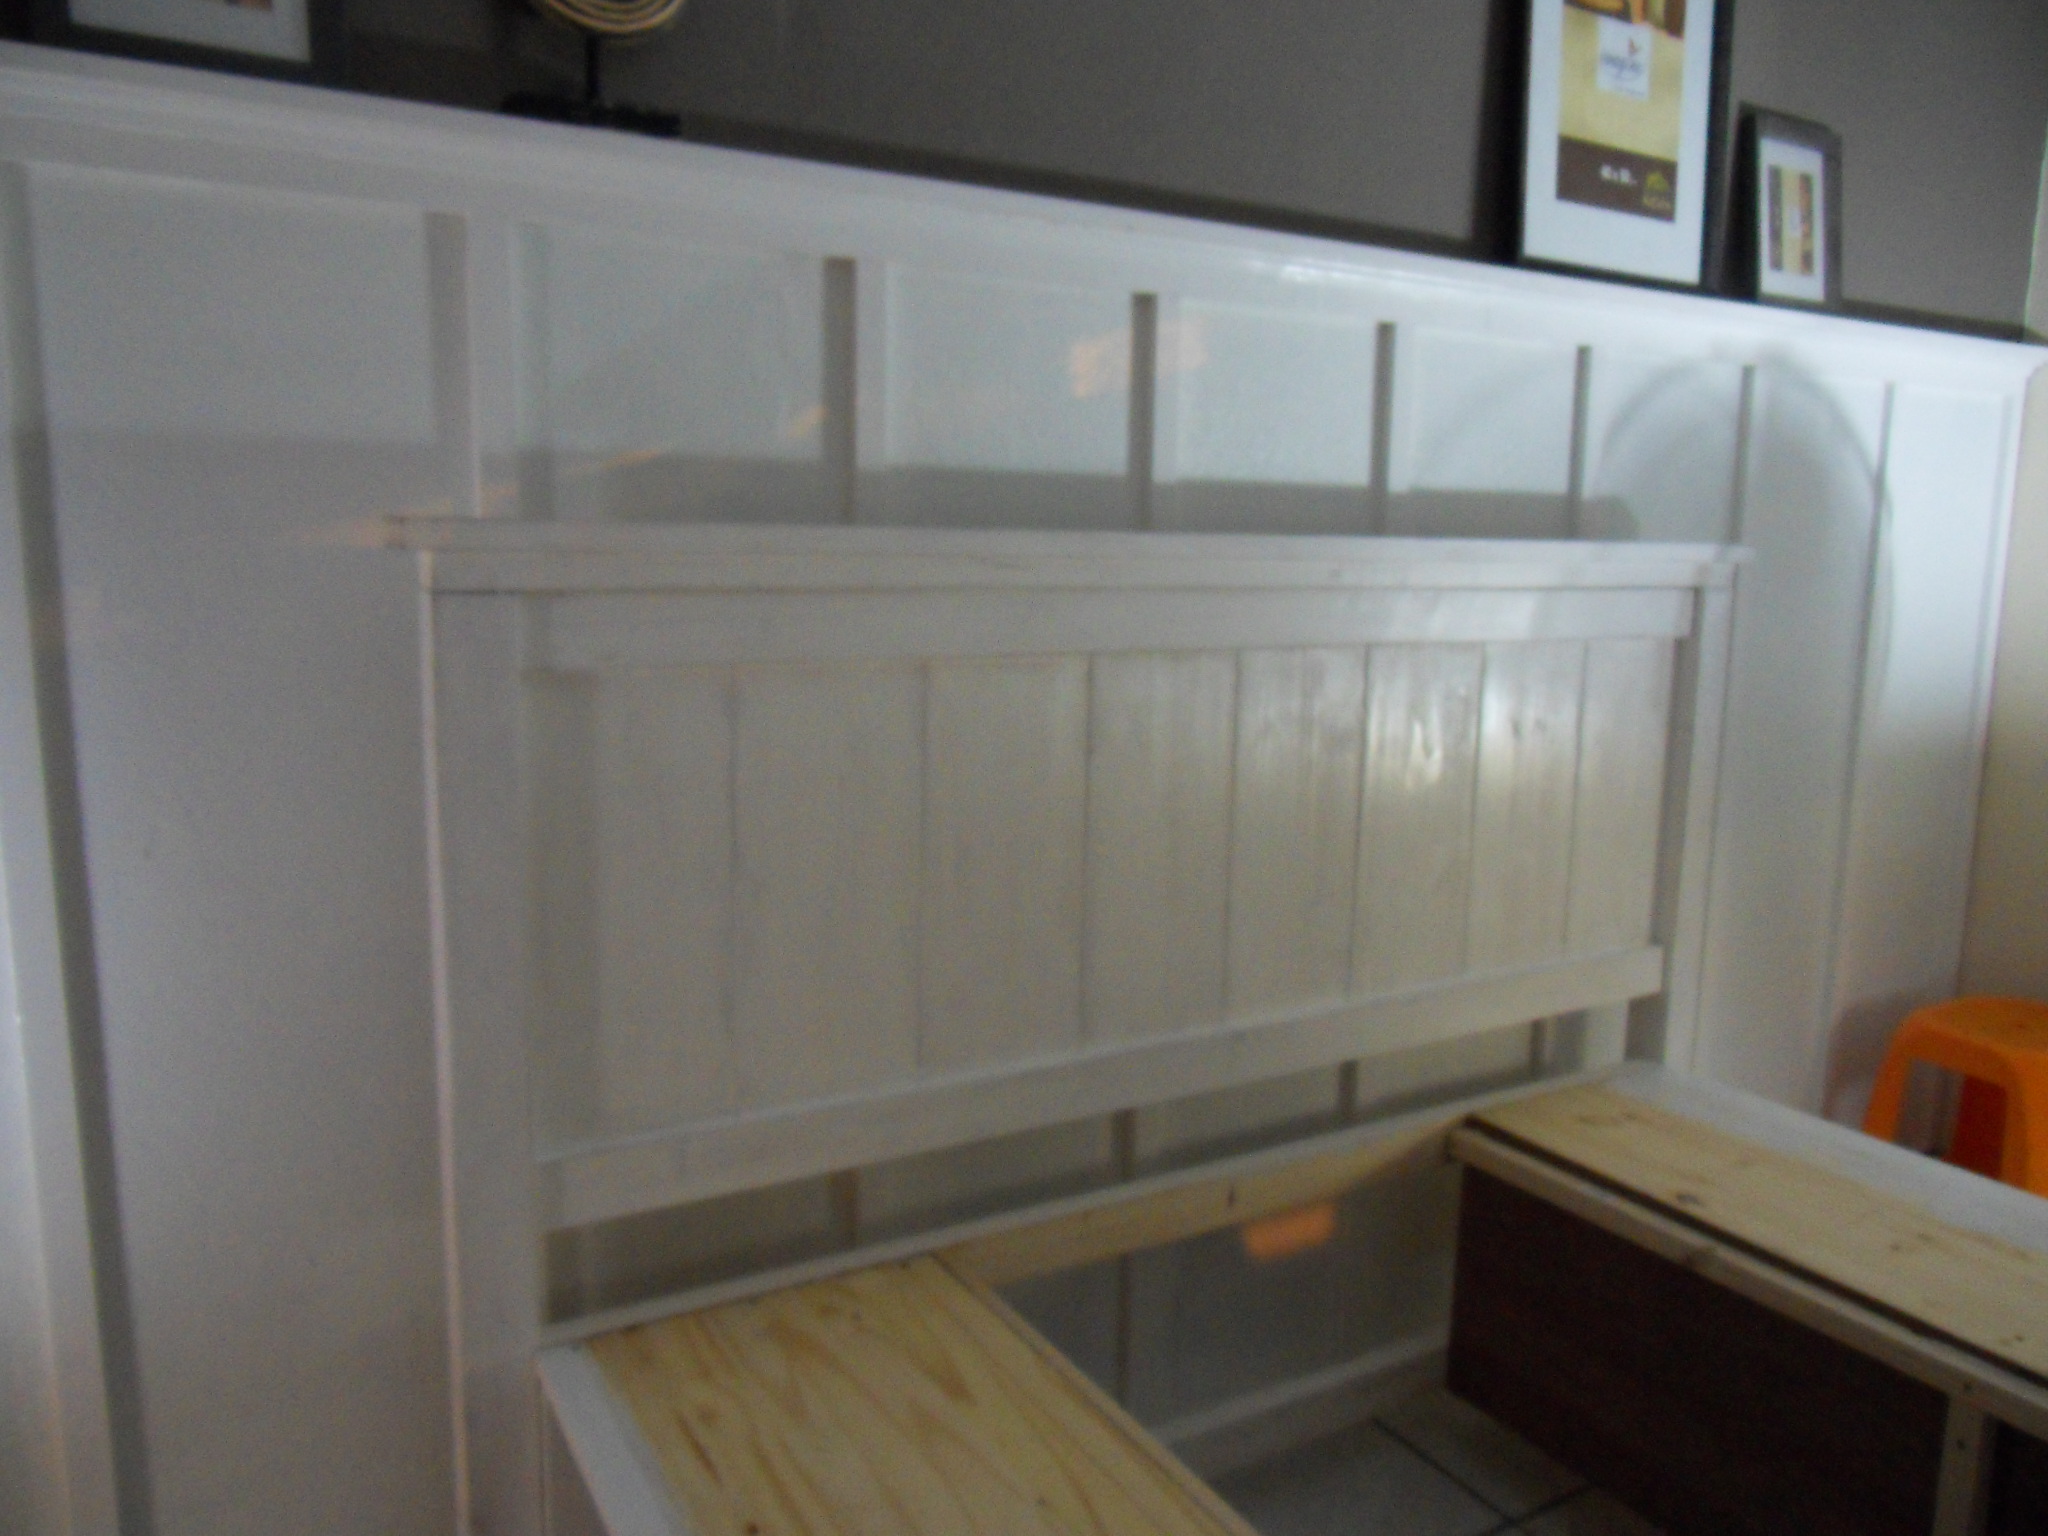
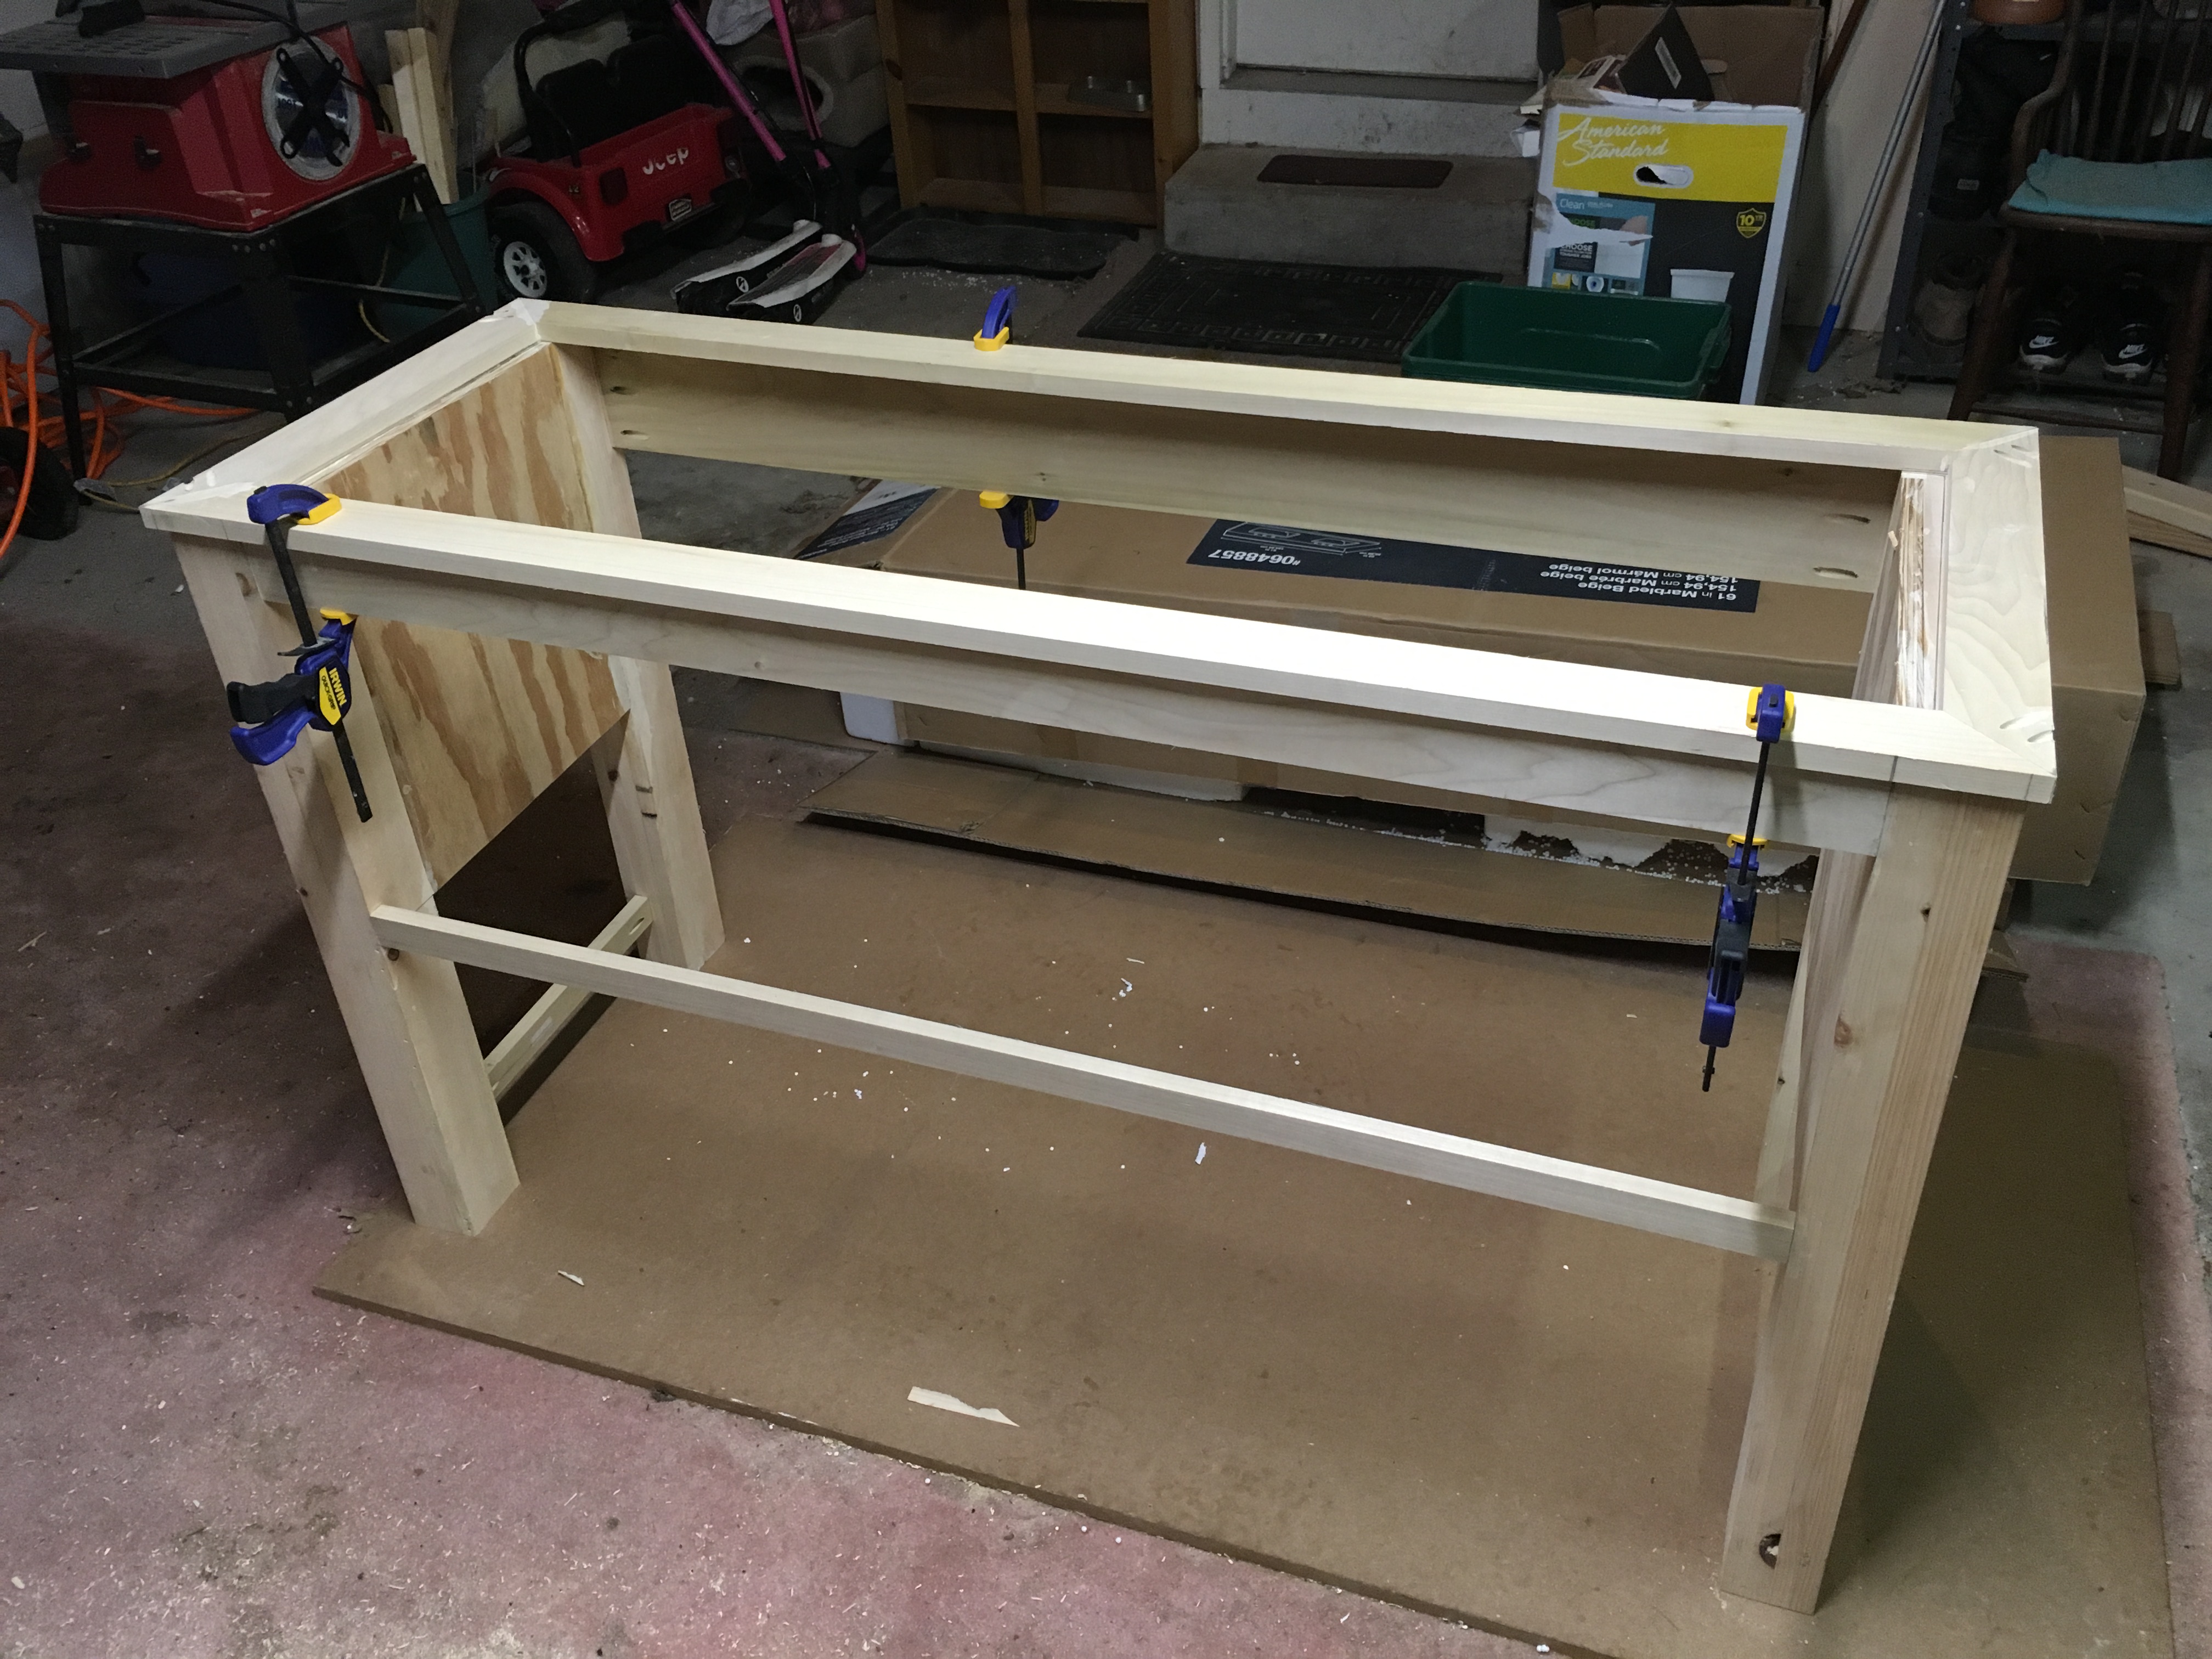
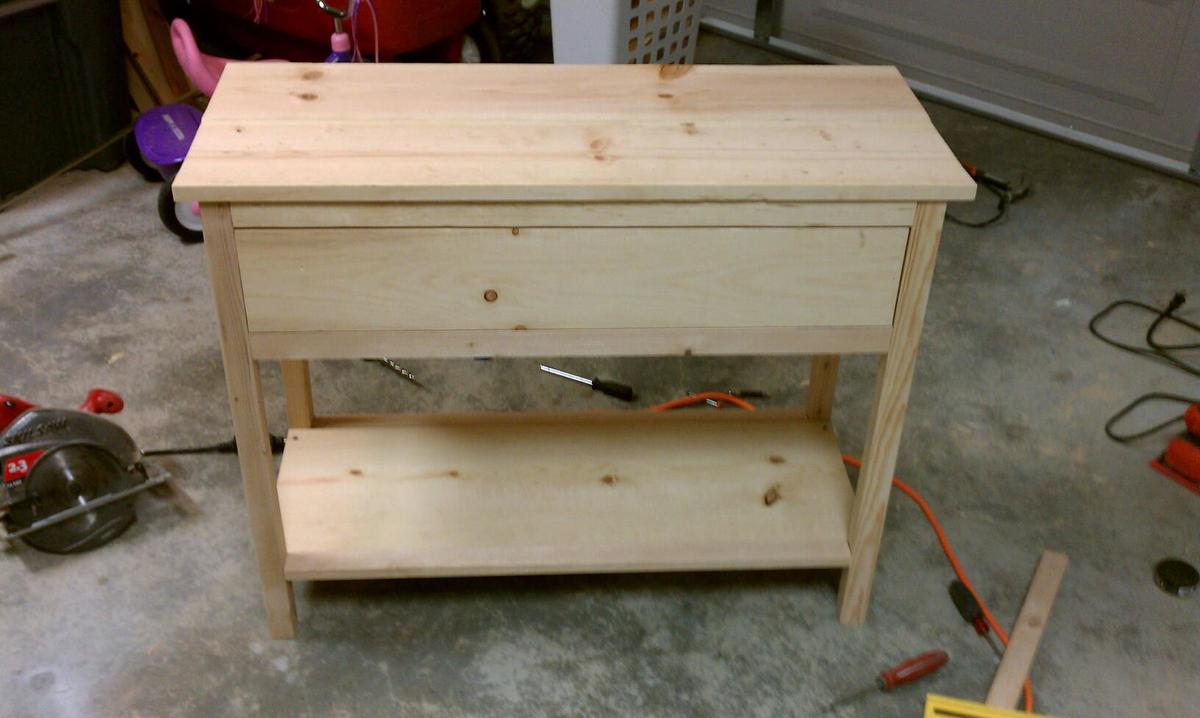
The side panels and back (not shown - we still need to do cutouts for cords before we attach) are 1/4" plywood. The legs are untreated SPF 4x4s, and were definitely where we ran into the most problems. Finidng untreated 4x4's was difficult enough, and when we finally found one that didn't have a ton of chunks and dings in it, we had problems with wood cracking when we got it home. We waited until the wood had acclimatized to our home and stopped cracking, wood-filled the cracks where we could and tried to position the legs so the cracks were facing the console, and hidden. Luckily, this approach was successful, and you can't tell that cracking was an issue. In retrospect, I probably should have just gone with cedar, particularly since we weren't staining it and it wouldn't have mattered that it was different from our other pine boards.
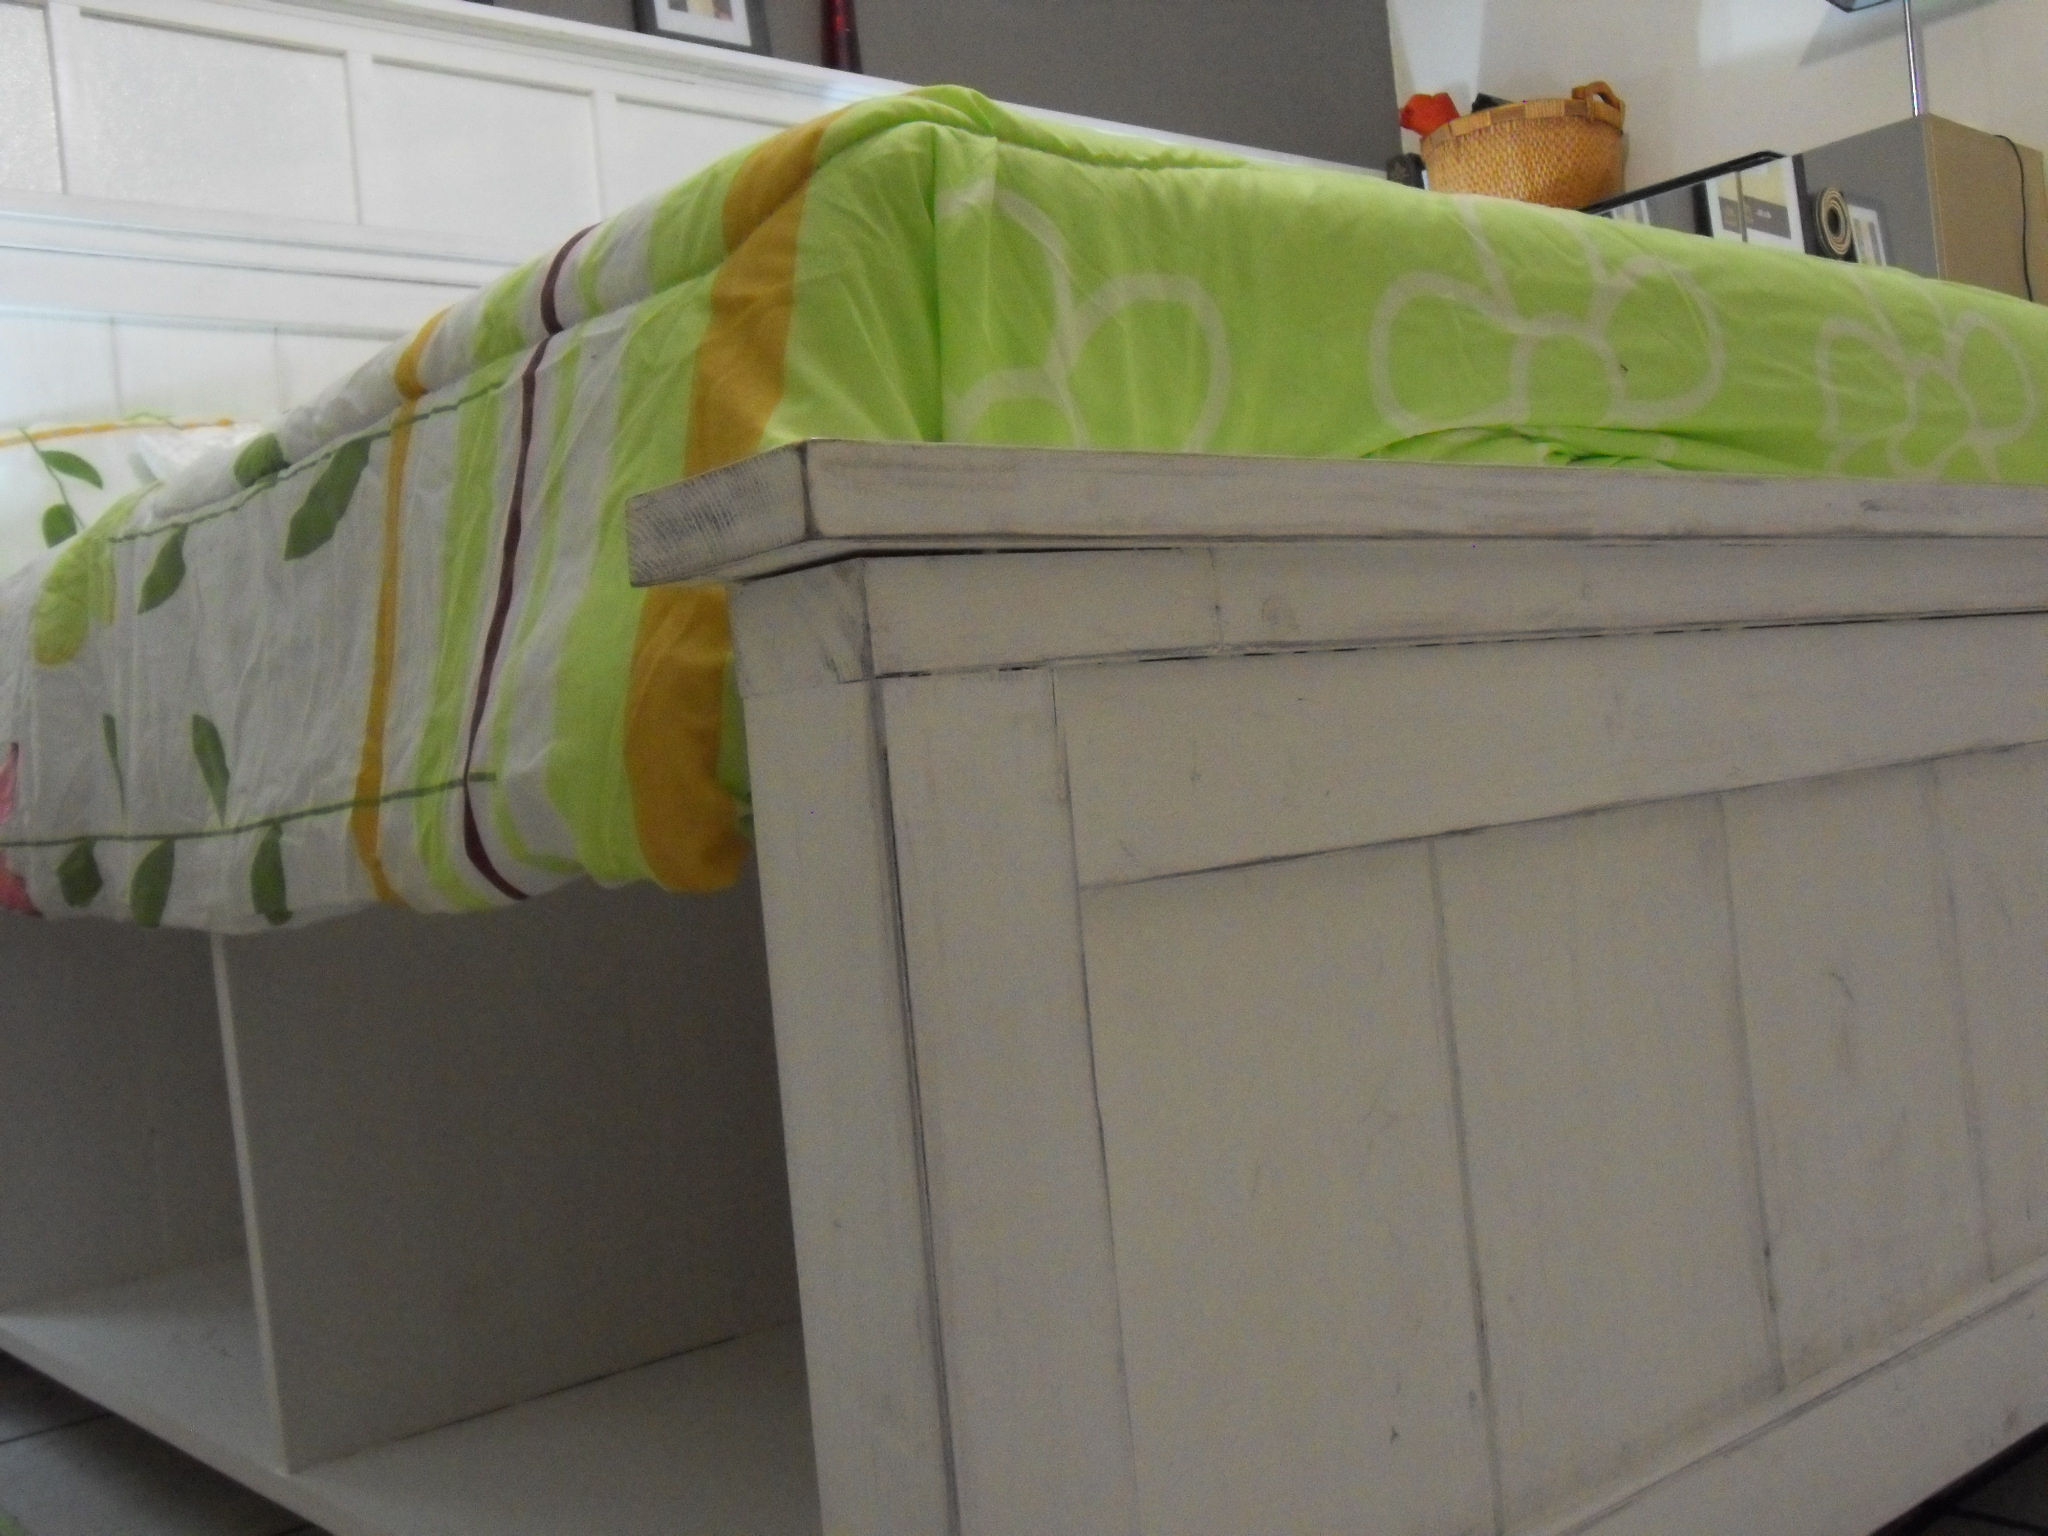
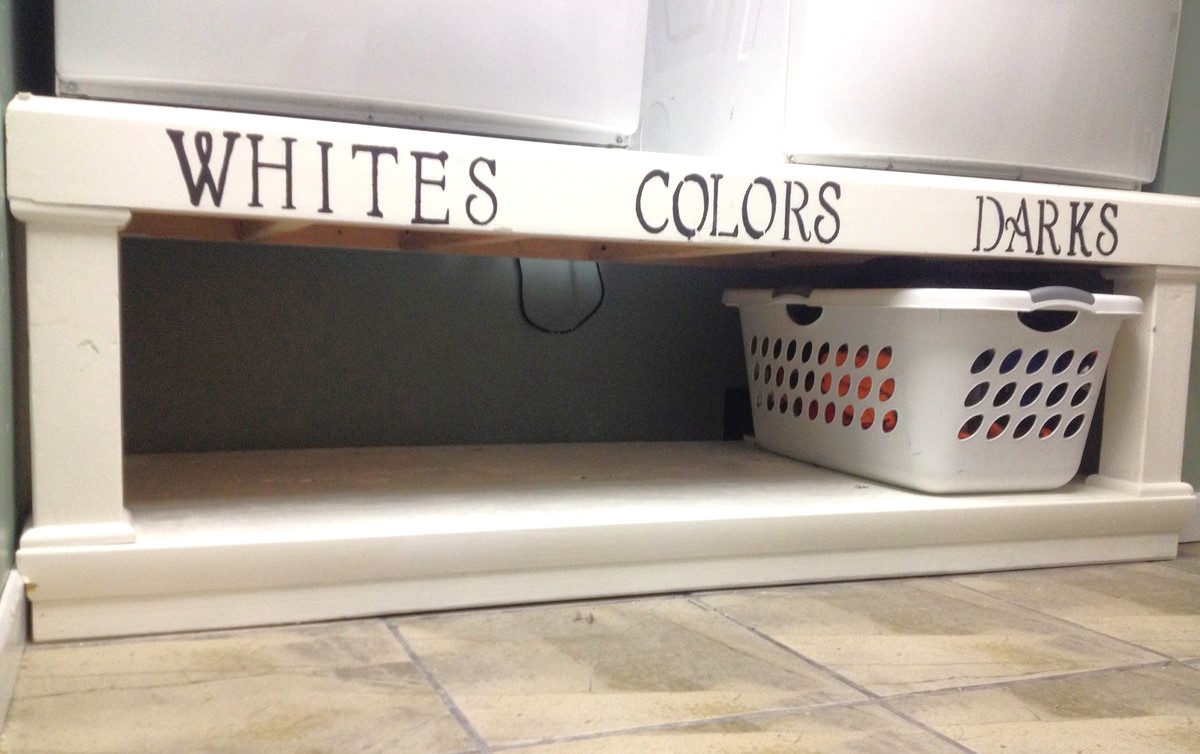
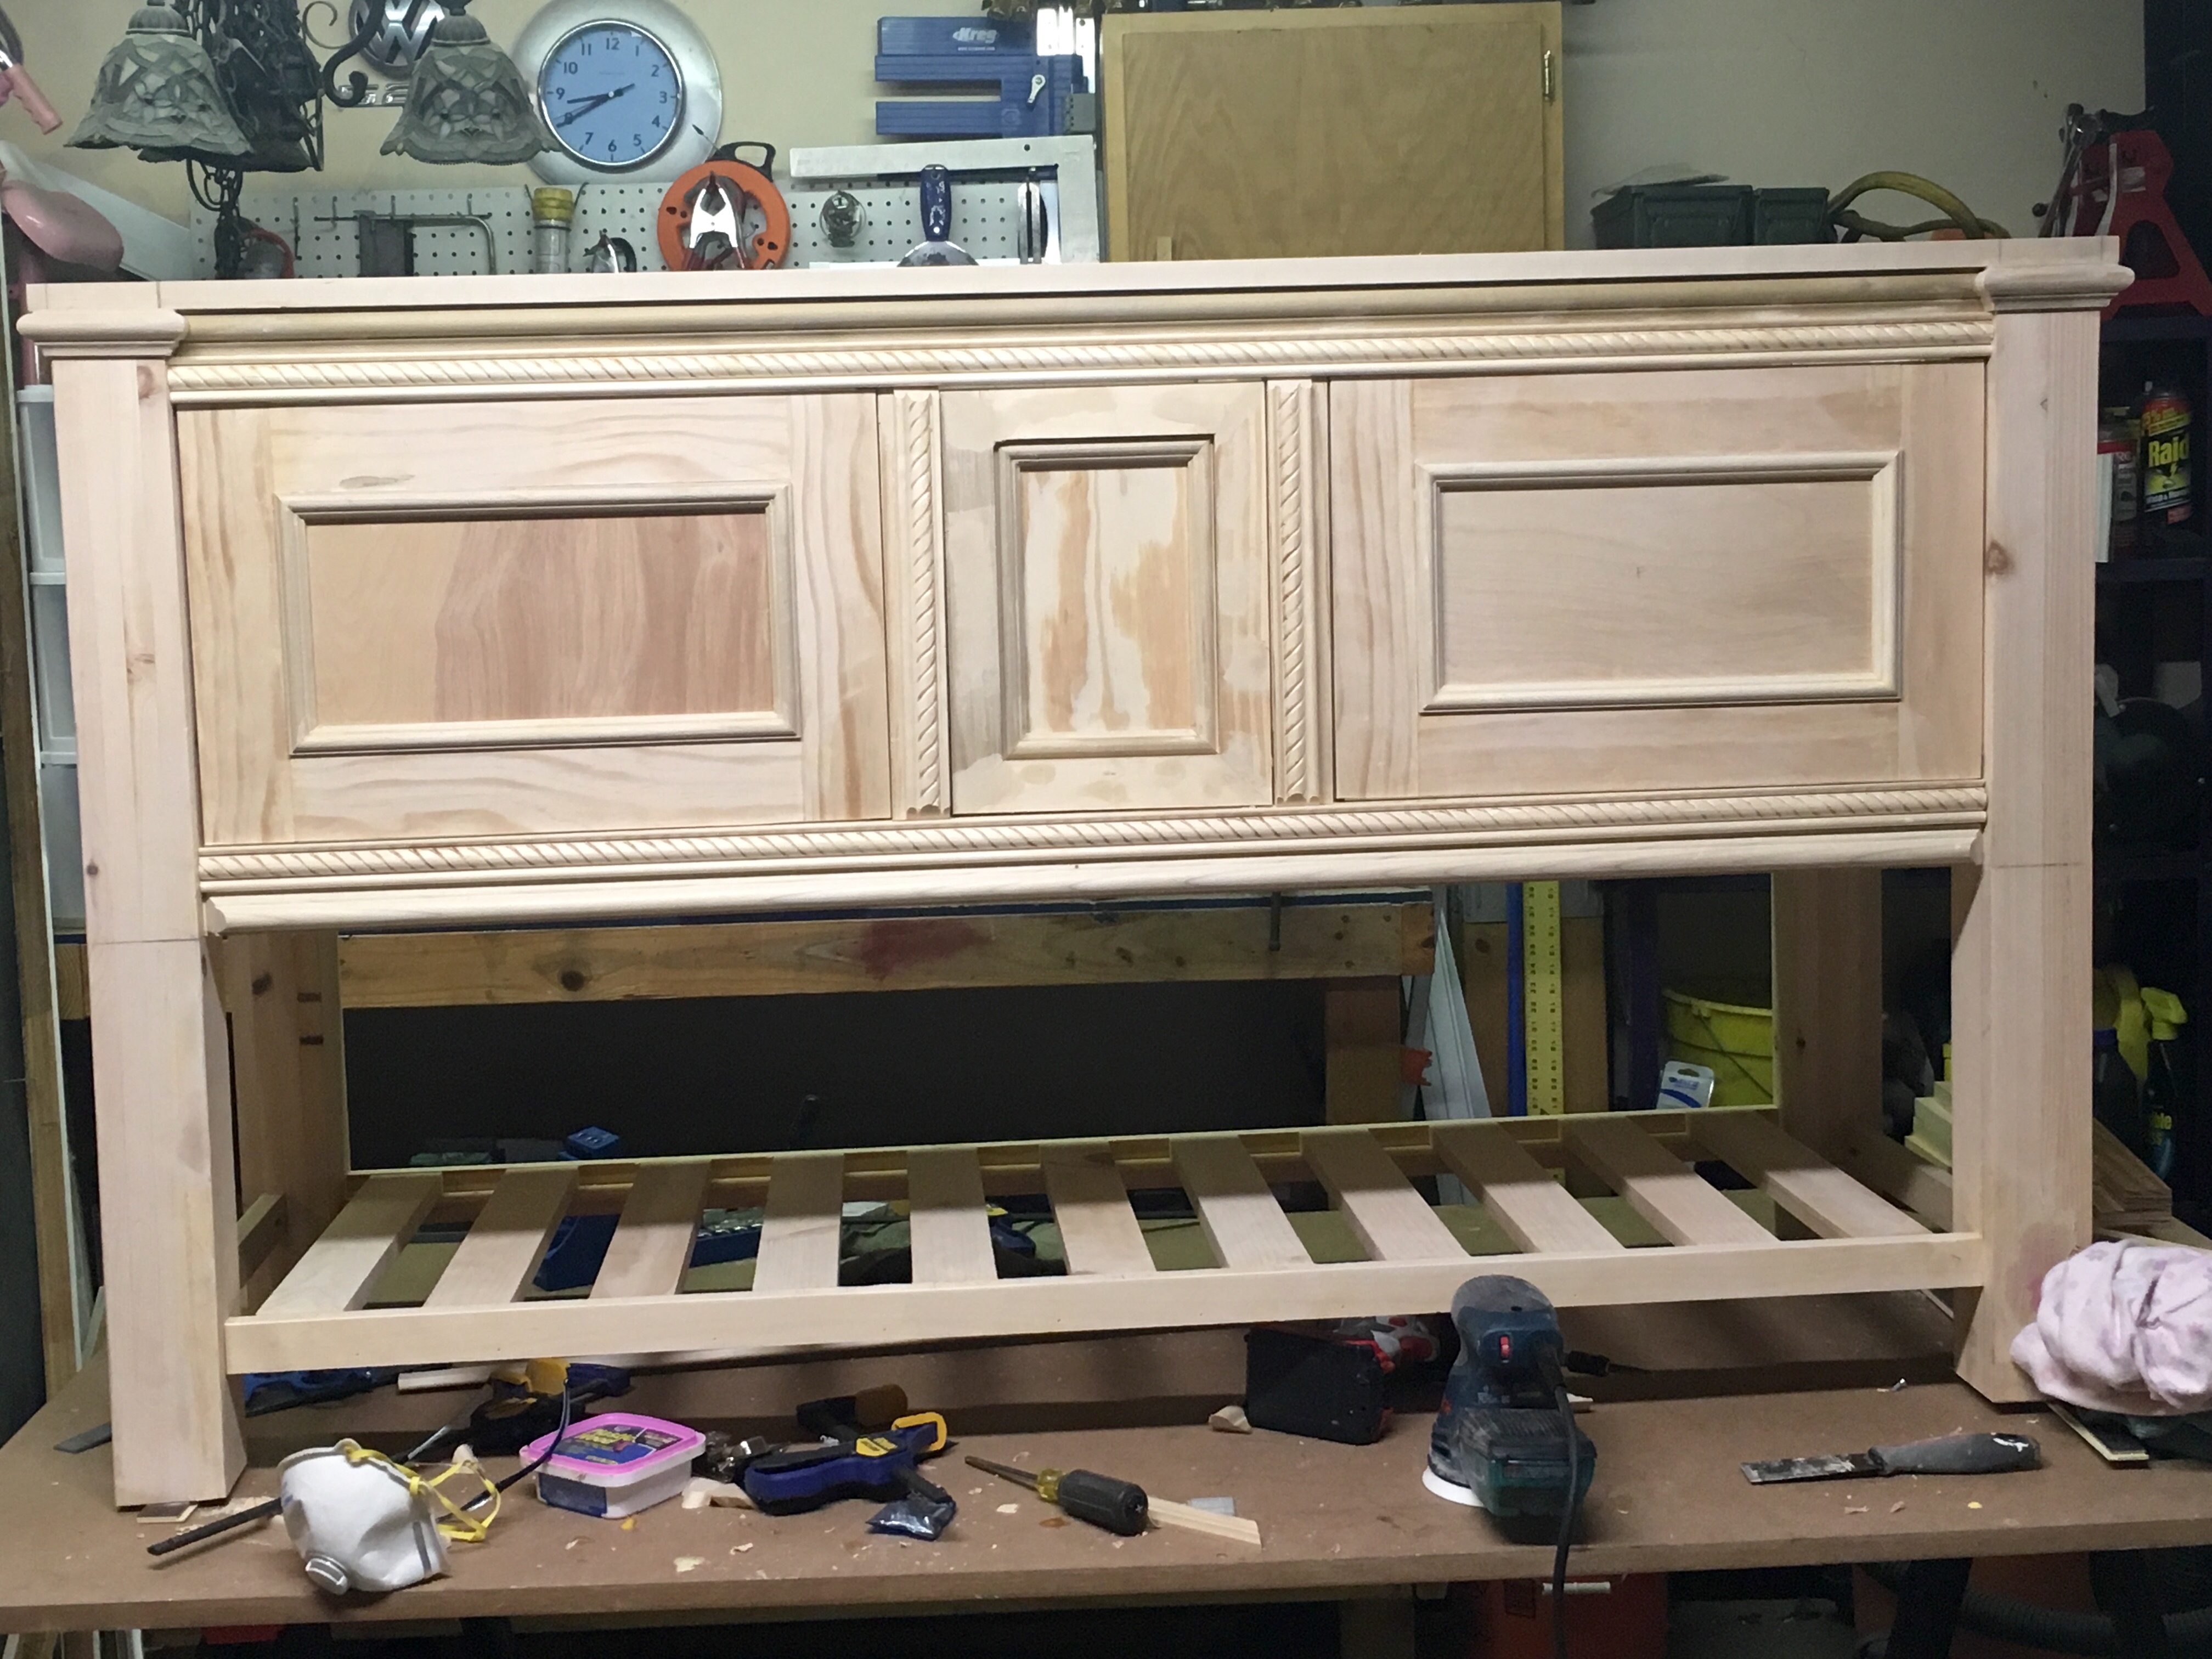
The only placed where we really differed from the plans was adding additional trim to the front section, as opposed to edge binding. The trim was simple 1x2s, similar to the bottom trim.
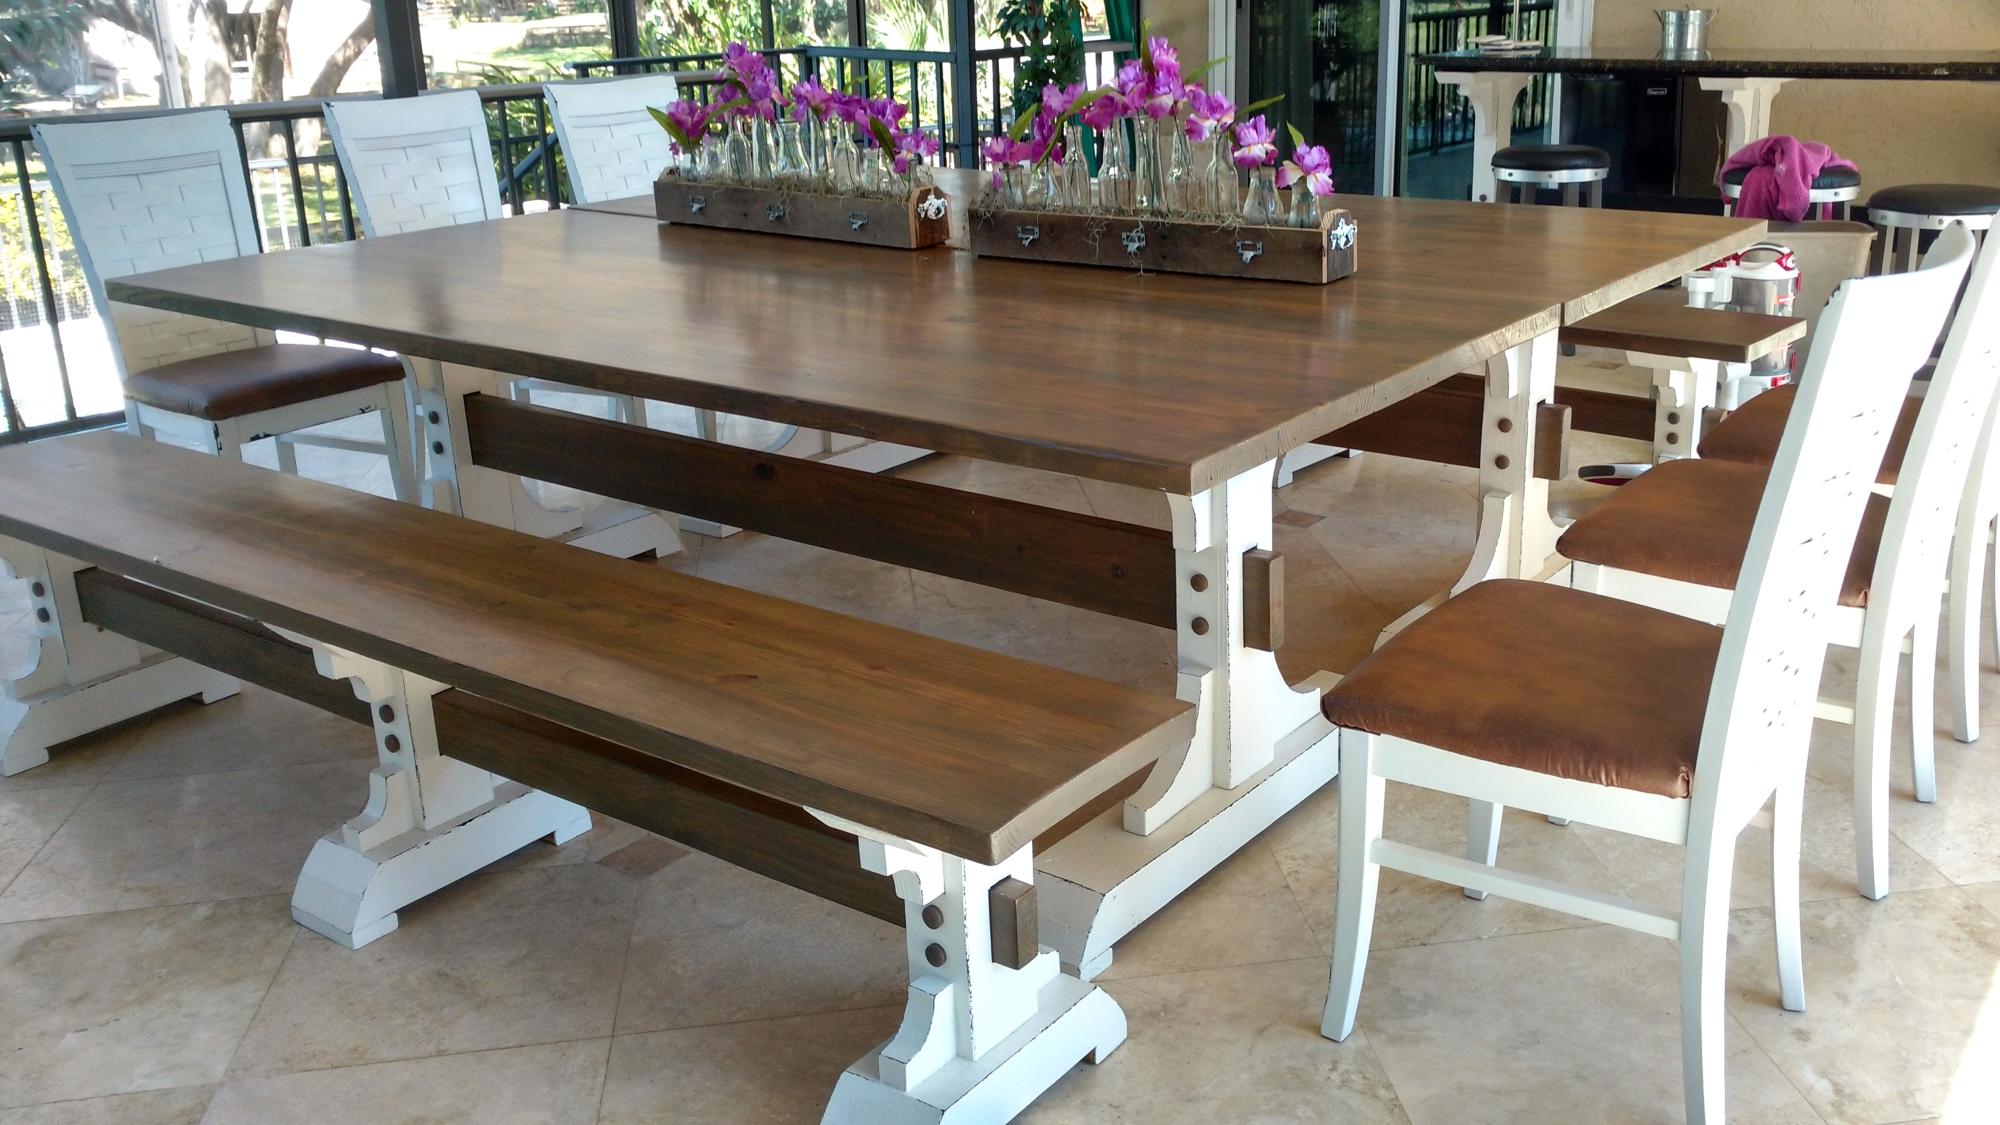
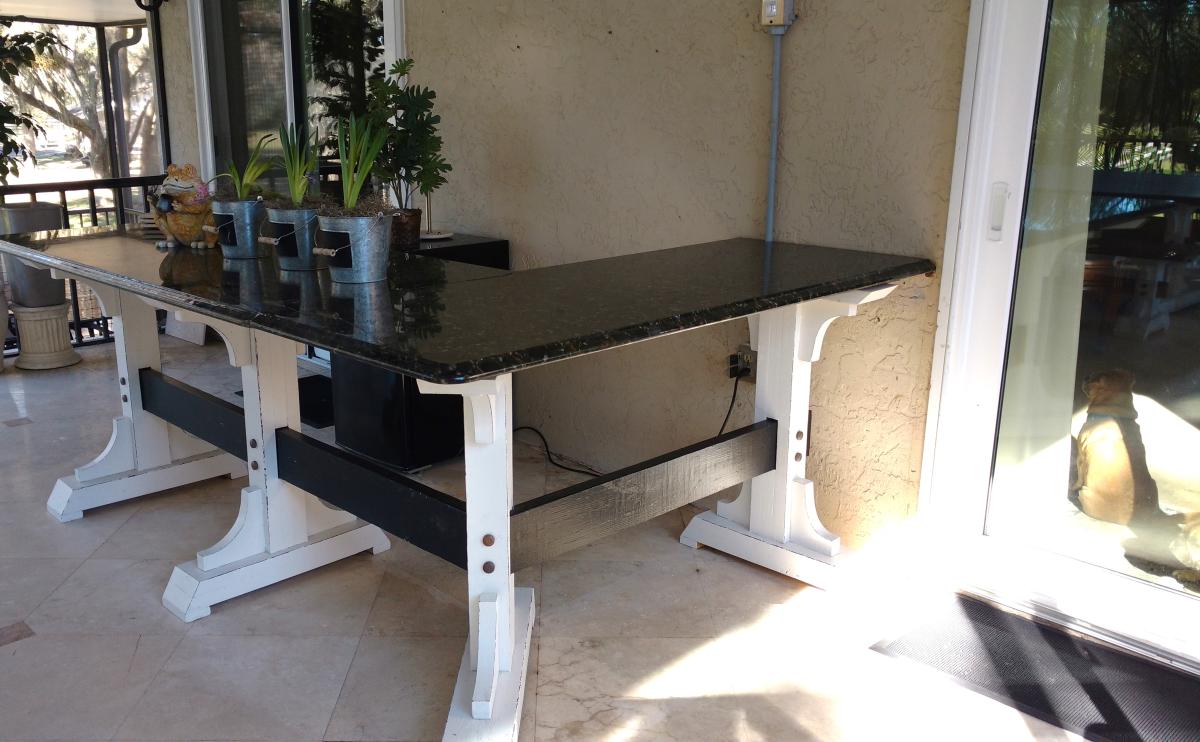
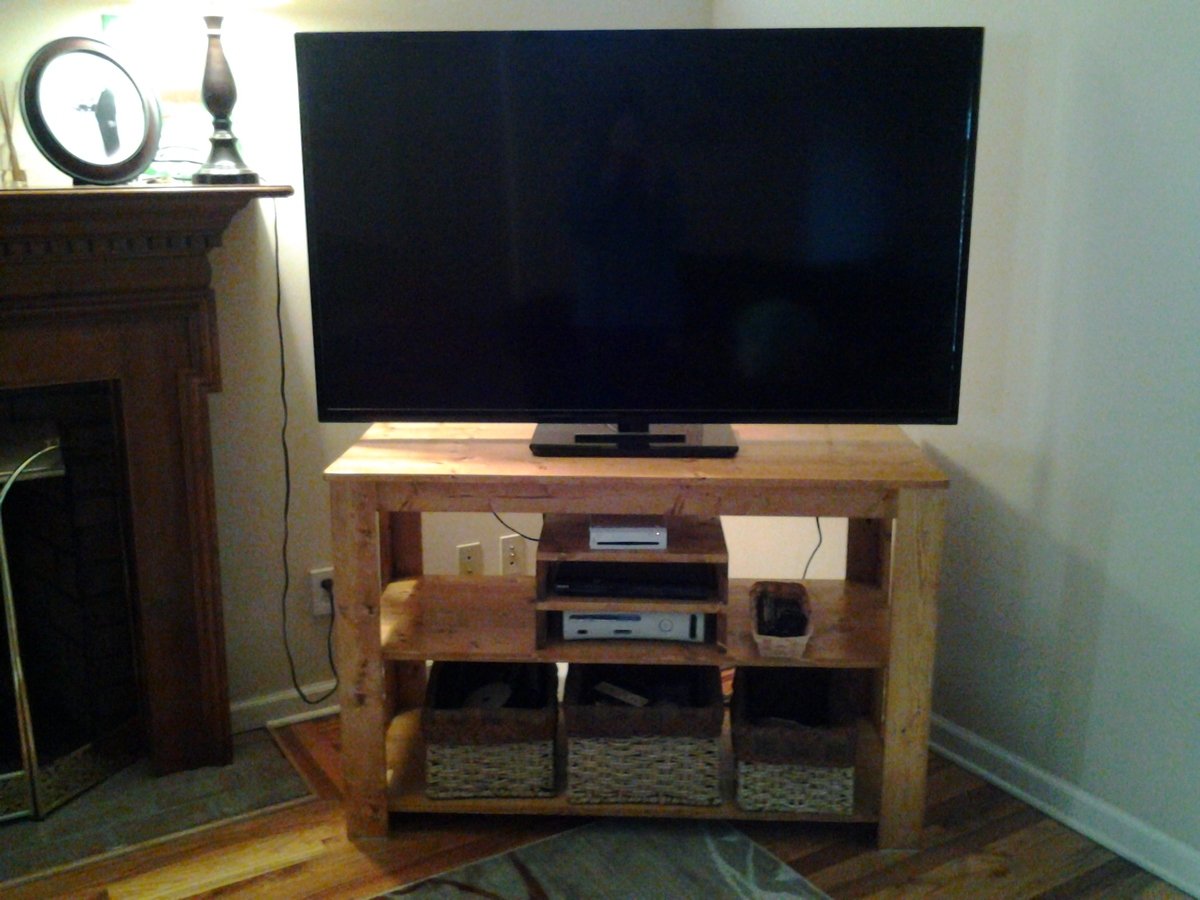
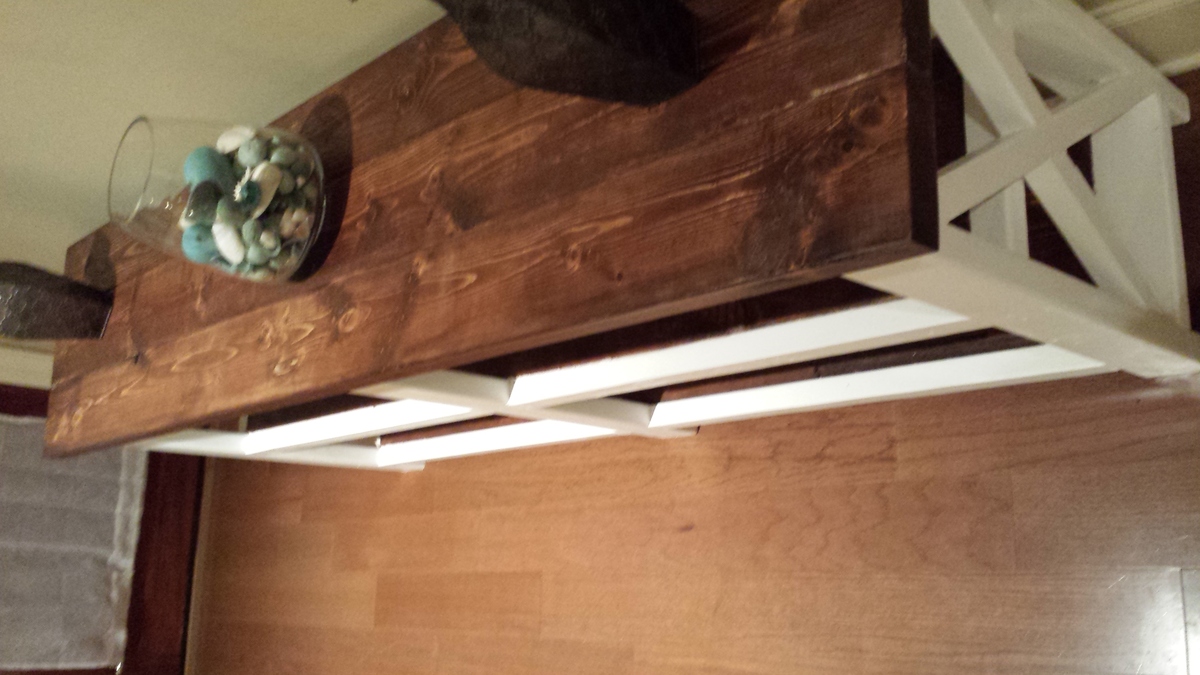
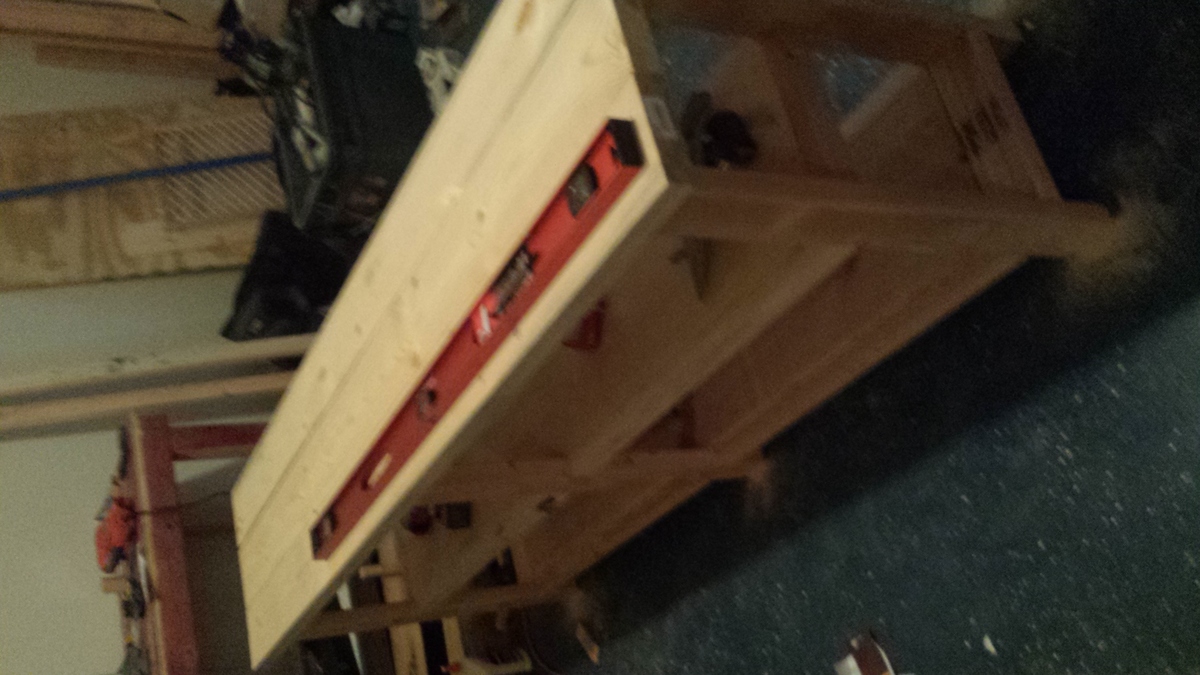
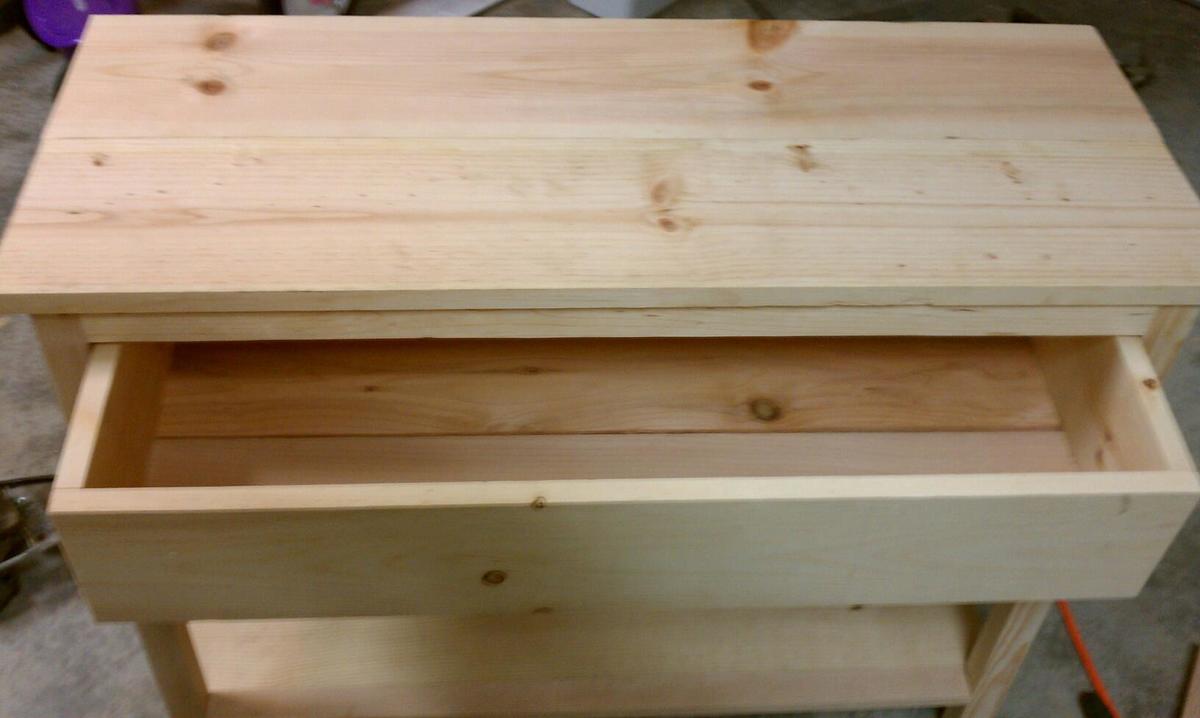
We primed and painted the entire white bottom section before attaching the top, which was made of stud-grade spruce 2x4's. We used a wood conditioner on the spruce before staining, as it is such a soft wood. The stain was left on for 15-20 minutes before wiping, as we knew we wanted a darker, richer colour. Two coats were required to get the shade we wanted (3 on one board which wasn't soaking up the stain as well). We then finished with 3 coats of Varathane Diamond Wood Finish, to get an especially glossy finish.
Wed, 03/14/2012 - 19:29
You better not stop with this project - absolutely beautiful!! The finish looks amazing...I am wondering if you used a rag or a sponge brush to stain the top? I am very new to staining furniture, so any tips would be appreciated. :)
Sat, 03/17/2012 - 09:22
Thanks! We used a foam brush, as we had a bunch hanging around, and just wiped ta the end with a rag. We also left our wood conditioner overnight, contrary to the package directions, which we heard allows it to sink in and dry more evenly. Other than that...we'd never stained before in our lives, so don't be afraid to just give it a go!
Fri, 03/16/2012 - 16:01
i can't seem to find the detailed plans for the console. do you happen to have them? thanks!
Sat, 03/17/2012 - 09:23
There's a link in the post above (after "From Plan")
Mon, 03/19/2012 - 07:36
maybe safari doesn't like the link for this one. no detailed plans will open
We were blessed with a LARGE TV for Christmas. Totally unexpected. So I needed to build a table for it to sit on. I previously made a narrow farmhouse table and liked the look of it. So I decided to make a smaller version with two shelves underneath. To reduce clutter, I built a couple of "towers" for the x-box, dvd, and wii to sit on (2 half boxes with 1x4 sides with 1x4's nailed across the top.) Dimensions of table are 48 inches long x 22 inches wide x 32 inches tall. (TV is a 60 inch and I think it fits great!) I used pocket holes and 1.25 inch pocket hole screws to attach everything-except I nailed the shelves down to the supports using 1 1/4 inch finishing nails and used 1.25 wood screws to attach legs to apron and supports to legs. I ripped the 1x4's down to 3 inches on the leg front and 2.75 on the sides to make them uniform. Also the aprons I ripped down to 3 inches wide. The shelf supports are about 1.5 inches wide and the shelves themselves are about 18.5 inches wide.
Hubby followed the plans exactly, using cheap whiteboard from Lowe's. I stained using Minwax dark walnut and a water-based Minwax poly with a matte finish. I would only use this kind of wood again if I were painting the project. It is hard to stain and my options were limited, because the wood doesn't take stain well. Love how "pottery barn" it ended up coming out, though!
Thoroughly enjoyed building this Farmhouse headboard. Thank you so much Ana, for the great plans! I couldn't find any 4x4s suitable for indoor furniture, so I ended up following another plan on your site that used 2 2x4s per leg for the Farmhouse headboard. I didn't need the footboard or side rails since our bed already had a frame (it's also a bed that raises up and down at the head and foot sections) Anyway, I just needed a headboard and it works perfectly! We anchored it to the wall to avoid any possible accidents. Keep up the great work!
I modified the tapered planter plans to create a decorative open-bottom well cover. I used cedar picket planks and a 2x4 and 2x2 frame.
Paul Tautges
In an effort to cure our current lack of organization downstairs I decided to build a wall coat rack in hopes that it will help keep our coats, diaper bags, uniforms, purses, baby carriers, bags, and who knows what else off the counter, couch and floor.
Going into this project the only thing I knew I wanted to use in some way was some ripped 2x4's we used as floor spacers during our floor installation. Really happy with the end result :-)
For more pictures and a brief tutorial check out the blog post :http://thehuth.blogspot.com/2014/01/diy-herringbone-wall-coat-rack-usin…
I made my console a little shorter (71 in). I used reclaimed wood for the exterior and sanded/stained wood for the shelving and doors. I used screw eyes and galvanized pipe for the sliding door hardware. A lot of fun!
Mon, 06/25/2018 - 00:21
Thanks for the awesome and easy plans
I built the same bed as for my son for the master bedroom. A queen size bed with storage with paneled footboard and headboard. I love that style and I made board and batten too.
I am very happy and the bed is very sturdy. I didnt make drawers because it's too difficult for me. I am not ready to build drawers! Maybe next time!
Fri, 05/04/2012 - 08:12
I share your fear of drawers! It still looks great with cubbies :)
Sun, 11/25/2012 - 21:27
I love this bed but I am wondering since there is no edge if you have any issue with your mattress sliding side to side?
I needed to raise the height to help my wife who has back problems. The plans were simply and easy to follow, I added some length to fit our space and some molding in te front and bottom to "pretty" it up according to my wife. Really proud, thanks for the plans Ana!
Well to make a long story short I started out just replacing an old tub in the bathroom which turned into a whole remodel!! I’m talking new toilet, floor, lighting and heck while I was at it lets knock down a wall and make some room for a double vanity. After all in a few years three teenage girls will be fighting for sink space!!! Honestly I just didn’t want to spend $800 - $1,000 on a double vanity so I decided to take matters into my own hands. This was my first time building any type of functional furniture. I made a ton of mistakes but I also learned many valuable lessons. I really took my time....about 3 weeks...ok, maybe 4. Building this vanity was like cutting 101 for me. #1 lesson I learned, MAKE SURE YOUR CUTS ARE STRAIGHT!!! I also learned the value in test cuts and having a lot of patience and extra wood on hand. Anyone can do this, just be willing to put the time and effort in…and do lots of research.
Wed, 08/24/2016 - 19:41
Love this! Especially the square legs and filigree. Do you have any tips or detailed plans? I am working on a similar vanity with an IKEA top. Thanks!
After the enlarged 4x4 Truss Table, we needed someplace to store the dishes. The Planked Wood Sideboard was the thing. Not an easy piece. This was my first attempt at "Doors & Drawers" and was a steep learning curve, but we are so pleased with the big, sturdy results that match the table.
Address signs!
I took the advice from another user who commented that the depth of the changing table was not suitable for a standard changing pad (16" x 32"). Turns out he was correct, so I modified the design to have a depth of 16 1/4" (as opposed to 15.5" in the original plan). Really not sure how someone could have made this and a standard pad worked as is. If I did it over again, I probably would have made it just a touch deeper for a perfect fit because the pad slightly flares out and is not 100% square. My wife also wanted a larger space beside the changing pad, so I increased the width of the table by 5" and it worked nicely as you can see in the picture with the lamp and other items.
Fri, 03/23/2012 - 14:44
The plans for this table (created by another) show 3/4" for the top of the table and shelves as well as the topper. It seems like a little bit of overkill to me. Did you attach the sides of the topper straight to the table or did you have a 3/4" piece for the table and the topper?
I was thinking I would use my Kreg Jig and just attach it straight to the top of the table. I am also thinking that 1/2 plywood would be enough for the shelves with a 1"x2" intermediate support. I am trying to lessen the cost and the weight; oak can get pretty heavy and pricey.
Mon, 04/16/2012 - 21:35
I did have both 3/4" for the topper and the table. Is it overkill?, probably so, but my thought when making it with Oak was that I want it to last forever. I actually made a small table/night stand to go by the glider. I had some scrap of 1/2" that I used and it looks great, but I can tell that it is not as solid as the other, although still plenty solid for a small table.
Sat, 03/24/2012 - 08:50
I think 1/2" on the shelves would be fine, but definitely at least one 3/4" for the top. You could maybe skip the second layer and just add some 1x2 supports from below? I'm not sure. I went with the overkill method because I'm a worry wart. My baby is now 7 months old and extremely wiggly, so I'm glad for the extra support! Then again I used MDF for the shelving and white wood trim. I also skipped out on the dividers at the top, since wipes have their own boxes and I wasn't sure what else I'd be storing on top.
Mon, 04/09/2012 - 14:37
You did a nice job. Do you think making the shelves 16 1/2 would be perfect? I noticed that to that the size was not correct.
Mon, 04/16/2012 - 21:31
Thanks for the compliment. I think 16 1/2 would be pretty close. When I used 16 1/4, it wasn't bad by any means, but another 1/4" would likely do it.
Sat, 02/22/2014 - 13:15
What trim did you use and where did you find it? It looks great, but I can't find anything like that. Thanks!
Sat, 02/22/2014 - 13:17
What did you use for trim and where did you find it? It looks great, but I can't find anything in oak like that anywhere!
Sat, 02/22/2014 - 15:40
I got the trim at Lowes, maybe HD..it was just basic oak trim...stain grade.
This was my first project and love how it turned out. I have gotten compliments on it, but I unfortunately continue to look at the flaws in it and want to build another one. It was a great project though and I am in the middle of building the coffee table and end table as well. Here it is before we added all the odds and ends on to shelves and top
Tue, 01/14/2014 - 08:37
I love how you finished your console table - I'm now wishing I finished mine like that. I think we all see the flaws in our own work, but this looks fantastic and very professional.
Tue, 01/14/2014 - 08:37
I love how you finished your console table - I'm now wishing I finished mine like that. I think we all see the flaws in our own work, but this looks fantastic and very professional.
I built a desk each for my son and daughter. They got to choose the type of base. I used old bed slats 90x45mm (4x2) salvaged from verge ripped in half for the bases. I used 12mm plywood for the tops. 7mm ply for the shelves on the sawhorse leg version. Unfortunately, despite getting the straightest and flattest plywood available and subjecting it to all sorts of manipulation, a couple of the flip-top sections are warped to there are slight gaps on one side.
I modified the plan so that the middle section could lift up as well. The back 1x3 of the storage section extended the full width.
I followed the plans for the Wood Star Serving Tray. I thought it was a little tricky cutting all the angles to the correct length. One tip I would suggest is to mark which end has the 24 degree cuts, since you'll be attaching these joints first. Any gaps in the joints can be filled with wood filler, then sanded smooth. I would say this is an Intermediate level project due to the angles and trying to attach them without the nails popping through the other board. Would be fun doing a set of 3 and painting them red, white & blue for the 4th of July. Thanks for the plans, Ana!
Sat, 12/07/2019 - 17:51
It’s beautiful! Thanks for the tip on the cut list error I fixed it. I appreciate you taking your time to let me know! Ana
Using just basic tools, I was able to build this super comfy outdoor chair for the fraction of the cost. With a couple of modifications, Ana White's design plan made for a perfect fit for the new deep seat cushions I had found on fb marketplace.
I saw the Farmhouse night stand on this website and decided to super size it so we could have a new entry table in the house. I added 1 1/4 inch to the height and extended the table top out to 36 inches. We decided to paint it black and distress it.