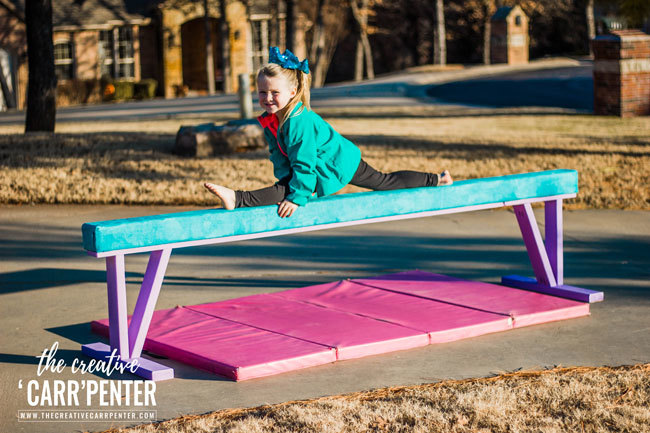
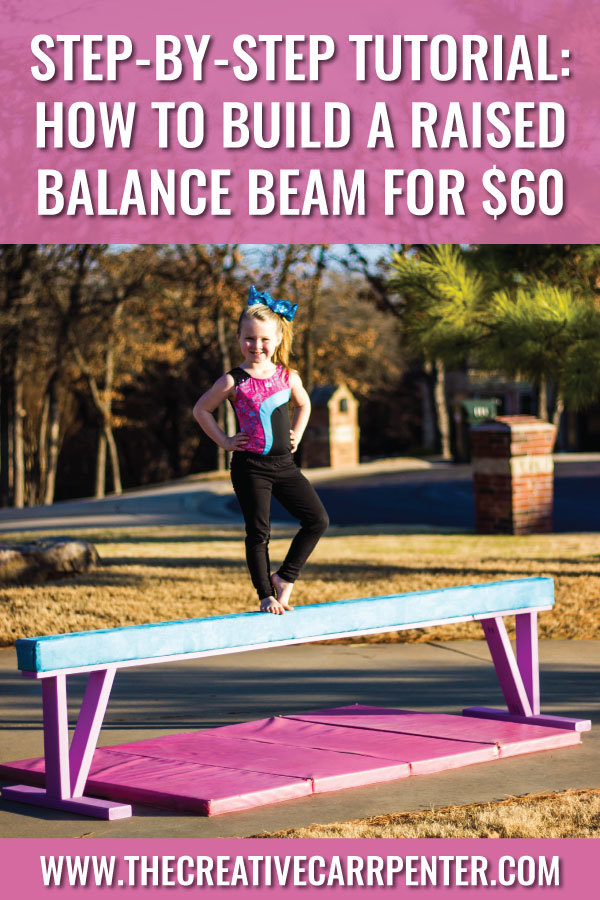
From watching Olympic gymnast Simone Biles on the television to running, flipping and twirling all around our living room — my girls LOVE everything gymnastics. Both girls began competing with a local gymnastics club. Now that my oldest has moved up and is pretty serious about practicing her beam handstands and dismounts, she begged me to build a raised balance beam with suede covering so it would have a similar feel to her beam at the gym.
If you can relate to this, or even if you have a new gymnast (like my youngest in the pic above) wanting to improve their skills at home, then this comprehensive tutorial on how to build a raised balance beam is for you.
Full plans available on my blog The Creative 'Carr'penter. You can also find and pin this tutorial on Pinterest here.
Estimated Cost
Cost of materials were about $60. Could vary depending on materials used.
Estimated Time Investment
Afternoon Project (3-6 Hours)
Finish Used
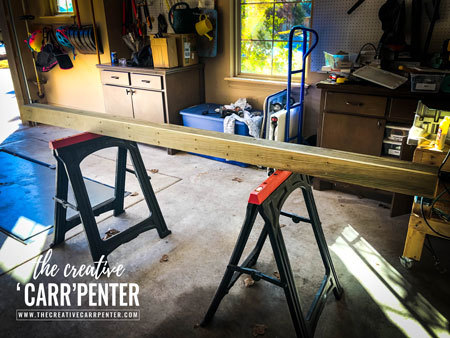
I used an outdoor flat paint to finish the exposed pieces of wood. The remainder was covered in padding and suede fabric.
Recommended Skill Level
Beginner