Casual Lounge Set

Made with pocket holes to hide screws. Credit Unknown
Built from Plan(s)
Made with pocket holes to hide screws. Credit Unknown
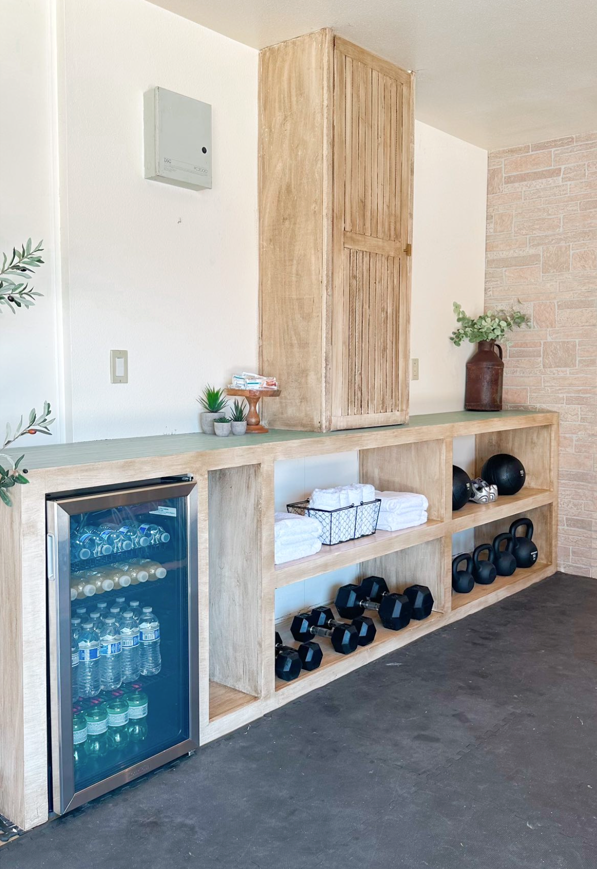
Fabulous home gym by Nailgun Nelly!
*Incorporated and modified the grand waterfall console plan
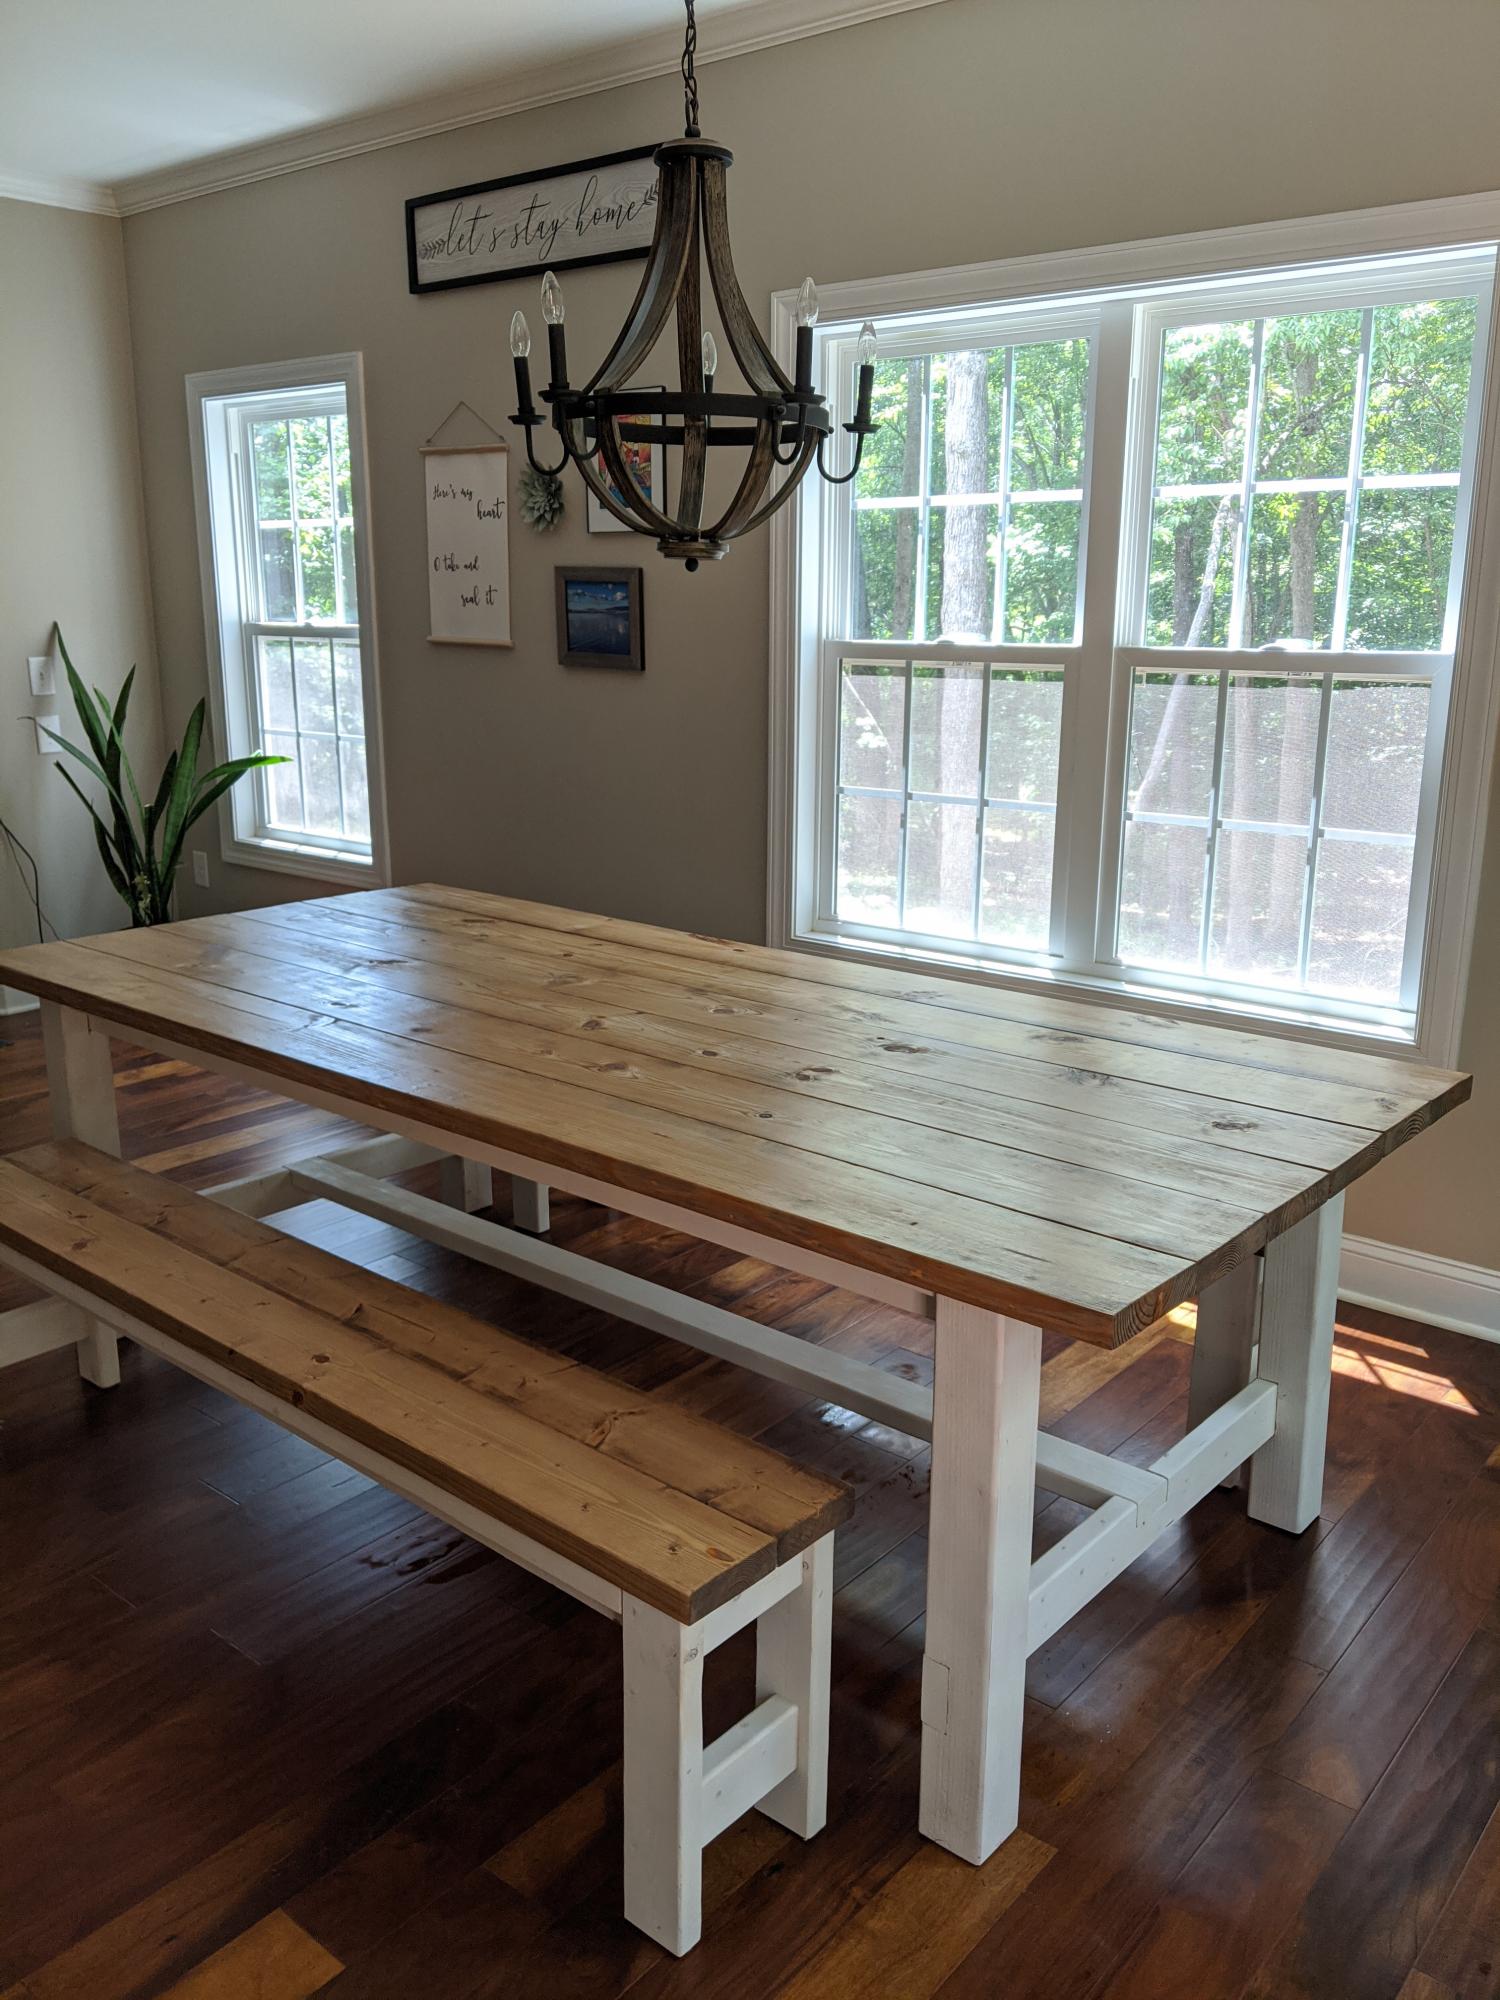
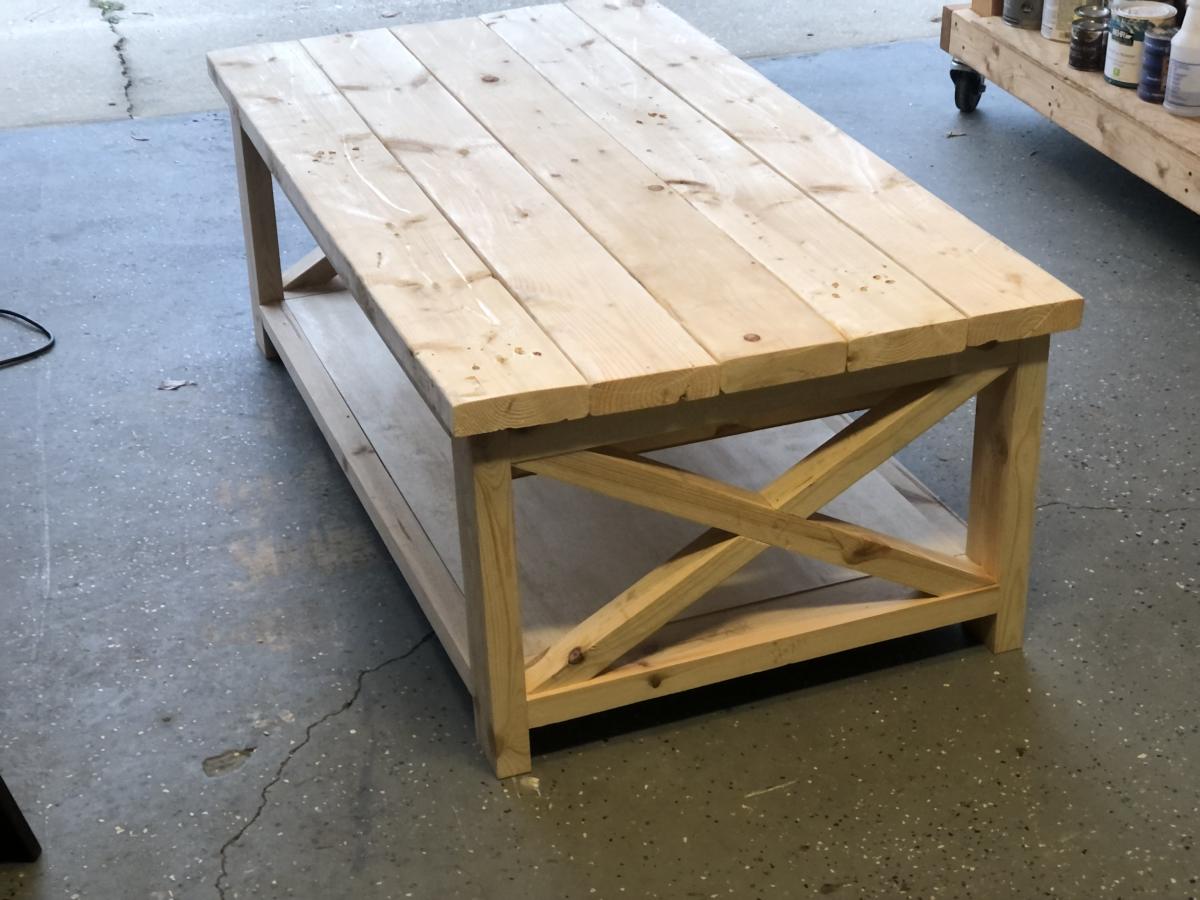
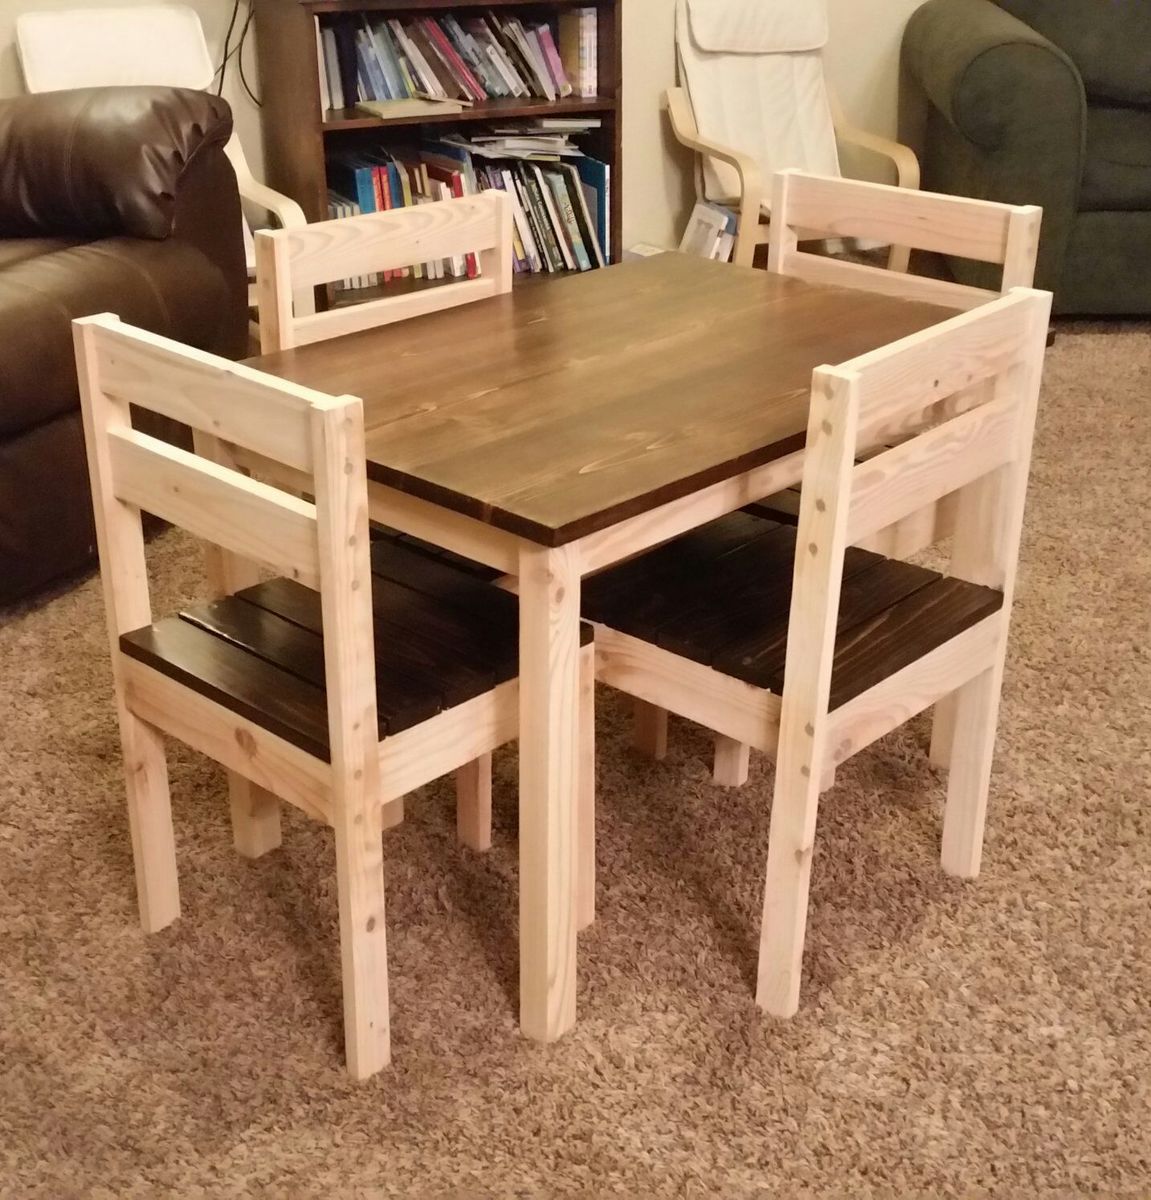
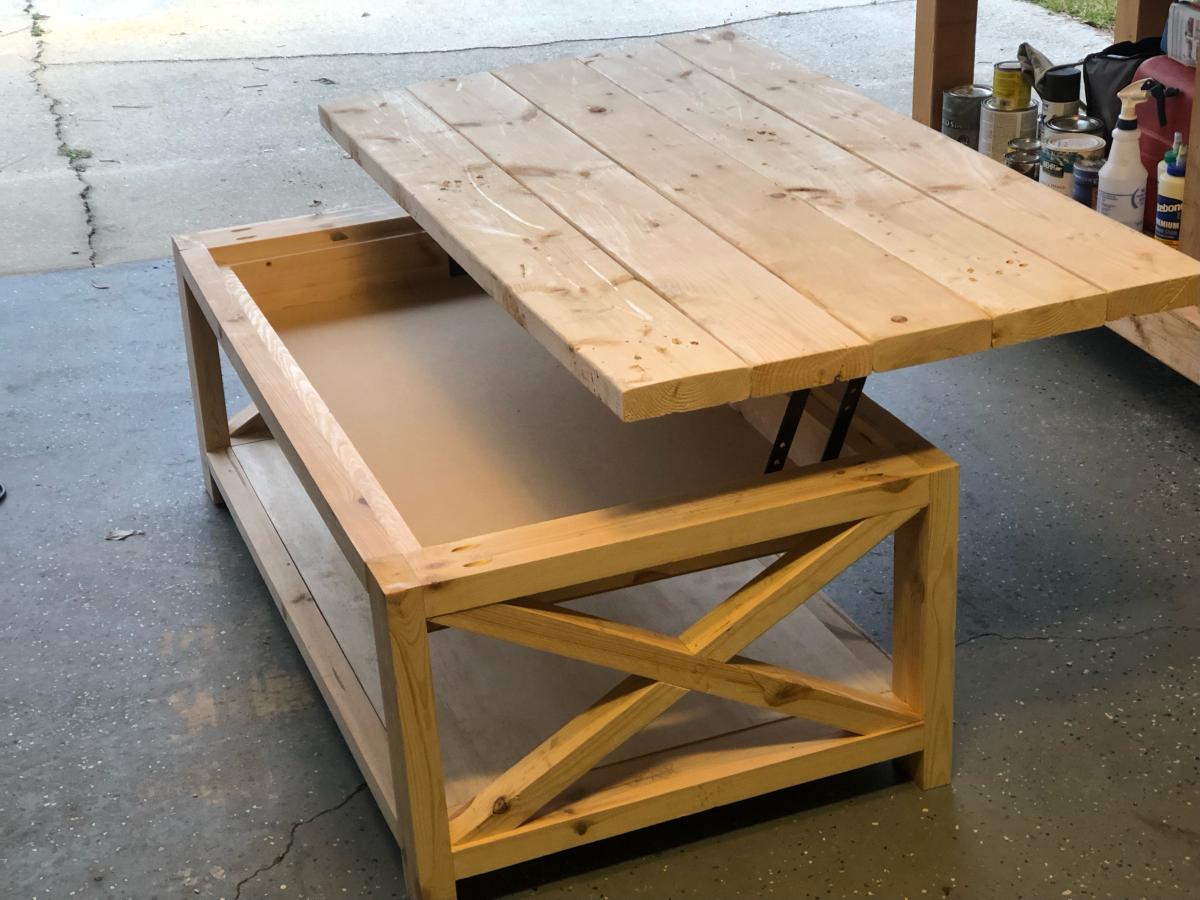
First table build! We modified the plans with no breadboard ends since we live with lots of humidity and wanted to allow the wood movement. We also used 4x4s for the legs. White chalk spray paint legs and custom mix of special walnut and weathered oak stains. We LOVE it!!
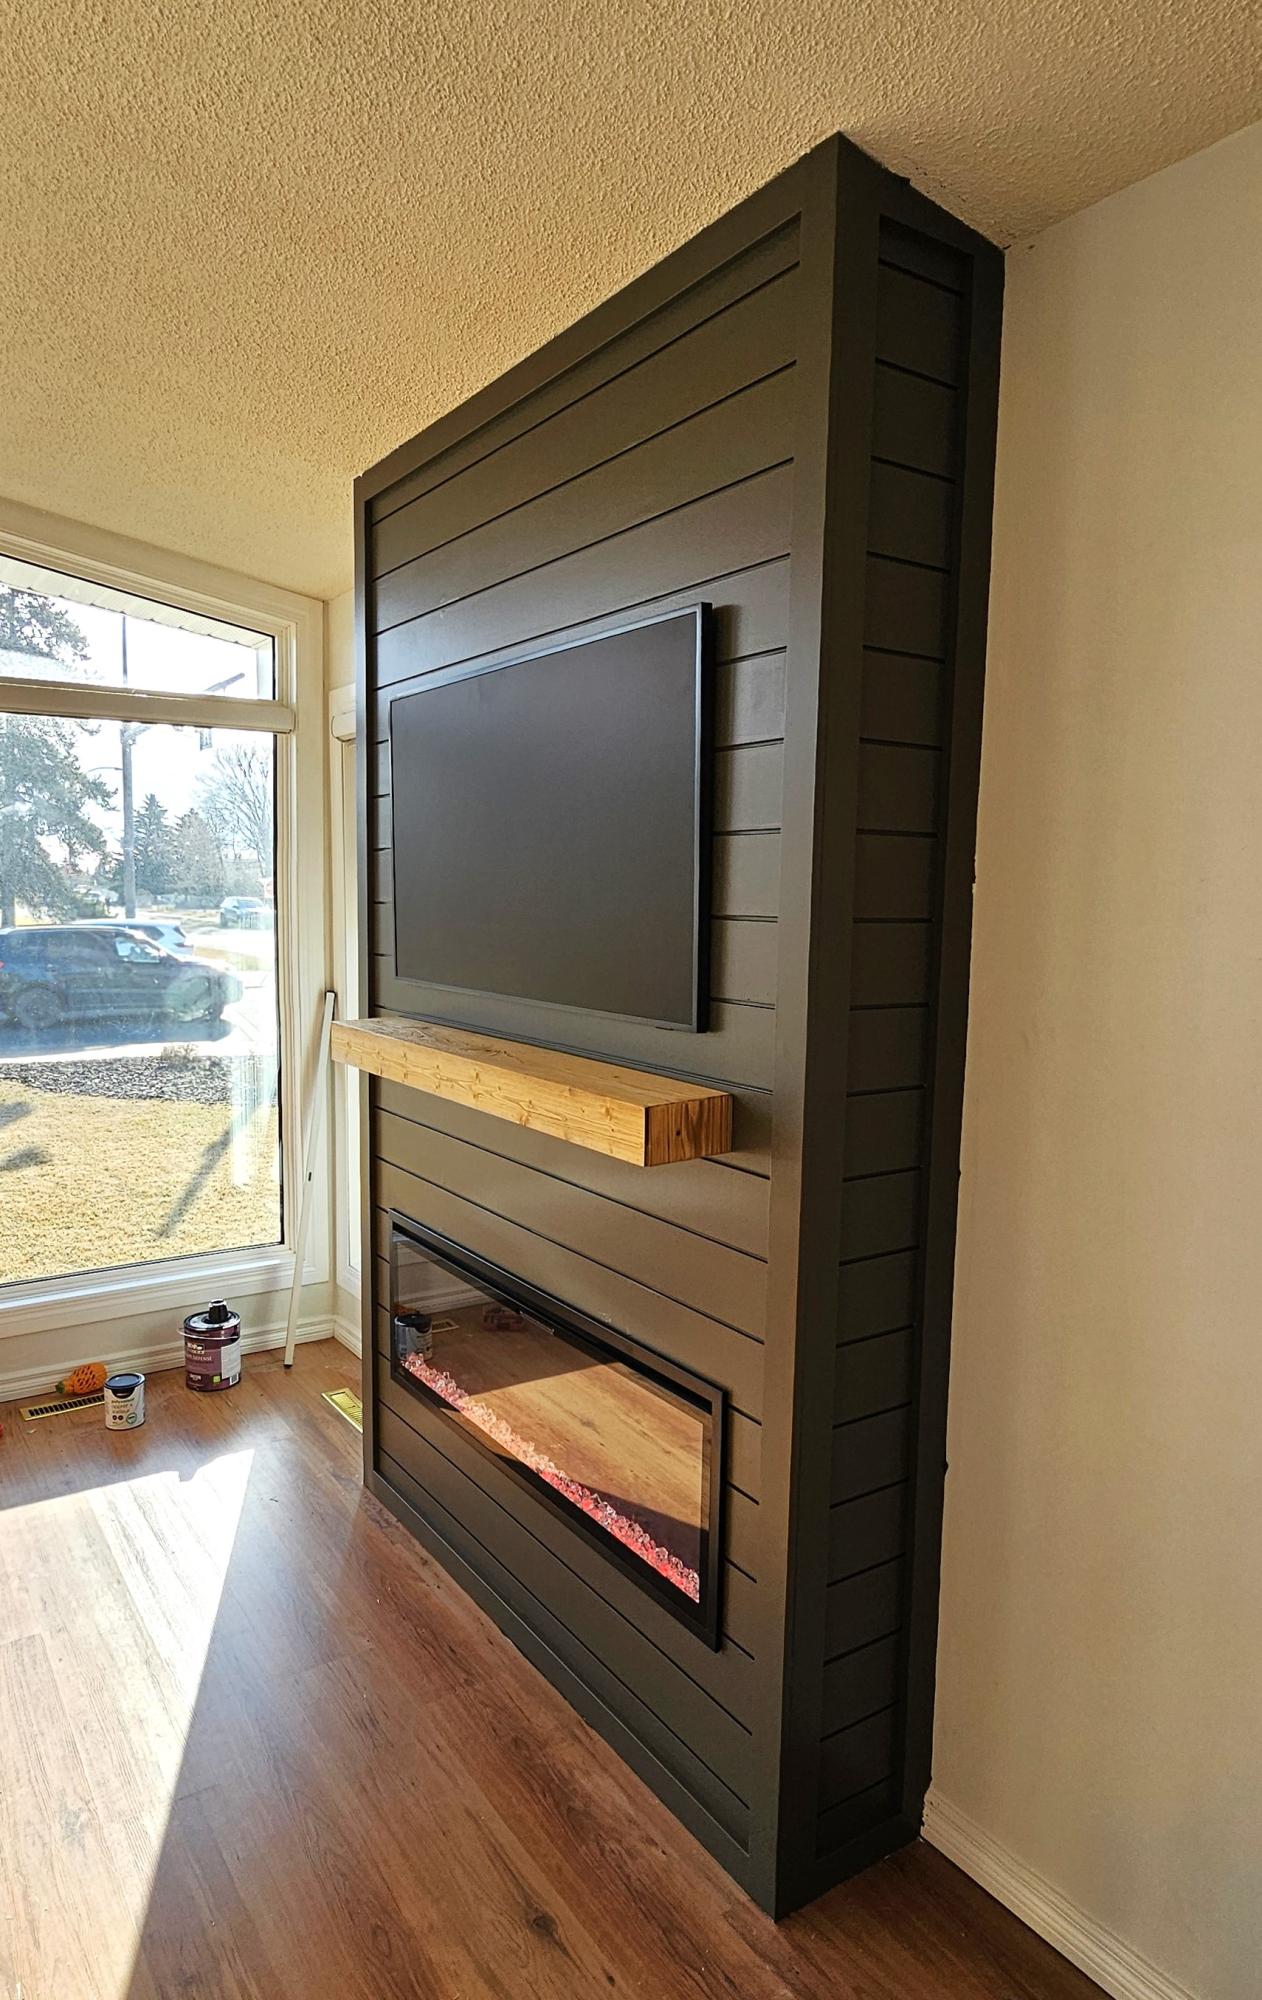
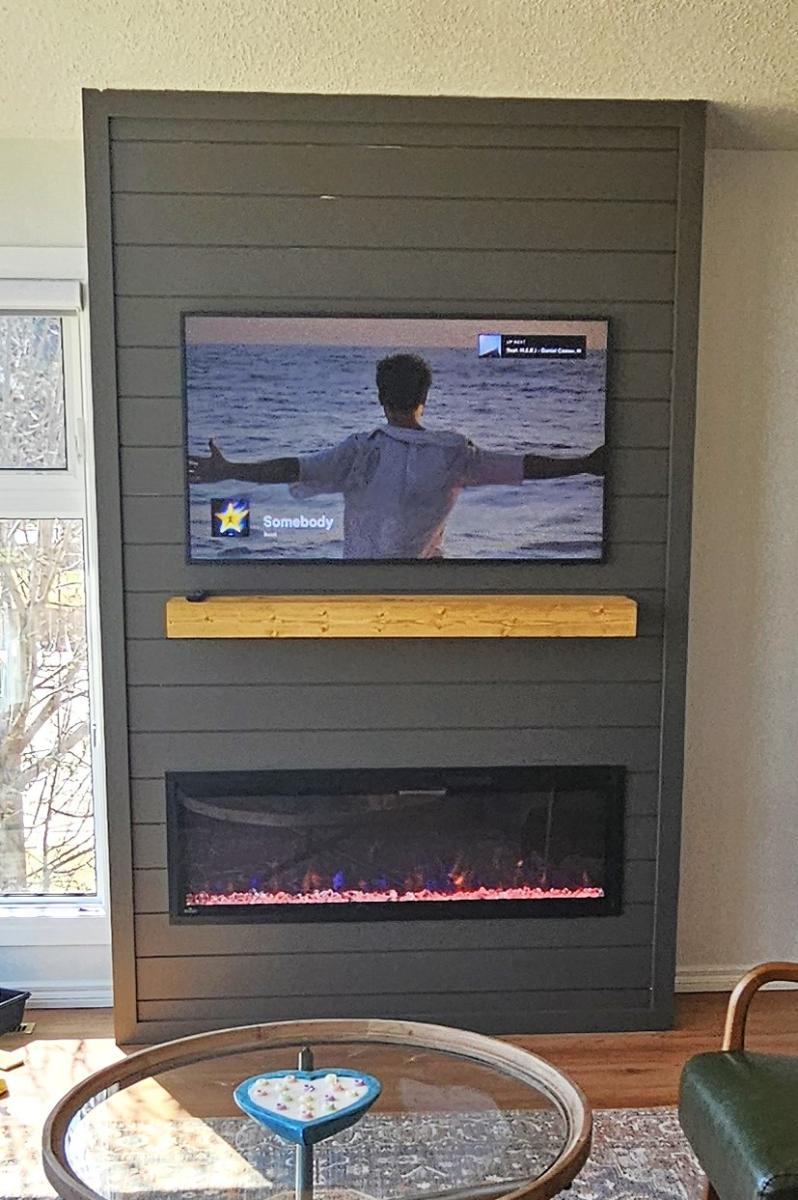
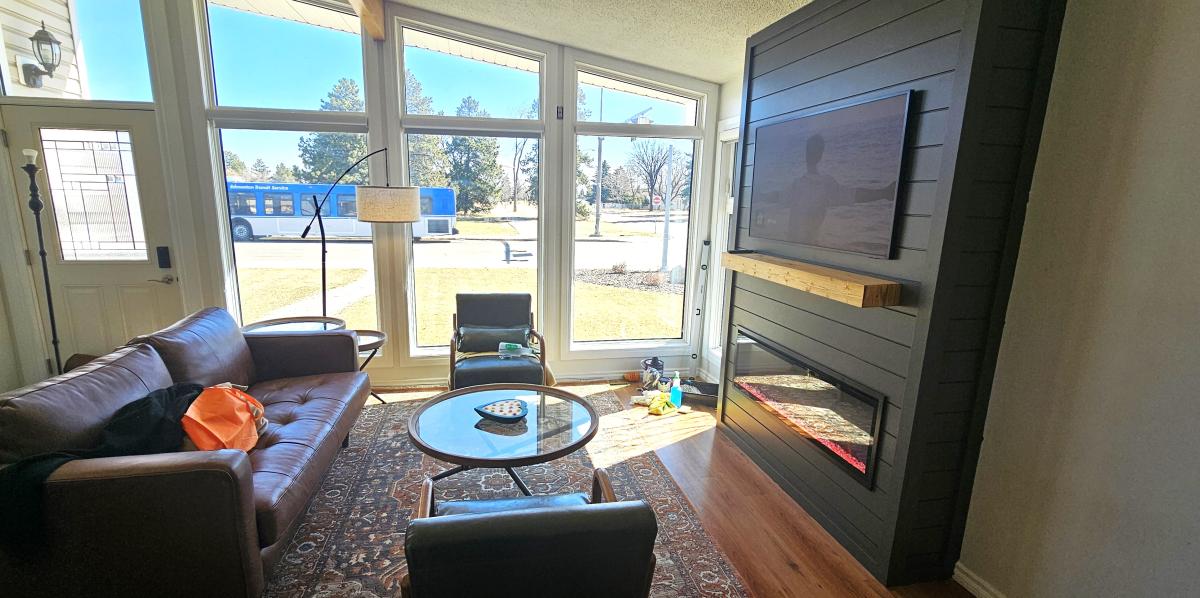
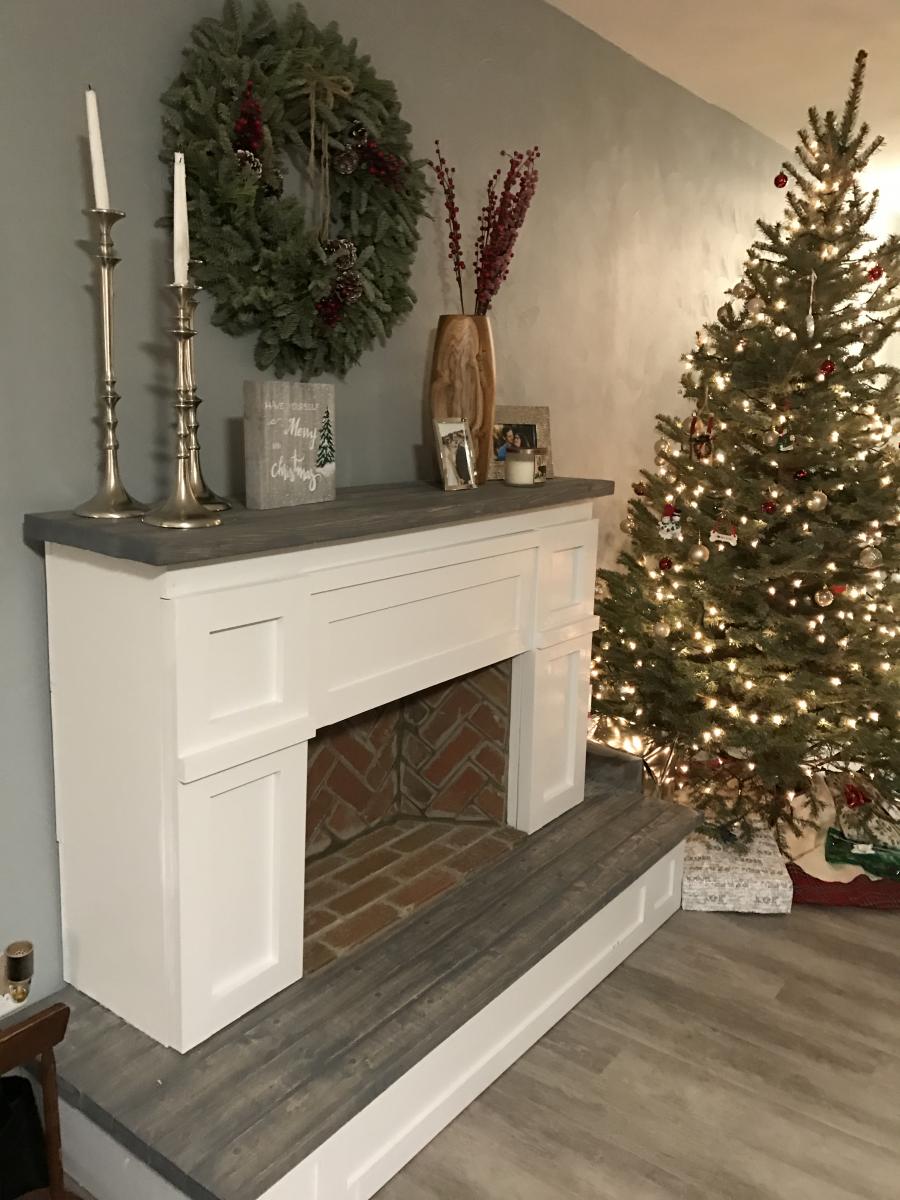
Used Ana's plans to build my floor to ceiling shiplap fireplace. Excellent guide made it easy.
Angelo
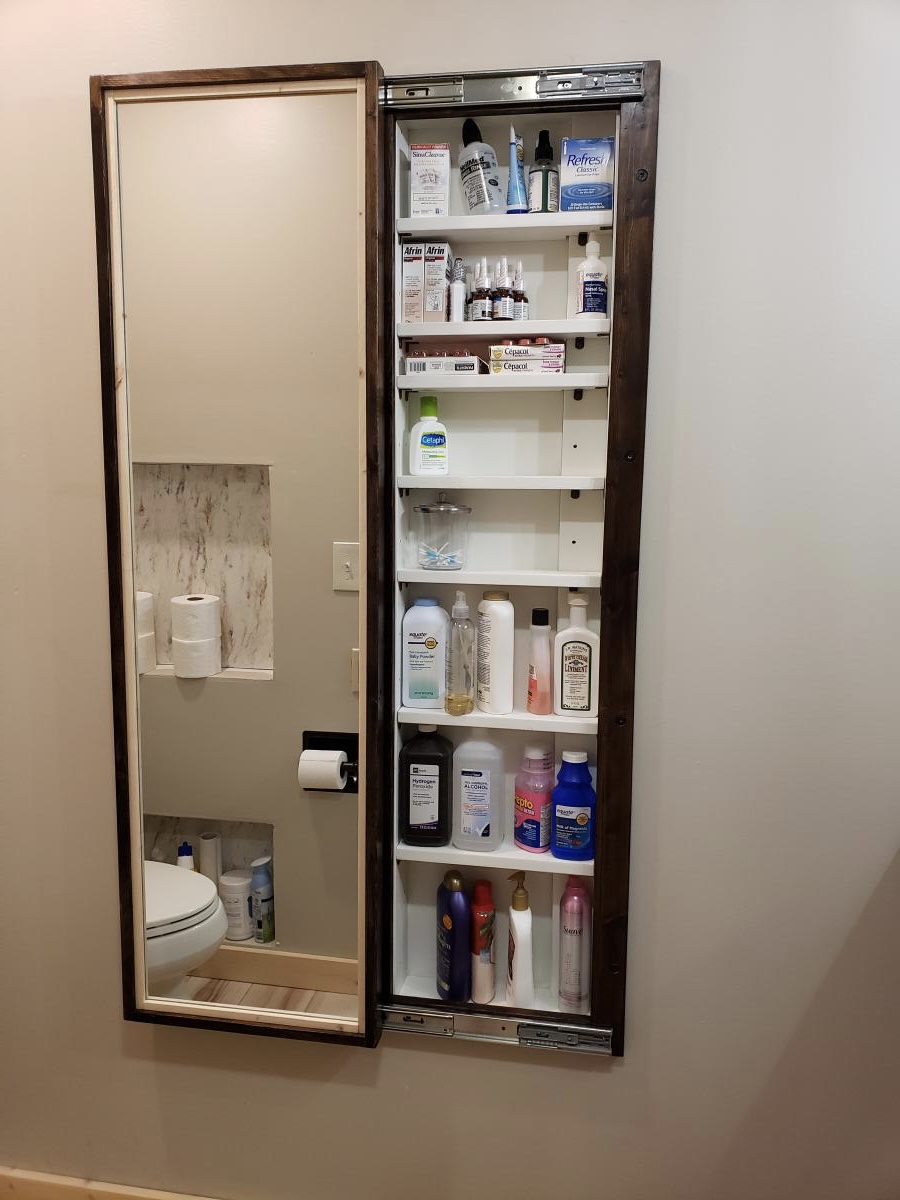
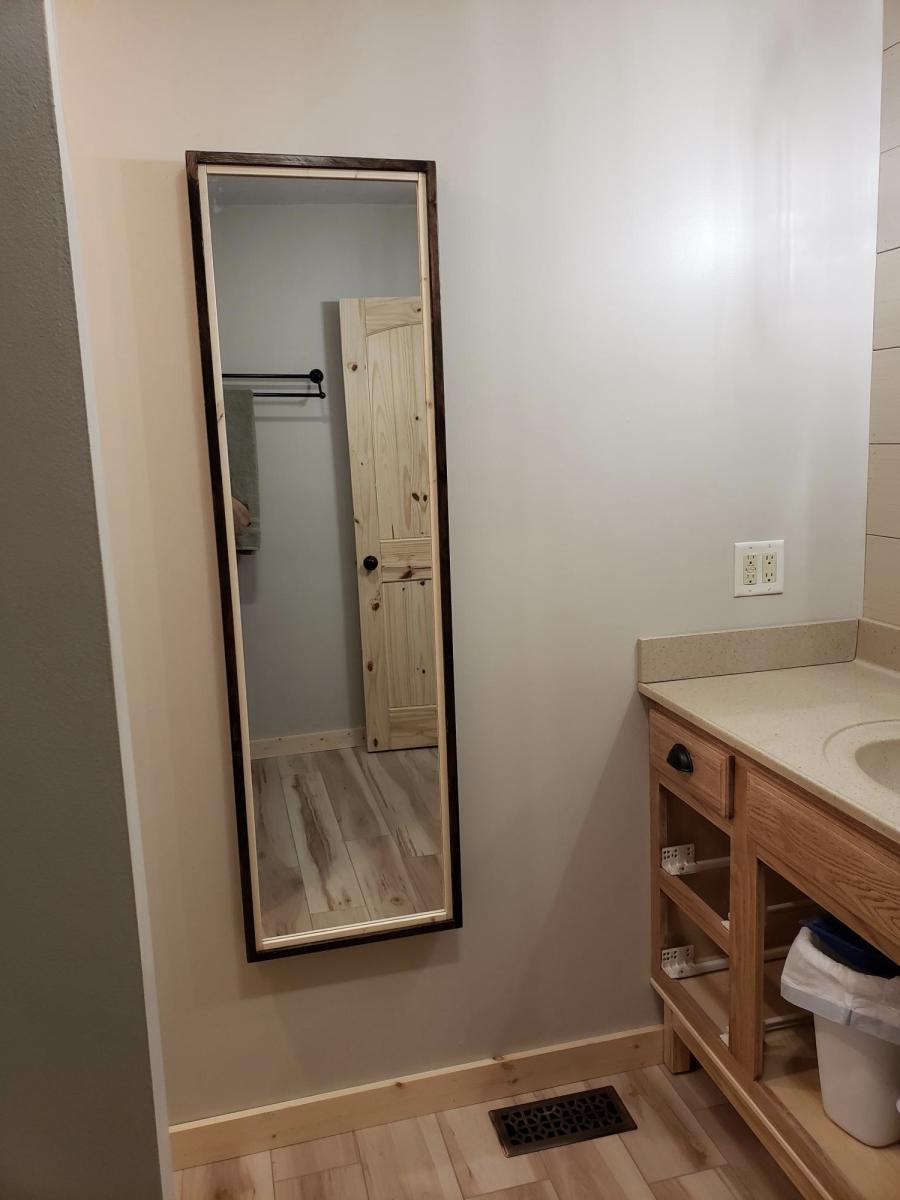
My bathroom has very little storage space. So during our recent remodeling of the room, I decided to add this cabinet. Changed the plan a little to make it recessed in the wall. I love how it turned out!

Sat, 09/03/2022 - 13:28
This looks amazing, love how it's recessed! Thankyou for sharing.
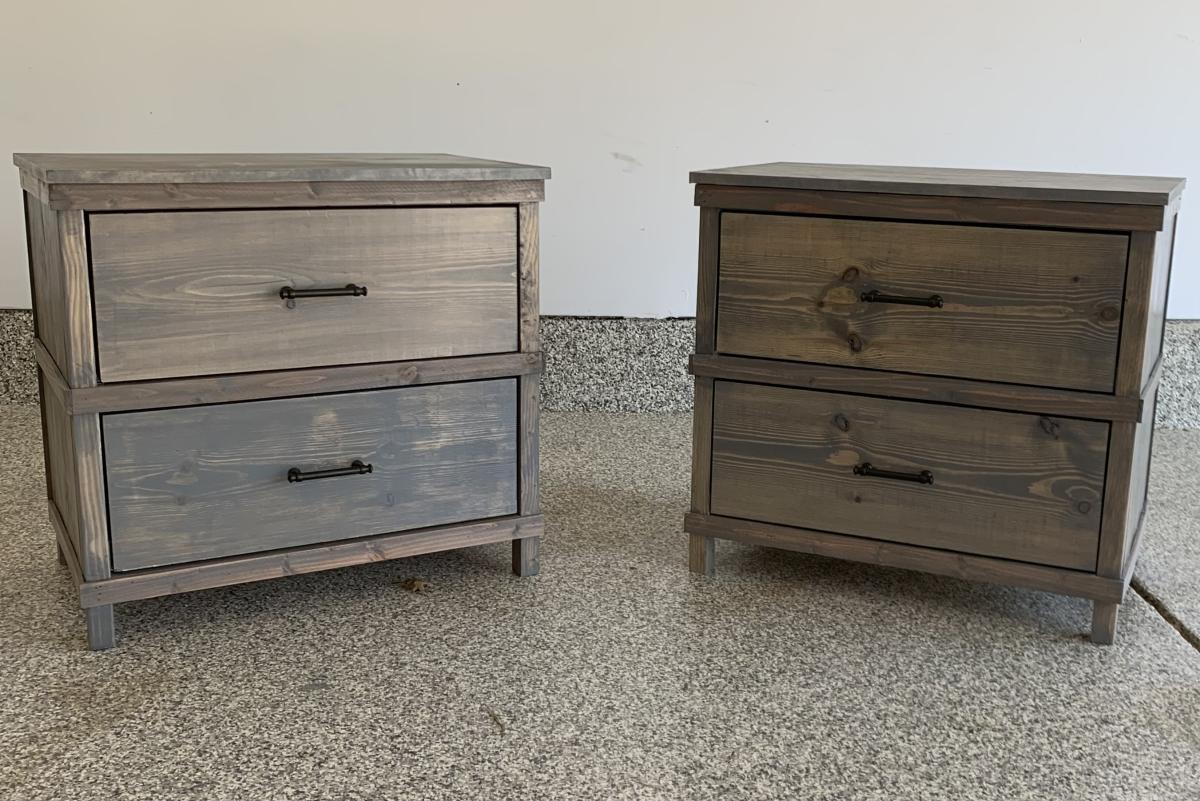
Fun and rewarding projects to finish. Took me way too long to finish, but 2 sever TBIs will do that to a person. Made a few modifications to the original King and nightstand plans but worked out fine. Thanks for these plans Ana!

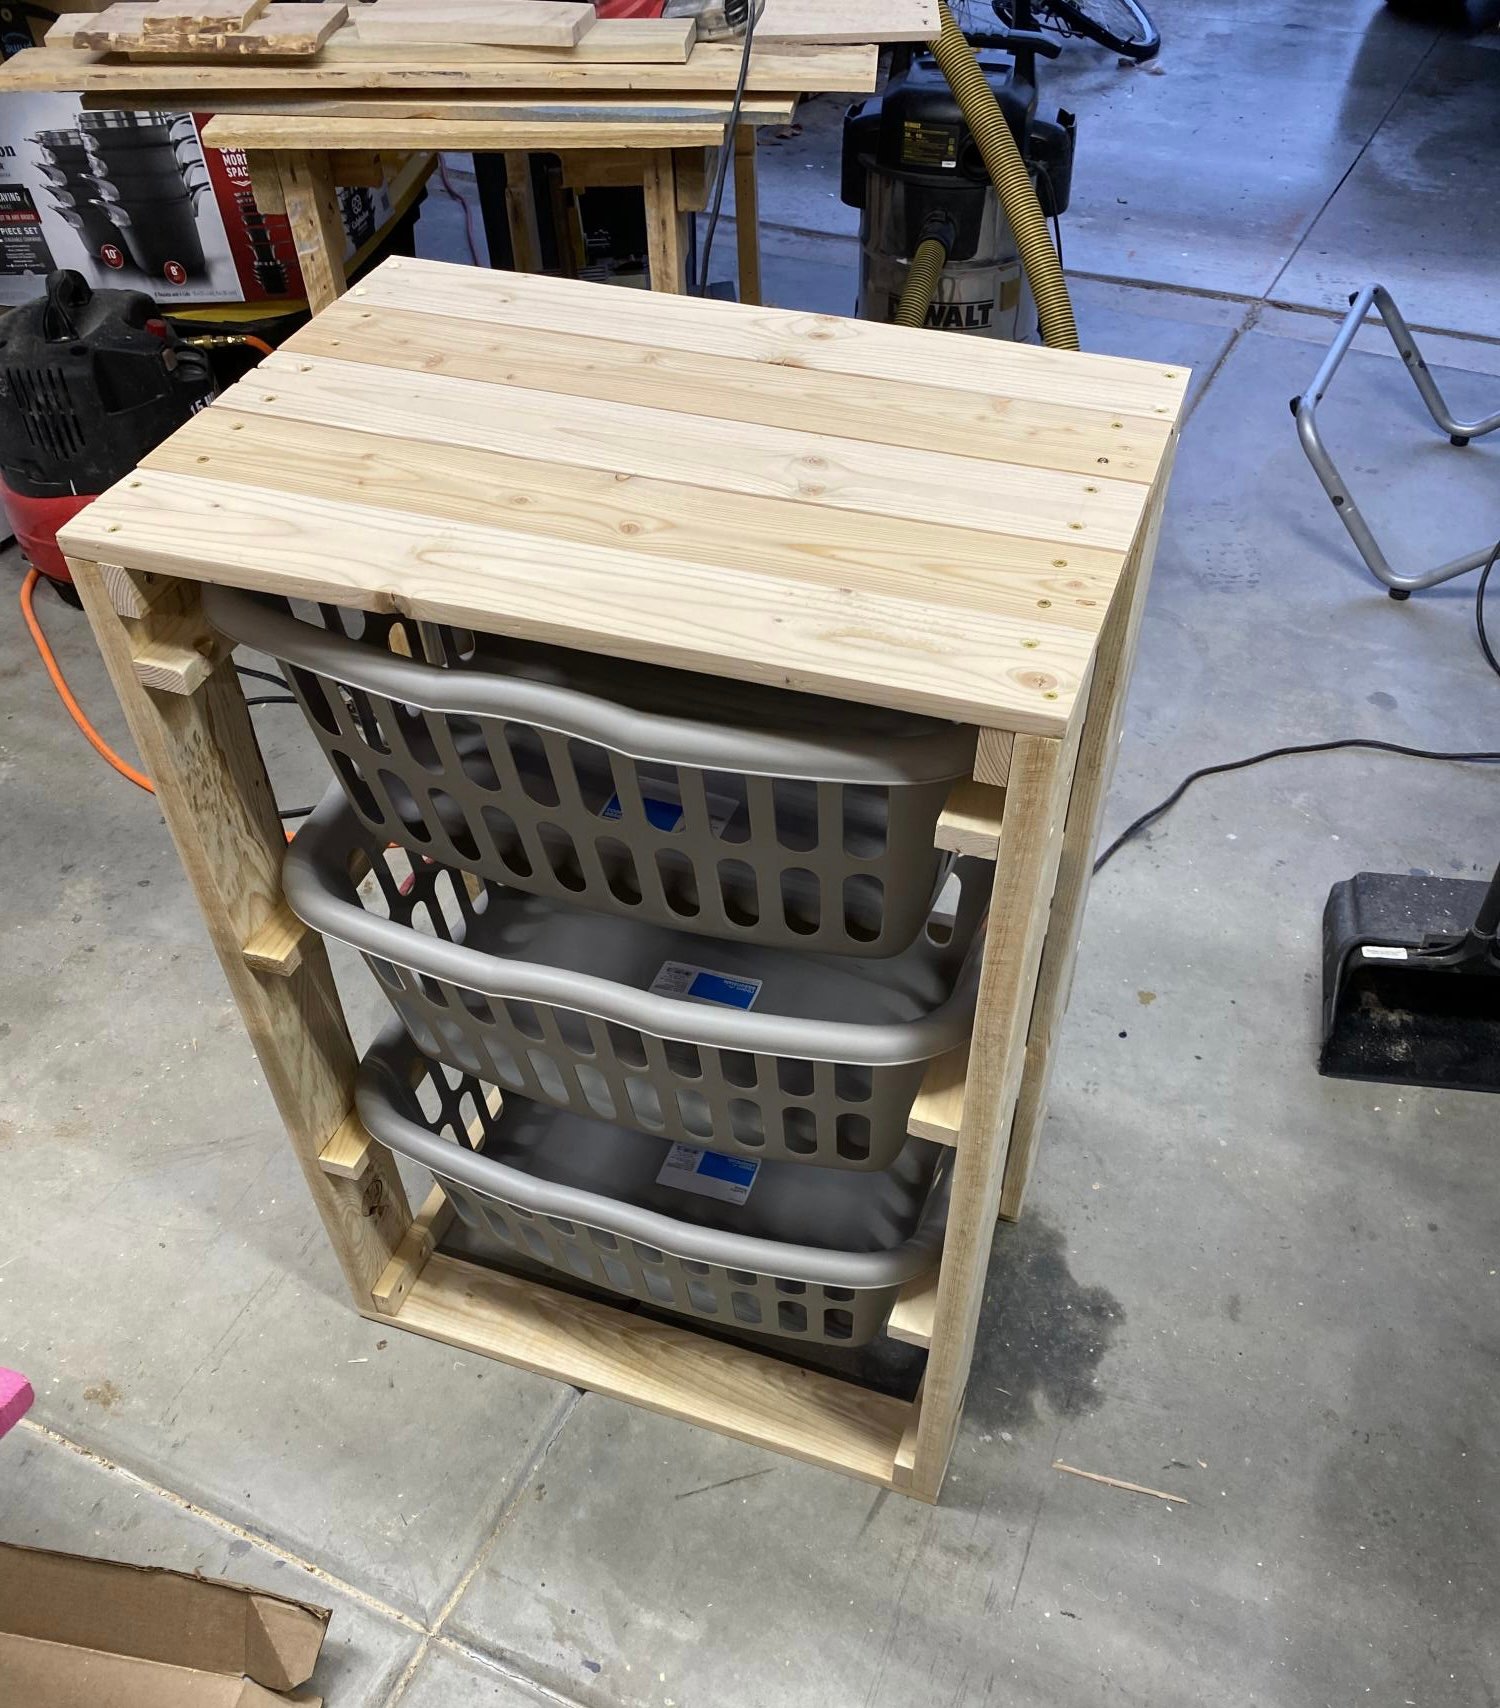
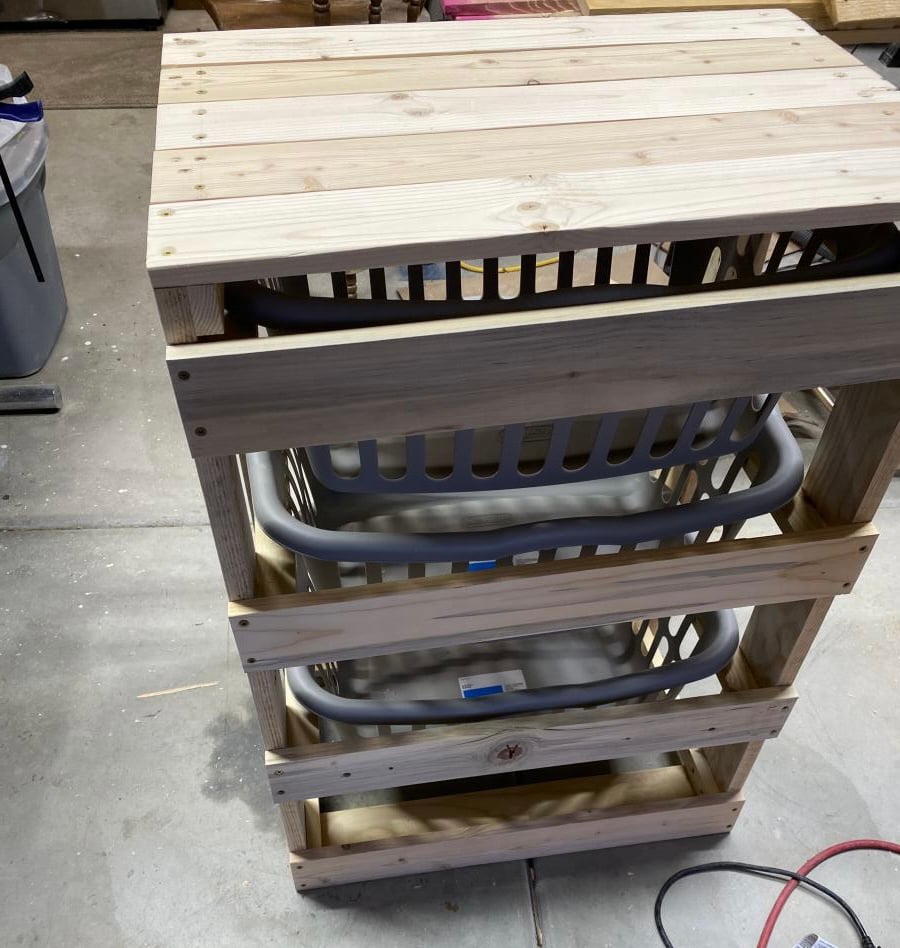
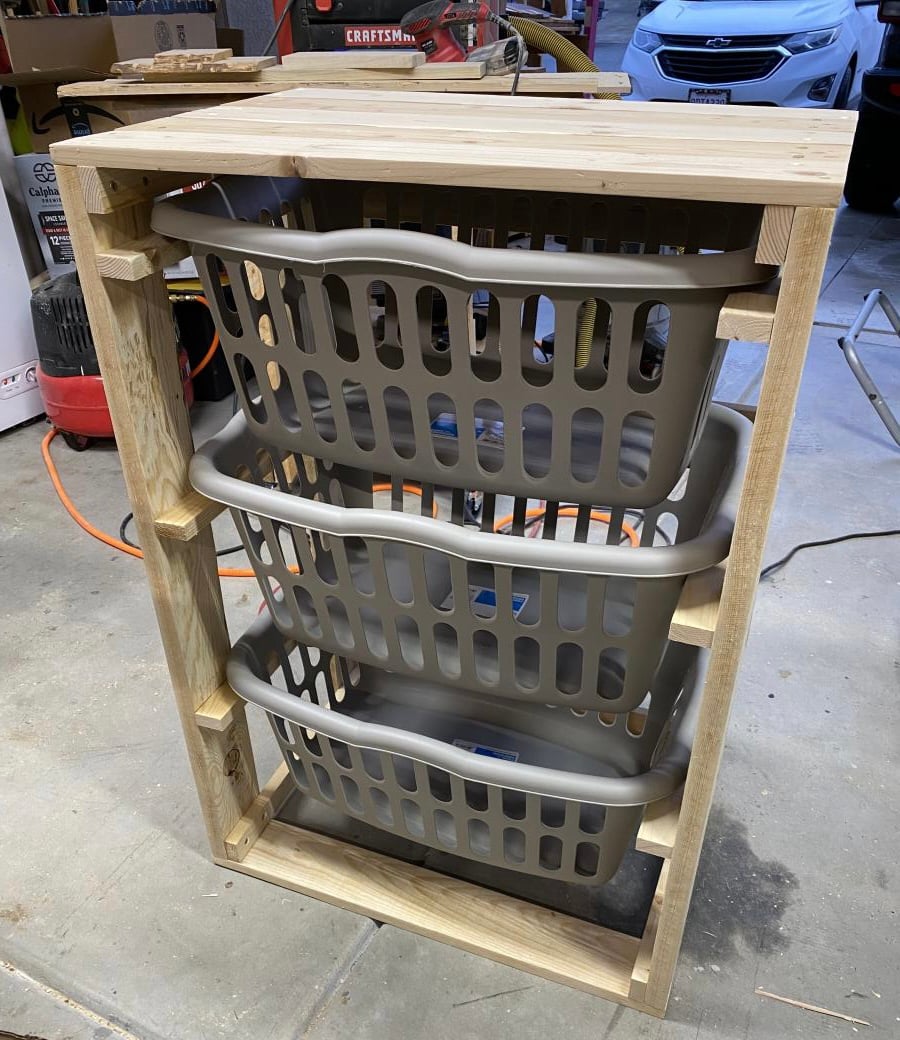
Easy to build, easy to customize, perfect for totes

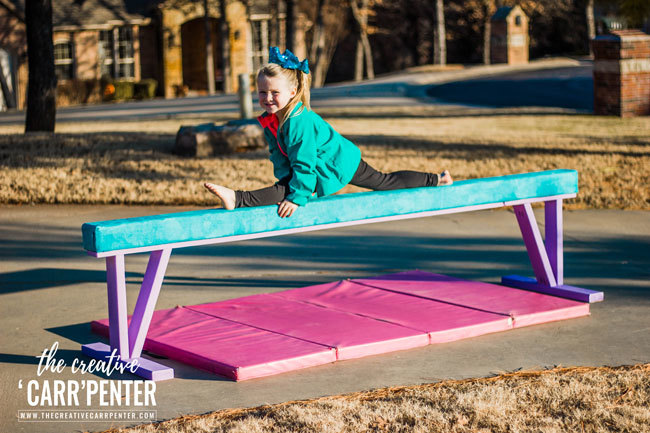
From watching Olympic gymnast Simone Biles on the television to running, flipping and twirling all around our living room — my girls LOVE everything gymnastics. Both girls began competing with a local gymnastics club. Now that my oldest has moved up and is pretty serious about practicing her beam handstands and dismounts, she begged me to build a raised balance beam with suede covering so it would have a similar feel to her beam at the gym.
If you can relate to this, or even if you have a new gymnast (like my youngest in the pic above) wanting to improve their skills at home, then this comprehensive tutorial on how to build a raised balance beam is for you.
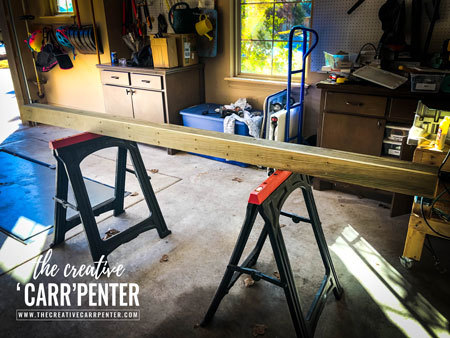
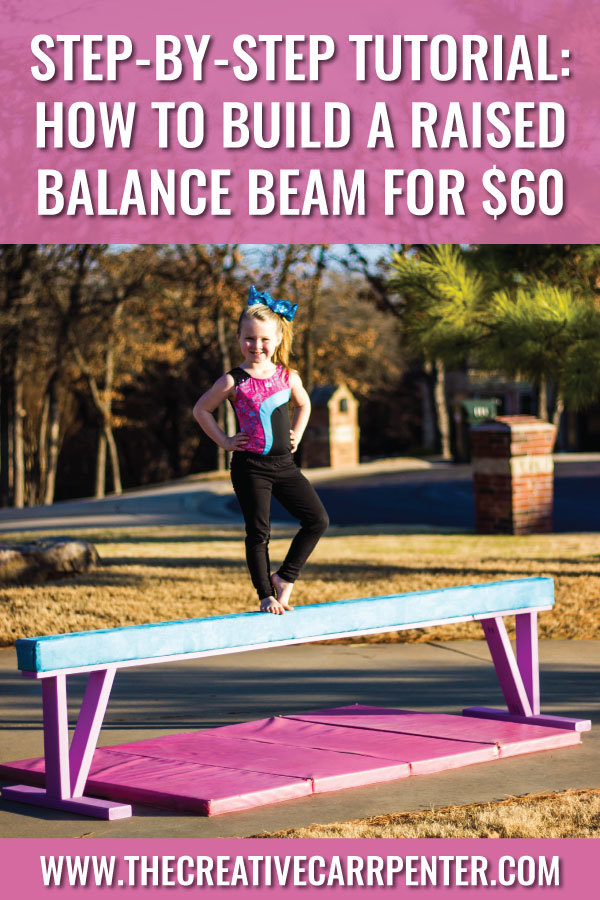
Full plans available on my blog The Creative 'Carr'penter. You can also find and pin this tutorial on Pinterest here.


Wed, 11/13/2024 - 05:14
I'd love to view the plans for this! When I click the Blog, it's not available. Can this be emailed to me?
First time using jigsaw, think it turned out pretty good! What a fun project to build!

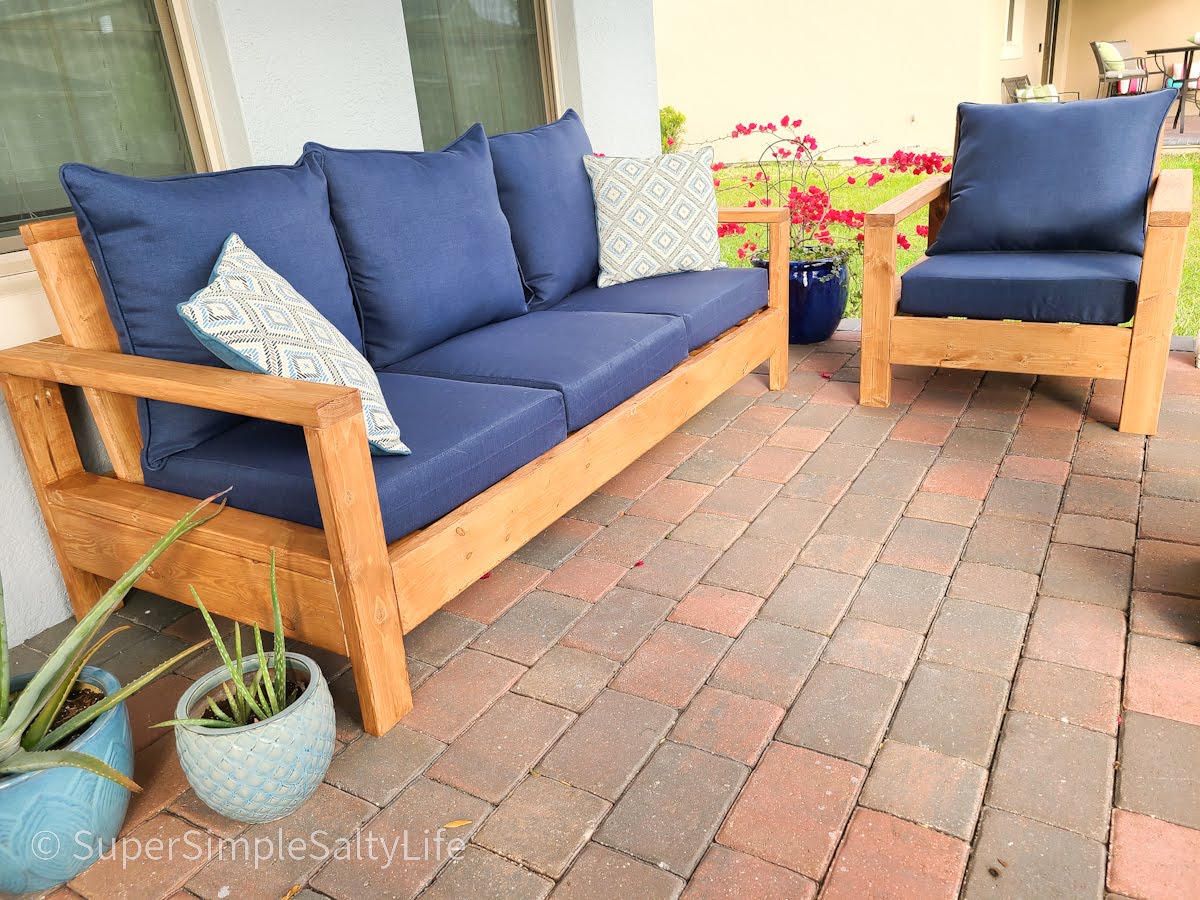
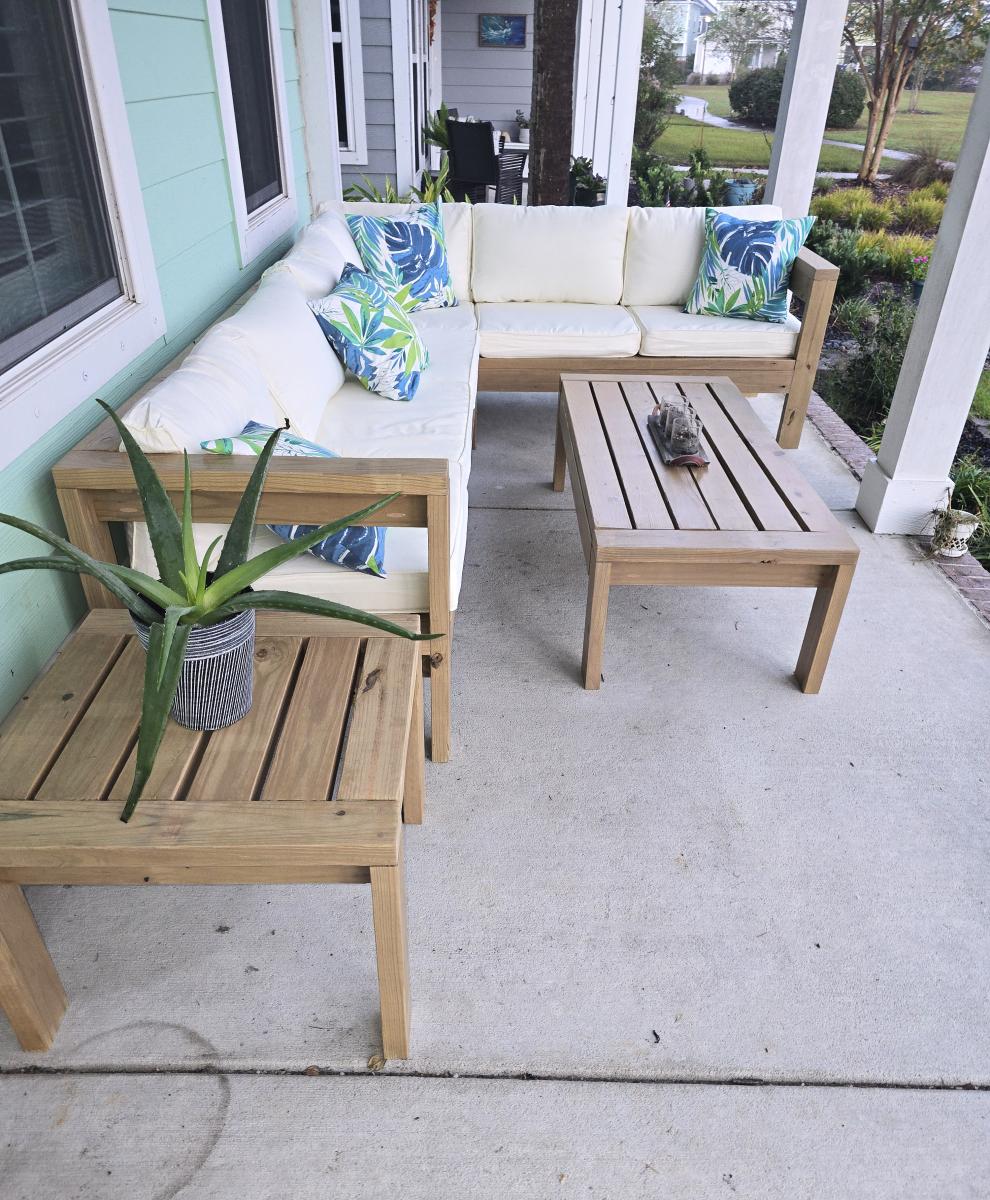
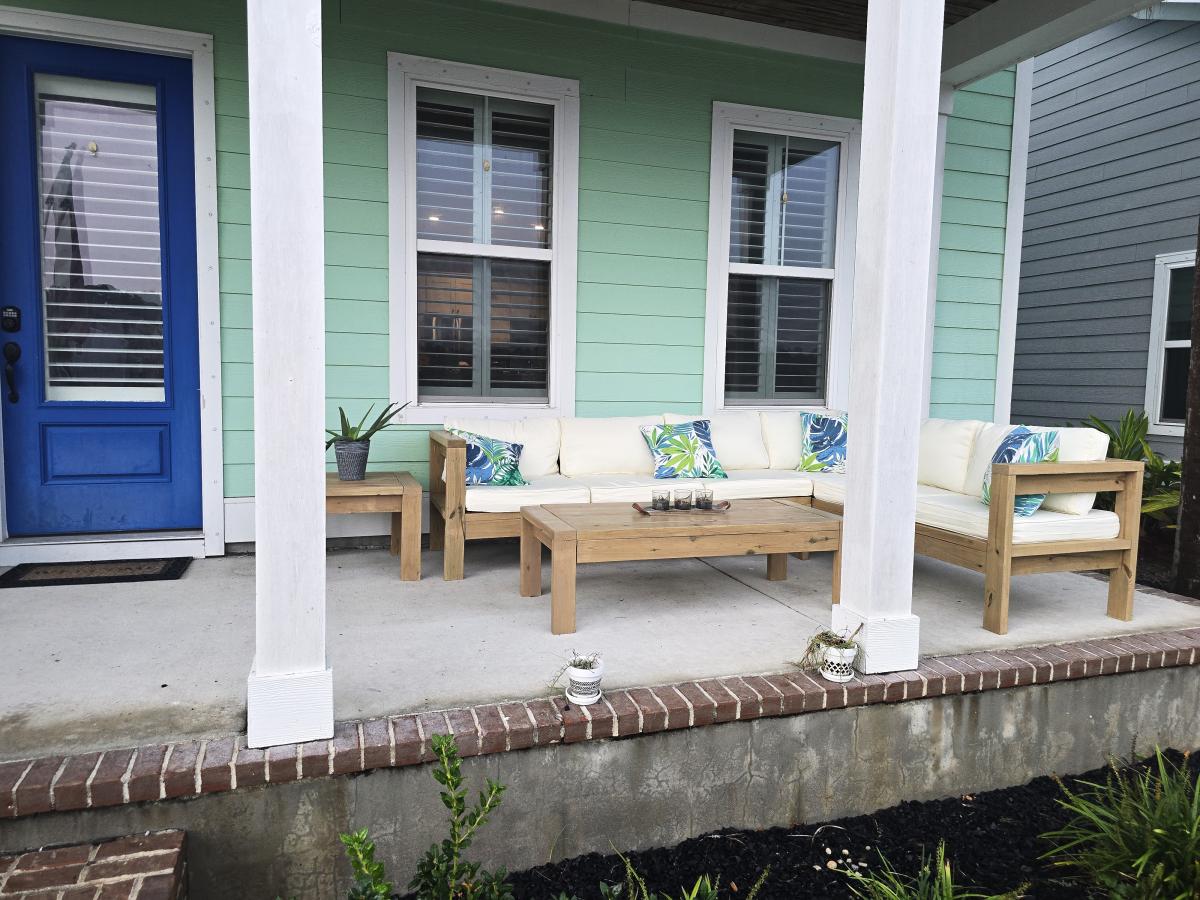
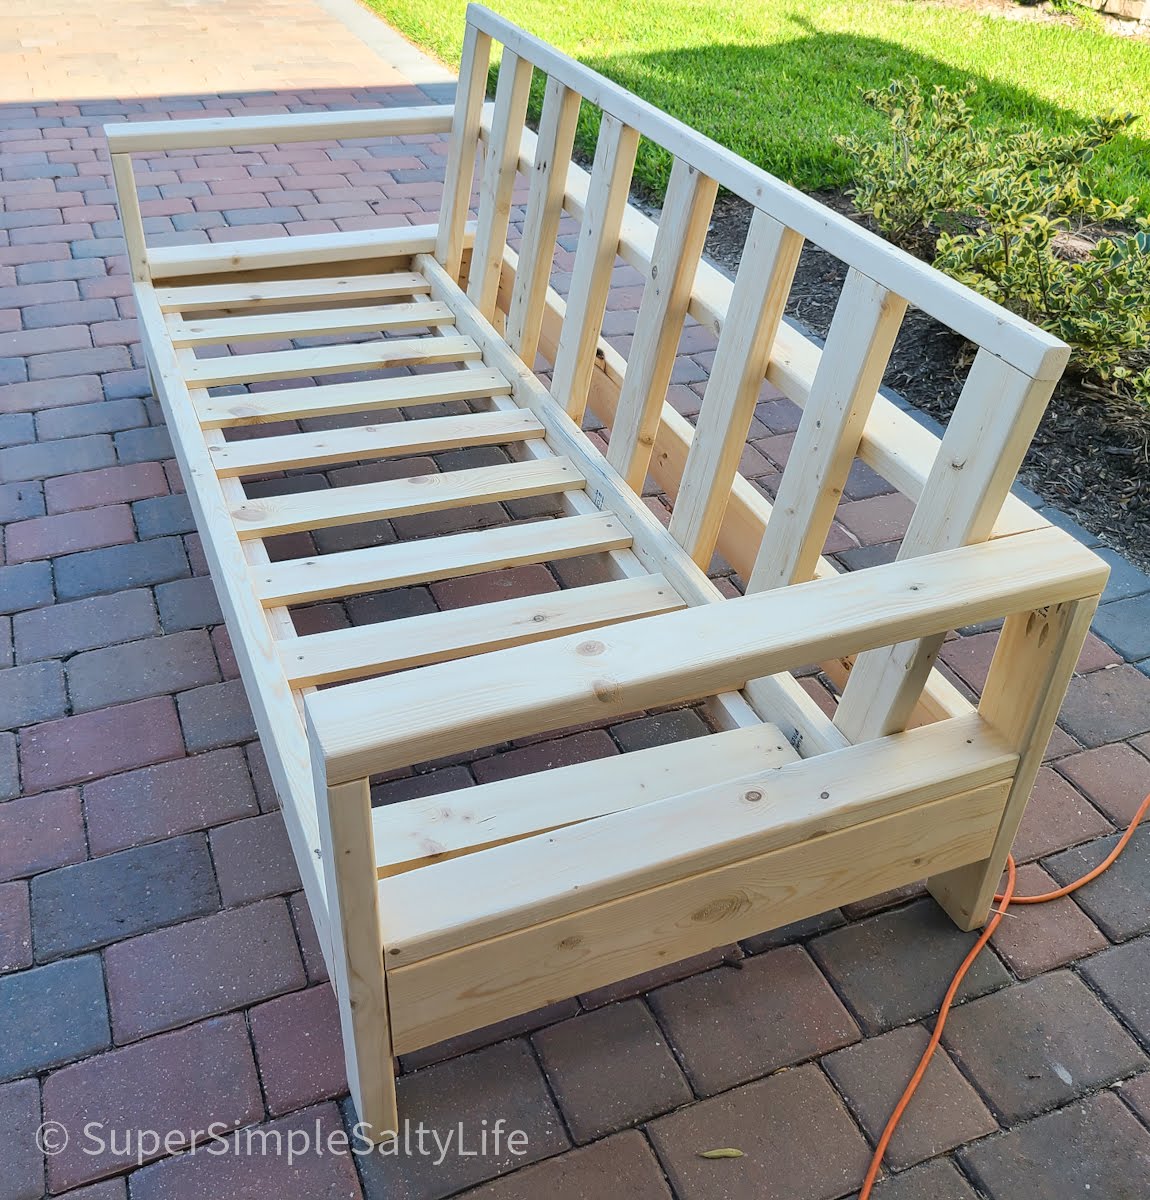
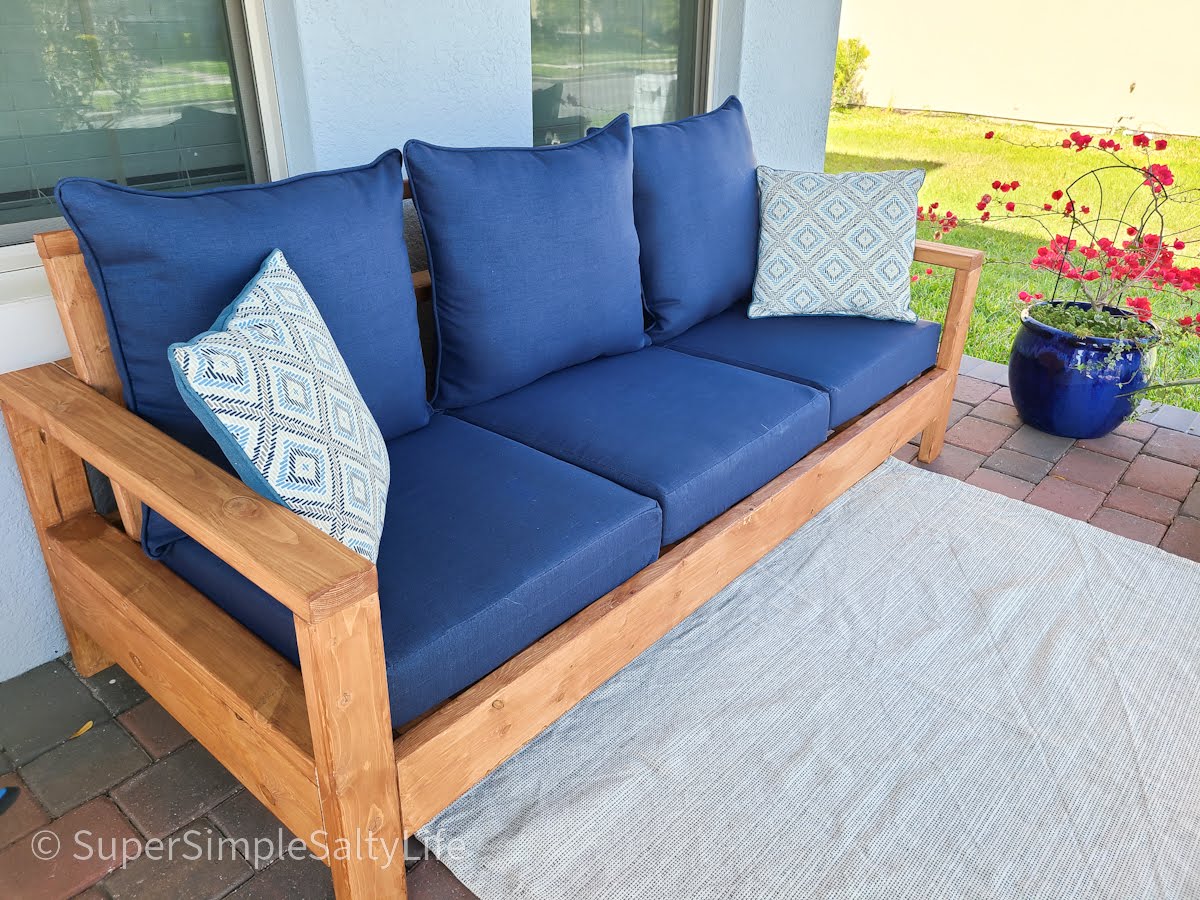
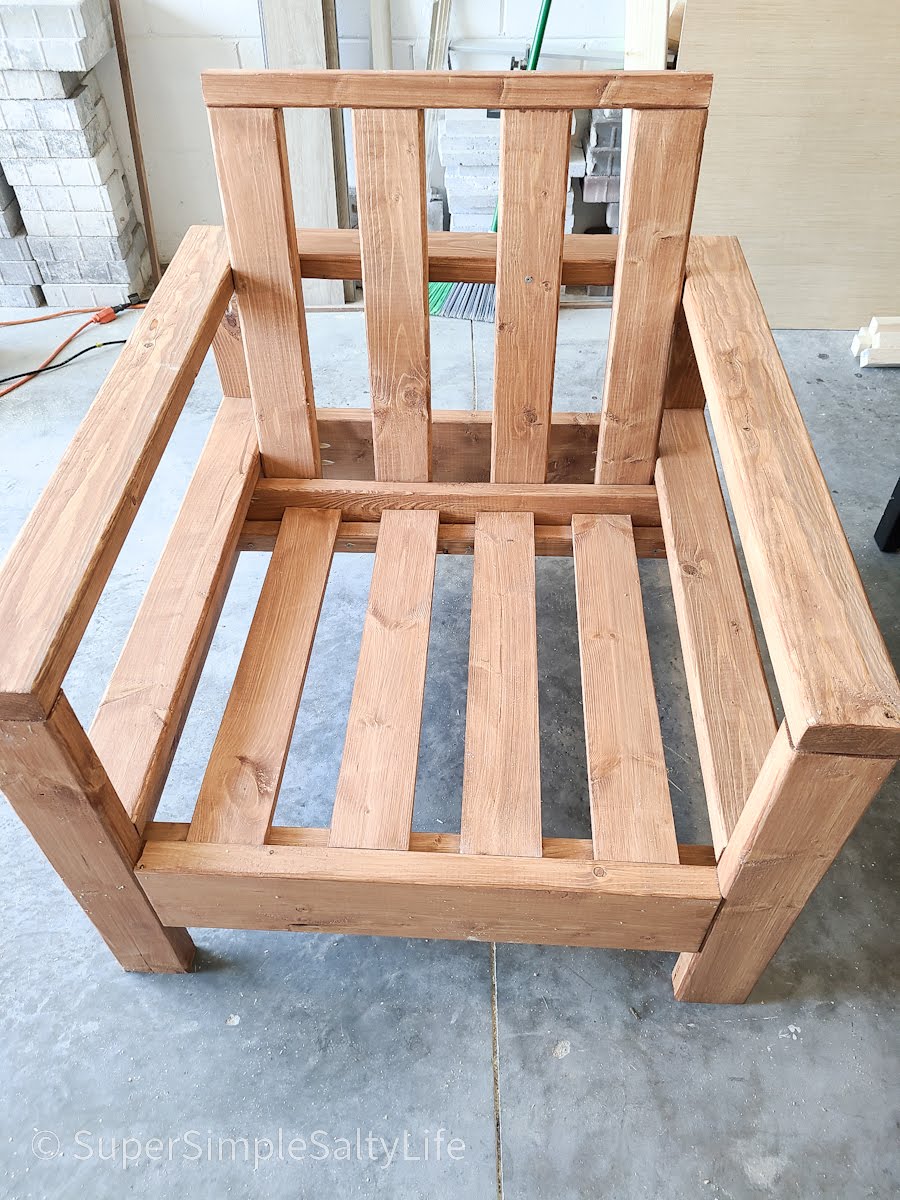
OK, I think this build may be my biggest project yet! It is definitely the heaviest. With the strong winds we can get here in Florida we needed substantial outdoor furniture.
I did make some modifications along the way measurement-wise so the sofa would fit my front porch better. All in all, this took 2 full days. I built the sofa first, stained it the next day and then decided (due to trying to get stain in all the nooks and crannies) to stain the chair pieces first before putting it together.
I am so happy with the results and so far, almost a year later, this furniture looks great and hasn't moved an inch in any of the thunderstorms we've had! Thank you Ana!!
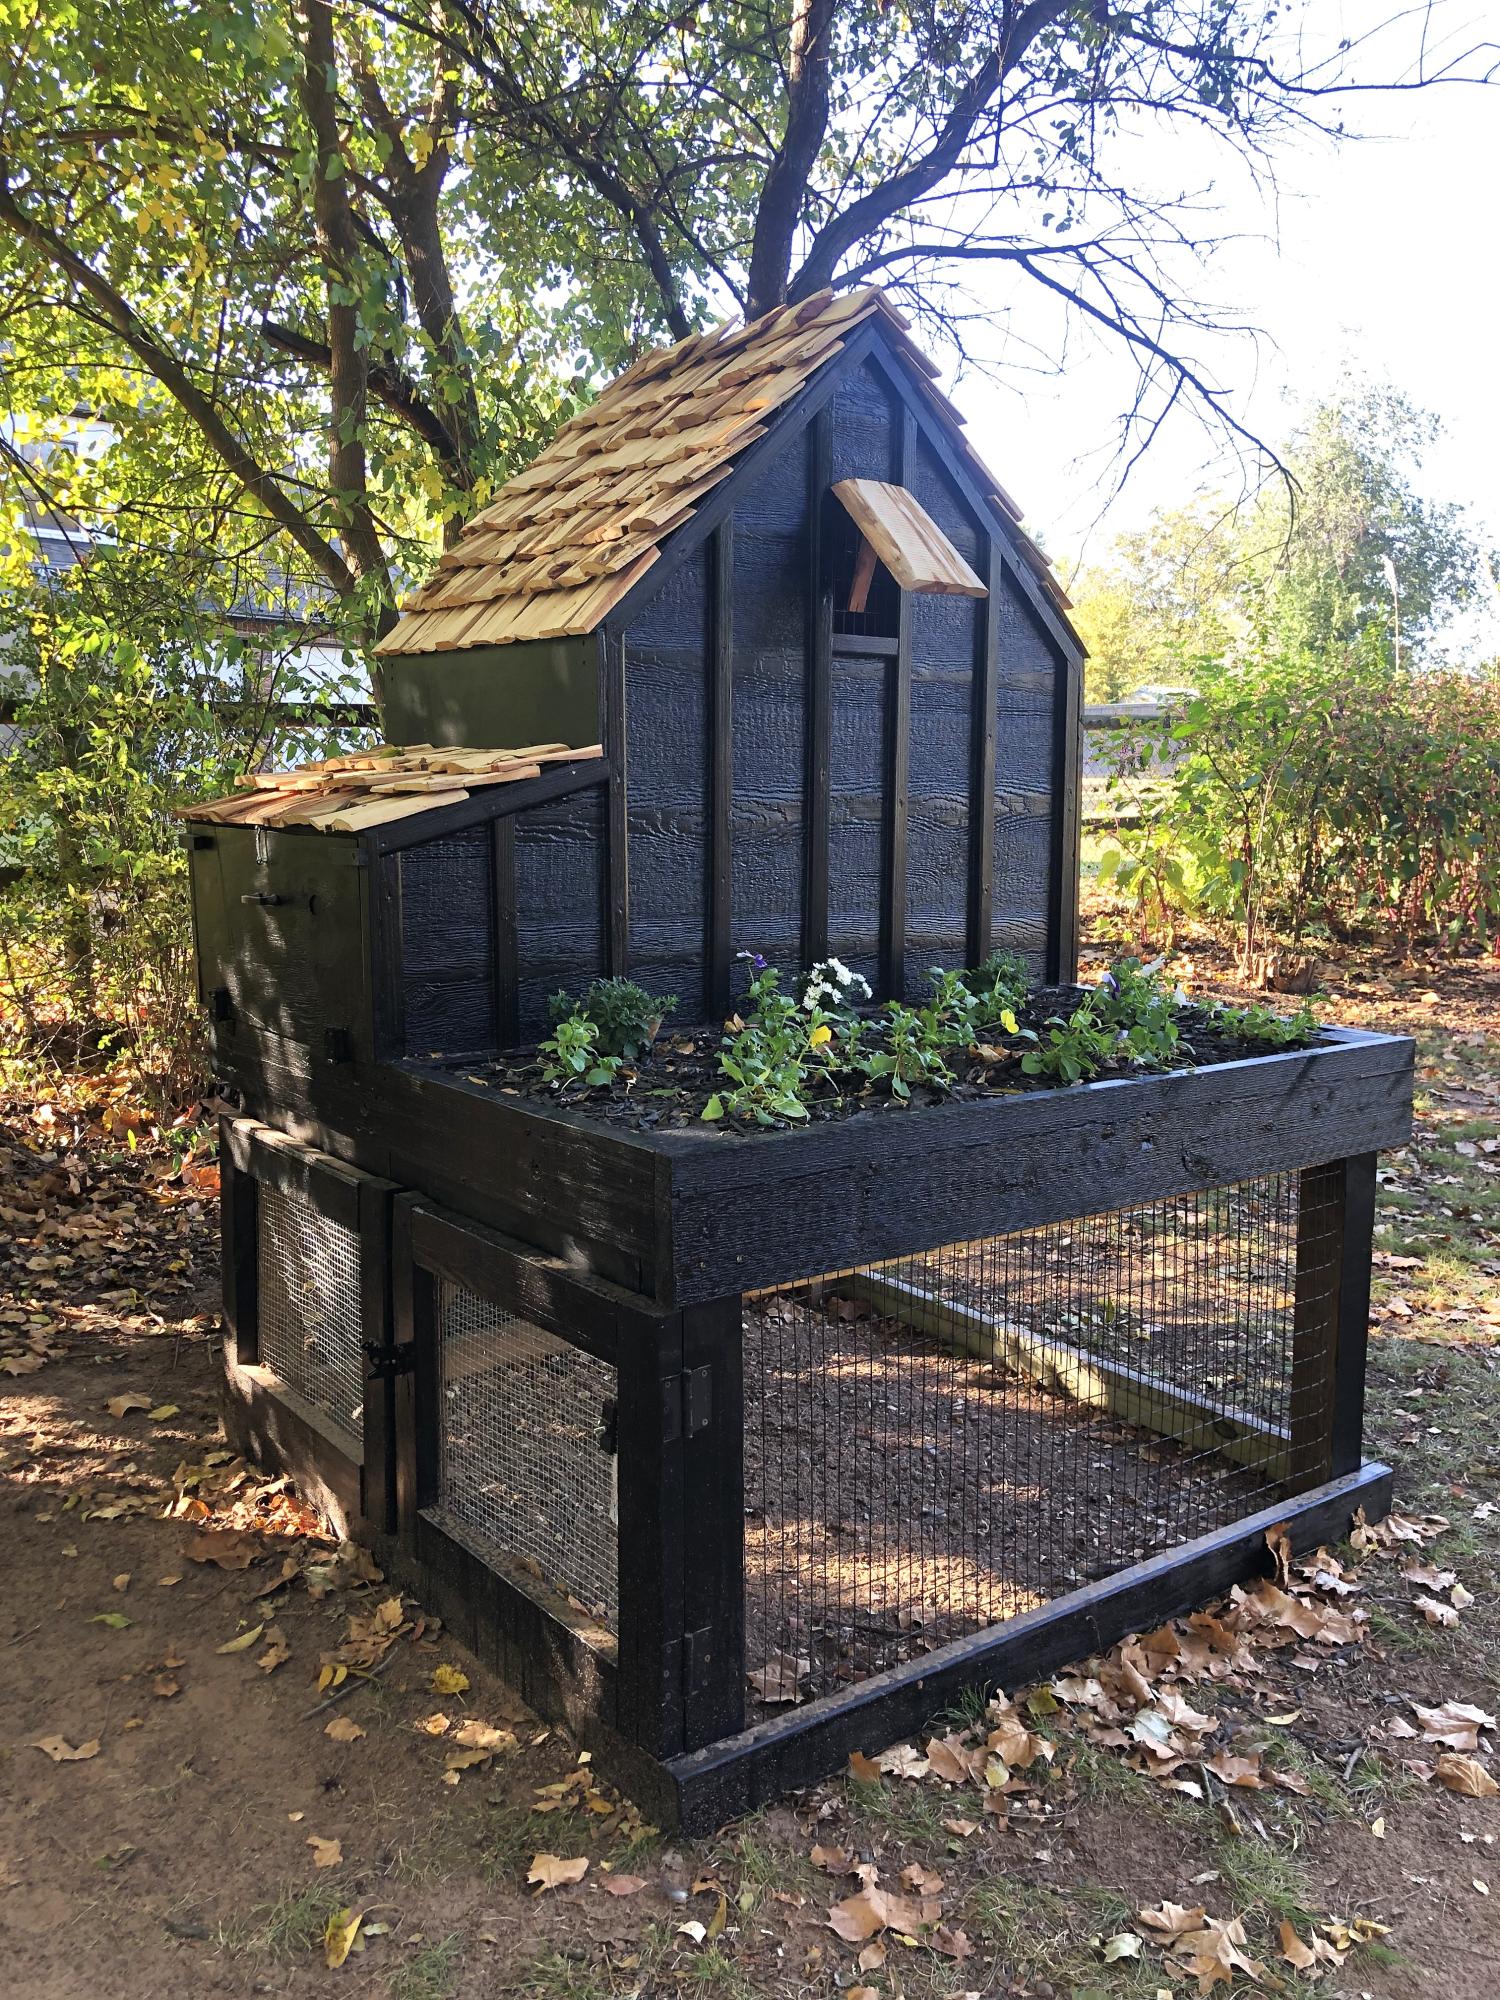
Here’s my take on your lovely Small Chicken Coop with Planter, Clean Out Tray and Nesting Box. I hand split the cedar shakes and love how it turned out - thank you for the plans! - GraceLynn J. by Darci Stout
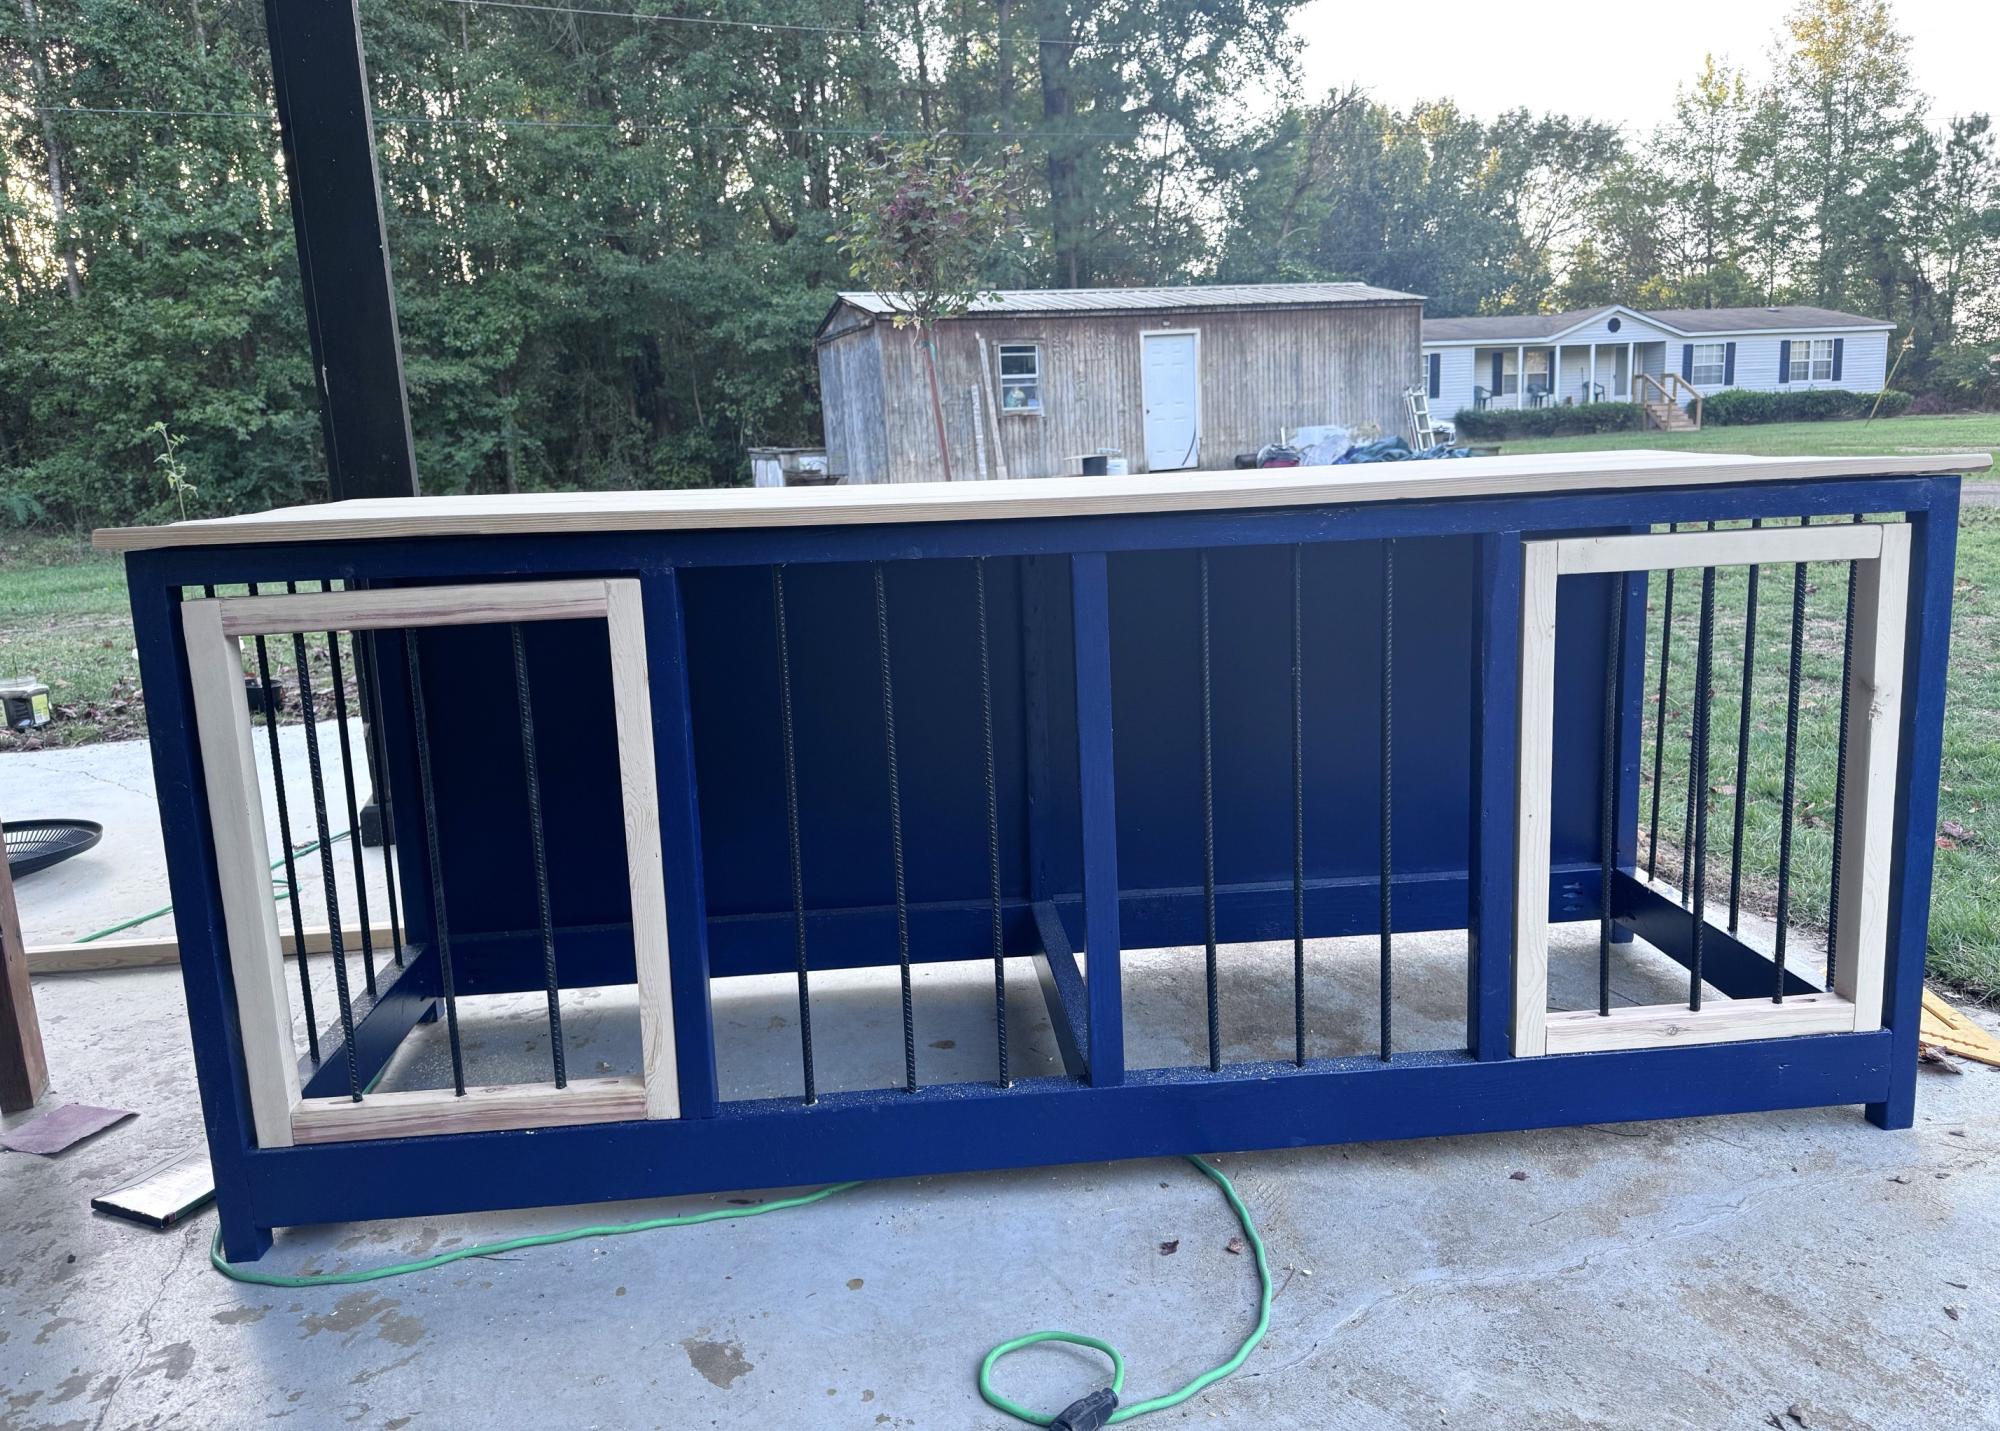
Double Dog Kennel

This was an easy project to complete in an afternoon that does not require any advance woodworking skills


Wed, 11/26/2014 - 12:19
This project looks even better than mine! I love look with paint! Well done!
Wed, 12/10/2014 - 09:41
This is my second completed project with plans and ideas from your website. Thanks for your good work!
Great little project. Finished just in time for Thanksgiving.
Andy
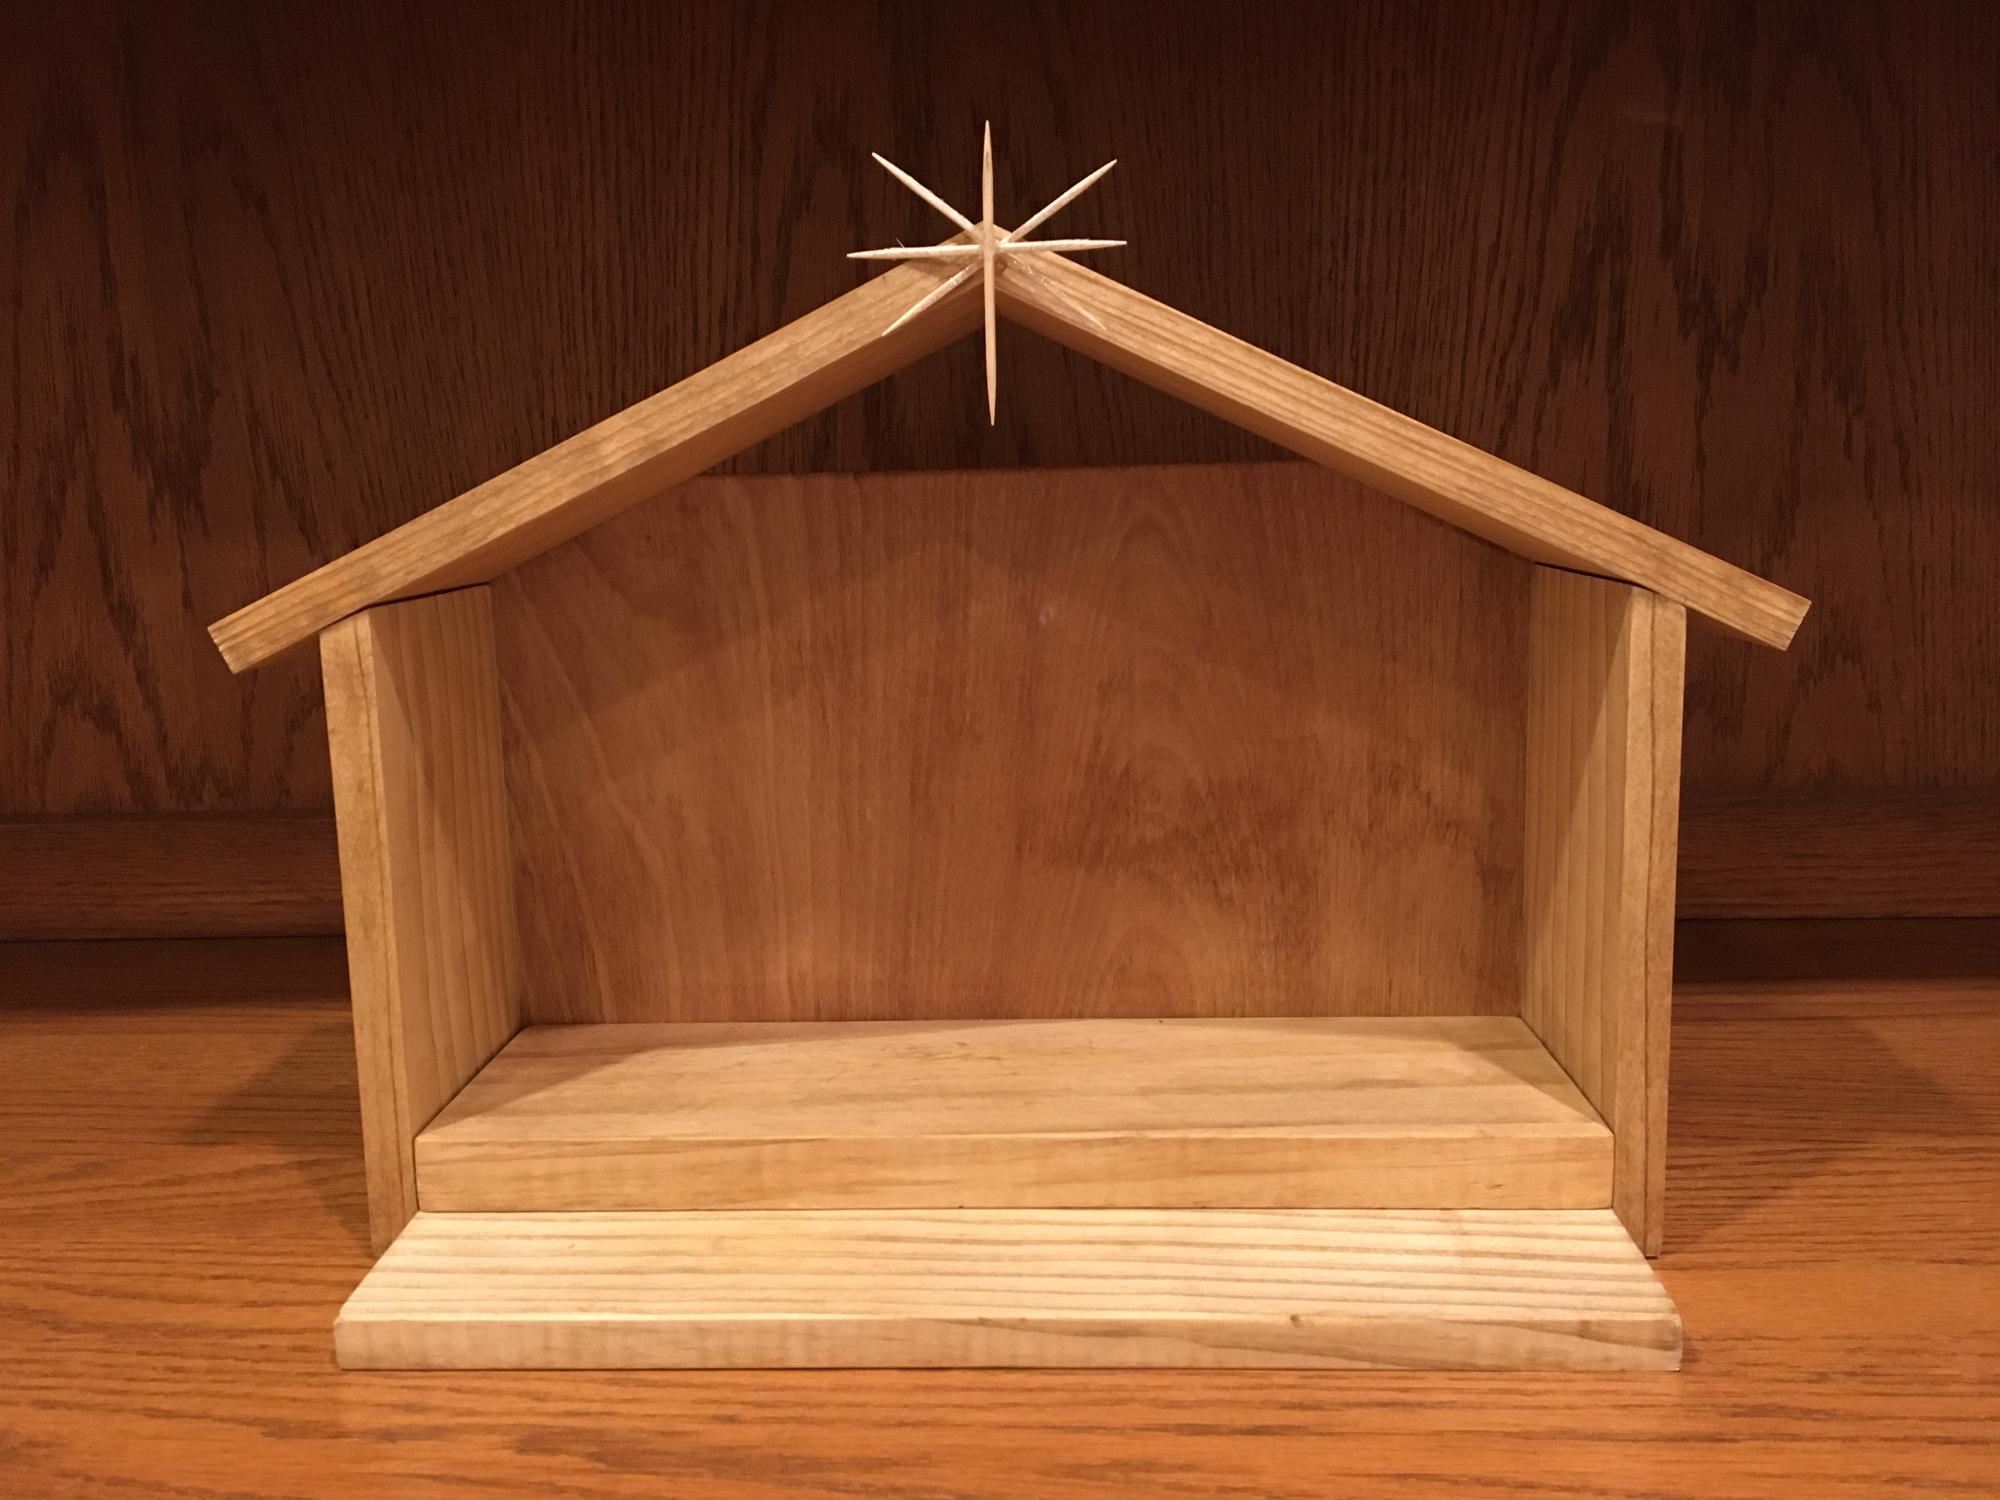
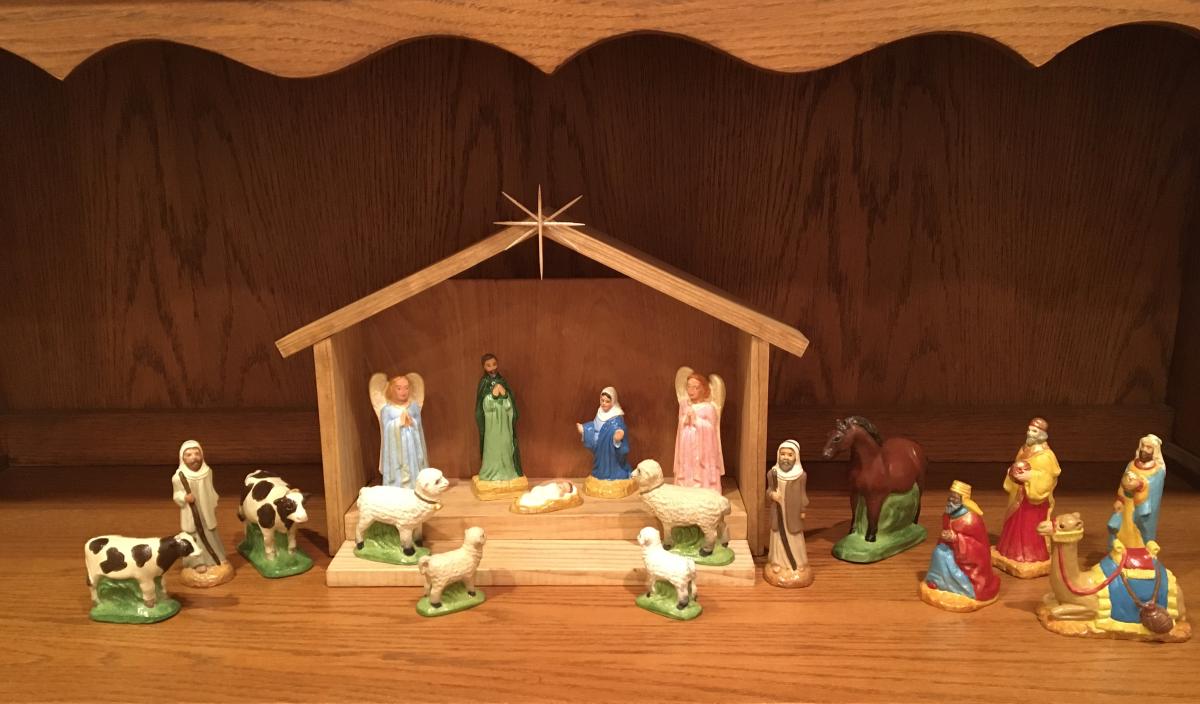
Stable made from scrap wood I had on hand (plus a few toothpicks).
Mon, 11/29/2021 - 05:42
Awesome use of material, it looks great! Thank you for sharing, God Bless~
This was a great last minute Christmas gift. Took me a little over two hours. Made completely out if pallet wood.

Sun, 12/26/2021 - 13:19
It looks great, I'm sure the recipient loved it! Thanks for sharing:)

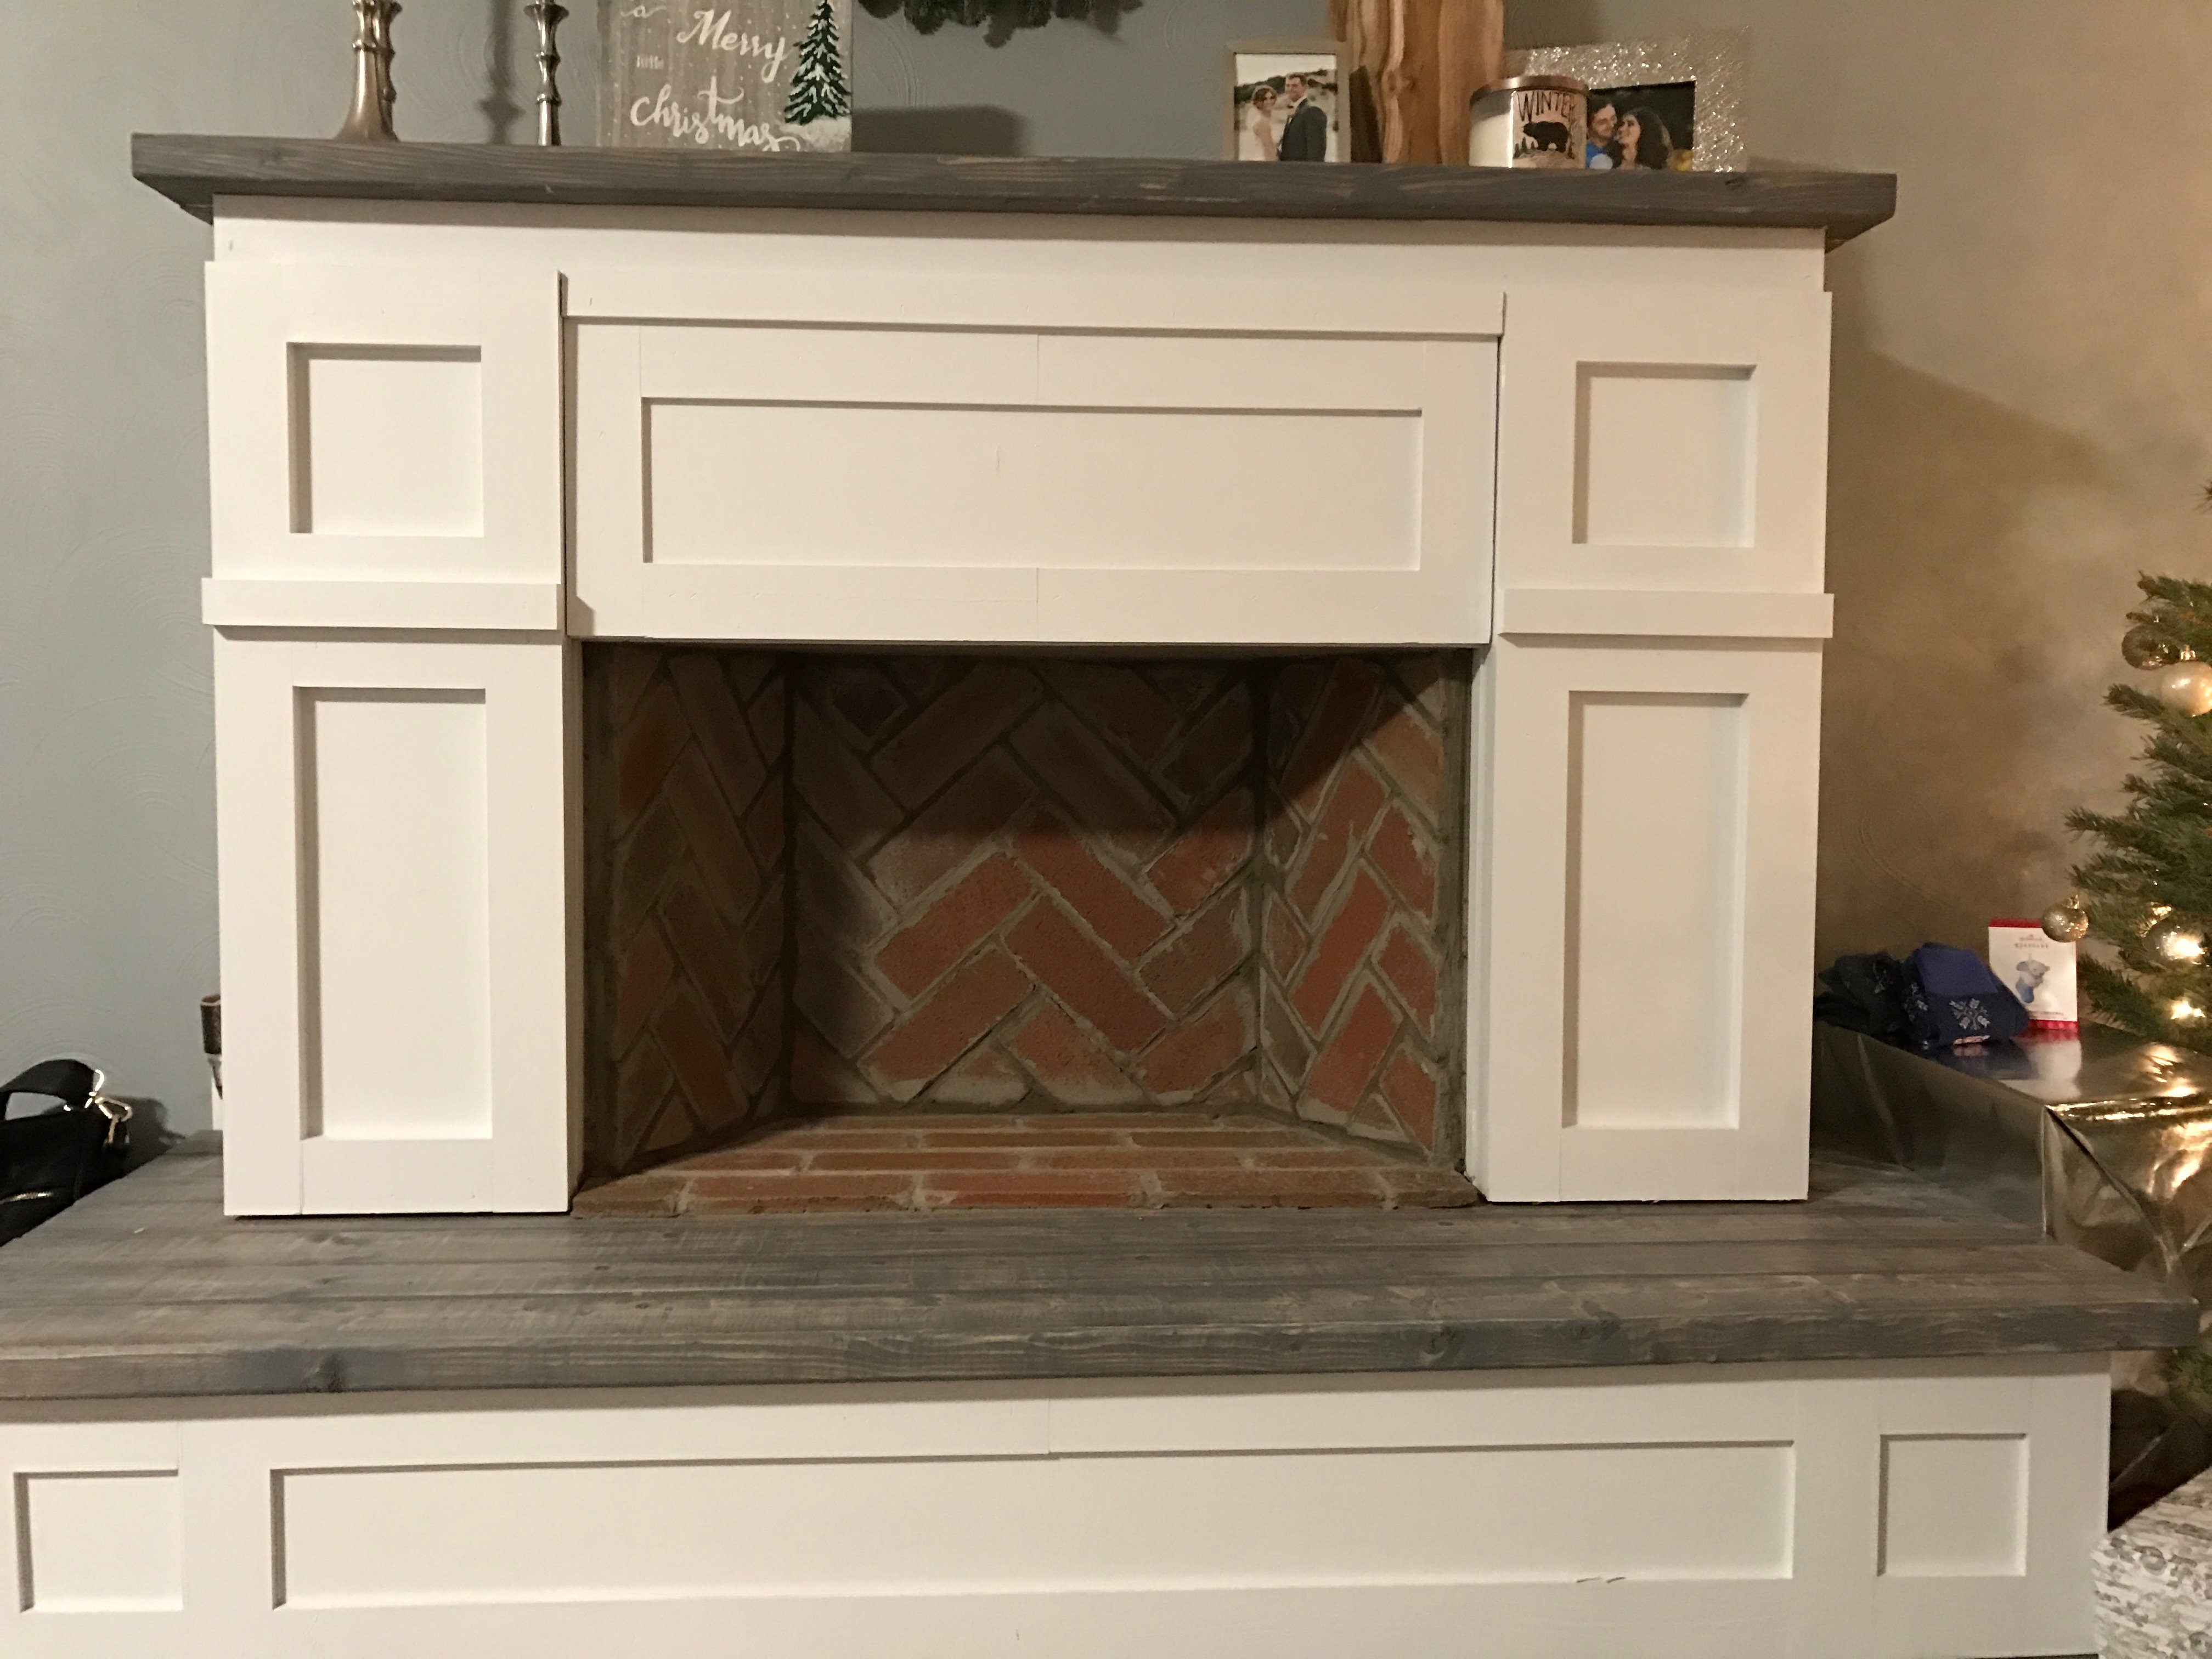
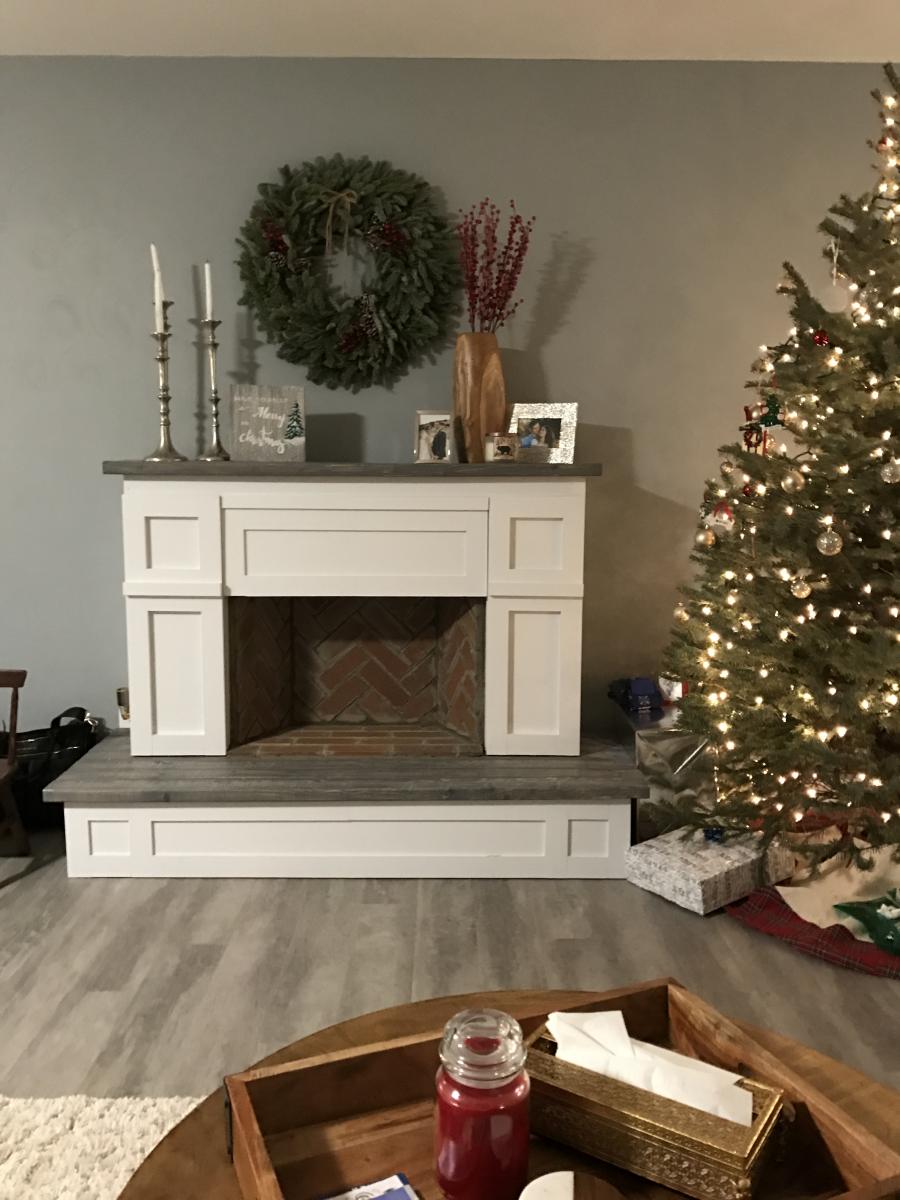
We made some modifications by adding a hearth for additional height (the room we have it in is very large and open) and joining 2x4s for the mantel and base which I stained grey for contrast. We decided to use thin brick for in the "firebox" to make it look more realistic. We also have a newborn and spent over two months putting it together a little at a time in our free moments so I'm not sure how long it would actually take to do at once, but cutting and putting up the brick was very time consuming.
Thu, 08/27/2020 - 11:16
This looks great! I'm actually in the middle of this build with the hearth as well. Couple questions....
How did you connect the two pieces? Also, did you connect to the wall? I'm assuming you didn't leave the 5 1/2 inch gap on the bottom of the fireplace and connected direct to the hearth. Let me know, thanks!
Mon, 10/26/2020 - 06:55
Absolutely beautiful and what i have been searching for!! Can you send me the plans for this?
Sat, 11/14/2020 - 21:06
Did you receive the plans? If so, can you please share!
Sat, 11/14/2020 - 21:06
Do you have the plans for creating this fireplace with a hearth? Would love to build over thanksgiving break!
Sat, 11/21/2020 - 21:16
Very nice fireplace would you happen to have the plans for it?
Thu, 04/01/2021 - 21:27
Would it be possible to send the plans for this beautiful faux fireplace?
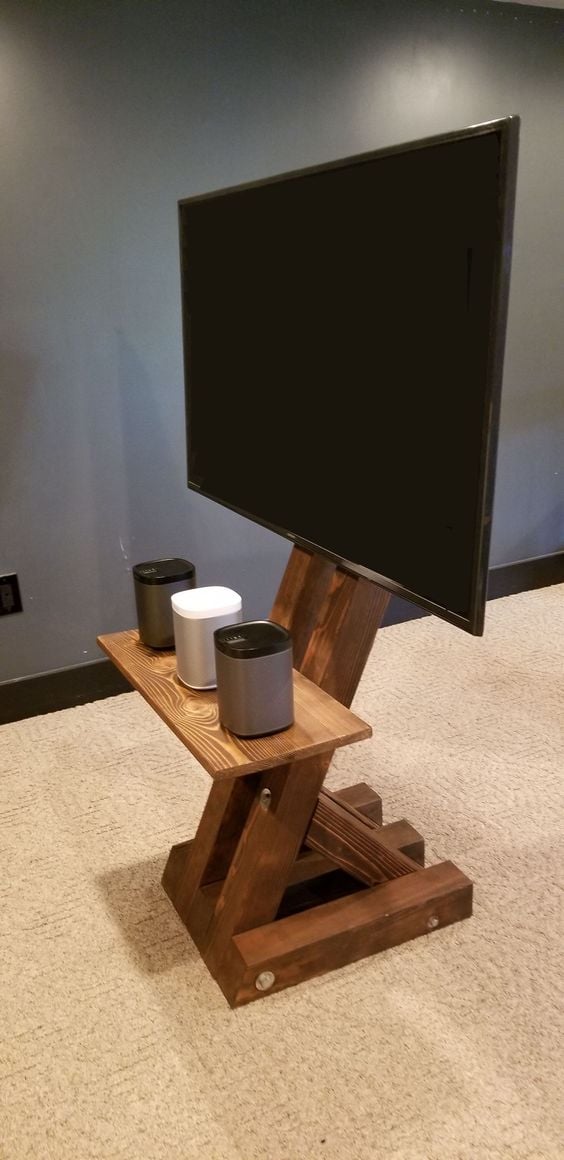
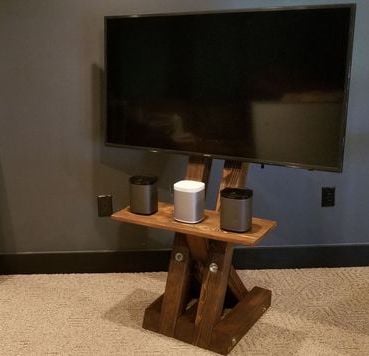
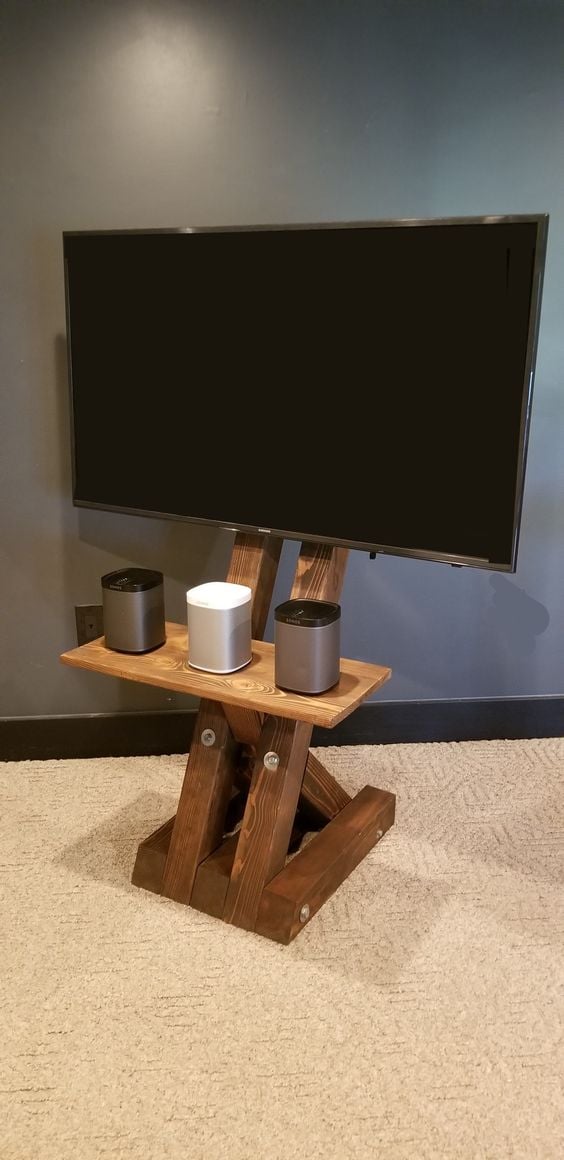
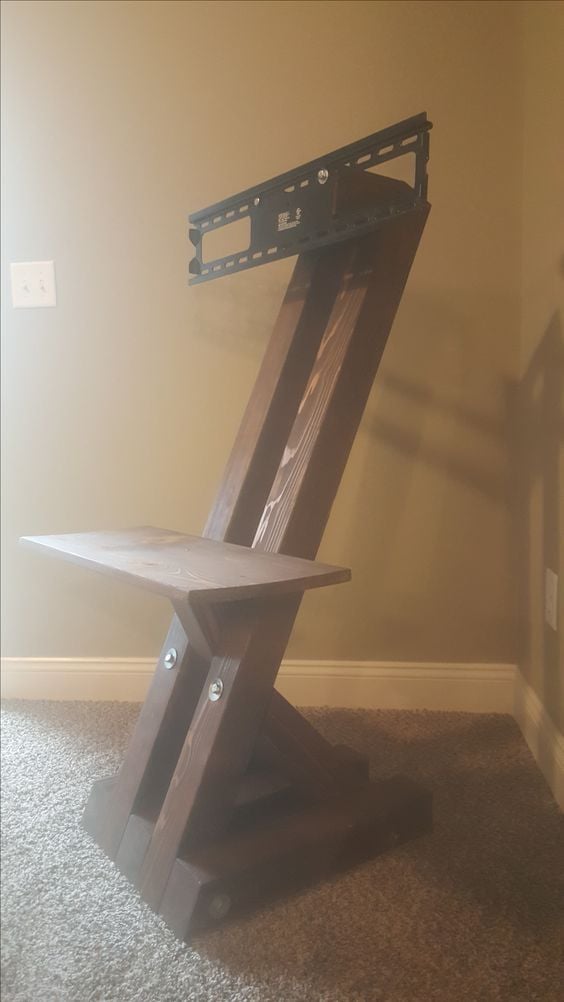
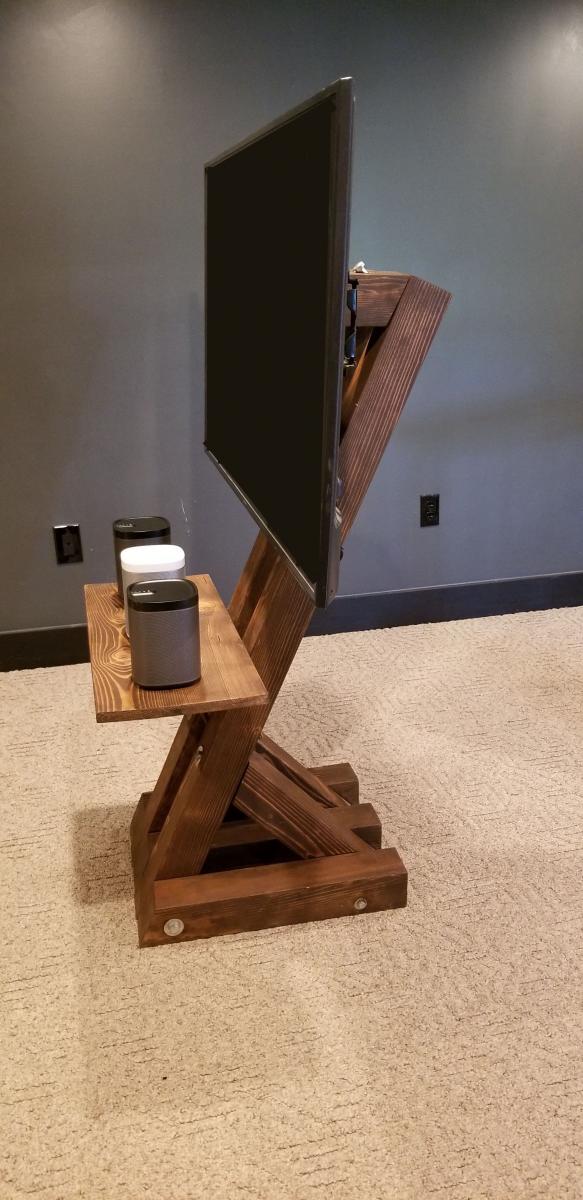
The Gíaffe Free Standing TV Mount. Handcrafted and engineered to use its center mass to deliver strength and balance for tv sizes 30-60". Display your television without detracting from your home's decor. The Gíaffe Free Standing TV Mount is the perfect solution and its rich finish will be perfect for any house/office room.
Wed, 03/11/2020 - 07:16
I absolutely love this!! Are there plans available?
Thank you for the plans! It came out great.

I slightly modified the Rustic X Desk plan to make my L shaped computer desk with a monitor platform! The desk surface is Shou Sugi Ban with an epoxy finish. All made from stock lumber and a lot of pocket hole screws. Thanks for posting your plan Ana to give me the idea! Construct for around $200.
Tue, 03/14/2023 - 18:34
Love your modifications, additions and finish! Thank you for sharing.
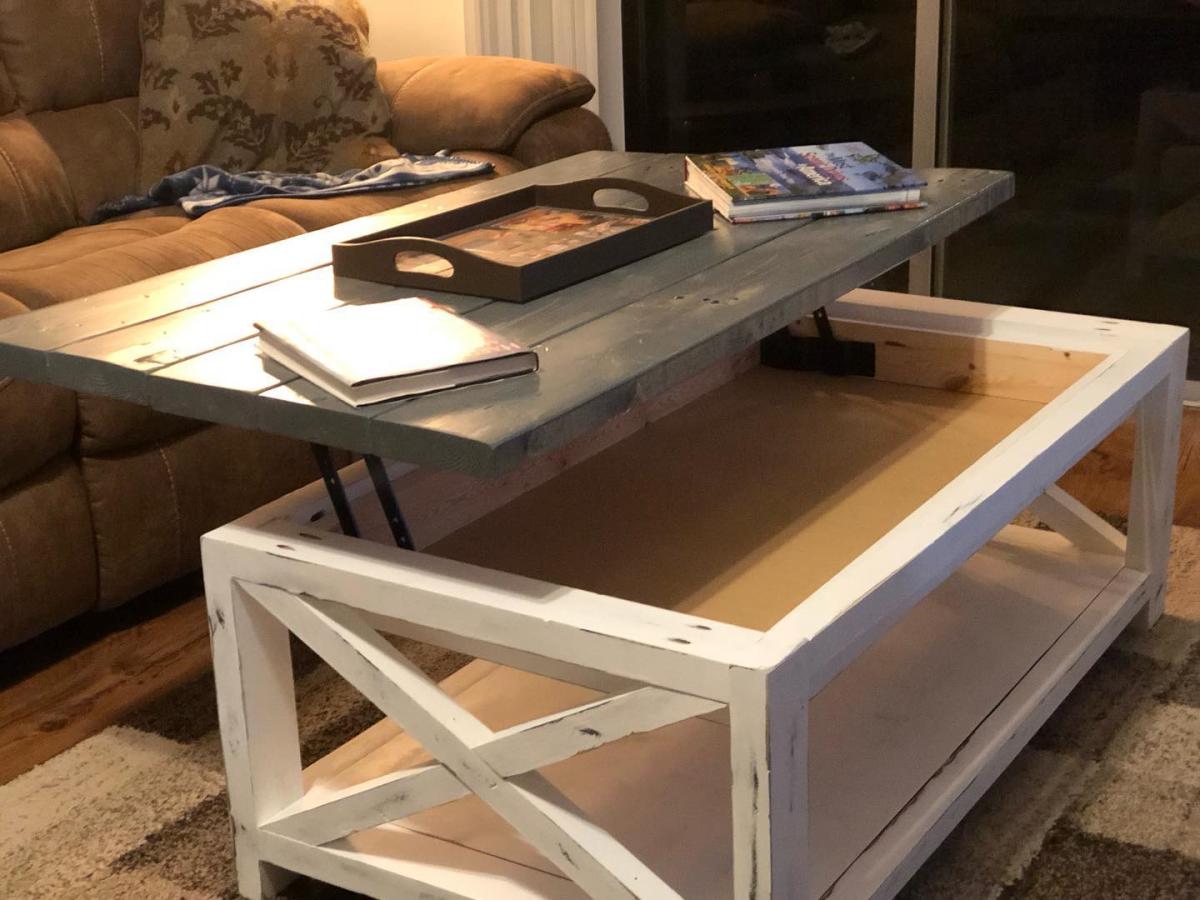
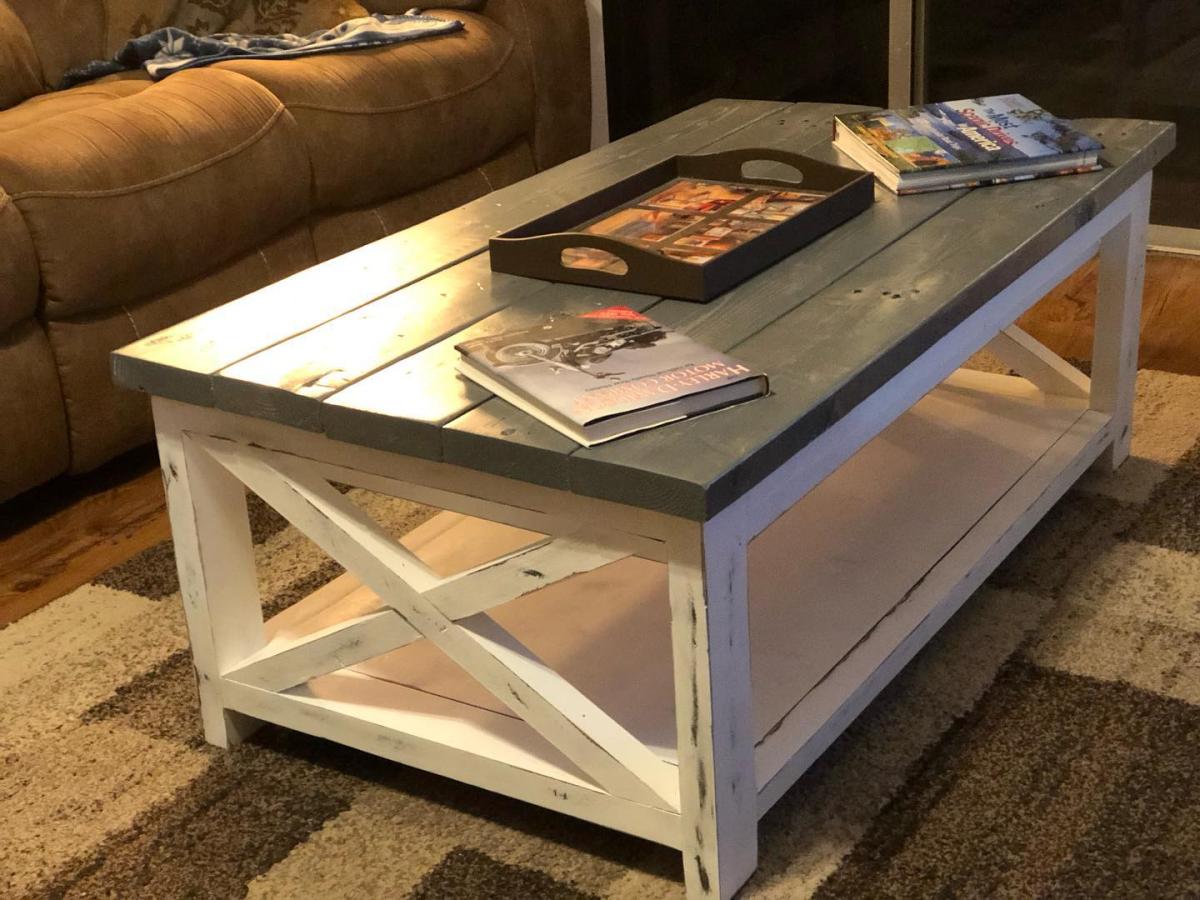
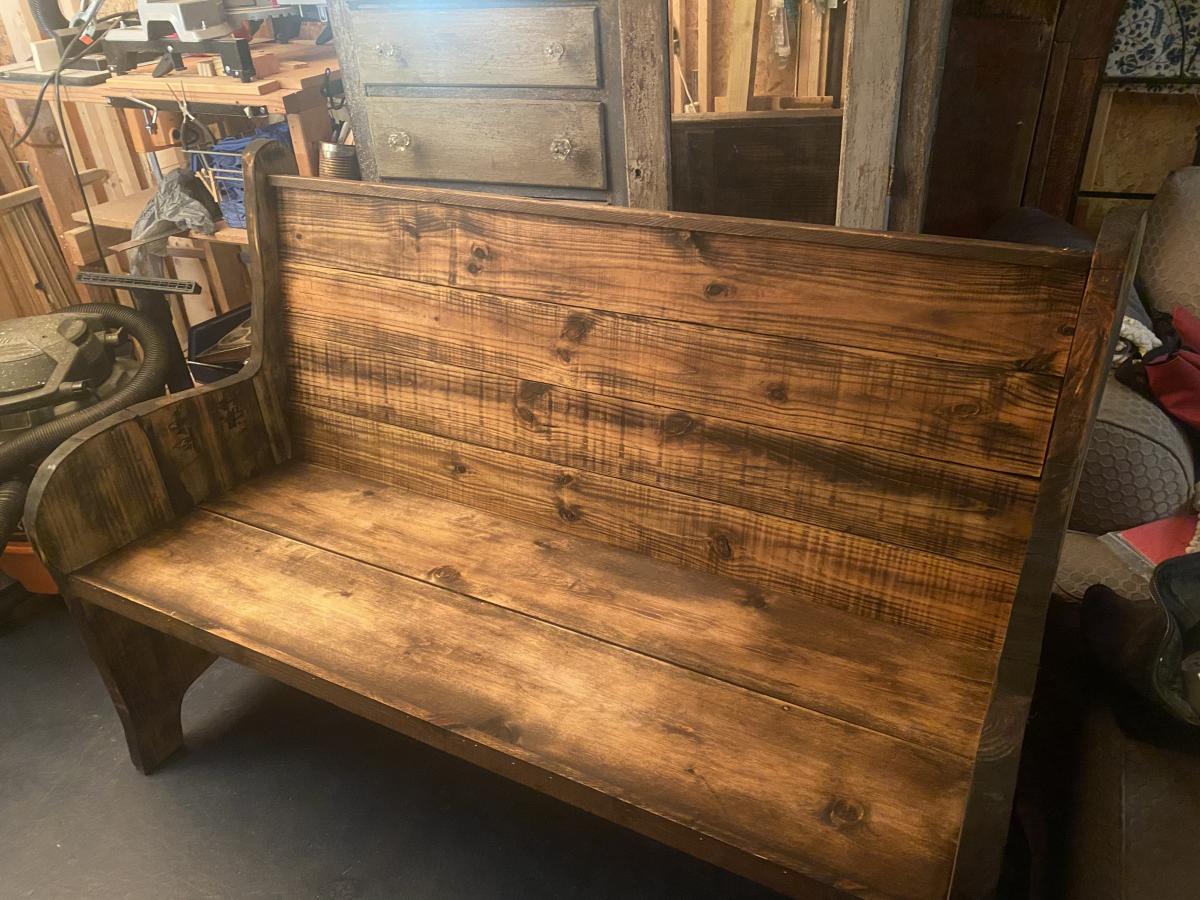
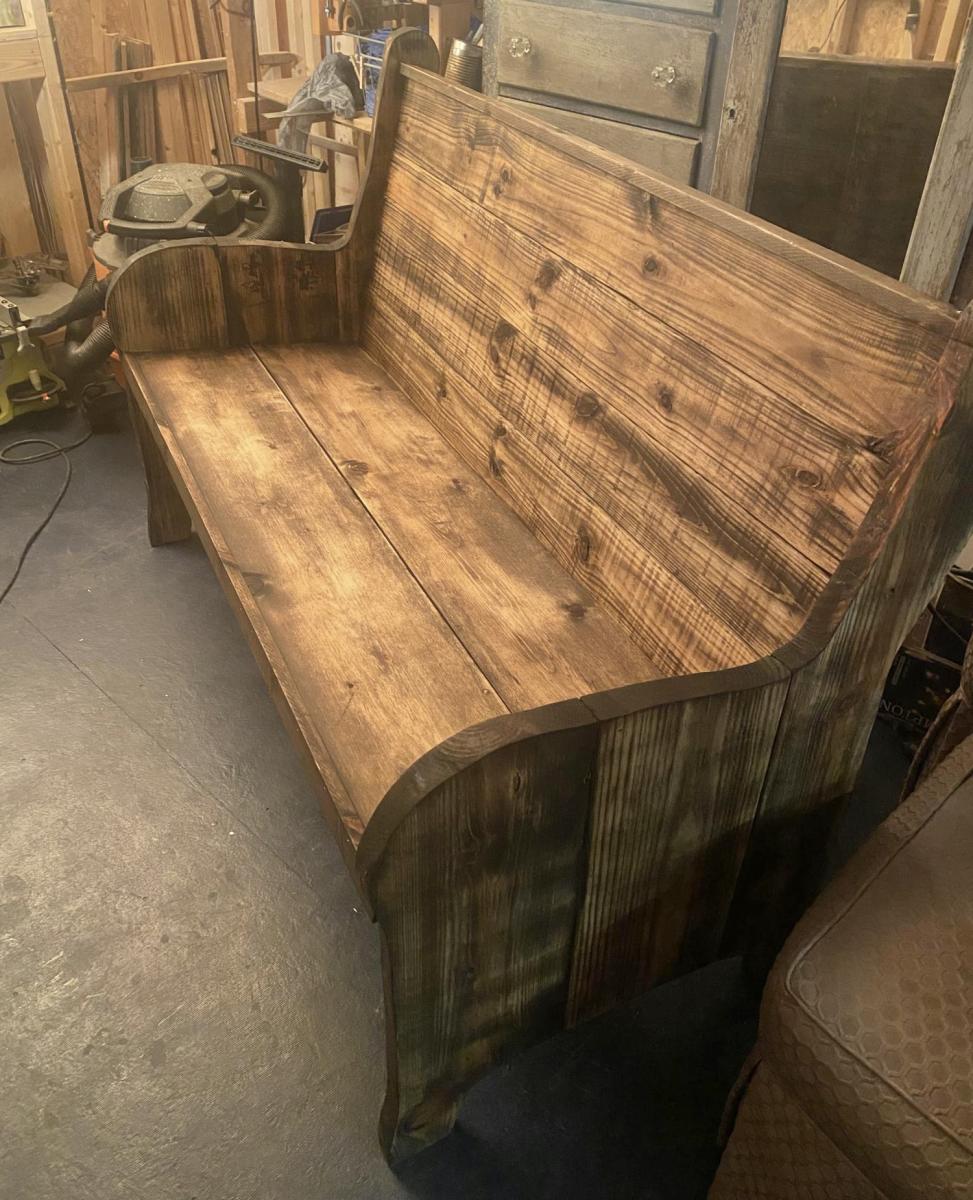
This project was made from reclaimed wood from my office where they had built a temporary safety railing out of 2x4s and 2x6s. I added a compartment for storage. The top is stained in a classic grey. I painted the body in black followed by white. I then sanded the body to allow the black to bleed through for a distressed look.