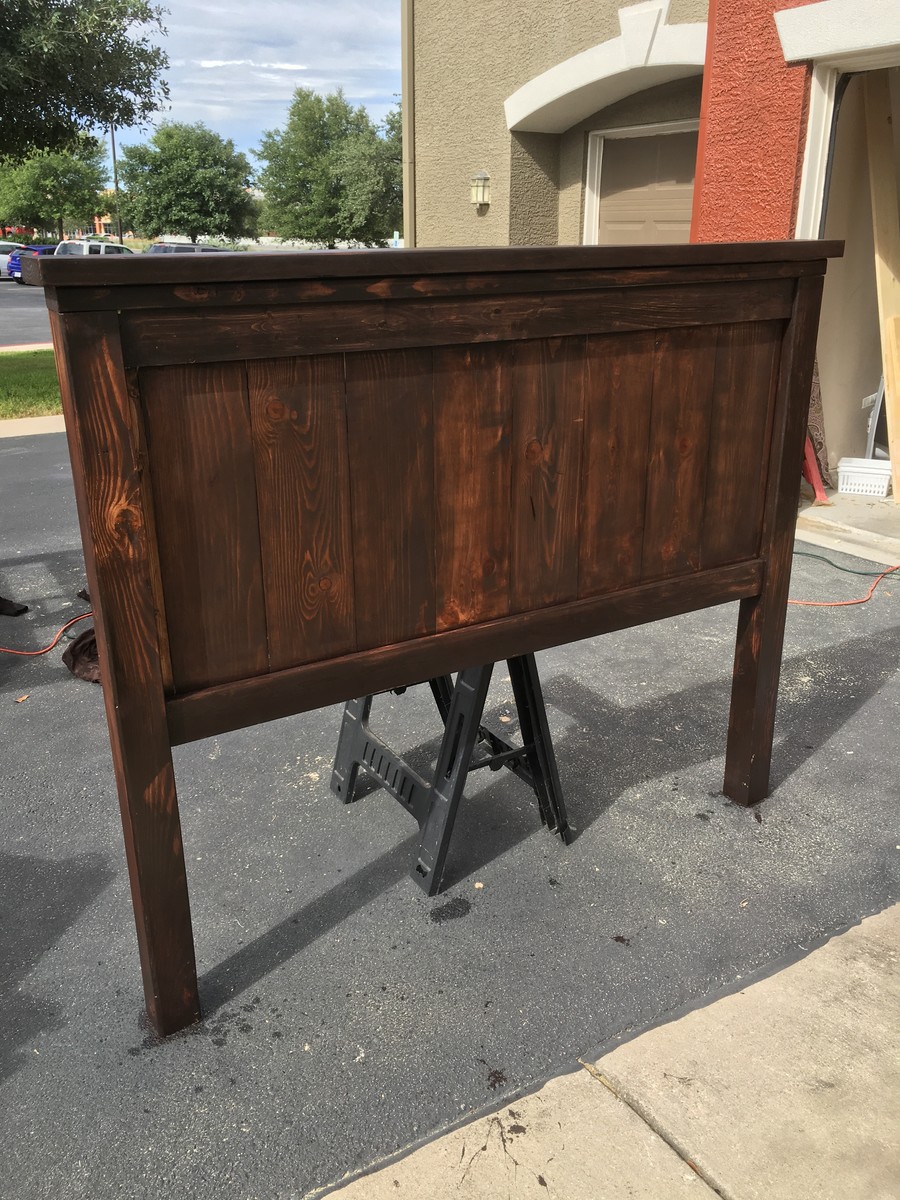
This is what got me started! PIANO BAR

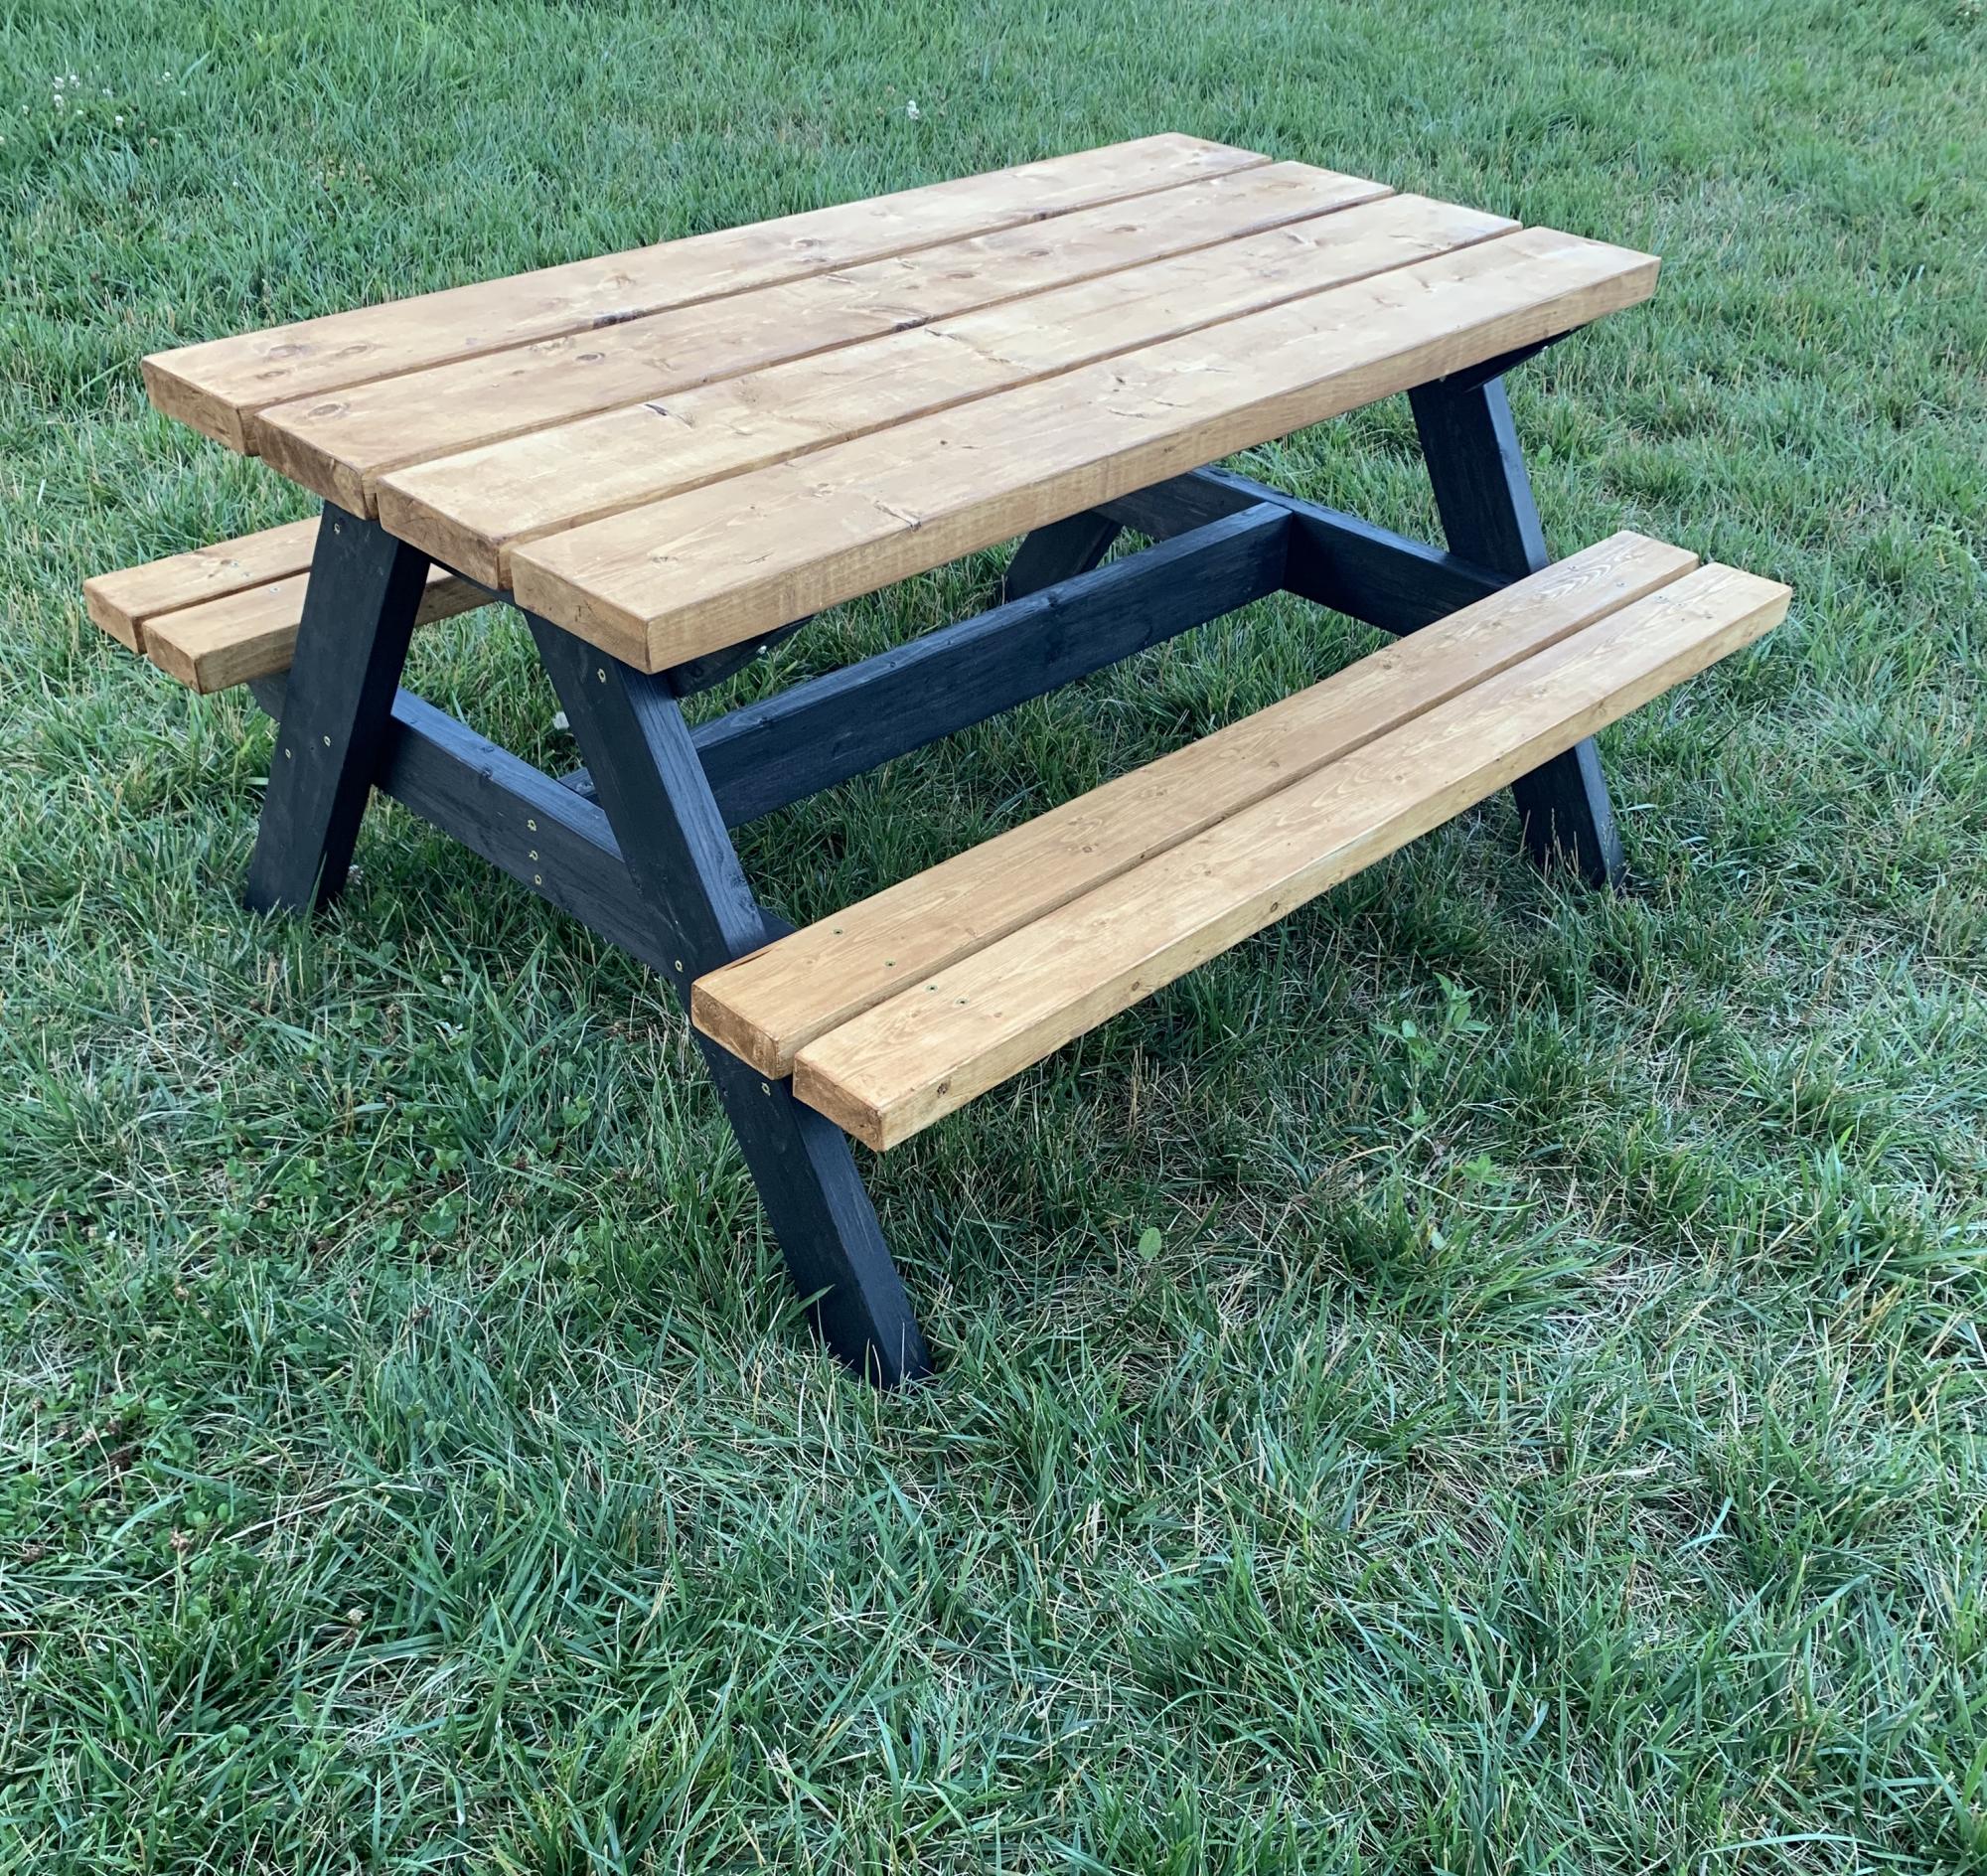
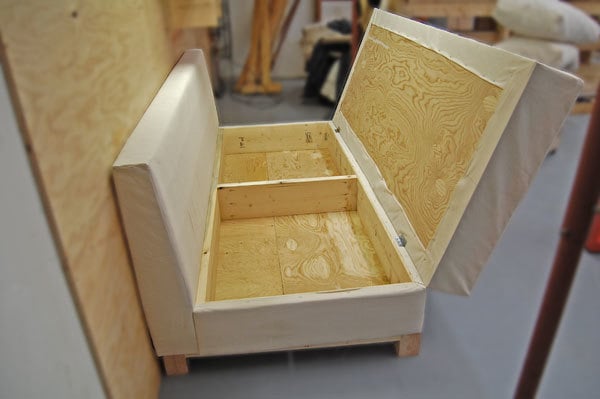
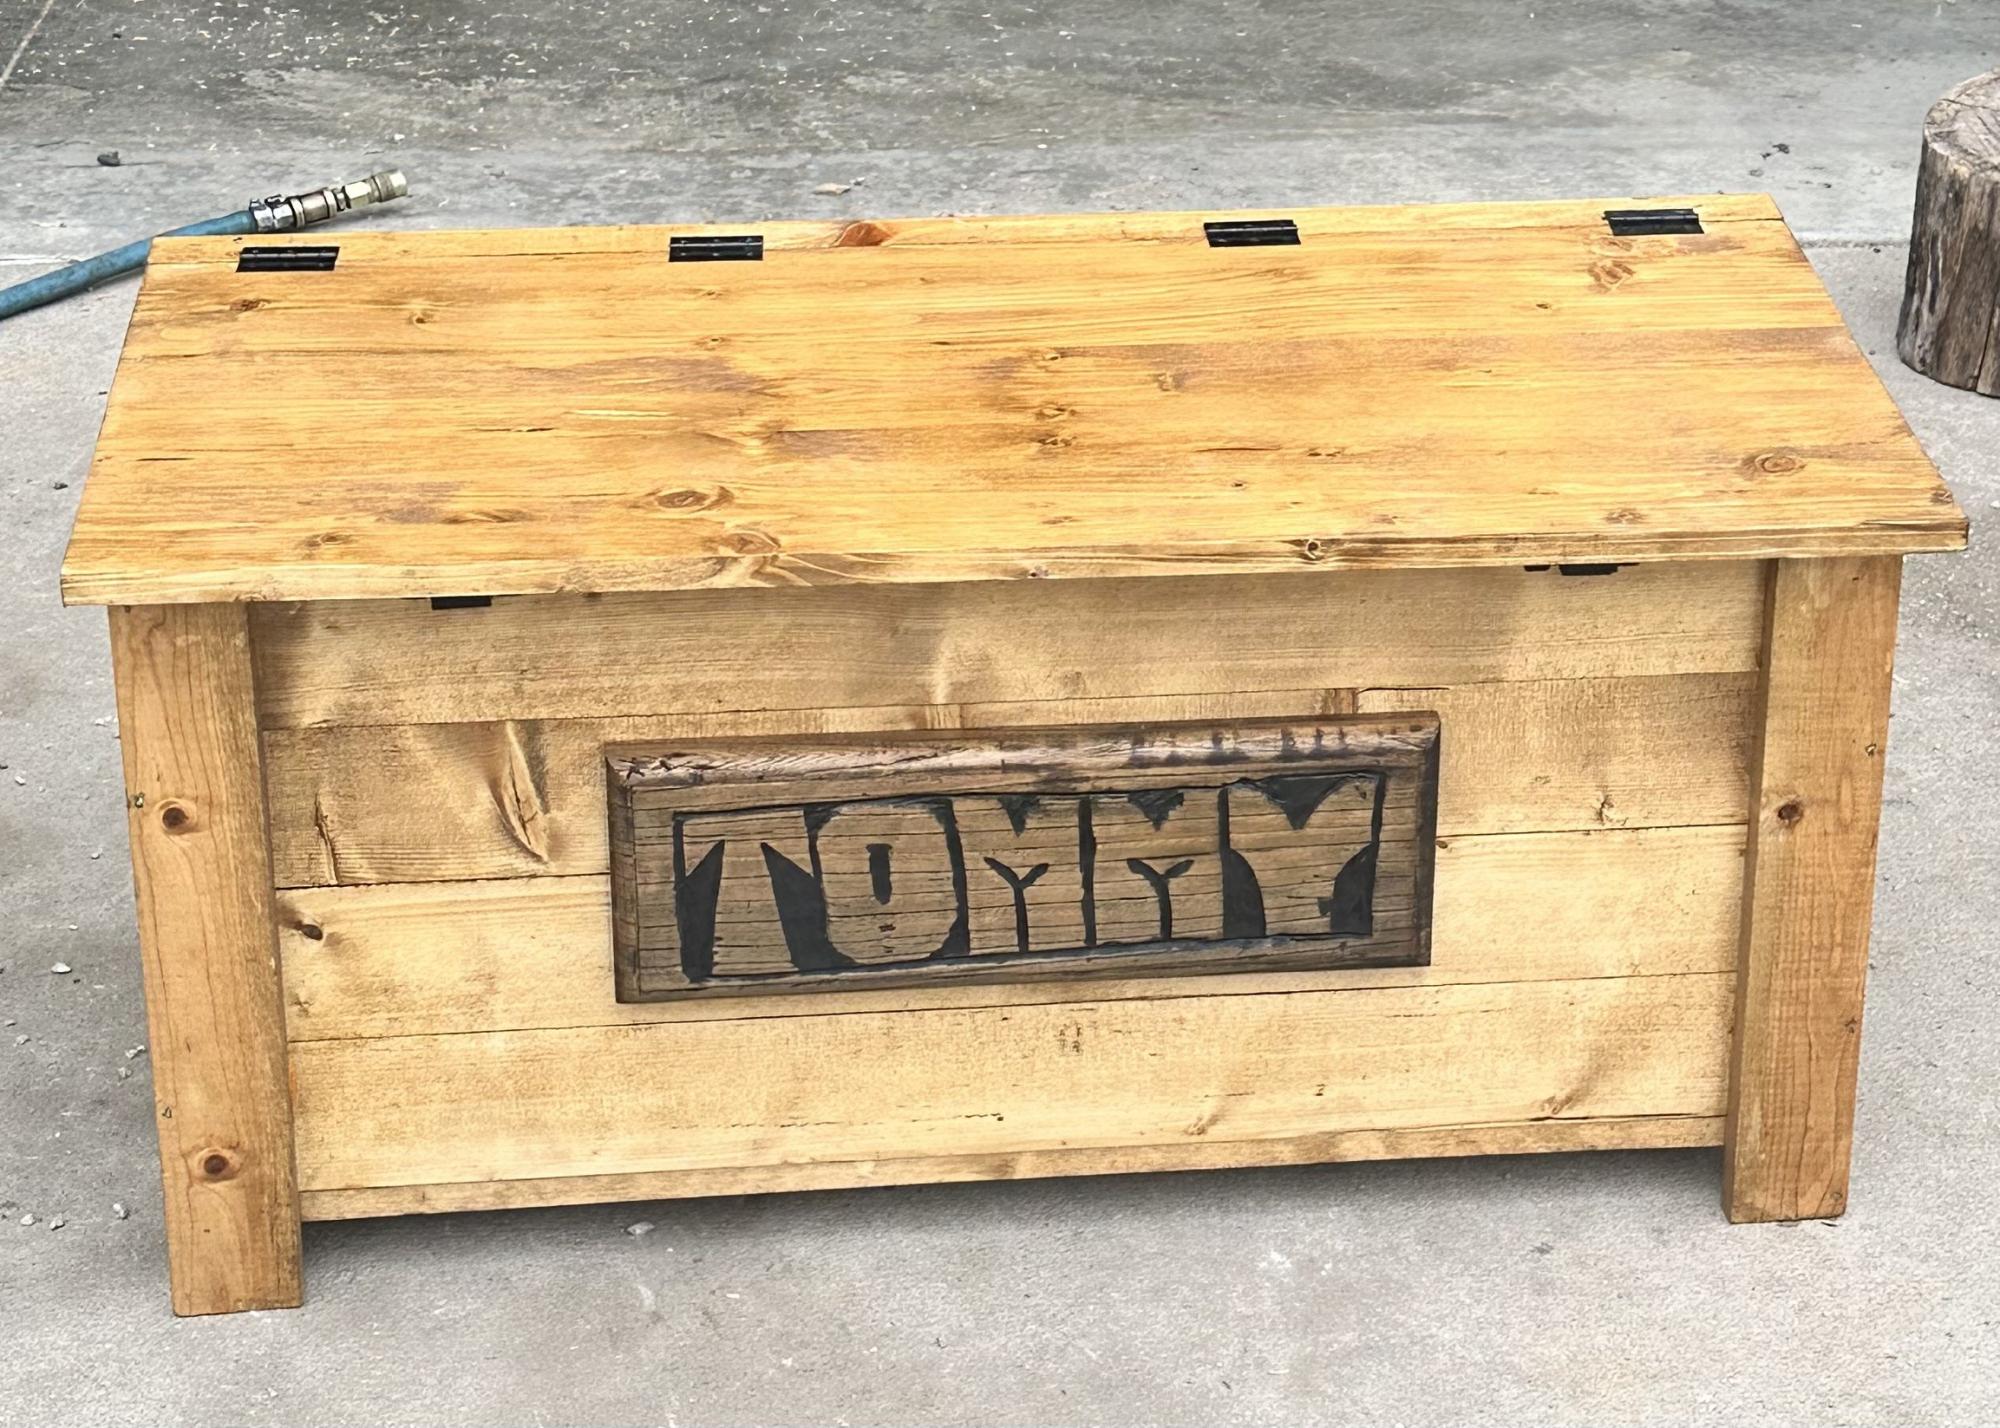
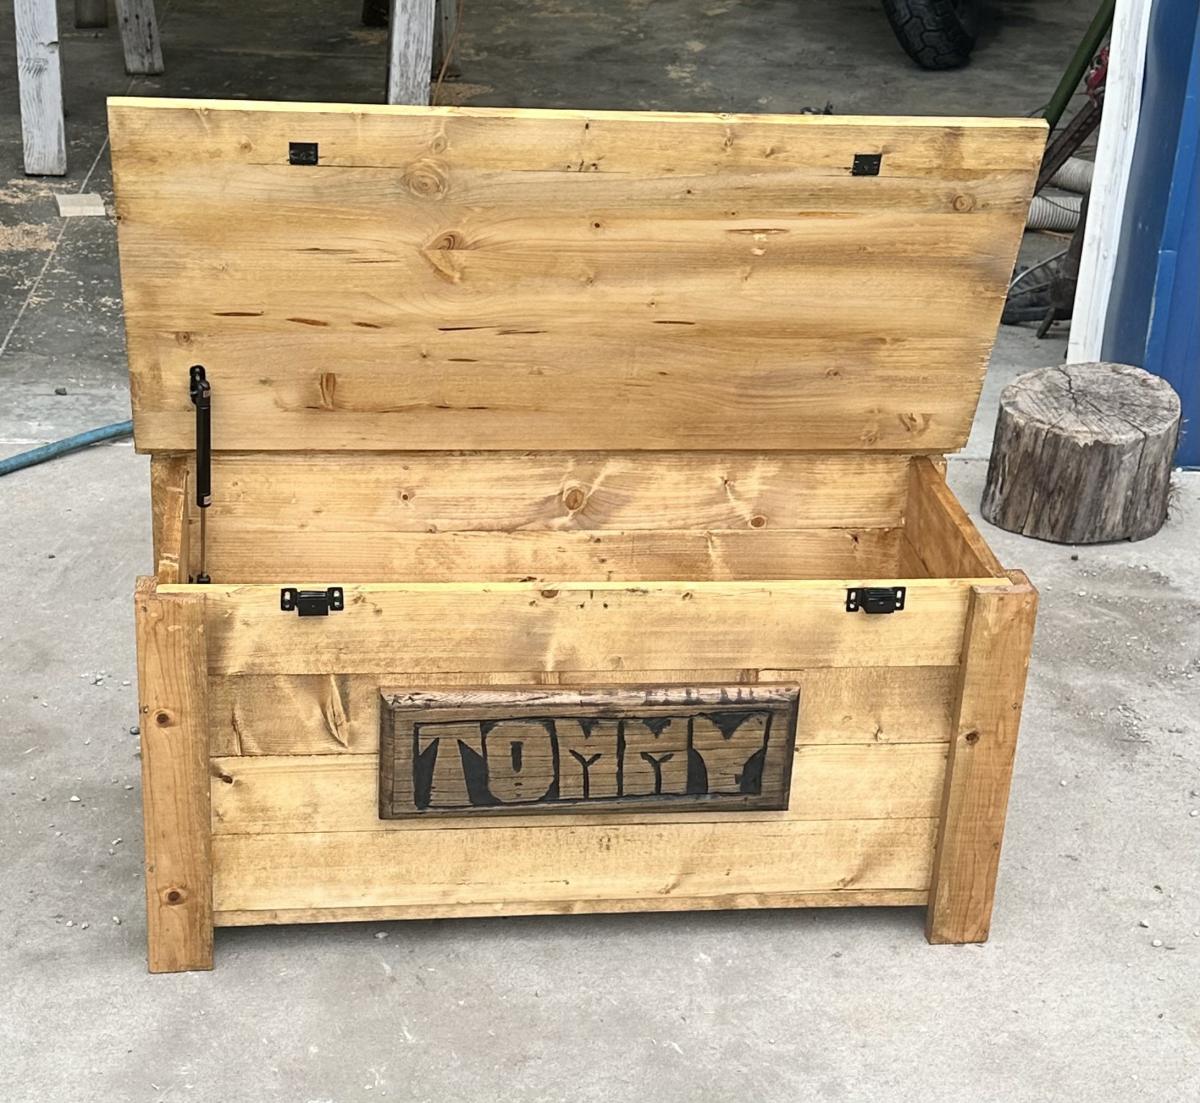
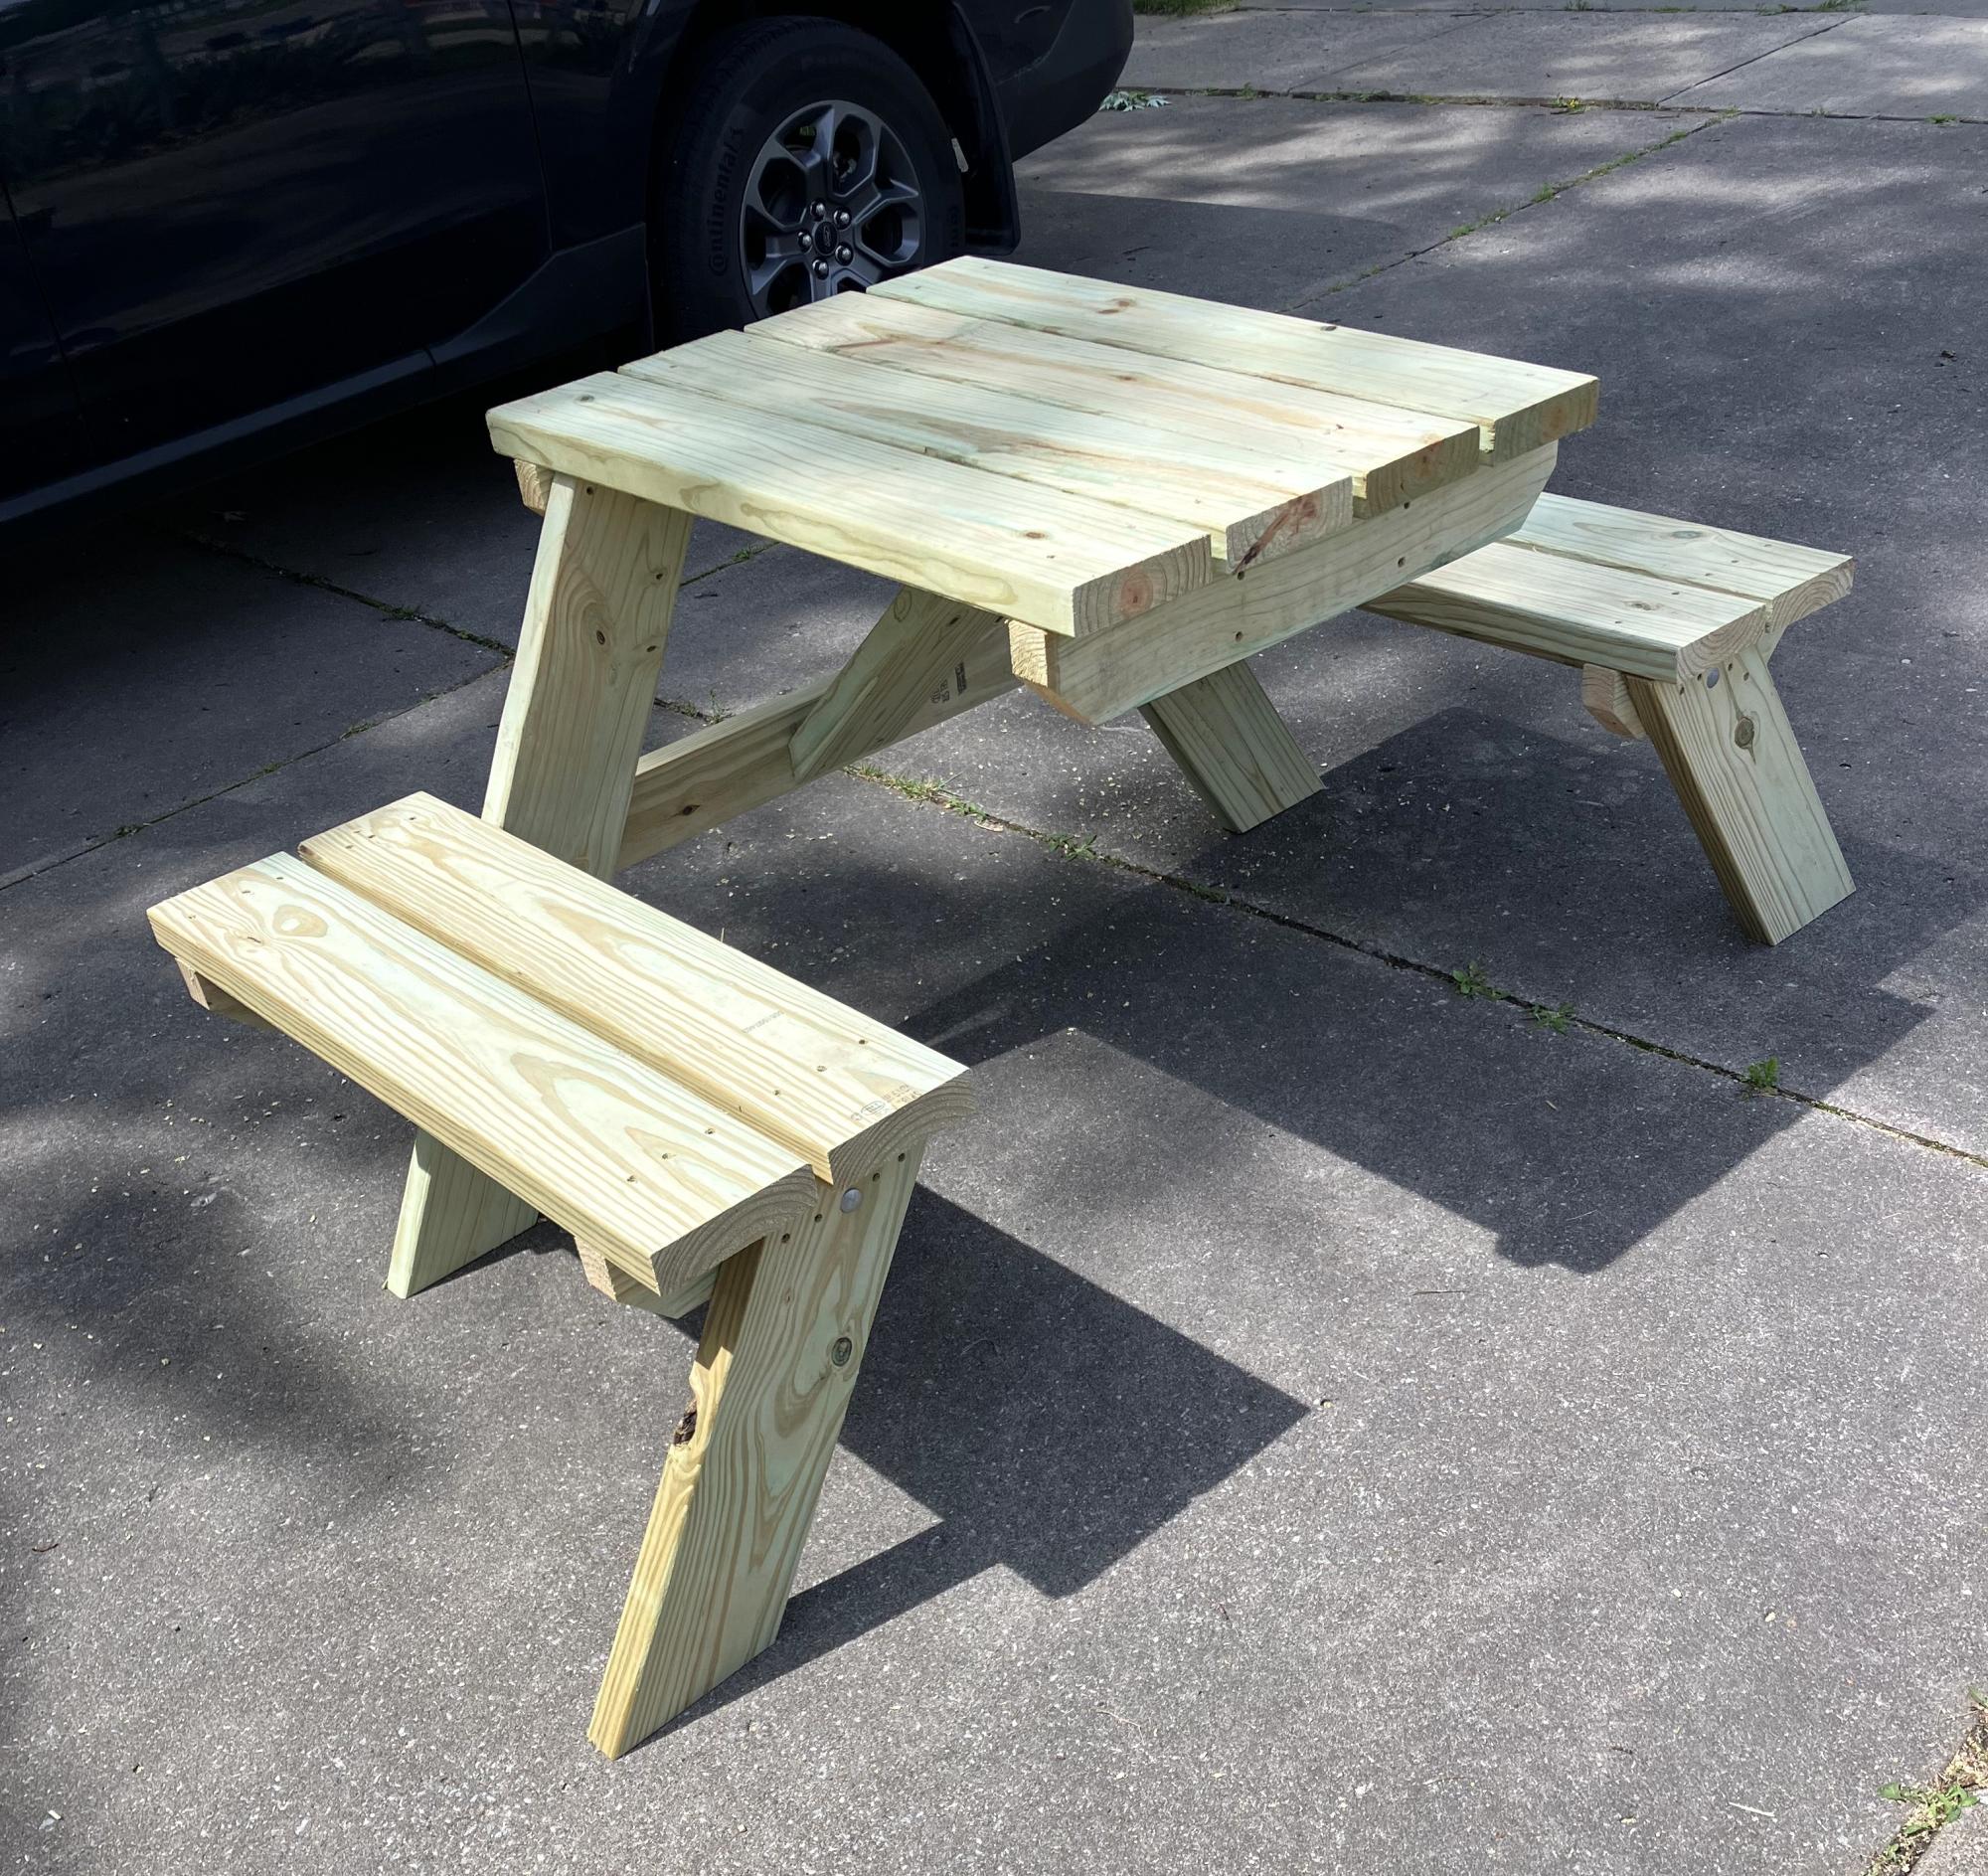
This is what got me started in woodworking. I started by repurposing different things. This is a piano that I repurposed into a bar. I have repurposed many items. Then I got the urge to build new items. I can't stop!!! I am totally addicted! I have built the sandboxes with the lids that fold into seats, (I adapted the plans to make a 5' by 5'), toys boxes, childs tables and chairs, lego tables, and the list goes on. I cannot stay out of my garage. But I am loving it.
Estimated Cost
100
Estimated Time Investment
Week Long Project (20 Hours or More)
Finish Used
behr black, polycrilic
Recommended Skill Level
Starter Project


Comments
Ana White
Thu, 10/06/2016 - 09:38
Very cool!
Very cool!