I have built several furniture pieces in my home several coming from you

I have done quite a bit of wood working never being great at any of them . But I truly love furniture building.


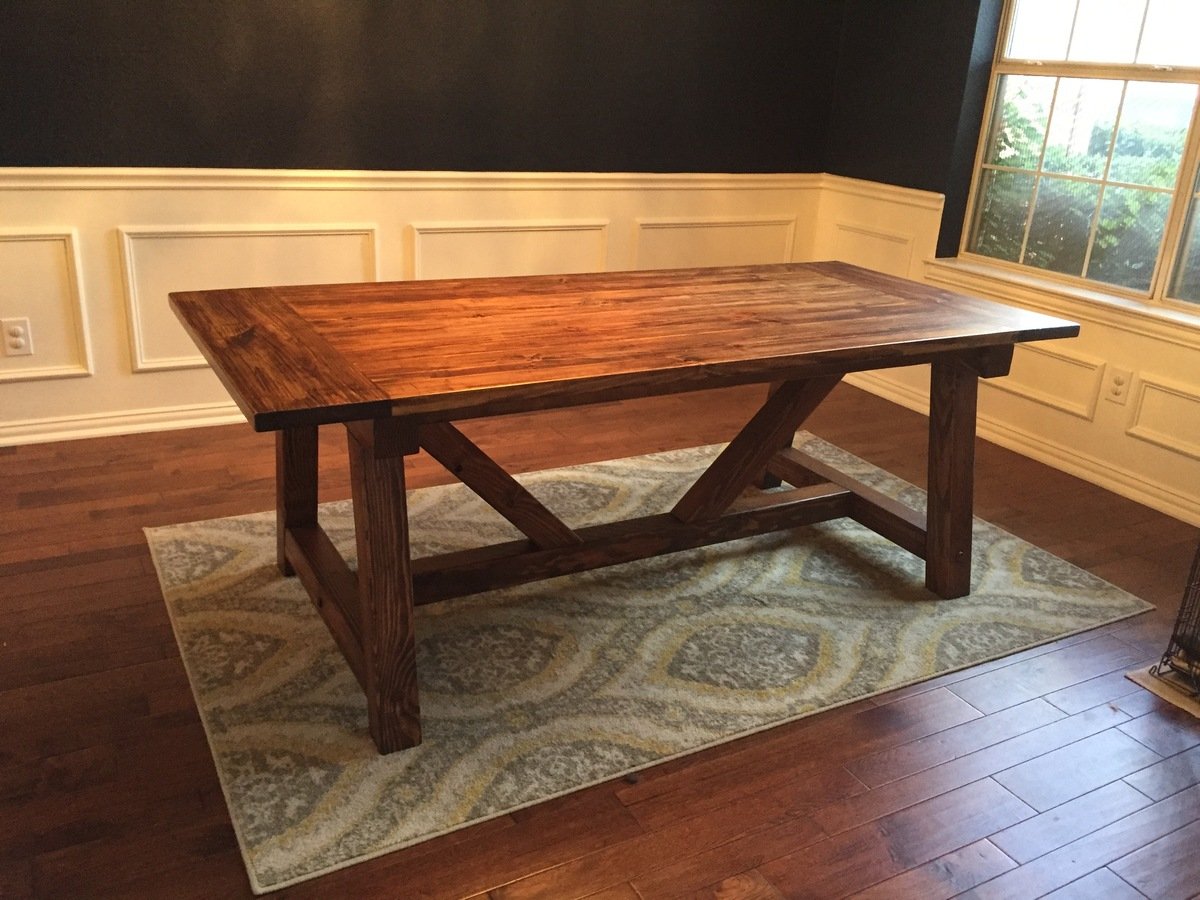
Built from Plan(s)
I have done quite a bit of wood working never being great at any of them . But I truly love furniture building.
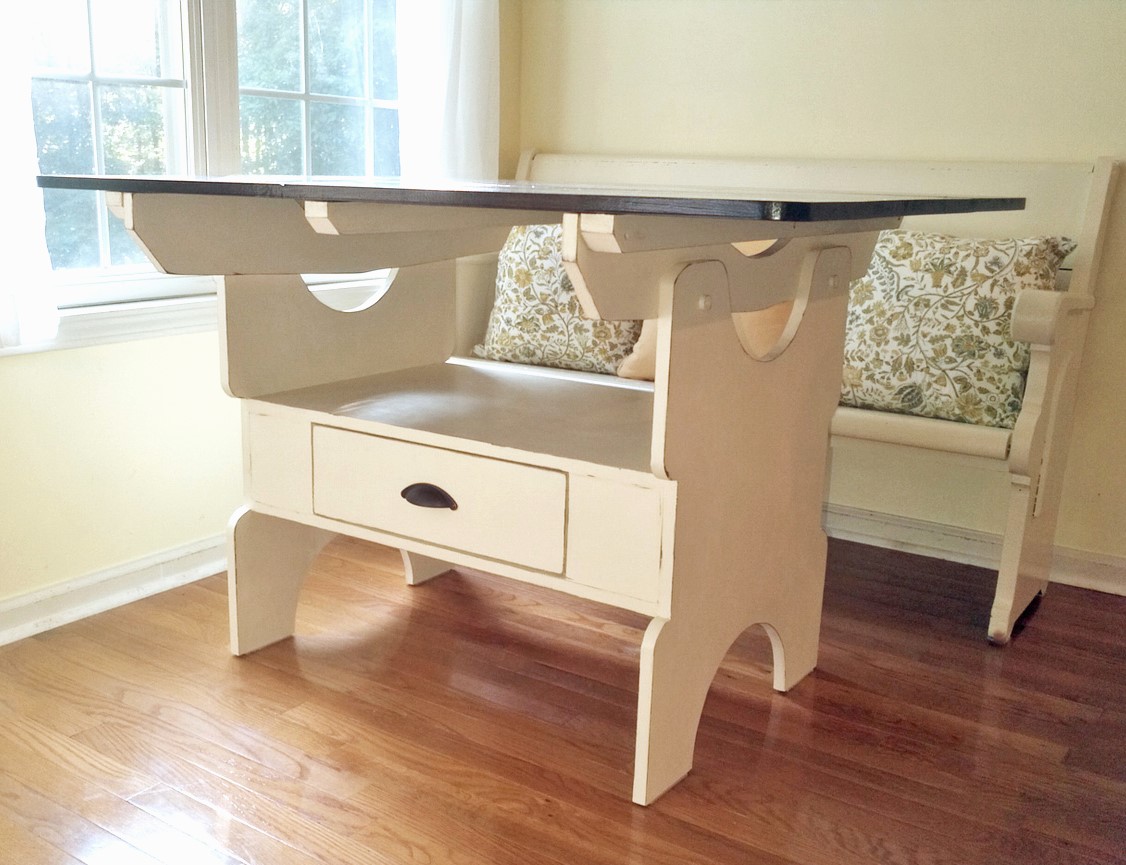
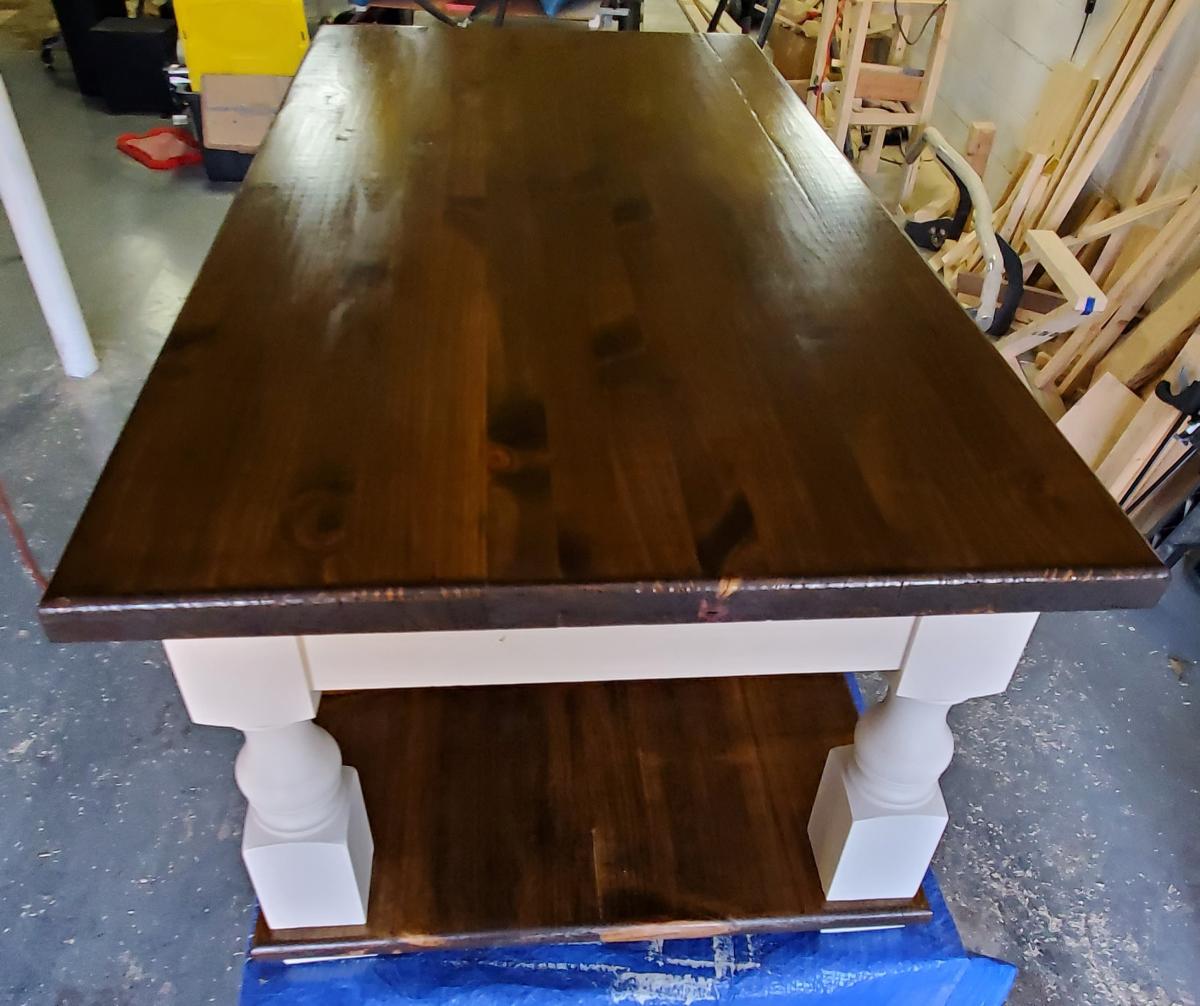
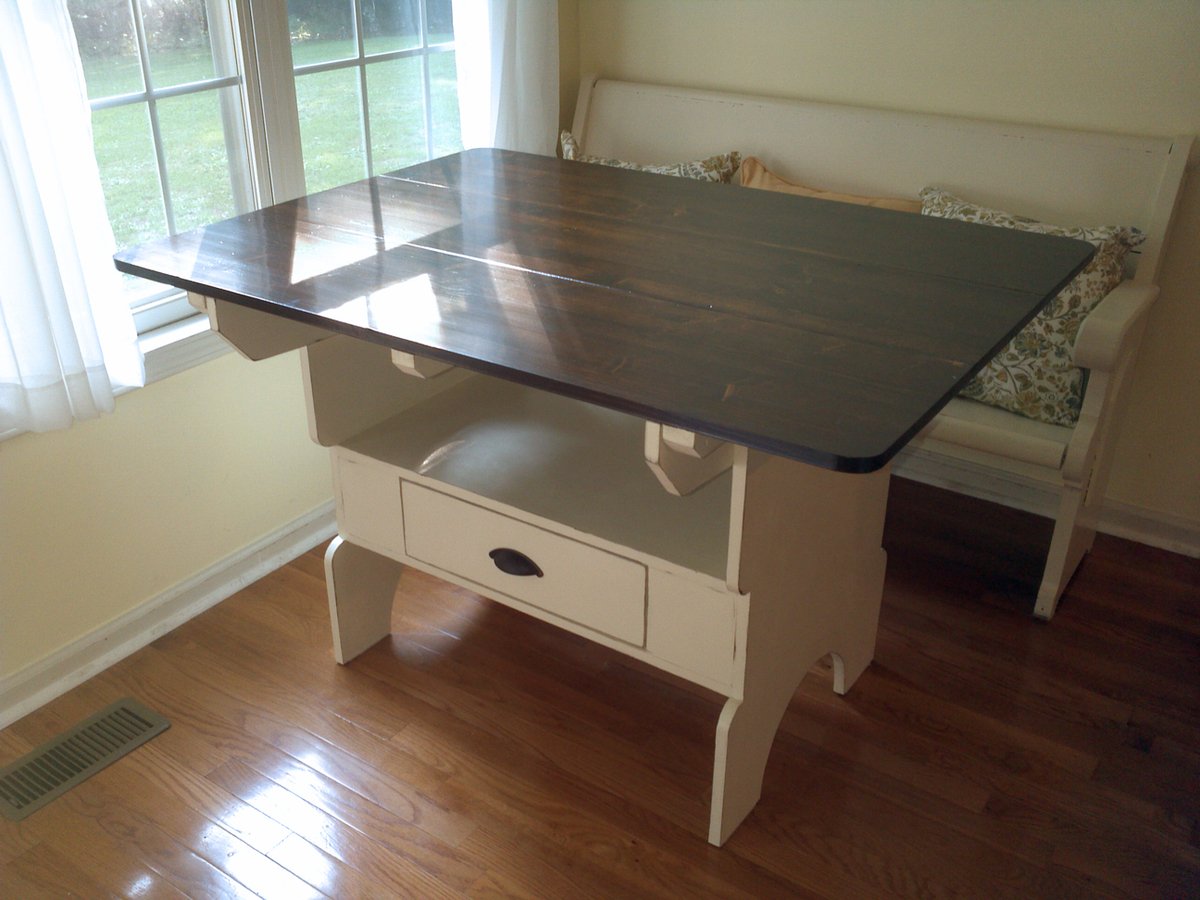
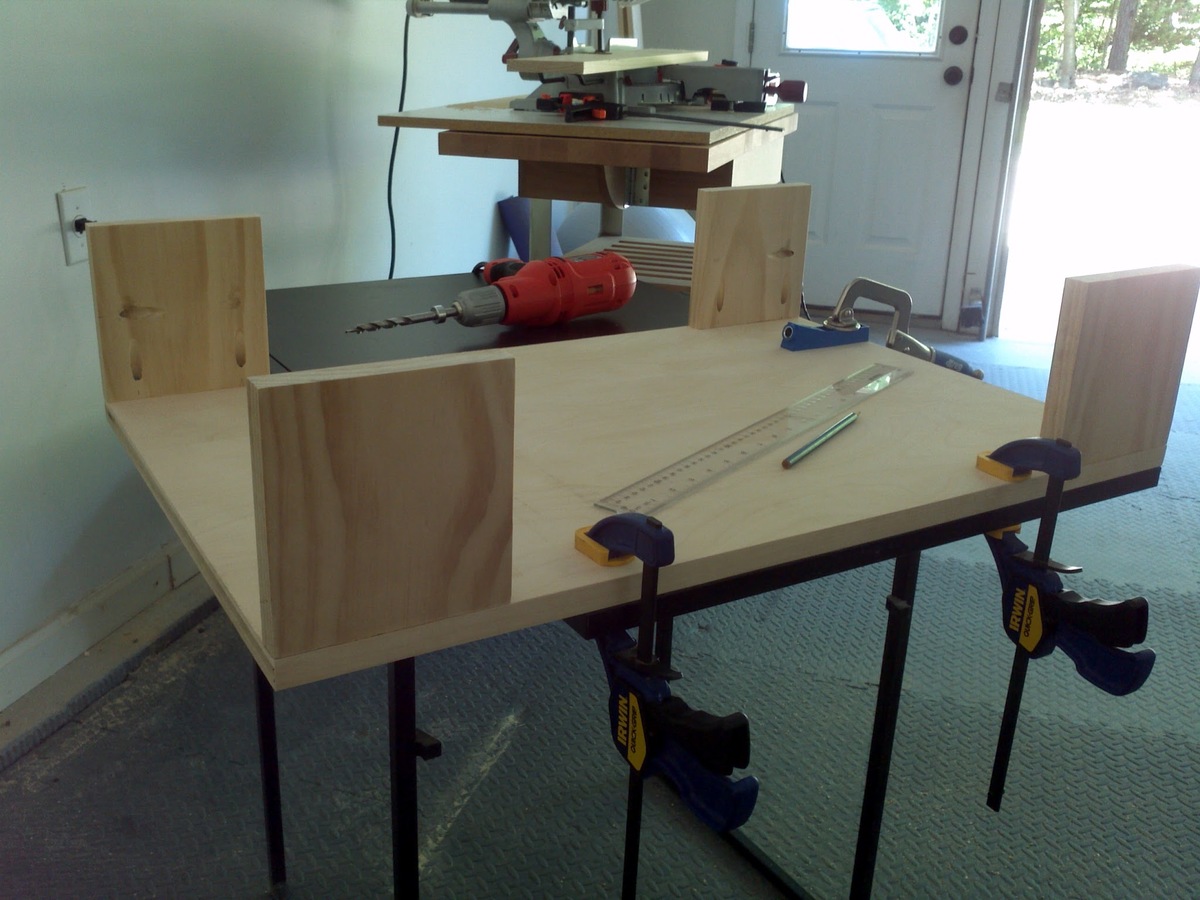
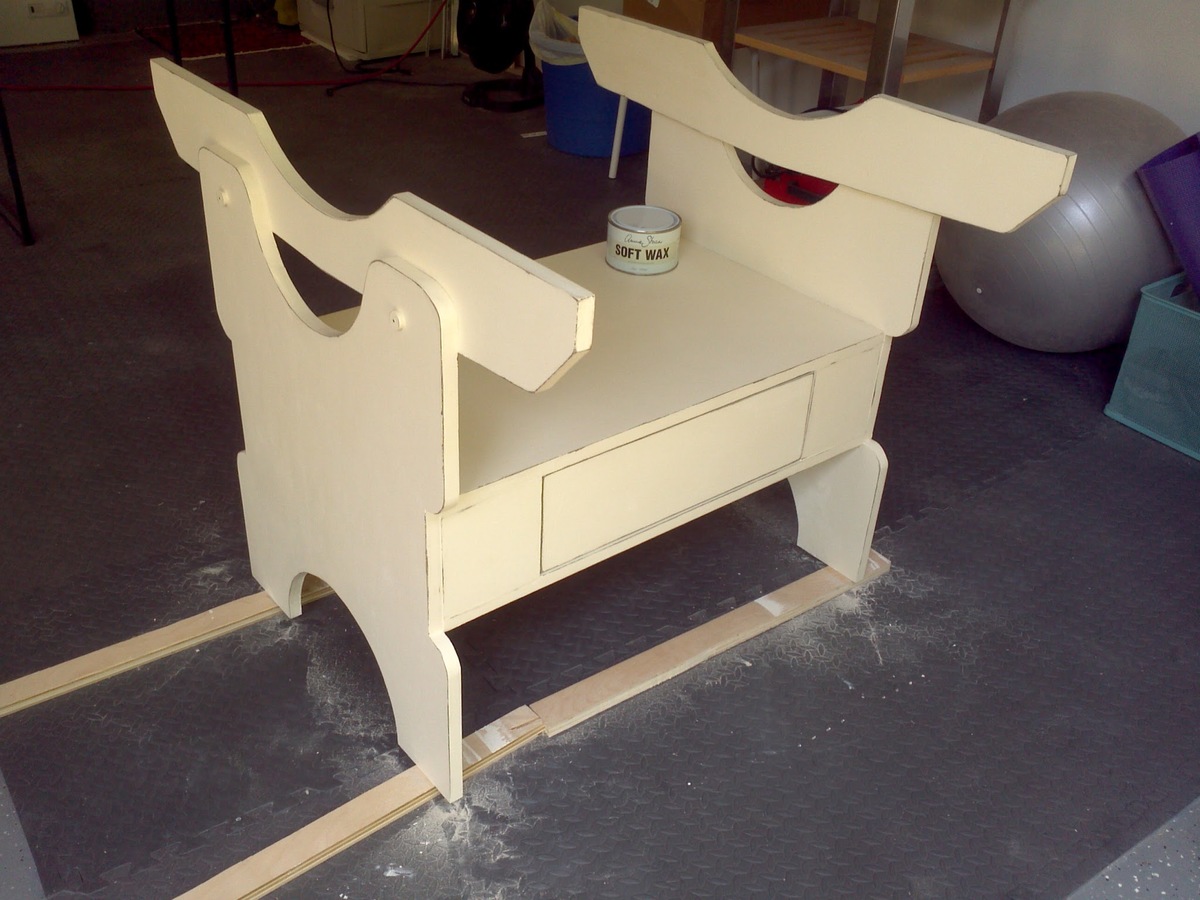
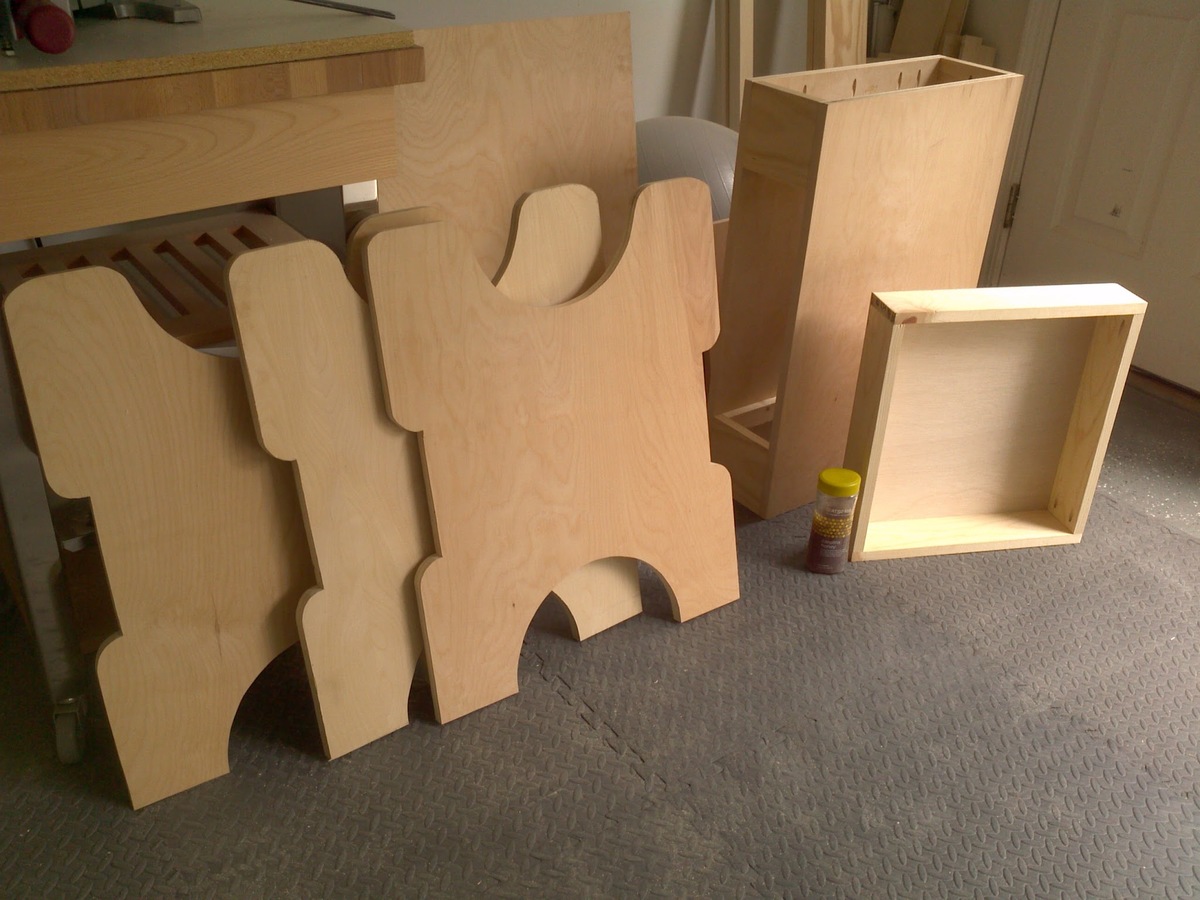
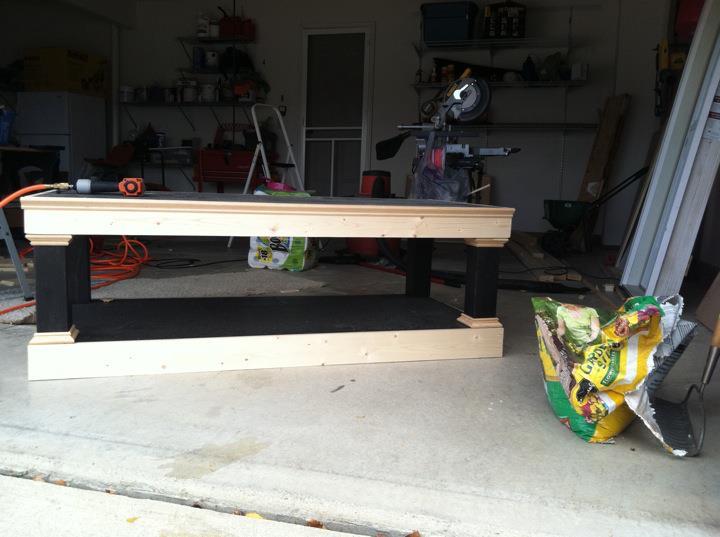
This wasn't my first DIY project but it was my build from this side and first real woodworking project and it's been the most satisfying to date. I made this table for Mother's Day for my mom who has been dreaming of the PB Cameron fixed trestle dining table but couldn't take the hefty price tag. Things I changed: - I added the "pegs" on the table ends to make it look more like the PB version. They are just 1/2" round wood plugs glued to the trestles. - I was going to add two more tabletop braces underneath (again to make it more like the PB version) but I cut one of them incorrectly so I just added on more in the middle. I'm turning the boo-boo lumber into a yarn swift; waste not. Things I learned: - If the wood is going to be stained and varnished, shell out for the *good* stuff. I had to put on way to many coats of polyurethane to make the cheapo pine boards smooth enough even after I had dampened it to raise the grain and sanded it. - Don't believe the stated length of the boards you buy. 36-inch boards are actually 36 inches and a bit. I ended up having to disassemble and re-cut my tabletop supports. - Practice with your jigsaw if you haven't made curved cuts before to see how tightly you can turn. Luckily I had extra ply to make another couple trestles after I botched the first two...


Sun, 05/20/2012 - 21:33
I've had to learn some of those things myself since I started building a year and a half ago. Sometimes it's frustrating and even costly, but when you learn it, you learn it and you never have to again. haha Unless you're really a gluten for punishment. ;-) Good job and thanks for sharing with us some of those lessons learned.
Mon, 05/21/2012 - 06:46
Thank you!
...and now I'm picturing someone with gluten intolerance being force-fed cupcakes as a form of punishment, haha.
In reply to Thank you! ...and now I'm by meggrs
Tue, 05/22/2012 - 14:55
ROFL - That was great, thanks, now I'm imagining it too.. HAHAHAHA

We had a big ugly frameless mirror in one of restrooms that builder had fitted as standard. Took it down and made this framed mirror instead.
Made from 4 by 1 with routed recess for mirror. Edges are 3 by 1s
Finished in Rustoleum Driftwood and two coats of Minwax Satin WIpe On Poly.
It is quite heavy so I fitted it to the wall with a French cleat made from two scraps of wood which also means it fits flush to the wall.
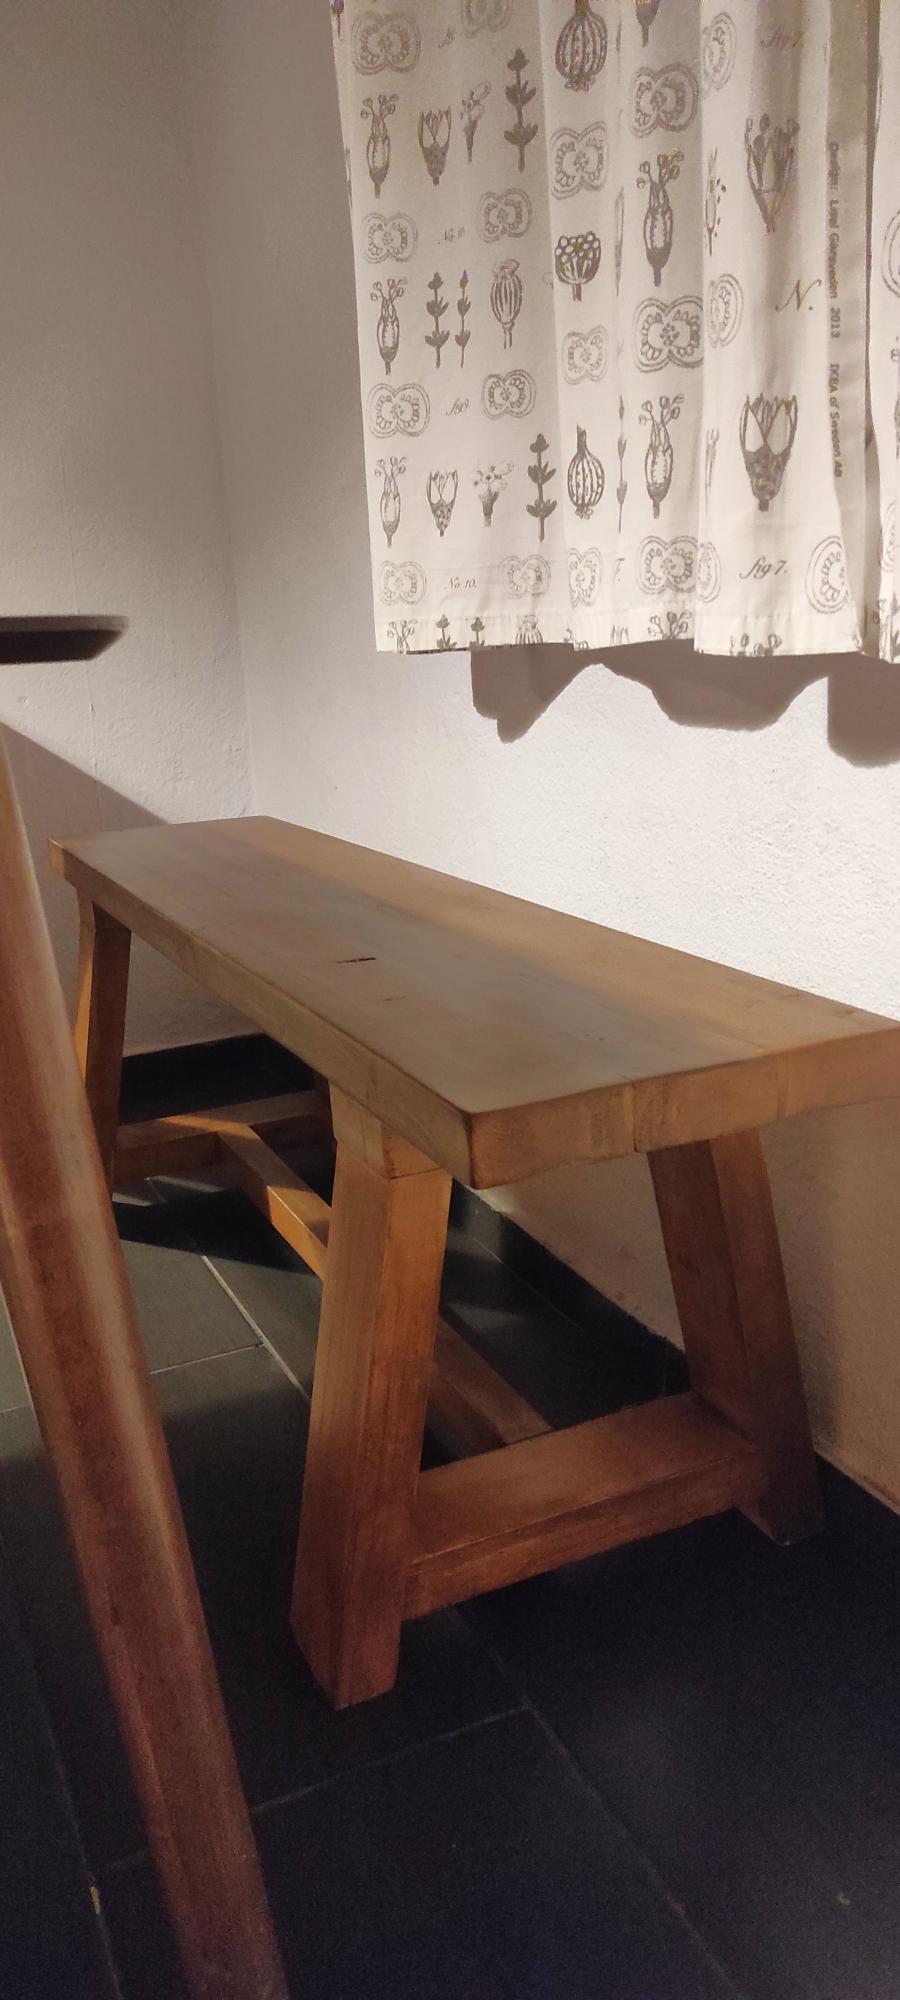
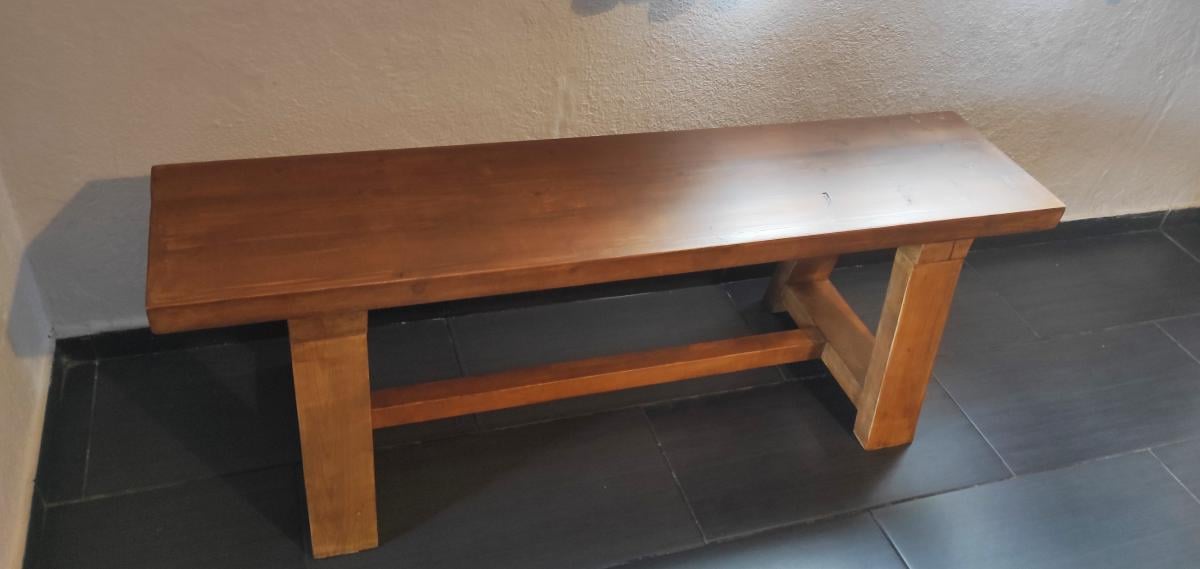
2x4 Truss bench with some alterations.
My first project completed with help of your plans.
Made from pine and painted using a walnut water based primer and varnish to try and match it to our existing table.
Catriona
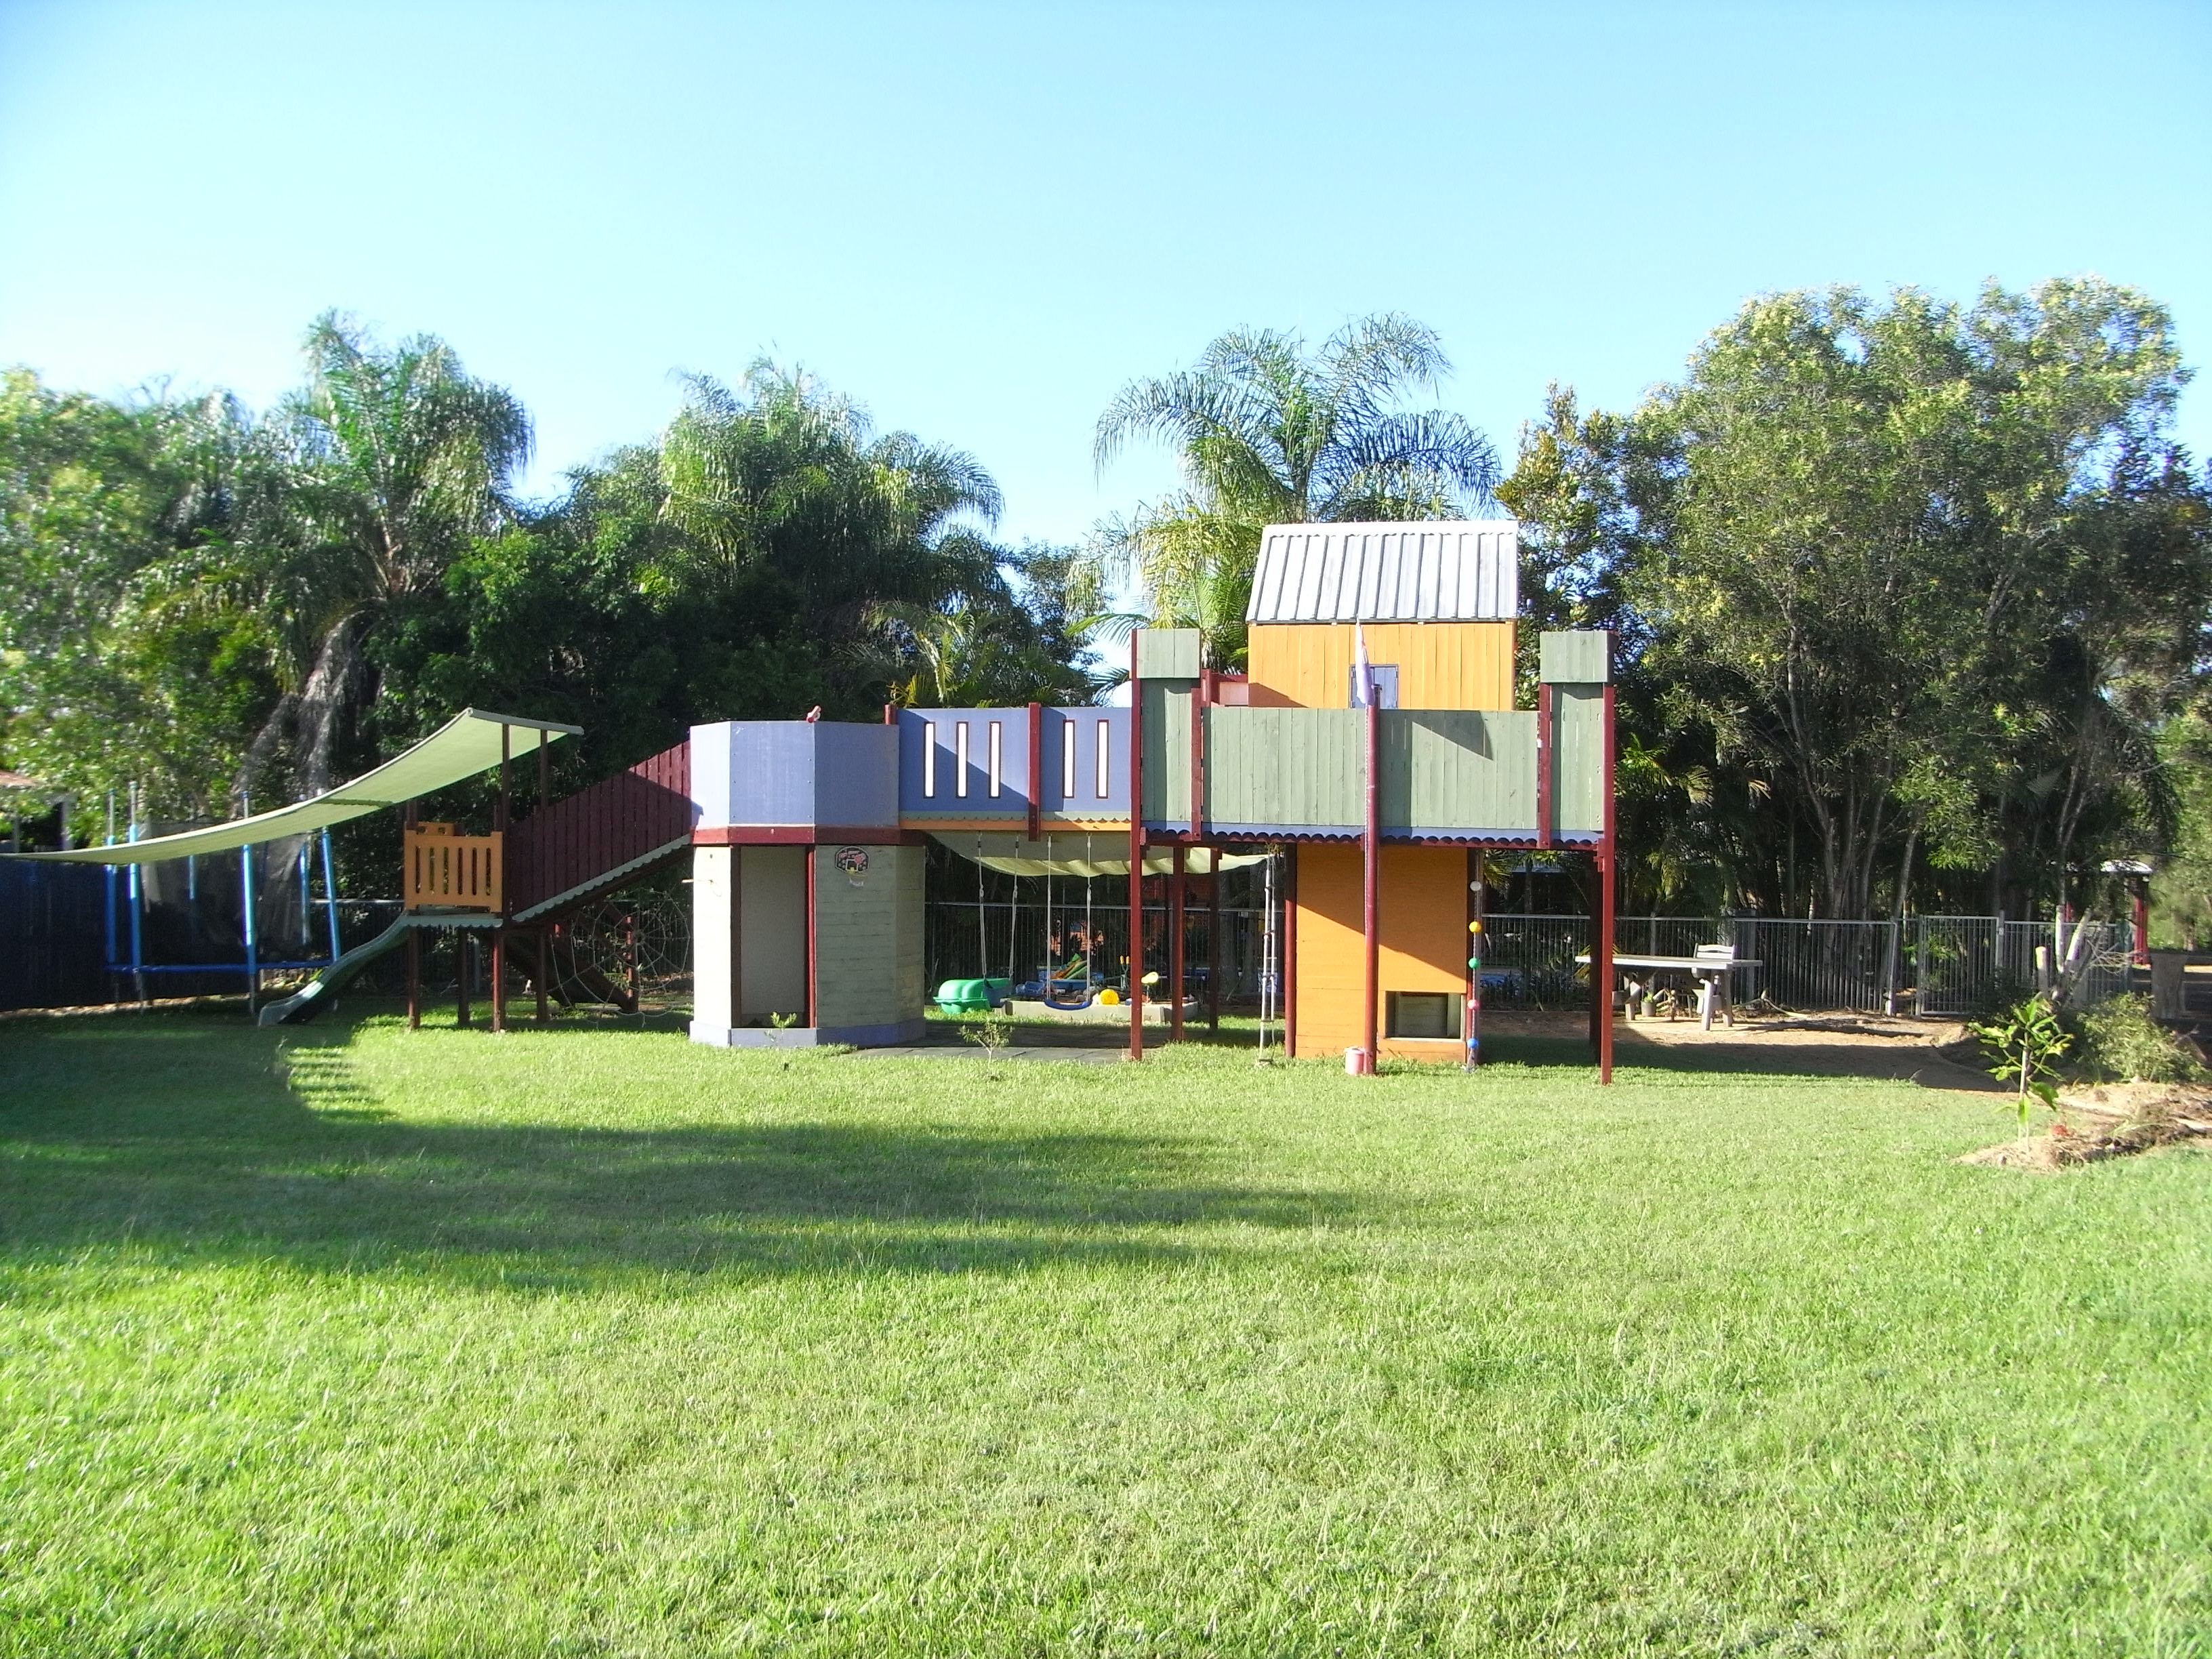
visit us at www.madeatthisplace.blogspot.com, for details. We built a large platform off the ground and just put a house on top. Then gradually extended the design.
Wed, 05/23/2012 - 05:50
This is so bad ass!! One of my favorite memories of my own childhood was a huge cardboard box play house that my dad made. It has 3 or 4 rooms, I loved it. This takes it to a whole new level! Fantastic!!

Wed, 05/23/2012 - 15:12
...
^^^ There are no words up there because I am speechless. This is the coolest FORTRESS I've ever seen.
When are you installing the moat??
Sat, 06/23/2012 - 07:46
Thanks guys, I'm lucky I have a husband who doesn't roll his eyes when I say, how about....... He loves building and so do I.
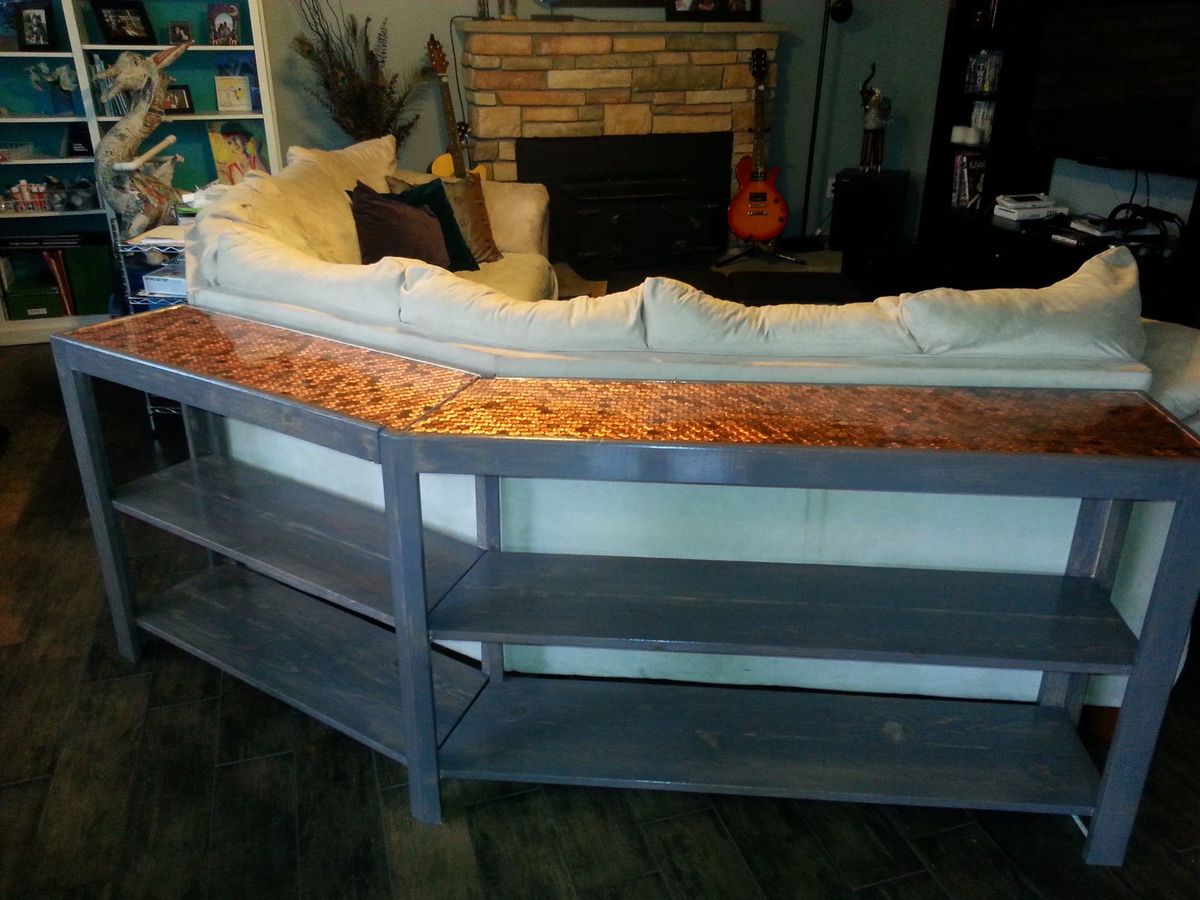
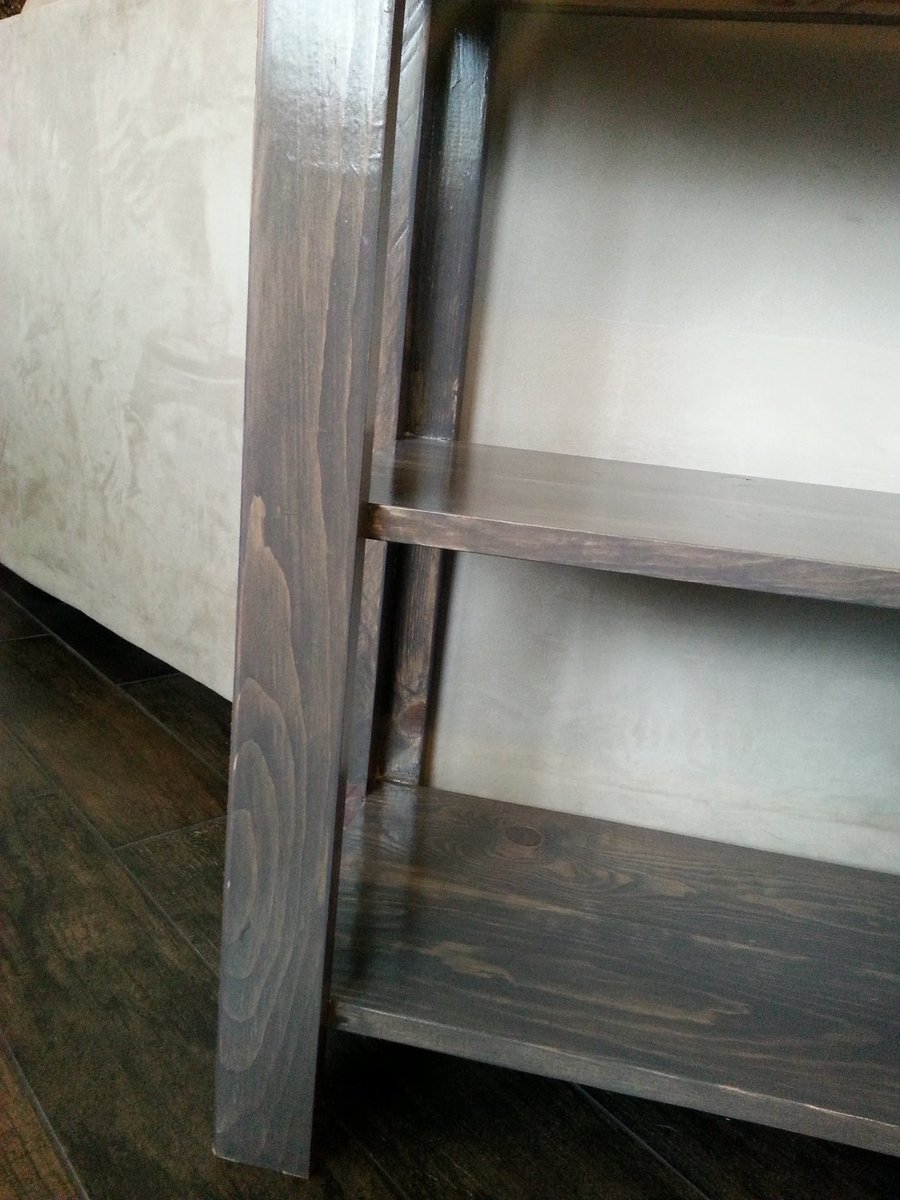
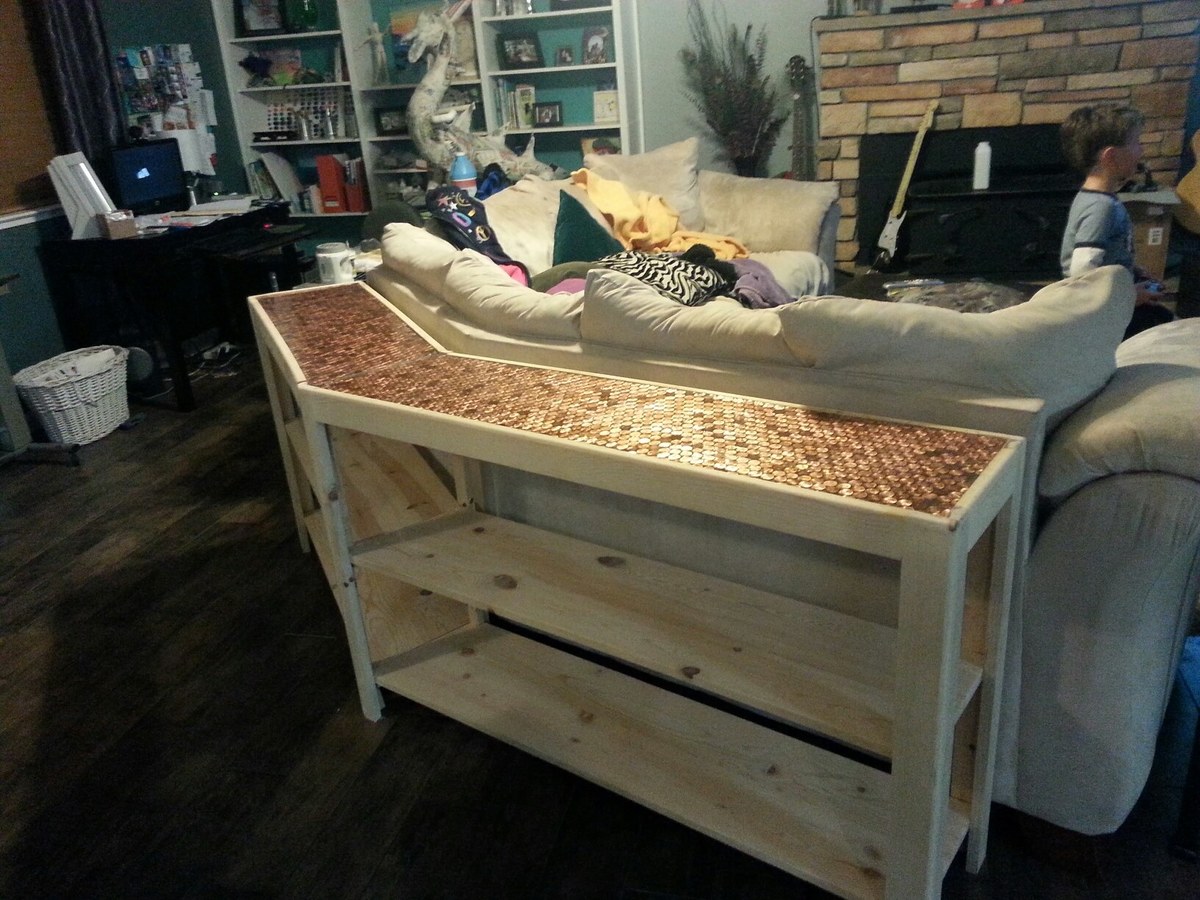
I used a combo of a couple of Ana White's sofa table plans and I changed them so that two tables would fit together at the angle of my sectional couch. I used pennies on the top and covered in epoxy resin.


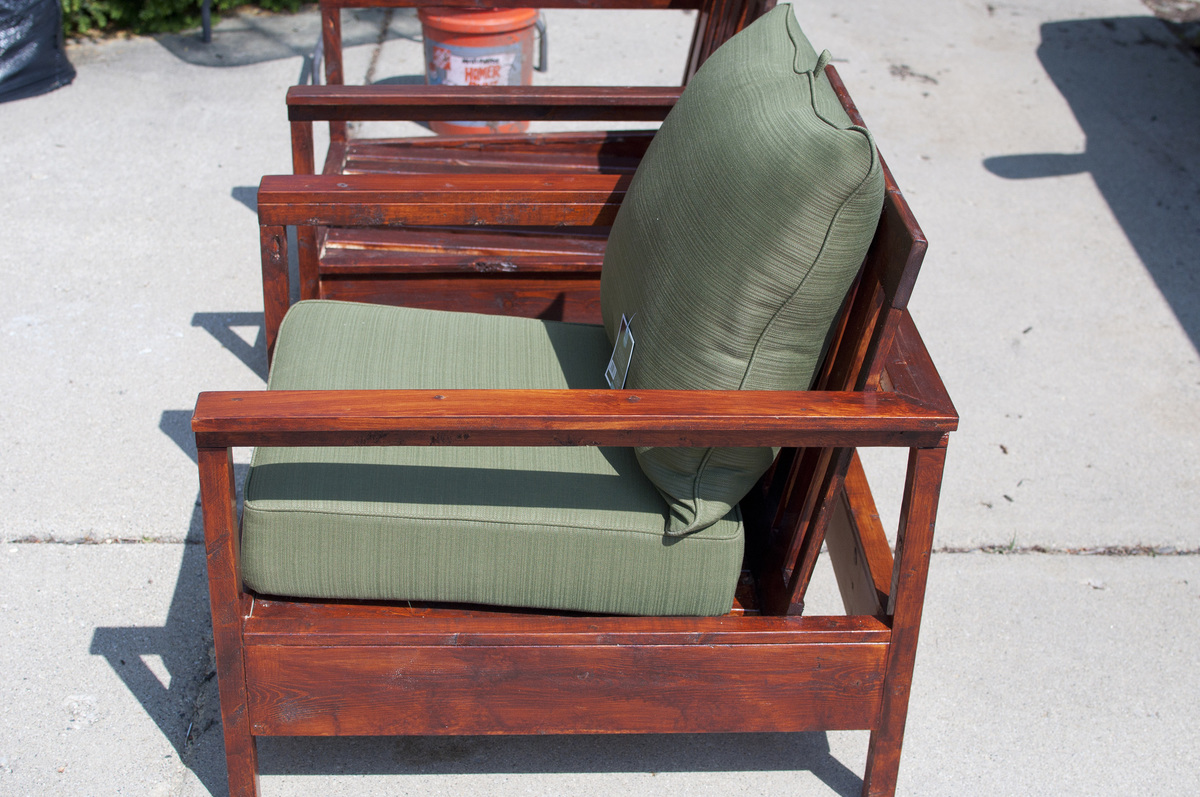
I built this chair to match the outdoor sofa. I had some extra 2 x 4's after I completed the project. I just substituted 24 inch 2 x 4's for the 72 inch 2 x 4's that the original plans called for.
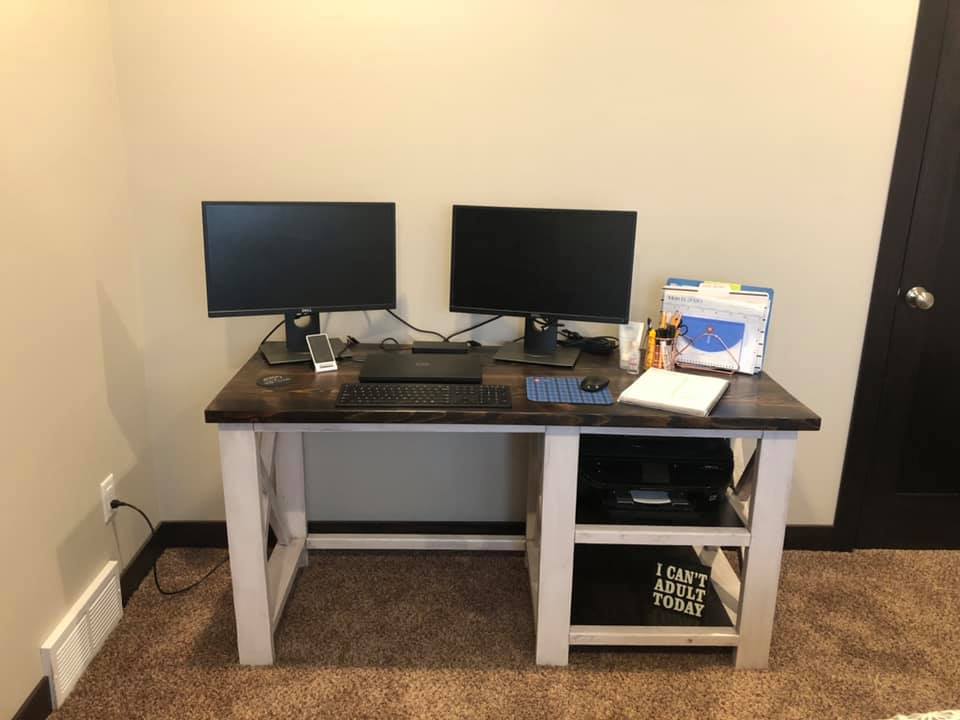
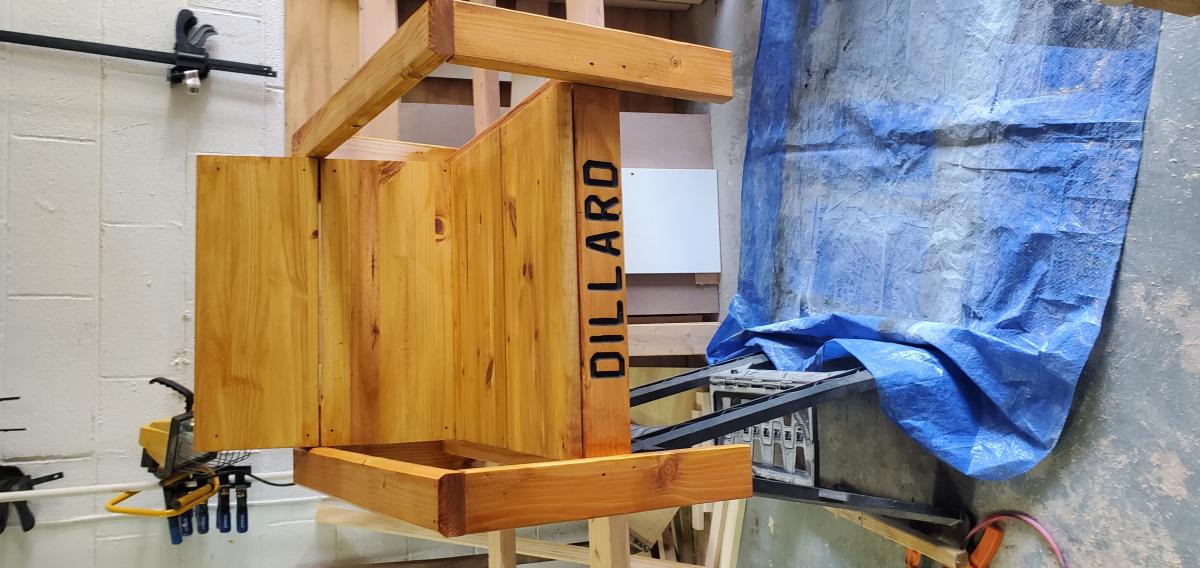
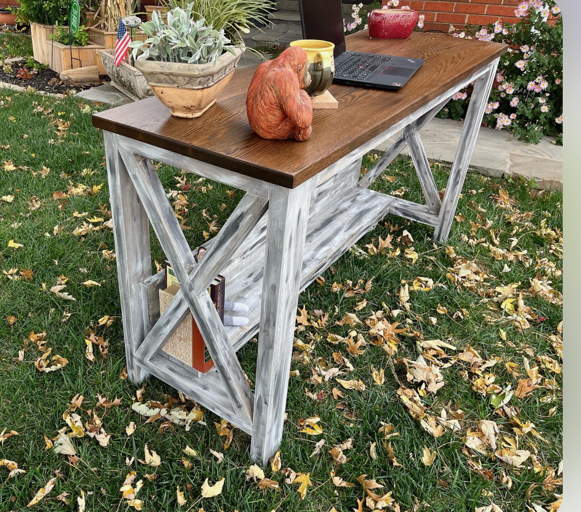
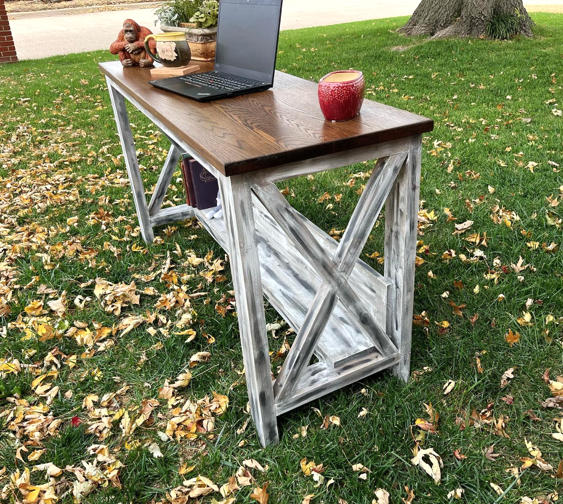
This was my first attempt at this desk and all things considered it turned out pretty well. I glued the top and shelves together instead of using pocket screws. I then stained the top and shelves expresso and used the expresso stain over the white paint on the base and then wiped it off to give it an aged look.
I've been known to dumspster dive to salvage a piece of furniture and this time was no different. This beautiful oak top was discarded and headed to a landfill and I just couldn't let tht happen. I brought it home refinished it and built this wonderful desk.


This thing is AMAZING! If I was able to build as often as I do laundry, I would have a much more impressive brag list! Thank you for the plan!

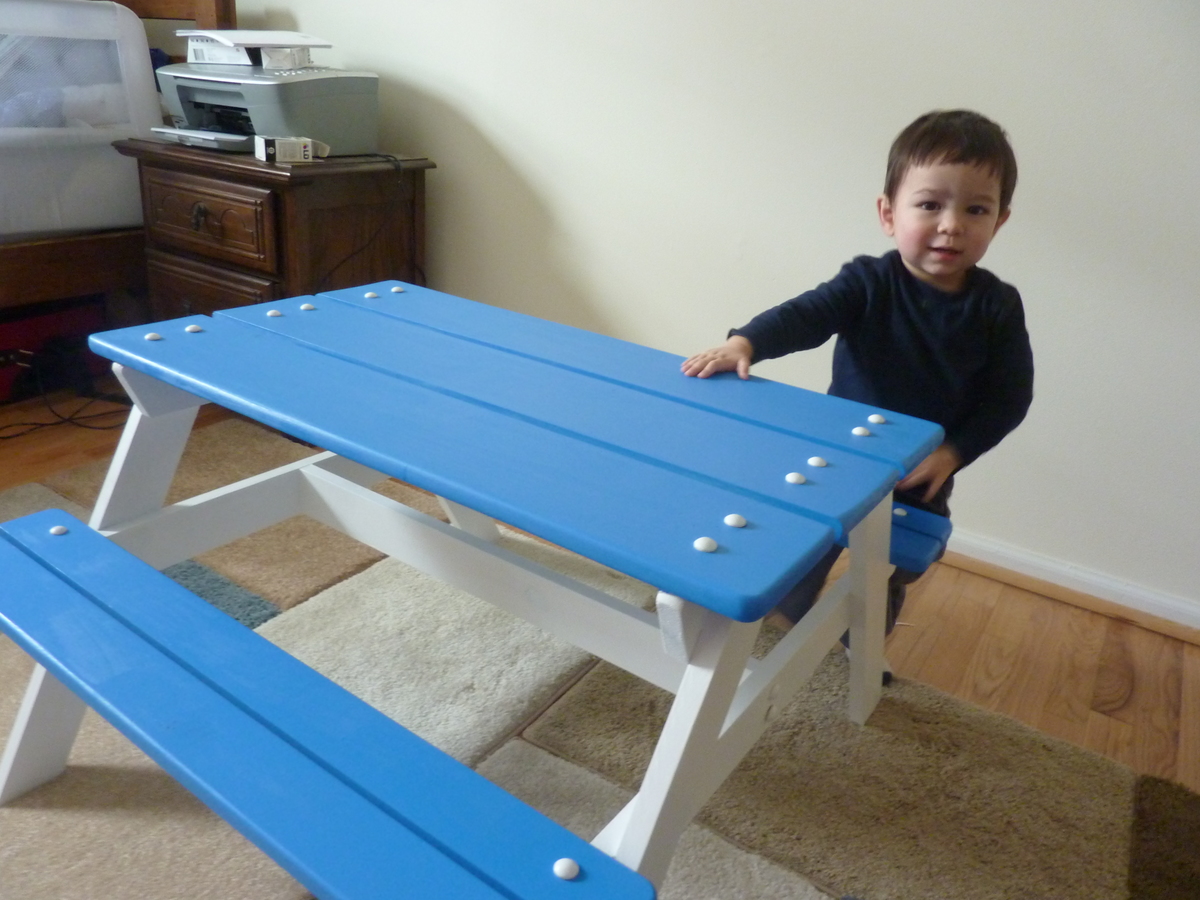
Our first project from Ana-White.com - but certainly not our last! This preschool picnic table was an easy introduction for a couple of newbies. Our one-and-a-half year-old uses it all the time. Thank you!
Wed, 05/20/2015 - 11:25
Looks great! Did you use carriage bolts, or did you add some kind of caps to cover the screws?
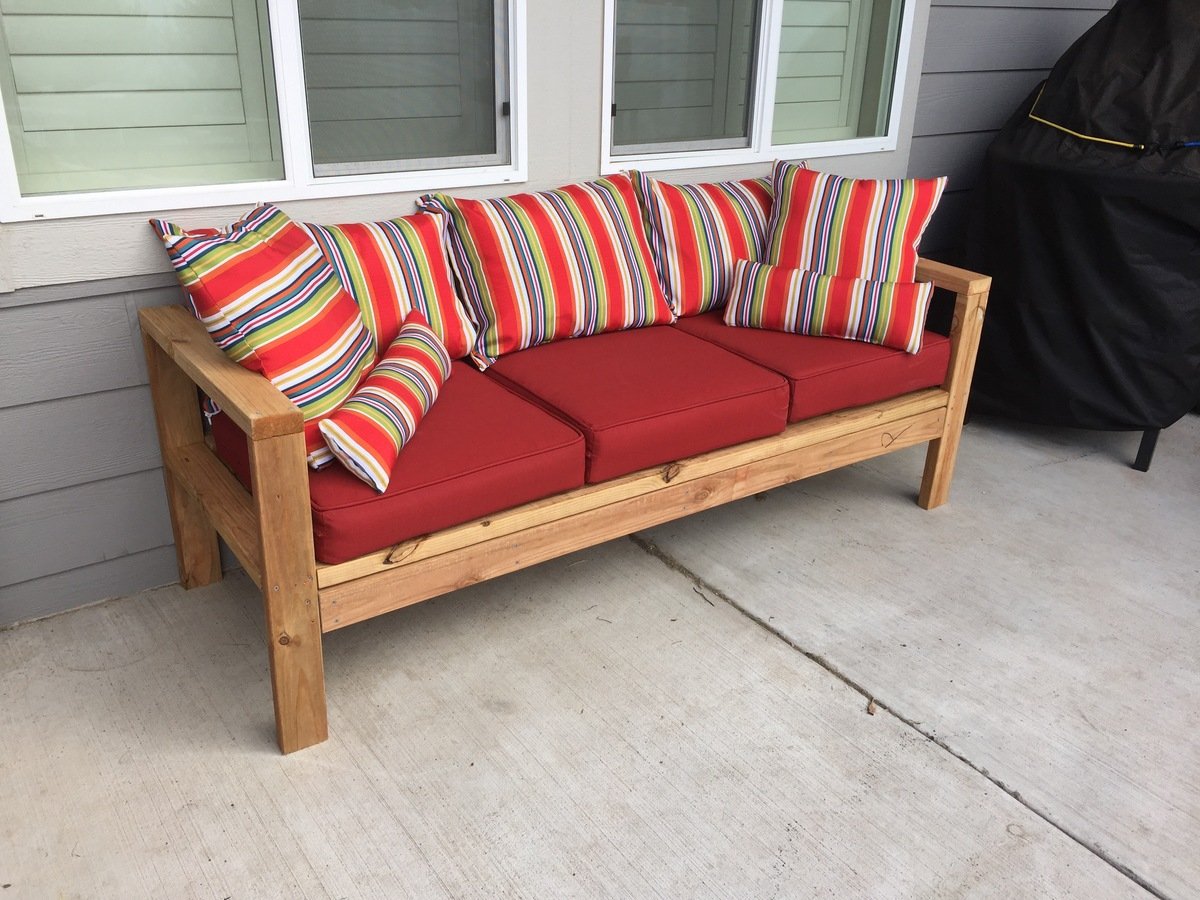
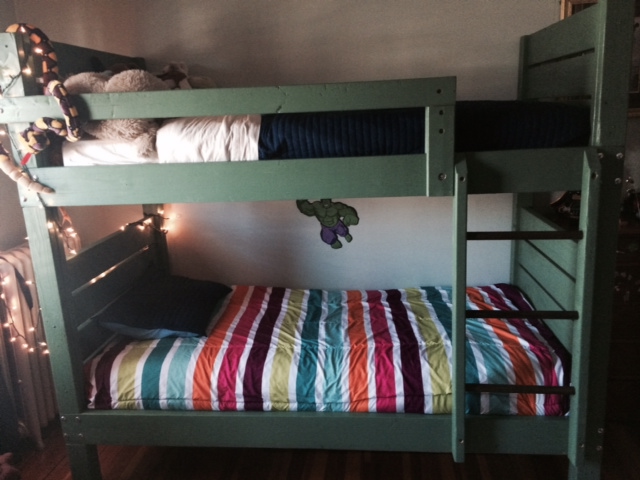
This is the first thing i have made using 2x4's. the plans were very easy to follow. it cost me approxmently $100.00. I made the stripe pillows from fabric i have had.
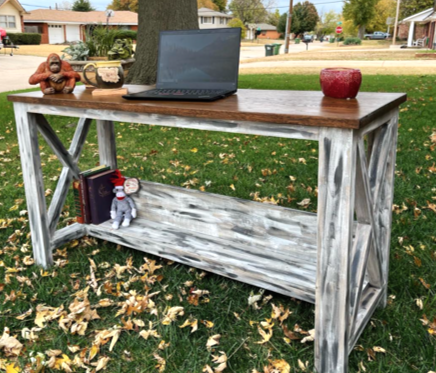
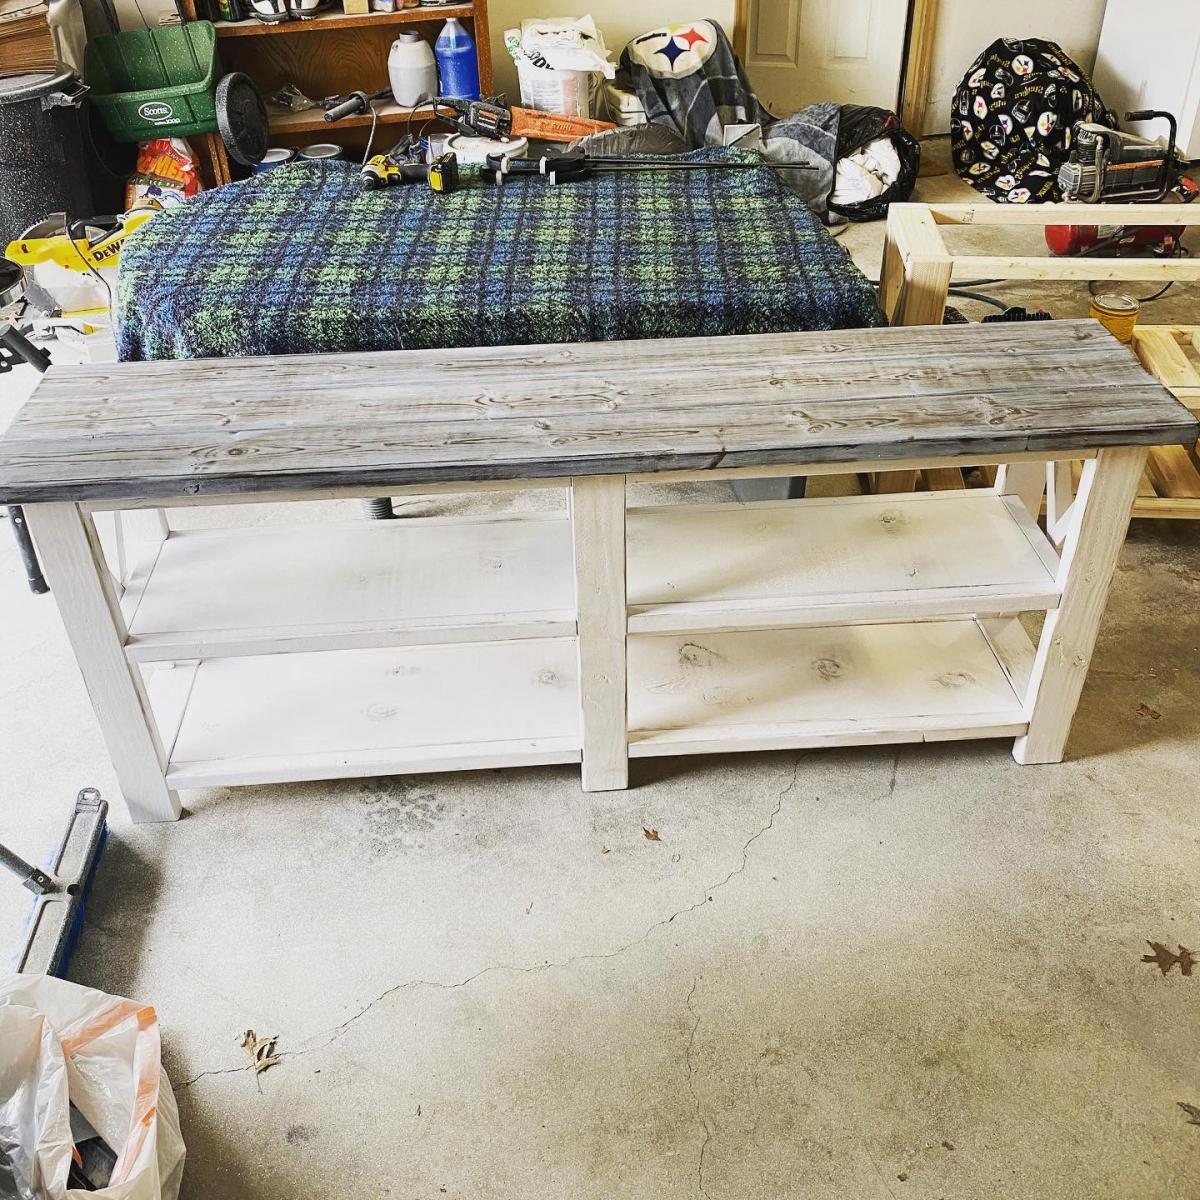
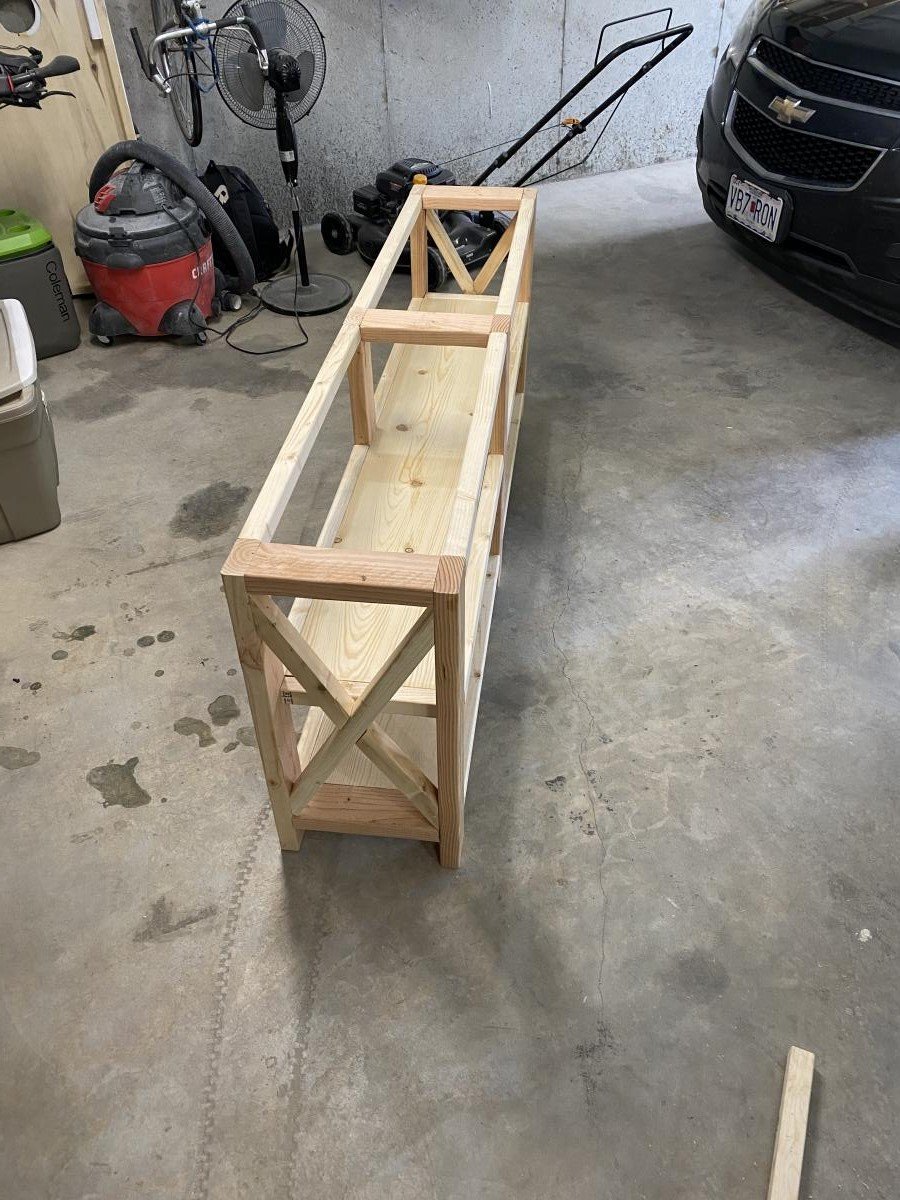
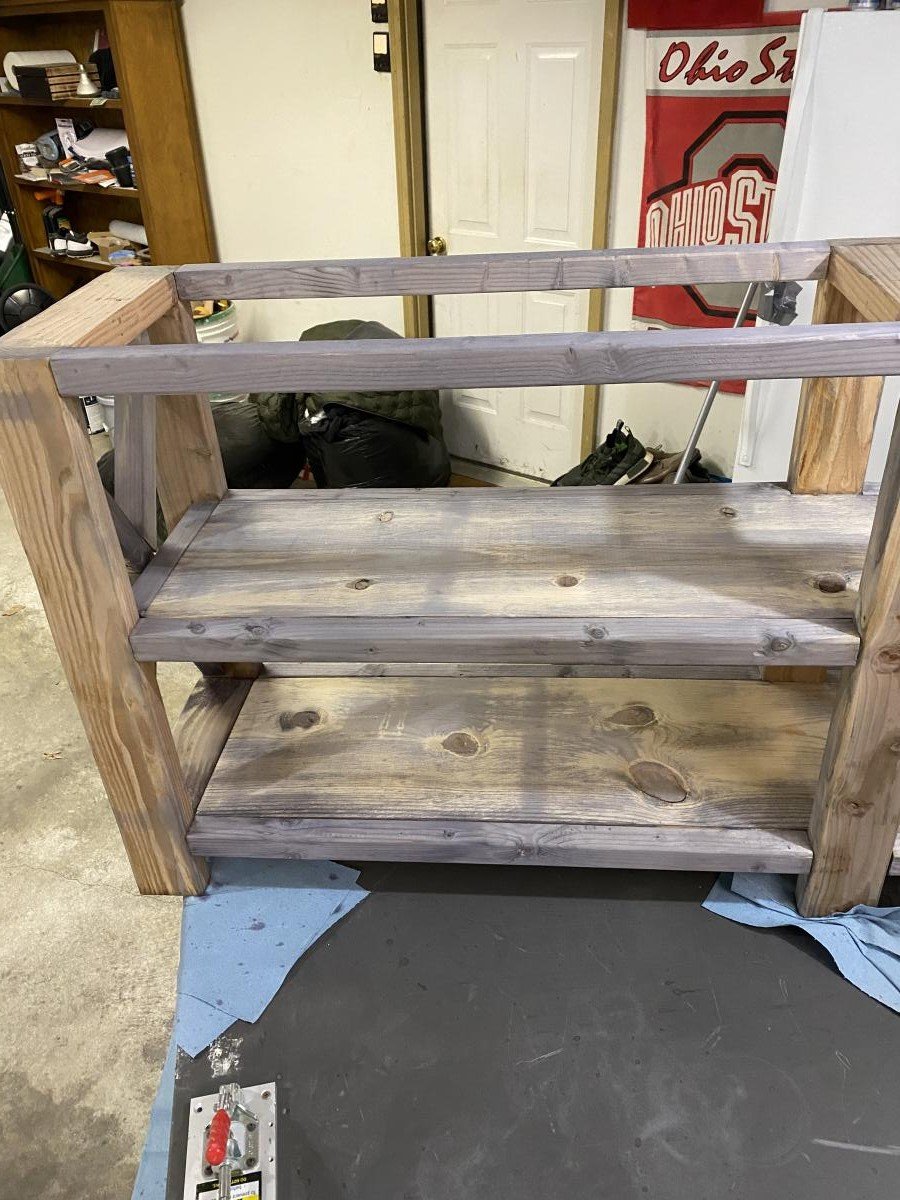
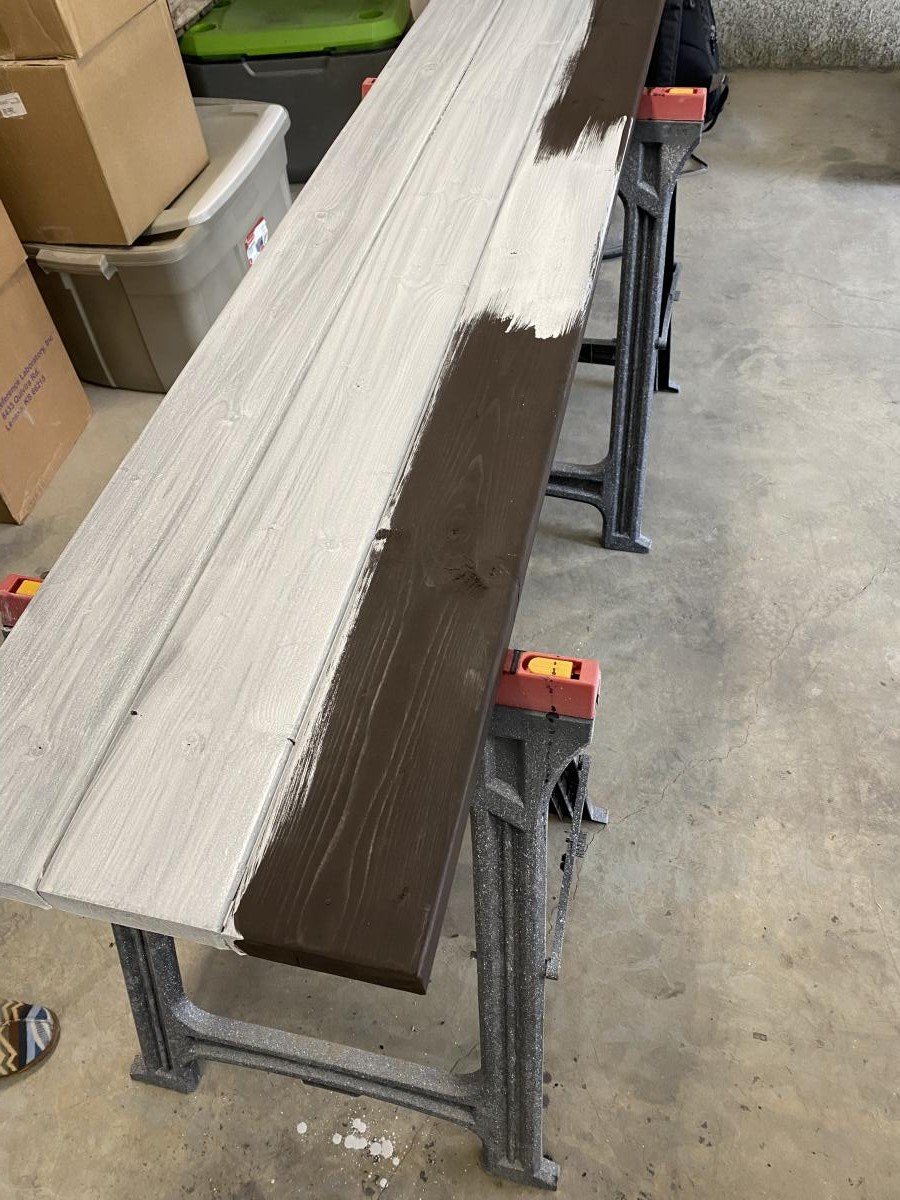
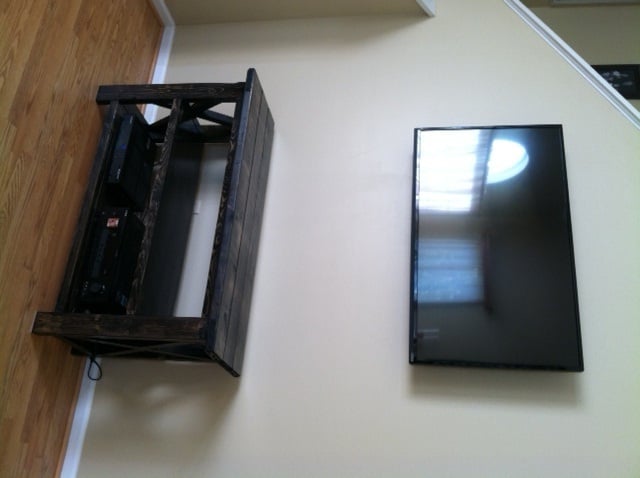
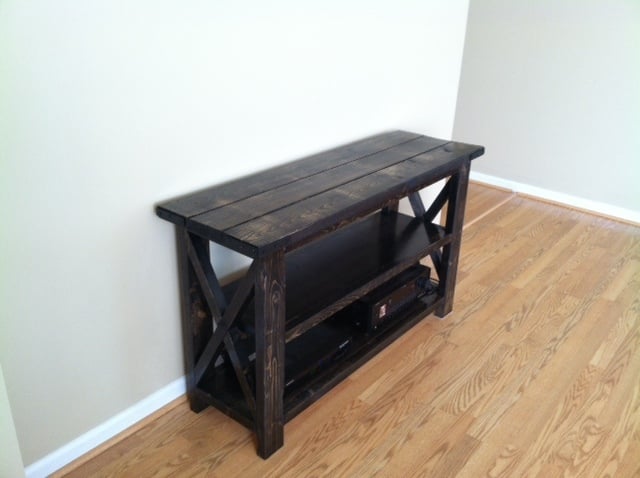
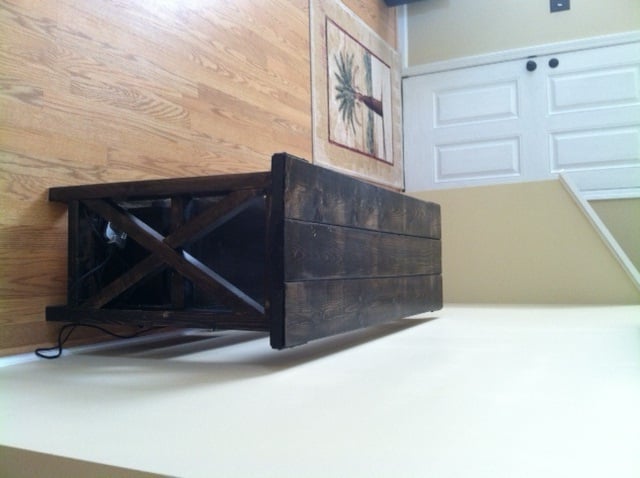
Rustic x consol table Weathered.


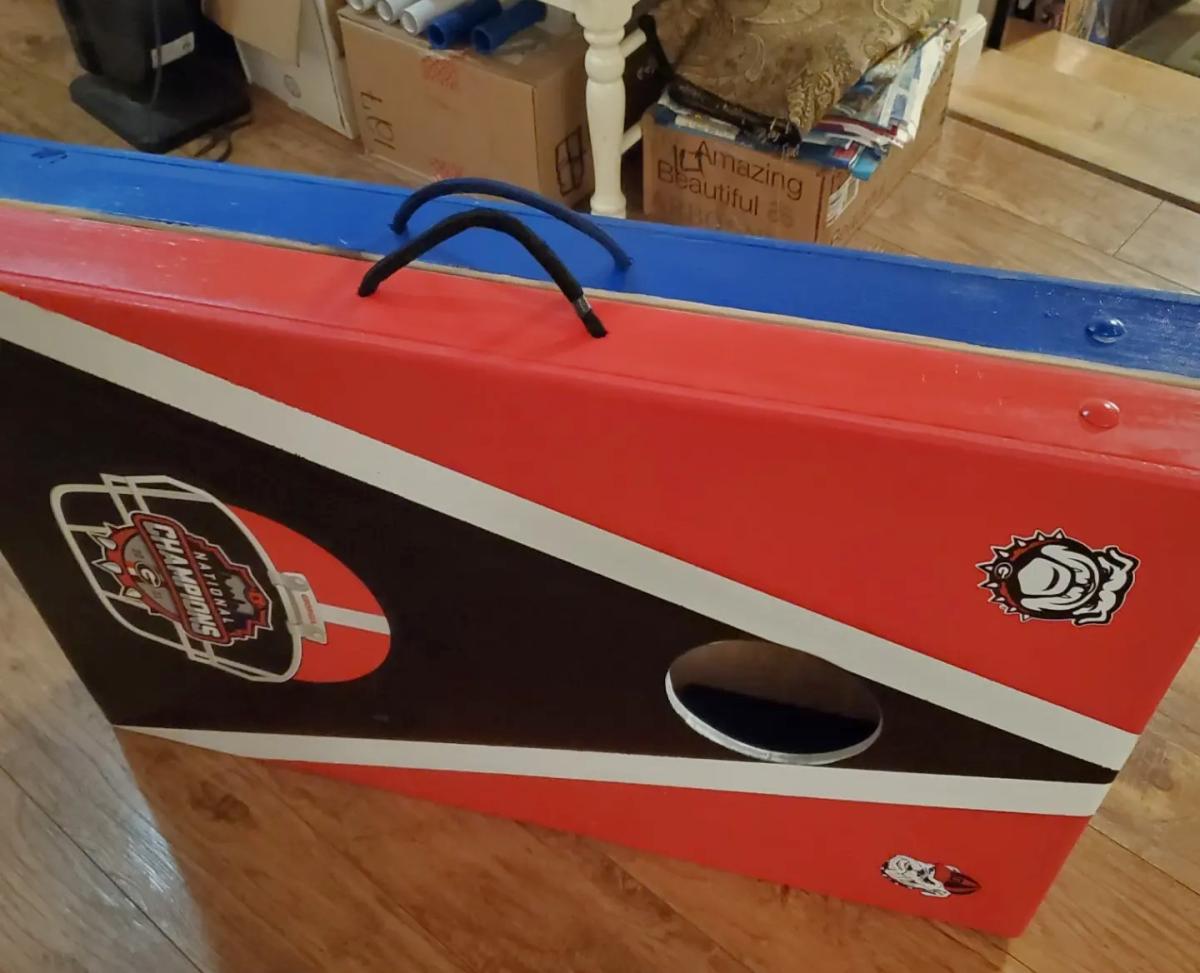
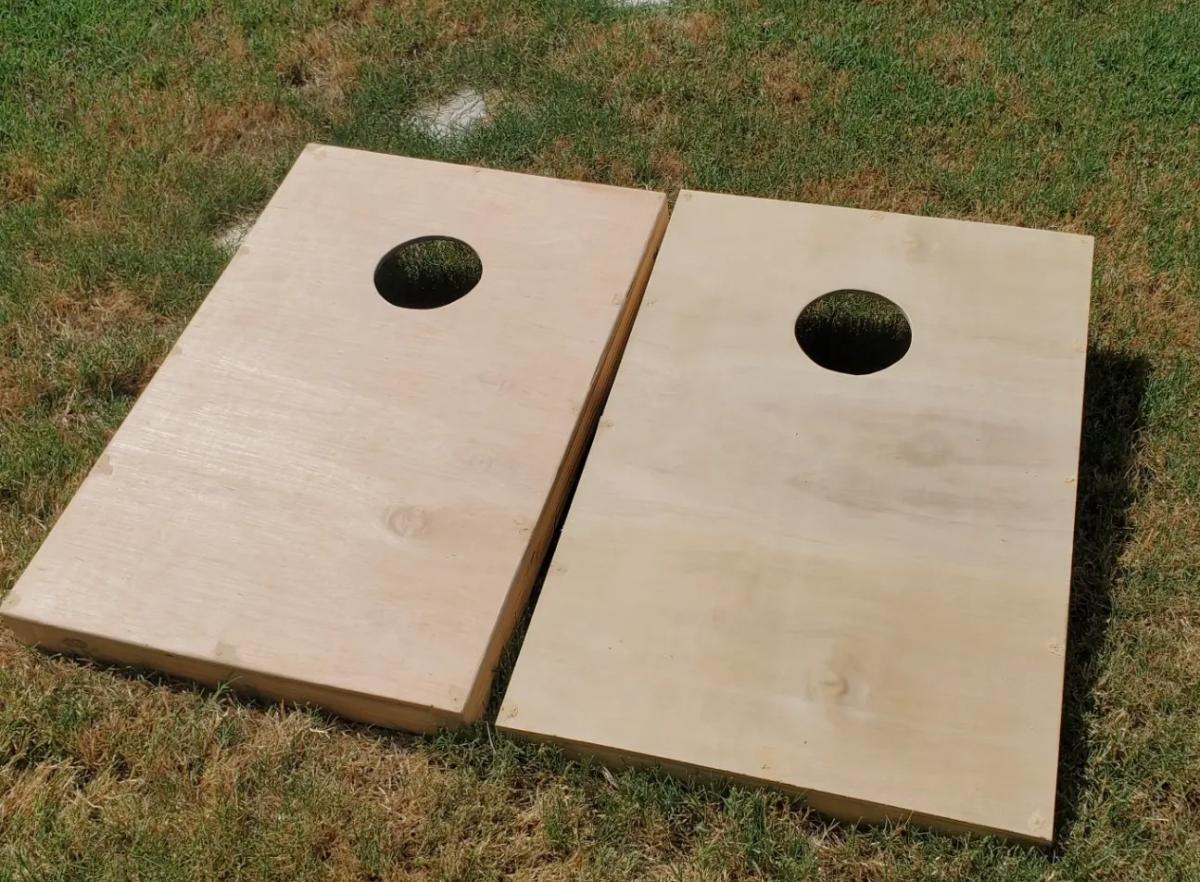
Corn Hole Plans
Made lighter by thinner plywood and using 2x3s instead of 2x4s. Not regulation size as just for family and used rope as handles and Velcro on bottom to carry both pieces as one unit. Decorated to fit kids favorite schools.
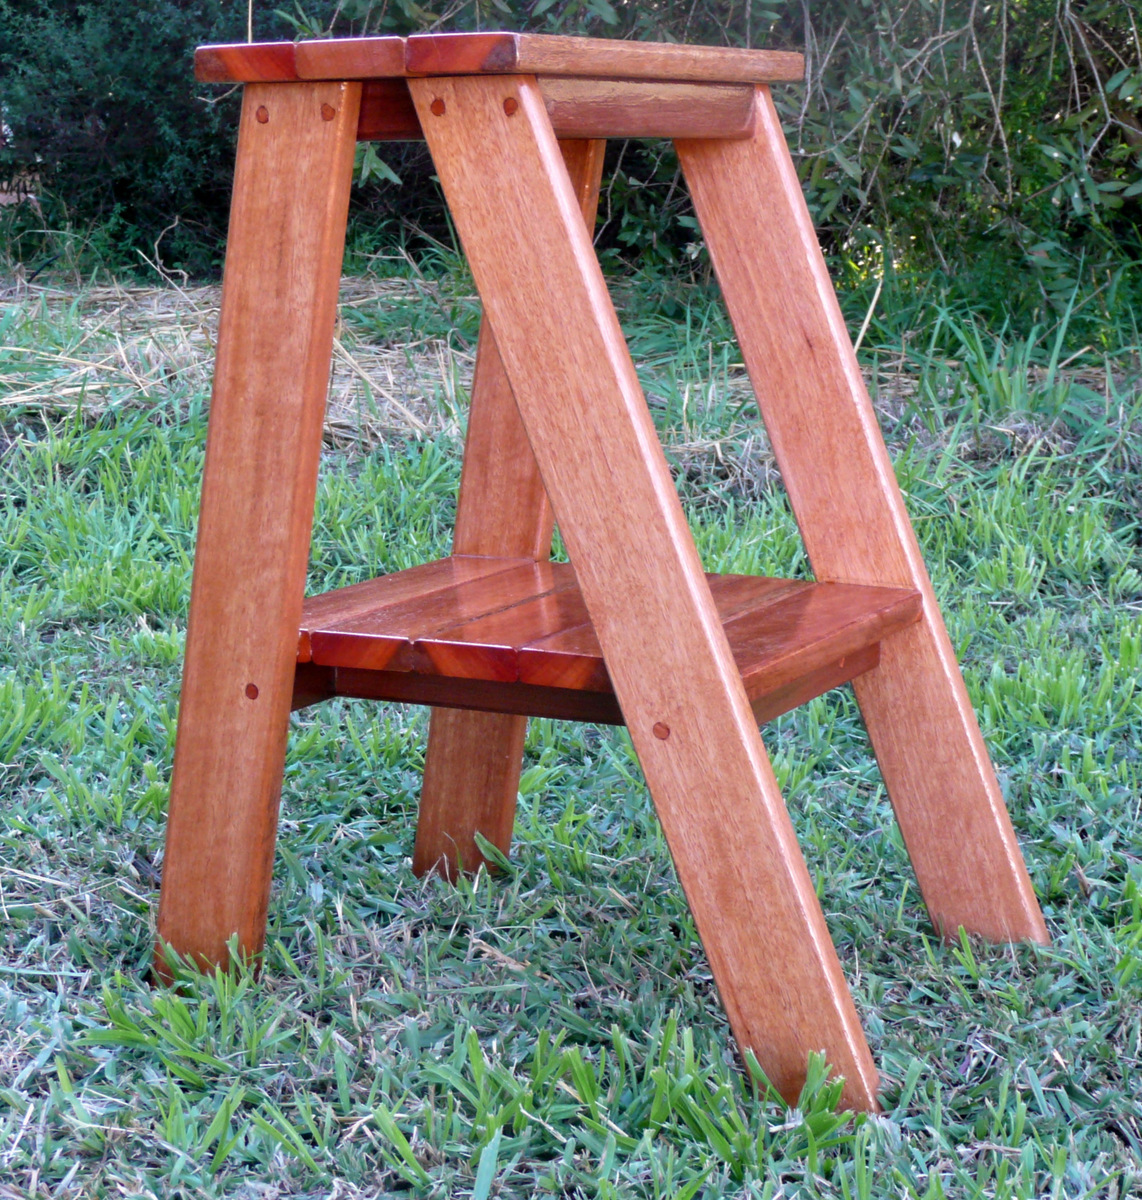
I like the clean lines of this little shelf. Not sure whether it will become a plant stand or bed side table in the spare room. Found it quite tricky to put the bottom shelf in the right spot - even though the legs were fastened with 2 screws each at the top there was still enough give so that pushing a leg out or in a bit created a wobble. Ended up putting glue on and with the help of an extra pair of hands and a spirit level put the shelf into place by trial & error, making sure the whole thing stood nice and firm on the ground. Put on some clamps & came back the next day to put the screws in. Used a plug cutter to cut 'covers' for my screws from off-cuts of the same timber, but didn't quite manage to get the grain aligned so you still see them. Made these from decking boards (very close in dimensions to 1x3 boards) sold as 'forest reds' in the hardware store, which are a mix of eucalypt hard woods.
Tue, 05/29/2012 - 16:35
Your step table, step stool, whatever you want to call it is beautiful. Great Job! I have made four of them. I reinforce the bottom shelf in case you want to use the step-?? to get stuff off high shelves or just paint a room and not mess with a step ladder. My first one is in our kitchen and it is the most used piece of furniture in the room. I got my grandkids and a little girl from across the street to build the others. The loved the experience. You can see pics at my page on Ana-White.
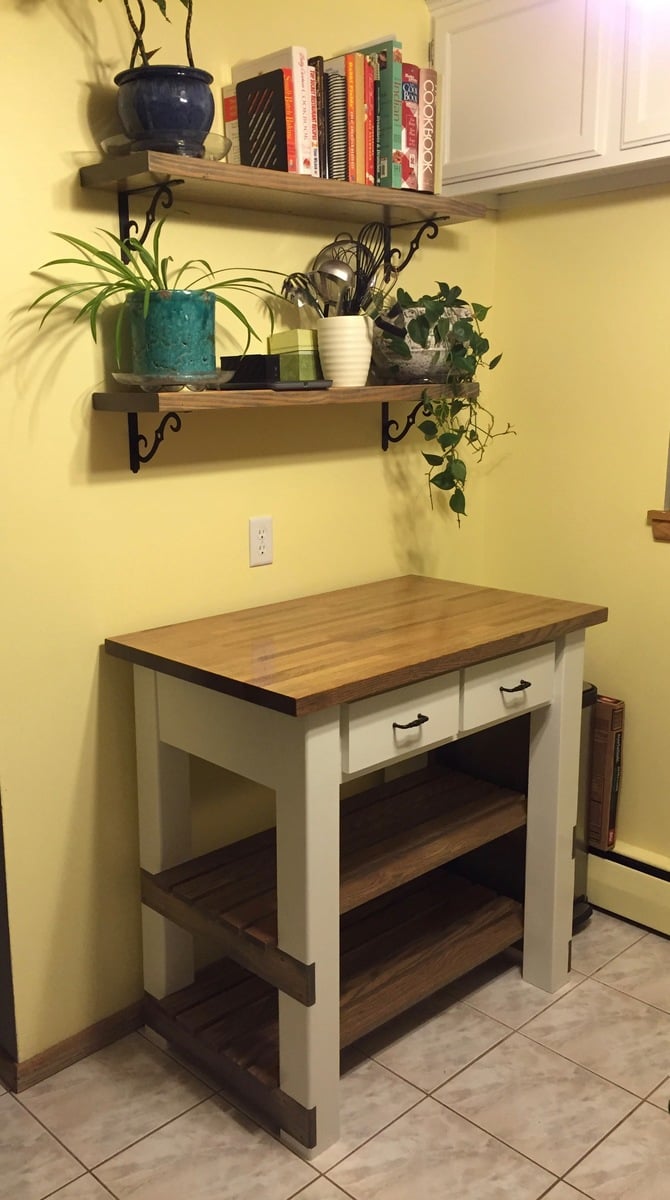
My wife and I wanted to replace an ugly metal wire shelf in our kitchen, fortunately Ana had plans for a nice-looking kitchen island! The two new challenges for me with this project were the notches for the shelf supports, and the drawers. I was able to figure both out and am glad to now have those skills in my toolbelt. The top was a pre-made red oak board from Menards. The other shelves are red oak, the rest of the frame is pine.

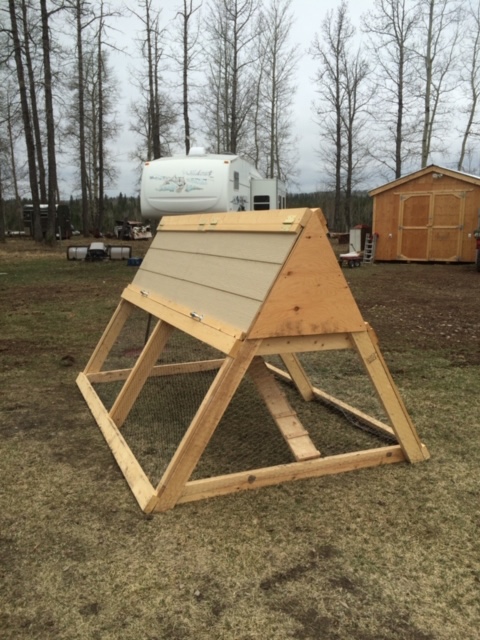
I built this chicken coop/tractor a few years ago, for my cousin. I loved the ease of the plans and the build, and she loved the hens in her backyard!
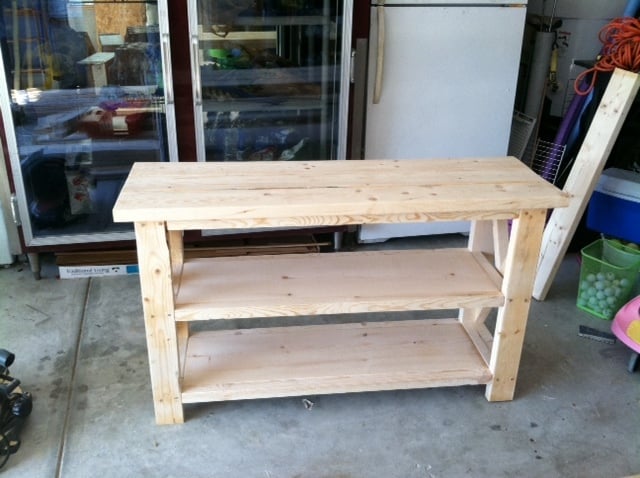
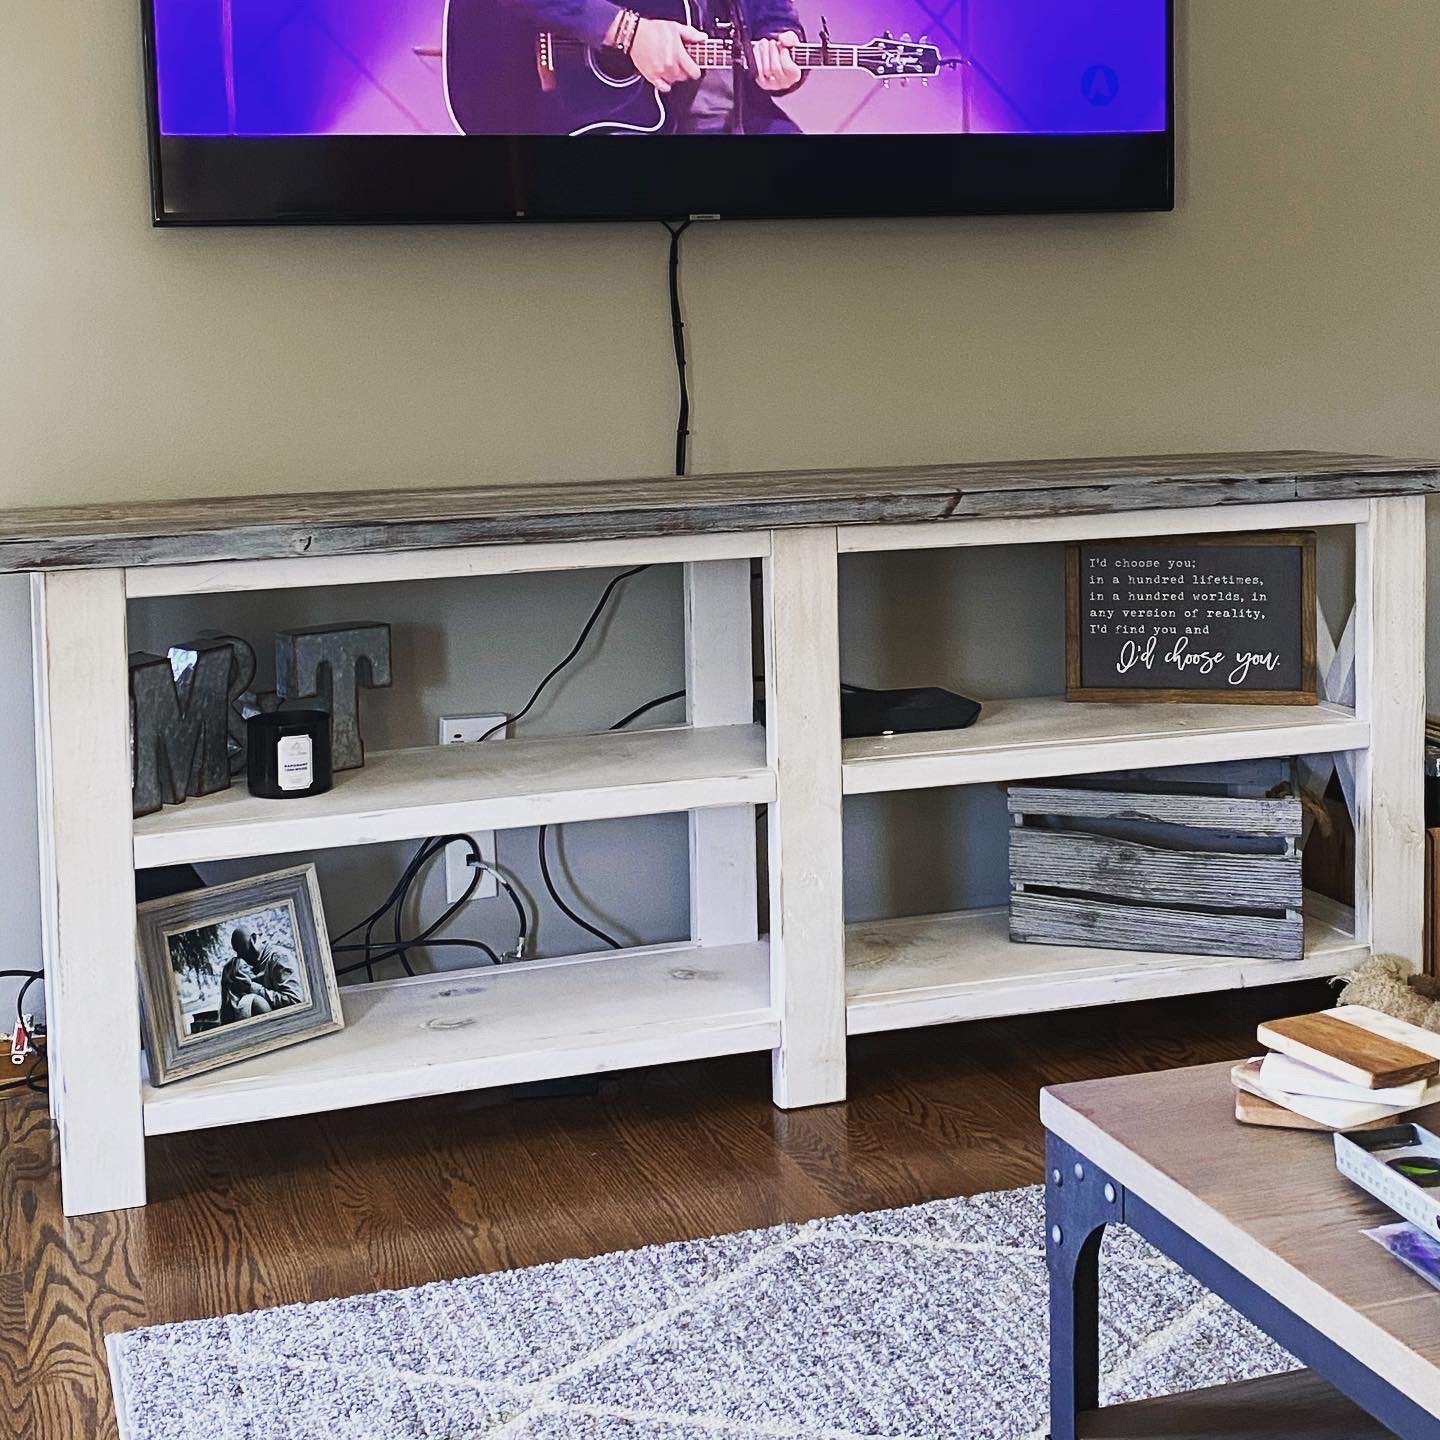
Built a set, used this as an entertainment stand below the TV, mactching coffee table done and end table to go with it. Altered the plans (dimensions) a little to accommodate my room. Love this site! Thanks Ana!
Slightly lengthened from the plan, used 6" exposed lag bolts for a sturdier frame, covered the bolts on the sides with a dowel cap over the bolt to mimic a dowel construction.