Community Brag Posts

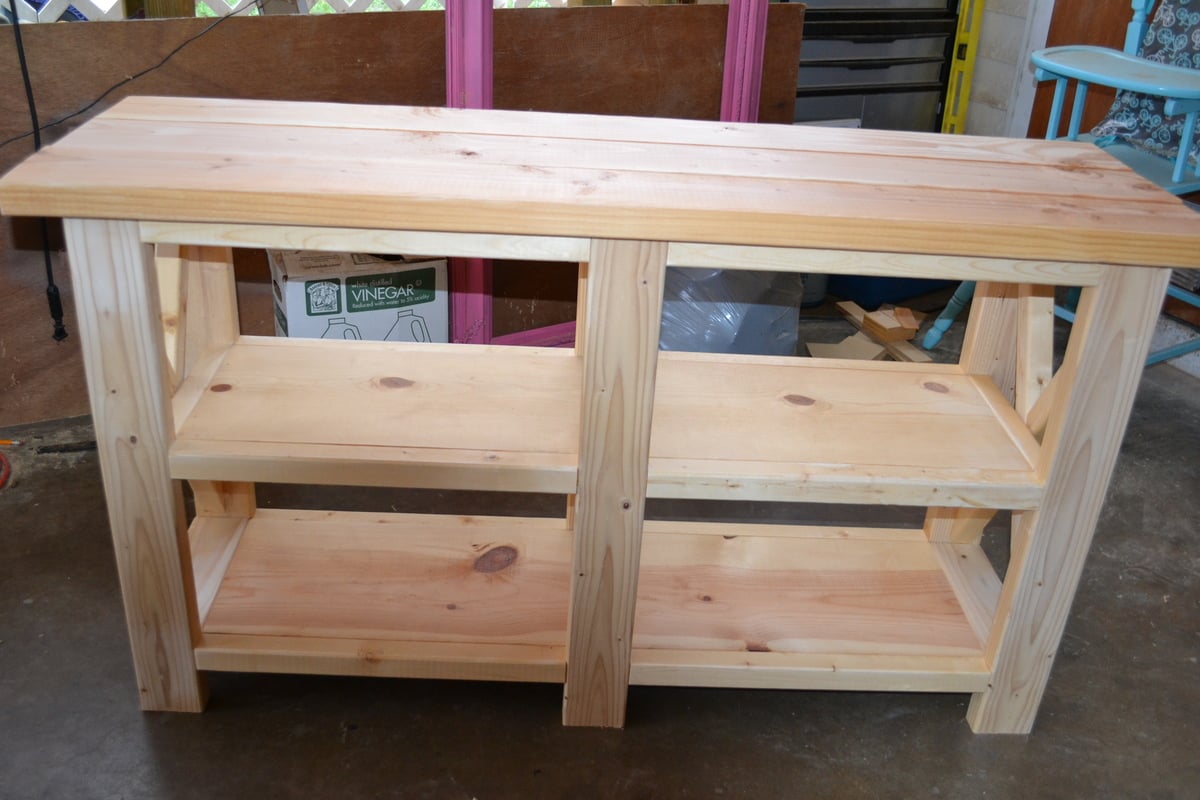
X Console Table

Submitted by MichelleC on Thu, 10/04/2012 - 13:53

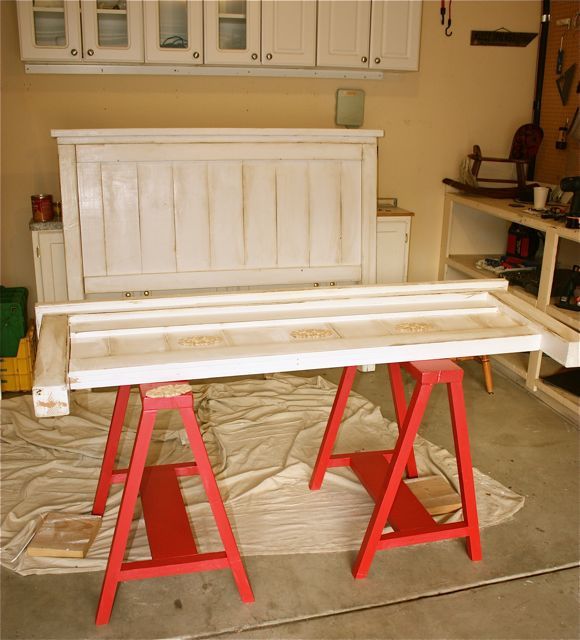
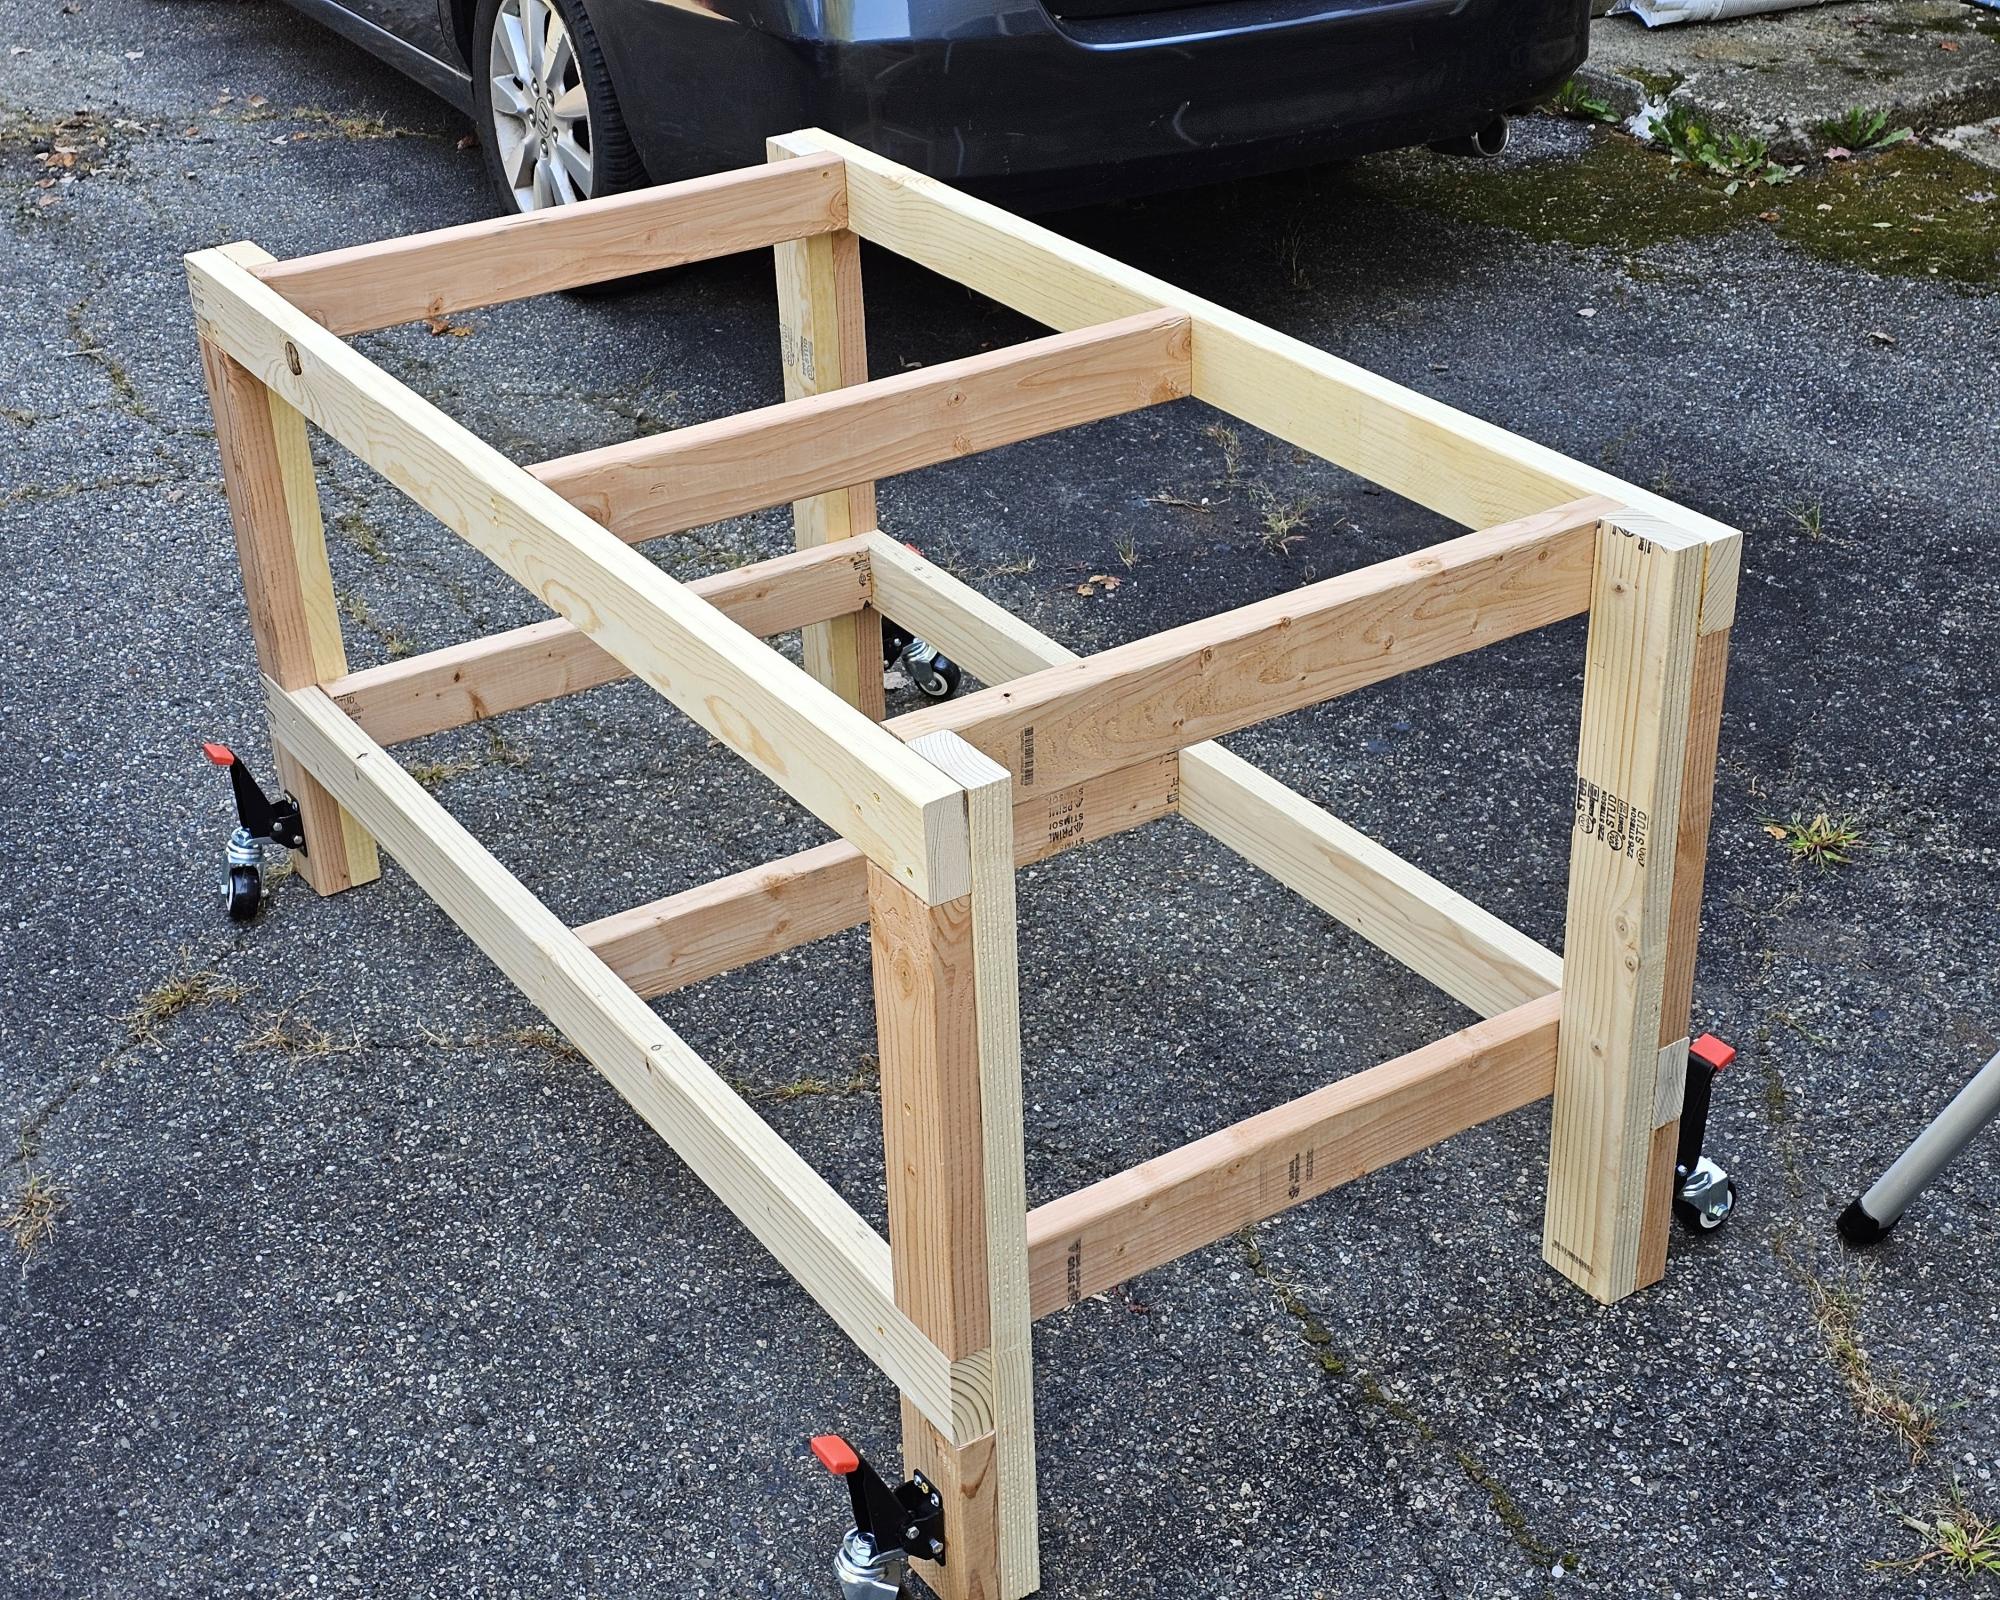
I built this a couple feet shorter than in the plans because it is for my neighbor's fish tank! It was fun to build and I'm in love with the finished product. She's going to paint or stain it herself. The pics were taken in my messy, projects-everywhere carport right before the neighbor hauled it off! Her son-in-law wants one now, and I will be building one for MYSELF right away as well! Thank you Ana!!!

Built from Plan(s)
Estimated Cost
75
Estimated Time Investment
Day Project (6-9 Hours)
Recommended Skill Level
Intermediate

Comments

Mom's Jelly Cabinet

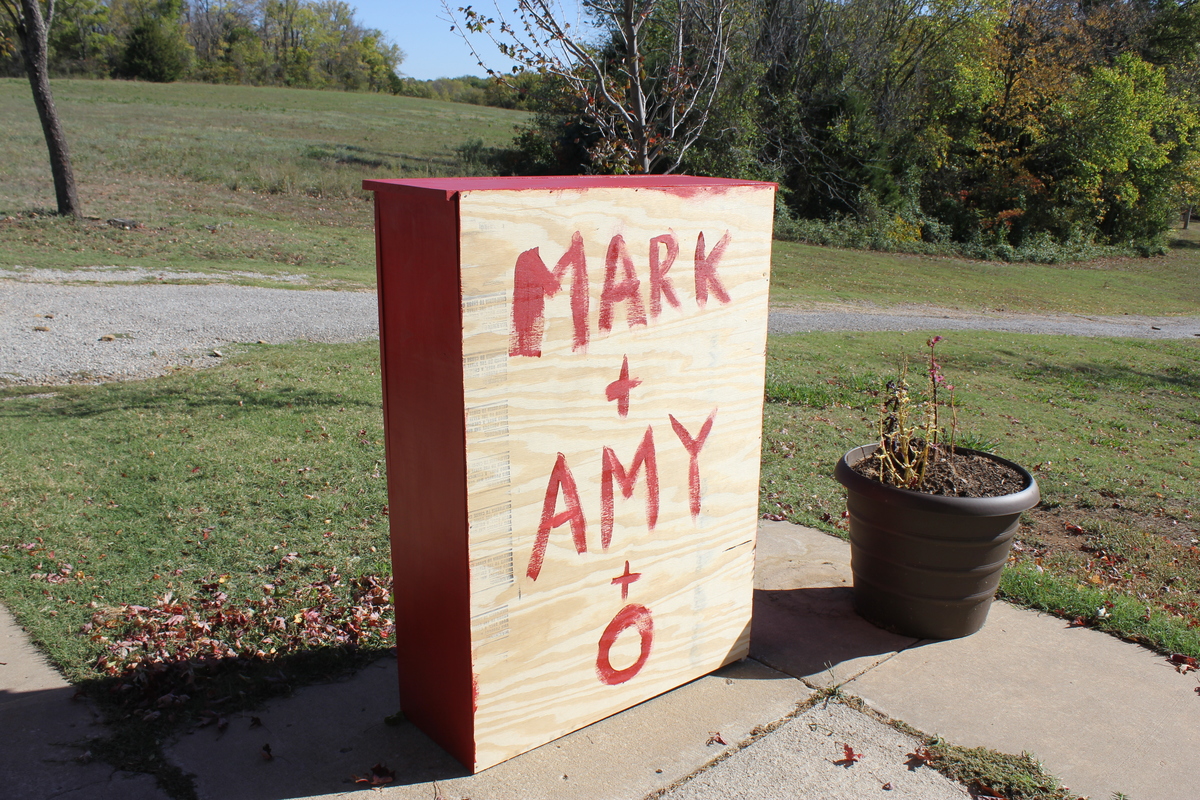
Our first DIY furniture project. We told friends it was an assignment from couples therapy. lol Don't look too close or you will see the many flaws, but I can say it has character and will serve its purpose.

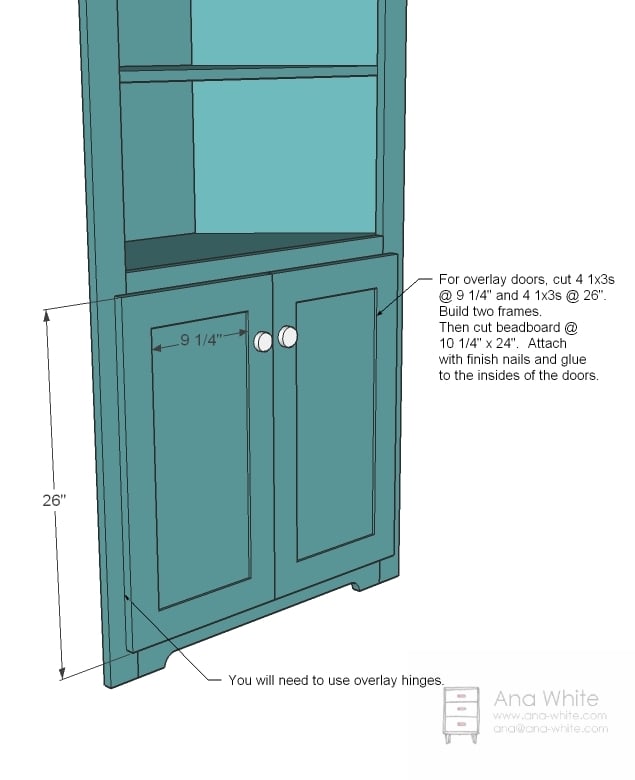
We had problems with the doors. I think they are true and plum, but the cabinet, not so much. They hang a little cockeyed, but they do swing. The plans for the doors didn't quite match the cabinet, but we are newbies so we could have misread the plans.

The hinges and latch are from the blue store - painted matte black from a can from the original nasty brass. The red is Balero and the shelves are a coordinating tan from Sherwin Williams. A coat of Minwax Polycrylic for protection. We used square wire from the blue store for the doors. We didn't router the doors to inset the wire, a stapler worked fine.

It was an absolute great first project that Husband & I enjoyed tremendously. Mom has been looking for a jelly cabinet for 6 months without success. Old functional furniture pieces just aren't manufactured anymore. This cupboard fit the bill perfectly.

Estimated Cost
$80 for wood and another $80 for paint and supplies
Estimated Time Investment
Weekend Project (10-20 Hours)
Finish Used
Sherwin Williams Balero Red and coordinating Tan with Minwax Polycrylic Spray
Recommended Skill Level
Beginner

Comments

Maira (not verified)

Tue, 10/23/2012 - 08:01

This is awesome. Seriously. You two did such a great job and your mom will enjoy it for many years. That red with the black hardware looks so great.

aruchti

Tue, 12/13/2016 - 07:41

Hi, I can't seem to find the plans for this, the PDF is just a PDF of the thread. I'd love to make this as a coffee stand. thanks!

aruchti

Tue, 12/13/2016 - 07:44

Hi, I can't seem to find the plans for this. would love to make this for a coffee stand. can you provide the link to the plans?


thanks!

Ryan's Washer/Dryer Pedestal

Submitted by zoolander on Fri, 12/05/2014 - 17:25

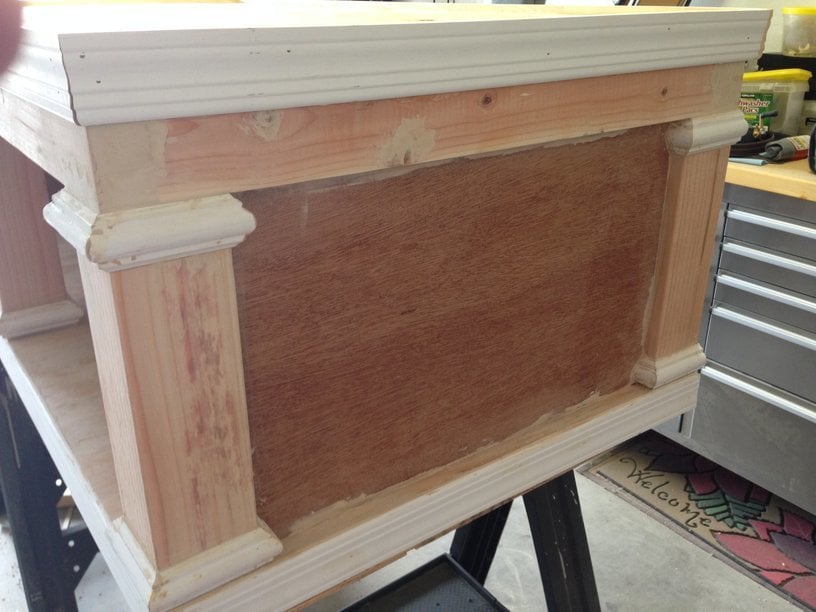
I loved this design.  I couldn't believe that they wanted to charge me almost $600 for the pedestals for the washer/dryer set that I bought on black friday, so I decided to give this project a go.  I basically used the same construction plans from Sausha's project, but I dressed mine up a bit.  First, I chose a bit larger trim for the tops and bottoms of the posts.  Then, I bought some 2" baseboards and did the top and bottom with baseboards.  On the bottom, I had to use my tablesaw to trim off about 1/2" because I used 1x1" boards on the bottom so that I could have more space for baskets.  Then, on the top, I inverted the baseboard and allowed it to overlap a bit so that if it were to vibrate, the washer/dryer could not fall off the edge.  I also added some fabric on the top (stuff that I use to cover the bunk boards on my boat trailer...kind of like a very thick and durable felt material) to cut down on vibration and also keep the units in place.  Finally, I added sides by using wedge trusses on the inside of my side posts and then I put a 1/8" piece of plywood over top and nailed/glued it to the trusses.

It turned out great.  Thanks for the plans Sausha!

Estimated Cost
$125
Estimated Time Investment
Weekend Project (10-20 Hours)
Finish Used
paint
Recommended Skill Level
Intermediate

Comments

Zlk200

Mon, 12/21/2015 - 17:38

Did you use sanded plywood? Did you use any veneers for the exposed 2x4's to get a smooth finish or did you paint right on it?

lastly, what is the name of the trim you put on the 4x4s? I've hard a hard time finding it. Thank you!

In reply to by Zlk200

zoolander

Wed, 06/29/2016 - 13:59

Sorry for the super delayed response.  I didn't realize this question was here.  I did not plane anything.  I did sand the surfaces a bit, but I didn't get too crazy.  I put 3 thick coats of paint on it which made it pretty smooth.  If you look very closely in person, you can still see a bit of wood grain, but it is only noticable if you really get down and look.  I did use a lot of wood putty to fill all of the gaps and crevaces and then I sanded those parts pretty well.  


With regard to the trim, the top literally just standard baseboard material turned upside down, and then the little trim on the tops and bottoms of the 4x4s is just another standard strip of moulding that I got from Lowes.  I think they call it "Chair Rail" moulding.  Its the stuff that you put down if you are doing some sort of paint separation or wainscoting.

http://www.lowes.com/pd/1-625-in-x-12-ft-Mdf-Chair-Rail/3403018

I used woodglue on all of the moulding and tacked it on with a nail gun.  Then I filled all of the nail holes with wood putty and also use the putty to fill gaps where the corners came together to make that look smooth.

I hope that helps...you are probably already done with your project by now, but I figured that I would answer anyway.  :)

Shabby Chic Farmhouse Bed

Submitted by RVmama on Fri, 02/08/2013 - 18:18

This was our first major project, so we learned a lot while we were doing it. We painted our bed white, and rather than using metal bed rails (which no one seemed to sell), we improvised and fastened 2x4s to the inside of our side rails. Then we cut slats to rest on the 2x4s and run the width of the bed. The 2x4s lend great stability to the side rails, and are much less costly, not to mention easier to obtain. ($10 vs. $75) This bed is sturdy and solid. I think we will be handing it down to our grandchildren in fifty years!

Recommended Skill Level
Beginner

Farmhouse Bench

Submitted by jasonD on Thu, 04/04/2013 - 17:46

Bench was an experiment. Wanted to see how the style looks in the kitchen. The wife loved it, so onto the farmhouse table.

Estimated Cost
$30
Estimated Time Investment
Afternoon Project (3-6 Hours)
Finish Used
watco danish oil dark walnut with a coat of poly for top.. Black paint for bottom.
Recommended Skill Level
Beginner

Farmhouse Nightstand

Submitted by RenoRustic on Tue, 05/12/2015 - 10:17

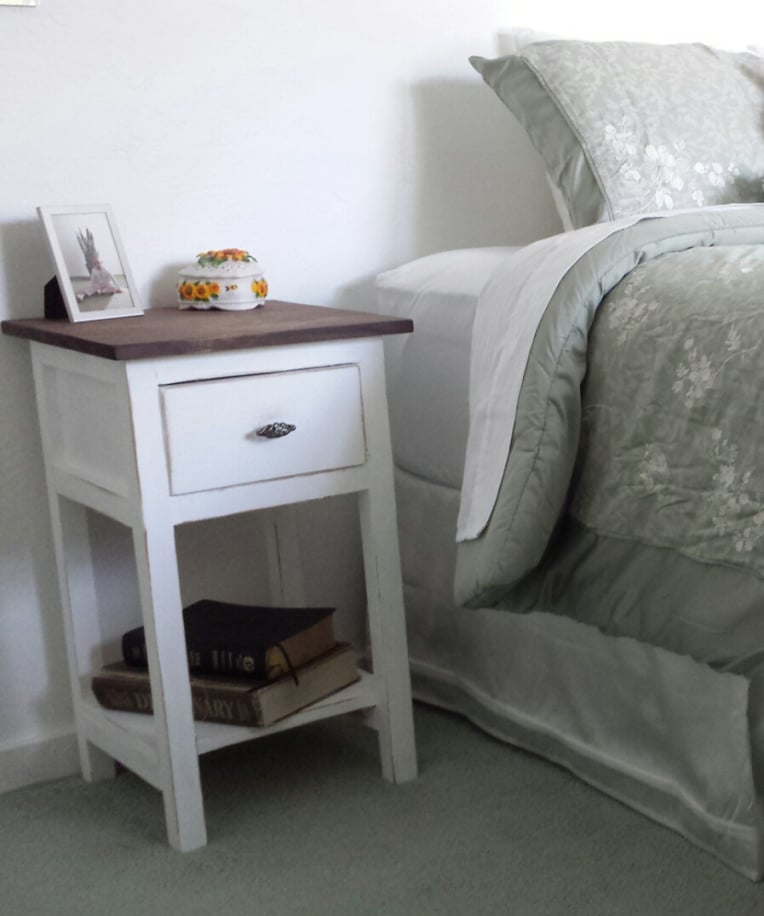
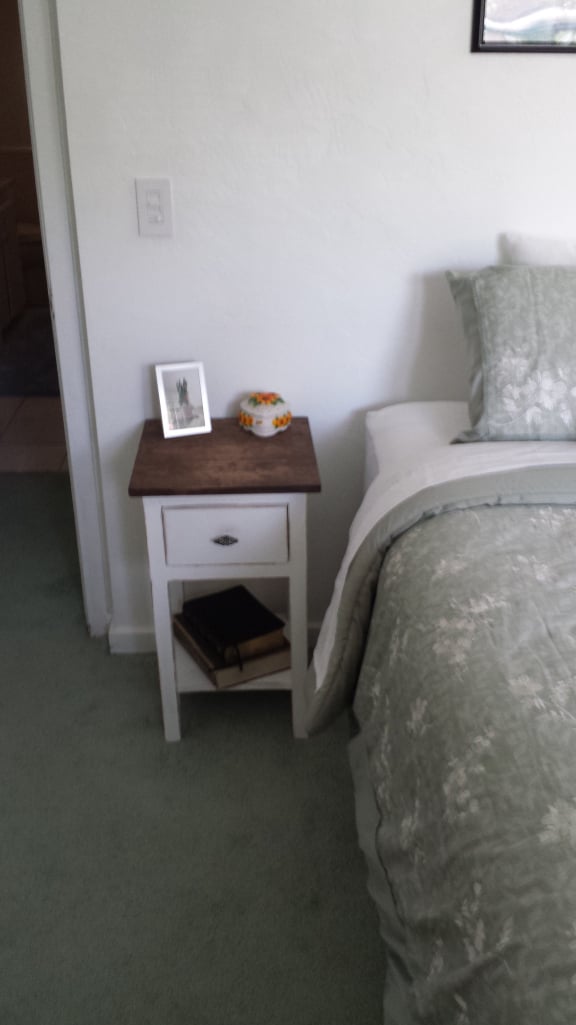
I built this nightstand when my wife and I purchased a new bed. We had to rearrange the bedroom and as such, I no longer had a desk or table on my side of the bed. I wanted something "country" style and after searching through several different plans I found a brag post that fit exactly what I was looking for. Well, technically, I found the original Farmhouse Bedside Table plans and modified them to fit what I needed. It wasn't until after I completed the project that I realized there was a "Mini" version as well. What can I say, I'm not that great as using search. I actually built this over a year ago at this point, and it was the second project I ever built. I learned quite a bit on this project, including the fact your project will only come out as good as your lumber selection! This build actually created my addiction for DIY and woodworking. Thank you Ana!

Estimated Cost
$40
Estimated Time Investment
Day Project (6-9 Hours)
Finish Used
I used Minwax Special Walnut for the entire project, then painted the base and drawer Behr white (their basic white off the shelf, I didn't have the paint mixed) in semi-gloss. I antiqued everything for a more rustic look.
Recommended Skill Level
Beginner

Comments

Farmhouse Table : Restoration Hardware Replica

Submitted by tsibiga on Mon, 06/20/2011 - 09:43

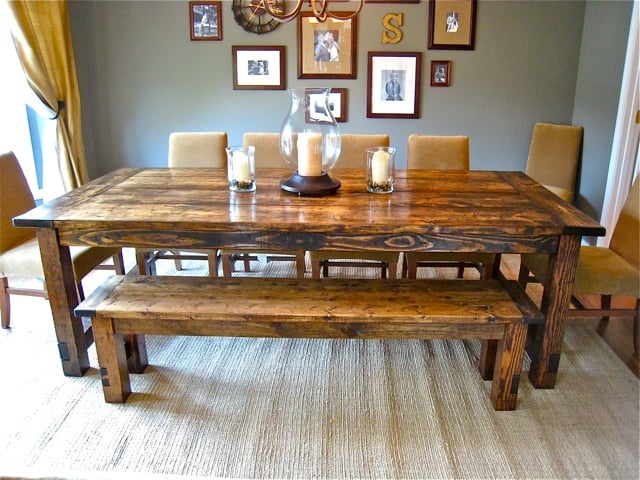
This is the first building project that I've tackled and it's all thanks to Ana-White. I did lots of things different than the building plan but it was definitely my inspiration and extremely useful. I loved the Restoration Hardware table and so I went to the local store to put my eyes on it for myself. Some of the things that I noticed, liked, and included in my design are; I used 4-2x12"s for the tabletop, I used 2x8"s as the breadboards, I used 4x4"s for the legs as well as the side stretcher, I used 2x4"s as the undertable supports, I built two 15" extensions using 2x8"s and 2x2"s, and I attempted to distress the wood yet stain it to match our dining room as best as I could.

www.tommyandellie.com

I've documented the build and you can check it out yourself at: http://tommyandellie.com/?p=14

I've revised the plans with even more details here; http://tommyandellie.com/index.php/2012/01/13/new-and-improved-farmhous…

Hope it helps.

Estimated Cost
$300
Estimated Time Investment
Week Long Project (20 Hours or More)
Finish Used
I banged up the wood using random things around the garage and then used a Dark Walnut Stain. Additionally, on the tabletop I did two coats of Briwax (light Brown) for a nice, shiny, and smooth eating surface.
Recommended Skill Level
Intermediate

Comments

niecey

Mon, 06/20/2011 - 15:06

This is stunning! I'm working on this table right now, but it's no where near as good as yours. I'm jealous. I love your extensions. I'd love to see a tutorial on adding extensions..

ispeakwhale

Tue, 06/21/2011 - 05:16

It looks beautiful. Did you attatch the 2x2 to the underside of the extensions and then notch out a place on the support for them to slide into? Can you please take a photo of the underside with the extensions on?

Tommy (not verified)

Tue, 06/21/2011 - 14:42

That's exactly right. Here's a link to the picture you asked for; http://www.tommyandellie.com/Site/Home/Entries/2011/6/10_Farmhouse_Tabl…

There's some more details and info specifically about the extensions on my blog at; http://www.tommyandellie.com/Site/Home/Entries/2011/6/10_Farmhouse_Tabl…

It's a super simple addition to the design and can take my table from 96" to 126"!!! Or take it from a 8-10 seat table to potentially 16 seats available for those Big thanksgiving meals.

Guest1 (not verified)

Wed, 06/29/2011 - 15:41

Hello,

I was just wondering that since your table is a bit wider than Ana's table, did you make the support for the stretcher wider? As in, did you increase the length at all (in addition to making it stick out a bit at the ends? If so, what did you extend it to? Thanks and gorgeous job!

tsibiga

Wed, 06/29/2011 - 18:49

Hello,

I followed Ana's example and allowed for a 1" overhang on both sides. So the tabletop is actually 44" wide and the stretchers are approximately 42". The long 2x4" stretcher is approximately 88".

Hope that helps. Thanks for the positive comments.

Guest (not verified)

Wed, 06/29/2011 - 20:28

I cant believe how good that looks. Great job! Out of curiosity, how did you make the notches (dados) for the 4x4 legs where they meet the table top? Really impressive table!

tsibiga

Thu, 06/30/2011 - 04:43

For the table legs, I set my table saw blade to a height of approximately 1.5". I then made a first cut at 3.5" from the bottom, then made a cut at 7", and then made several subsequent cuts in between those two cuts. After it was all slivered, I used a hammer to knock it all out, and then swirled the opening all around on the table saw (blade still at 1.5" tall) to smooth out all the cuts. I used the same technique for the stretcher as well.

Guest (not verified)

Sat, 08/06/2011 - 21:36

Hi Tommy, I tried clicking on your site and was told the site could not be found. Last week, I saw it fine and showed my hubby our next project, but now it's gone. Help!

Keri Beth (not verified)

Thu, 03/01/2012 - 07:17

What inspiring pictures! Apparently everyone agrees, because I just "pinned" one of these pictures to Pinterest and it was immediately repinned 27 times and counting. So nice work! I hope to make mine this weekend.

DES.II (not verified)

Sun, 04/29/2012 - 06:29

She and her boyfriend would like to build it using lumber i cut from my mill. They are thinking walnut, hickory or maybe ash but im not sure how that will work out with being distressed. And your extentions, do you have a 2x4 or two that slides out from under the table to help support them on each end ? Are there pics of the under side of the table as well? This is a great table and i think they will have fun as a family assemblimng and finishing it.
Thank you. DesII

Marci (not verified)

Thu, 10/11/2012 - 12:12

Where can I find the bench instructions??

James Groover

Tue, 04/14/2015 - 13:31

Hey Tommy, I saw the Farmhouse table design with extensions, I don't have Excel to open the cut list and need the buy list and cut list to complete the project, I am really short on time and need to start this project tomorrow. Please if you can, do you have a word document or a PDF that shows the page for those?

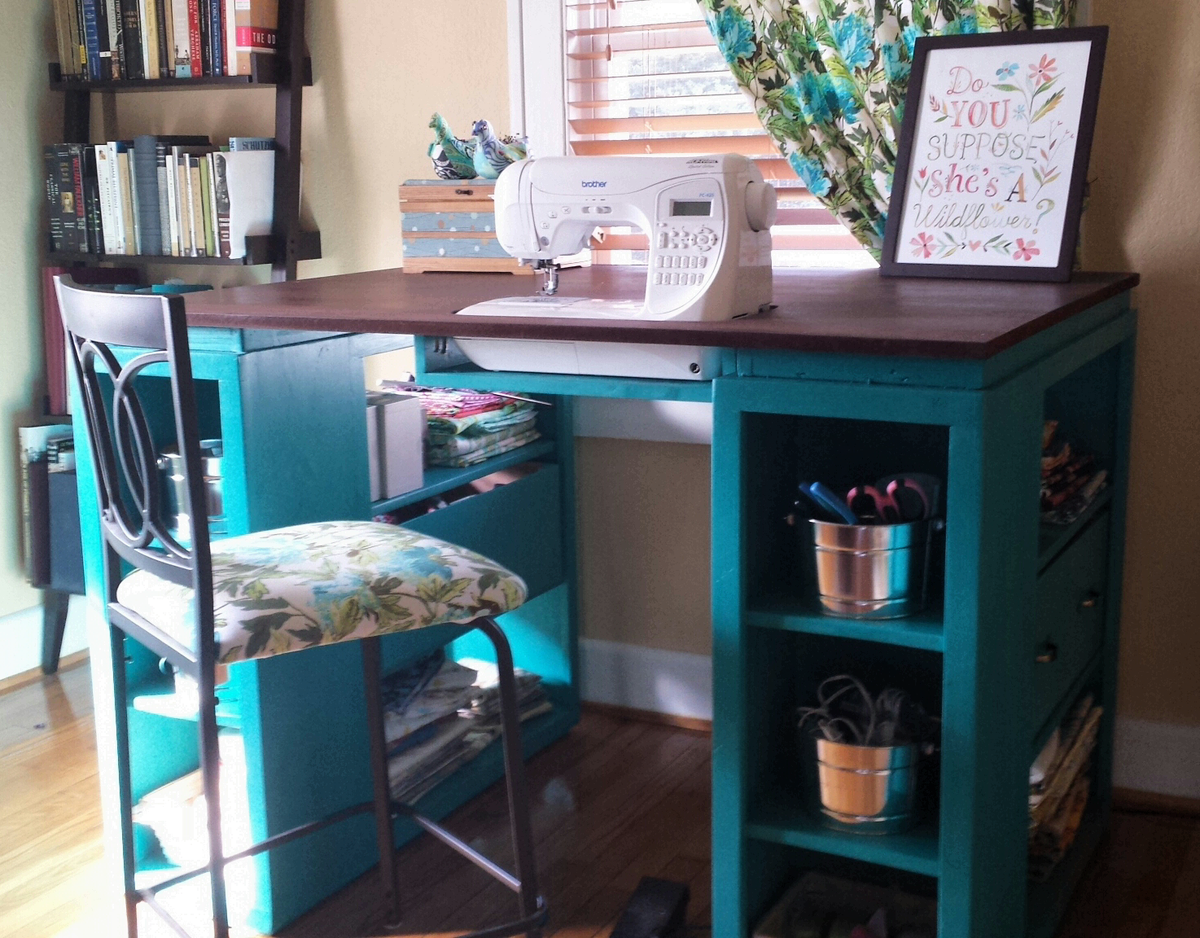
The perfect sewing table!

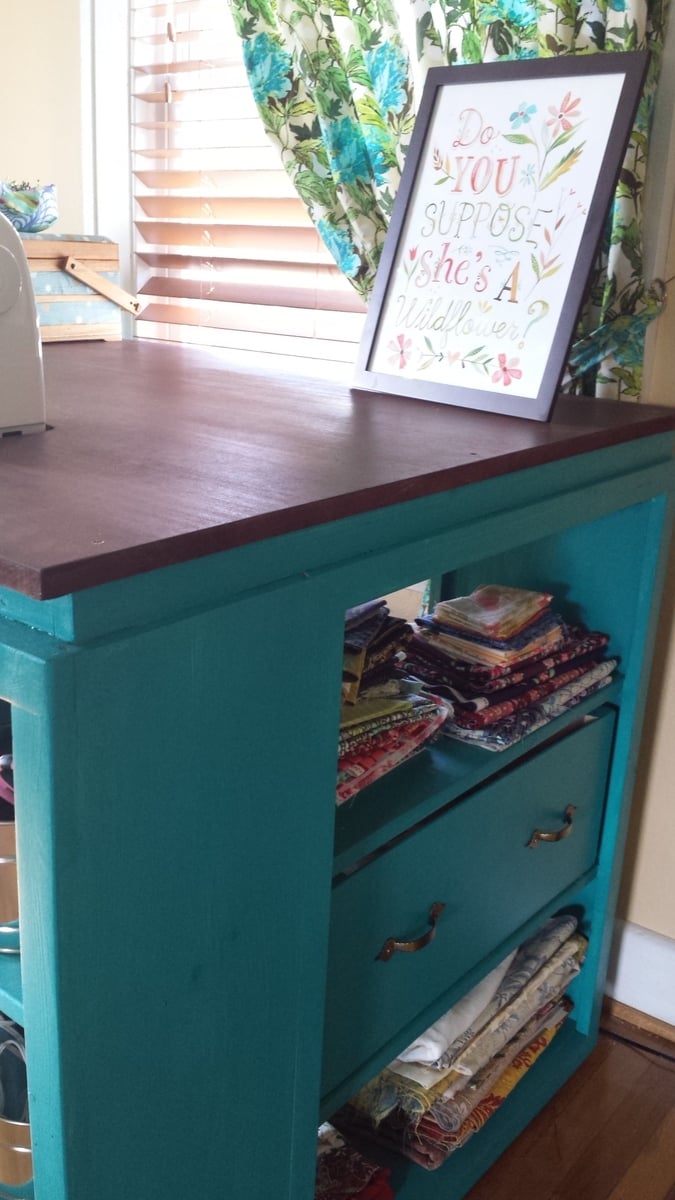
I have been looking at sewing furniture for years, but the prices always made my jaw drop. I have a small craft room, so I needed a table that could also triple as a cutting table and fabric storage. Thank you so much to Ana White for this plan! I built exactly to the plan in The Handbuilt Home, and it's the PERFECT size.

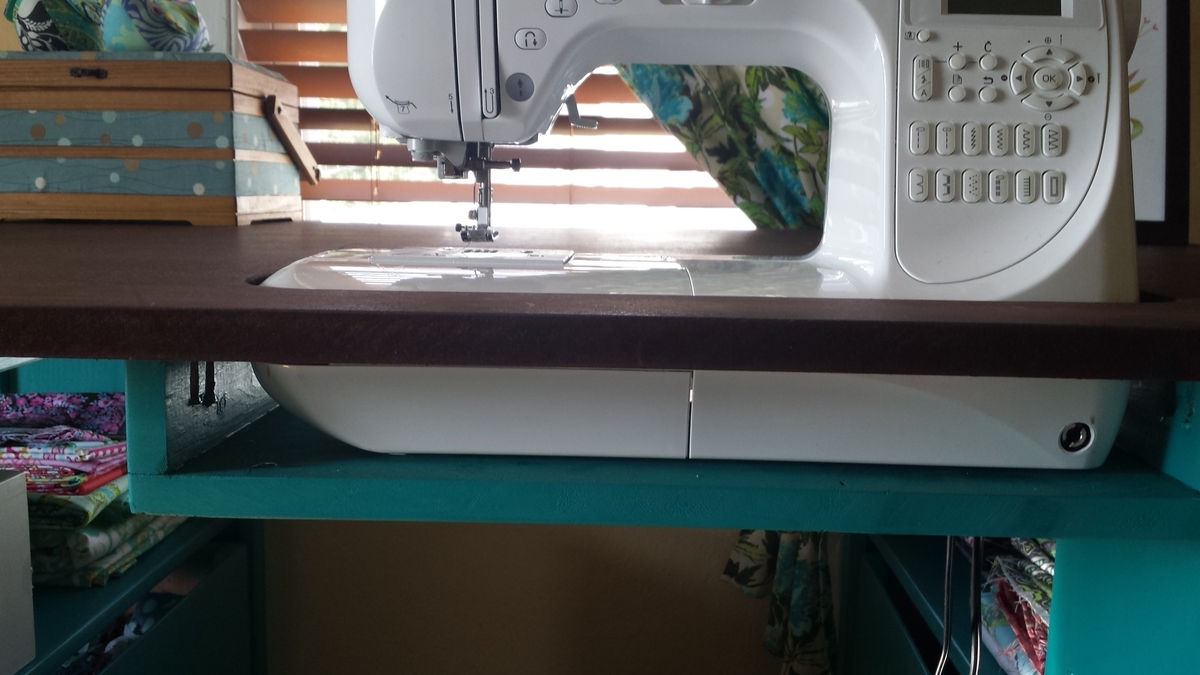
So the sewing machine can sit flush with the top, making working on big sewing projects way easier, I traced the outline of my machine on the MDF and cut it out with a jig saw. Then I built a small shelf using a 1x12 scrap and 2 1x3 scraps. Putting the 1x3s on top of the 1x12 made the shelf 3.75 inches deep, which is exactly the depth I needed. I attached it to the underside of the tabetop using a pockethole jig and screws.

I built 2 boxes using 1/4 inch plywood, and installed drawer pulls on them, giving the illusion that the table has 2 drawers built in. This is where I keep my ugly stuff--interfacing and fabric scraps.

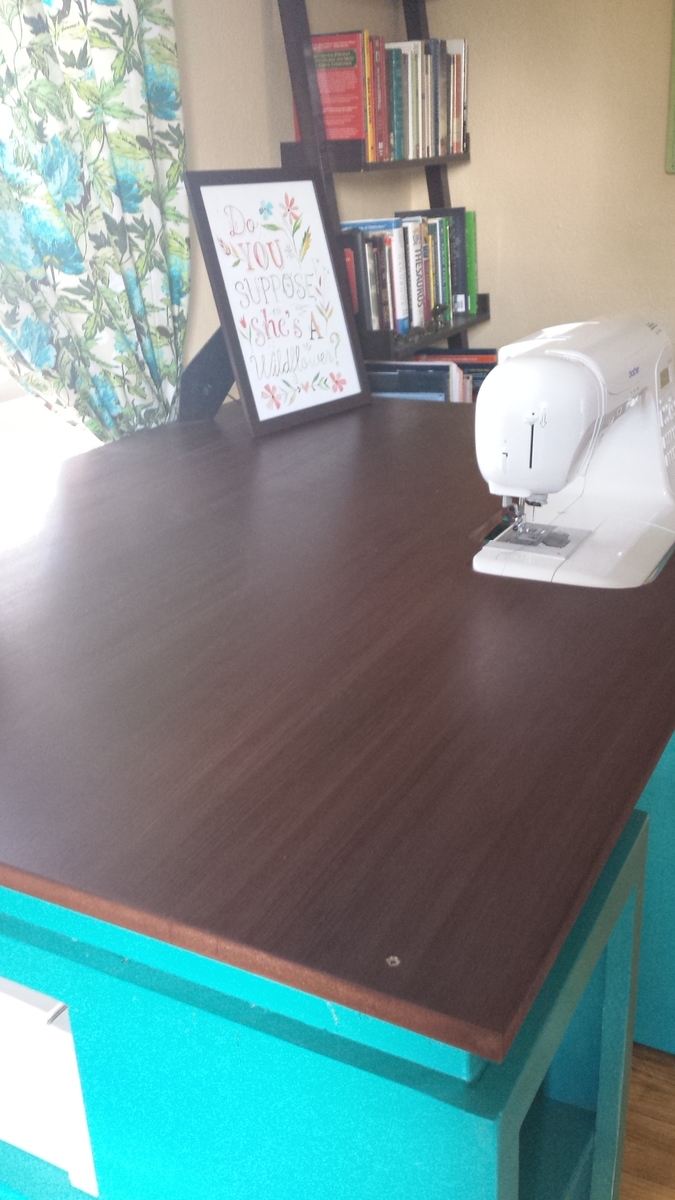
I got the color scheme for the table from the entryway console plan in The Handbuilt Home. In order to make the MDF top look like it had a wood grain, I applied mahogany gel stain with an old washcloth in very thick strokes that spanned the length of the tabletop. It soaked in and lost the "grain" look in some places, but the majority still looks like wood. I did have to apply several coats of polyurathane over the stain; the MDF has a prickly texture that grabs fabric and makes it hard to feed through the sewing machine.

My only complaint is that I didn't quite think through the fact that seating is bar height and I'm 5'7". It's a little difficult to reach my sewing machine pedal. I may build a small stool for the pedal to sit on so I don't have to half sit/stand to sew.

This is the first woodworking project I've done alone from start to finish: from going to Lowe's and picking out the wood, to cutting the wood with a circular saw, assembly, and finishing. (My fiance did carry it up the stairs for me. :) )

I'm so in love with this table! And now to finish the quilt I started 6 months ago....
Built from Plan(s)
Estimated Time Investment
Week Long Project (20 Hours or More)
Finish Used
I used 2 coats of Valspar Signature paint in Laguna Beach, and Minwax mahogany gel stain on the MDF tabletop.
Recommended Skill Level
Intermediate

Comments

MissMehndi

Mon, 09/23/2013 - 15:22

I love this idea!! I too have wanted a sewing table for a long time but the prices of them take my breath away. I may have to make myself one! Thanks for the inspiration!!

Wall mounted can organizer

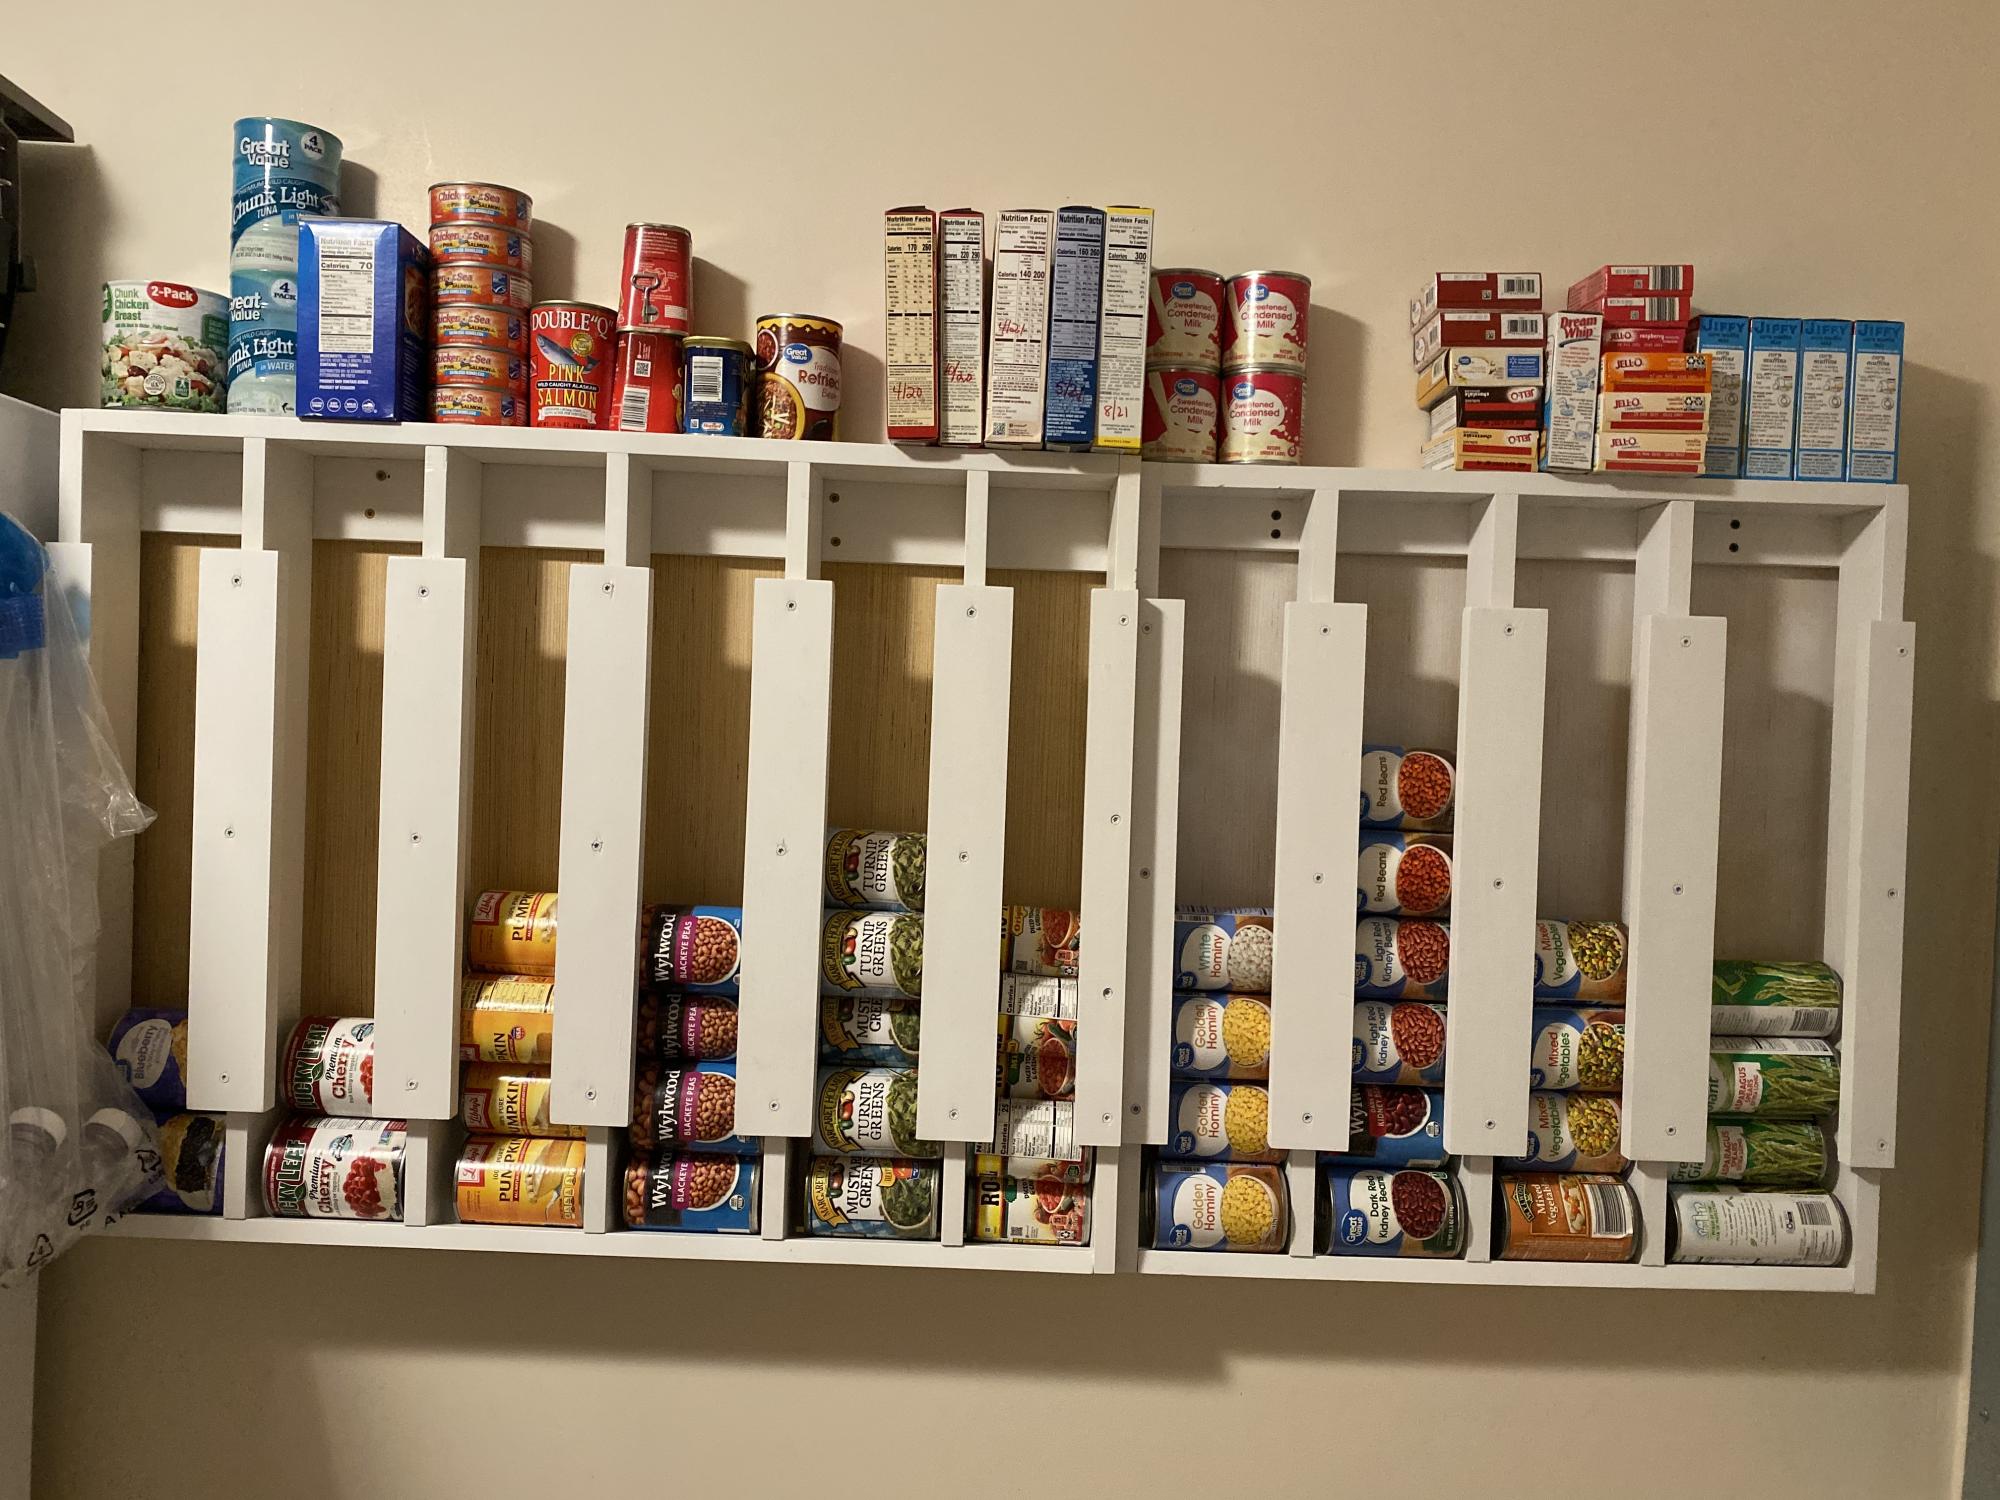
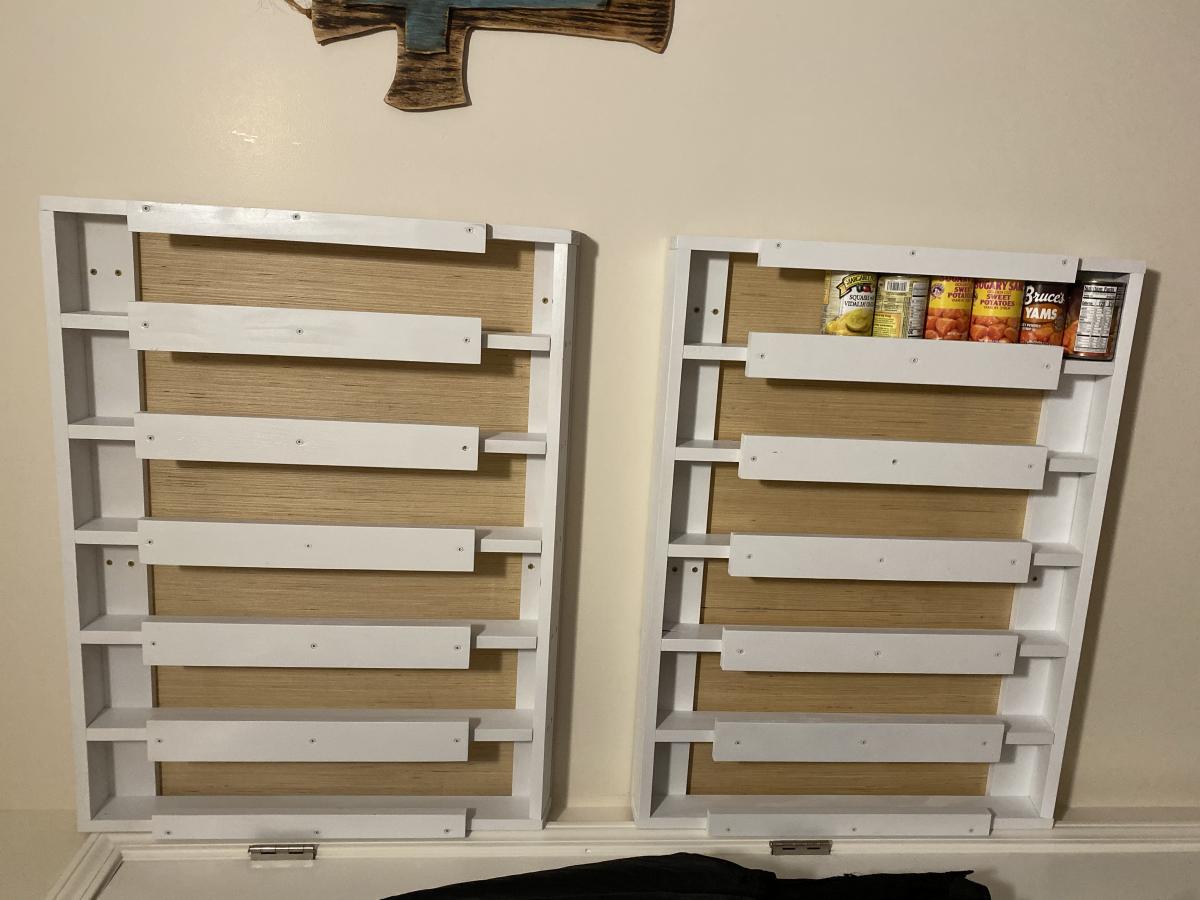
Added a backing of thin plywood to prevent the cans marking up the walls. I knew how many types of canned goods I wanted this to fit and adjusted the width to meet our needs. Love how this is going to save space in the pantry and with just a glance I can see what we have on hand.
Thanks Ana for another great plan!

Built from Plan(s)
Estimated Cost
About $150.
Estimated Time Investment
Day Project (6-9 Hours)
Finish Used
Spray paint
Recommended Skill Level
Beginner

Comments

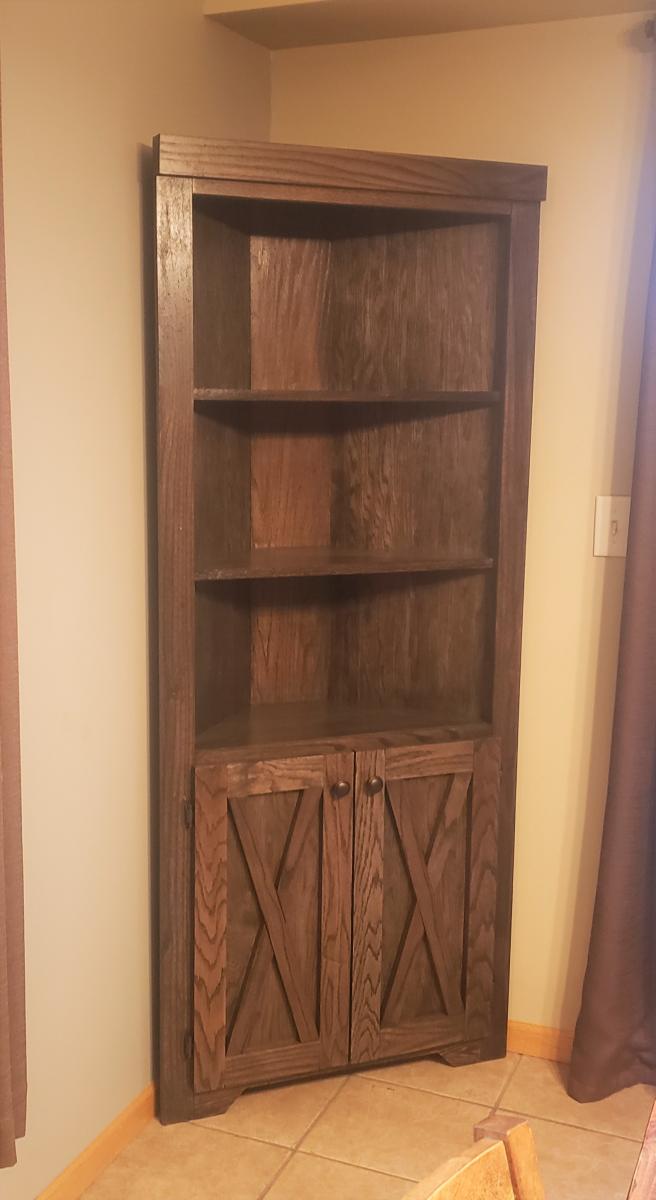
Corner Cupboard Hutch

Submitted by necdice on Tue, 10/27/2020 - 08:53

Thanks to Ana for the custom corner cupboard hutch plans! This project turned out great using Red Oak boards and an ebony stain. My customer loved it!!

Built from Plan(s)
Estimated Cost
100
Estimated Time Investment
Weekend Project (10-20 Hours)
Finish Used
Minwax Ebony with a couple coats of poly
Recommended Skill Level
Intermediate

Comments

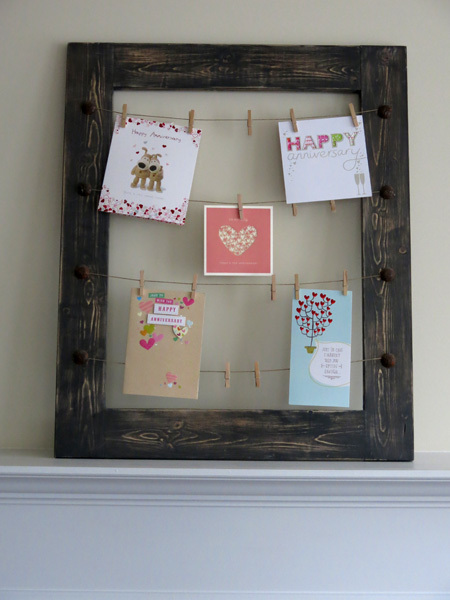
Clothesline Peg Display Frame

Submitted by AndyH on Tue, 02/17/2015 - 16:41

Initially made this to display Christmas cards in.

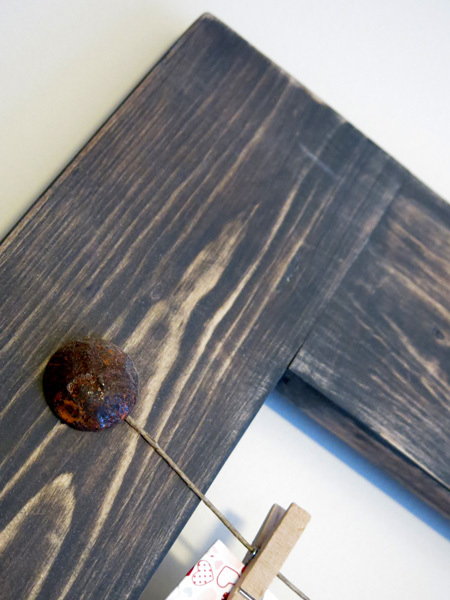
Made from 1 by 4 No. 2 Whitewood.  Was stained with Rustoleum Driftwood and then painted with some left over paint I found in garage.  I then sanded it back a bit to show the grain and stain through.

The nails are 1 inch Clavos nails from a website called www.Directfrommexico.com

Measures about 30 by 25 inches on outsides.


Estimated Cost
Wood $4.50 as only needed one piece and used one left over piece. The large hammered nails were most expensive part at about $8. Line and pegs around $5.00 Stain and paint were leftovers. Total about $17.00. Have specified an hour or two but the down time between stain and paint drying obviously adds time.
Estimated Time Investment
Day Project (6-9 Hours)
Finish Used
Rustoloeum Driftwood as base and some left over paint. Painted on the stain without conditioner. Let dry overnight. Painted the next day and left another day to fully dry. Sanded by hand to show some grain through.
Recommended Skill Level
Starter Project

Master Walk In Closet with Bookshelf Door

Submitted by valpal5 on Thu, 04/16/2015 - 20:26

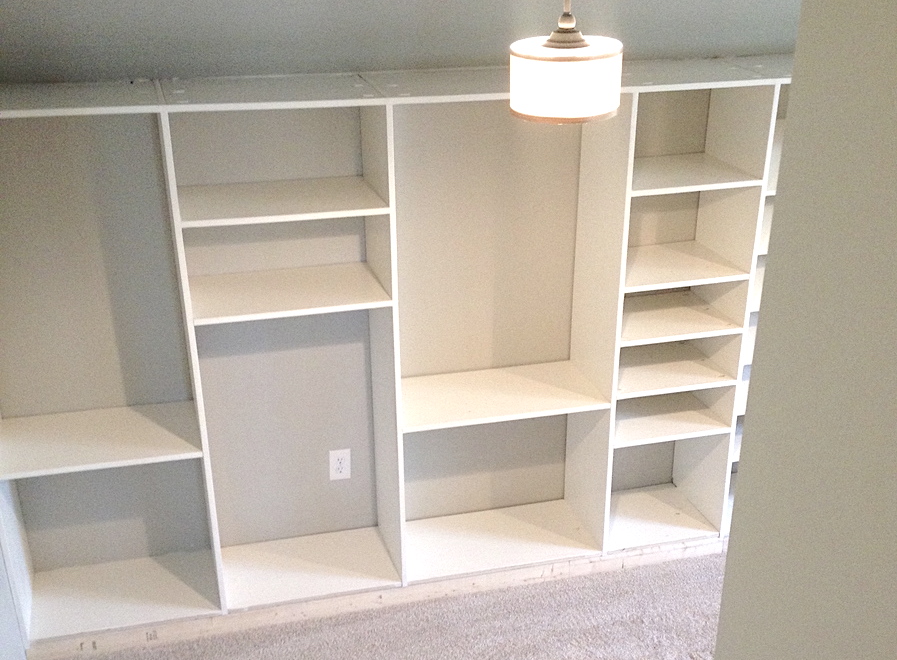
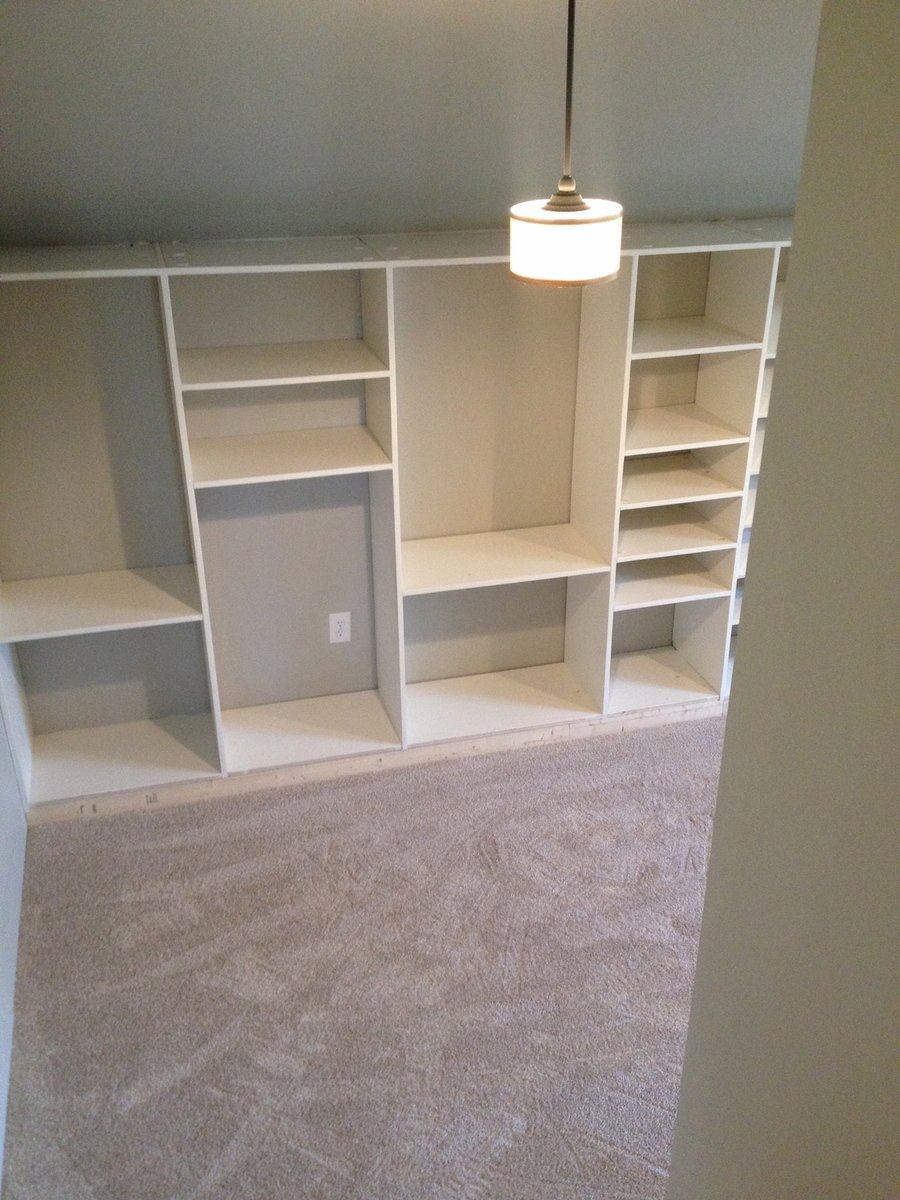
We used an unfinished attic space above our garage that was connected to our bedroom to make a walk-in closet with great shelving.  This project took a lot of time but we are so happy with the results!  There is a side for my husband and a side for me.  Although it is hard to see we also incorporated a small door/bookshelf into the room to allow us access to attic storage space.

closet shelving
 

Estimated Cost
$500
Estimated Time Investment
Week Long Project (20 Hours or More)
Finish Used
White painted finish.
Recommended Skill Level
Intermediate

Comments

Planters

Submitted by Liz H. on Thu, 03/31/2011 - 11:33

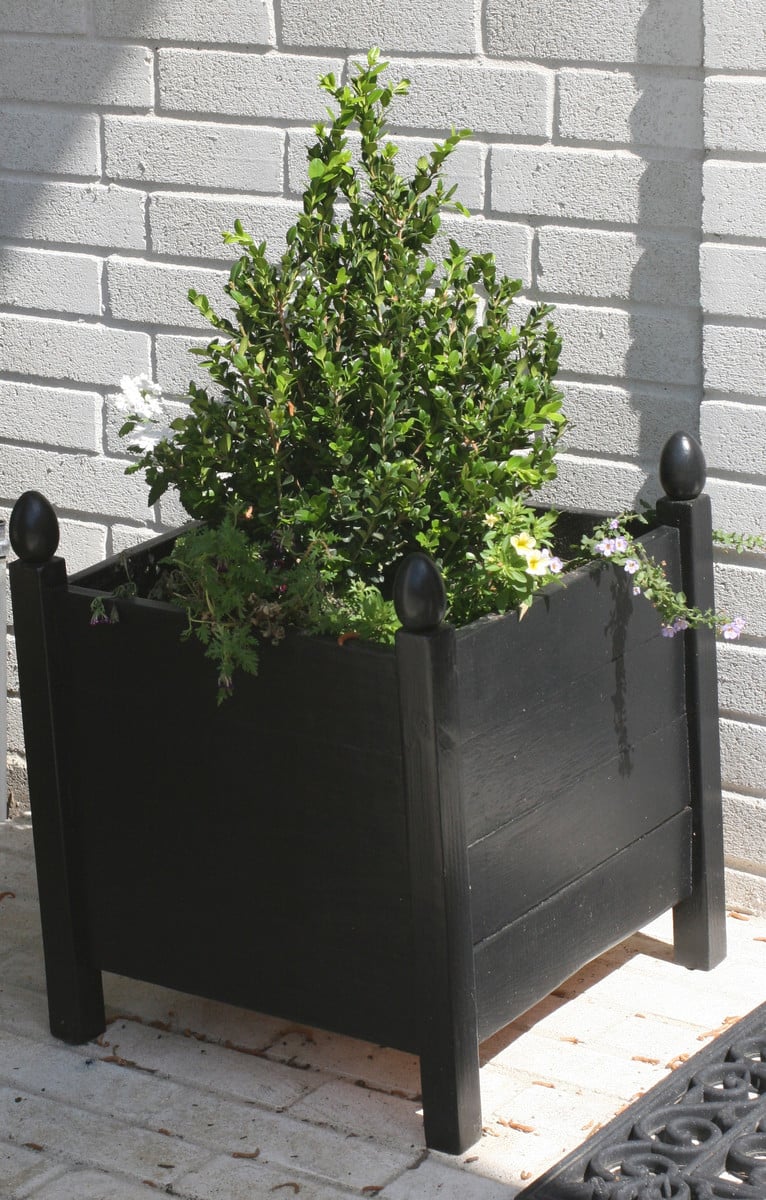
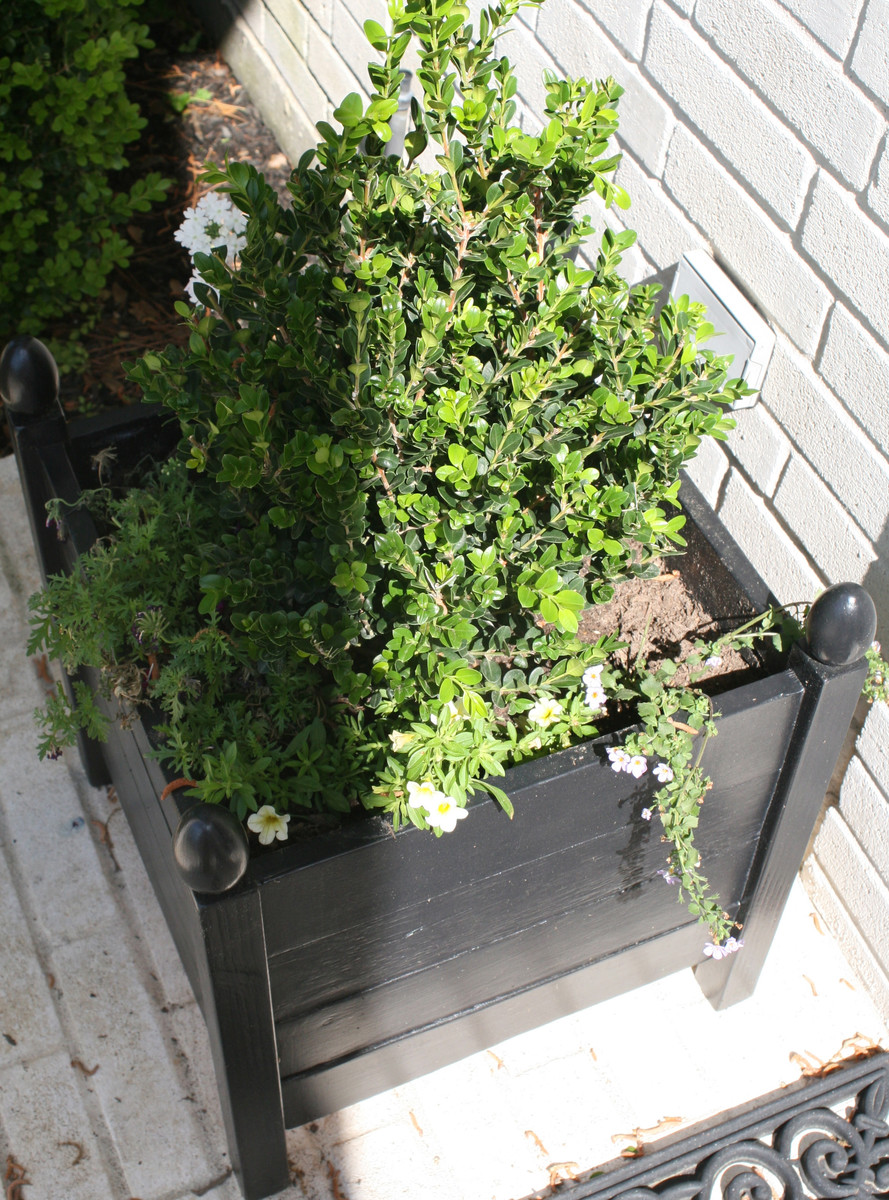
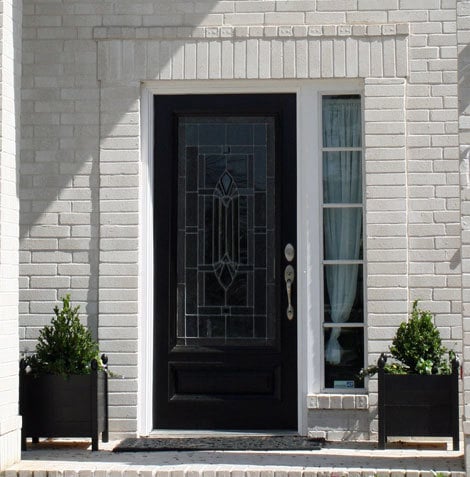
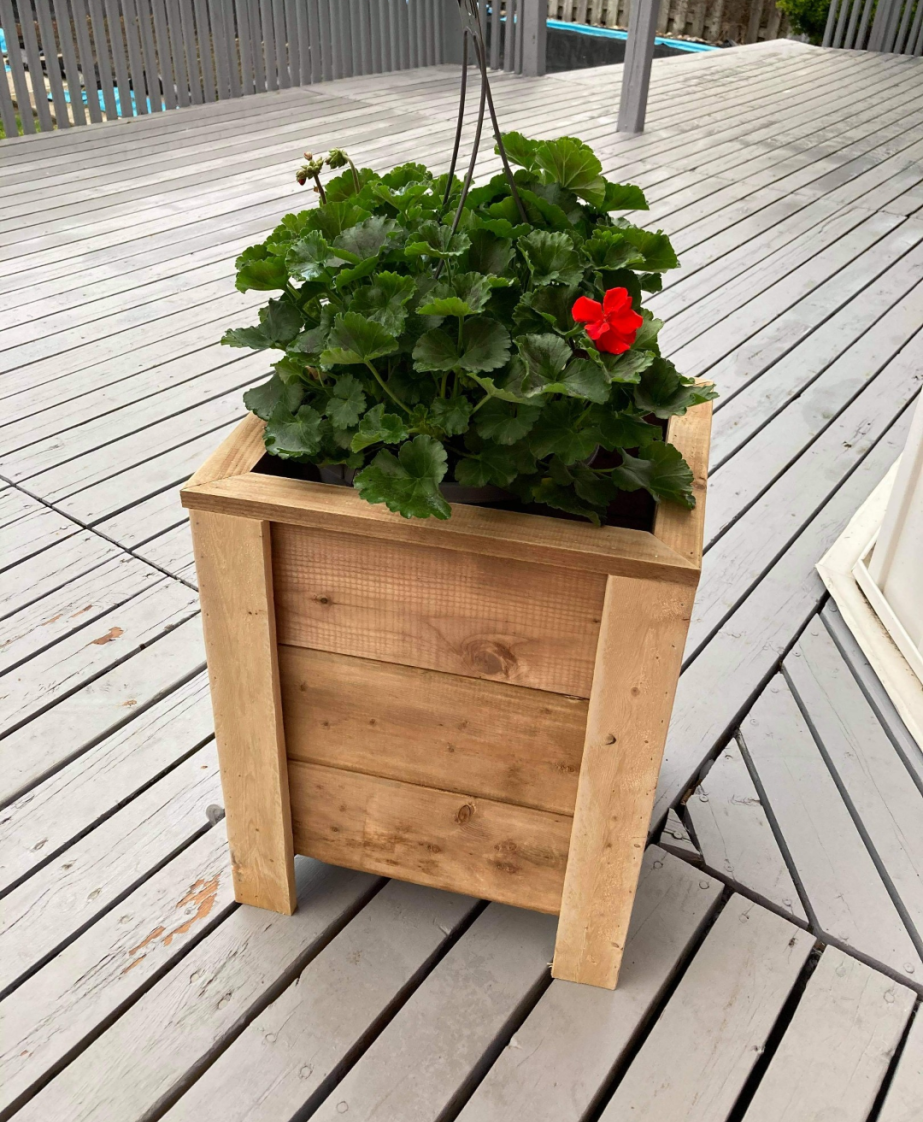
This was a fun easy build...I took the toy box plans and used 1X4s instead of solid sides and bottom.  I cut the legs short and put finals on.  

Estimated Cost
$25
Estimated Time Investment
Afternoon Project (3-6 Hours)
Finish Used
Black outdoor paint.
Recommended Skill Level
Starter Project

Chalkboard Cubby

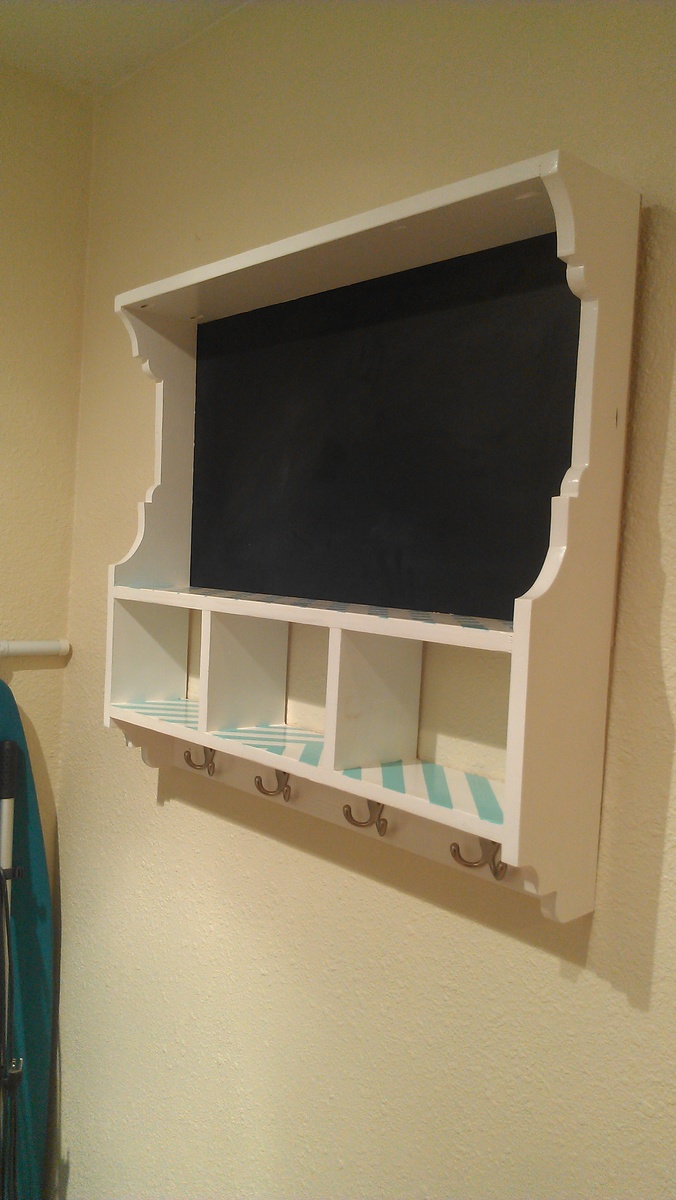
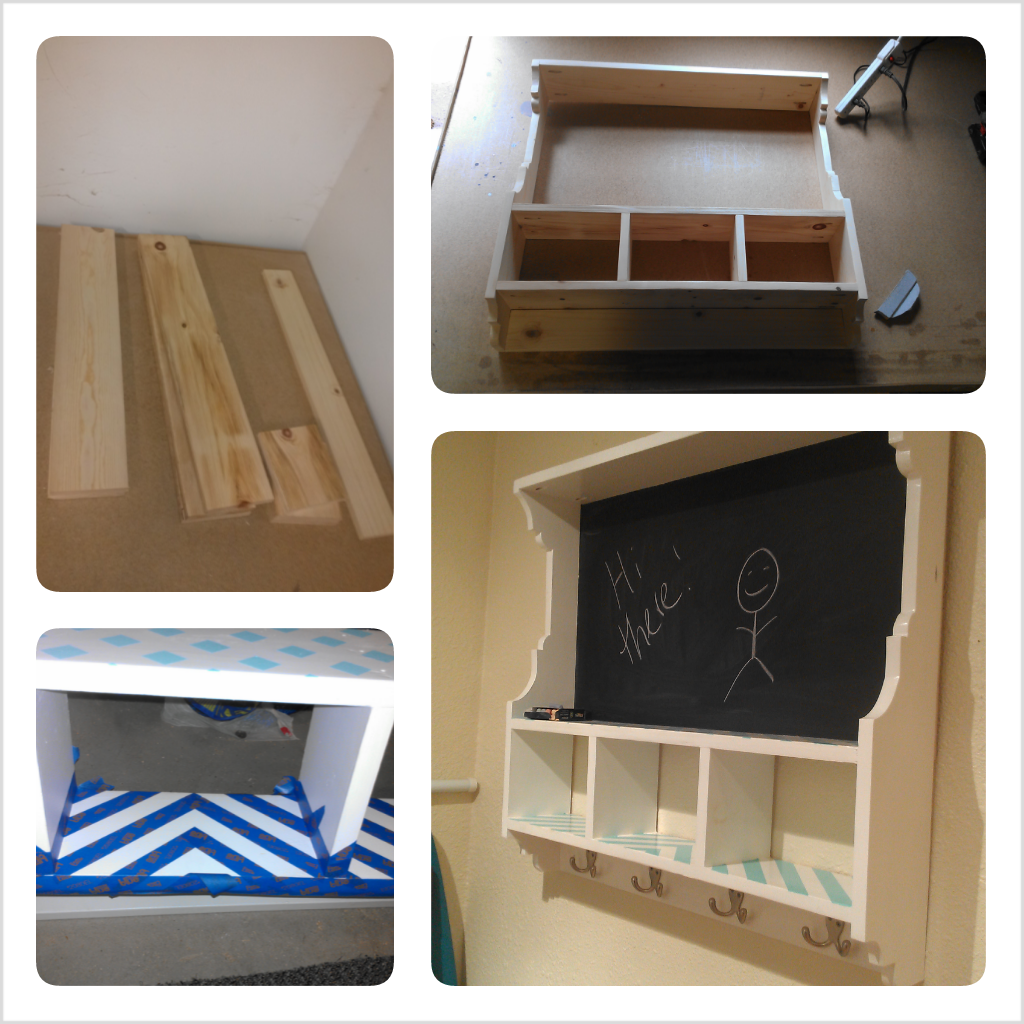
This cubby was my very first project! I just finished remodeling my kitchen, all that was missing was a place for my keys, dog leashes etc. My little house doesn't have a proper entryway so I created a "welcome station" with this cubby. The trickiest part was definitely cutting the sides, but I was able to get those tight circles with a little forethought and a lot of sanding :) I used leftover paint and samples from choosing colors for the kitchen, so it automatically coordinated with the rest of the decor.

Built from Plan(s)
Estimated Cost
~$40
Estimated Time Investment
Day Project (6-9 Hours)
Finish Used
3 coats of Behr "Polar Bear" white paint and samples (Rainwater, also Behr) with LOTS of taping! I think I spent ore time taping than I did actually painting! I also did 3 coats of clear satin coat. I didn't sand in between because I like the look of brush strokes :)
Recommended Skill Level
Intermediate

My first project

Loved how these plans were so easy to follow and certainly appreciate the accompanying video.

Comments

Resized modern chairs with table

Submitted by CarolinaL on Thu, 12/28/2017 - 16:27

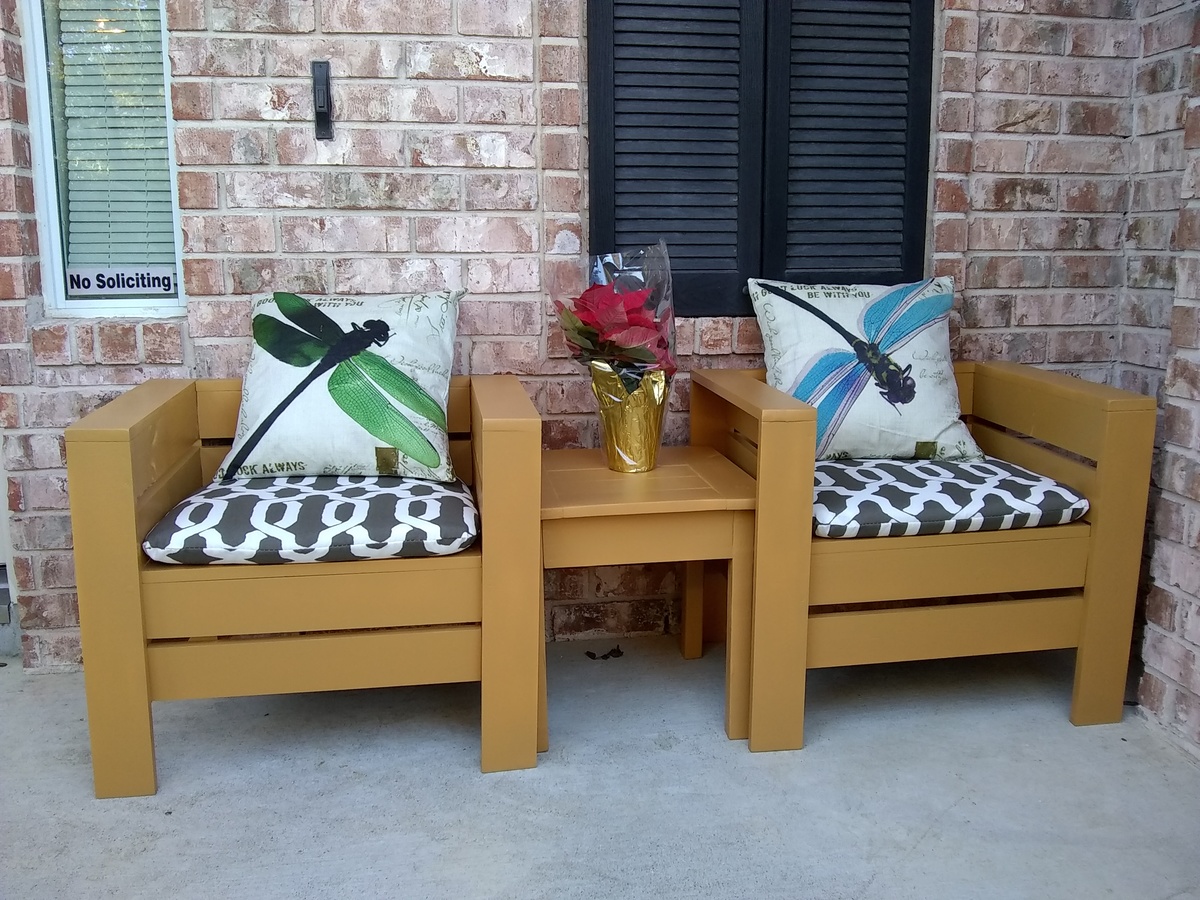
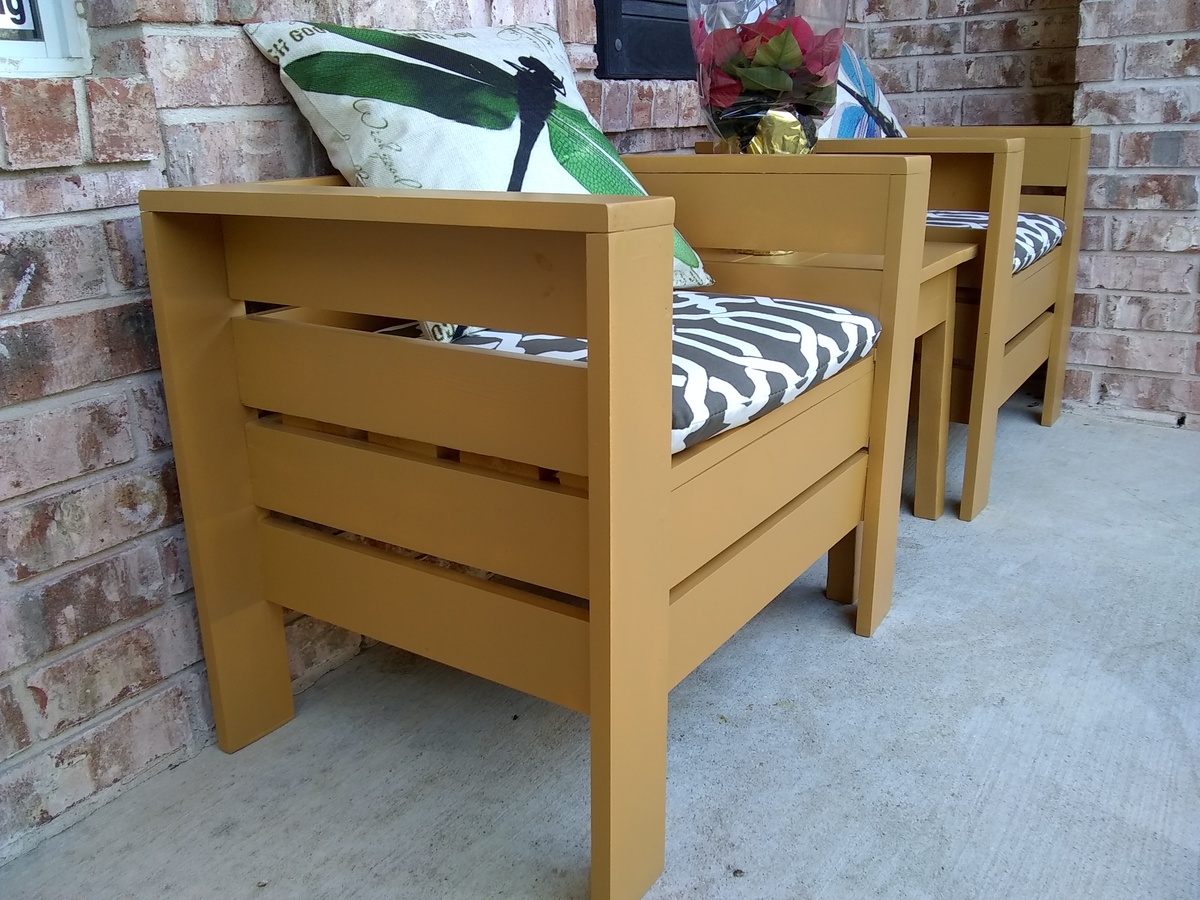
I needed chairs that would fit on my narrow front porch. This plan was great because I was able to resize it to 20x20. I used 1x4s that I already had and some wood glue. They turned out solid. I made the tryde table with left over wood. That one is 17.5x17.5. Super happy with the results. We are doing the garage shelves right now. I have a list of other things I want to make thanks to Ana's wonderful website. 

Estimated Time Investment
Week Long Project (20 Hours or More)
Finish Used
Exterior Valspar with a paint sprayer
Recommended Skill Level
Beginner

Outdoor Sectional

Submitted by czappia on Wed, 04/27/2011 - 13:54

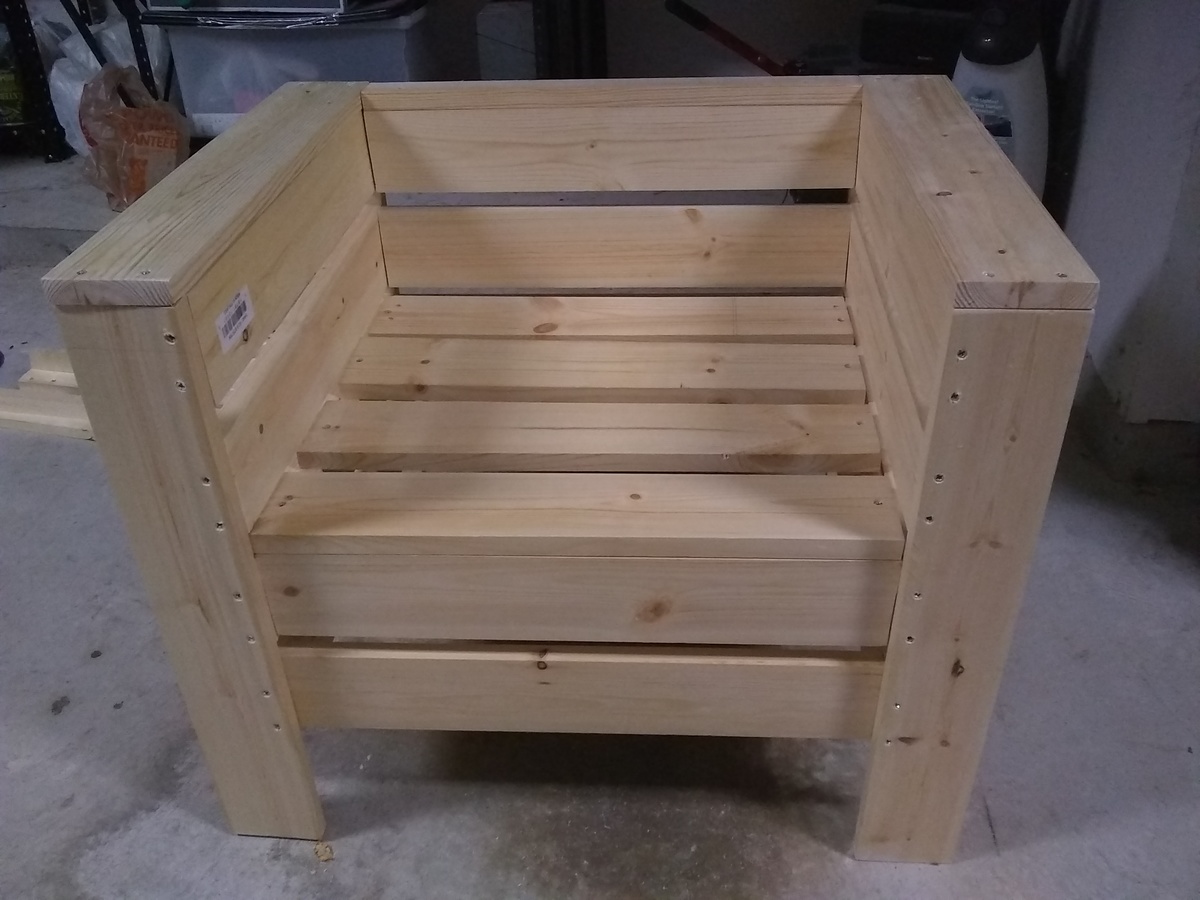
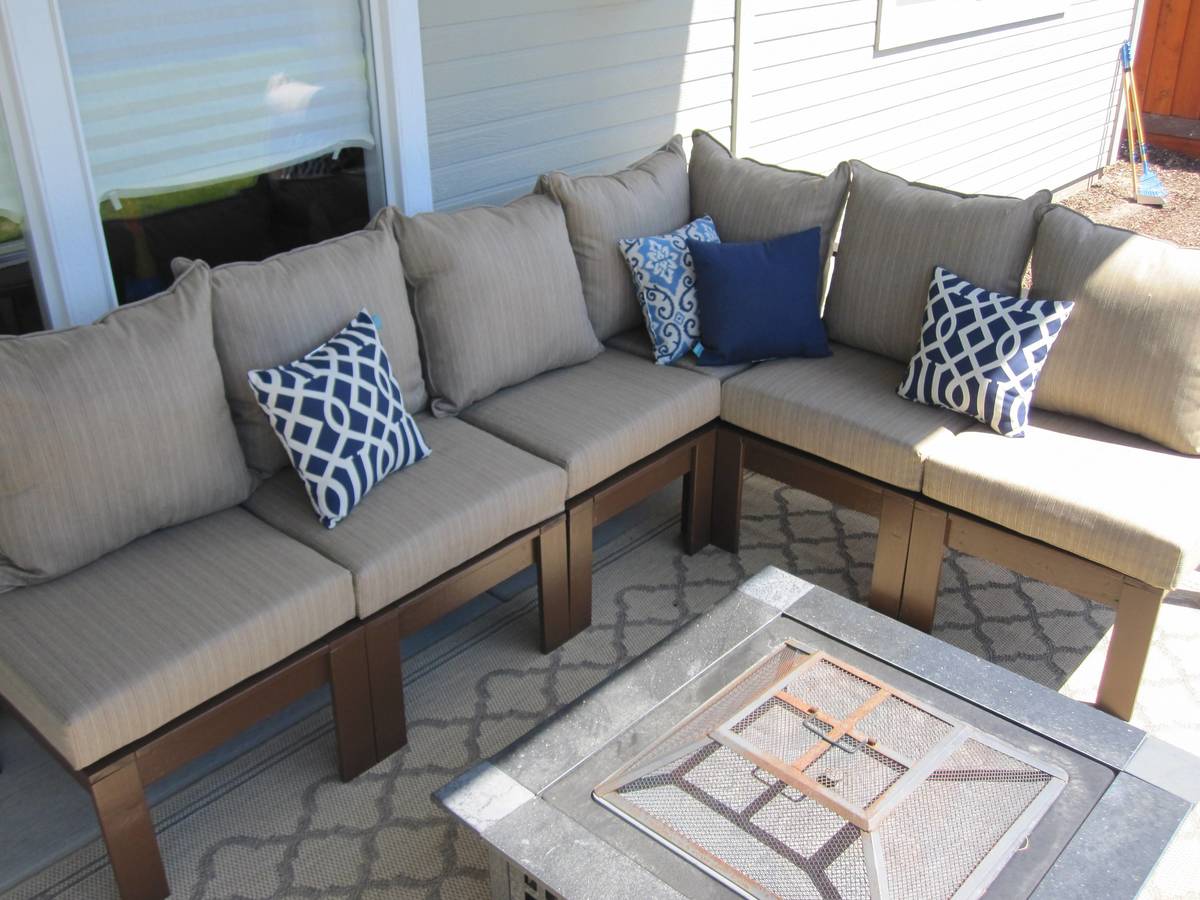
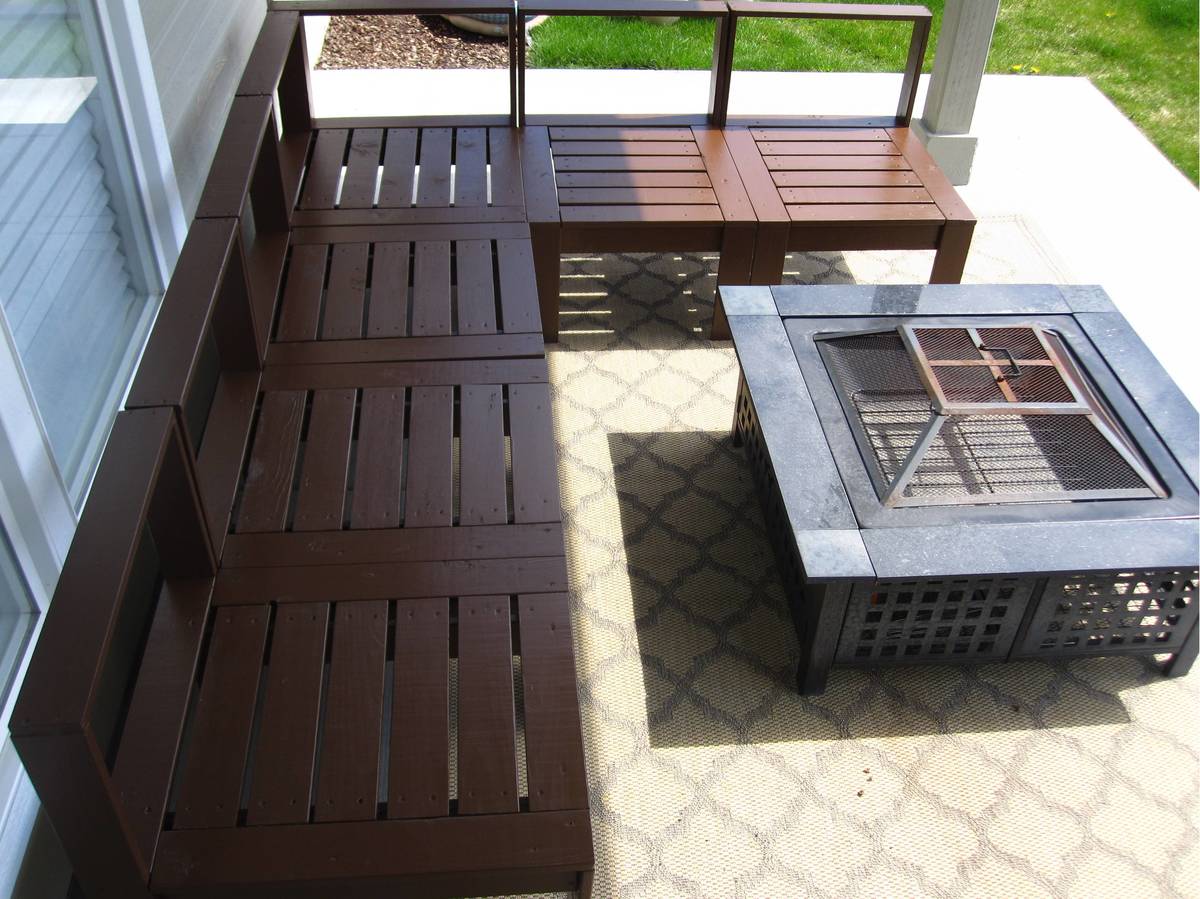
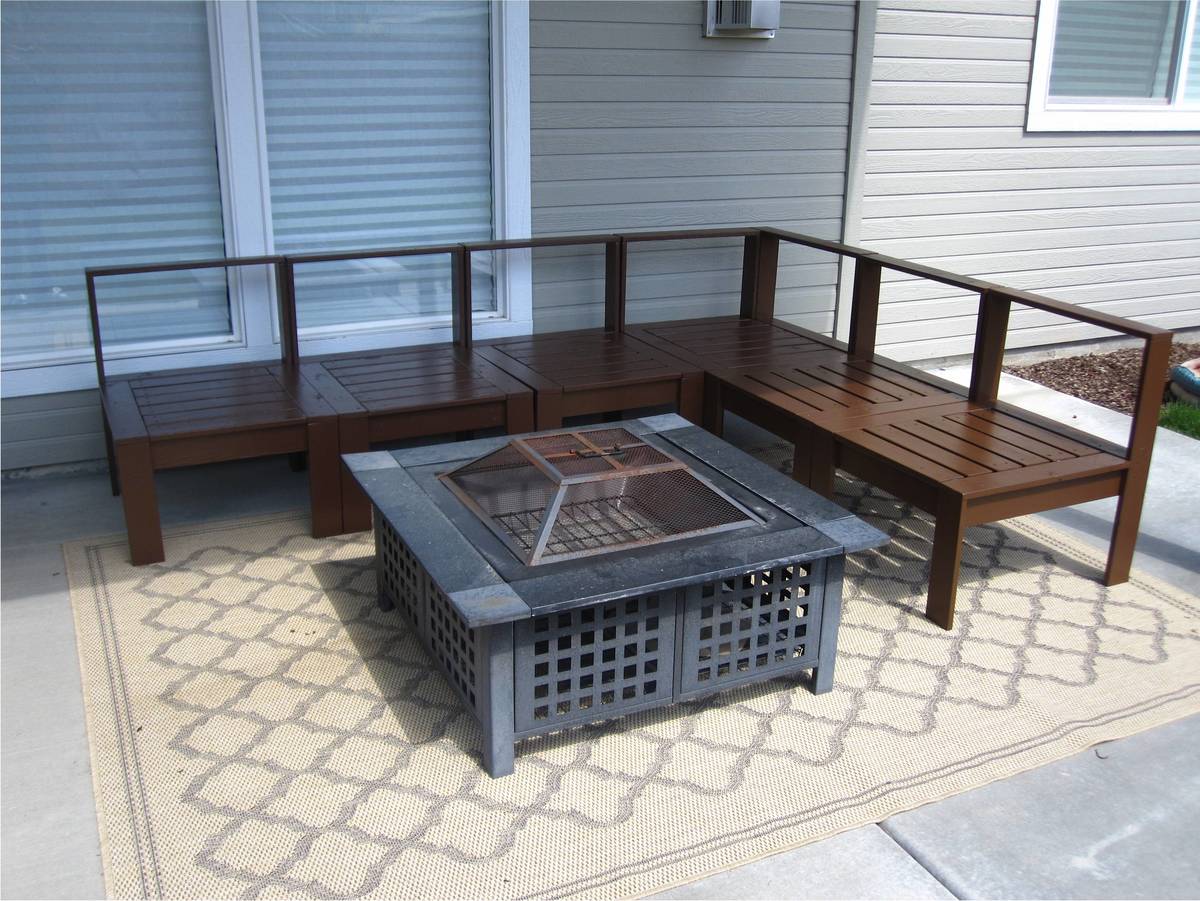
We needed furniture for our back patio and as I was searching for plans online, I stumbled across Ana-white.com. I was so excited to show my husband who built this in a day. I had thought that I would sew the cushions myself but after a few failed attempts at sewing box cushions with piping, I decided to buy the cushions. Buying them is actually a LOT cheaper as foam is very expensive in this size. I bought our cushions and back pillows from Walmart and the accent pillows from Target.

Cost: $355-cushions
$115-Wood
$25-Primer
$20-Paint

Estimated Cost
$500
Estimated Time Investment
Weekend Project (10-20 Hours)
Recommended Skill Level
Intermediate

Comments