4x4 farmhouse table
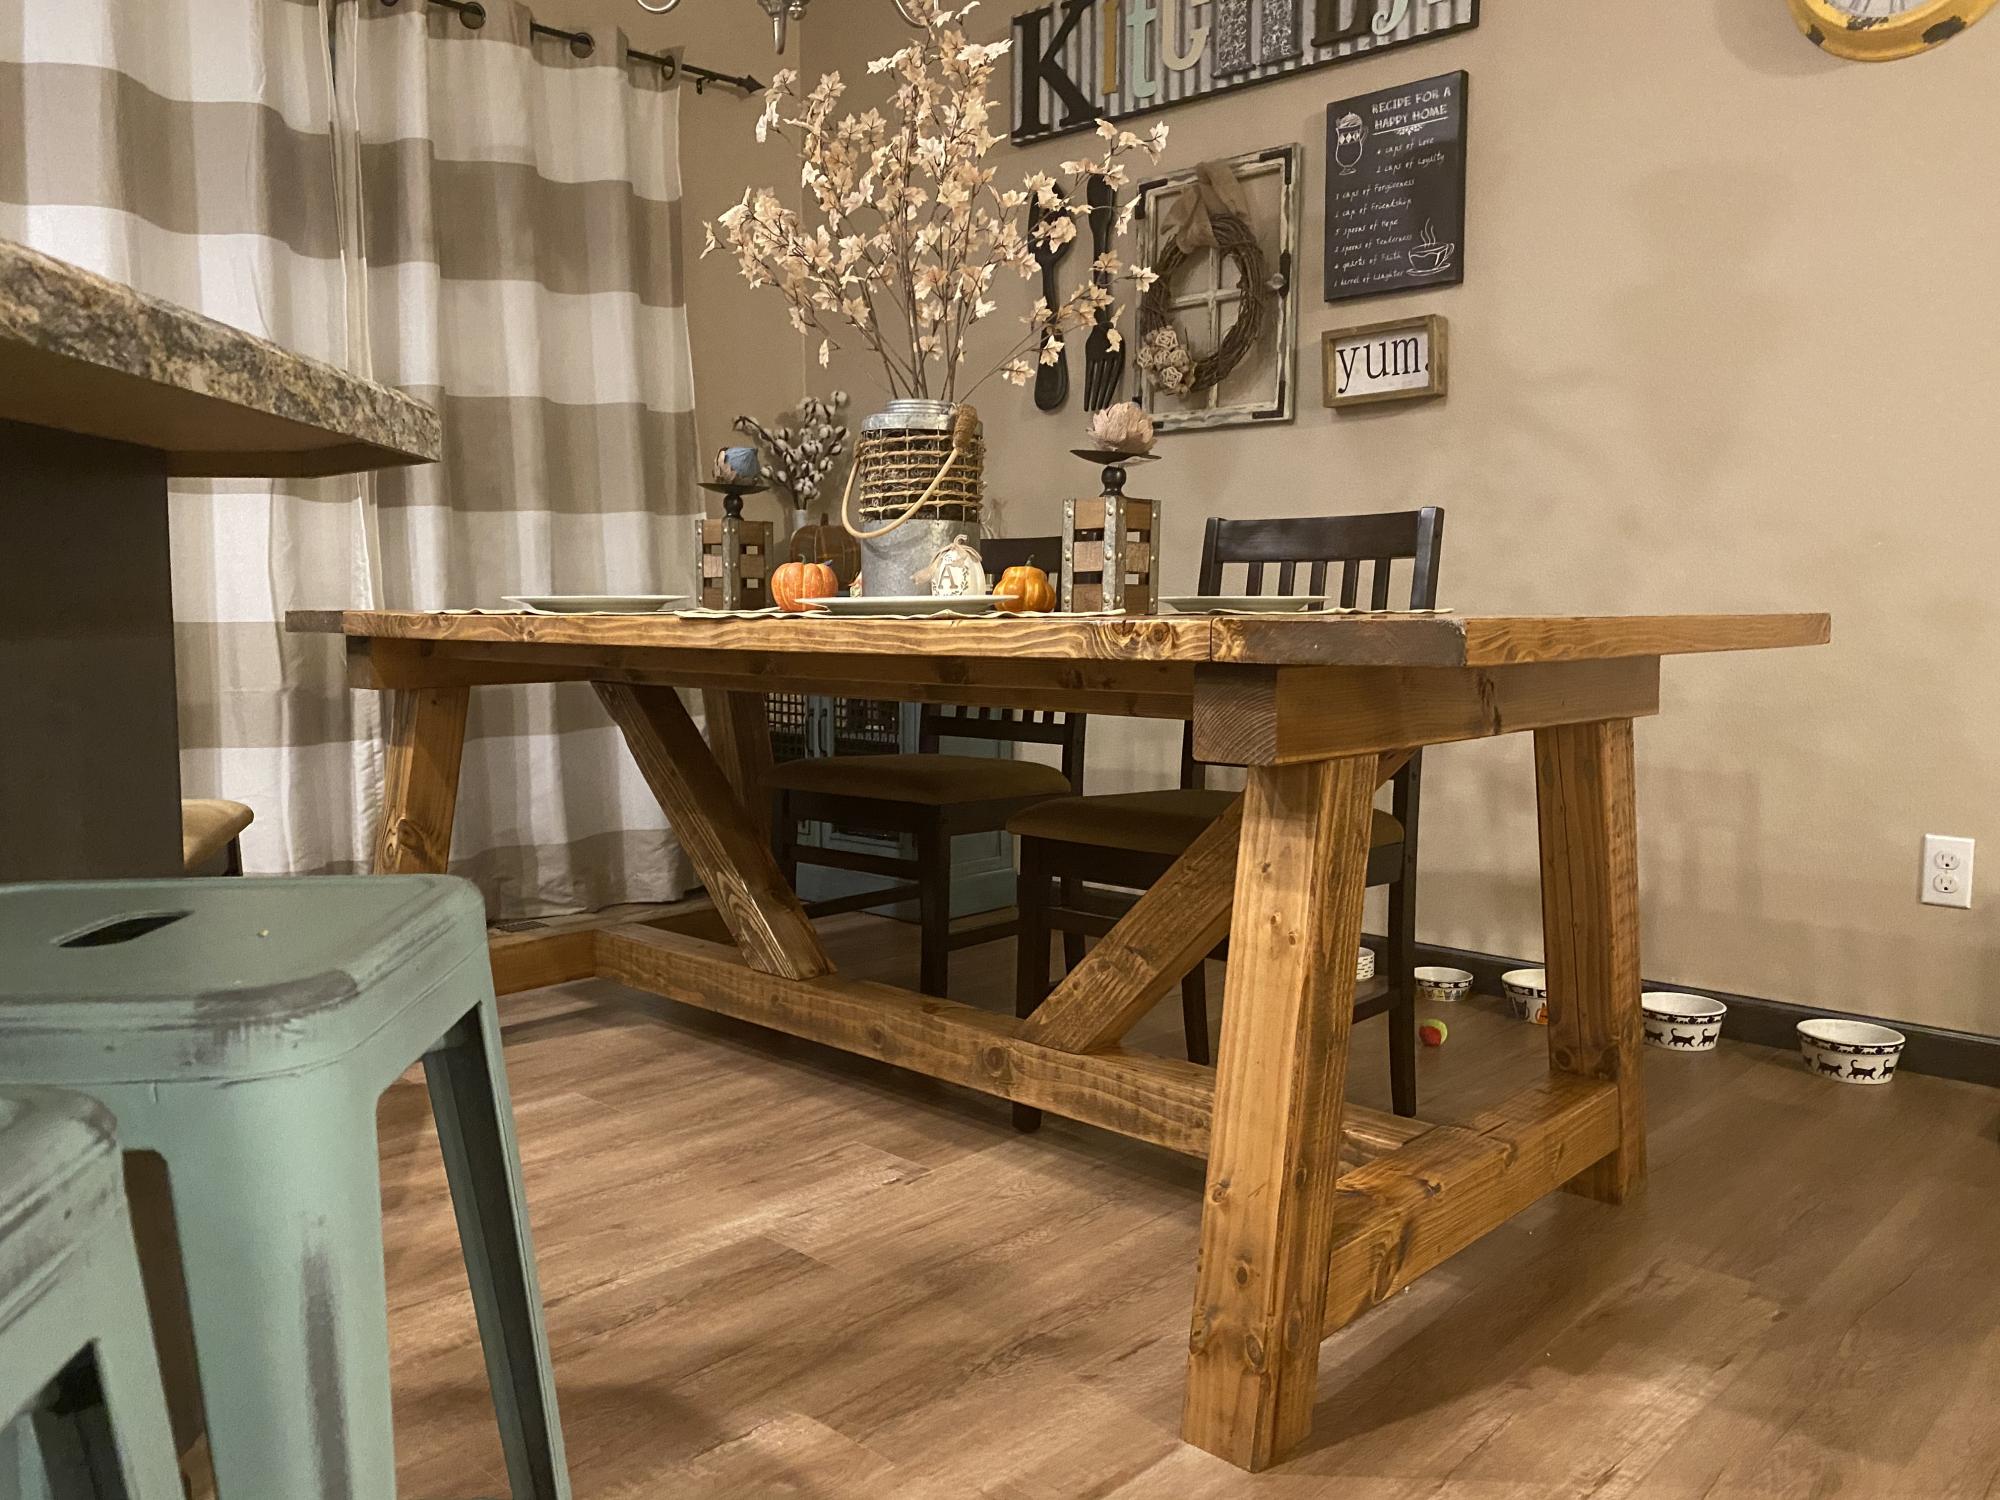
Had a great time making this table with the husband. We love how it turned out. We had a few hiccups a long the way, but it ended up turning out well.
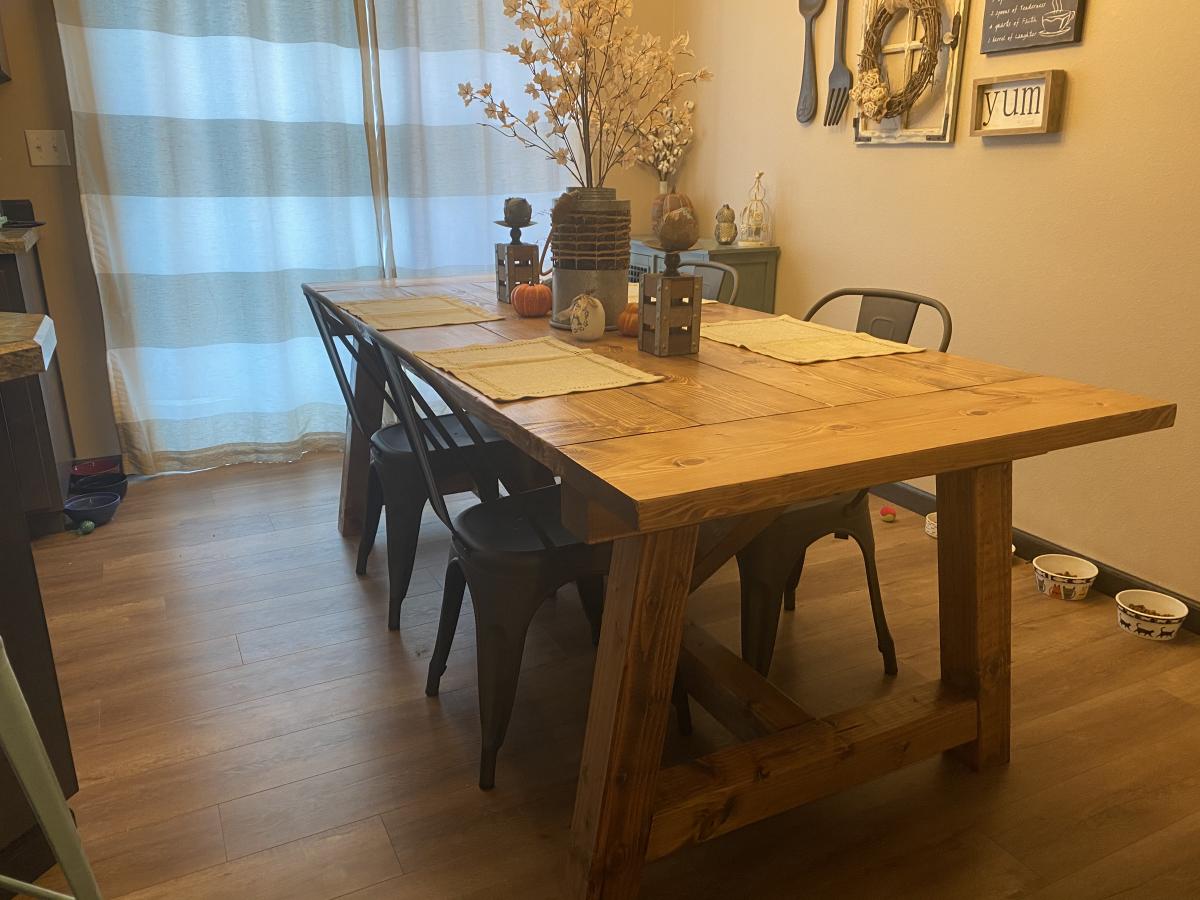

Had a great time making this table with the husband. We love how it turned out. We had a few hiccups a long the way, but it ended up turning out well.

We needed an accent table for our hallway and this simple table was perfect. I cut all the pieces in about an hour the night before and spent approximately four hours building the table the following day.

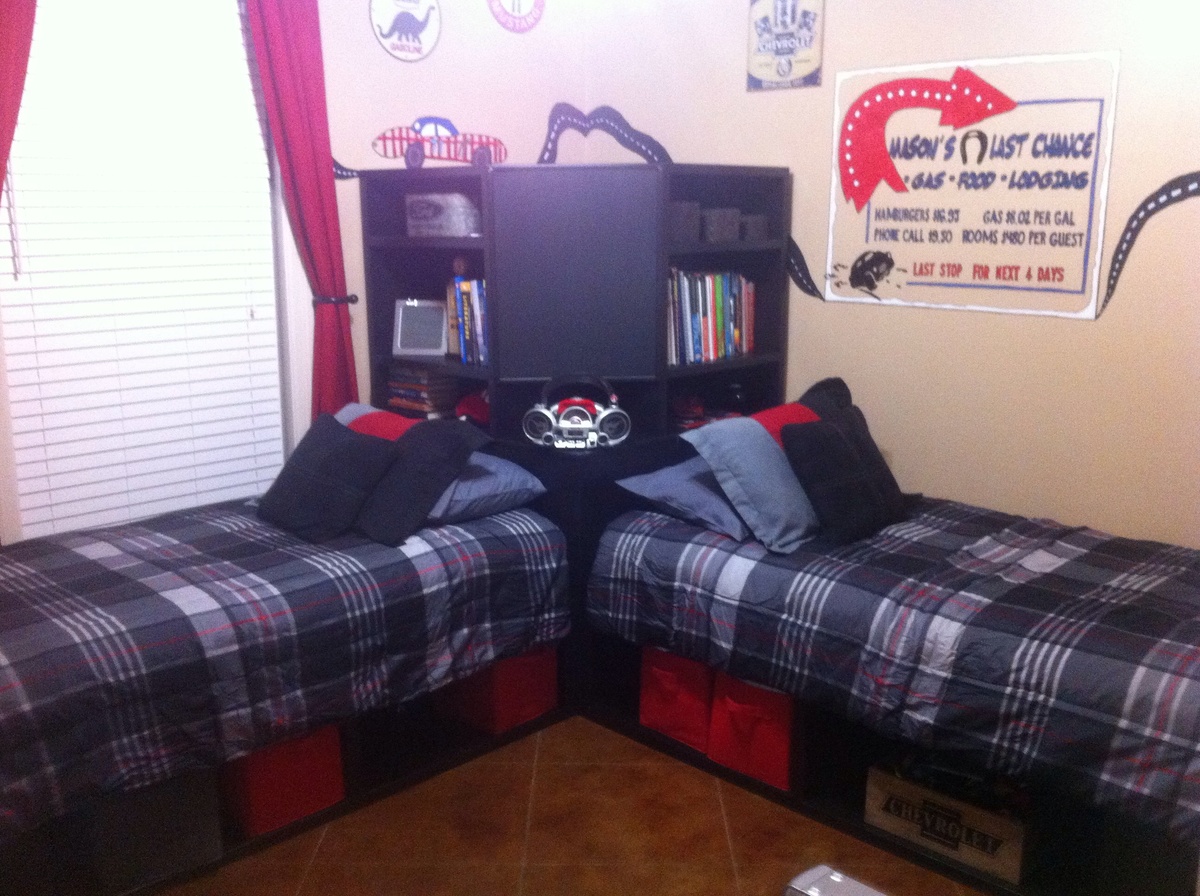
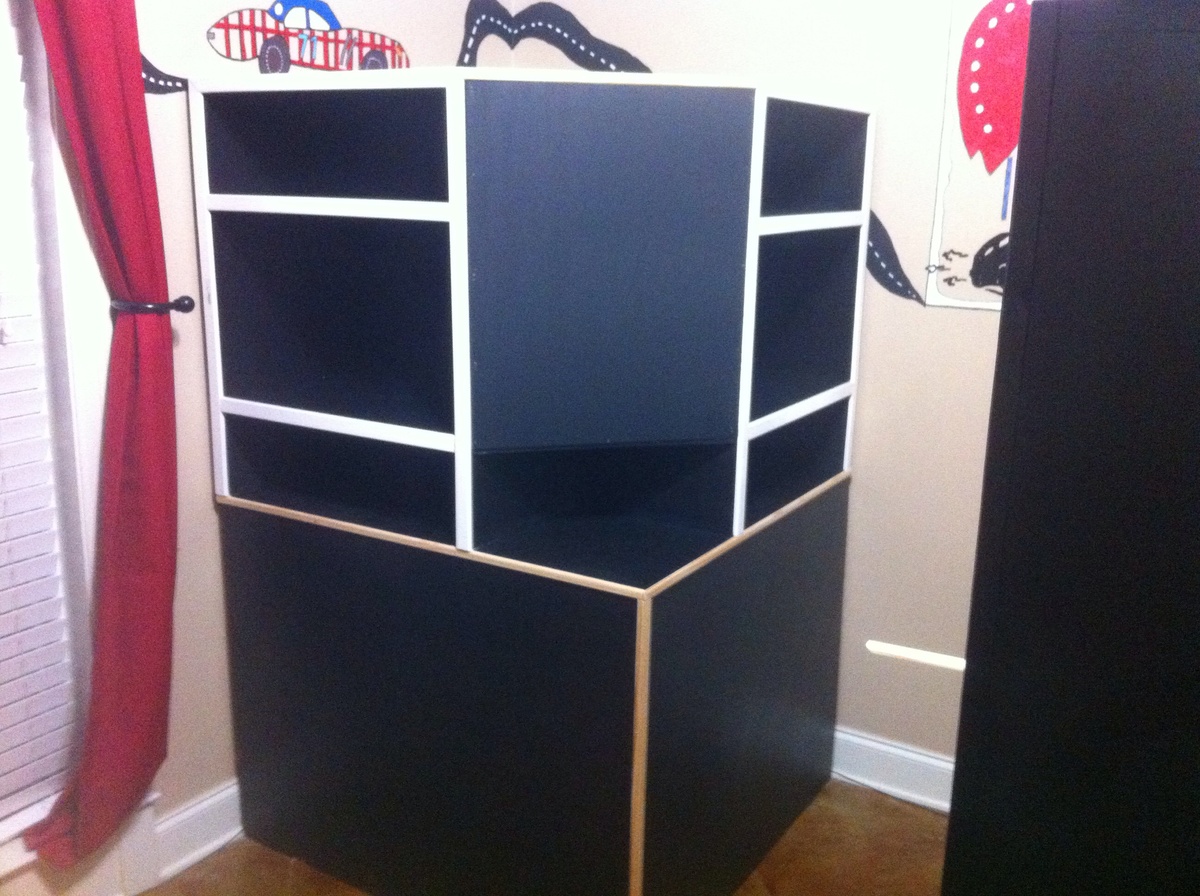
Second build for oldest son's room.
Sat, 11/21/2015 - 10:02
Where can i find the drawings for this bed? [email protected] thank you
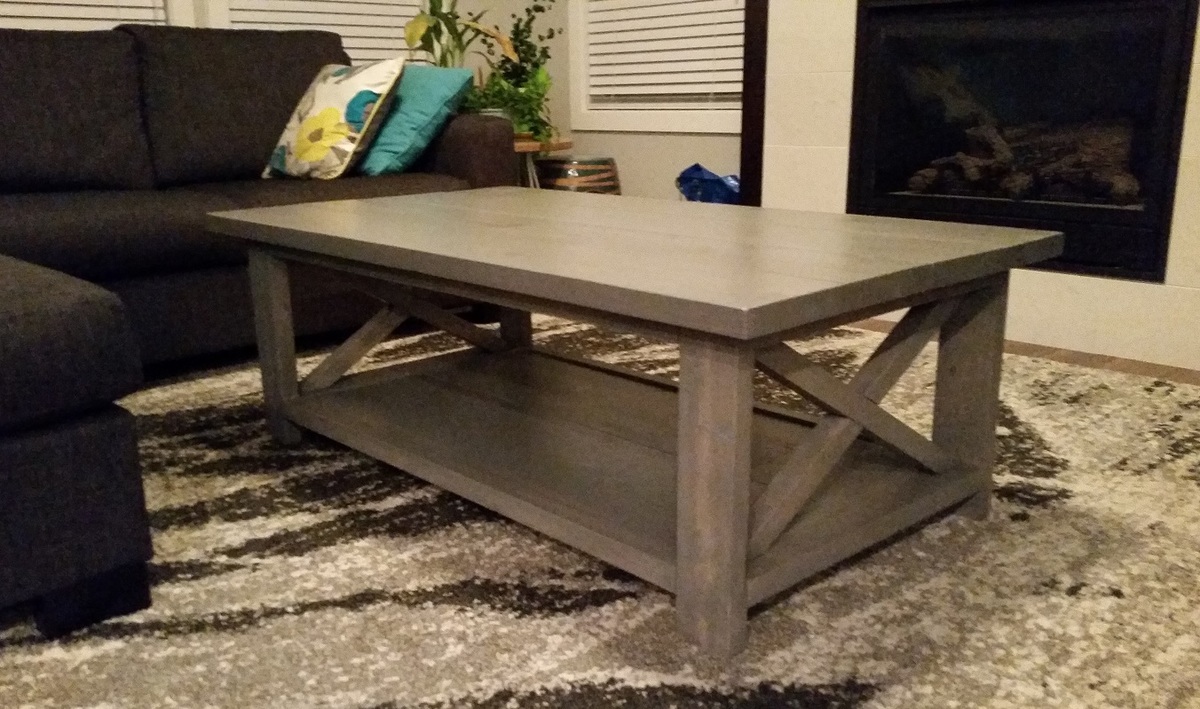
This was my FIRST DIY piece of furniture and I am thrilled with the outcome!
Since I am not really one to go for the rustic cottage look I wanted this DIY coffee table to have a bit more of a modern feel. I chose a grey gel stain to do the job. It gave the table a thicker stain but I am still able to see some of the wood grain beneath it.
I also have two young boys that play on this table so I gave it three coats of Poly on it for some protection. But the best part of this table is that it can get all dinged up and it just makes it look better!
Ana White has the best tutorials & free plans to get a crafter to switch to the dark side and become a DIYer!
I did a full blog post on my progress throughout with a lot more pictures.
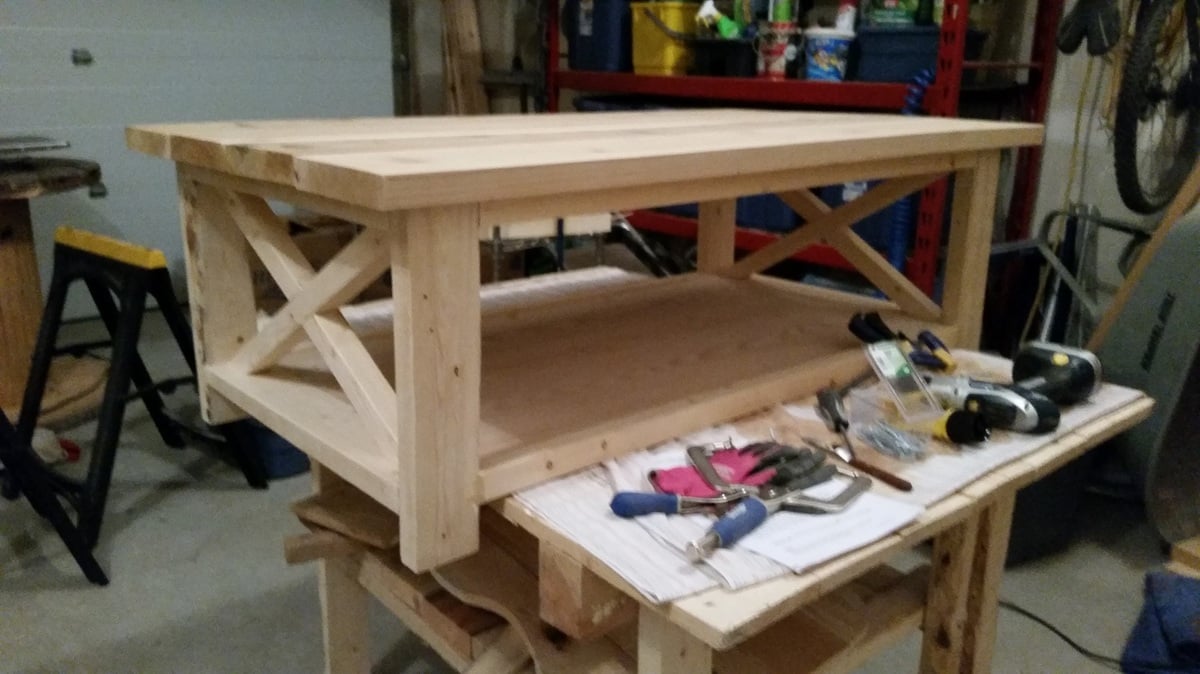
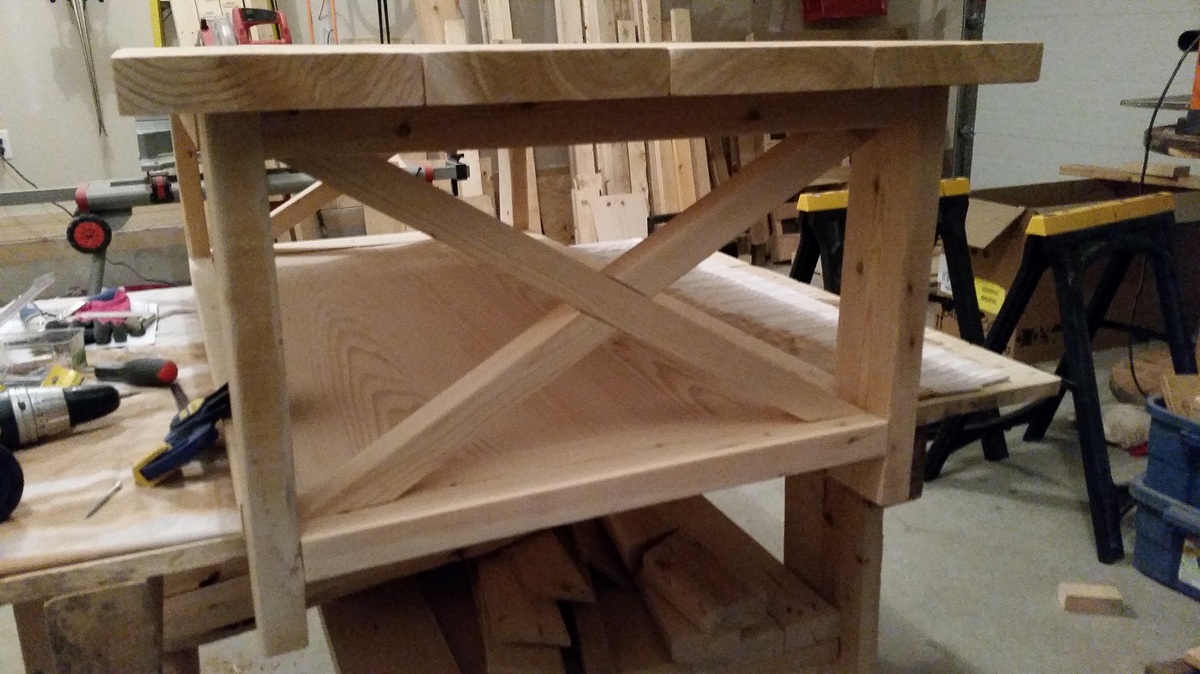
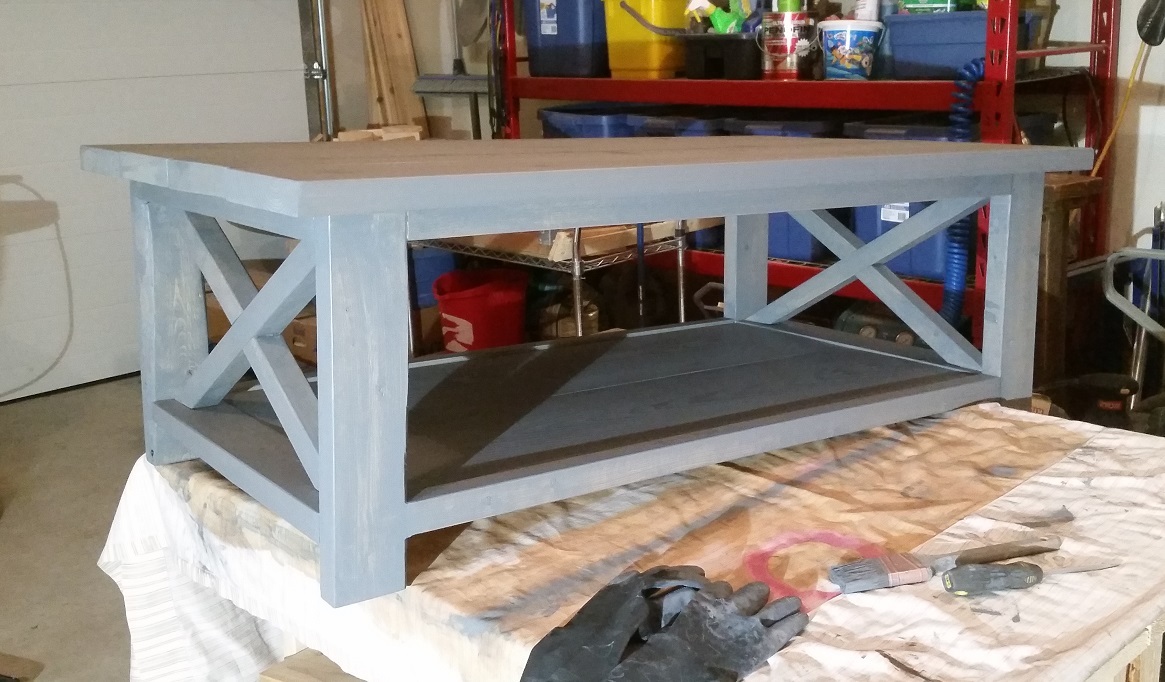
This was SUPER easy and I love it. My daughter wants one now so digging through my scraps is what I will be doing tomorrow. Thanks Ana!
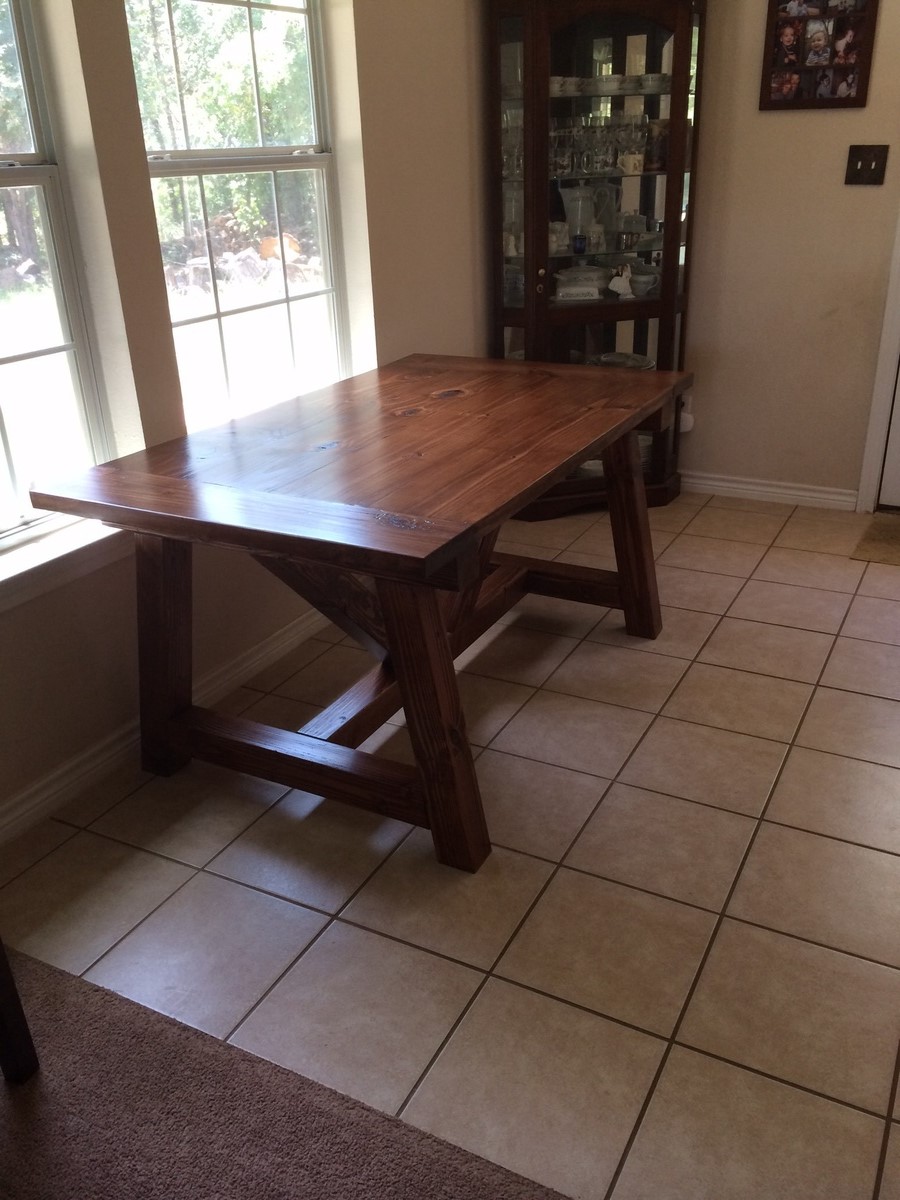
This table was so much fun to make. I couldn't use an 8 foot table so this is 5 ft. My table top has some blemishes that I could have tried to fix but at the time I just wanted to see it done. I think using better than big box store wood would have been a great start. The table is so sturdy. The bench was harder though because it had a wobble that just wouldn't be fixed.
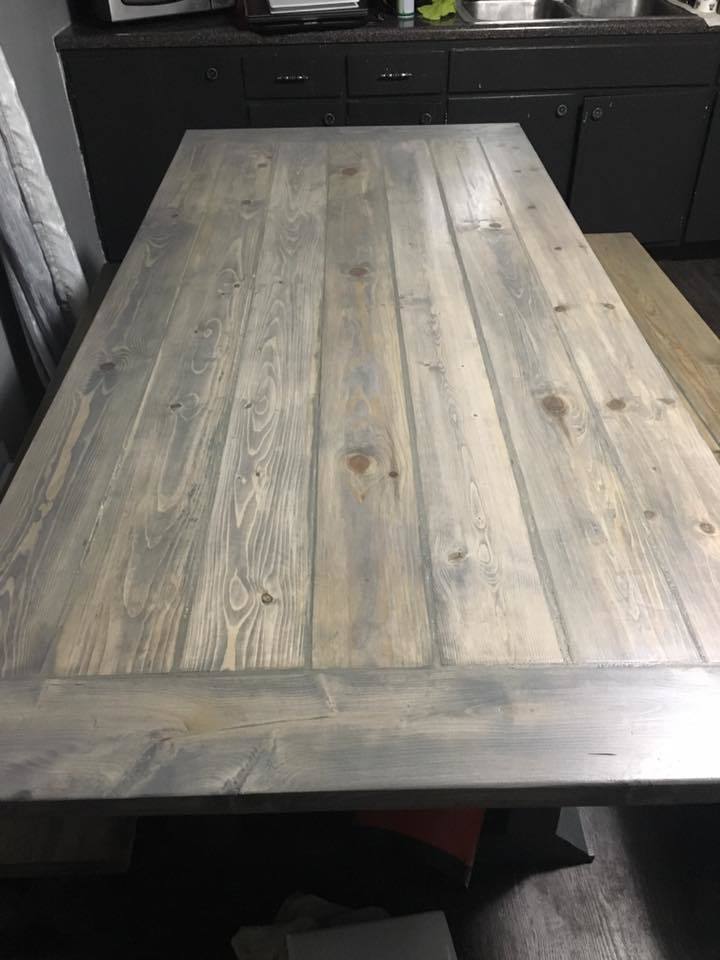
I used pine for the top and Douglas fir for the legs. I used minwax wood conditioner, minwax early american stain, then minwax red oak stain for a couple of minutes then wiped off. Then topped with 4 coats of poly.
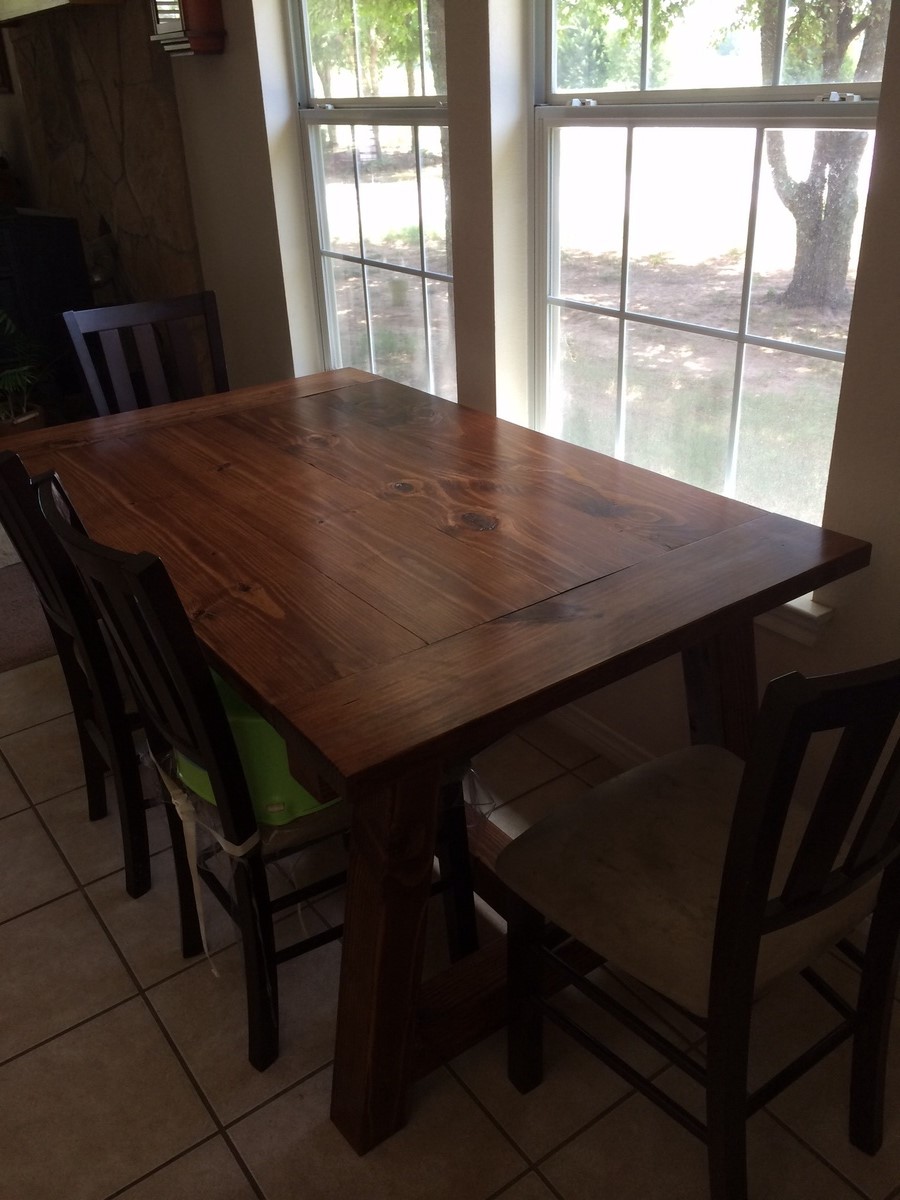
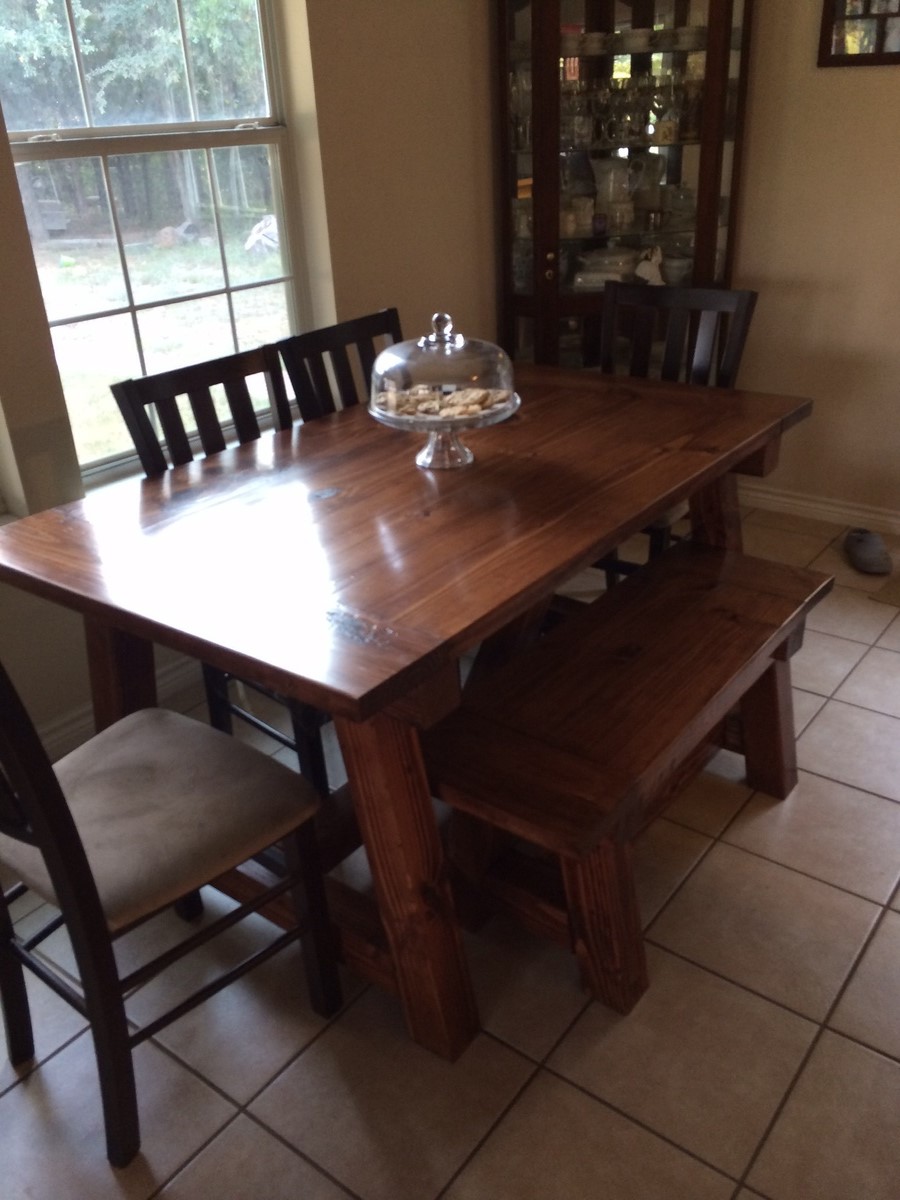
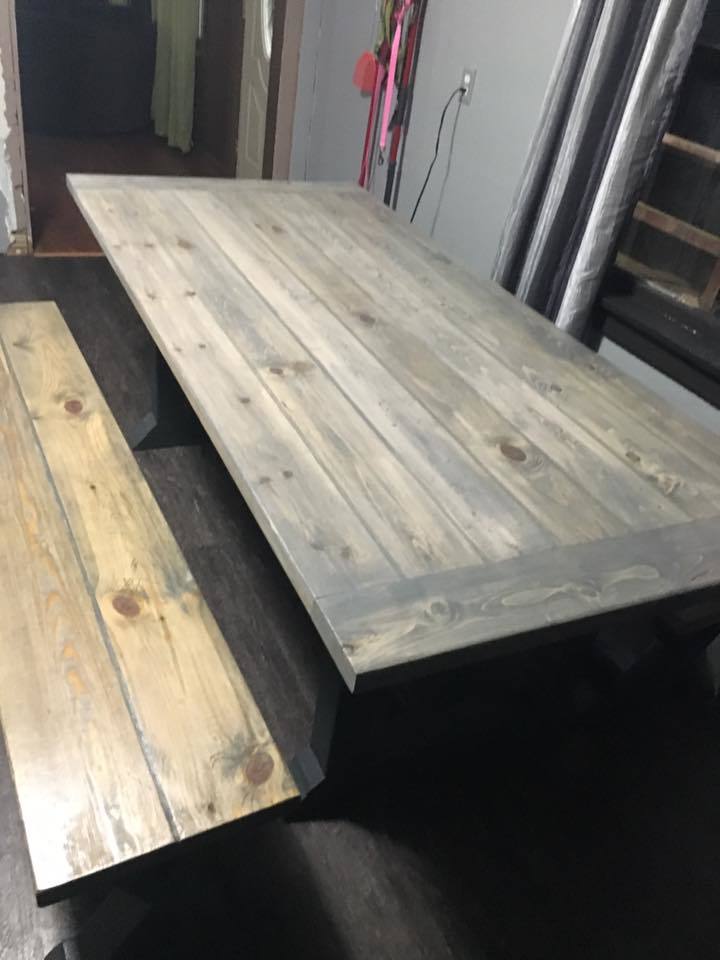
Built this table from Ana-White plans and the benches from Rouge Engineer plans. Fun build and looks great. Easy to customize to fit your dining space.
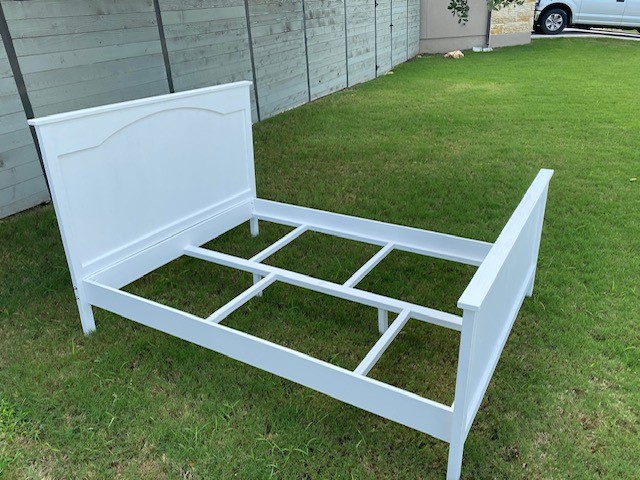
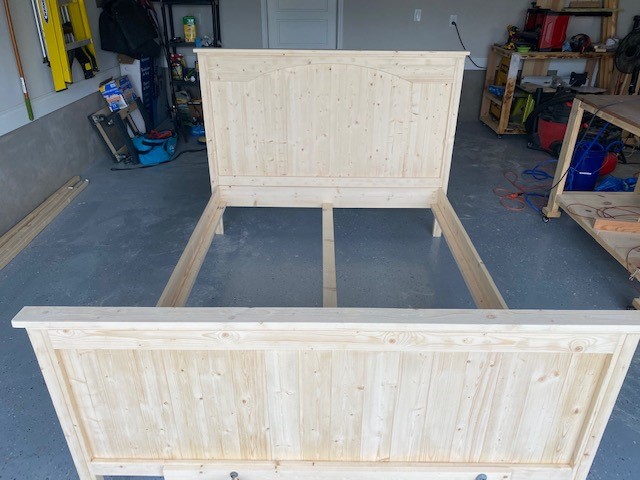
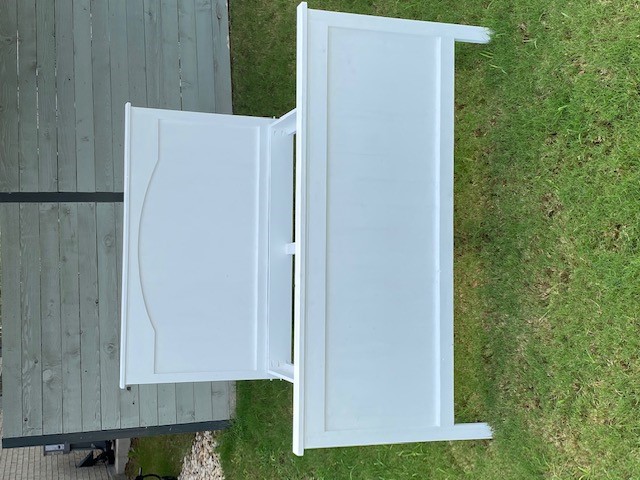
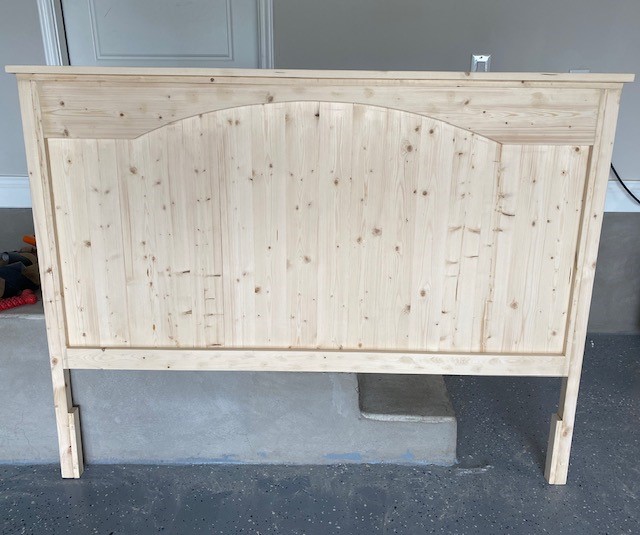
Yes, the plan used was the Toddler Farmhouse Bed. Just make sure to use the dimension for a full size mattress, do the math, and create your buy list accordingly. I did make some minor changes to accommodate the larger size, more weight, and a heavier person. For the Head and foot boards, I used the 1 x 2 to frame, but used 2 x 2 on the outer leg for additional support. I also used 2 x 2 's to create the internal supports for the frame along with the 2 center support legs. This bed was built to be used with a box spring instead of a platform type.
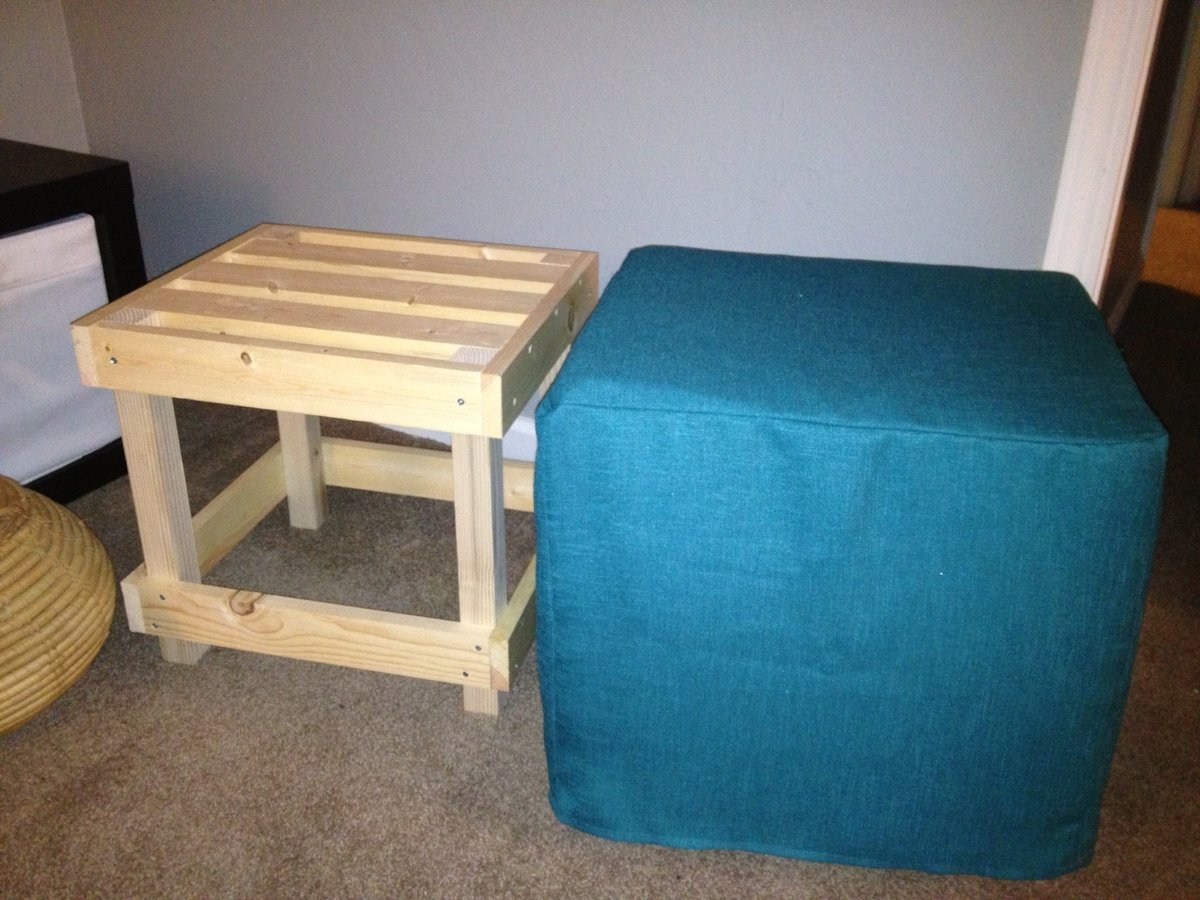
What a great easy project. The wood was really inexpensive. The only pricey part was the fabric.
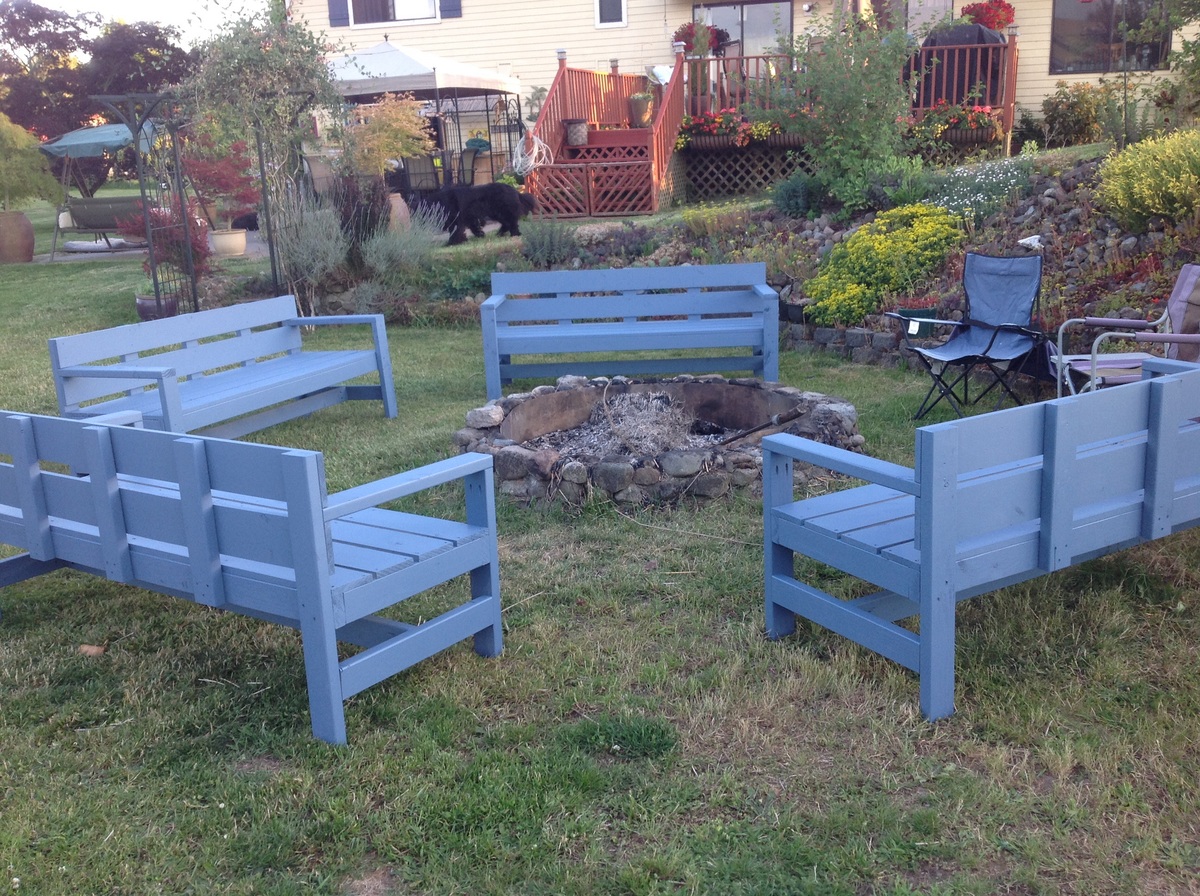
Love these benches. Working on cushions for them.
Used the bathroom organizer plans from the knock off pottery look! LOVE how it turned out :-)

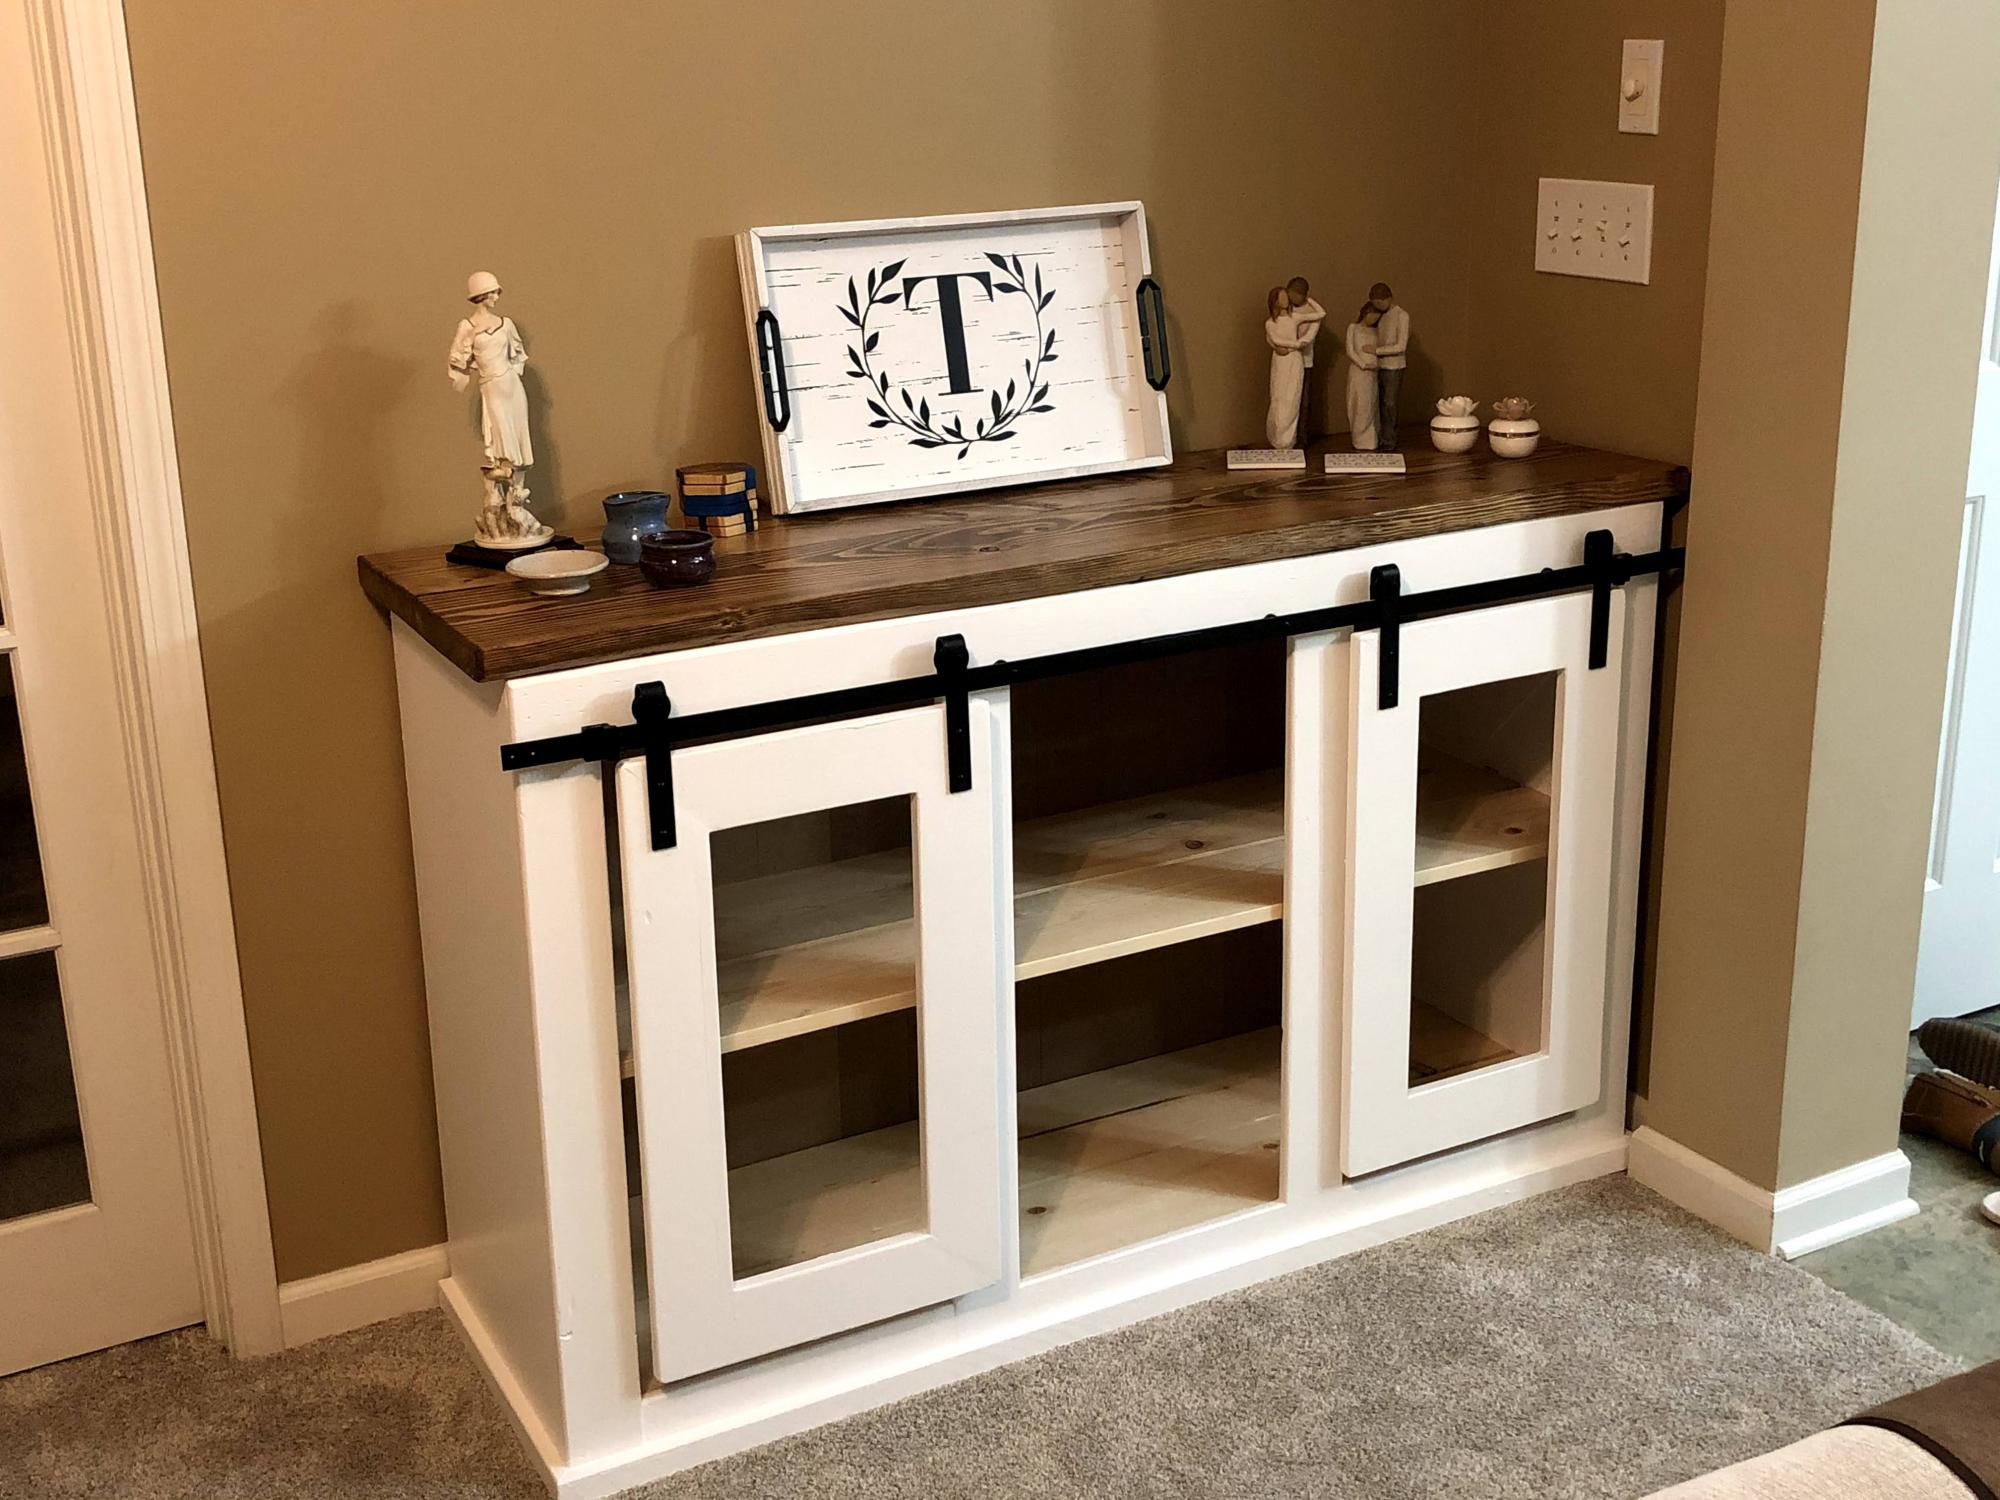
My first project completion based on Ana White plans
Santa was bringing my granddaughter an American Girl doll for Christmas and I knew she would need a bed. So I went to my favorite website in search of plans for a doll bed and found this one in Ana's catalog. I thoroughly enjoy creating projects like these and loved that I had enough scrap material around the house to sew some bedding for it as well. Thank you Ana for your inspiration and helping to make my granddaughter's American Girl comfortable!
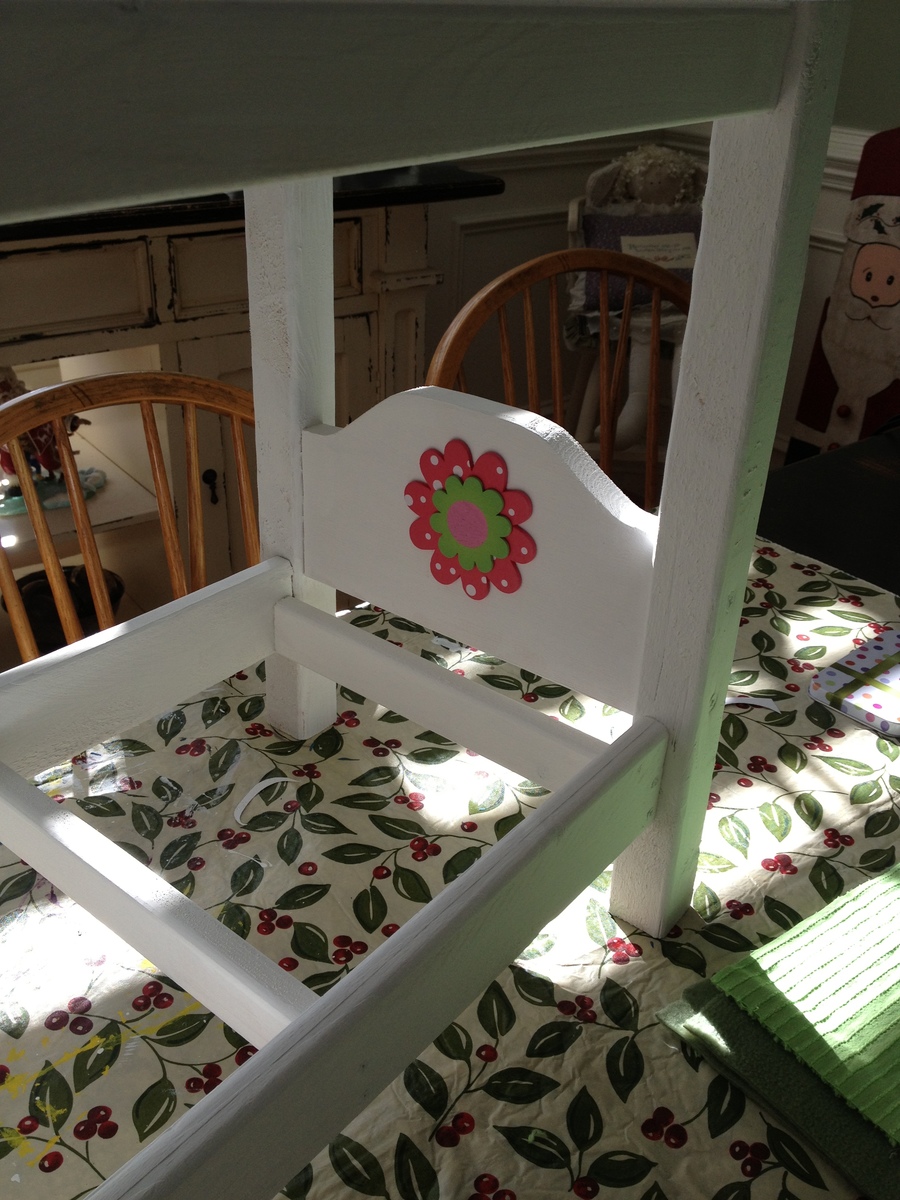
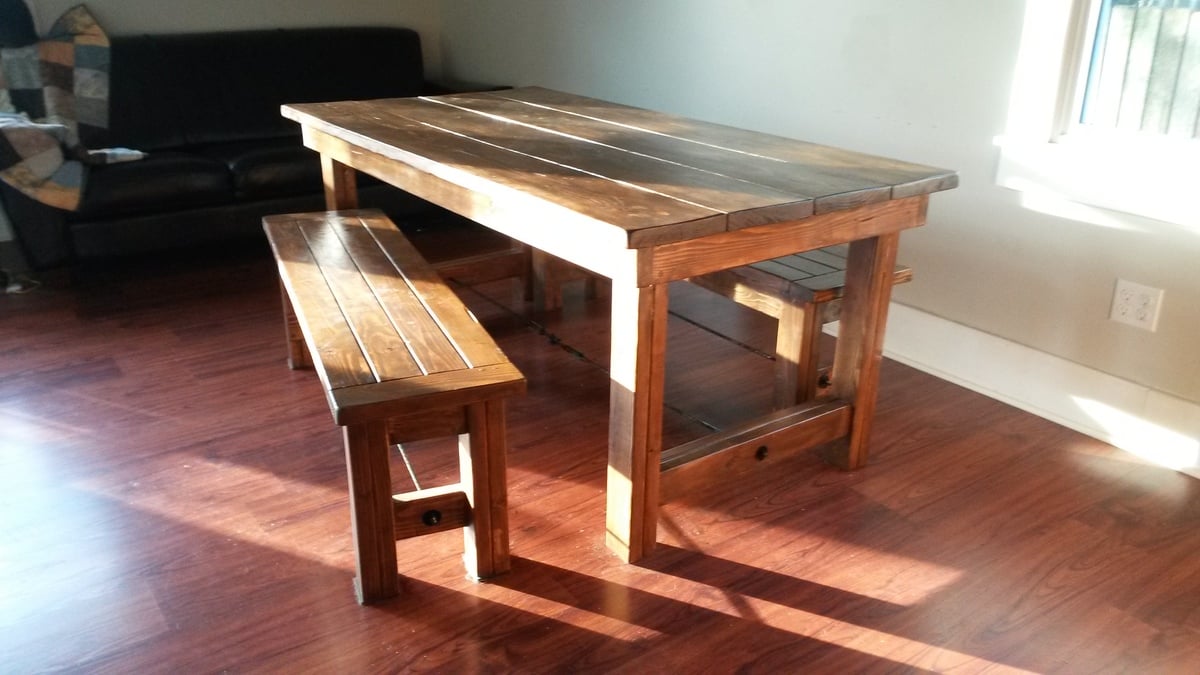
Easy starter project that has gotten me hooked on this site. Wish I could go back and re build it with pocket holes. Changed the farmhouse bench dimensions to fit with the table.

I really like vessel sink vanities, so I did some research and found a couple of DIY projects I liked on Pinterest. I showed them to my husband and after telling him that I wanted a hybrid of about 3 vanities I liked he came up with the vanity that we (we as in he) built :)


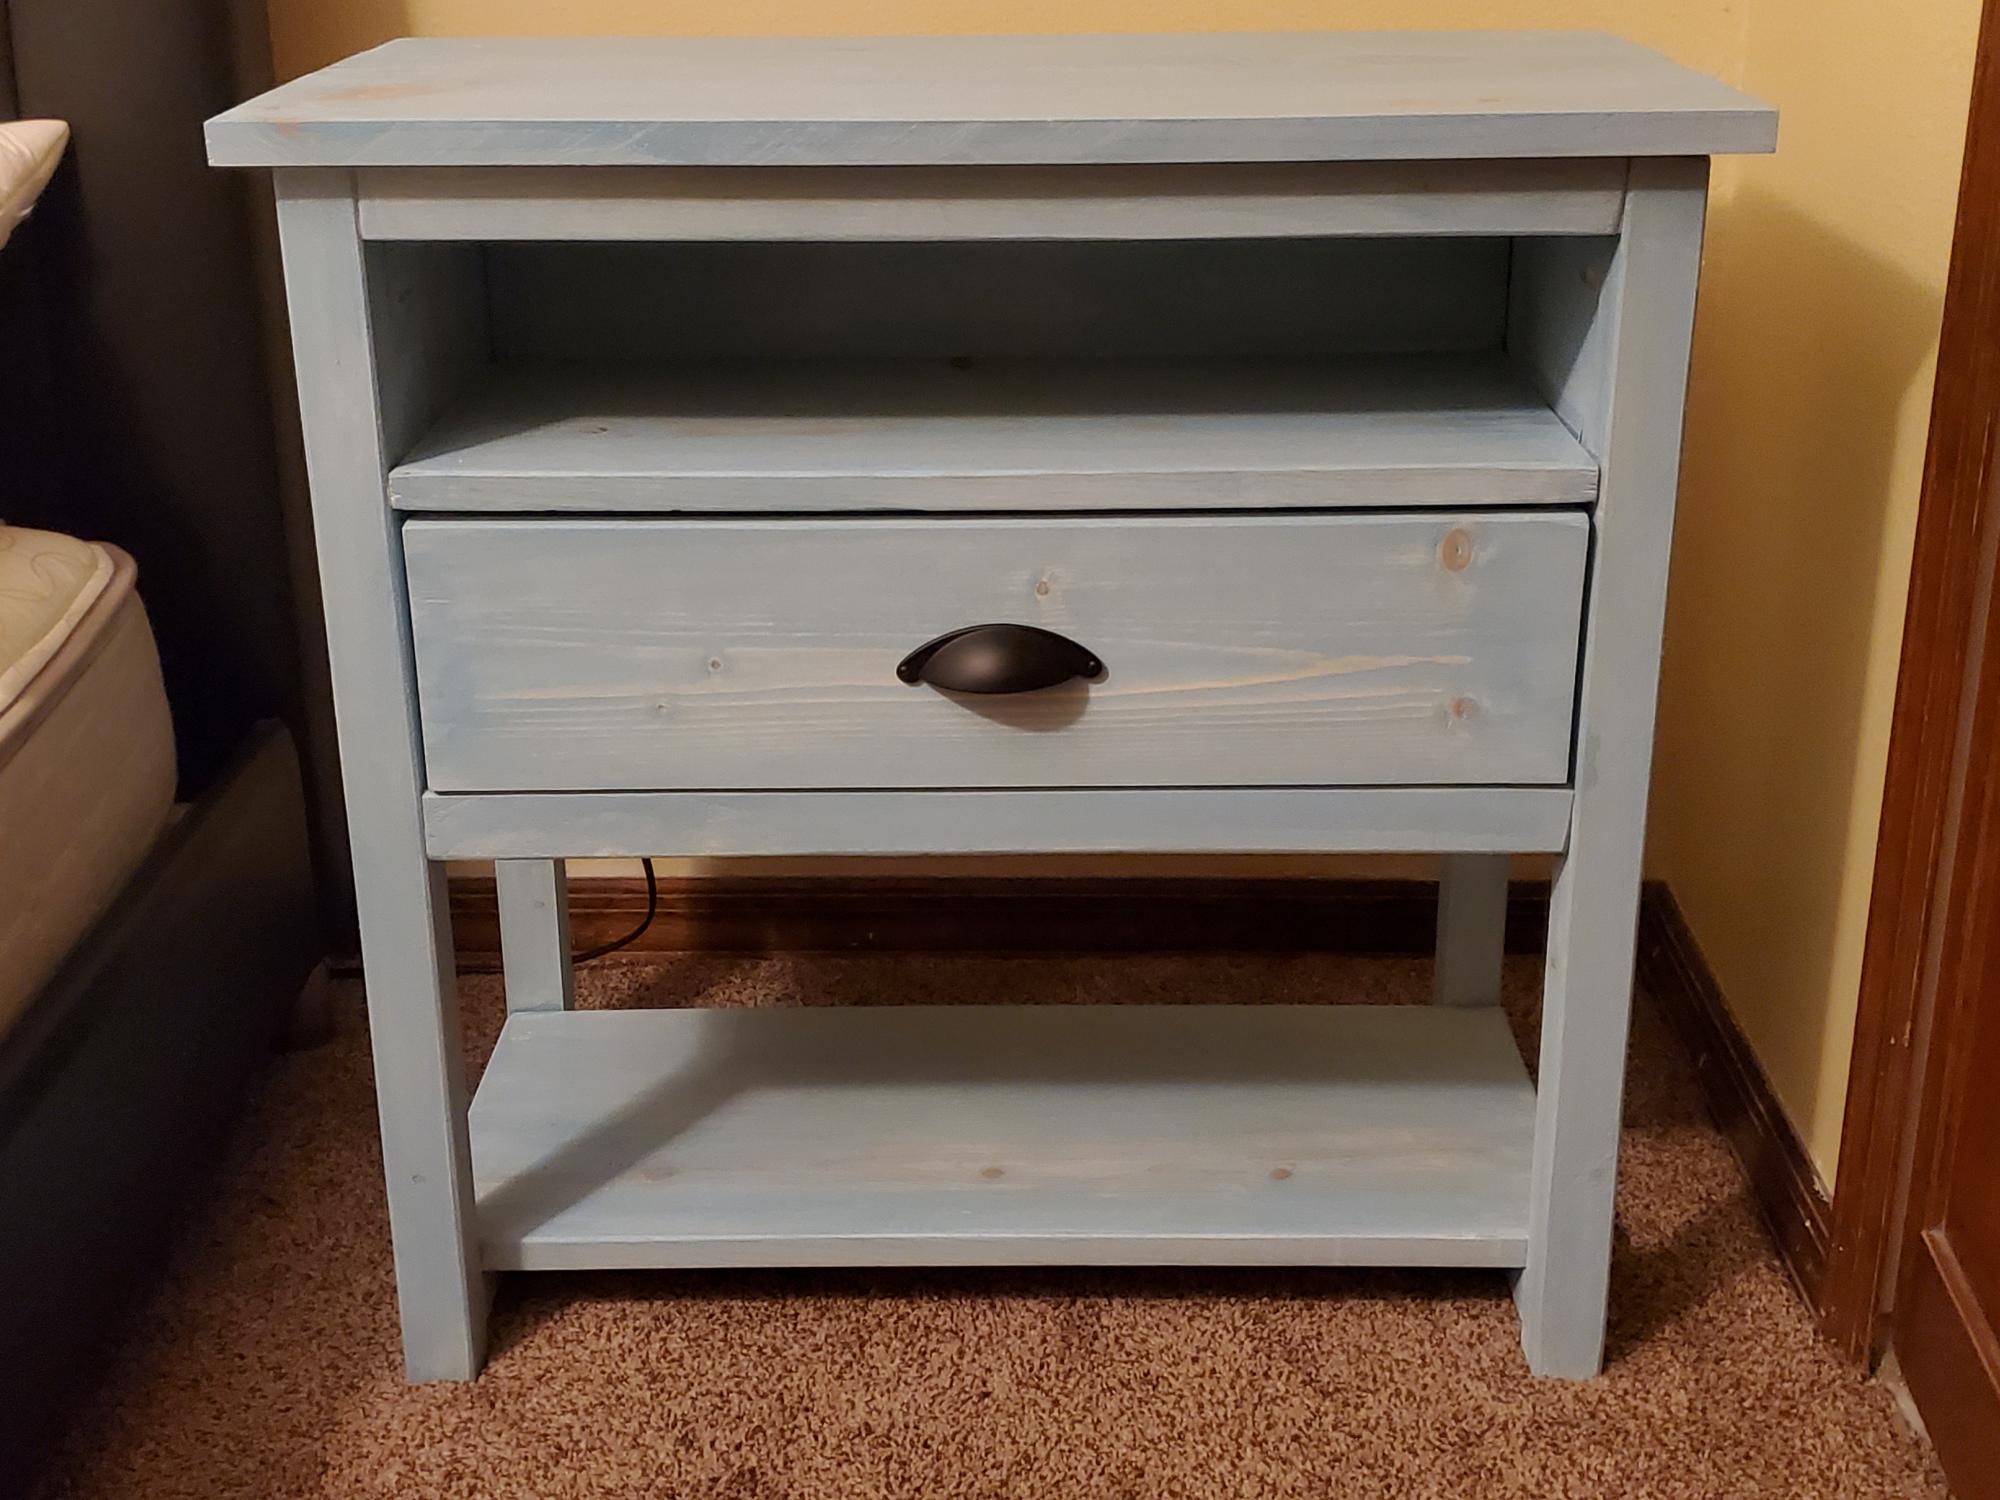
Add shelf between top and drawer. Also added wireless charging to the top.
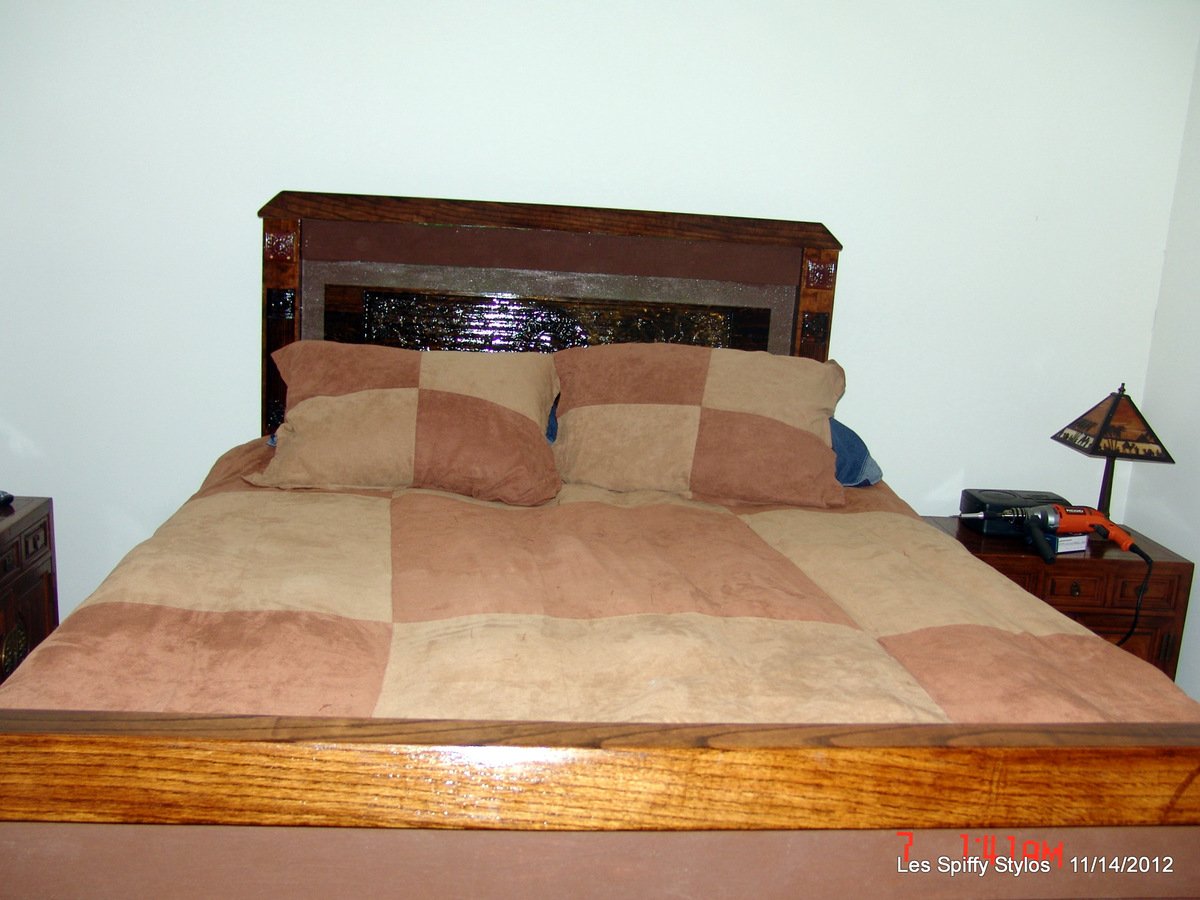
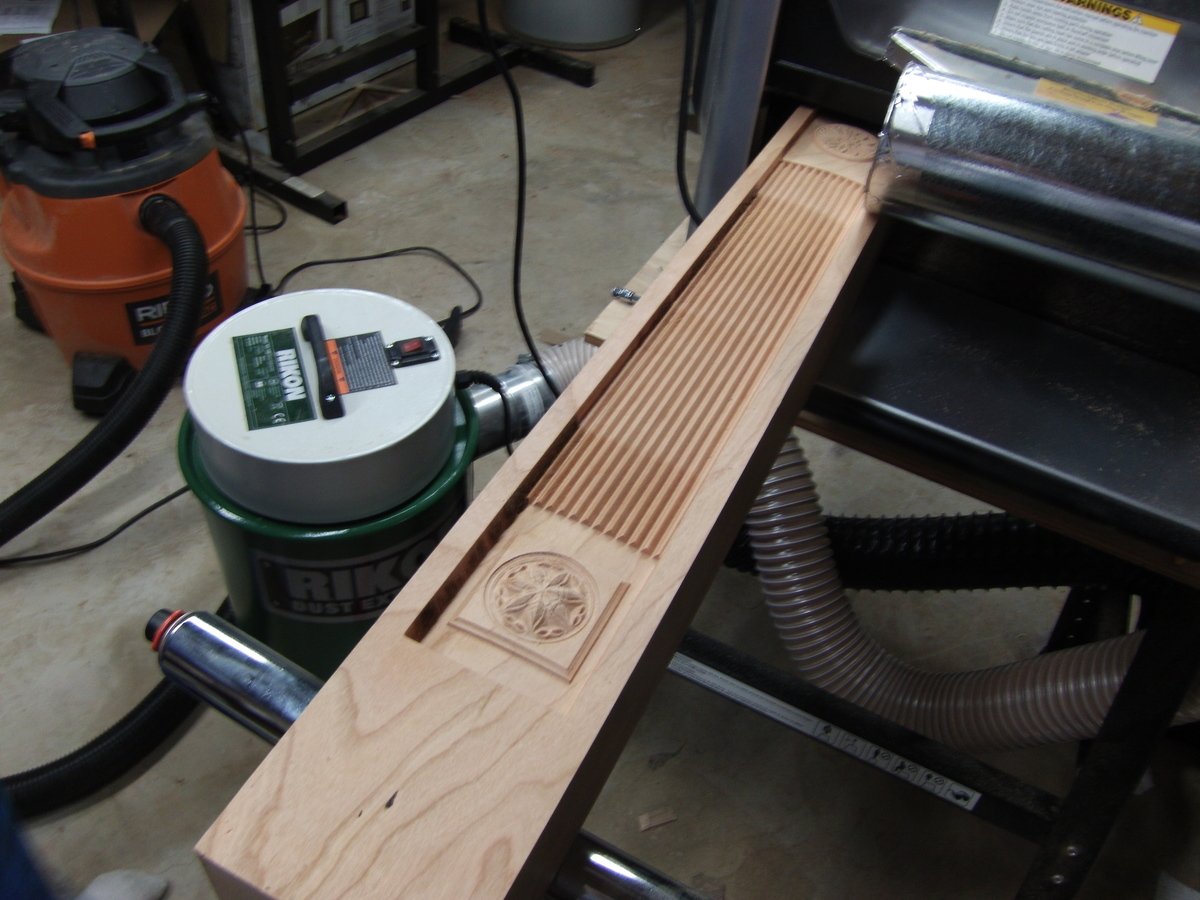
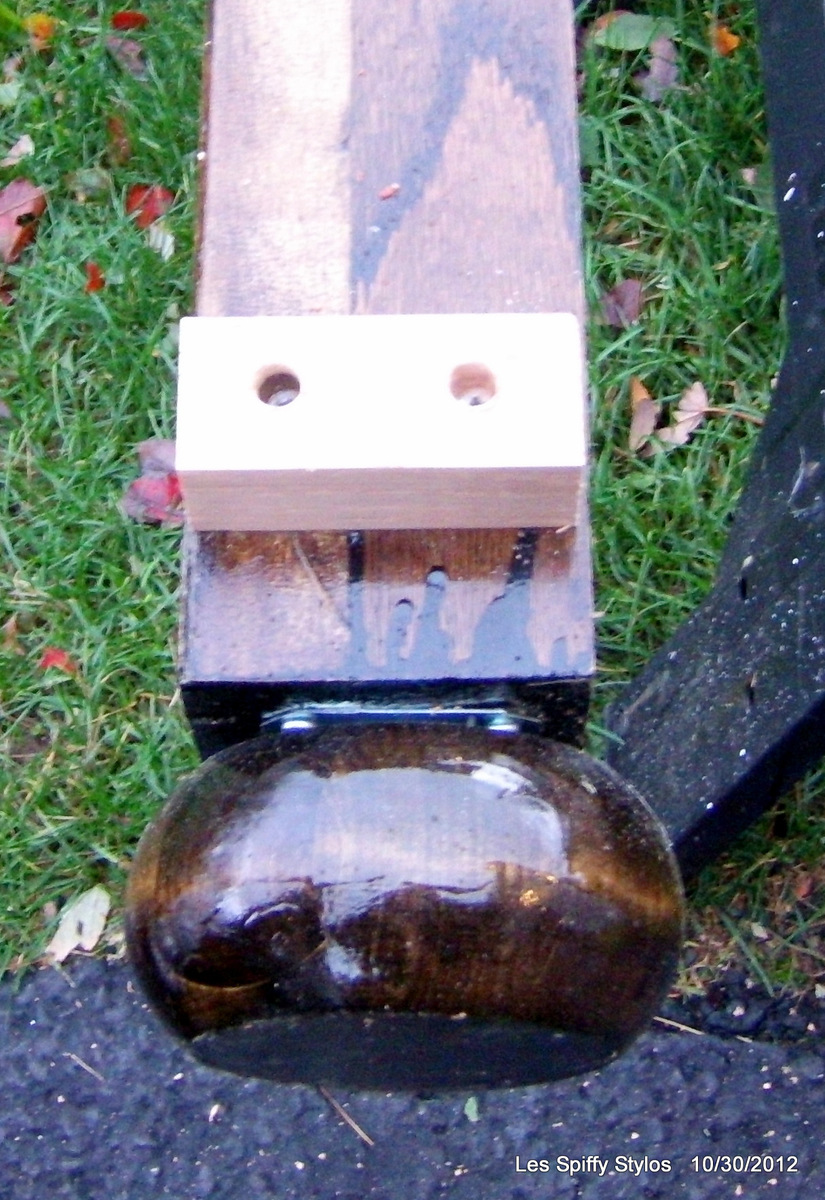
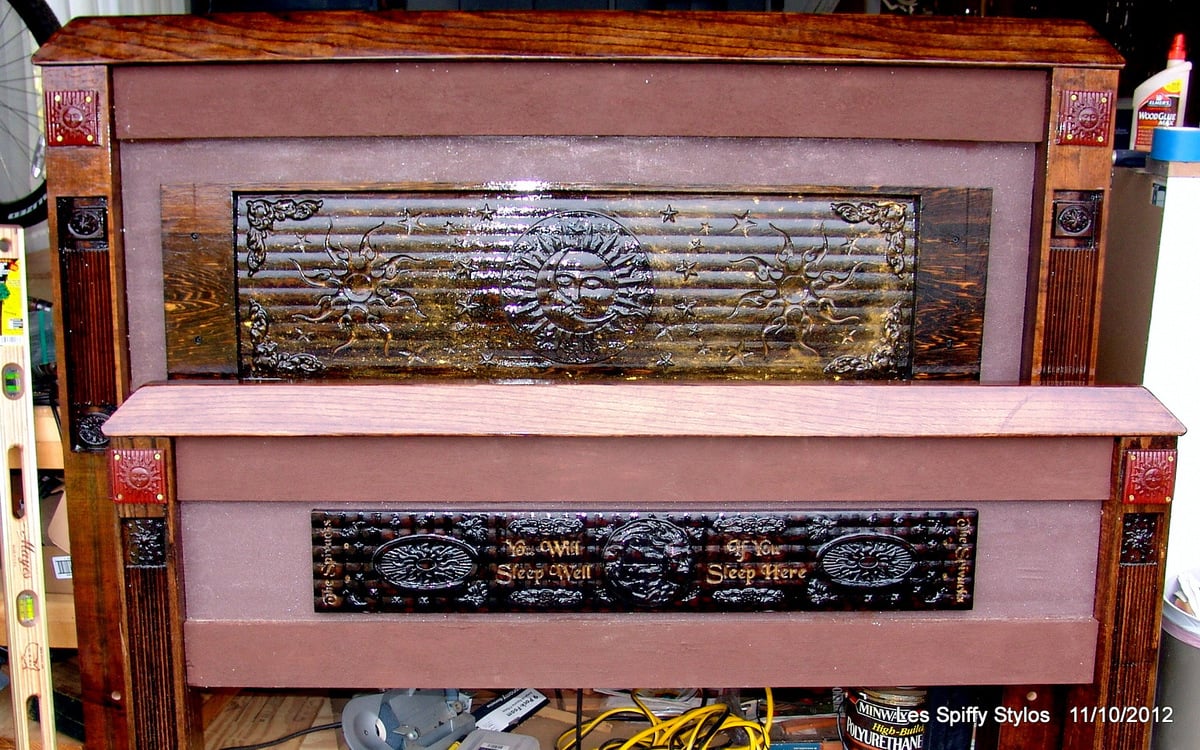
I built the Farmhouse bed with storage but departed from Ana's design a bit. I built the legs from 4" red oak, the boxes are painted plywood. The crowns on the head and footboard are also red oak. I have a Carvewright and used it to detail the bed pretty thoroughly...and topped it off with a temperpedic mattress. ROCK solid and looks great! Also, put LED lights behind the headboard insert that shines around its sides.
All in, great project, took me around 3 months to complete!

Thu, 01/10/2013 - 17:42
Hi, if you want to see the rest of the build, I have 140+ pics posted on Facebook:
http://www.facebook.com/media/set/?set=a.10150844261192960.416336.65162…
Fri, 01/11/2013 - 17:16
wow! I really liked your idea of adding lighting into the headboard.
Sat, 01/12/2013 - 06:51
Fires up with a remote, something like 35 colors, strobes, flashes. Likes OK by day but it looks amazing at night. Which, in all sincerity, is a fair description of my own looks. (smile)
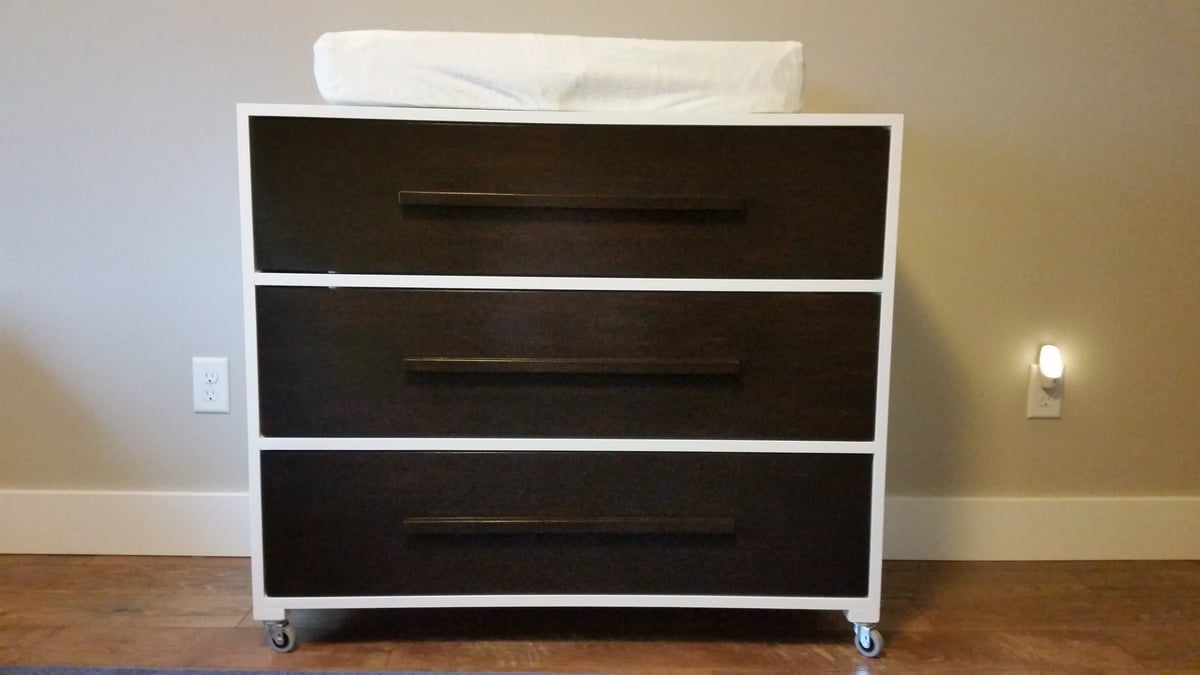
My 15 month old needed a new dresser and a place to put his changing pad as he outgrew the changing table with rails but still fits on the pad itself. I stained the drawers dark to match his existing crib. I used plywood for the drawer faces and attached 3/4 inch square poplar as pulls. I wanted an integrated look and the bonus is that my son has a harder time getting a good hold to open the drawers. I used the plans for the three drawer dresser but omitted the face frame because I wanted to cut costs (I used poplar not pine or else it would not have added much). I just made the plywood wider and I added some stabilizing pieces in the back.
Fri, 11/07/2014 - 09:27
Looks good! I like the combo of the dark wood with the white paint.
I made one fairly major change. When I was buying the boards, I noticed the store sold a panel of joined wood that was just a bit bigger than the final table top was going to be for just a couple dollars more. My kiddo likes to write and color, so I figured a smooth-topped table might make sense. I could have cut down the panel, but as it was only a few inches bigger (36x20x1) I modified the design a little bit instead and just made the cross beams a little longer. My only concern is that the large panel won't drain water as well as the the four boards in the original design, so after I painted the stencil (I got a die cut machine for Christmas, so suddenly everything needs a stencil...) I applied 4 coats of spar urethane to the top and two coats everywhere else. We'll see how it holds up.
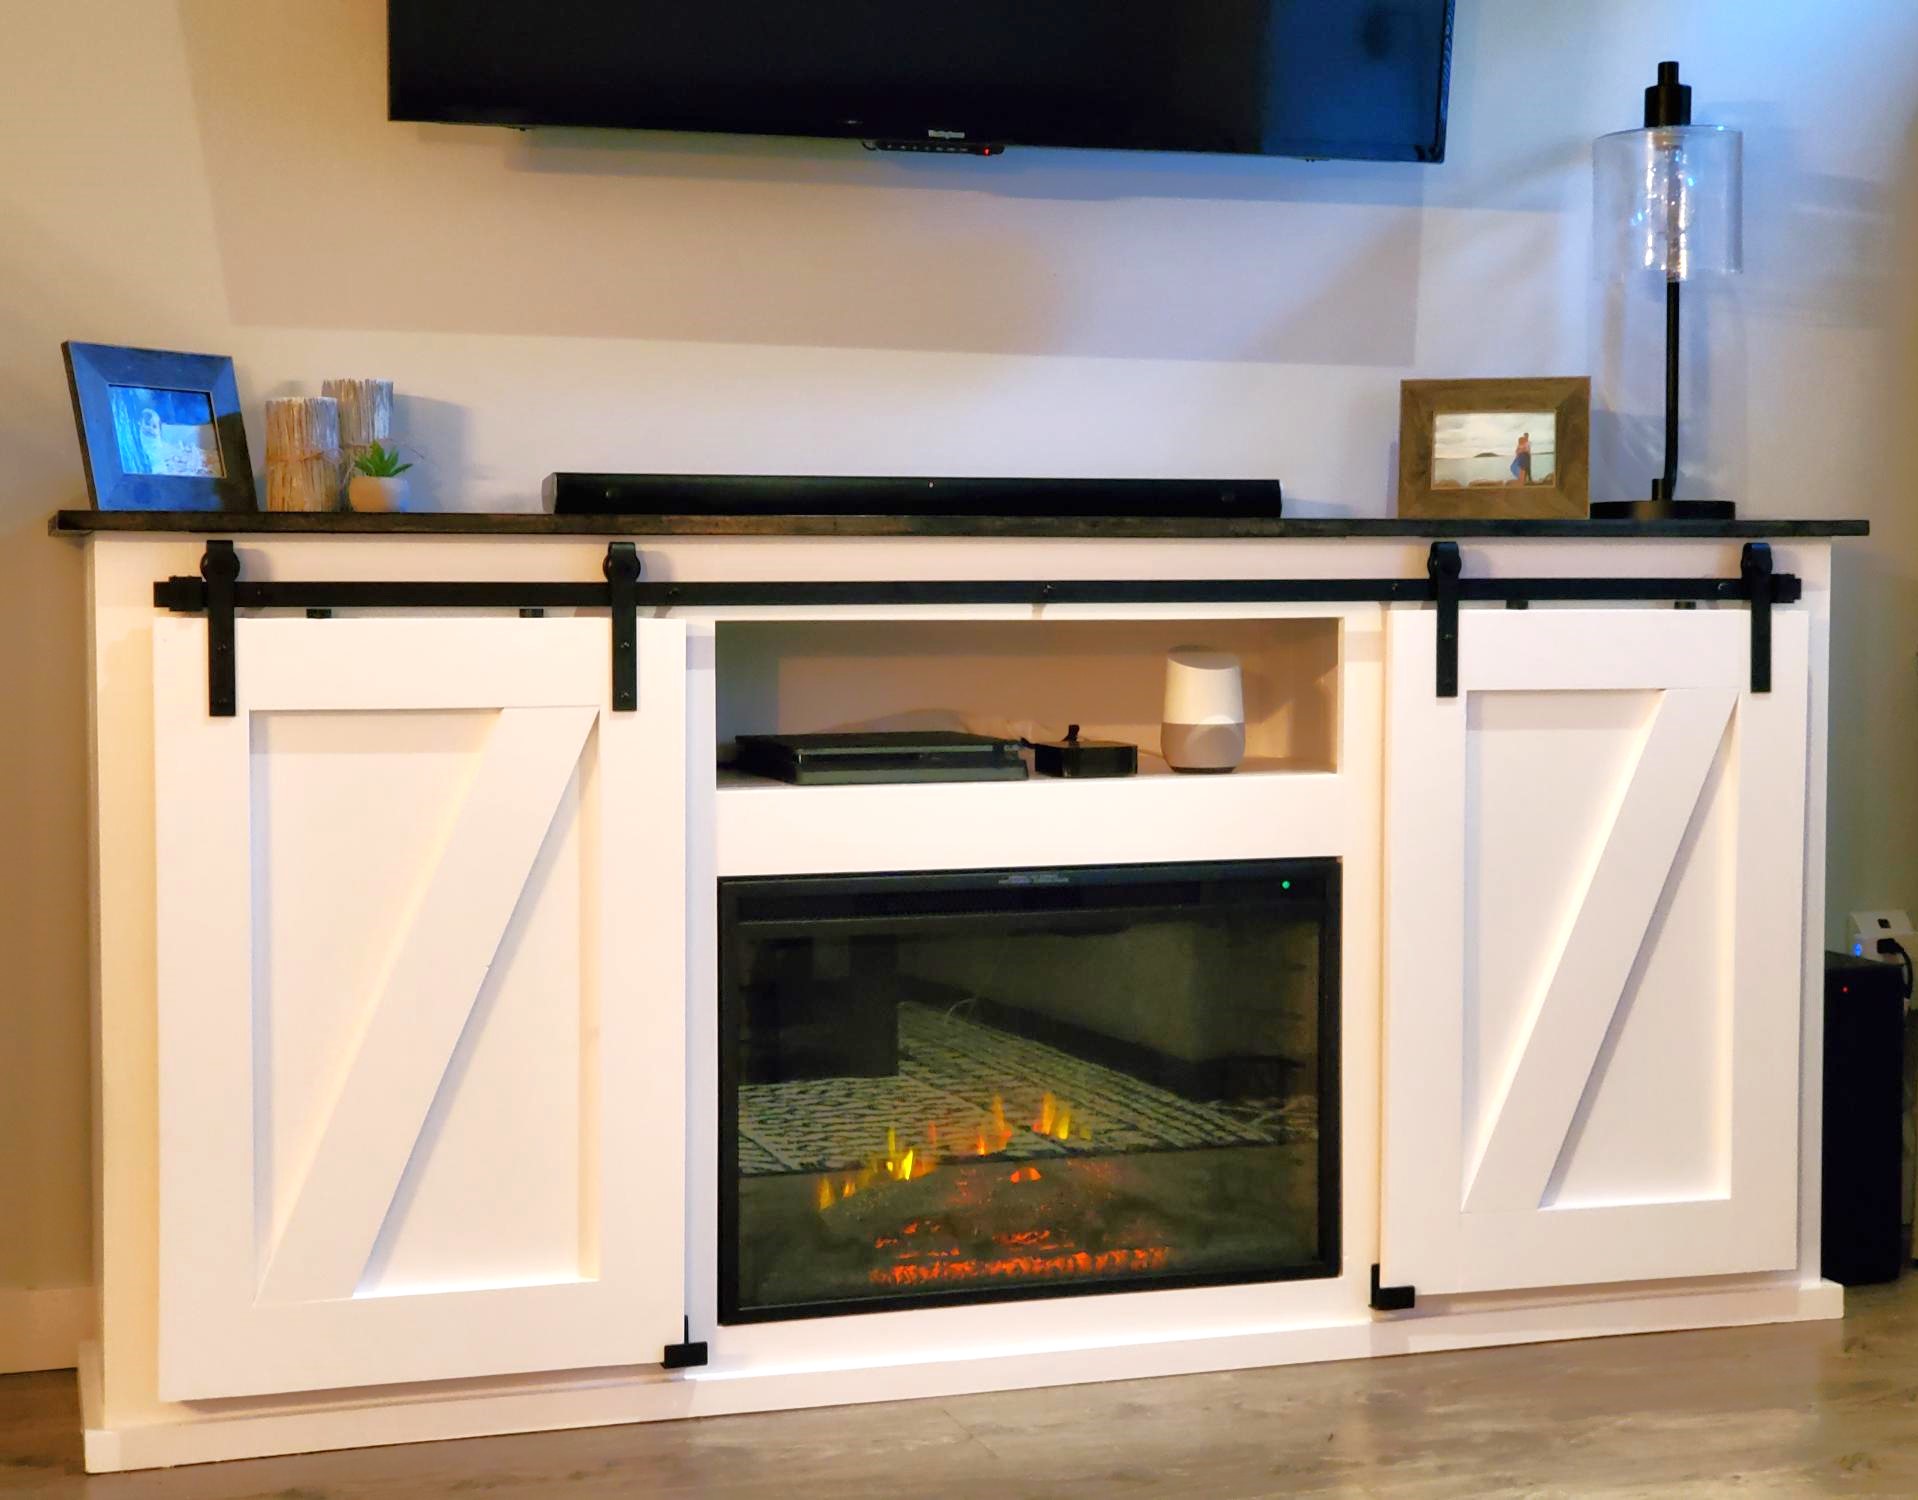
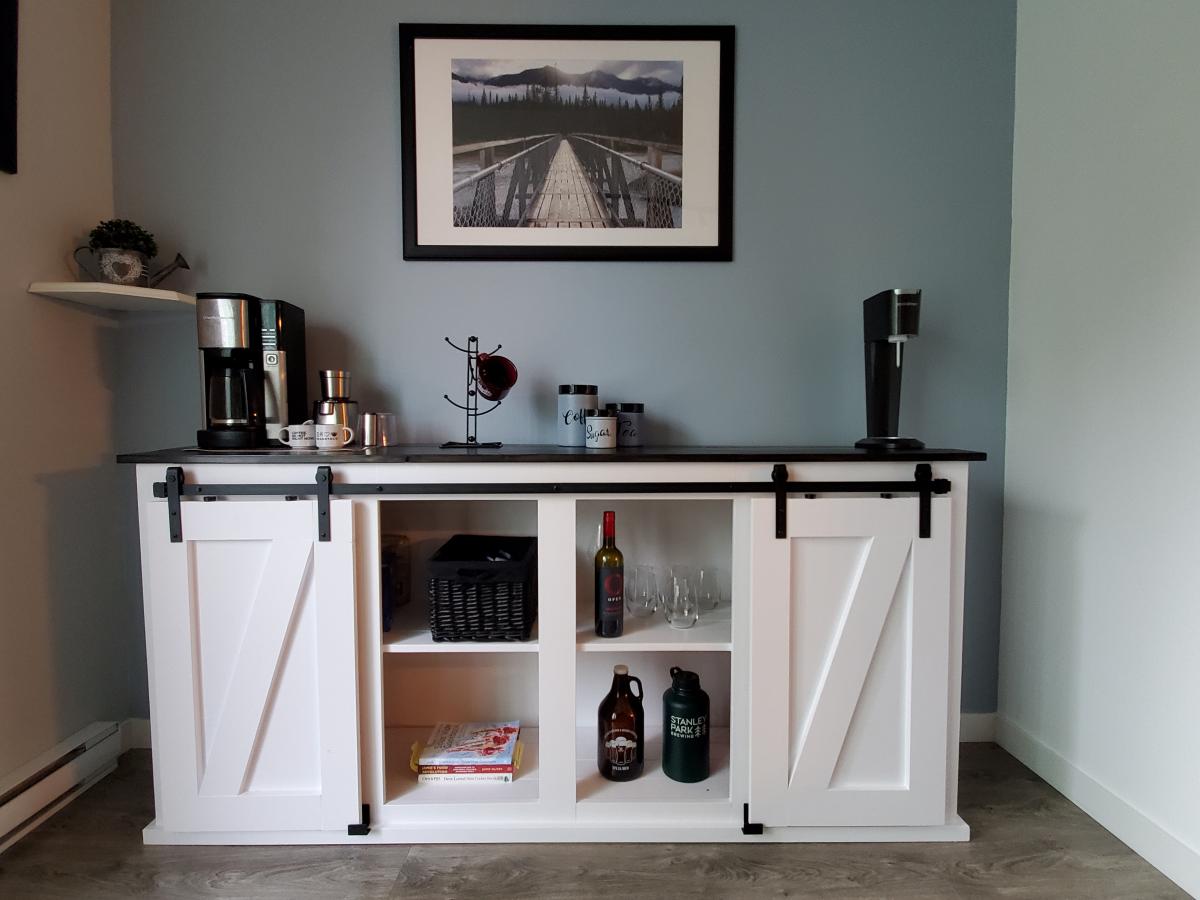
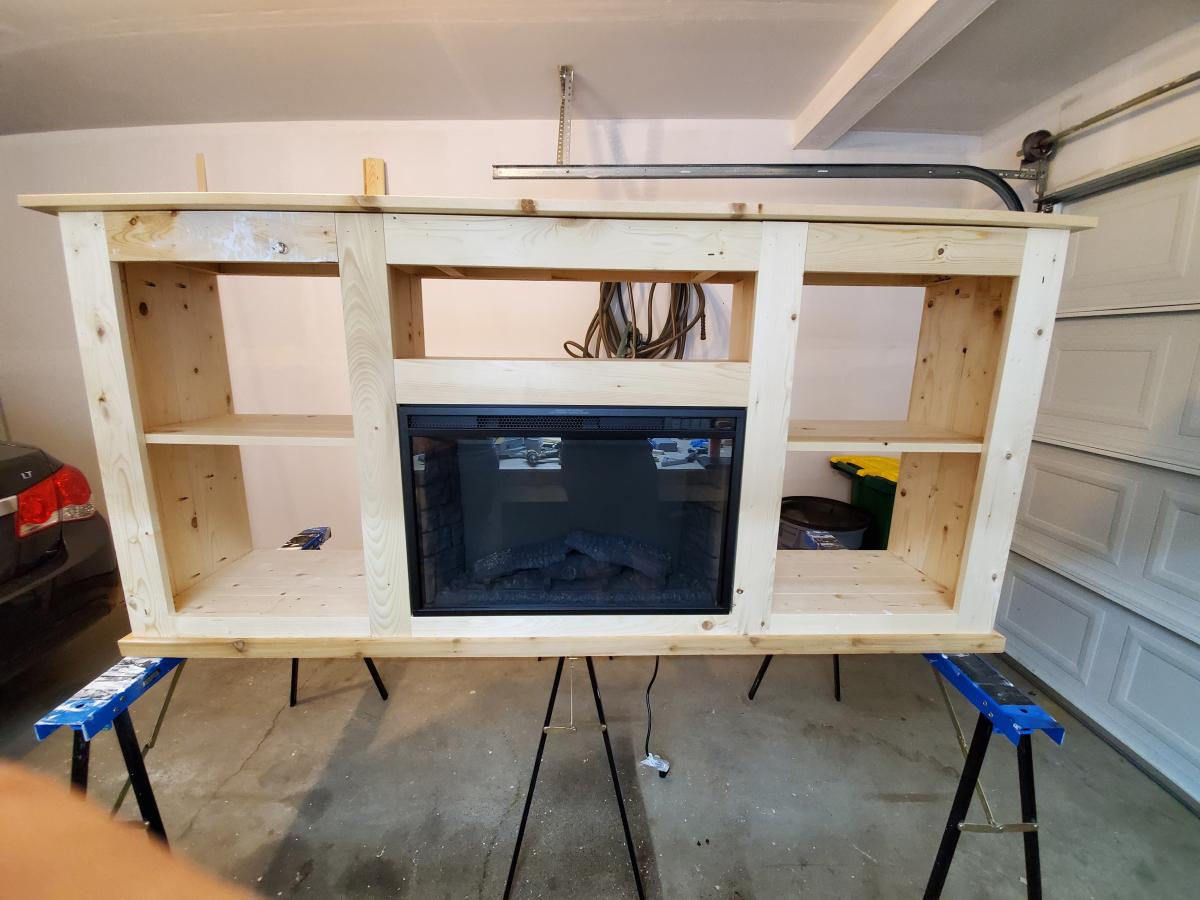
We originally built the original console a while ago as an entertainment unit for underneath our television. We enjoyed the console so much that we decided that we wanted to do another modified console with a fireplace in it and make the other one into a buffet/storage area for the dining room.
Both of these are fairly modified from the plan, however the basic concepts remain the same. One big thing that we did was use 1x4s as much as possible to reduce the different sizes of lumber we were buying to both reduce complexity and end up with as little as possible scraps.
The frames are made of the 2x3s, The sides (4 deep), shelves, middle shelves and face frame are all 1x4s. The back and inside frames are scrap plywood. The top is 1x6s.
The addition of the fireplace was not difficult. What it did require us to do was to add the centre section and essentially create a box that is closed to the outside cabinets. If it were not closed off it wouldn't support the fireplace insert correctly. The important piece with the fireplace is to ensure you have enough clearance on the top and sides to allow the fireplace to mount safely without overheating. The nice thing about this setup is the additional shelf above the fireplace which we used for electronics. The wires go through the back of the cabinet and it looks very clean.
These are probably my favorite things I've built this year. They're simple to make and add a lot to any living space.
Tue, 01/12/2021 - 19:34
This is beautiful! Any tips on how your built the box around the fireplace?or pictures?
Comments
Ana White Admin
Thu, 10/22/2020 - 16:17
Very pretty!
Totally normal to have some hiccups! You prevailed, it's beautiful!