Natural Rustic X End Table
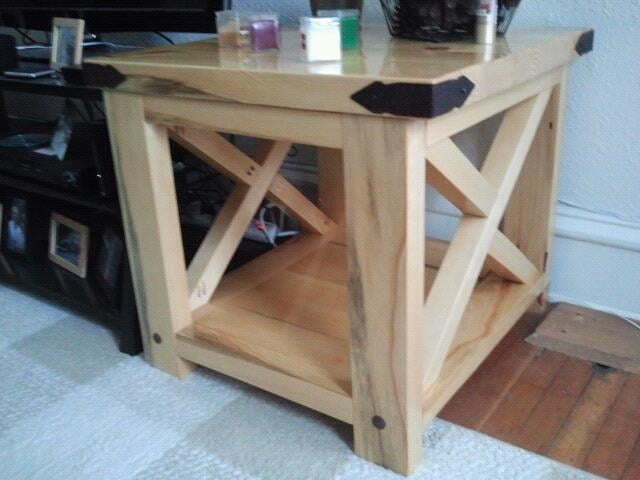
This project was taken from the Rustic X End Table plan. This is my second big project that I have attempted and I am still learning from my mistakes made from making the Rustic X Coffee Table. Hope you enjoy!
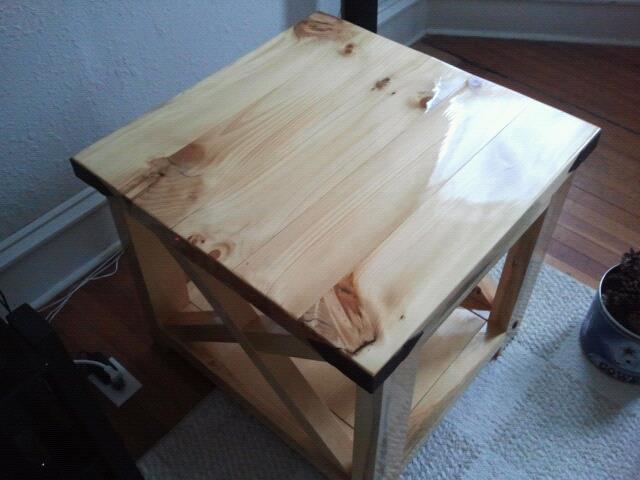
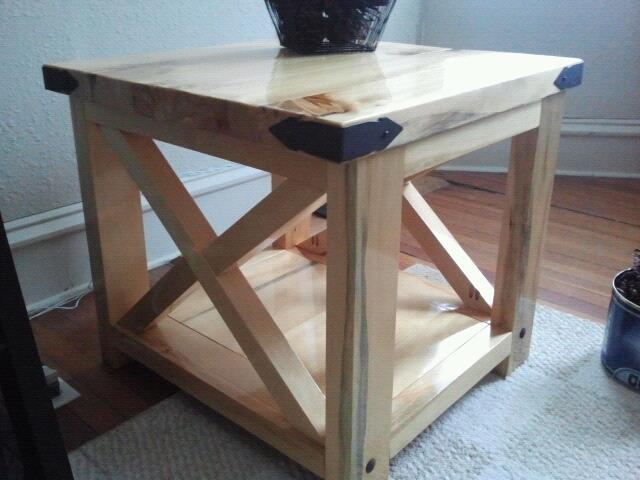
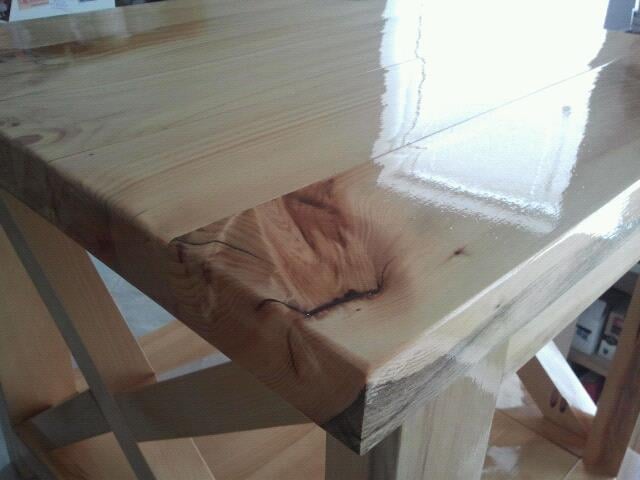
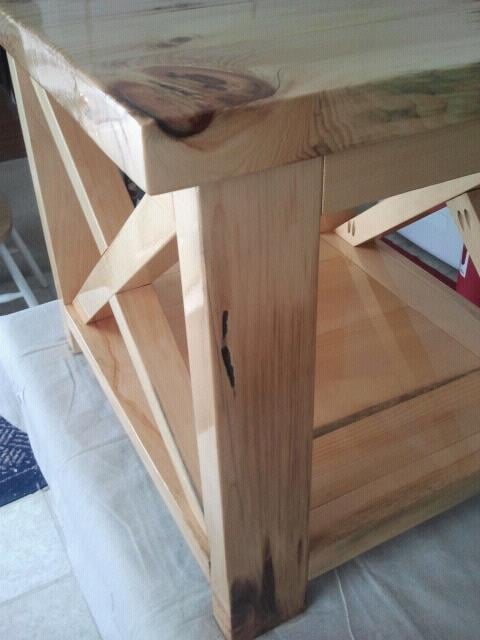
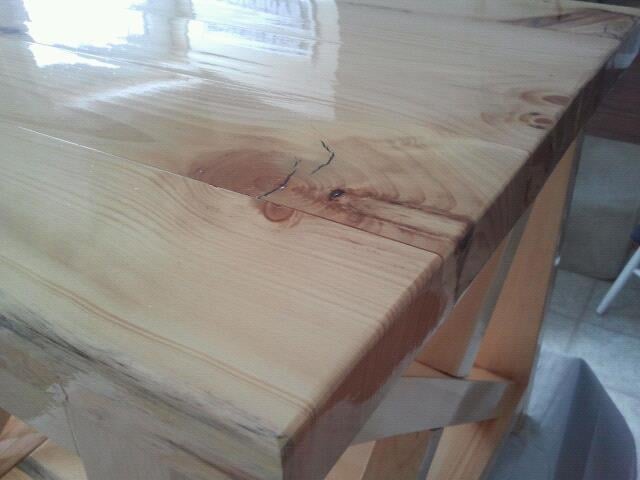

This project was taken from the Rustic X End Table plan. This is my second big project that I have attempted and I am still learning from my mistakes made from making the Rustic X Coffee Table. Hope you enjoy!


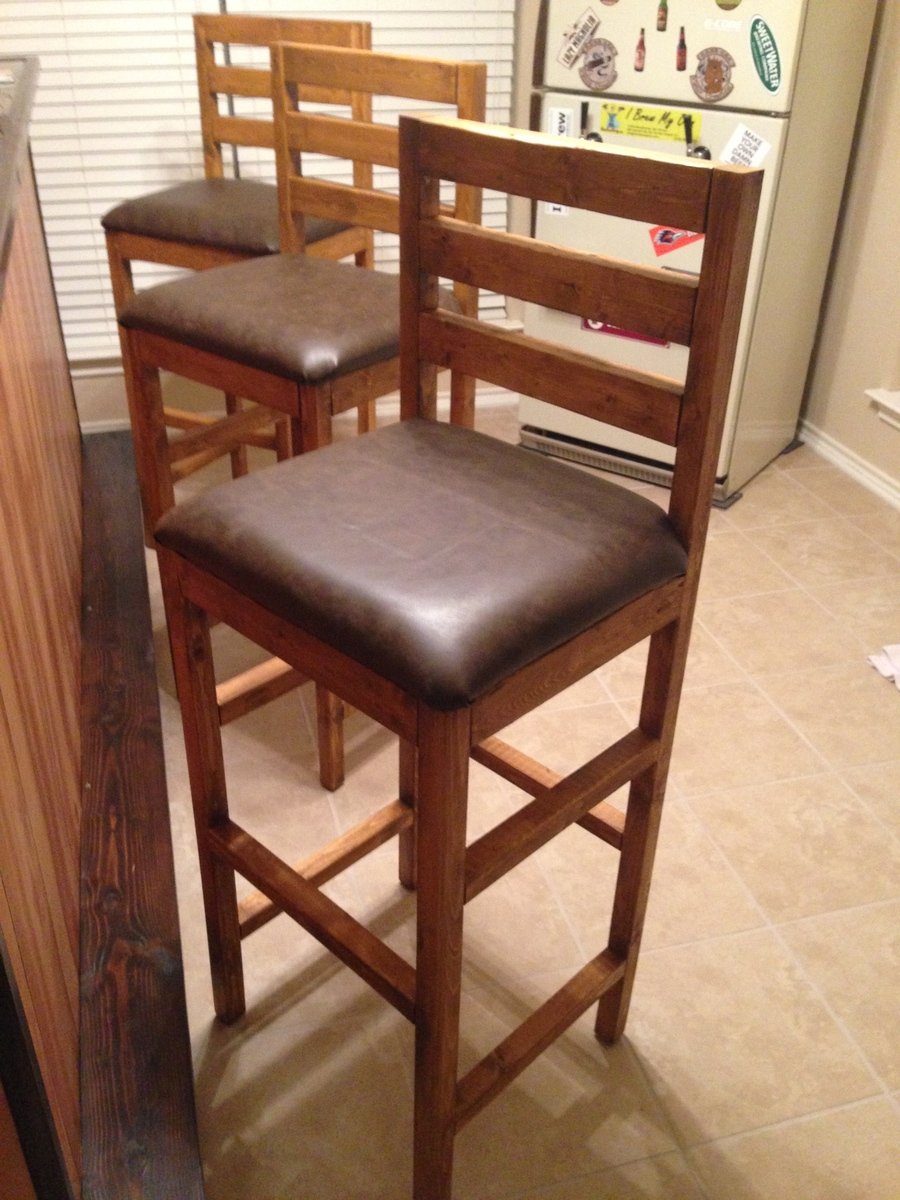
My wife and I built our whole bar, from the shelves, bar, and the kegerator! We needed stools to round out our endeavor but we werent willing to shell out the kind of money required. My wife found this plan and we morphed it a bit to meet our needs. The KREG JIG saved us big time! The seat upholstry took us a bit of time, but we figured it out thanks to YouTube. Great project for a weekend, took us a tad bit longer due to the arrival of our daughter but, we still got it done!


My wife used the benchmark media console plans with her own idea for the doors

Easy weekend build. Turned out great. Needed a small table for my small space. Stain turned out fine, but I tried the poly/stain combo and don't like how it applies. Will go back to stain then poly in the future.
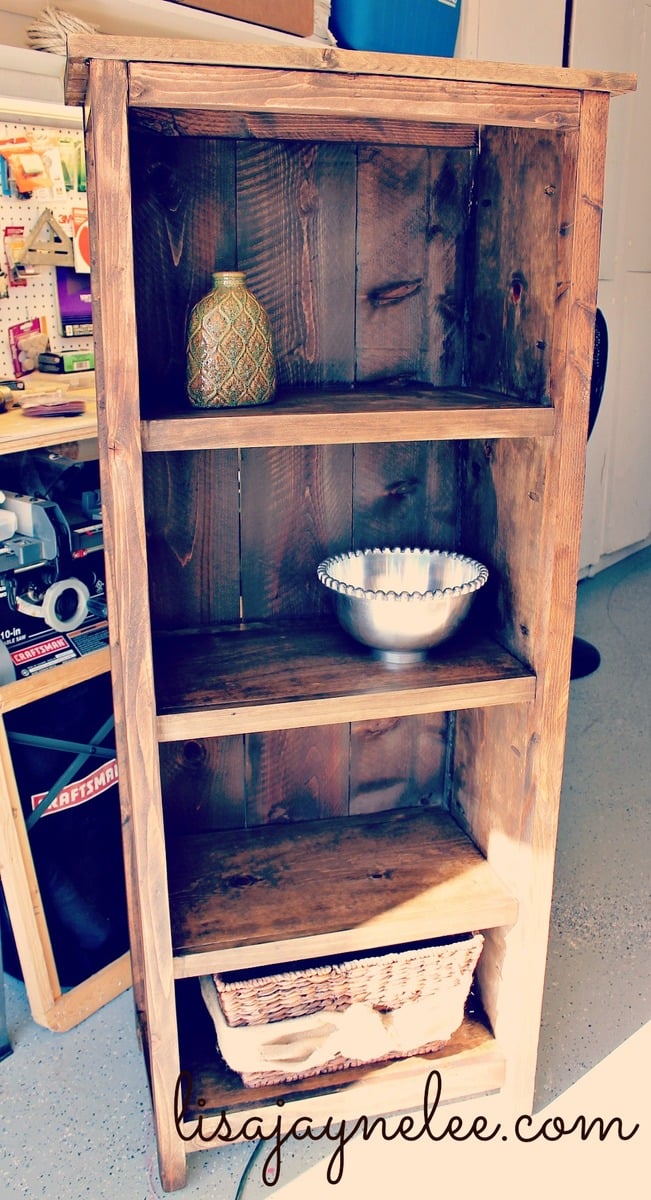
This was my first major build with plans from Ana. I actually found this bookcase via Shanty2Chic. It went smoothly and all in all took me a few evenings about an hour at a time. I have 3 kids so it did take me a little longer to finish. I am so impressed with myself and so is my husband. I used a 10" chopsaw for most of the cuts. I also used my KregJig. Thanks Ana!
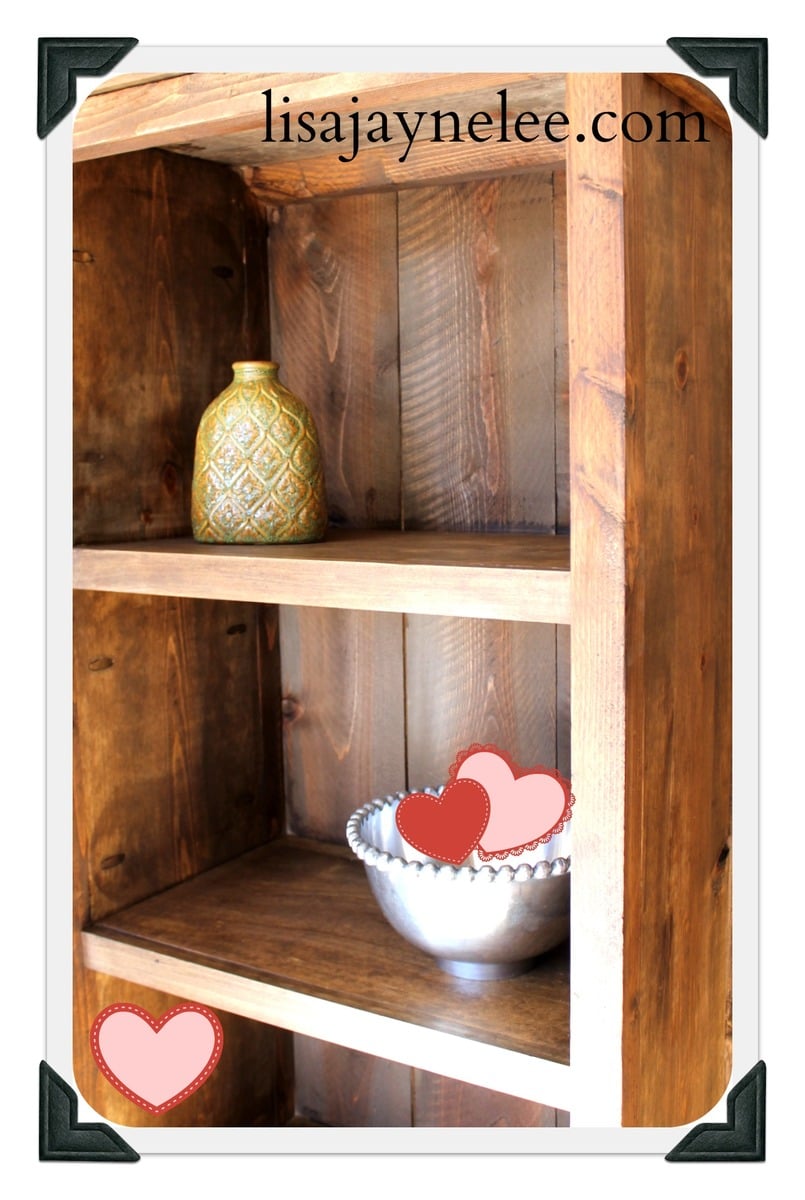
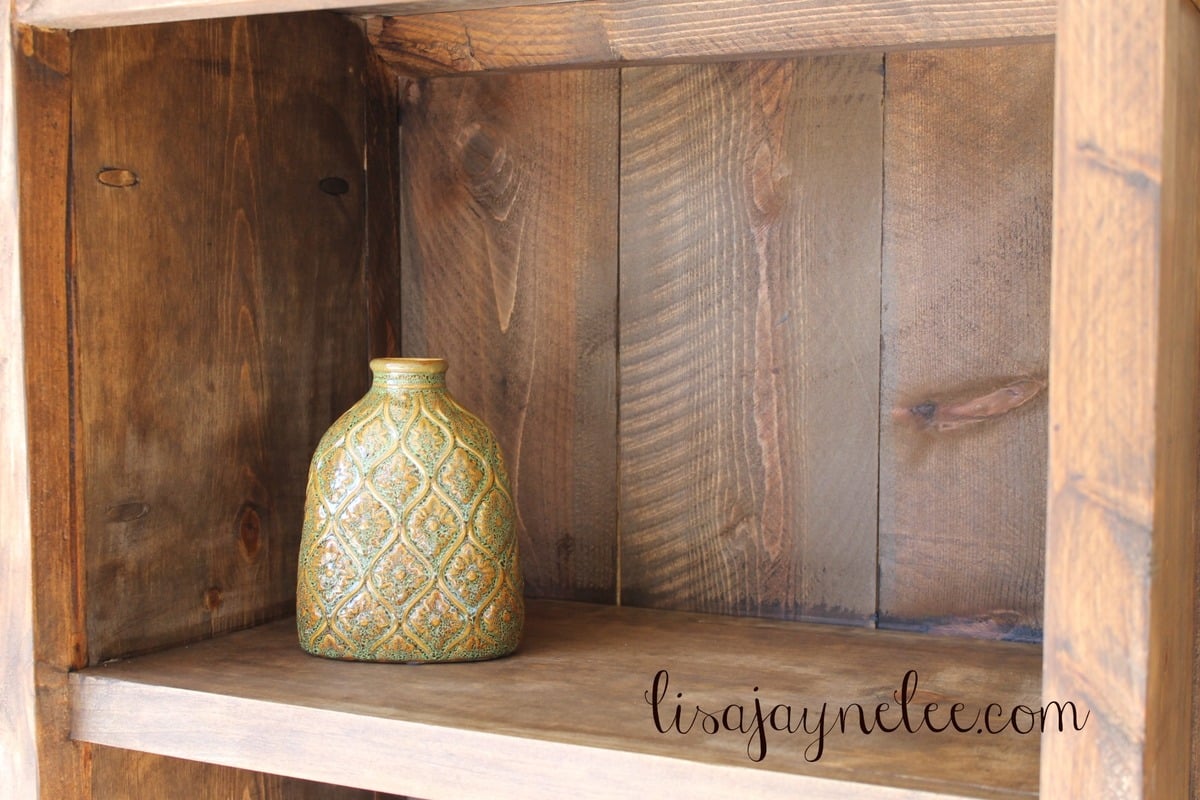
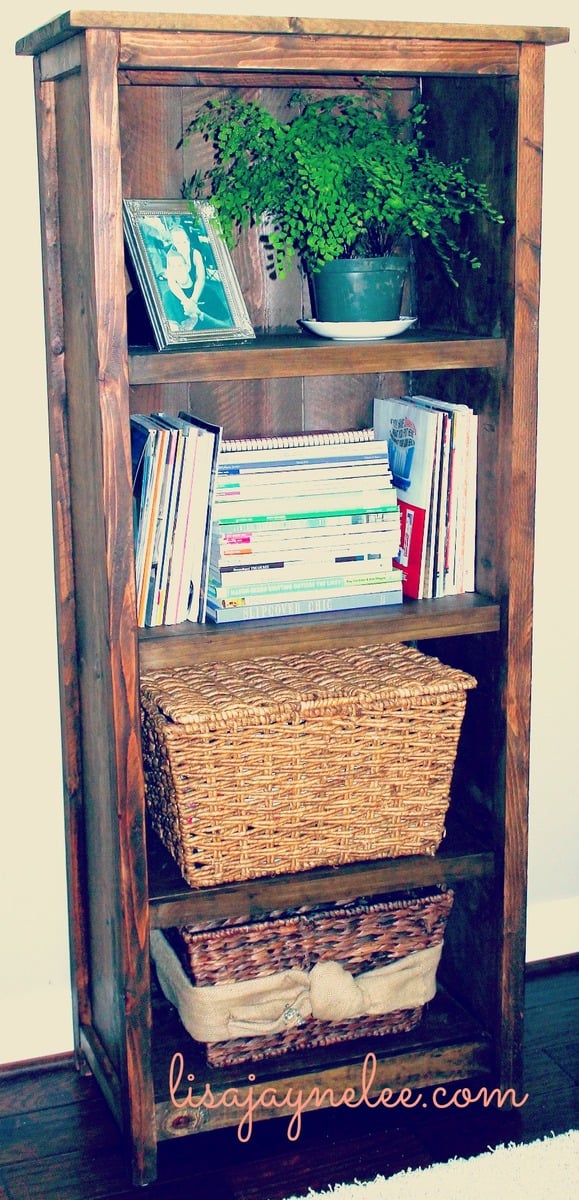

I did not like the way the X looked with our other furniture so I decide to replace it with 2 upright 2x2's.

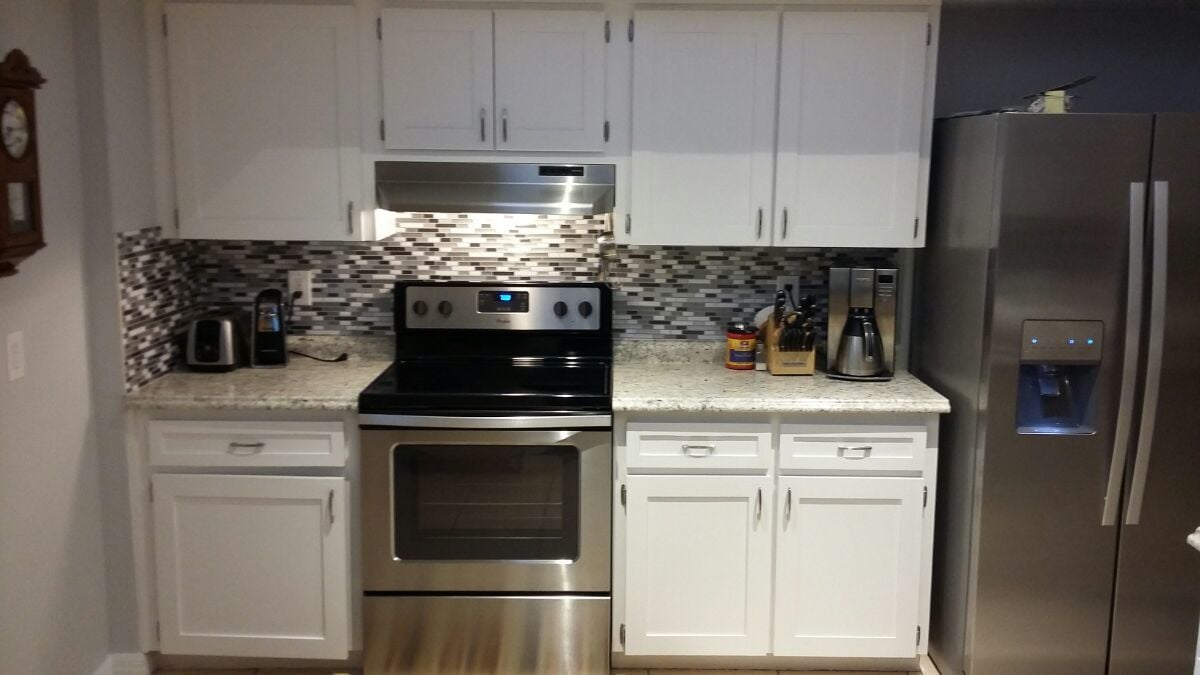
My brand new $1500 kitchen! New countertops, new peel & stick backsplash, new homemade diy real wood doors to cabinets, new self-closing hardware and pulls, painted old body of cabinets to match doors, painted accent wall and area behind fridge. With appliances, total cost was more like $3000. Also, pics do not show other side of kitchen, with sink, bar & dishwasher. Still looking for "before" pics of that. Will update as I find them.
LOVE my "new" kitchen! <3
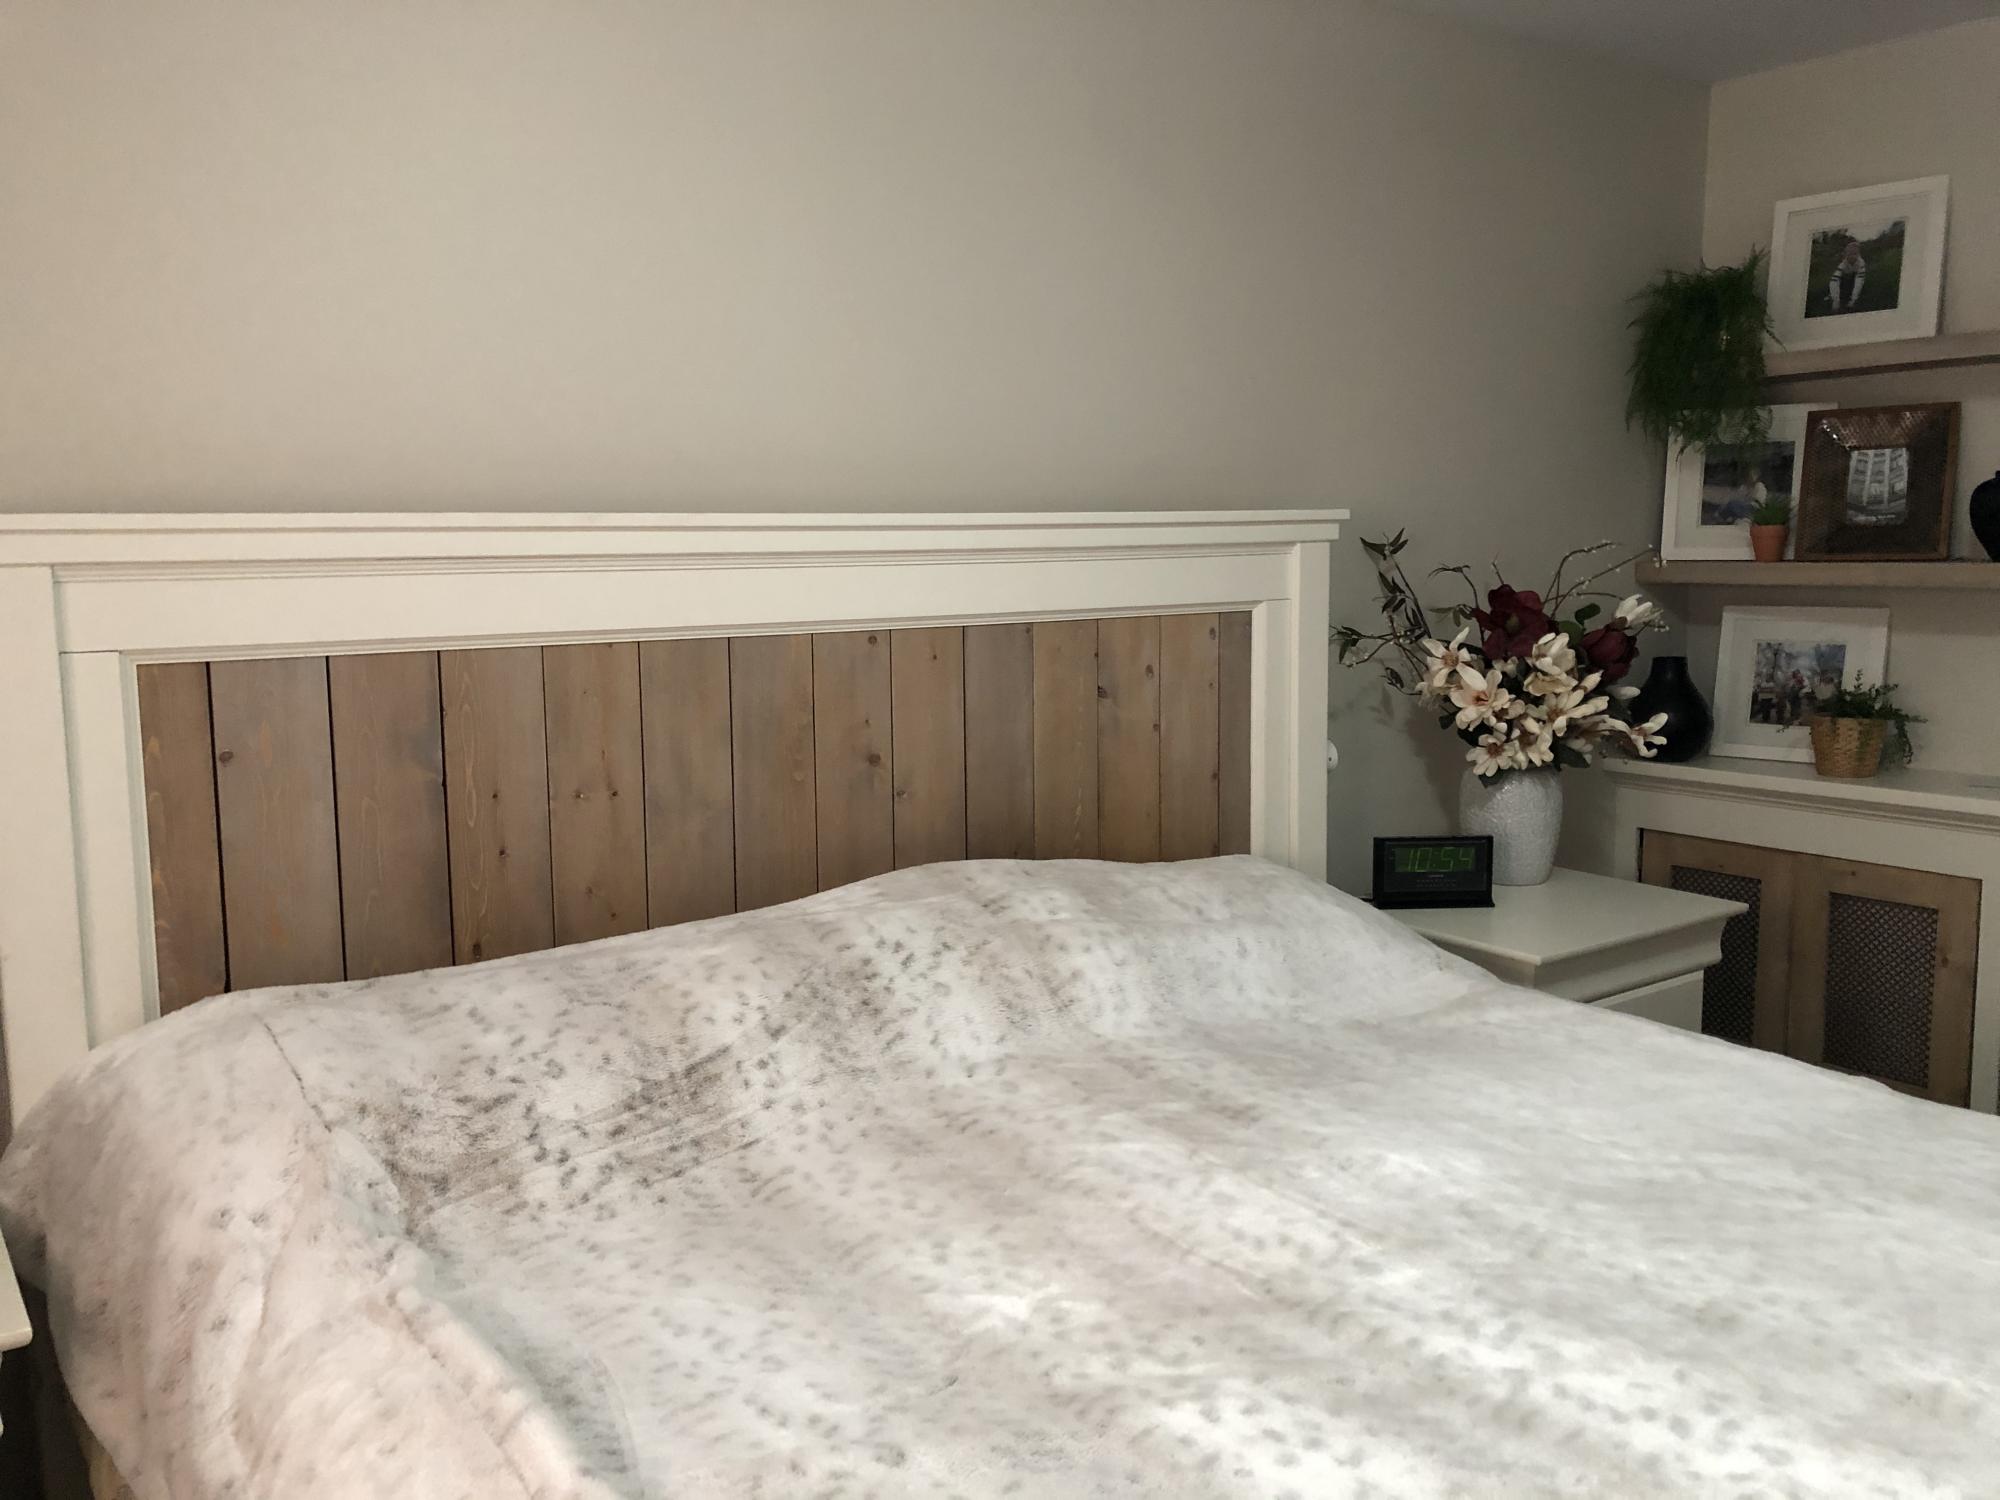
Thank you Ana White! This is the first piece of furniture I built! Finding your plans opened up a whole new world for me!
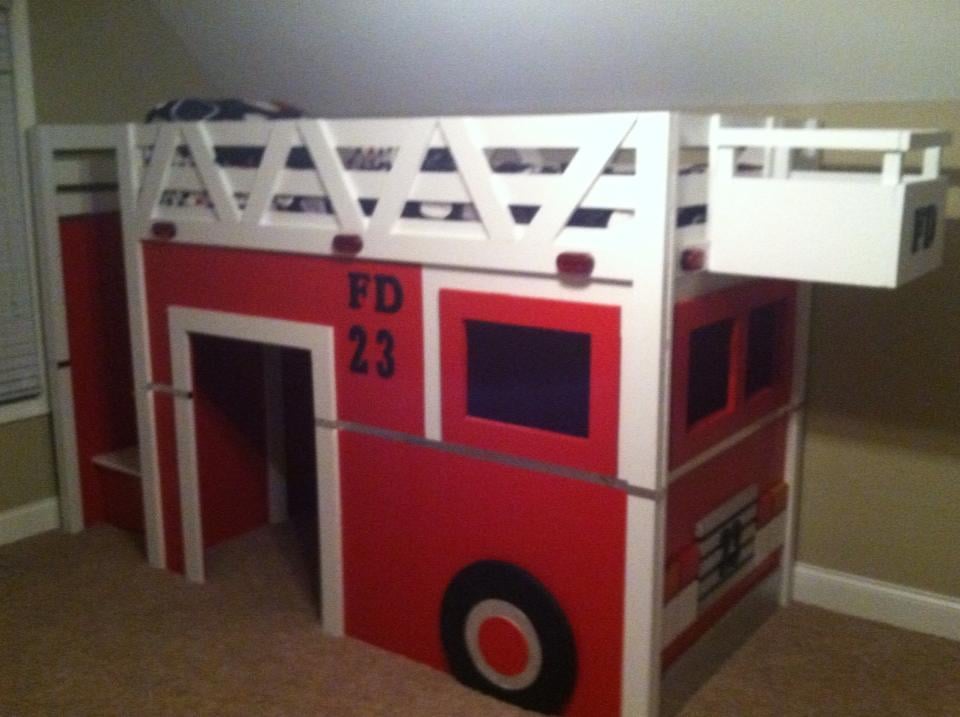
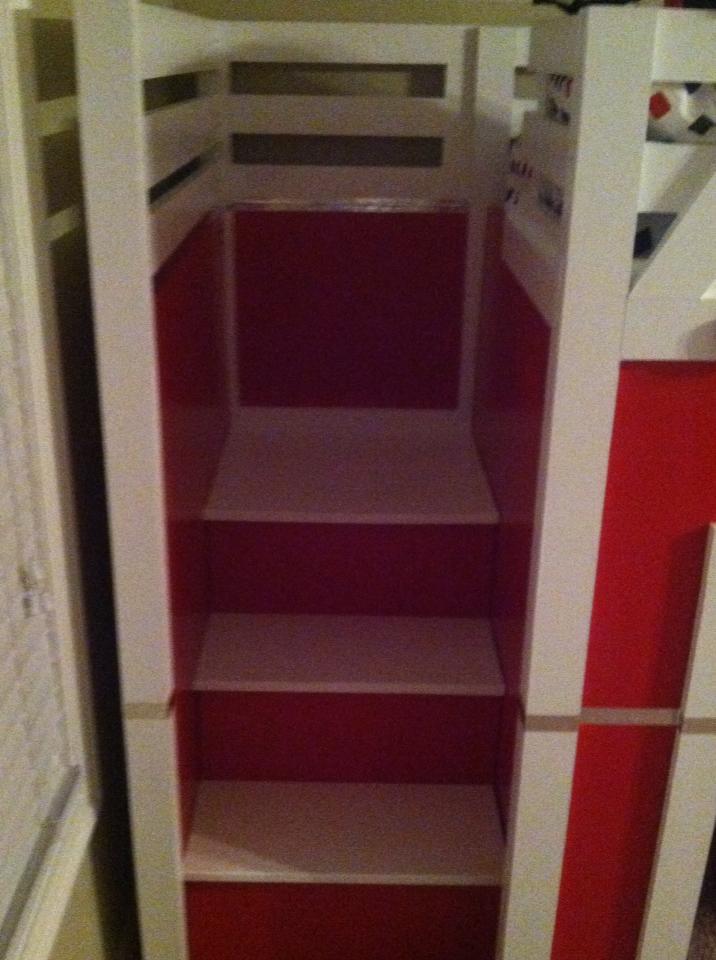
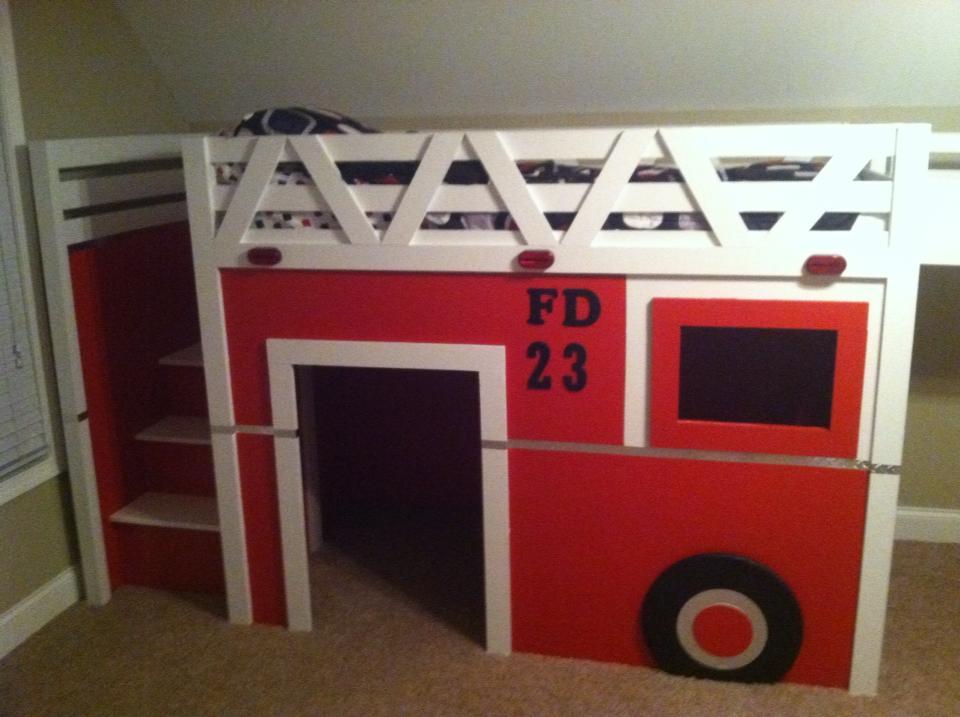
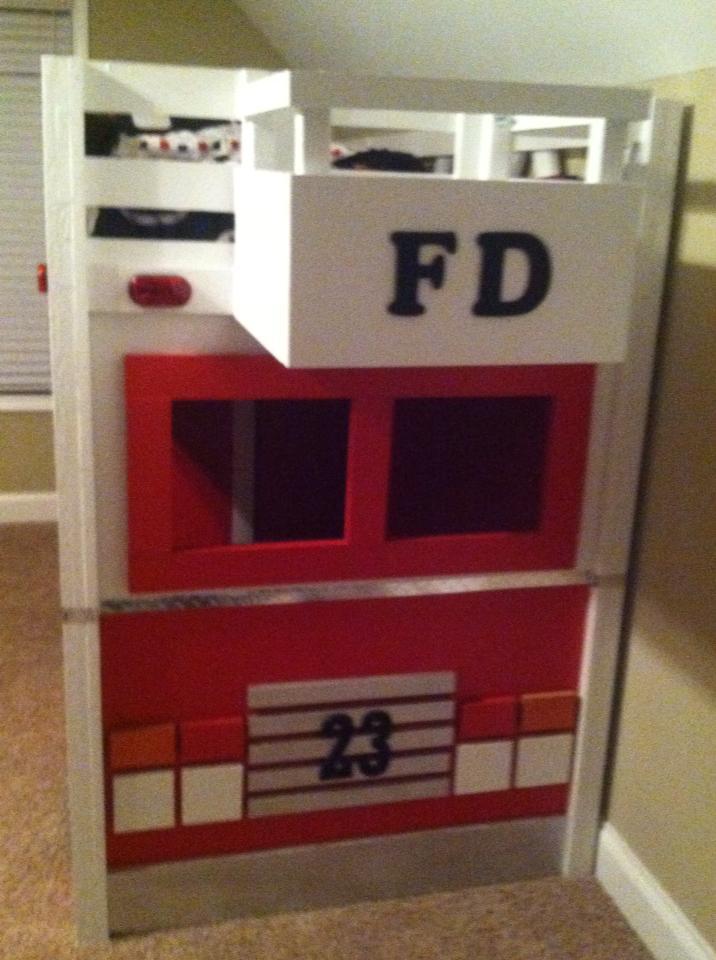
I have always been interested in some kind of projects and just to see what I can do with my hands. I am a father of 3 and hardly have the time to sit down must less pull off a huge project but I set aside some time and worked on this late at night after the kiddos went to bed. I came across this site when my wife was on pintrest one night and have been hooked ever since. I was at work one day and saw all these different projects that I wanted to do and that's when I ran across this bed and I could not wait to start working on it. I called my wife and sent pictures of the plans and said meet me at Lowes we got a project to work on lol. I had a blast working on this and yes I did run into a few problems here and there but overall it came out great. When I went in I originally was going to follow plans to a T but decided that I would make changes here and there as I went. Due to height contstrictions in my son's room I lowered the overall height by two inches which worked out perfect. I did build the steps but I also made the back where it would come apart for east movement. I only used actual pine boards on the steps and the rest is 3/4" MDF board. I ripped everything on a table saw to exact width and length and drilled all my holes with a Kreg Jig. Alot of people are afraid to use MDF but believe me I could shake that bed as hard as I can and it doesn't even budge one bit. It is heavy duty built for a monkey child like I have. The project overall took around 30 hours from start to finish. My only suggestion would be to paint every step of the way instead of waiting to paint until the end like I did. If you have any questions about the build feel free to ask and I will help out the best I can. Thanks Ana for the plans and thanks to atouchofarkansas for the original inspiration for you guys have gave my son years worth of enjoyment. Can't wait for the next project to start.
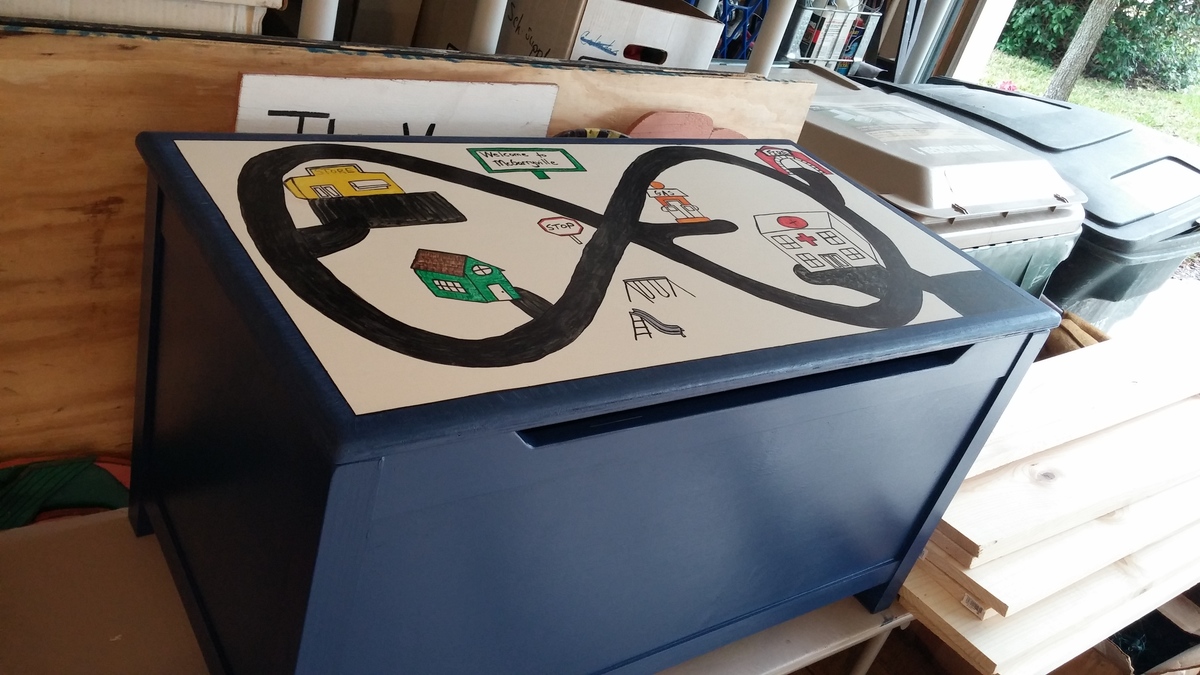
This is a toy box I made for my cousin's son for Christmas.
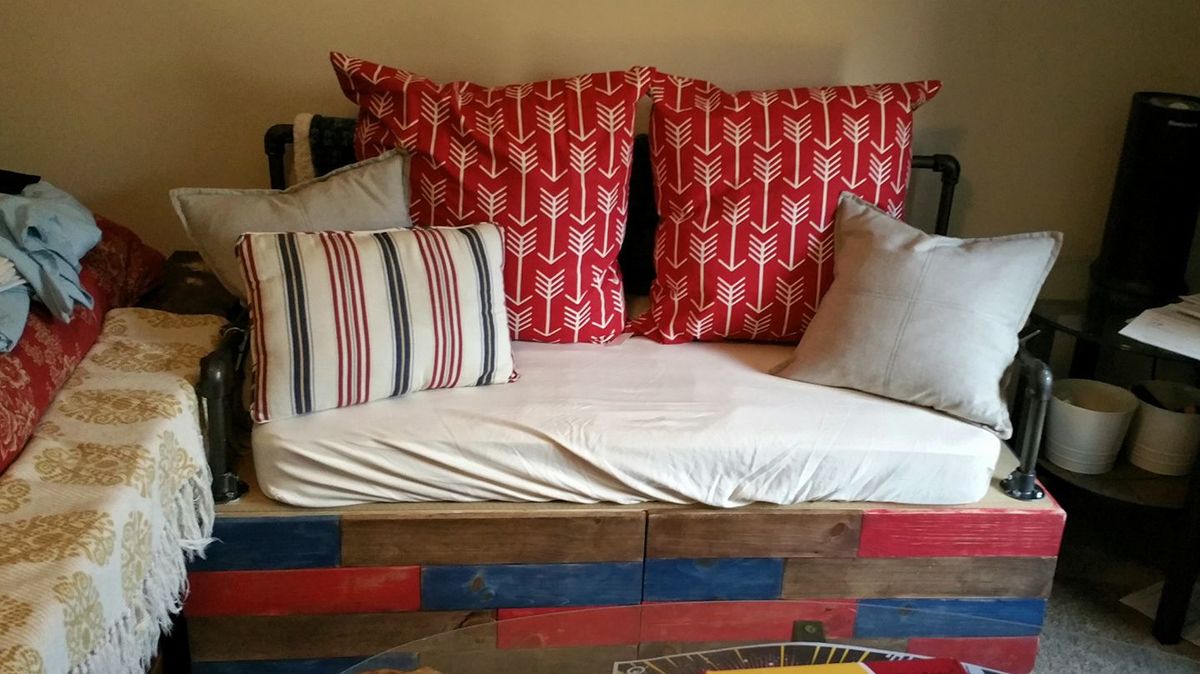
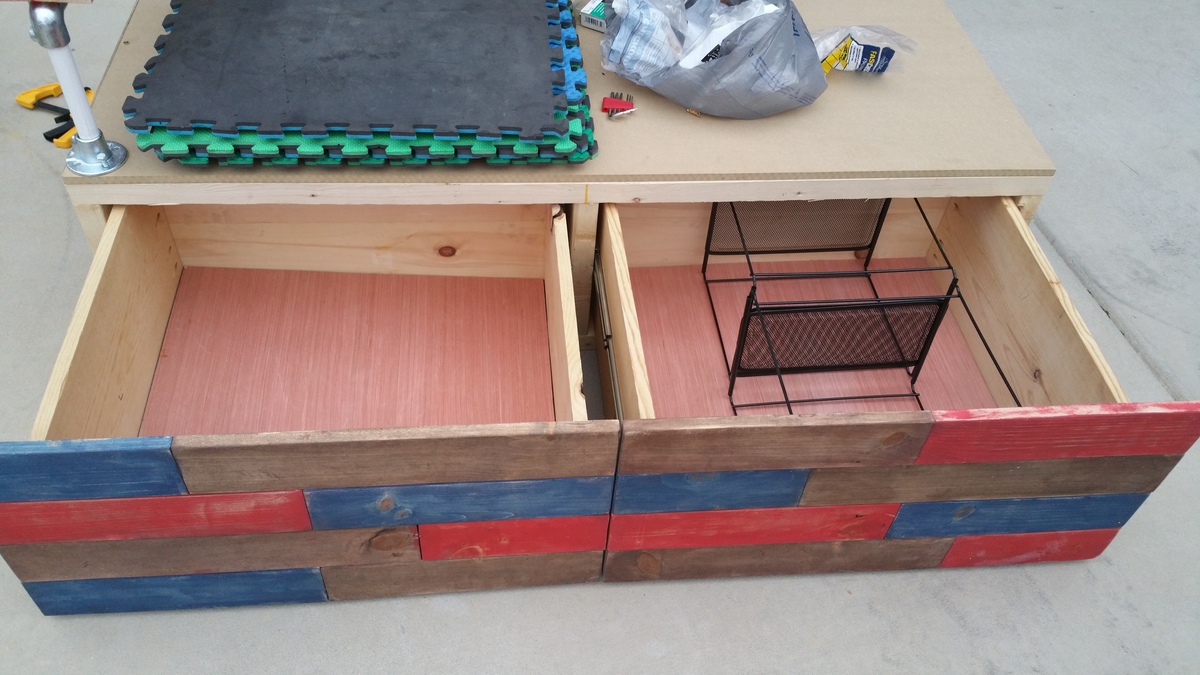
Wanted a couch that could also fix my storage issue for all my paperwork. I saw a plan for a filing cabinet bench and some plans for a storage couch and used them as inspiration to make my own. The railings are made with PVC pipe because of my budget, they hold up under my weight, but probably wouldn't work for a heavier individual. I'll eventually upgrade to iron pipe when it's in the budget. Still trying to figure out what to do for the armrests.
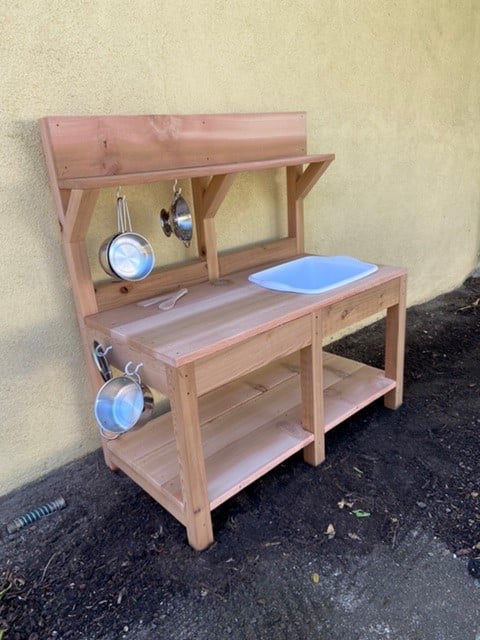
This was so easy and fun! We splurged a bit on nice cedar because apparently the cedar mills are down due to covid so the less expensive fencing isn’t so readily available. The hubs helped me rip down the larger boards, then I cut and assembled it all. Not including the buying and ripping, this took me maybe 4 hours to complete and we ended up with a beautiful kitchen for my daughter’s 5th birthday! Thanks for these super easy to follow plans!
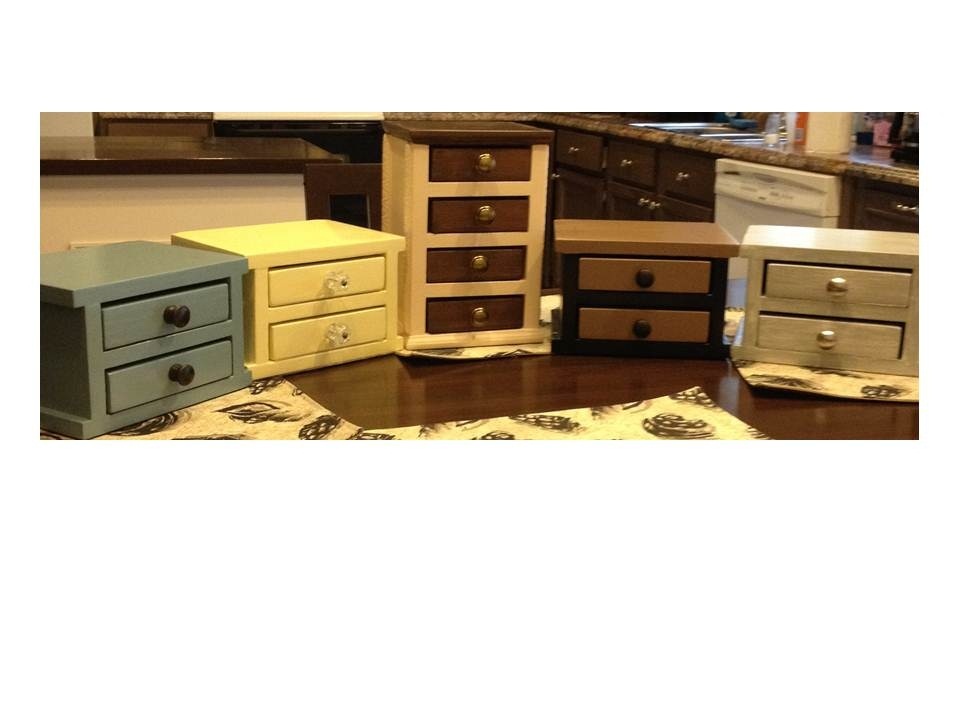
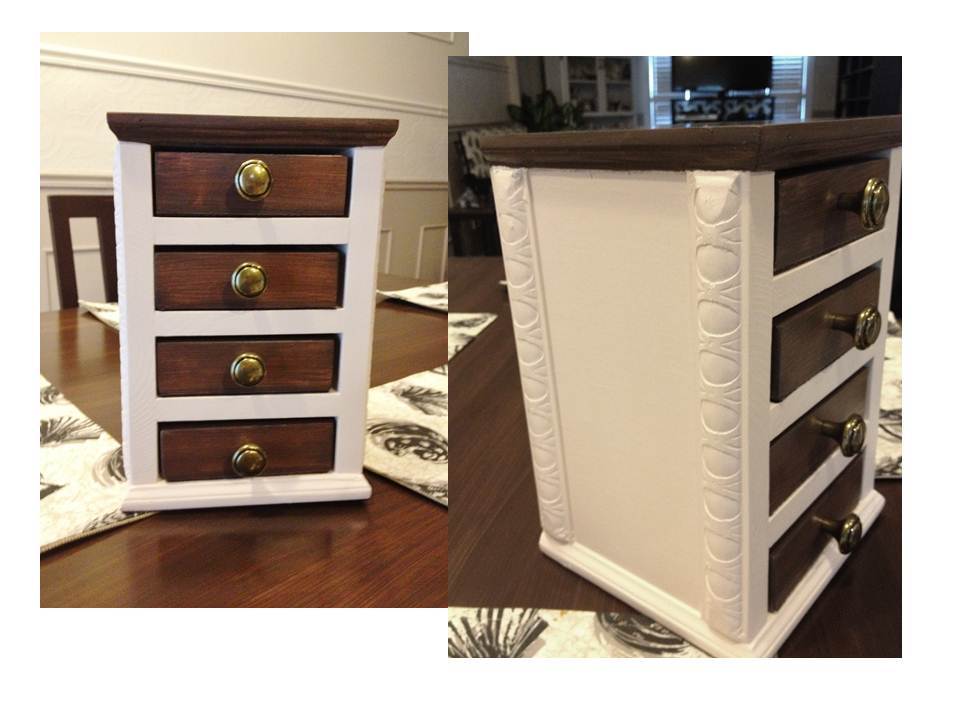
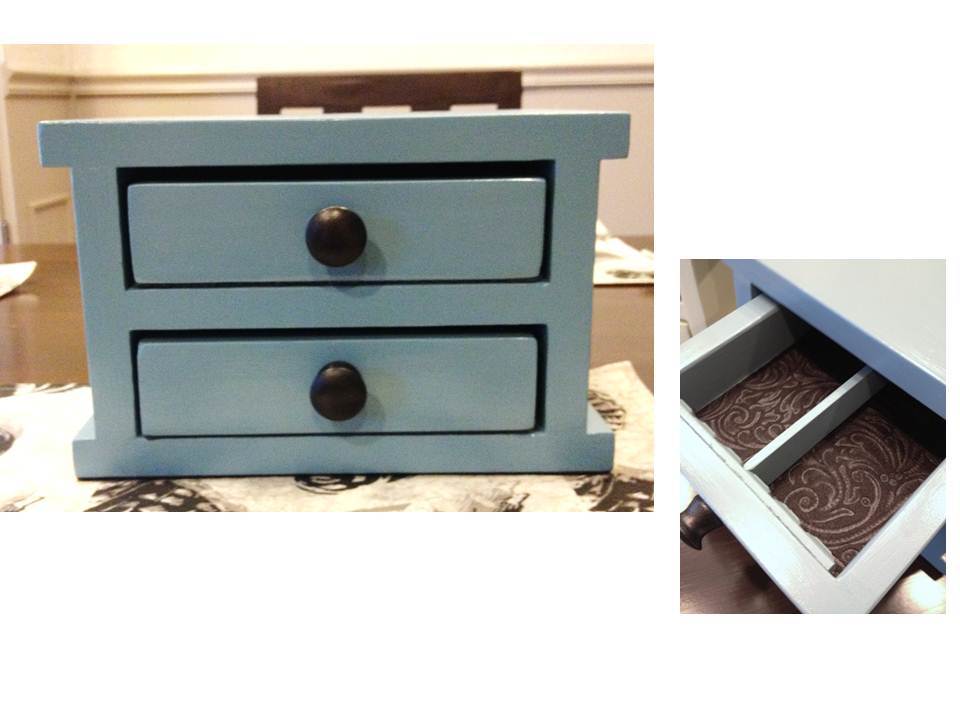
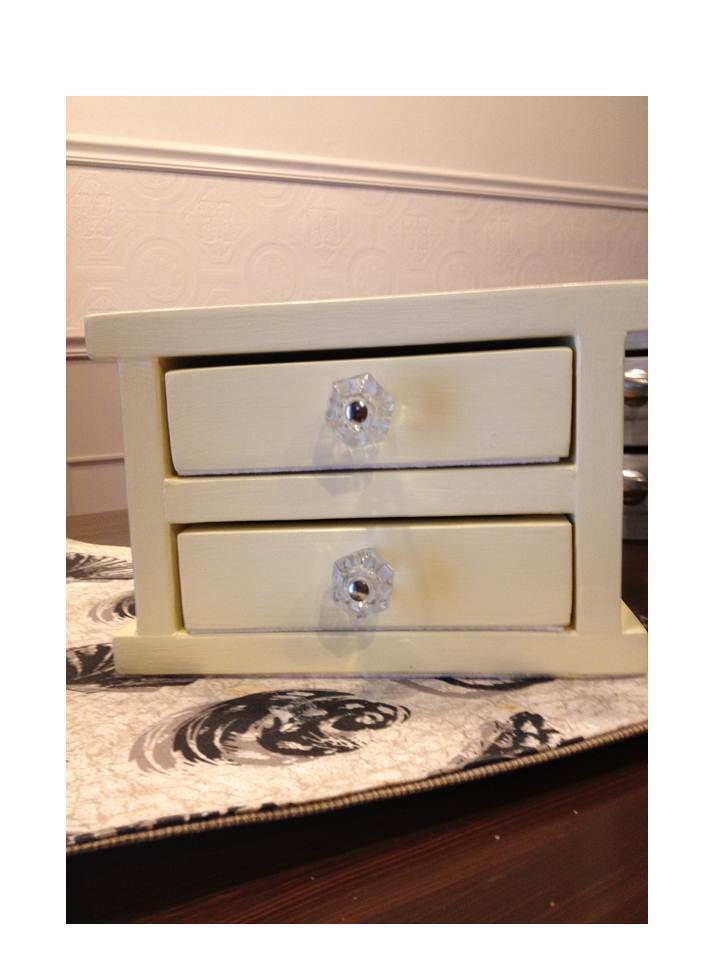
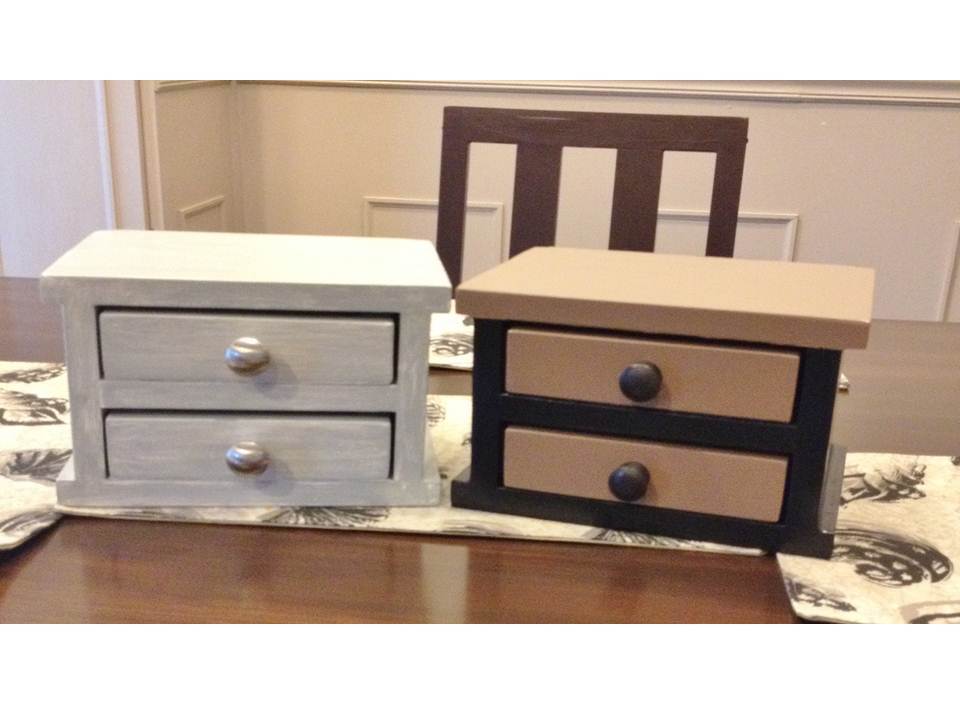
For Christmas gifts this year, I built several different jewelry boxes from the Easy Jewelry Box plan. The center one is a variation of the plan, made taller and narrower (that one was for Mom). The drawers are all lined with embossed felt and the 2-drawer boxes have adjustable drawer dividers. These all have sticky-back felt on box and drawer bottoms. The tower style box has added trim. Each one was an afternoon build. These were super fun to build and were a huge hit with Mom and my friends!
Wed, 02/27/2013 - 12:58
Thanks so much for the nice comment! :) I had a blast building these, and thinking up the finishing combinations I thought they would enjoy. I'm always partial to the ones I build for Mom. :)
I built this for my sister in law this Christmas from Ana's plans. I can't wait to make a second one for myself! The overall build was easy and I would consider myself a beginner level. Sadly, I didn't get a picture of the final product before I gifted it, but I distressed it to allow some forgiveness in the white paint detials and hand-painted decal on the top. It turned out great and they loved it!
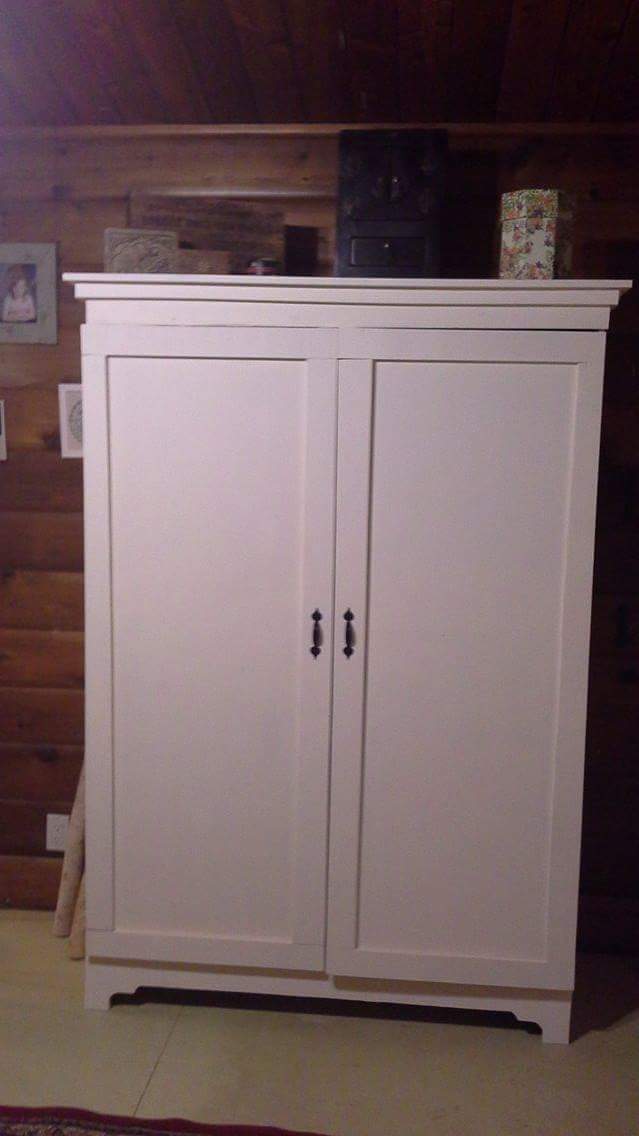
Made this out of a ton of scrap wood I had laying around. On the downside it made the project more difficult, but on the upside all I had to buy was hinges and handles...

Used part of the Ultimate Roll Away Workbench with Miter Saw Stand to just build one of the roll-away workbenches to work with my miter saw and table saw. I'm very happy with how it turned out.


Sun, 04/28/2024 - 12:57
Hi, I am planning on getingt a dewalt 10 inch table saw as well. I am wondering what you did to adapt it for extending the rails with the fence? Curious if there were more photos. I would very much like to adapt my station to be similar to yours. Thanks. .

I completed this project on a day off from school. It took about 8 total hours from start to finish. I purchaced 1x8's and cut them to size to minimize the looking through piles of lumber for stright boards. My first project, and im looking forward to the next.
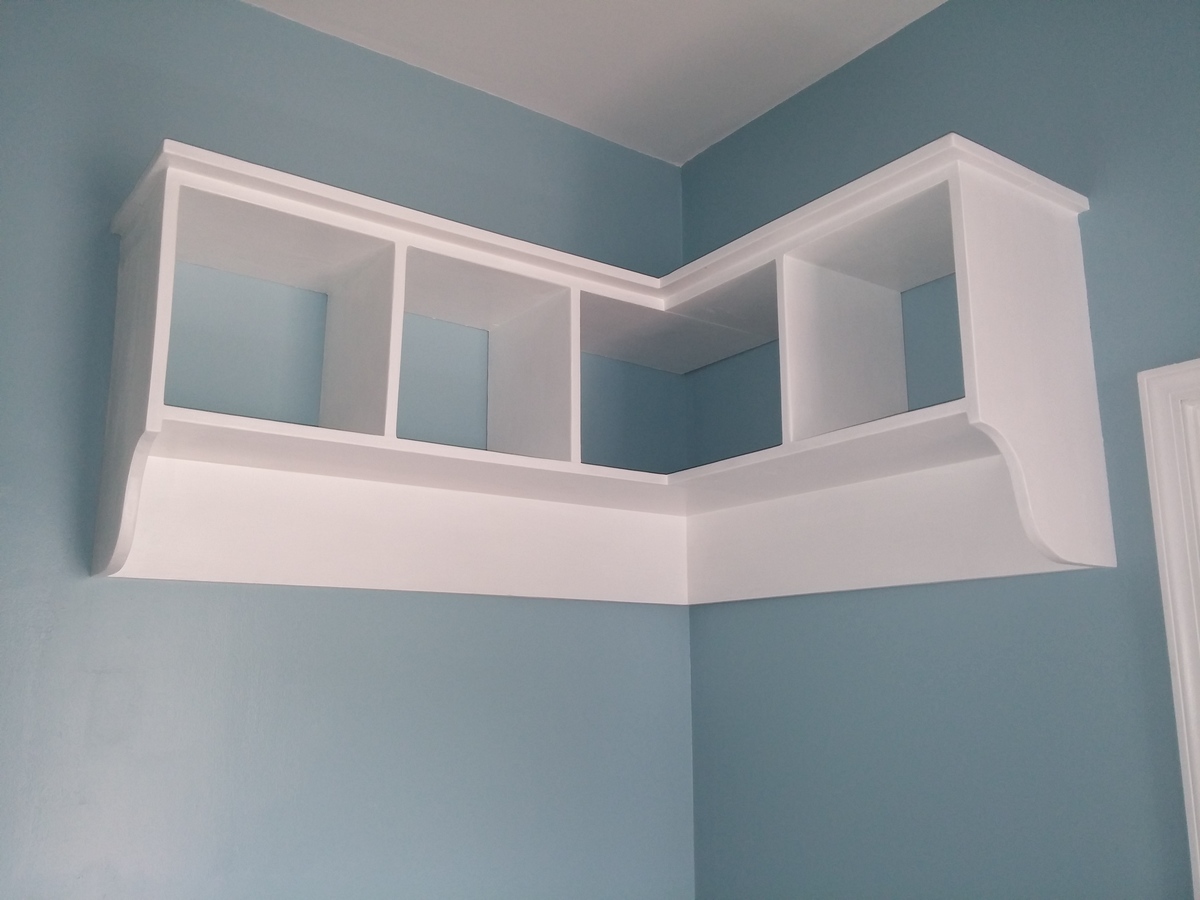
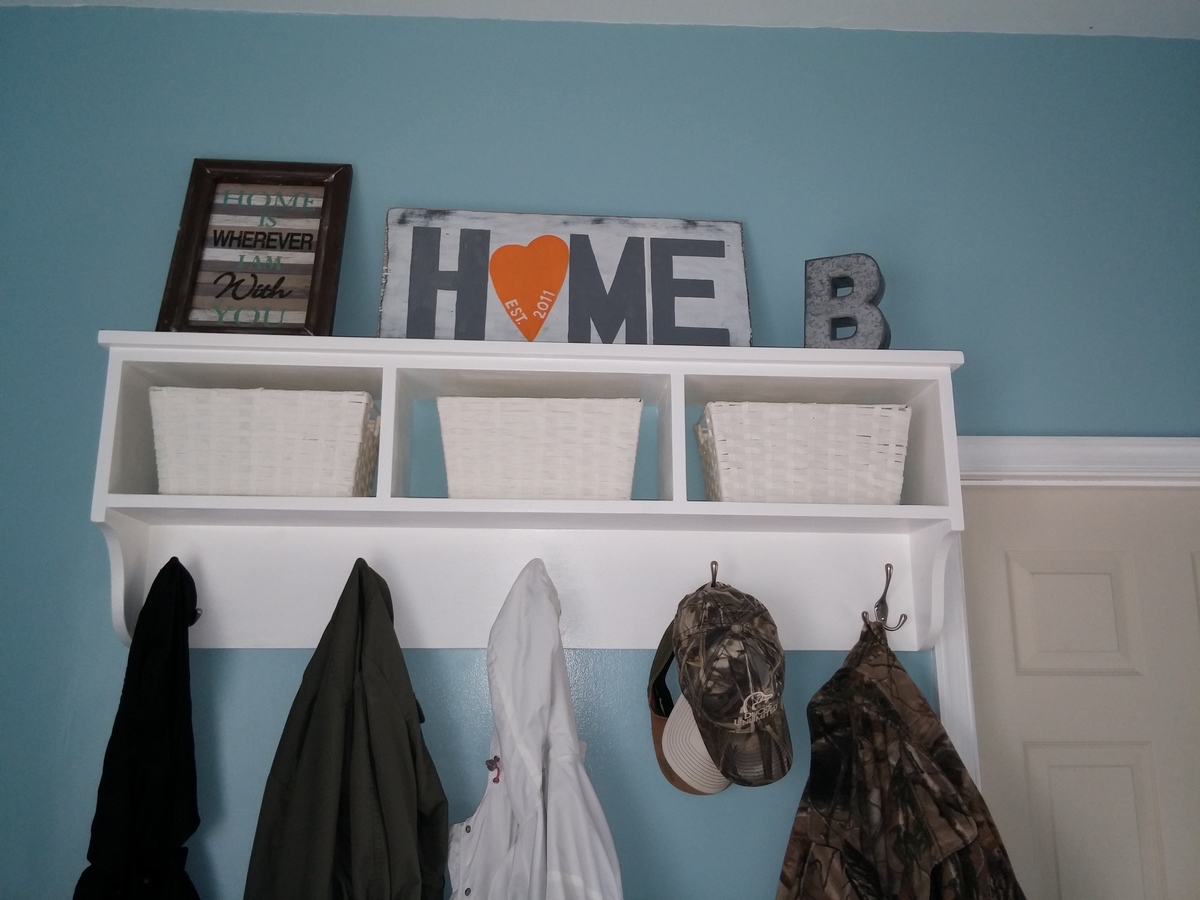
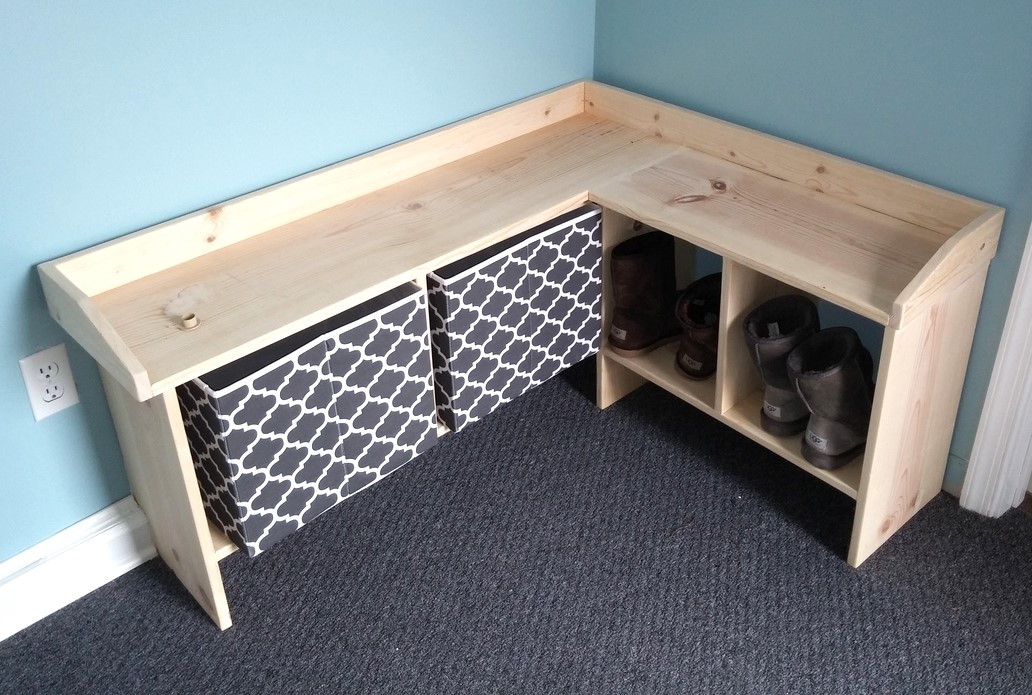
Used your plans to do these for our mudroom I just remodeled.My wife loved them.Took the original plan and modified it to fit the corner.The bench ended up being white with a grey top.And for xmas my step mother made cushions for it.Love your plans.Thanks
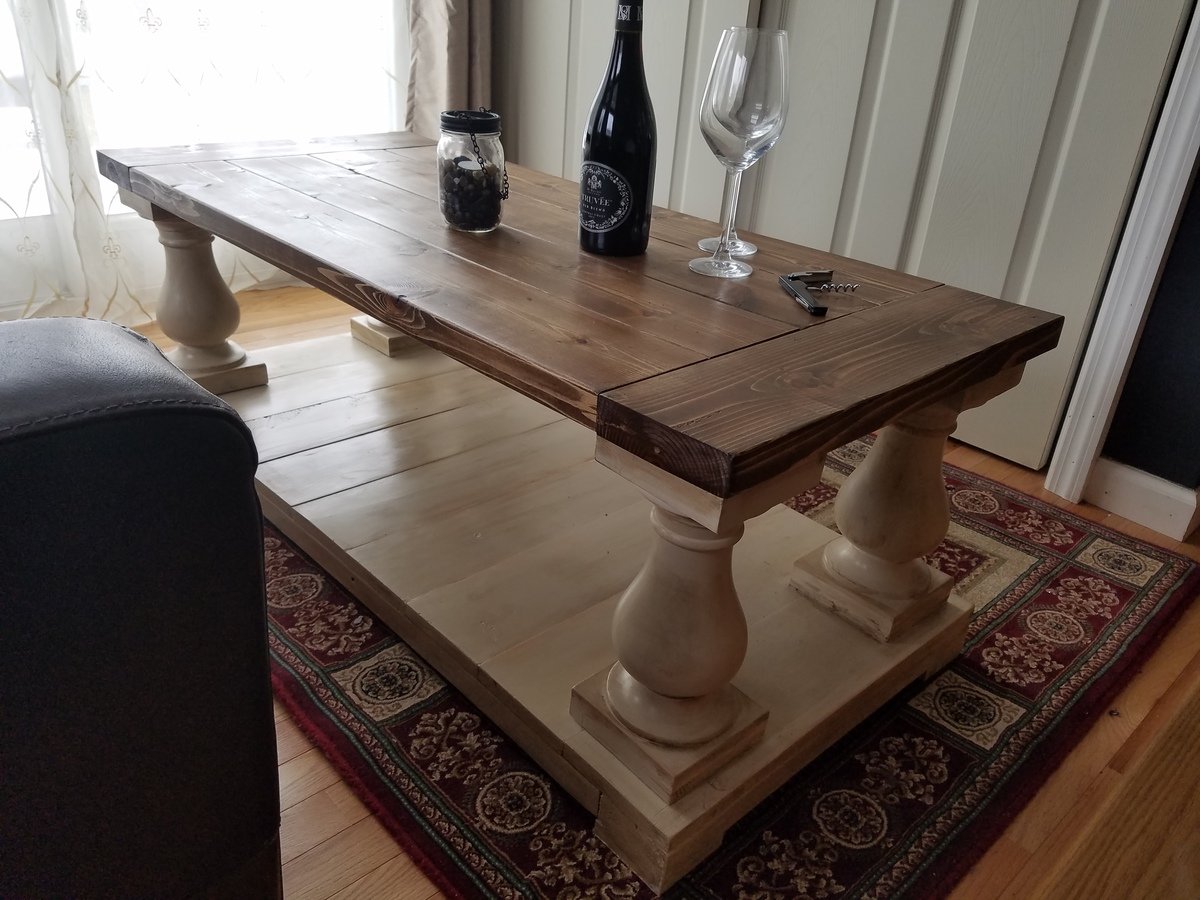
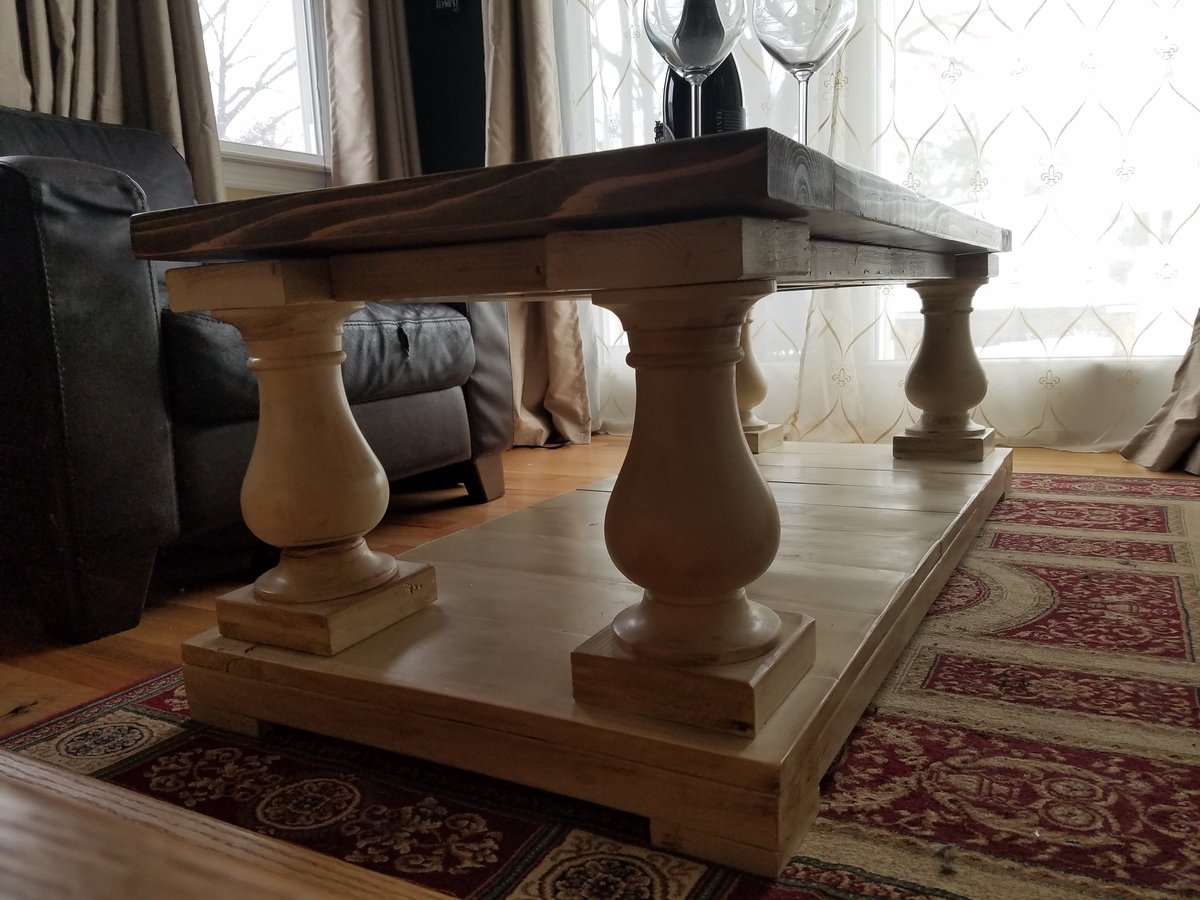
Balustrade Coffee Table made of cedar and pine wood. Approximately 49.5 length. Stained in special walnut and white painted chalk paint base. Used dark wax to distress base and legs.
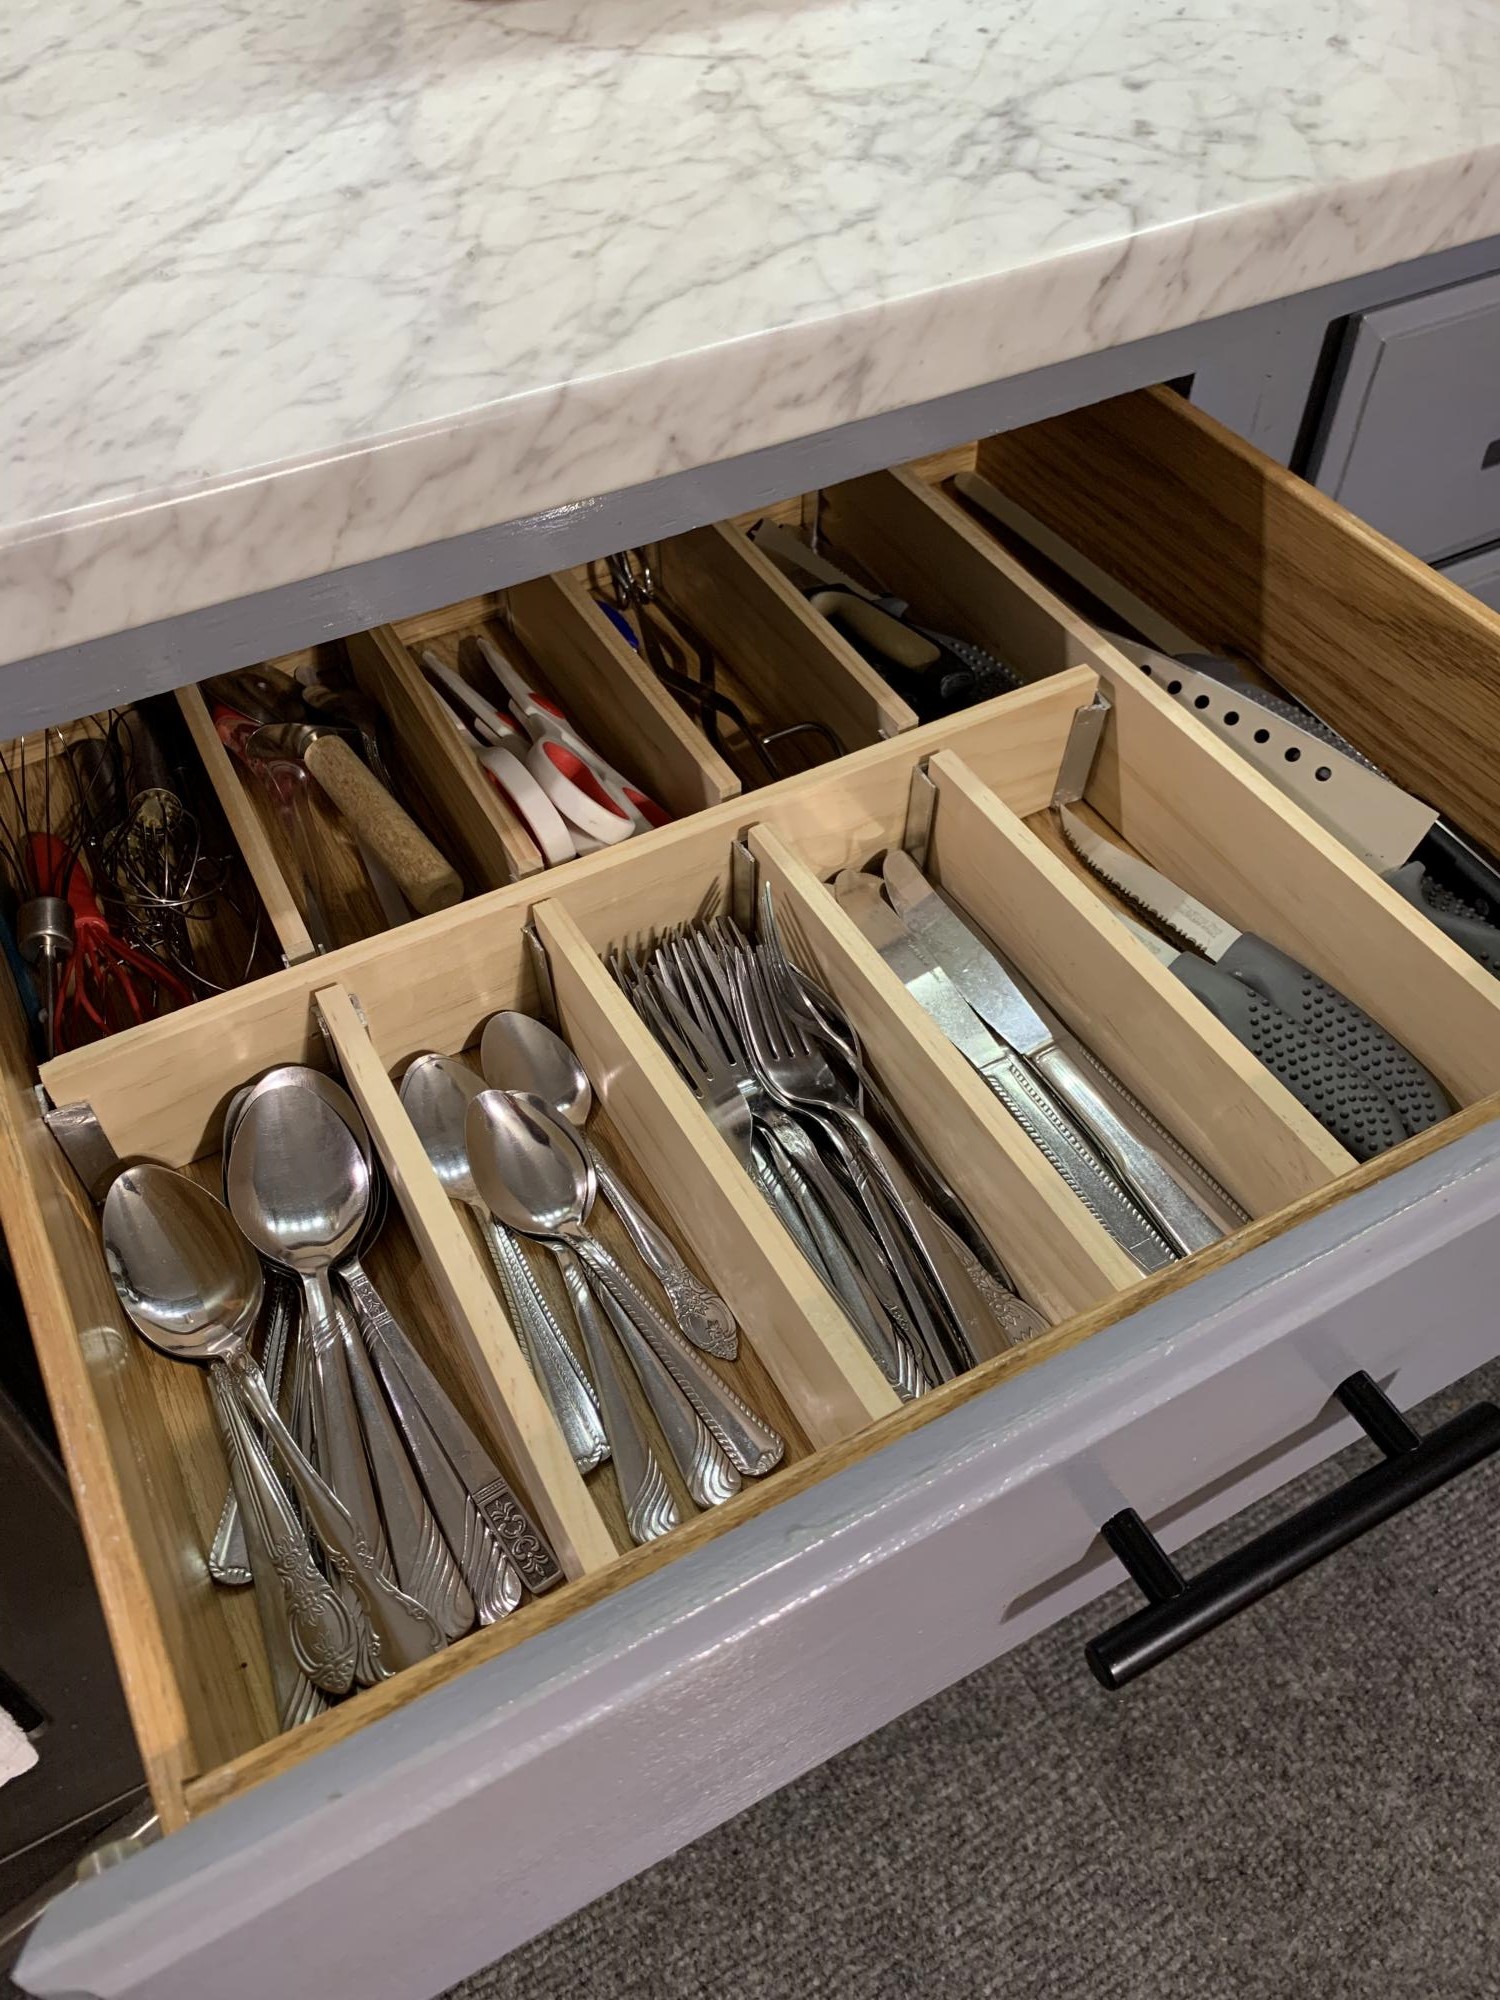
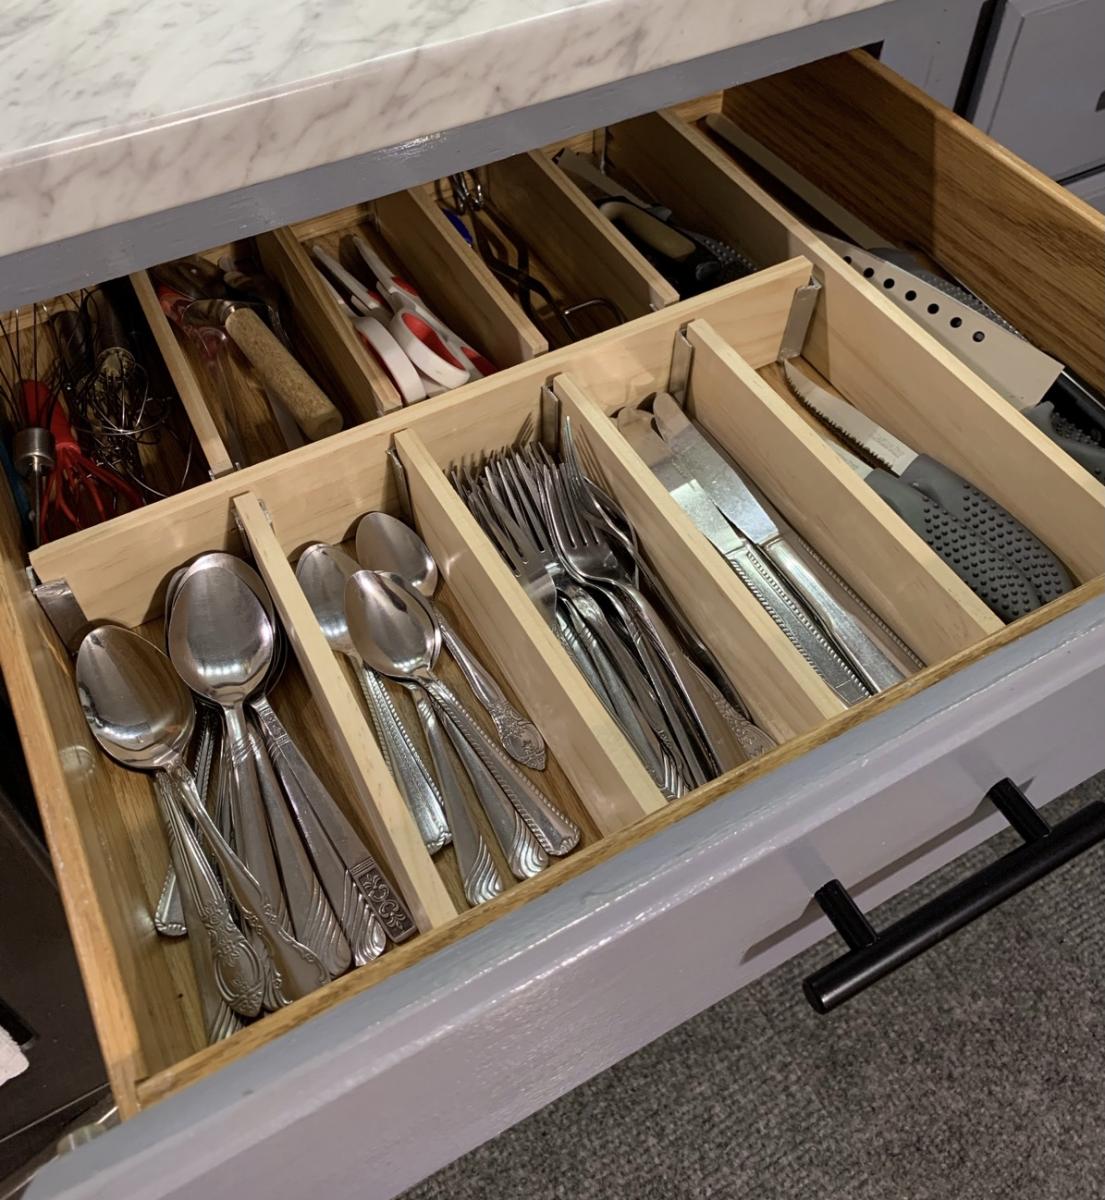
Finished this in no time and wow did it create a lot of space. I was able to get rid of my knife block because there’s now room for my knives in my drawer. Thank you Ana for sharing your wood work with us! This was well worth the $25 I spent!
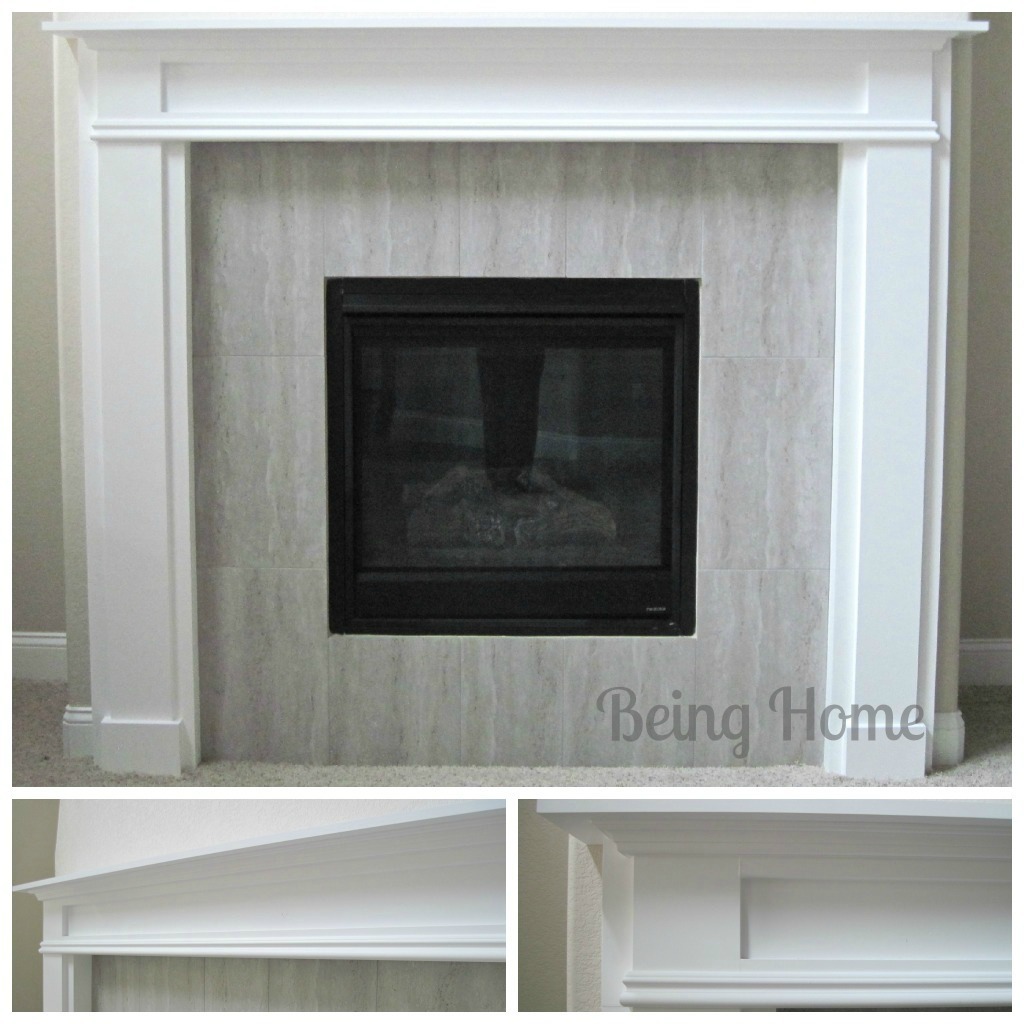
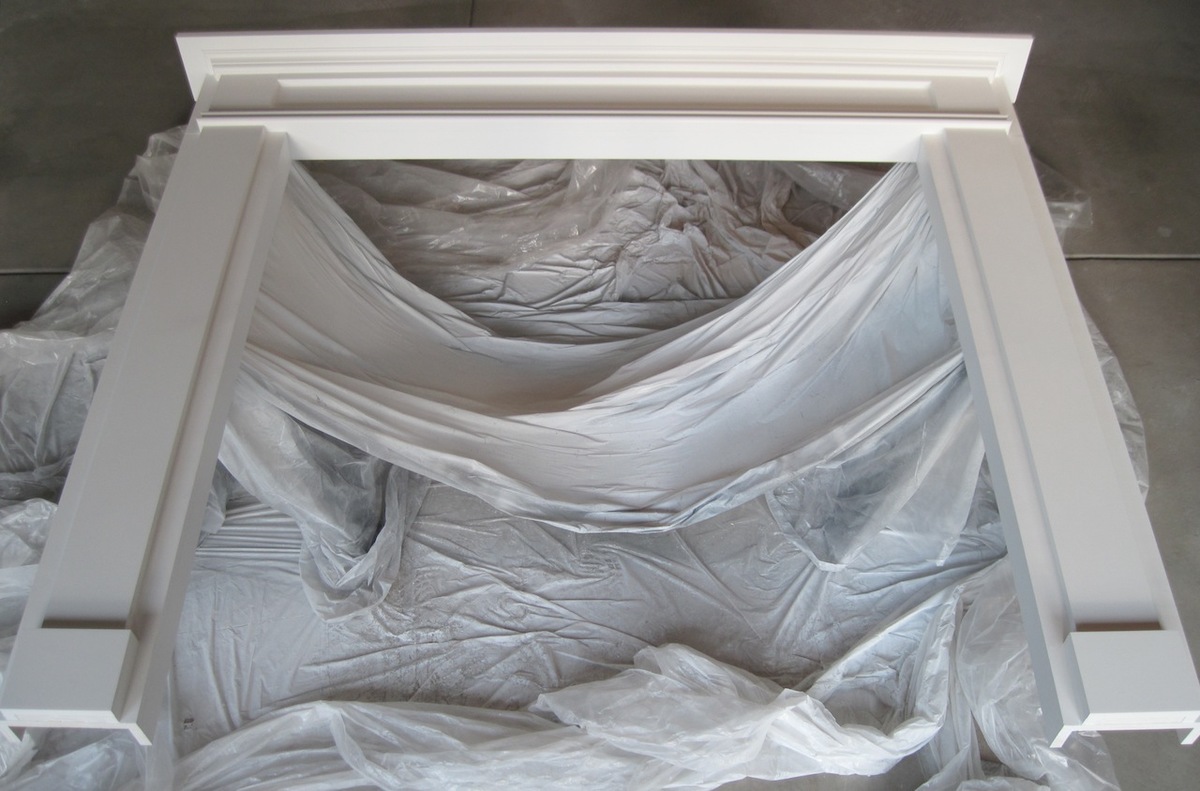
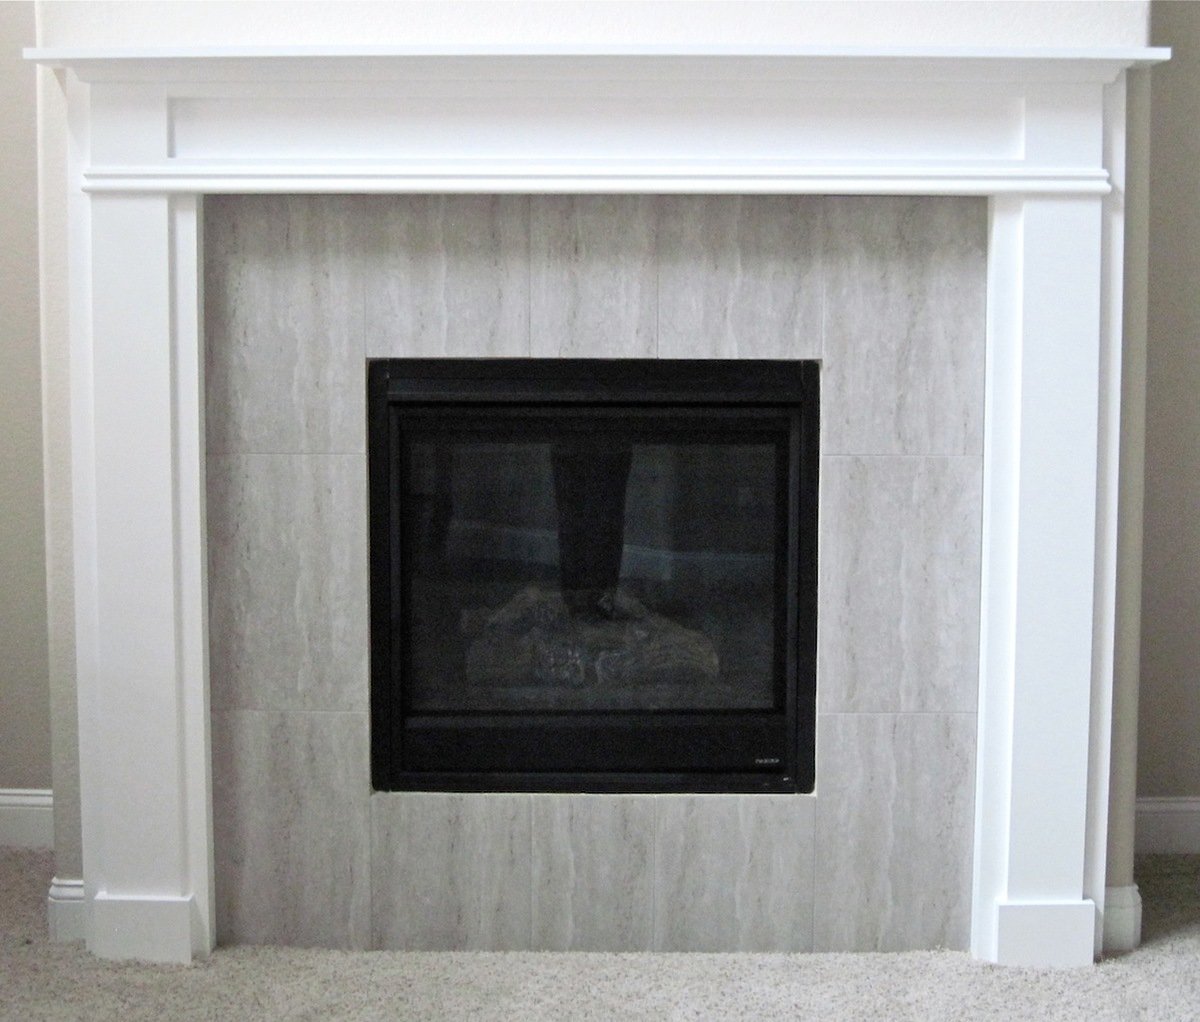
With a desire to decorate a mantel for the holidays, my husband and I decided to build a fireplace mantel and surround. This was our first building project.
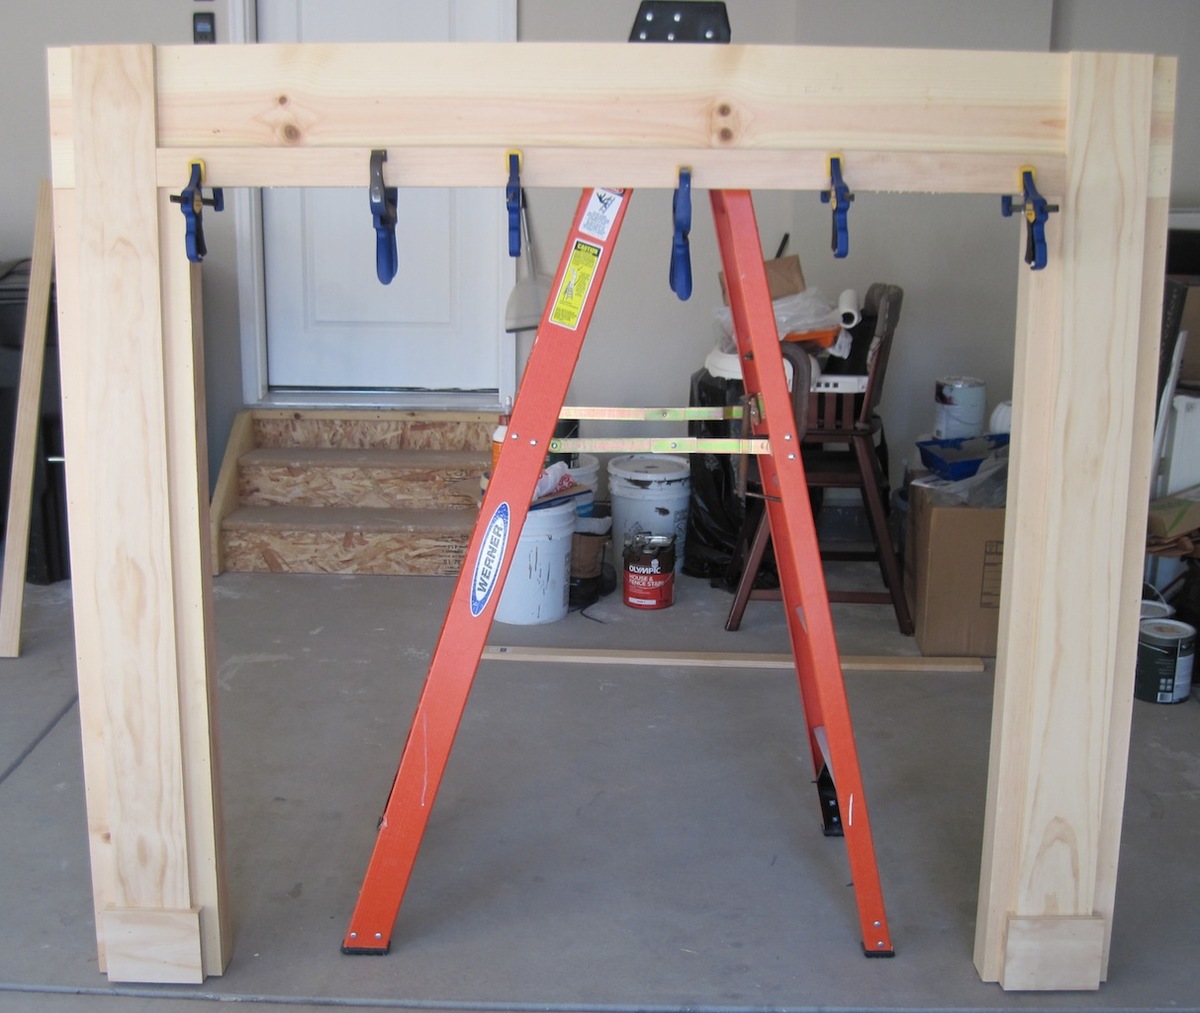
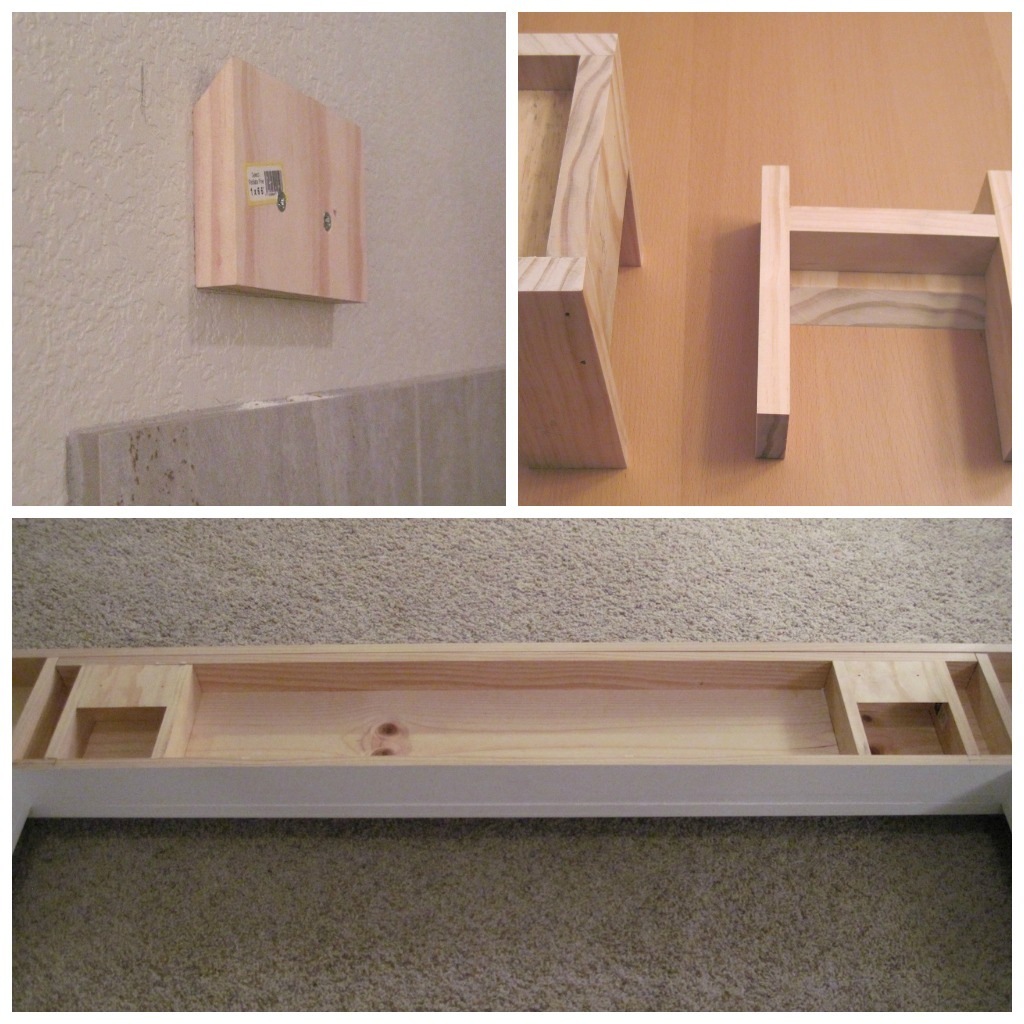
Inspired by the faux mantel at Blue Roof Cabin blog and with the drawn up plans from Ana White, this mantel was fairly easy to build.
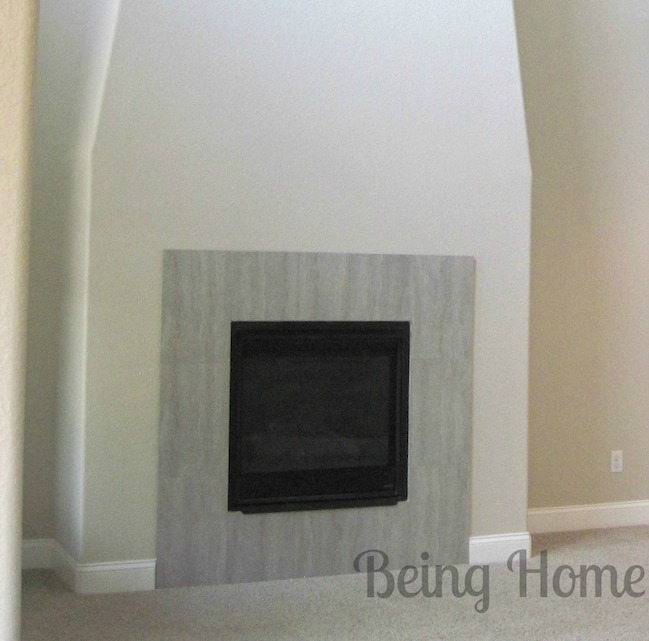
I (we) are very happy with the results. Since the plans were adapted to fit around our existing fireplace, the completed dimensions are 66 1/2 inches high x 74 3/4 wide. Total cost came to $130.81
For more details about the building process, please check out the tutorial.
Thank you.
Julie
Wed, 02/27/2013 - 18:50
Excellent! I want to do the same thing to our boring gas fireplace! :-) looks great!!!
Comments
aleeman27
Mon, 02/11/2013 - 22:25
Finally Finished!
Working around my work schedule and dry times of the poly these 2 end tables took me quite sometime! But I am super happy with the result! They go so perfect with my Rustic X Coffee Table!
Wounded Marine
Tue, 02/12/2013 - 07:01
Friendly Tip
Table looks good. I like the natural wood color with the black add ons. I noticed the one "X" is a little off. You might want to check the squareness of your chop saw. If the fence is perfectly square to your blade when set at 90 degrees it will throw everything off. You are off to a good start though.
colsen
Sat, 02/16/2013 - 14:01
Love the natural stain and
Love the natural stain and the shine of the poly!