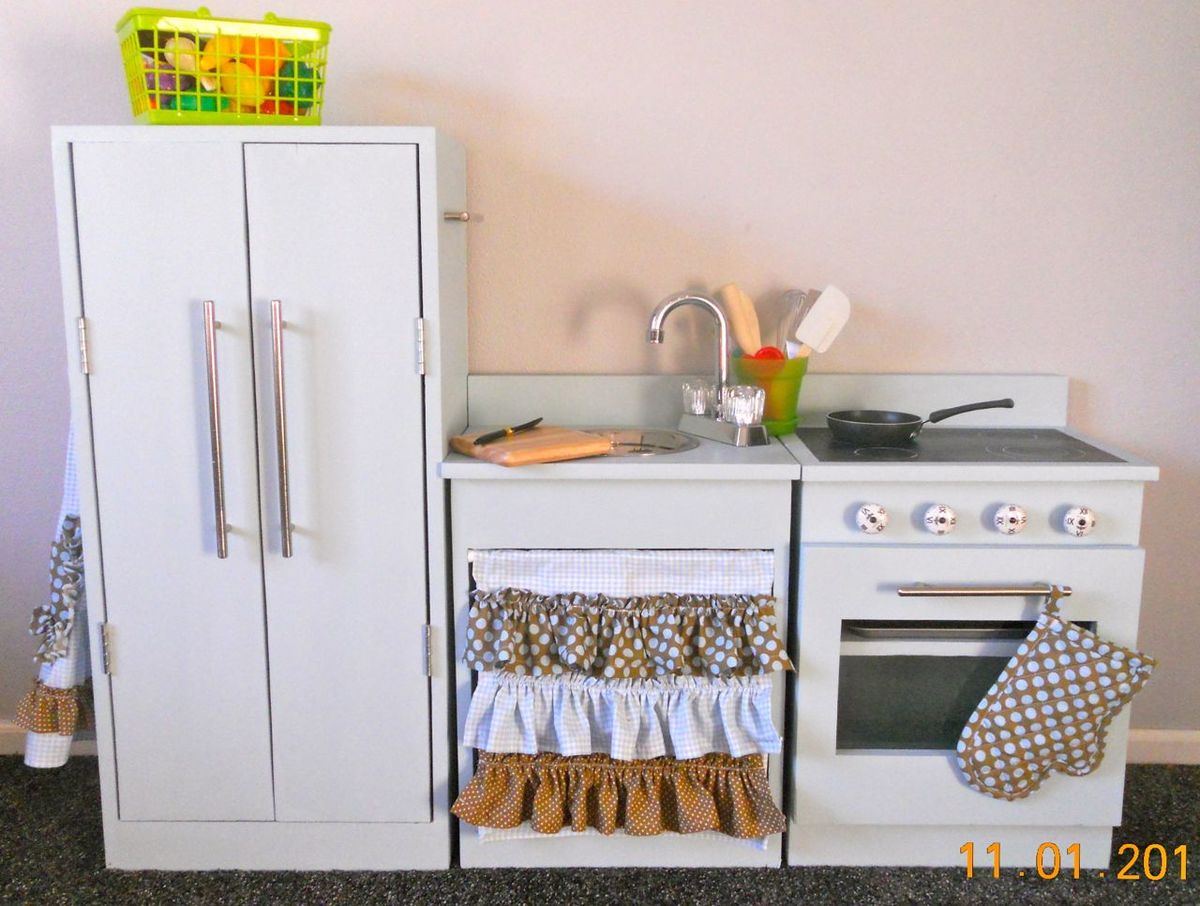
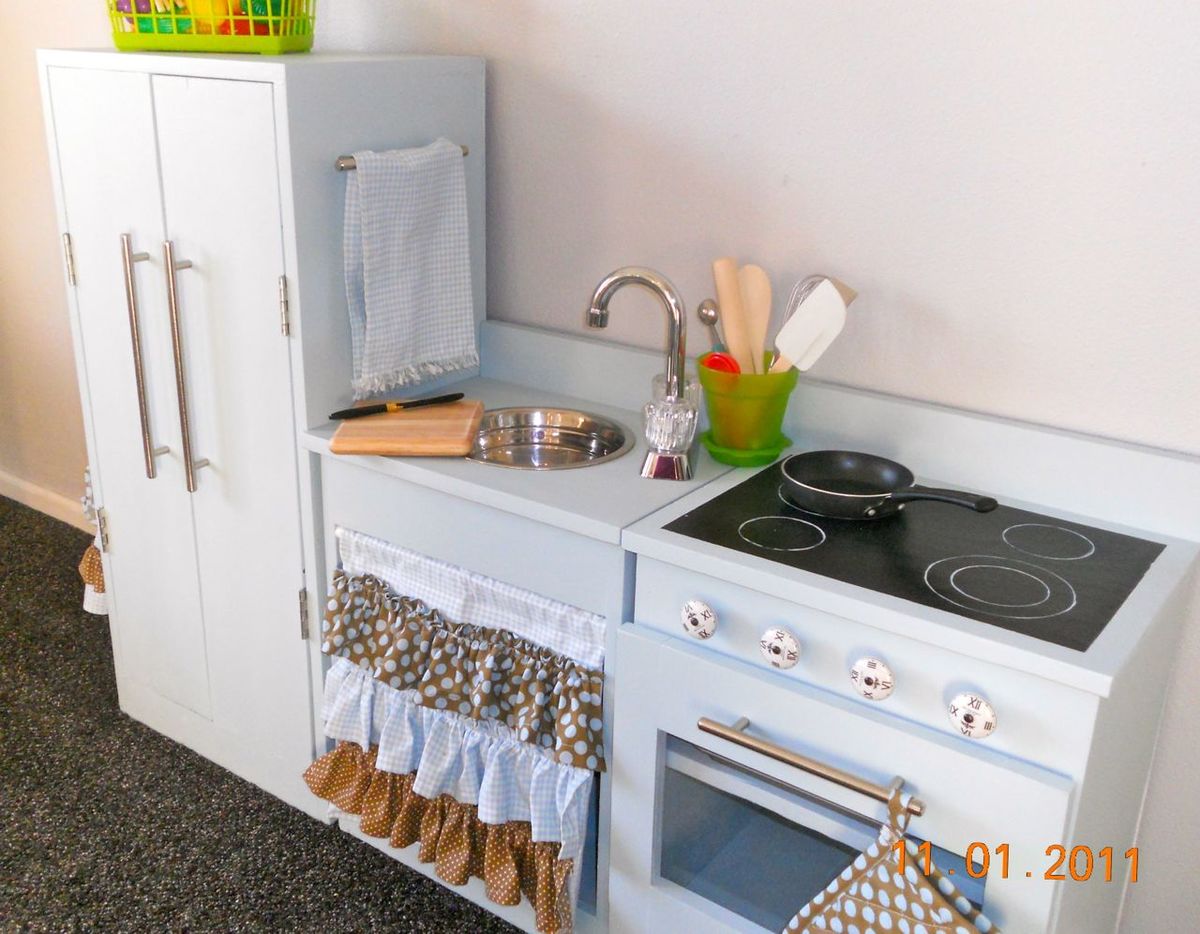
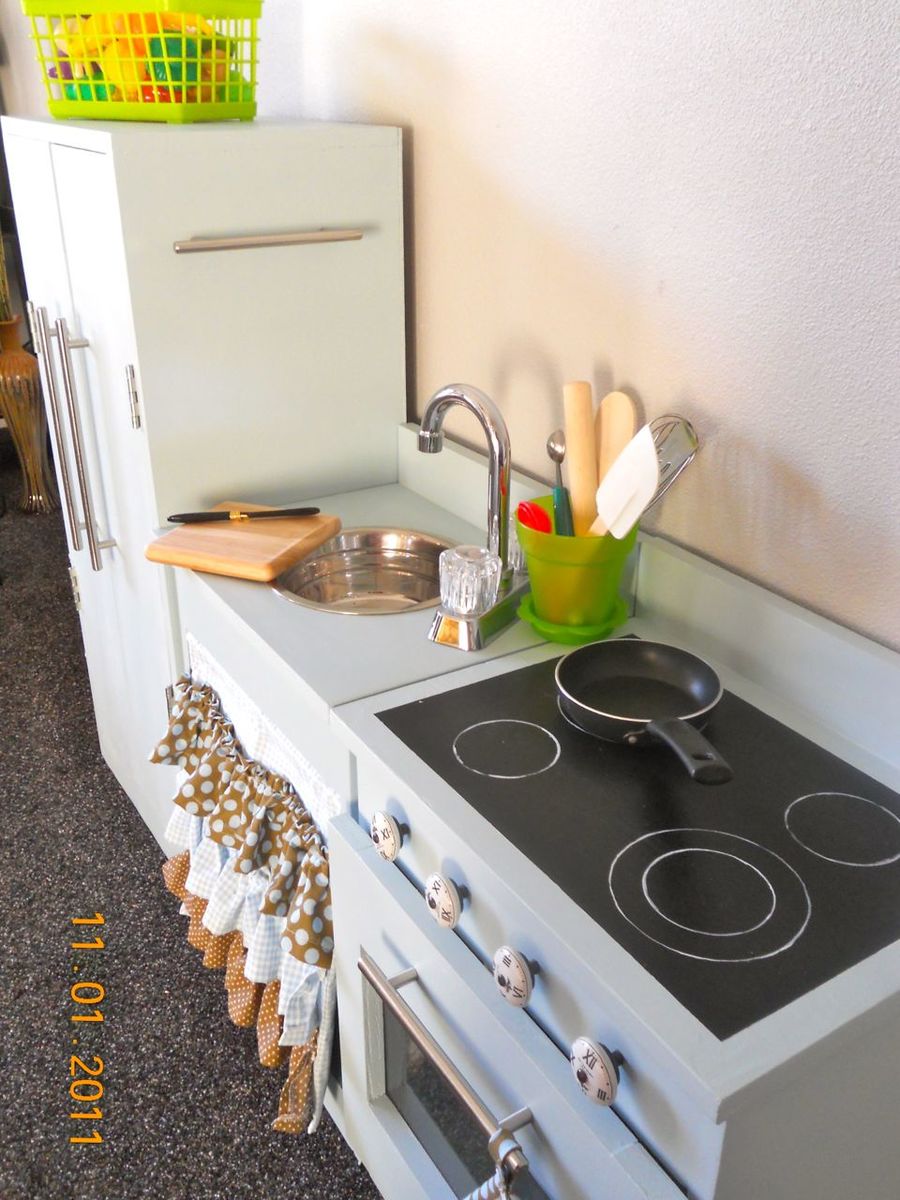
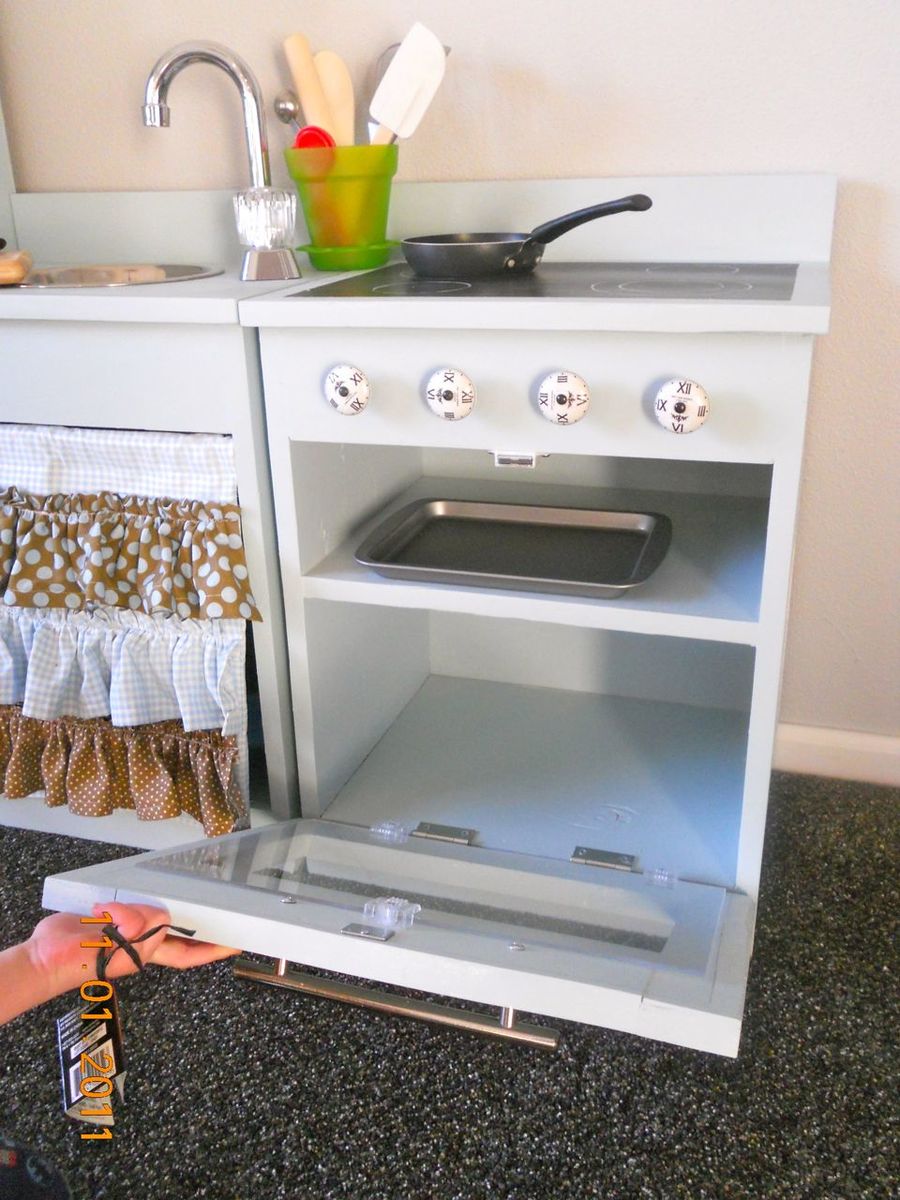
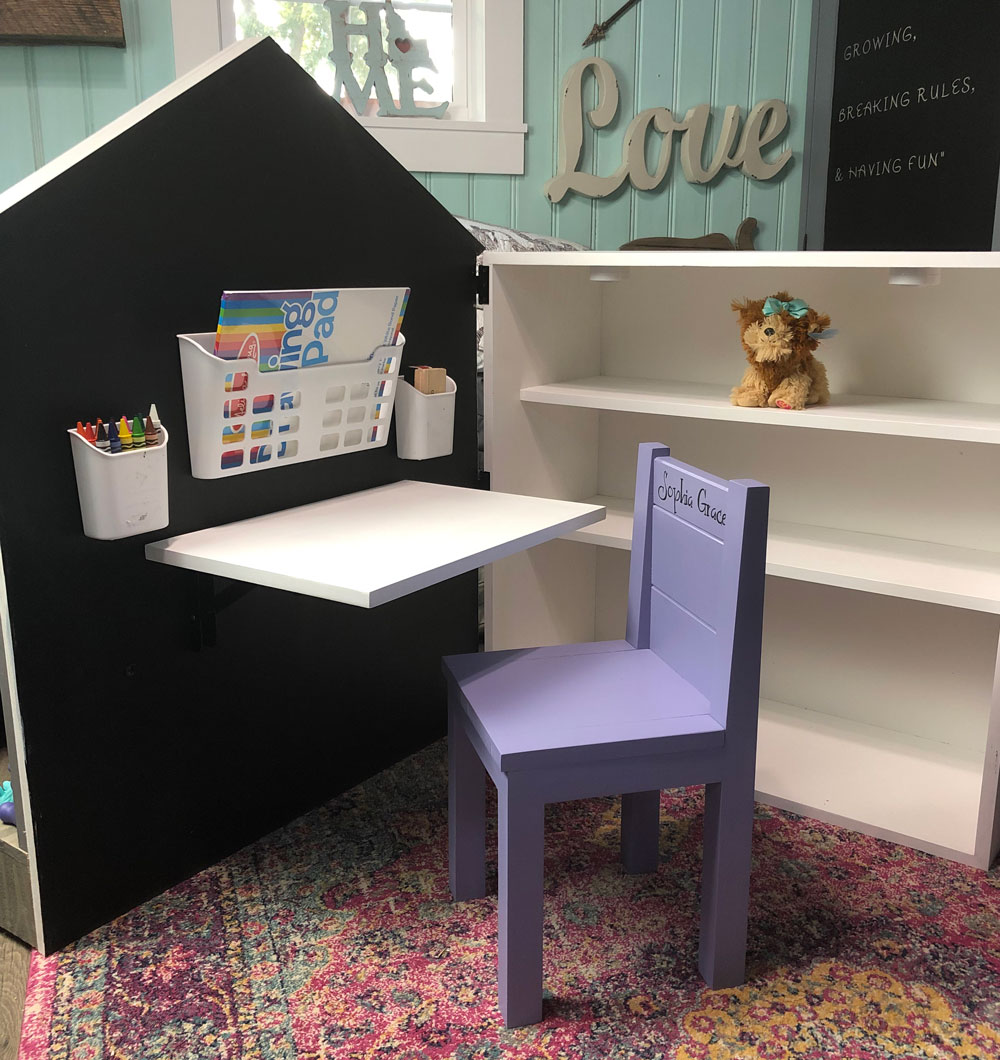
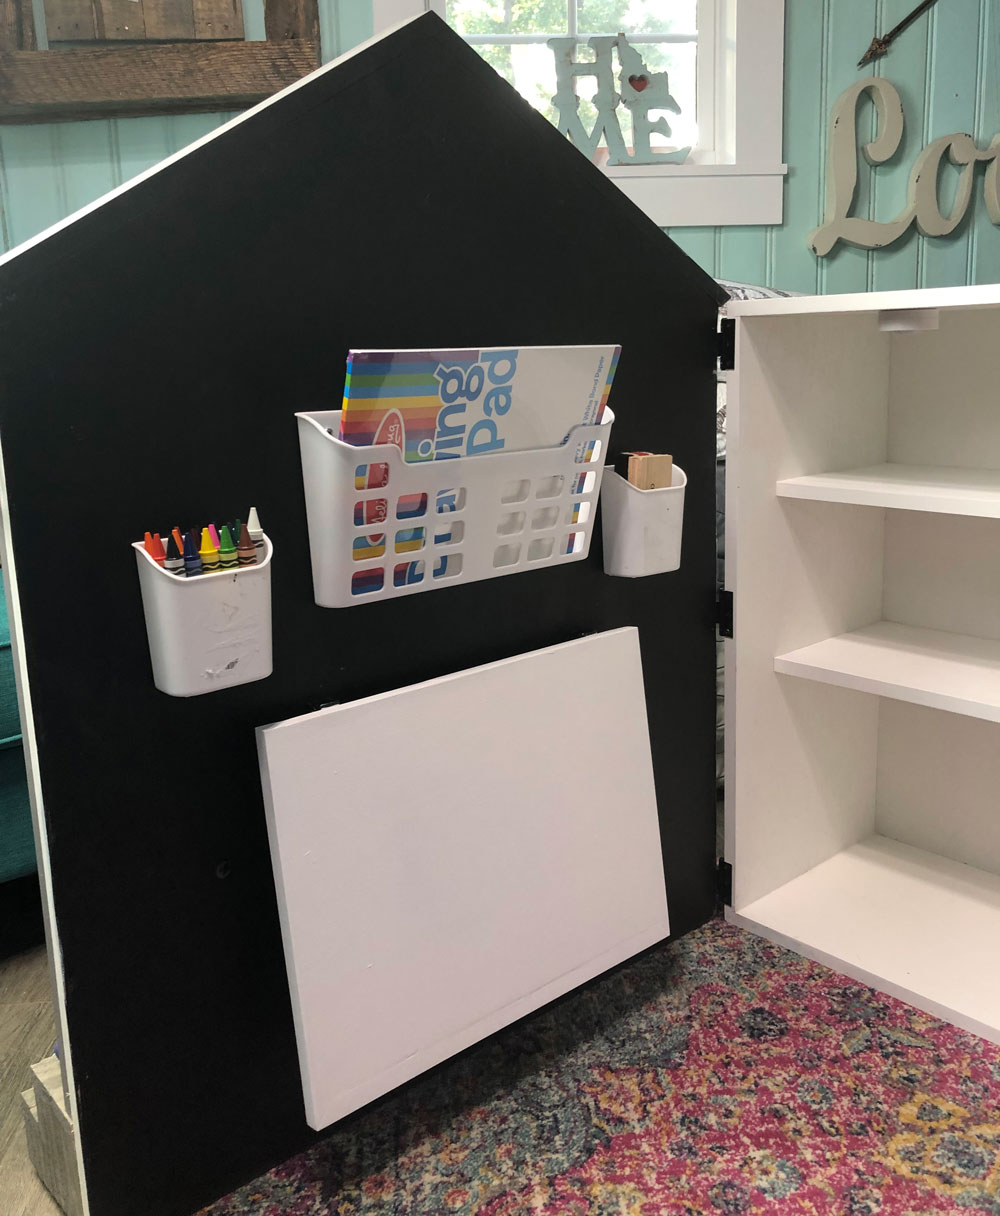
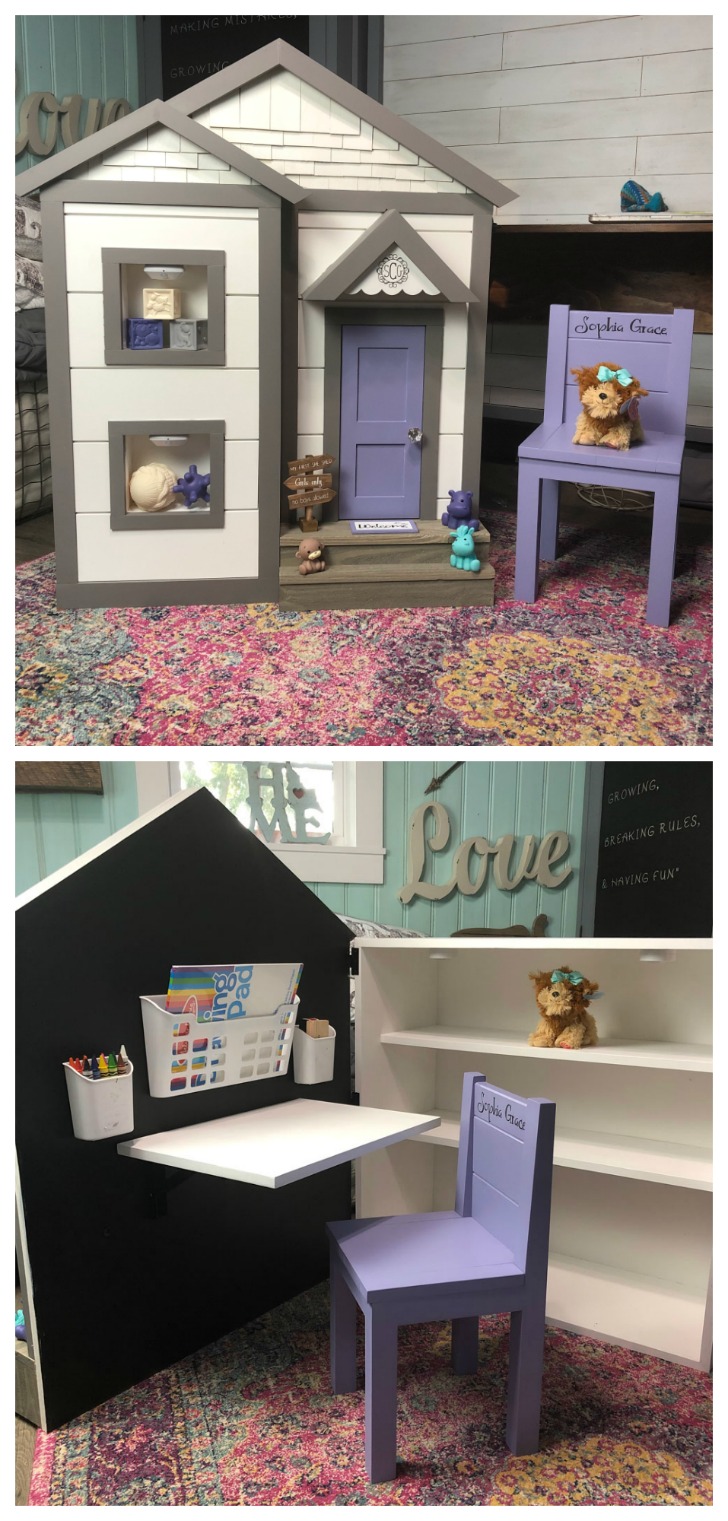
Community Brag Posts

Play Kitchen

Submitted by jilllo27 on Tue, 11/01/2011 - 17:43

Thank you so much Ana for posting these plans for us! A huge thanks to Crafting Chicks for some artistic inspiration, too. I referred back to the "original" many times in order to make mine as adorable at theirs!

I've been planing on making this for a year. When I finally decided to start building I was, as always, surprised at how quickly it went together and how simply. The finishing details is the most time consuming, but also the most rewarding. I'm in LOVE with this thing. It will be auctioned off at my childhood elementary school. I hope whoever goes home with it will enjoy it for generations! I wish I had time to blog about all the details for those of you that are interested! I'll be happy to share my finds, experiences to any questions posted.

Built from Plan(s)
Estimated Cost
$150-$200 including all accessories, paint, etc.
Estimated Time Investment
Week Long Project (20 Hours or More)
Finish Used
Oil based white primer with latex blueish green paint (I can't remember the color at the moment!), the stovetop is an oil based gloss black paint with stovetop rings painted in the same finish as the rest of the pieces. All is covered in a clear satin spray.
Recommended Skill Level
Intermediate

Comments

Jilllo_23 (not verified)

Sun, 11/06/2011 - 11:20

It went for $400 to a couple that is pregnant with a girl :)

Guest (not verified)

Fri, 12/09/2011 - 06:26

Love this!! I am currently in the middle of building one for my daughters. Can you tell me where you got your faucet for the sink, and the knobs for the stove?

Diana (not verified)

Fri, 06/22/2012 - 21:58

Hi there,
I know you said that you are going to auction your gorgeous little kitchen you made and was interested how I can bid on it or buy it if possible. I would absolutely love this for my little girl.
Are you at all planning to make more as I would definitely be interested.
Thanks
Diana

First Project

Submitted by Adamski on Wed, 10/23/2013 - 05:52

This was my first big project I've ever done. It certainly didn't come out perfect, but man, was it easy. All wood (select white wood) was bought at Lowes and was around $80 for all the lumber. There is 3 coats of Minwax Provincial 211 and 4 coats of Minwax fast drying poly.

I had everything cut and put together in 3 hours. Its the staining and poly that takes the time. I've been asked to make some more for family and friends and can't wait to get started.

Estimated Cost
$100
Estimated Time Investment
Afternoon Project (3-6 Hours)
Finish Used
Minwax Provincial 211
Minwax Poly
Recommended Skill Level
Beginner

Comments

Garage shelving unit

We made this peace 12 feet long, the hardest part was to find straight boards at home depot and adjust the feet because of an uneven garage floor. It was my first big project and hubby helped so I can't take all the credits :)

Estimated Cost
$126
Estimated Time Investment
Afternoon Project (3-6 Hours)
Finish Used
Unfinished
Recommended Skill Level
Beginner

Patio sofa

Submitted by Anonymous (not verified) on Wed, 04/24/2019 - 14:02

Went with regular cheap studs and extended the couch to make 4-across seating.  Probably should have used better wood because it was hard to find studs that were straight and not full of burrs and knotholes!  AND...studs are actually 1.5" x 3.5", so keep that in mind if you go that route when you're cutting from detailed plans because your dimensions will be off slightly.  Staining and adding spar urethane coat took the longest amount of time.  Cushions are 24" x 24" from Lowe's.  Wood = $80, Cushions = $180.  A little extra for screws and a few pieces of hardware.  This pic shows the couch without a back brace that I added later.  It's a beast, too!  After all that wood the couch probabaly weighs close to 150 pounds!     

Estimated Cost
$280
Estimated Time Investment
Weekend Project (10-20 Hours)
Finish Used
Minwax Puritan Pine Wood Stain, Spar Urethane
Recommended Skill Level
Beginner

2x4 sectional

Submitted by Anonymous (not verified) on Sun, 02/26/2023 - 05:49

After building my workbench and some shelves to organize my makeshift wood shop, I went online to find practical first projects. Stumbled upon the Ana White site and really liked the simplicity of the pieces and the thoroughness of the plans (cut list, pictures, etc). Had the wood dimensioned at a local lumber yard and started building. Upon completing the first bench - sealed with a tinted Thompson’s water seal - found a local upholster to make the cushions. Now to find a place to put them that the wife approves. Build already approved by the pup (see last photo).

Comments

Seasonal And Holiday

Tryde Side Table - Modified Plan

Submitted by 10todd on Sun, 11/06/2011 - 18:34

This was my very first project. I really like simple, rustic, boxy furniture. Modified the original Tryde side table plan to include additional supports near the bottom of each side. I will be sure to NOT use clear gloss poly on future projects. Way too shiny for my taste. It was leftover from some wood flooring that I refinished, so I took the cheap way out. Cut and assembled it in about 5 hours. The sanding, staining, finishing took me forever. I learned a lot though, and will probably cut that time in half next time.

Built from Plan(s)
Estimated Cost
$75
Estimated Time Investment
Weekend Project (10-20 Hours)
Finish Used
Minwax walnut stain and clear gloss polyurethane
Recommended Skill Level
Beginner

Comments

Claudia

Mon, 11/07/2011 - 06:31

It looks beautiful, but if you want to tone down the gloss just sand with extra fine steel wool or sandpaper (400-600 grit). This will give it a satin (not semigloss) finish.

10todd

Mon, 11/07/2011 - 08:10

Thanks Claudia! Good tip, I'll try that. On future projects, I think I'll do a little more distressing and experiment with layering a couple different shades of stain, but overall, I'm happy with it and look forward to doing some more.

Guest (not verified)

Wed, 12/28/2011 - 08:53

I love this! Where can I get the instructions?

Modern Patchwork Media Console

I modified the modern patchwork dresser plans to create this media console. Used three different stains for the door fronts and painted the interior a dark gray. Wanted two doors instead of drawers but wanted to maintain the original look. I created a faux drawer front with a flush hinge.

Built from Plan(s)
Estimated Cost
$100
Estimated Time Investment
Weekend Project (10-20 Hours)
Finish Used
Three different Minwax stains with a poly topcoat
Recommended Skill Level
Beginner

Comments

My Sons new work bench

Submitted by Anonymous (not verified) on Fri, 01/08/2016 - 15:57

Plans are not exact online recomend buying one more 2x2 for front legs.

I used (2) 1x2 from front legs on each side nailer them together with brand nailer makeing some other measurements diffrent.

This project took me about 4 hours with assemble and sanding


Estimated Time Investment
Afternoon Project (3-6 Hours)
Finish Used
None
Recommended Skill Level
Intermediate

Spa Vanity for Bathrooms

I love this vanity, It is one of the first serious pieces of Ana's that I have made. We altered the leg from the 4X4 posts to a premade turned leg, which we think turned out awesome. Mom was a real skeptic before we started, but now she is hooked too!

Estimated Cost
Around $100 since we made 3 we were able to use off cuts for additional vanities
Estimated Time Investment
Afternoon Project (3-6 Hours)
Finish Used
Carrington
Recommended Skill Level
Beginner

Dining chairs for X based pedestal table

Submitted by Anonymous (not verified) on Mon, 03/06/2023 - 10:15

I made the 4 chairs to complete the dining suite. The table was made from the X based pedestal table plan.

The timber was all cut from 200mm x 50mm pine sleepers and finished with Cabots clear finish.

Comments

Perfect End Table

Submitted by monster on Sun, 10/27/2013 - 16:23

I actually made this table to fit inside a wardrobe as we needed some shelf storage space. It worked out well!

Built from Plan(s)
Estimated Cost
$80
Estimated Time Investment
Weekend Project (10-20 Hours)
Finish Used
White interior paint
Recommended Skill Level
Beginner

Handmade by Ken

Submitted by Anonymous (not verified) on Mon, 01/11/2016 - 22:22

Barn Greenhouse

Built from Plan(s)
Estimated Cost
$600 US
Estimated Time Investment
Week Long Project (20 Hours or More)
Recommended Skill Level
Beginner

She Shed Bookshelf Desk

Submitted by Chriss45 on Mon, 05/20/2019 - 20:05

I designed this bookshelf/art center as a baby gift for a friend. The windows are shelves with motion sensor lights. When opened the desk lifts up to provide an art station or reading area.

Built from Plan(s)
Estimated Cost
200
Estimated Time Investment
Week Long Project (20 Hours or More)
Finish Used
Latex paint
Recommended Skill Level
Intermediate

Comments

S'mores Charcuterie Board

Submitted by Anonymous (not verified) on Mon, 03/13/2023 - 13:38

I took the Charcuterie board and turned it into a S'mores board. Have given them away to neighbors as gifts and they love them.

Comments

Modern Farm Bench

Submitted by jackkatie on Mon, 11/28/2011 - 11:52

I was looking to make my foyer a bit more kid friendly while still being coze and practical. I came across the modern farm bench plans, and I knew it was the perfect fit!

I have done a few other plans, but all with help. This project I started around 9 pm (after bedtime) one night, and by 11:30, it was completely built and stained. My son was climbing all over it by the next morning :)

I love it - I think it adds the perfect bit of rustic charm to my foyer, while still giving my little guy a sturdy spot to get his shoes/coat on. I have since added baskets underneath for winter storage.

This will definitely not be my last build! Thanks Ana!

Built from Plan(s)
Estimated Time Investment
Afternoon Project (3-6 Hours)
Finish Used
I stained using a mixture of both Kona and Dark Walnut stain from Rustoleum. It definitely wasn't a science - just slopped a little of each on, waited about 3 minutes, and wiped off.

I love the finish - rustic, but not too "country". The dark Kona stain definitely highlights the knots and grooves of the wood!
Recommended Skill Level
Beginner

Sliding mirror cabinets

Submitted by Anonymous (not verified) on Fri, 01/15/2016 - 18:42

I made a sliding mirror cabinet for each of my  5 girls as Christmas gifts this year.  I added a stencled back and provided lots of hooks for hanging jewlery and varied shelf distance for hairs sprays, lotions and nail polishes. They love them and filled them full. Thanks so much for the great idea and plans.


Estimated Cost
$35.00
Estimated Time Investment
Week Long Project (20 Hours or More)
Finish Used
I sprayed them with a sprayer and used a stencil with 2 different paint colors.
Recommended Skill Level
Beginner

Comments

Large Rustic X Bench

Submitted by RHgaijin2 on Tue, 05/28/2019 - 18:41

I made this bench using reclaimed 2x4's.  I made a video of the project. 

 https://youtu.be/PdbMJPvWU8M

Estimated Cost
Wood was free from reclaimed pallets
Estimated Time Investment
Afternoon Project (3-6 Hours)
Finish Used
Base was painted with 2 coats of primer
Seat was torched and then covered in a waterproof spray
Recommended Skill Level
Intermediate

Comments

Adirondack Chairs

Submitted by Anonymous (not verified) on Sun, 03/19/2023 - 18:40

My husband built this Adirondack chairs. They are so comfortable.

Comments

DIY Dust Collector

I have allergies to wood dust, which can make working in my shop a challenge. To help deal with the large amount of dust I've been kicking up lately with my table saw, I built my own dust collection system. It's not as good as a professional dust collector, but it's pretty good, and it was really easy to build.

Estimated Cost
$20
Estimated Time Investment
An Hour or Two (0-2 Hours)
Recommended Skill Level
Beginner

Comments

claydowling

Sun, 12/04/2011 - 07:13

On facebook somebody suggested that putting the port for the vacuum in the center would improve the vortex action. That would match the configuration of the vortex collectors, which draw from the center as well.

StacieM

Wed, 12/07/2011 - 16:23

I have got to try this! My boyfriend complains about the sawdust EVERY time I make something and this would really reduce the justification for complaining :-) Thanks for the plans!

Guest Room Farmhouse Bed with planked wall

Submitted by The Allens on Sat, 11/02/2013 - 15:05

We loved the first farmhouse bed we built so much, that we decided to build another one for our guest bed. We loved the red paint, and weren't too sure how to accent it, so we went with a planked feature wall. Just need to build some night stands and hang some pictures and our guest room should be complete!

Built from Plan(s)
Estimated Cost
$150
Estimated Time Investment
Weekend Project (10-20 Hours)
Finish Used
We primed and then painted 3 coats of red paint, I think California Poppy BEHR paint. Then I used a glaze, that I tinted with black paint, brushed it on and then wiped off with a damp rag. Finished it off with Minwax Polyurathene semi gloss clear coat.
Recommended Skill Level
Starter Project

Comments

JoanneS

Sat, 11/02/2013 - 18:16

Awesome project! Love the bed and red finish, and the plank wall is brilliant! Love it!

The Allens

Sun, 11/03/2013 - 19:22

We didn't have any old distressed wood, so we bought pine tongue and groove from the hardware store and stained them ourselves. Then we just used a nail gun to attach them to the studs on the wall. It was surprisingly easy to do, just a bit time consuming. And nerve wrecking, we figured it would look either really good, or just awful! W are very pleased with how it turned out!