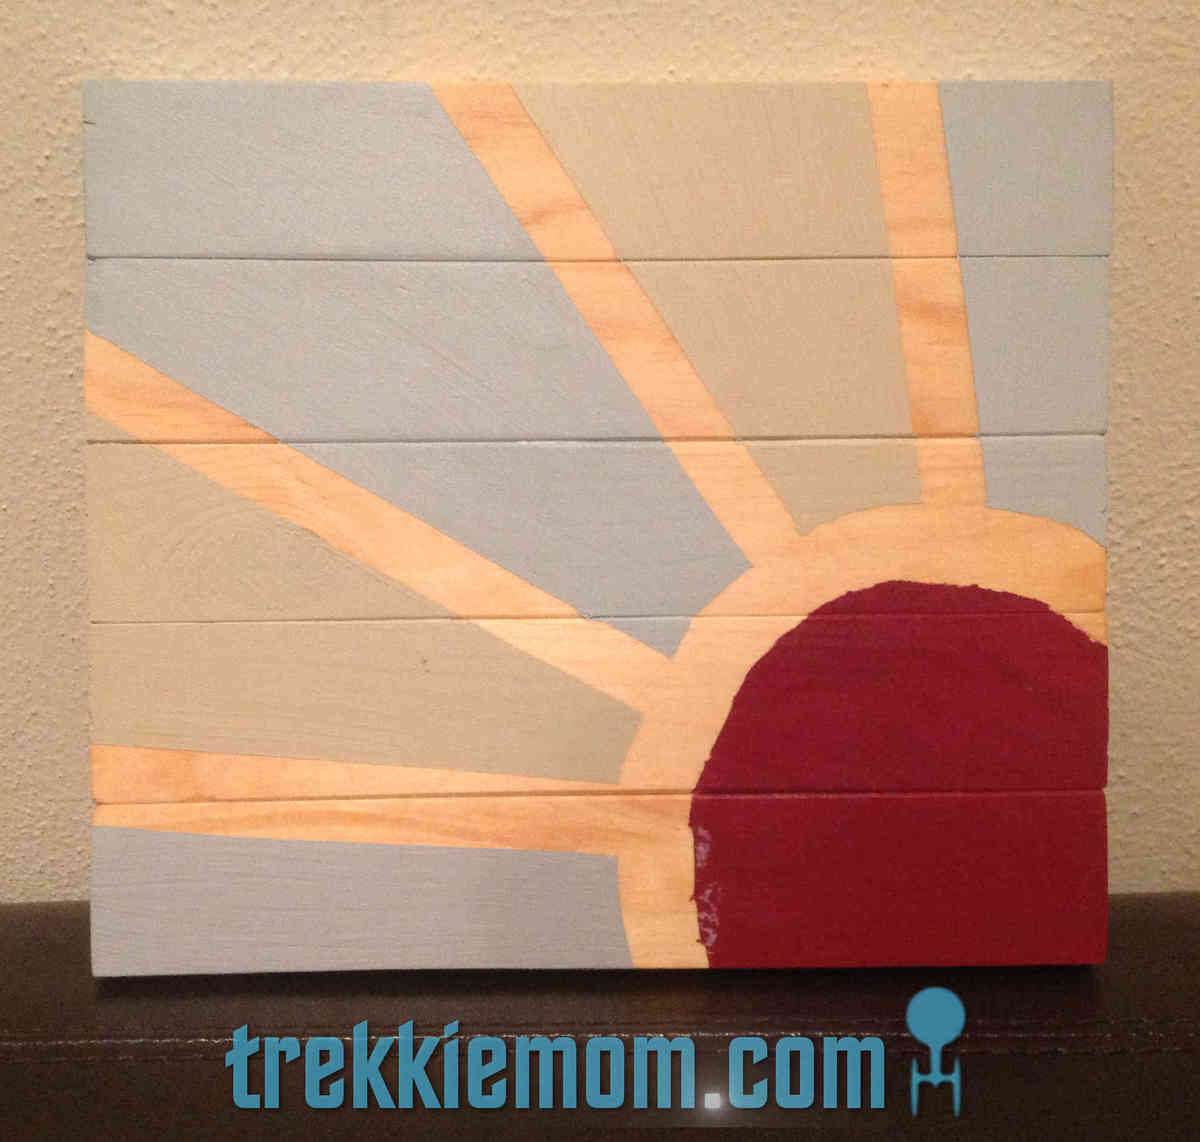
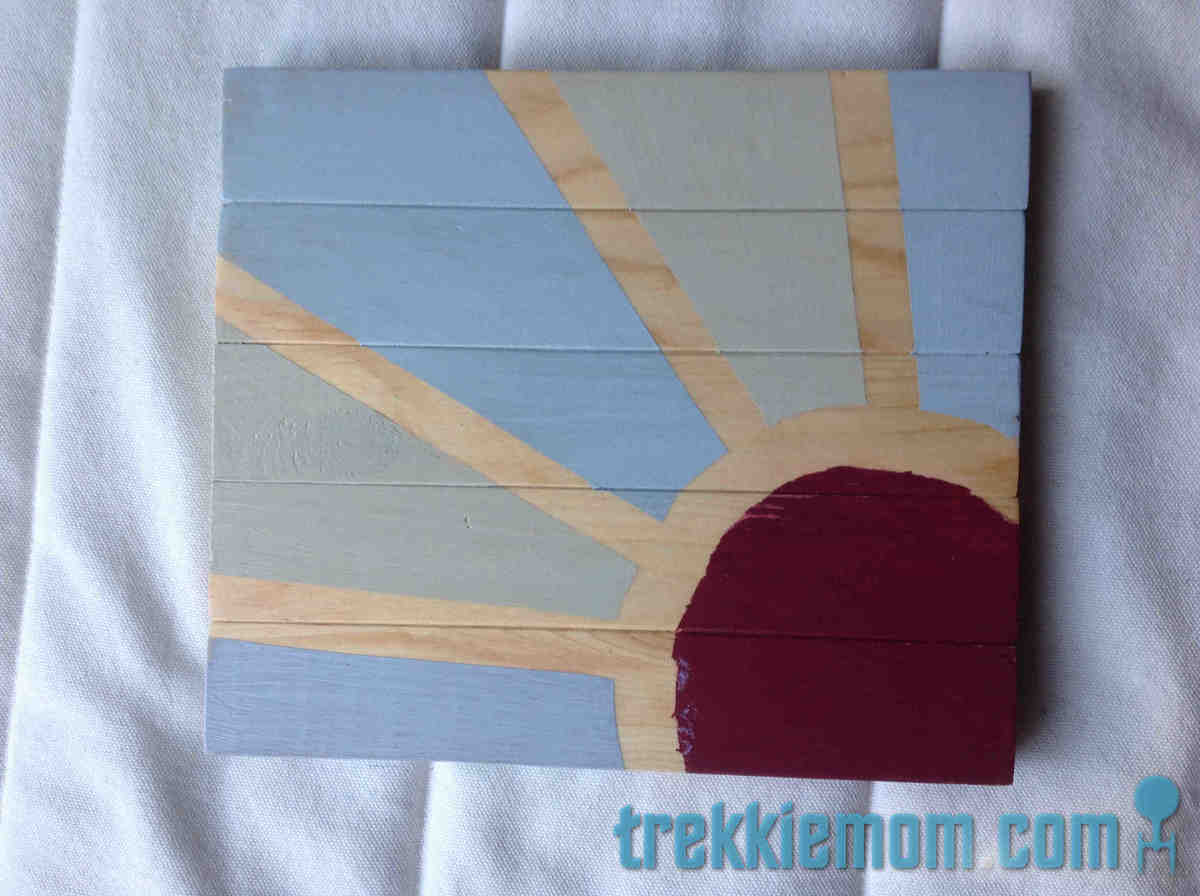
I used wood glue and scrap 1 x 2s (yellow pine). Cutting the 1 x 2s, 9 inches long (there are 5), I sanded them and then glued them together with wood glue, leaving them clamped together overnight. The following evening, I stained the piece with a light wood stain for the rays. The next night, I used painter's tape to create my version of the sun, so that my son, who wanted to paint it, didn't feel pressure to stay in drawn pencil lines with a paint brush. My son picked out the colors and where to paint them from my Lowes oops paint collection. After the paint dried, I sanded very lightly to give it a bit of an aged feel before applying 2 coats of Polyurethane to seal it, lightly sanding between coats. A self leveling picture hanger finished it off. The finished product was not too much bigger than my IPad.
I was inspired by two other bloggers' bigger projects.
http://www.iammommahearmeroar.net/2013/10/how-to-create-giant-art-for-g…
http://www.inspiredbycharm.com/2012/01/from-wood-to-wall-the-making-of-…
I like a bit of the sun on the wall.


Comments
spiceylg
Sun, 12/04/2011 - 02:28
Great idea!
Might have to use this!
JoanneS
Sun, 12/04/2011 - 06:15
Great idea!
What a great idea! I could use one of these in my garage. :)
claydowling
Sun, 12/04/2011 - 07:13
An improvement
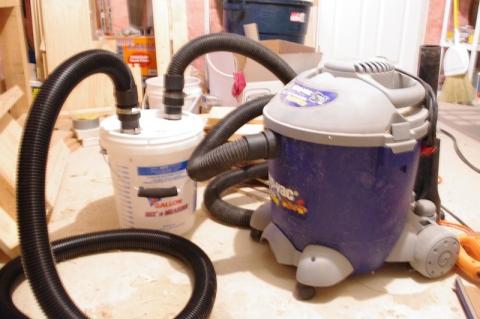
On facebook somebody suggested that putting the port for the vacuum in the center would improve the vortex action. That would match the configuration of the vortex collectors, which draw from the center as well.
StacieM
Wed, 12/07/2011 - 16:23
Neat!
I have got to try this! My boyfriend complains about the sawdust EVERY time I make something and this would really reduce the justification for complaining :-) Thanks for the plans!