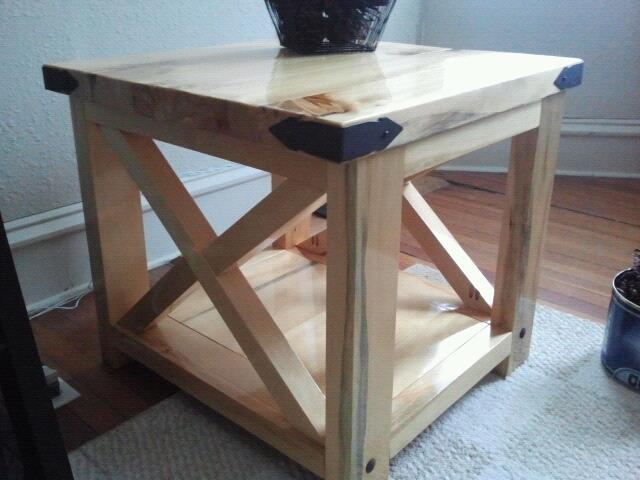
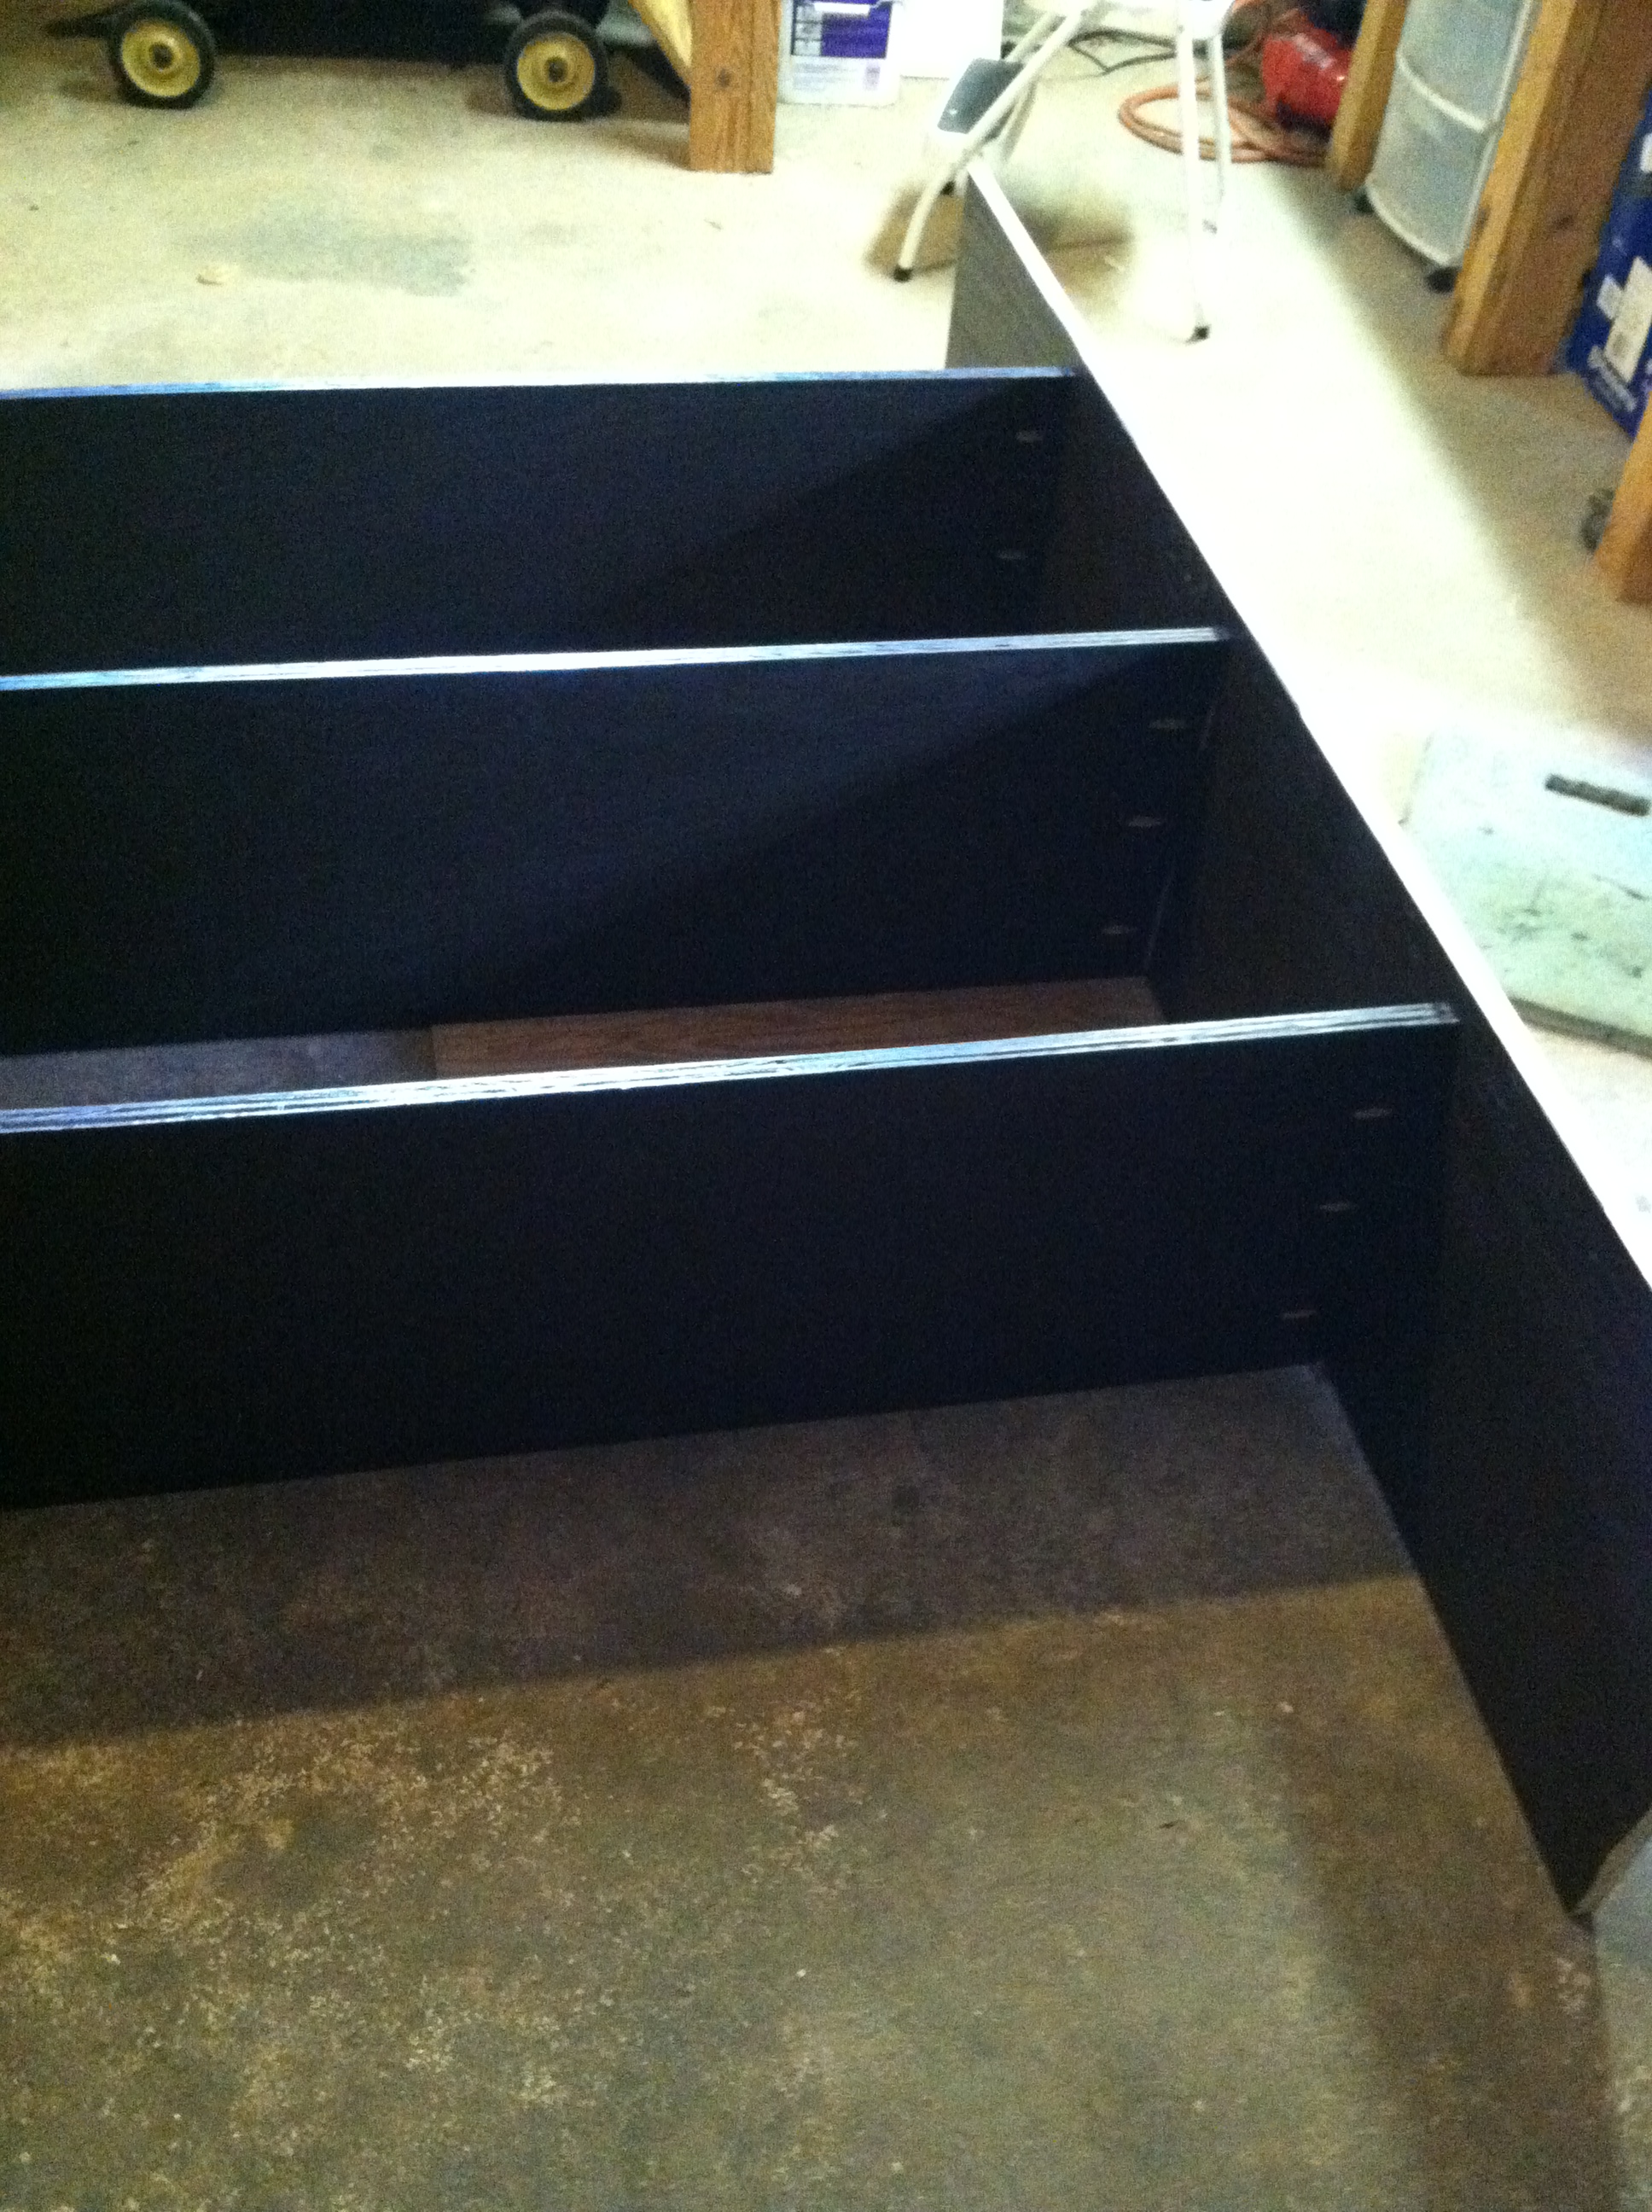
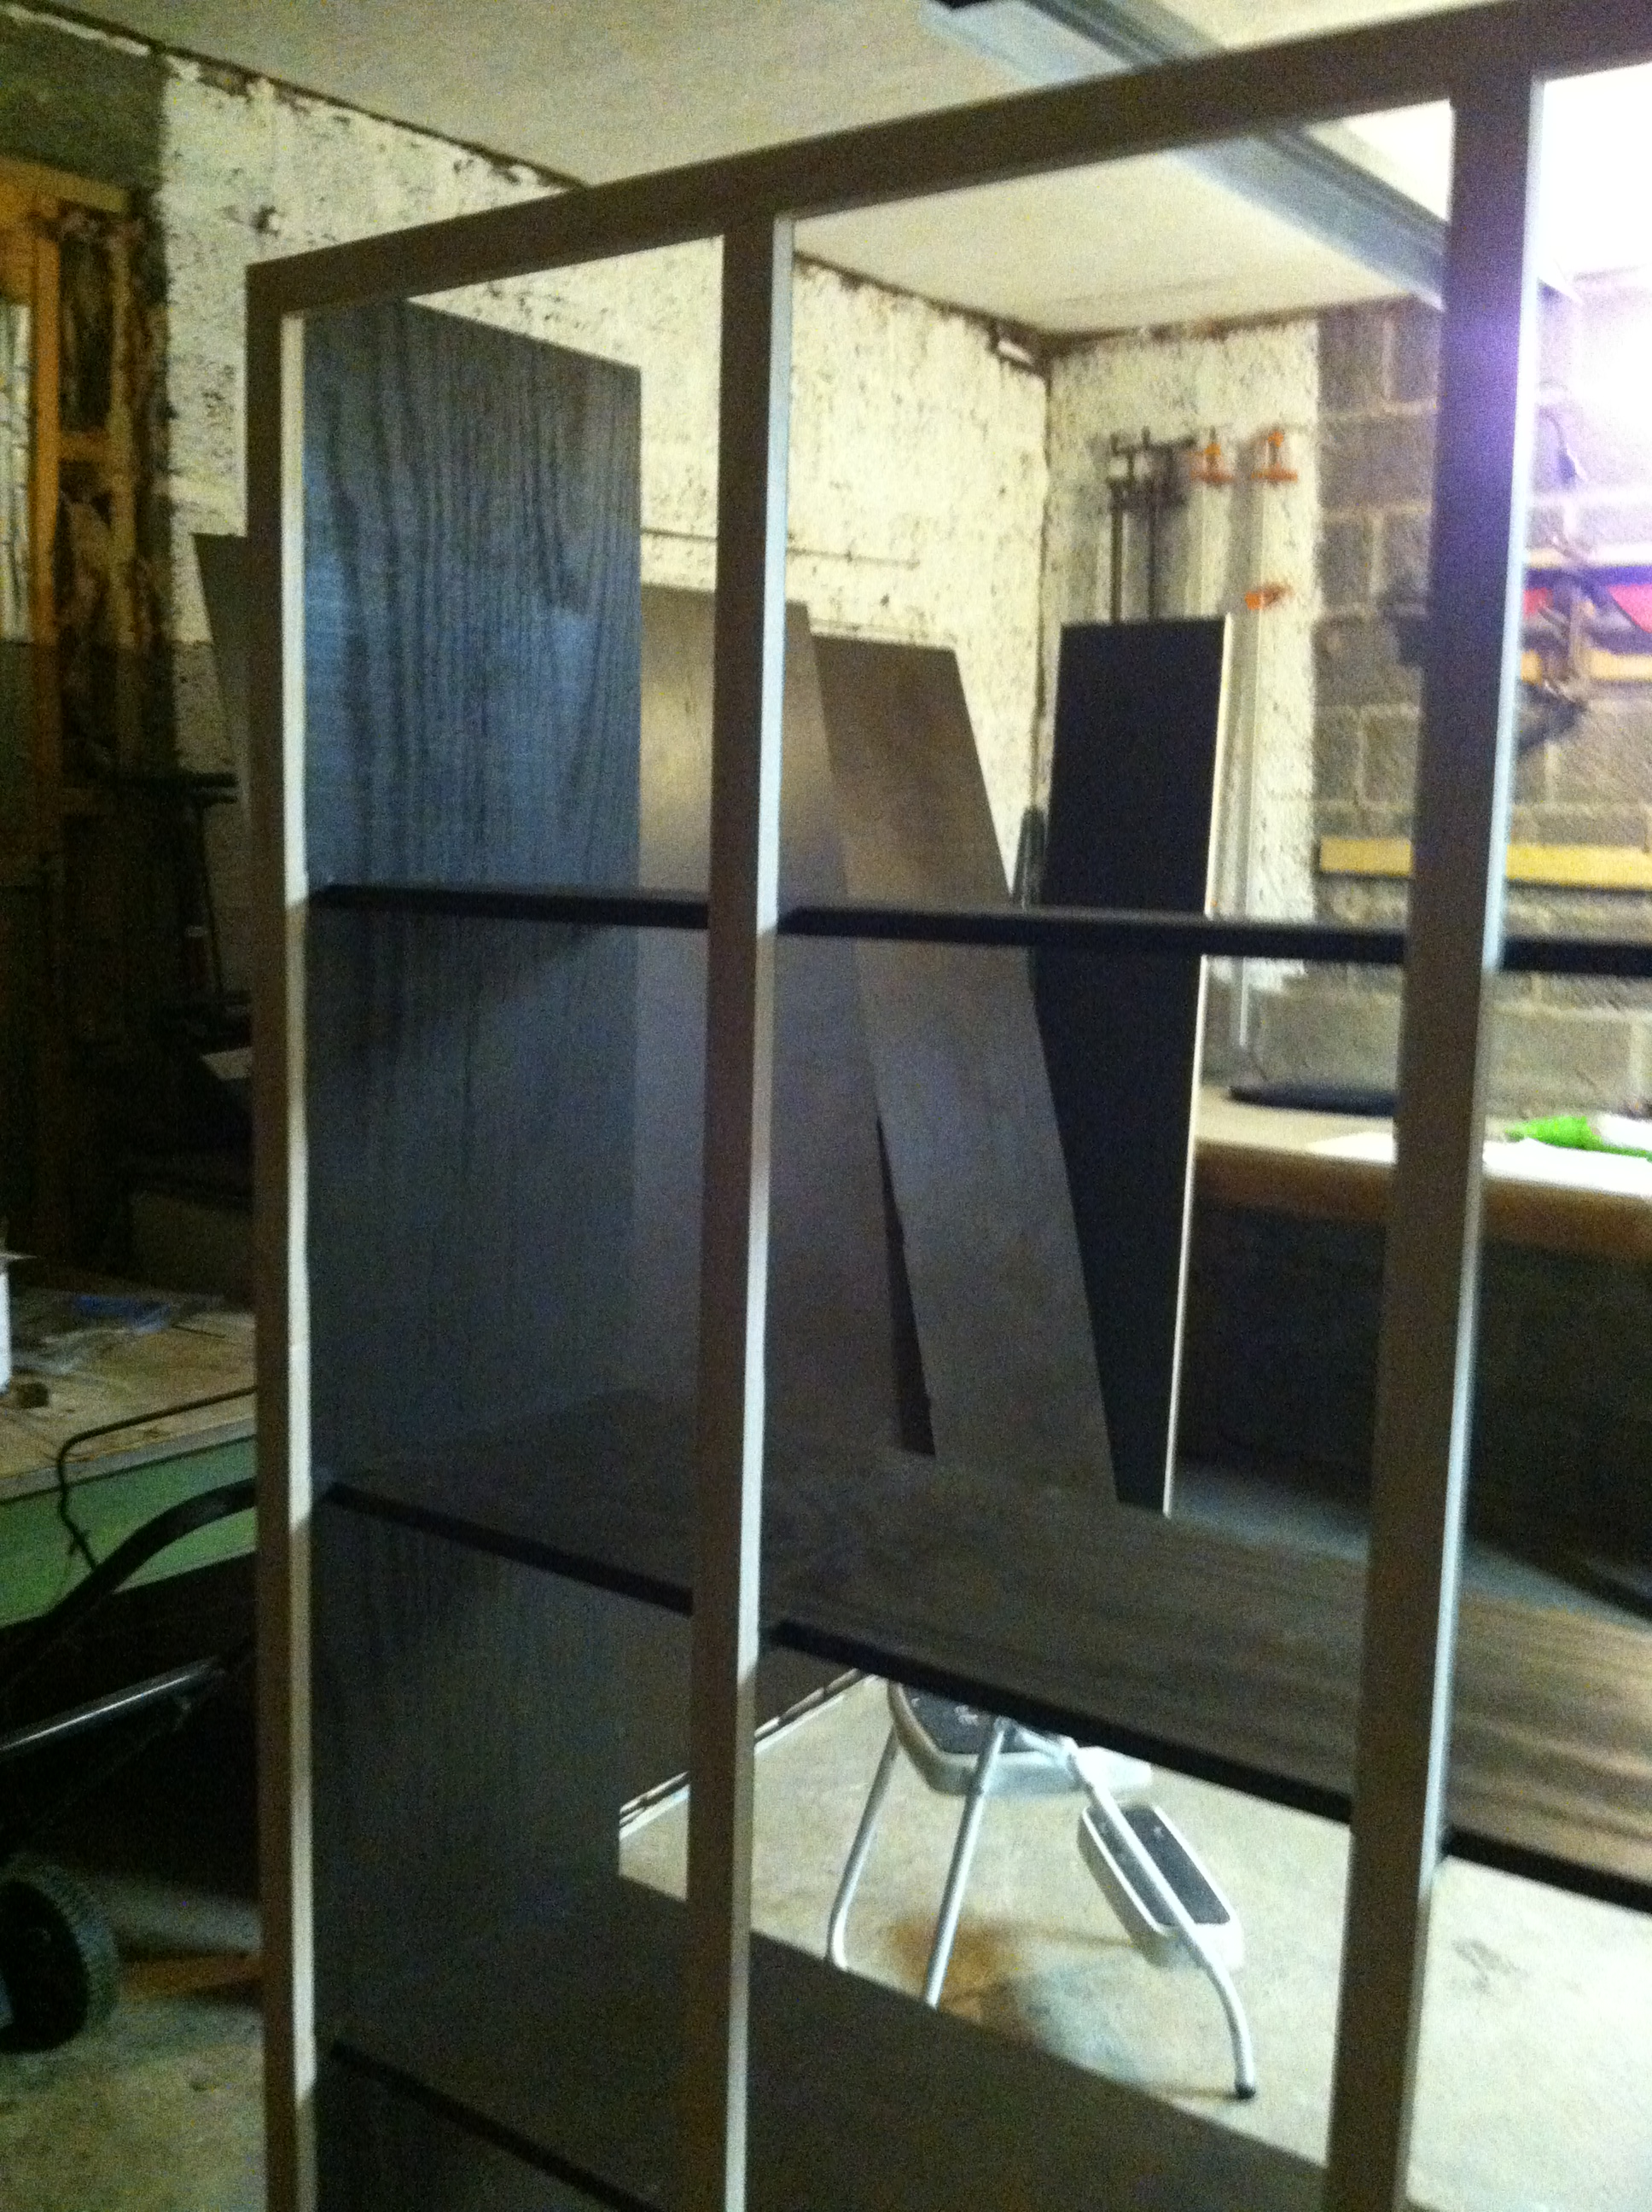
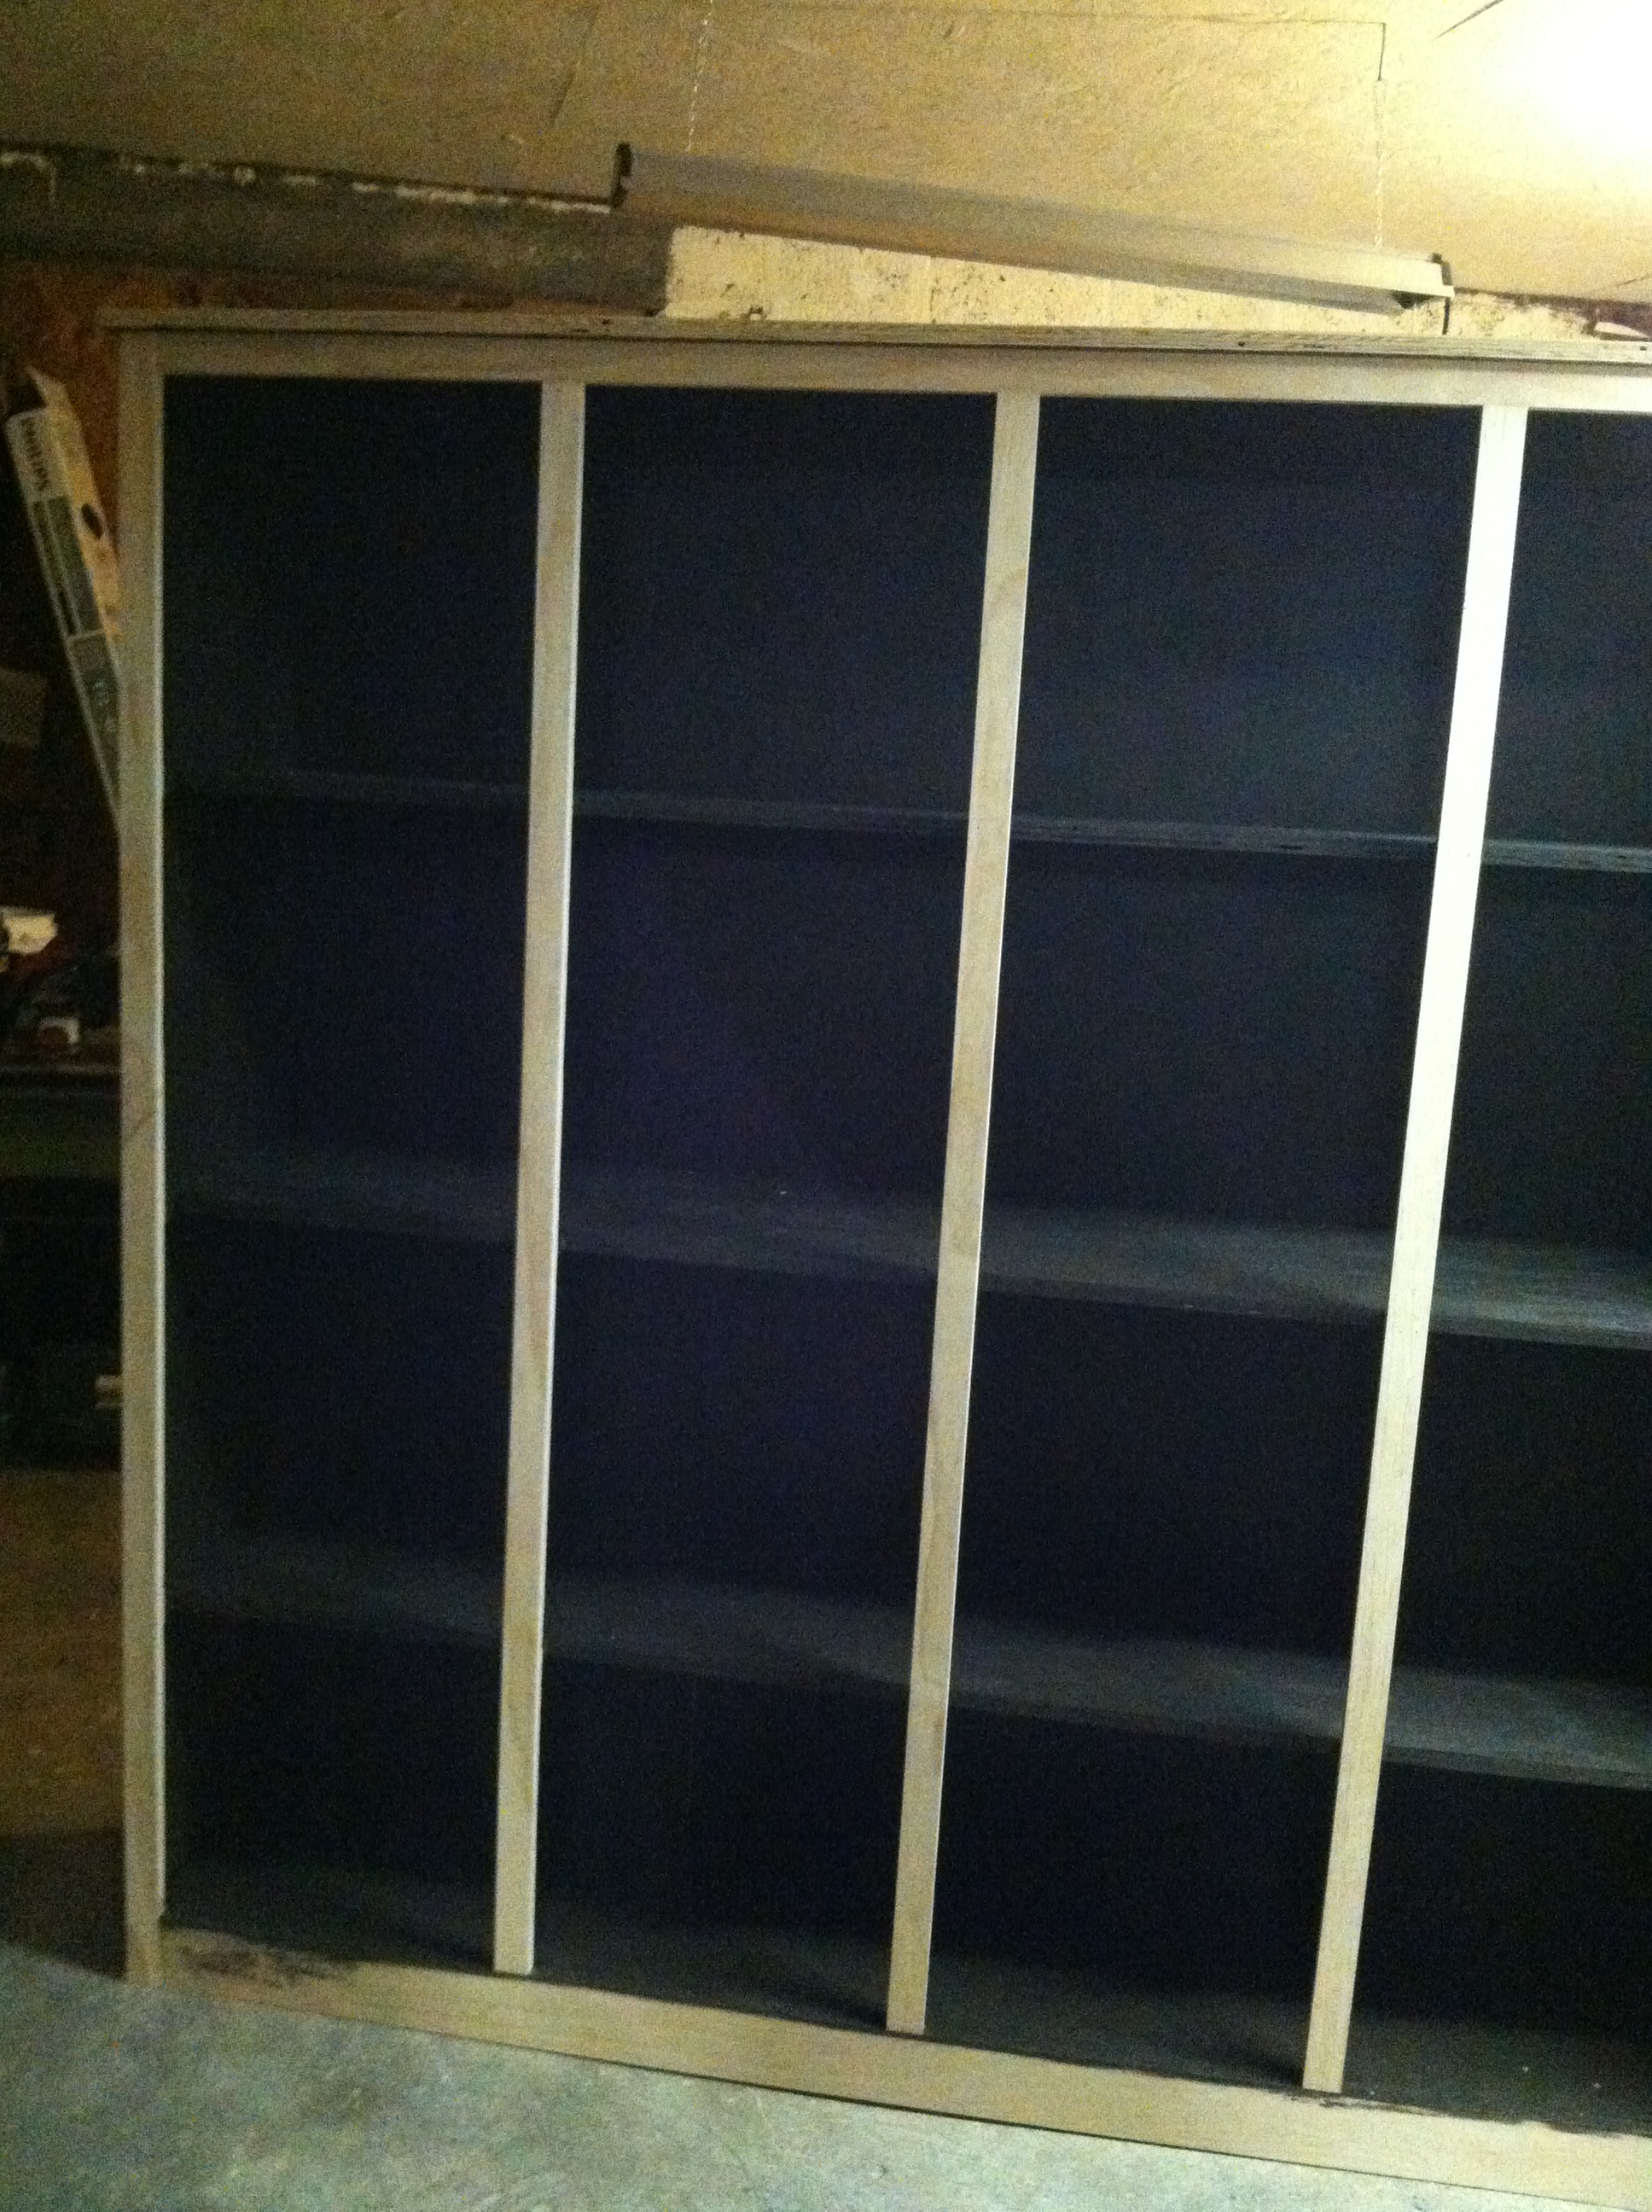
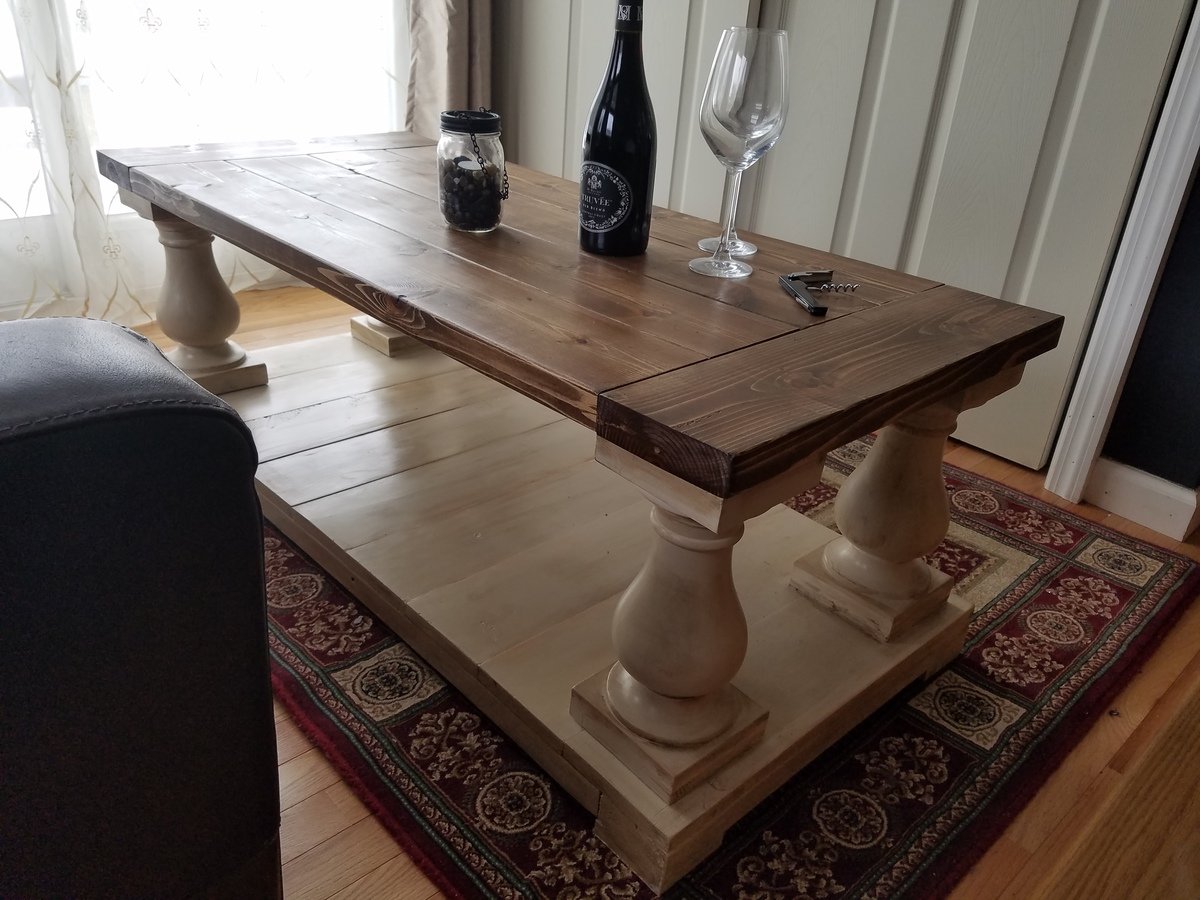
Natural Rustic X End Table
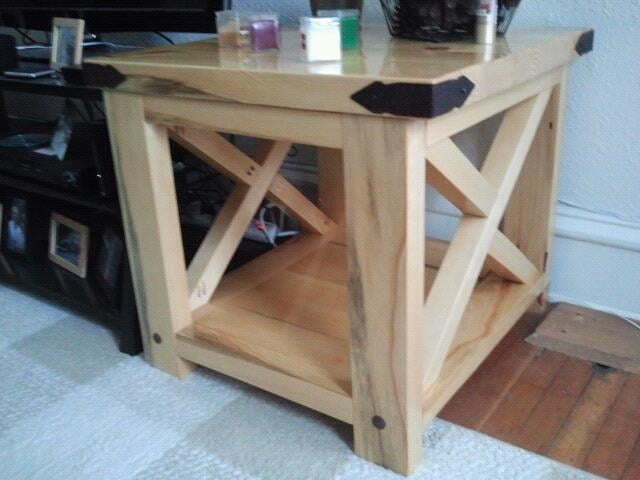
This project was taken from the Rustic X End Table plan. This is my second big project that I have attempted and I am still learning from my mistakes made from making the Rustic X Coffee Table. Hope you enjoy!
Built from Plan(s)
Estimated Time Investment
Week Long Project (20 Hours or More)
Finish Used
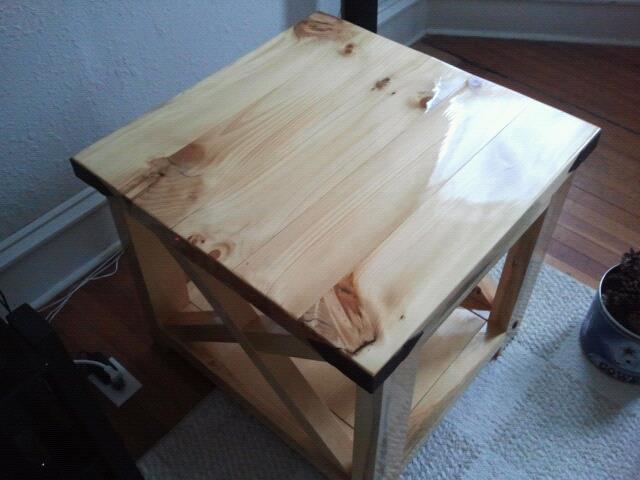
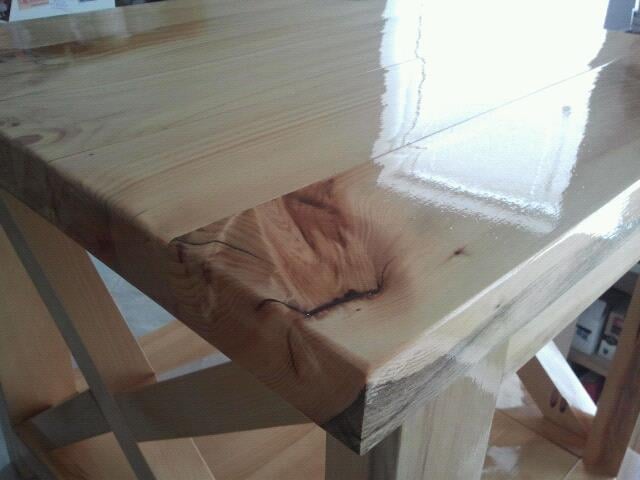
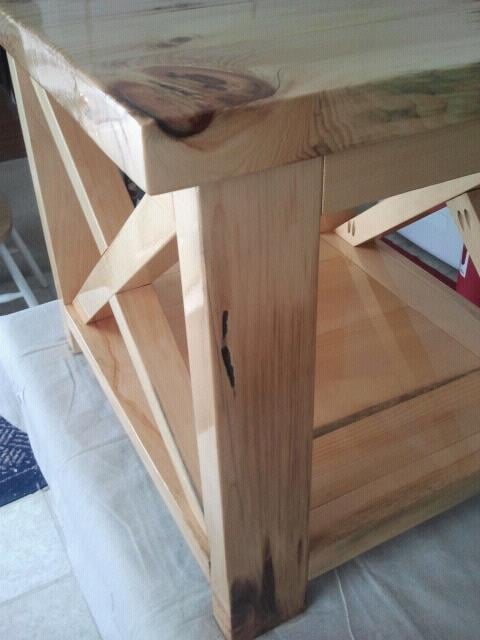
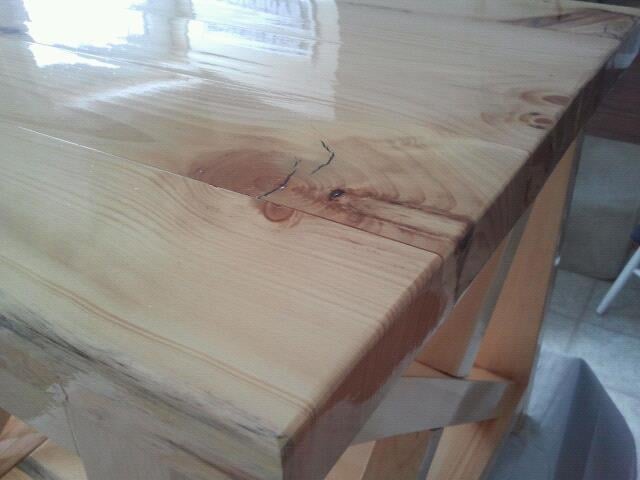
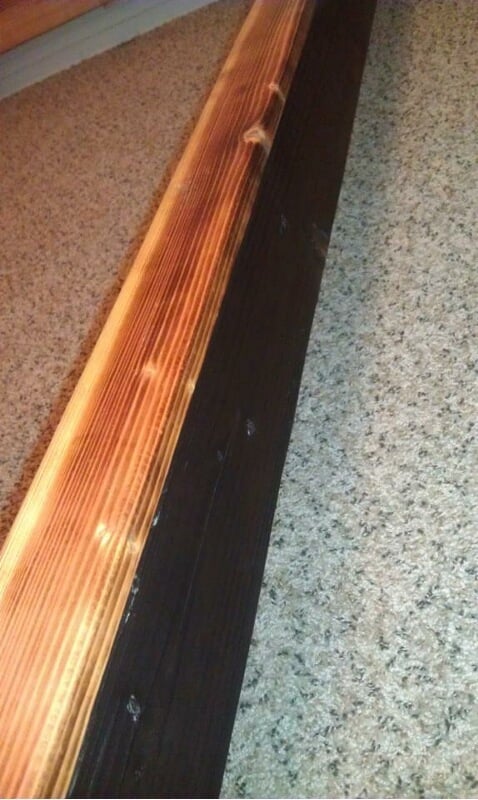
I used an ebony wood filler to fill any cracks around the knots. Then I used Cabots "natural" wood stain just like I did on my Rustic X Coffee Table. Followed by 3-5 coats of Cabots glossy poly. Make sure you use a finishing sponge or sandpaper between each coat! Once it set for a day I added the wrought iron corner pieces and hammered iron clavos.
Recommended Skill Level
Intermediate


Comments
aleeman27
Mon, 02/11/2013 - 22:25
Finally Finished!
Working around my work schedule and dry times of the poly these 2 end tables took me quite sometime! But I am super happy with the result! They go so perfect with my Rustic X Coffee Table!
Wounded Marine
Tue, 02/12/2013 - 07:01
Friendly Tip
Table looks good. I like the natural wood color with the black add ons. I noticed the one "X" is a little off. You might want to check the squareness of your chop saw. If the fence is perfectly square to your blade when set at 90 degrees it will throw everything off. You are off to a good start though.
colsen
Sat, 02/16/2013 - 14:01
Love the natural stain and
Love the natural stain and the shine of the poly!