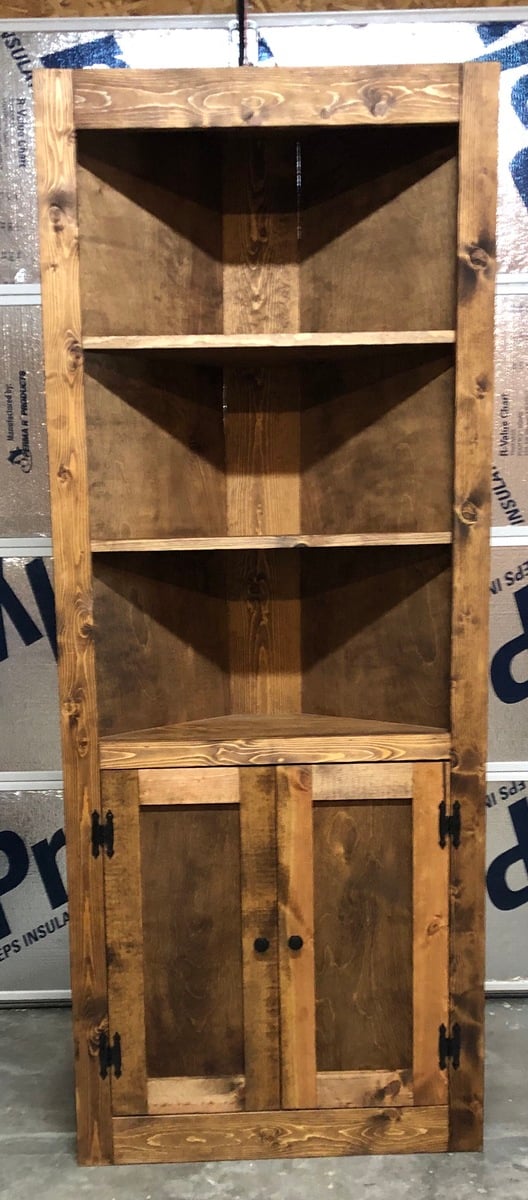
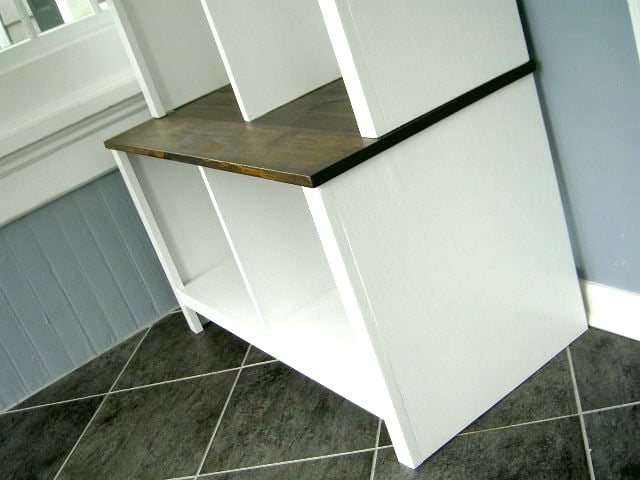
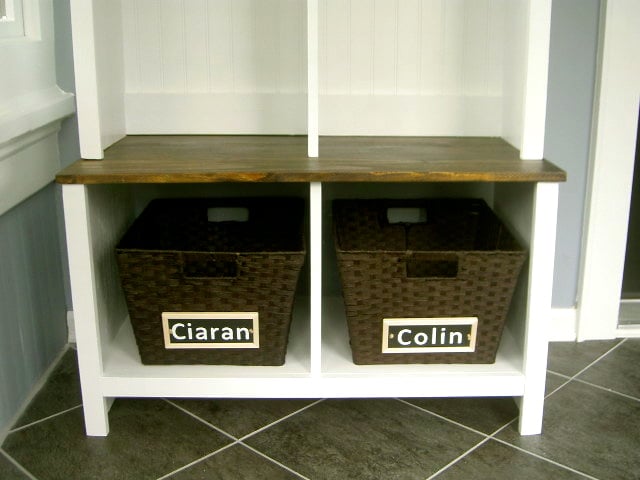
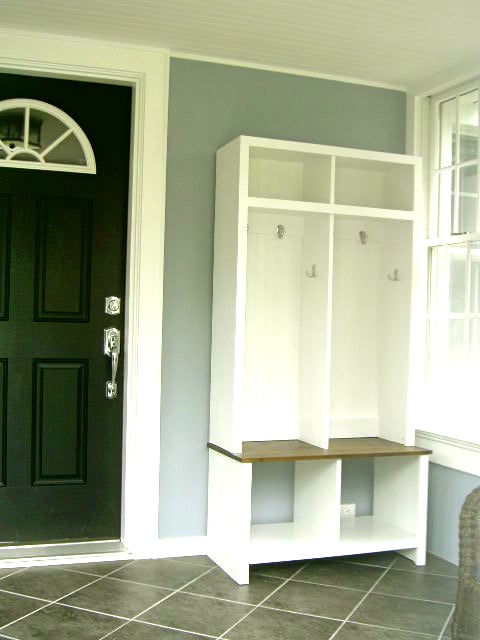
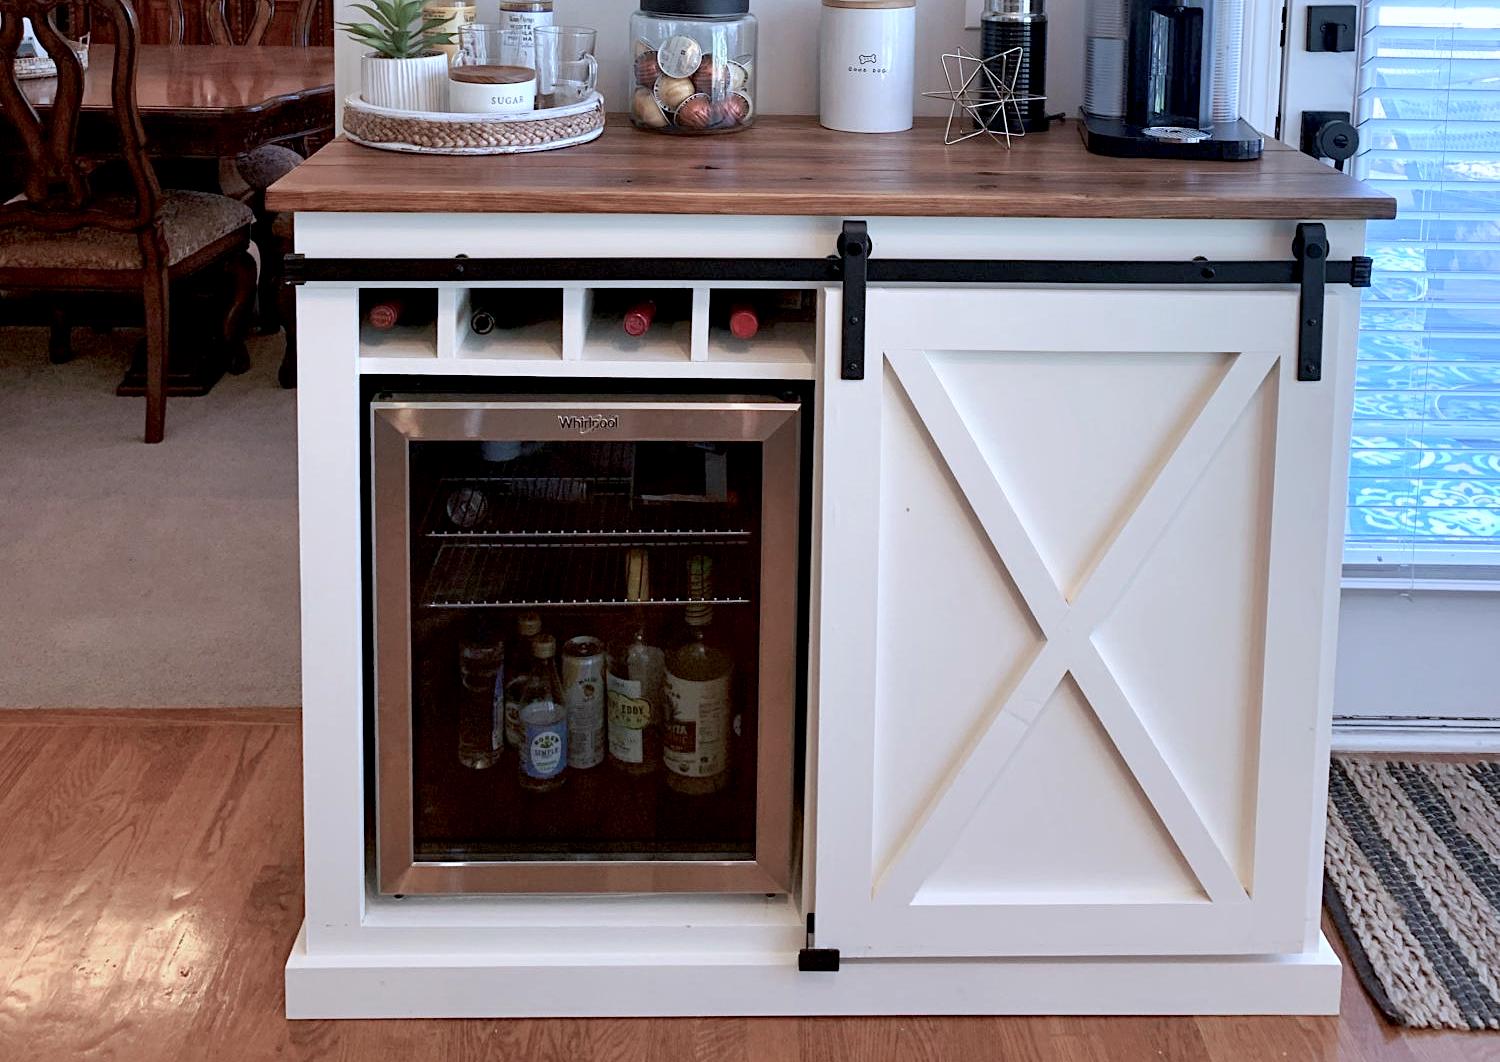
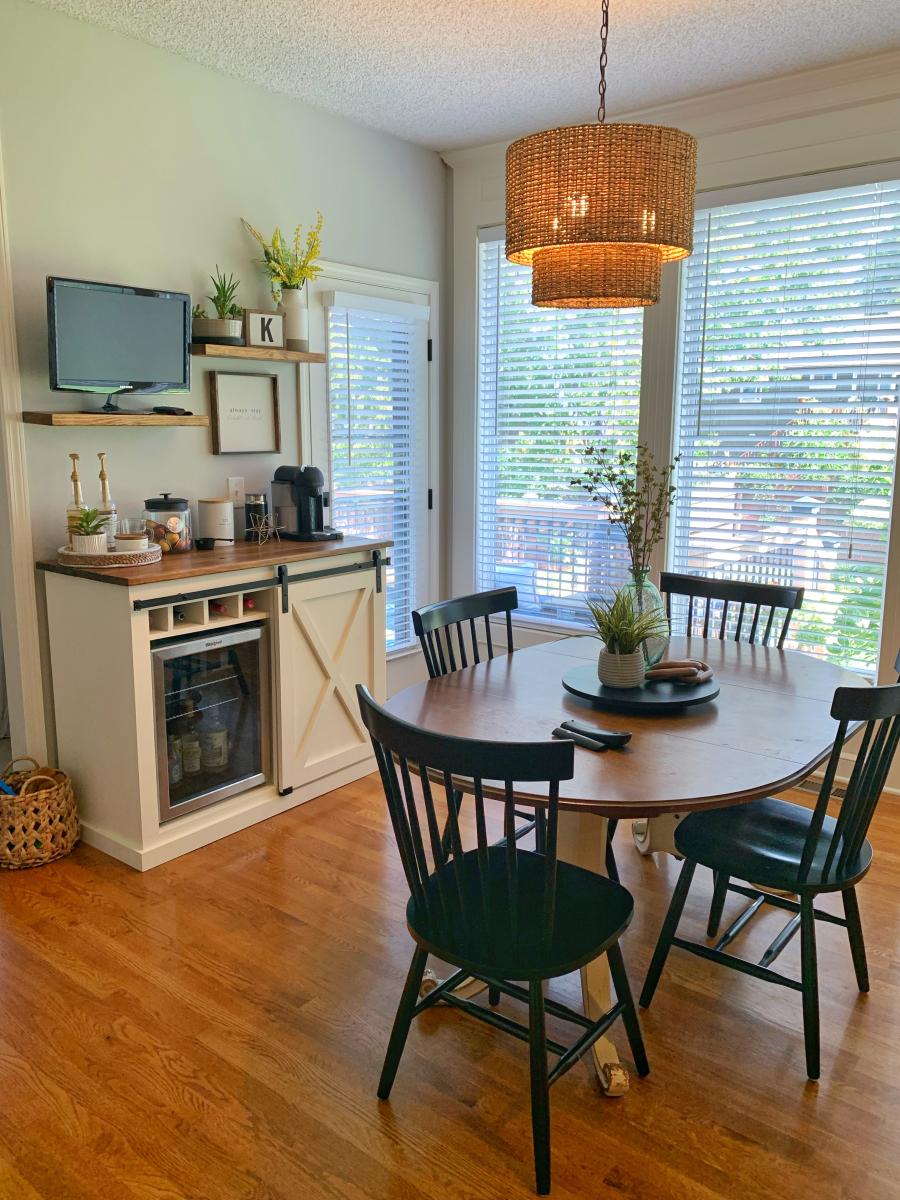
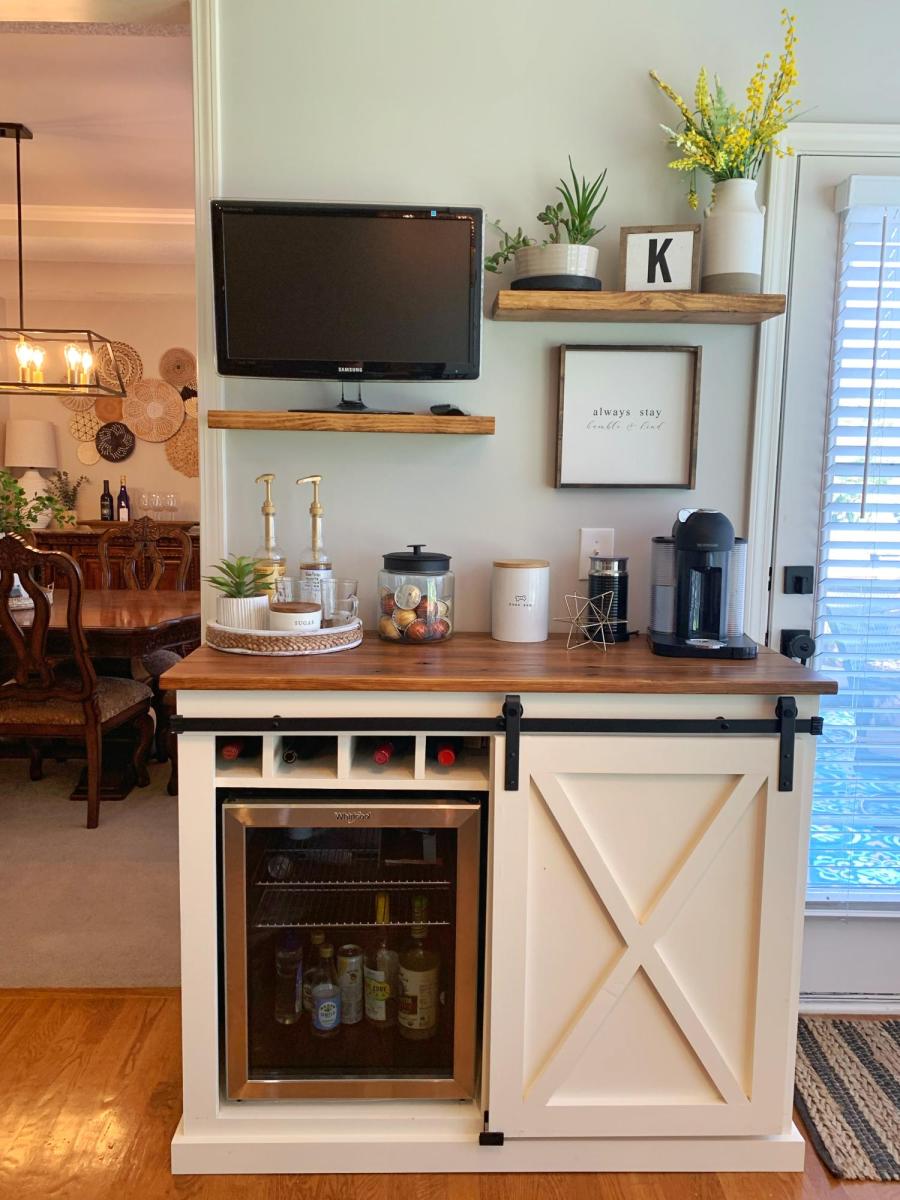
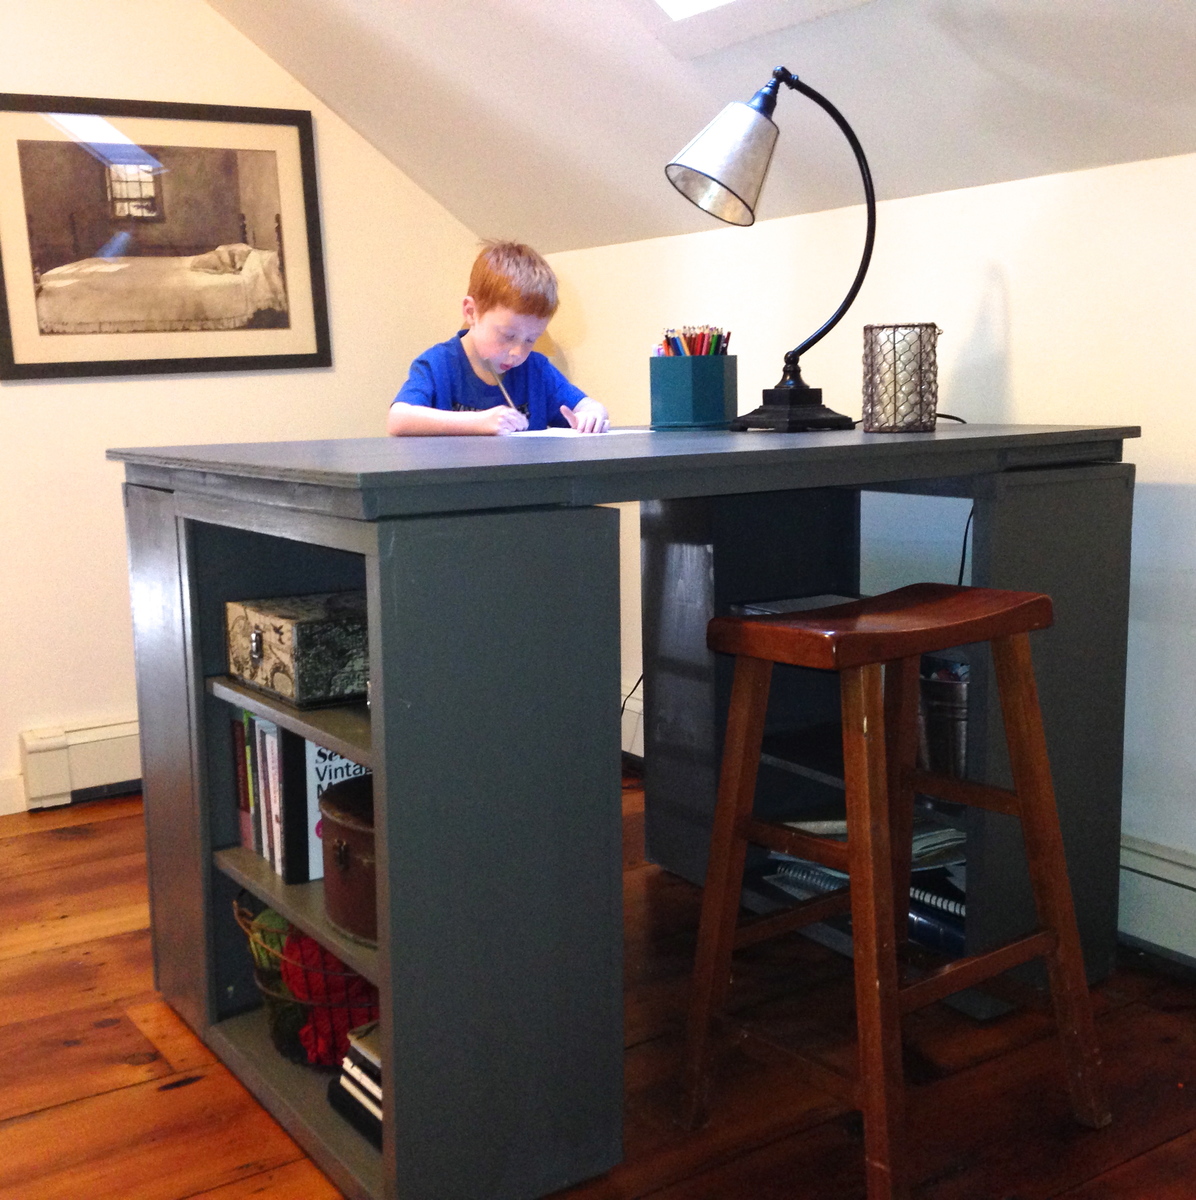
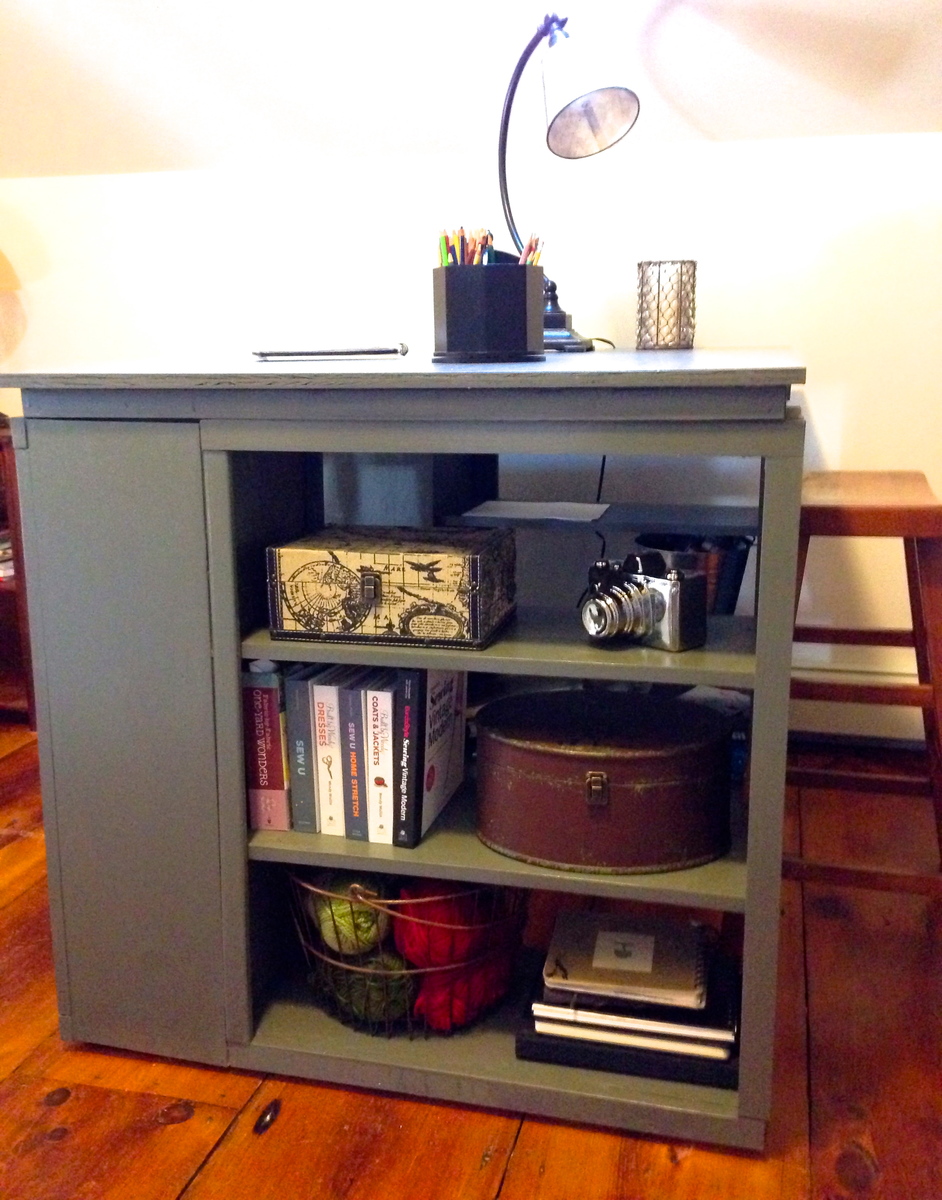
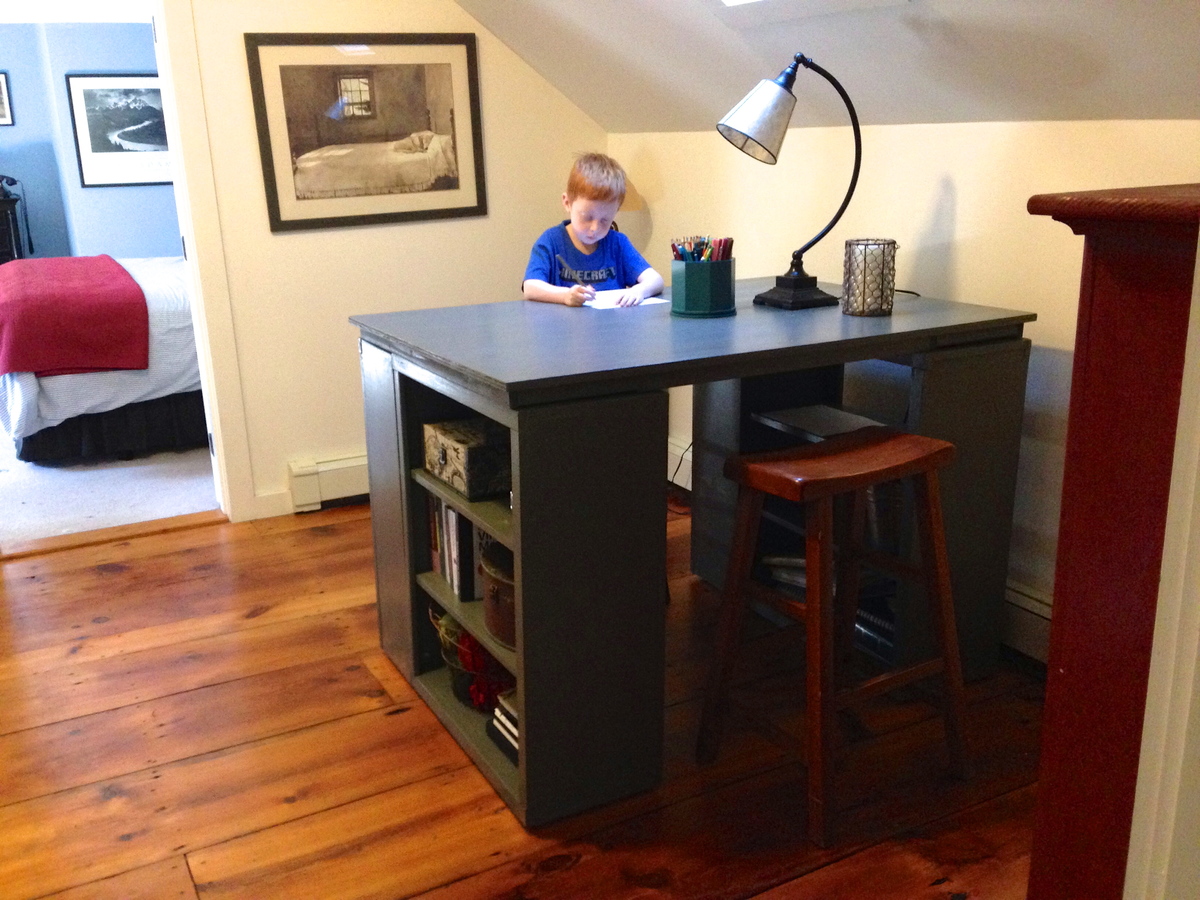
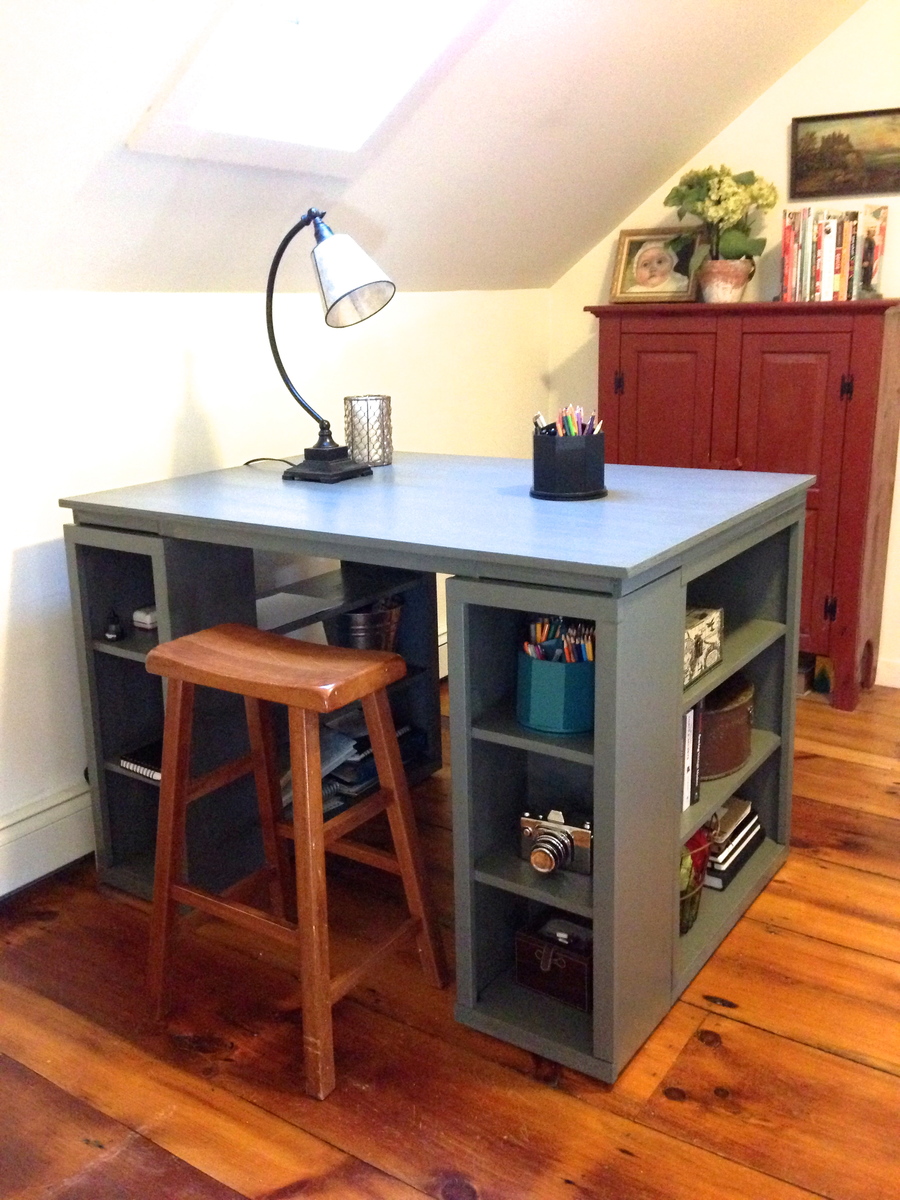
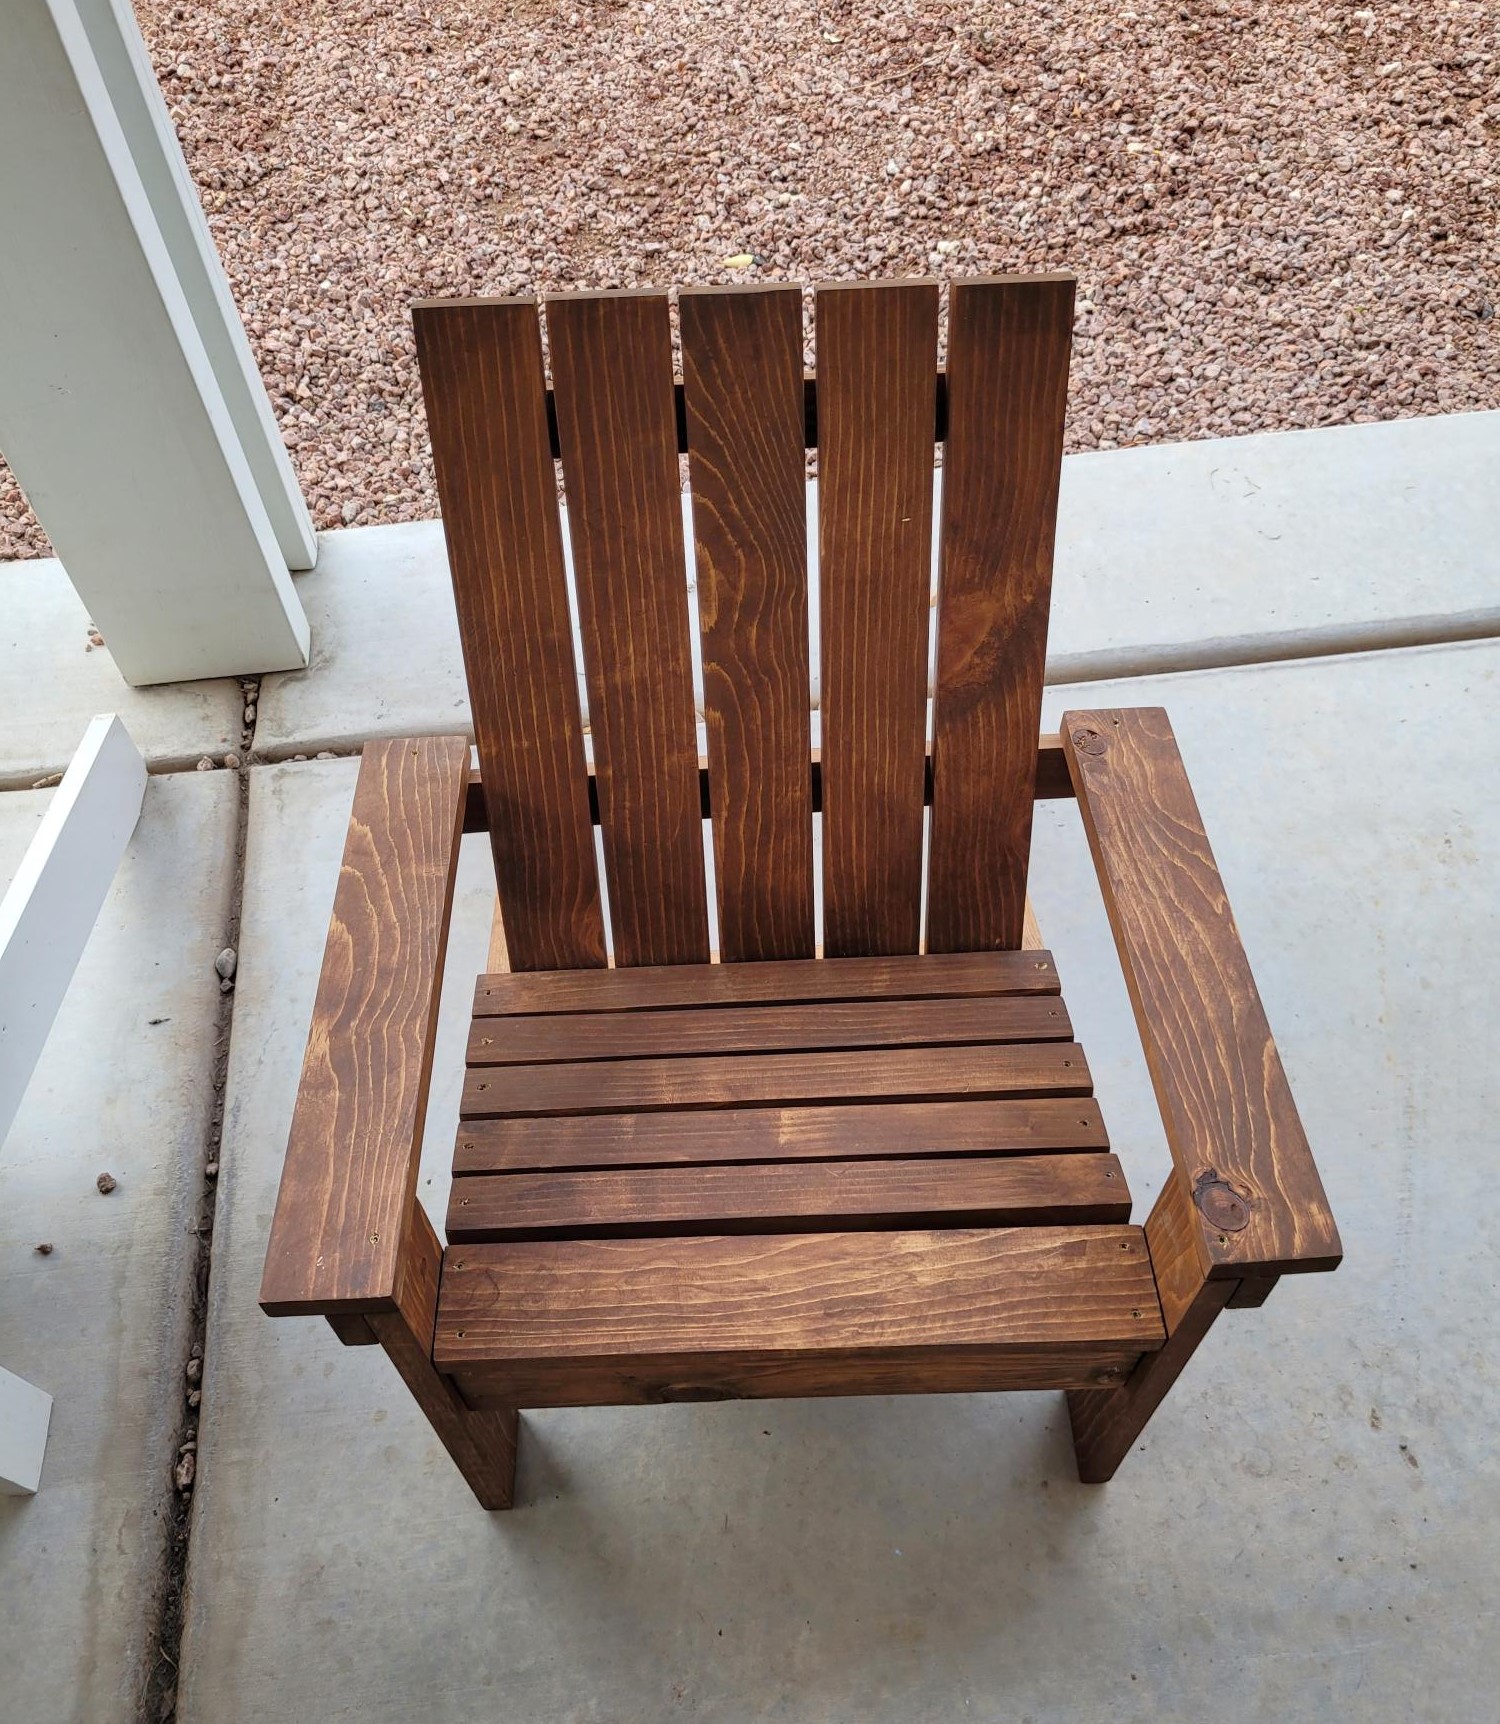
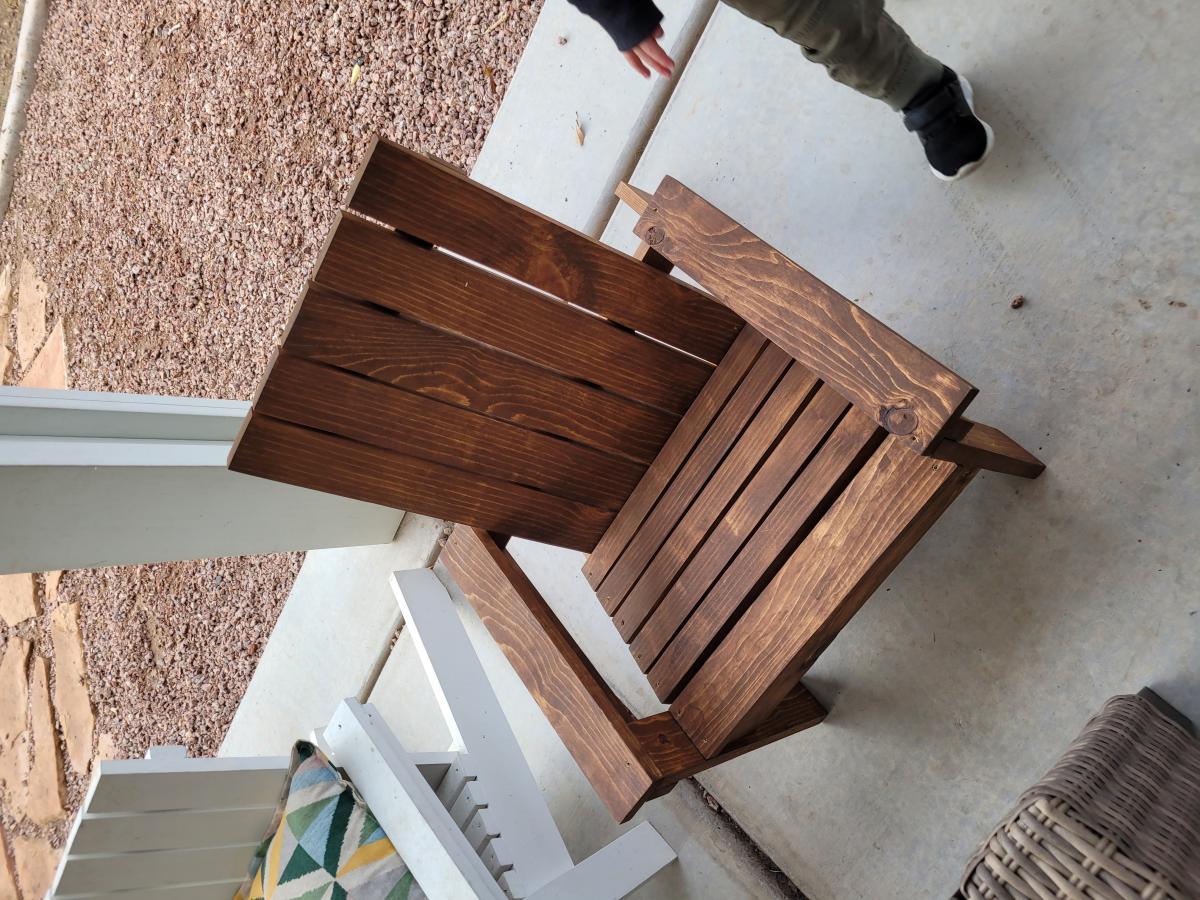
Modified salsa console buffet
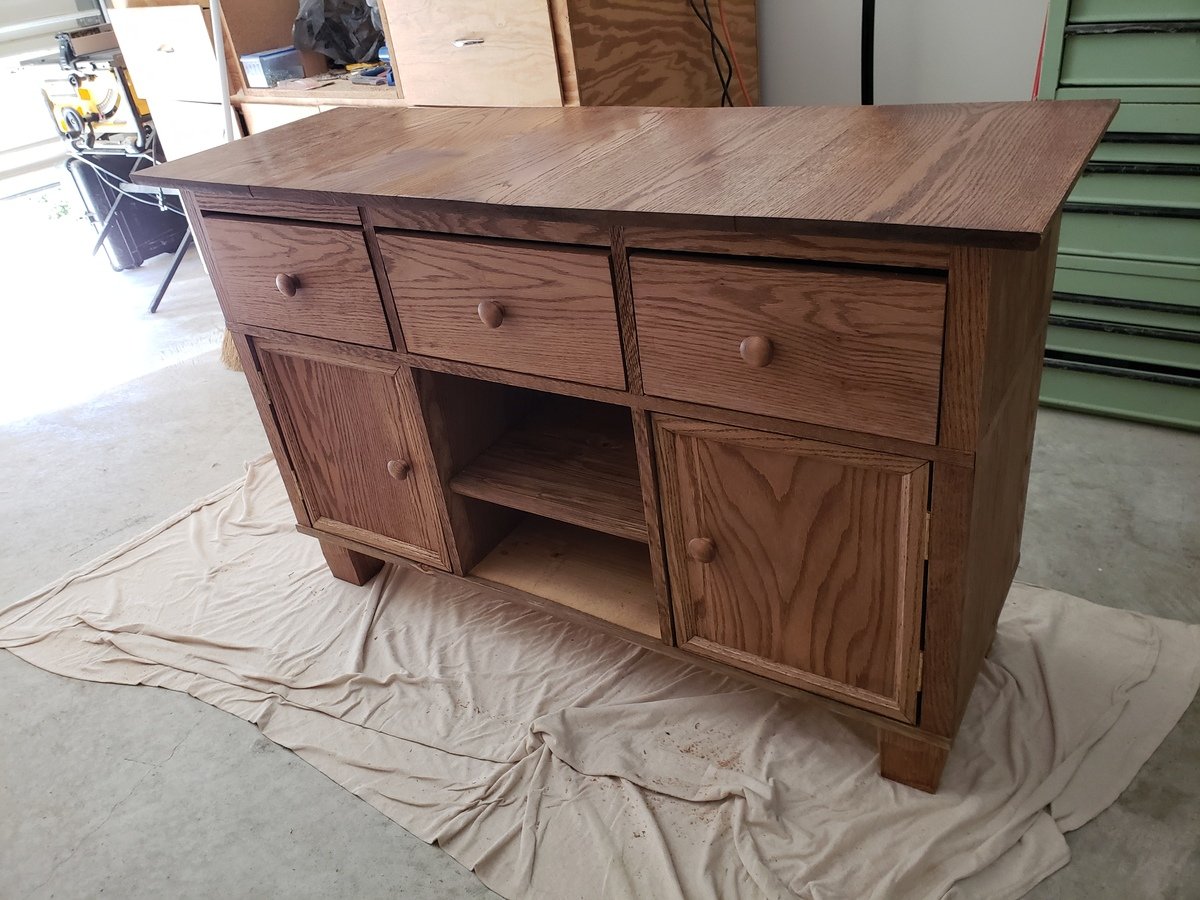
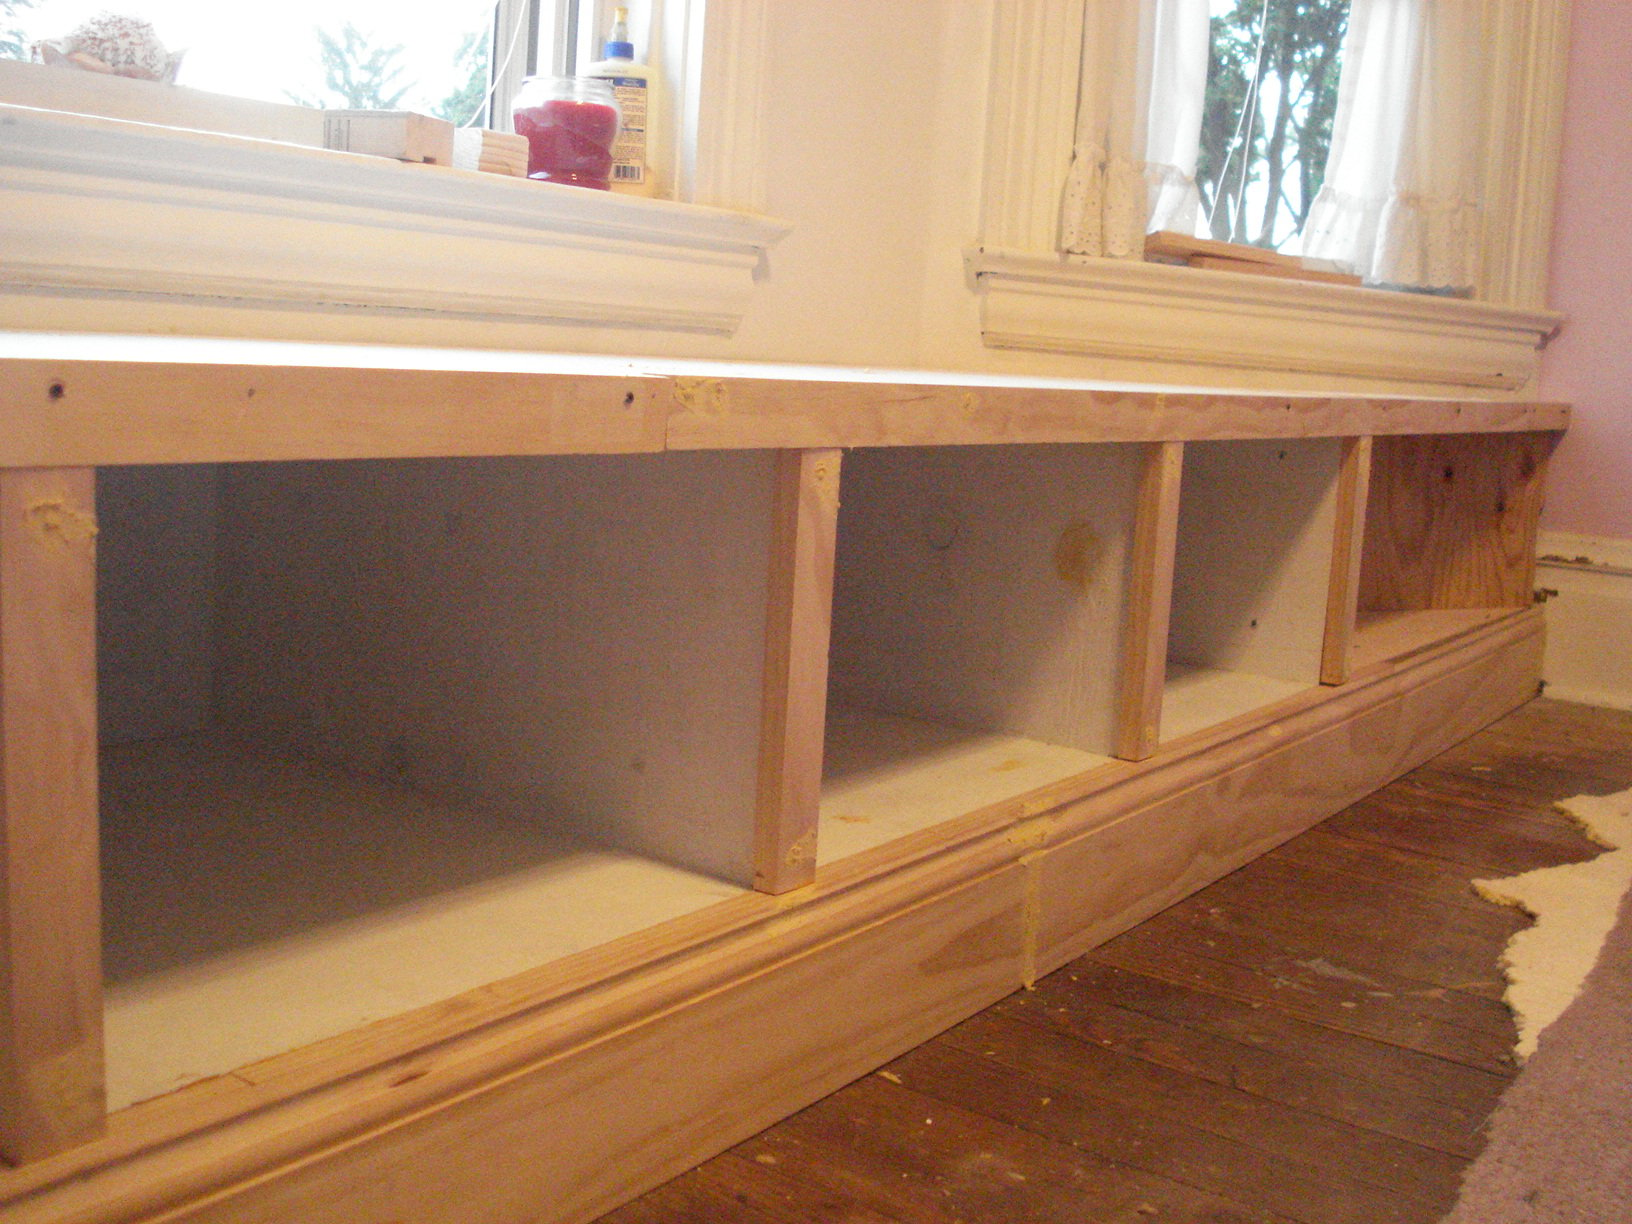
Made a little smaller than original plans and completely out of oak
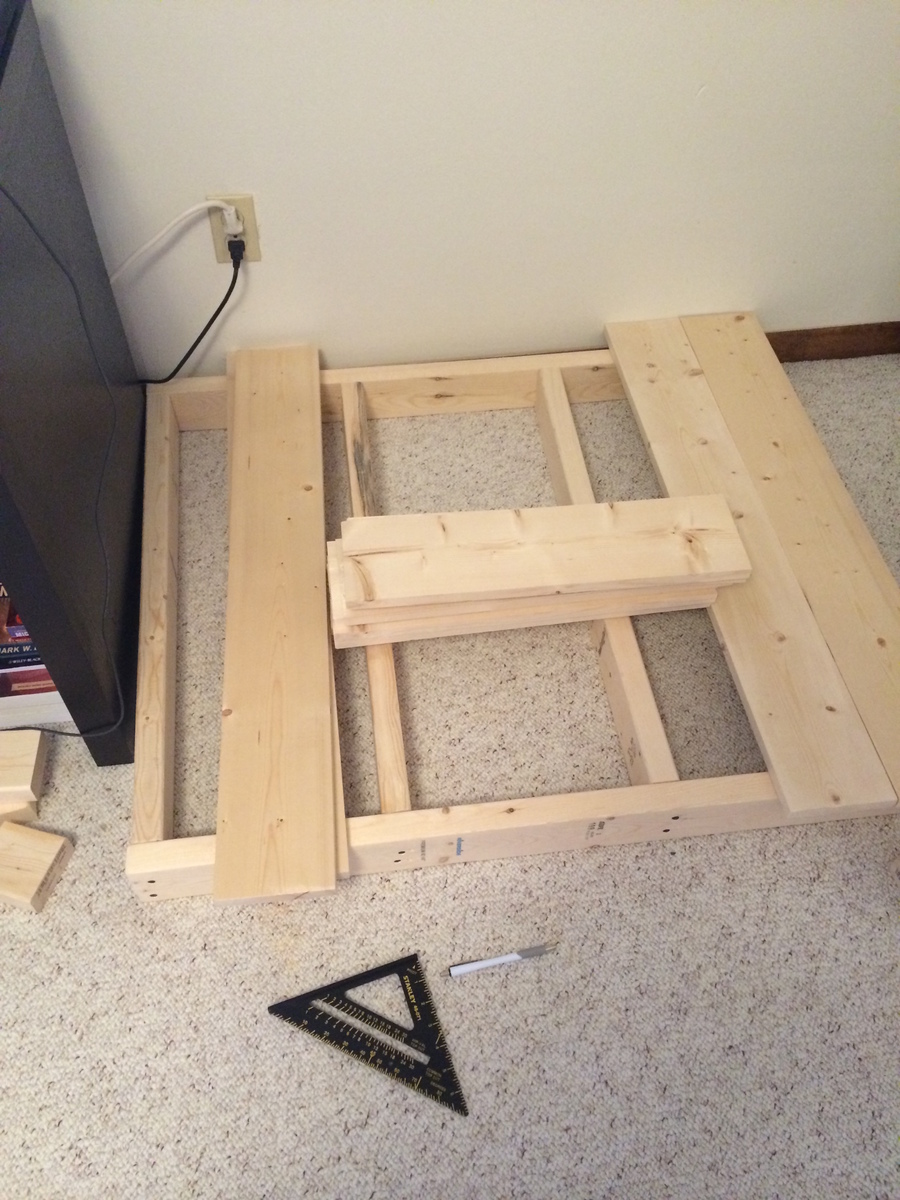
Built from Plan(s)
Estimated Cost
400 (oak is expensive)
Estimated Time Investment
Weekend Project (10-20 Hours)
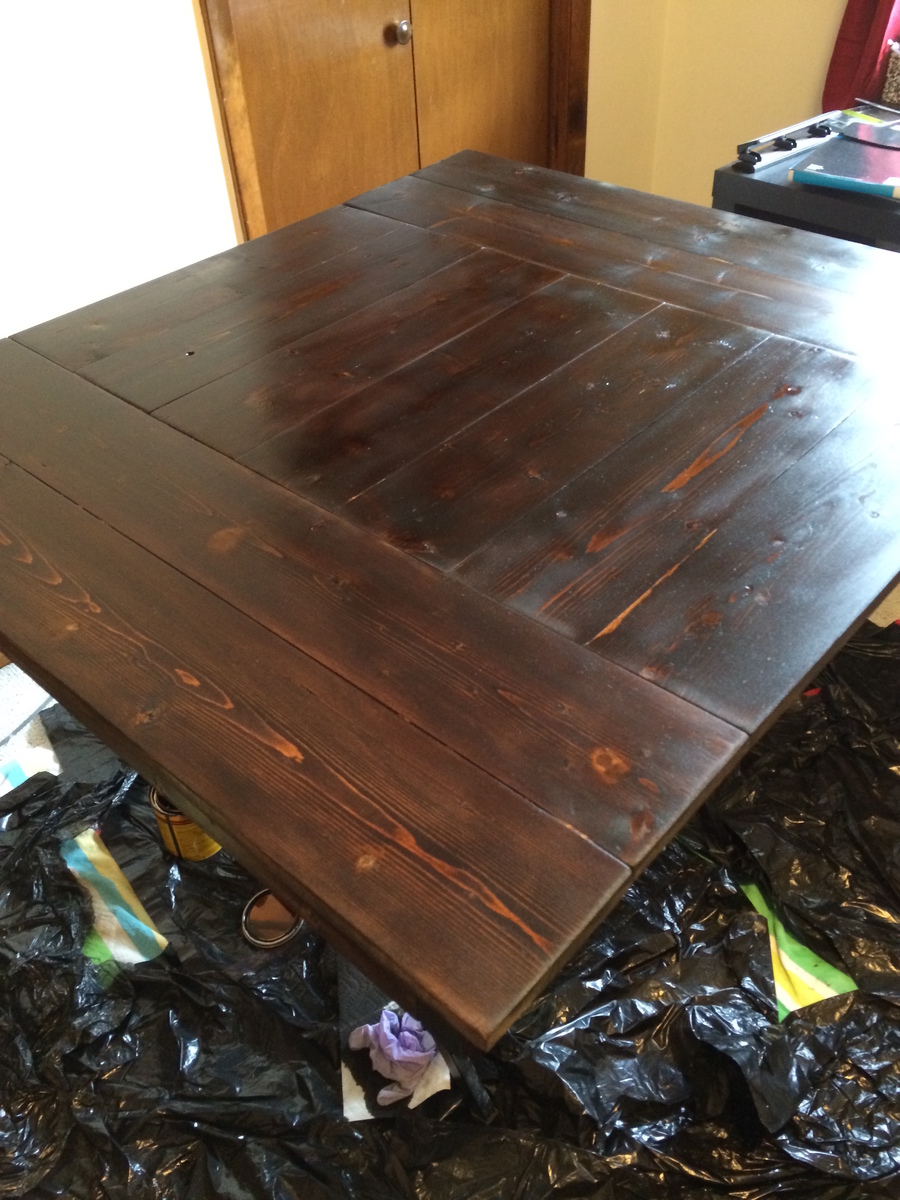
Finish Used
Minwax early american.
Recommended Skill Level
Intermediate