Rustic X desk
The wife wanted this desk for her computer. Thank you for the plans
This was made entirely of scrap molding. The sides and bottom shelves are left over baseboard. The front stops are made out of door/window casing.
We wanted this to hang on the wall instead of the floor, so we added 1x3 scrap under the 2nd and 4th shelf and countersunk screws into the studs in the wall.
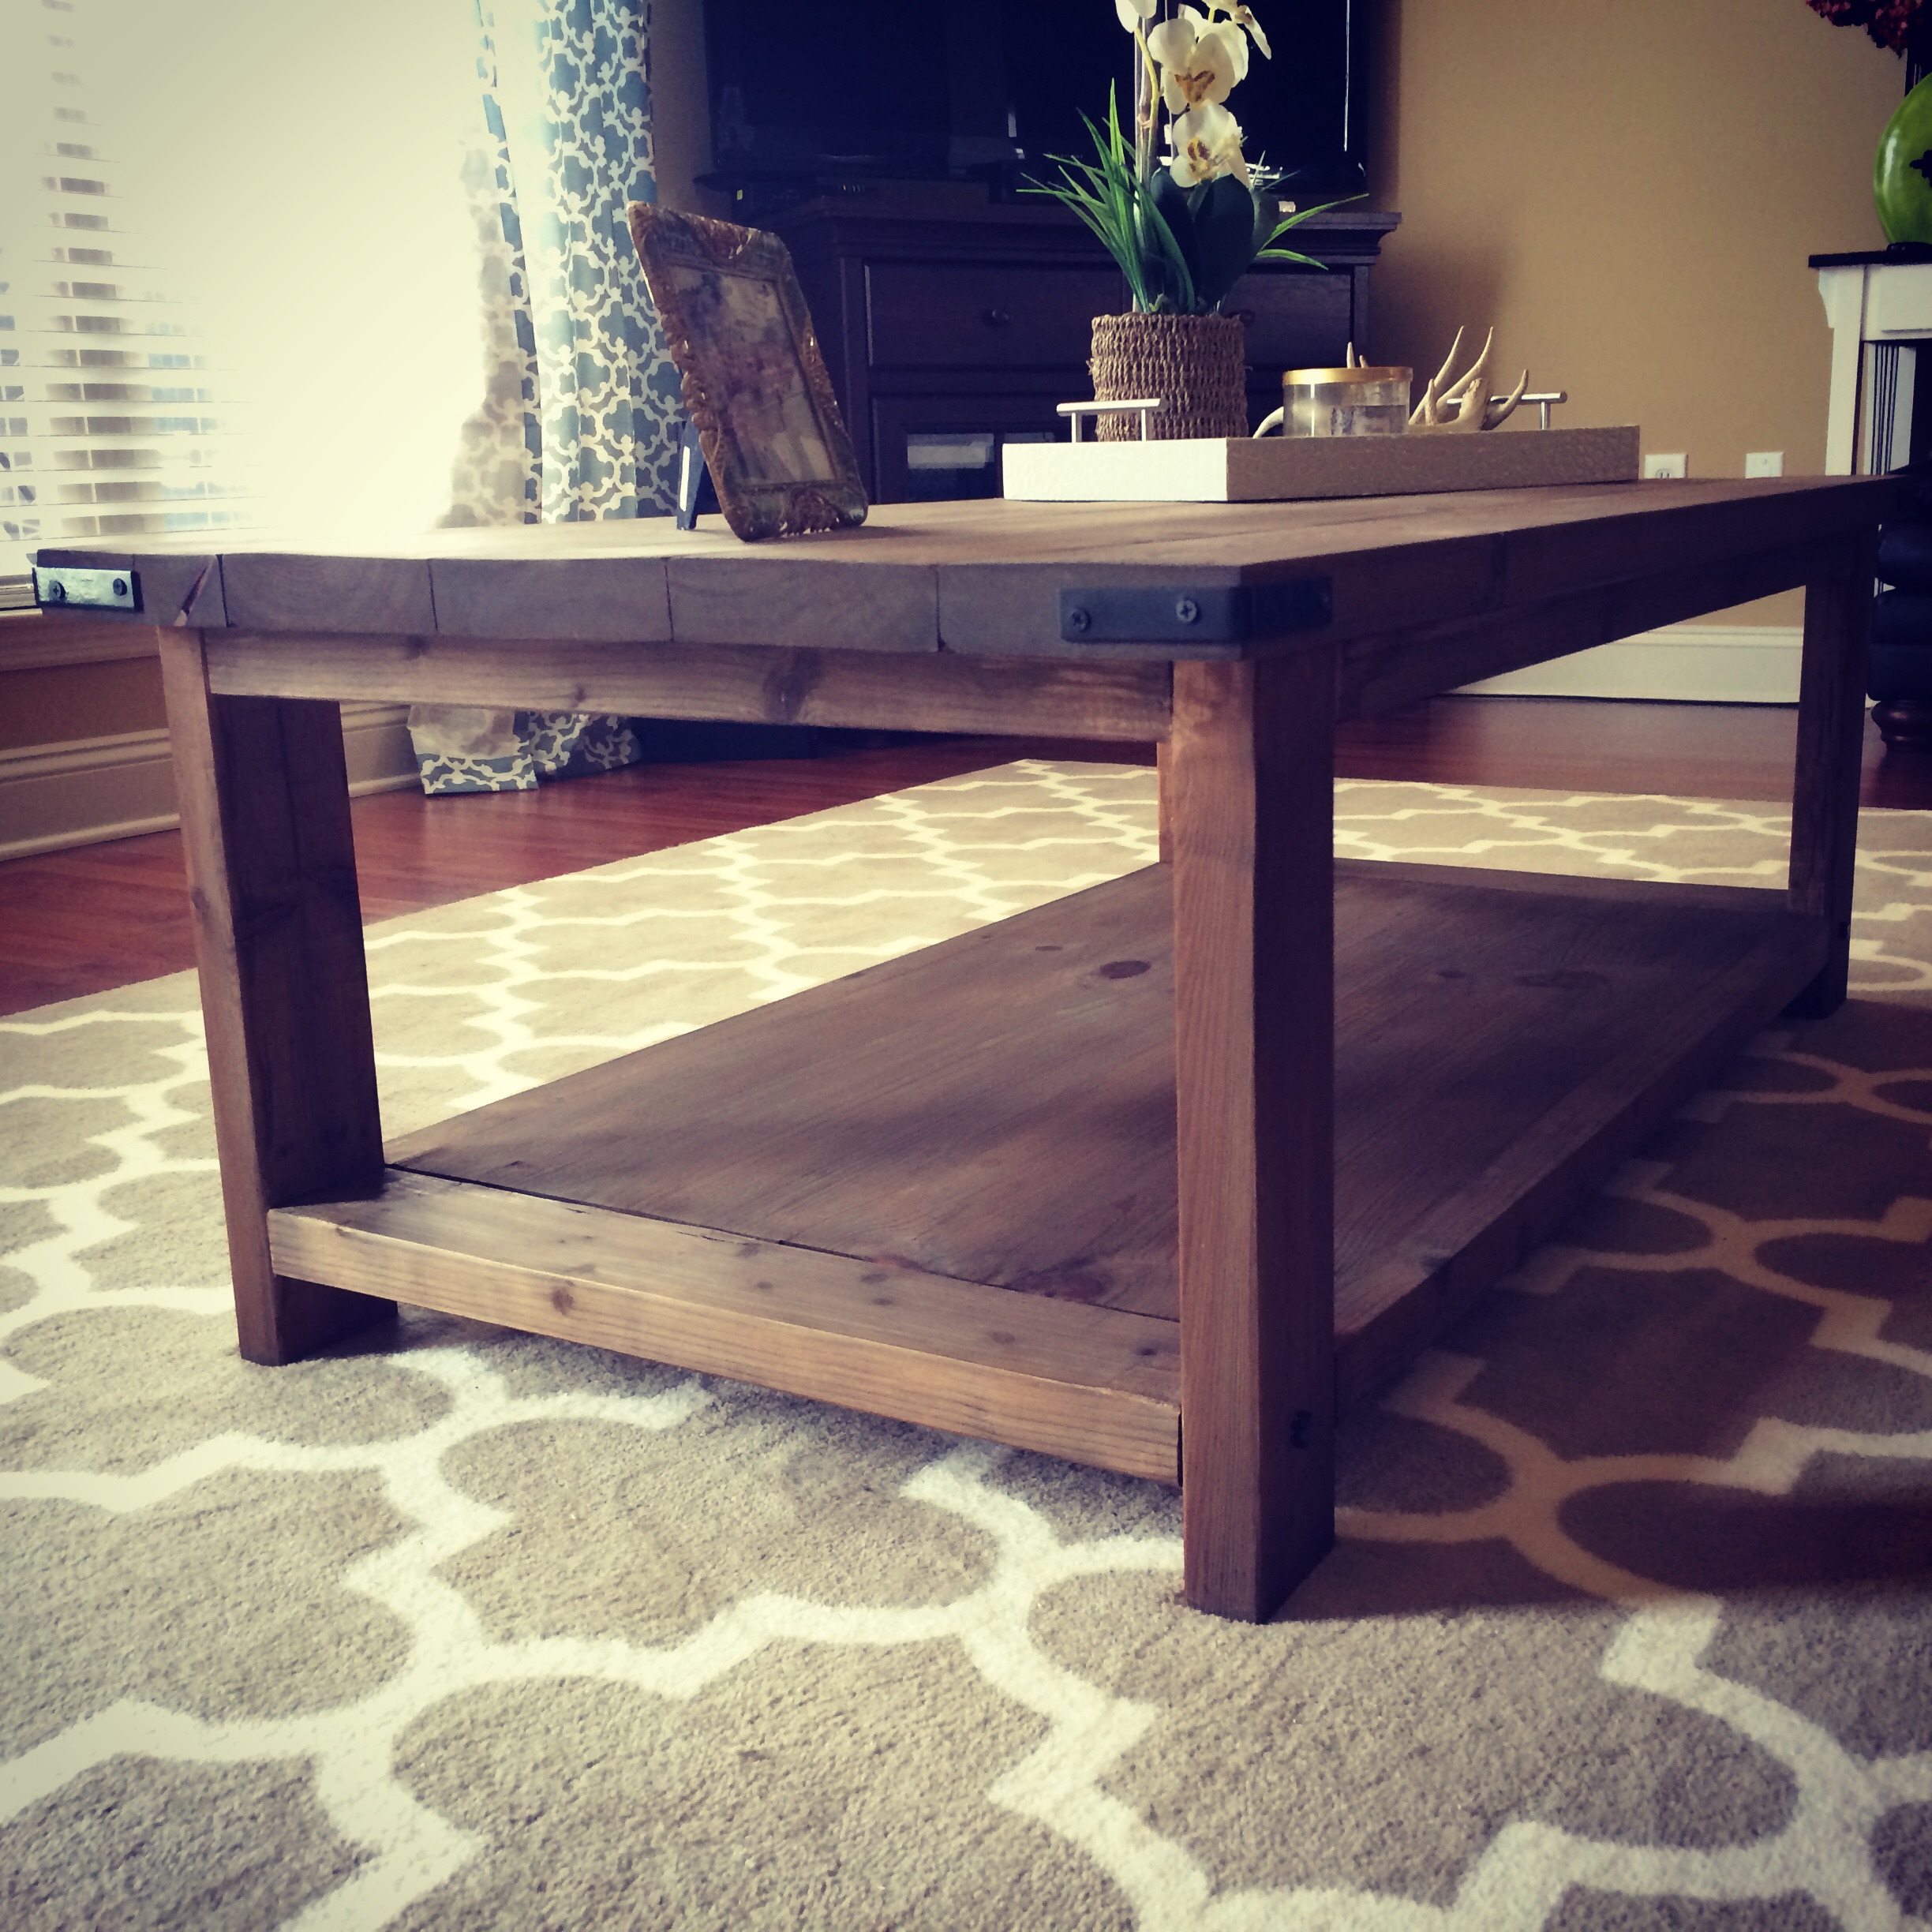
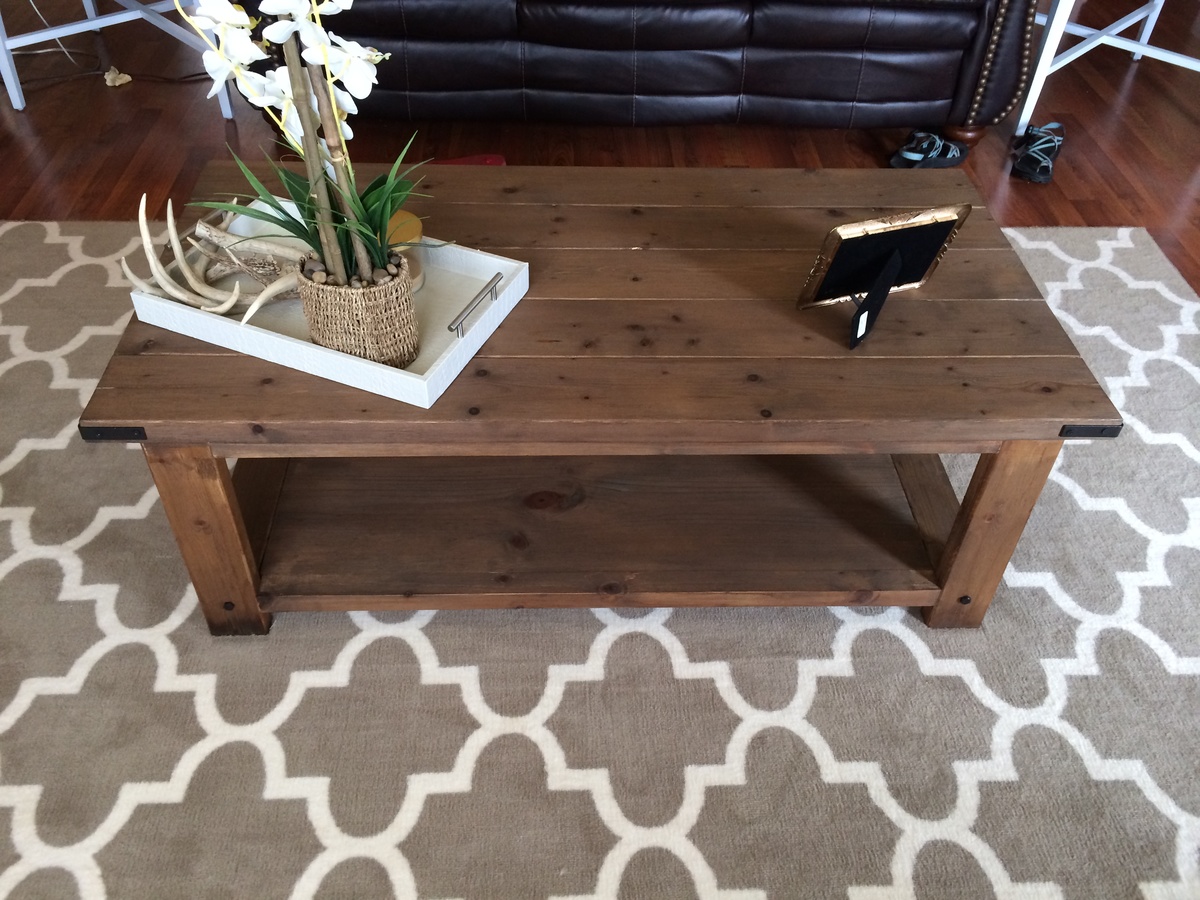
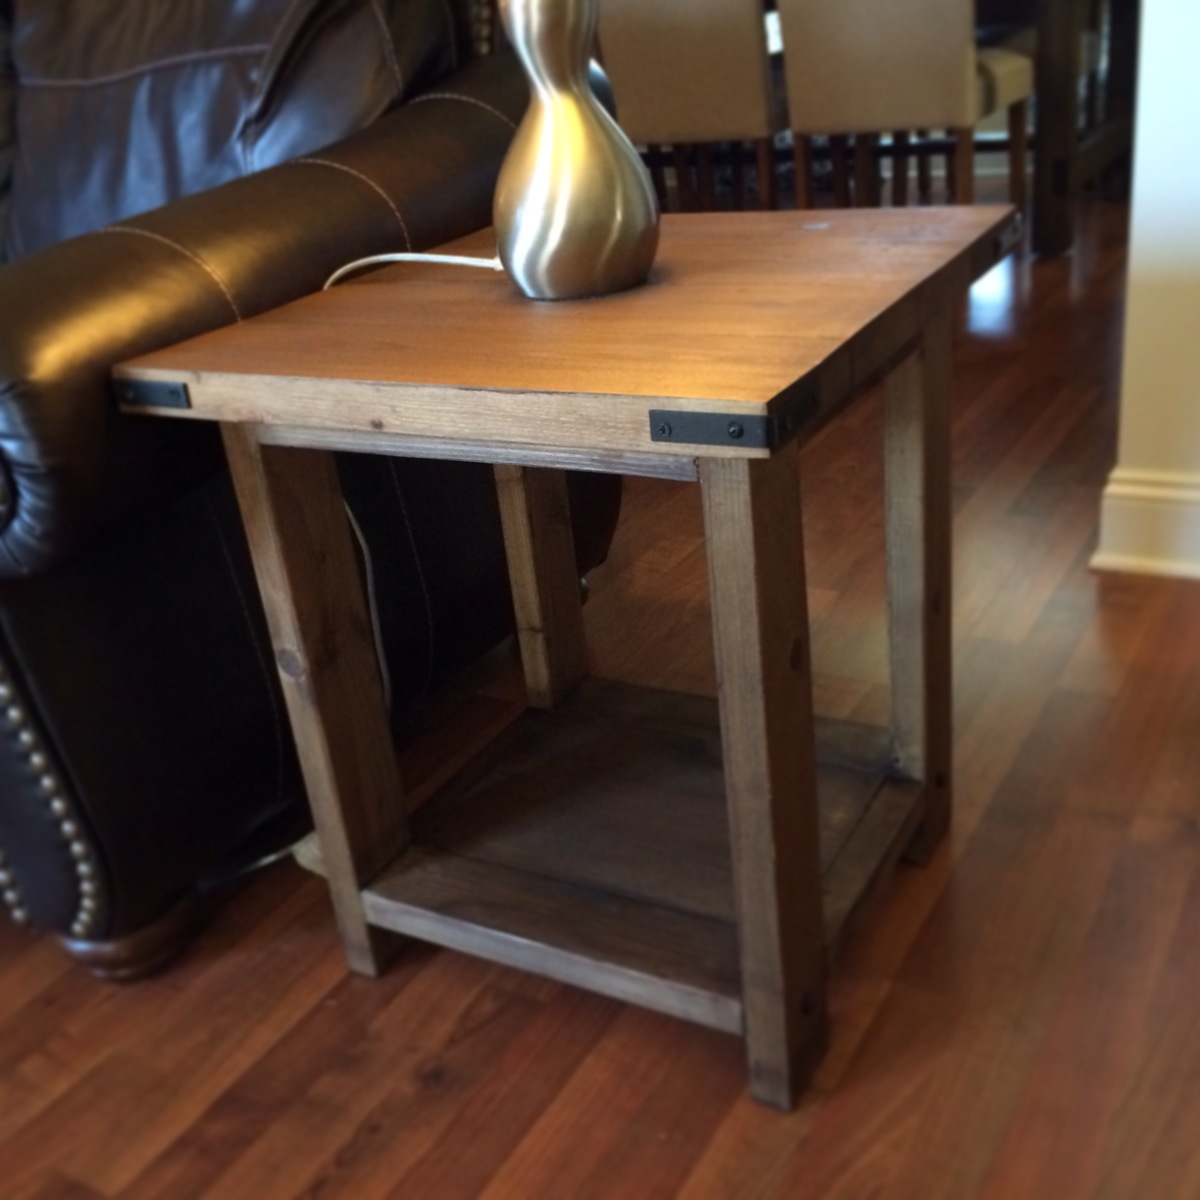
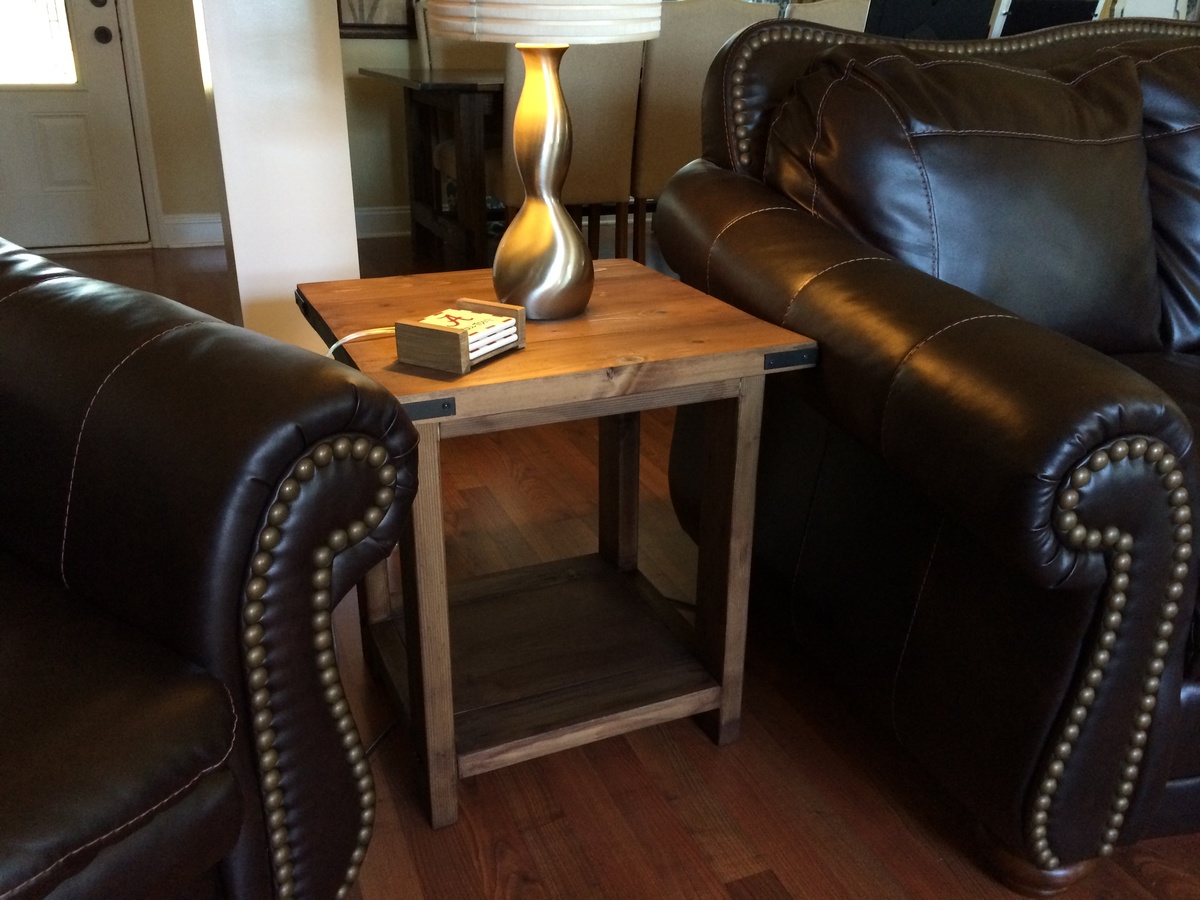
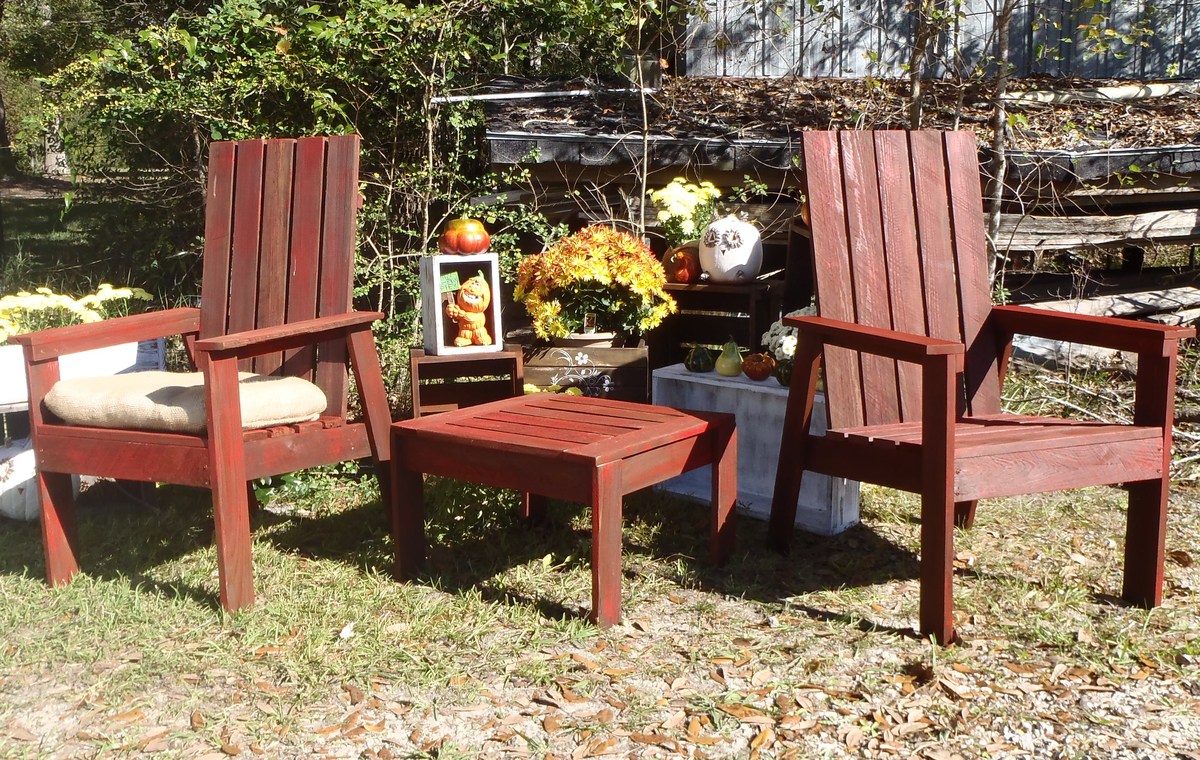
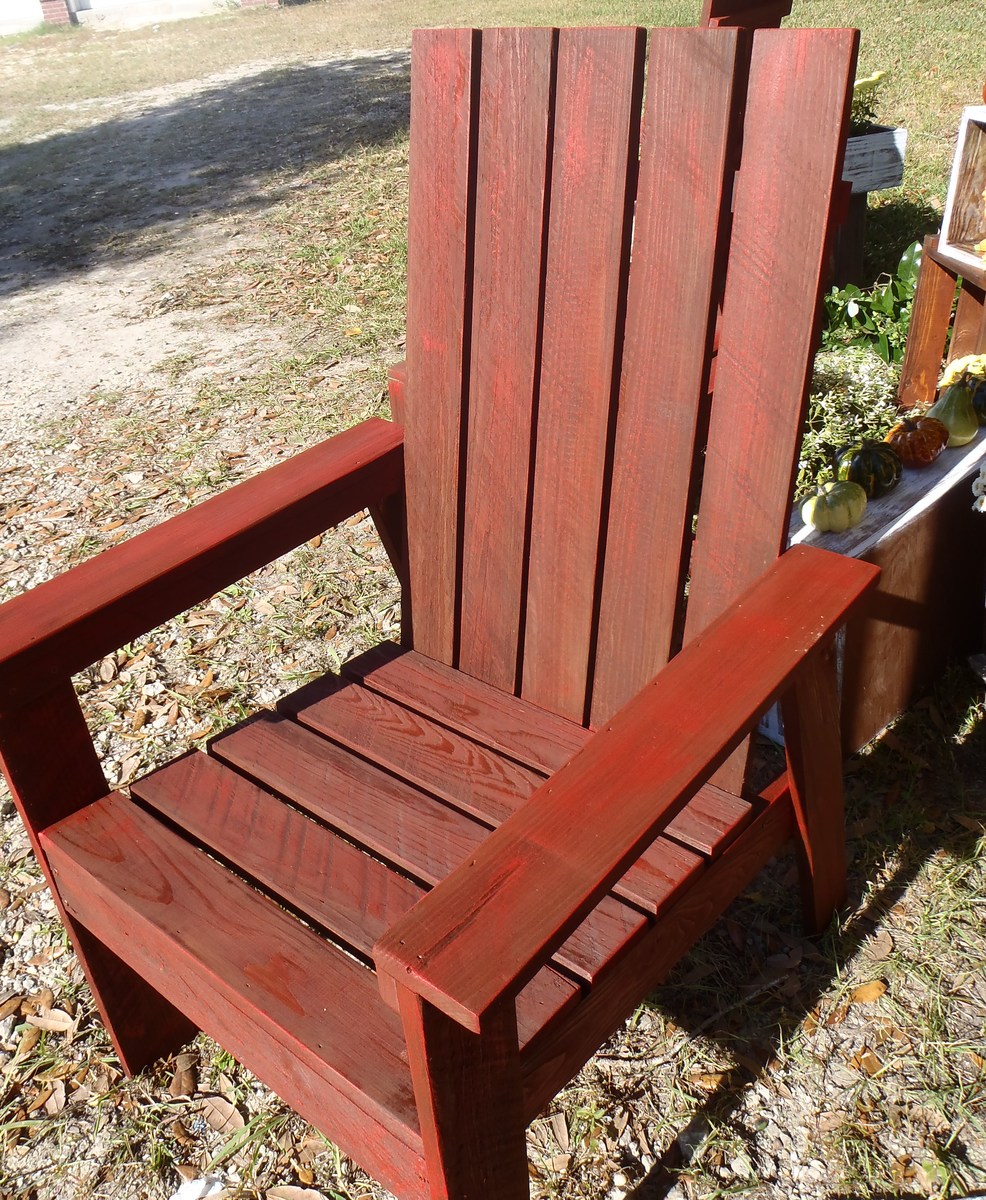
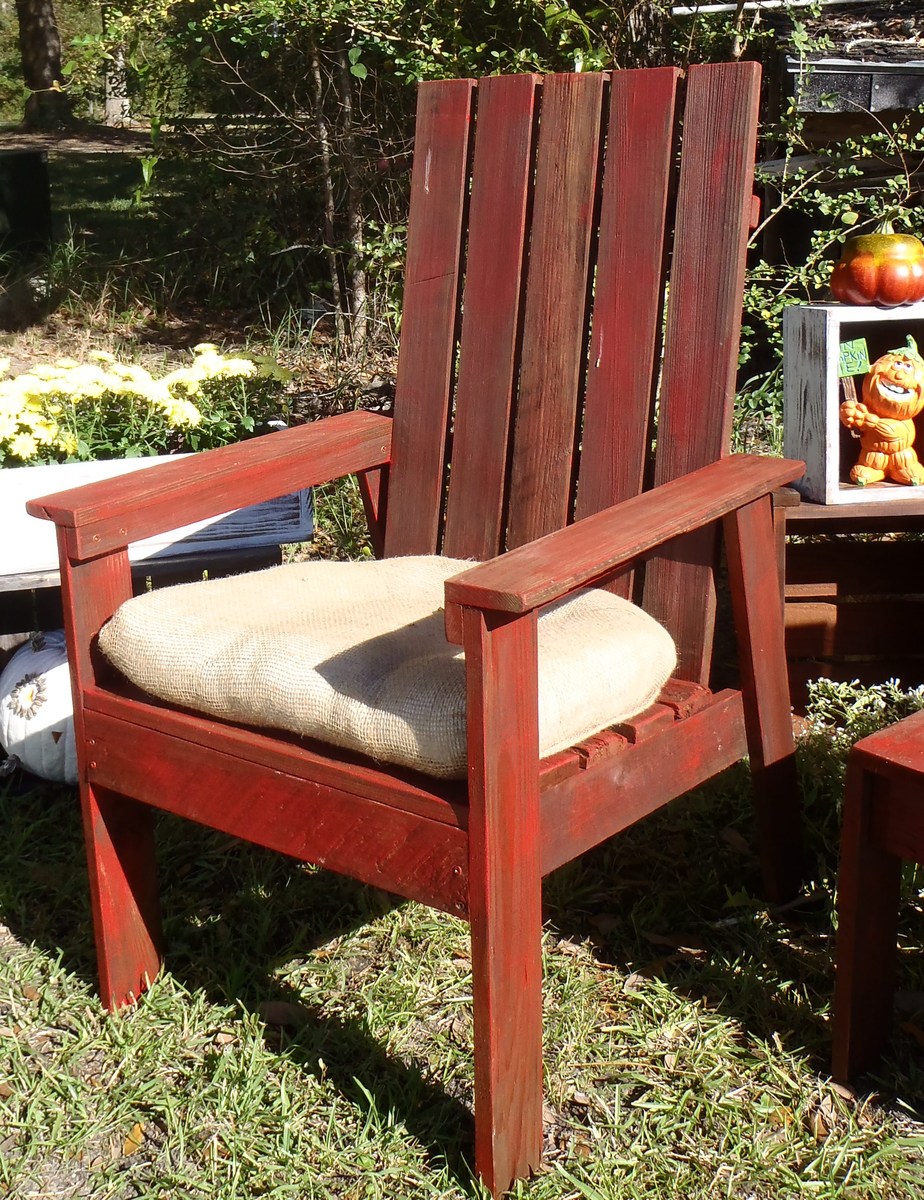
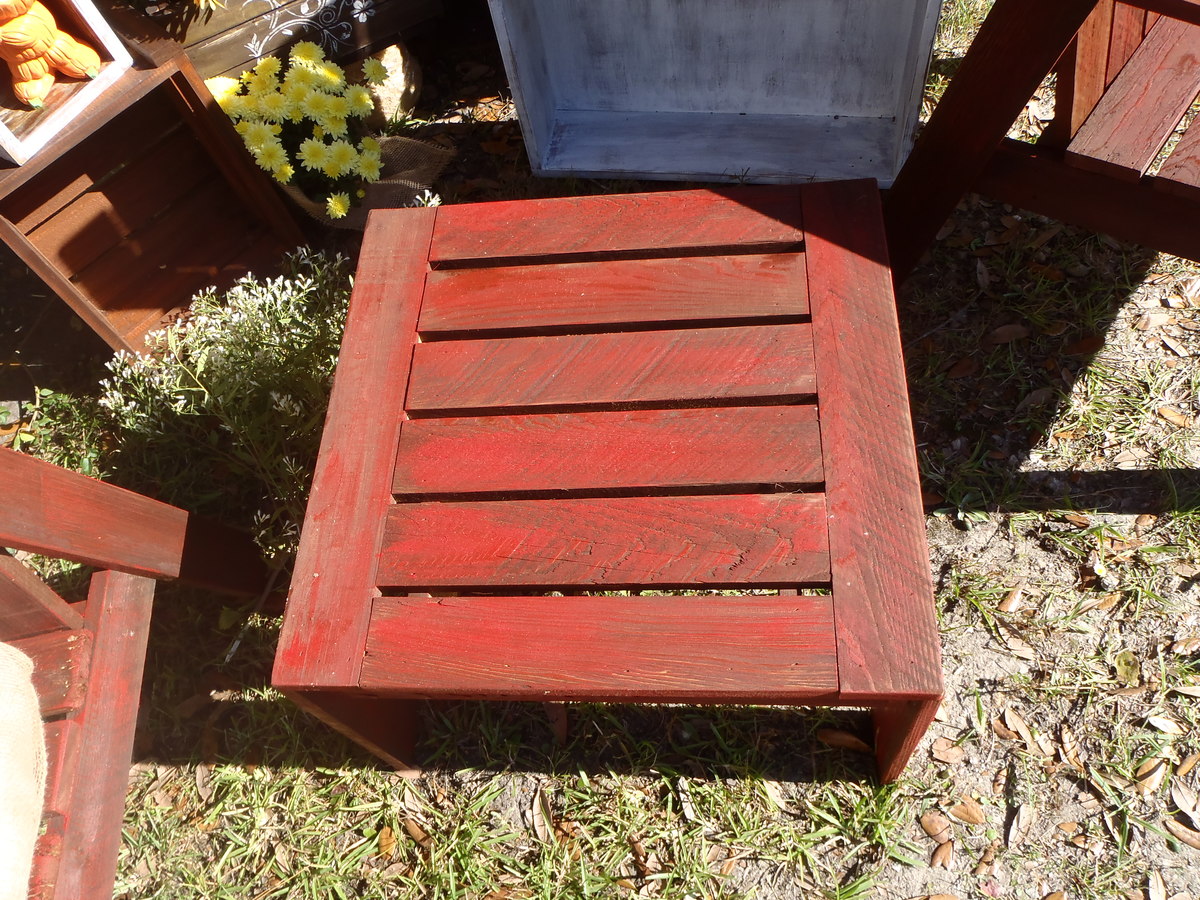
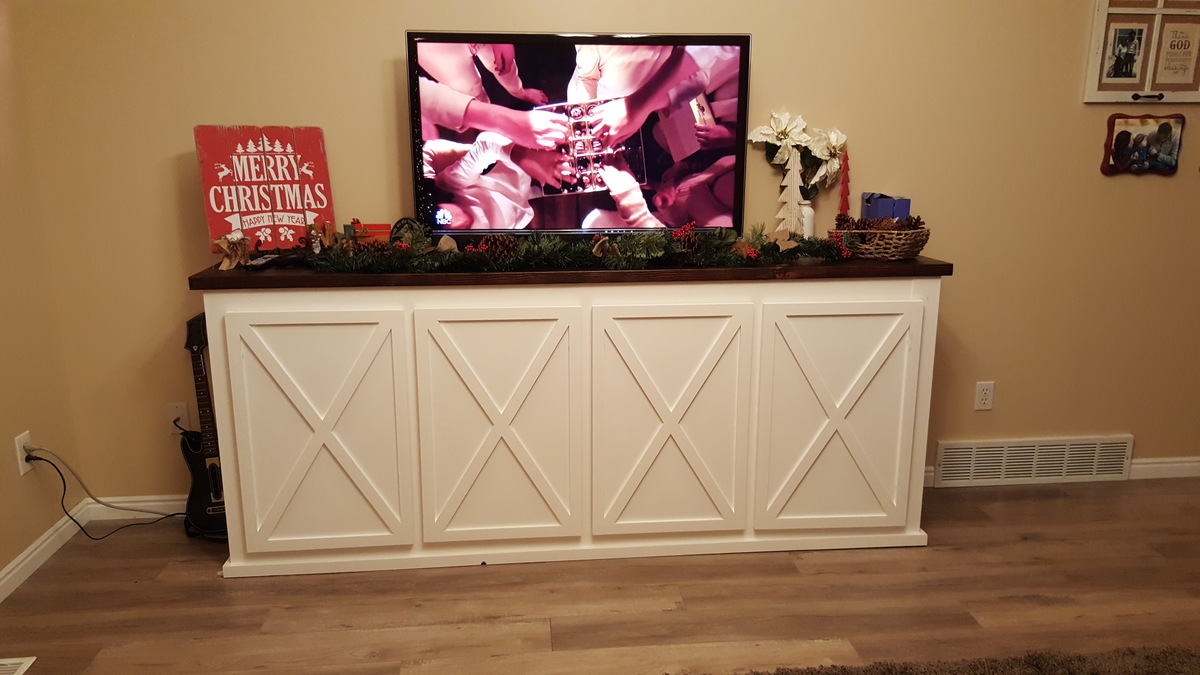
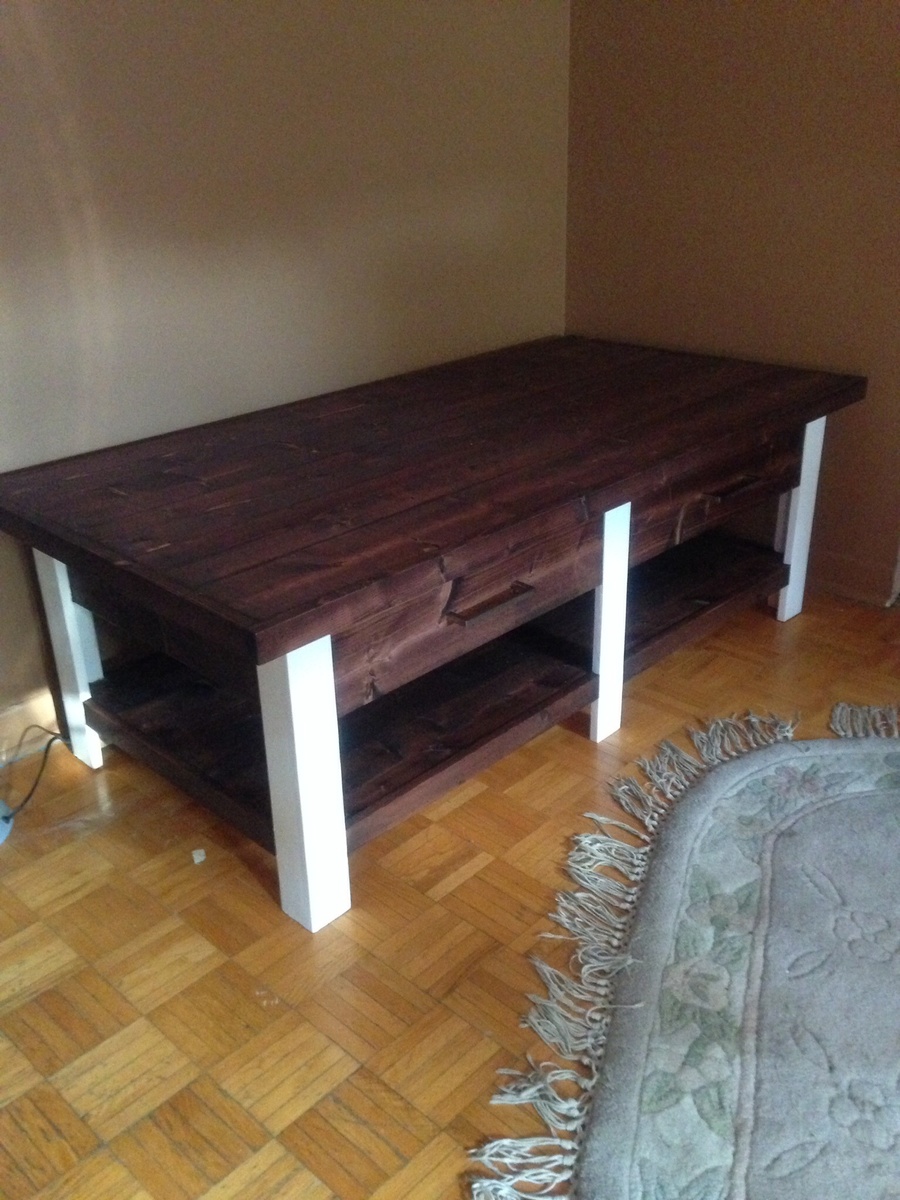
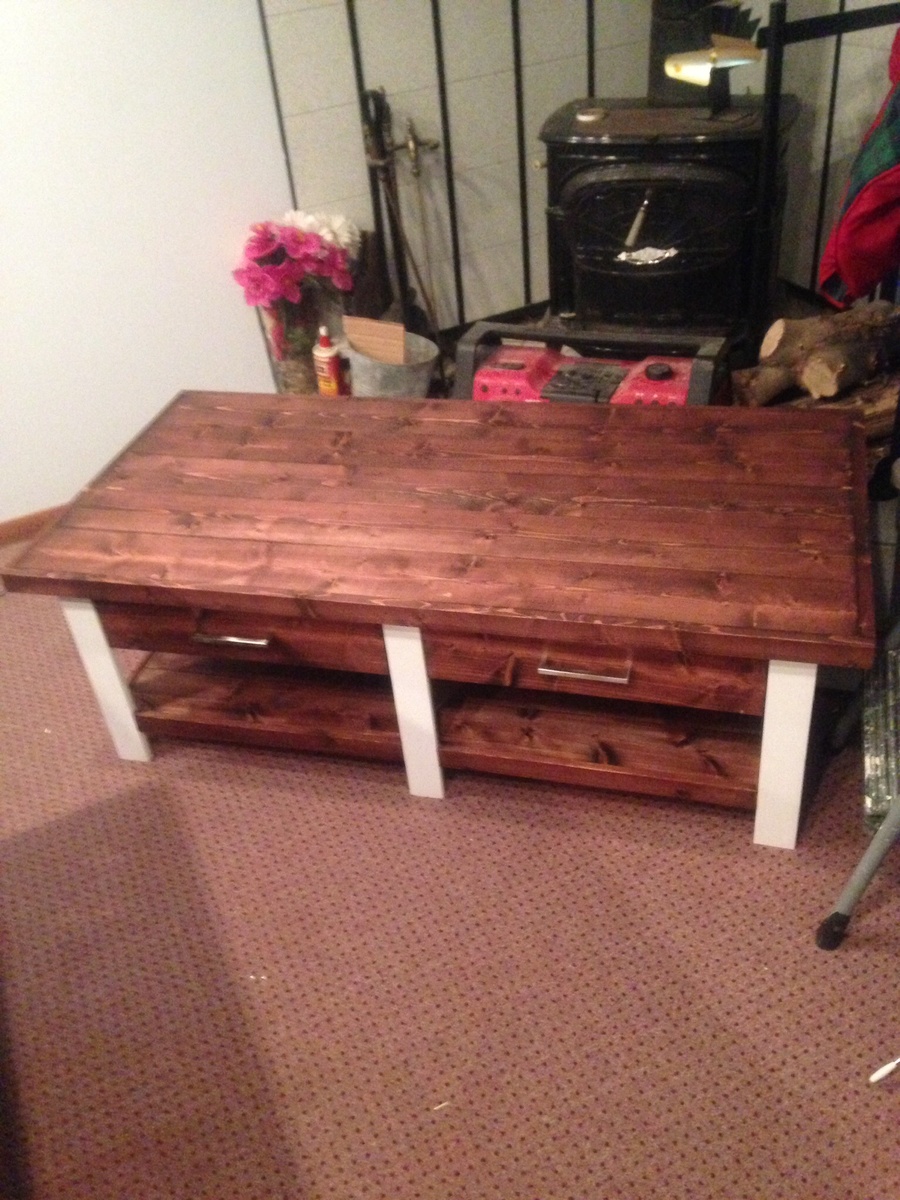
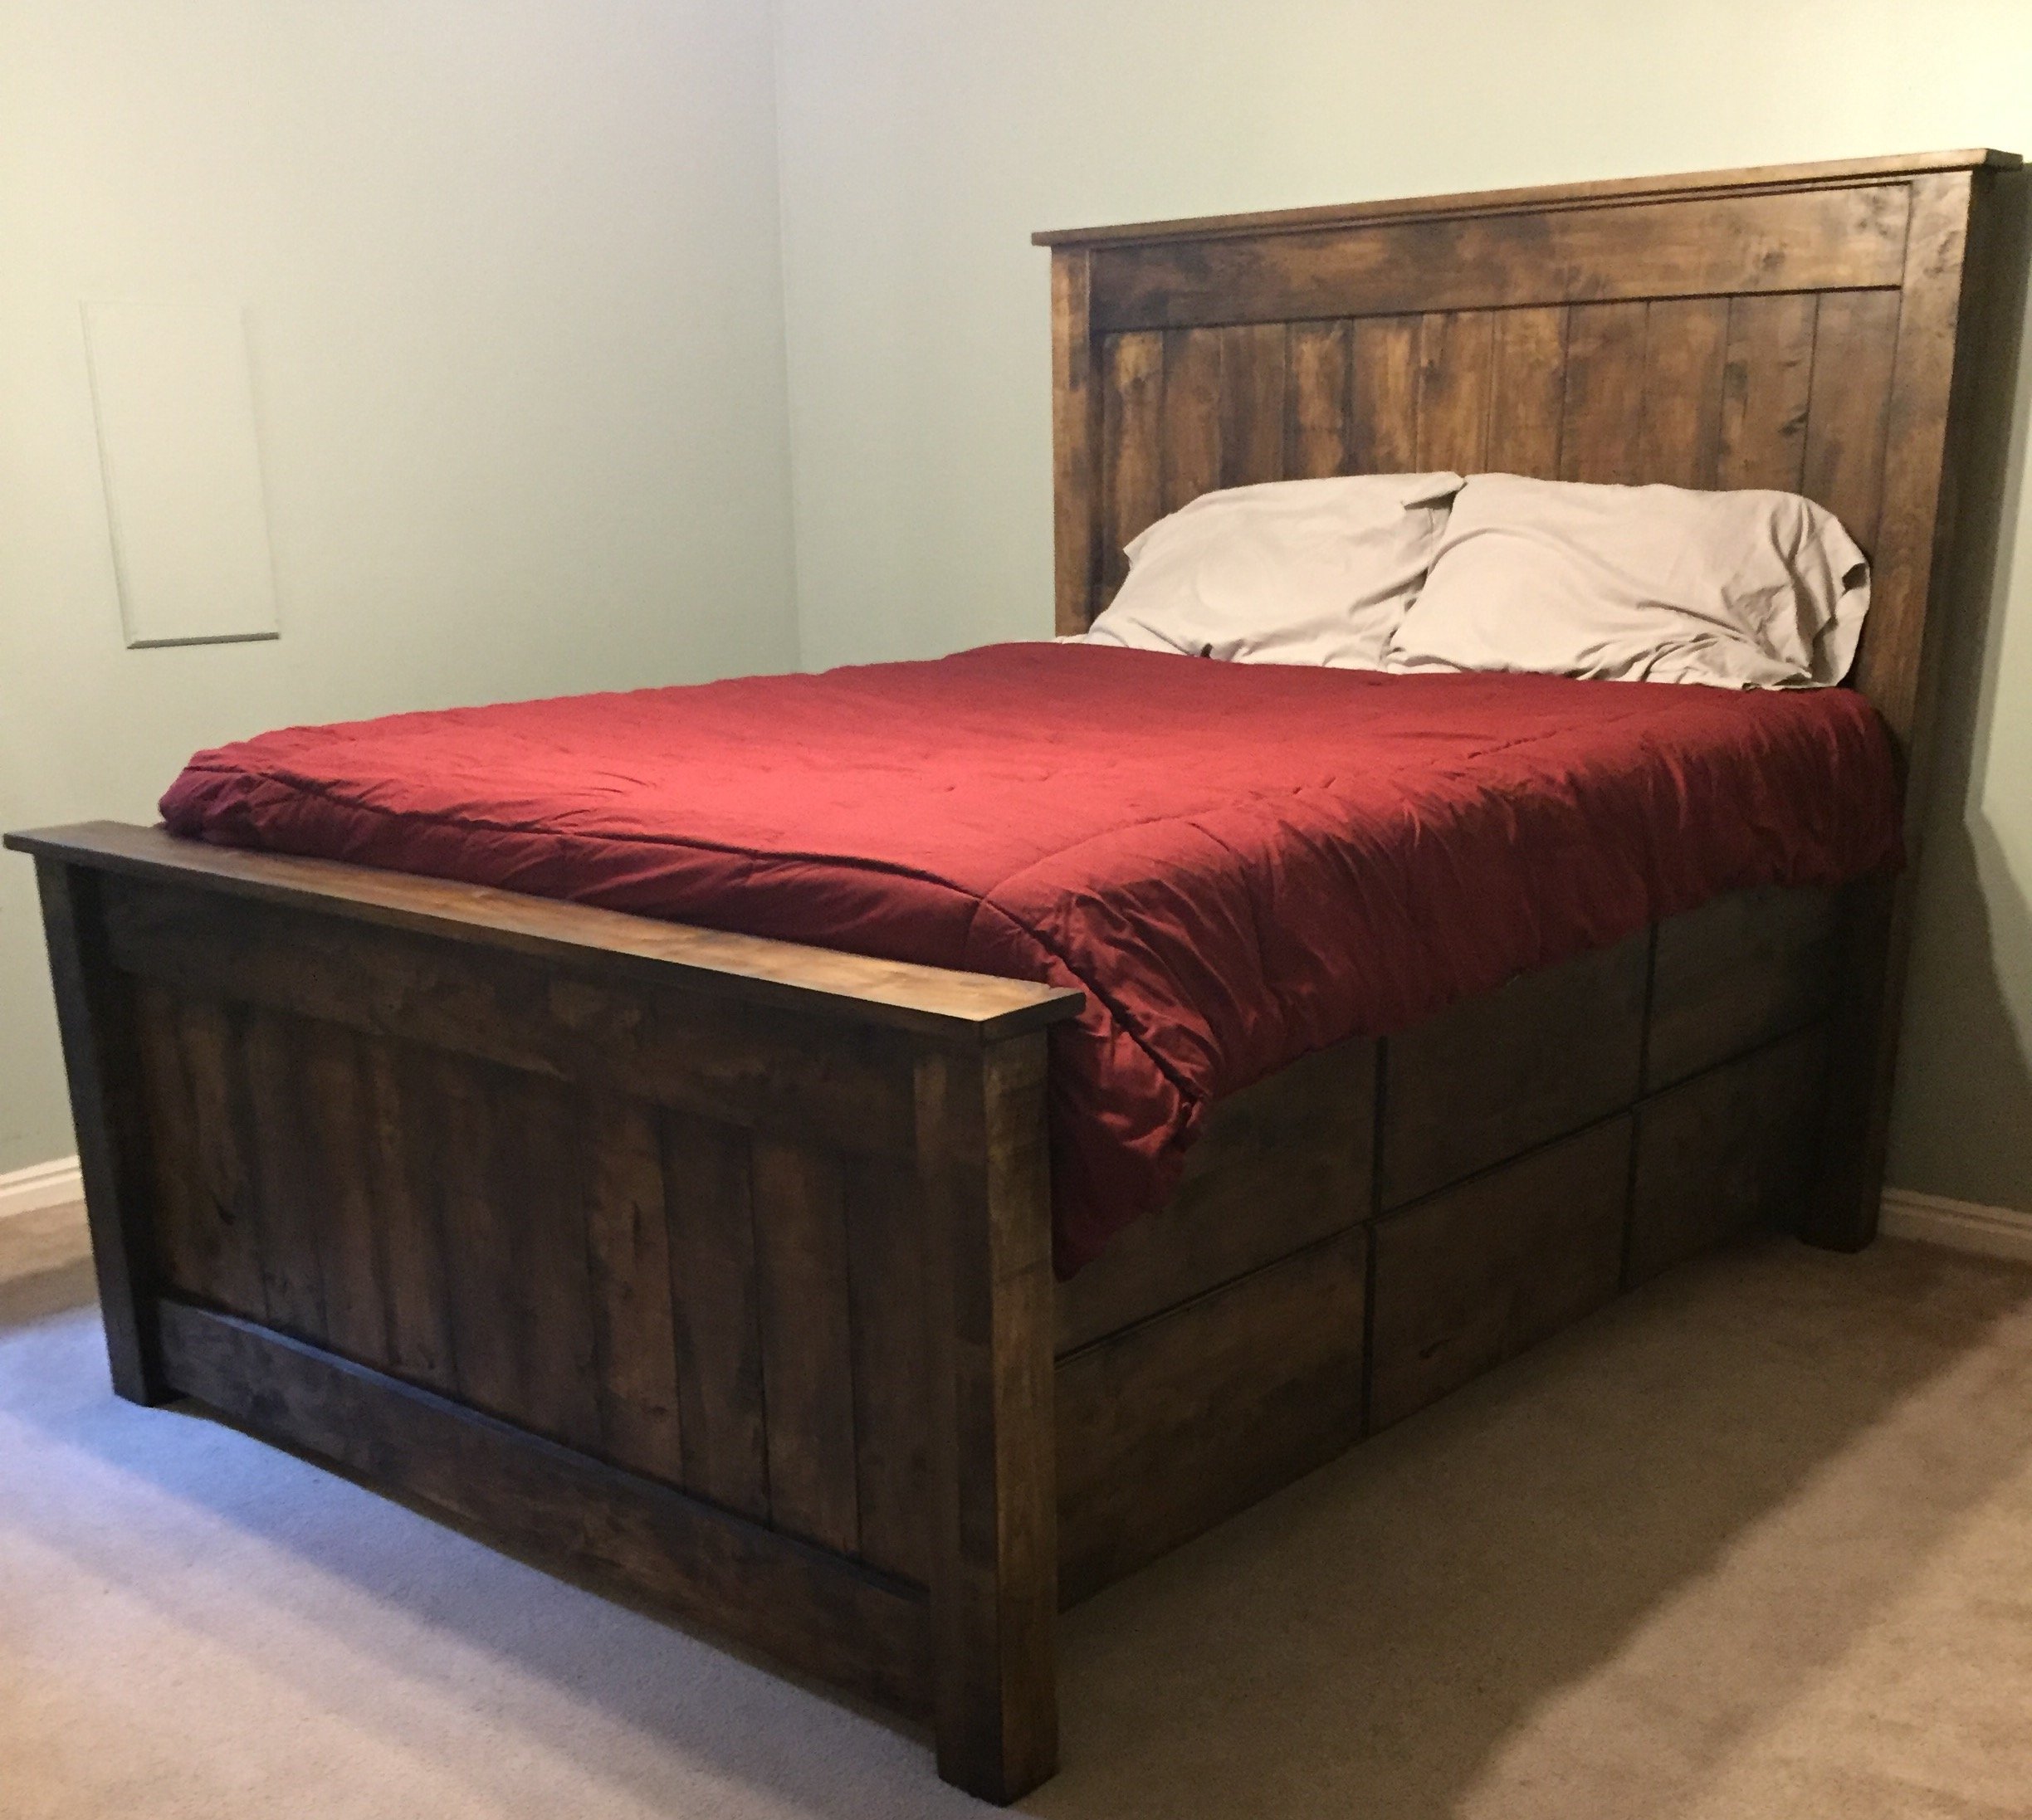
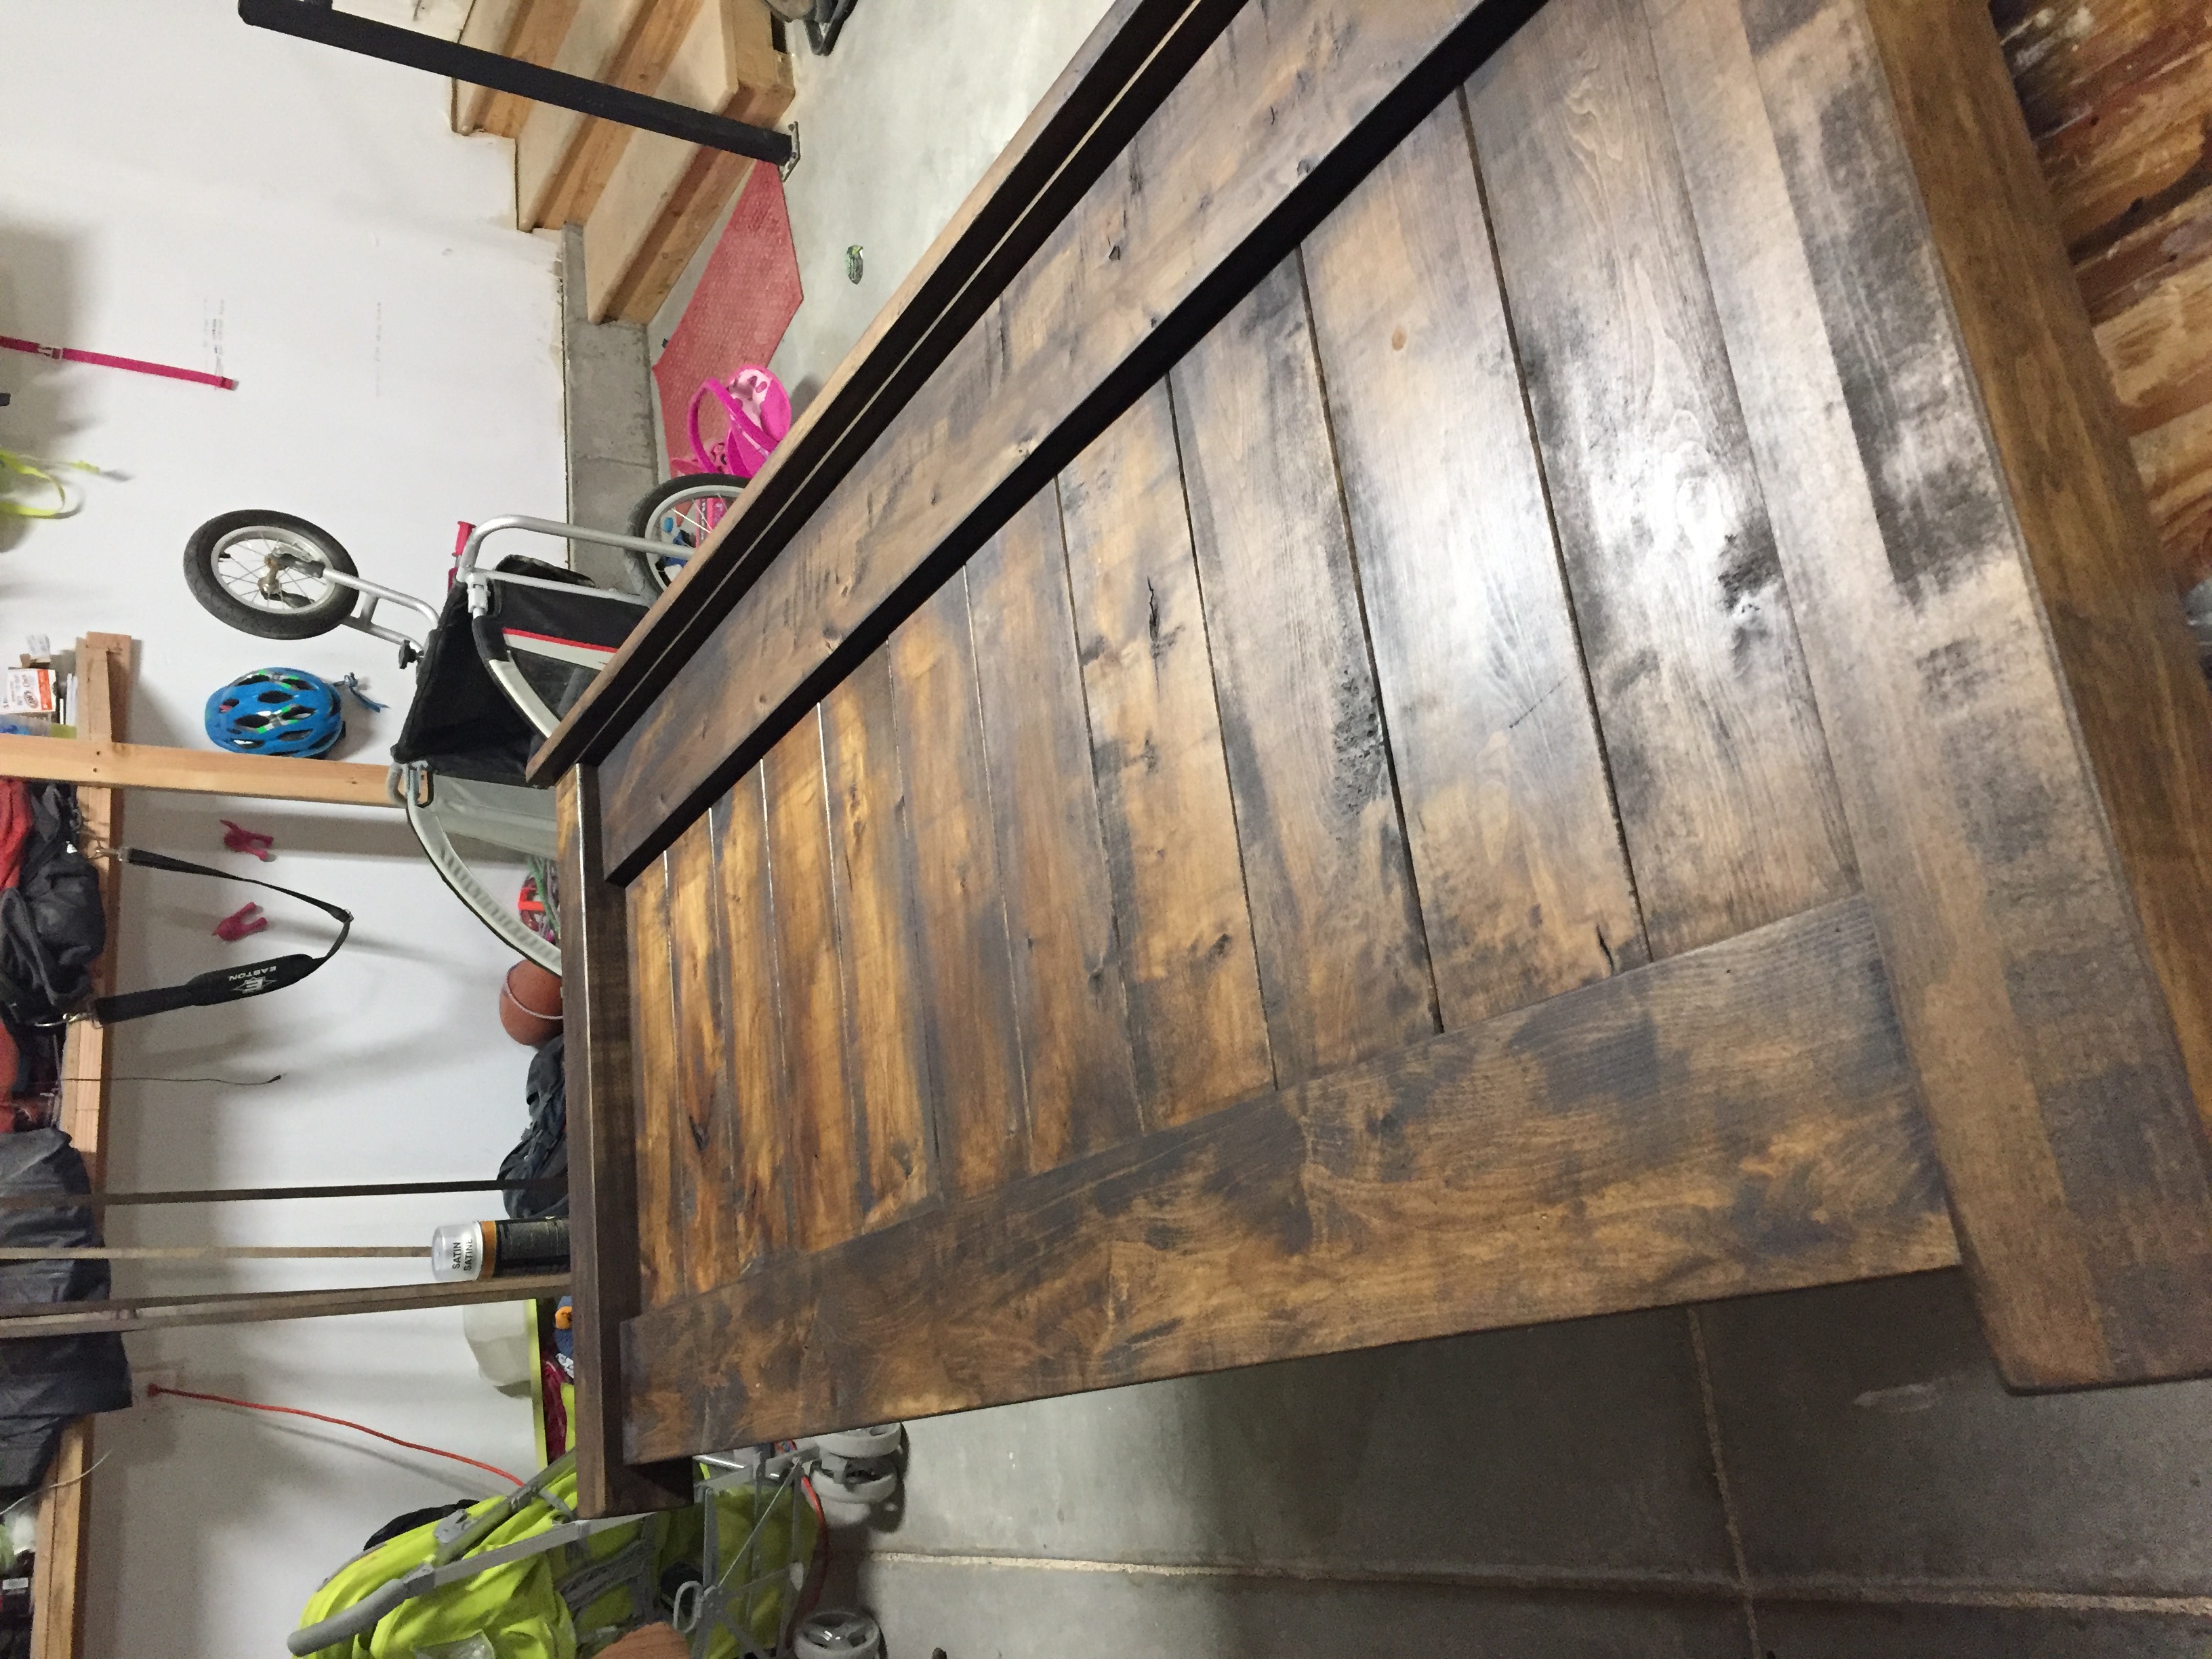
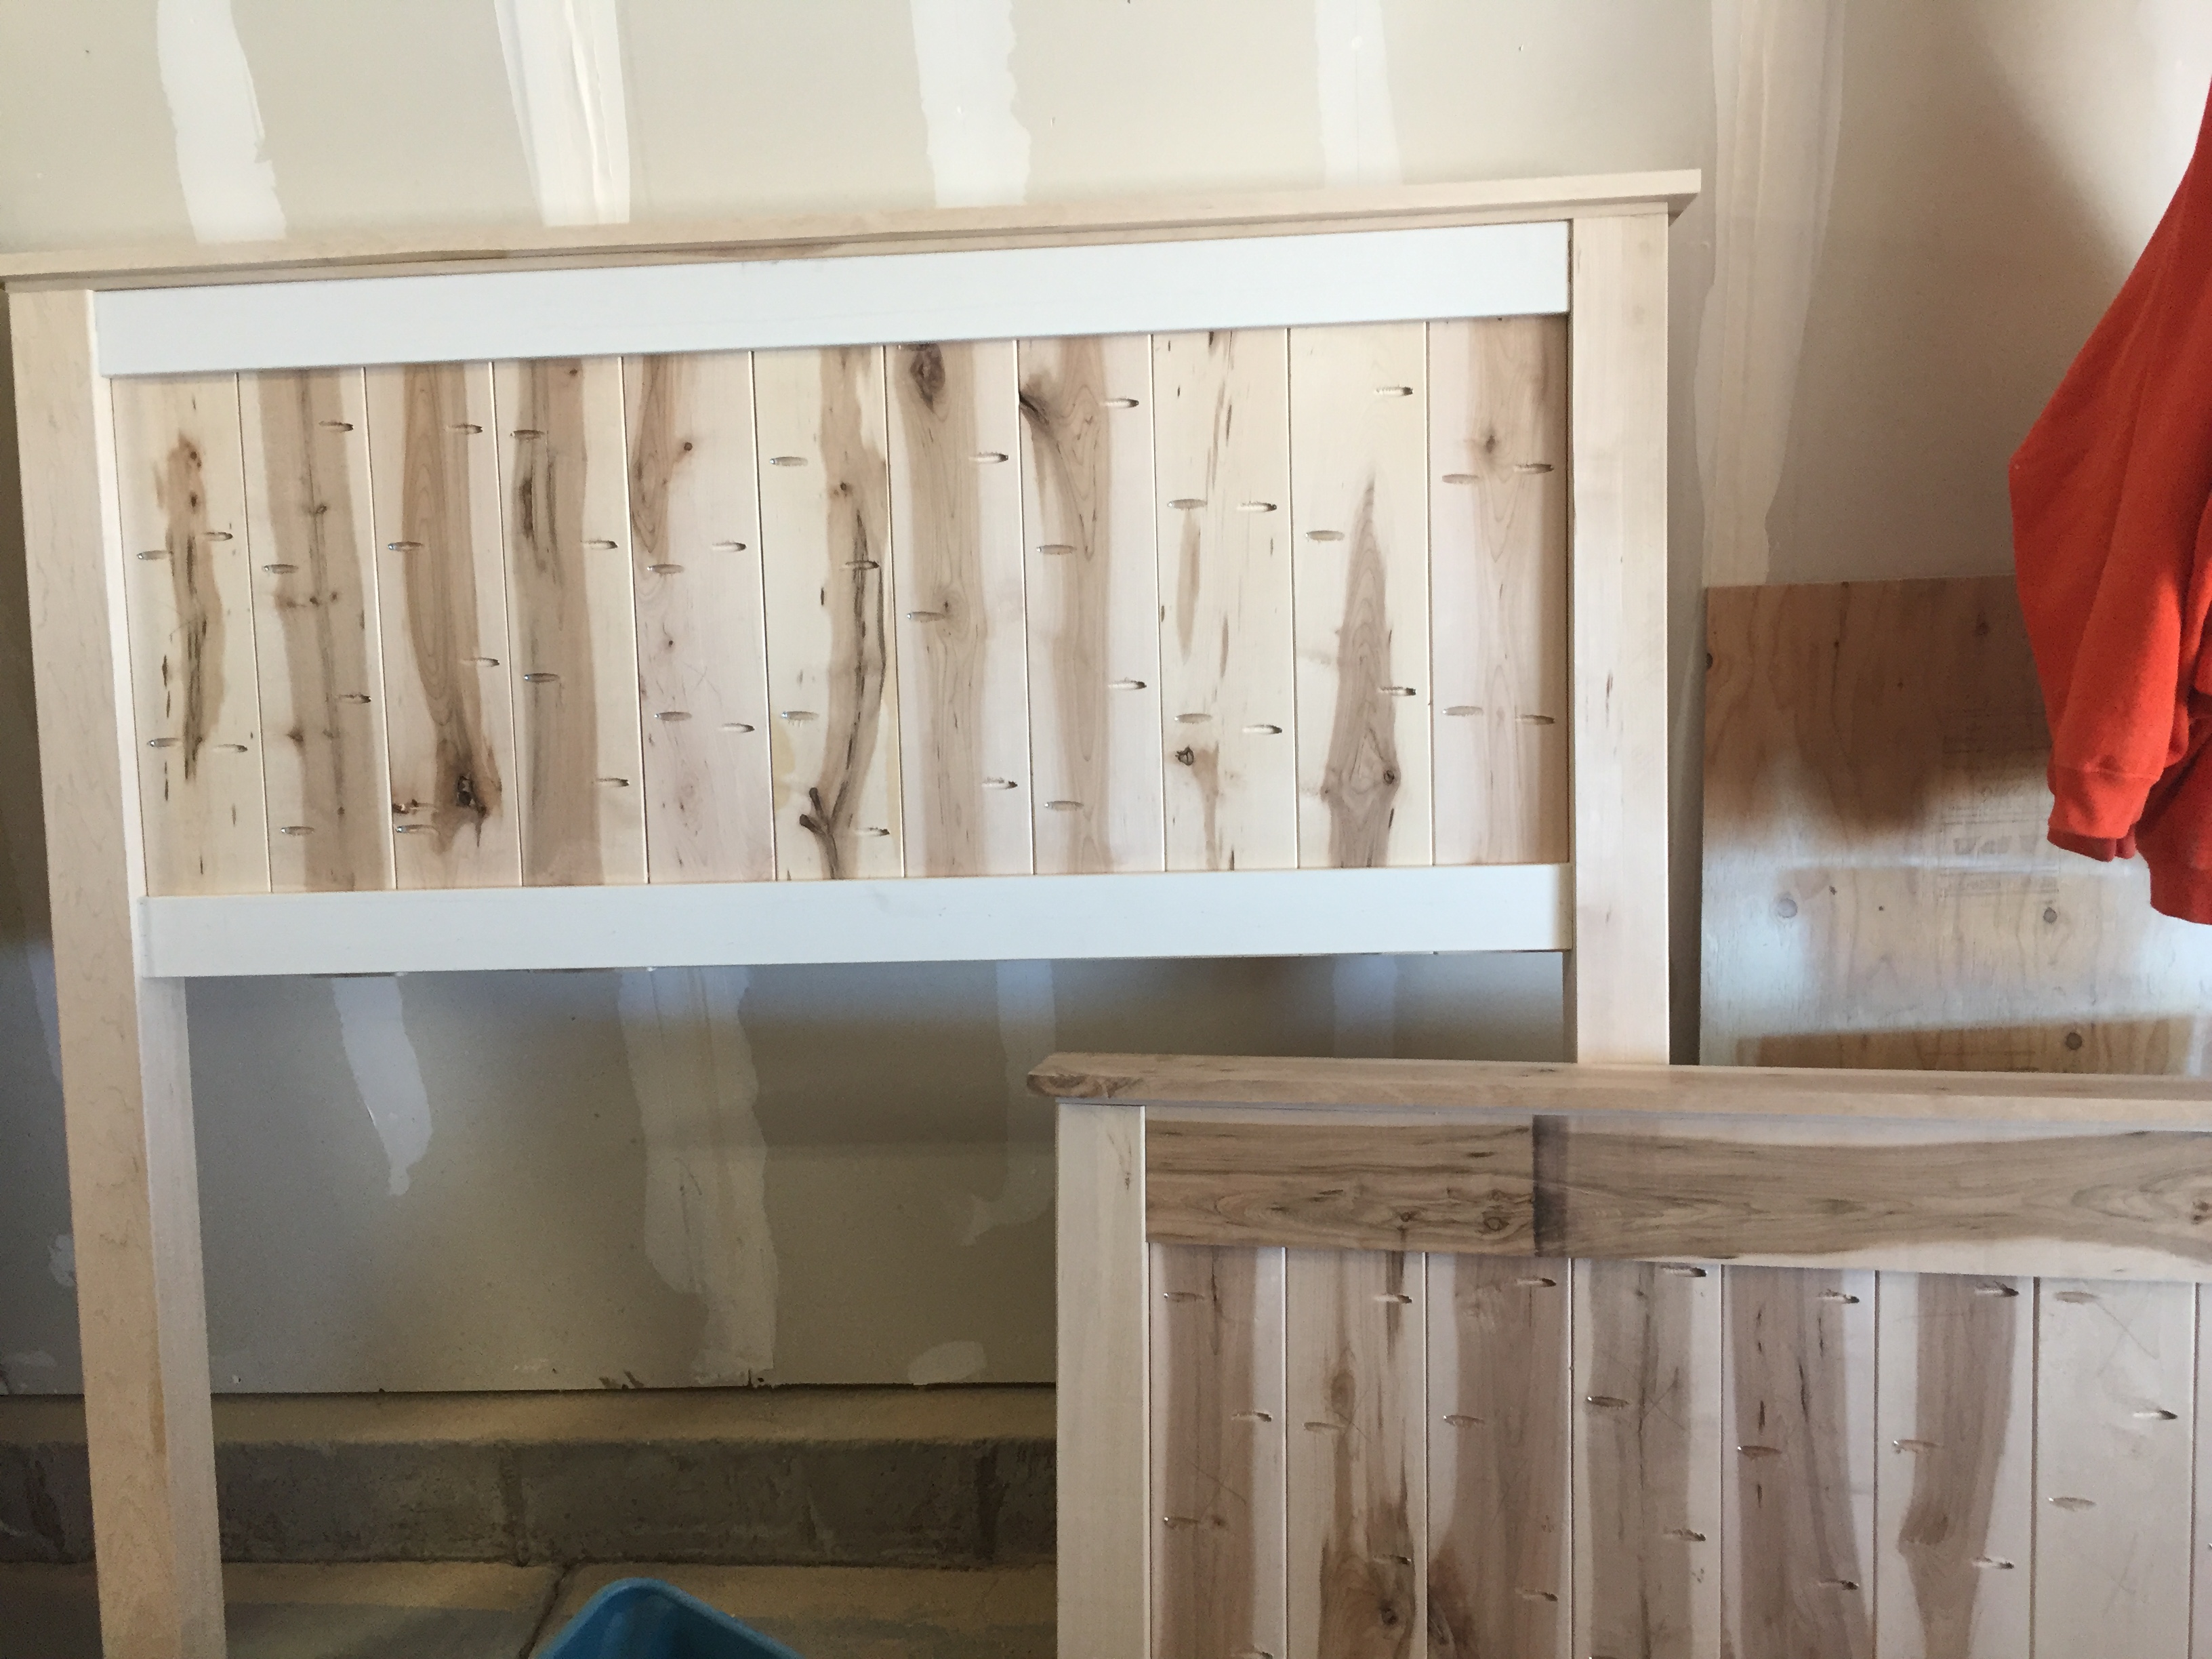
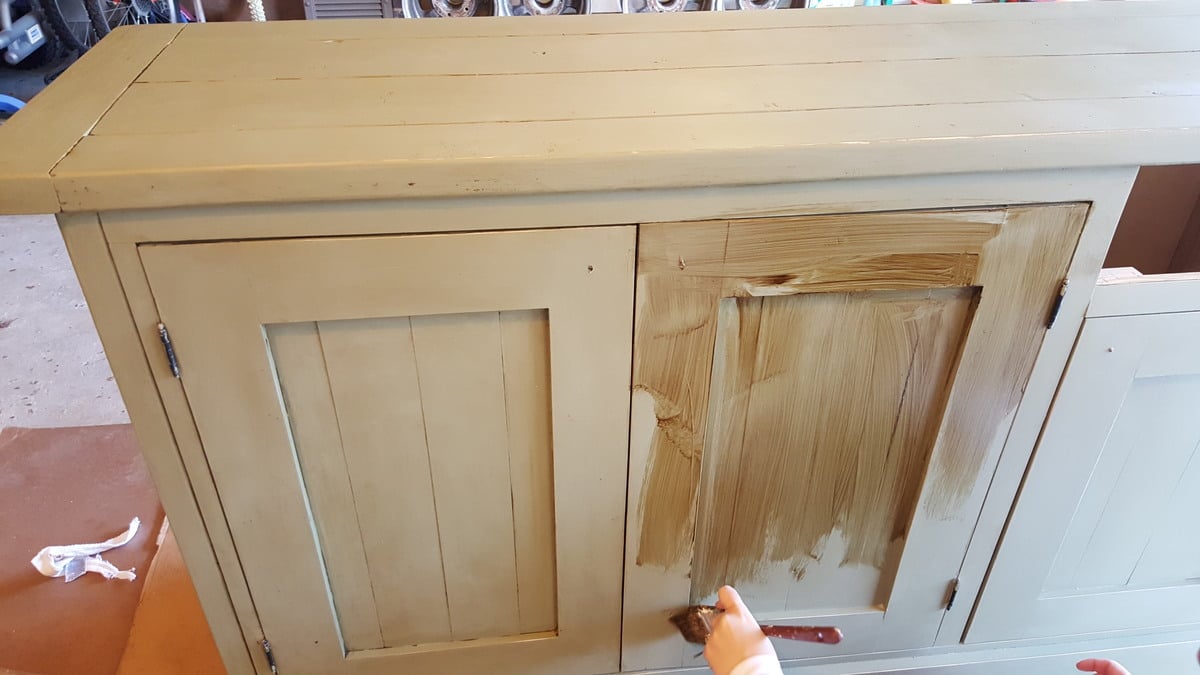
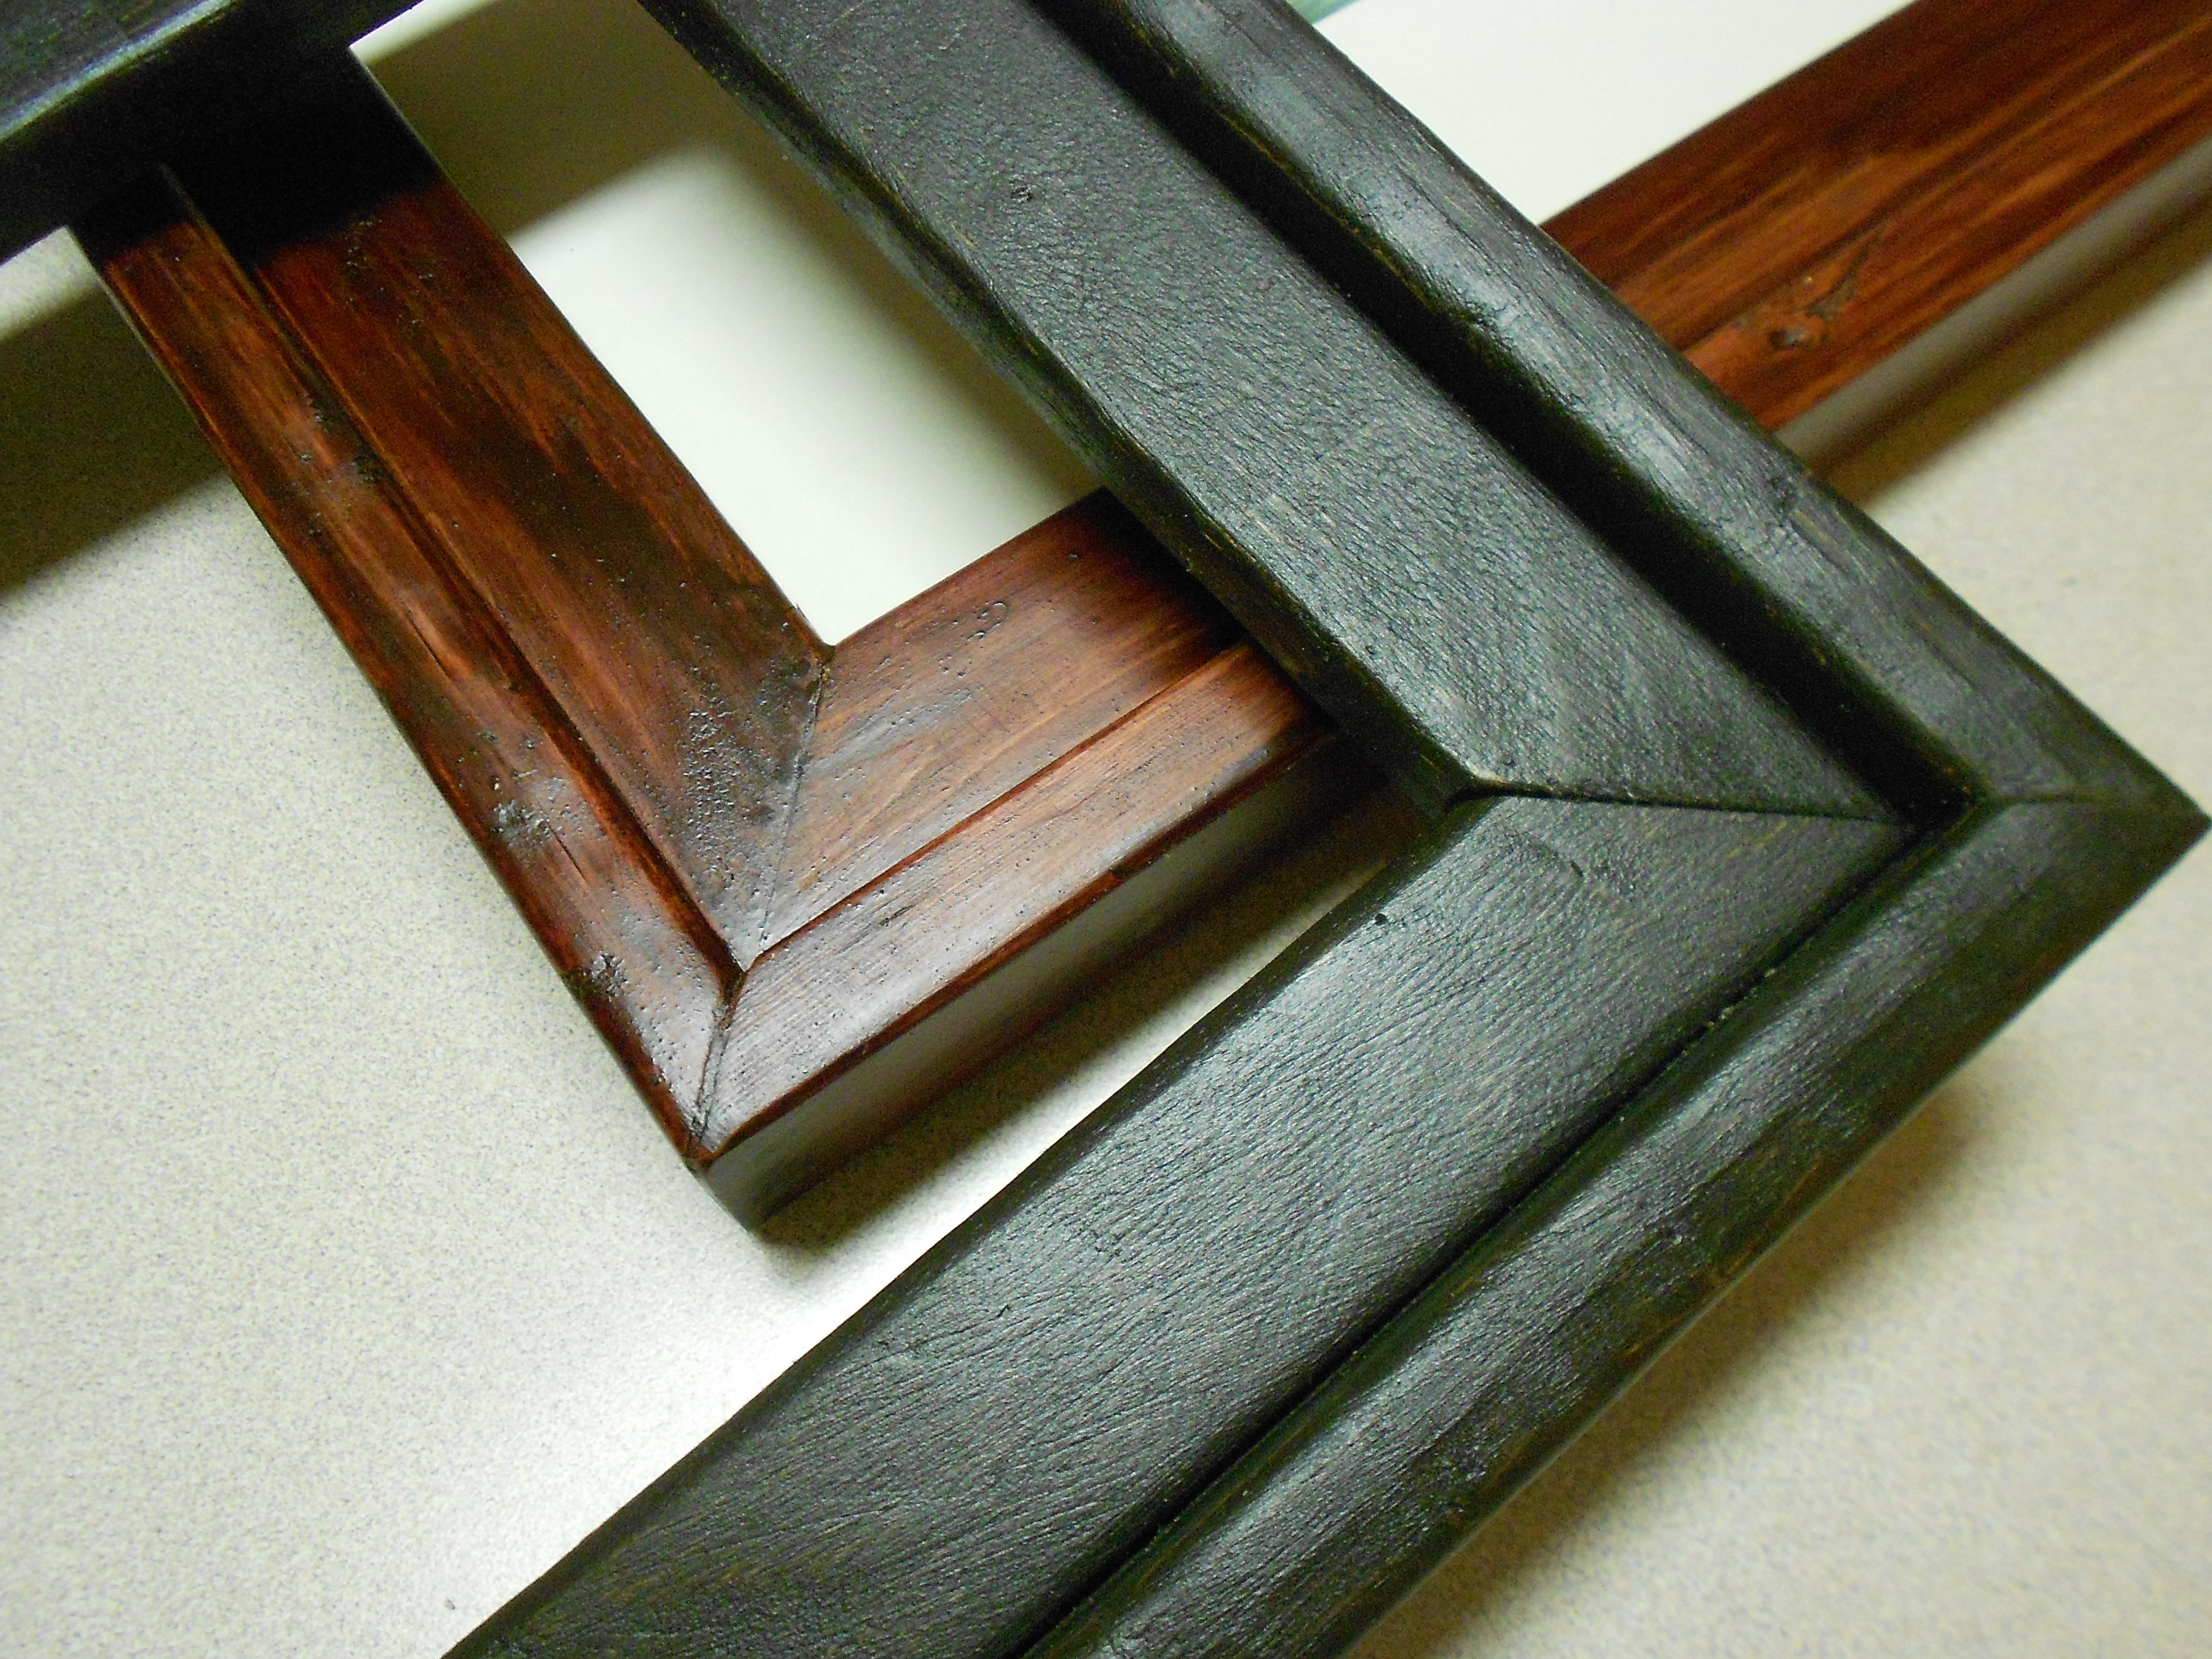
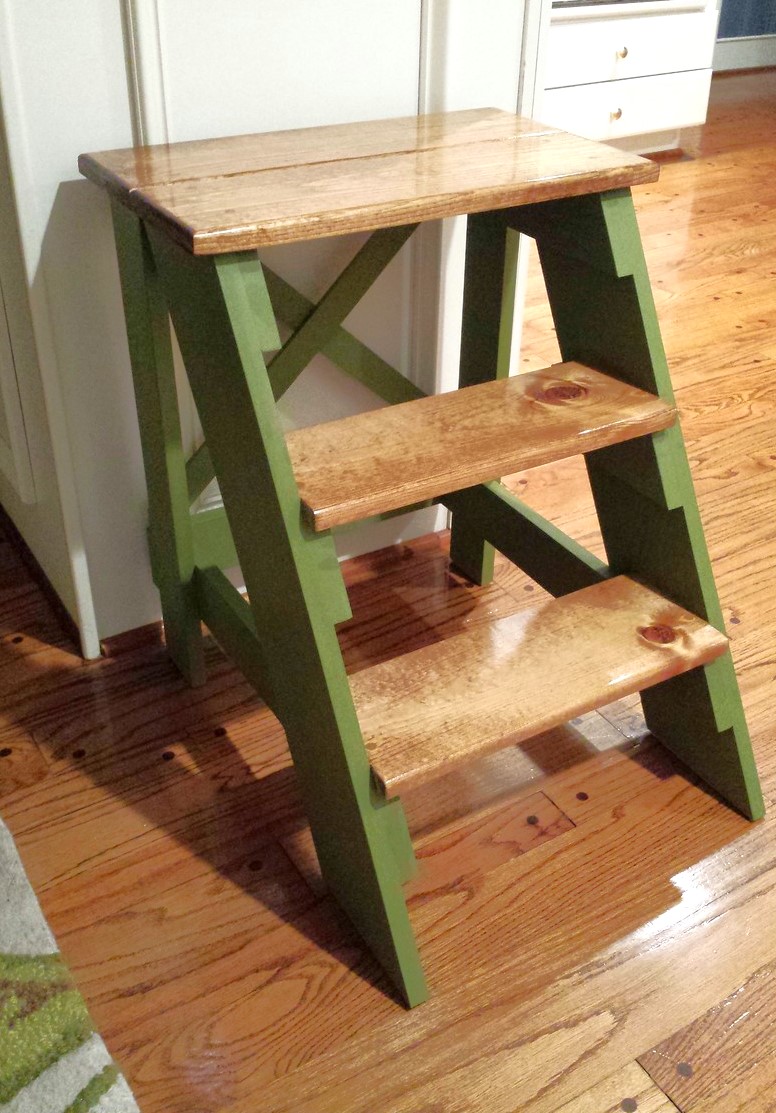
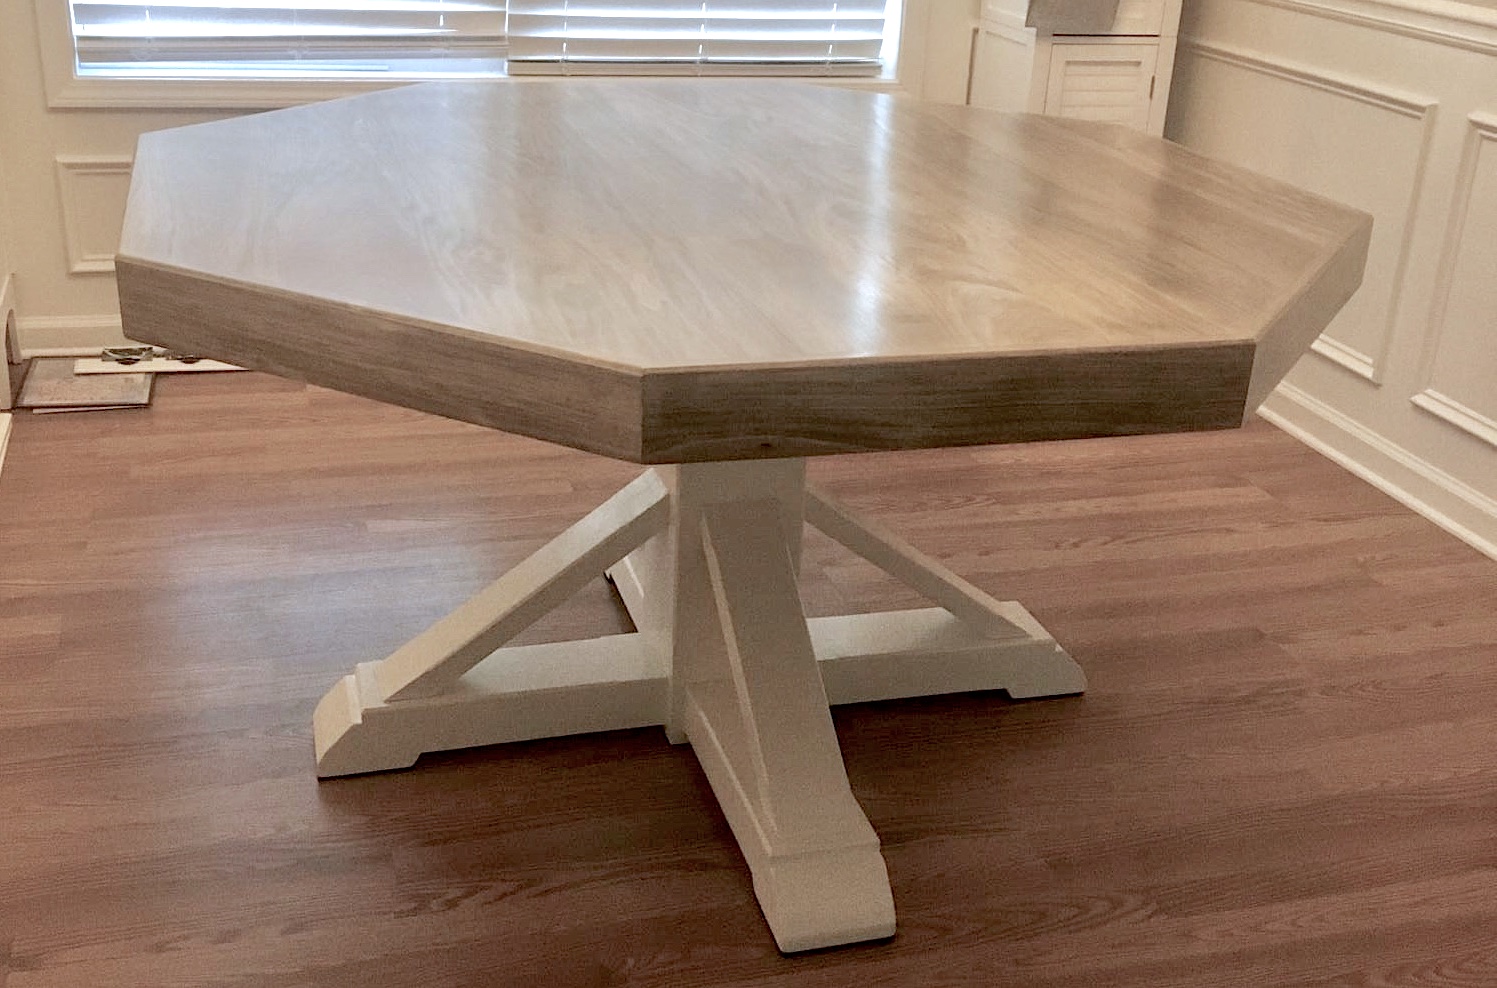
Very simple. The vinegar/steel wool solution works fantastic as long as you put a coat of brewed tea on first. Otherwise, the wood wont turn color due to the lower amount of tannin in the pine. Also be sure to finish all of your pieces on the same day. The stain solution gets its color from basically rusting the steel wool in the vinegar, therefore, the longer it sits, the more the color will change. Also, I built these for my wife and she opted out of having the "x" on the tables. I also modified the end tables to be smaller and better fit our living room.
Took the advice from another and made the width 16 1/4. Fits the changing pad perfectly. Thank you!! Made from oak with Espresso stain and 2 coats finishing wax.
Tall planter that we modified to hold our light post and the bench waiting on cushions. The bench is on the wide side of things and is heavy, but these are good things as we are tall people. The only thing we would change is the seat size maybe not so wide. Otherwise it was an easy and very affordable project.
We had some roughcut cypress lumber left over from building our house which has been laying in my yard for a few years. Once I received Ana's new book, I knew just what to do with it! We love our new chairs so much we built a firepit to go with them!
Since the original post, I made burlap seat cushions. Love it!
This was the second piece that I built using the plans here and I think it turned out great! Originally I was going to stain the whole project but my fiancee convinced me otherwise and I'm glad she did.
I had a fun time building this easy to follow project. A brad nailer does make a world of difference. I chose to stain the inside of the drawers but had to let it sit out for awhile before use. Thank you for posting this project, it has made my family very happy.
An easy afternoon project. Thanks Ana White! The painting was more laborious than the building, by far.
We built this off the standard plan. We stained them with deck stain and used pressure treated lumber. The only thing we did different was ana arrow-shape top.
My wife and I were looking for a farmhouse style media console and found the Grandy Sliding Door Console and loved the look of it. After reading the plans and discussing it we decided that we did not want to take the extra time to build the metal sliding hardware and also wanted it for a lot of storage items, so we decided to just build 4 hinged doors instead. We love it and the plans were so easy to follow. We followed the plans step by step up until we built the hinged doors. We also did not put any wood on the back side of the project since it is against the wall and we have doors covering the front opening. Time consuming to finish it nicely with staining, sanding, painting, etc. But not too difficult of a project overall. The doors take some time to get all the angles just right, but worth taking your time to make sure everything is straight and even.
Mon, 01/02/2017 - 14:04
Beautiful job on this piece! We are also wanting to install hinged doors...was wondering if you might share how you installed them so that they aren't visible and doors are on the outside of the piece?
Made these planters which was my first try at building something from wood! They came out great and can’t wait to try another project!
Really simple project, modified the plans a bit but kept the same concept. Had a lot of bun building.
Mon, 09/01/2014 - 16:24
Why isn't anyone commenting on my table. Does no one like my table.
My brother-in-law and I took on this project in the fall of 2016. I don't mean to brag, but it turned out amazing. #happywifehappylife
We adopted the plans from the Full Farmhouse Bed Plans. But we added two banks of cabinets and made it a lot taller.
I am brand new at building but my big boys requested desks in their room for distance learning. One fell in love with the flip down wall art desk and this is our take on it. The other wanted a bigger surface, so we used an IKEA desk top and built our own brackets. The boys loved being part of the building. I put all the right angles together with a Kreg jig, and attached everything directly to studs in the wall (I don’t trust my boys not to be rough on them).
After seeing Ana's plans and how Jen Woodhouse at "House of Wood" finished it, I wanted one too! Ana's plan are very thorough and Jen's blog showed a very detailed version of how she completed it. I made a few changes, such as the pull down drawer front to conceal the DVR player and I inset the top rather than have an overhang.
It was quite a bit of work but totally worth it! The piece turned out beautiful.
Thanks Ana!!!! Beth.
Makemeprettyagain.blogspot.com for complete details
Sun, 11/04/2012 - 05:28
Love this. Looks like a lot of work, but what a nice functional piece of furniture! I have always loved that style of drawer pull.
-Ann
I built this slightly modified version of the buffet for my wife. She LOVEs it and did a great job finishing it with Annie Sloan paint and a wax (she's the finishing expert in the house). Plans were right on and I'm very pleased with the final product. Thanks for a great website and plans! Getting ready to undertake a dining room table now.
I can't believe I made these two picture frames thanks to wonderfully simple plans! We bought a painting in Italy 16 years ago and I was never able to find a ready-made frame beause of the unusual dimensions and I didn't want to pay for a large custom frame. Now I have one! The smaller frame accommodates an 8x10. Both frames are made out of the $0.89 furring strips at Home Depot.
Did the multi-finish on the step stool. On the steps, I used the Minwax Pre-Stain Conditioner, followed by Minwax 'Early American' stain and then Minwax clear gloss polyurethane. The rest of the stool was painted with DIY chalk paint. The paint is 1 cup flat paint (Valspar Jungle Thicket) mixed with 1/3 cup plaster of paris and 1/3 cup water. The chalk paint portion was finished with the Minwax Finishing Paste Wax and gave the flat paint look a nice sheen.
Tilt-out trash/recycling cabinet made with aspen stained with a combo of Minwax Natural and Golden Oak.
Sat, 10/31/2020 - 13:06
Love this. I don’t suppose you have plans available to share.
This was the 2nd table I built. I made this one for my daughter. The table I built for my wife is 10 inches wider.