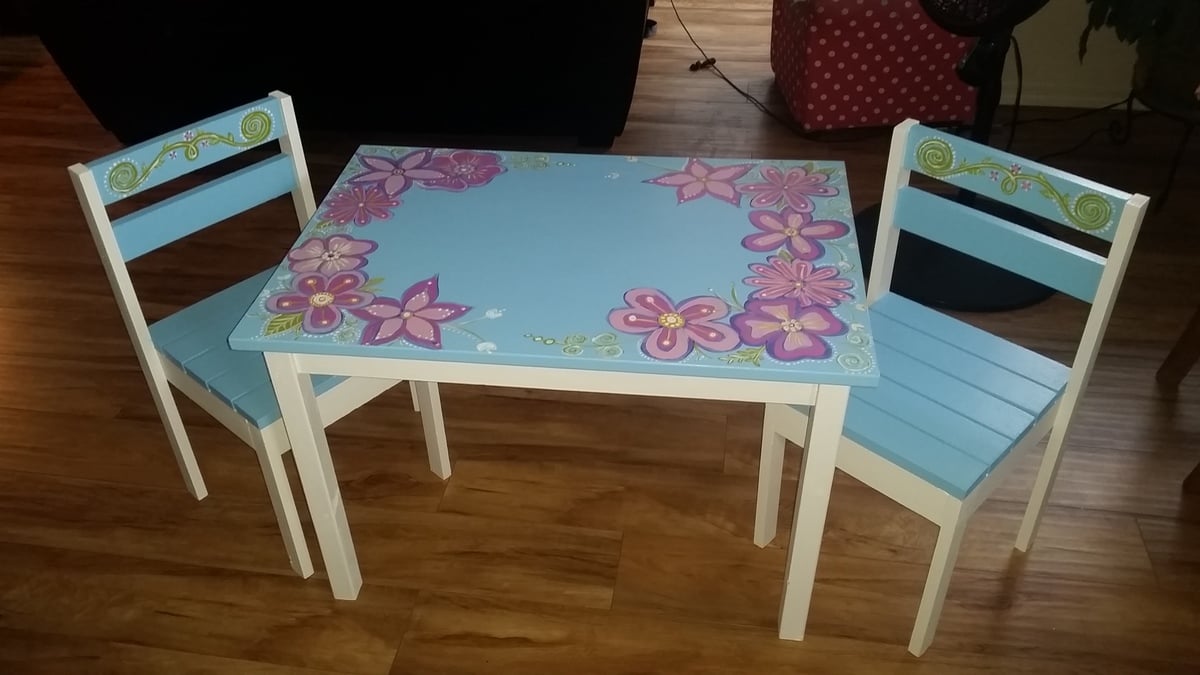
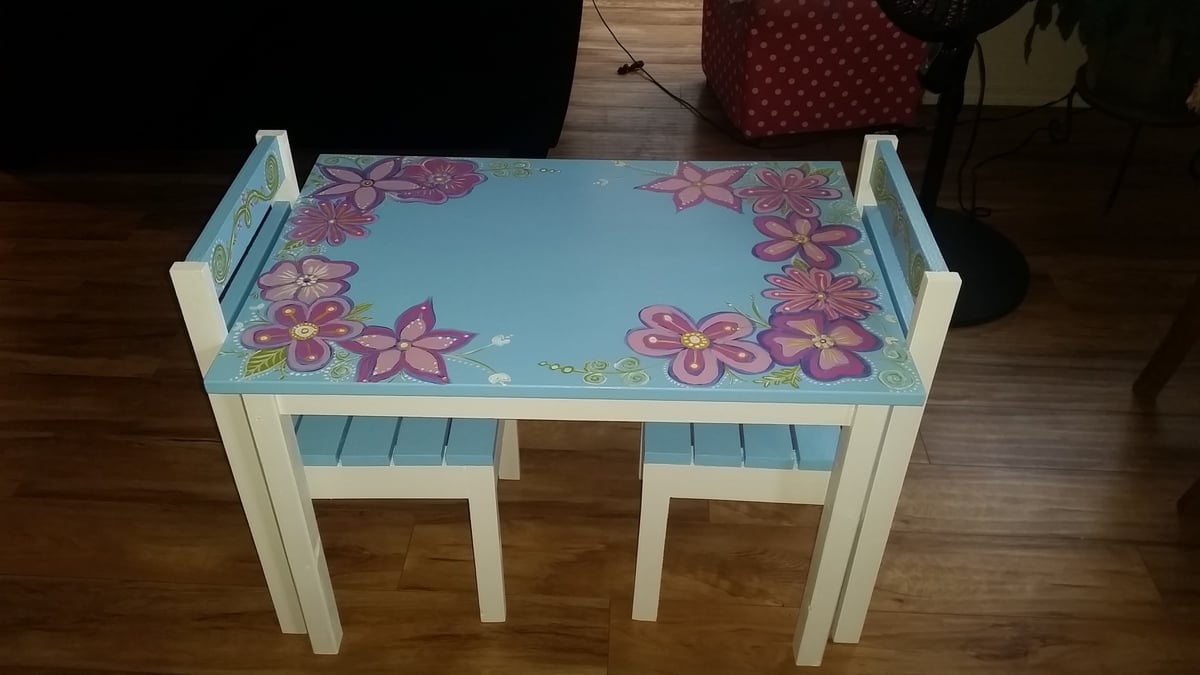
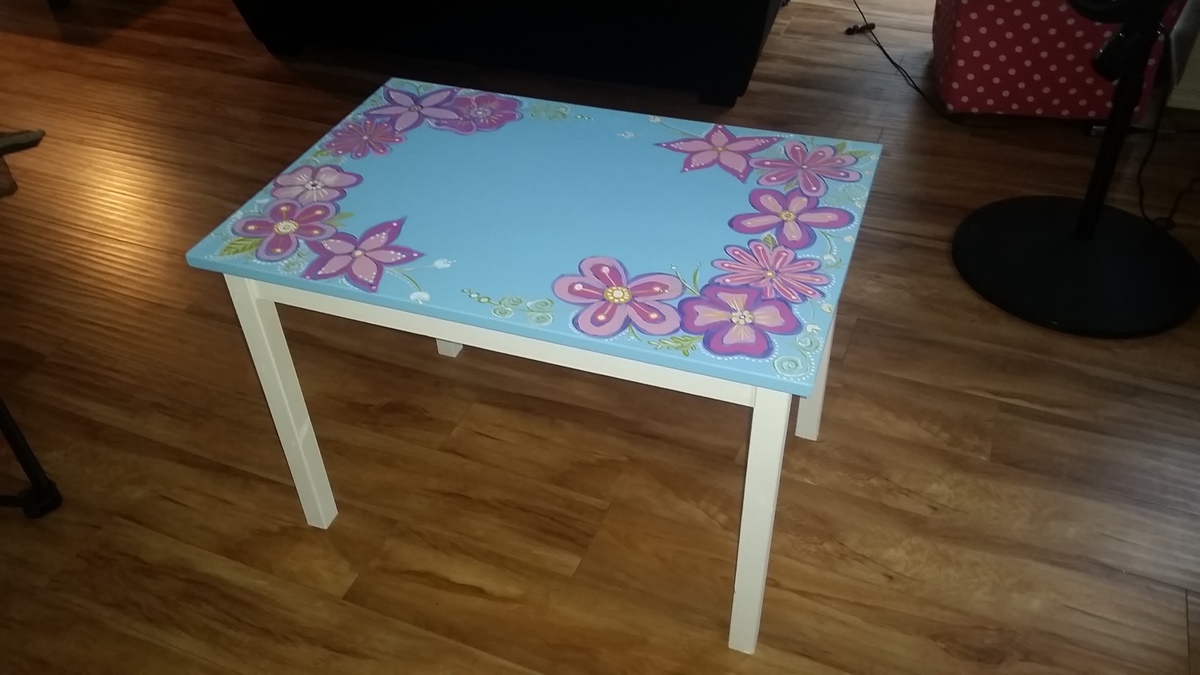
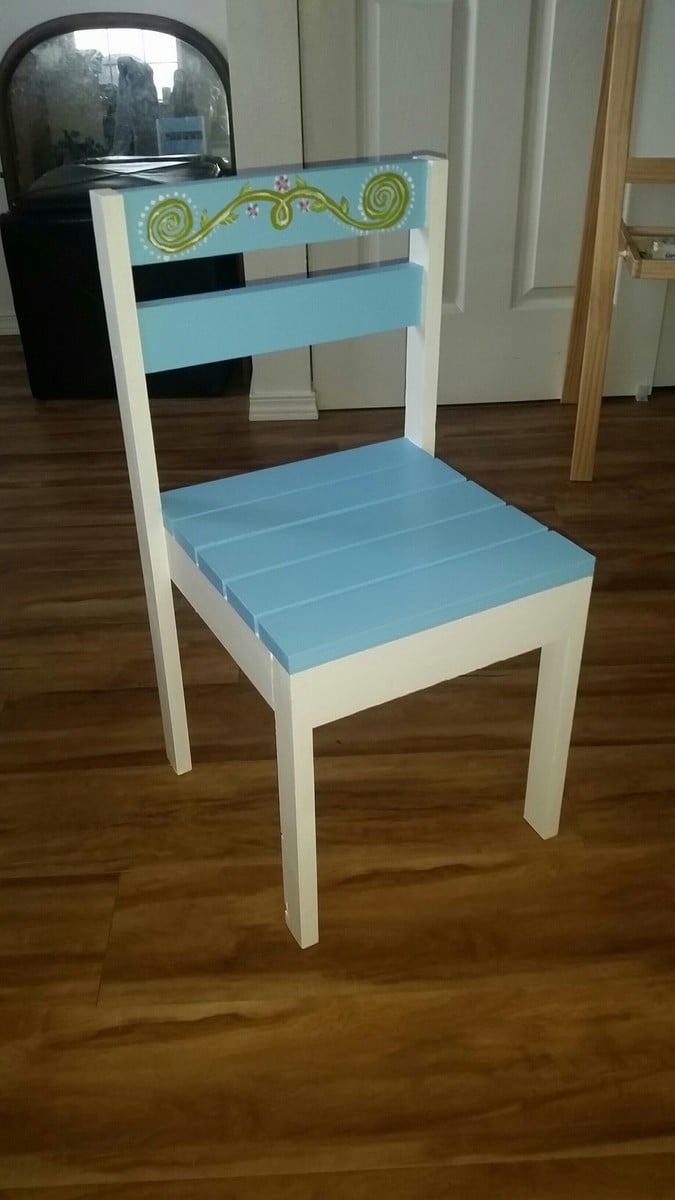
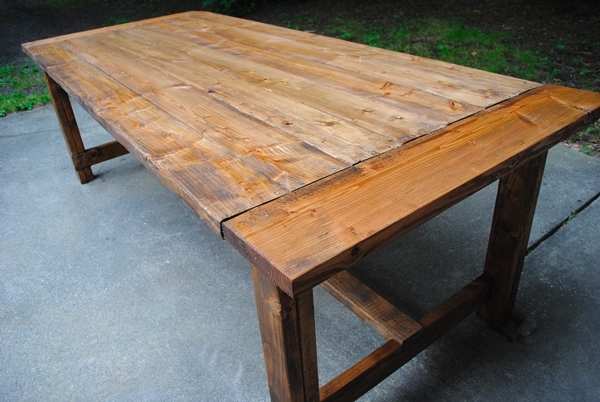
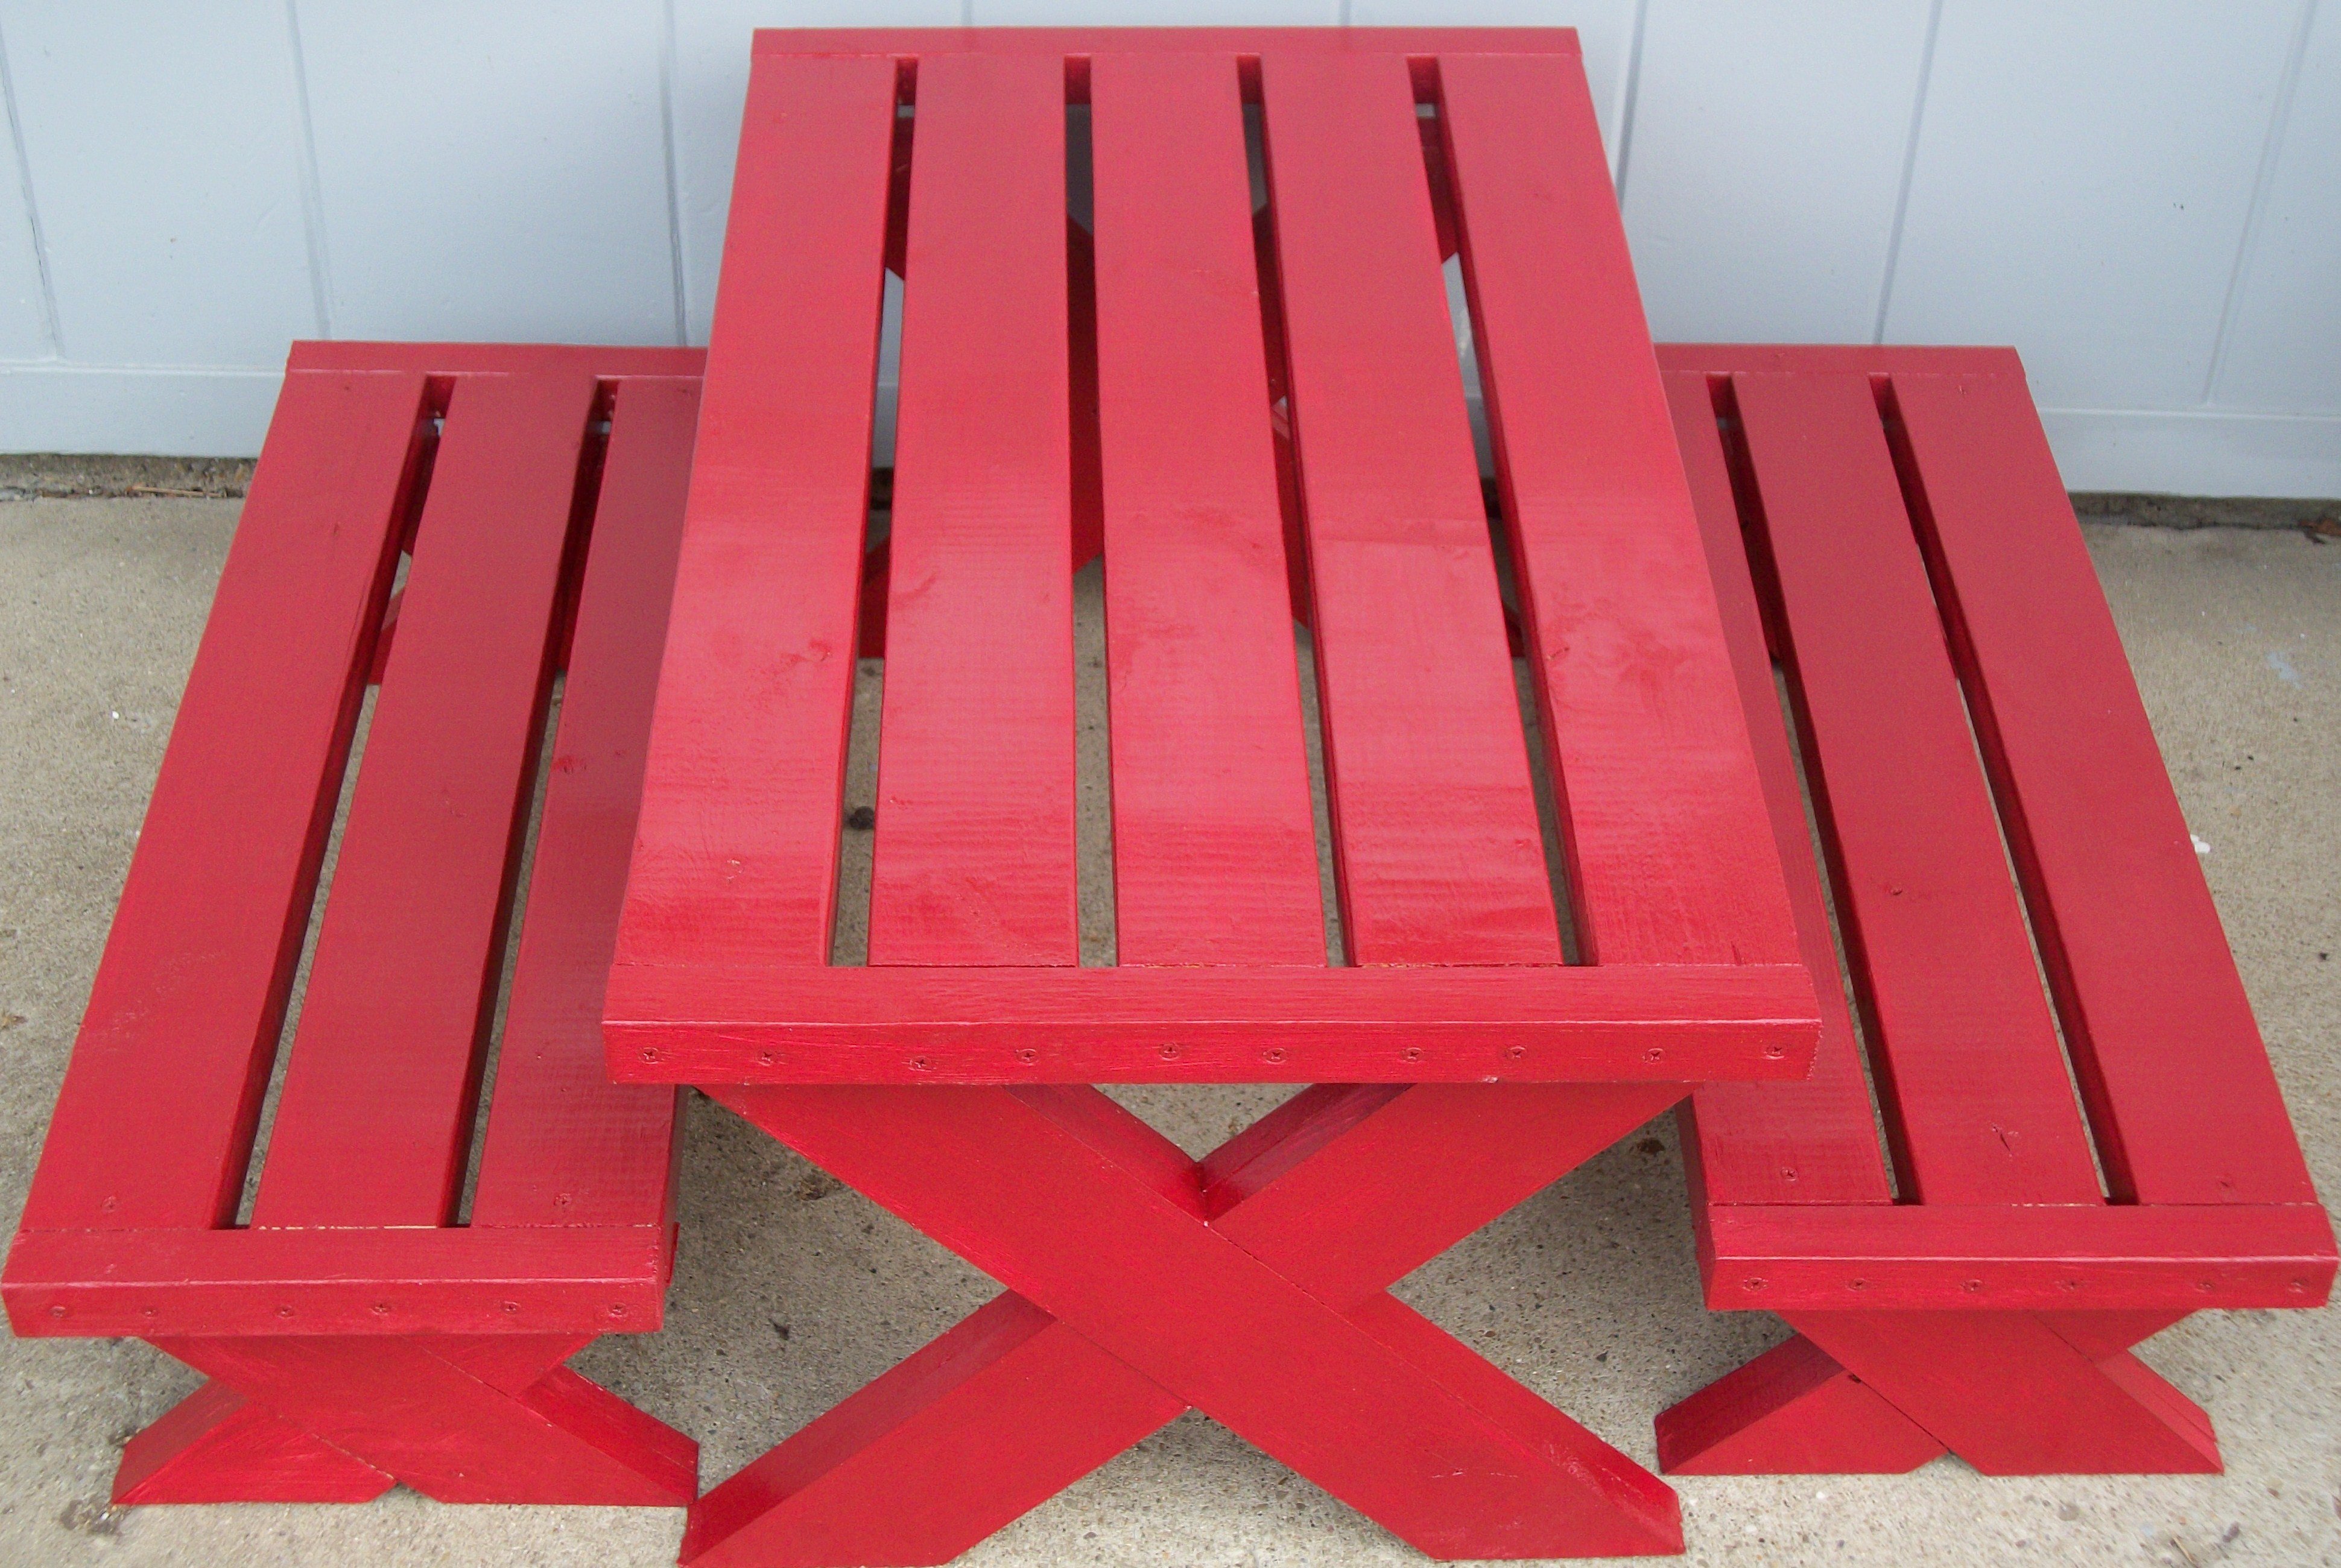
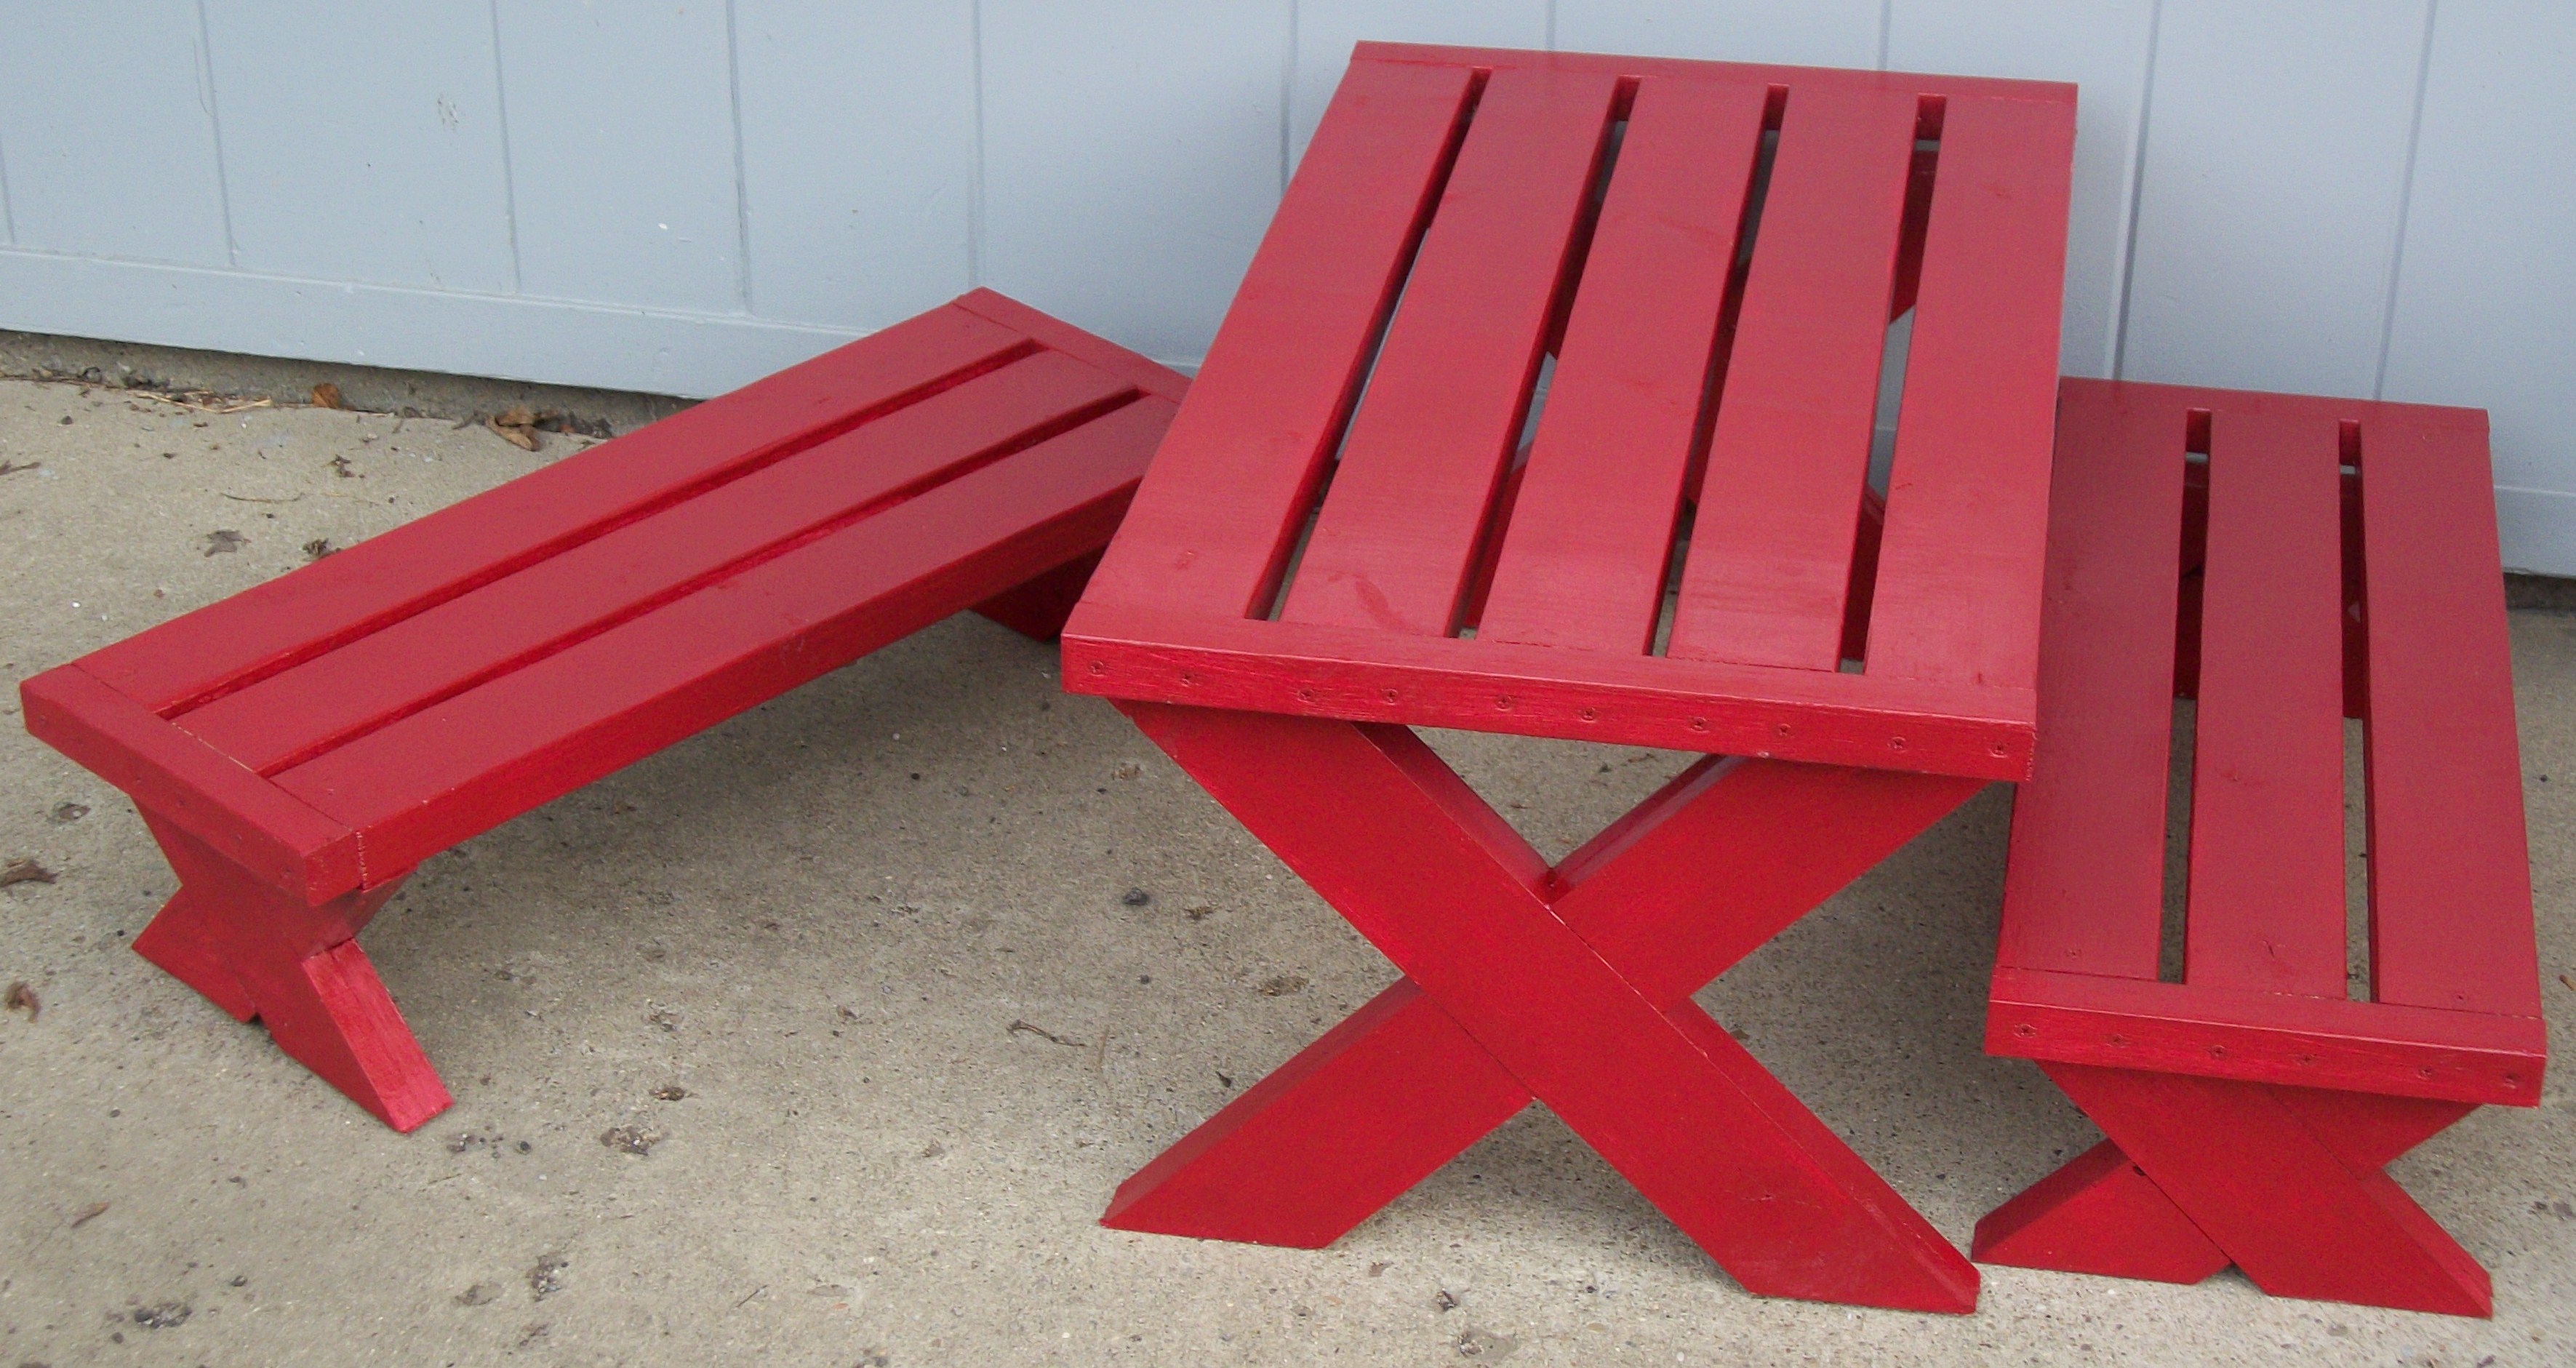
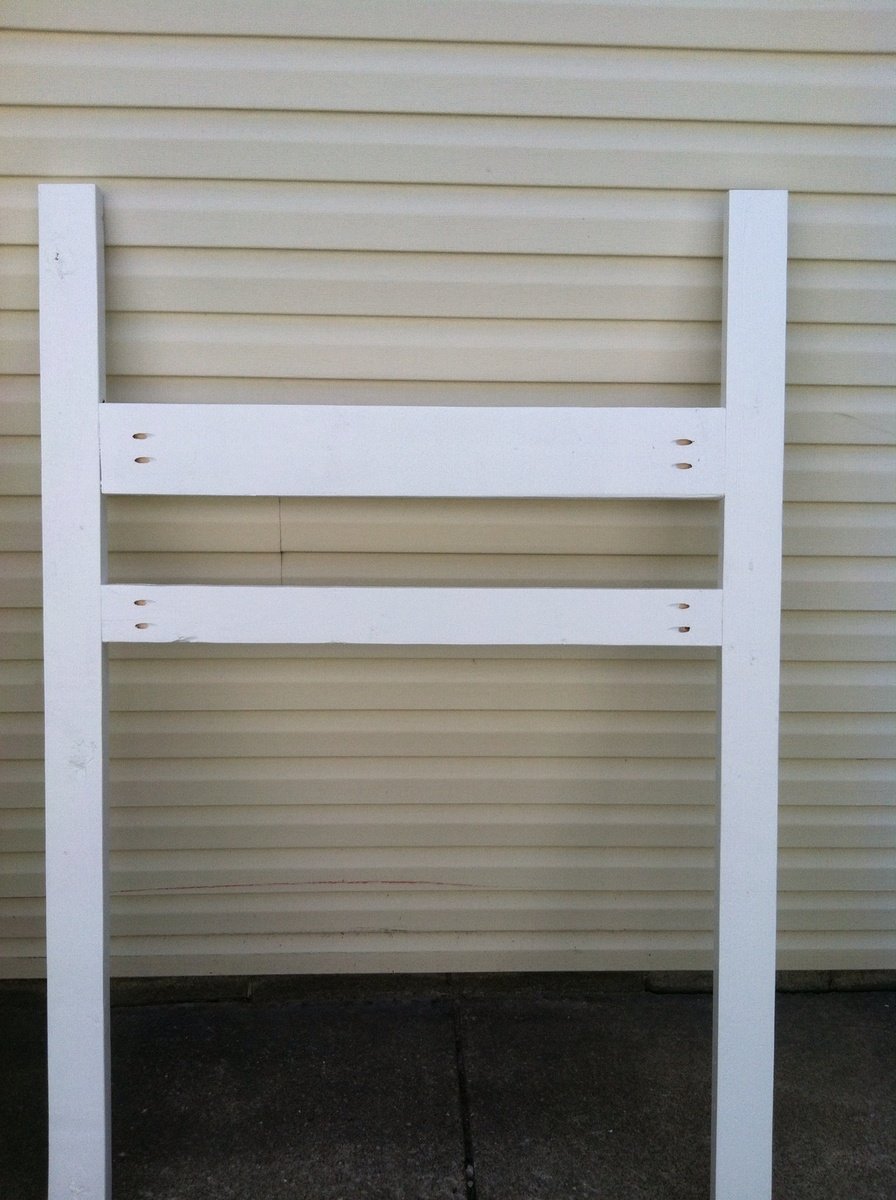
Clara Table and $4 Chairs
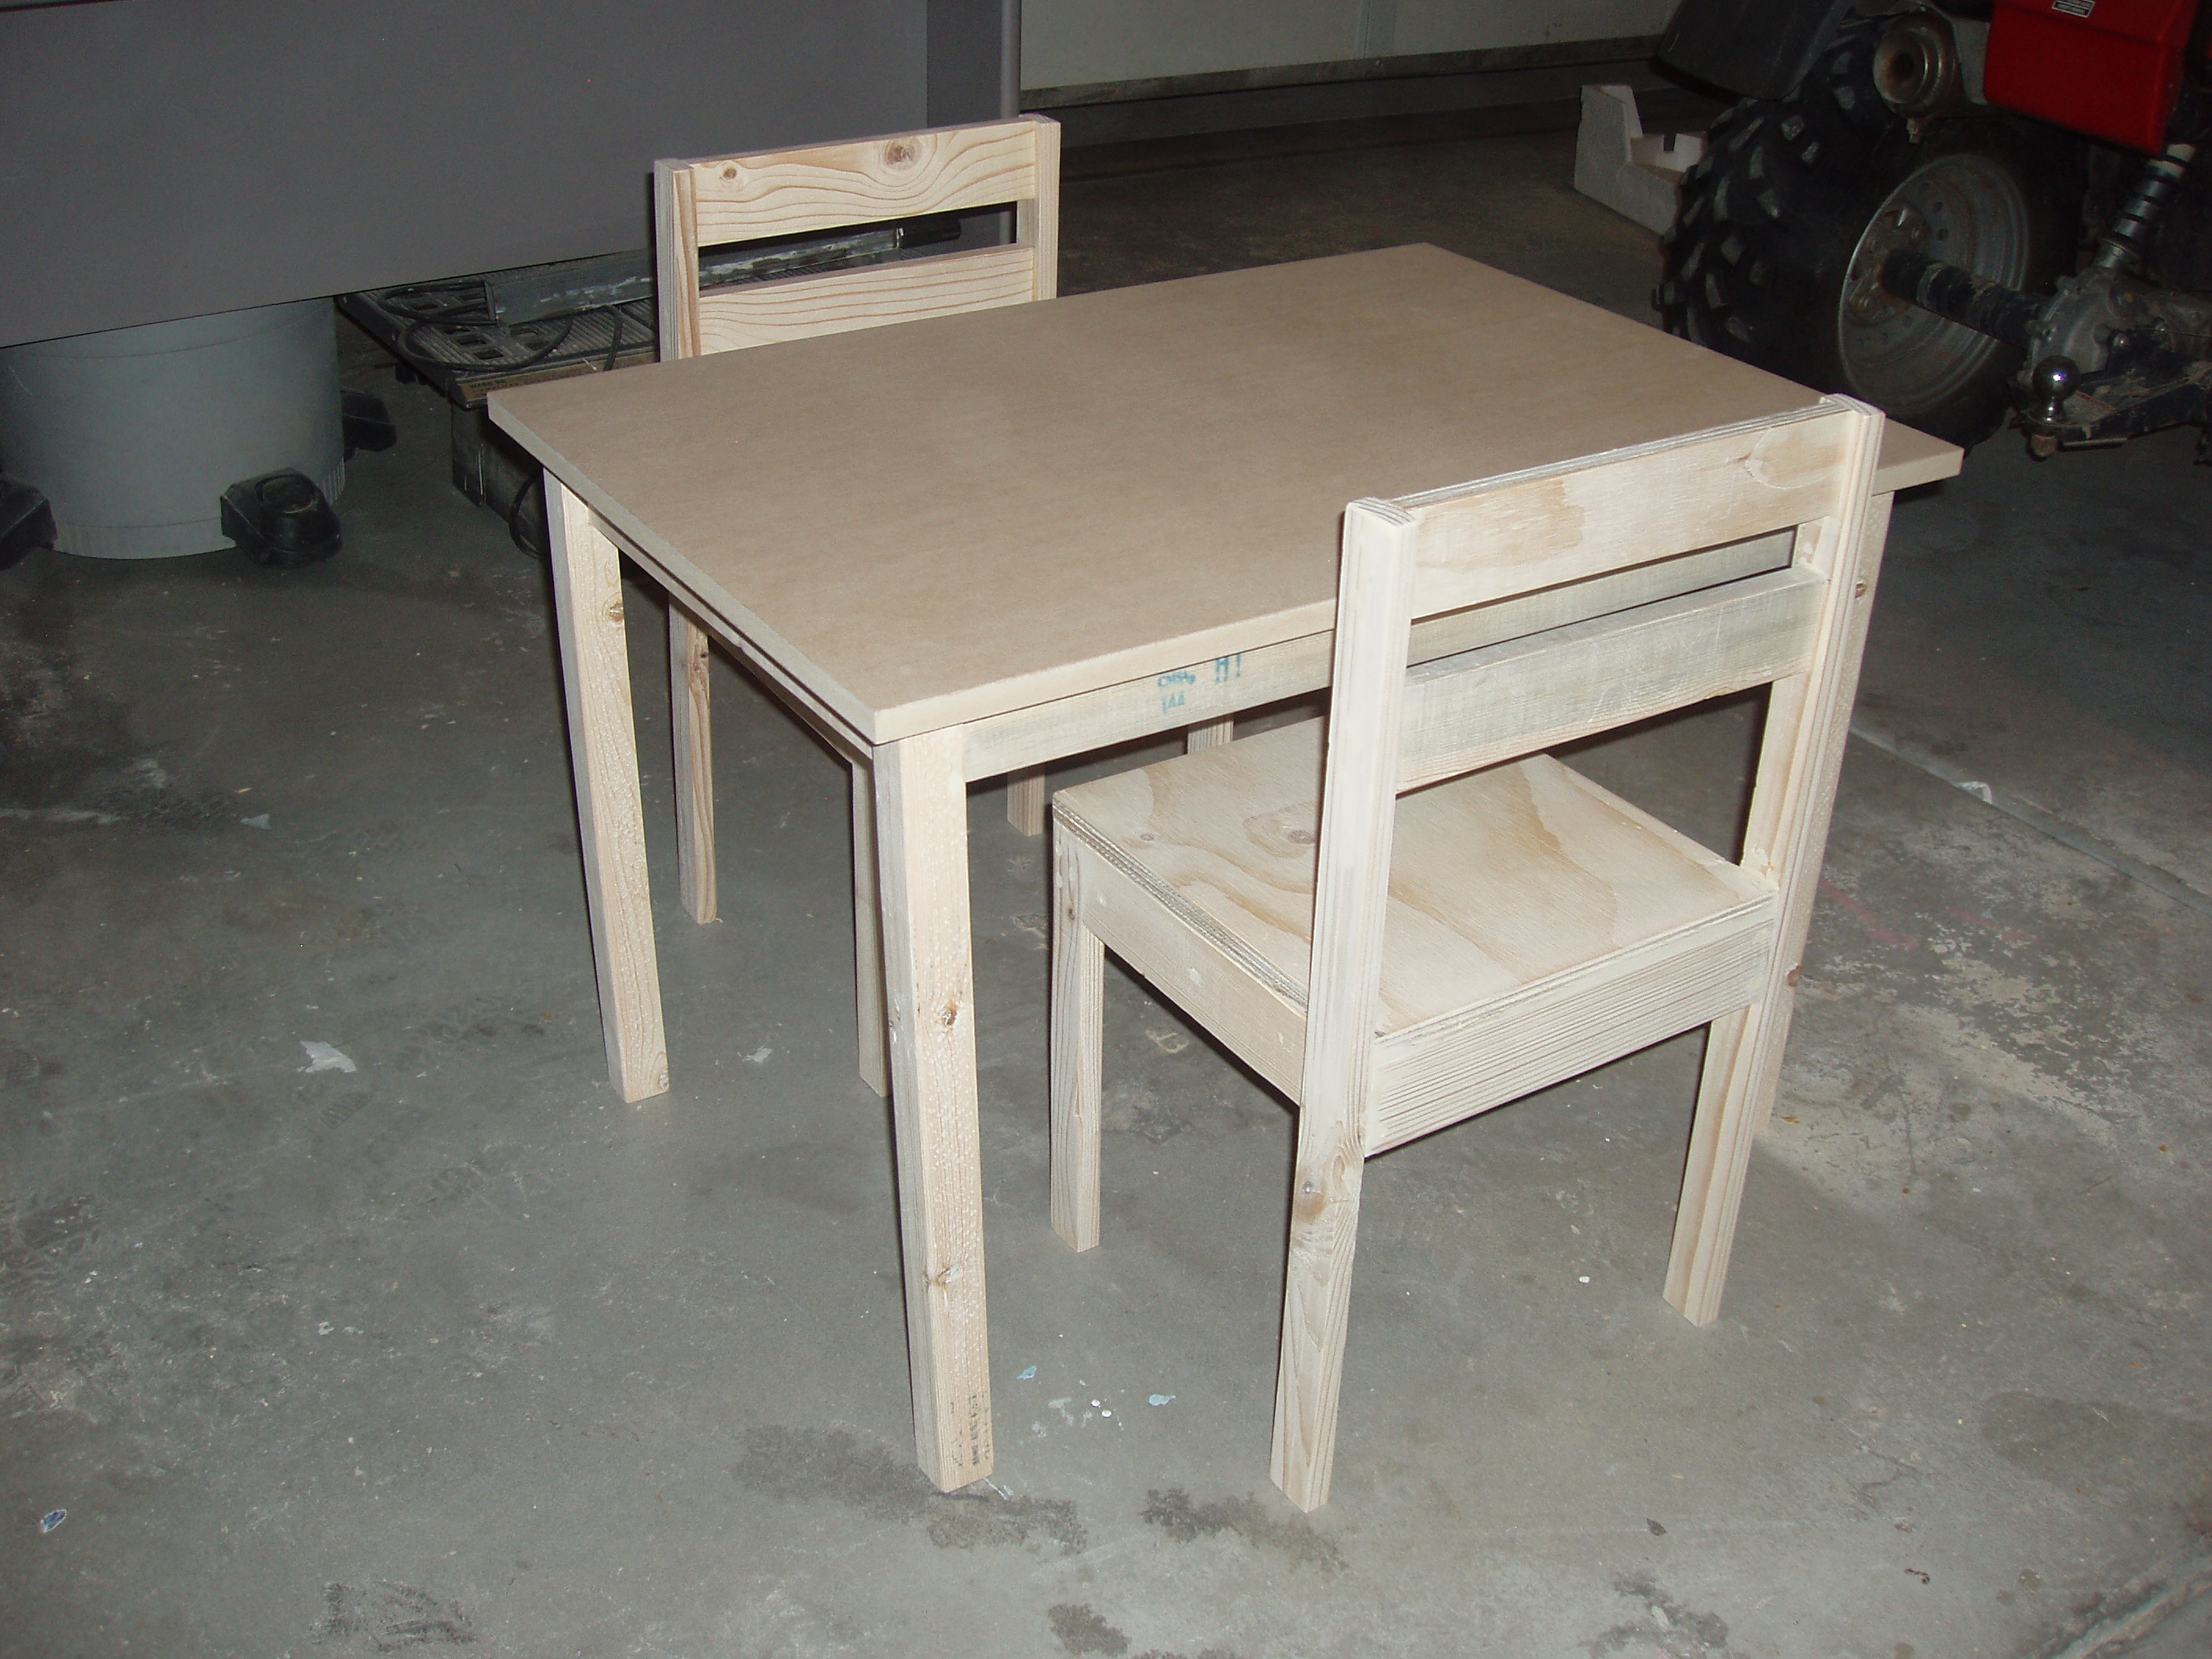
These chairs were super easy to make and so was the table. I did make a couple of changes if you'd like to read about it on my blog.
http://isteppedoutofmycomfortzone.blogspot.com/2011/01/i-love-to-build-…

Built from Plan(s)
Estimated Cost
$15 - $20
Estimated Time Investment
Afternoon Project (3-6 Hours)
Finish Used
I sanded it smooth with 320 grit sandpaper and gave it to her unfished so she could choose her colors.
Recommended Skill Level
Beginner