Community Brag Posts

Kids Wagon

Submitted by Seth on Sun, 07/26/2015 - 16:35

This was a fun and easy project to make the little guy happy on a slow Saturday.  If  you don't have the right tools, avoid the metal stripping.  This project can look just as good without it, and it is the projects most time comsuming feature. Good luck building your own "Wahweegon" (how my son says it).

Estimated Cost
$75
Estimated Time Investment
Afternoon Project (3-6 Hours)
Finish Used
Minwax Jacobean with two coats of poly.
Recommended Skill Level
Beginner

Full loft bed adult height

Submitted by Jtlarson12 on Thu, 02/22/2018 - 16:00

We made the loft bed but changed it to full size and changed height to 80in and increased length and width of the platform. 

Estimated Time Investment
Weekend Project (10-20 Hours)
Finish Used
Honey stain
Fresh cotton paint
Recommended Skill Level
Beginner

Easy 3 Cube Bench and Towers

Submitted by anb80 on Mon, 07/22/2013 - 09:23

This was our first project. We needed storage for my son's small room and this worked out perfectly!

Estimated Cost
100
Estimated Time Investment
Day Project (6-9 Hours)
Recommended Skill Level
Beginner

Comments

cshieff

Sat, 10/04/2014 - 20:20

This was my first project too!!  I just finished today & mine went in my son's closet.  Tomorrow I'll install 4 rails (an upper & a lower one on each side of the tower for hanging his clothes) and the project will be complete.

My next project is very similar to what you've got shown here - a tower on either side of his window, with another one on it's side & the feet removed.

Great job!!

Camille

Wine Box makeover

I had an old wine box that I decided to shabby chic. I added some manila handles.  Check out my blog for more details and pictures:

http://www.woodworkingfourdummies.com/blog/wine-box-makeover


Cheers 

Ian

Estimated Cost
Just had to buy the manila rope.
Estimated Time Investment
Afternoon Project (3-6 Hours)
Finish Used
Minwax dark walnut stain
White paint
Recommended Skill Level
Starter Project

Barn Door Built-ins with Faux Mantle

Submitted by Silweb30 on Sun, 02/25/2018 - 15:59

We used the barn door console plans as a base to make the built ins and the faux fireplace mantel plans for the center! We love everything this site has to offer!! 

Estimated Cost
500
Estimated Time Investment
Week Long Project (20 Hours or More)
Recommended Skill Level
Intermediate
Seasonal And Holiday

Child-Sized Deck chairs

We decided to make 2 of these chairs, and like others have said, we needed one more 1x2@ 8ft to get all of the cuts. Other than that small hiccup, there were no issues and we really enjoyed making these. We used pine wood for the frames and stained them in Mirimax's "English Walnut". The fabric is from Joanns which cost me $11.99/yd (40% off). I wasn't planning on spending that much but after all of the supplies these chairs actually cost us close to $20 a chair. If I would have shopped around for better prices, I could have likely found them, but wanted to get them done soon! These would make a great gift!

Estimated Cost
$20/chair
Estimated Time Investment
Afternoon Project (3-6 Hours)
Finish Used
Mirimax English Walnut
Recommended Skill Level
Beginner

Comments

cavalrywife

Tue, 06/14/2011 - 16:49

I love the fabric too! We plan on making alot more furniture from this site! Thank you!

Outdoor Sectional

I just finished my very first Ana White project. I am absolutely in love with it! I already have plans to add on and build a coffee table to match!!

Estimated Time Investment
Week Long Project (20 Hours or More)
Recommended Skill Level
Beginner

Triple cubby inspired

Submitted by willowpond on Sun, 03/04/2018 - 15:04

I started with the triple cubby design, resized it to fit my space, added doors, and built three of them.  They run the length of the wall in the area where my pool table is, and provide both storage and seating.  In the process I used a multitude of Kreg items - the rip cut, the pocket hole jig, the hinge jig, the cabinet knob jig, and the corner clamps.  As this was my "starter" project, I made some mistakes, learned a lot of lessons, and can't wait for my next project!

Estimated Cost
Plywood - $210 (three sheets, very high quality plywood); mouldings - $26; hinges - $80 ; knobs - $23. This was my "starter" project so I also invested in a lot of tools.
Estimated Time Investment
Week Long Project (20 Hours or More)
Finish Used
White latex paint
Recommended Skill Level
Beginner

Mirror

Submitted by Anonymous (not verified) on Thu, 04/21/2022 - 12:14

I was so excited to build this mirror using Ana White’s plans. I built it a few years ago and it’s still hanging in my entryway!

Comments

A $15 One-Day Pirate Table

Submitted by Joanna A on Fri, 06/10/2011 - 20:57

This was my second wood project. I loved working on it. The measurements and instructions were great. It is definitely for toddlers which works well for us. I used stain we had from/for other projects. Thanks.

Built from Plan(s)
Estimated Cost
App. $15
Estimated Time Investment
Afternoon Project (3-6 Hours)
Finish Used
Stain
Recommended Skill Level
Beginner

Comments

Marisol

Sat, 06/11/2011 - 13:32

I have been eyeing this for a while...but I ended up doing the preschool bench. SO CUTE!!!!

Joanna A

Sun, 06/12/2011 - 10:40

Marisol, I was choosing between the two as well... but since I have boys the choice was a bit easier :-)

ndanner

Sat, 06/14/2014 - 12:12

Are the seats and table top supposed to be 1x2 instead of 1x3? I am confused bc the sides would be too short.

Reclaimed TV stand

Submitted by Bksmith on Fri, 07/26/2013 - 10:59

I needed a new TV stand, why buy when you can make. I am about halfway done and this is what i have so far. This has been built with all reclaimed wood. I took wood from a table, a hutch and a cabinet to make this. so much fun.
Stay tuned for the finish product!!

Estimated Time Investment
Weekend Project (10-20 Hours)
Recommended Skill Level
Intermediate

Curved Bench

Submitted by stevez8420 on Sat, 08/08/2015 - 13:41

I followed your idea but i think my bench is a touch smaller. I decided to add arm rests on each end, I kept the top beverage ledge or "Bever-ledge" as I call it and ofcourse I added rope lighting along the underside. This was my first ever DIY project.

Estimated Cost
150
Estimated Time Investment
Weekend Project (10-20 Hours)
Finish Used
I used a Cedar Tone semi-transparent finish which turned out a little more orange than i though but it still looks good!
Recommended Skill Level
Intermediate

Memorial Urn

Submitted by Rkh81989 on Tue, 03/06/2018 - 04:49

Memorial Box

Recommended Skill Level
Intermediate

Comments

Graphic3211

Sun, 06/21/2020 - 07:09

This looks fairly straight forward but there is one factor that needs to be taken into account when you make an urn. You need at least one cubic inch per pound of the person whose cremains are going into it, so a 200 pound person needs 200 cubic inches.

Needed a special kind of storage shelf

Submitted by Anonymous (not verified) on Thu, 04/21/2022 - 15:47

I needed an easy to access storage shelf for cookie sheets, roasting pans, and glass storage bowls. I couldn't find one I liked, so I built this shelf. I love building things. This one is very simple. It's built with 1x2s and 1/2" plywood. I made my own turquoise stain out of acrylic paint and water for the trim and side shelves, and the top and bottom shelves were stained with oil based honey oak stain. I finished it with 4 coats of polyurethane, which I hand rubbed.

Comments

Farm Dining Table

This project was much easier than it looks and turned out beautifully! I even impressed myself!

Built from Plan(s)
Estimated Cost
$80
Estimated Time Investment
Afternoon Project (3-6 Hours)
Finish Used
Provincal
Recommended Skill Level
Beginner

Comments

The Shipping Pallet Dining Table

Submitted by worrow on Mon, 07/29/2013 - 05:57

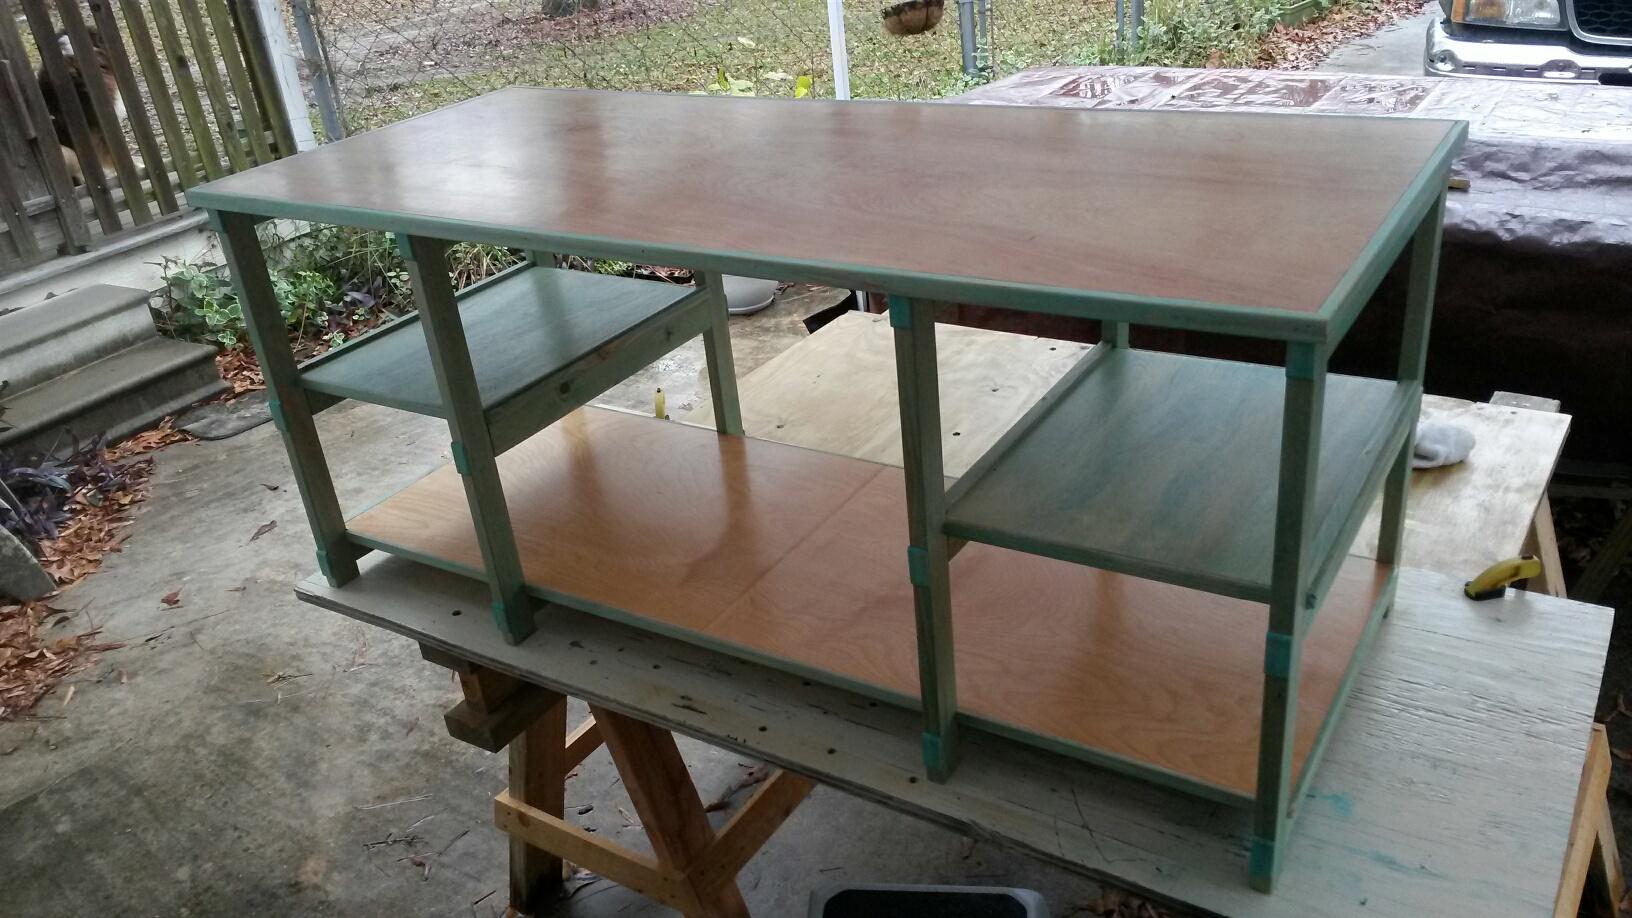
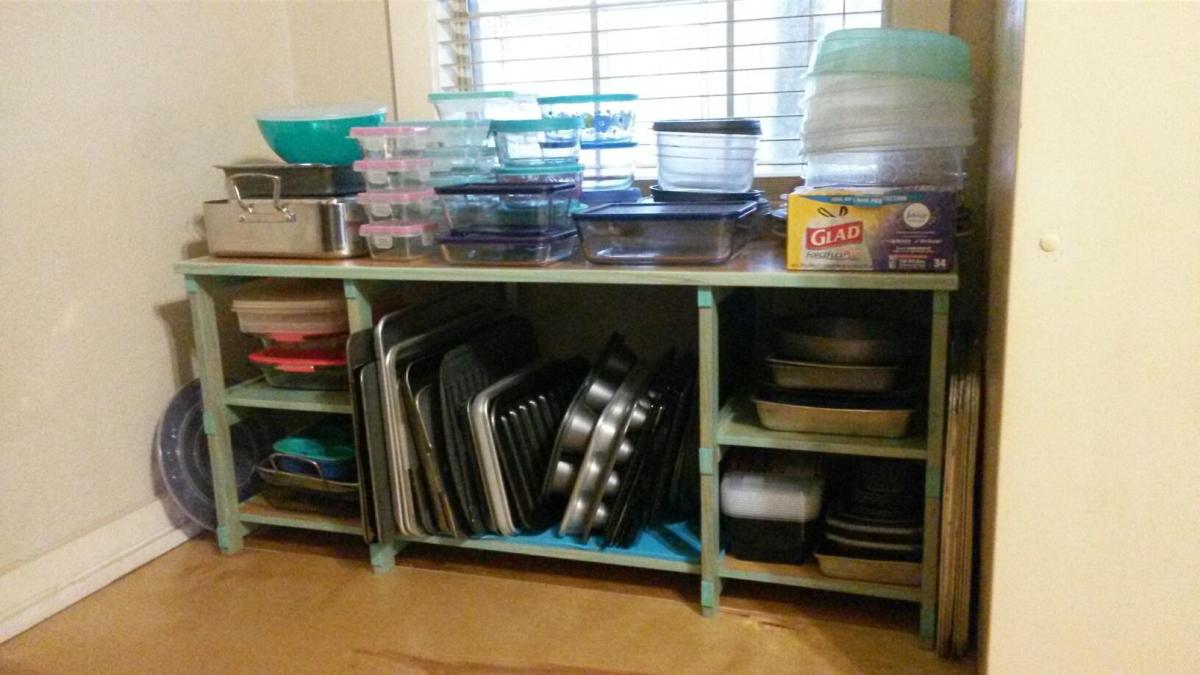
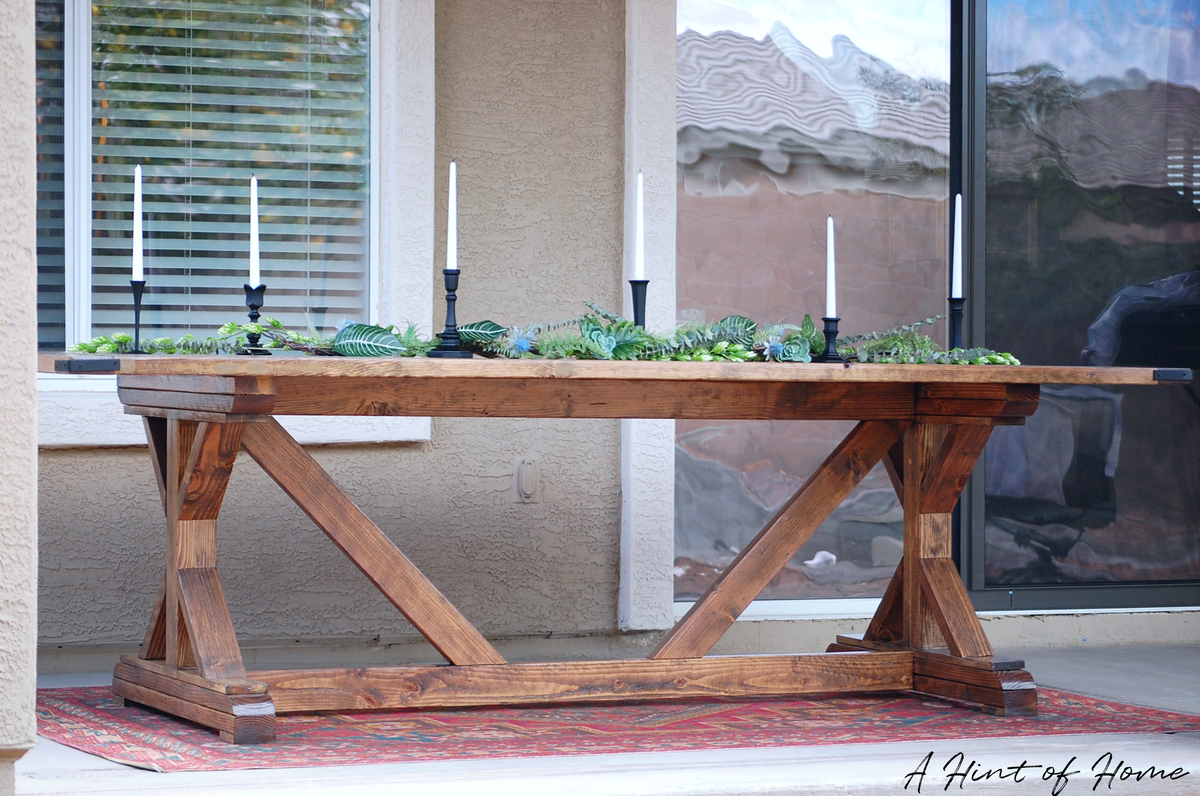
Table measures * 41" wide x 57 1/4" long x 30" tall.
We kept the measurement at 26" from floor to bottom of table.

Here is a list of what we used:

2 1/2" decking screws
2" finishing nails
8 pallets
Table Saw
Corded drill
Reciprocating saw
Bar clamps
1/2" plywood scraps

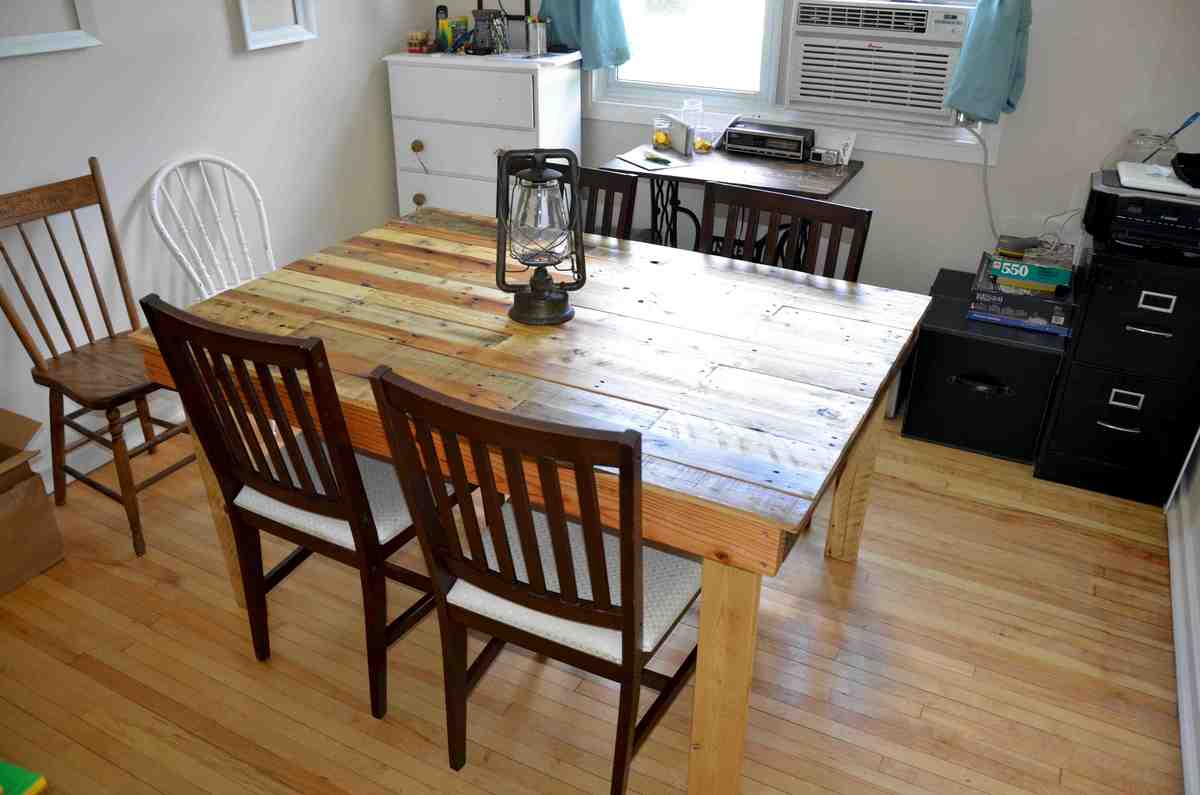
I wish I was thinking about taking some pictures along the way but here is a brief explanation.

We started with building the frame for the top.

2 - 2x4 @ 55"
2 - 2x4 @ 37 1/2"
3 - 2x3 @ 37 1/2" (we ripped the 2x3's on table saw from other lumber lying around)

Instructions are simple for the frame. Attach the 55" 2x4's to the 37 1/2" 2x4 and note the 37 1/2" ones go in between the long ones not on the end of them.

Next step is to run the 3 2x3 supports. 1 in the middle then the others go in the middle of the next gaps roughly.

*Note*
We did not do the pocket hole screws or try and hide the screws in any way. We screwed the entire frame together from the outside.

So now onto the more challenging step. So the top we have no guide for. We used
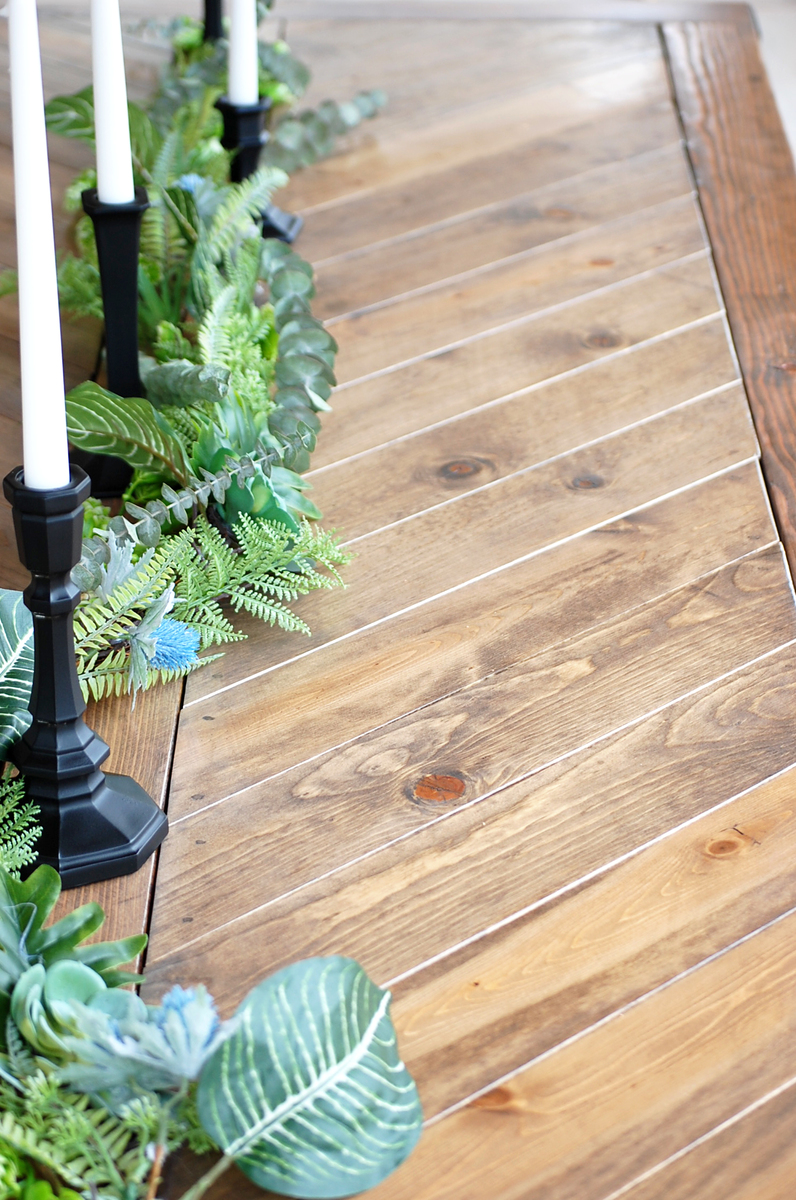
our reciprocating saw to get the boards off the skids. Then we had to de-nail the materials. Took approx 8 skids worth. Next was to run them all through the table saw to clean up the edges and remove any crowning or bowing? In a nutshell make all the board edges flush and straight.

After that long process we then started to do our dry fit so we would know which boards we wanted to use and how long we wanted each one to be. Then proceeded to cut them to the lengths and keep them in their respective groups as there were many varying widths as we wanted the top to be very different.

The next step was simple start laying them in place and attaching them to the frame.

During this process we had to bust out the clamps as we had a few troublesome boards that had to be pulled in flush. We used the 2" finishing nails to attach all the boards. After they are all attached this is the ideal time to sand the top.

*Note*
Decide what you want your overhang to be all around during the dry fit process. That will also be the time where you can play with ripping some thinner to make it unique.

So now we have all the boards attached it was time to counter sink ann the finishing nails. After we completed this we wanted to make secure everything just a bit more so we added 1/2" plywood to the bottom of the table in between the support sections.

After this was done it was simply time to cut the legs. We cut our legs @ 28"
We sanded these before attaching them.

*Note*
For the legs we had to assemble the legs in the room as the table is simply too large to bring through a door assembled. Keep this in mind if you decide to use a different design for the legs. We attached the legs with 4 - 2 1/2" screws which was perfect.

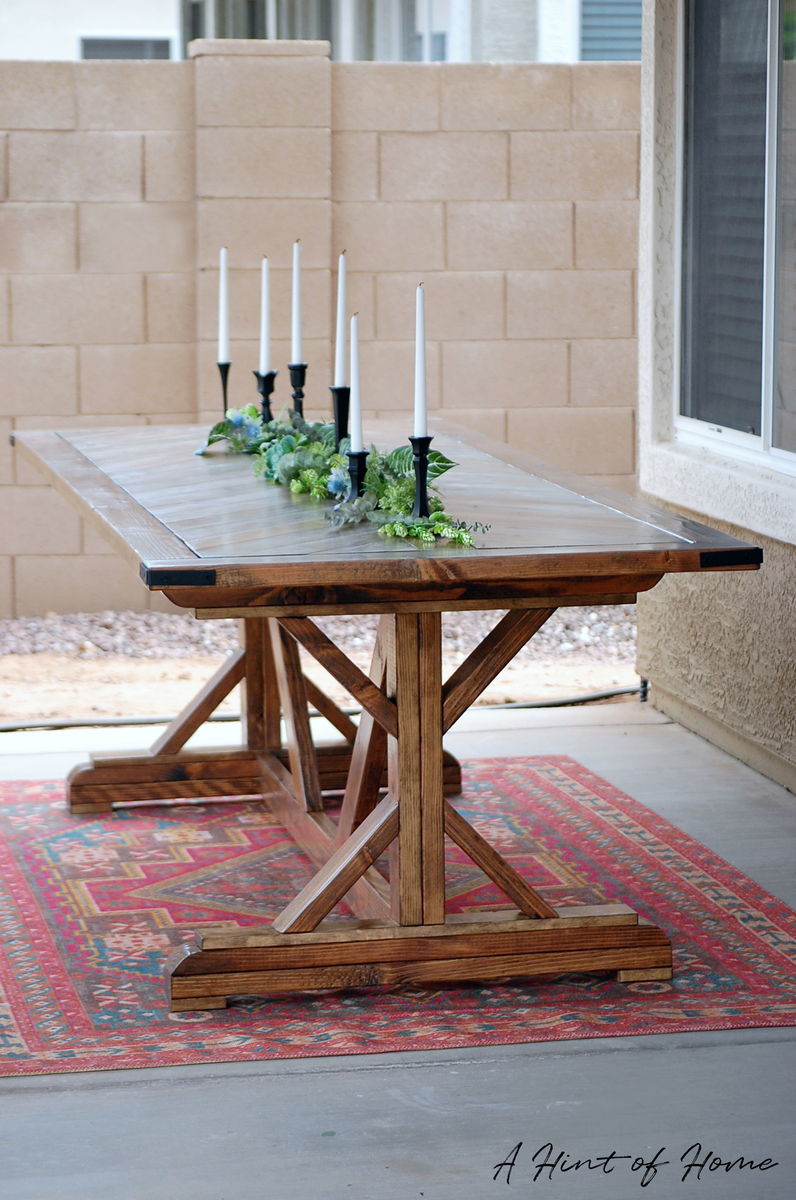
After that was done all that was left was to get it finished the way we like it. We used Minwax Antique Protective Oil Finish

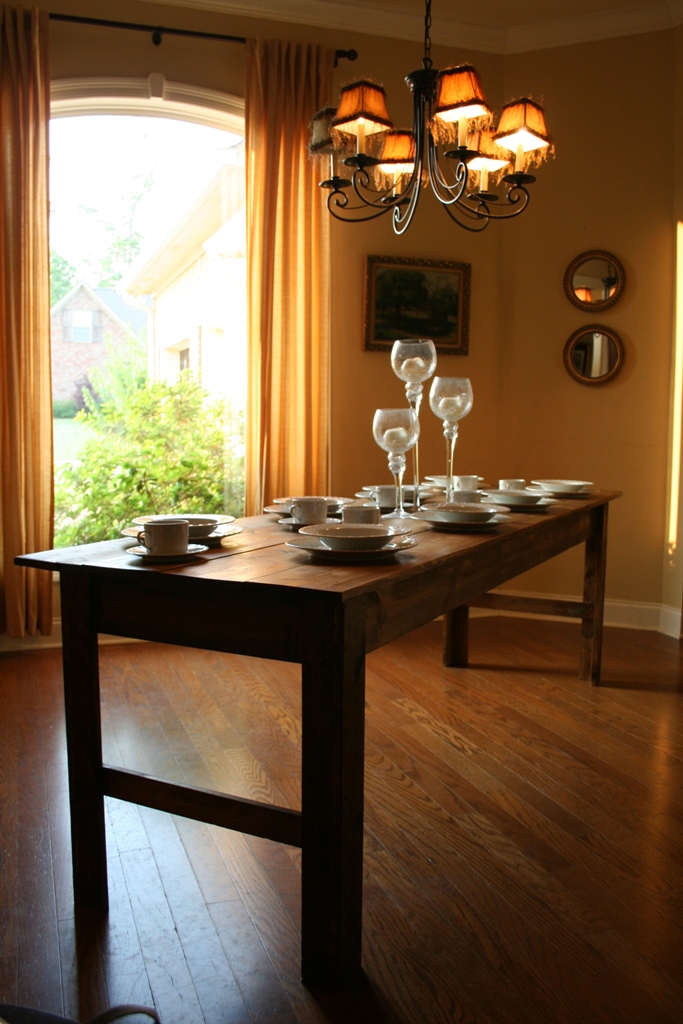
If you used my notes to get by hopefully you have something beautiful in your dining room.

Thank you for visiting.

We would like to thank Ann from
http://littlepaths.wordpress.com/2012/08/26/the-shipping-pallet-dining-… for providing us with their design that inspired us.

Estimated Cost
$20
Estimated Time Investment
Weekend Project (10-20 Hours)
Finish Used
Minwax Antique Protective Oil Finish - We followed the directions on the can and applied 3 coats.
Recommended Skill Level
Intermediate

Simplest Stool

Submitted by DWeen on Tue, 08/11/2015 - 17:34

I modified the Simplest Stool plan for this project to use some old threshing floor boards that I had leftover from another project. I like the blocky and chunky look it gives it. We chose to distress these stools to make them look as though they've been around for awhile. The stools didn't take long to build, but since the finish needed time to cure between coats, the overall length of time for the project was about a week. 

Built from Plan(s)
Estimated Time Investment
Afternoon Project (3-6 Hours)
Finish Used
Minwax 'Early American' with two coats of polyurethane. The legs and rungs were painted with Behr semi-gloss white paint, and distressed using Minwax 'Early American' stain.
Recommended Skill Level
Beginner

Comments

DIY Outdoor Dining Table

I followed Ana's Fancy X Farmhouse Table to build my base, but switched her tabletop out for a split herribone design.  The tutorial for the tabletop is on the blog! 

Built from Plan(s)
Estimated Time Investment
Weekend Project (10-20 Hours)
Recommended Skill Level
Intermediate

Comments

rbgreene04

Wed, 04/18/2018 - 22:46

Thank you for the inspiration on the table top. I followed your plans to make mine in the Chevron pattern as well. Well done! And the bench looks great, too!