Rustic DIY kitchen island 24 x 42
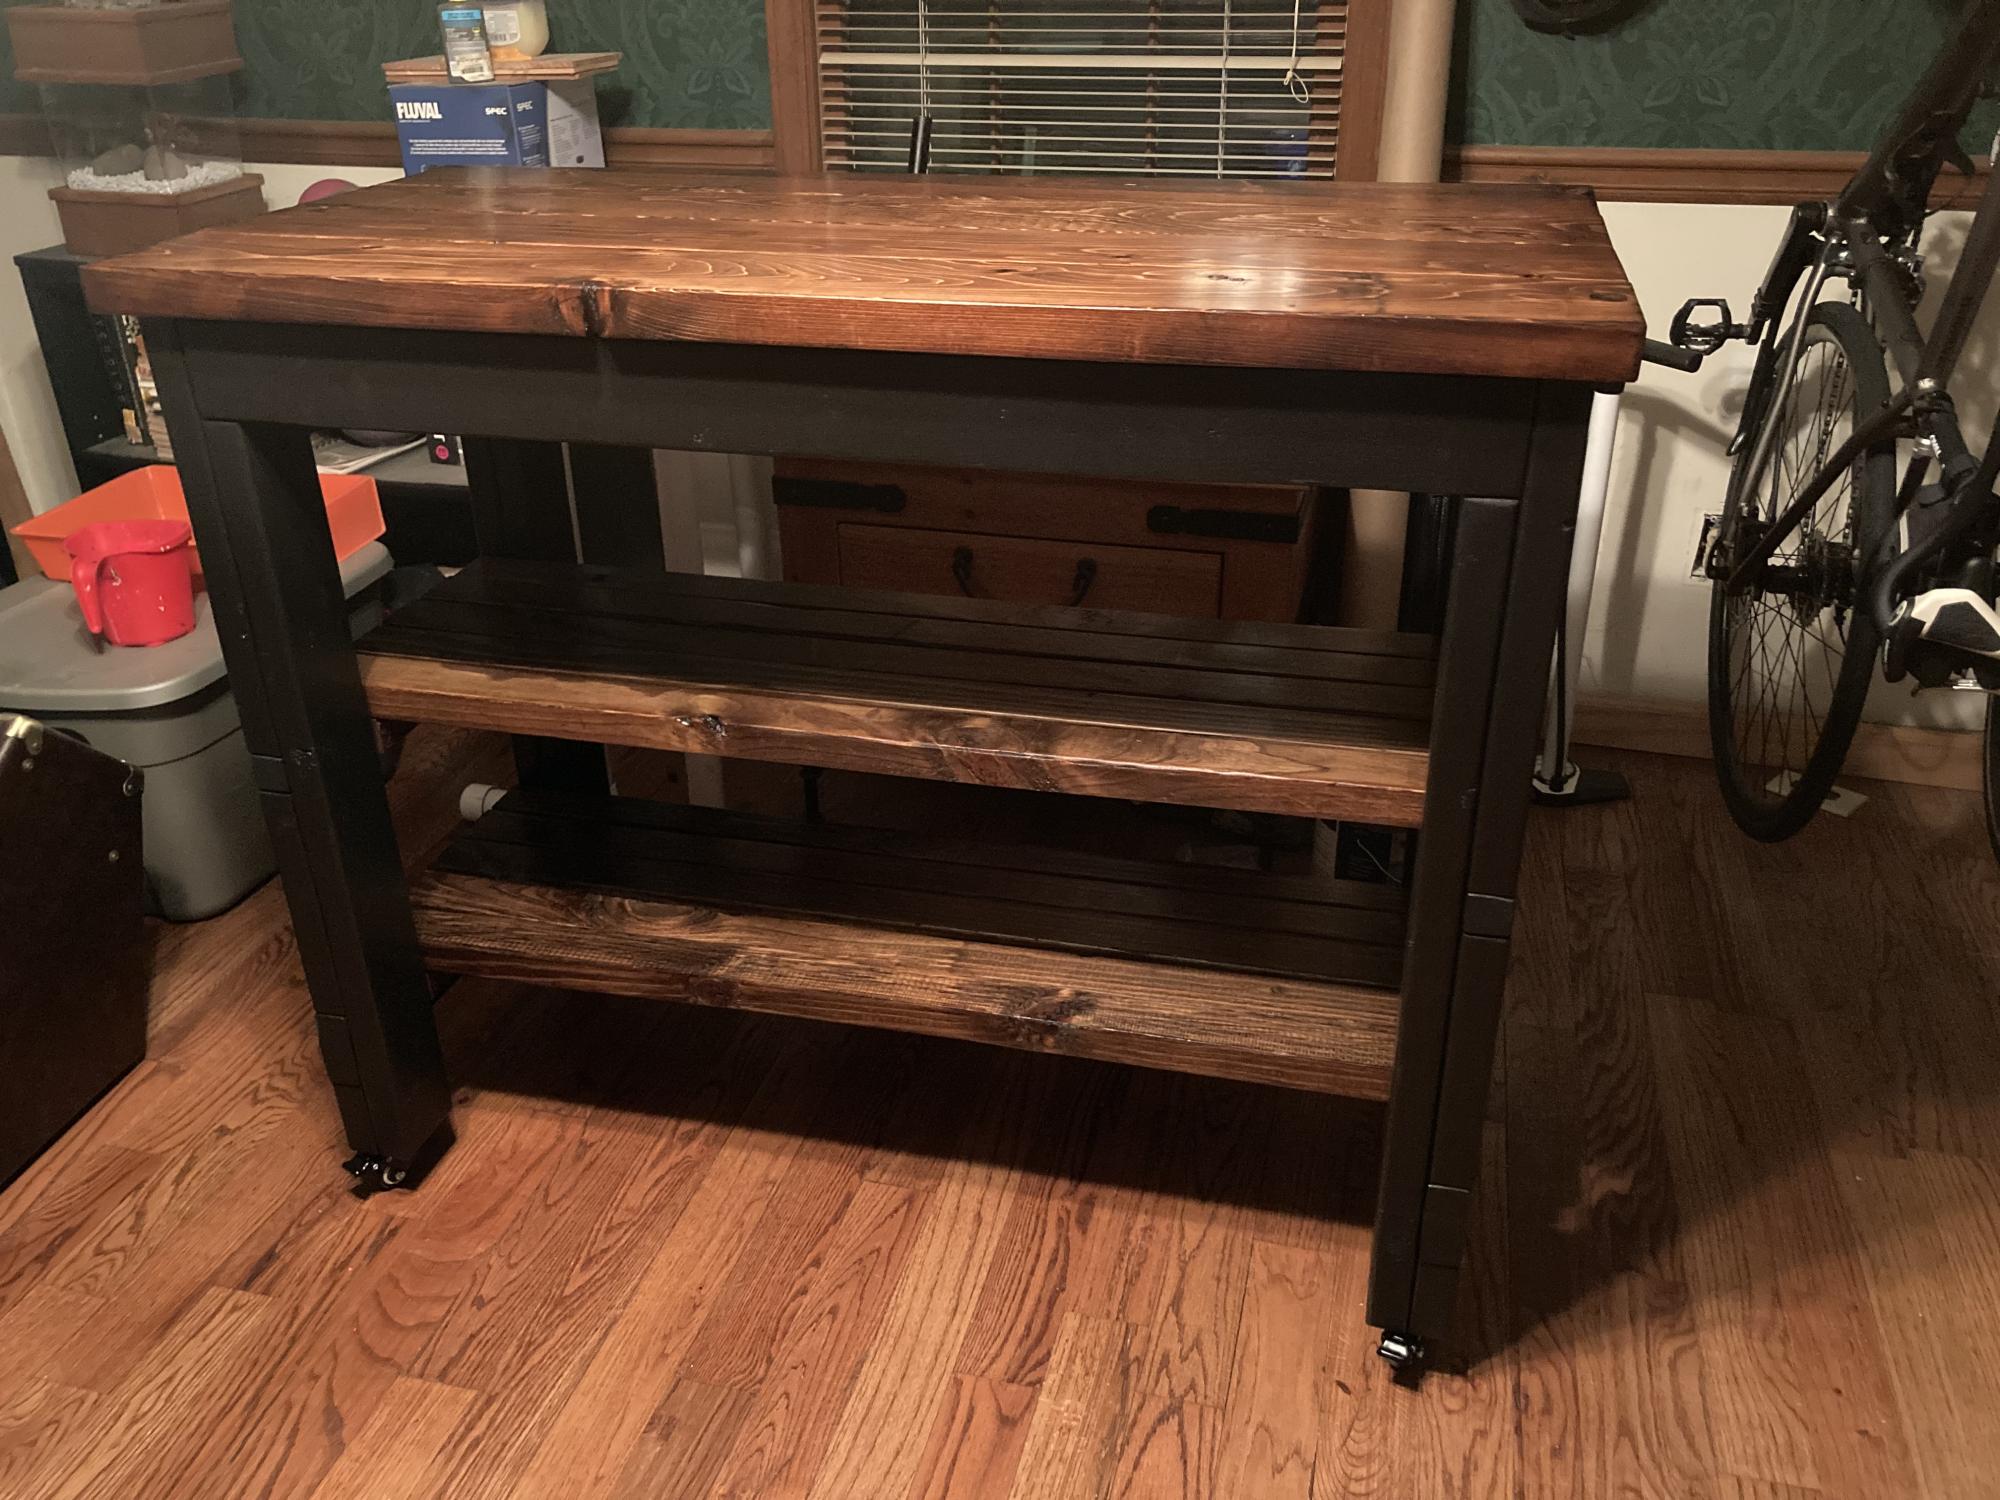
I built this for a friend so it will work for his kitchen….and he just loves it!
Built from Plan(s)
I built this for a friend so it will work for his kitchen….and he just loves it!

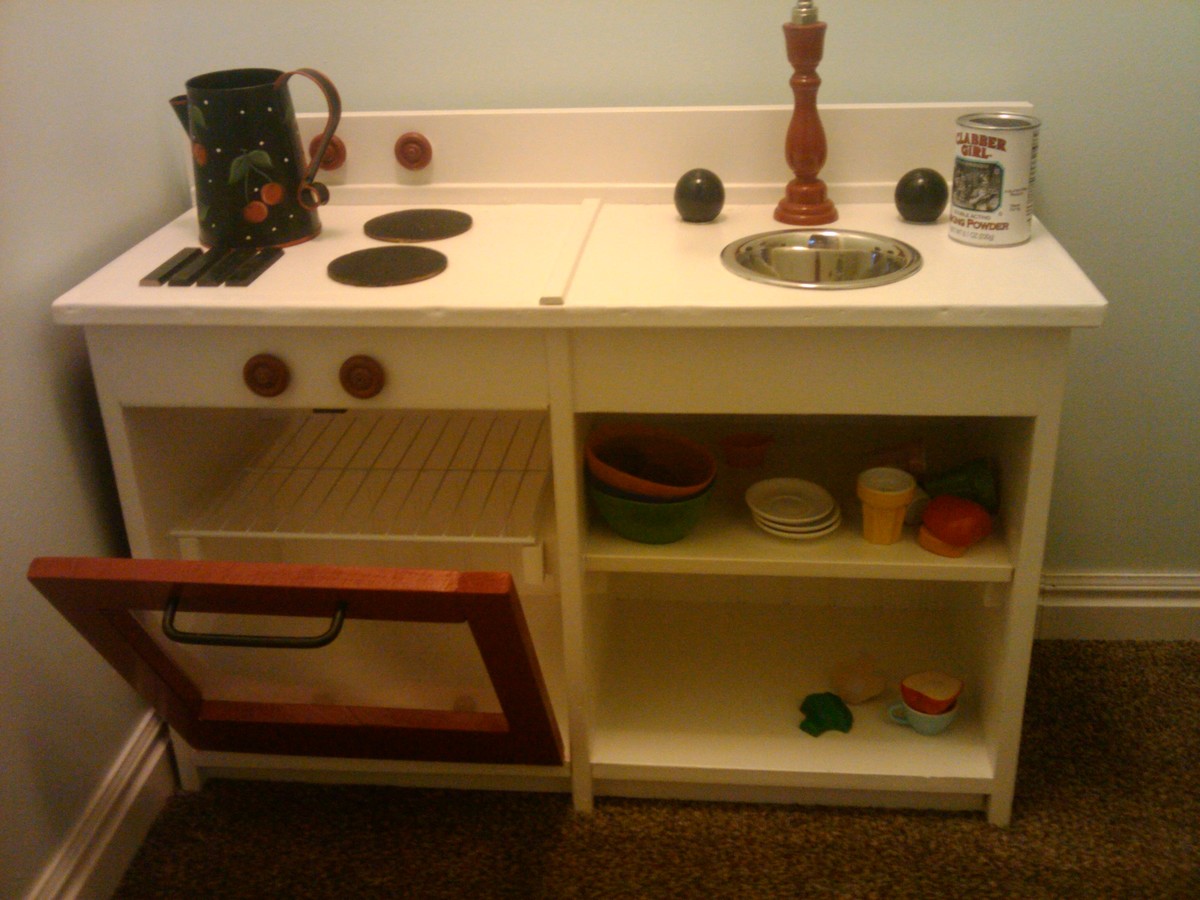
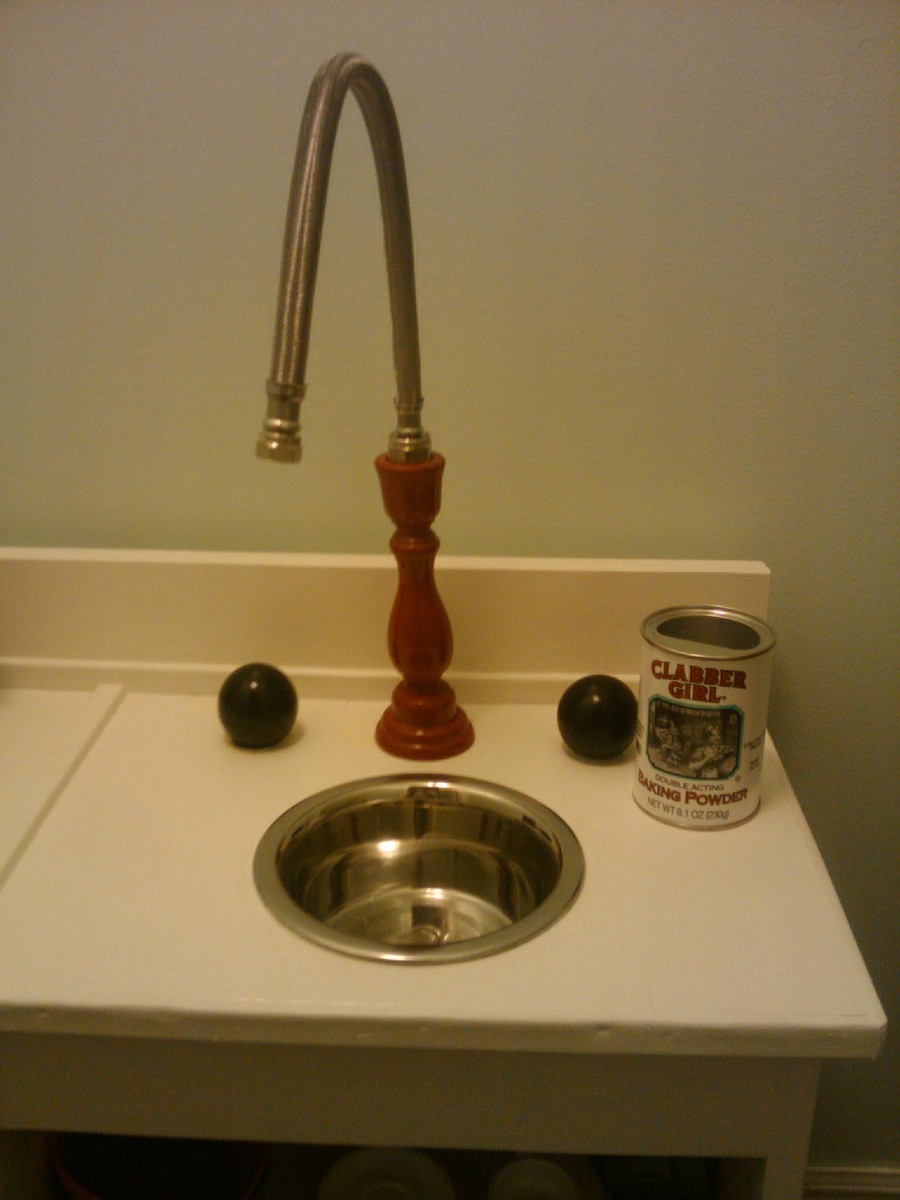
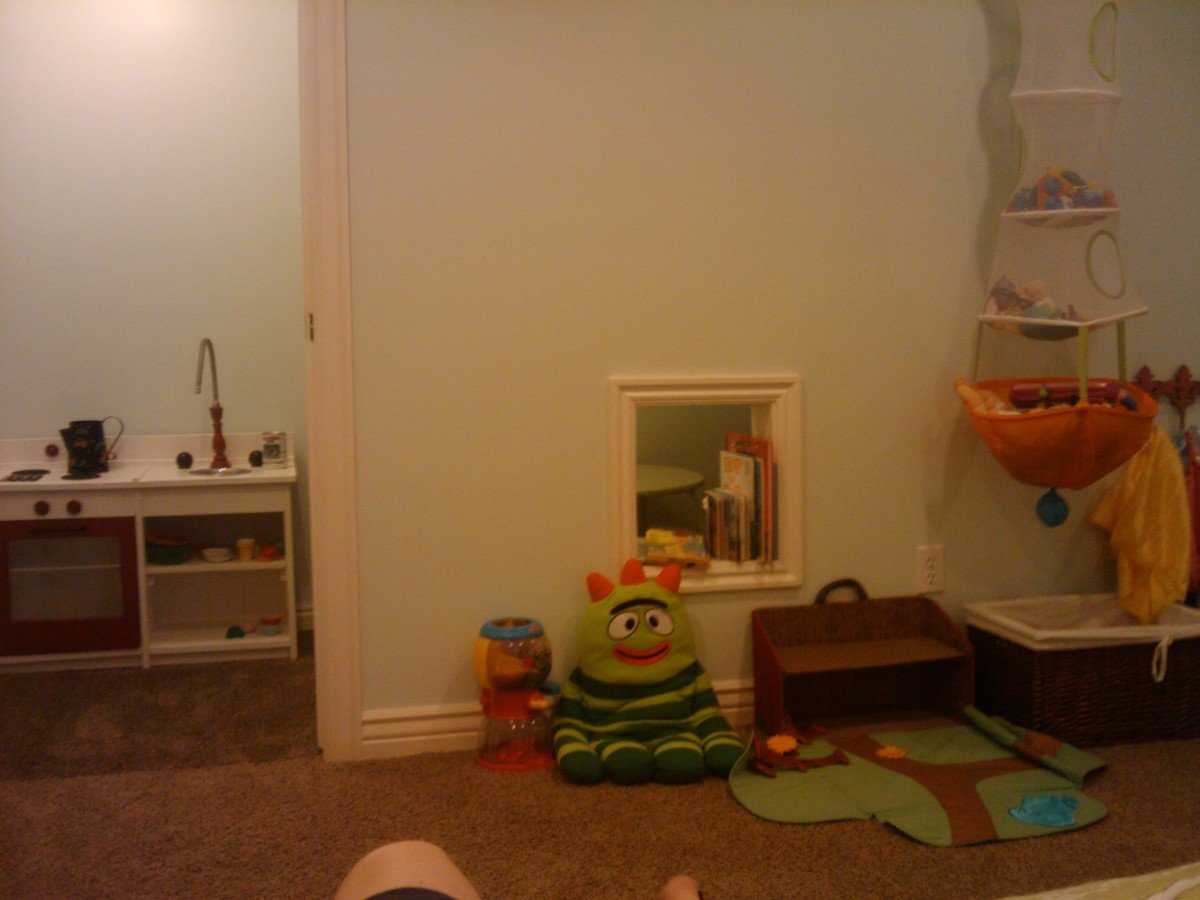
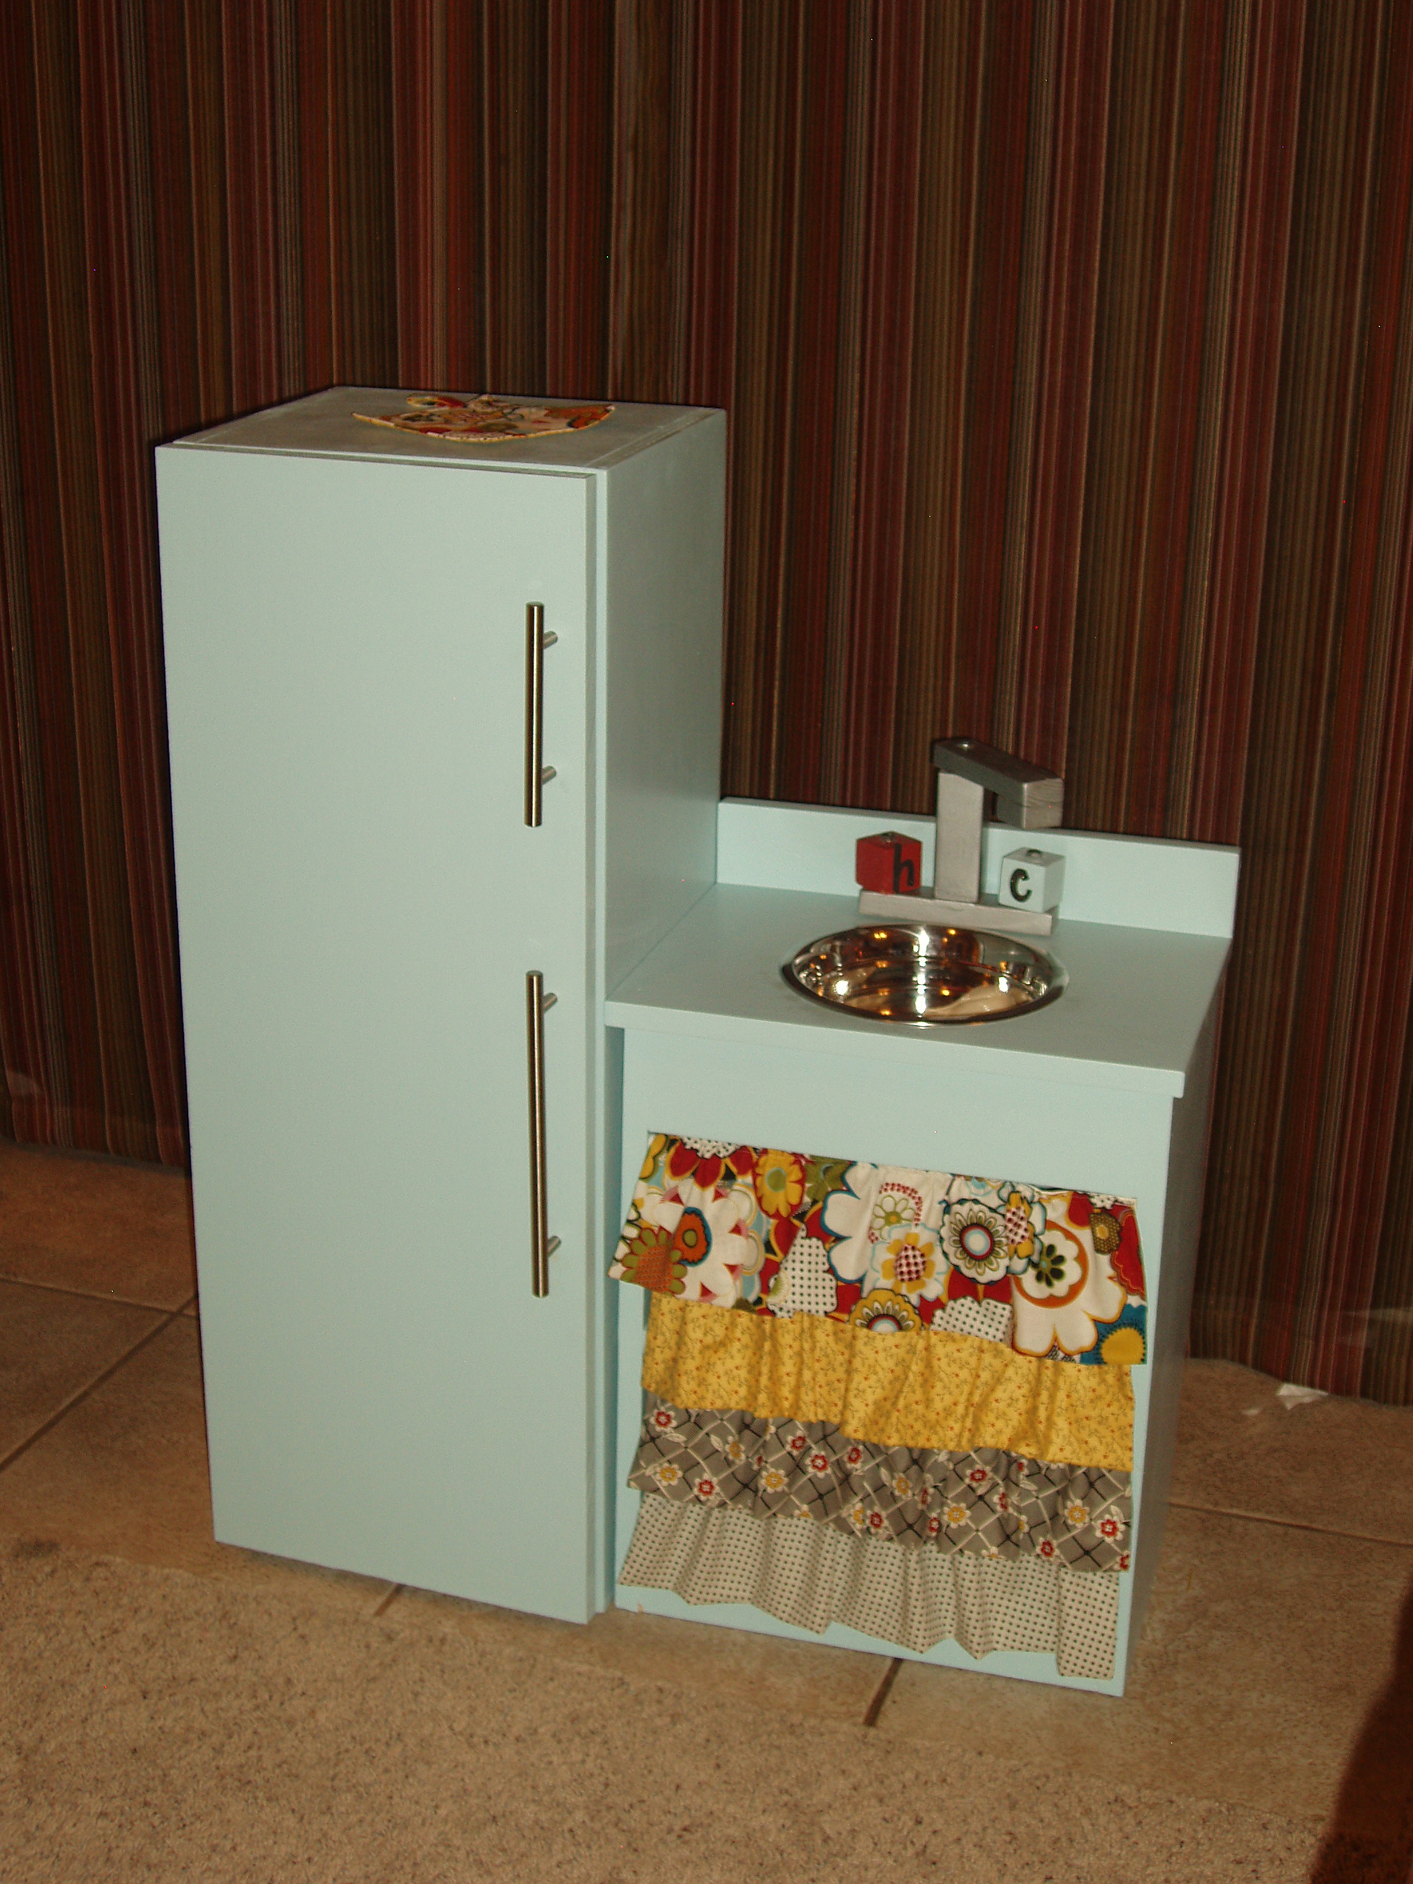
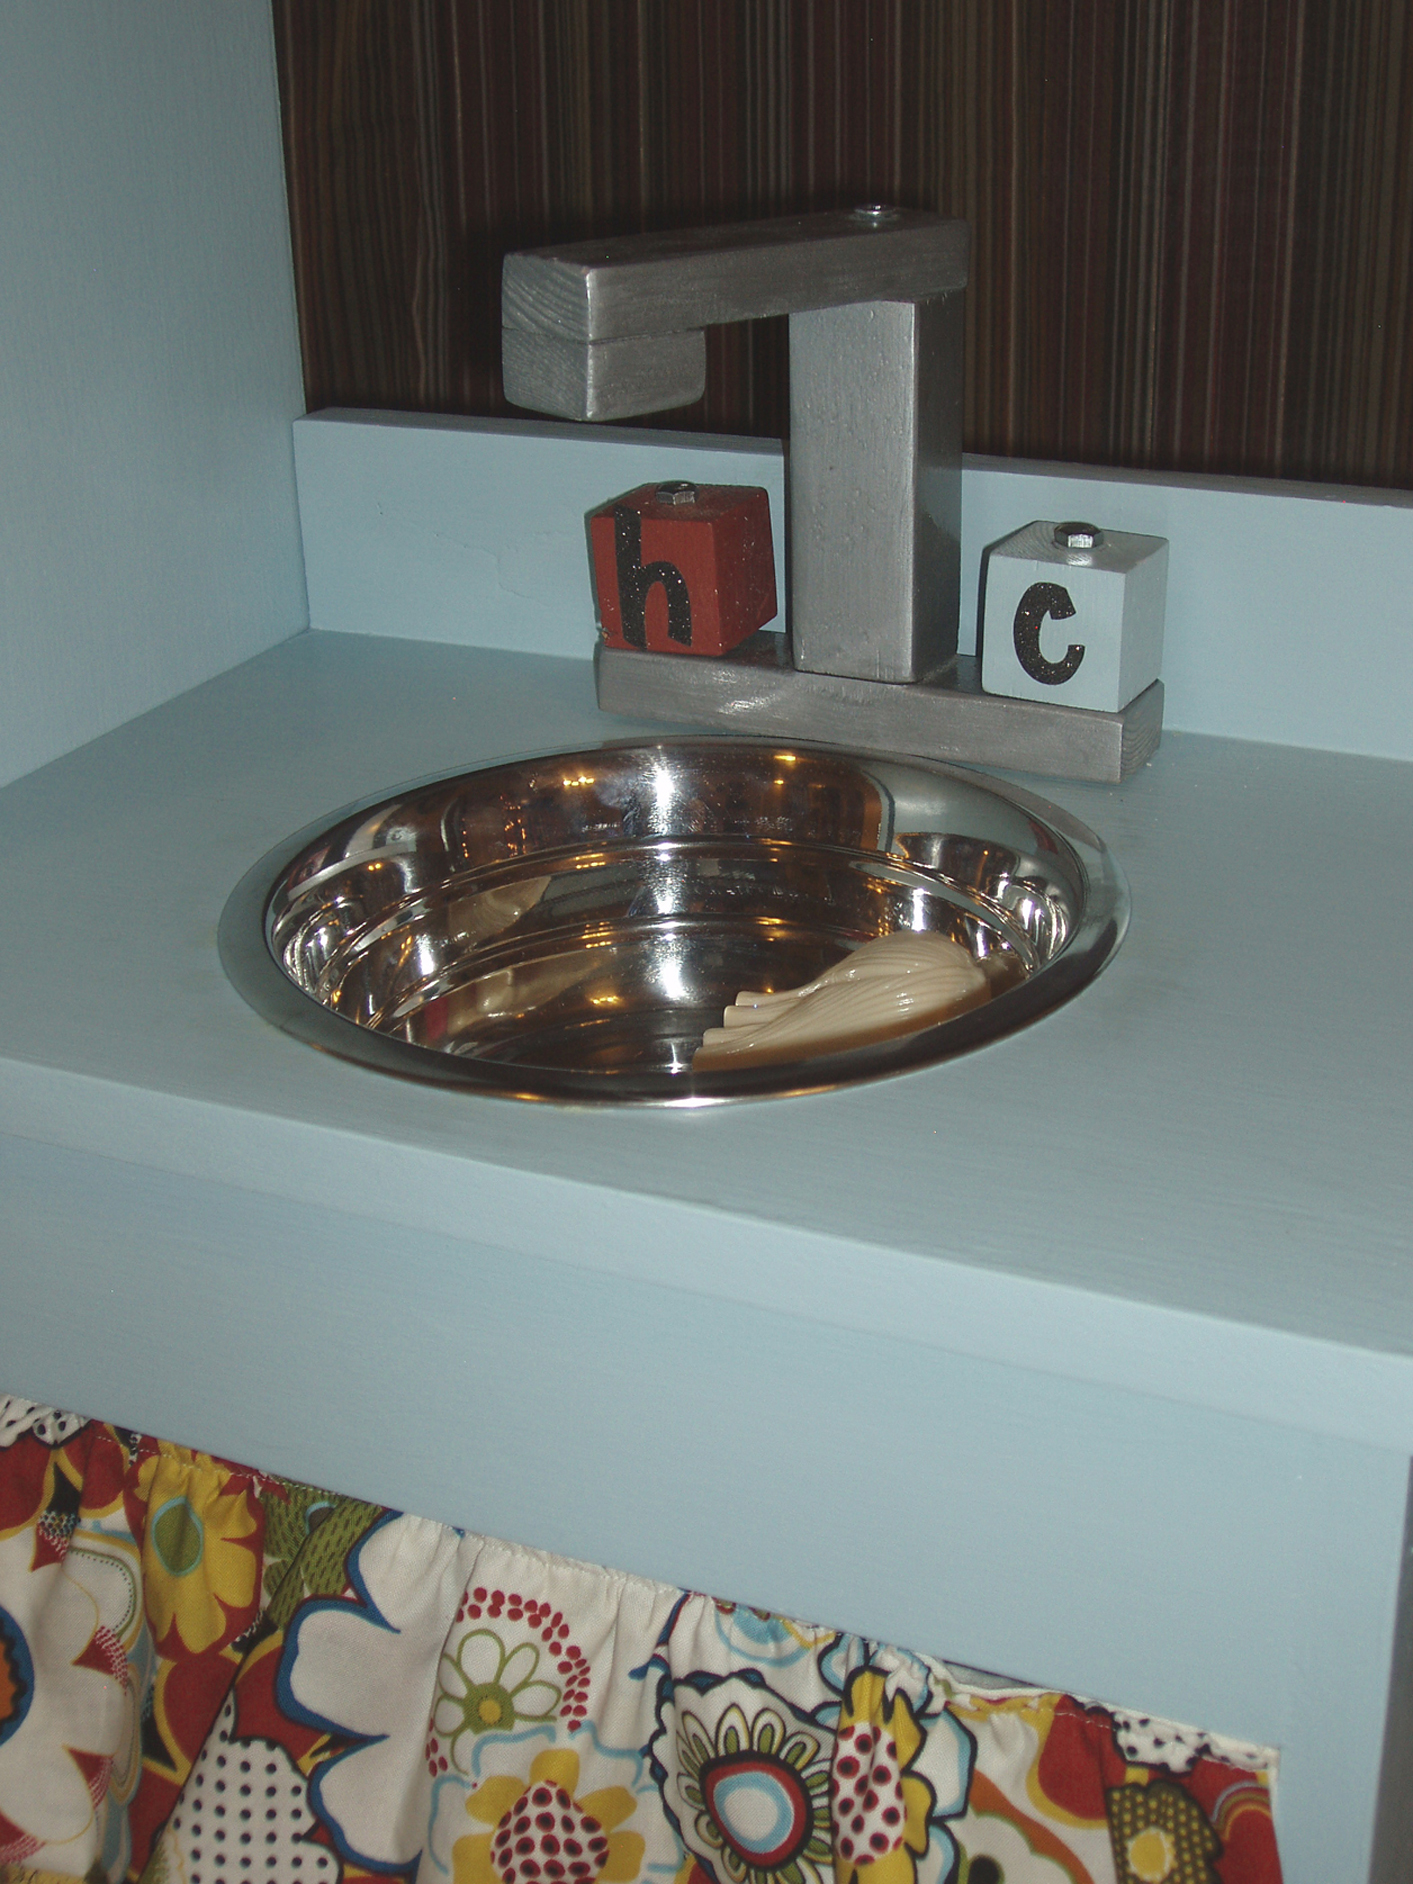
Love this site! My grandaughters were coming to stay and I was in the process of making a playroom/bedroom for them. I stumbled across this site just in time. I made the kitchen using the stove and sink plans from grace's kitchen except I combined them into one. So instead of having two seperate units, I just combined them together using one side panel for both, (making 3 20" long panels instead of 4) and placed one long countertop and backsplash. I used a candlestick holder (painted red) for the faucet, glued in a 1/2" in. threaded plastic nipple I had from the outdoor sprinkler system, and screwed on a hose for an icemaker for the refrigerator, (found at lowes in the plumbing department (cost 3.99)(I'm a widget girl!!) I love to look for things that could be used for something else. Then walaa, a faucet!!
Fri, 07/08/2011 - 12:43
My color inspiration for this project came from the clabborgirl baking powder tin, (pictured). Just to let you know inspiration can come from just about anywhere!!
Wed, 08/01/2012 - 05:08
I was thinking of doing a combination sink and oven just like this! Yours looks great.
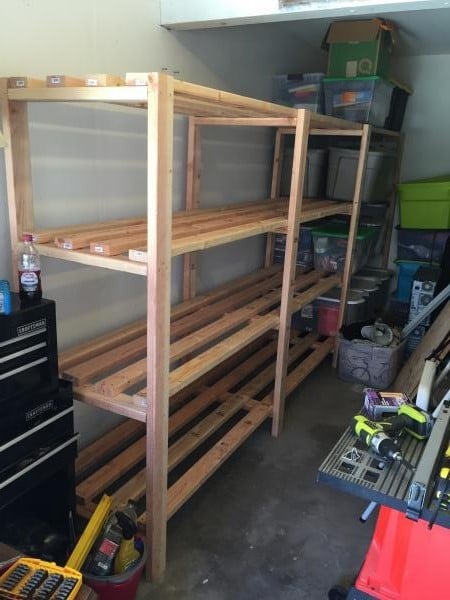
This was such an easy project to complete although it did take some time to measure and cut all the boards. I could only transport 2x4s at 8' so after cutting the height to 6' for the braces I used the extra 2' for the shelf width. The extra width really helped with some of my storage totes. I made the first section at 5' in length to handle the heavier totes, and the second section I used the full 8' board with a brace in the middle. I wish my garage was a little deeper to handle 16' of shelves as it would have saved me a good bit of time. I'm also glad I have an extra ryobi battery to charge while I assemble. Gotta love how fast those things charge. Can't wait to try another one of your plans.
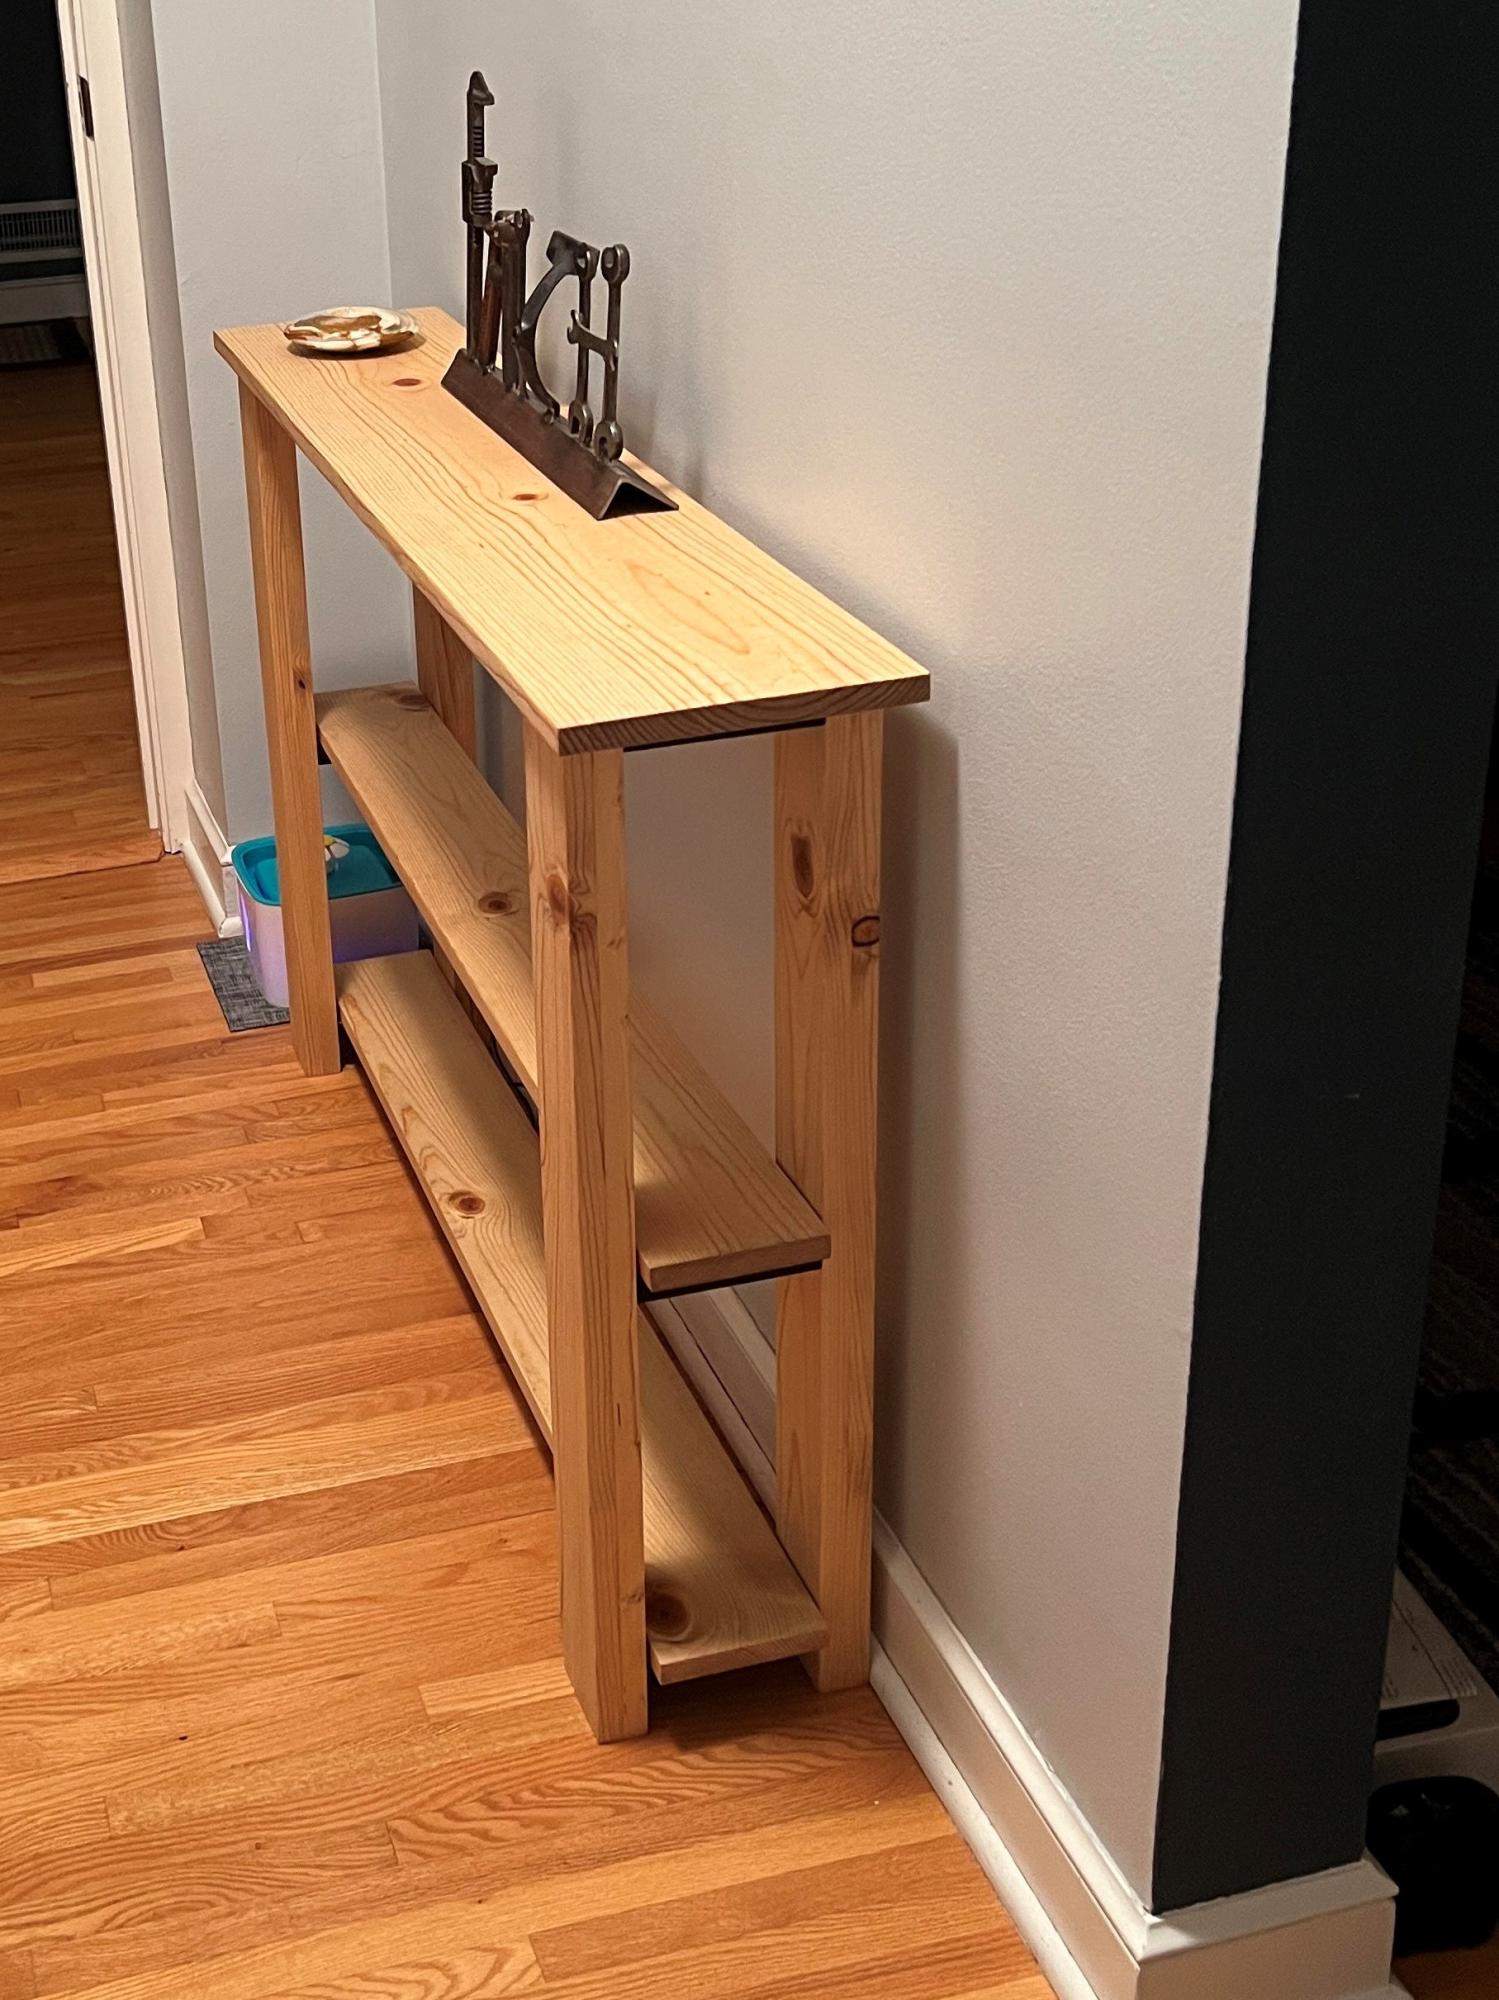
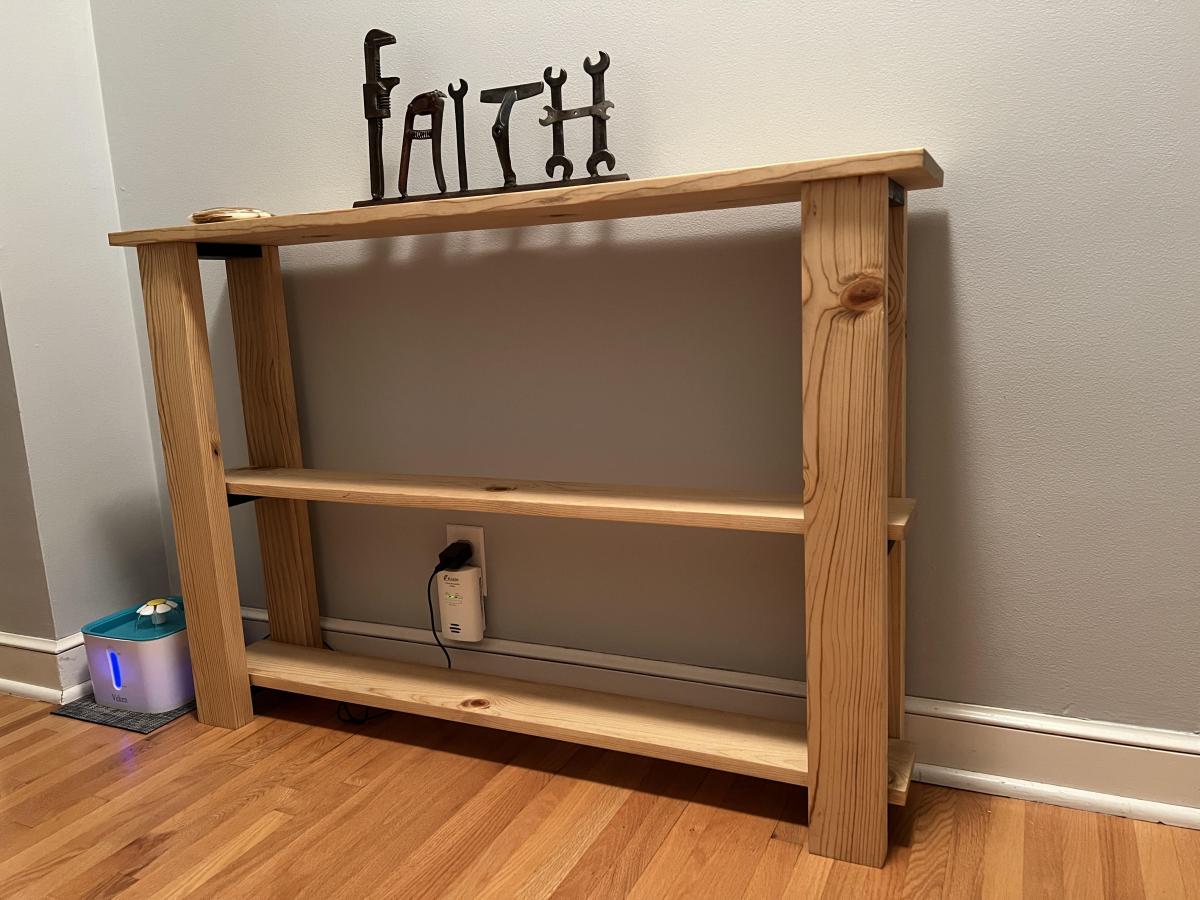
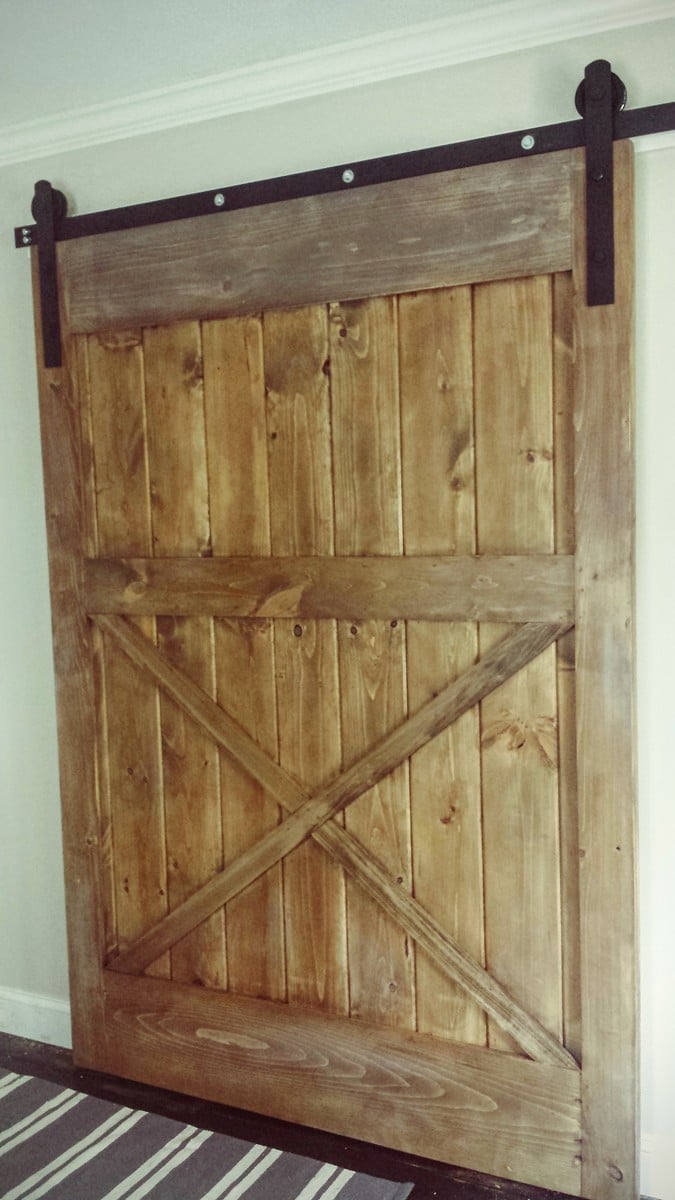
I used dimensional lumber for a little nicer look and laminated two boards for the legs. I used light walnut danish oil to finish. I adjusted the width and got It the perfect width for my hallway.

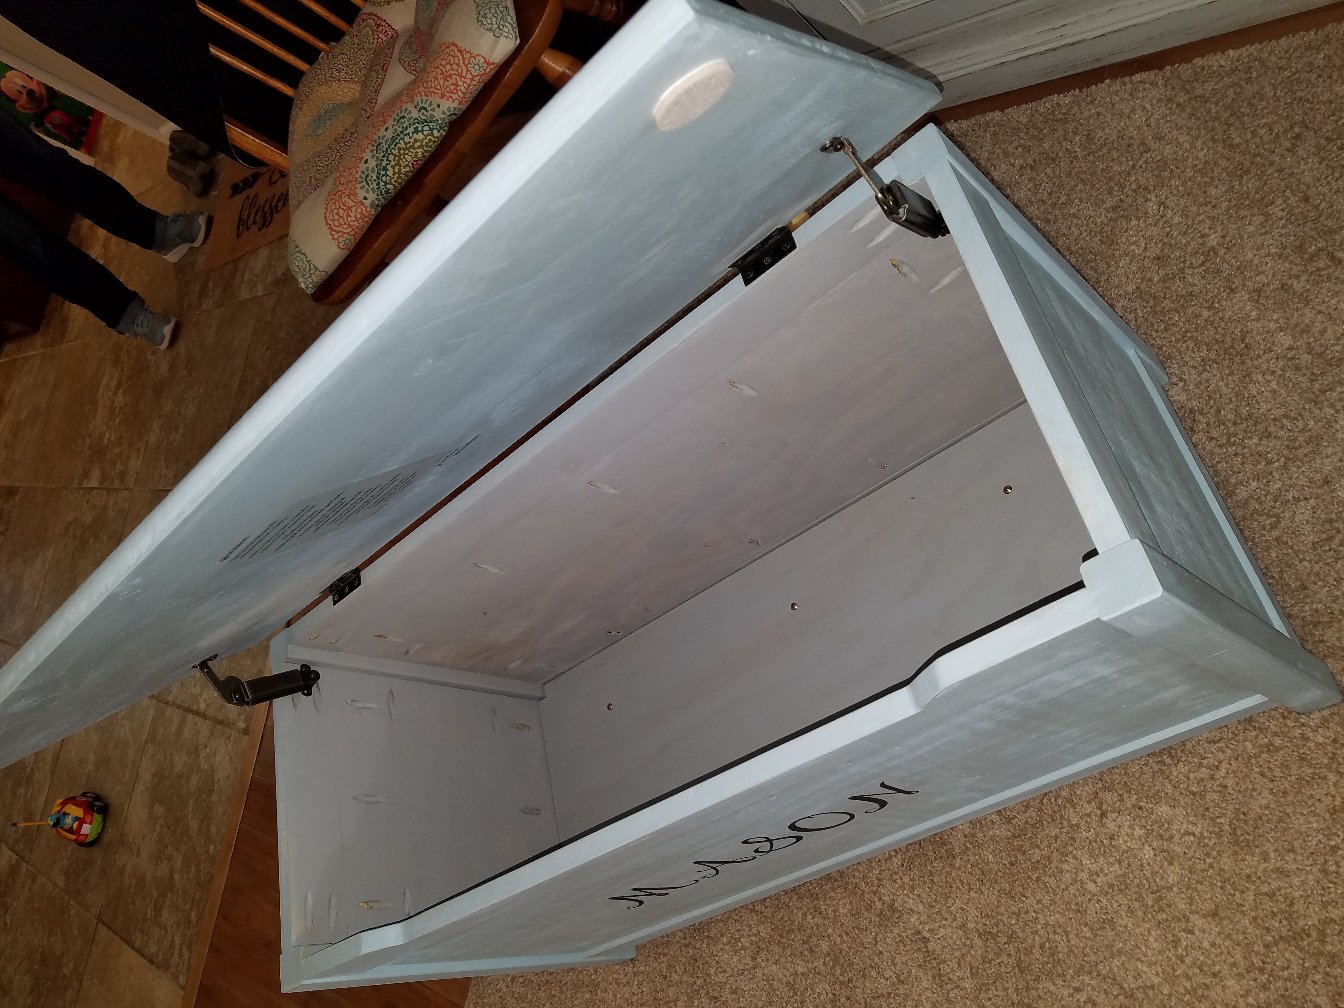
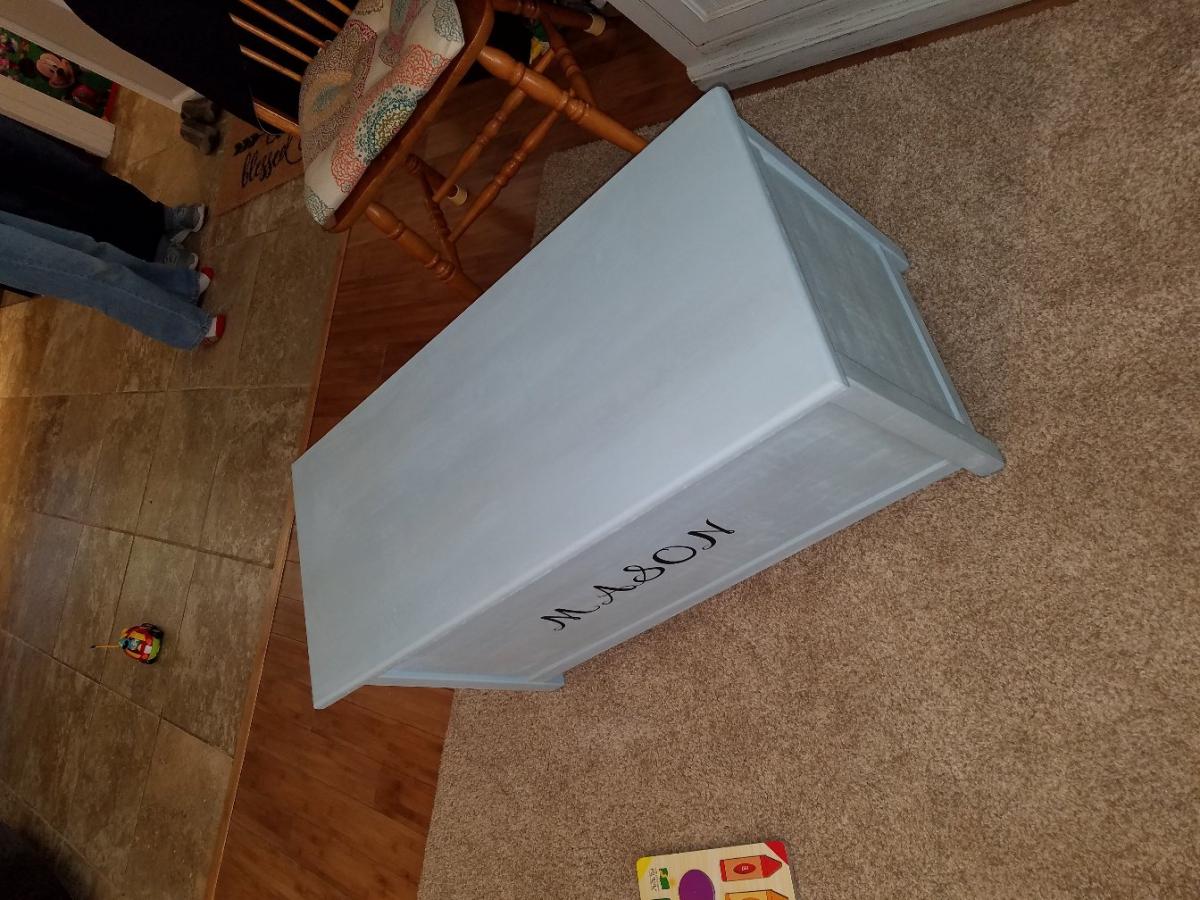
I had a leftover sheet of 1/2" plywood, so I built this toy box. The pocket holes didn't work very well on the 1/2" plywood, so I added some angle brackets for security, but it's a great toy box, bigger than I had imagined! I had to add a sheet of plywood in the open side because the bottom was too low for my 2 year old--toys kept falling in and he couldn't reach them, but kept trying to climb in after them!
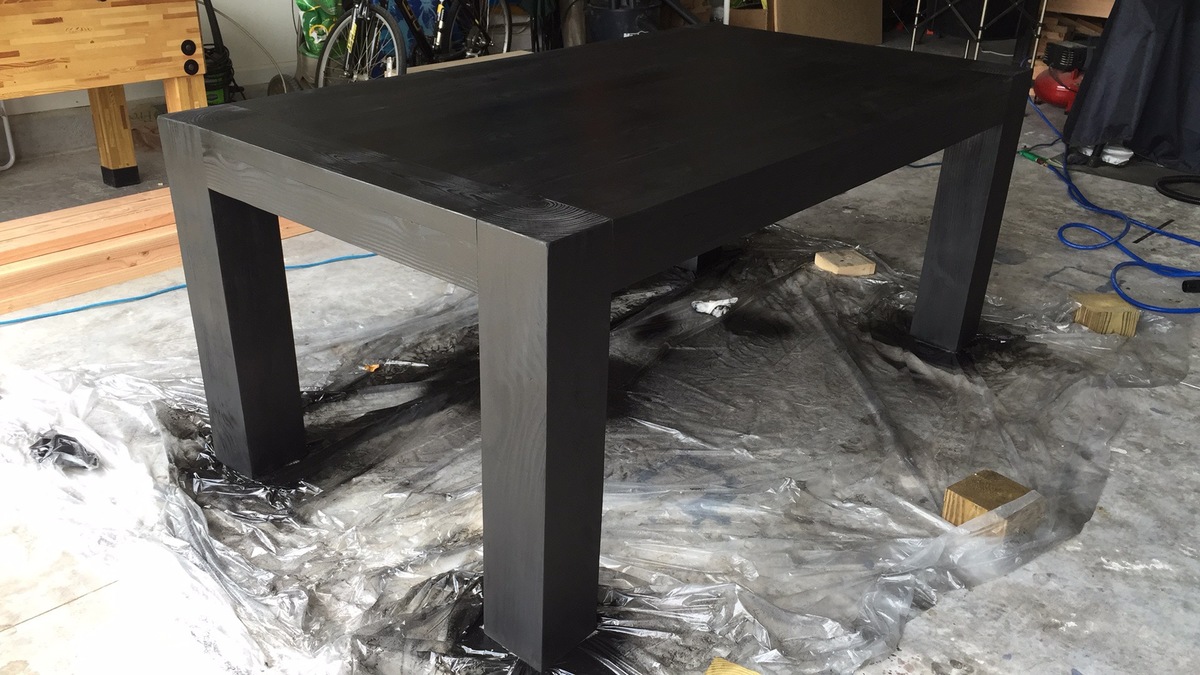
I have decided to build the iTable as a dining table last weekend and I am very happy, this is becoming our new dining table! I used 6x6 for the legs and stained with ebony stain, and protected with 3 coats of polyurethane.
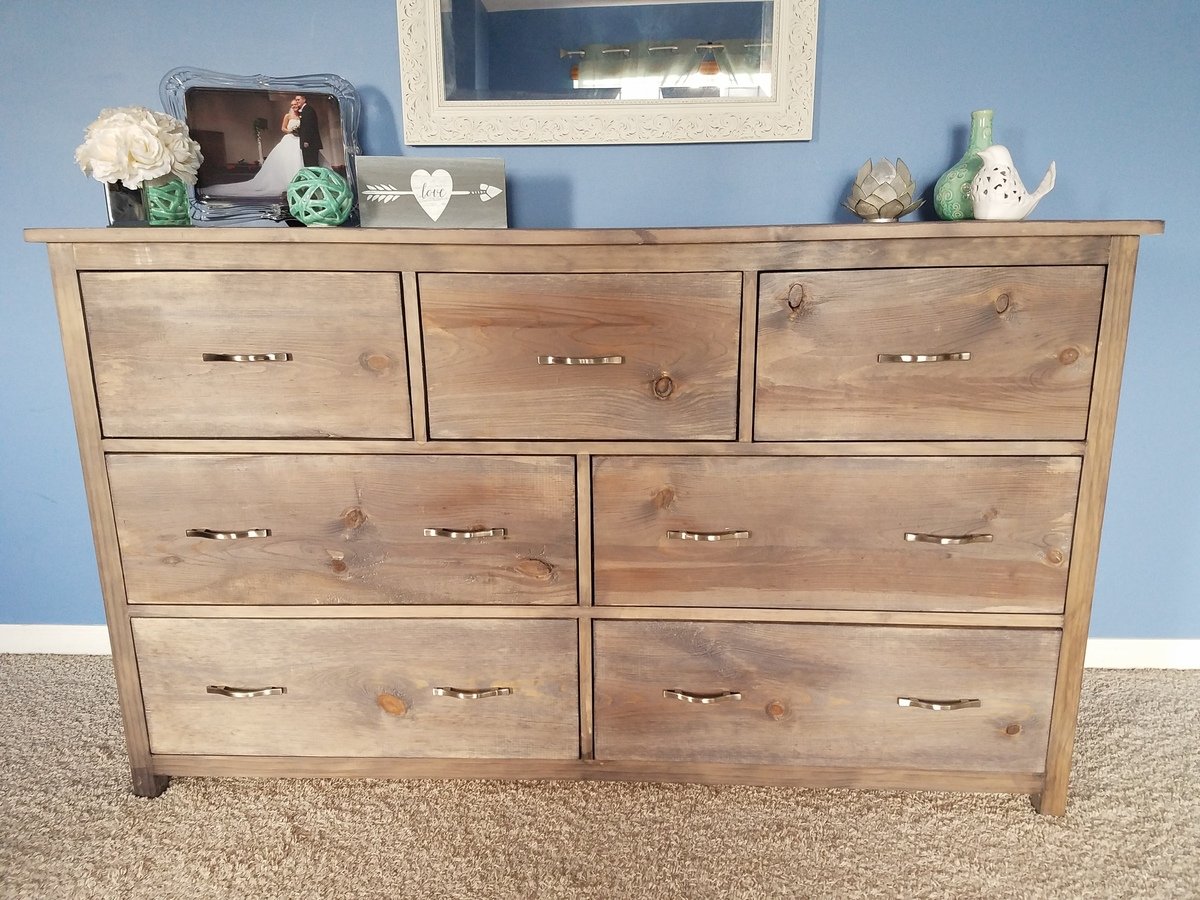
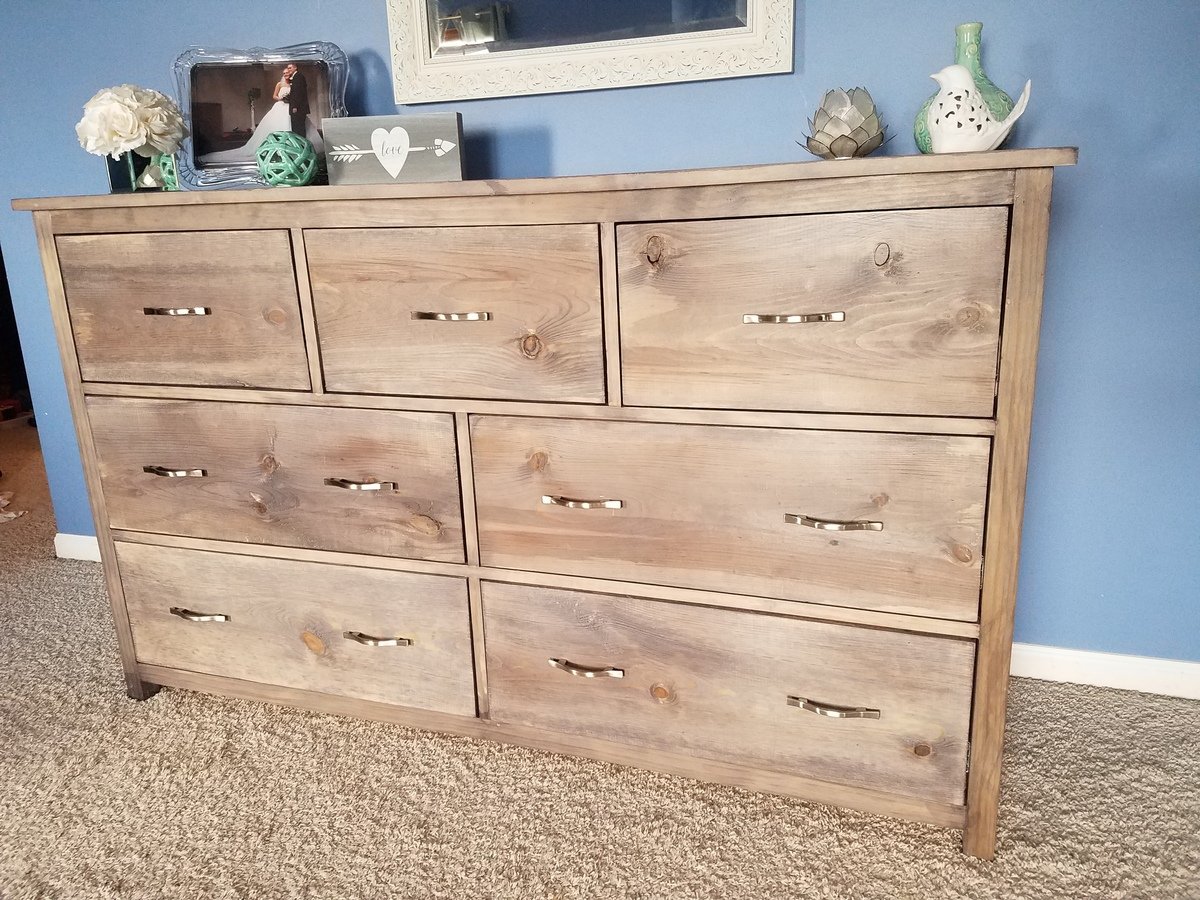
First time using drawer slides, and what a learning curve it was! The color is Varathane Weathered Wood Accelerator. This piece is huge and heavy! Absolutely love it and rebuilding other bedroom pieces to match this color. I also built a matching dresser which is taller and much more narrow. It can be found here: http://www.ana-white.com/2018/08/DIY_furniture/tall-bedroom-dresser
Mon, 03/01/2021 - 12:41
Are there plans for this dress, or the tall matching one?
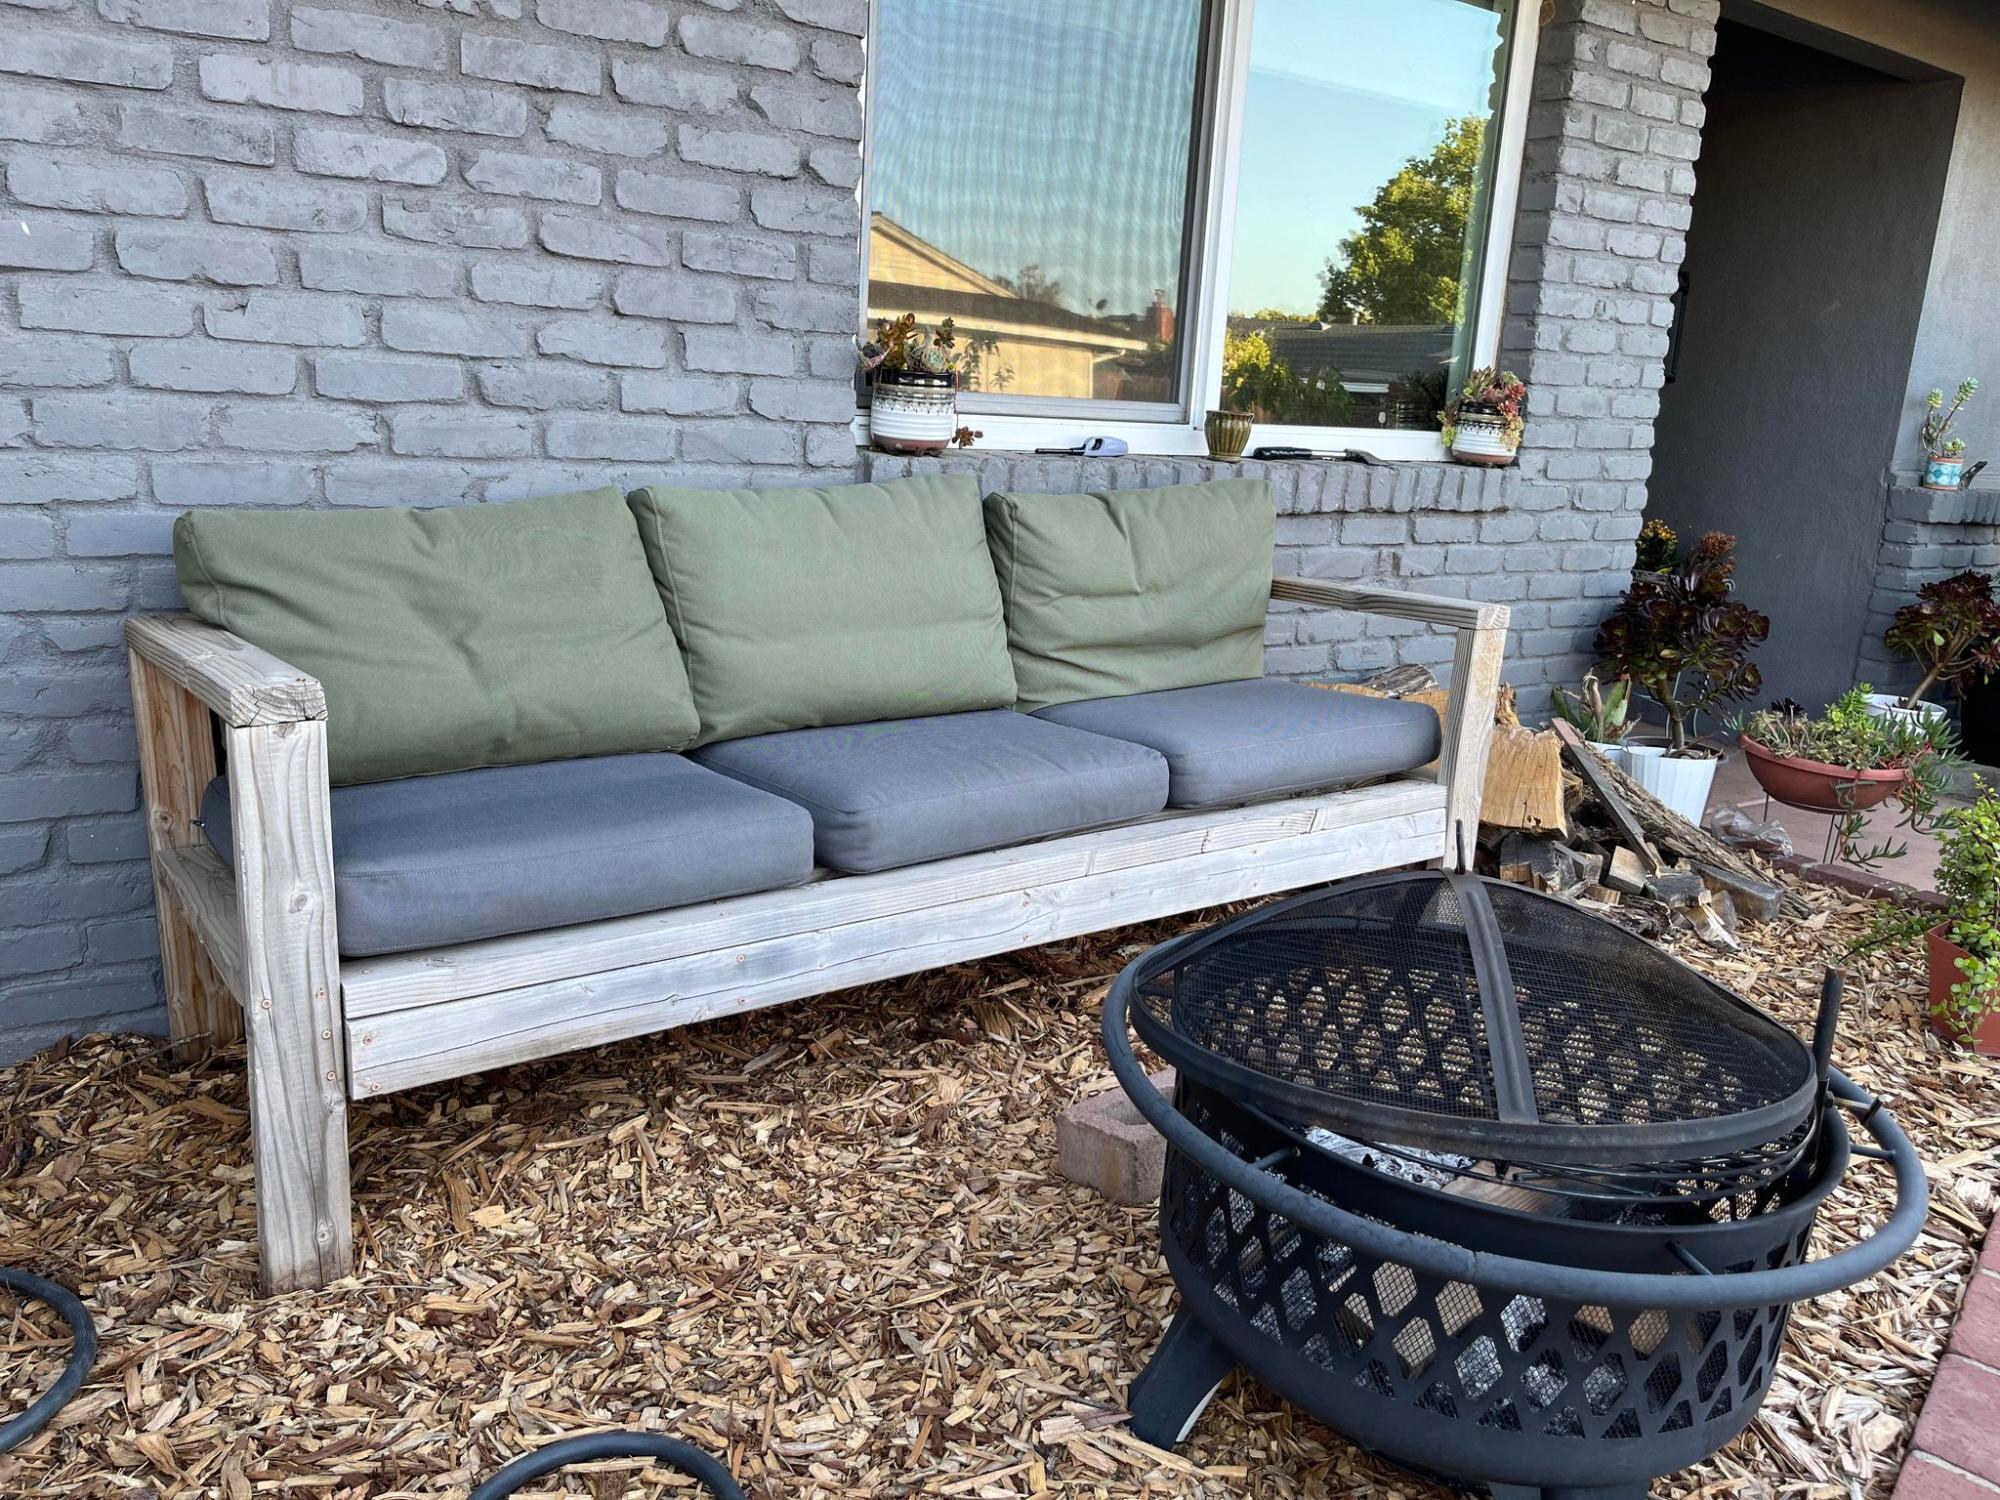
My husband loves seating on this sofa while reading his scriptures or sometimes to take a nap. I got the cushions and pillows from Ikea. I can't wait to build another one or two, possibly with my sister-in-law. Thank you for the tutorial :-)
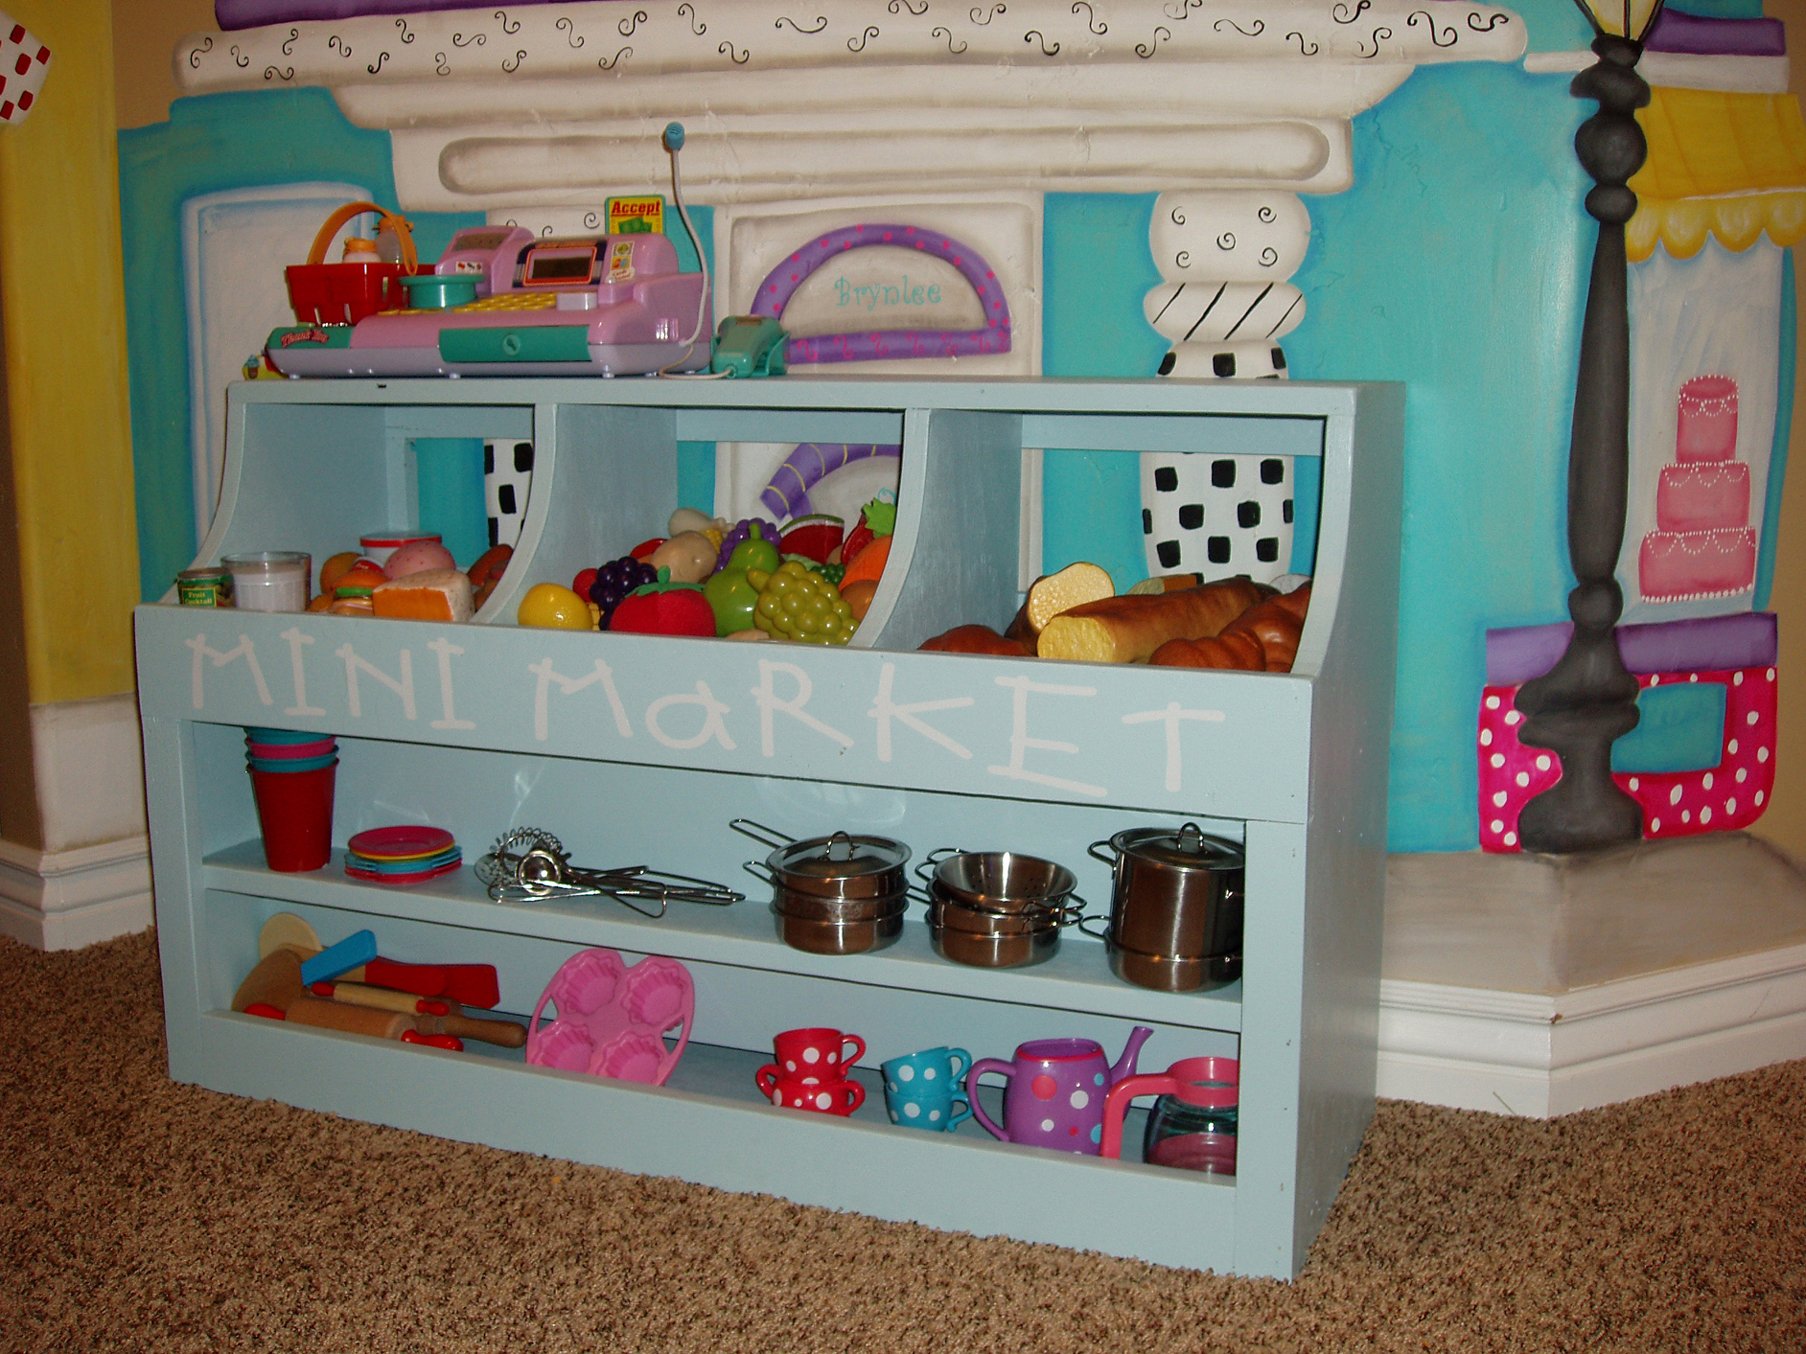
The play kitchen is the favorite play area at our house! The girls and their friends play here for hours and that includes our 11 year old and her friends too! If you haven't built this set yet, it is a must! Give yourself plenty of time to finish it if you're going to give it as a gift because for me, the building was the easy part! It's the finish work that takes FOREVER!
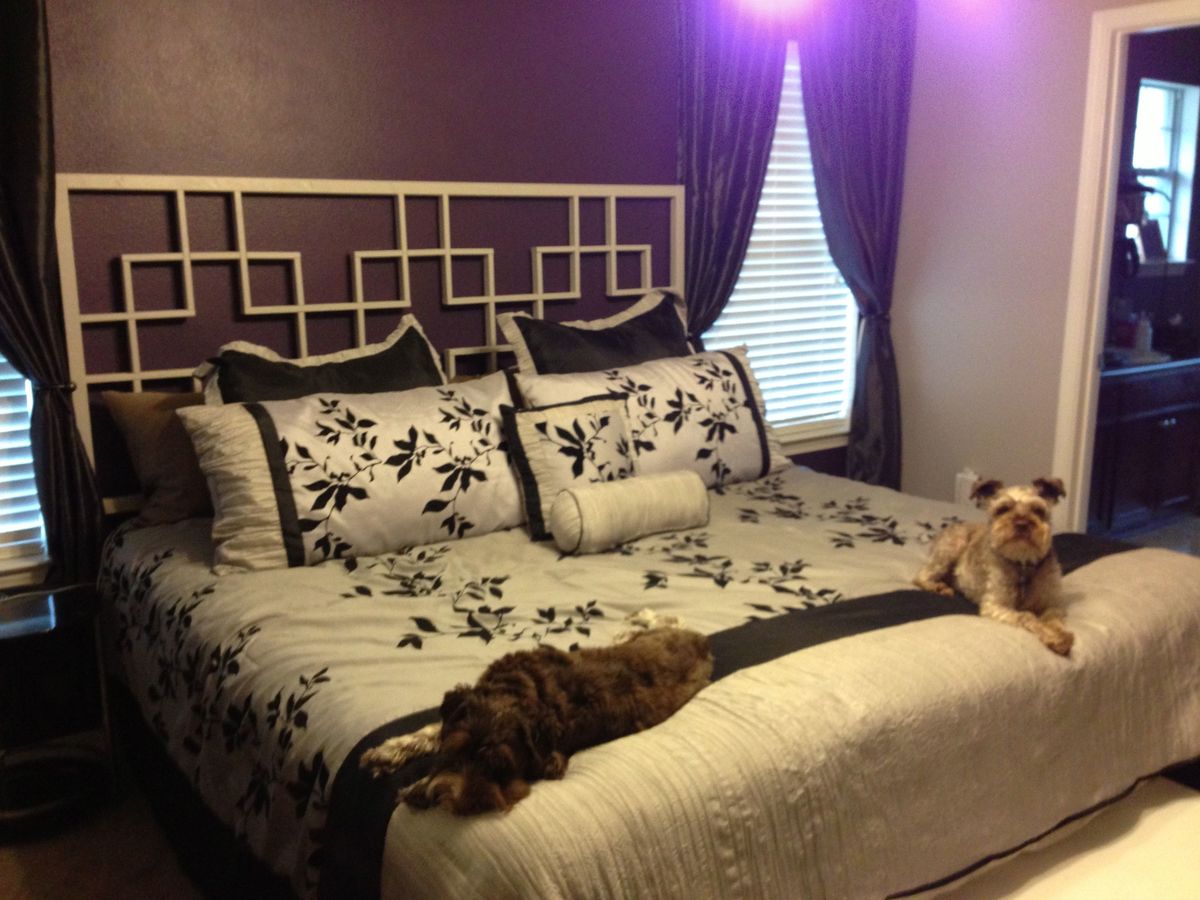
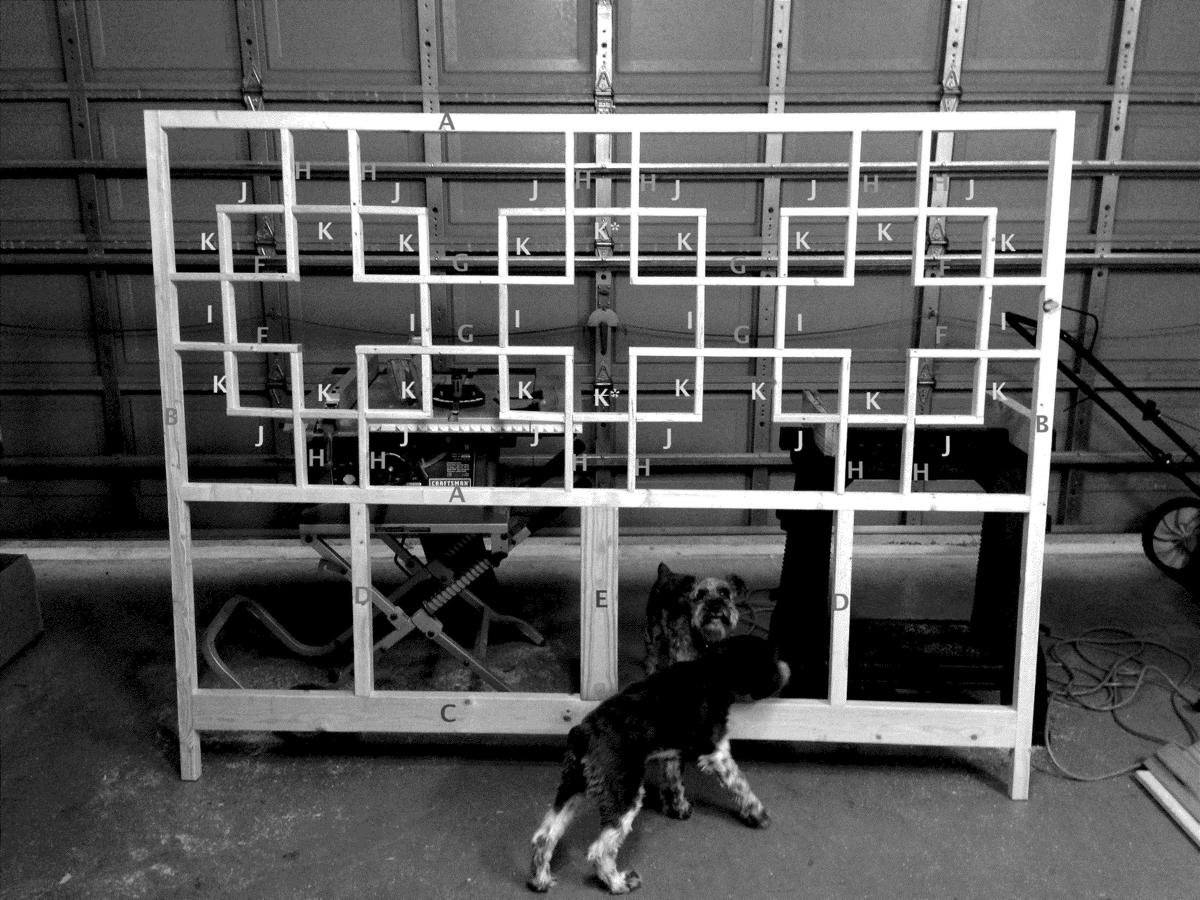
Adapted the original Queen plans to a King with a bed height of 27". Thanks for the original plans. Here are the adapted cuts to match the labeled photo:
Squared2 Headboard – King Size Cutlist for bed height of 27”
A - 2” x 2” x 76 ½” x2
B - 2” x 2” x 61 ½” x2
C - 2” x 4” x 76 ½” x1
D - 2” x 2” x 18 ½” x2
E - 2” x 4” x 18 ½” x1
F - 1” x 2” x 11 1/16” x4
G - 1” x 2” x 19 ½” x4
H - 1” x 2” x 12 ¼” x12
I - 1” x 2” x 5 ½” x6
J - 1” x 2” x 5 7/8” x12
K - 1” x 2” x 5 1/8” x18 K* - (May need to be trimmed to 5”)
Lumber needed
2” x 2” x 8’ x4
2” x 4” x 8’ x1
1” x 2” x 8’ x5
1” x 2” board cuts
|
19 ½” 19 ½” 19 ½” 19 ½” 5 1/8” 5 ½” 5 ½” |
11 1/16” 11 1/16” 11 1/16” 11 1/16” 12 ¼” 12 ¼” 12 ¼” 12 ¼” |
12 ¼” 12 ¼” 12 ¼” 12 ¼” 5 1/8” 5 1/8” 5 7/8” 5 7/8” 5 7/8” 5 7/8” 5 7/8” 5 7/8” |
12 ¼” 12 ¼” 12 ¼” 12 ¼” 5 1/8” 5 1/8” 5 7/8” 5 7/8” 5 7/8” 5 7/8” 5 7/8” 5 7/8” |
5 1/8” 5 1/8” 5 1/8” 5 1/8” 5 1/8” 5 1/8” 5 1/8” 5 1/8” 5 1/8” 5 1/8” 5 1/8” 5 1/8” 5 1/8” 5 ½” 5 ½” 5 ½” 5 ½” |


Sat, 08/17/2013 - 16:19
Phew, this pattern requires a lot of math, doesn't it? You did an excellent job of customizing the headboard to the size you need!
I'm working (today) on getting measurements right for a Squared2 Dining Table, so seeing your finished product is helpful. =D Thank you!

Build Instructions and additional pictures:
http://www.instructables.com/id/Rustic-Pumpkin-Lantern/
This triangular pumpkin lantern could be a nice addition to your Halloween décor. To give the lantern an aged timeworn look, the rustic finish uses multiple layers of paint, rough sanding and then an outer layer of oak stain. Since the pumpkin is made from wood, I would suggest using LED Tea lights for illumination

Loved these plans. I made this with your plans for our grandson.
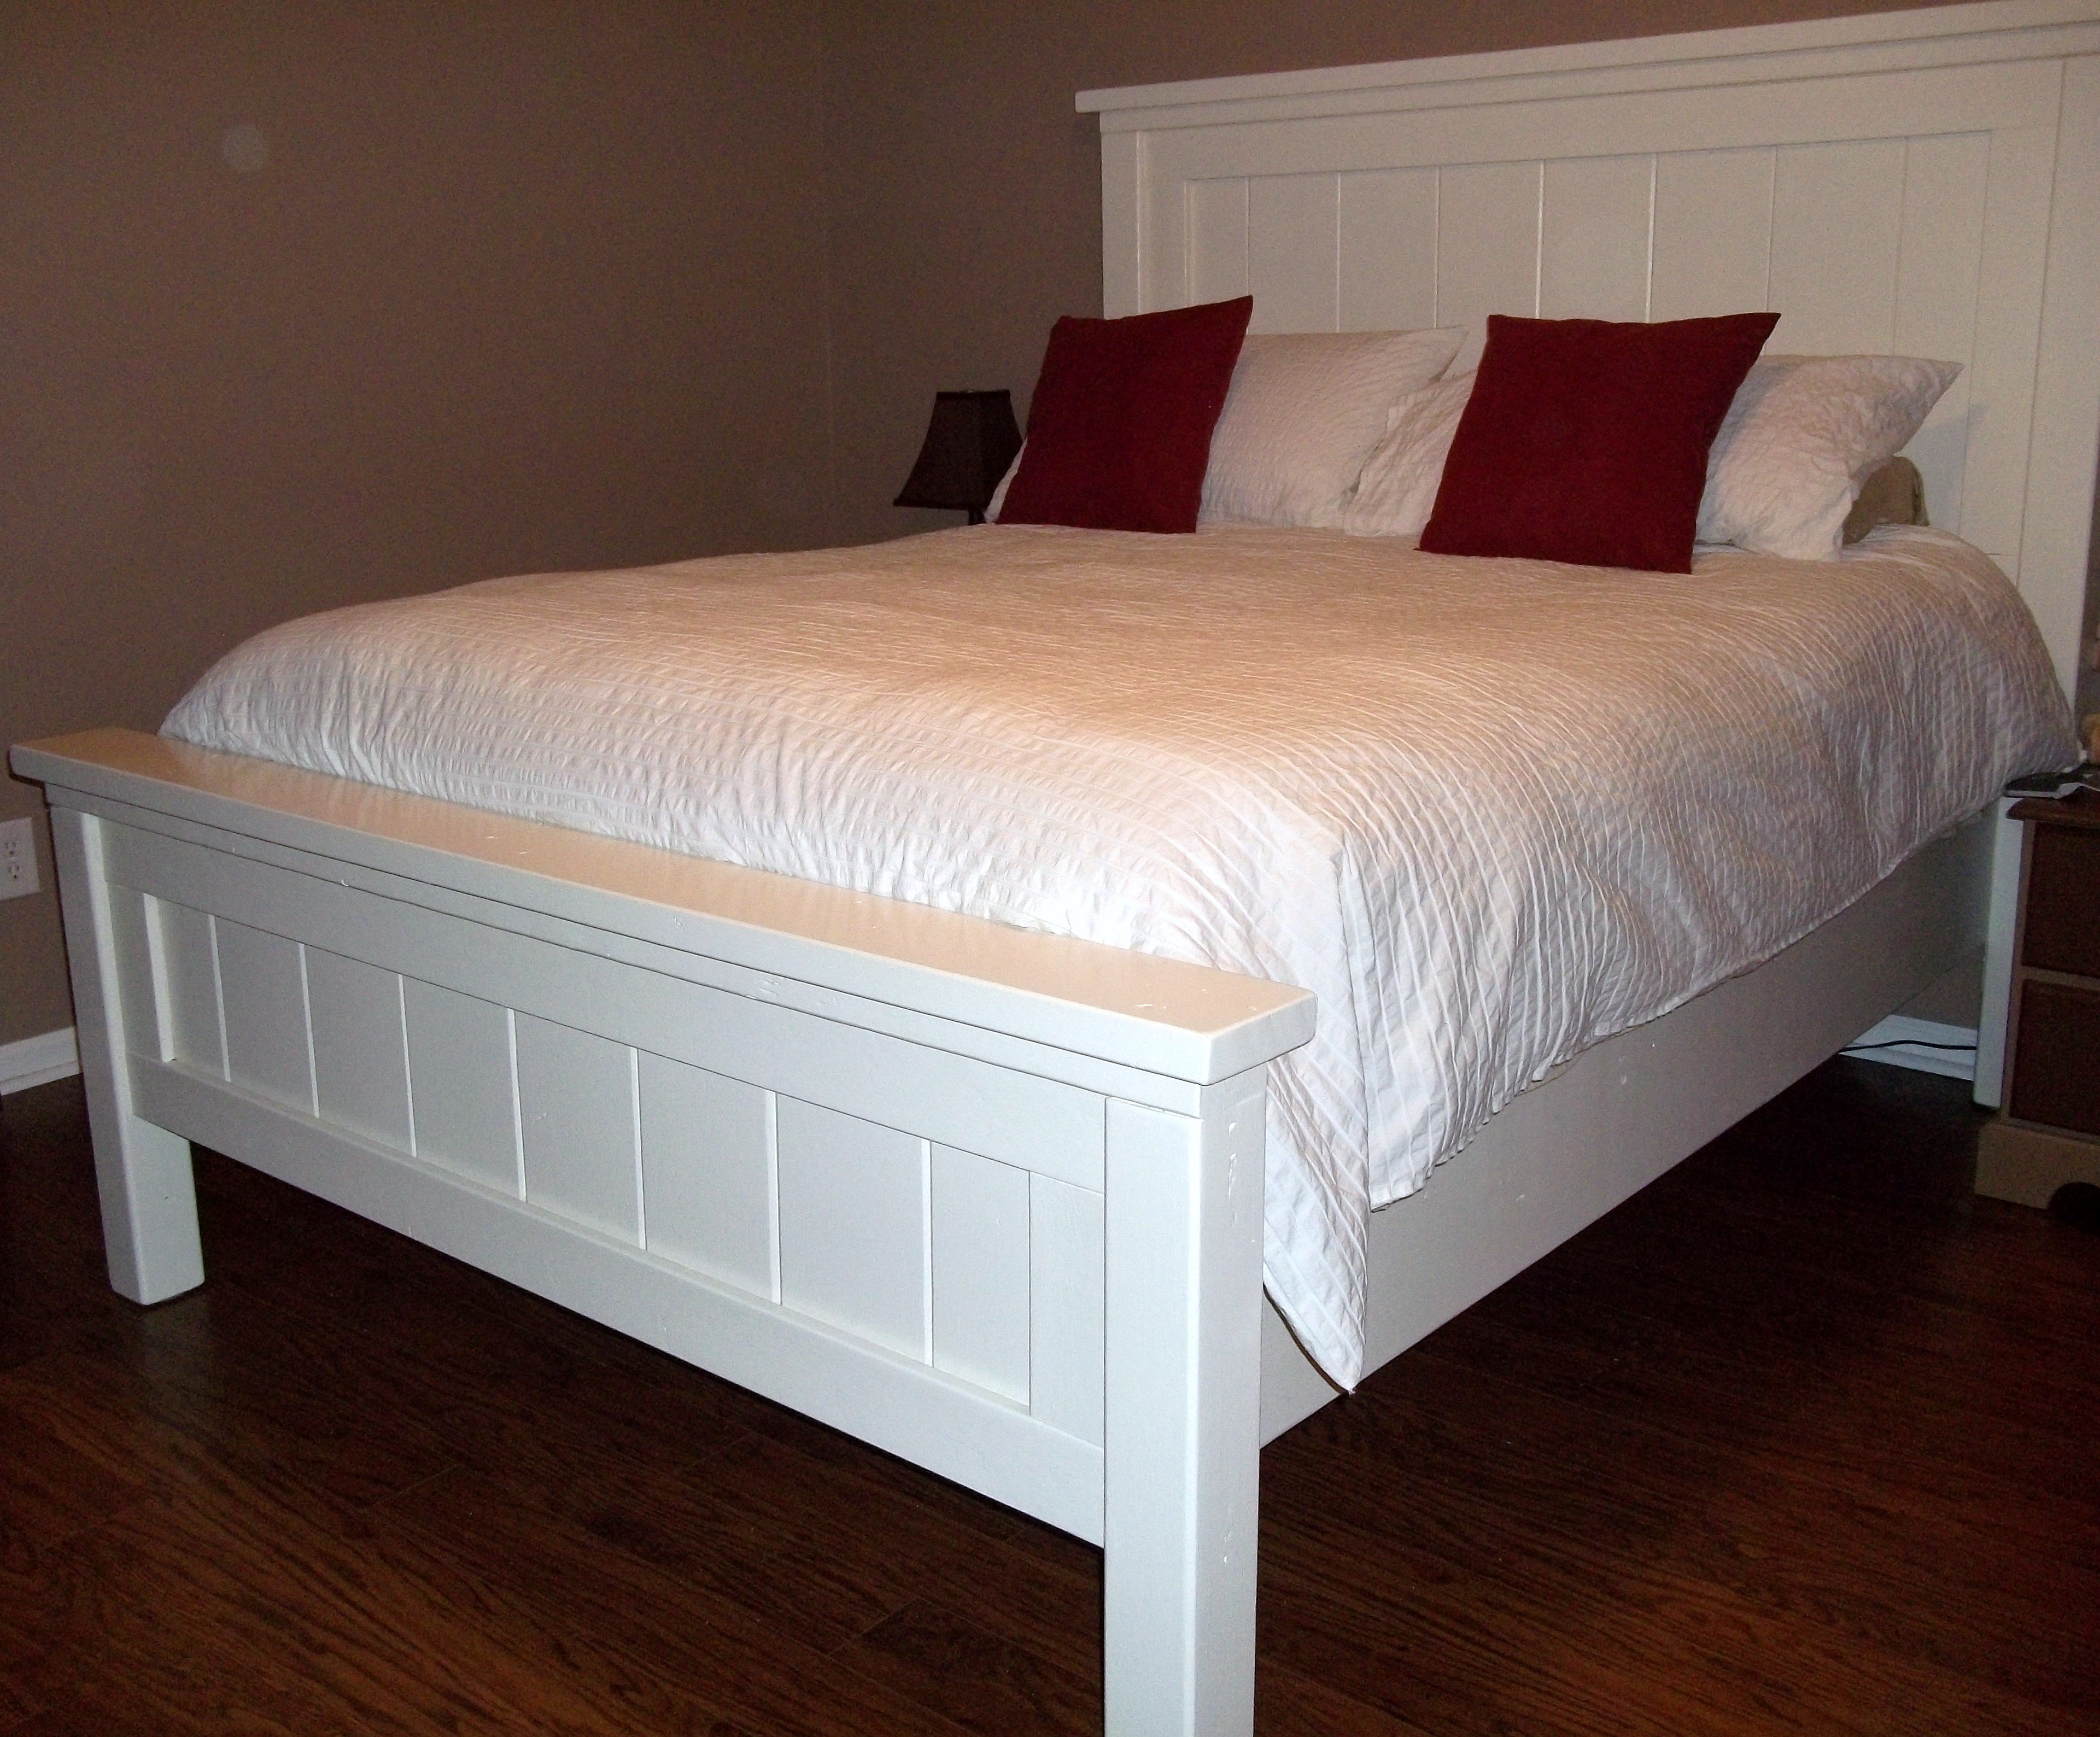
This bed is our first build. We added 4 inches to the height of posts on headboard and footboard. We also used brackets rather than screwing directly into footboard to make the bed easier to move if we ever need to.
Sun, 07/15/2012 - 01:43
I just finished building this same bed and I'm looking for
an easy way to mount it together invade I new to move it. Where did you find brackets for the head and foot board? Could you post a picture of them?
Thanks,
Brandon
Mon, 10/01/2012 - 00:42
How tall is the bed from the ground to the bottom of the side rail? I'm wanting 14" so I don't need a box spring {we're both tall so I don't want to feel like I'm on the ground}
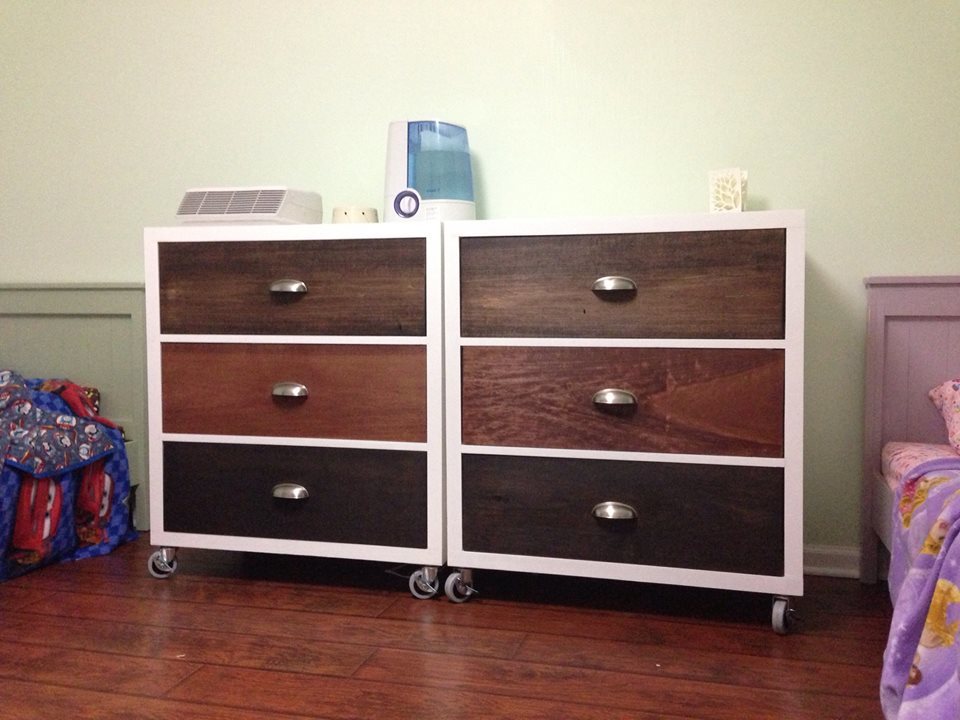
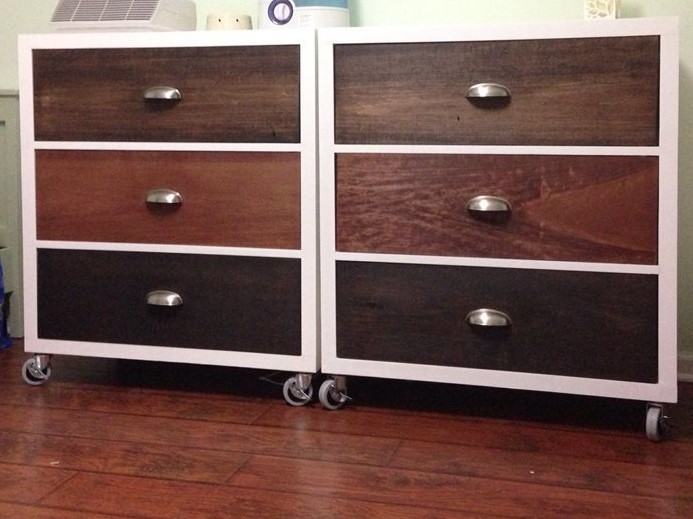
We decided to build these for the kids, to get the old Ikea dressers out of their rooms. The build went very easy. Now the kids have a room full of only handmade (ana-white) furniture!
Tue, 08/20/2013 - 19:55
Beautiful! =D I love the finish style you chose! I'm not typically a fan of drawer pulls, but I love the way it looks on your rolling dressers.

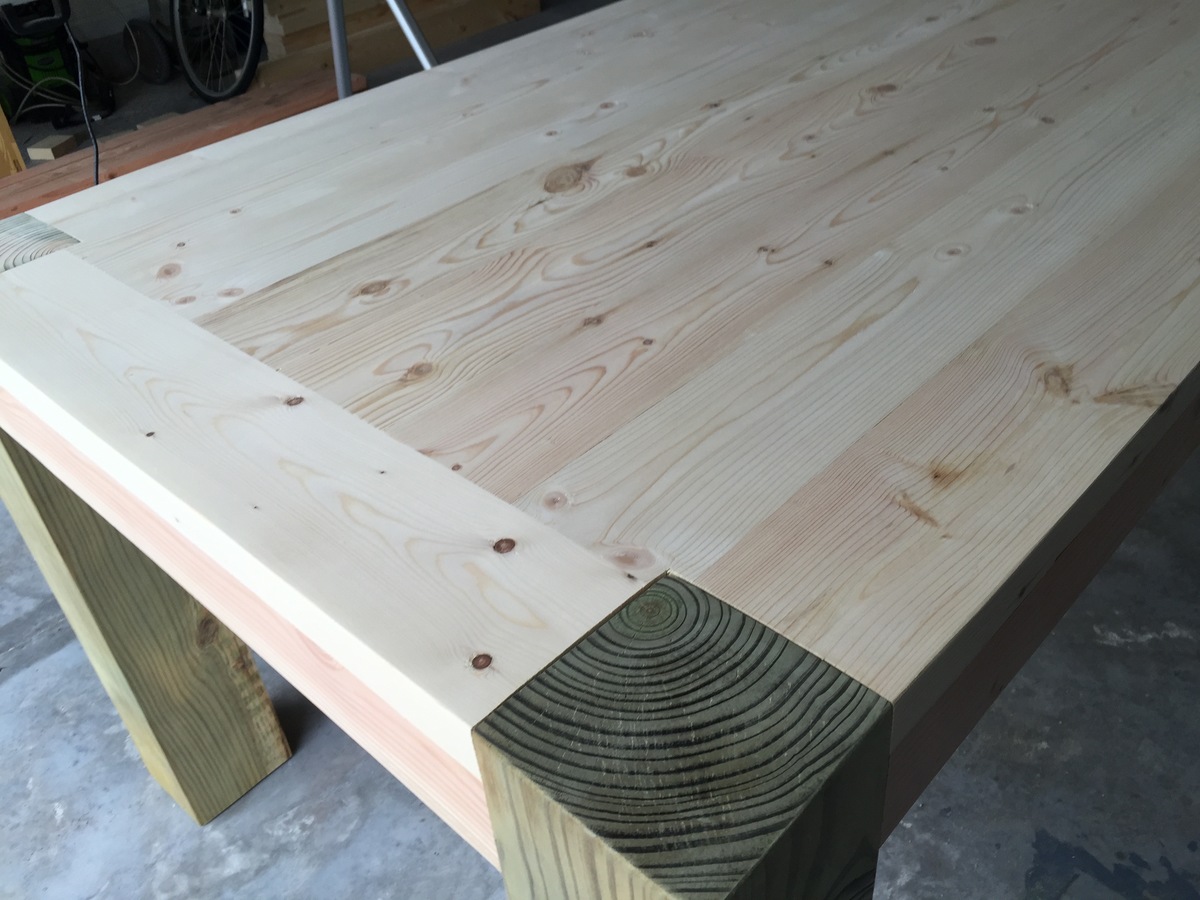
We adjusted the plans so this table top measures 84" x 48". Our chairs were also a little taller than normal, so we raised the legs to make sure the height of the table would be comfortable with the chairs.
I've lost all the math we did, so I'm sorry I can't help you make these adjustments. We made this table a couple years ago.
We used 4x4s for the legs and I'm really glad we did. A previous Ana White table we made, we used thinner legs and the poor thing squeaked like crazy. This table is much sturdier. We also used thicker pieces for the top which also adds to the stability.
A friend helped us plane the table top and fit it all together. It's just pine though, so we have had some warping, but it isn't bad.
We bought a kreg drill to make the assembly smoother. Love that thing!


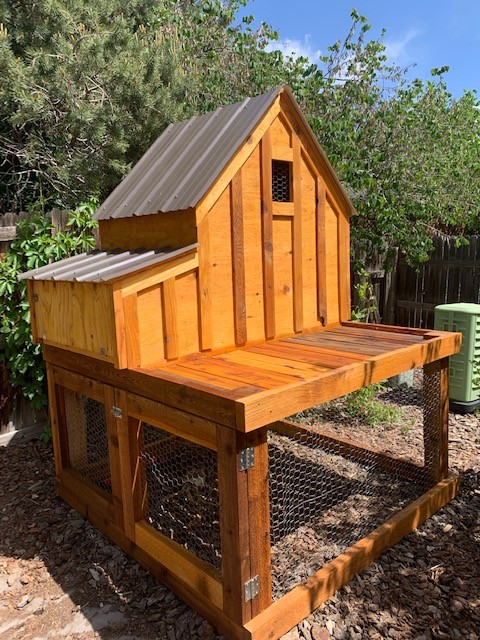
Thanks for the plans! We have a small backyard and I wanted something that we’d actually enjoy looking at. I skipped the planter box and will likely put some potted plants up there instead. All I need is a matching metal cap for the roof peak, and of course chickens!
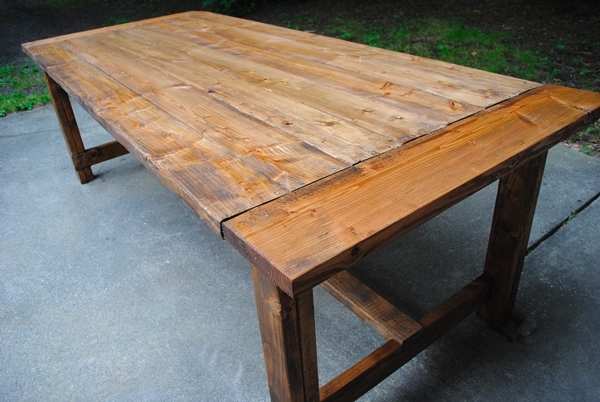
This is my very first woodworking project (except for a Paper Towel Holder in High school over twenty years ago).I have always wanted a long farmhouse table, so when I saw the plans,I was excited to try building my own. Thanks so much Ana for making this doable!
In reply to Great job! I love your by Lori E (not verified)
Thu, 03/26/2015 - 20:29
Thank you Lori!
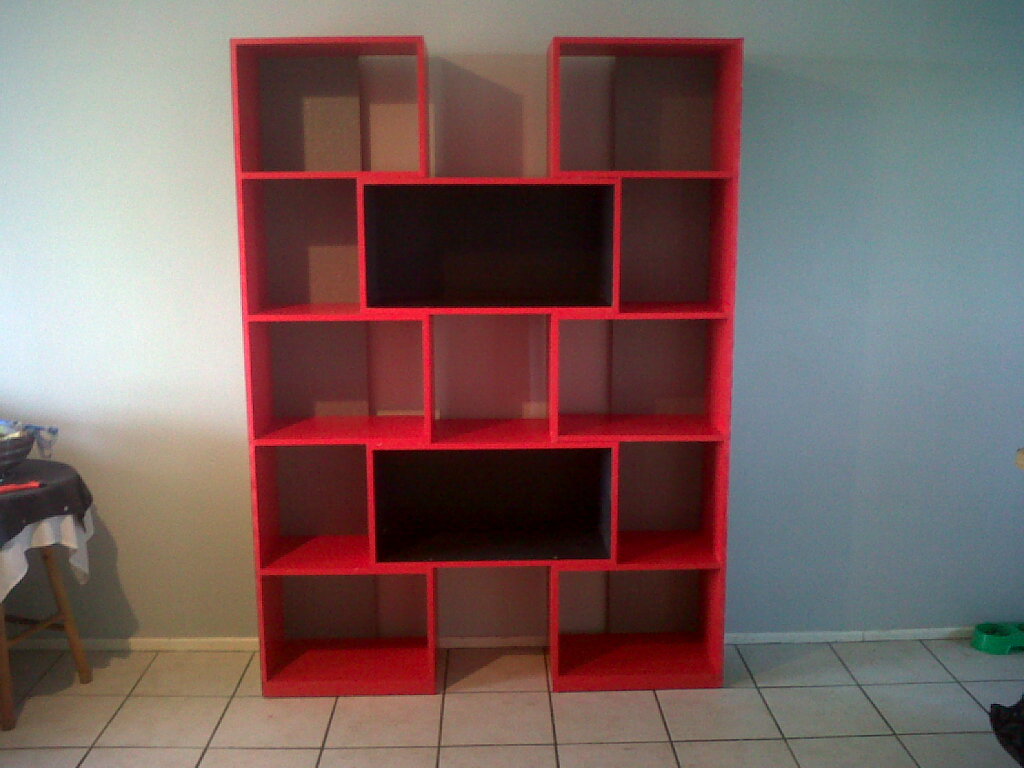
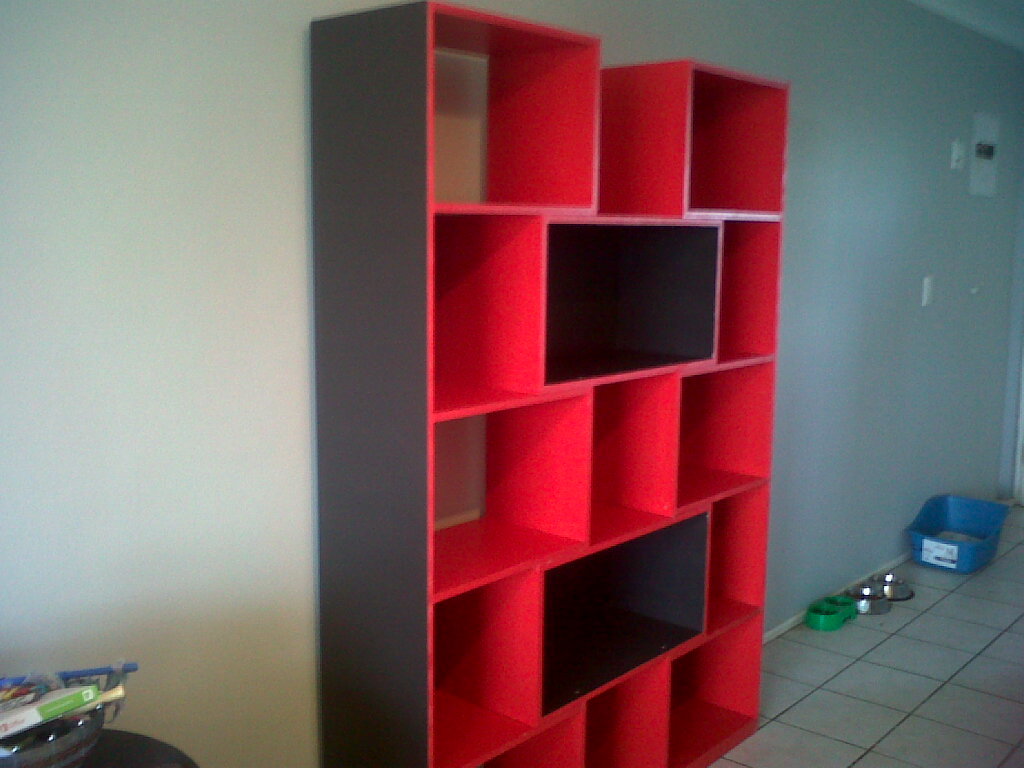
This was my first attempt at DIY - had to convert to Metric! thank goodness I calculated right - end product is awesome. I lined the back panels with textured Silver wallpaper - gives an awesome contrast.
I'm Hooked, already looking for my next project!
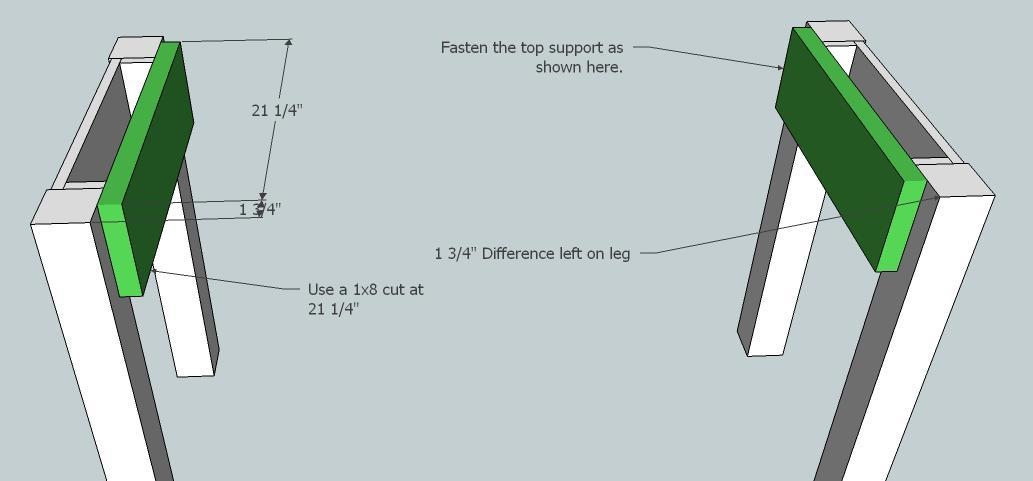
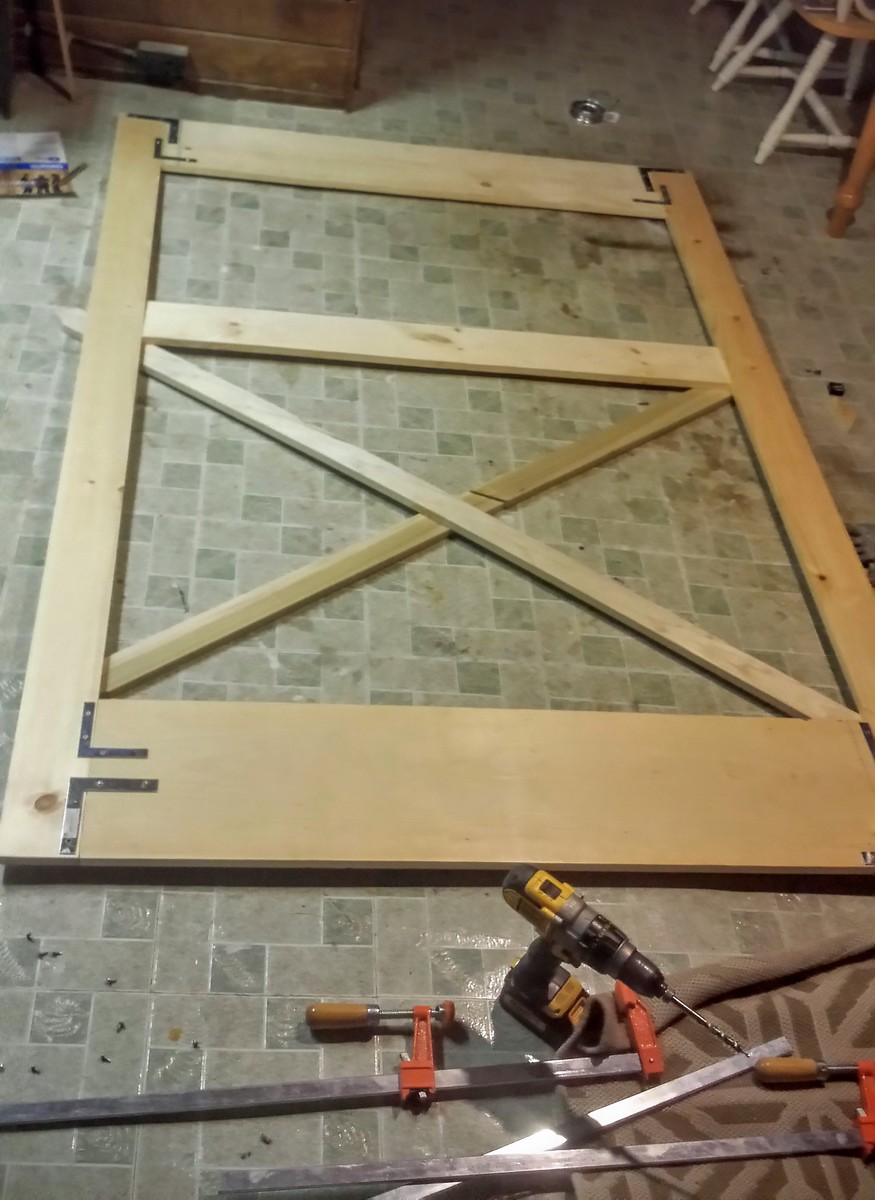
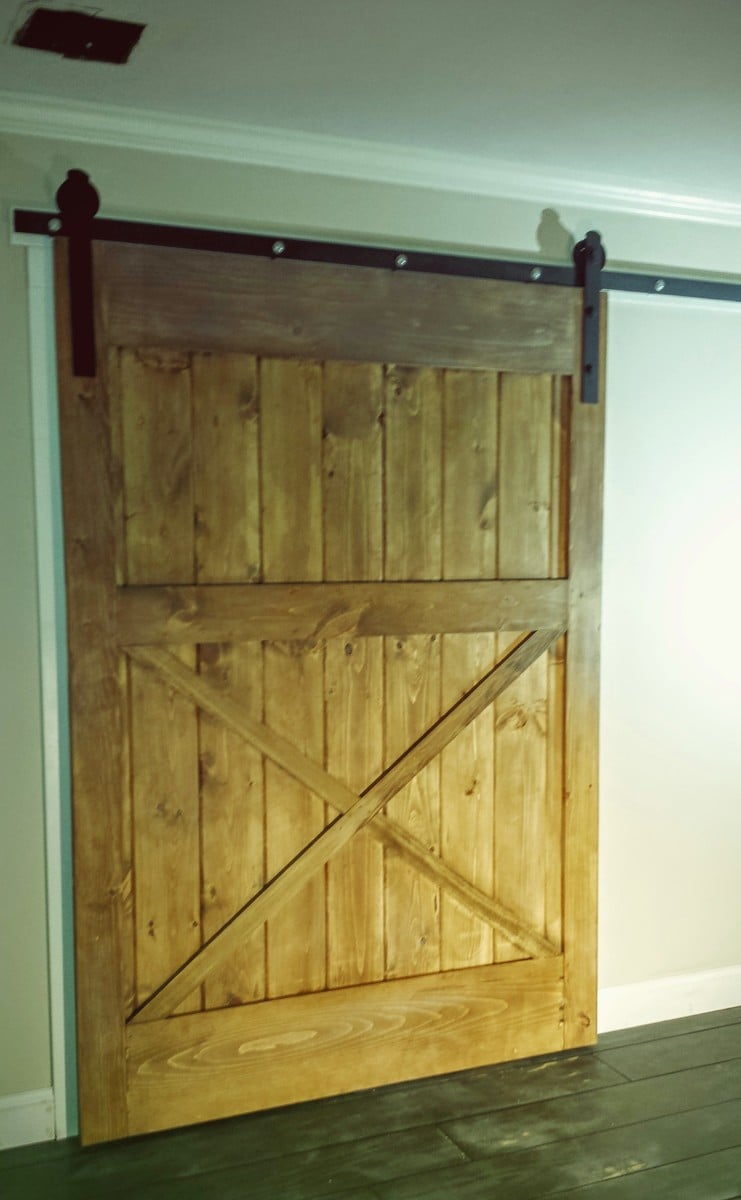
To date this has been my favorite and fullfilling DIY project!! Skills were learned, $$ was saved and it looks fabulous!!! It wasnt easy but it wasn't impossible. April WIlkerson provides a detailed tutorial on her website along with a fantastic youtube video on her channell. I hope this inspires someone else to take on this challenge!! If you have any any questions please feel free to ask me!! Enjoy.

Comments
Ana White Admin
Tue, 05/03/2022 - 10:36
Fantastic Island!
Beautiful job, thank you so much for sharing!