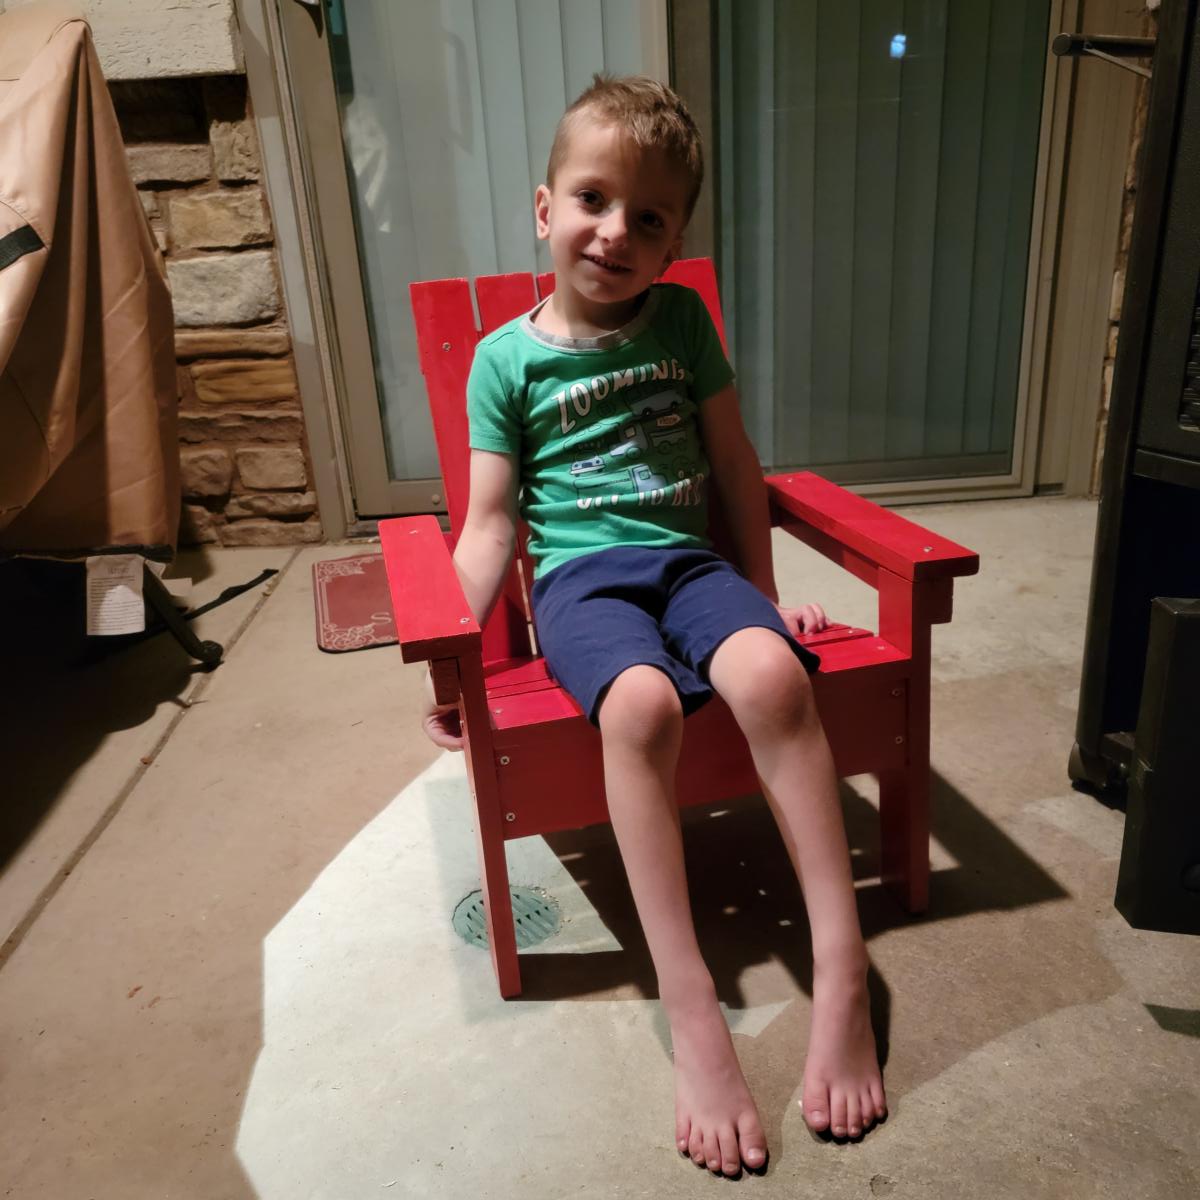
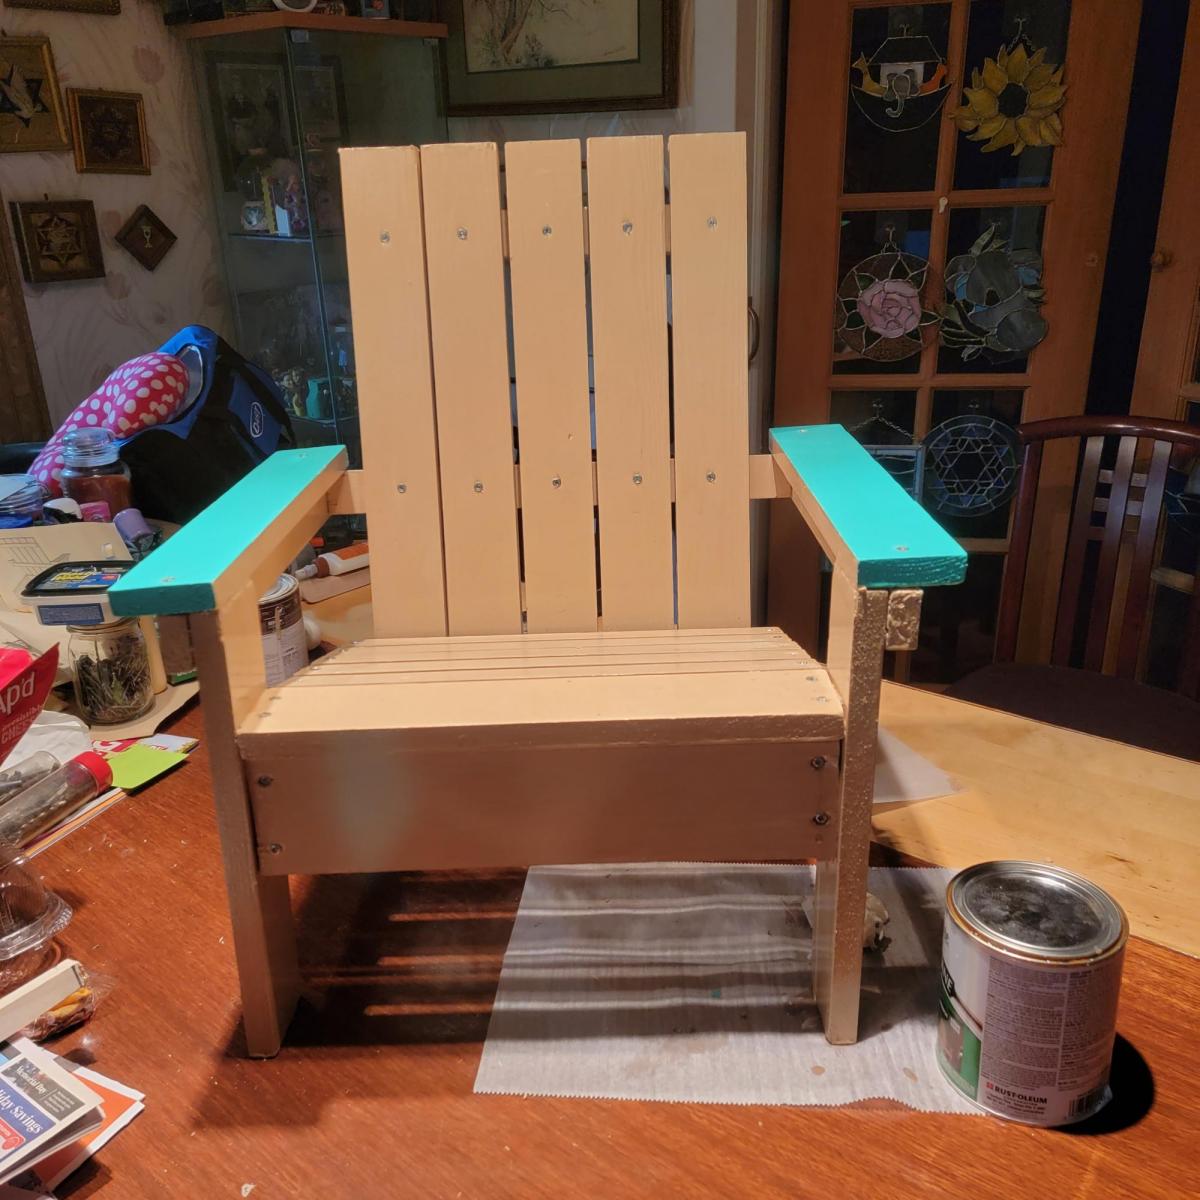
Adirondack chairs
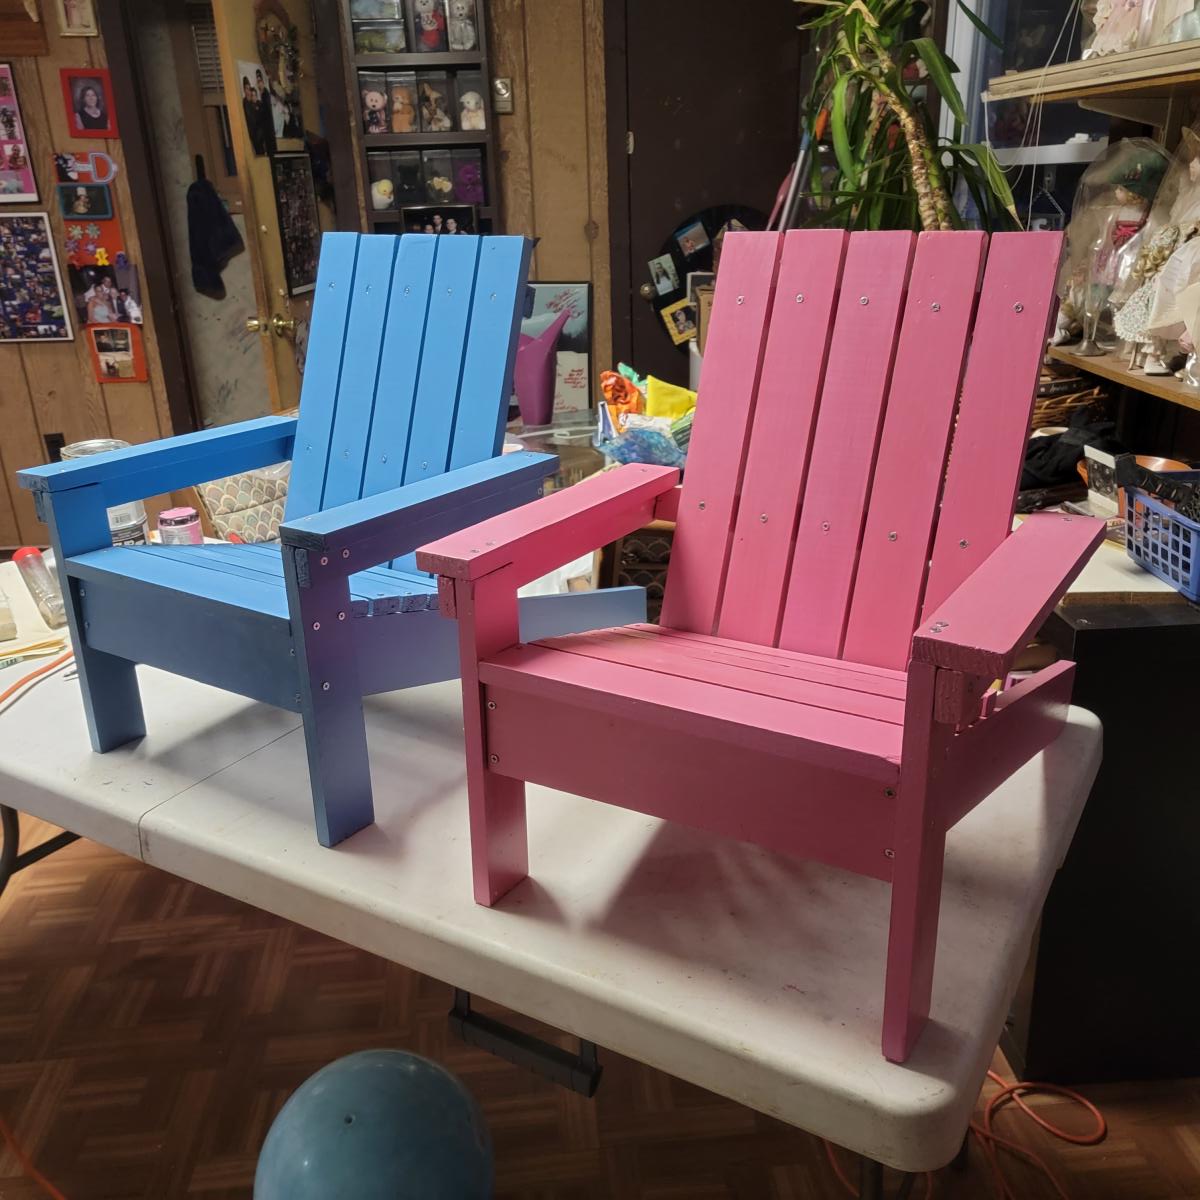
I have 5 grandchildren that I made chairs for

Built from Plan(s)
I have 5 grandchildren that I made chairs for
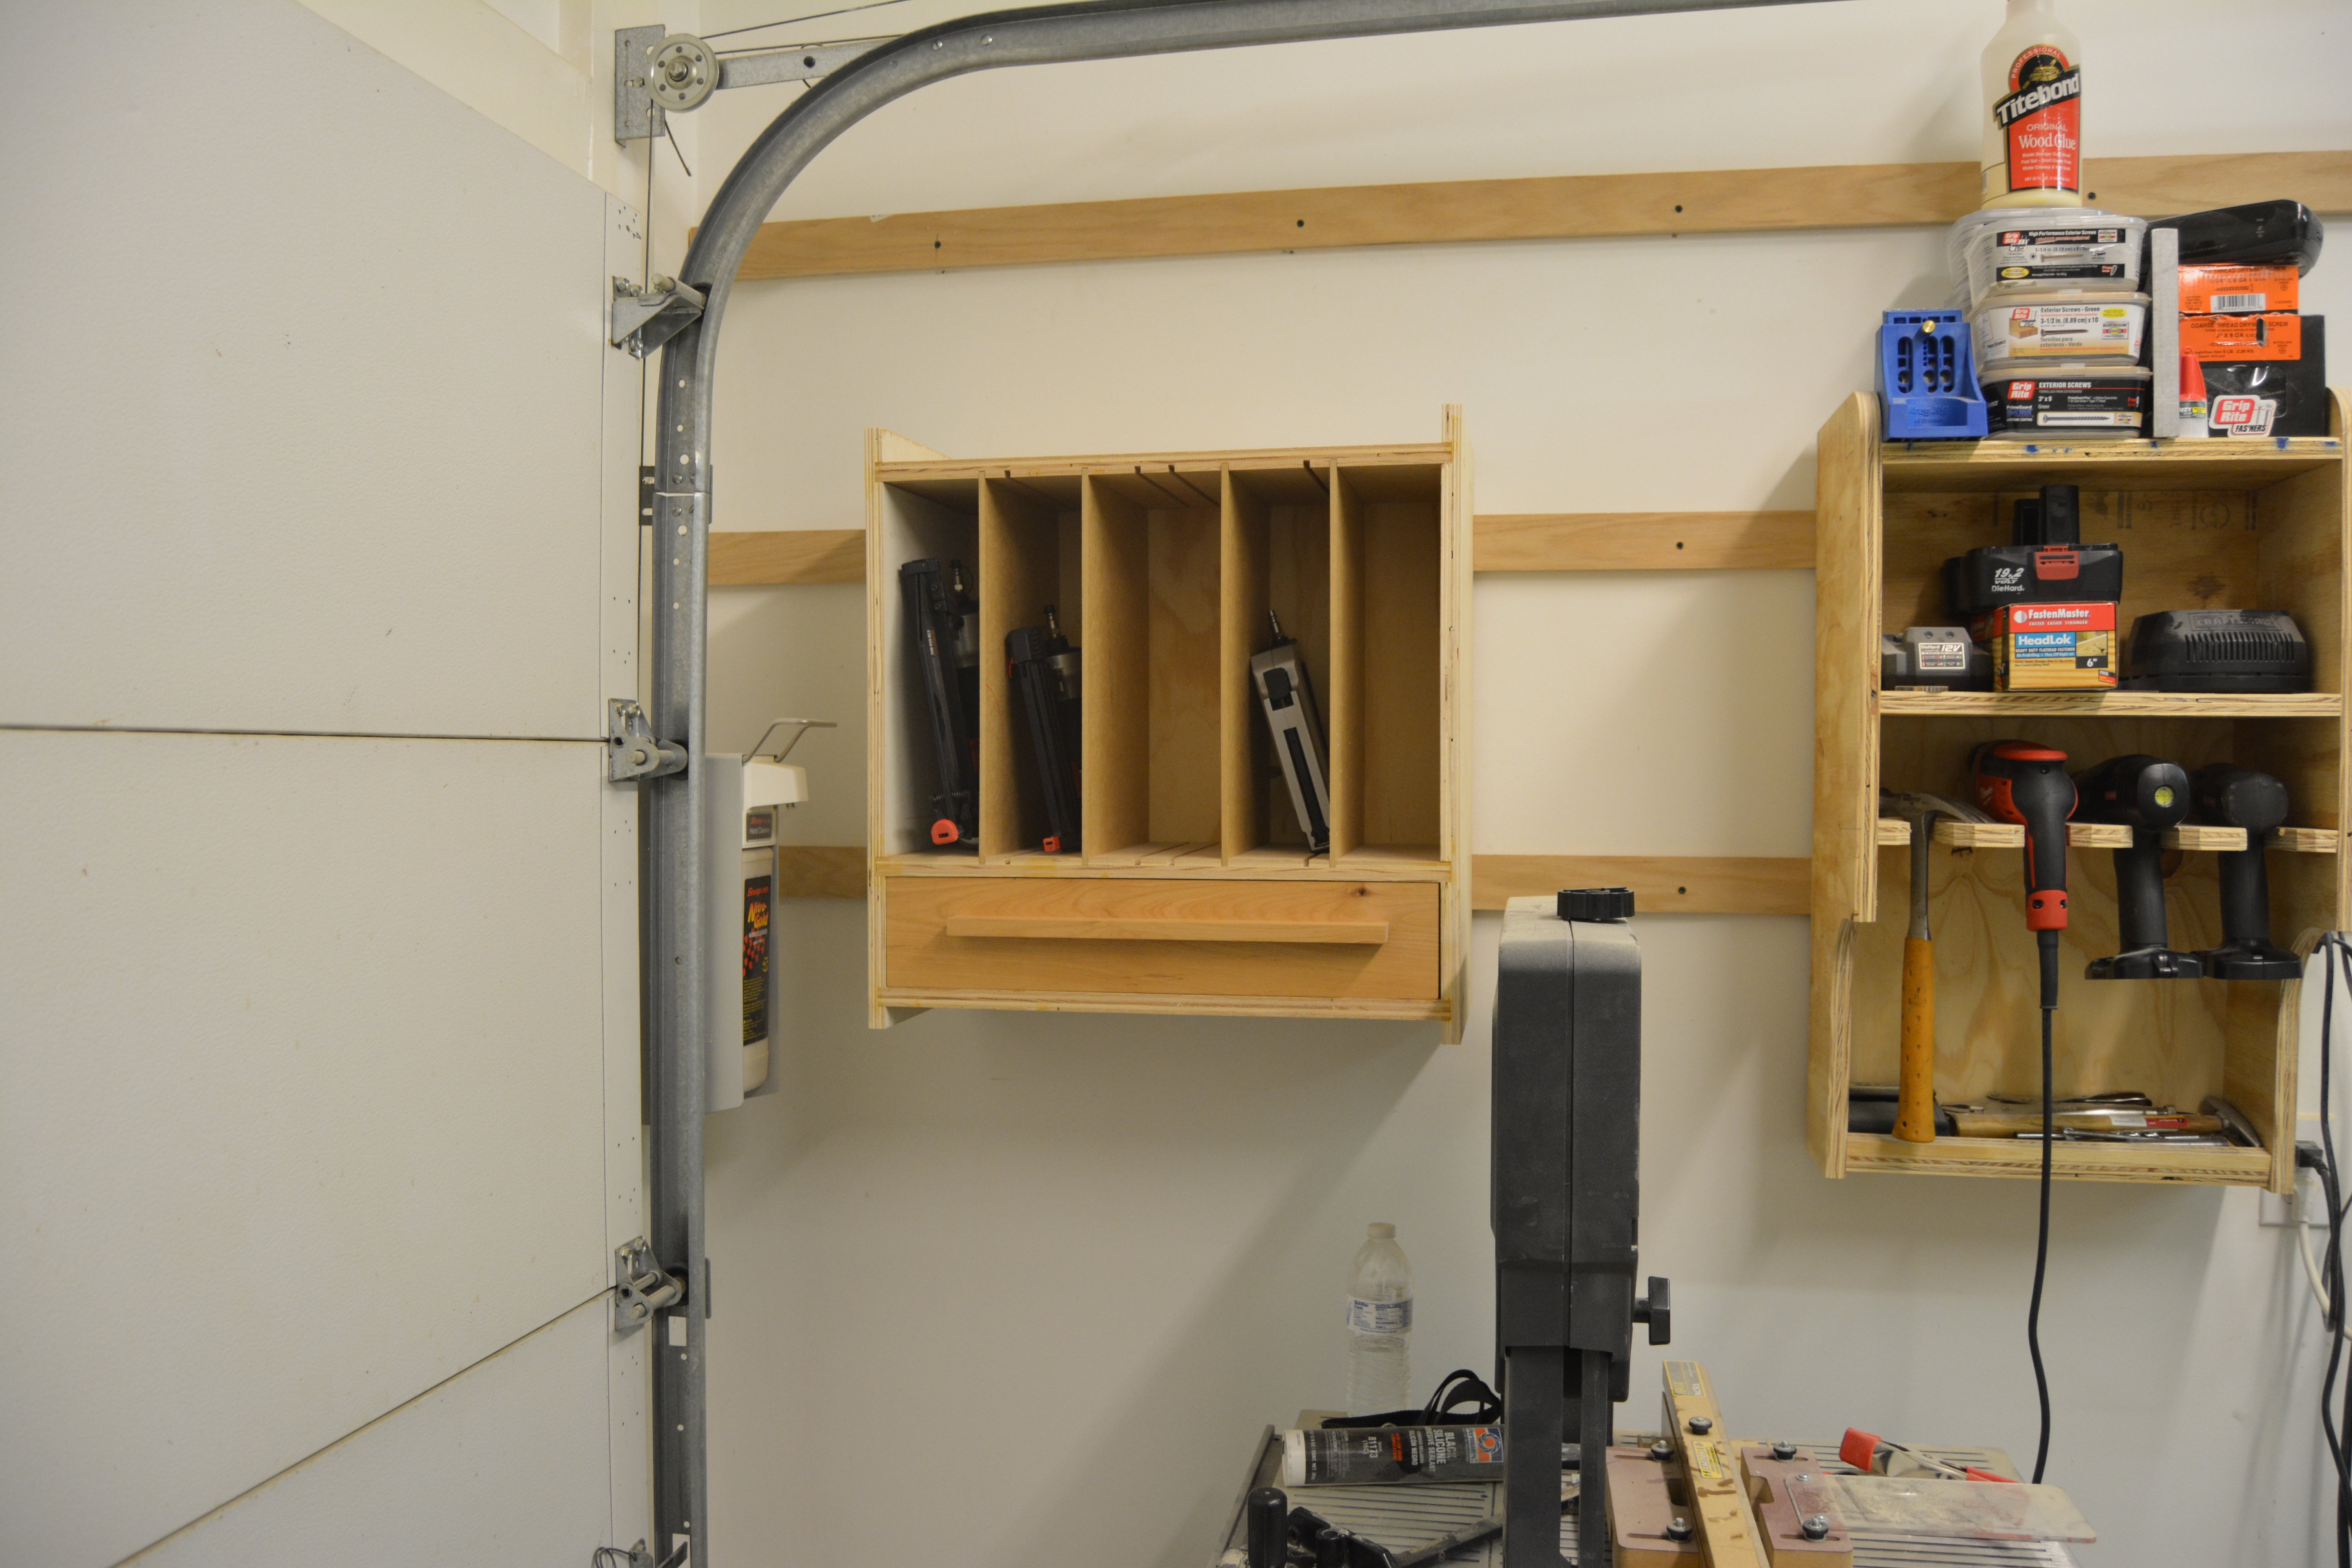
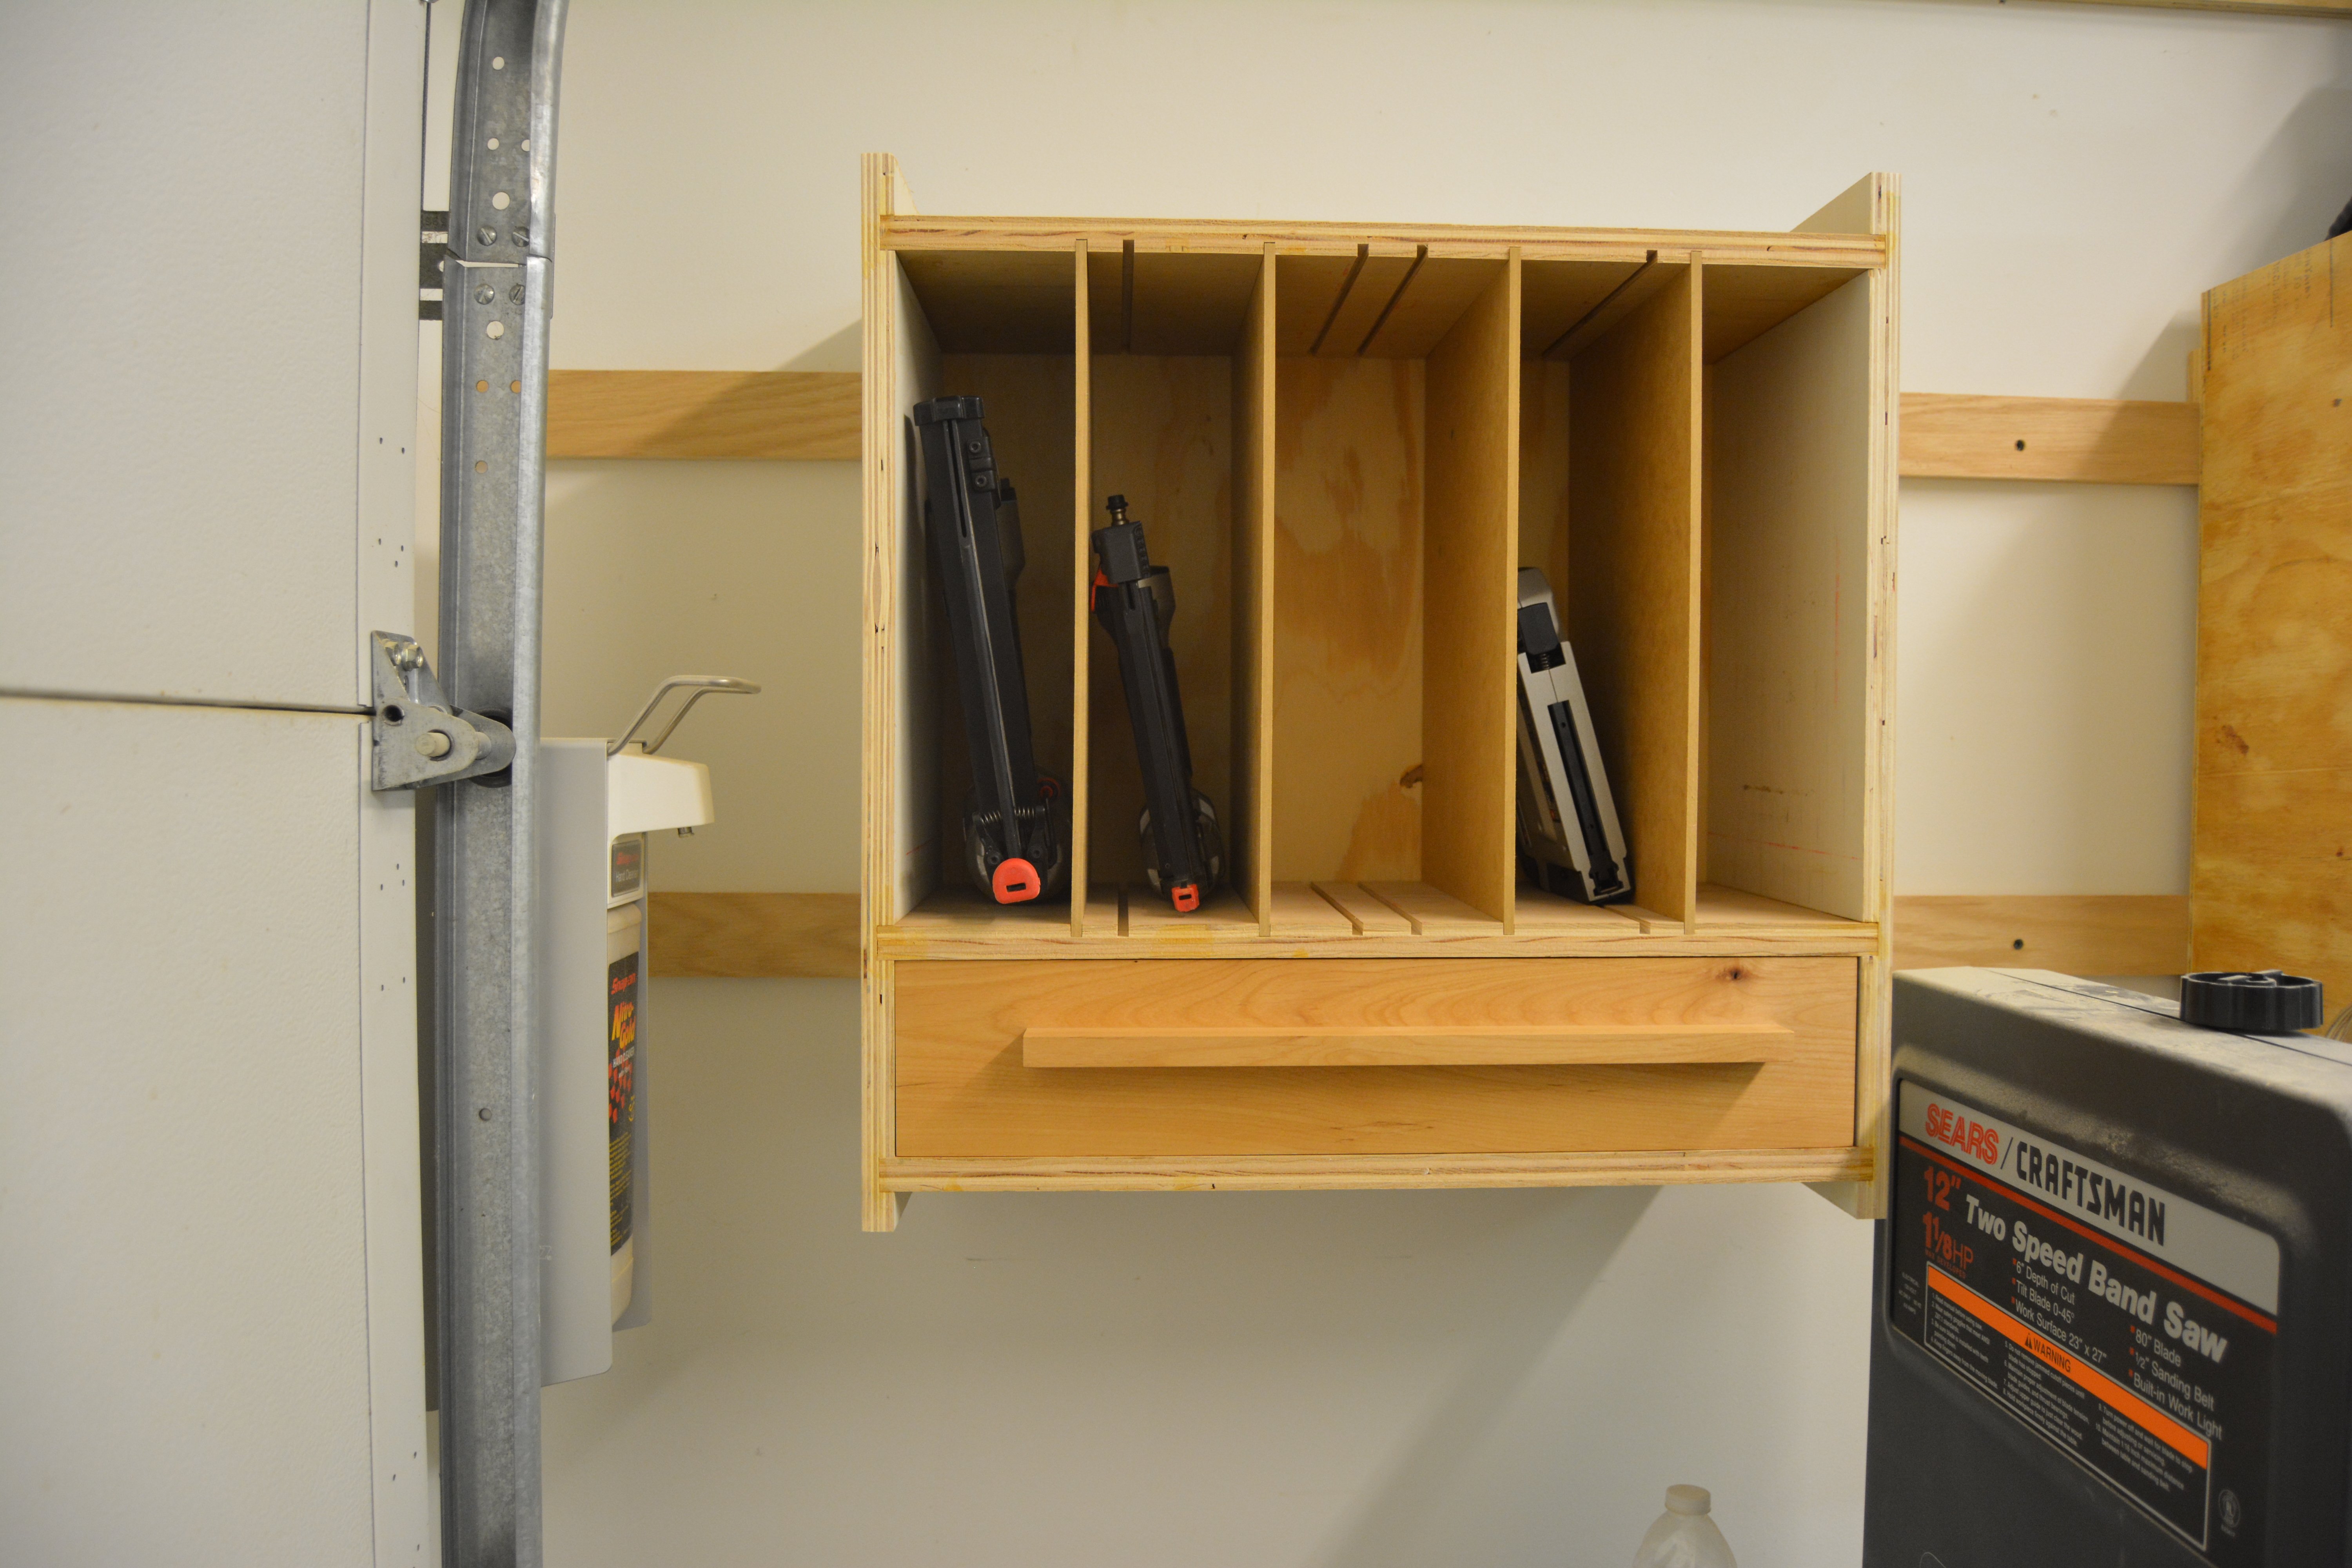
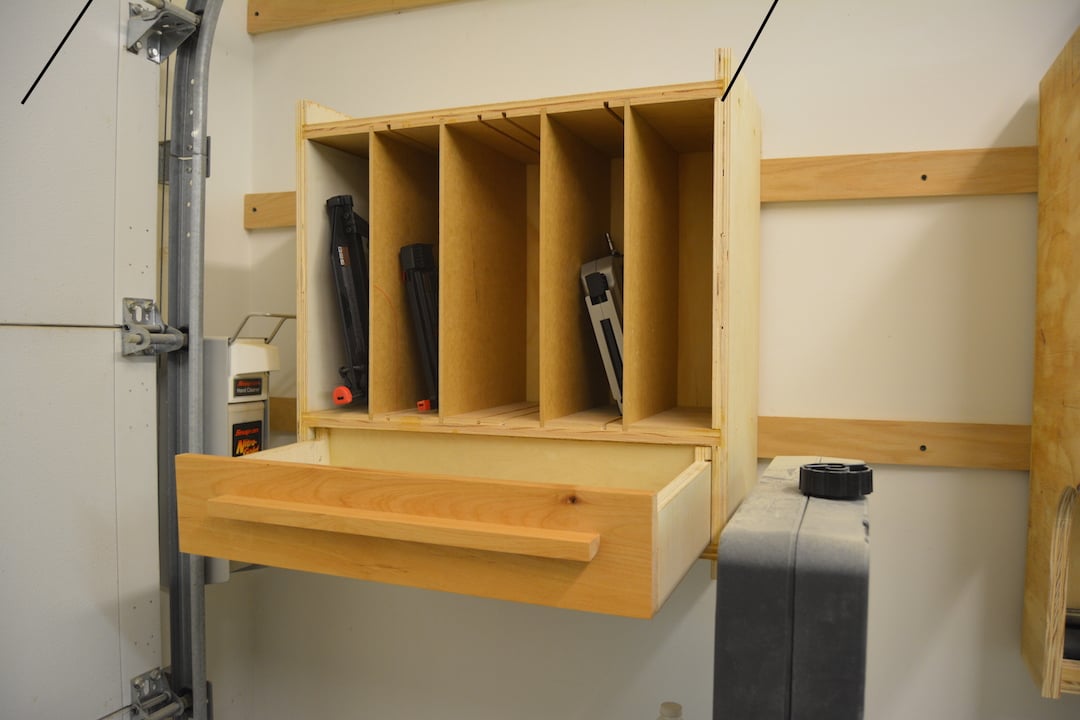
This week was a collaboration between me and Brad at FixthisBuildthat.com. I made a slight variation of his hanging tool cabinet to store my nail guns. More details at my website: http://www.lanebroswoodshop.com/2015/03/nail-gun-cabinet.html
YouTube video: https://www.youtube.com/watch?v=BUHnkjojlWc
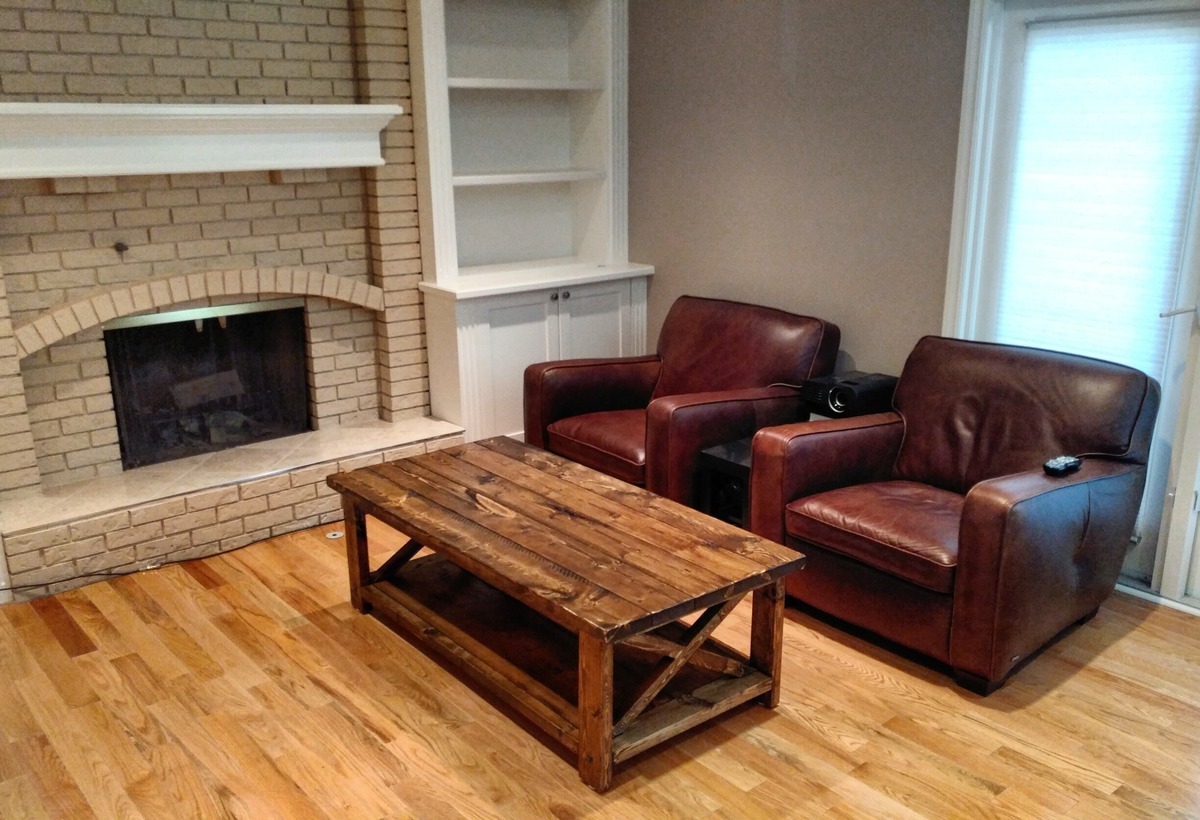
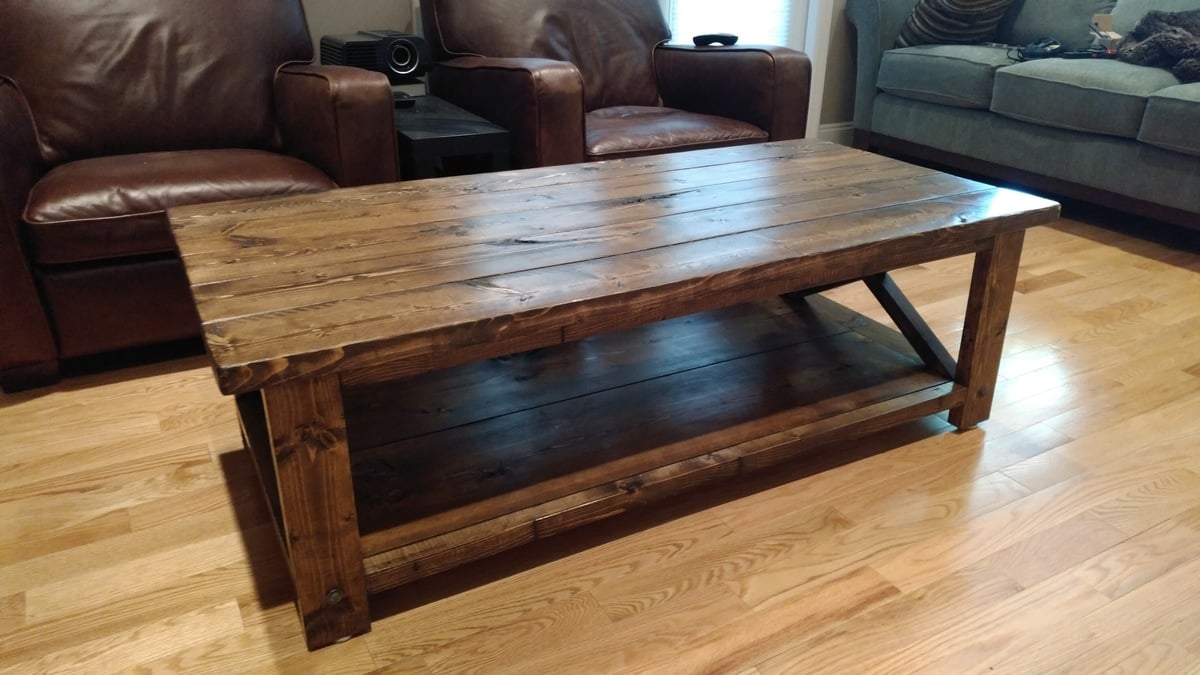
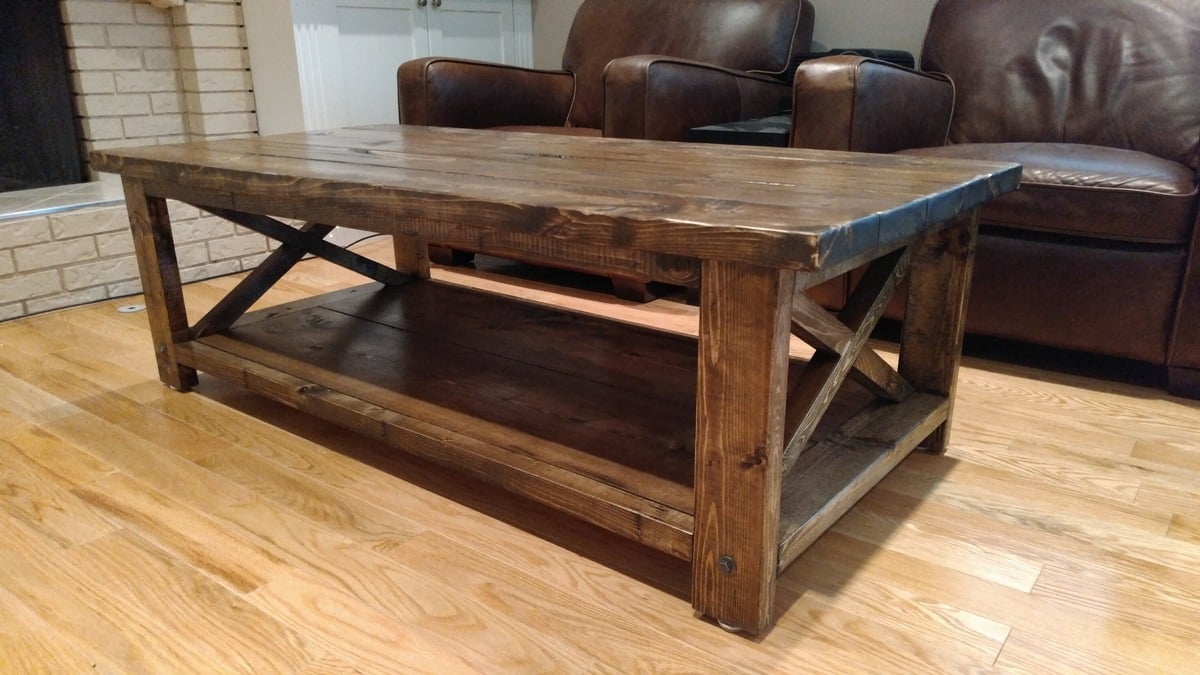
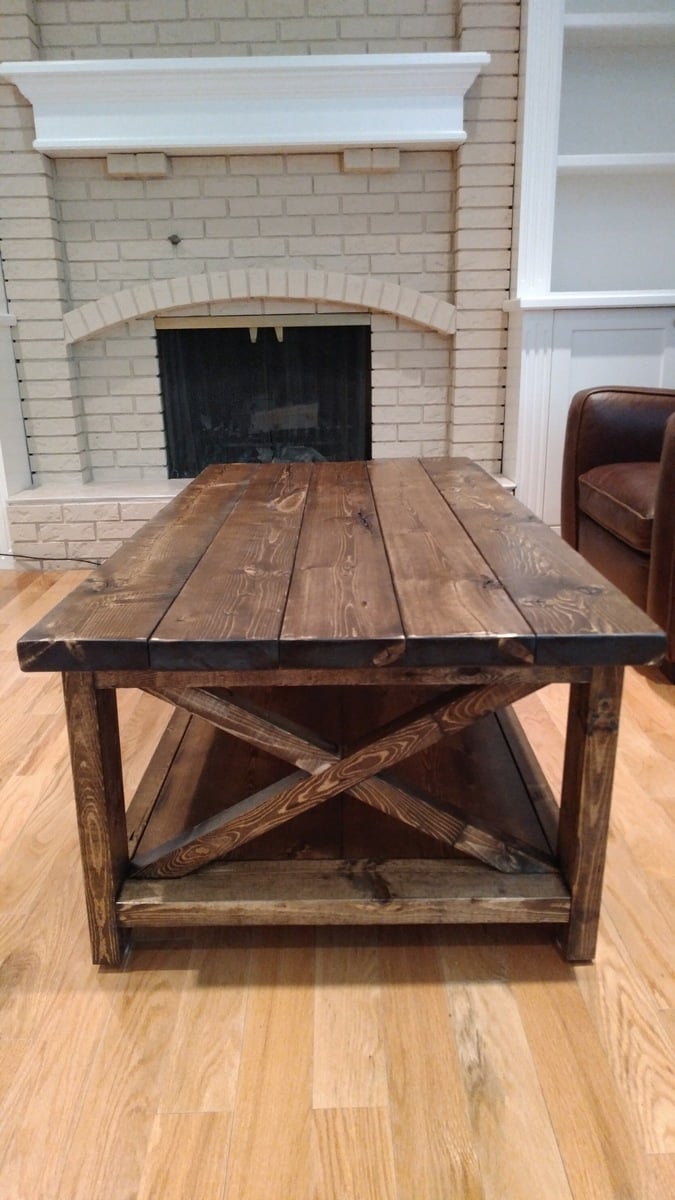
This was my first ever DIY project and I have to say I even impressed myself!
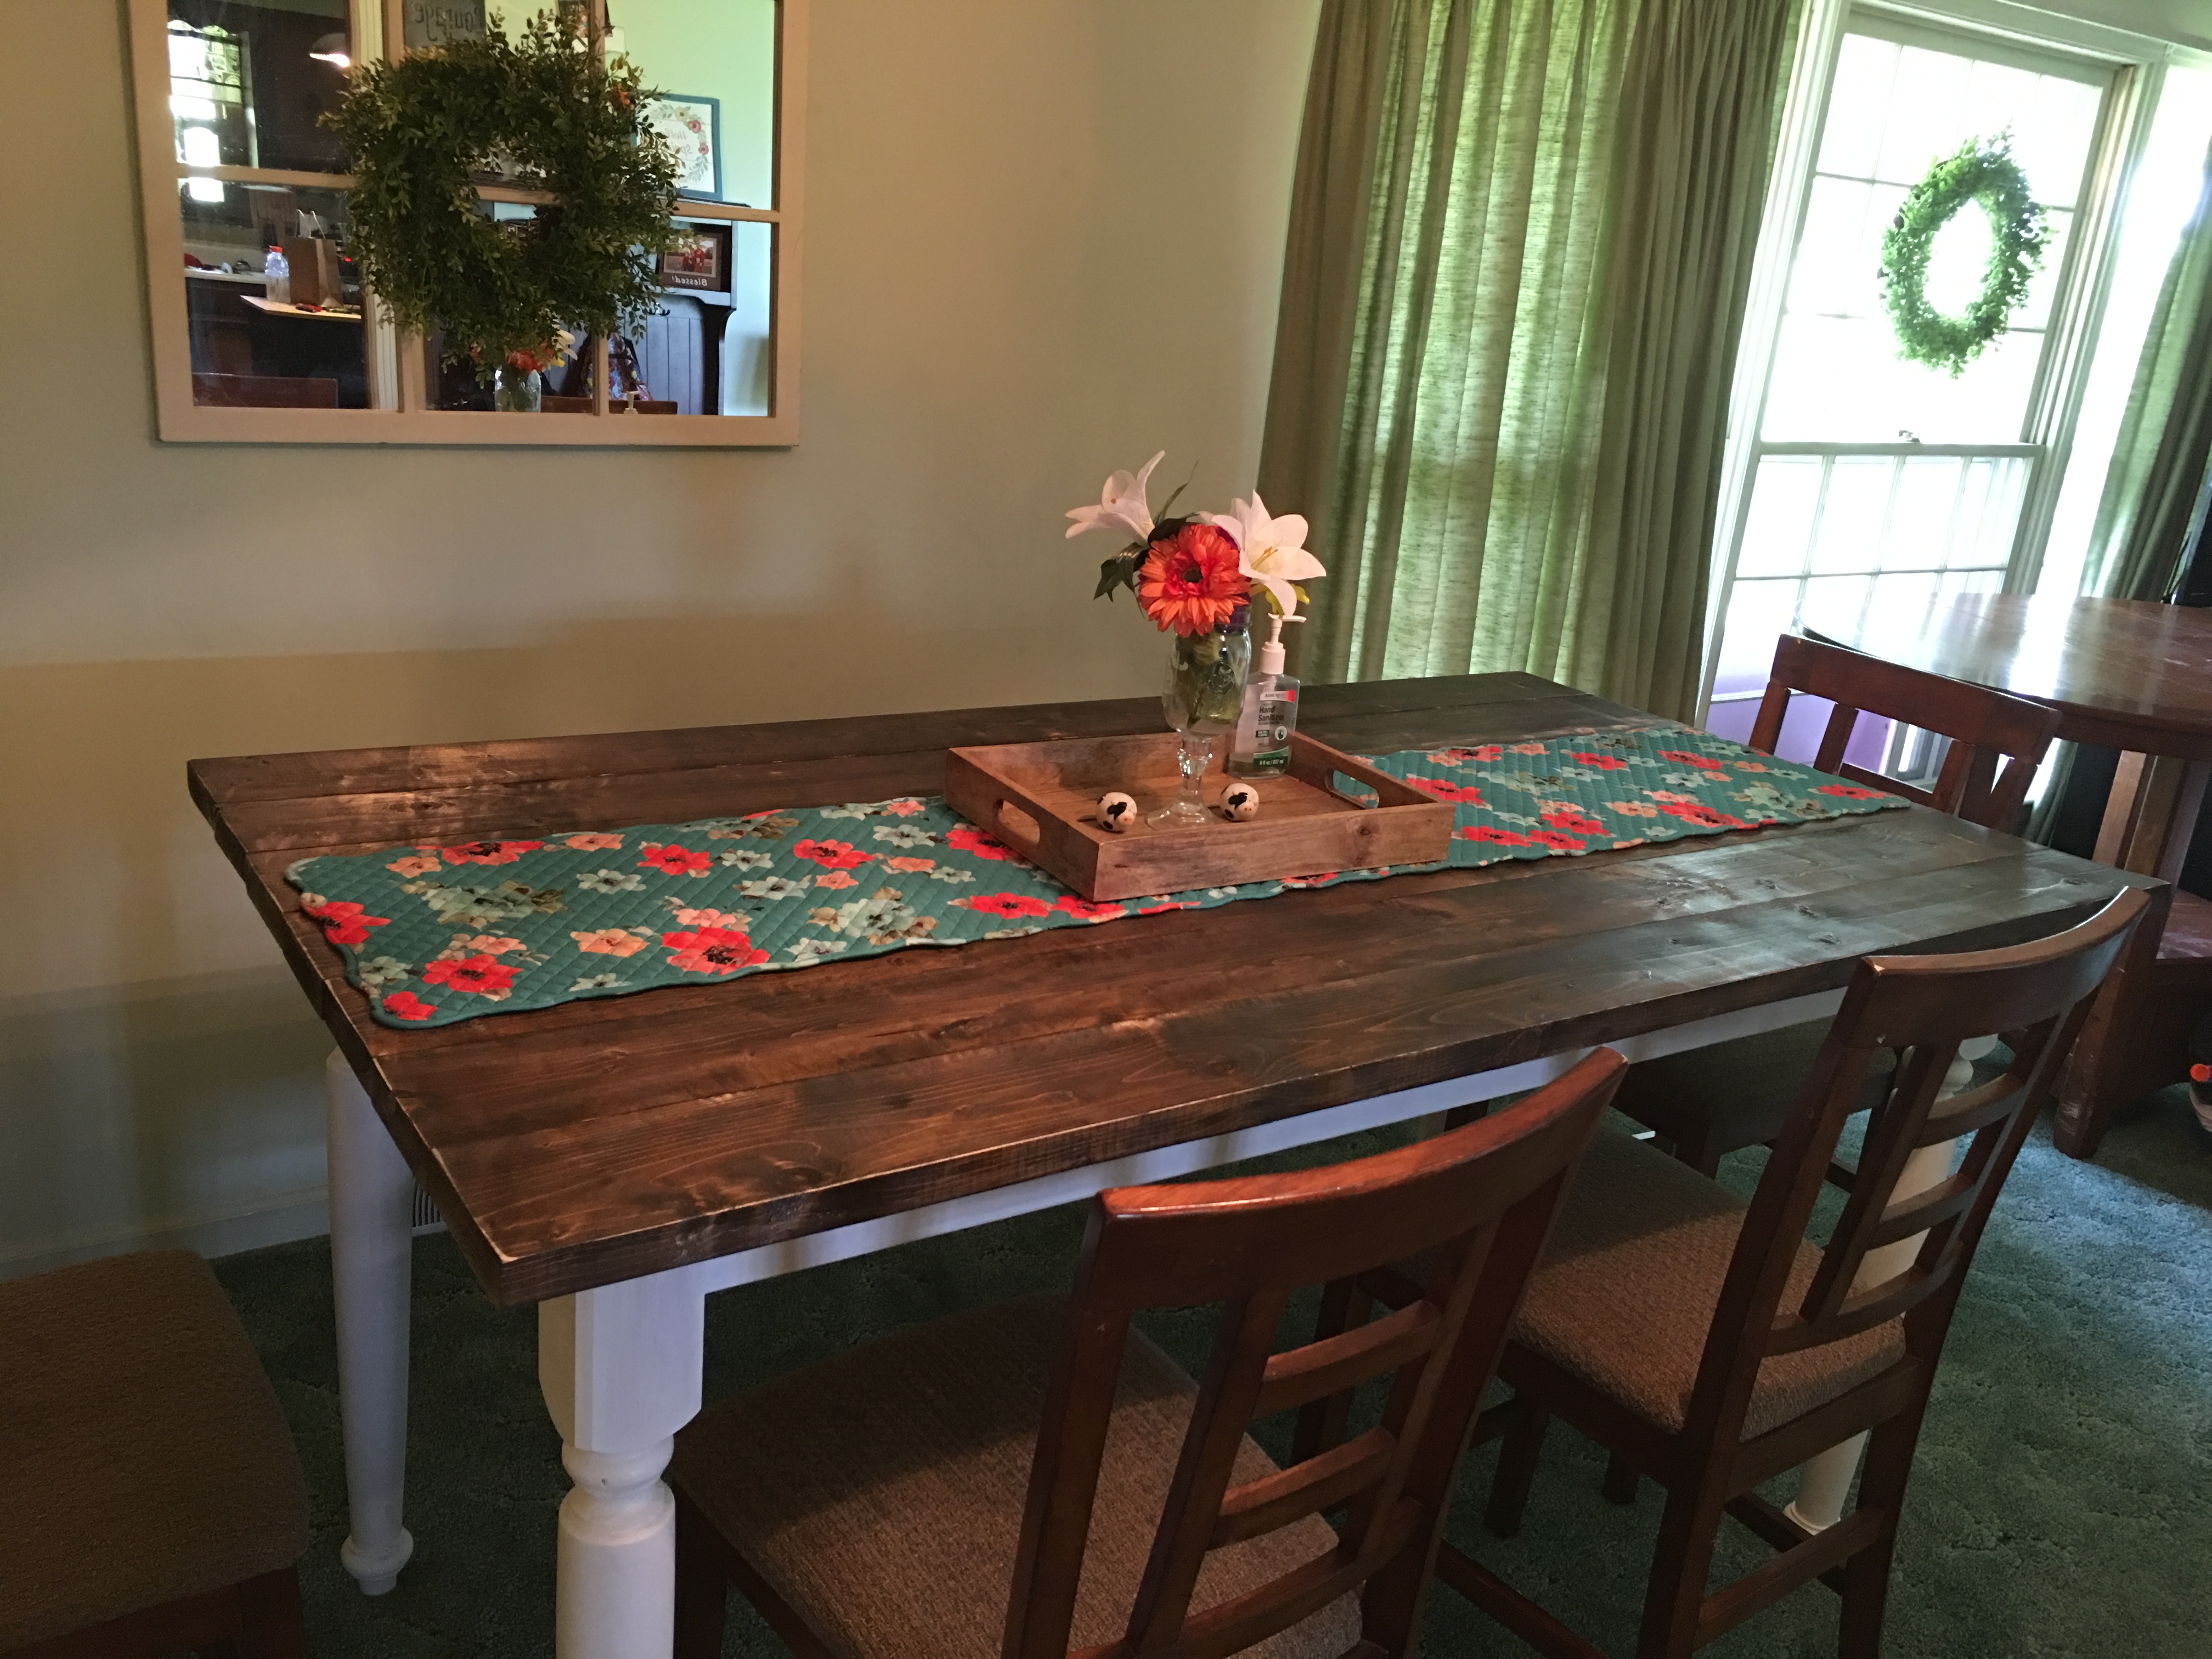
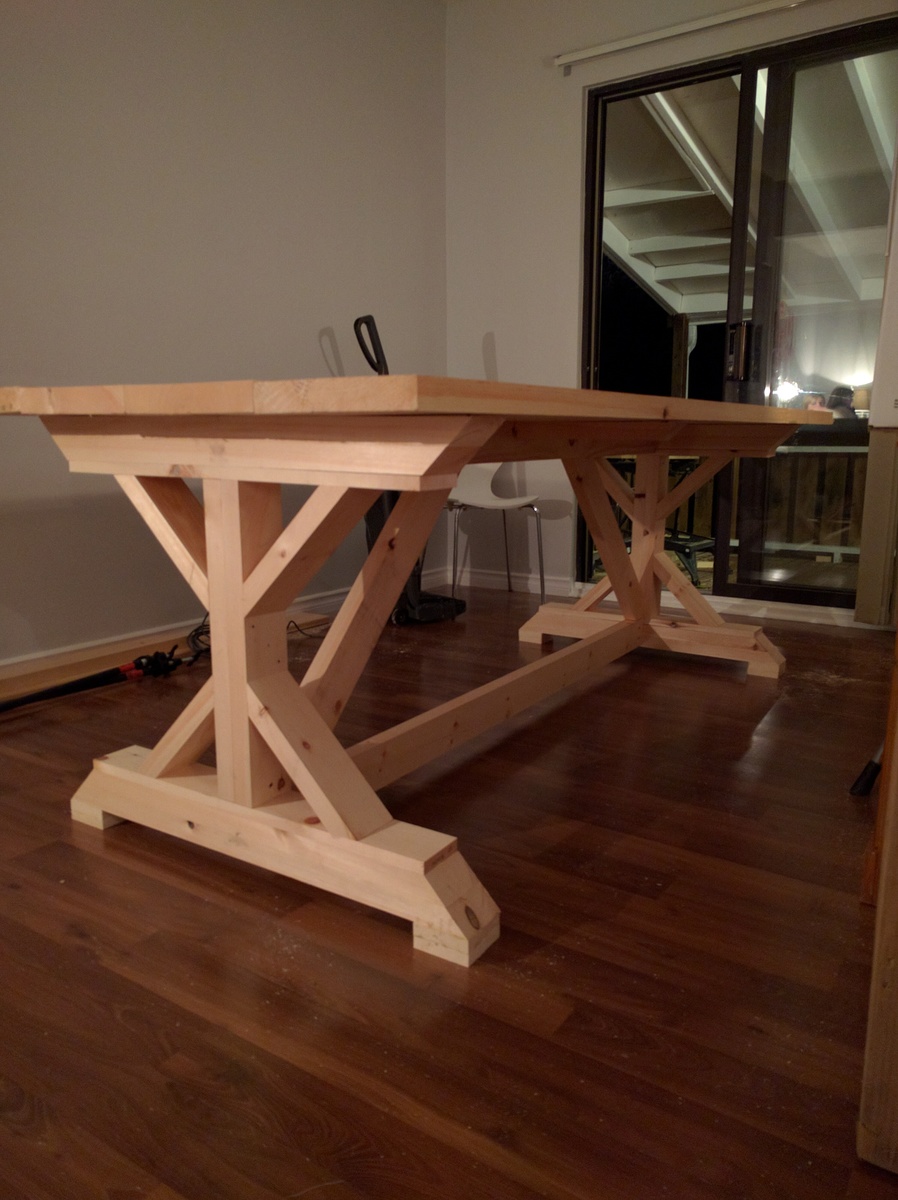
I modified the plans slightly as I wanted a longer version of this table. Despite lengthening the table, I found a way to use less wood. Instead of the 5 - 2x6 studs suggested, I bought 3 - 2x6x10s. To accomodate the longer tabletop, I needed to extend the side trim and 1x12, but at 58" top length, these cuts were 47", meaning no extra wood was required (just a little less room for error).
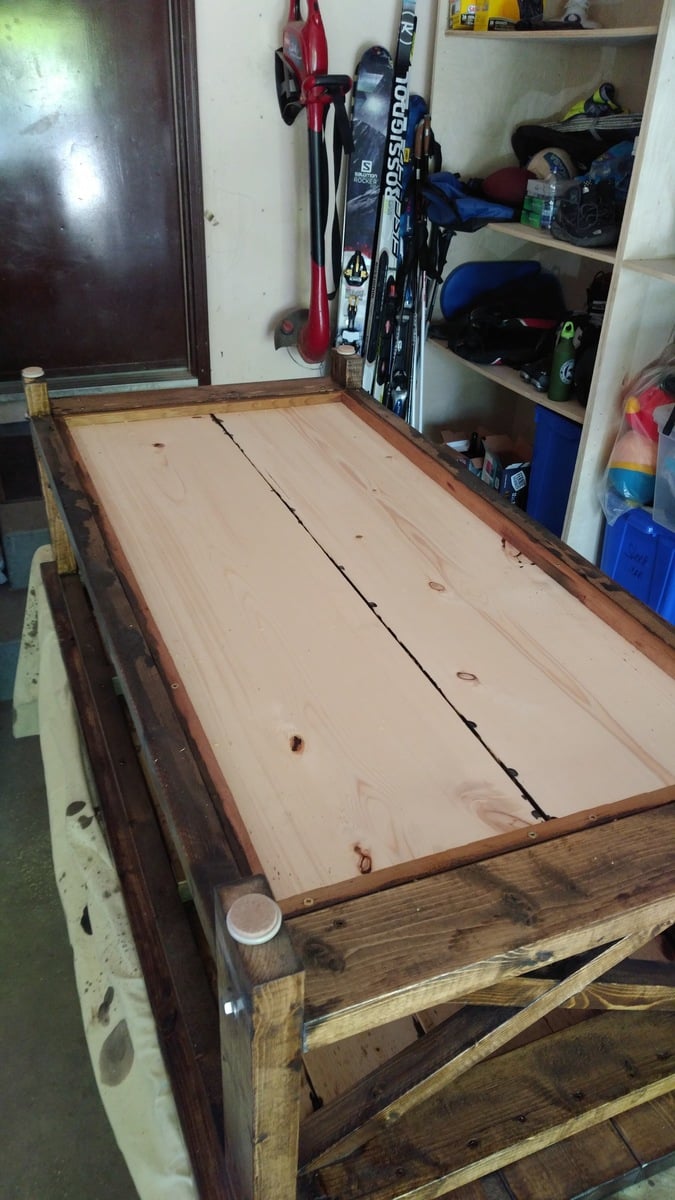
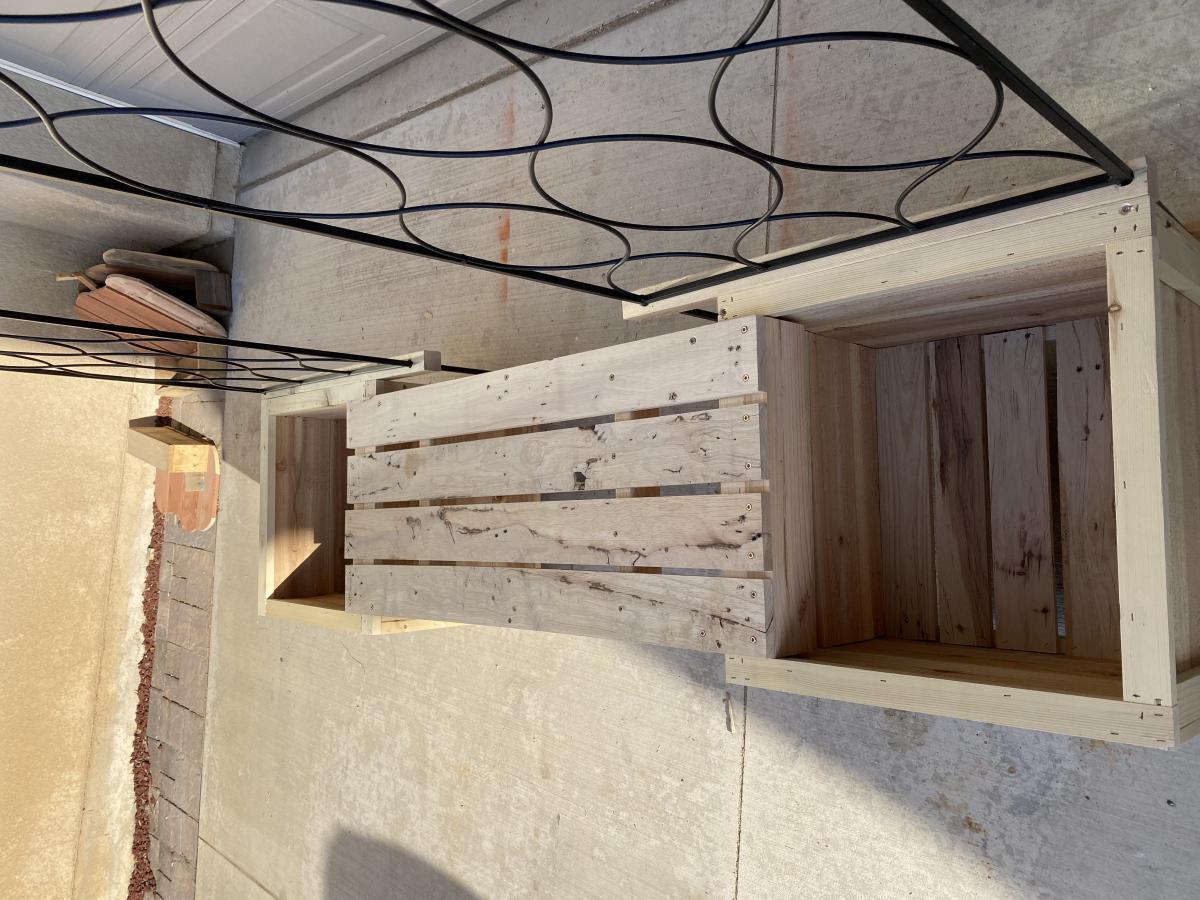
I also used 3/4" cedar strips to mount the 1x12 since I do not have a pocket hole tool (see last photo).
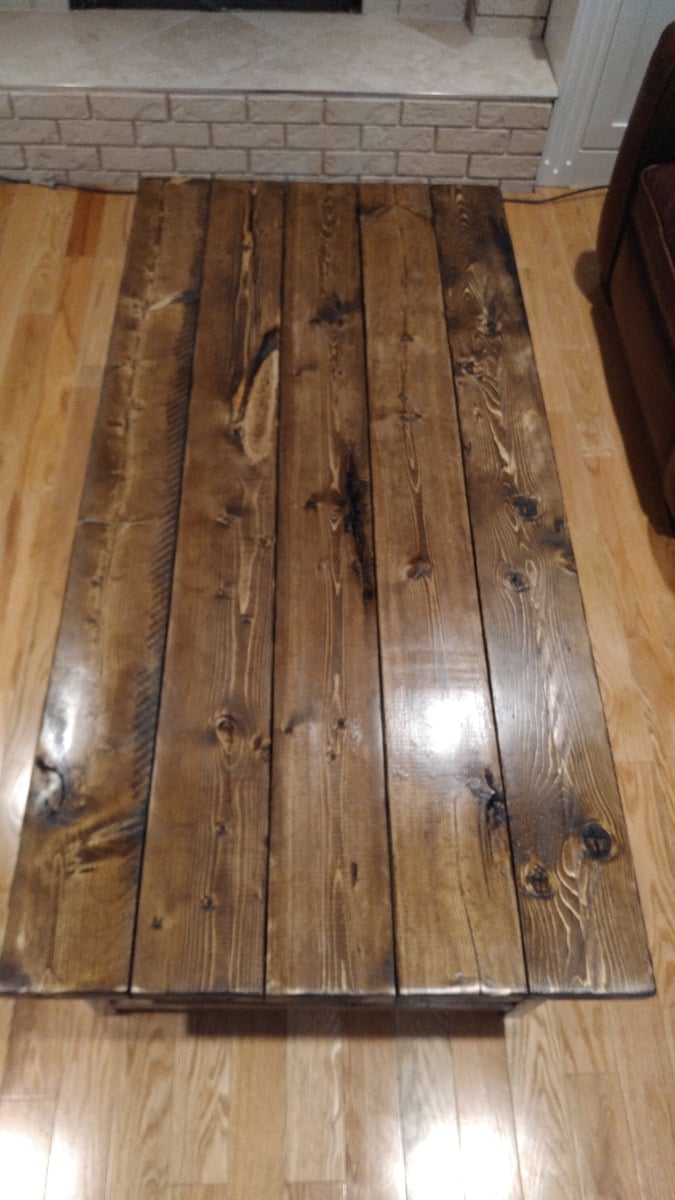
For the finish, I applied Minwax wood conditioner, Dark Walnut for 14 minutes, then Classic Grey on top of the still wet walnut stain for another 10 minutes, followed by two coats of the Fast-Drying Satin Poly.
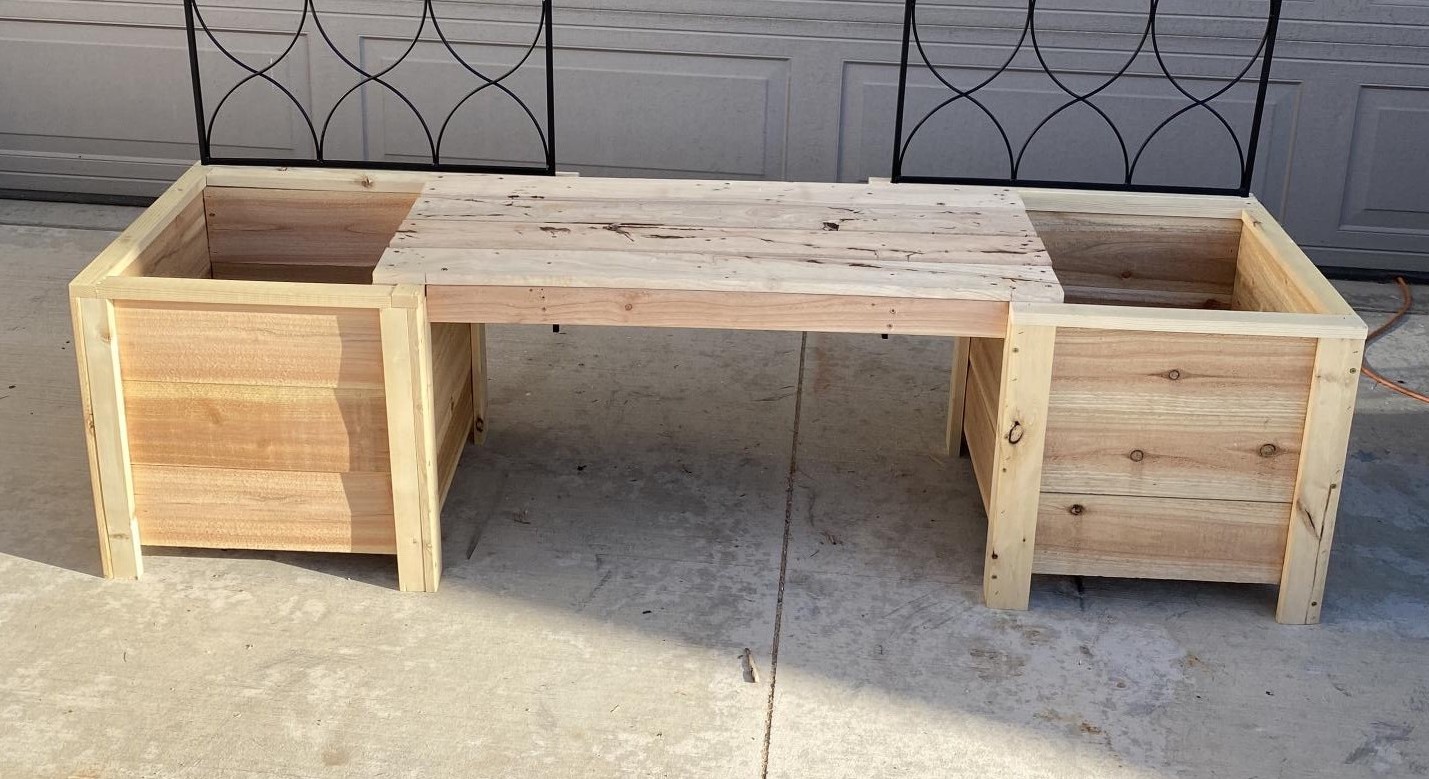
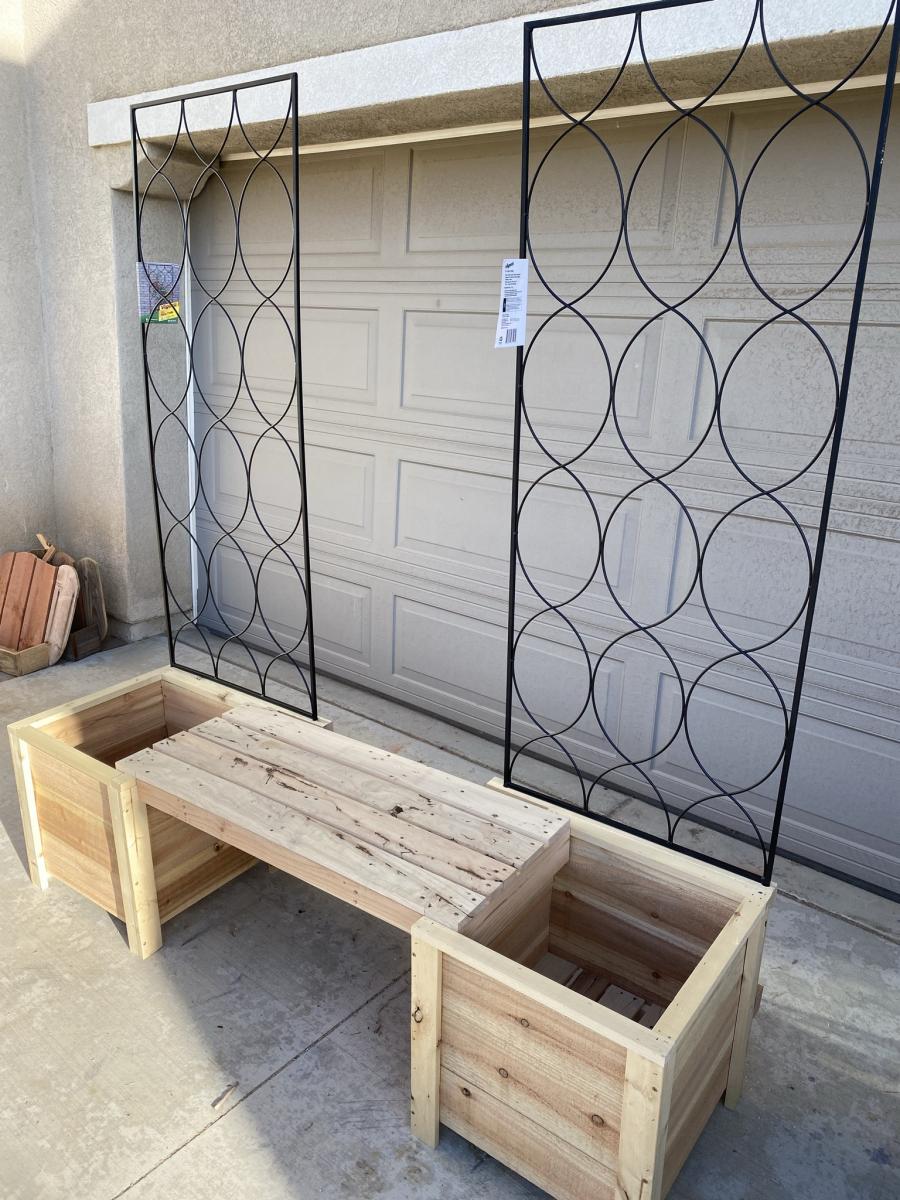
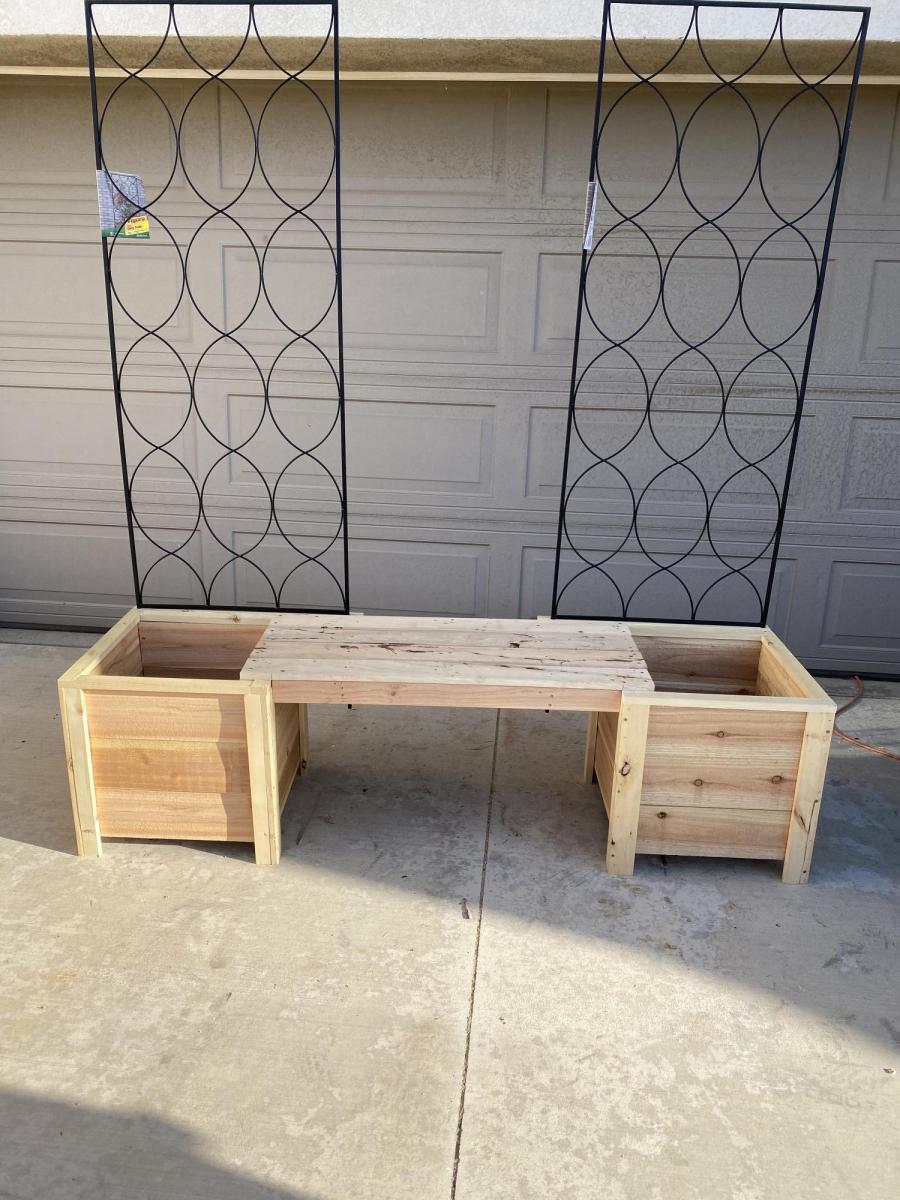
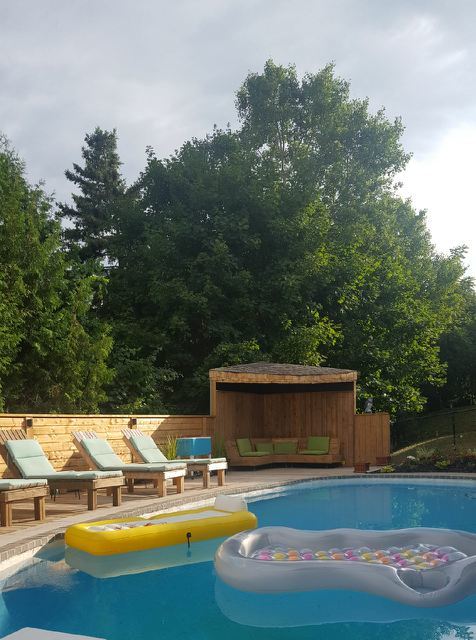
I made the boxes from plans, but added bench and trellis from my own design.
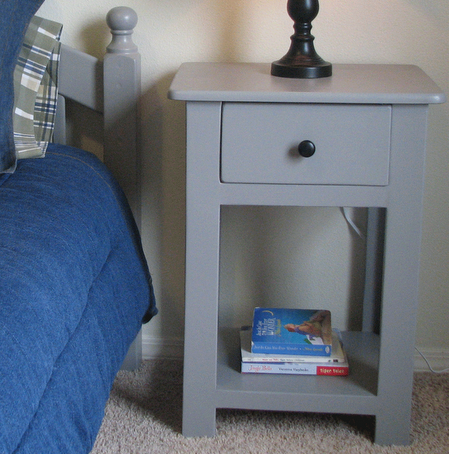
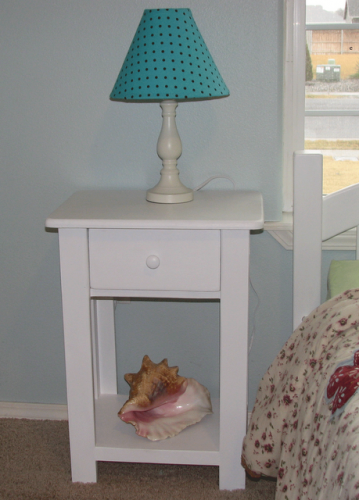
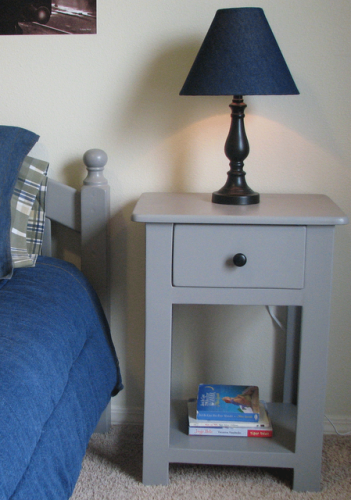
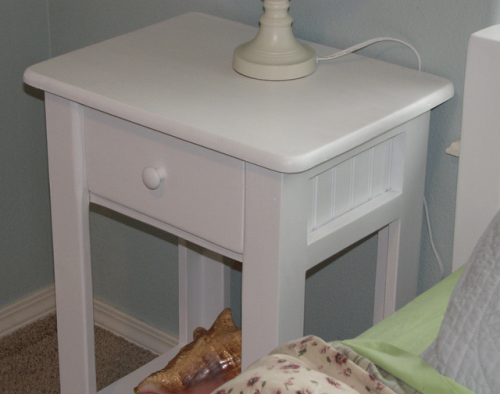
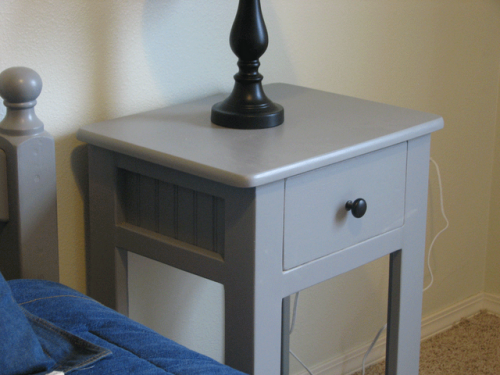
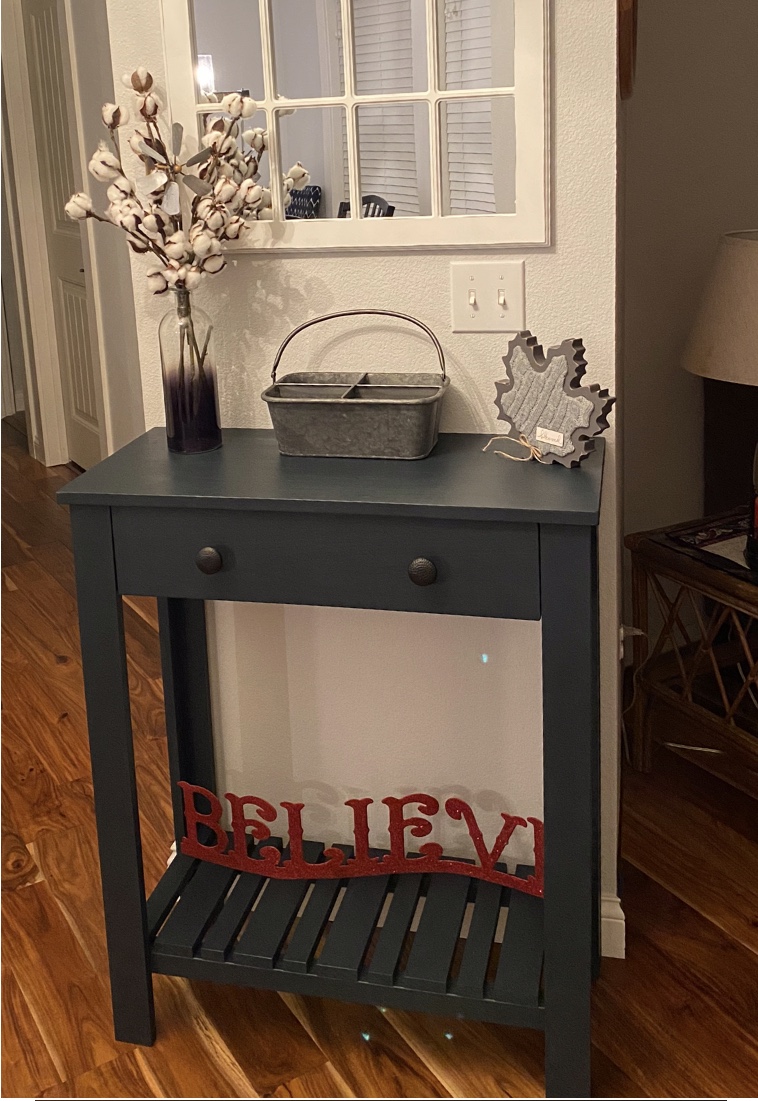
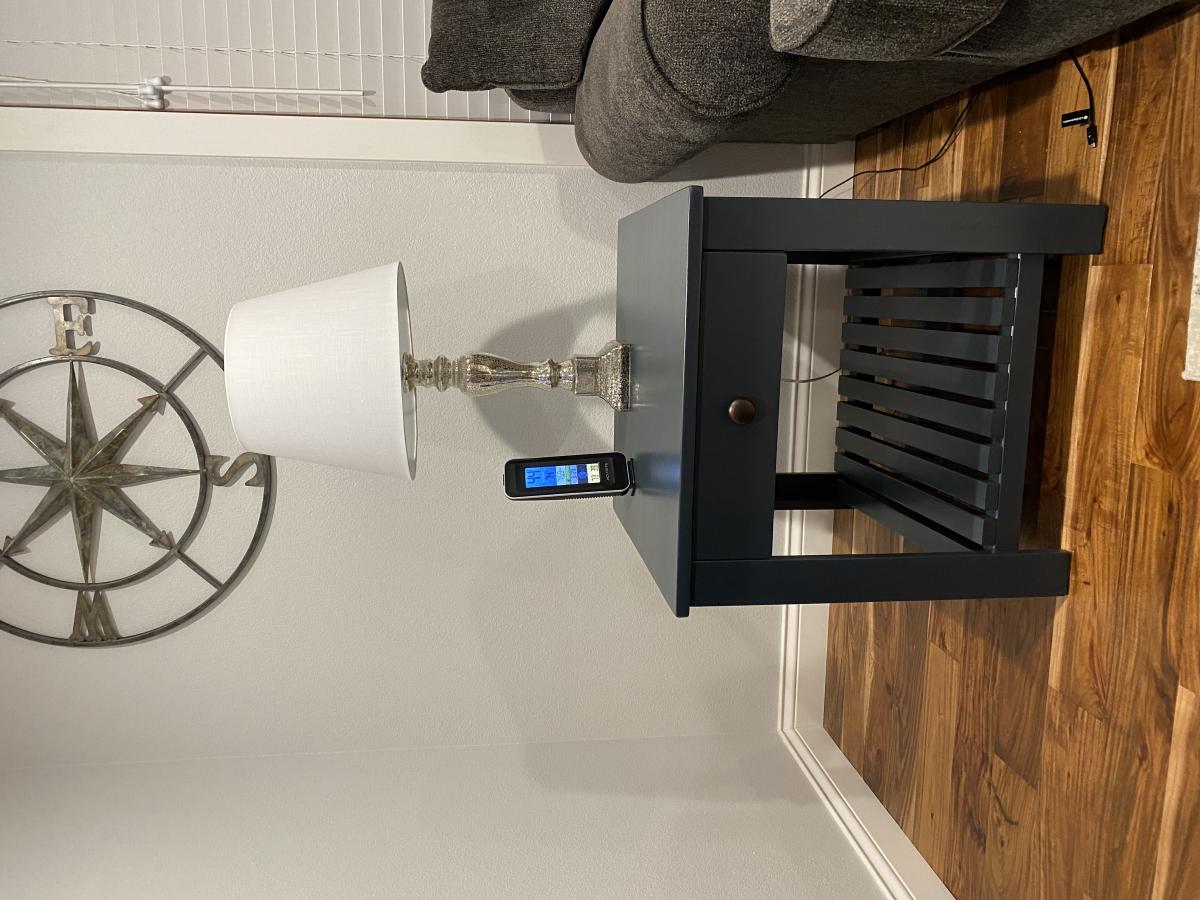
we’re back with another furniture project. This time we built the Simplest Nightstand. Actually, we had enough lumber that we were able to build two of them! It was a little more difficult than the coffee table and side table, but still wasn’t bad once Lee figured it out. The hardest part was getting the drawer to fit right. The first one Lee built, he didn’t get the drawer bottom square, but the second time around went much smoother. The first time, he cut all of the pieces out at once, but the second time, he cut and fit each piece separately. This proved to be very helpful. For the side pieces, we used plybead instead of plywood, and nailed trim pieces underneath the table top. Also, instead of using two separate pieces on the table top, we used the top off of an old tv tray that we weren’t using anymore. It was the perfect fit, and looks really good! Both tables cost us 50 dollars and took about 6 hours to build both of them. The first table took 4 hours to build, but the second one only took 2! We absolutely love your easy to use plans, and can’t wait to try another one! There’s so many great plans to choose from, we’re not sure what to try next!!
We love our new tables, thanks again for another great plan! We’ll be back!
Read more about Lee and Beth's Projects.

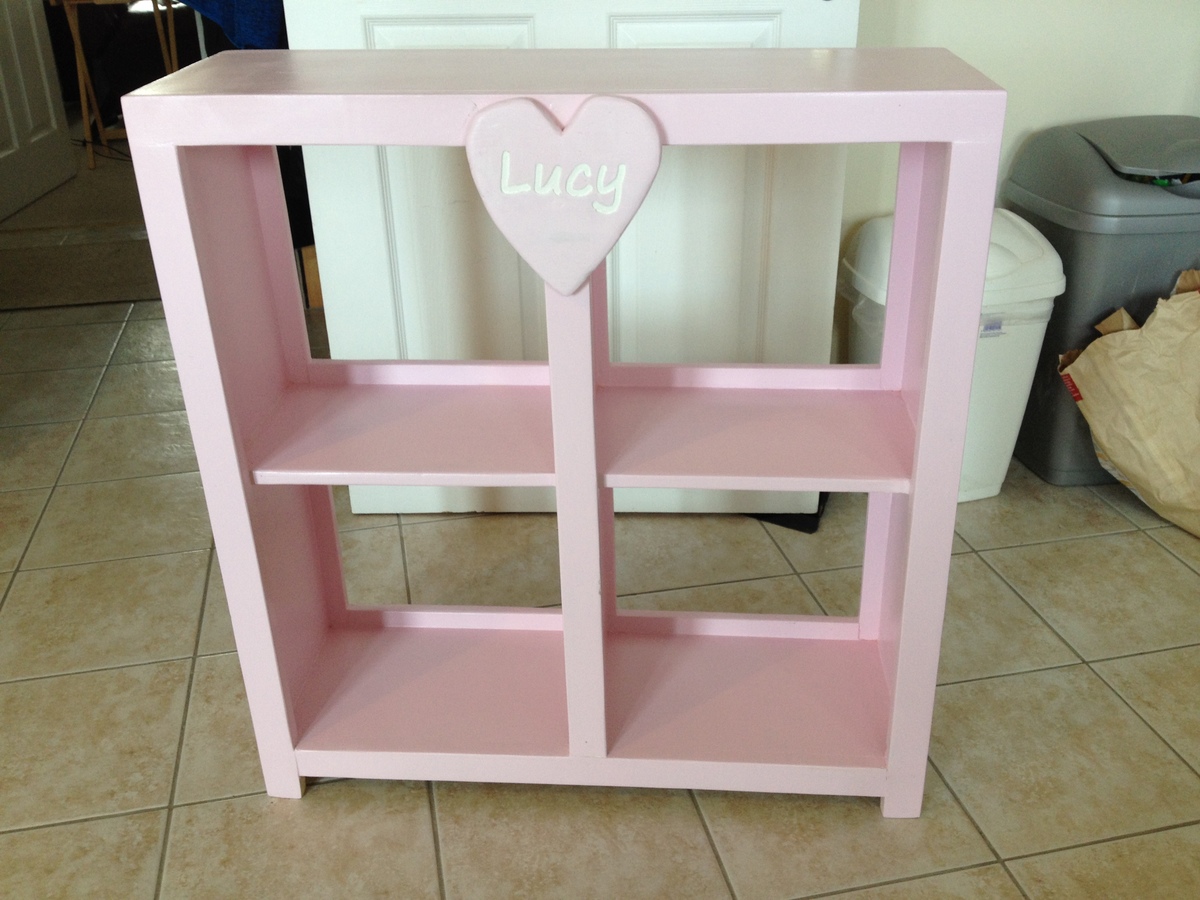
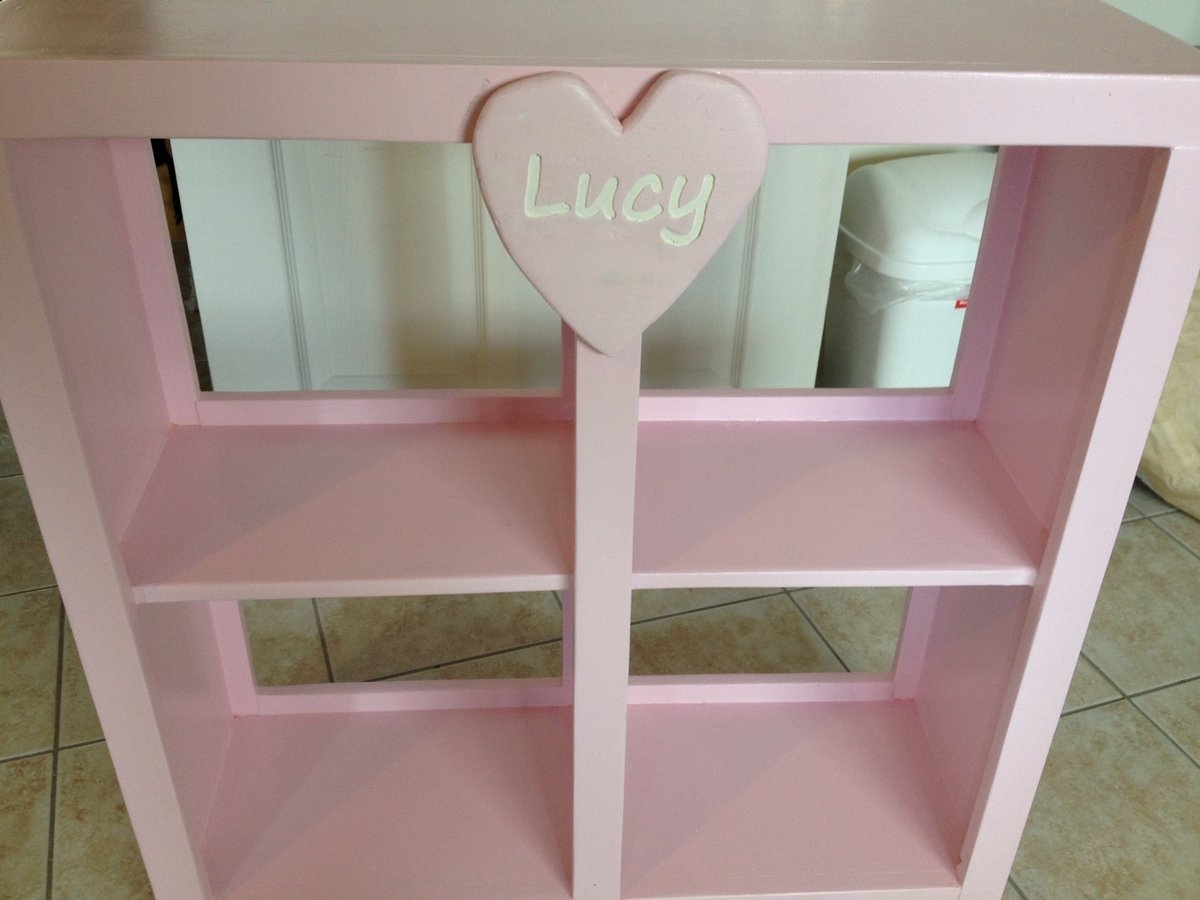
I made this for a friend who needed some separation of 2 rooms. It works well as a see through wall/storage. I seen a photo of this and made it to the specs of that. It is 65" x 31.5" x 11 1/4". It turned out really well and very sturdy. The boxes are 12"x20". Bottom shelf is 7" from the bottom. I used all shelving wood which I would change now if I knew how much it chipped away and how heavy it is.


Just a classic looking tv stand. Way cheaper than buying at the store....
Recently built this table my first build actually. I told my wife we needed a new table because we didn't have enough room for our youngest to move up to the table she said let's build one. Well I did the "building" and she did the staining painting and sanding. She is currently putting new fabric on our old chairs. And now she has me building a bed. Her words when I finished "I didn't know you could build stuff". My reply "that was part of the plan lol". Thanks for all the designs.
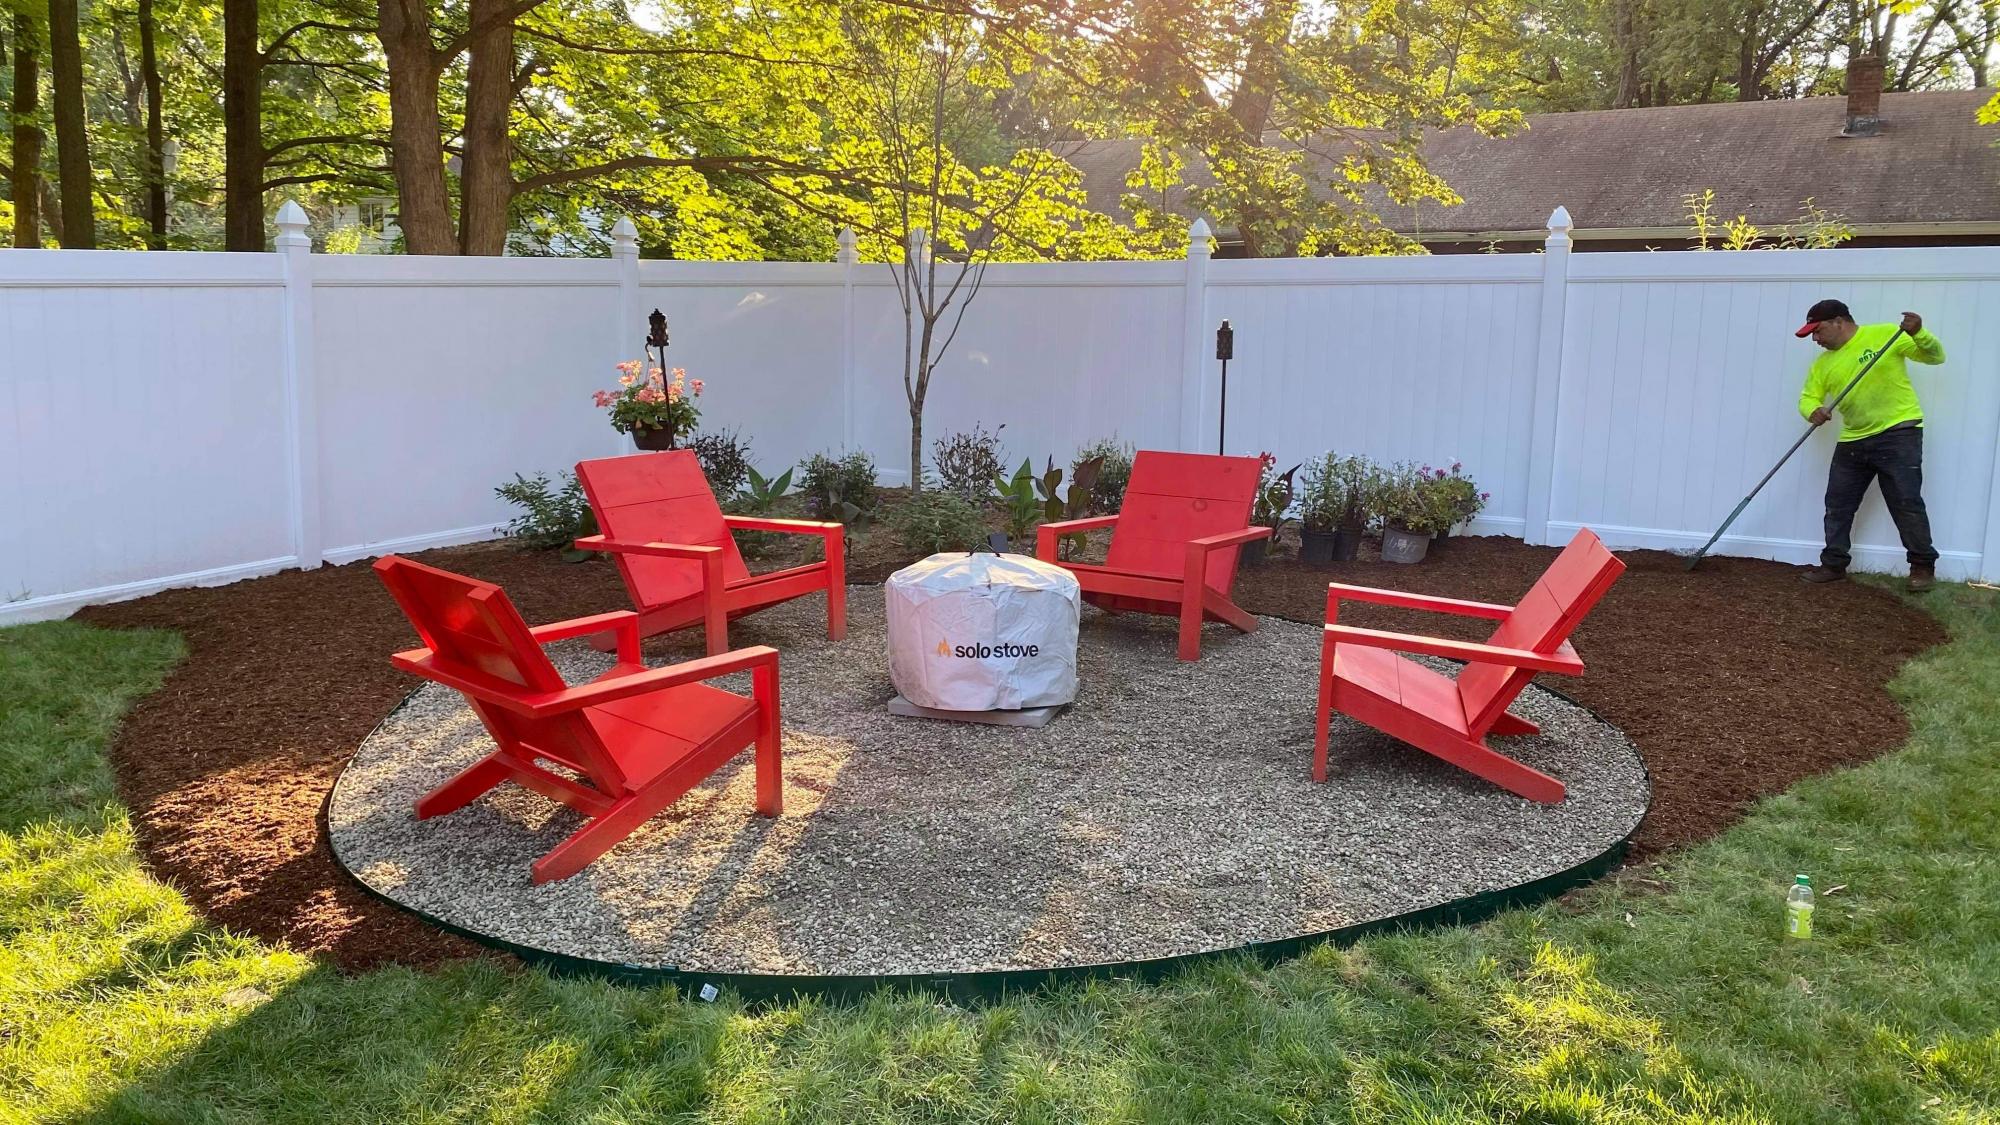
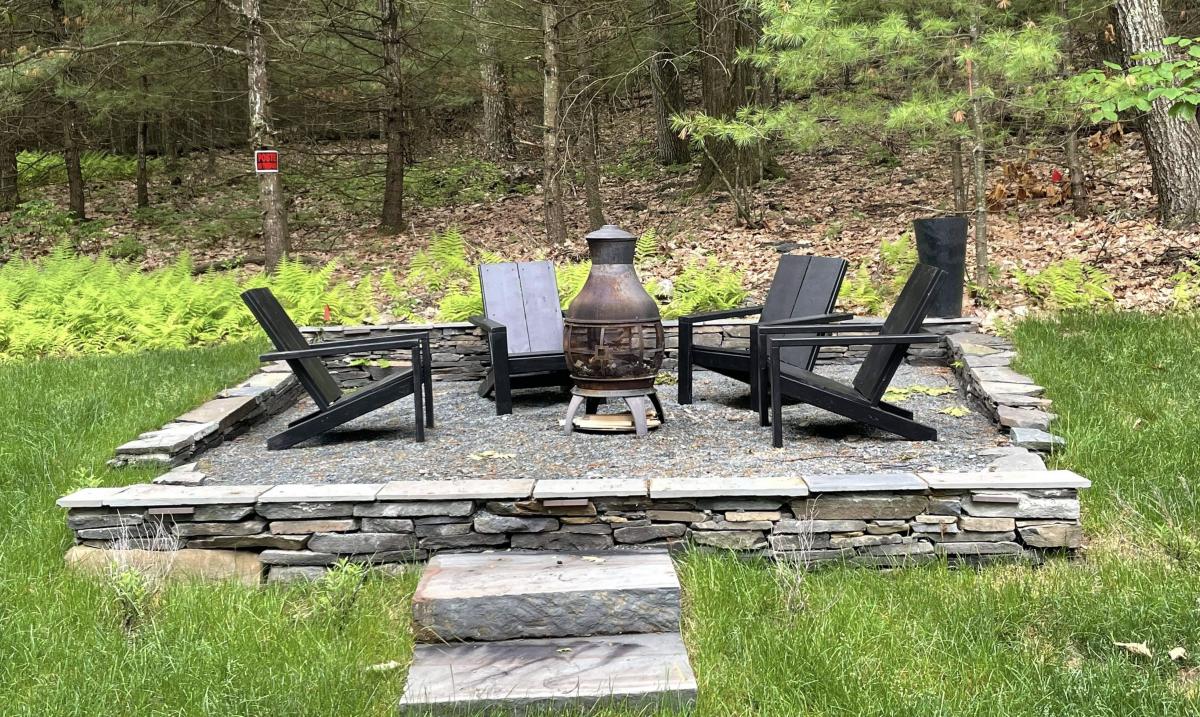
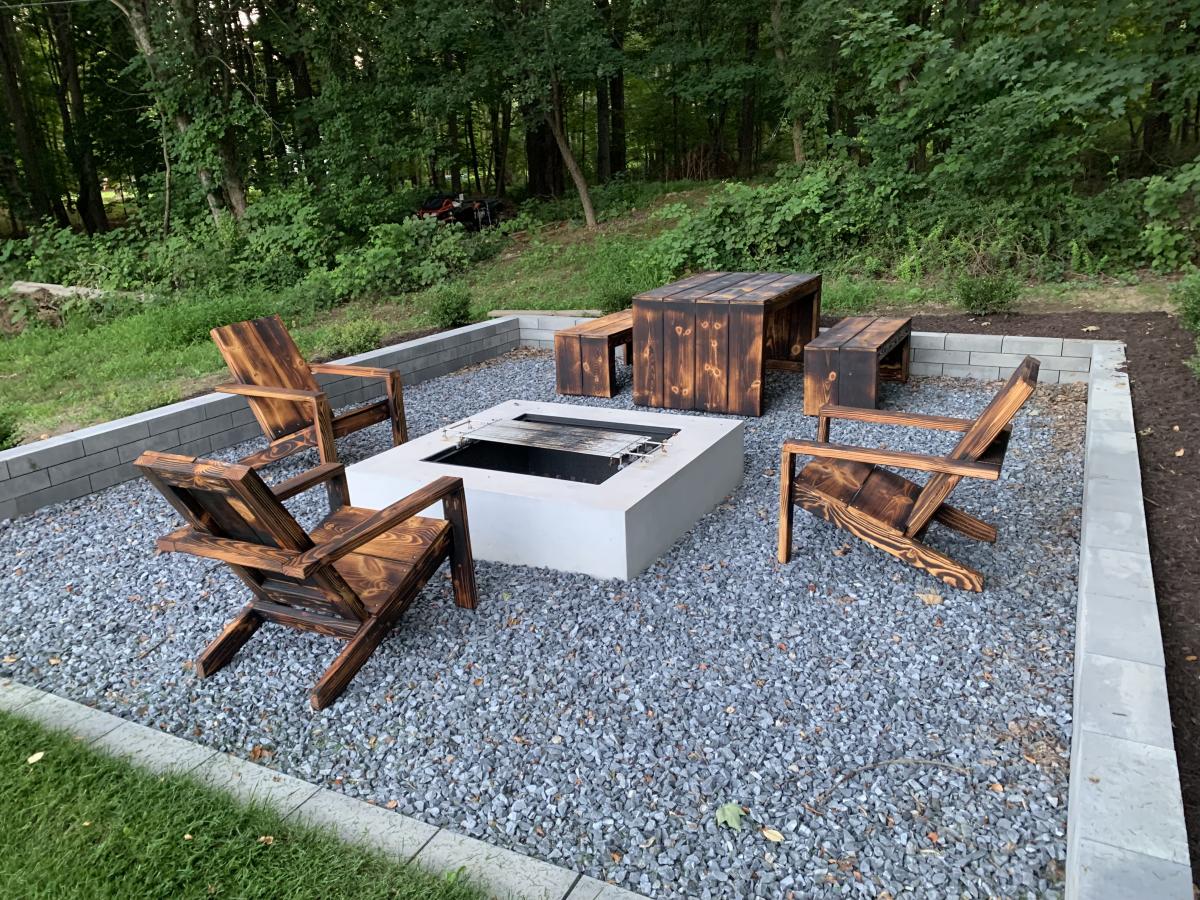
I started out several years ago building the Modern Adirondack Chairs using Ana White's plans. Customers loved the modern design and I was able to fulfill orders in any color or stain. Customers even asked if I could make a children's and adult size chair. These pans are available upon request.
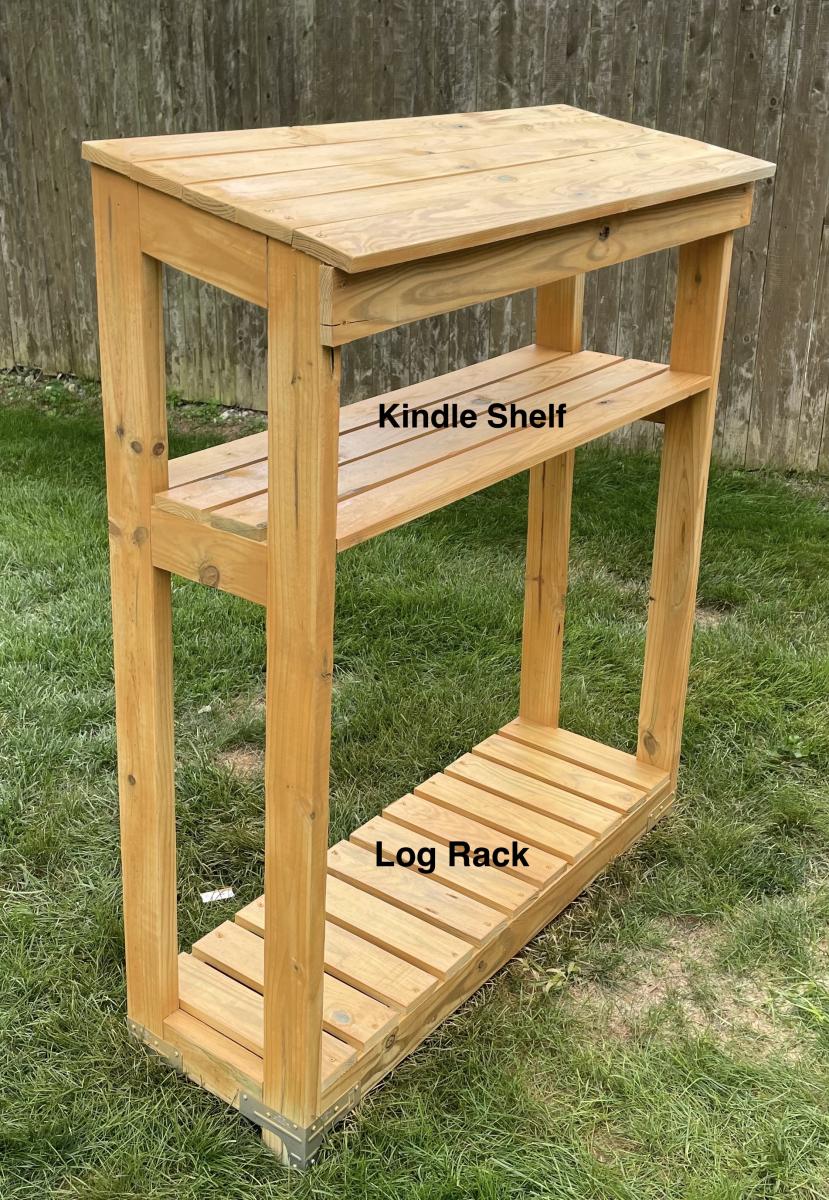
As the trend towards outdoor living increased due to the pandemic, I expanded my product line to tables, benches and patio planters. I even created my own design for a fire pit rack and bench based upon Ana's designs.
Today, I have a thriving business for commercial and residential fire pit furniture and accessories.
I continue to follow Ana White for inspiration and ideas, George
I am a beginer and I am following my dream of having my own tools and workshed. As a result of finding your site Ana I believed I could achieve it and now I have.
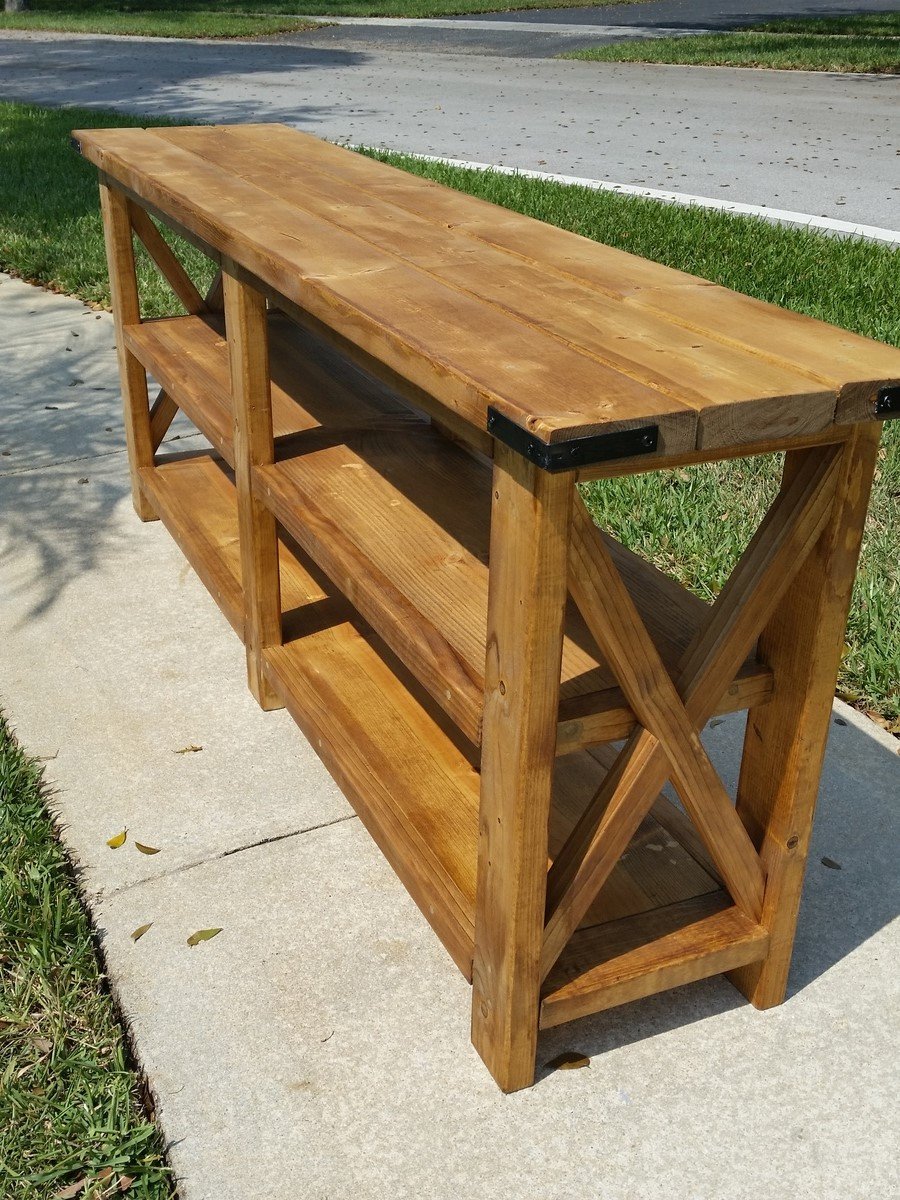
Thanks so much for your great plans and inspiration. This bookshelf is my third project from your site.
I will post the two other projects pictures when they are finished, they need paint touchup.
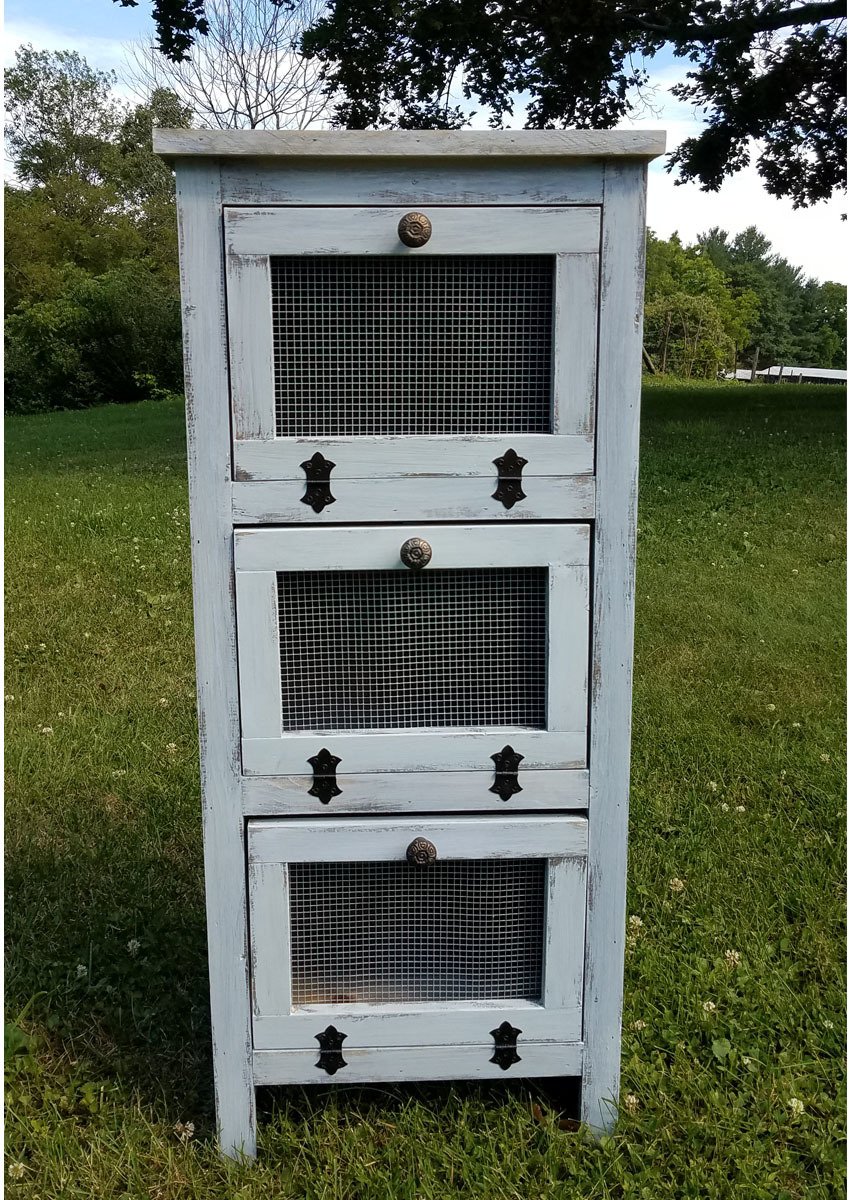
I followed the plans as written and my veggie bin came out looking awesome.
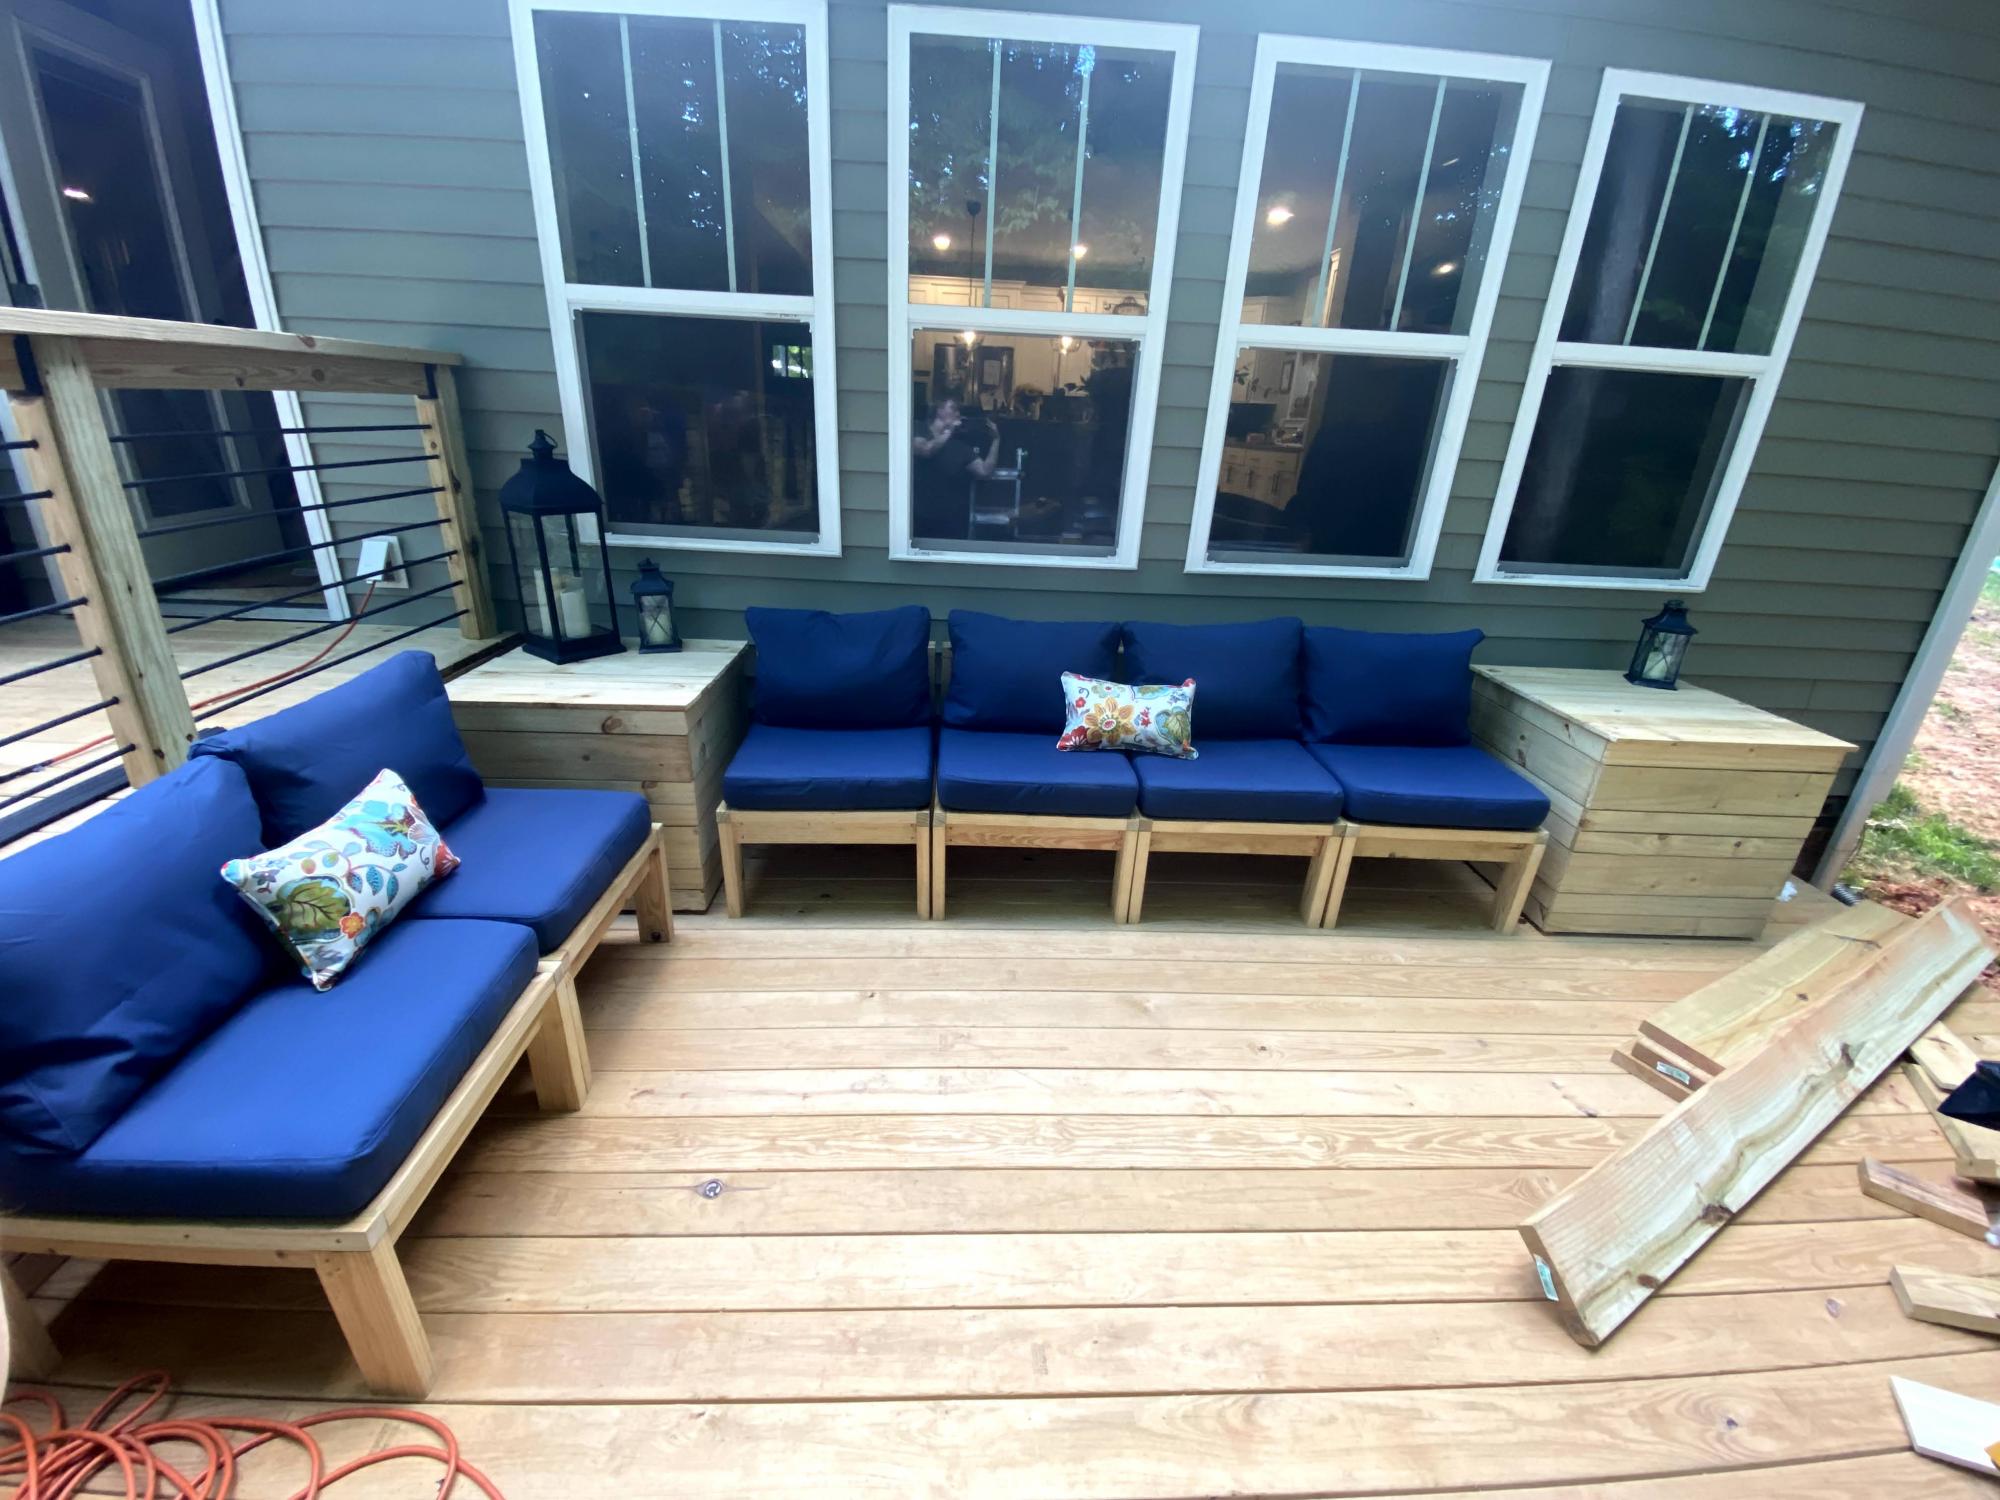
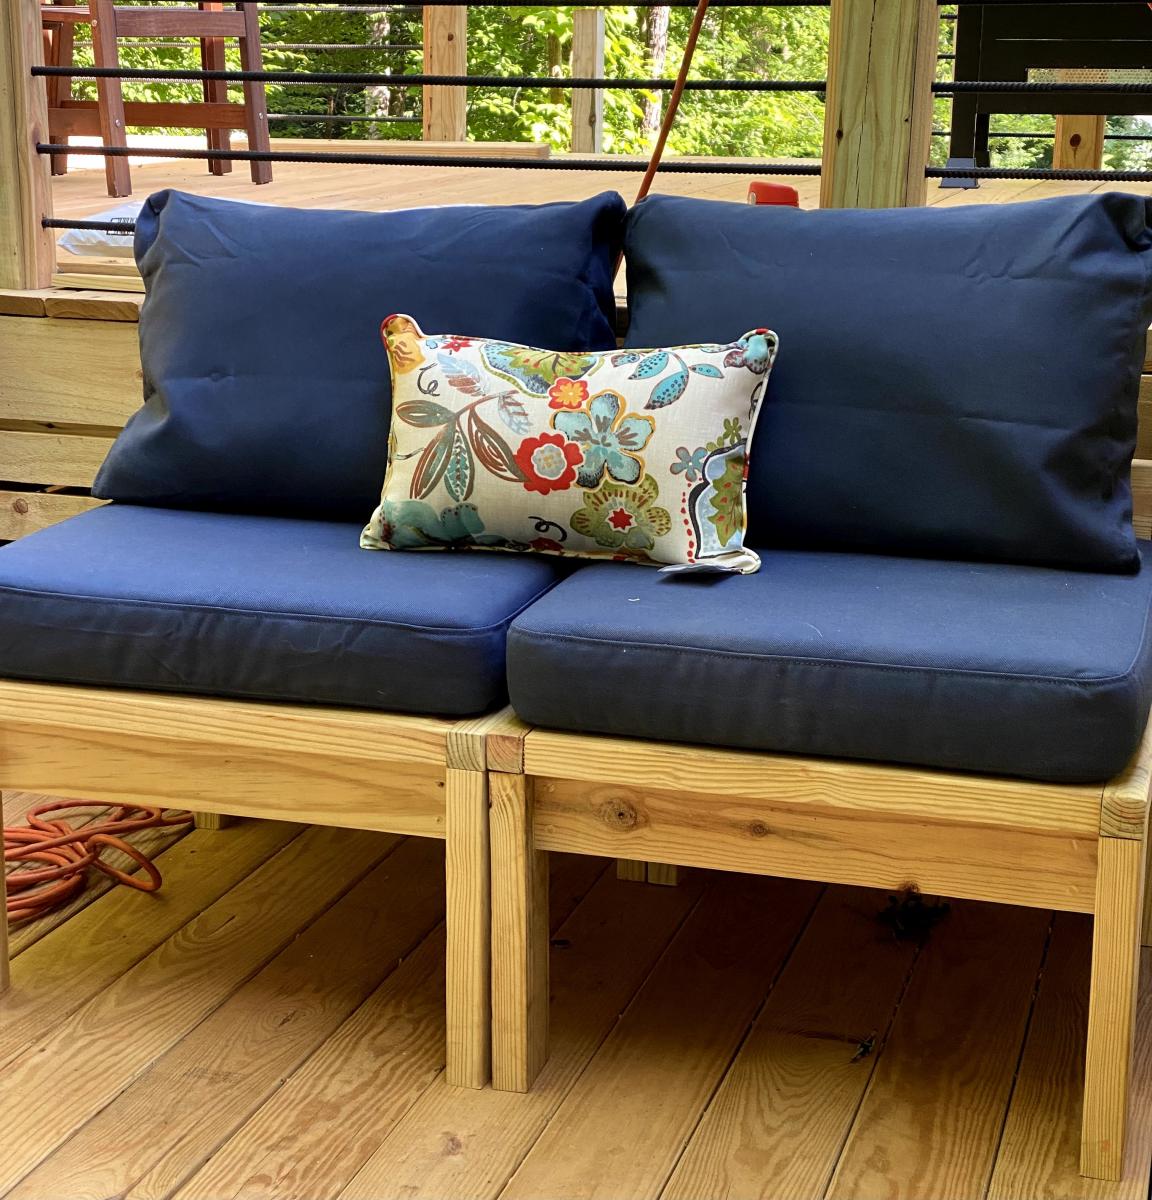
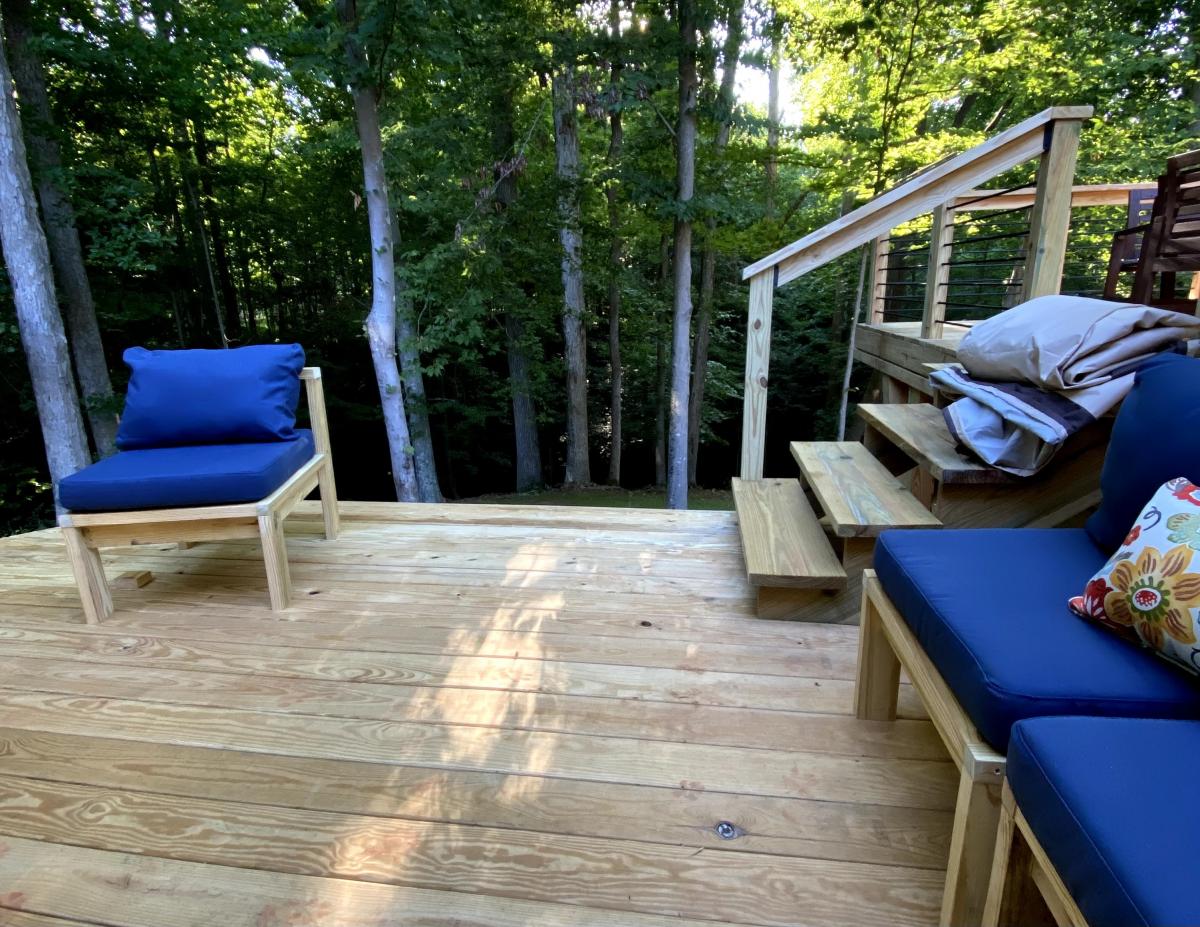
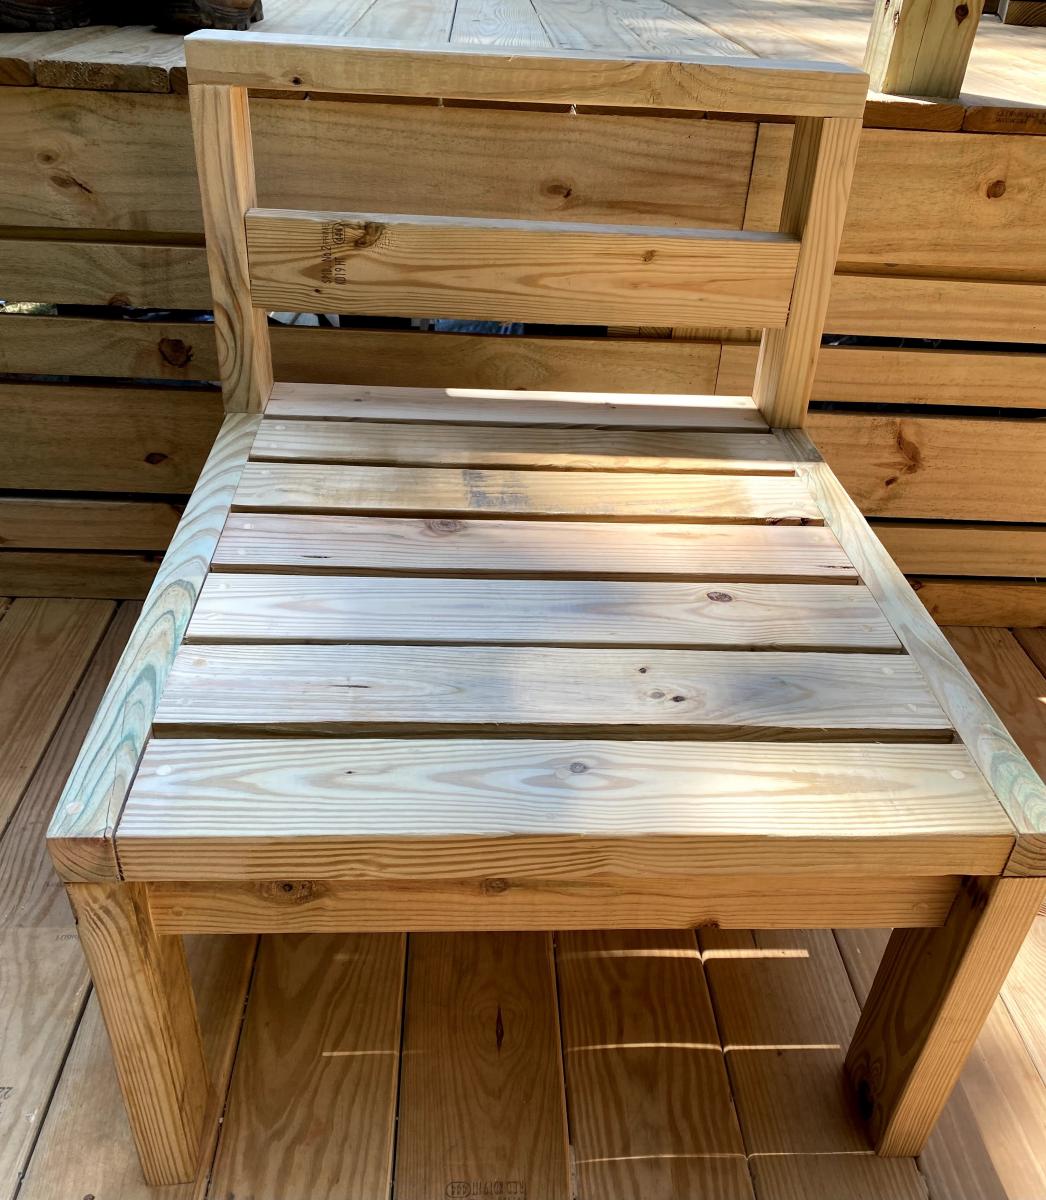
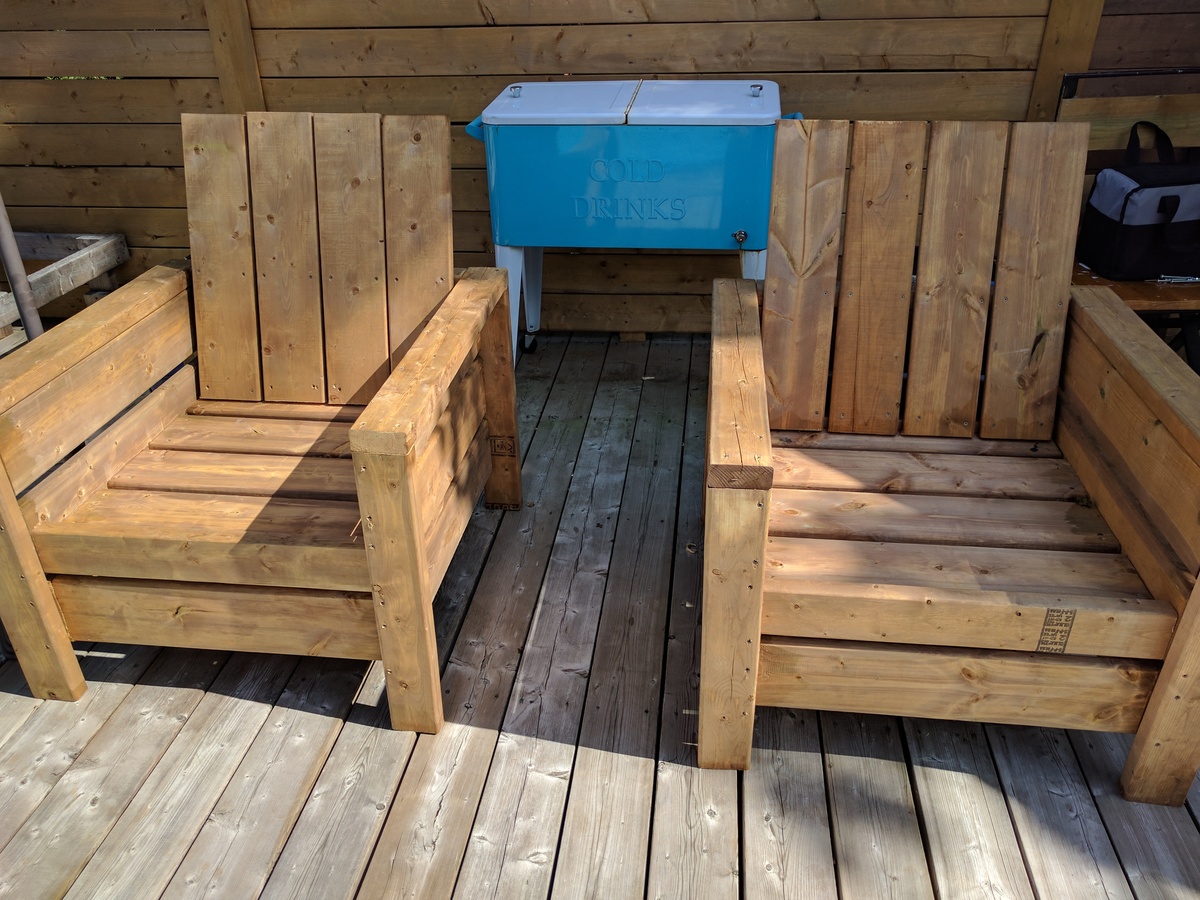
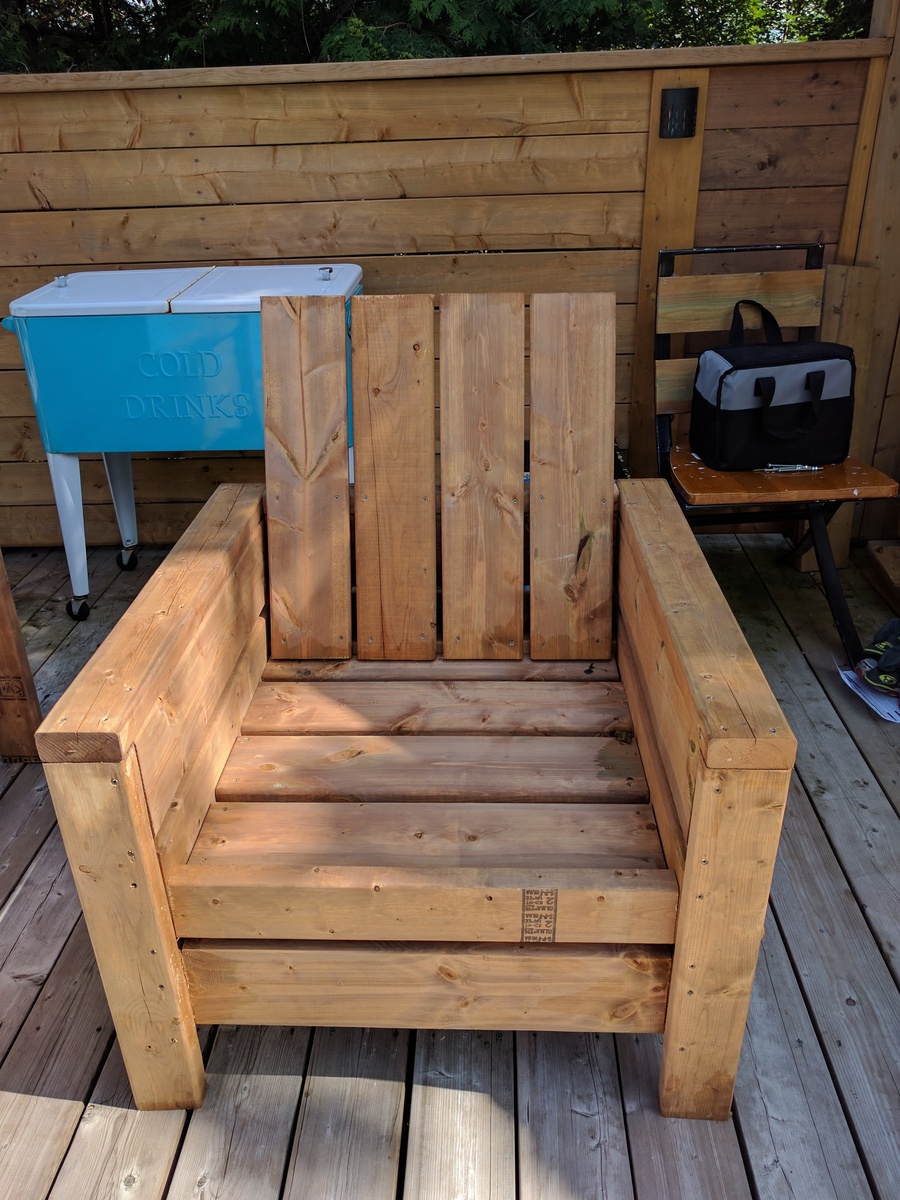
I love the versatility of this furniture. I wanted the ability to move it around in different seating sets. It was my first project with no help from my husband. So very easy to do and follow. I made a few tweaks and made wood plugs for all the screw holes. I plan to stain it later. I used ikea cushions.
Tue, 10/05/2021 - 10:47
YES, love the different options to use and move around as needed! Way to go, thanks for sharing!
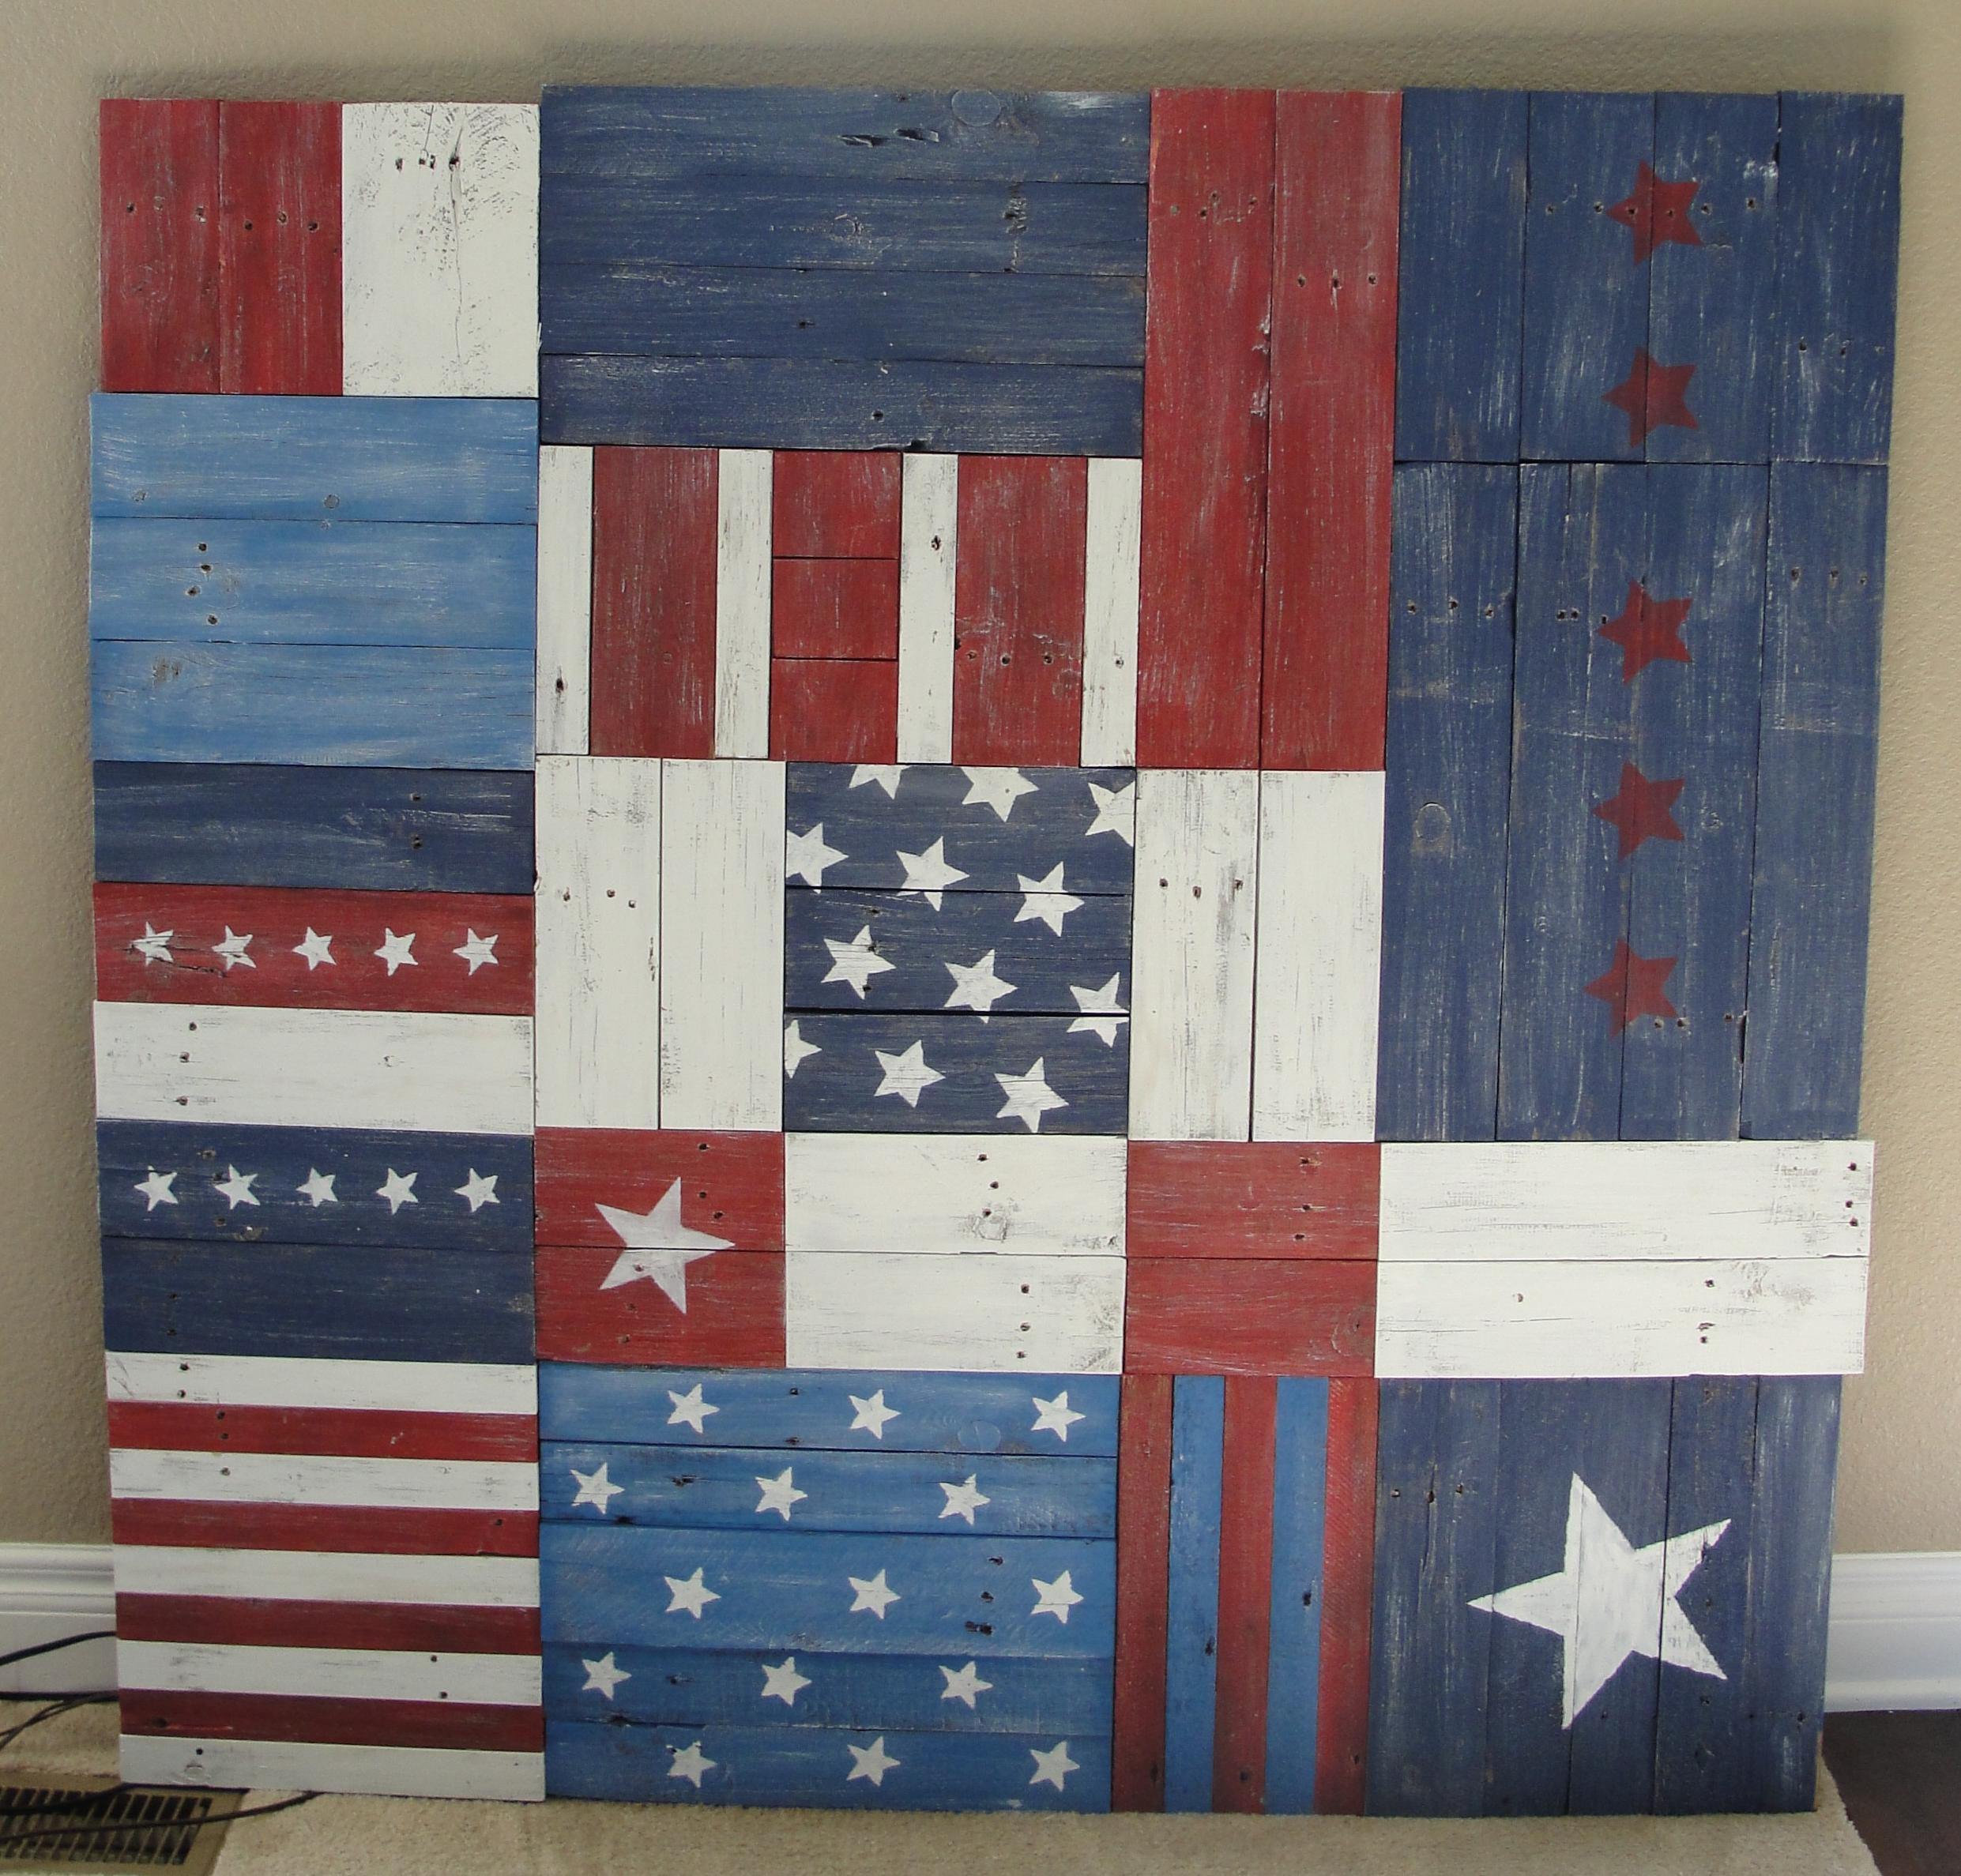
When Ana posted plans for this I immediately fell in love with it. I had a friend visiting, and I thought this would be a great project for us to do together.
A lot of time spent on this project was taking apart pallets, not an easy job. My poor friend did that part, she is great! I think the old pallets really made this look as good as it does, they were already so rustic.
The pallets were free and collecting free pallets was an adventure of it's own. I found a large piece of particle board in the depot's scrap bin for 51 cents! Can't beat that.
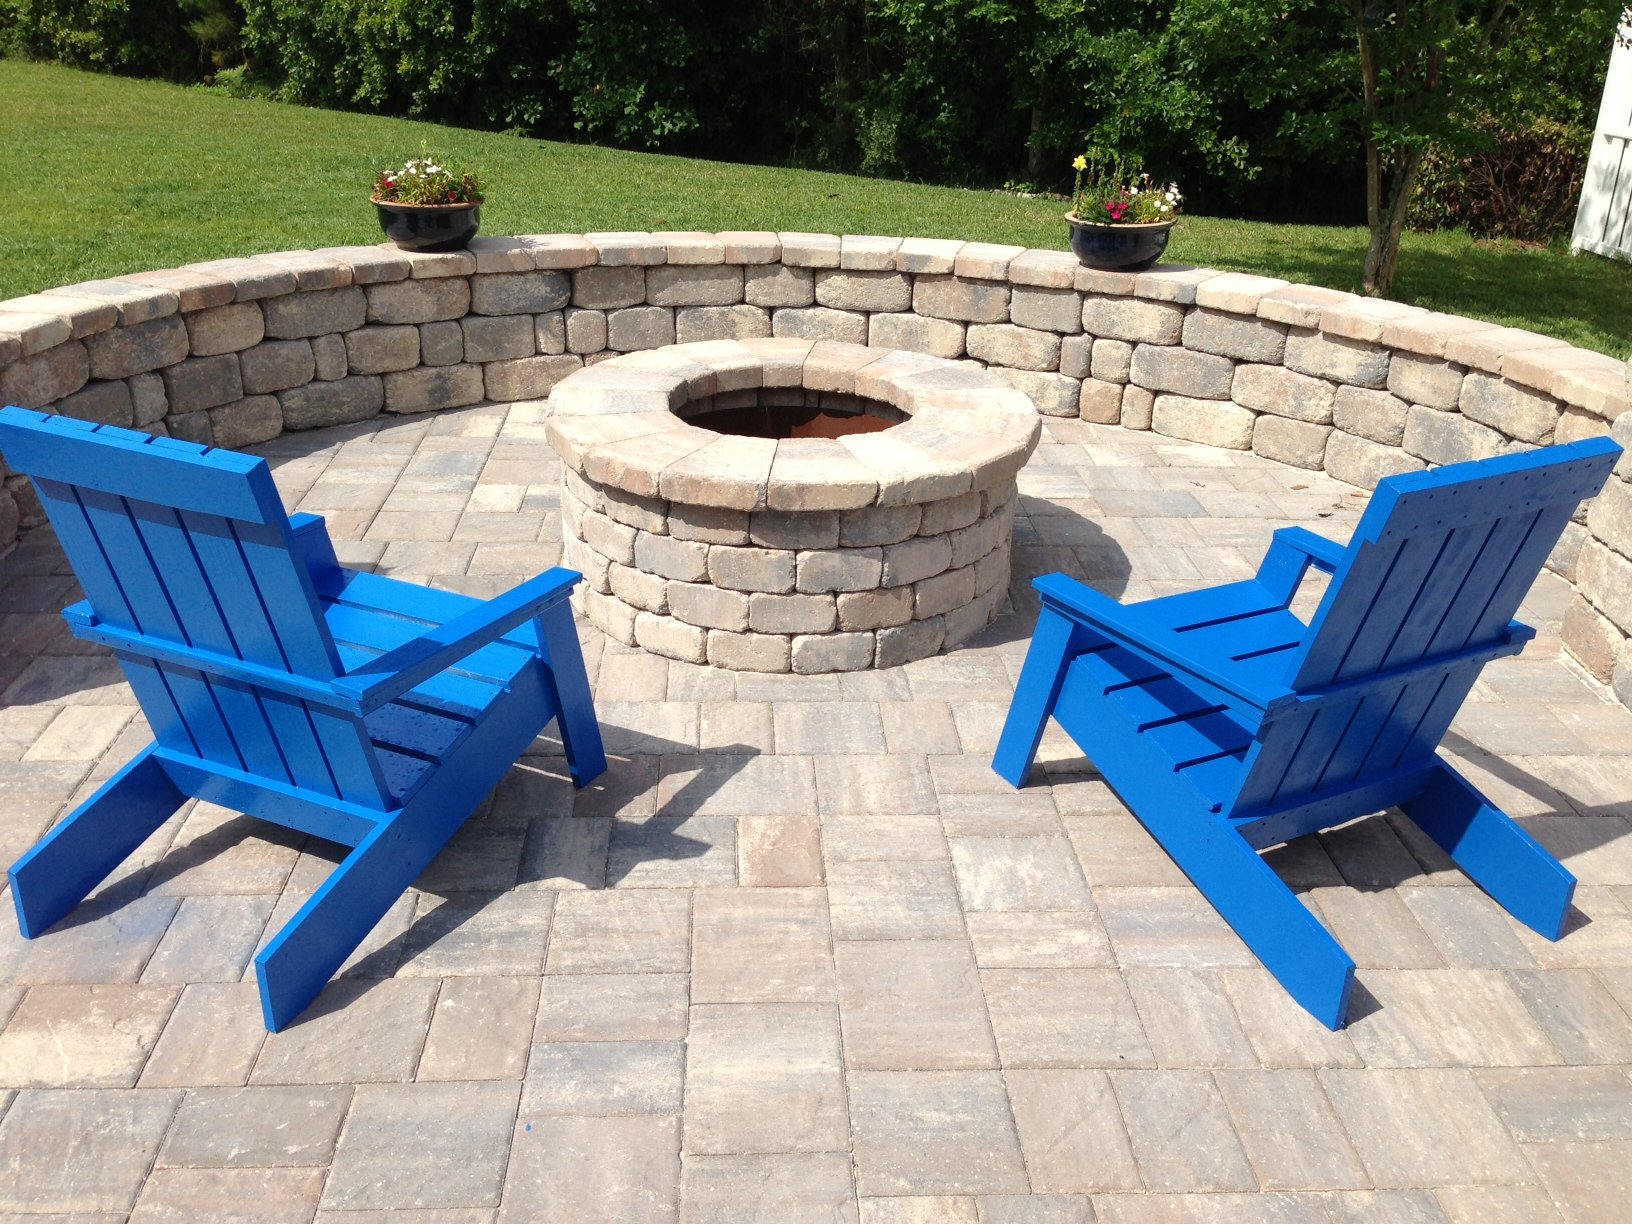
Modern Adirondack Chairs

I made this for my wife. I used 2x3 glue and screw together for the table top. I have a conception that a heavy table top create a sturdy table. I used redwood 2x3 with lag screw. The sitting bench is completely made out of 2x3.

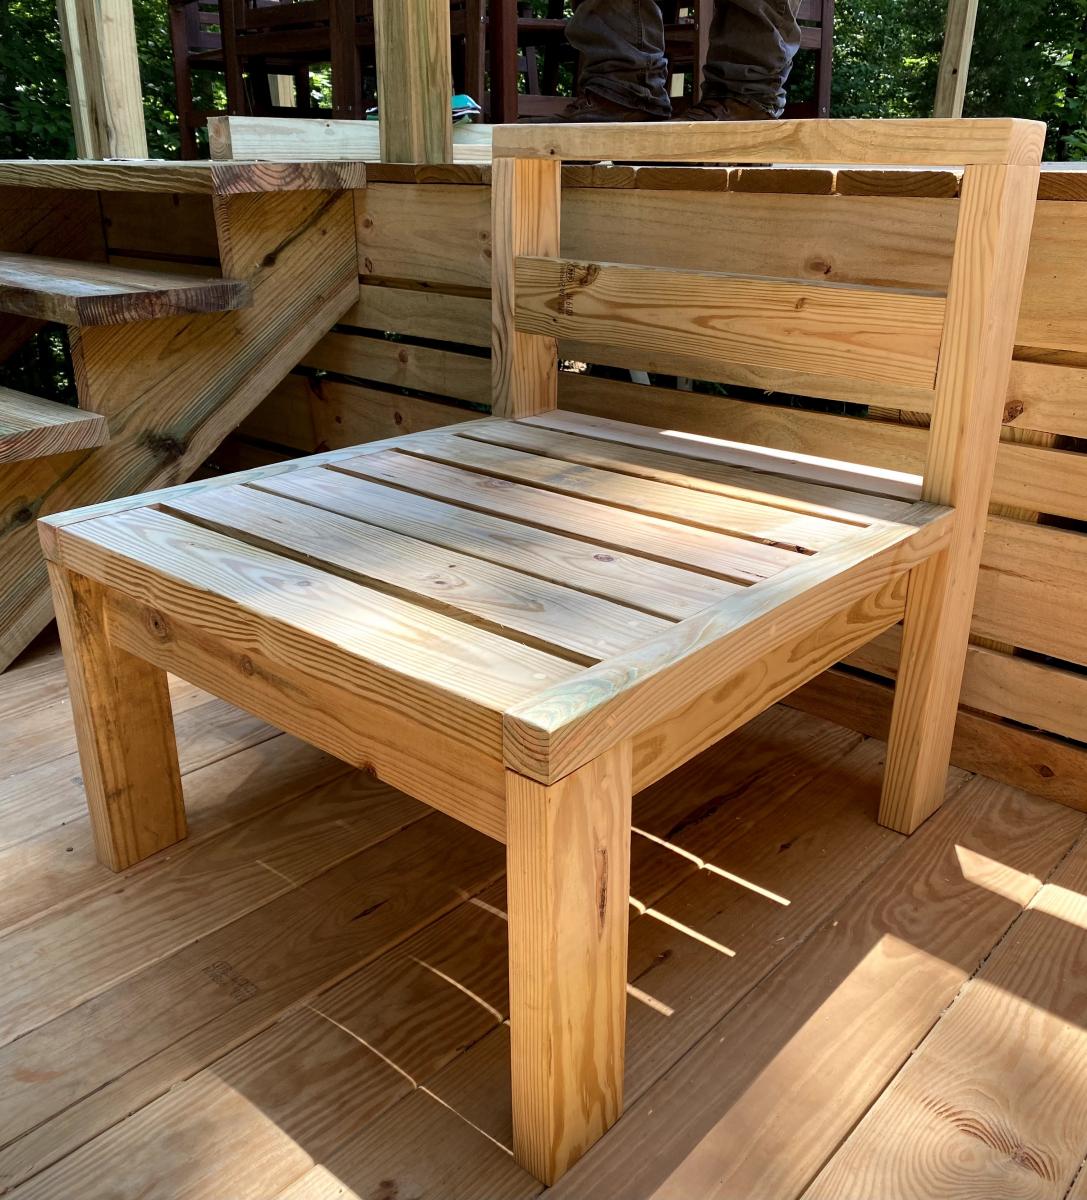
Thanks for the plans Ana. I substituted 5/4 x 6 for the 2x6 and it is plenty strong and sturdy. Also added an angled back to support 24x24" cushion. Very pleased with the finished chairs.
BTW: I have now used 4 of your plans. The X harvest table, an outside dining table and patio loungers (4 of them) and the box chairs. Cheers!
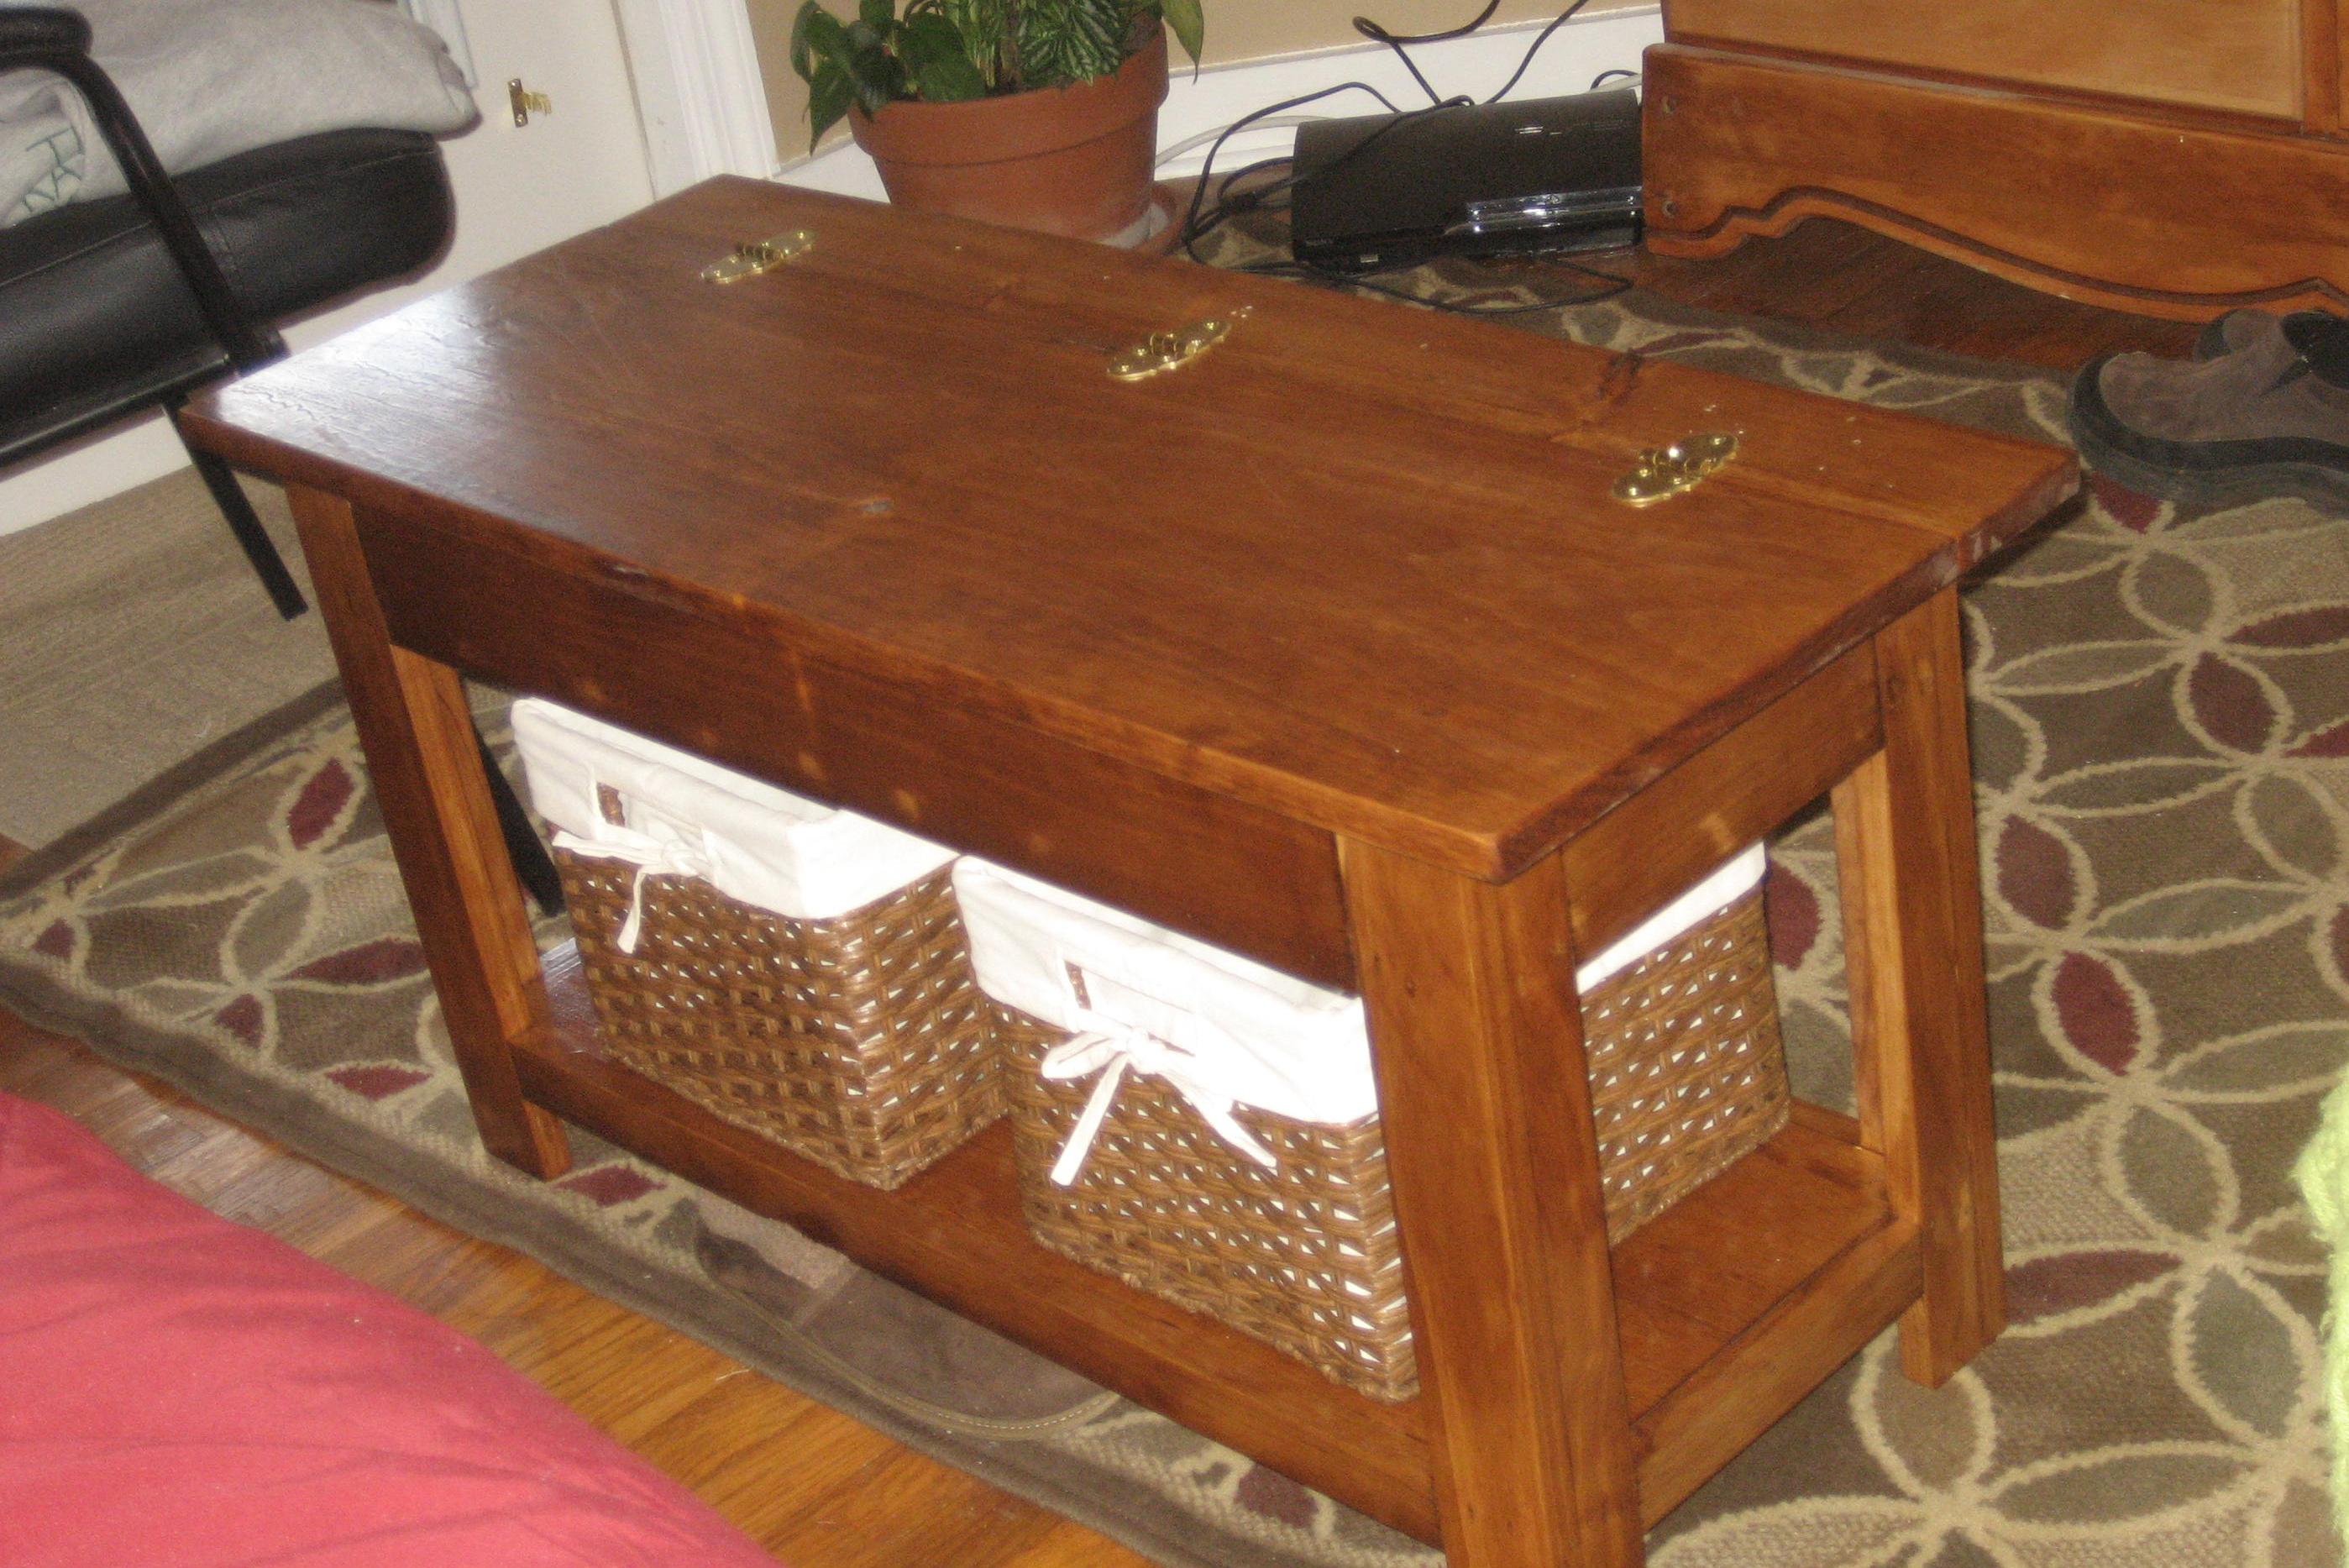
The storage bench/ coffee table, customized for a small room to hold my son's lap top, and game controllers.
I cut it down from 48" to 36" and it worked great!


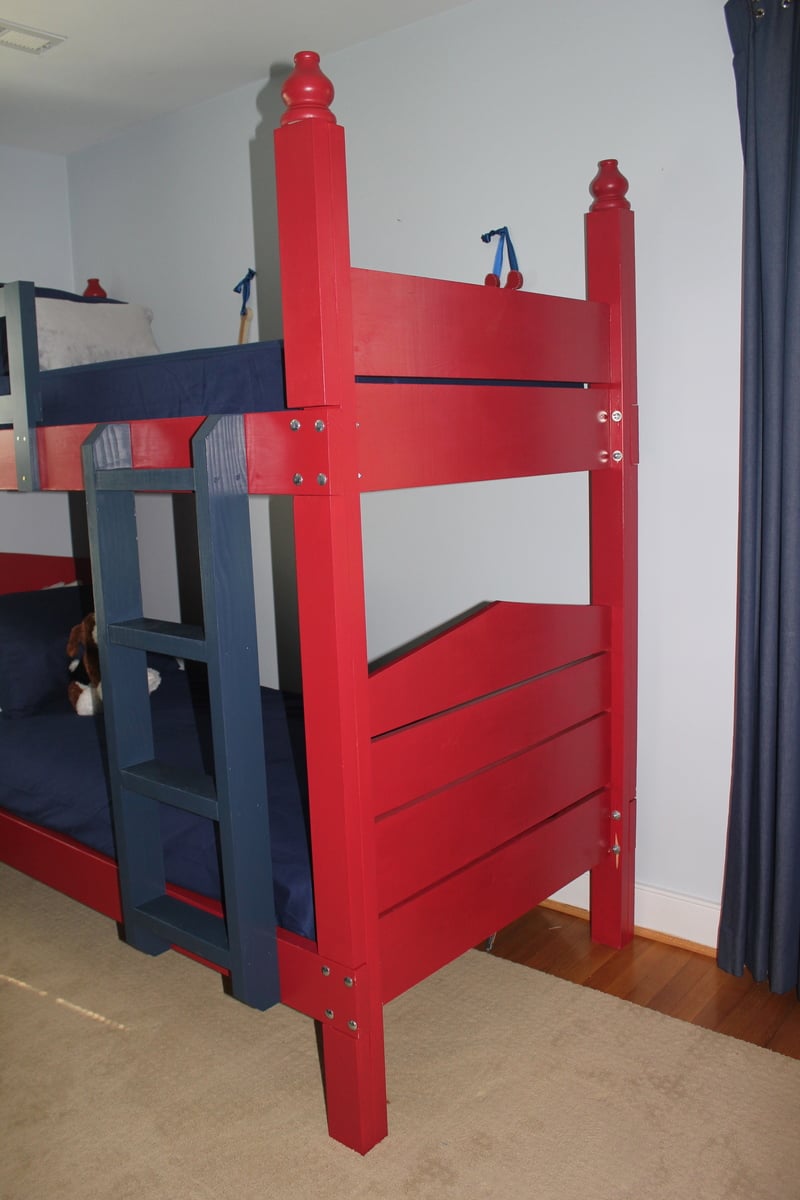
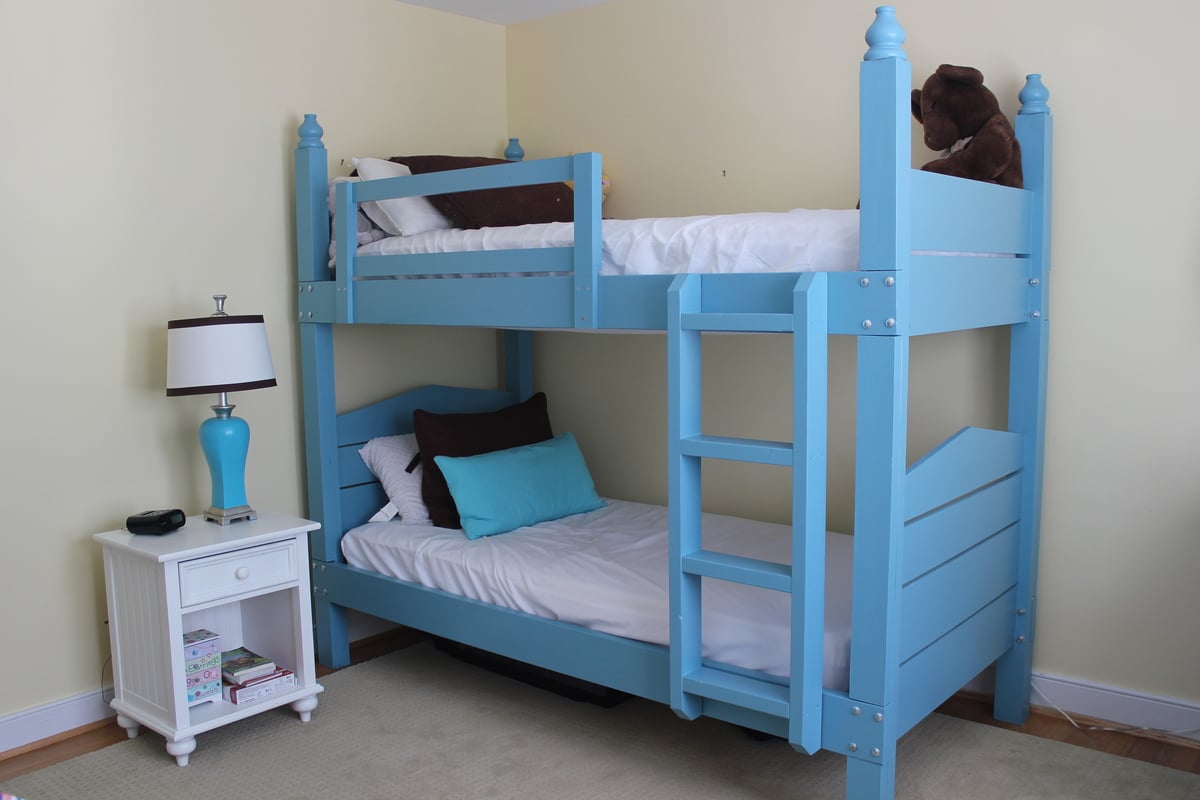
I built these bunk beds for my almost-10 year old twins this spring! These were modified from the Side Street Bunk Bed plans to accommodate the longer Twin XL mattresses. I took inspiration from the Maine Cottage bunk bed collection for the end panels of the beds, and added furniture feet as finials on each post. It was a fun build, but pretty time intensive as I built both sets at the same time. This was my first major build.

This is a sample of what I have done using Ana's plans. Thanks Ana!!! I will be posting my entire kitchen Reno in the near future.
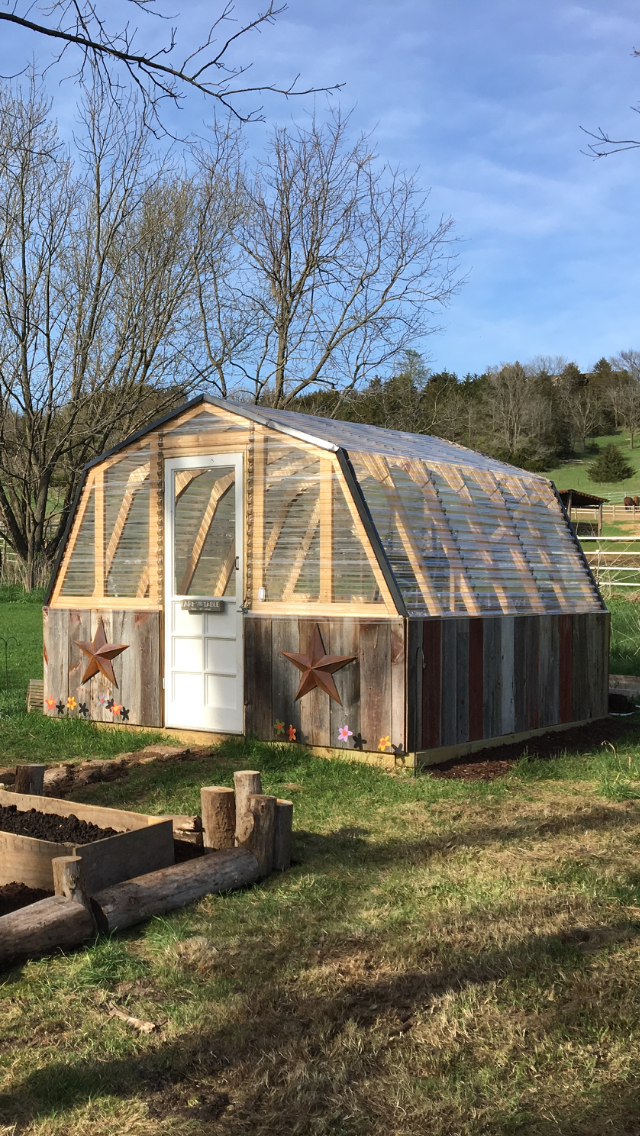
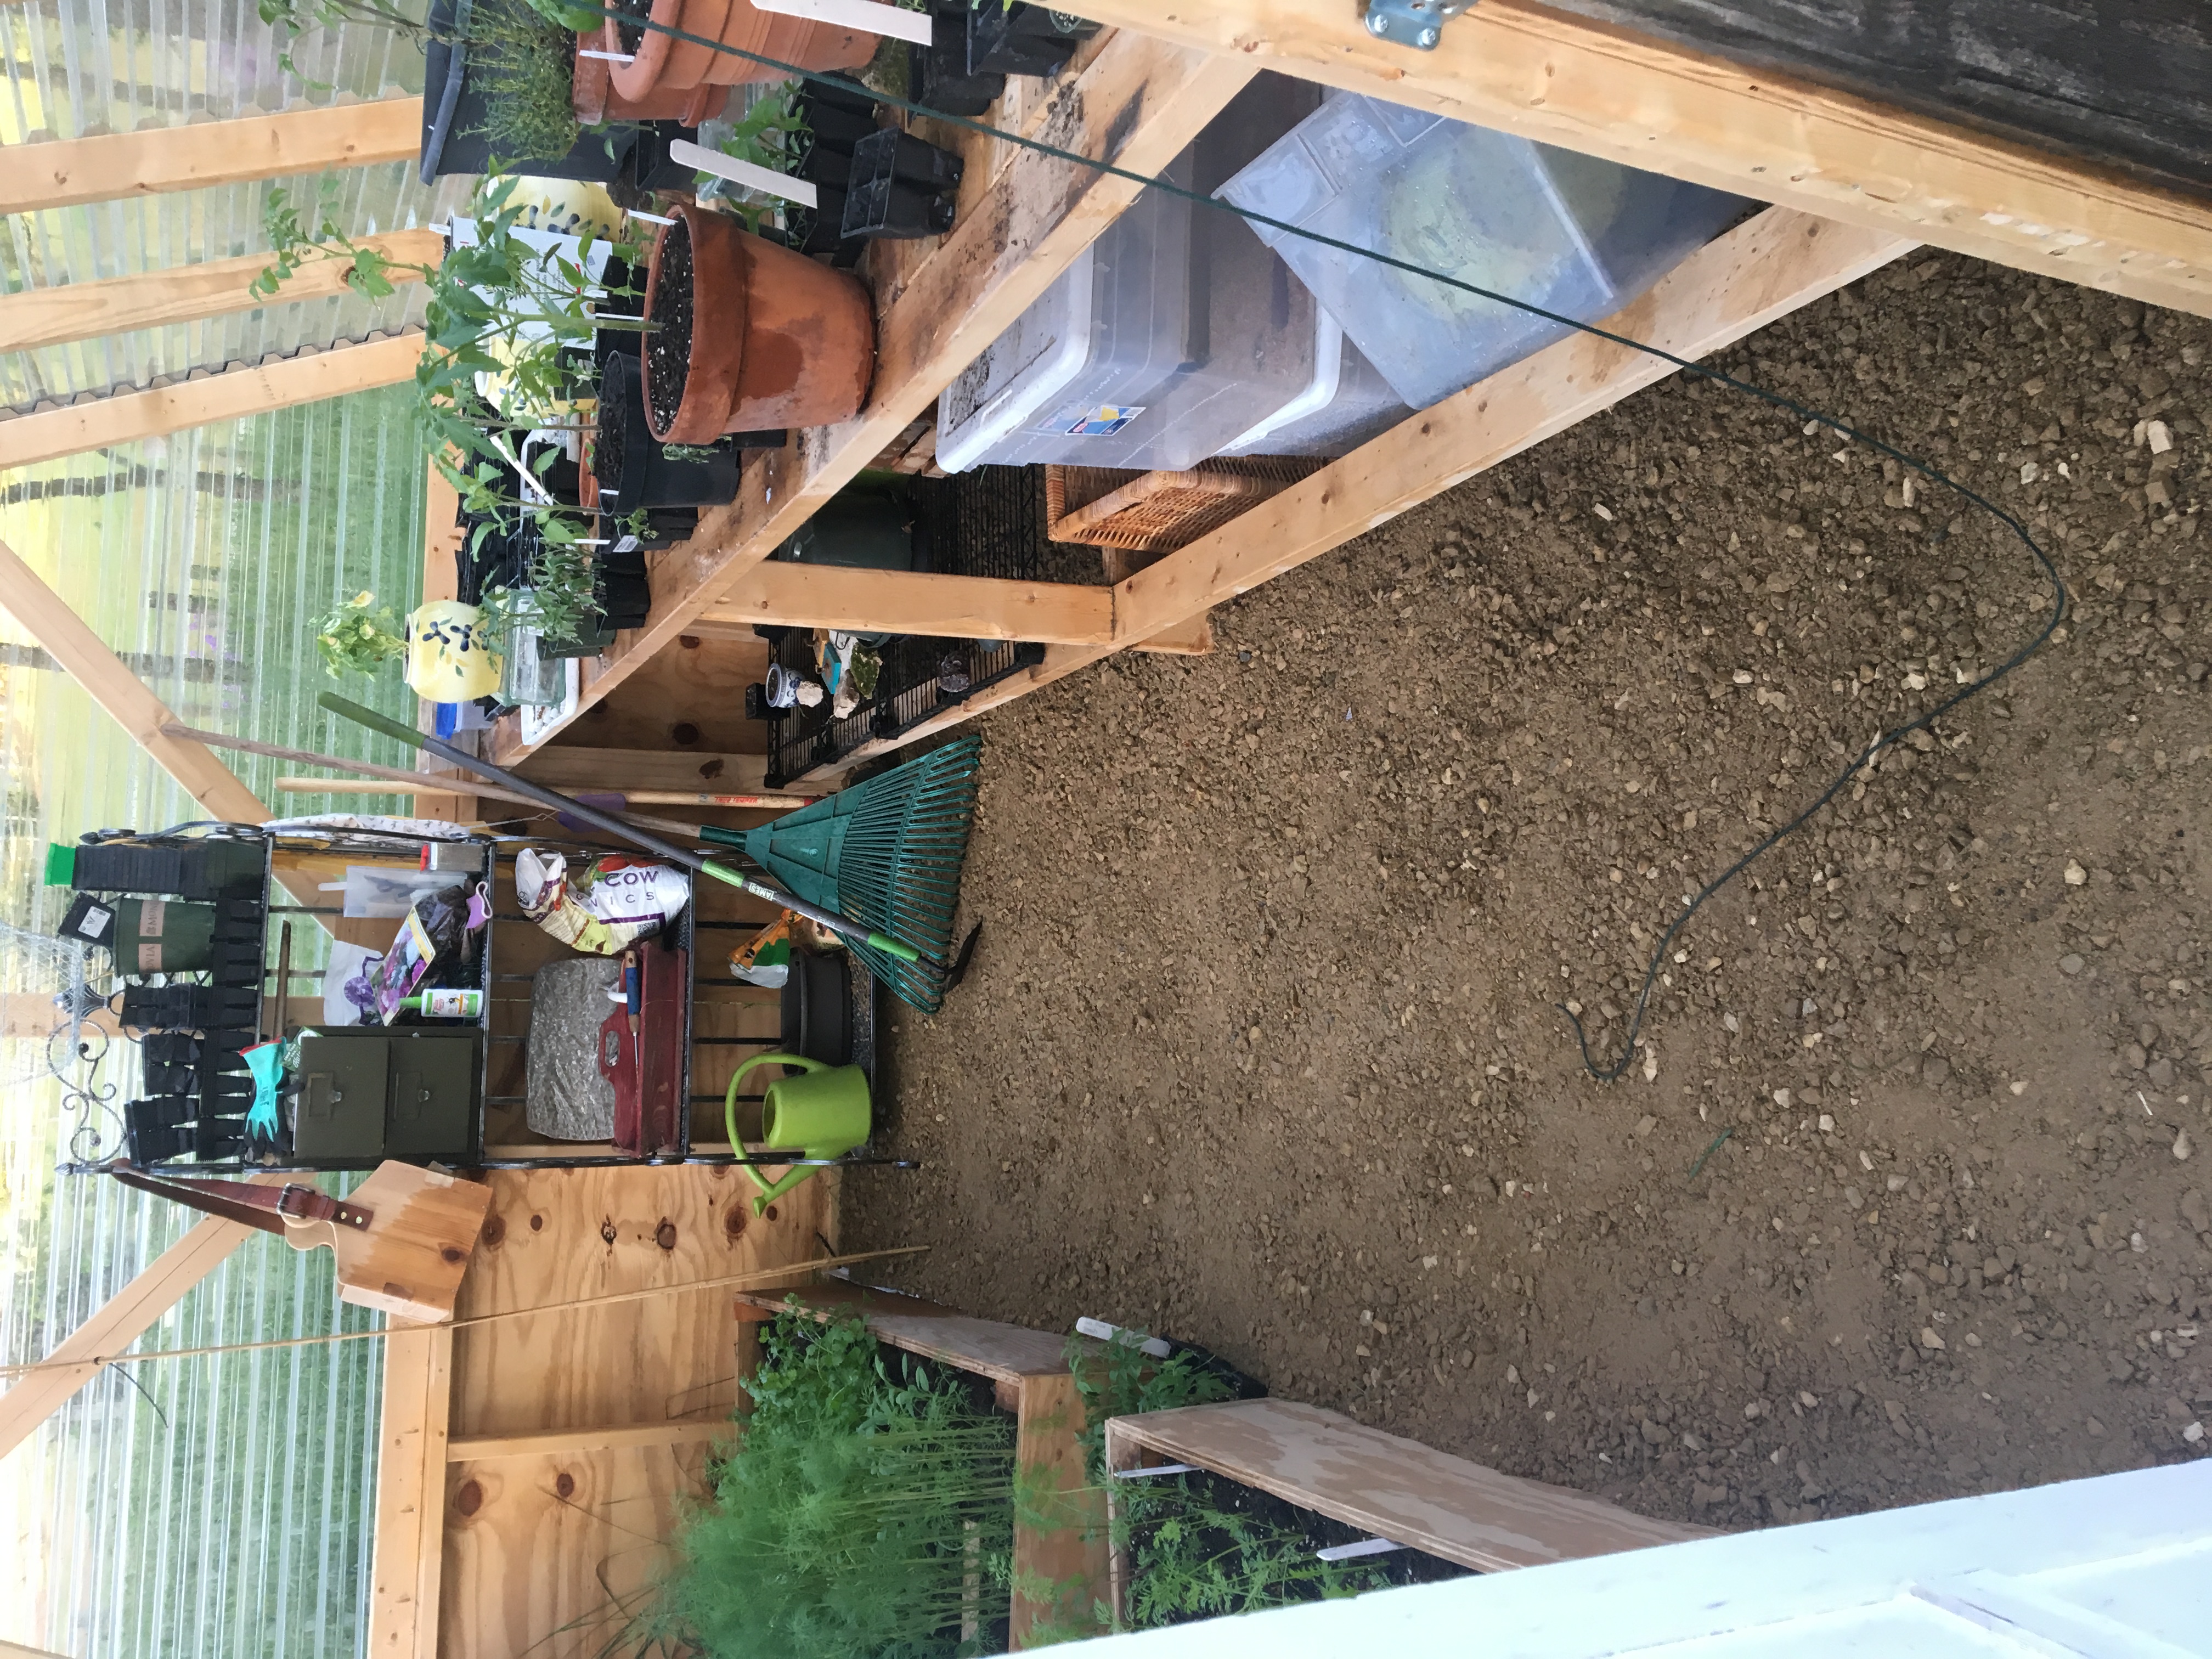
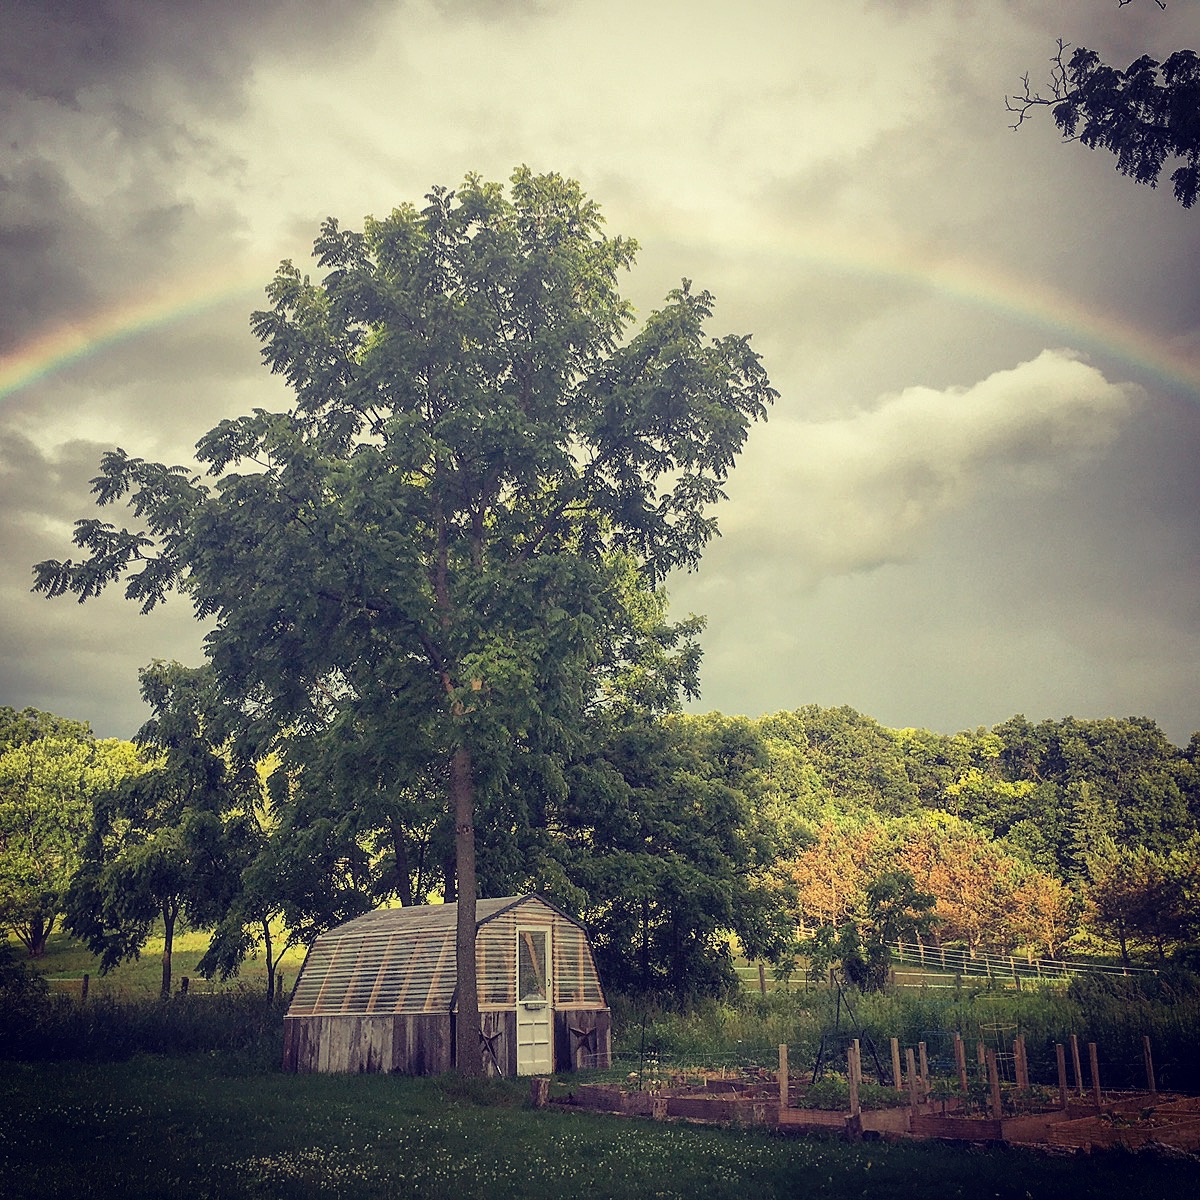
I built this amazing green house following your plans! My wife and I moved our family from the city to an amazing 5 acre homestead out in the country here in Wisconsin. We are super happy that we will be able to keep our new garden going longer! Thanks so much for the plans!

Fri, 06/21/2019 - 05:05
Cute, nice job. I'm going to build one in Tennessee.
I used one by material because I wanted a piece that was less bulky. I also made side tables from the same plan.8 love these, they are exactly what I have been looking for!
Mon, 10/04/2021 - 16:55
Excellent builds, love the color choice! Thank you for sharing ~


Comments
Ana White Admin
Tue, 10/05/2021 - 11:51
CUTE!
Great job, those are super cute!