Two-Toned Rustic X Console
![](/sites/default/files/Media%20X%20Table%20i%20am%20hardware.jpg)
Simple two-toned take on this classic plan! Thanks Ana.
![](/sites/default/files/family-room-cropped.jpg)
Simple two-toned take on this classic plan! Thanks Ana.
Still need to paint it. Perfect weekend project. Such an easy build! Thank you!
This was our first project and i gotta say, I love doing this! There are so many ideas on this website!
This was super easy, my husband and I had trouble with some of it because it wasnt fitting right, but we just tweaked it and it turned out perfect!
I had been looking online for an outdoor sectional for months, and the price was too high for us to spend. Our final total was only 238 dollars all together. Store (and bad quality at that) furniture would have cost us over 500. So, I am VERY pleased.
I got the cushions on craigslist. Listed at 8 dollars a cushion. They were still in the wrapping! We have one extra cushion that we plan on making an ottoman soon.
I considered myself pretty good at cutting and assembling, less when it comes too filling, sanding, and staining. I could not figure out the X for the life of me! Luckily I could figure out the Tuss table :D
I followed Ana's Farmhouse bed plans, using 1 x 12 boards for the sides and leaving off the extra piece at the top of the headboard. I didn't want to cover any more of the brick than necessary and I have a large bit of artwork to put over the bed too.
Because my mattress is a Sleep Number bed on a pedestaI I had to add a footboard to keep the mattress from sliding off the end. The footboard is simply a 24x24 section of plywood with wainscoating and 1x2s to match (sort of) the headboard.
Used this plan and tried to Gary a rustic look.
This is my take on Ana's Narrow Farmhouse Table project. I plan on adding a bench to one side and random color matched chairs to the other.
I did this project today with some old scrap that has been sitting around and taking up way to much space! Shotzie got a new bed out of the deal and she is pretty happy about it. I am available to do builds for people who like what they see and dont want to pay retail price for this stuff. check out my profile.
I took plans from two makers and changed them to fit my needs.
I took the base from the Fix This Build That DIY Daybed with Storage Drawers plans. And I used the headboard/footboard concept from the Shanty-2-Chic DIY Modern Farmhouse Platform Bed plans and made this extra tall, extra long twin size bed.
I made it for a client (friend). It is for her daughter. White washed instead of paint of stain.
The plans on this were so easy to follow. Thanks so much for posting!
I ended up using screws instead of nails just because I am more comfortable with a drill than a nail gun. Seems like it is holding up fine :)
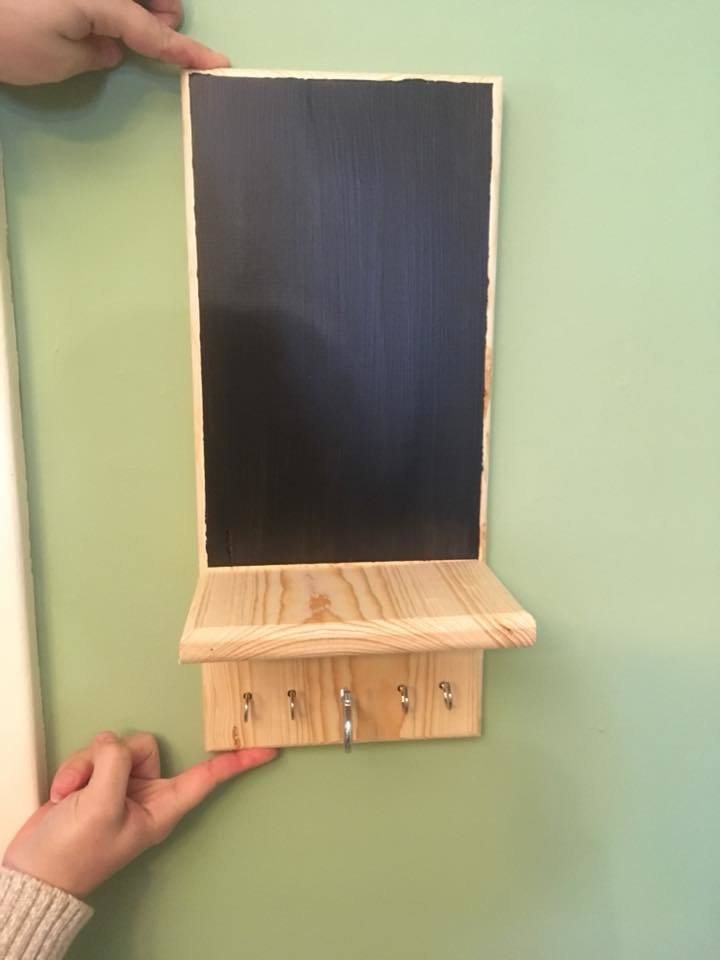
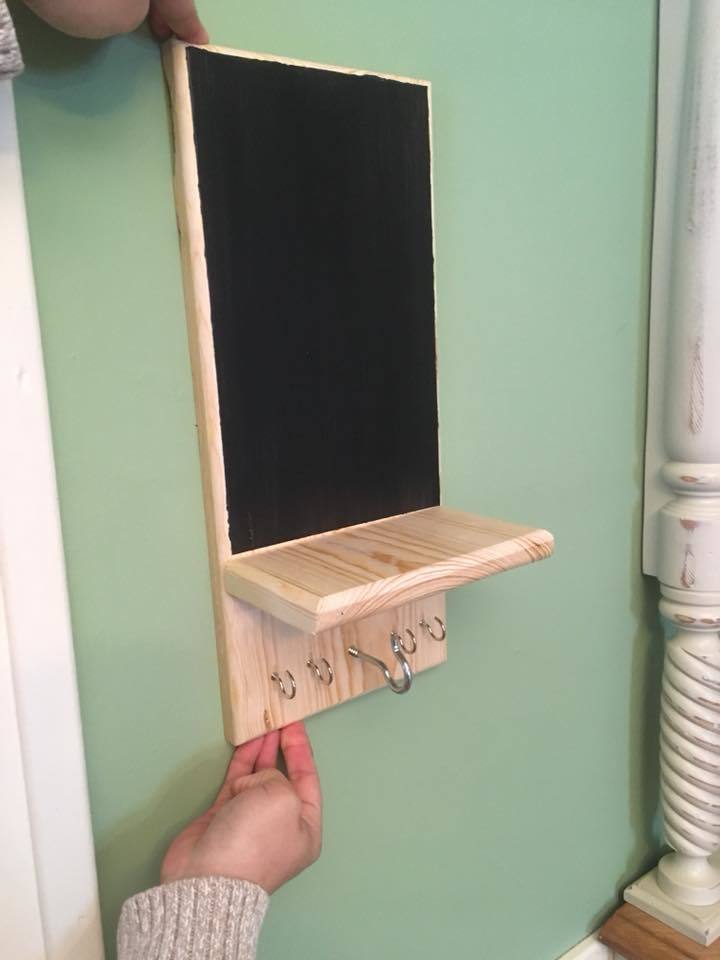
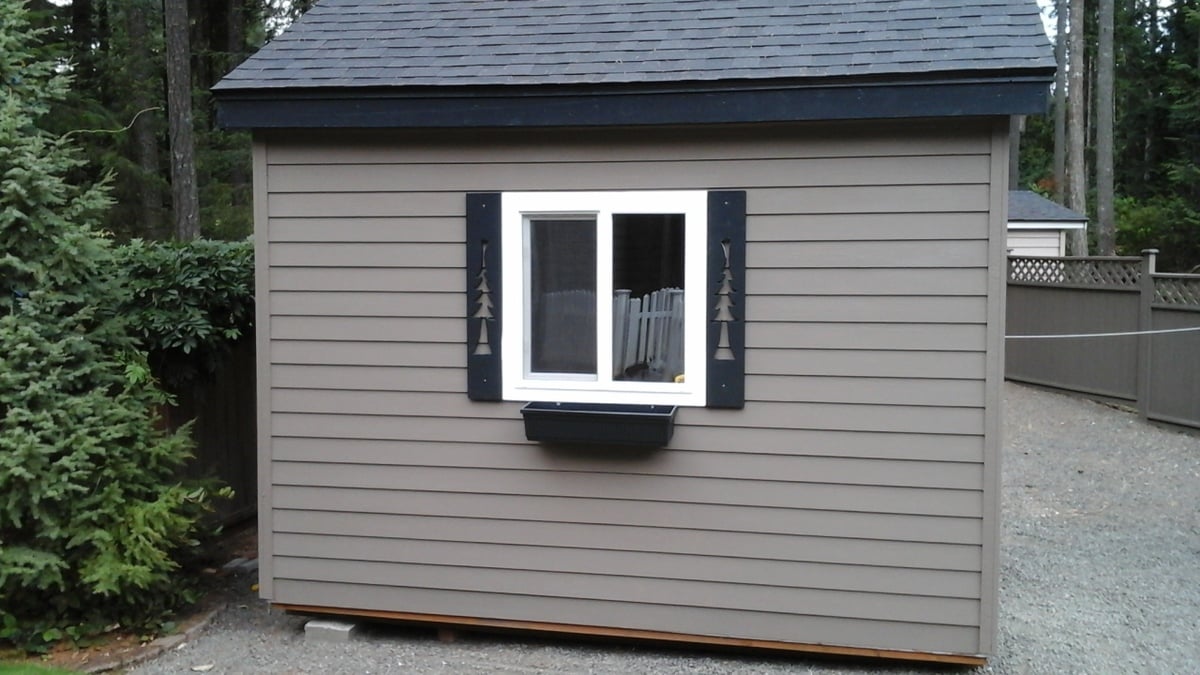
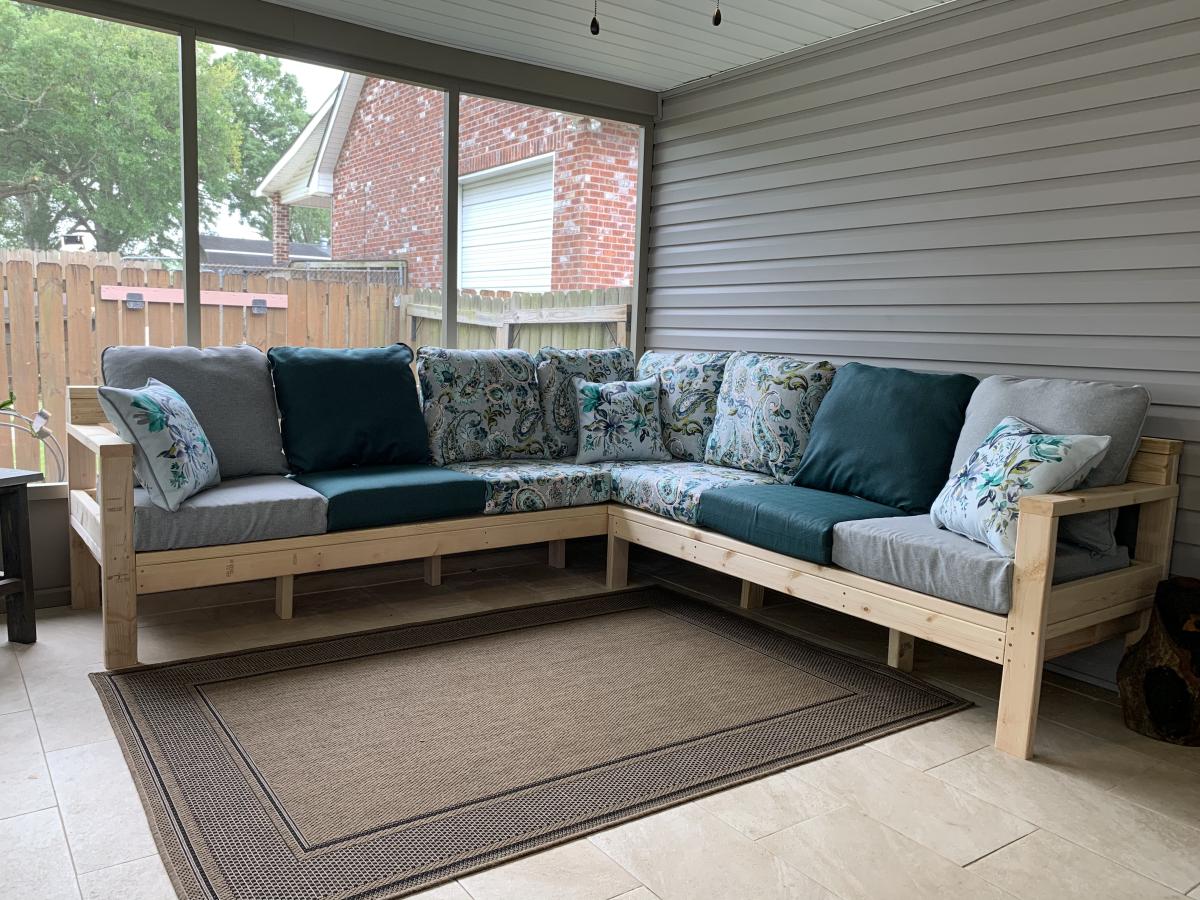
I was looking to make a planter instead of buying one, and stumbled across Ana's website. This planter looked good and simple. I purchased the Kreg Jig Jr, and a face clamp on Ebay. I know I'll be able to use it for other projects/repairs. Home Depot did no have cedar fence pickets, so used what they had, (spruce), and brushed on some left over pecan minwax stain for contrast. I left everything else the raw, didn't fill in the pocket holes, and didn't use glue on the pocket joints. I did glue the fence pickets to the 1 x 3's and secured them with (pre-drilled holes) 1 1/4 out door screws. I suppose if you had some experience, and were not cutting all your wood clamped to a folding table, you could save some time. This took me just over 3 hours. It looks good. I placed my cleat 11 inches down from the top and lined it with that fabric to stop weeds, and poked some holes in it for more drainage. I may go back and fill the pocket holes with wood putty just to keep the bugs/spiders out.
Maybe in the fall after the tomatoes are done I'll give it the once over with some stain or water seal. This is on my back patio, the wife would already love one for mums out front. Thanks Ana White!
Easy to follow the plans. Sanding and staining may be the most daunting task of life!
This is a basic key organizer but the big hook it for a dog leash. The sides are routered and the middle is chalkboard paint for writing. A friend just suggested putting a route to hold the chalk. I will add that later.
My husband made 4 pieces from the 2x4 outdoor collection. It was his first time doing a wood working project. The step by step plans made it easy and manageable!
Thanks to Anna's plans online I was able to create these nice pieces for my house.
Building a storage shed was quite a jump for me but because of the confidence and experience I gained from Ana's site I decided to give it a shot. I acquired the plans online. It has 8 foot high walls and 3 feet of "attic space". The shed is 8'x12'. I used cement board lap siding. It took about seven weeks to finish working a few hours here and there. I really like it. Even has a little window flower box.
We estimate that the cost of this project was right around $50, but we had a lot of tools and materials already. This was a fun project and a great piece for the cost. I would suggest staining as much as you can before assembling those legs! Staining and applying poly was a pain in the butt! We used a dark mahogany Minwax stain and 2 coats of Minwax poly. It took us a while to do it because we have a 11 month old that keeps us on our toes.
Sun, 05/24/2020 - 15:04
Hello Ana. Will you be posting the plans for this desk? I like it. I would like to build it for my house. TIA.
In reply to Hello Ana. Will you be… by hcorletto
Sun, 05/24/2020 - 15:09
Disregard my comment, I found the plans. Thank you.
Thu, 07/23/2020 - 16:41
Yes I would love to have the plan for this table as well
Used Ana's plans with a little modification.
I built 2 different sizes and donated to our church for their fellowship hall.
My husband and I needed more room and storage in our small one bedroom apartment. In order to get both we needed to get rid of our big hutch, desk and tv stand. So when I saw these cubes shelves I thought they would be perfect, then I saw TRACYSMITH's brag post a decided that was perfect! I painted it and did some organizing and it was probably the best decision we have ever made!
Night Stand
The wife wanted patio furniture so we built our own