Dollhouse
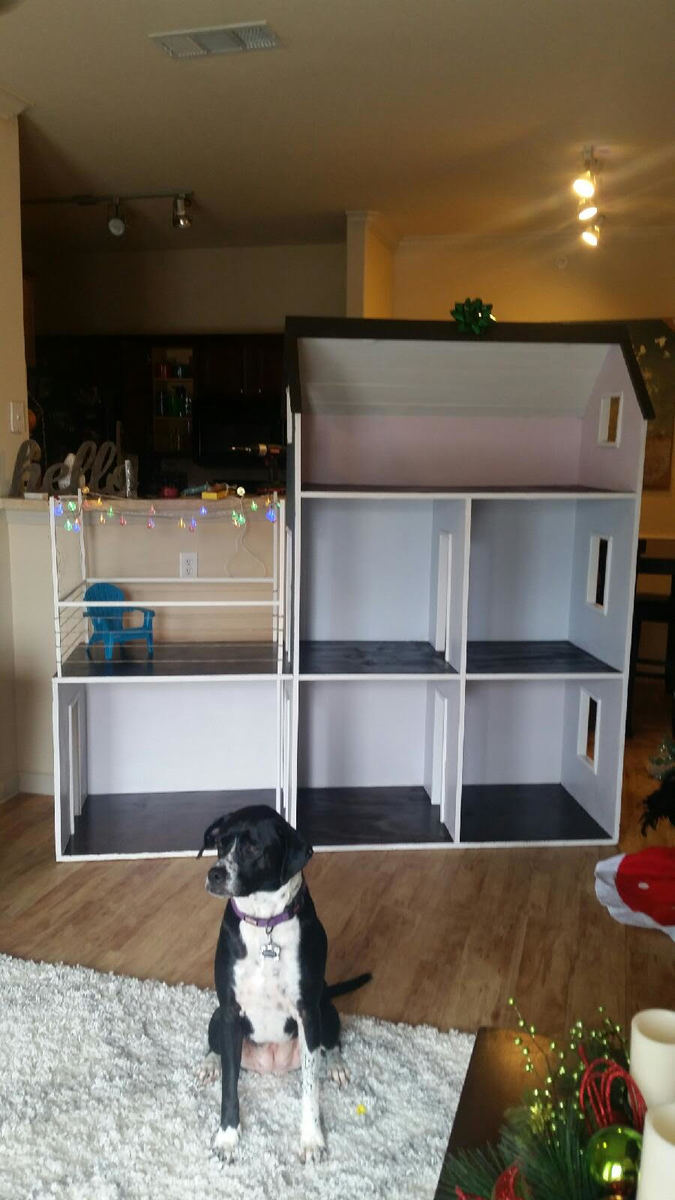
Thank you for the plans! It came out great.

Thank you for the plans! It came out great.
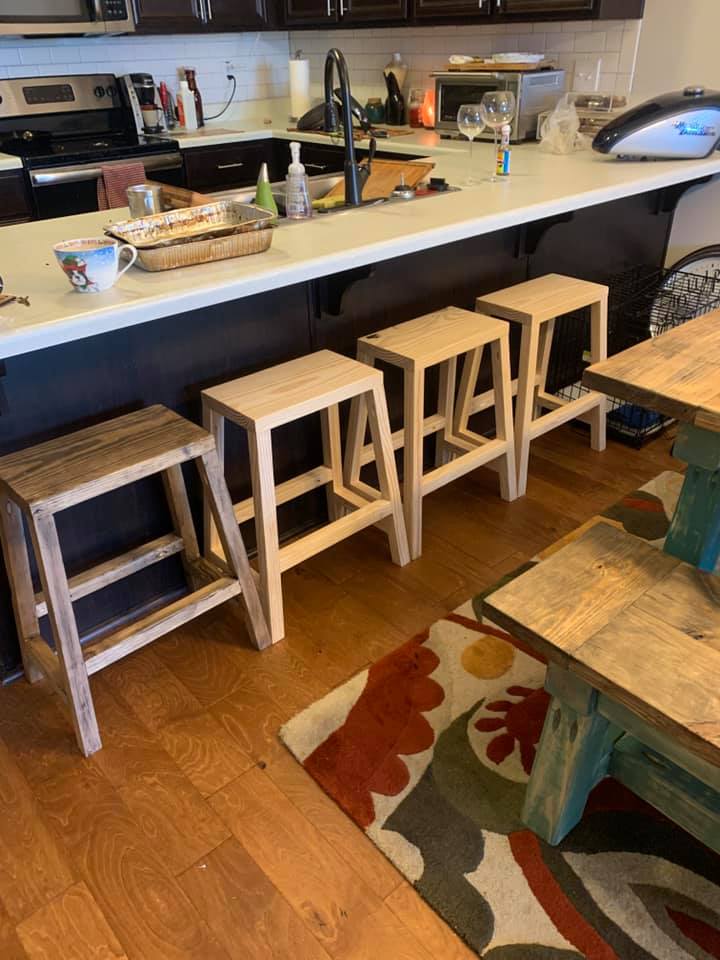
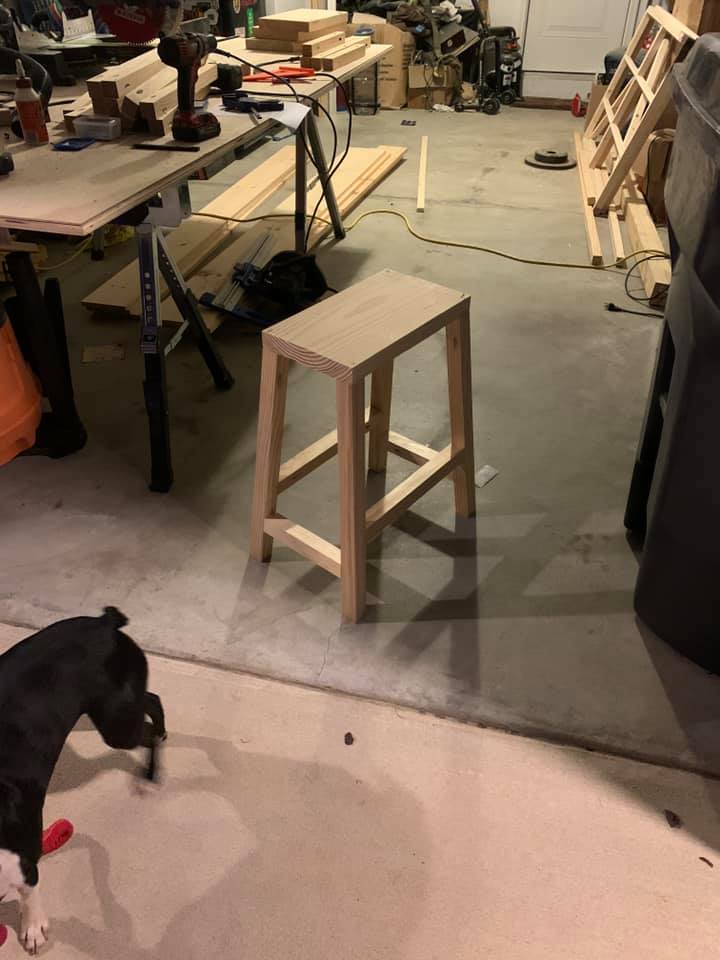
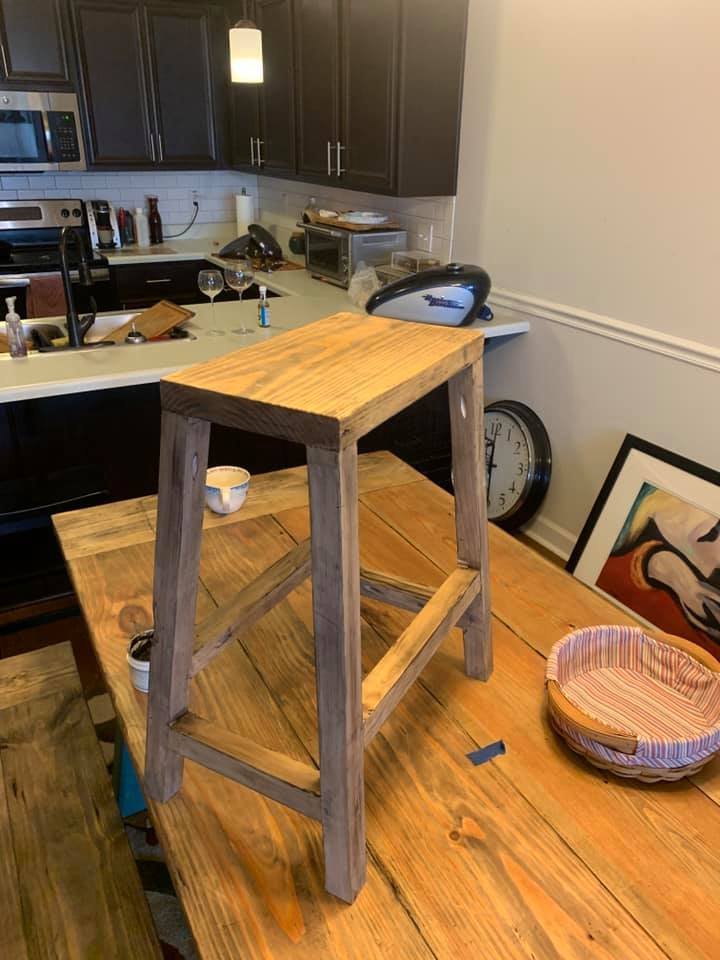
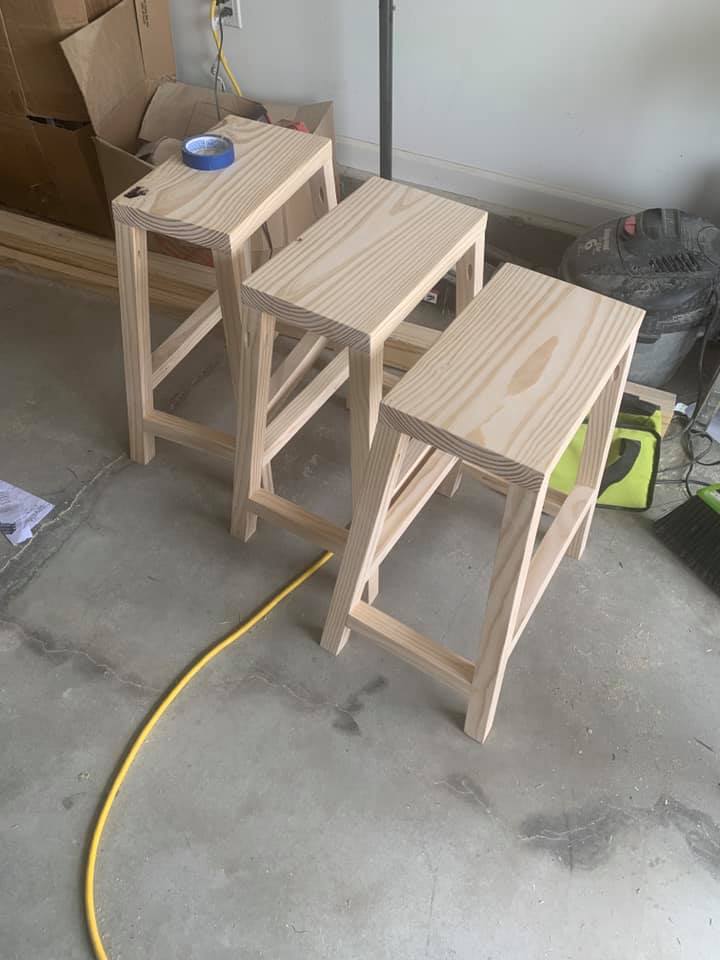
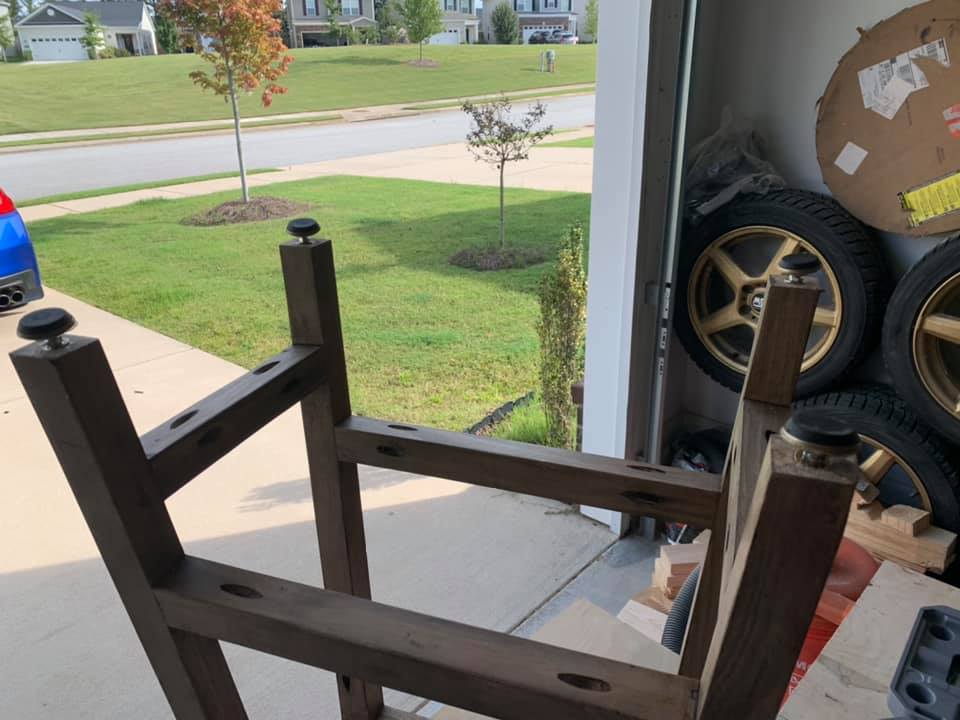
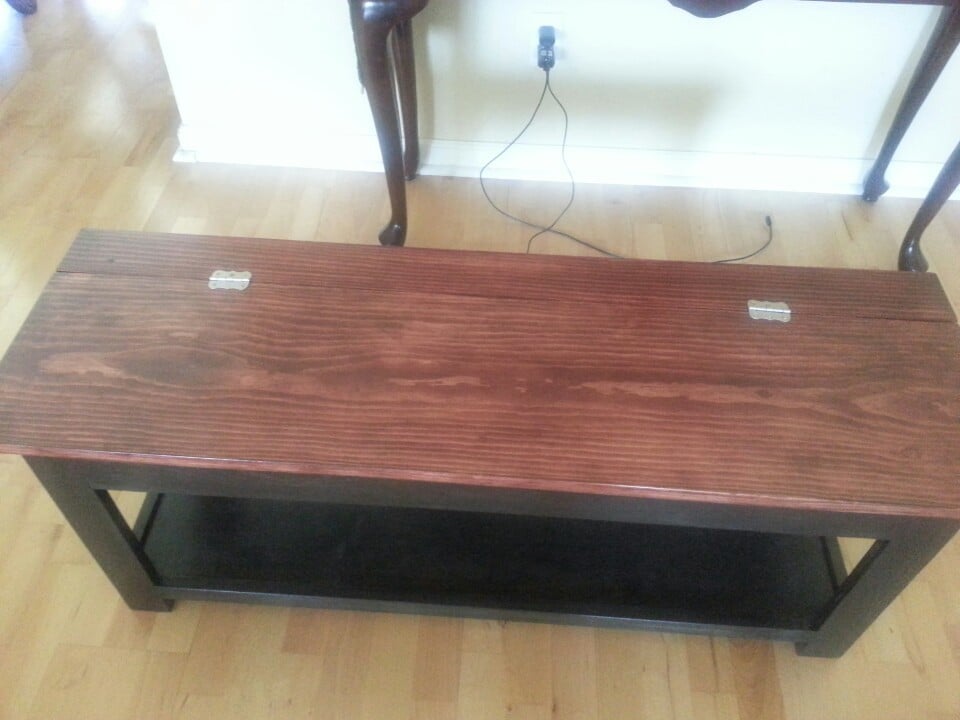
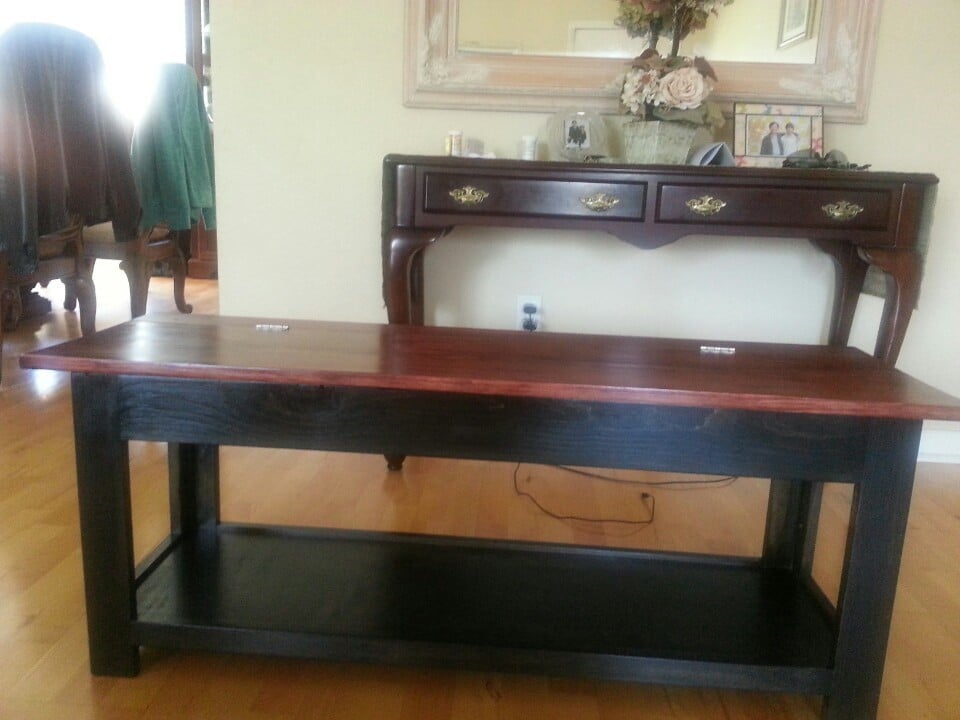
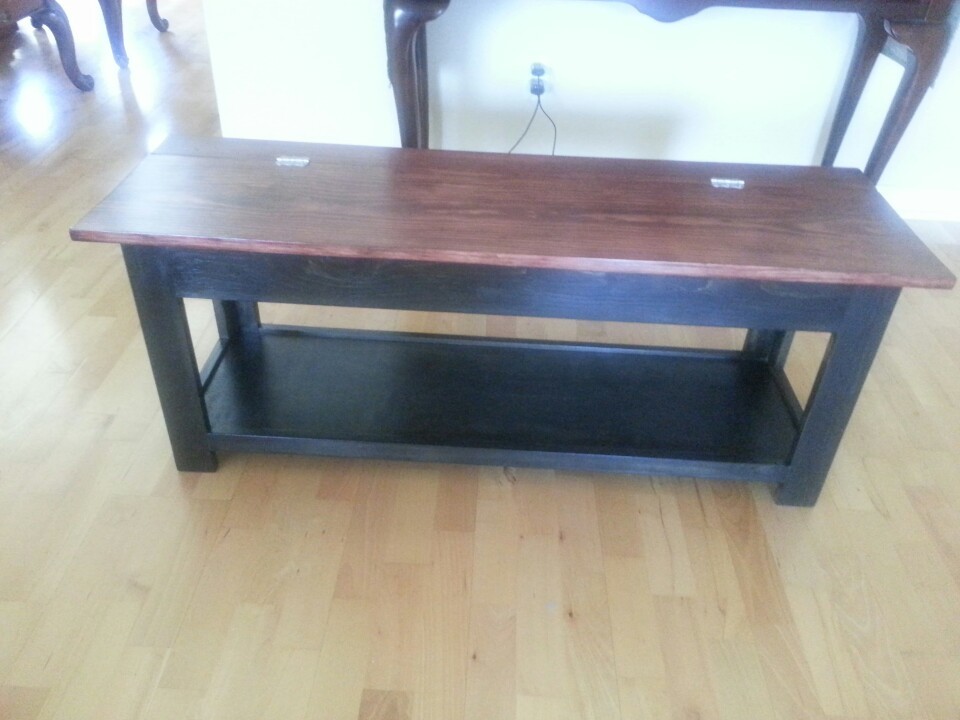
This was a pretty strait forward project, the only change i made was the wood used. I did not use the 2x2 furring strips i opted for the upgraded Select Pine Boards. So it changed from 3 bucks to 12 a board. I also used metal nylon feet.
Wed, 09/23/2020 - 11:37
You've been busy! Thank you for sharing all of your amazing builds!
Dear Ana,
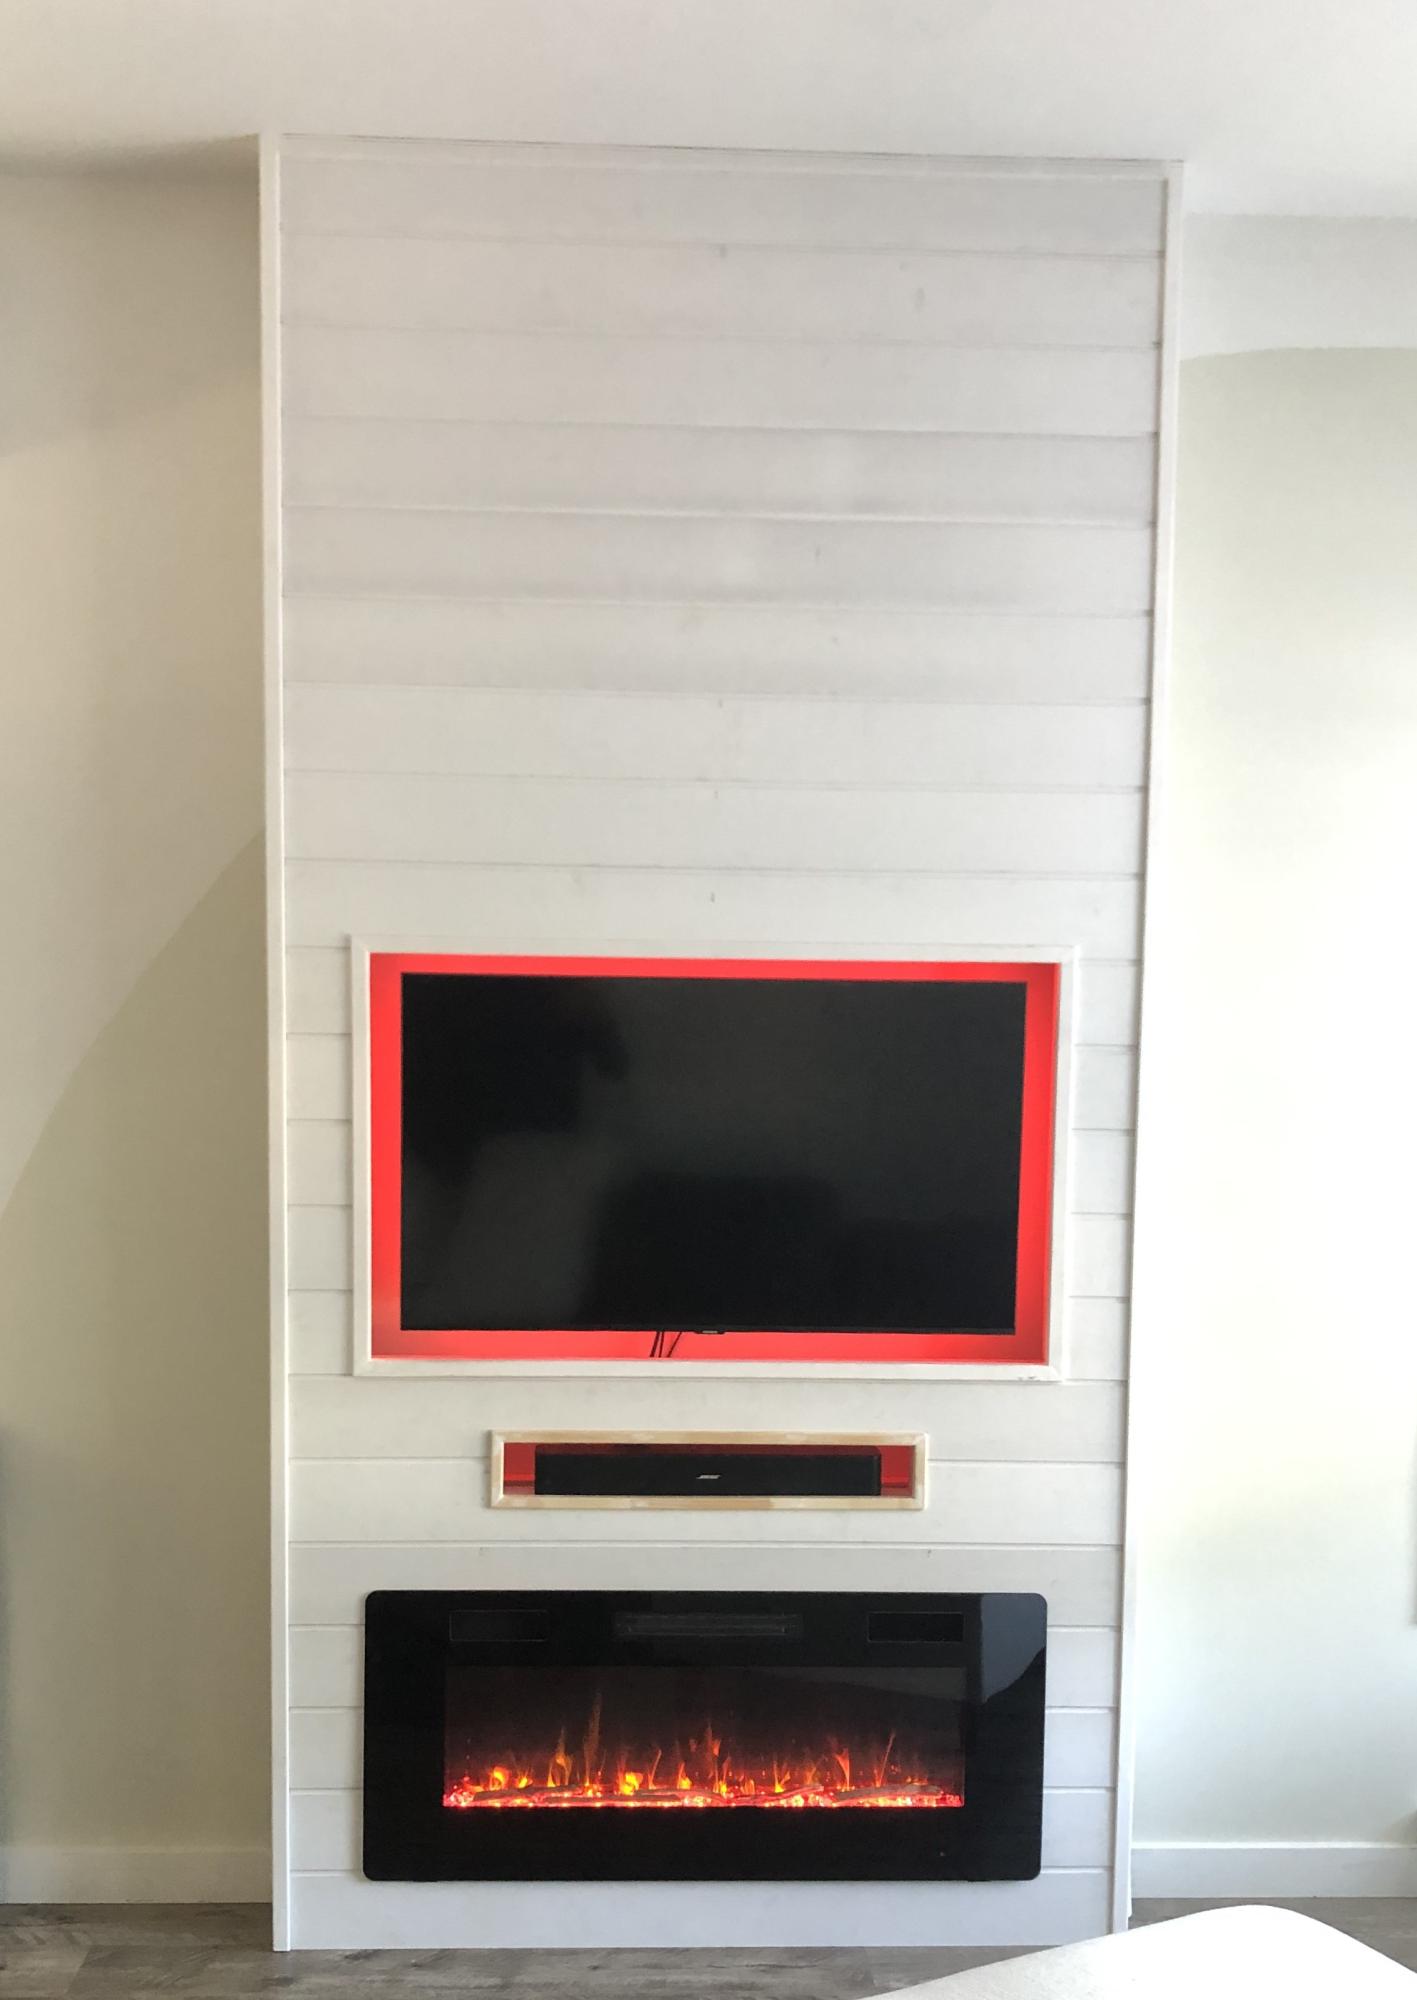
I was absolutely inspired by your fireplace shiplap wall project. After pondering a couple of years to get started on it, I finally brought it to life.
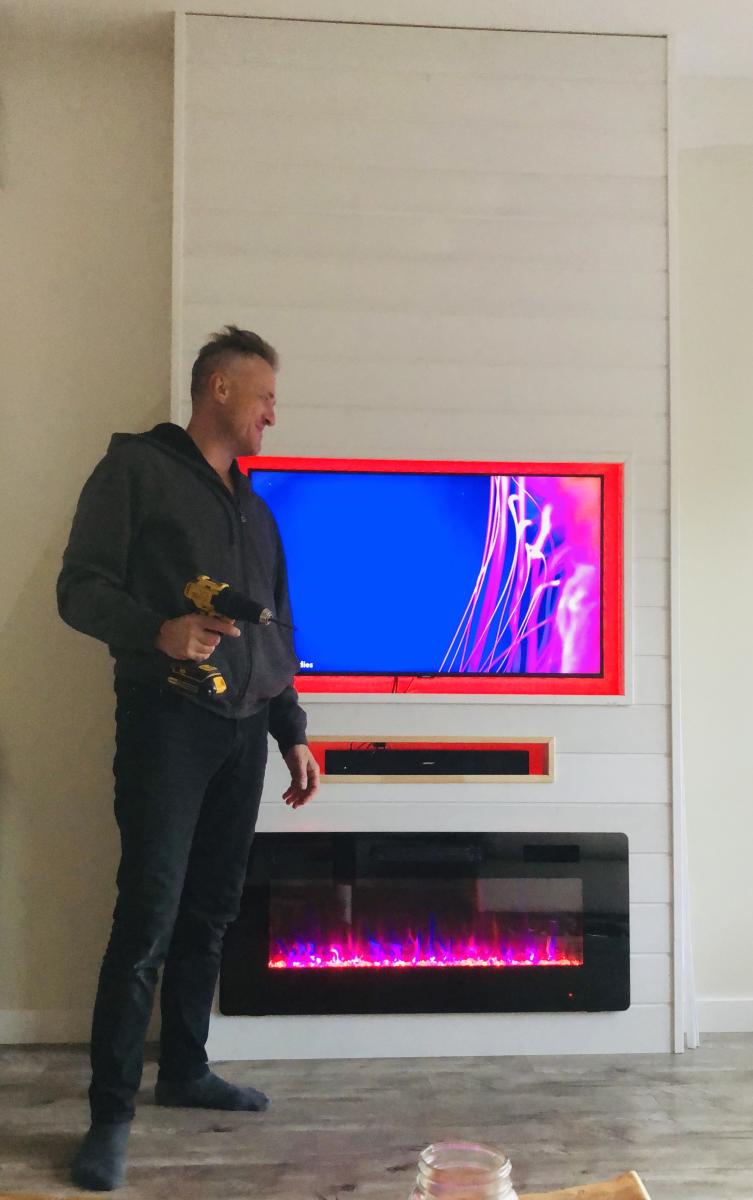
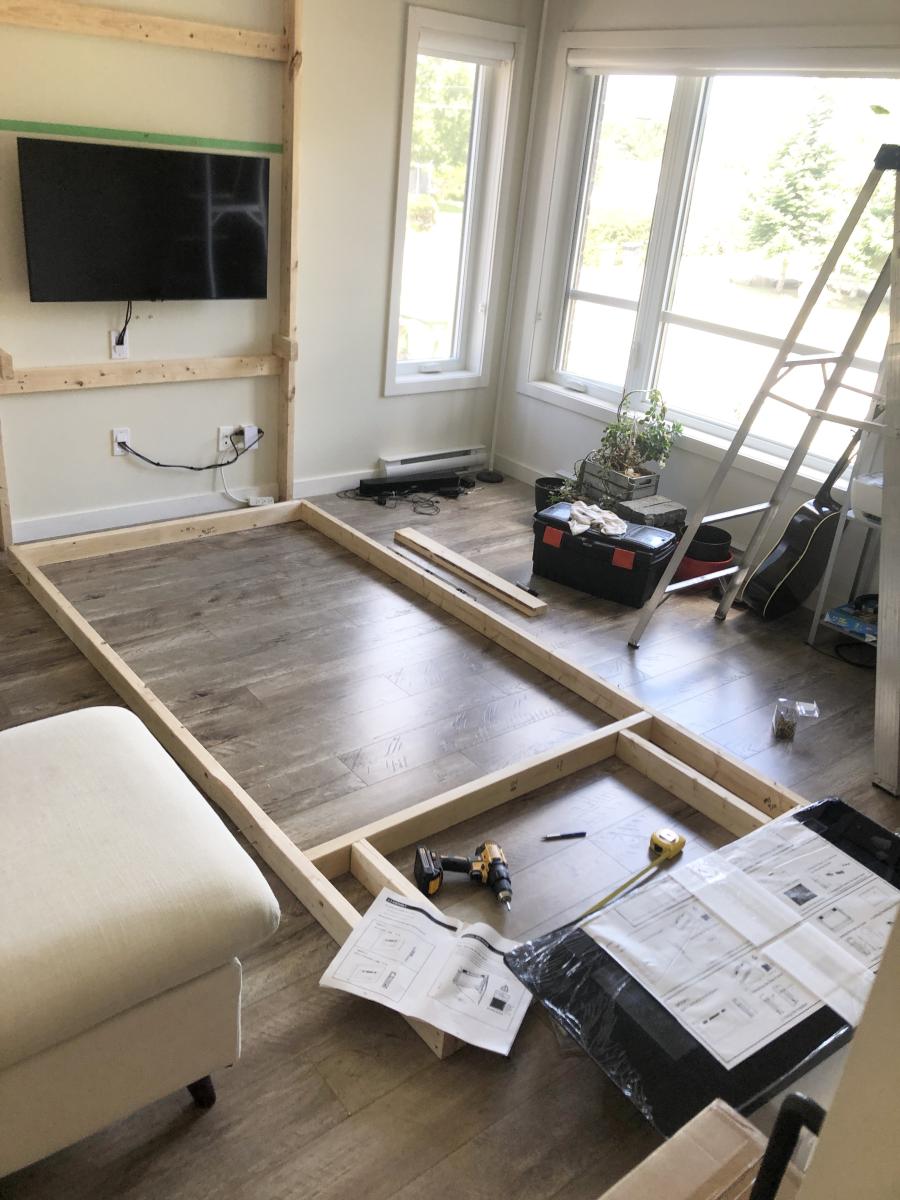
I wanted a rather thin design so I modified it to my taste creating a depth of only 7” inches (2 x 3 1/2 studs). Included a cutout frame for a soundbar and added rear LED lighting.
Very proud of it! Thank you for the motivation, your plans and guidance.
Cheers!
Ron
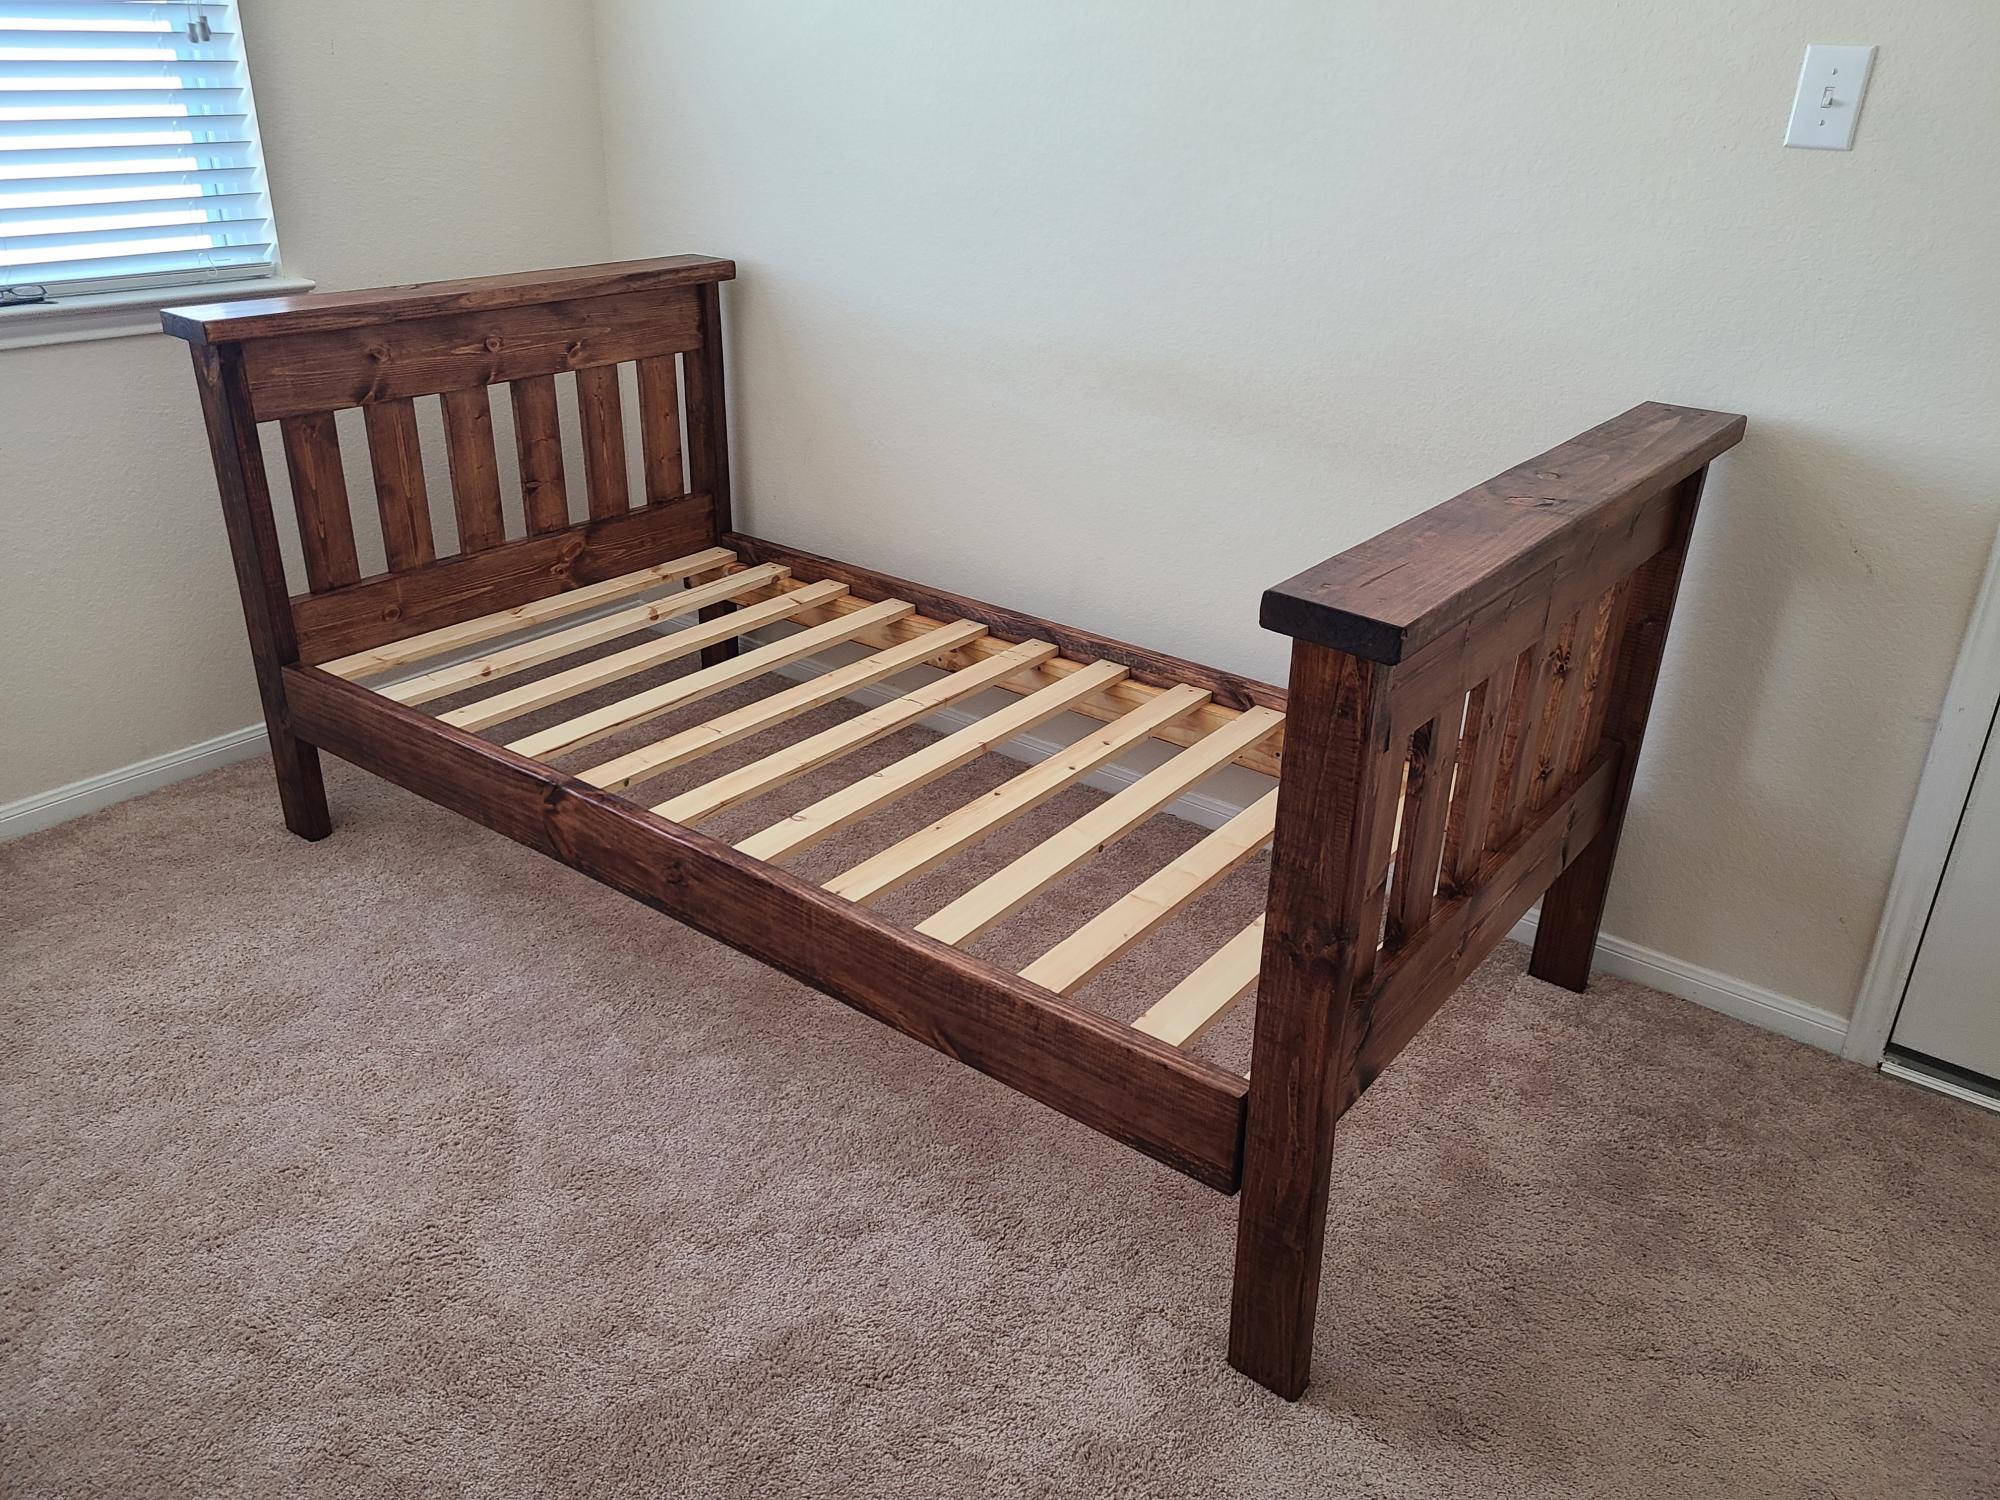
Simple twin bed project. The only modification I made was to shorten the height of the head board to the same size as the foot board.
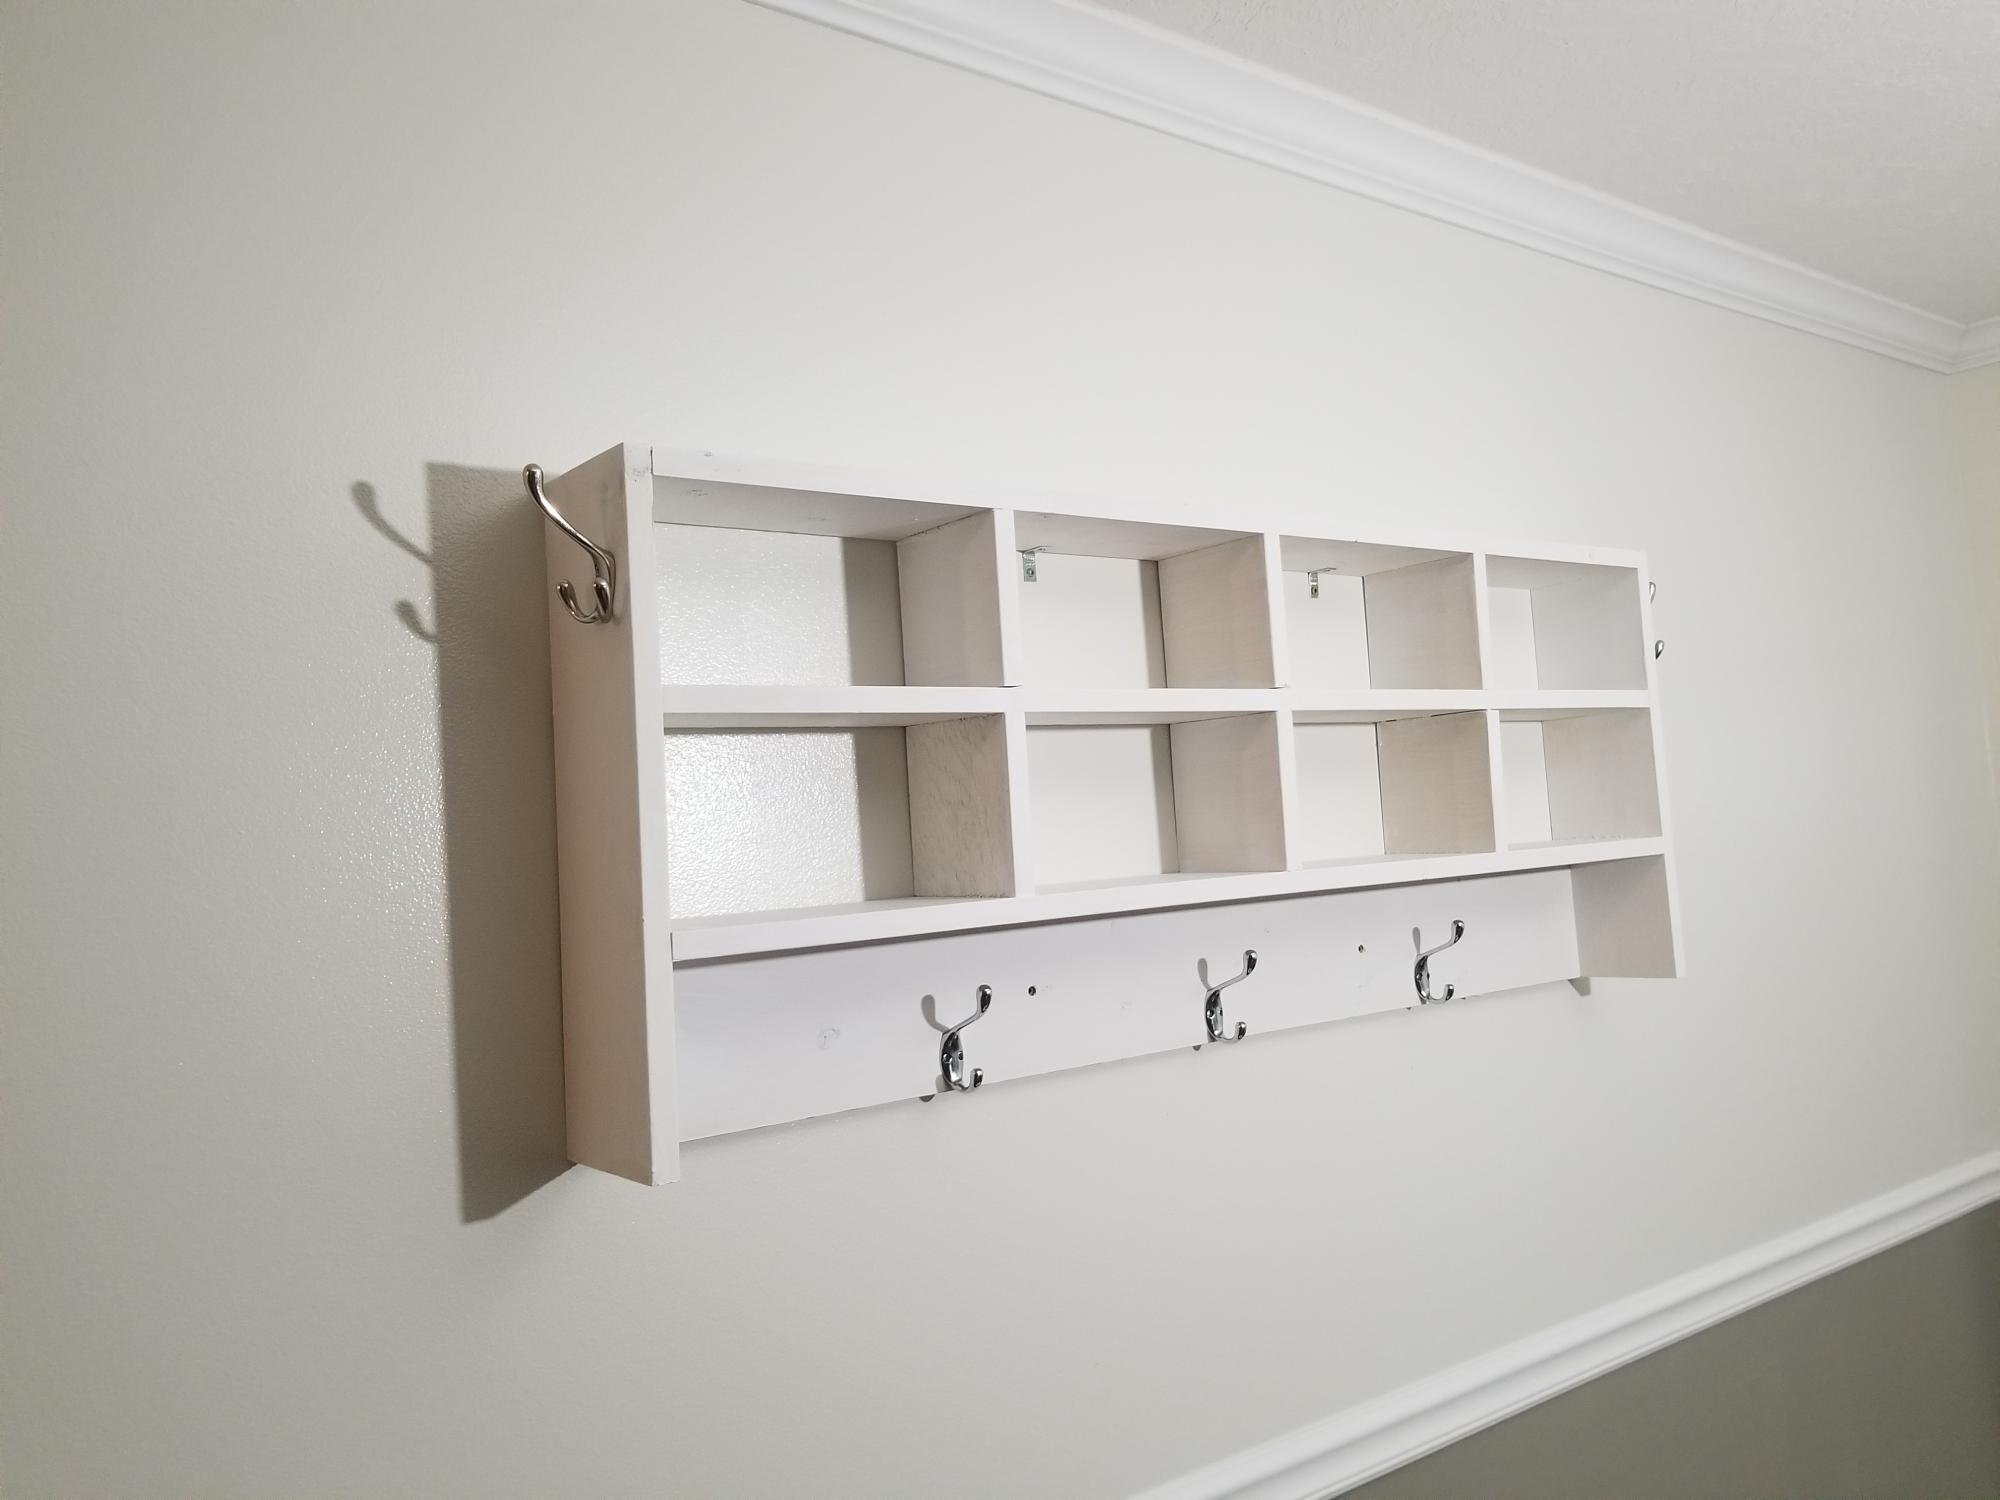
Quick and easy build thanks for the plans it really made this very quick and easy. The kids love this for their school stuff!
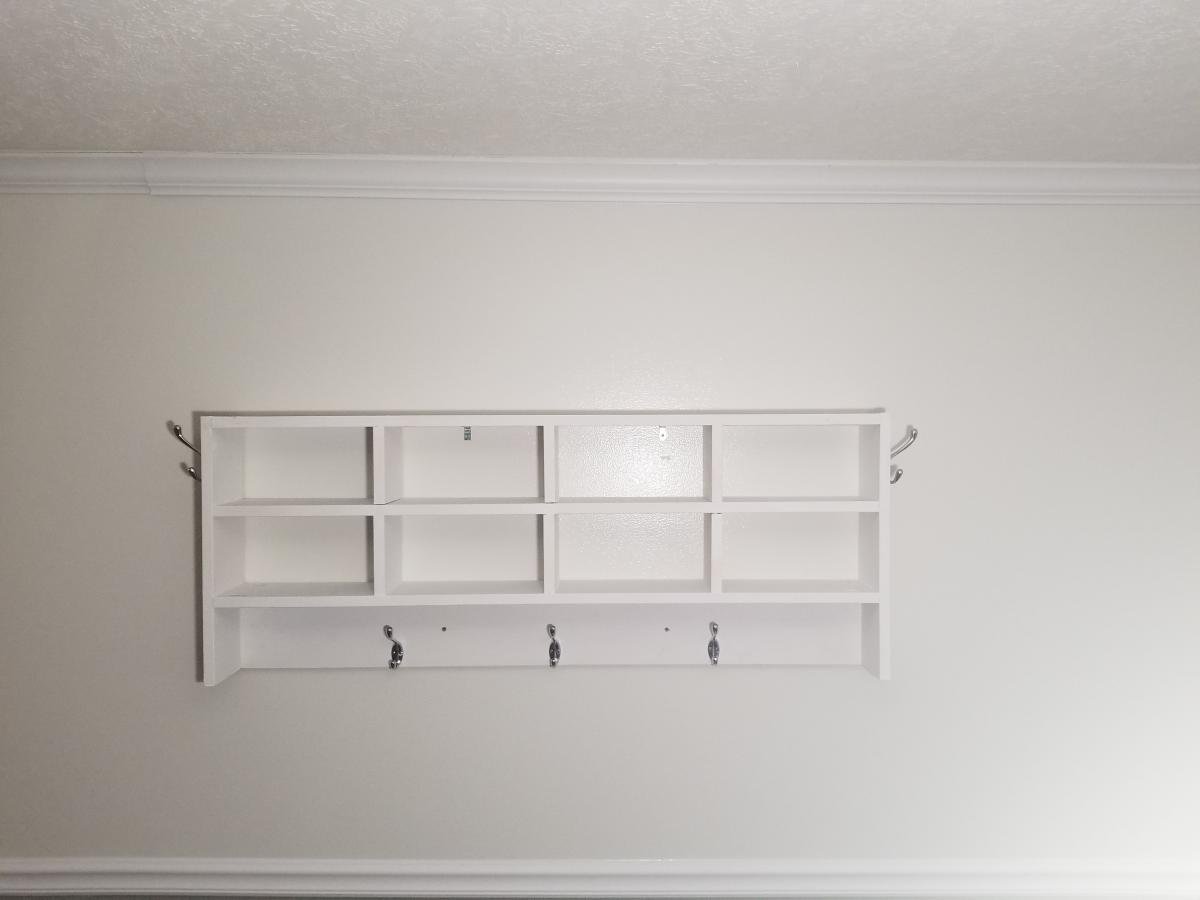
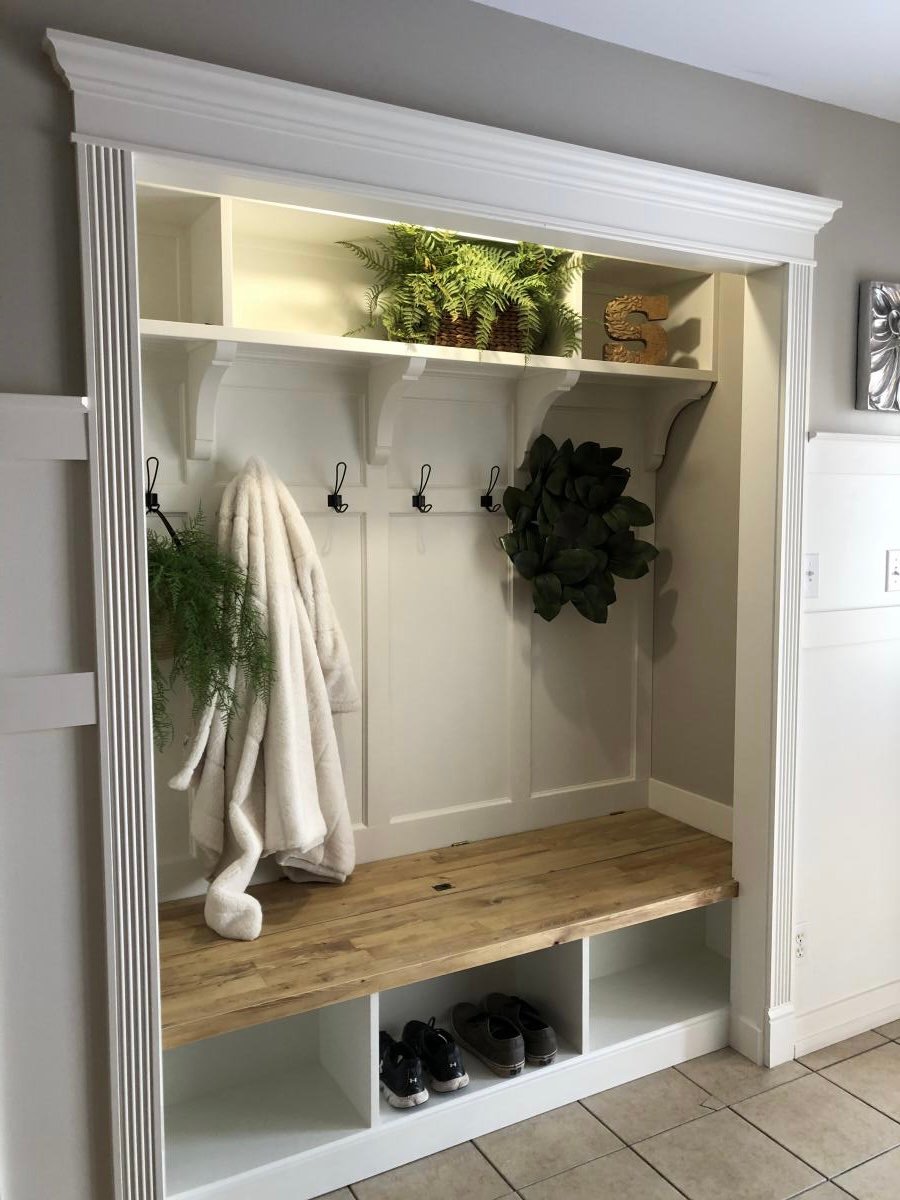
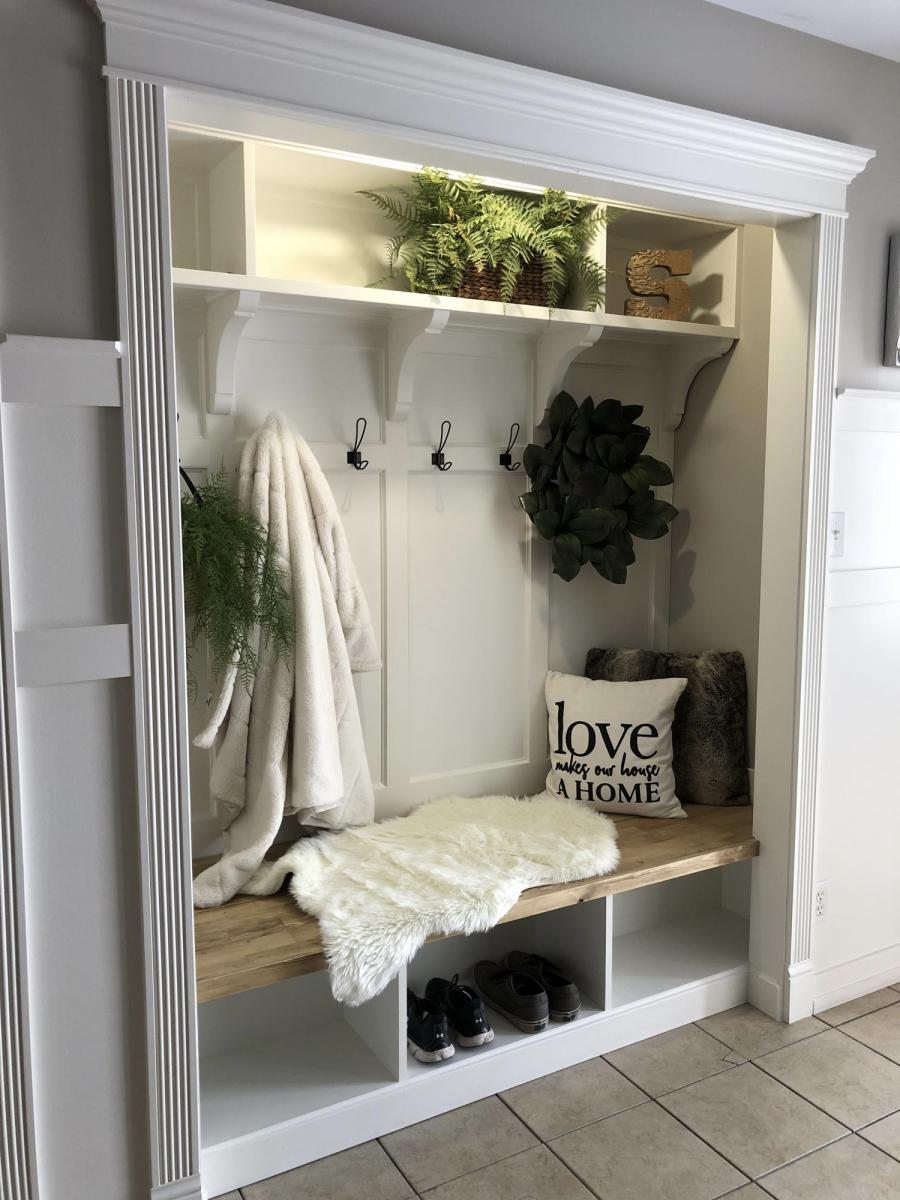
The concept of hidden boot storage at the back is genius!!! I knew as soon as I saw your plan that I needed that in this space! Thank you so much for what you do!
Fri, 01/22/2021 - 11:42
May I ask how you would assemble if you wanted the hinge in the back as in this picture?
Thank you.
Wed, 08/25/2021 - 04:51
Hello, can you tell me how to find the plans for the Mudroom Closet makeover? I’m interested in doing the one pictured on this page.
Thank you
Tego needed a raised dog bath. No, I needed a raised dog bath. Specifically, my knees needed a raised dog bath for Tego. So, after looking at Pinterest and Ana's plans, I decided what I really wanted to do was customize something to fit my needs (and knees) and build it myself. Overly ambitious for a first-time woodworking project, but hey, raise the bar.
I started by reading and rereading Ana's beginner's woodworking guide (very informative). I also learned so many other things along the way. There's a reason, besides looks, you need flat boards (they need to screw together tightly). Unfinished basement floors are so not level (especially near the walls). Screw lengths matter (need shorter ones for thinner boards). The big-box store doesn't make precise cuts (but they can make a lot). Planning for the finishes will save you time (know your basket sizes). Just to name a few.
It's going in an unfinished basement, so I wasn't going to tile and add glass doors. I wanted to keep it relatively simple, basic.
The stairs were the hardest to measure and build (math matters) - and I might re-do. I made the steps smaller, dog-sized, but she finds them awkward. I'd stick with typical riser heights, but it depends on the size of your dog.
Plumbing to link the tub drain to the utility sink drain was the most expensive. Probably I could have done it myself, but I decided not to learn both plumbing and woodworking for one project.
Overall, I'm pleased with the result - and Tego is learning to love it.
Thu, 07/22/2021 - 12:38
Love it, you and Tego are AMAZING! Thank you for sharing your custom build:)
Combined Mimi's Storage Bence with the Shoe Shrine Shelf and came up with a what we really needed. I like how it turned out!
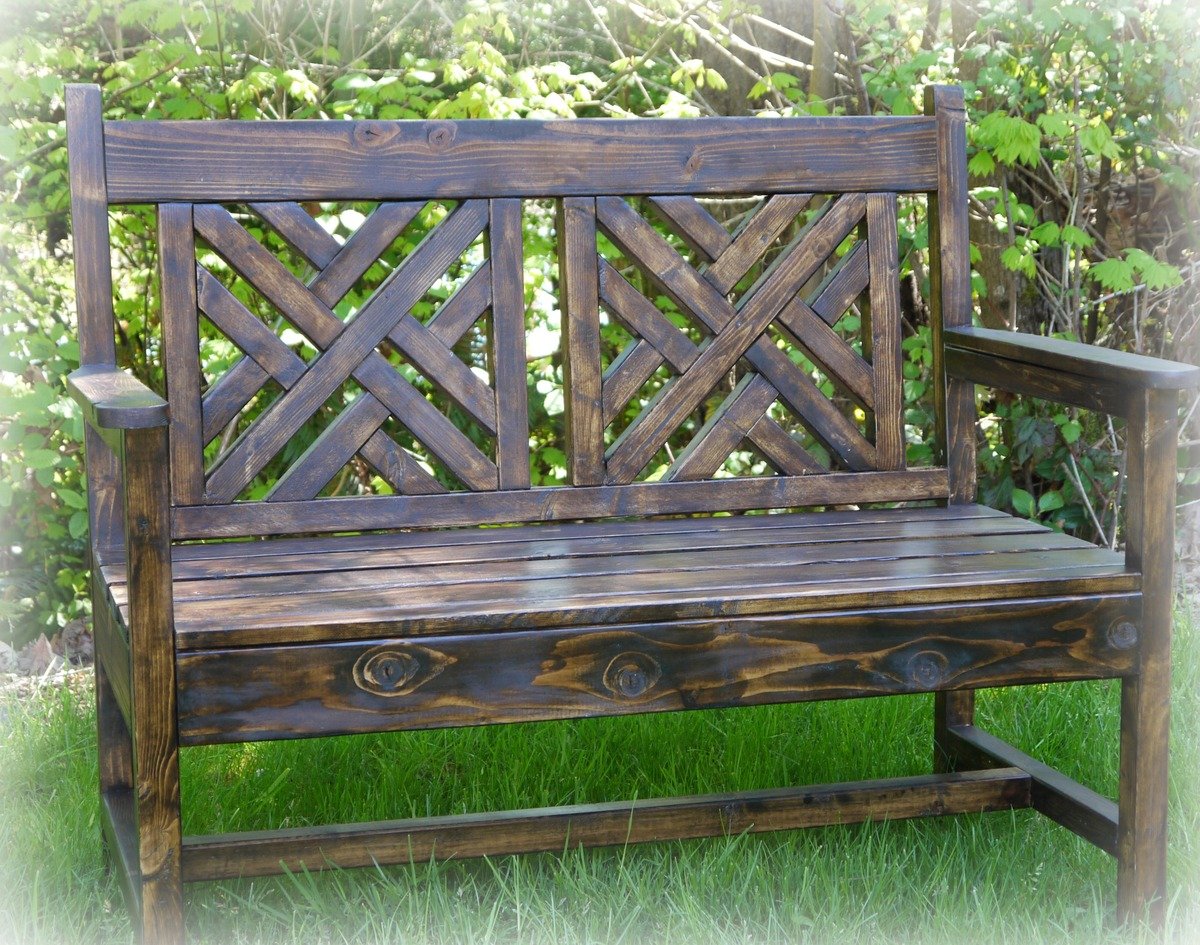
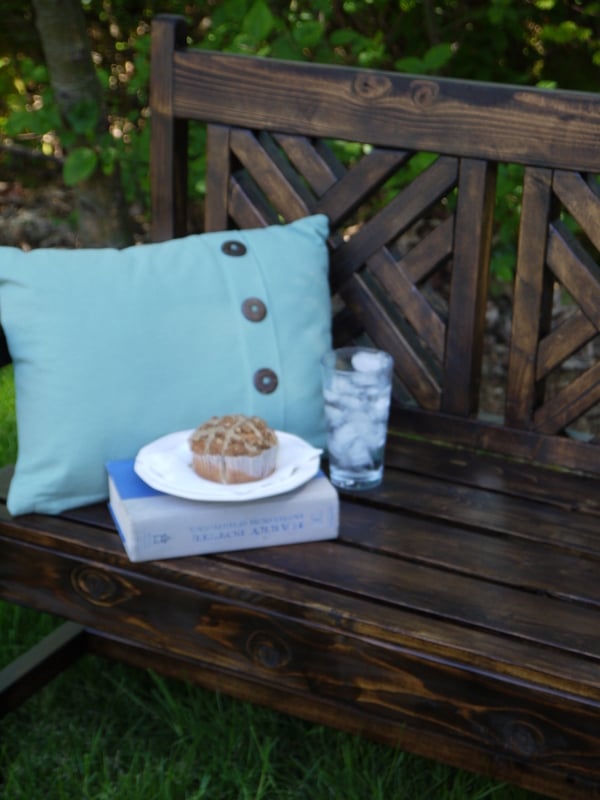
I fell in love with this bench the moment I saw it, and convinced a friend to let me build it for her! I used 2" brads and glue to hold the woven pieces together. I found it necessary to add a center support under the bench seat to keep it from "creaking." I also used 2" brads to hold the seat slats on; although the instructions say to use 2" screws, *I* certainly don't see how that's possible with the 2x4 supports on their sides underneath! It was a fun build. More info and pictures on my blog.
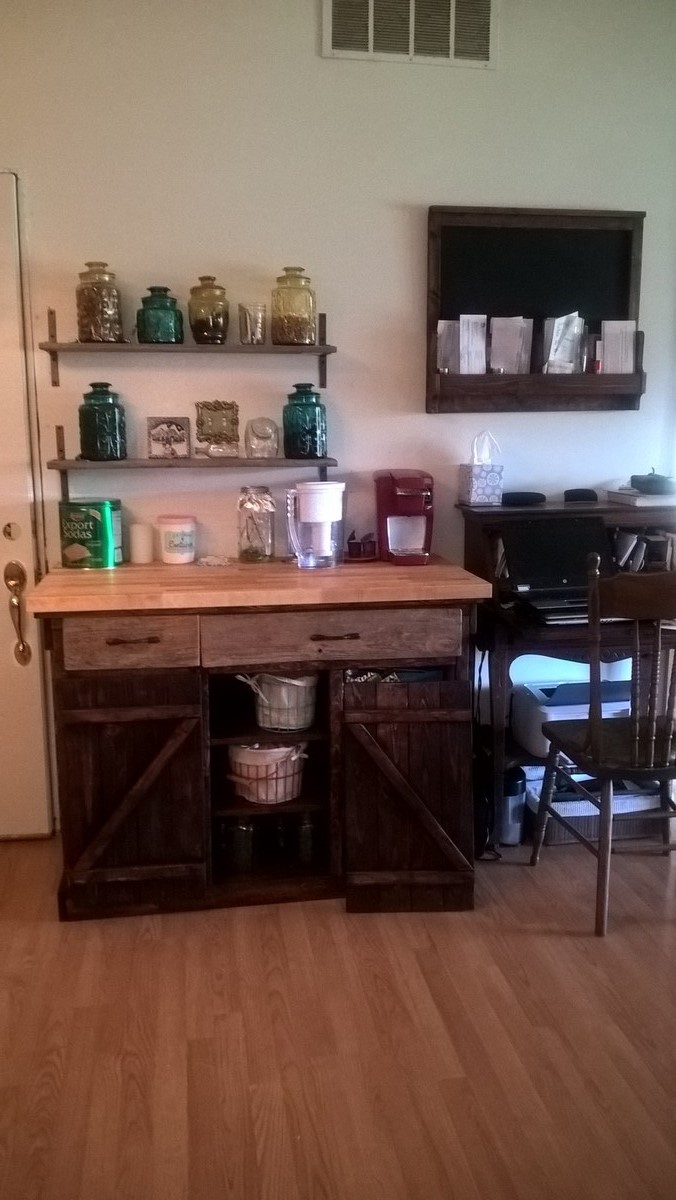
My kitchen is huge but has little counter space since I pulled out two oversized peninsula(6'x3') island things in my kitchen that had no storage. I also found out there was an outlet behind each one. The only outlet on the wall I am showing was covered. I was relieved to find it. I decided to build the Farmhouse Kitchen Island & Bar Plans and put a few shelves over it for coffee and tea. I made one drawer and one flip down drawer face. I put a large bowl in the cabinet below the drawer to catch coffee grounds. I alos made the cabinet 4 feet instead of 6 due to the space. I also trimmed a 1x3 down to cover the bottom foot plate so stuff doens't collect under it. I also added wheels so I can move it out if we have a lot of company for extra seating. The drawer faces are recycled barn wood from my sisters property. They are clearing out what was a 100+ year old barn that had fallen over. The shelves are from the same wood (I used bronze spray paint to paint the brakets on the shelves). I sanded it down just enough to get the splinters off. I used 4x4's for the bar side and bought a pre-made butcher block from Menards for the top. I stained it with carrignton stain from rustoleum except the barn wood I just clear coated. Oh, I added 12 in drawer slides to the drawer. The mail sorter plan is from http://www.shanty-2-chic.com/2016/02/rustic-chalkboard-mail-organizer.h… I made it bigger to fit the space. The organizer took a day the shelves to a couple hours and the Island took a week off and on. The secretary is an antique passed down to me along with the chair. I am planning on making the full size Island later on, with a few adaptations.
THE MOTIVATION
After a recent washer outage (that I was ultimately able to repair myself), my wife and I talked about eventually replacing our front-loading washer/dryer set. One of the bullets I hate biting is paying the exhorbitant prices for the matching pedestals for new washer/dryer sets.
Having just bought a good set of cordless powertools, and having watched my father when I was a kid build countless household fixtures, window dressings, furniture pieces, etc., I decided to try my hand and construct a permanent platform for our current washer/dryer set, thereby eliminating the need to ever buy manufacturer pedestals again.
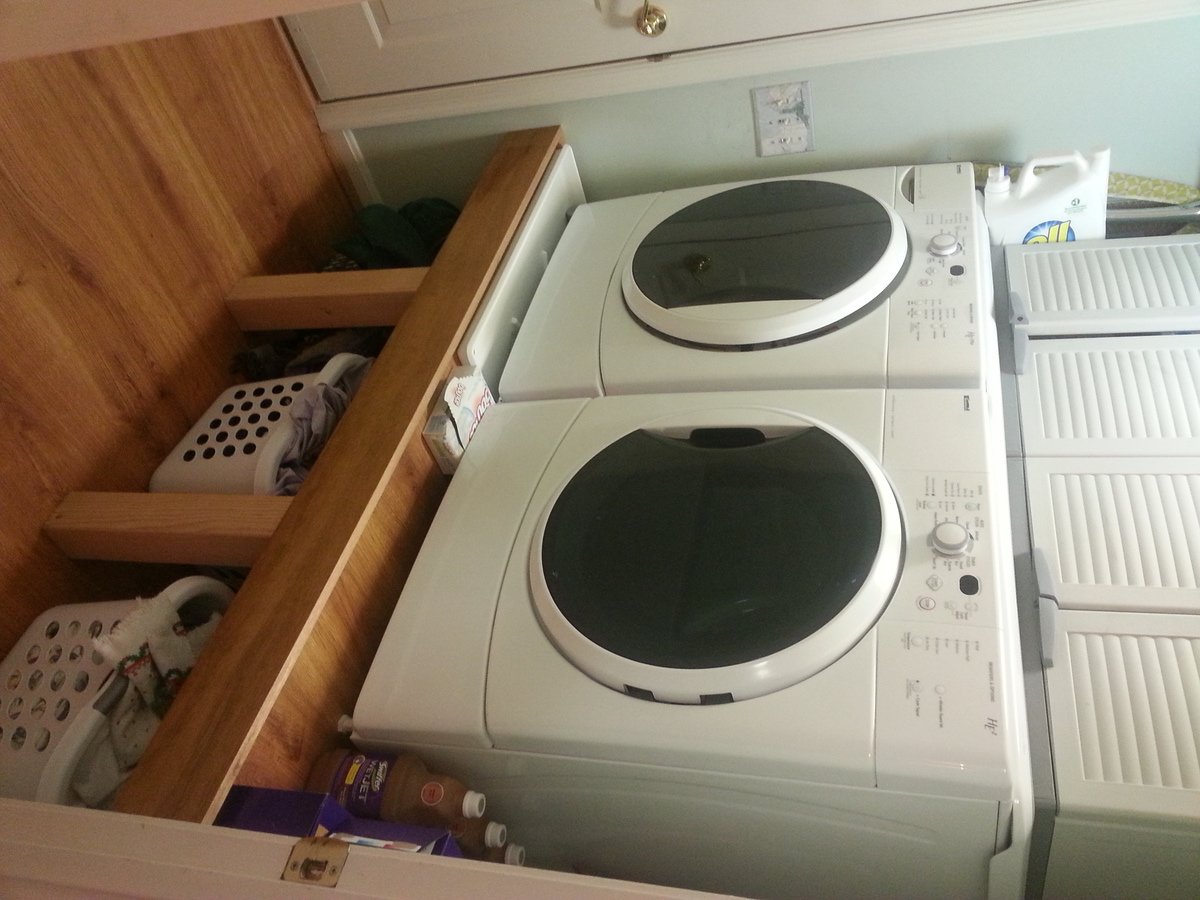
The existing pedestals were a standard 15" high, with a storage drawer, which we felt was still not high enough for comfort. And, the washer pedestal drawer was entirely inaccessibl due to the 2" walls on the washer drain pan, so its drawer was totally useless, wasted space.
And, lastly, we really wanted more space for clothes baskets full of laundry, which we generally stacked (full and haphazardly) on top of the machines.
THE CHALLENGES
The largest challenges were mainly logistics, and gravity. The washer/dryer would have to be unavailable for at least 2-3 days while they sat disconnected in the next room waiting for their new home. So I coordinated with the family so they'd know when they needed to have their laundry done, or tough it out until I was done.
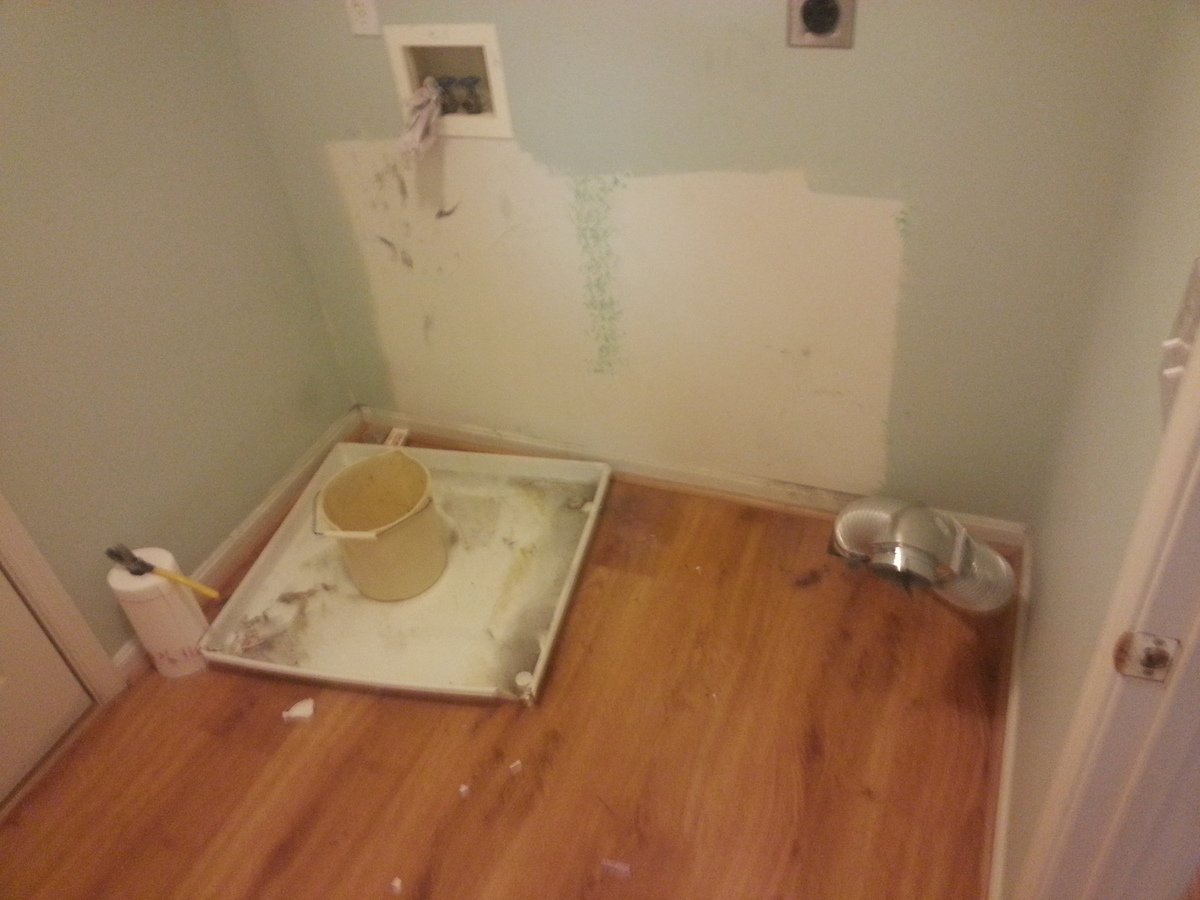
There was no way to know for sure what the drain connection for the washer pan looked like until I got the washer out. So it was a small gamble that I'd be able to get the parts needed to extend the drain pipe up to the new platform right when I was ready for them. Fortunately, this was no issue at all.
The biggest challenge turned out to be toward the end when it came time to lift our 230-lb. washer onto the new platform. I seriously considered disassembling the washer to the point that I could remove its molded concrete counter-weights, but instead (and arguably stupidly) elected to use a large hydraulic car jack to raise the washer. This ultimately worked, but I have to STRONGLY ADVISE AGAINST trying this.
THE SPACE
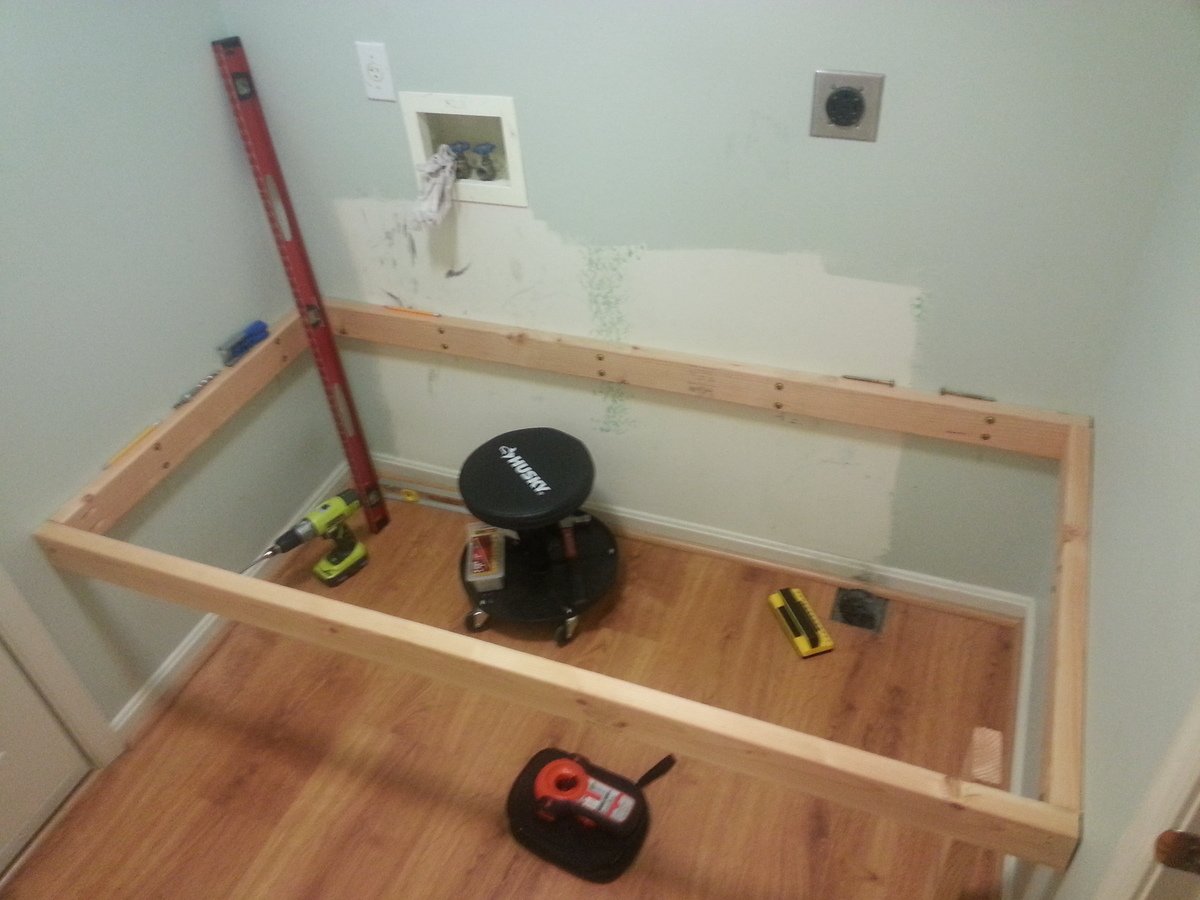
Our laundry room is also the "mud room" between our kitchen and the garage. It is only large enough for the two machines, and the walk way between the two doors--in total, about 70.5" square. Building the platform from wall-to-wall made the most sense, and minimized framing by fastening edge framing directly to the wall studs.
THE PLAN
Pretty basic: 2x4's all around for the edge framing--back and sides fastened directly to the wall studs, and front 2x4 supported by two, notched 4x4 legs. 3/4" plywood for the subsurface, and 1/4" laminate faux-wood flooring on top (left over from reflooring, so it matches the floor below). Bore holes for the washer pan drain and the dryer vent. 1" quarter-round molding on the sides, and 5.5" face piece flush with the top of the molding across the front (spare lauan I had looks perfect). I also made a point of putting the machines on the platform before the face piece since it might have been in the way or damaged.
Anyone will tell you that it's best to at least sketch out what you want to do so you can minimize surprises, forgotten parts, etc. I, of course, did virtually none of that, and made several course changes and corrections along the way. For this project, I was lucky that I didn't need to backtrack at any point, and probably won't learn this lesson any time soon anyway. However, you SHOULD.
TAKE-AWAYS
The main mistake I made was while gathering the platform dimensions for cutting the plywood. It was only blind luck that kept me from having to do it more than once (and having to buy more than one 4x8 sheet). I know that it's actually very unlikely that two adjacent walls are perfectly square, so I made a point to measure the width between the walls at the back and at the front--and, sure enough, found a 1/8" difference--wider at the front. But when I measured and marked the plywood for cutting, I measured both distances from the precut edge, and then cut. By doing this, I inadvertently assumed that one of the back corners was perfectly square.
What I should have done was used a carpenter's square in each back corner to extend a square line from the back edge to the front, and then measured from the square lines to their respective side wall. This would have accounted for neither back corner being square.
Fortunately, my mistake wasn't big enough to keep the plywood from fitting, but it was very, VERY close.
GIDDY
I honestly couldn't be happier with the finished project (or more smug). We've raised the washer/dryer 9" higher than they were (24" off the floor), and we now have basket storage underneath all the way across. I placed two 24" plastic cabinets on top, which still leaves room for the detergent right over the soap inlet on the washer.
And, most importantly, I got to use every powertool I own. Kinda beats "the quick brown fox jumped over the lazy dog" thing, huh?
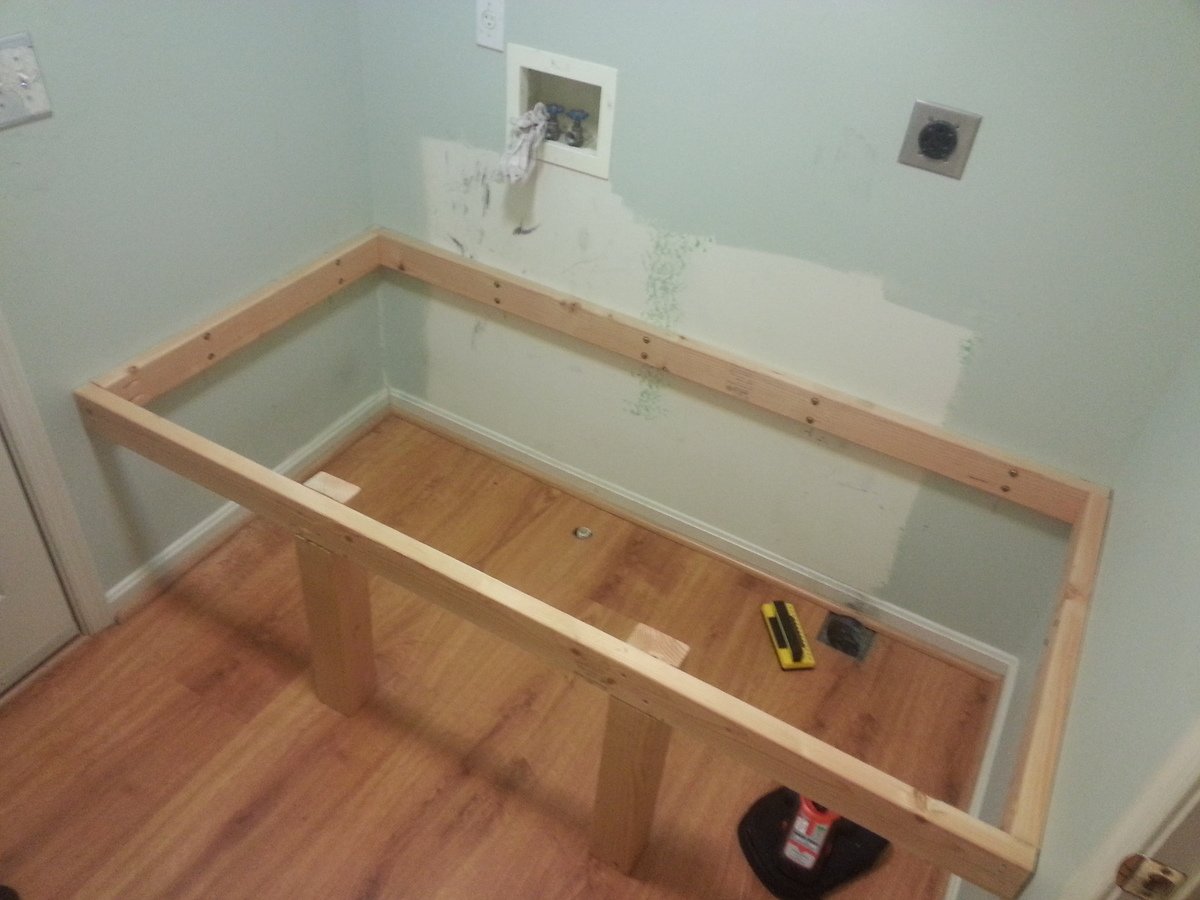
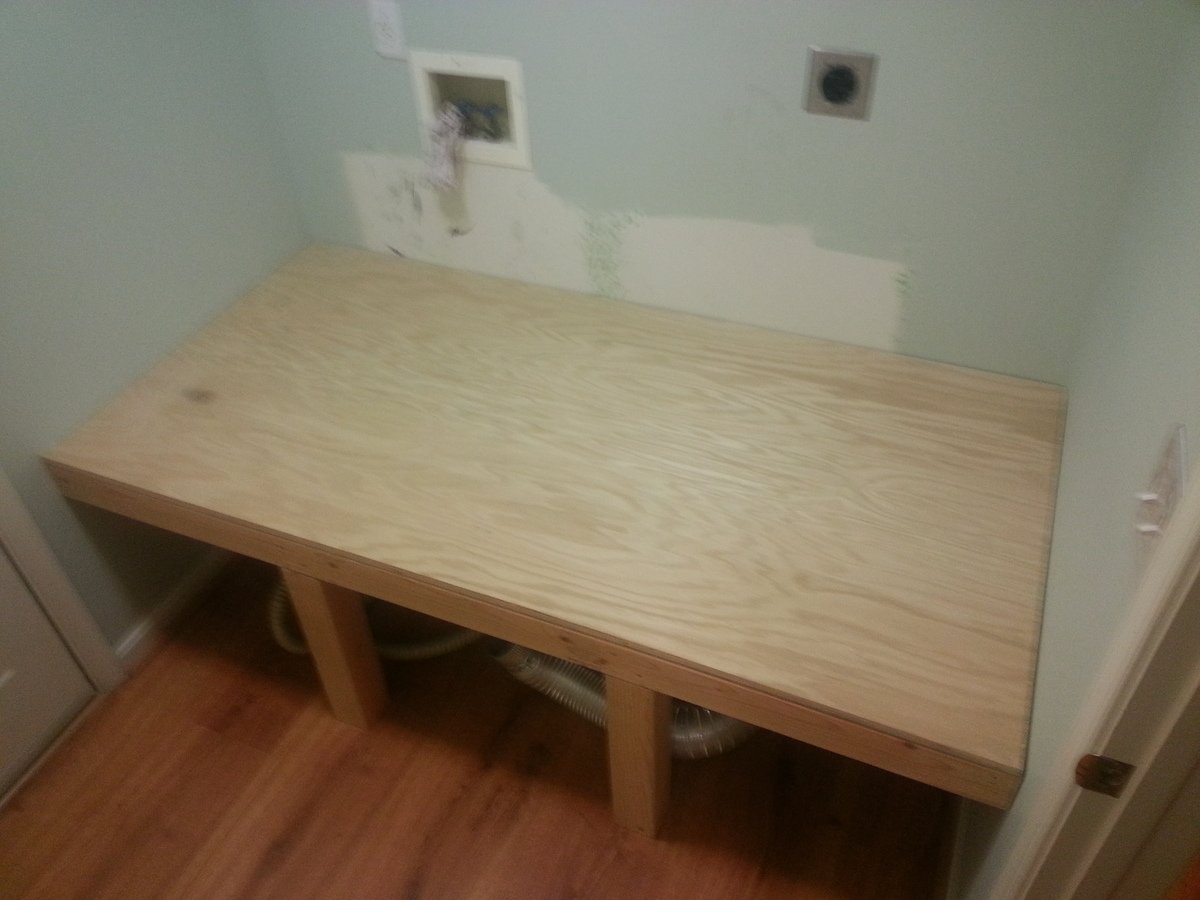
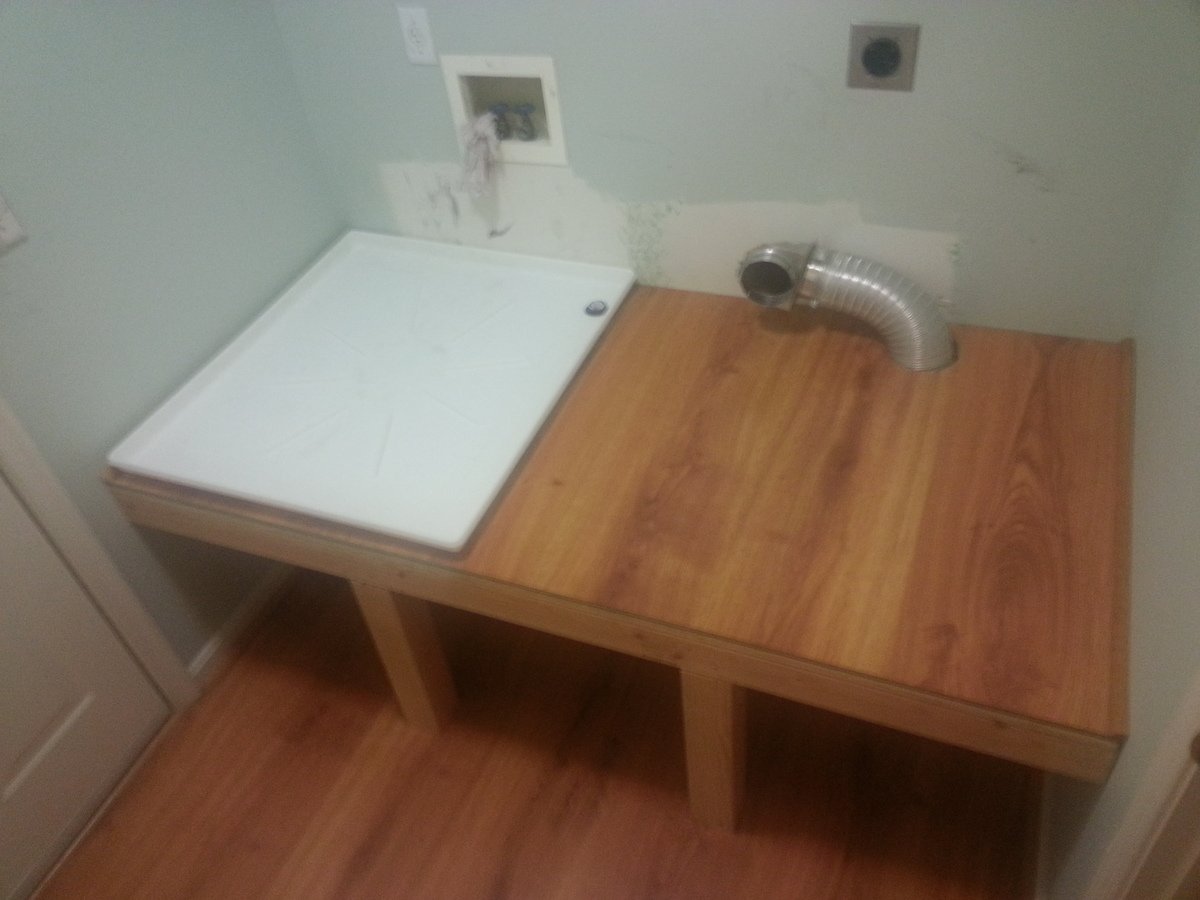
Fri, 04/17/2015 - 19:54
Thanks for sharing the ins and outs of your project! Looks great!
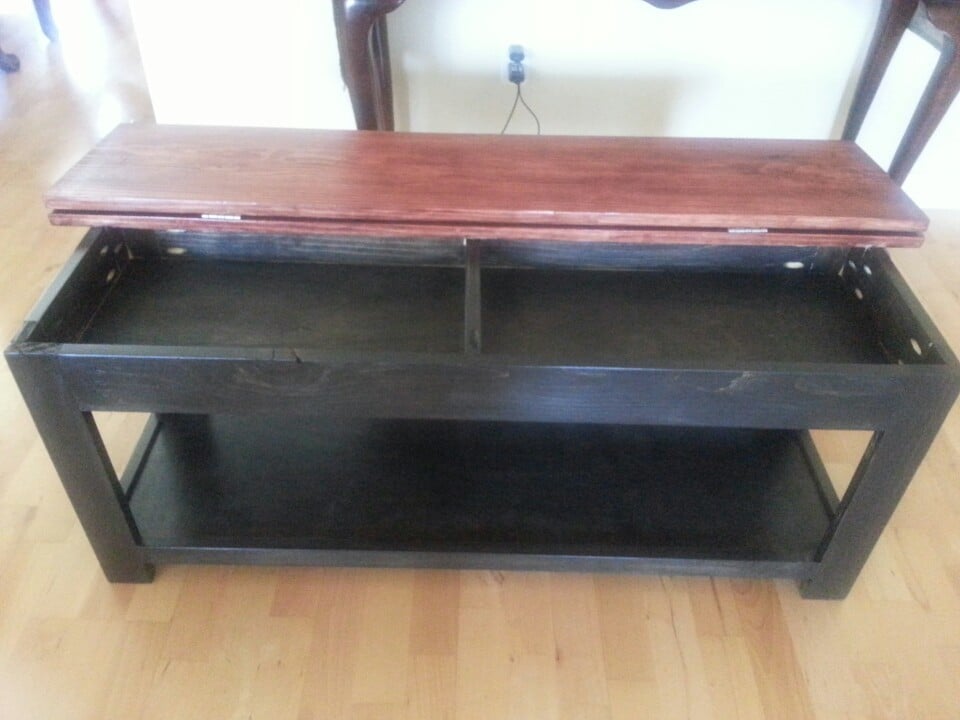
My wife and I made this based, after being inspired by Ana's plan. Very pleased with the result.
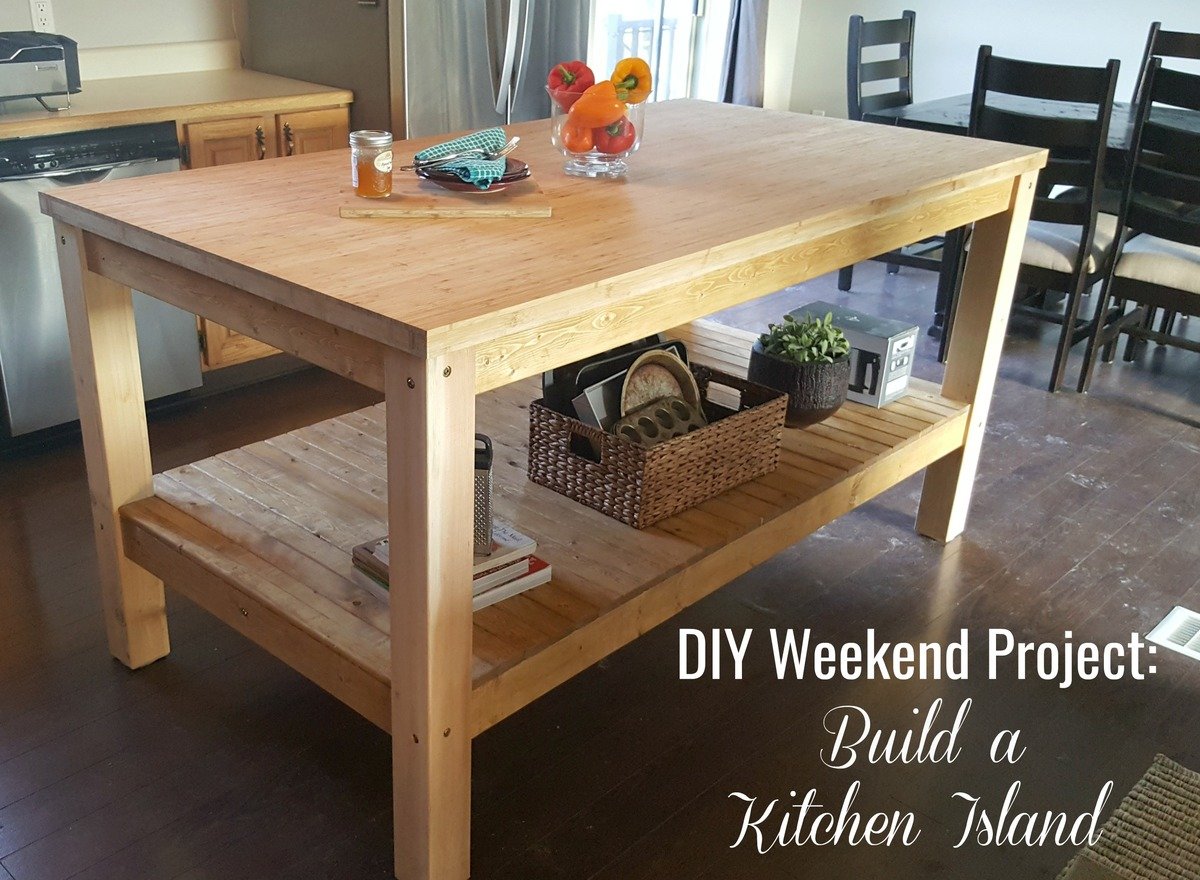
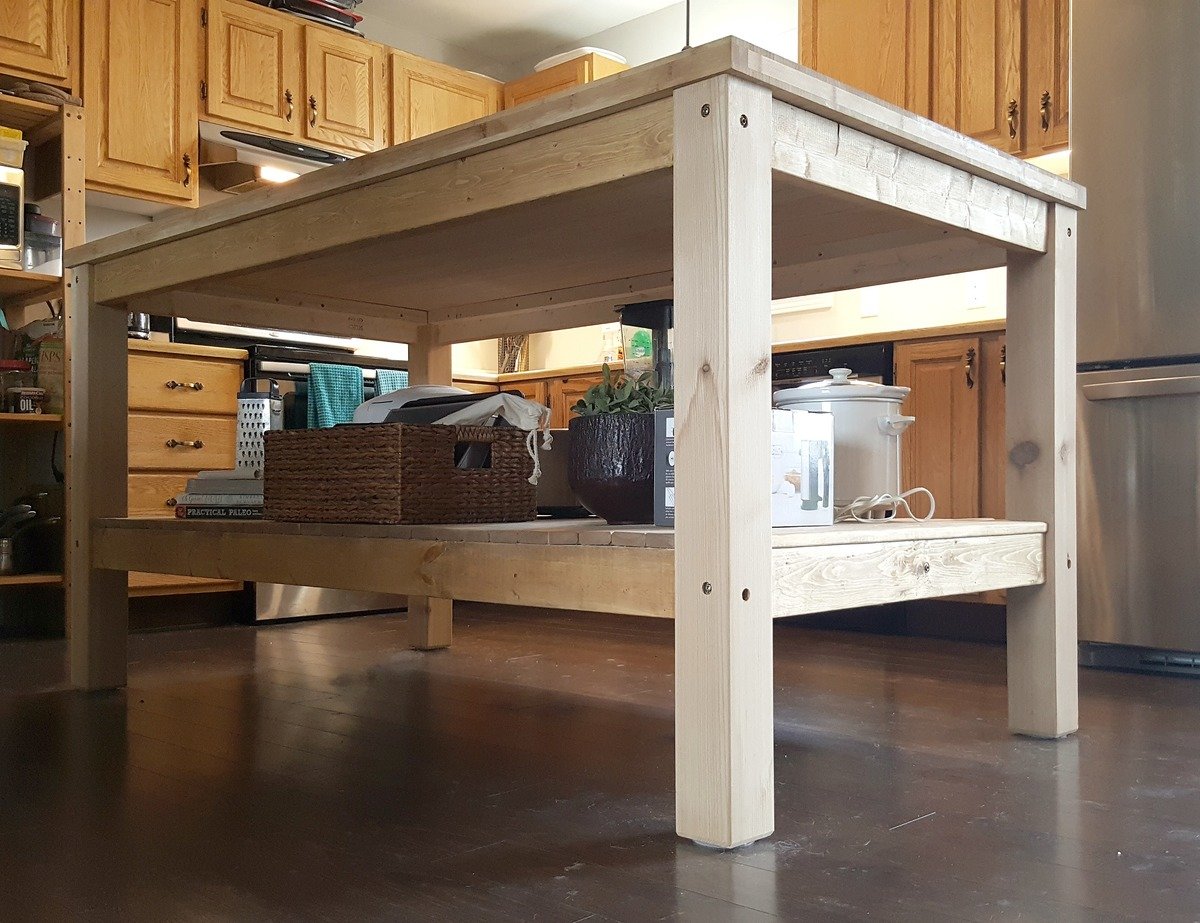
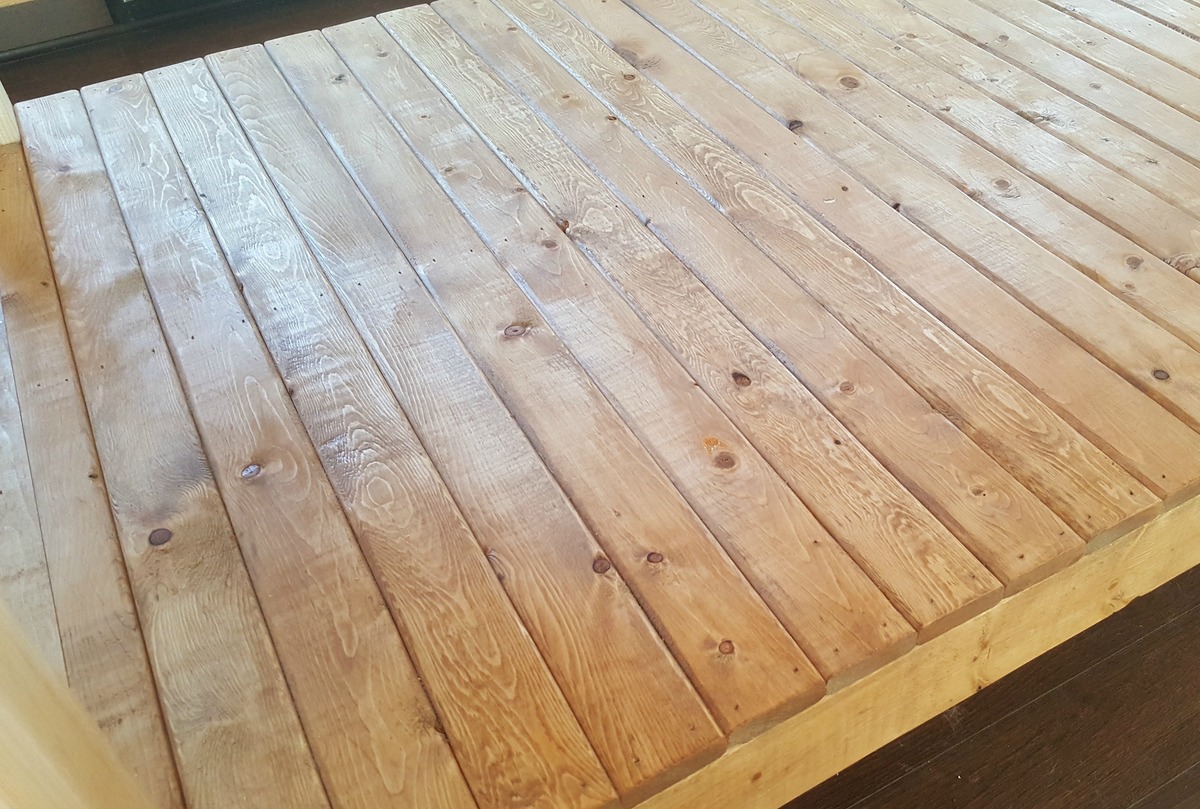
We have a limited amount of counter space in our kitchen, while also having a large open space that is unused. We've always planned on including an island once we renovate, but we didn't want to wait. We decided to build a butcher block-style island with open shelving underneath - a simple design that would give us all the counter space we needed and some additional storage space.
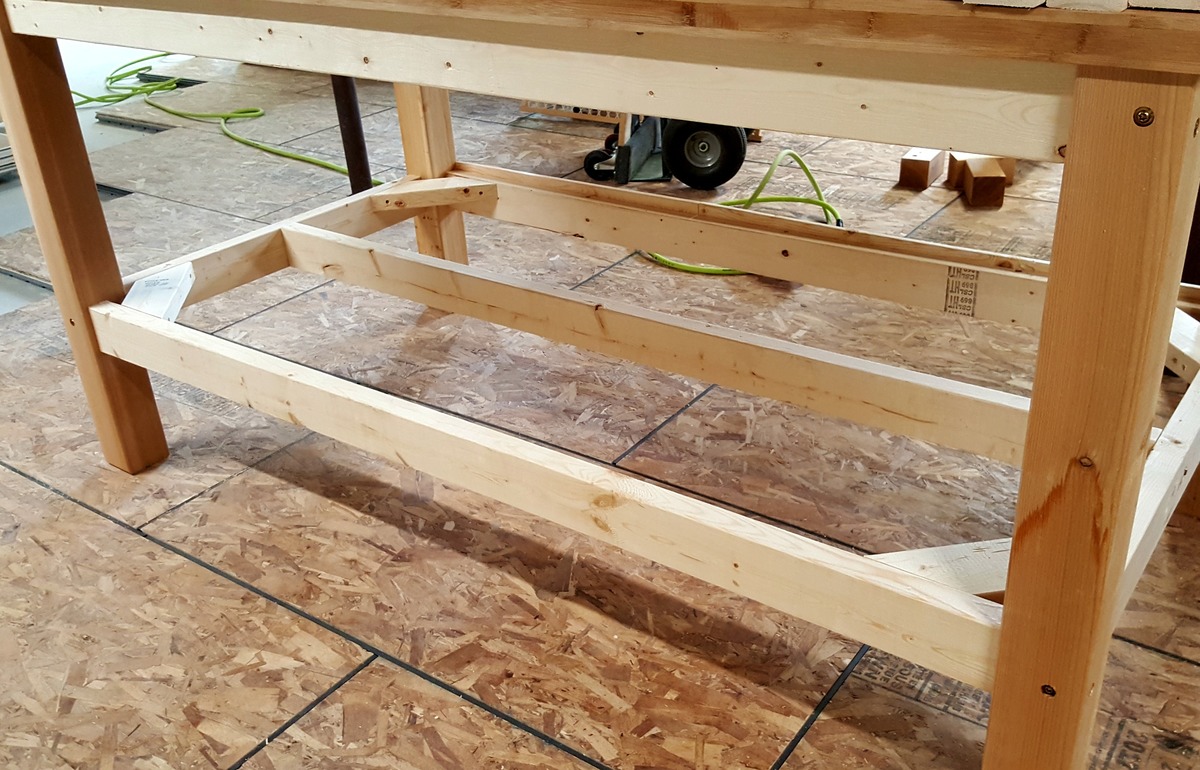
We bought a premade bamboo tabletop, as well as 4x4 cedar posts for the legs, 2x4s for the framework, and 1x2 slats for the shelf.
You can see all of the details of how we built it in the blog post, but here are a few of the features:
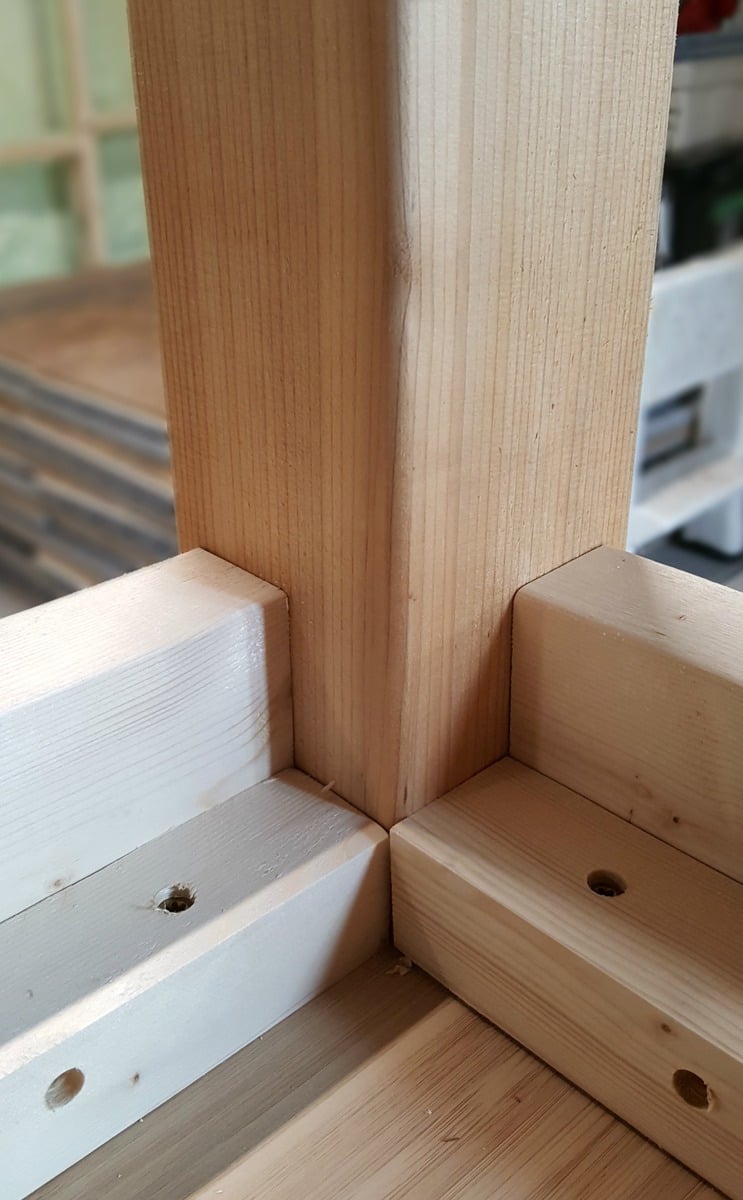
- an interior framework that connects to the tabletop and outer framework so that no screws are visible on the outside
- countersunk GRK structural screws used to attach the legs htat look like carriage bolts
-feet are angle cut so that floor is less likely to be scratched if the island is moved
We're really proud of this build and are enjoying having so much extra counter space. It's amazing what you can get done in a weekend!
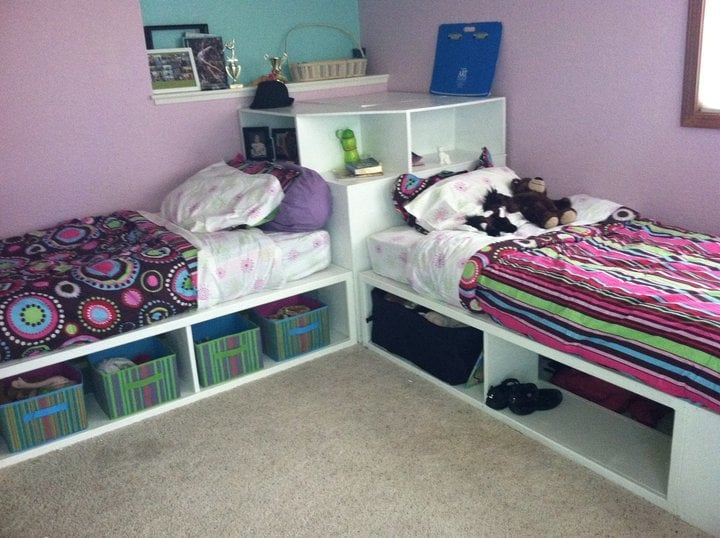
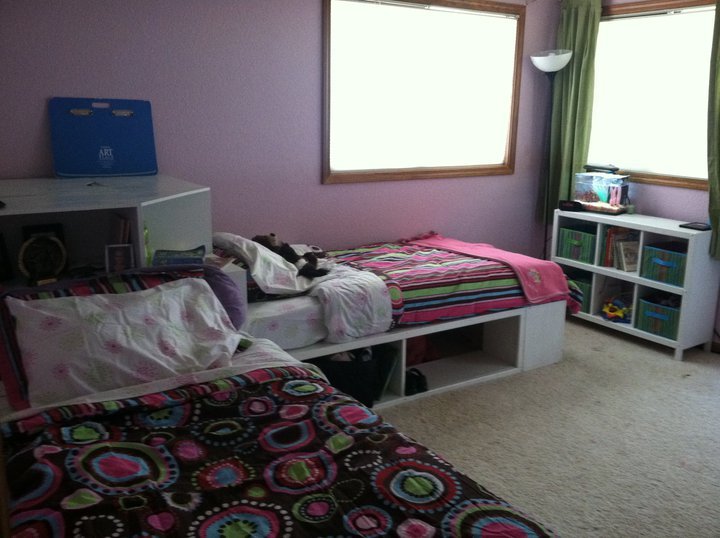
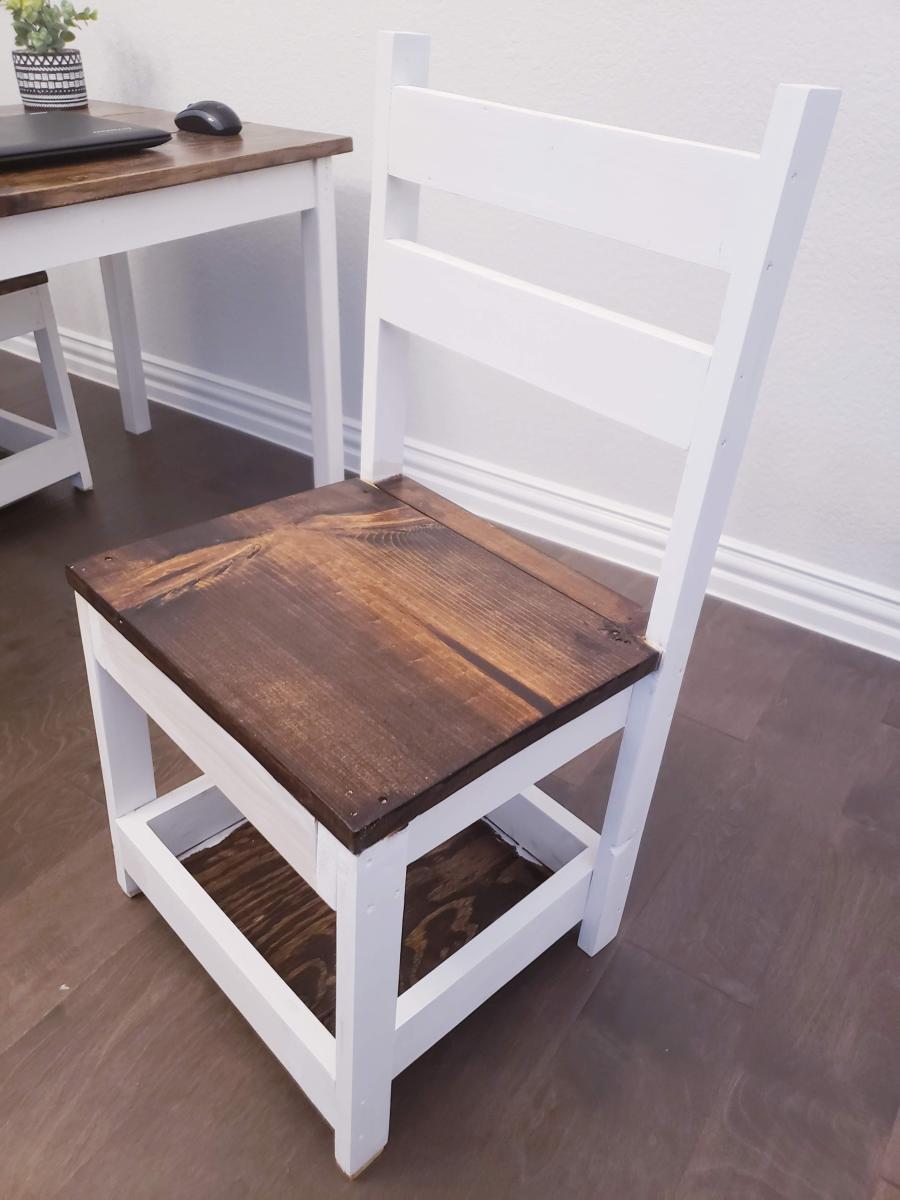
We made these beds for my daughters, who were ready to pass on the bunkbeds to their little sisters. We have 4 girls in one room, so use of space is crucial! I originally wanted the hutch as well, but as you can see in the picture, we had to work around a wall cut out, so we modified the corner unit to have a larger shelf area to fit the space. We also left the sides open to be able to slide containers in to store out of season clothes and blankets, though the ends have a backing.
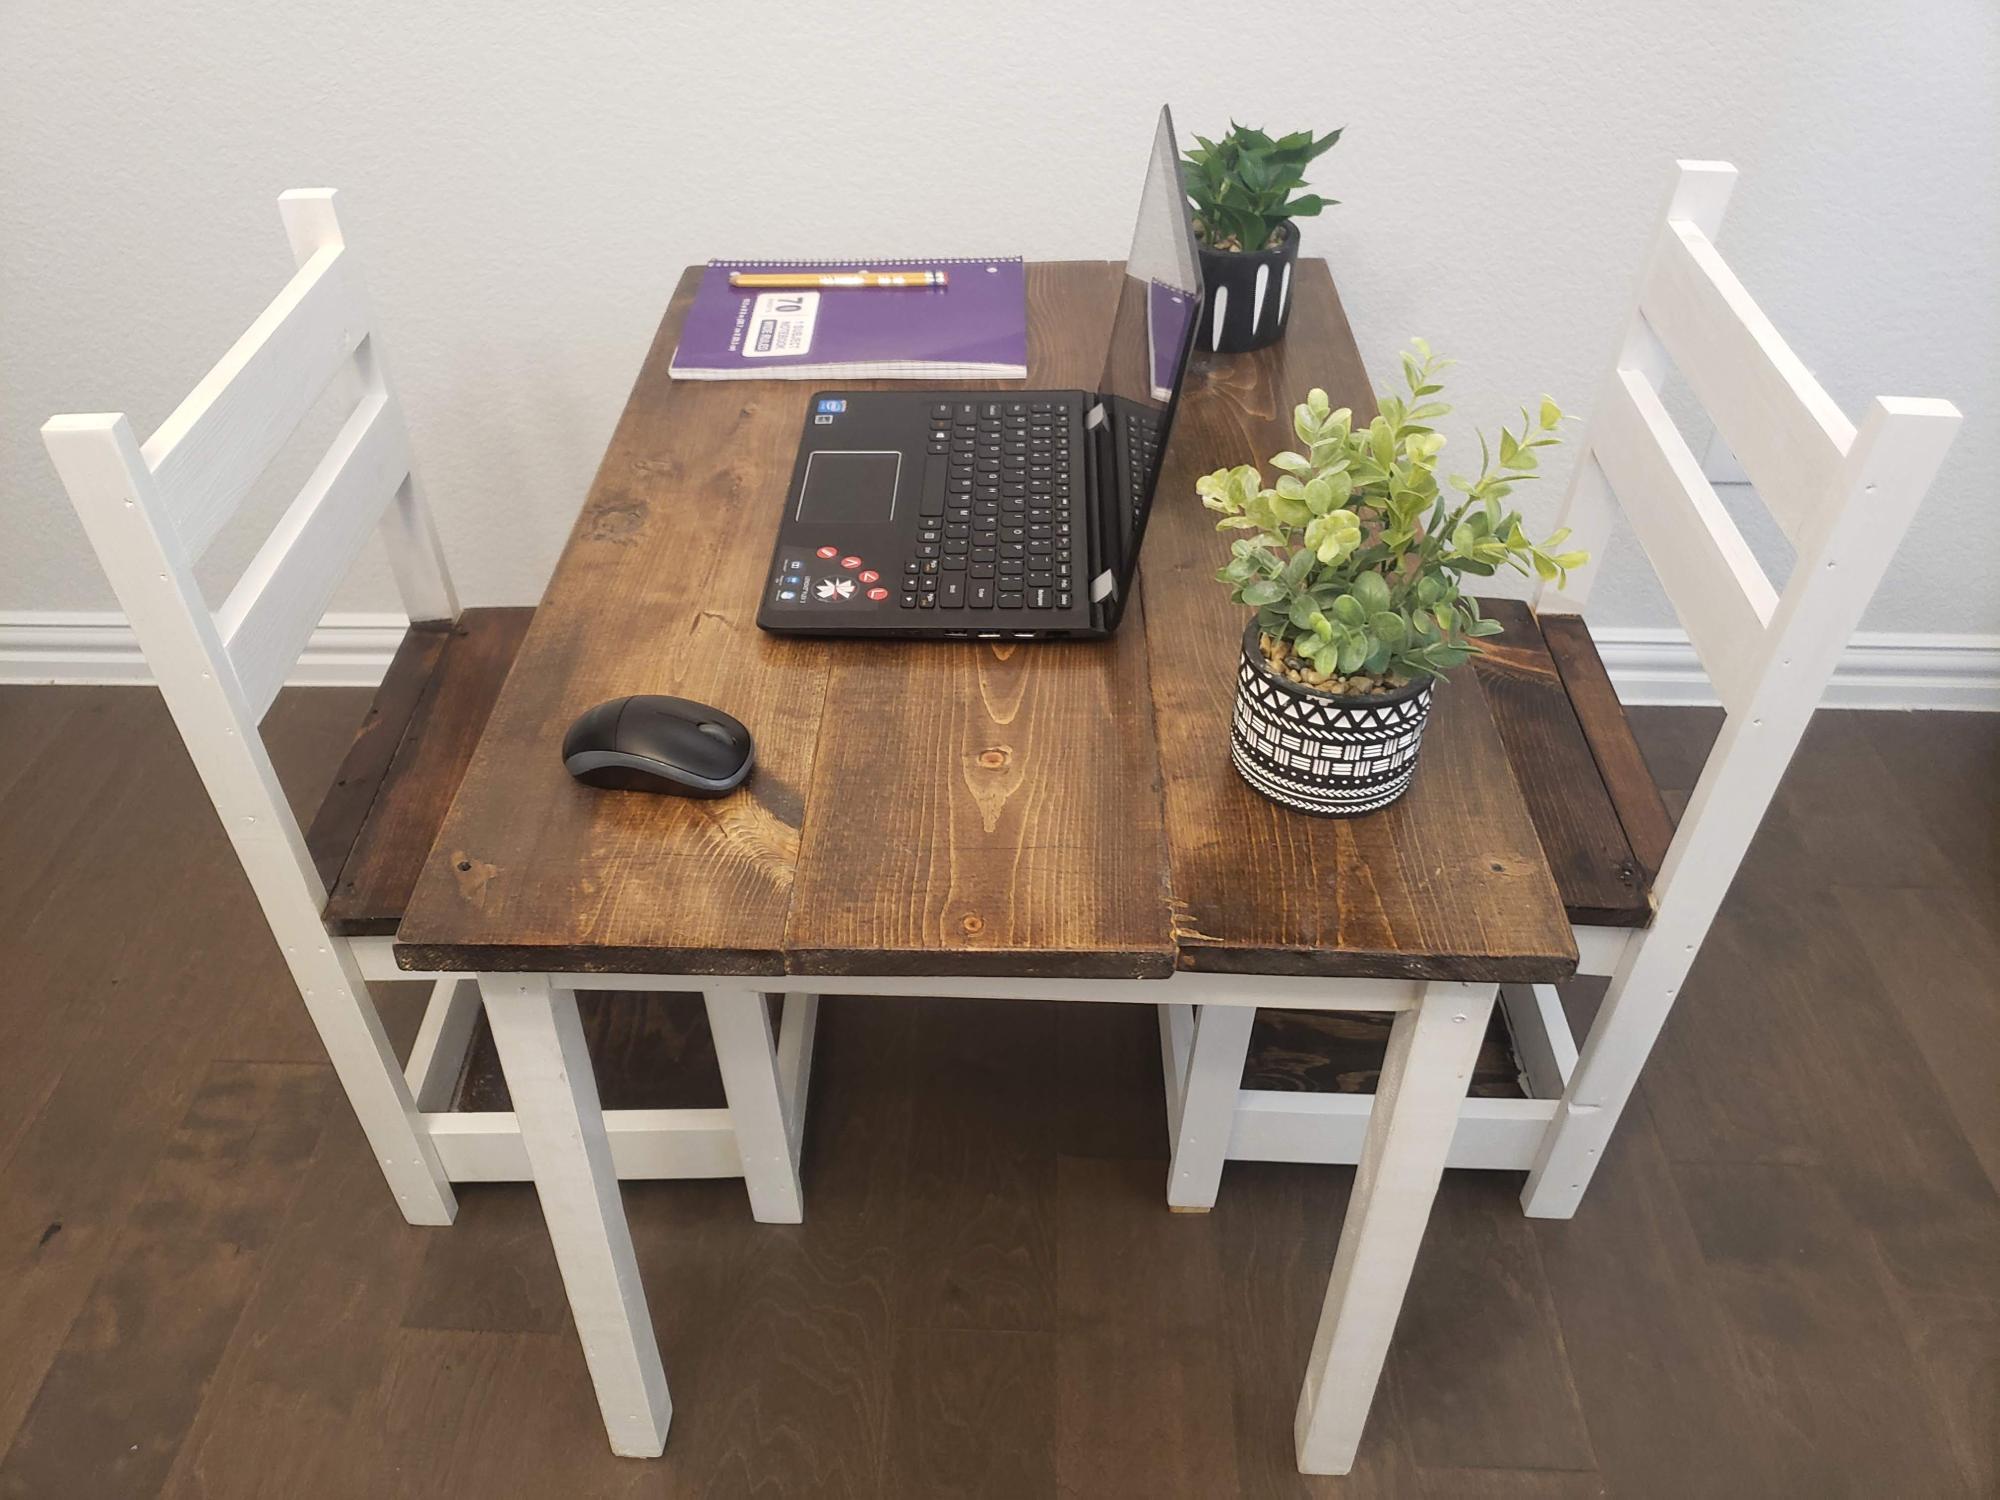
I love woodworking and trying different techniques...Thank you Ana for the detailed plans!..My niece loves it
Mon, 12/27/2021 - 22:21
Awe, love this, it looks great! Thank you for sharing:)
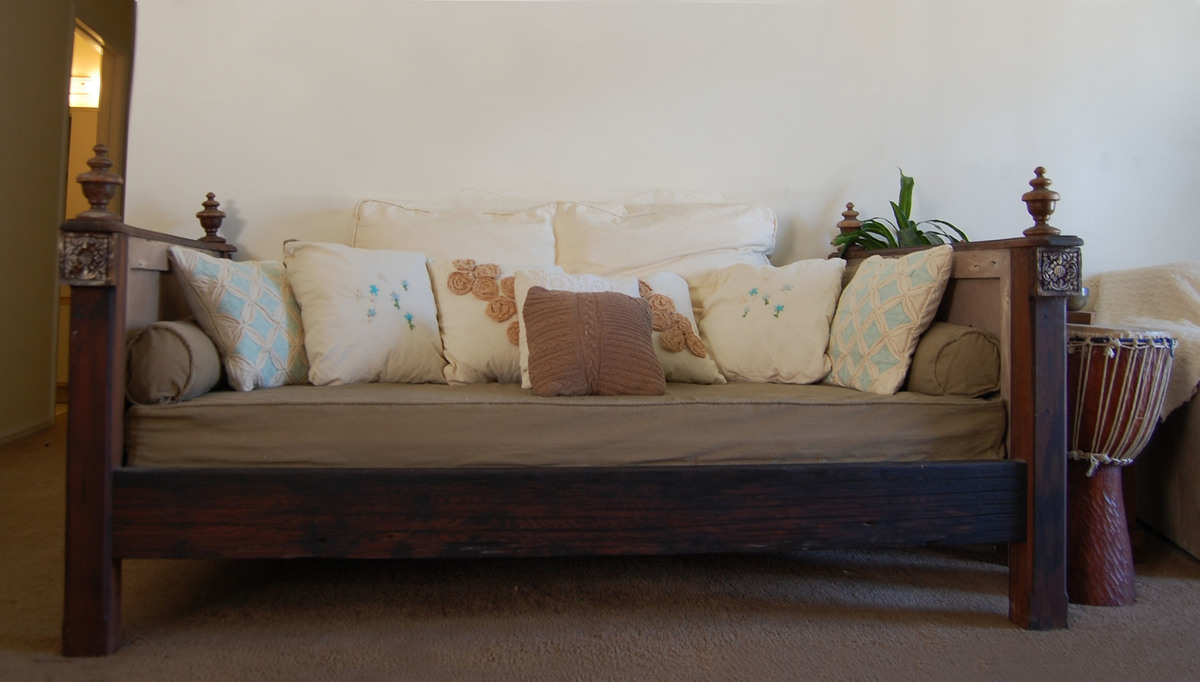
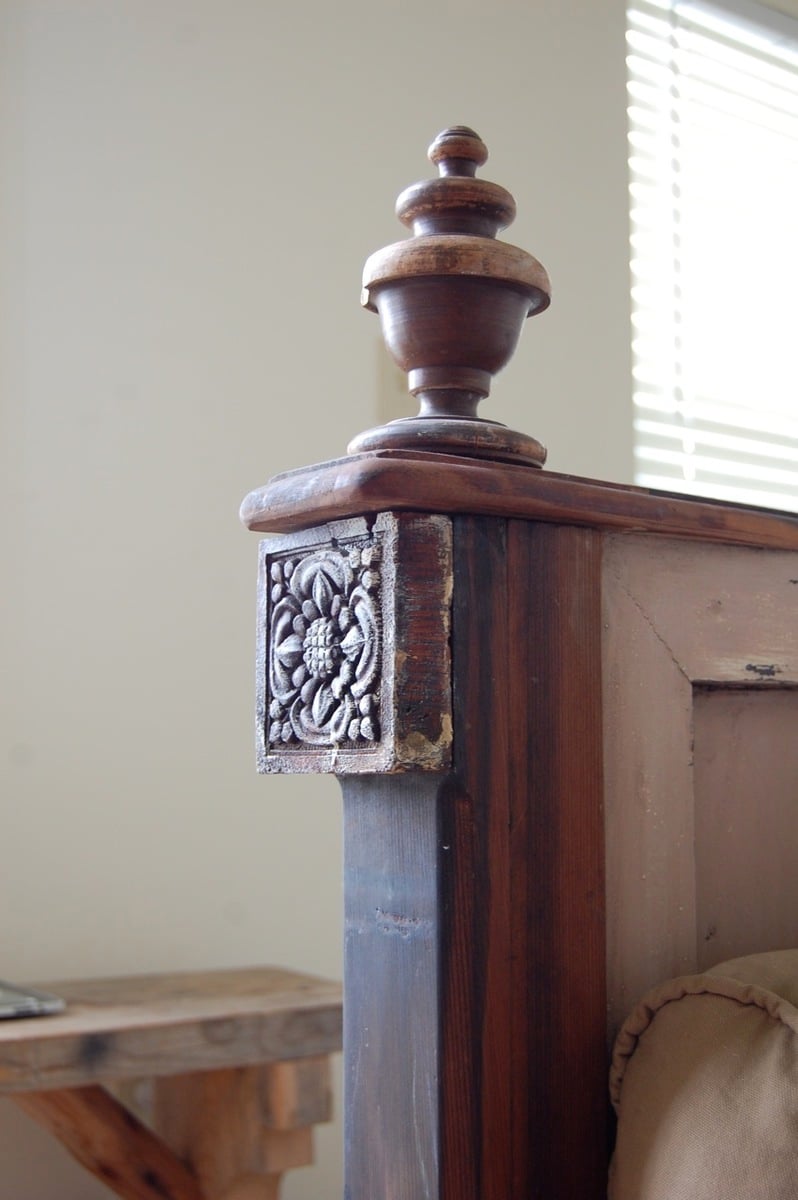
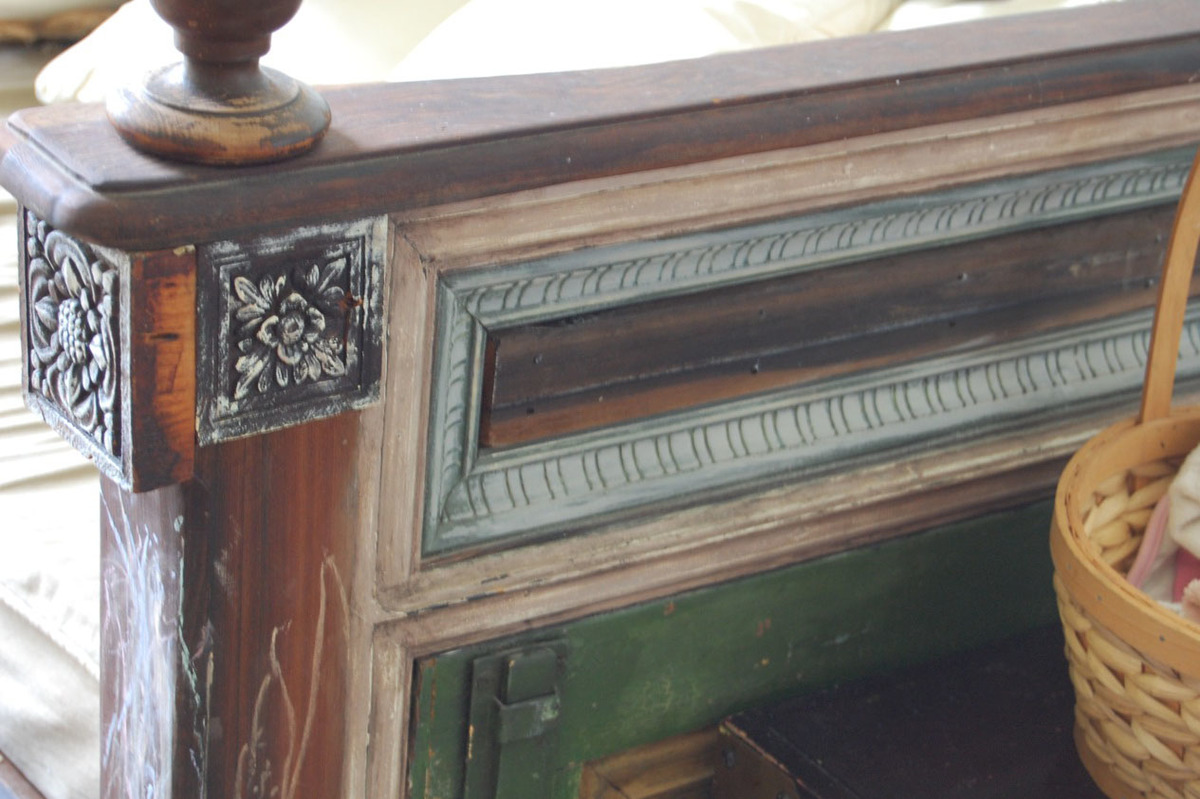
I originally planned to make the Lydia daybed as is, but we decided to make it with reclaimed materials after being inspired by redwood we found that had been salvaged from old pickle barrels. We ended up with chunkier posts for the legs (3 1/4" by 3"), and used a thick solid piece of wood for the front (2"x 7 1/2") , which did change the dimensions of our project a bit. We attached an old shutter to the plywood for the sides, and found salvaged bed post tops for the tops. We left off the scalloped edges because they seemed too delicate for the look we had going. Also, my husband had fun with his new router on the edges. We decided to use 1x8's for the slats under the bed b/c we thought it would give more support to the latex foam we had used instead of a traditional mattress. Because we move a lot, we wanted to be able to take the daybed apart if necessary. We attached the sides to the daybed with bed rail brackets. I posted more about the daybed on my blog. Sewing the cushions/pillows took much longer than making the actual daybed!
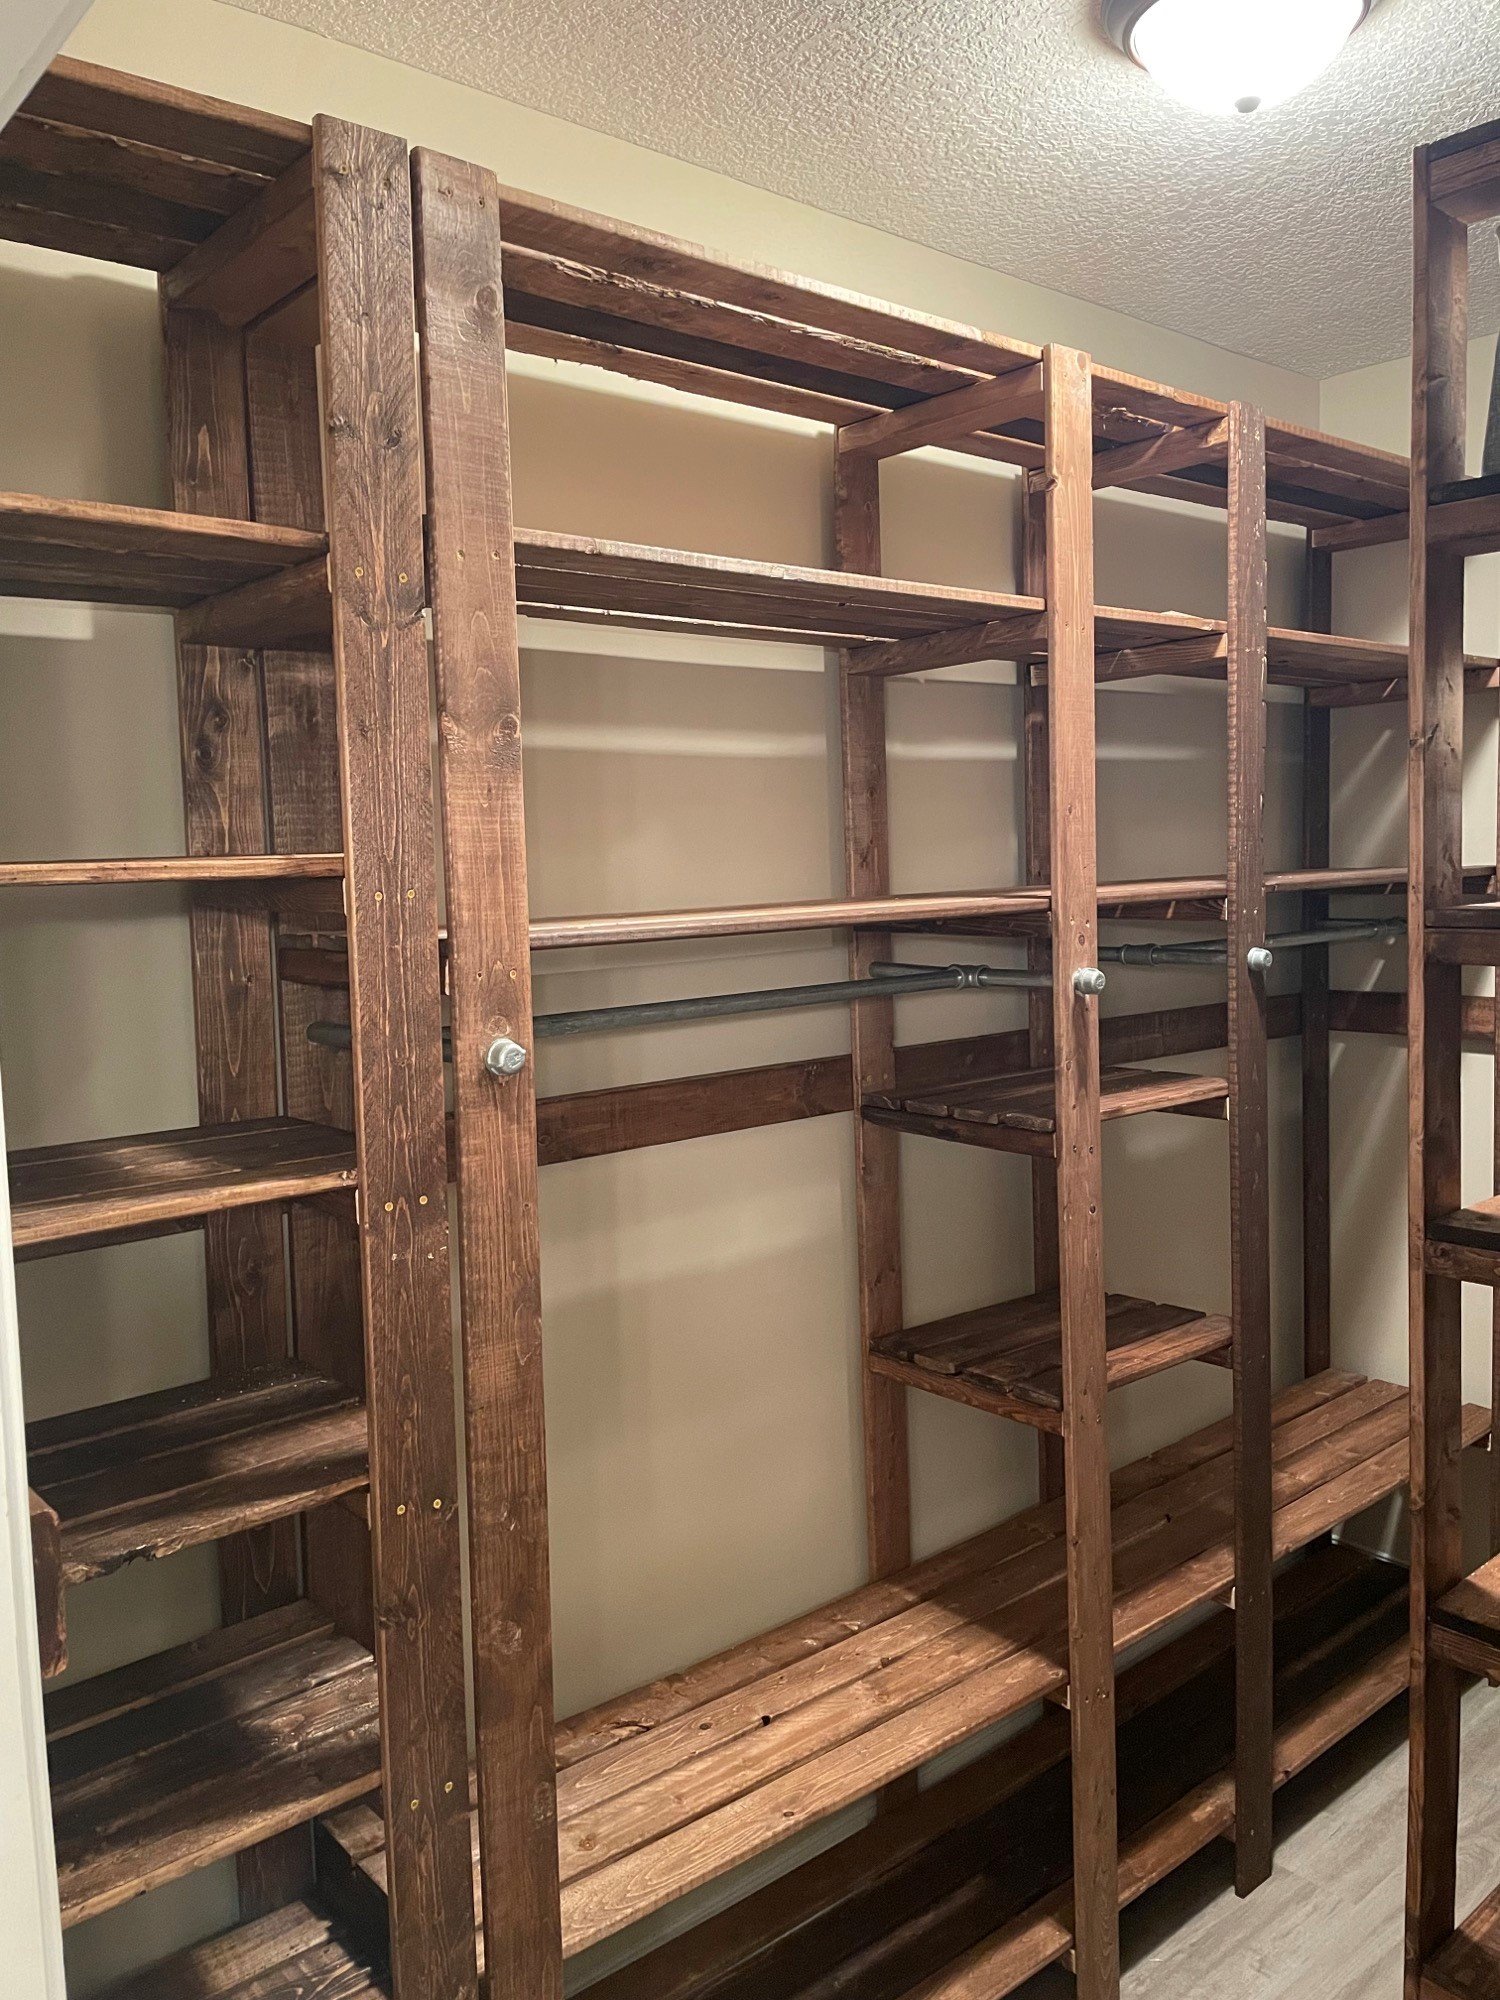
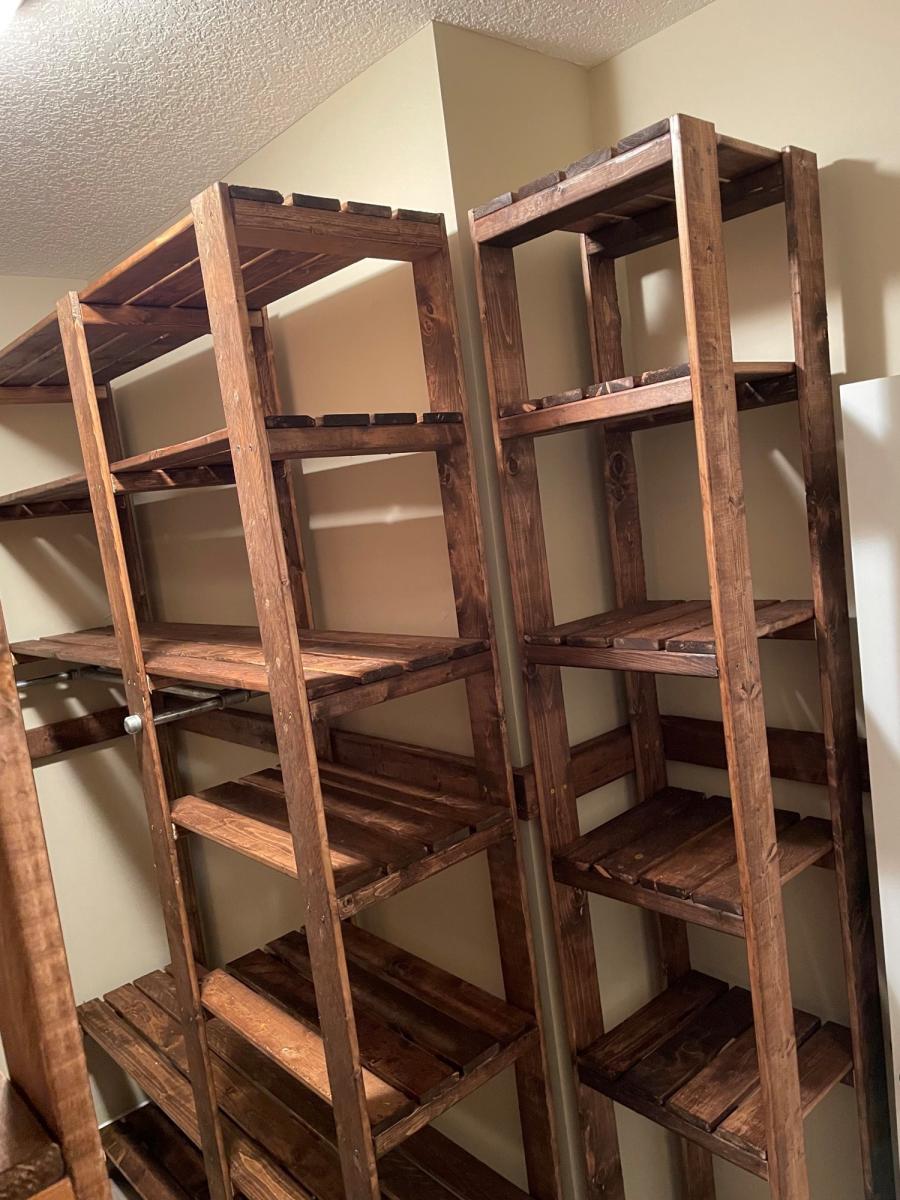
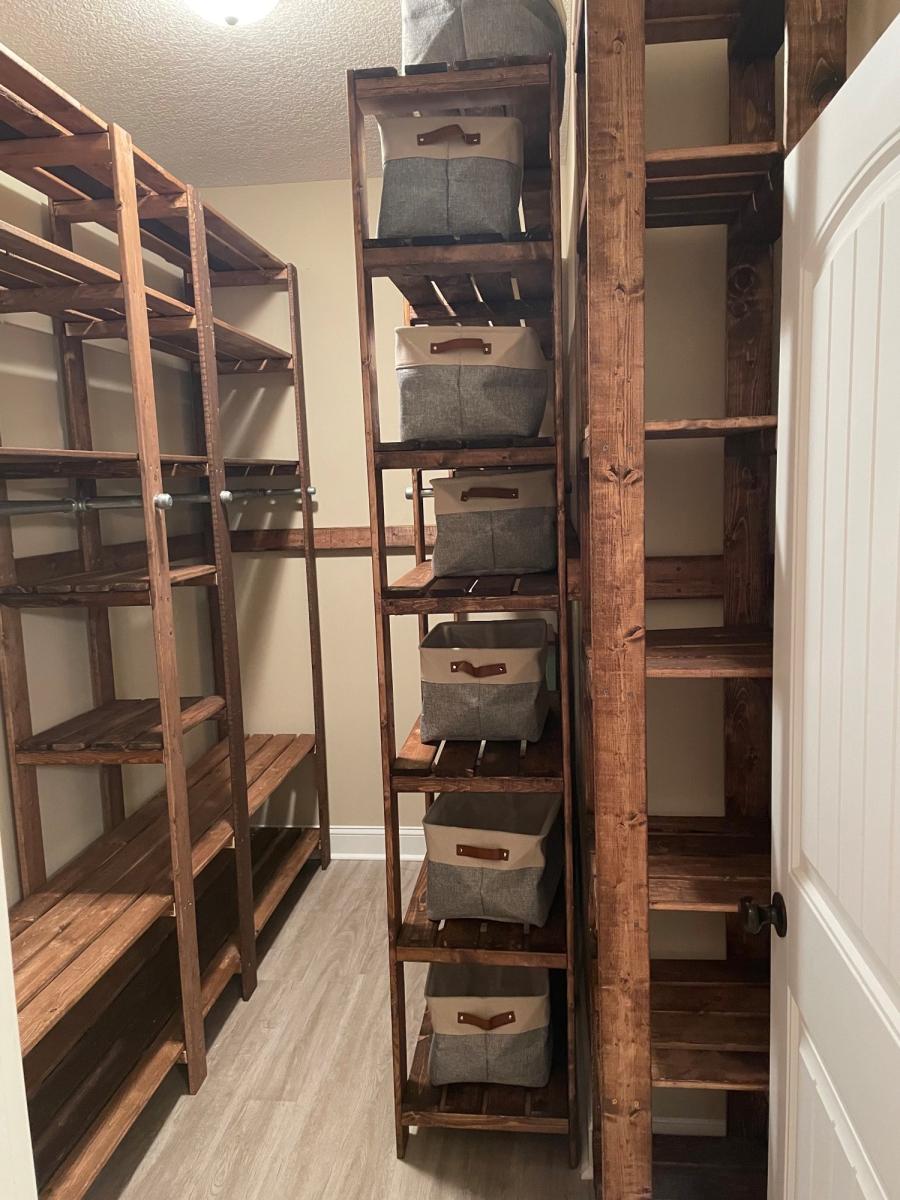
My closet system is four separate units that I butted up together and attached to the wall with a "decorative" 2x4 railing around the entirety of the closet. The main unit looks the closest to the real design but is 8 feet long and 8 feet tall to avoid extra cutting of boards. The smaller unit only has one area for hanging up clothes and is around 5 feet long which is just the length of the wall. I also built a unit for holding sheets and towels and another for my wife's shoes.
The plans are really easy to follow but I would suggest a few things:
-Do stain and boards before cutting; this would have been a nightmare otherwise.
-If you use the metal clothing rods (if I could go back in time I would have used wooden dowels) make sure that you put those in before you attach any boards between the support structures. I ended up having a 35 inch gap instead of a 36 inch gap and it killed my momentum.
-I made mine 8 feet tall because it was less to cut and then re-stain; time wise it probably was a scratch cause I had to build it in place and at the end it was very tight to work in the space.
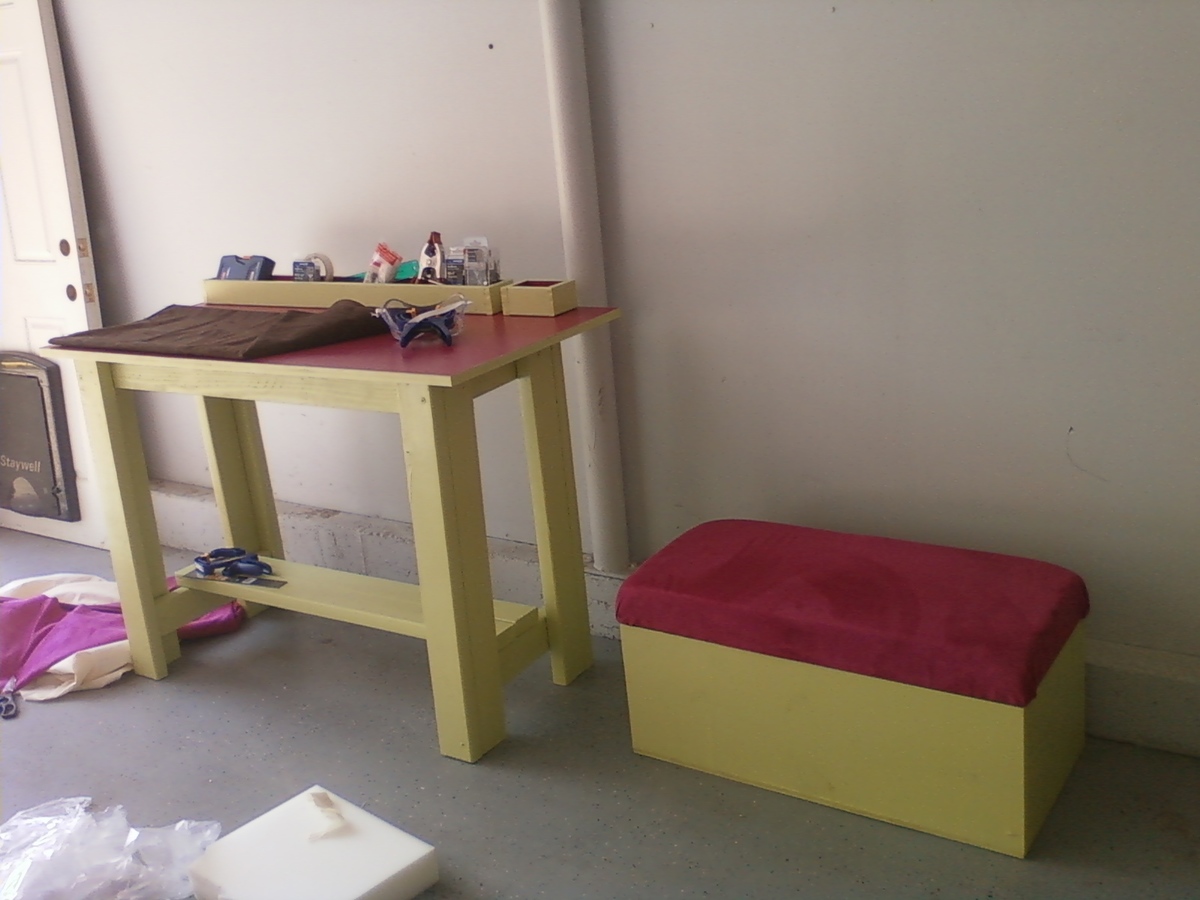
I finally got the chance to share my first couple of projects.
For the work bench I made organizers for tools and screws. I made them with 1x3's and made simple boxes out of them. One longer one at 36" and a couple smaller ones at 6" for easier access to nails. I painted everything with granny smith green and fuchsia pink.
I had originally planned on just making a couple of storage benches to hide my husband's video games in the house, but decided one would be perfect to hold my circular saw, drill, and other power tools while adding a comfortable place to sit. I had ordered the fabric a few months ago and didn't realize that it matched the fuschia pink paint I had bought at orange for my work bench, and I am glad it did.
Though they are in my garage, being a wife to a Staff Sergeant in the Army, we entertain a lot so having something that is useful and looks great is a wonderful thing indeed.
Since I've started building, I've been browsing Ana White's project plans for anything else that could be useful in our house... I can't wait until we move so we can choose a larger house to make way for more projects!
Thank you Ana!!! You've given purpose to my usually uneventful days while the hubs is in Iraq for the third time!

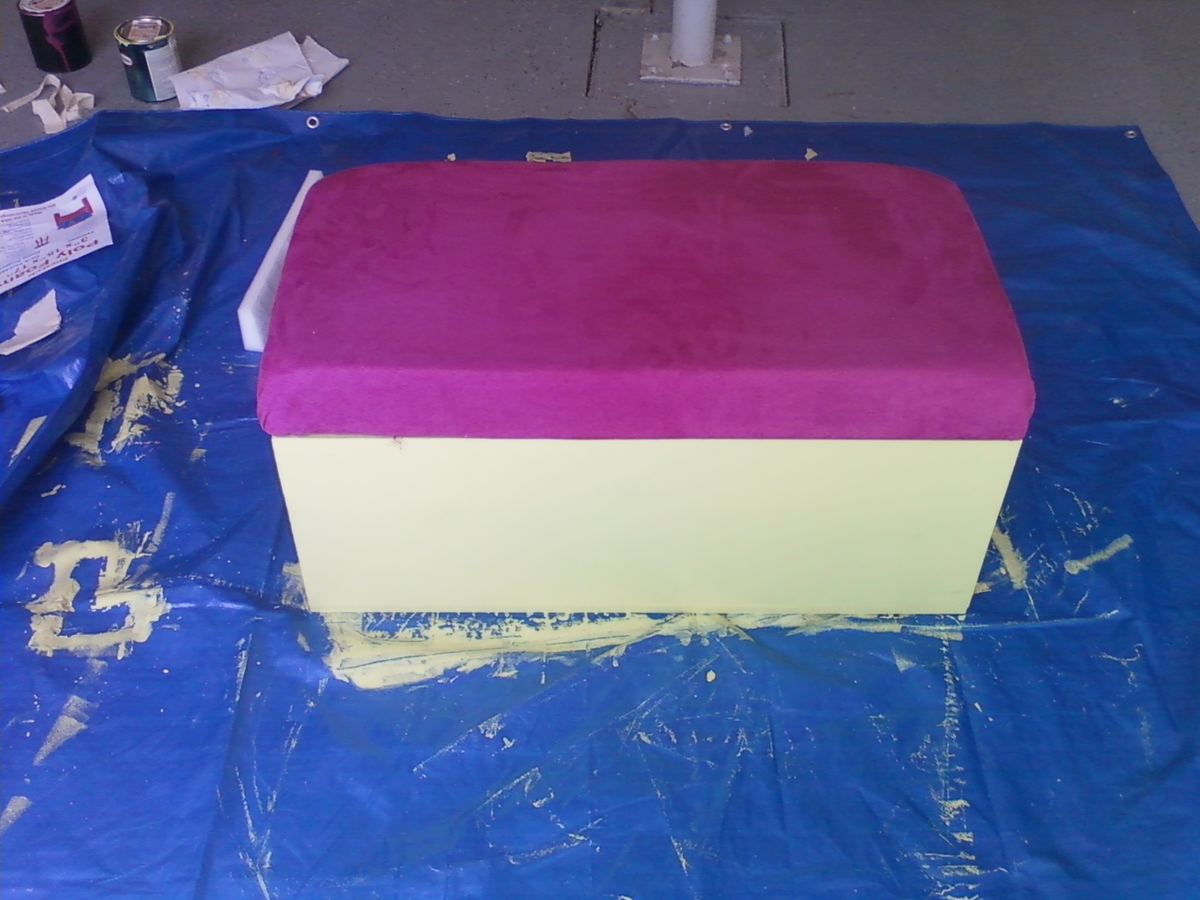
Sun, 09/18/2011 - 14:27
I have to say I love that even though this is a workbench, it's still so personal and girlie! And what a great idea for the storage unit having seating! So many times I end up sitting in the garage, sorting God-knows-what, and I really need a seat! :)
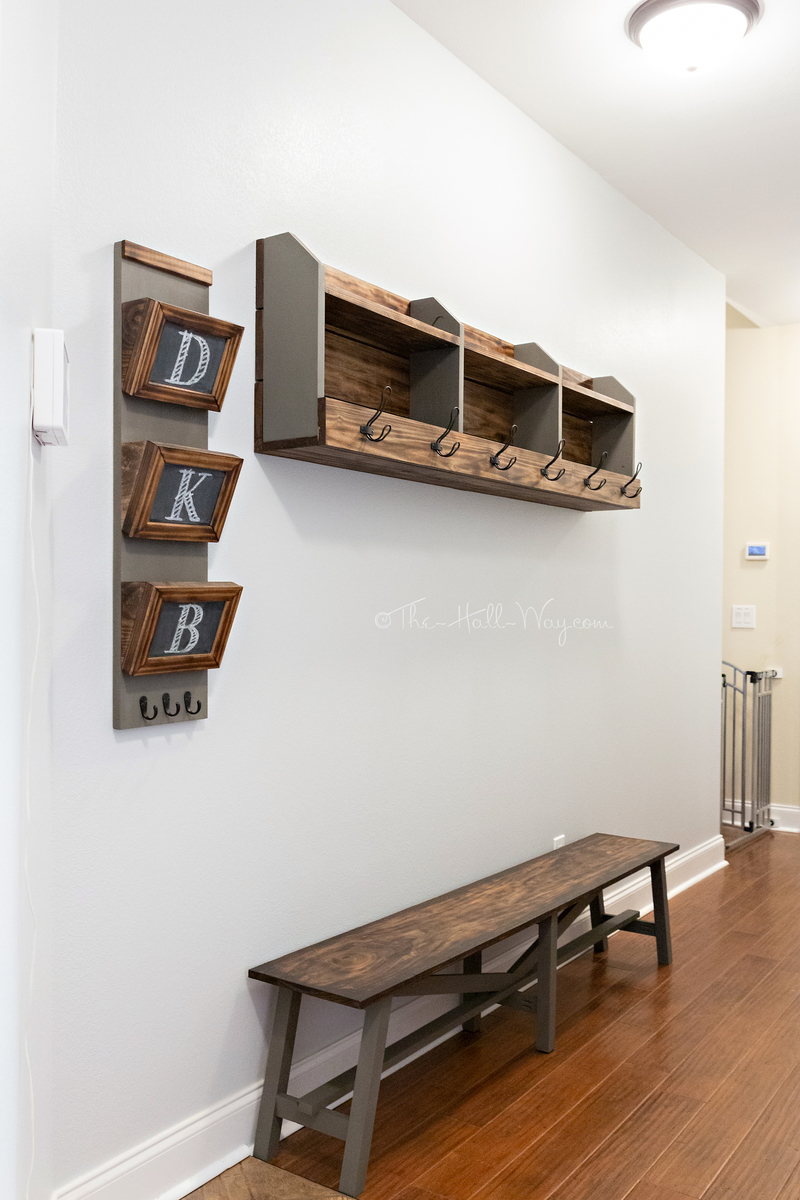
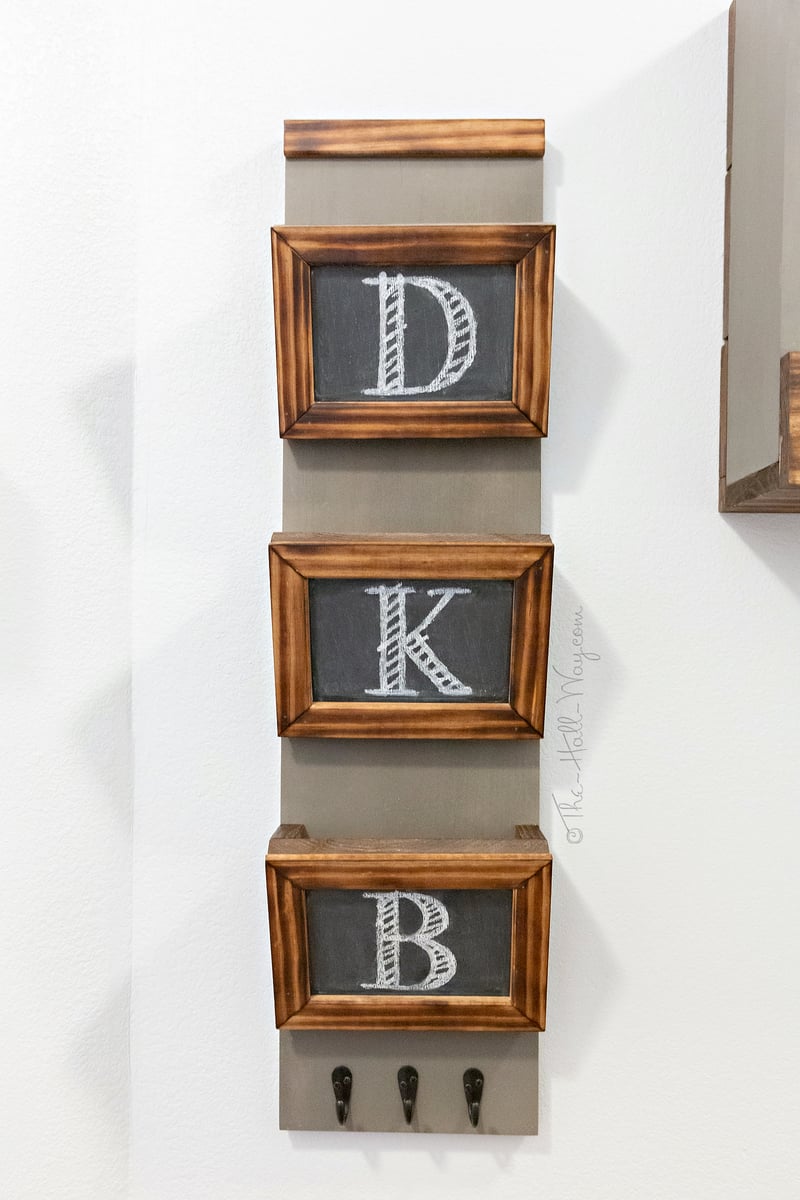
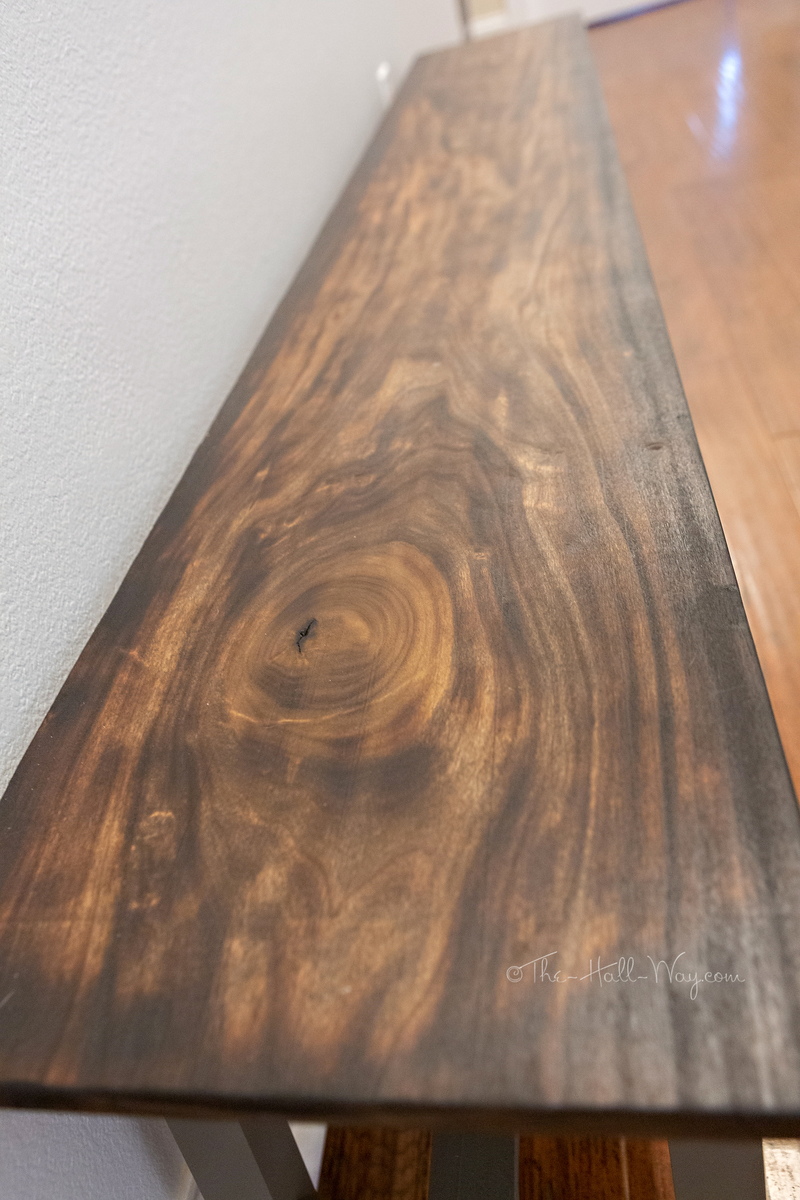
I built the coat rack along with the mail sorter and rustic bench for the long hallway to the garage since our new house doesn't have a mud room. I modified it to a length of 6'. All but a couple pieces are made from poplar. I burnt the stained pieces with a torch, then put a quick coat of Special Walnut on them. The painted pieces are Rustoleum Weathered Wood. Hooks are from Home Depot.
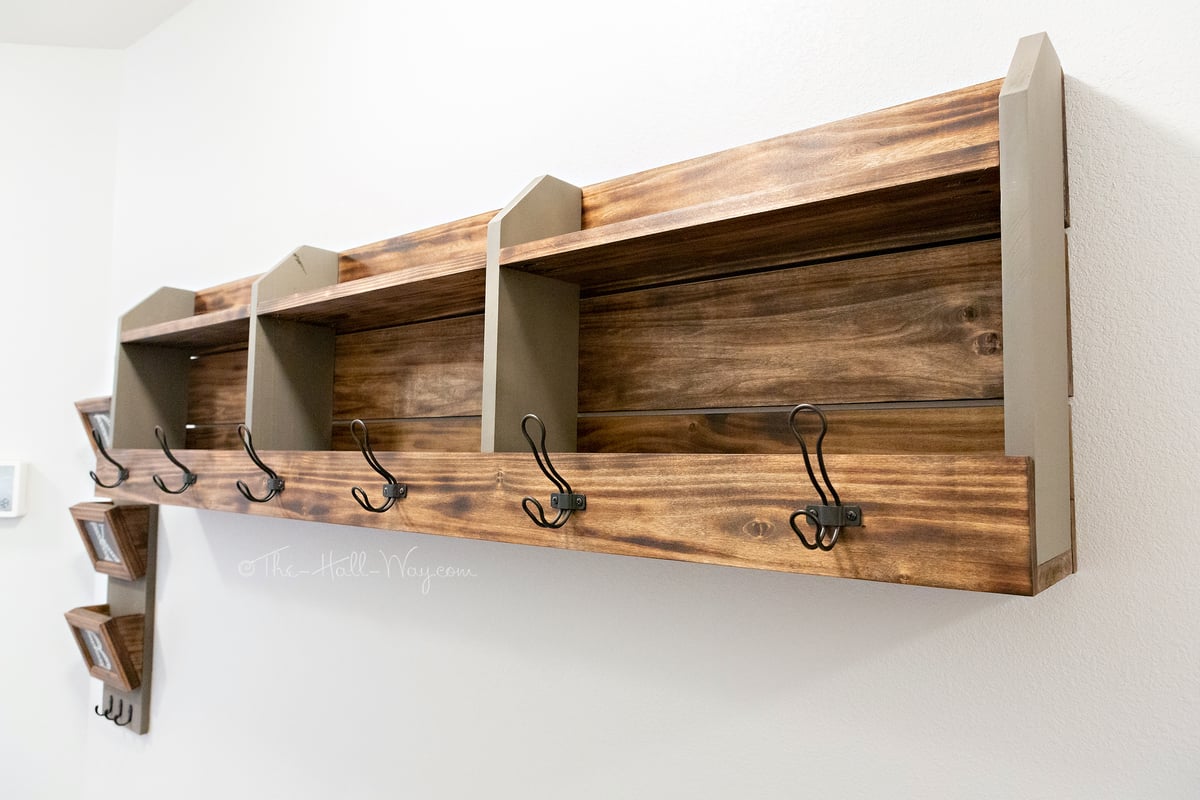
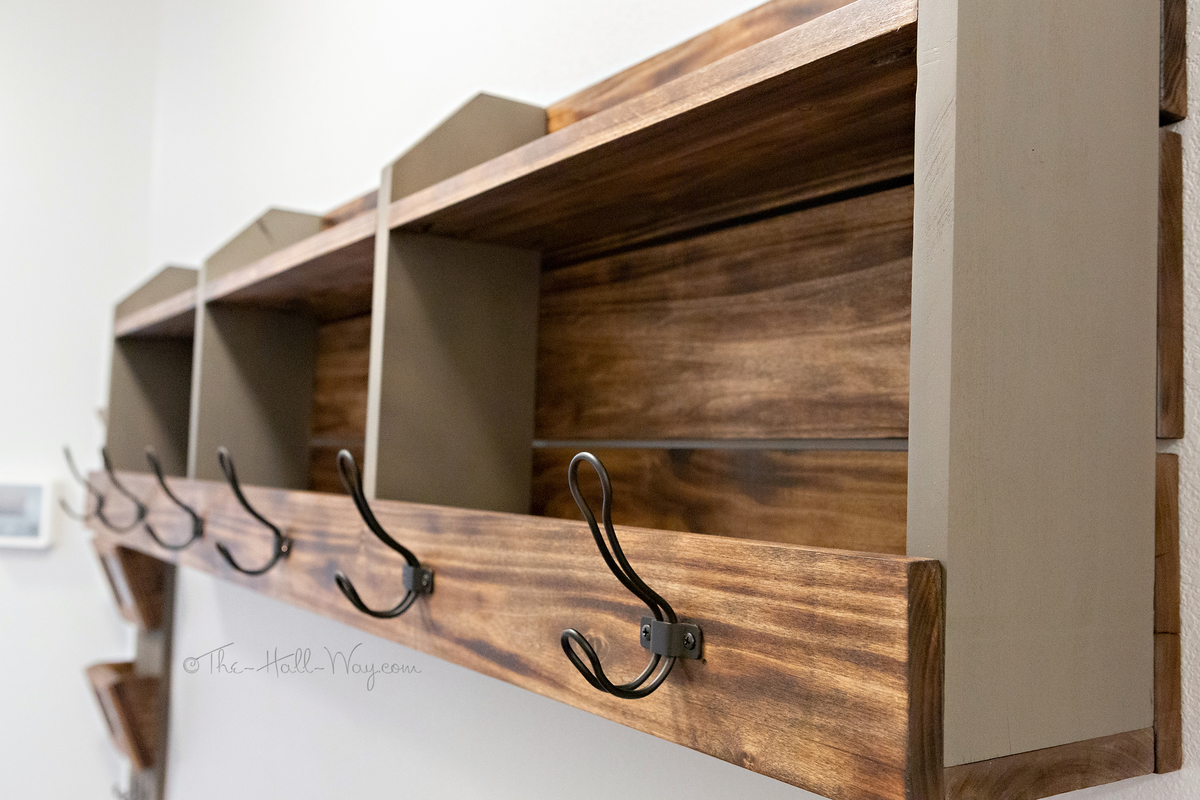
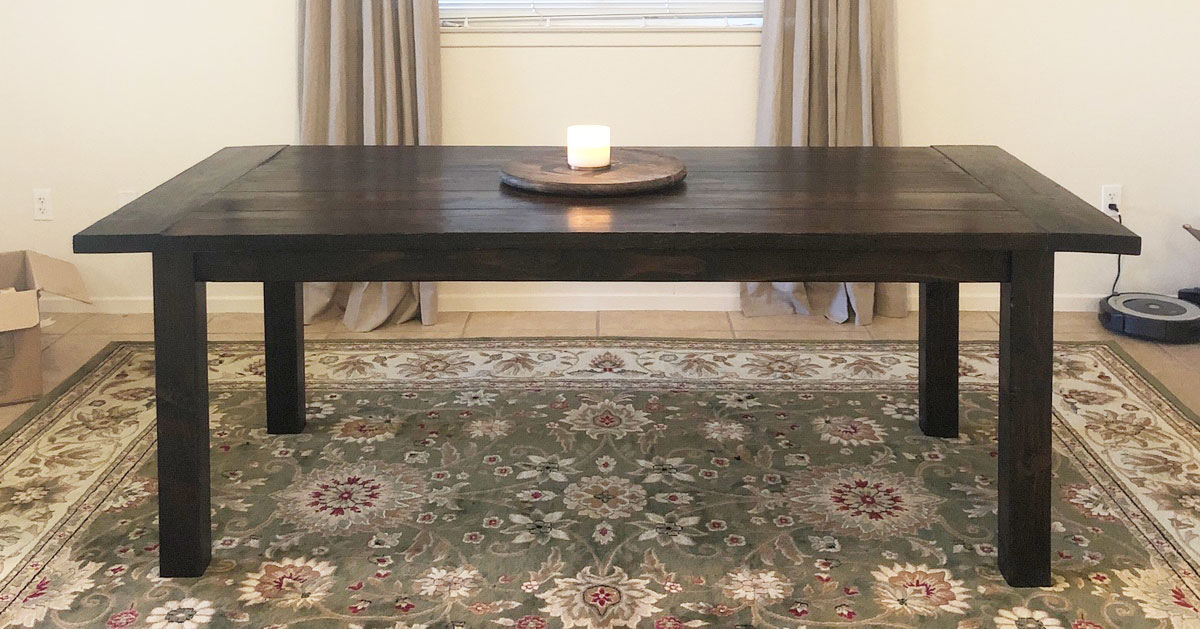
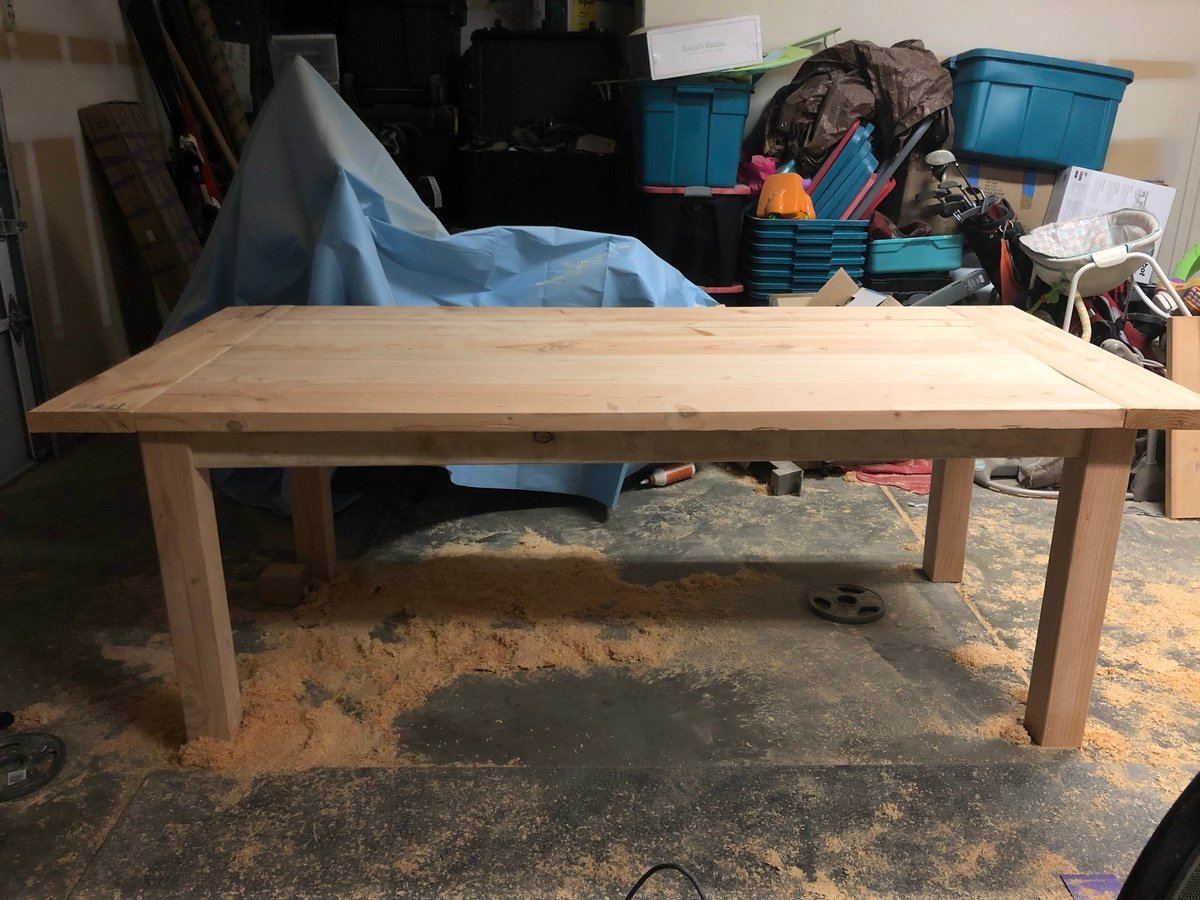
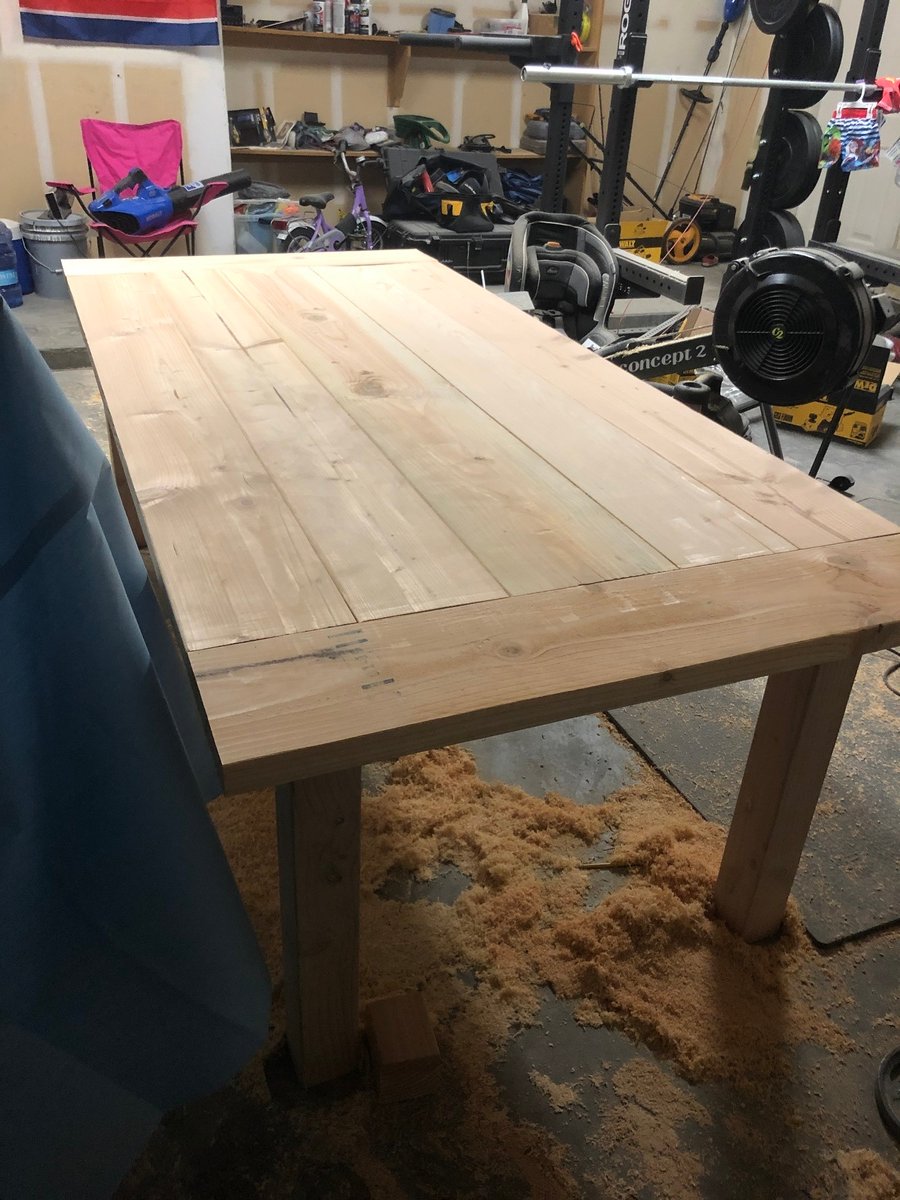
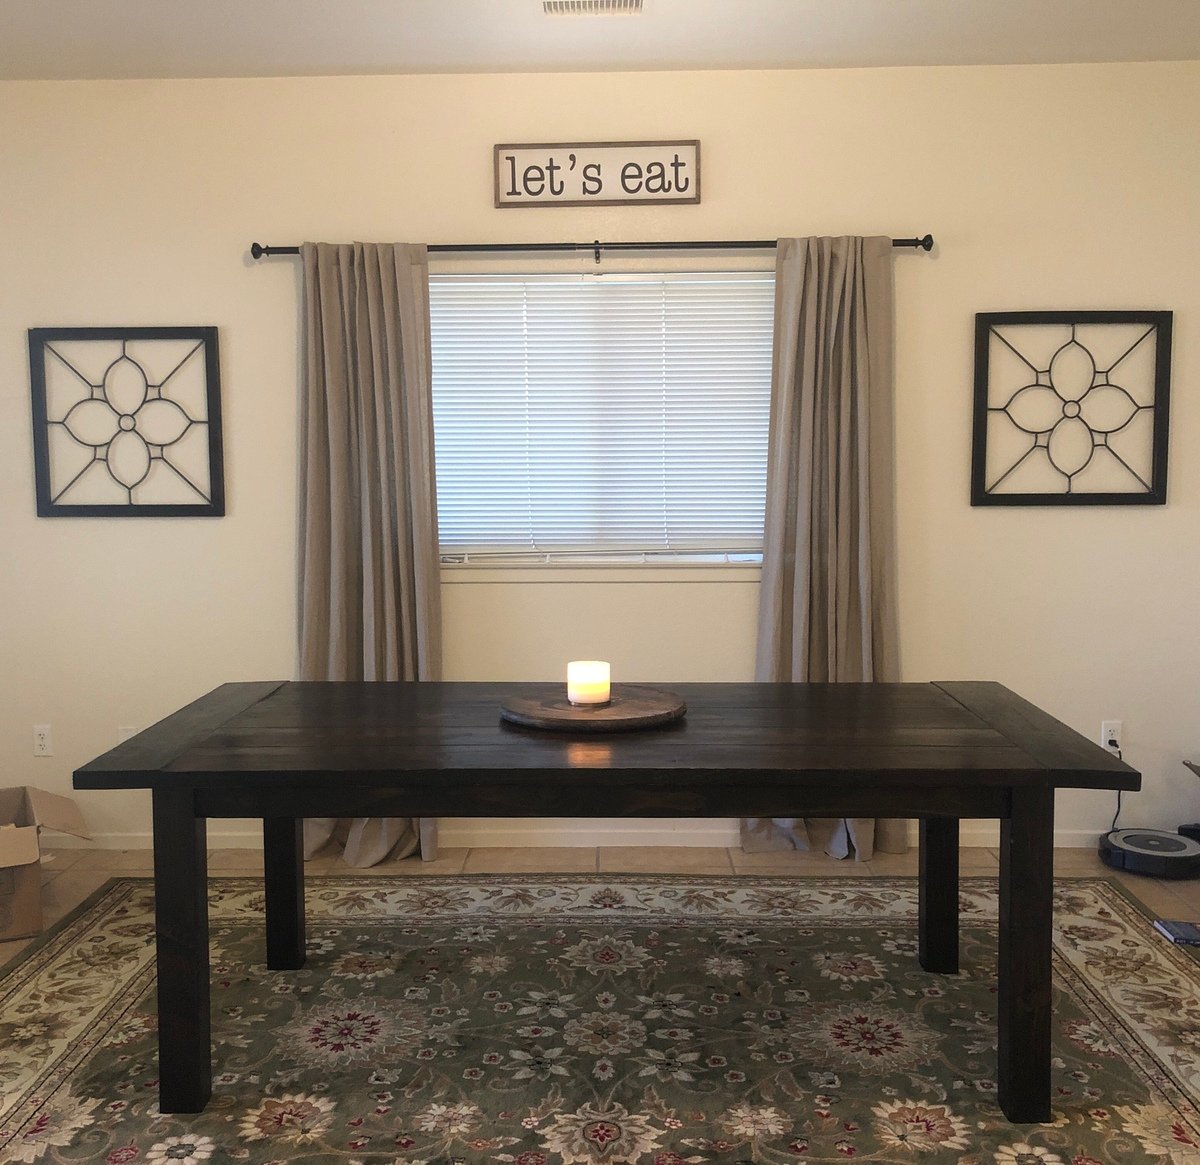
This was our first build together and first furniture piece from woodworking. The kreg jig really helped out and we didn’t have any major issues while building except for some board being warped but we fixed it with a planer.
Finished building the entire table in one day and staining and coats of poly took 2 extra days. It was a very easy build. When we move to a new area that has better access to lumber I’d like to remake this using oak/maple.
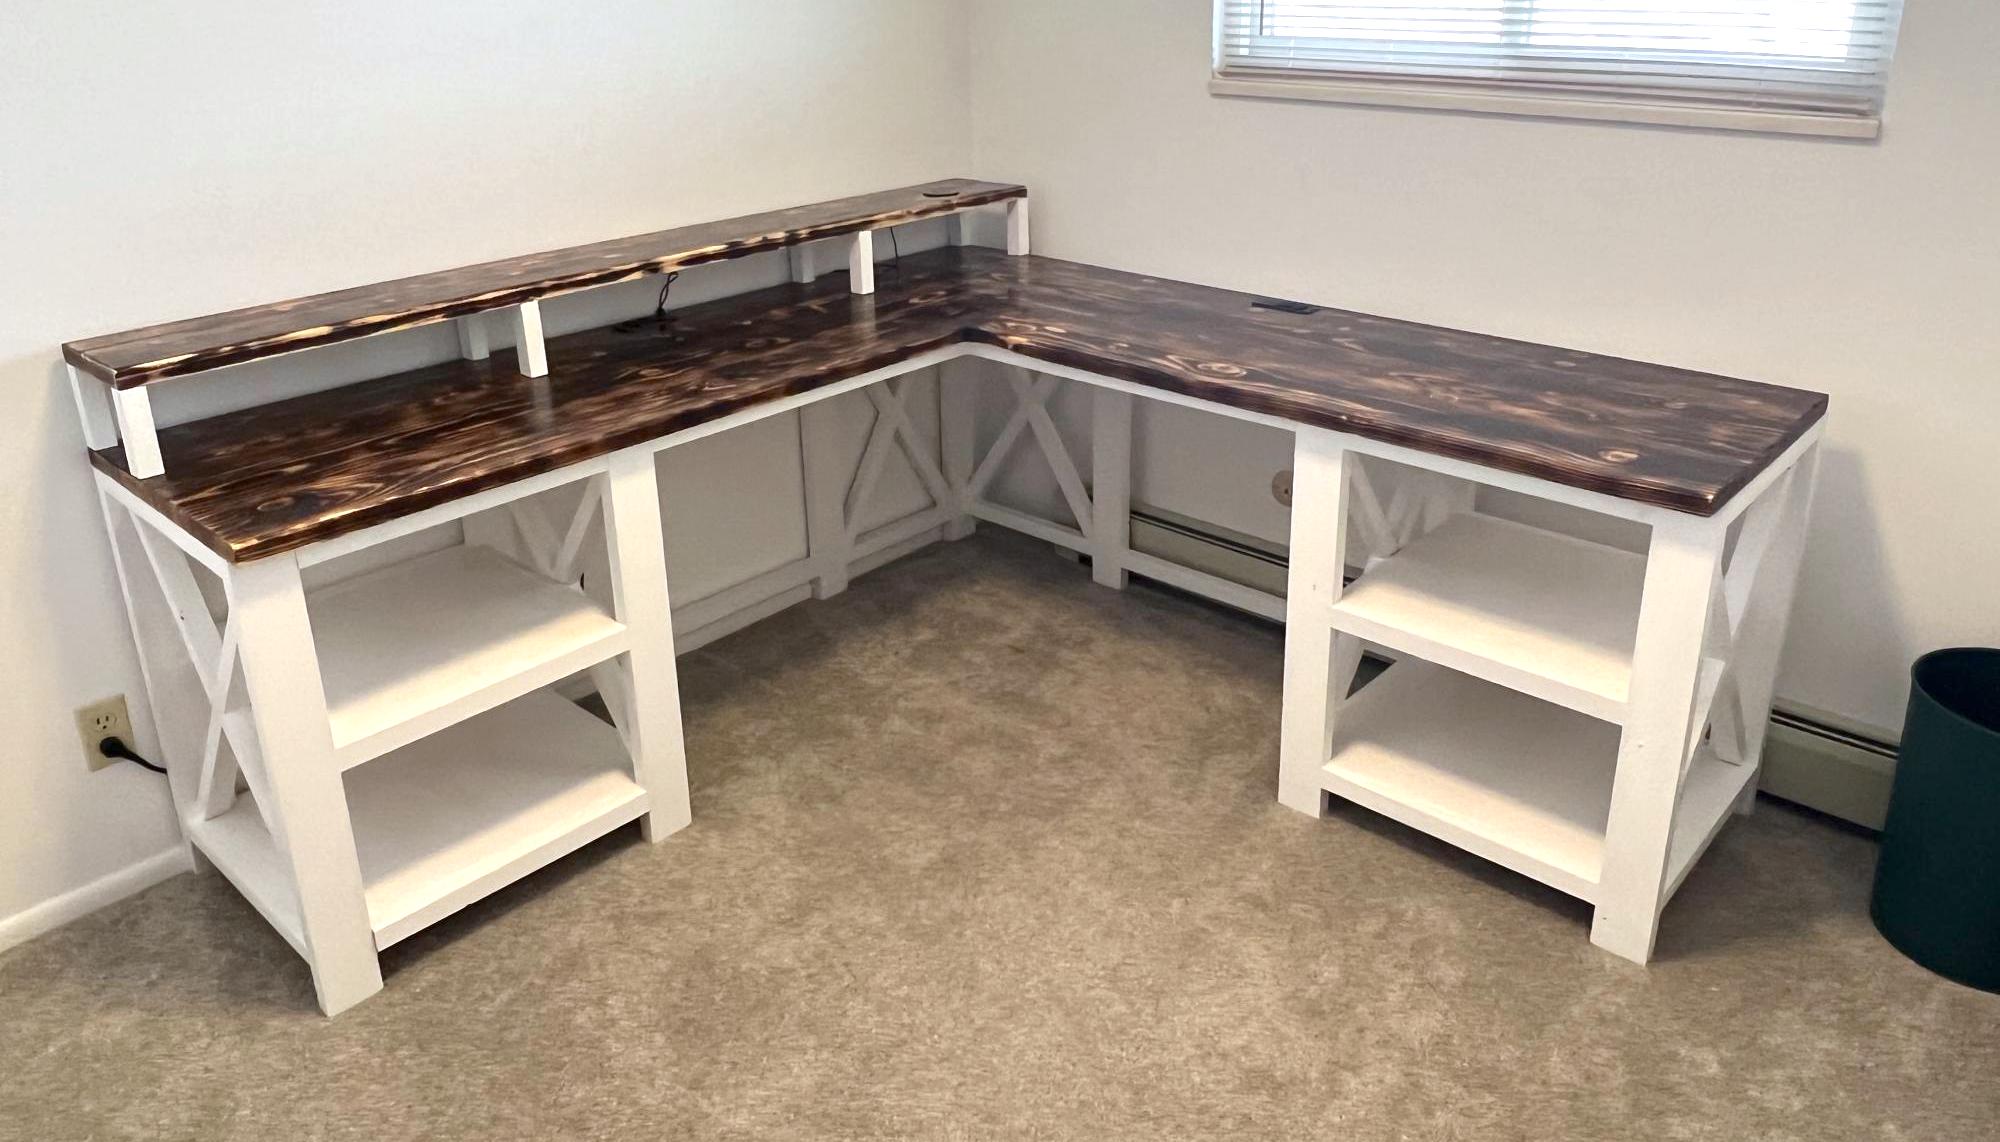
I slightly modified the Rustic X Desk plan to make my L shaped computer desk with a monitor platform! The desk surface is Shou Sugi Ban with an epoxy finish. All made from stock lumber and a lot of pocket hole screws. Thanks for posting your plan Ana to give me the idea! Construct for around $200.
Tue, 03/14/2023 - 18:34
Love your modifications, additions and finish! Thank you for sharing.