Guitar Stand
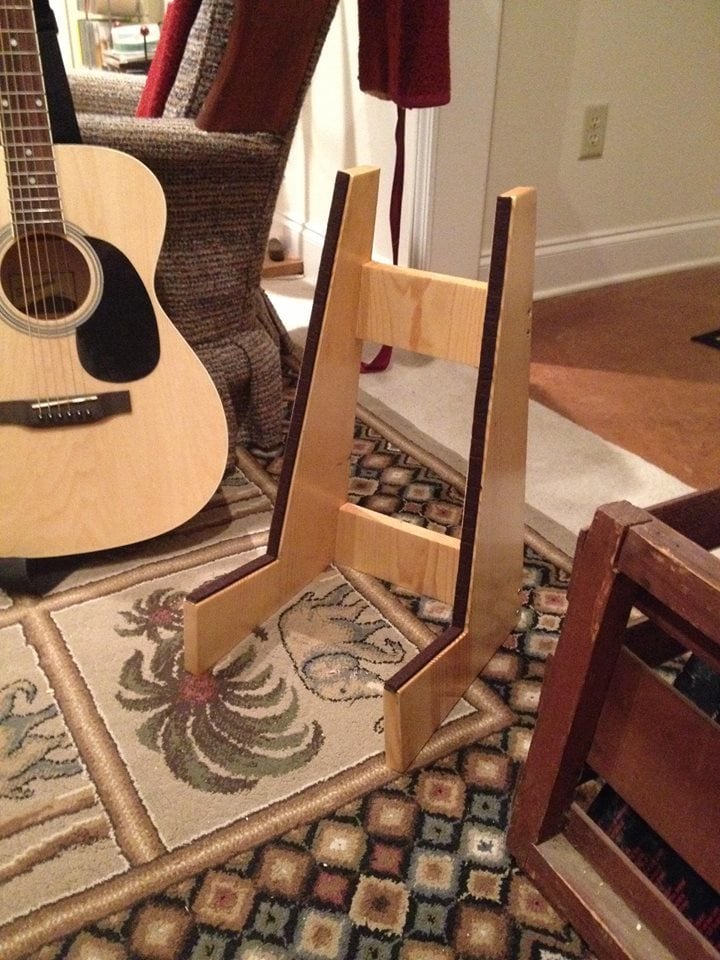
Built this guitar stand basically by using on-hand materials left over from another project. Used 1x12's; 18" tall fir for sides and back braces (cut at 5 degrees on each side). Added felt strips to protect the instrument.
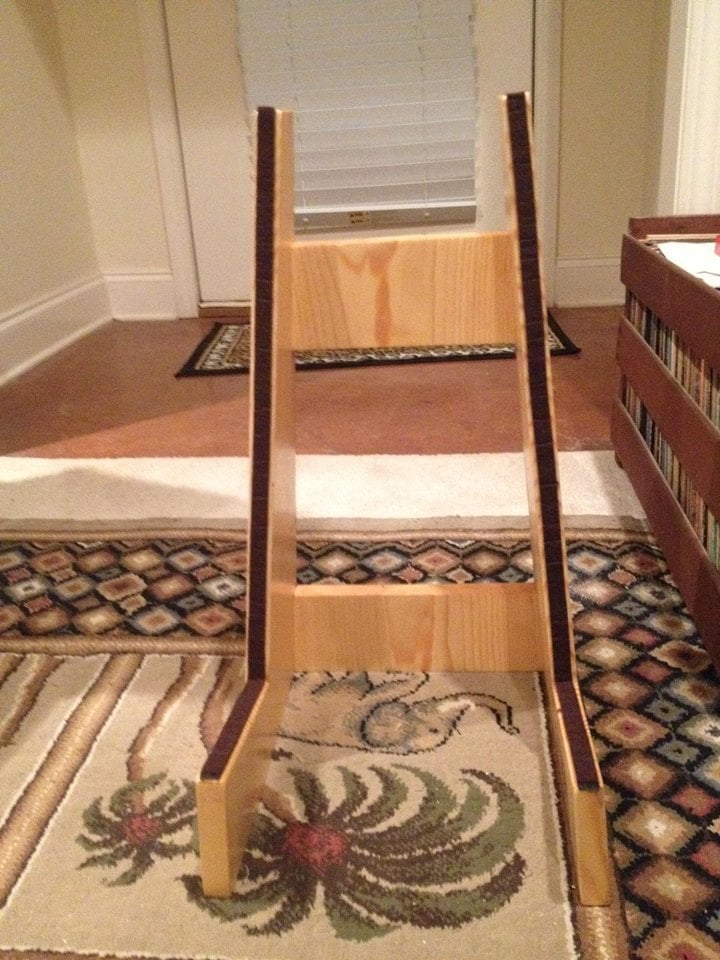
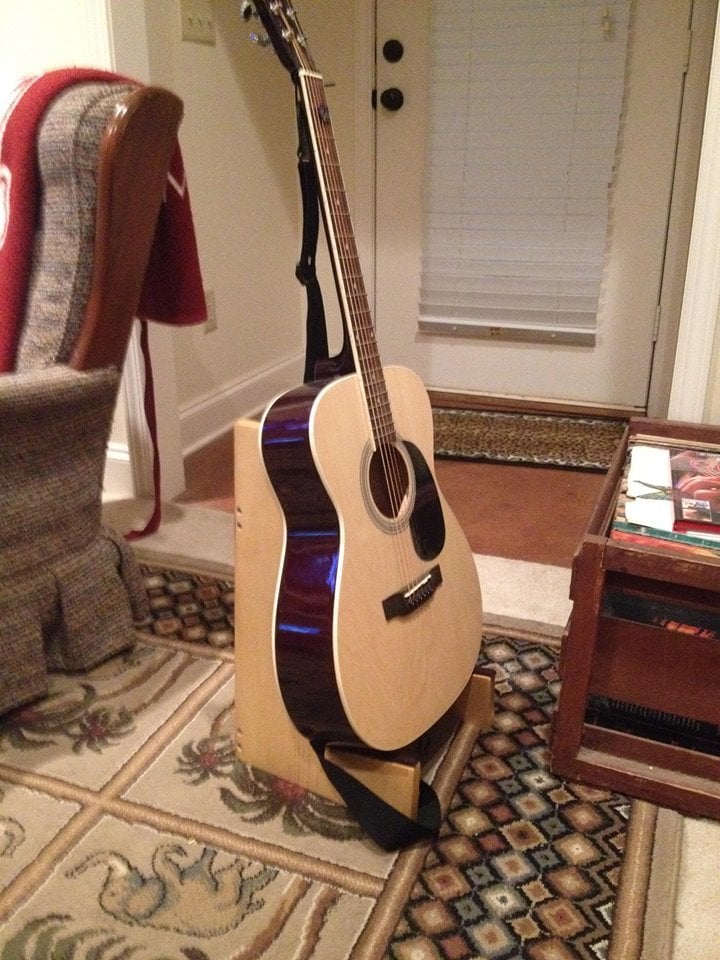

Built this guitar stand basically by using on-hand materials left over from another project. Used 1x12's; 18" tall fir for sides and back braces (cut at 5 degrees on each side). Added felt strips to protect the instrument.


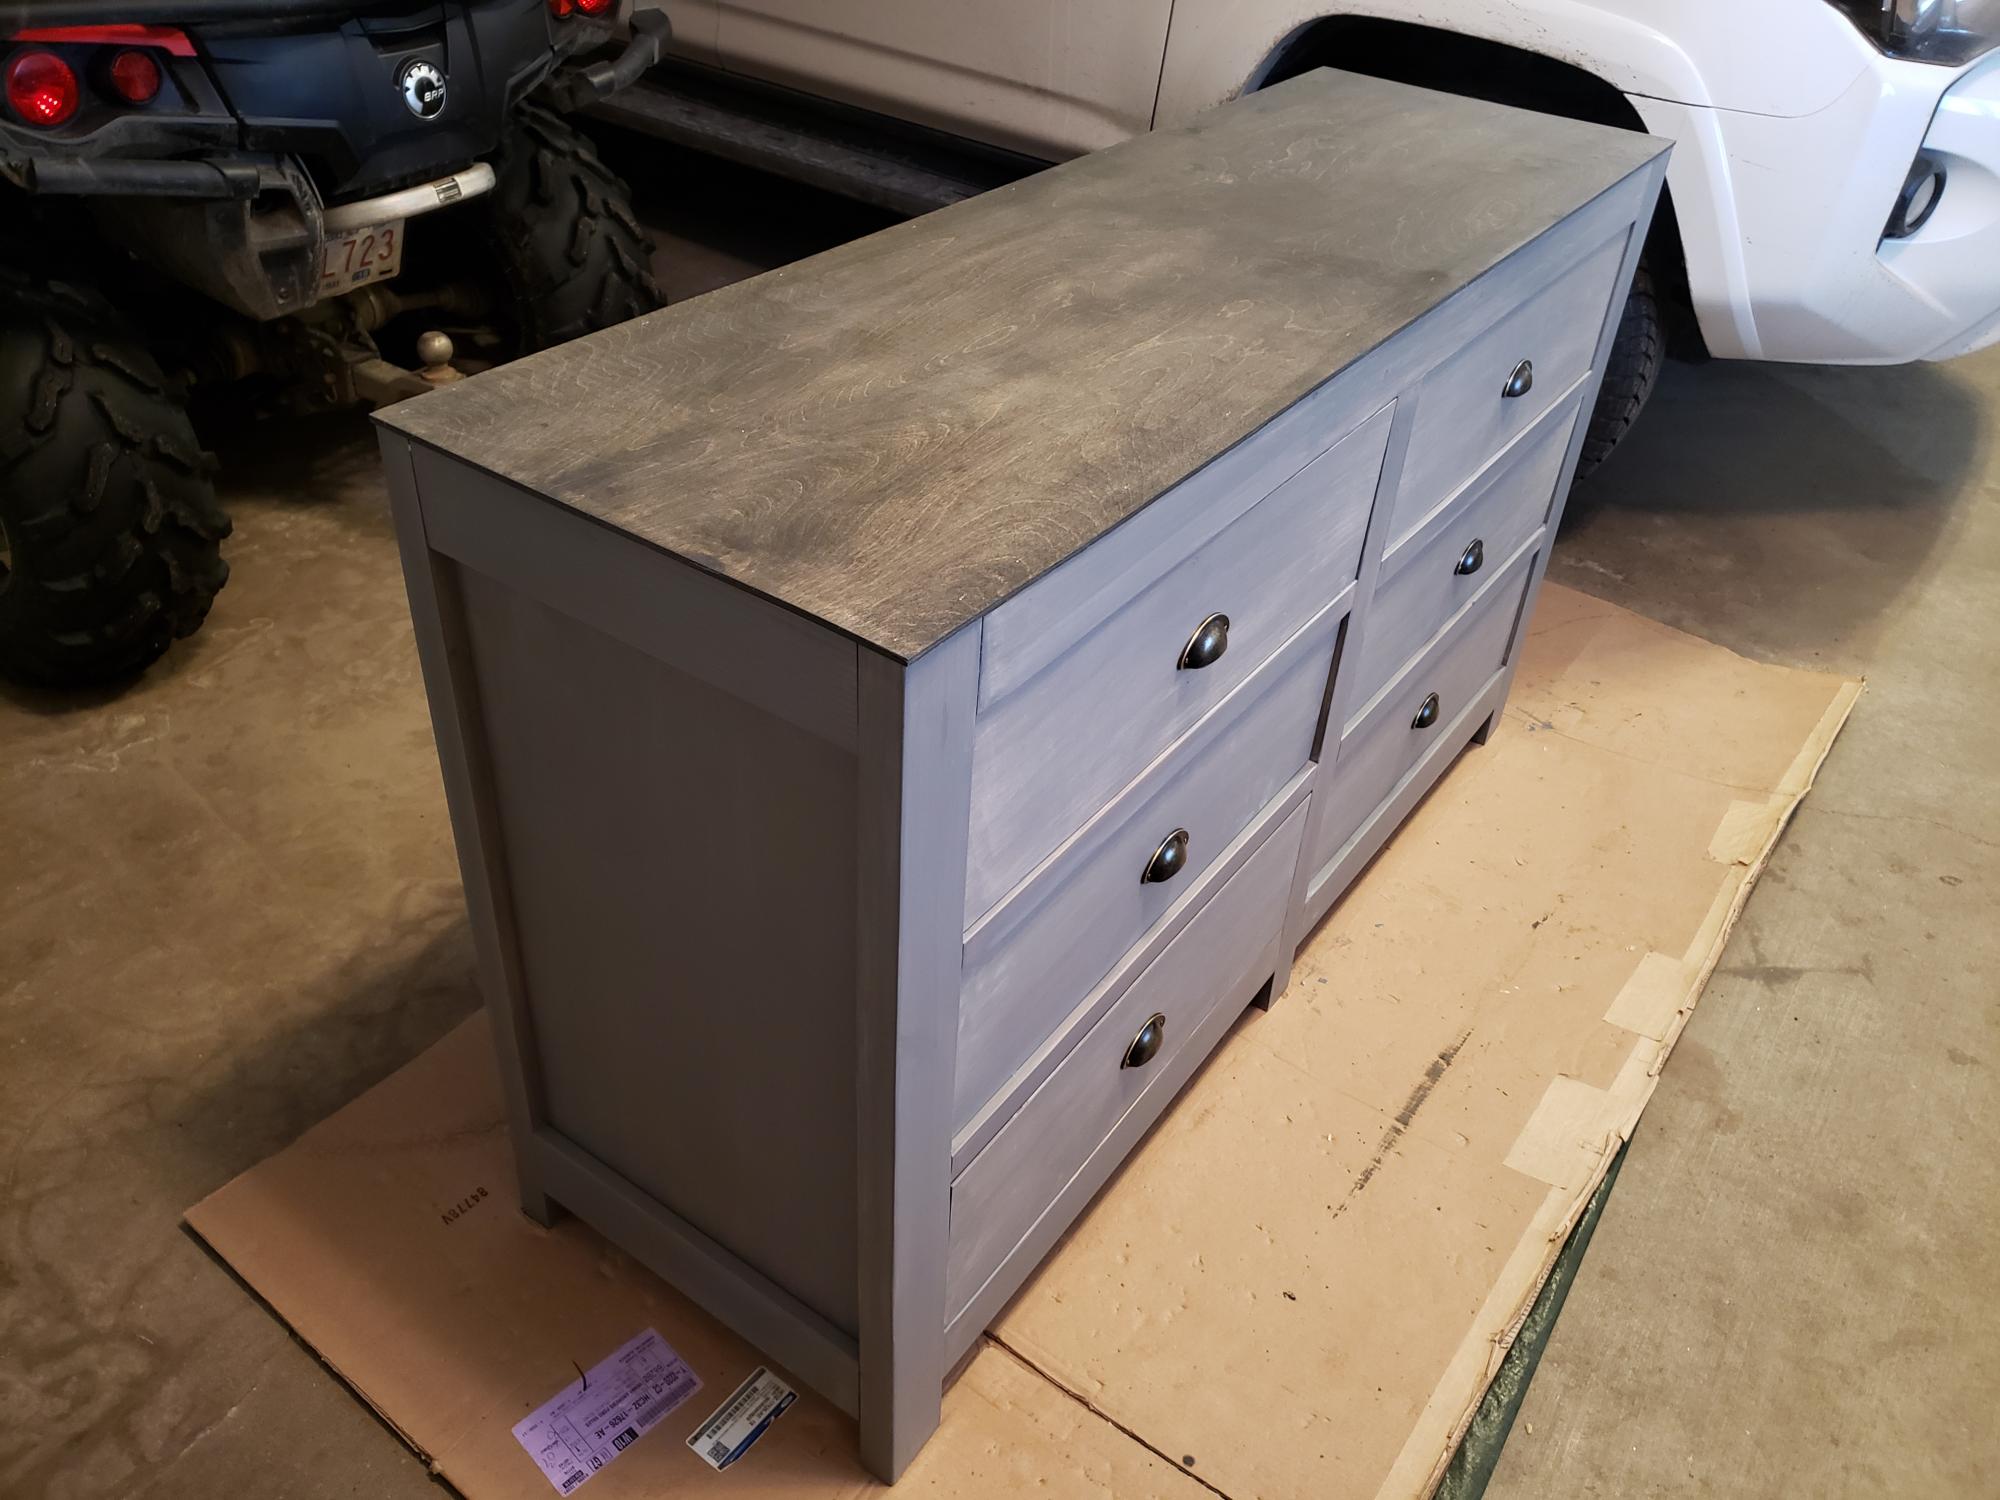
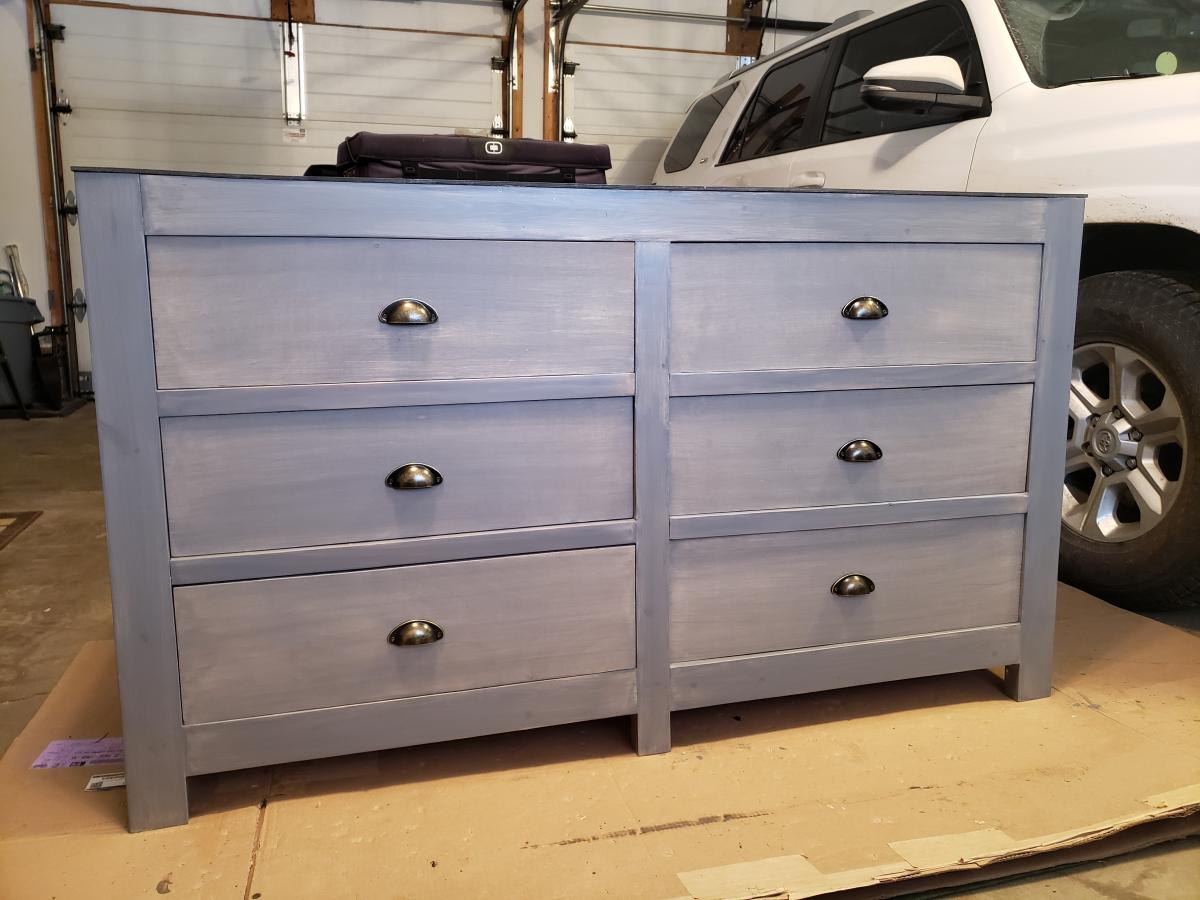
Made this dresser for my newest Grand daughter. Turned out pretty nice. A few mistakes for sure!!! But I am proud and its functional. Worked on it off and on for a month.
Mon, 12/21/2020 - 11:23
Thank you for all the plans. I started wood working a year ago and I am still learning.

We followed the plan exactly as instructed, but instead of cutting the arch accents out of wood, we simply attached decorative shelving brackets to the legs.


Wed, 01/30/2013 - 13:31
Looks good! The use of metal brackets really makes it a unique piece.
Thu, 01/31/2013 - 07:31
Your table looks awesome, particularly with your L-brackets. Would you mind sharing where you got the L-brackets?
Thu, 01/31/2013 - 07:36
Of course! They are decorative shelf brackets we picked up at Lowes.

This coffee table was my first build. Its a blend of mulitple coffee table designs by Ana White.


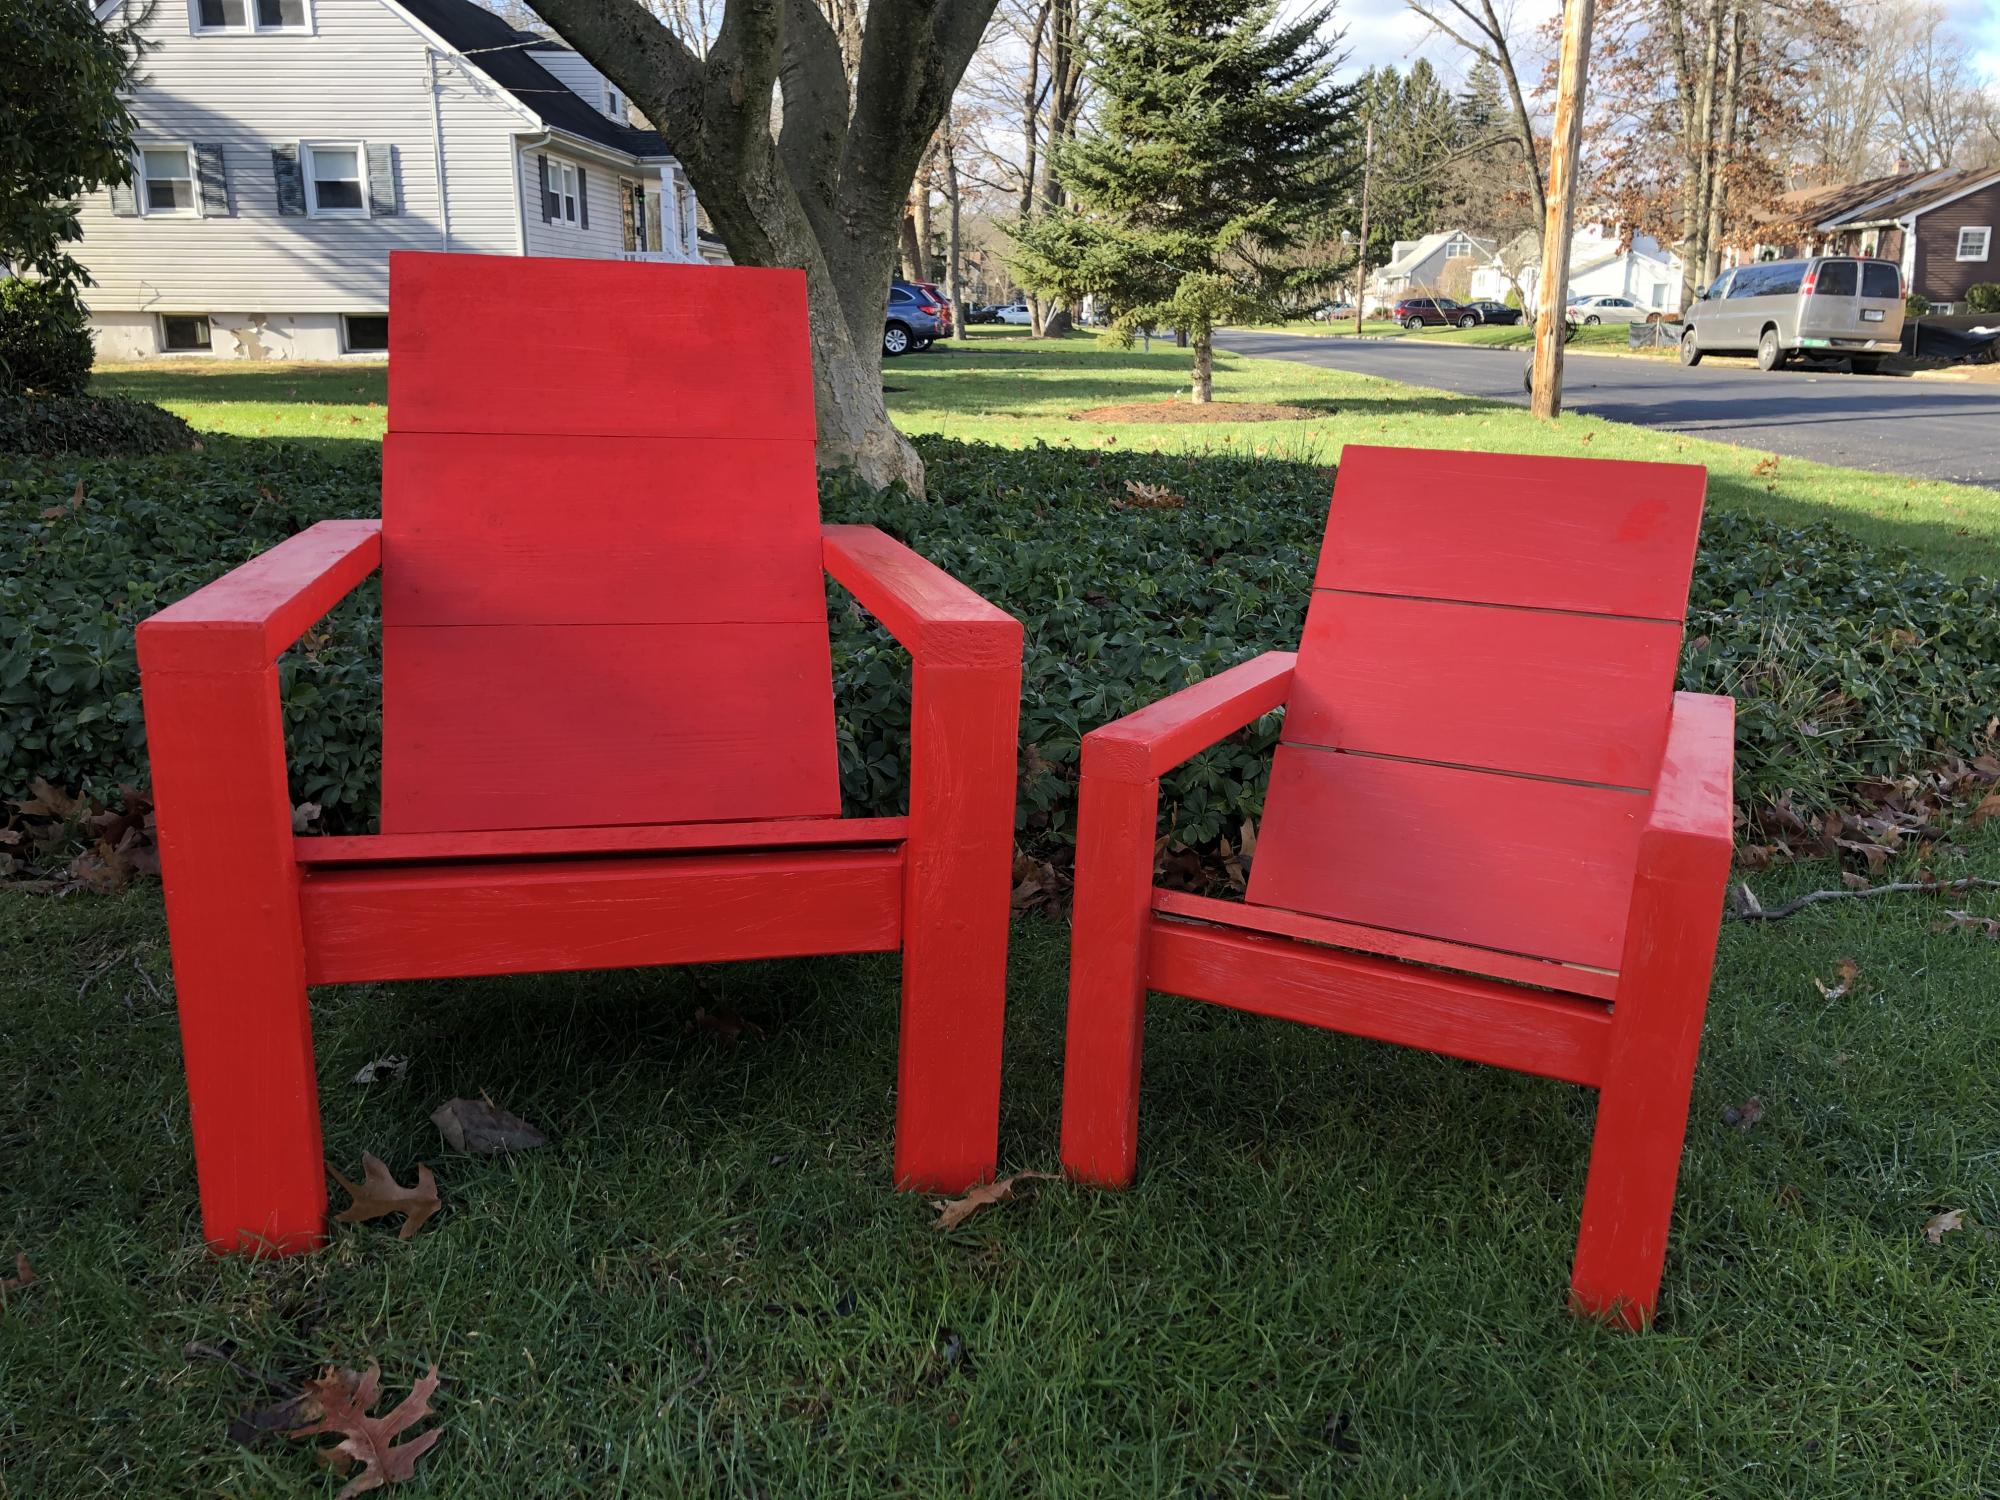
I've made numerous modern Adirondack Chairs using Ana White's design. The most often asked question is "does it come in different sizes." So I scaled the chair by 80%. The "mini" is perfect for children up to the age of 10 or as lawn decoration. Email me at [email protected] for a copy of the "mini" step-by-step plans.
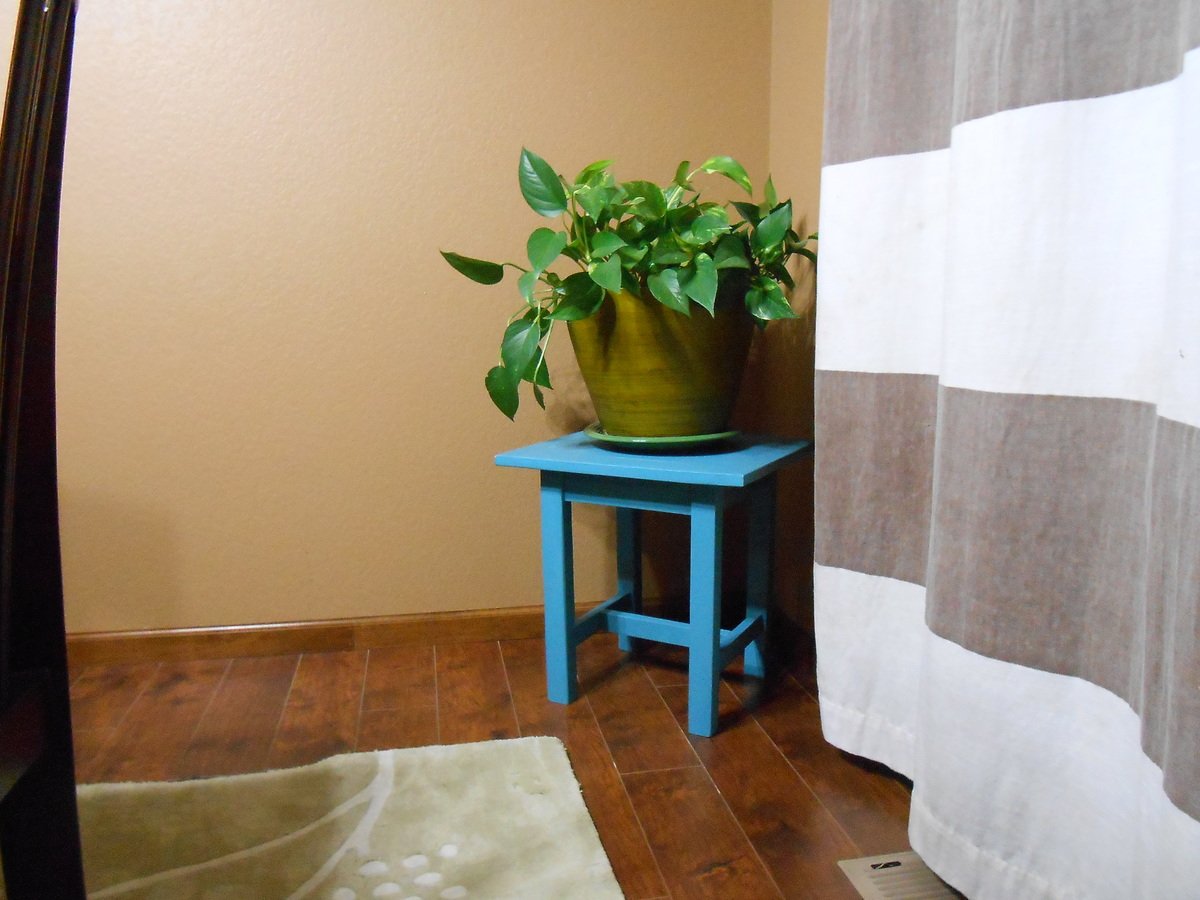
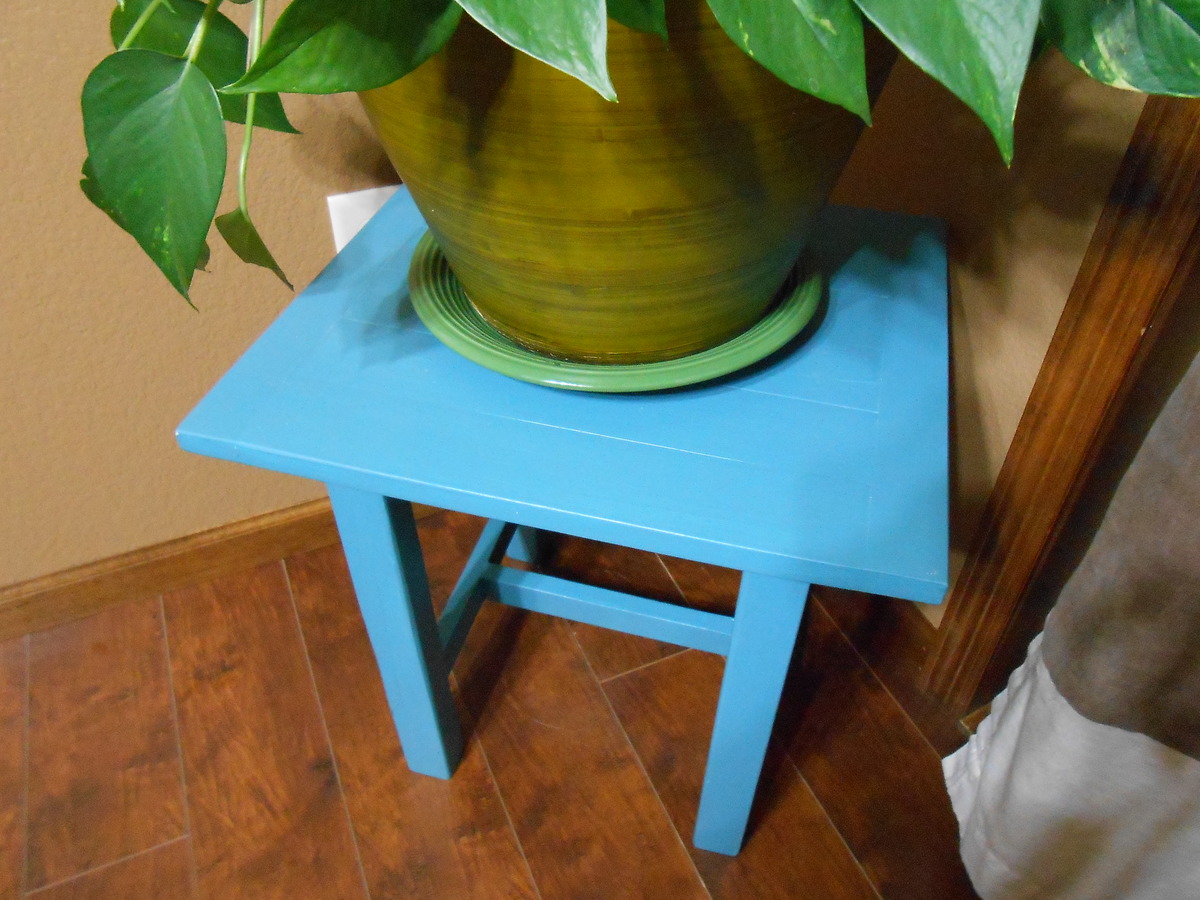
I made this plant stand using the adirondack stool plans. I did not leave spaces between the boards on the top, and I added breadboard ends.
I made this one huge! It is 6 feet by 6 feet. I handpainted the birds, and I used Ana's technique for painting on the letters.
Wed, 12/23/2015 - 11:47
How amazingly gorgeous is this?!? Great job, I can't believe I didn't see this sooner. Love the huge size in your room!
I used 2x2s for the base and stained them ebony. The top is made of 2x6s stained weathered oak & dark walnut. Caution: no matter how perfectly square your base is, if your top is even remotely warped/twisted, it will pull the whole thing out of whack. The base is not strong enough to fight the 2x6s.
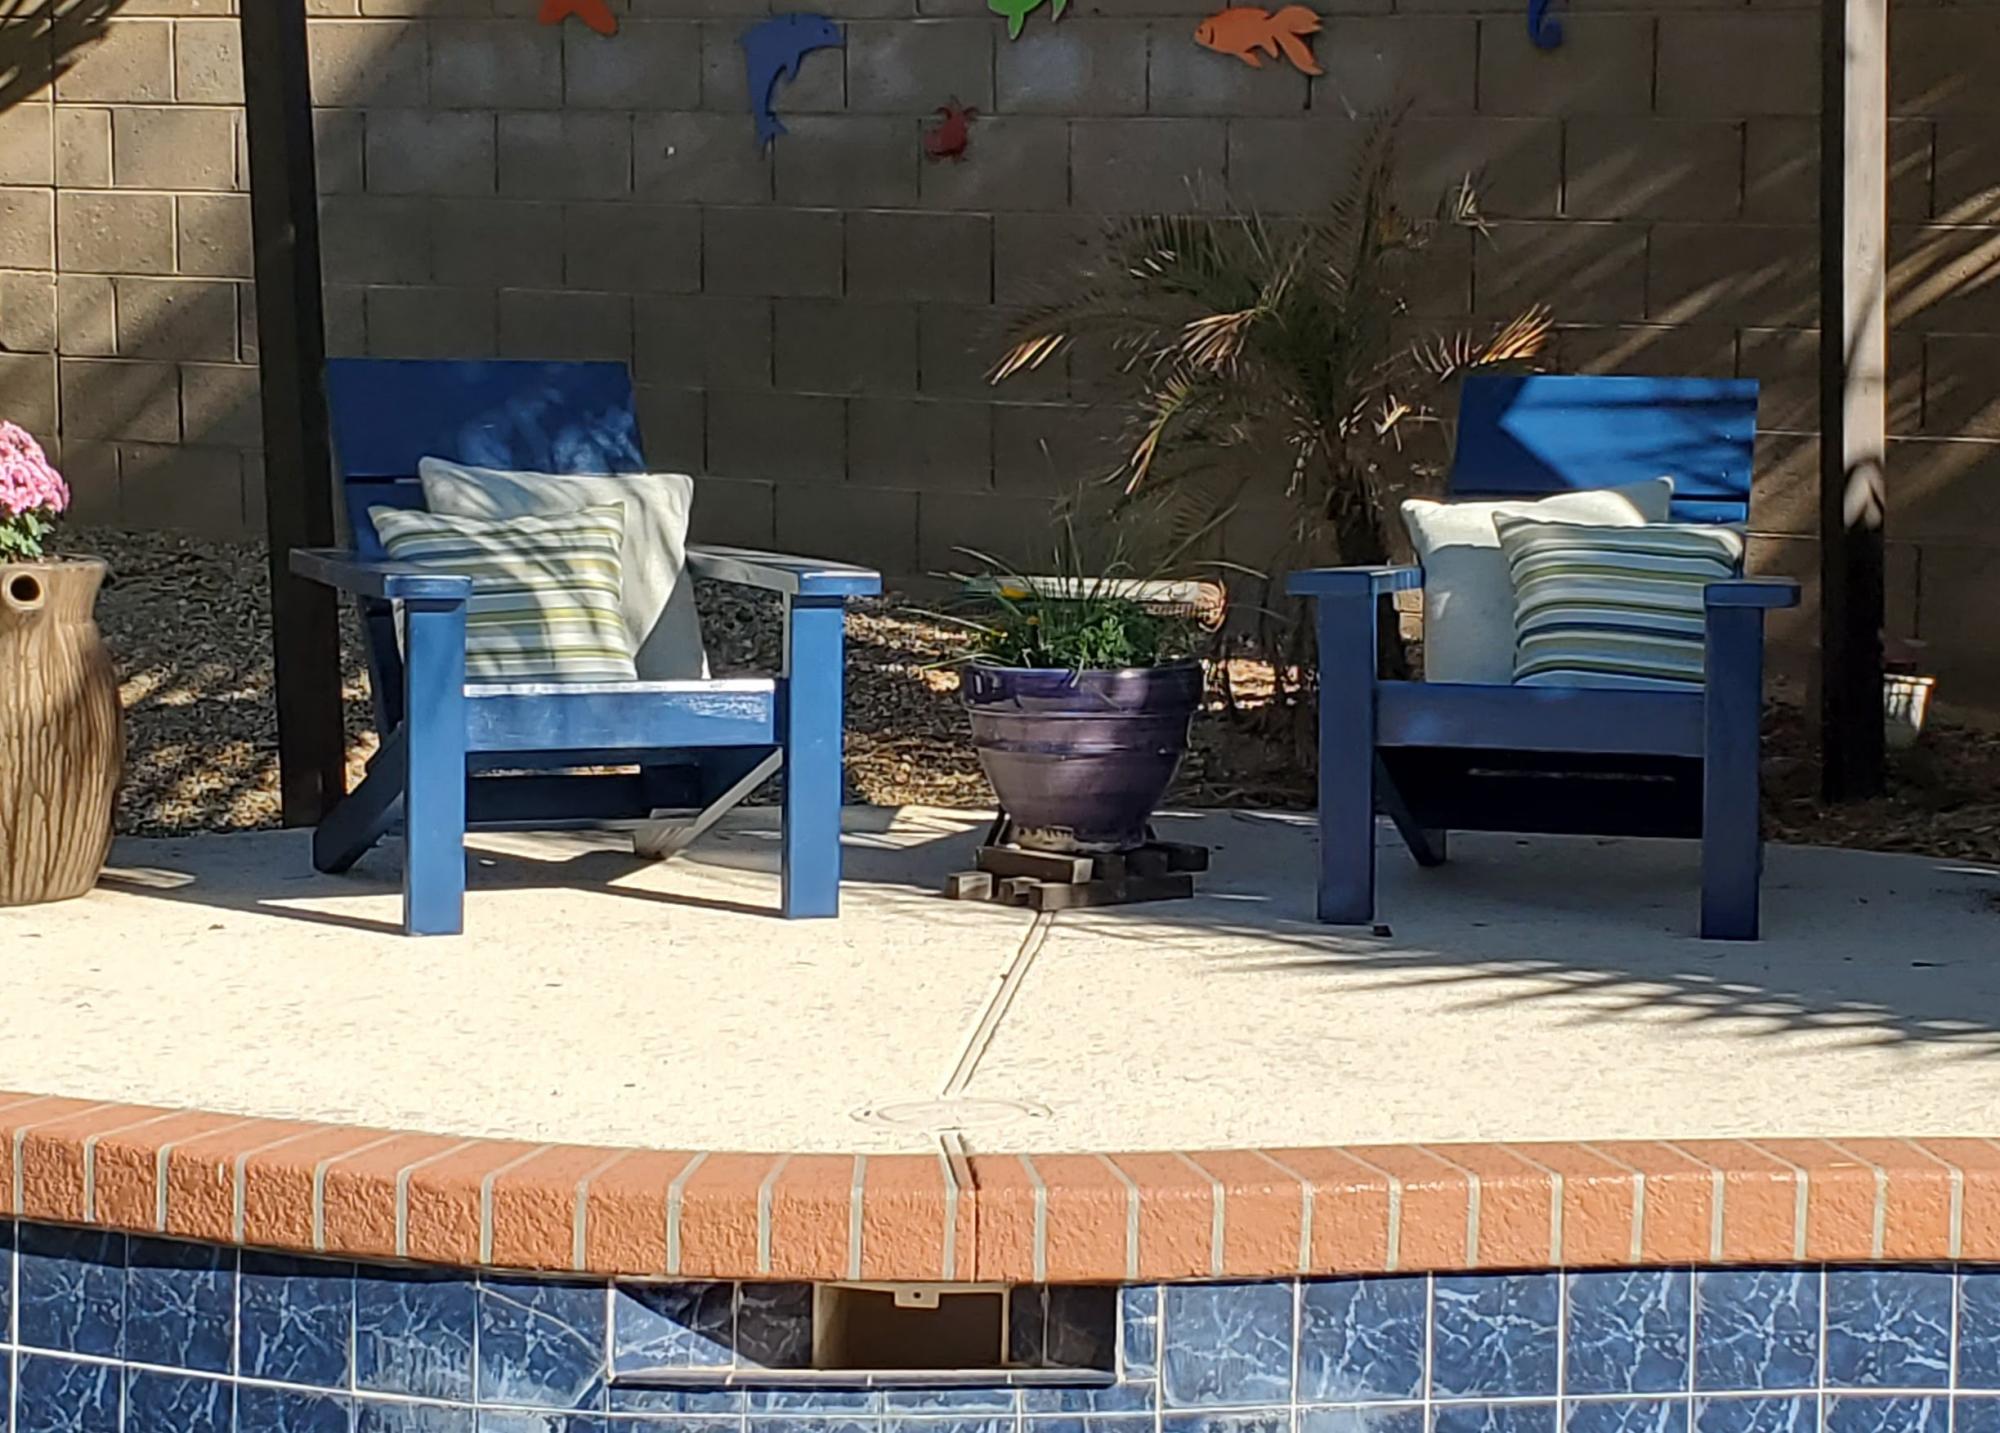
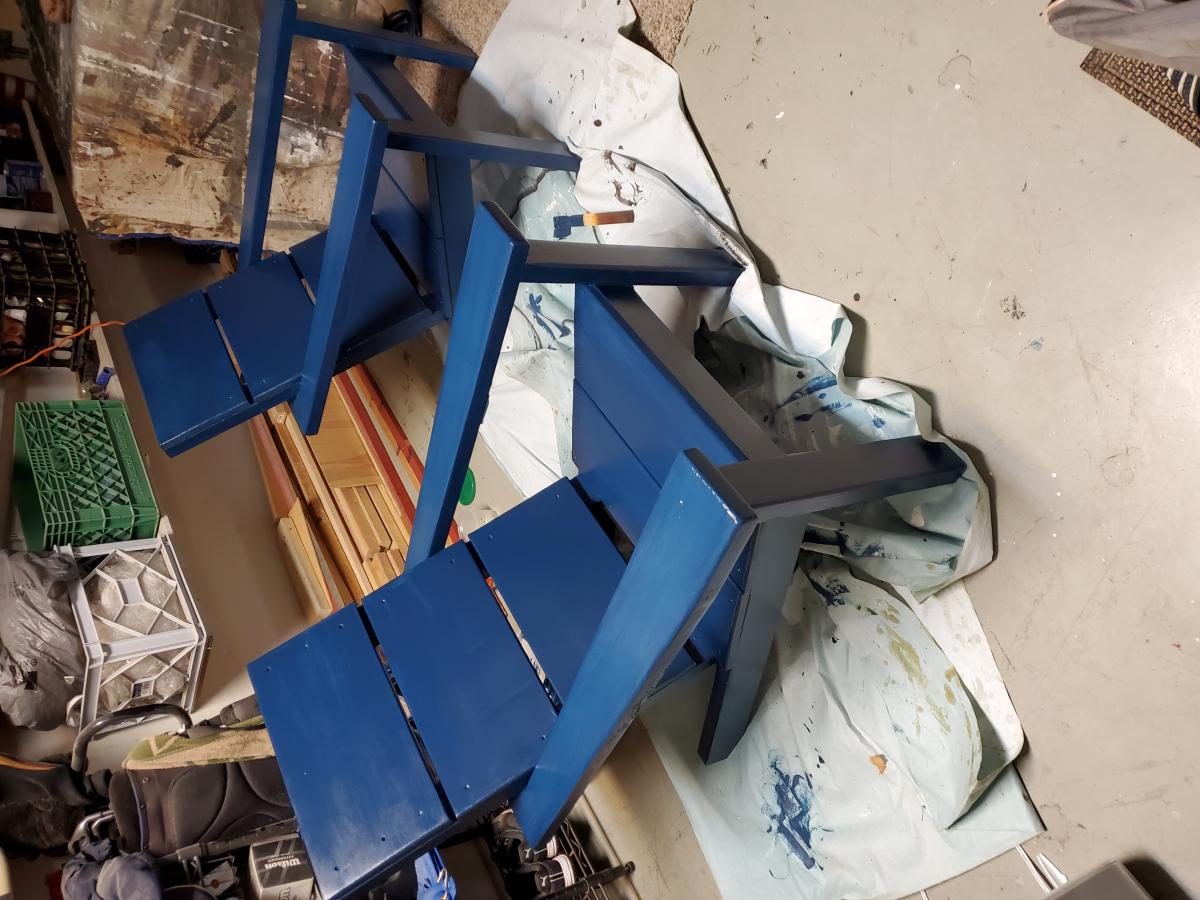
Been wanting to make some Adirondack chairs for years; have about 10 different plans saved that one day I could get to. These 2x4 modern plans made getting them done quickly possible due to simplicity of the cut list and cheap cost of materials. The only real change I made was to use 2x6 for the arms; I cut a taper along outside edge and increased the length of the arms by about an inch and a half to overhang the front legs a bit. Since I just used basic framing lumber, I milled all of the boards first with table saw and planer to make square consistent edges. And, I chose to use pocket screws in as many joints as I could so I wouldn't have screw holes on any visible faces. Add in a lucky find at the big box store paint return; scored this blue exterior paint for $2.00 a quart, and my weekend project turned out pretty good. Now I've got two neighbors that want 'em.
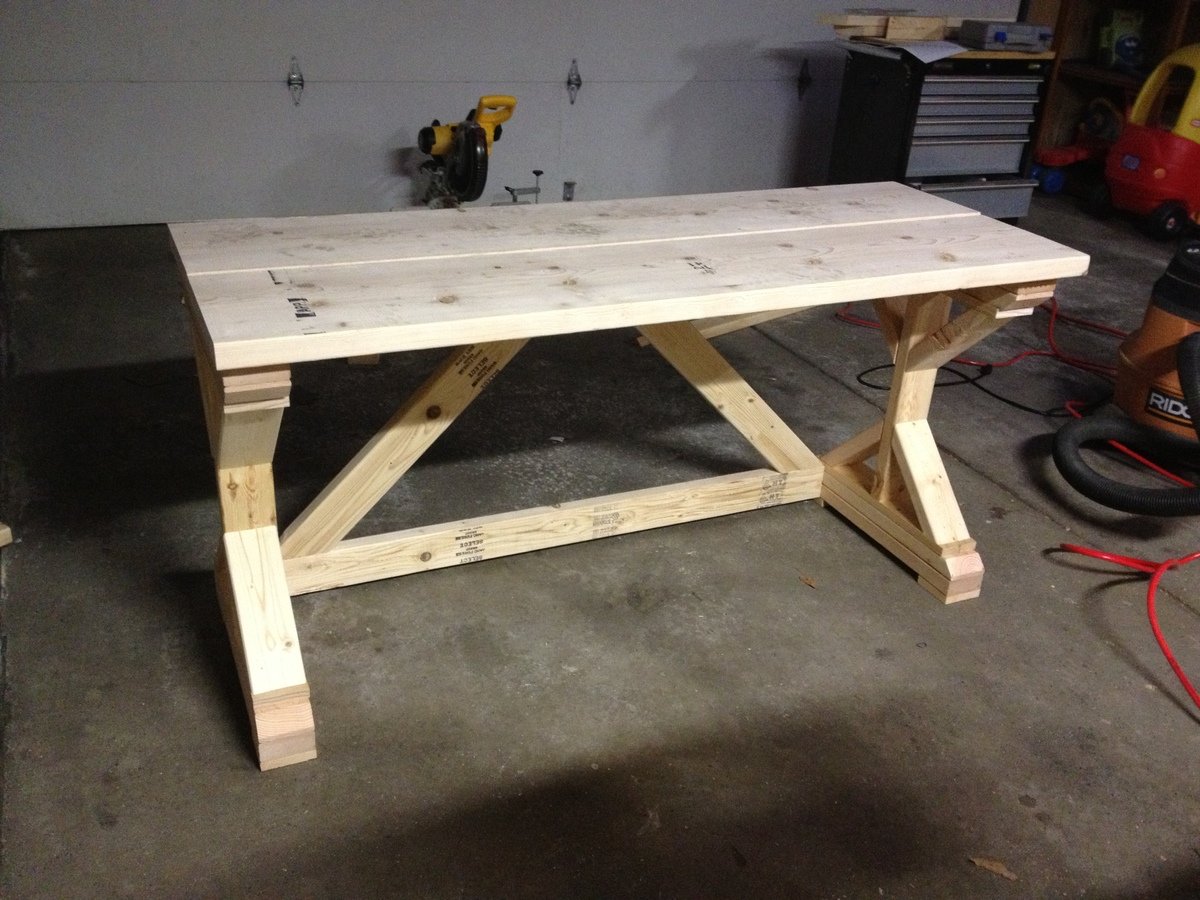
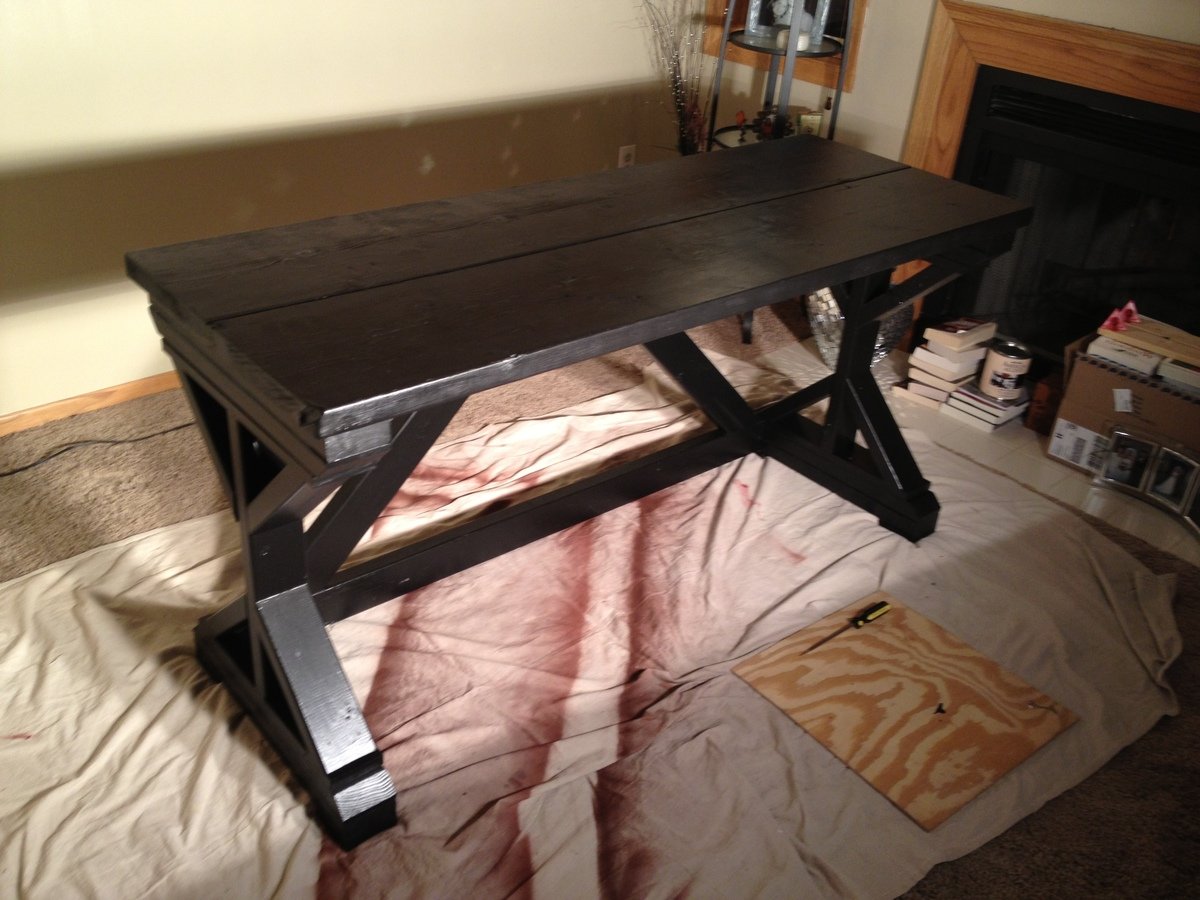
Here is the 95% completed Fancy X Desk. The plans were very easy to follow. I would call it an intermediate level project simply because of the angle cuts. I had to reduce the size a little to fit our space. Built it in an afternoon and then applied one coat of primer and two coats of black paint. I have to wait until it is a little warmer outside to apply the poly as I didn't want to do it inside and my garage is about 30 degrees. I haven't figured out what it cost me to build but I feel comfortable saying it was hundreds less than it would have cost to buy at retail. Very excited about the result.
Sun, 07/13/2014 - 15:12
I like how you made this shorter, could you tell me how long you made it, and what the length of the 45 degree supports at the back are? I assume you had to shorten the due to shortening the length, but I can't figure how out long they should be.
Thanks! I'm really excited to start this!
My grandson loves Lego's. So for his birthday I built him a Lego table. The top is reversible so it can be used for other activities when not playing with Lego's. It also has 6 storage bin's that slide out. I also built a stool that looks like a Lego. It has storage and it's on wheels.
Mon, 03/09/2020 - 17:09
Love the design with the storage bins for easy storage.
The plans are easy to follow and the result is a very sturdy pro looking bench that seats quite a few people. Great starter or beginner project
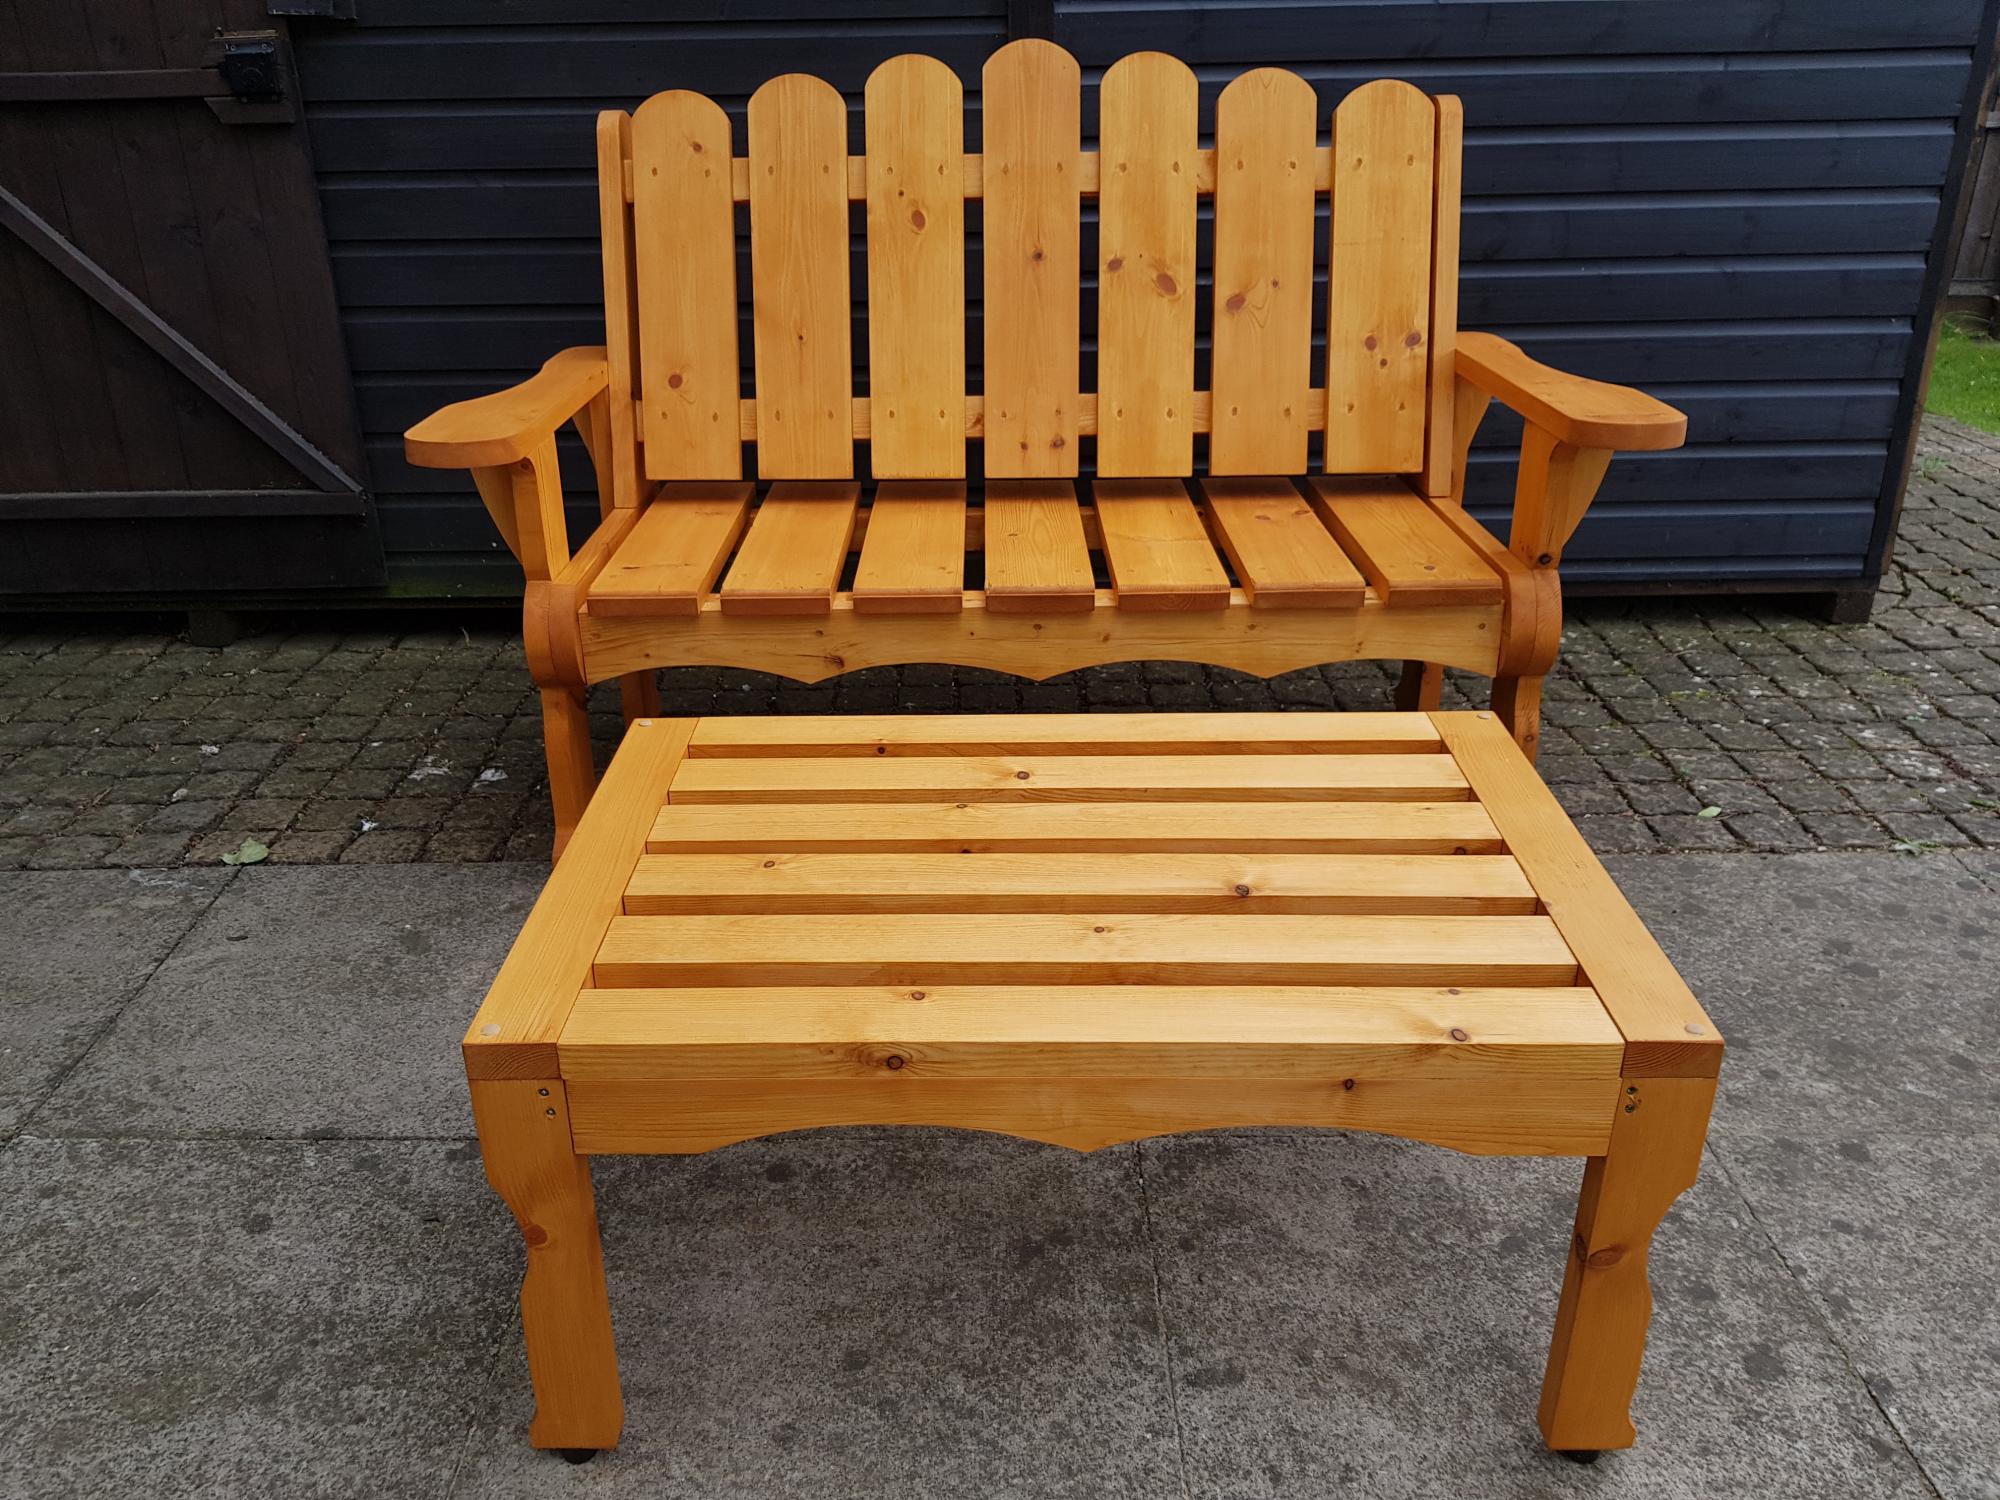
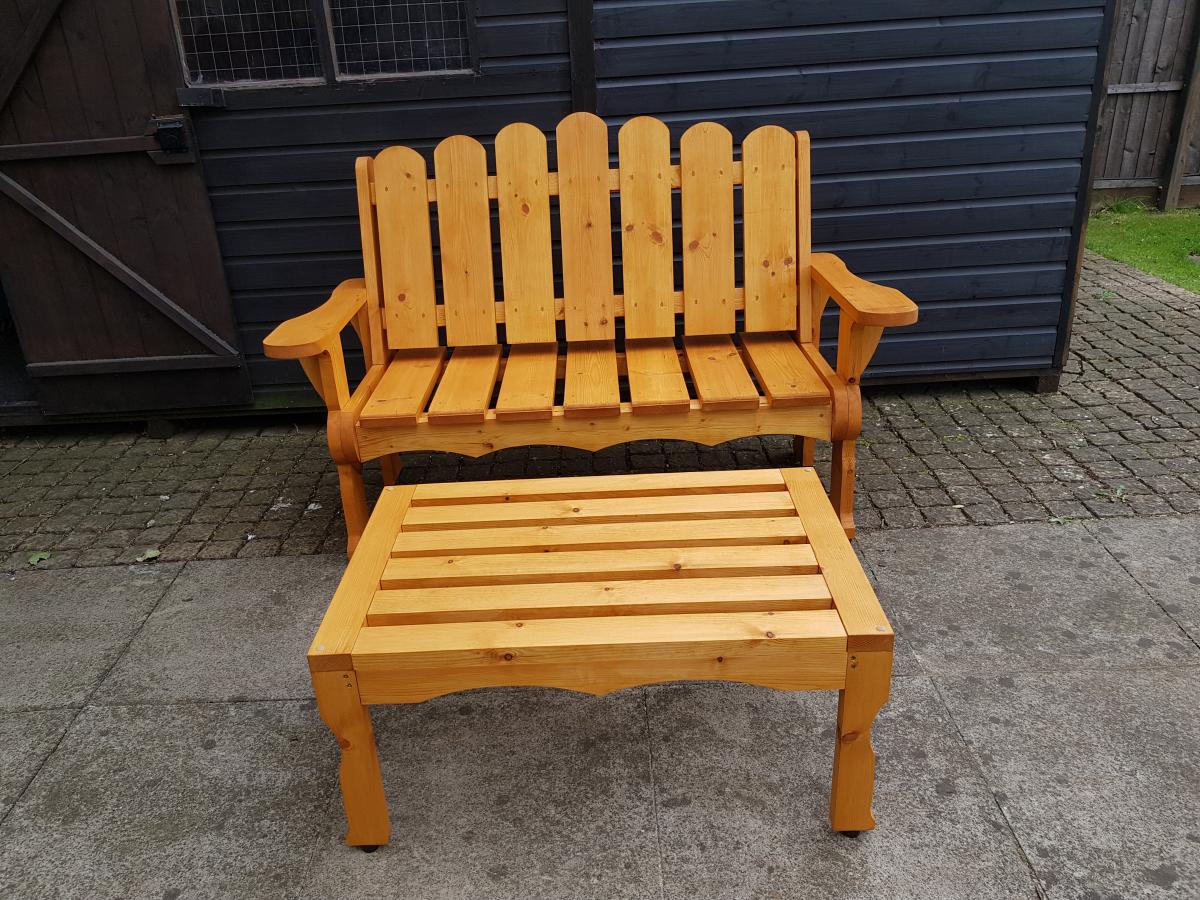
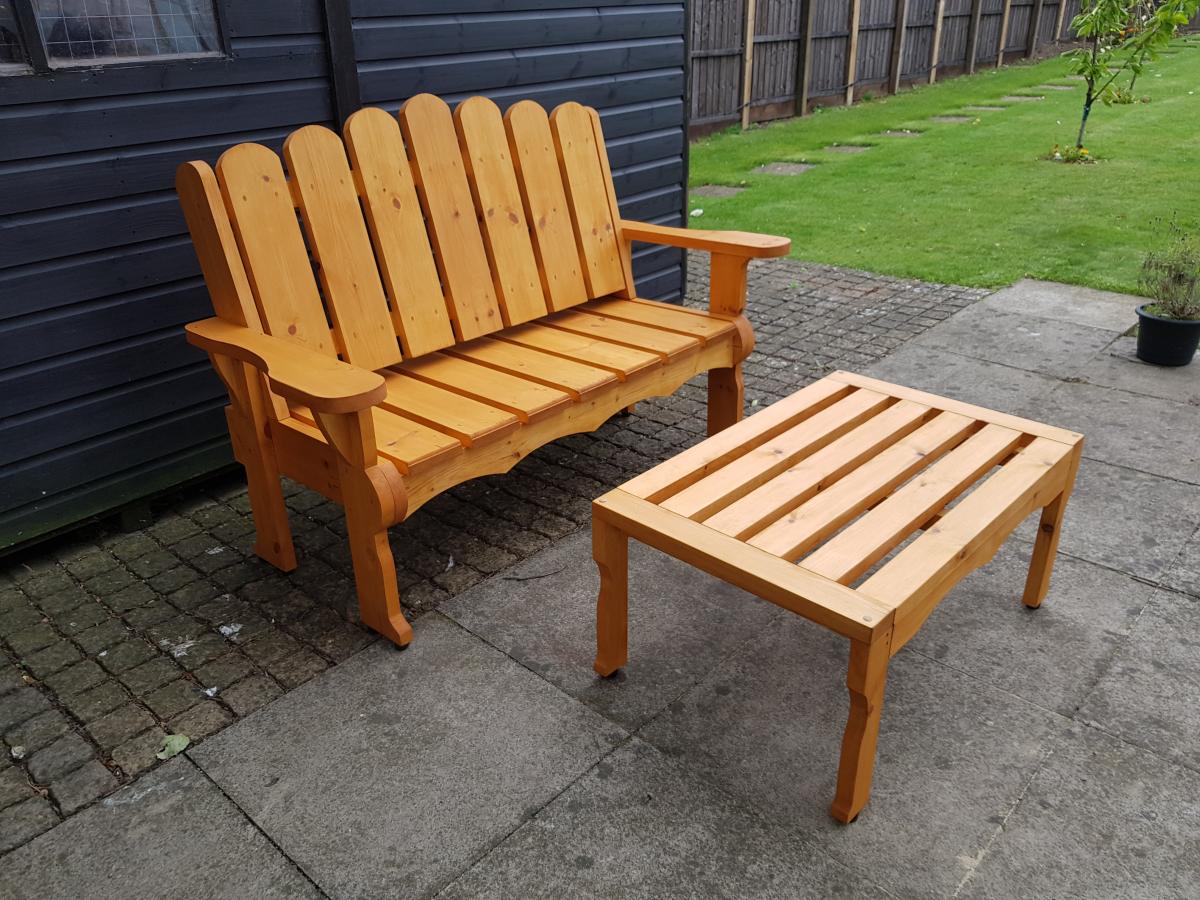
This bench and table are based on Anna's plans, which I modified slightly to make them more distinctive. Hope you like them. Thank you Anna for your generosity.
First project from Ana White, and loved it! Building more as we speak. We loved this table but wanted it in painted finish. We chose to fill in some of the gaps to make it look a little more finished. Very happy with the result!
Tue, 02/05/2013 - 18:44
Thank you! It was our first attempt at a glaze. We shortened the table length wise and then used 3 2x10s instead of 4. For the finish we painted the table Navajo White Behr color from home depot. We then mixed about 1 part of a Minwax espresso stain with 4 parts of Behr Faux Glaze. Then we just rubbed it on with rags and waited a little bit and rubbed it off.
Wed, 02/06/2013 - 15:29
WOW Extremely nice I am from Arizona and the color you have chosen is just perfect nice job and finish congratulations on being the proud owners of a Very Beautiful Table
Mon, 02/18/2013 - 17:39
Great job! Beautiful finish. I have yet to build anything, but this is my favorite plan from Ana White and I will be starting it as soon as the weather cooperates :/
Nicely done!
Wed, 06/05/2013 - 18:58
Nice job, I just finished mine and followed plans 90% of the way. I altered the legs to look beefier. I have not finished mine yet. I spaded the top and will be using it outdoors so unsure what I want to do for the finish. But thanks for sharing.
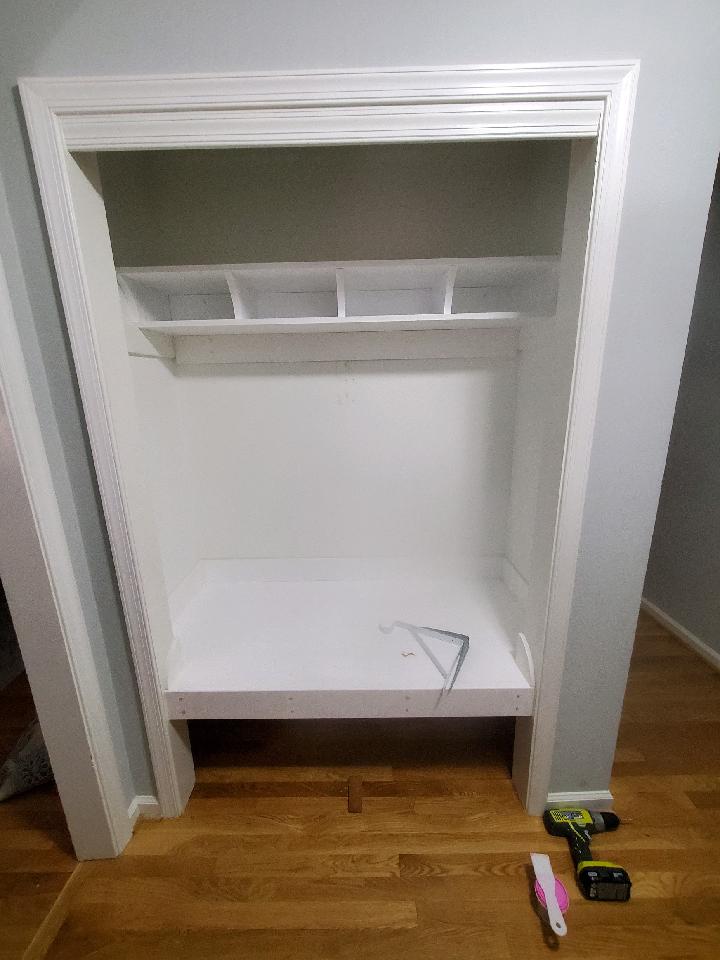
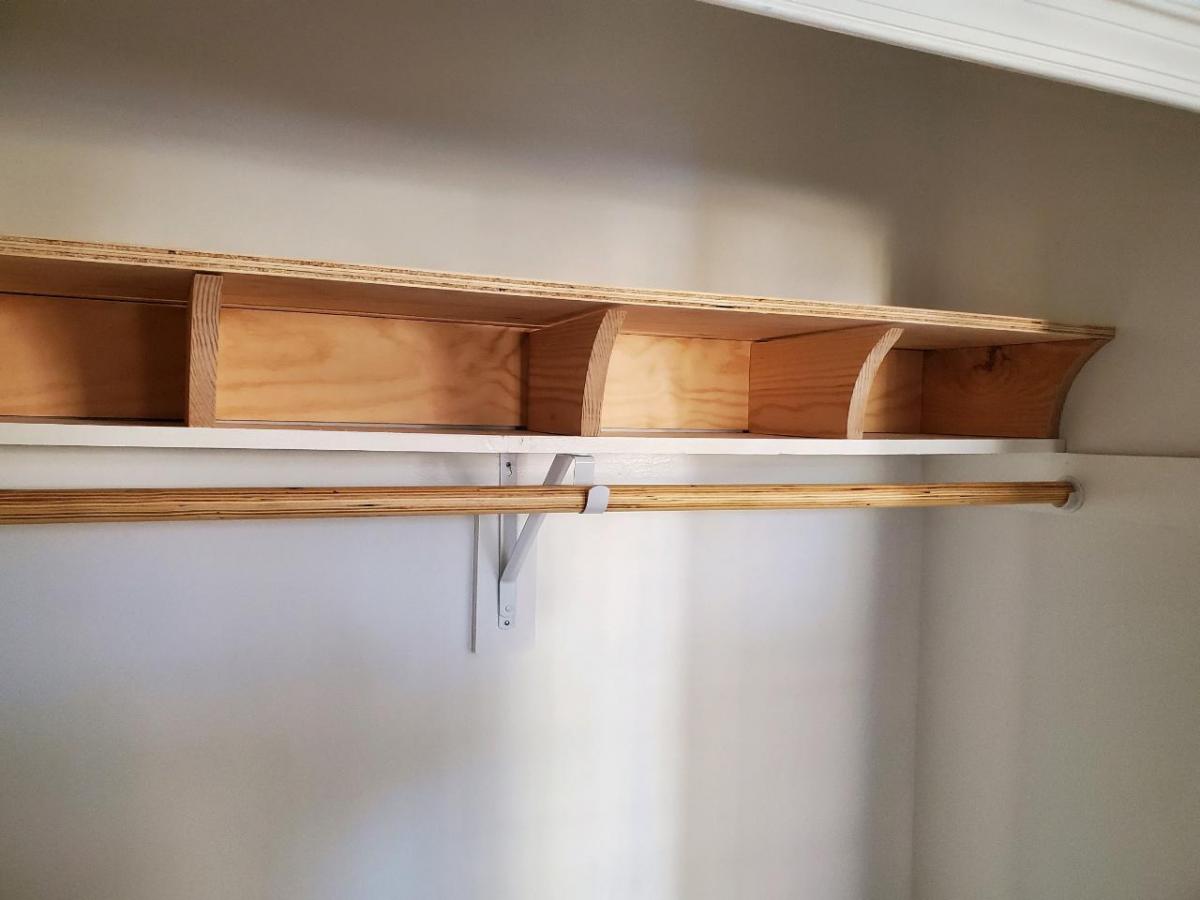
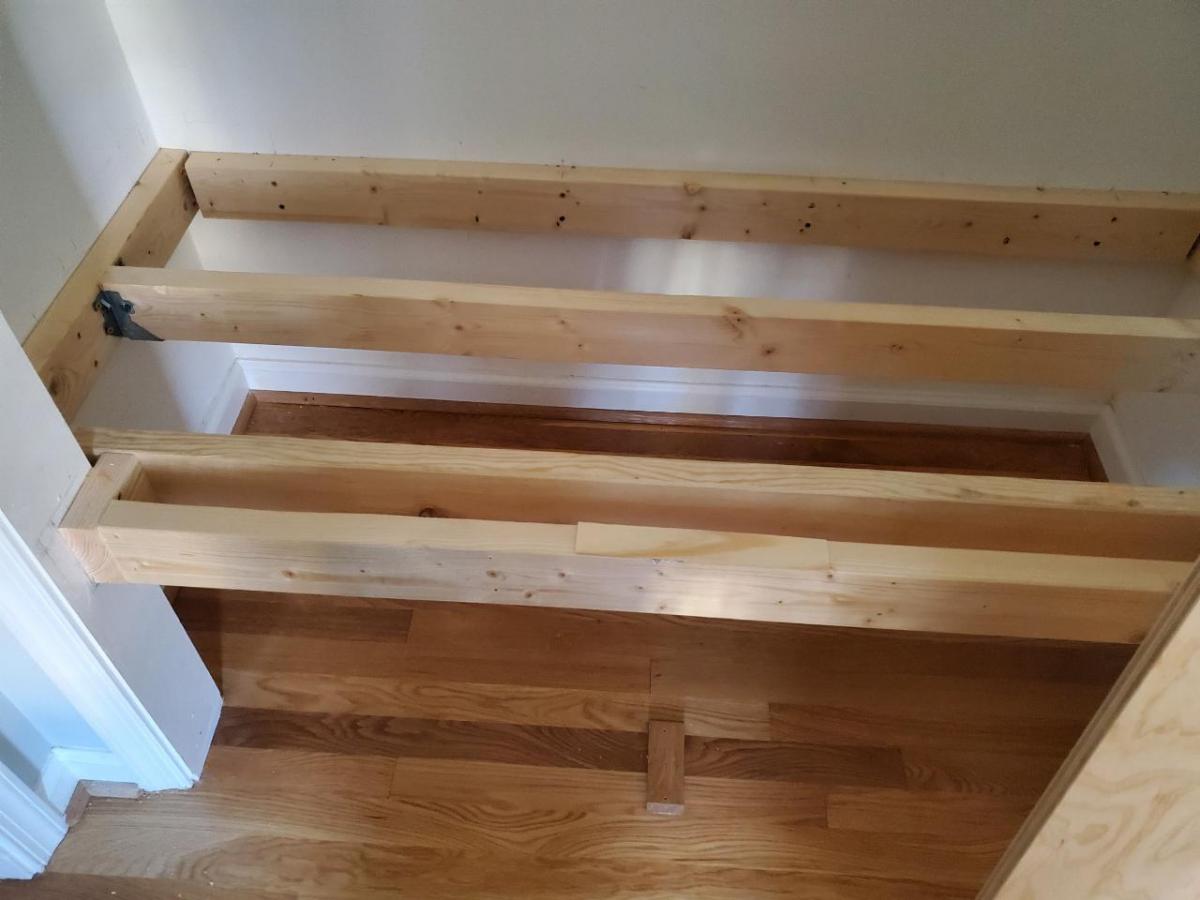
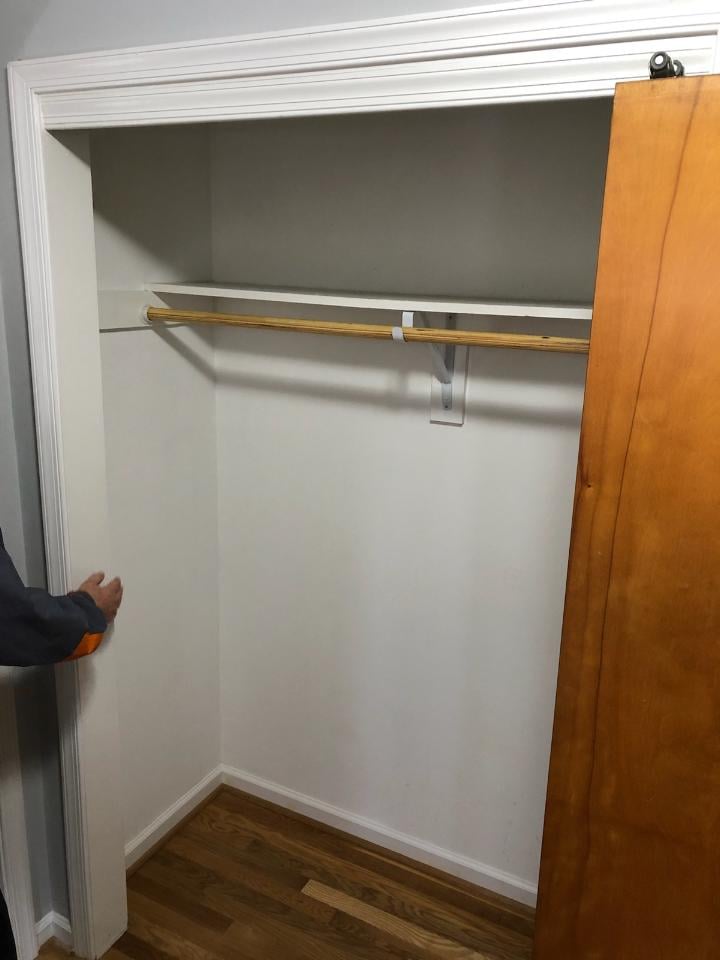
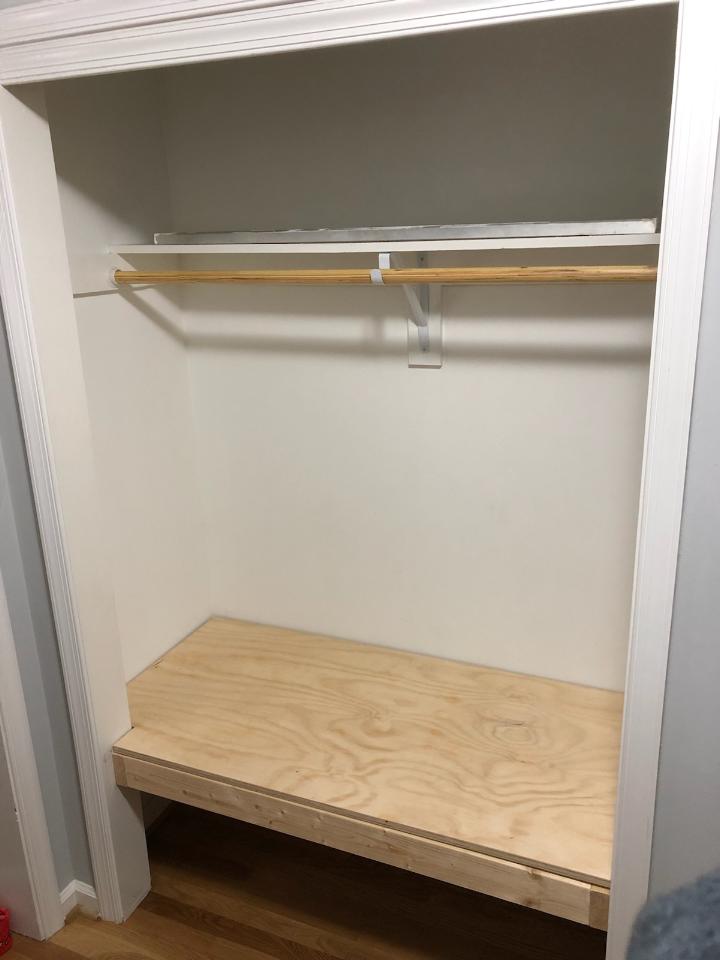
Converted this entryway closet to a Mudroom. Came out pretty good. Had to put a board stretcher on the top shelf after I cut it twice, to get it back to the original size. Still plan on making the rolling trundle drawers for underneath. Thanks Ana!
We had to narrow the width of the table so that it would fit in a hallway. We distressed it..a lot and then washed a stain over the paint. Soooo pretty and rustic. Love your website!!!

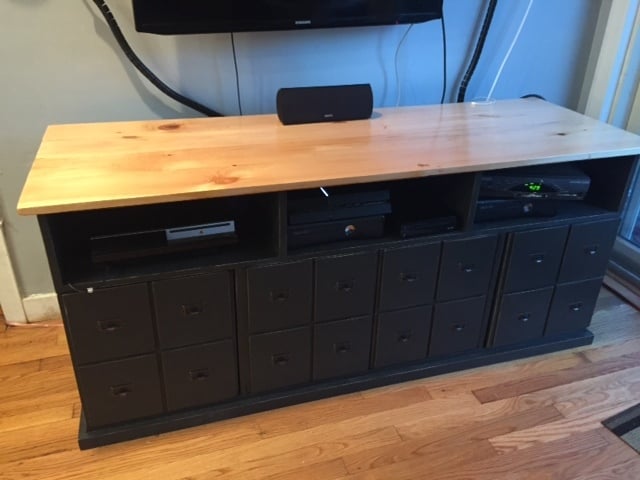
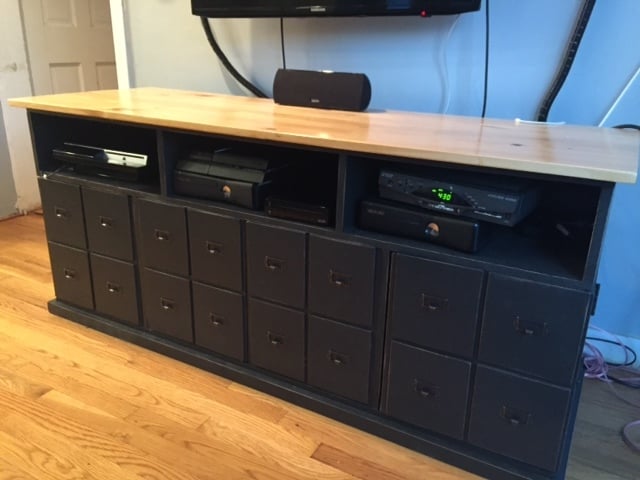
This was my second-built project after finding Ana's wonderful site - the first being the Rustic-X coffee table. After learning how to use a miter saw, jig saw and kreg pocket hole jig for the first time by watching Ana's video tutorials as well as several others available on the web, I built up the confidence to attempt a media console for my three video-gaming boys.
I pieced together a design plan for the console using the general design of Ana's Apothecary Console Plan, together with the incredibly helpful plans and instructions detailed on 2Crafty4myskirt.blogspot.com. Kind of like mixing together pieces of different recipes, I was able to create a design that had the length of Ana's console, plus 2Crafty's wonderfull side-storage doors for all of the boy's video games.
As set forth in detail below, I used Ralph Lauren's Carbon paint for the entire unit, and Minwax Red Chesnut Wood finish to distress the edges. I used Pecan Minwax Polyshades Stain & Polurethane for the table top. One of the most helpful pieces of advice from 2Crafty was to leave attachment of the back and top of the unit until they are separately painted and stained.
I finished the false fronts with antique copper (bronze) cabinet label holders (2 1/2") which I purchased online at D. Lawless Hardware online.
As a beginner, I had a steep learning curve in learning how the tools worked (safely), and so it took me about 40 hours all in to finish the project. While my sons helped along the way, my husband didn't actually set eyes on the project until it was complete. He was stunned at how beautiful it was - and that I had in fact created what he calls the "center-piece" of our family room from a pile of lumber purchased at Home Depot. He is full of helpful suggestions of what I should make next!
Thank you Ana for providing me with the tools, skills and confidence to produce a piece of furniture that I am very proud to point to and say "I did that!"

We were given this fireplace insert and need something to house it. After searching the web, we decided that Ana's faux fireplace design was our best option. We modified the measurements to fit our needs and added a wood stained top to serve as our "mantle". We are thrilled with how it turned it!
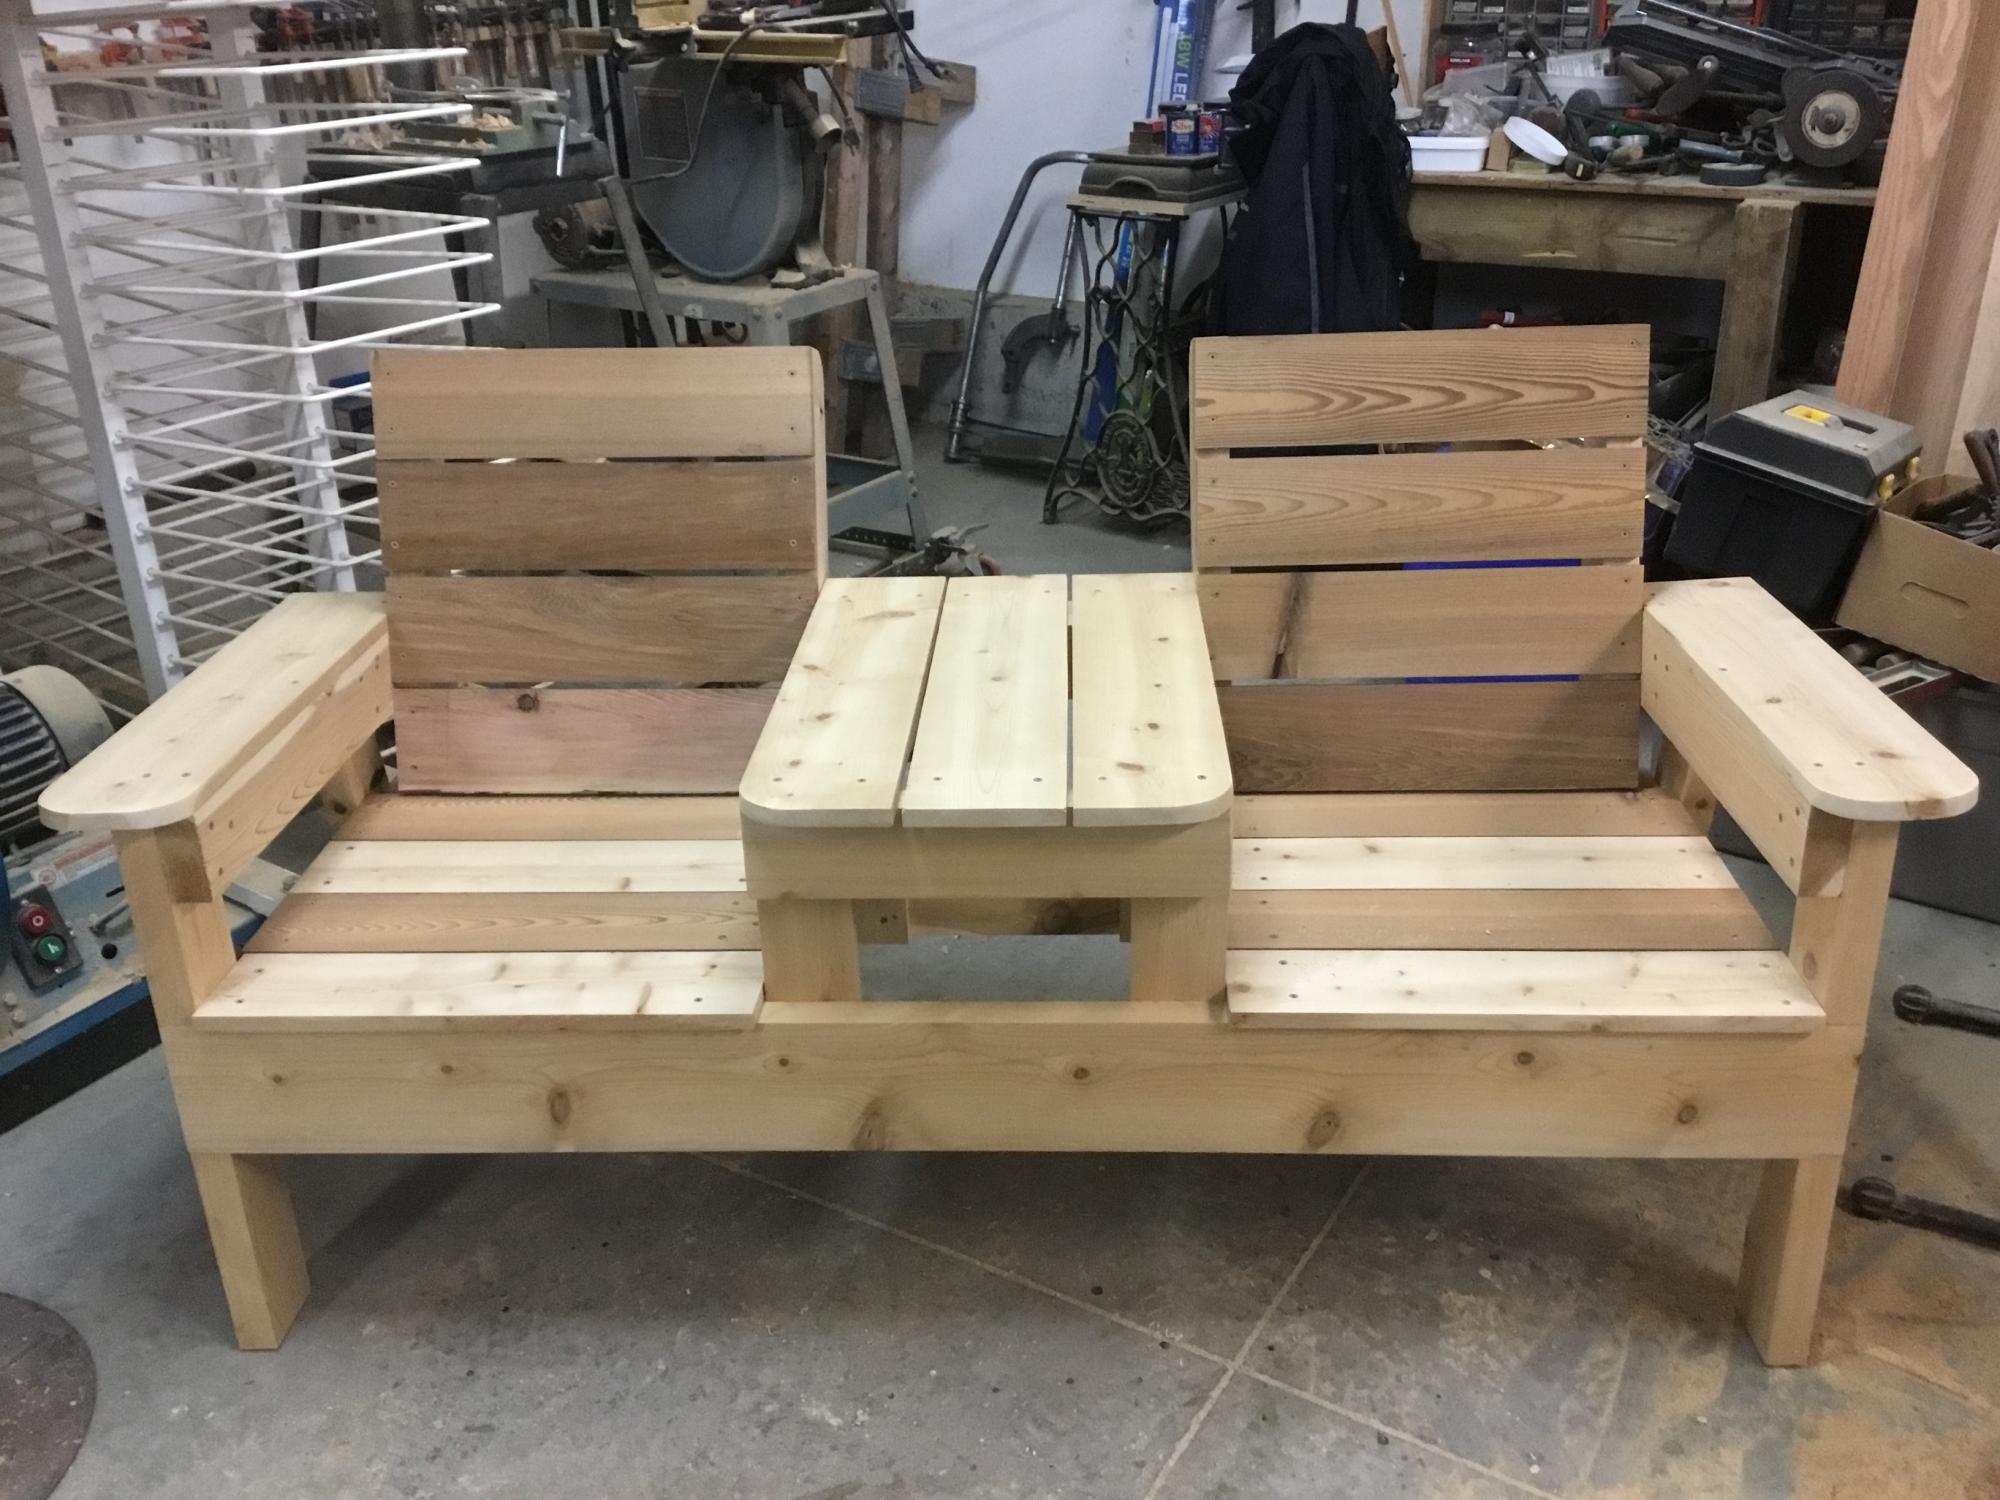
This was my first furniture build. Some things I would change next time, but overall very happy with the results.
theses are the $10 ledges, i used 1 1x4, 1 1x6, and 1 1x2. i made a total of four which measured 2ft long. it was very easy to do, and was pretty fast, and really cheap
Comments
dmcpheters
Thu, 05/28/2020 - 17:37
Very nice and well designed…
Very nice and well designed. Thanks for some ideas!